Touch Me! Open Universal Input Sleeve {OUIS}
by CMoz in Circuits > Wearables
5775 Views, 79 Favorites, 0 Comments
Touch Me! Open Universal Input Sleeve {OUIS}

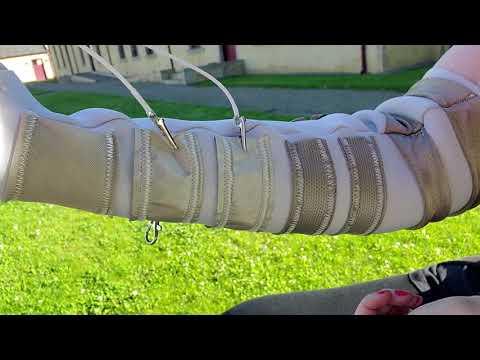
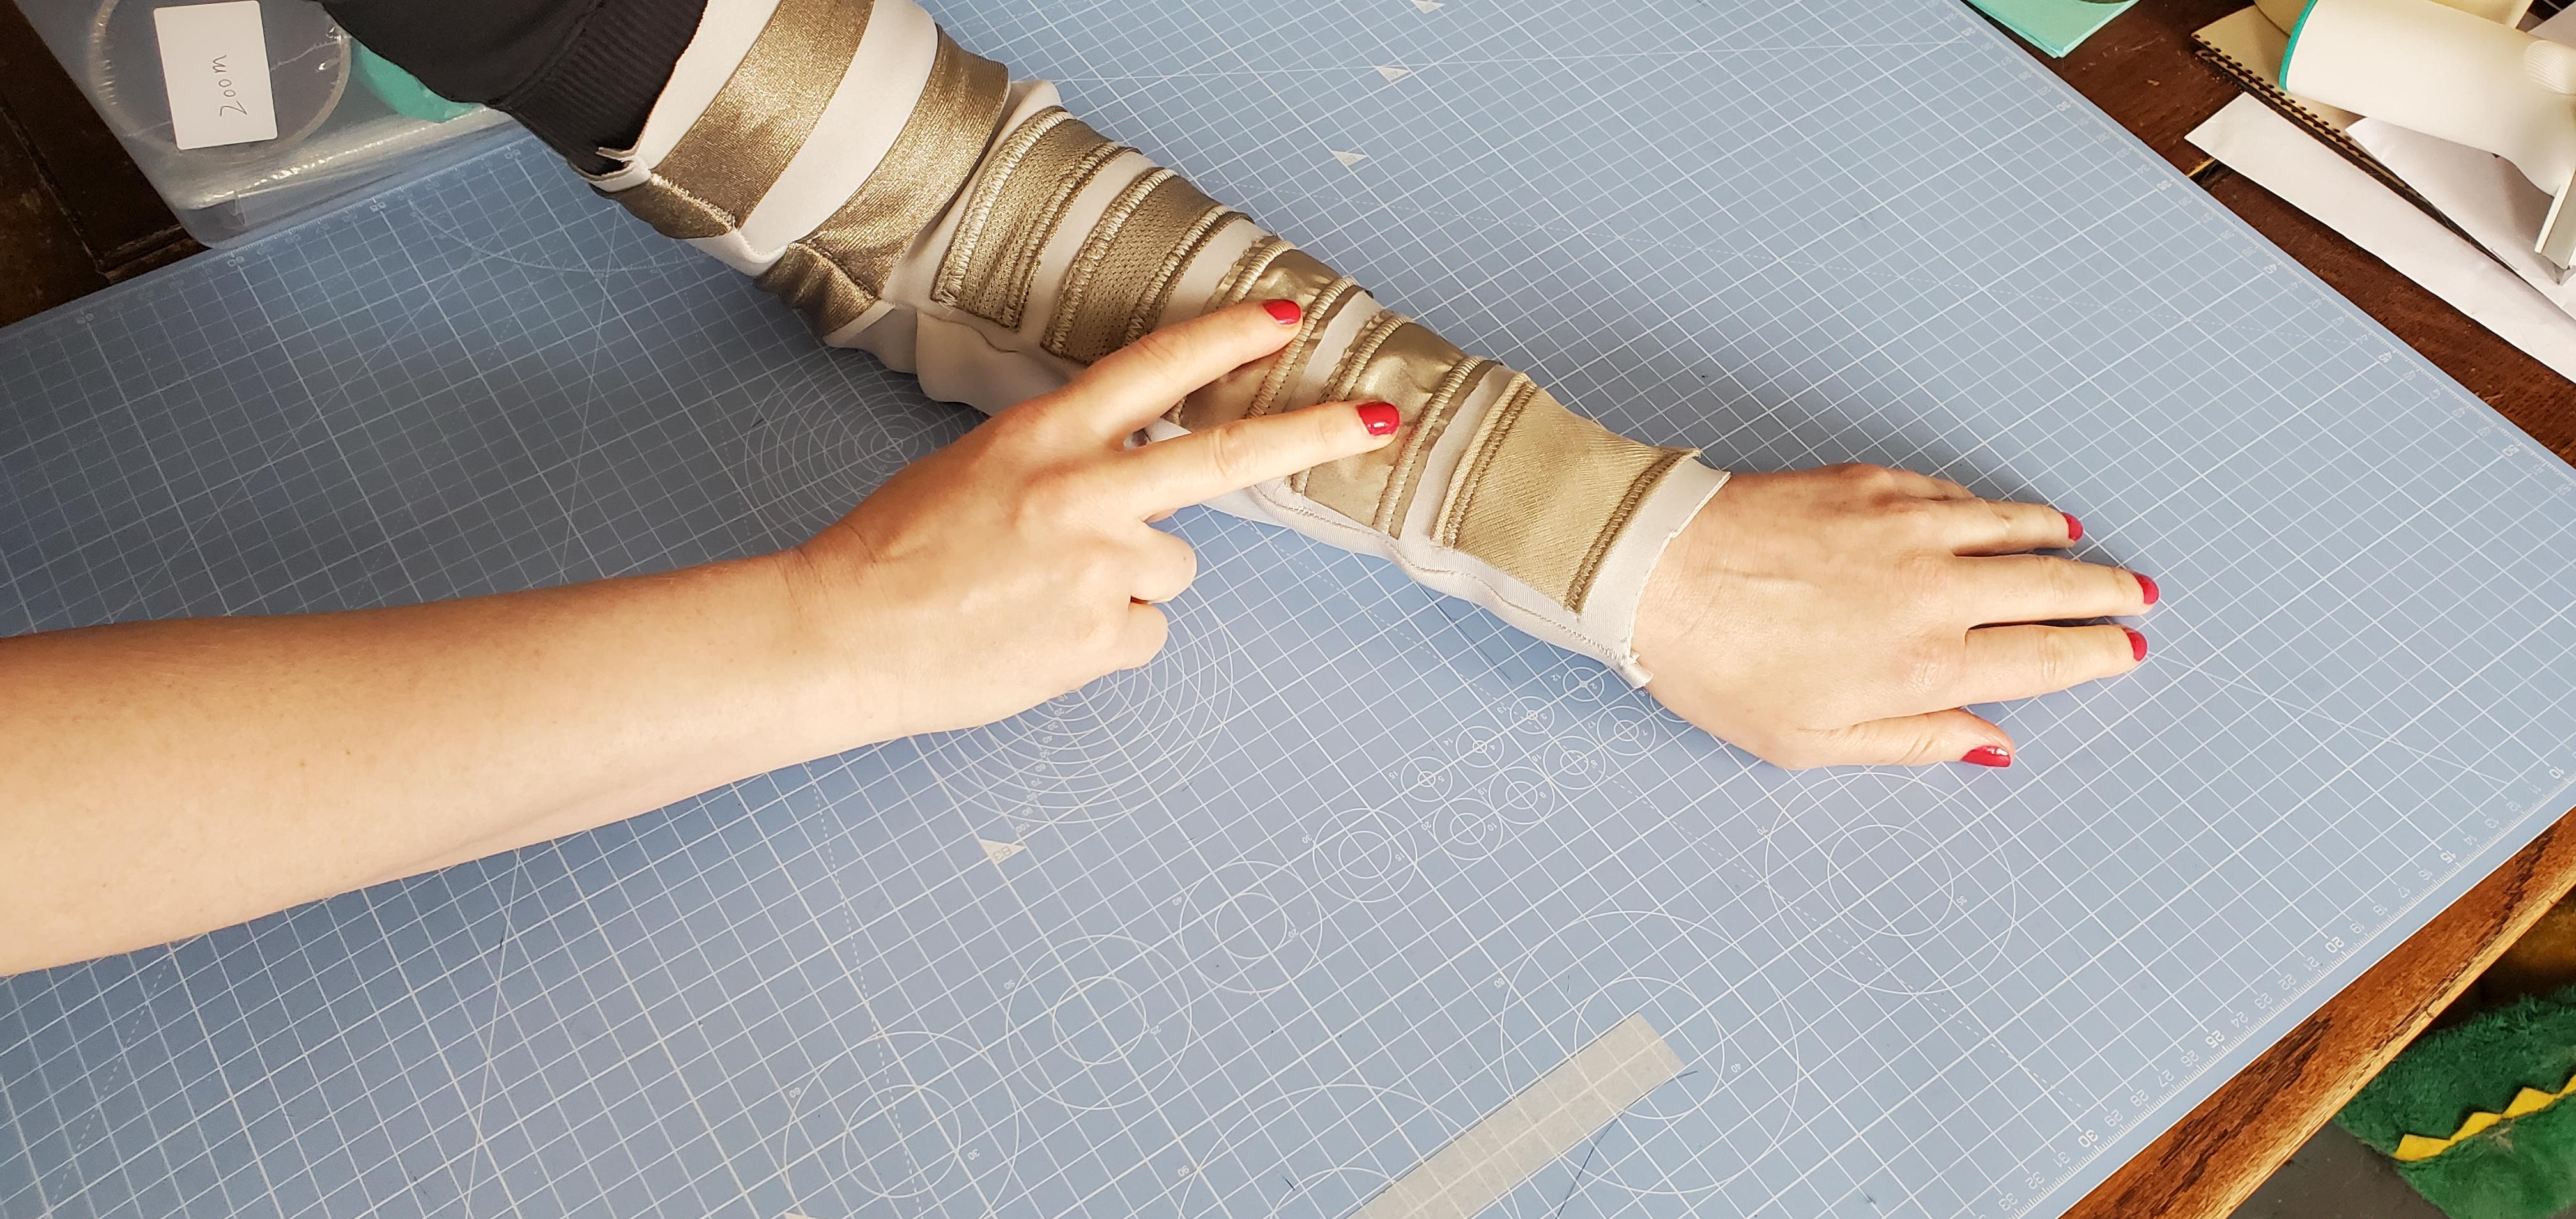
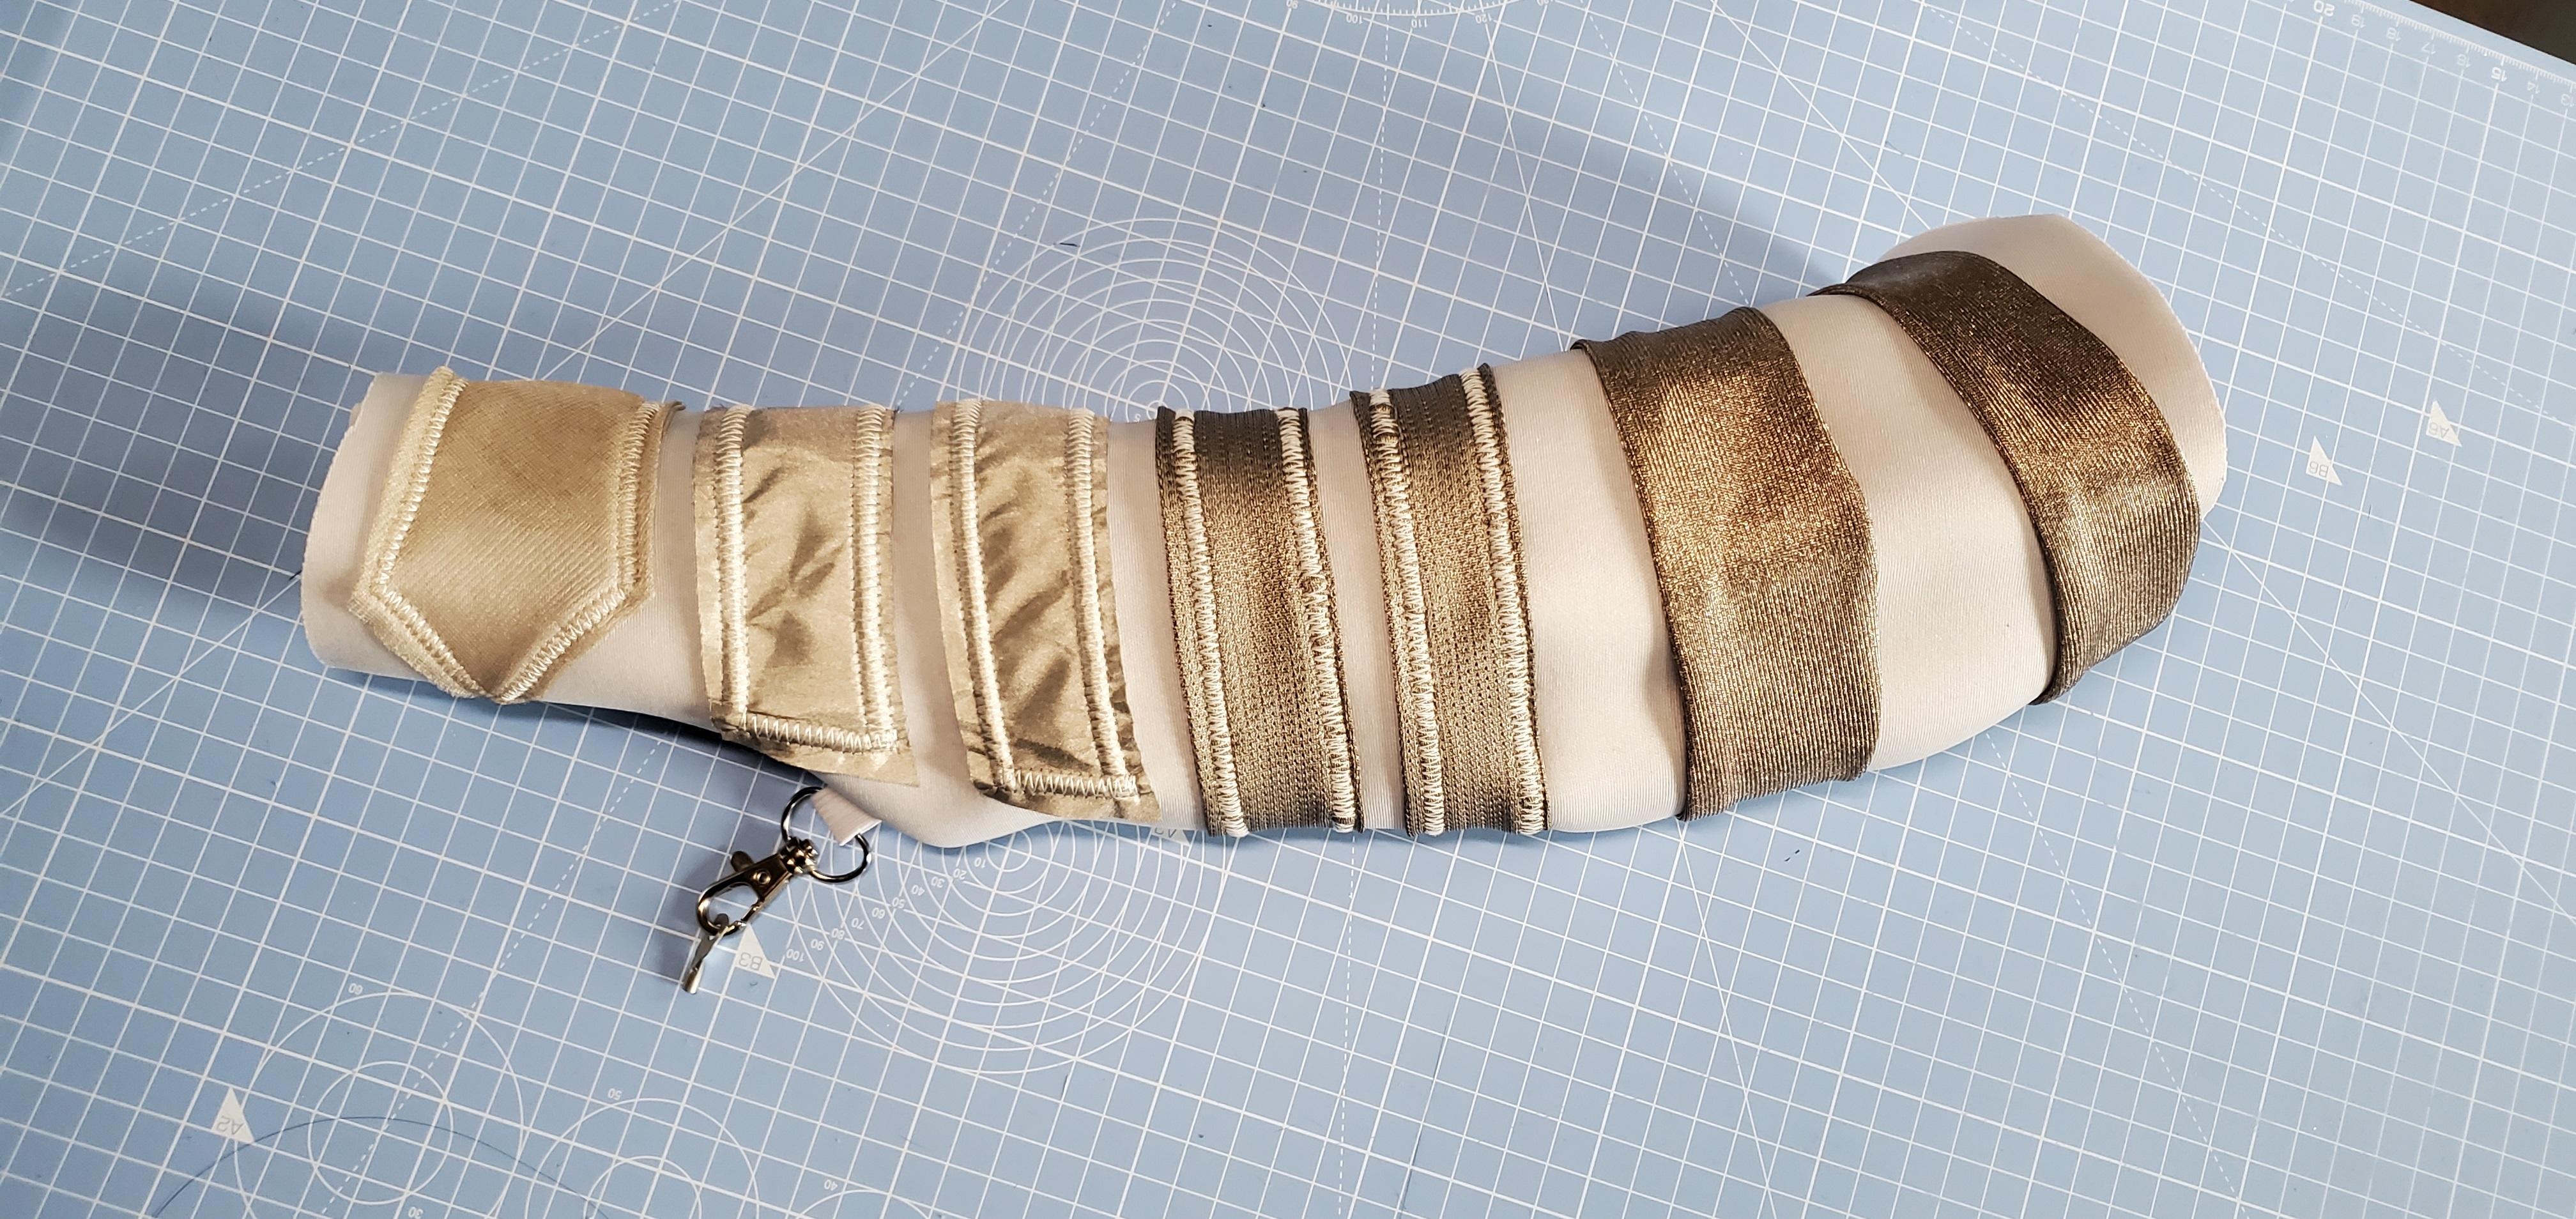
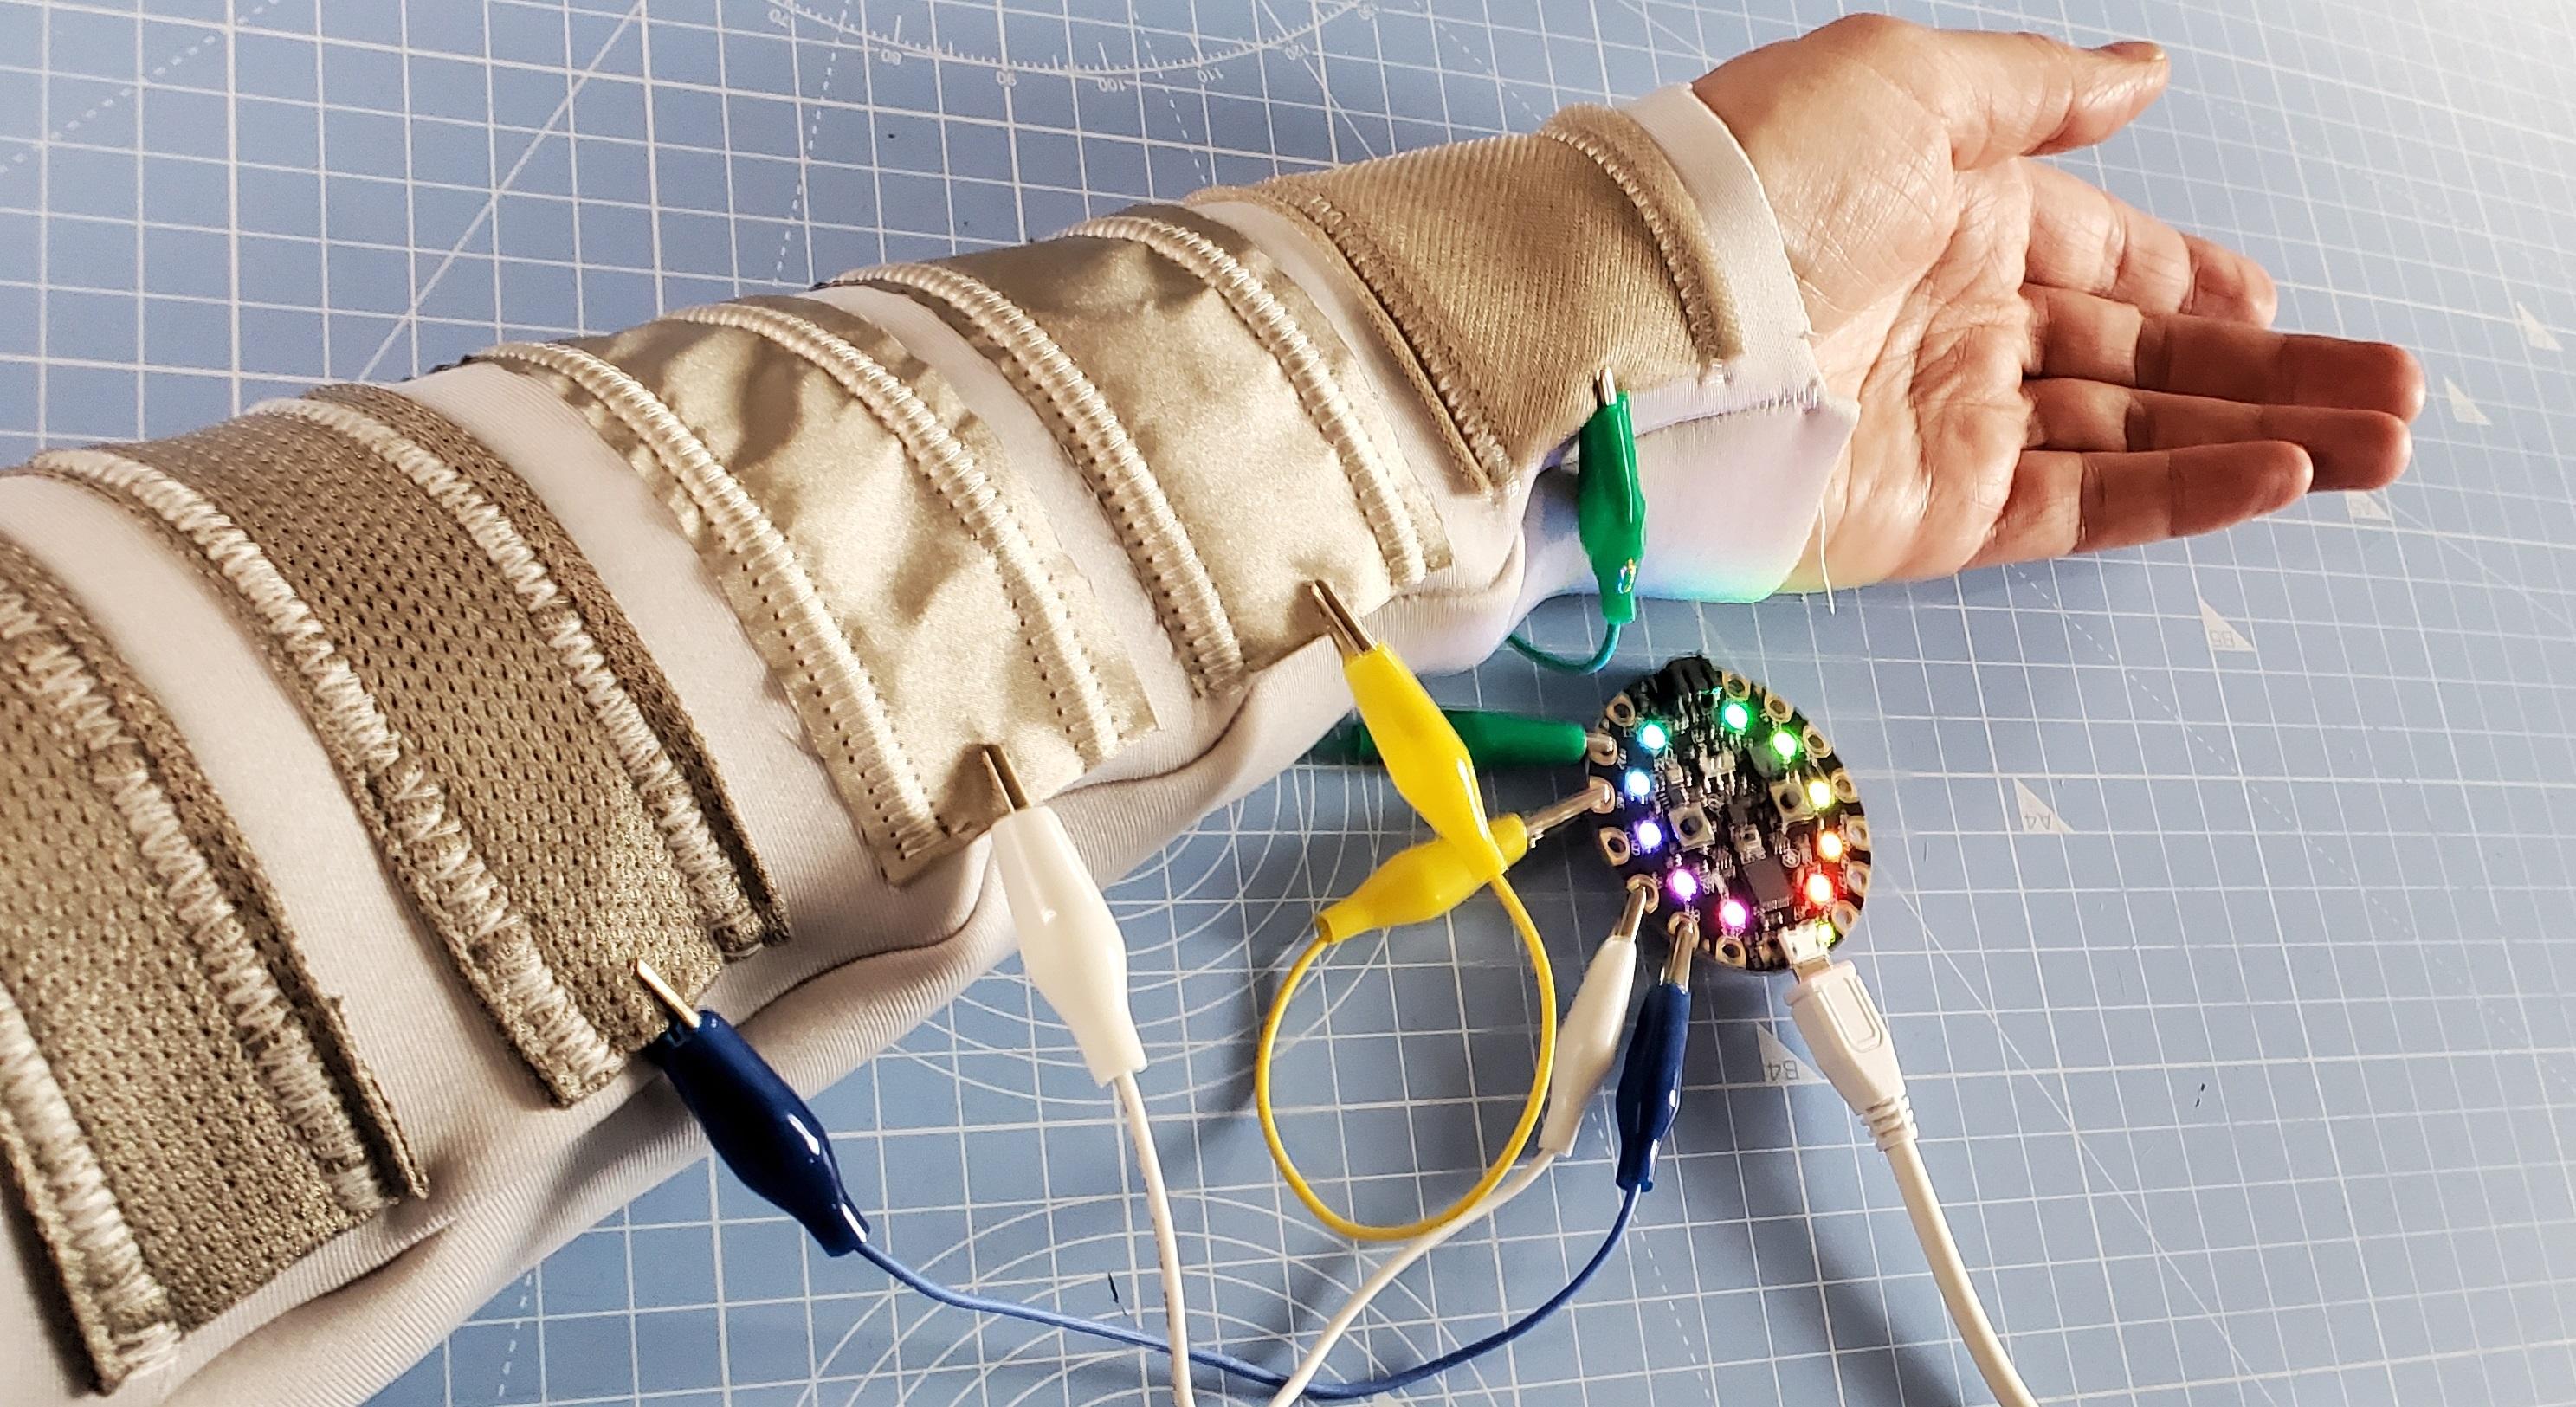
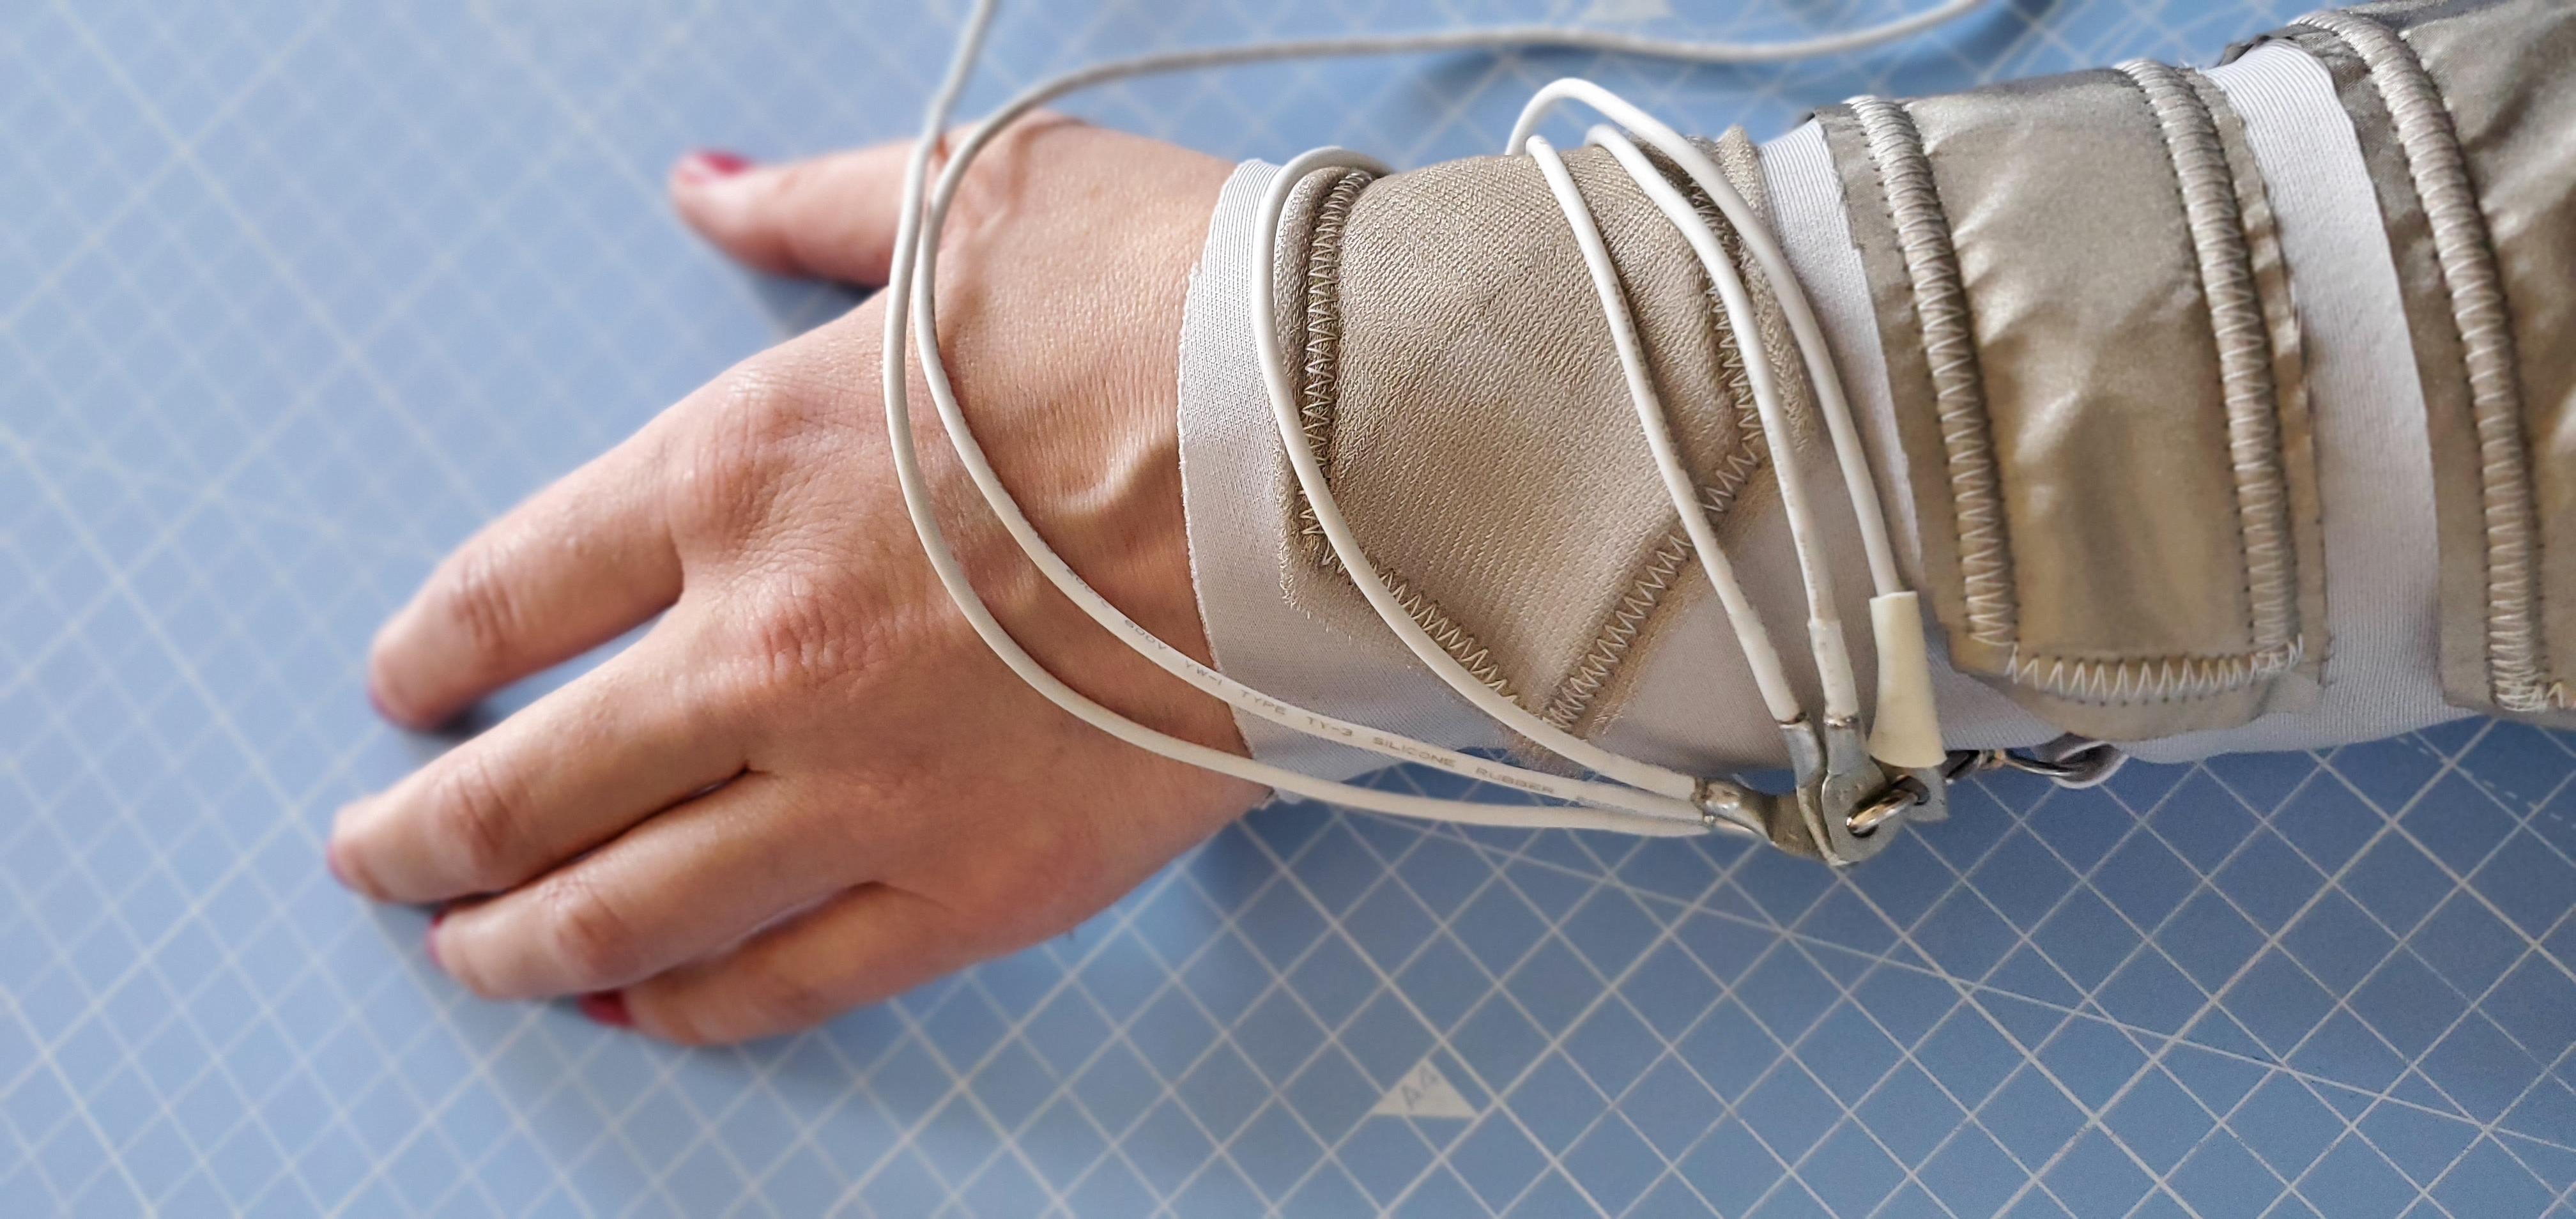
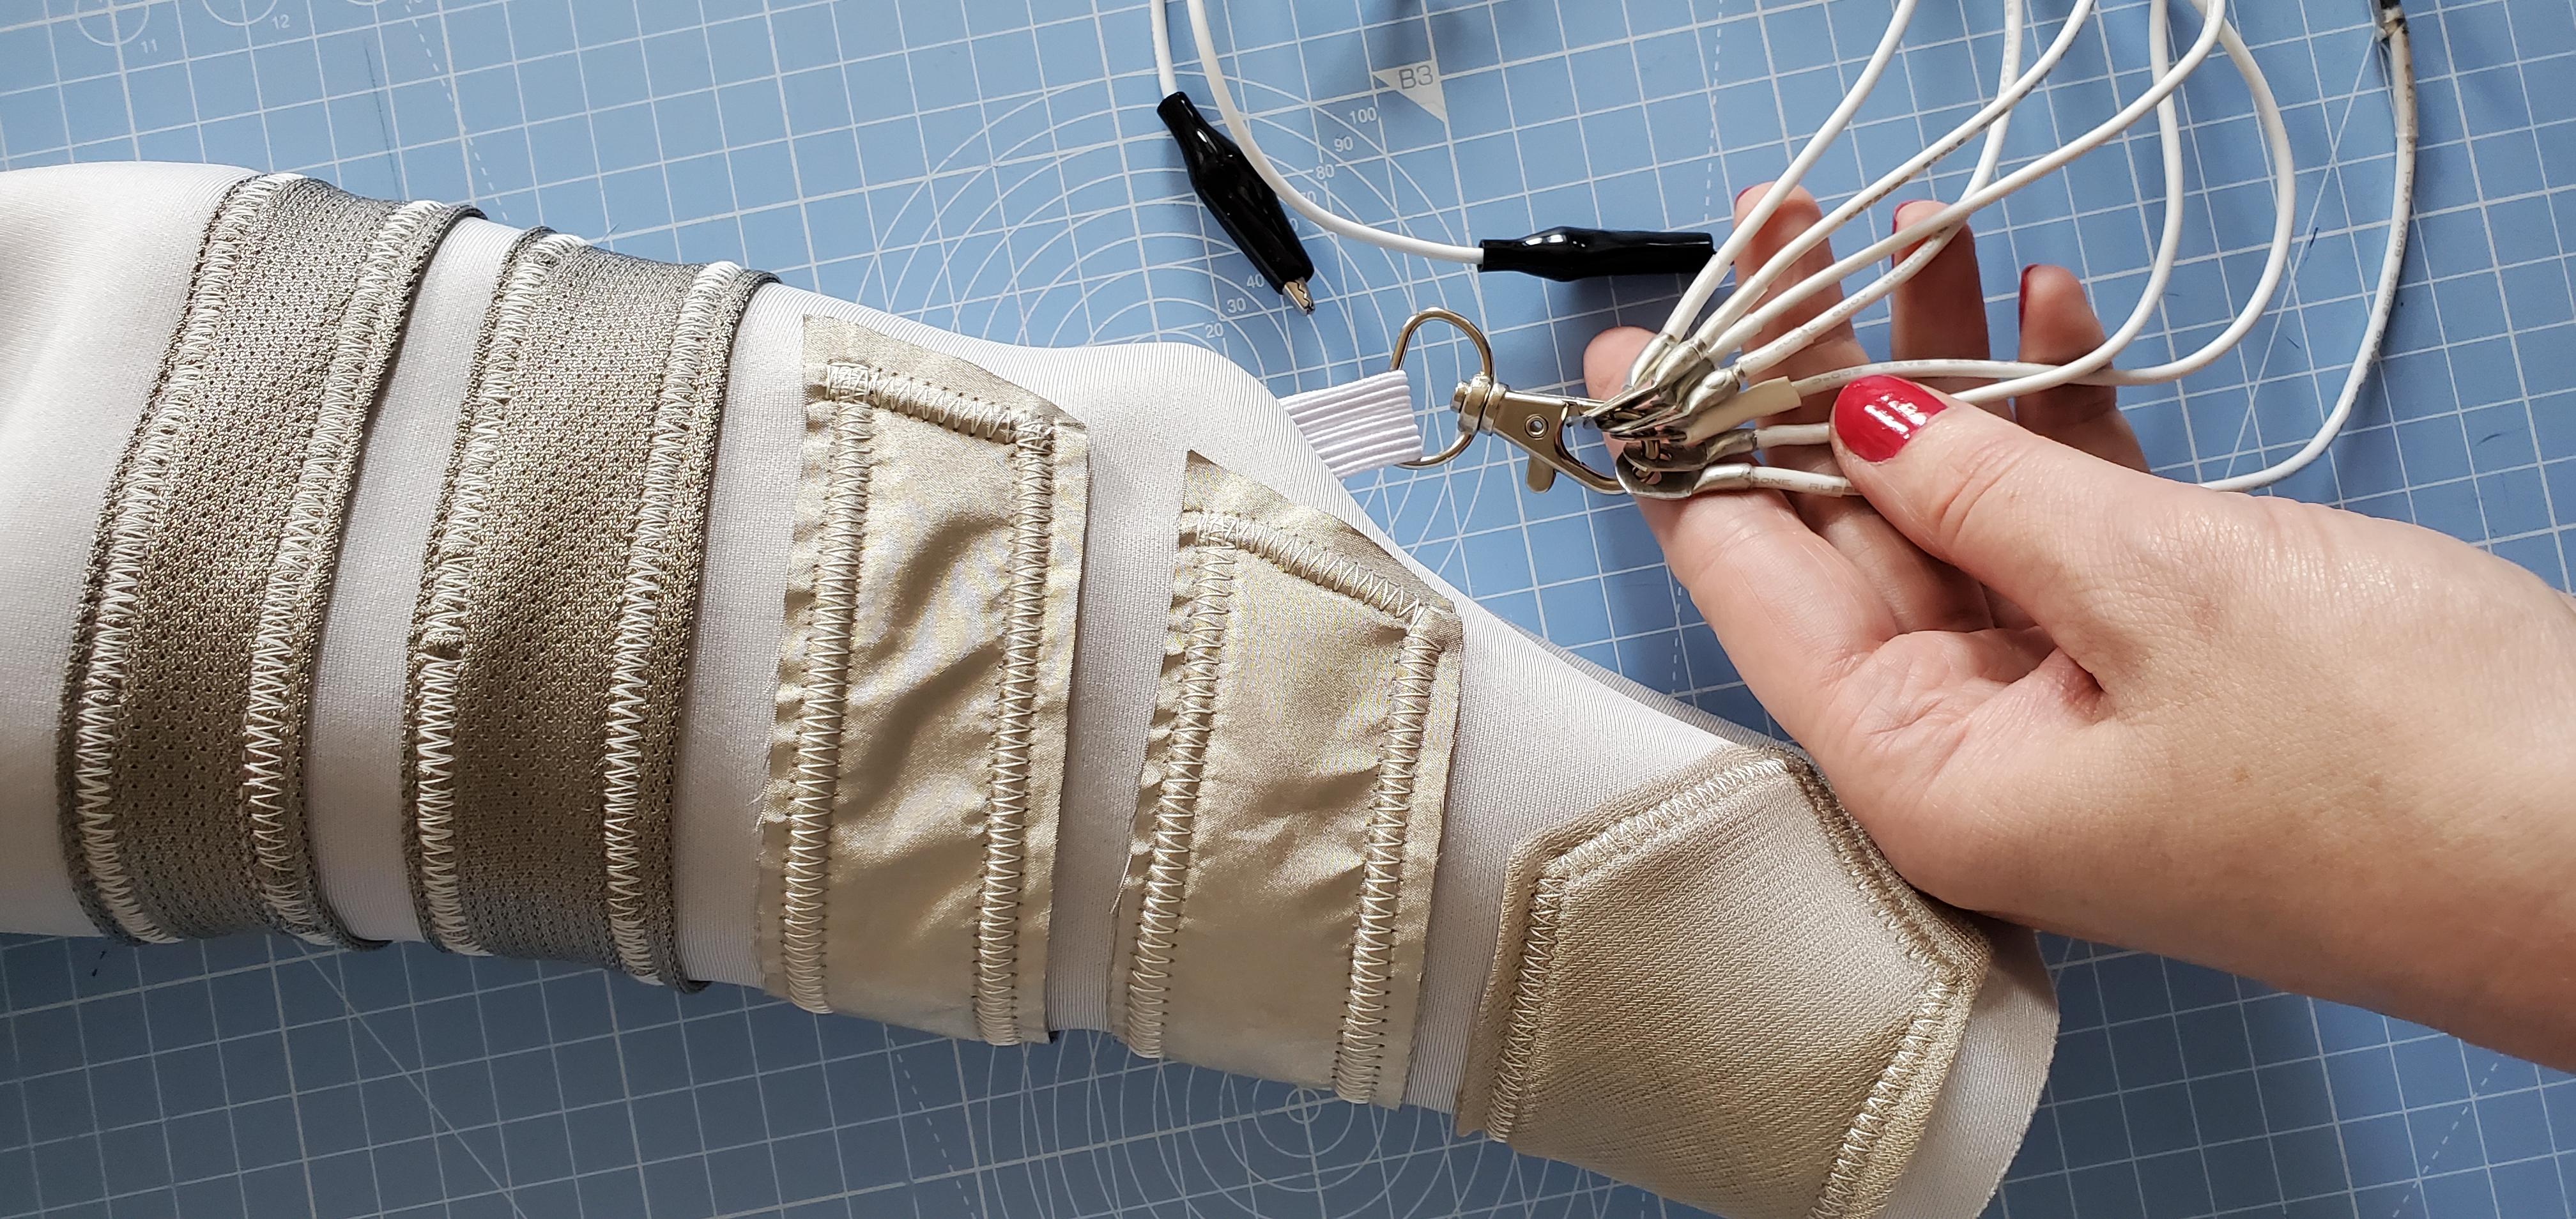
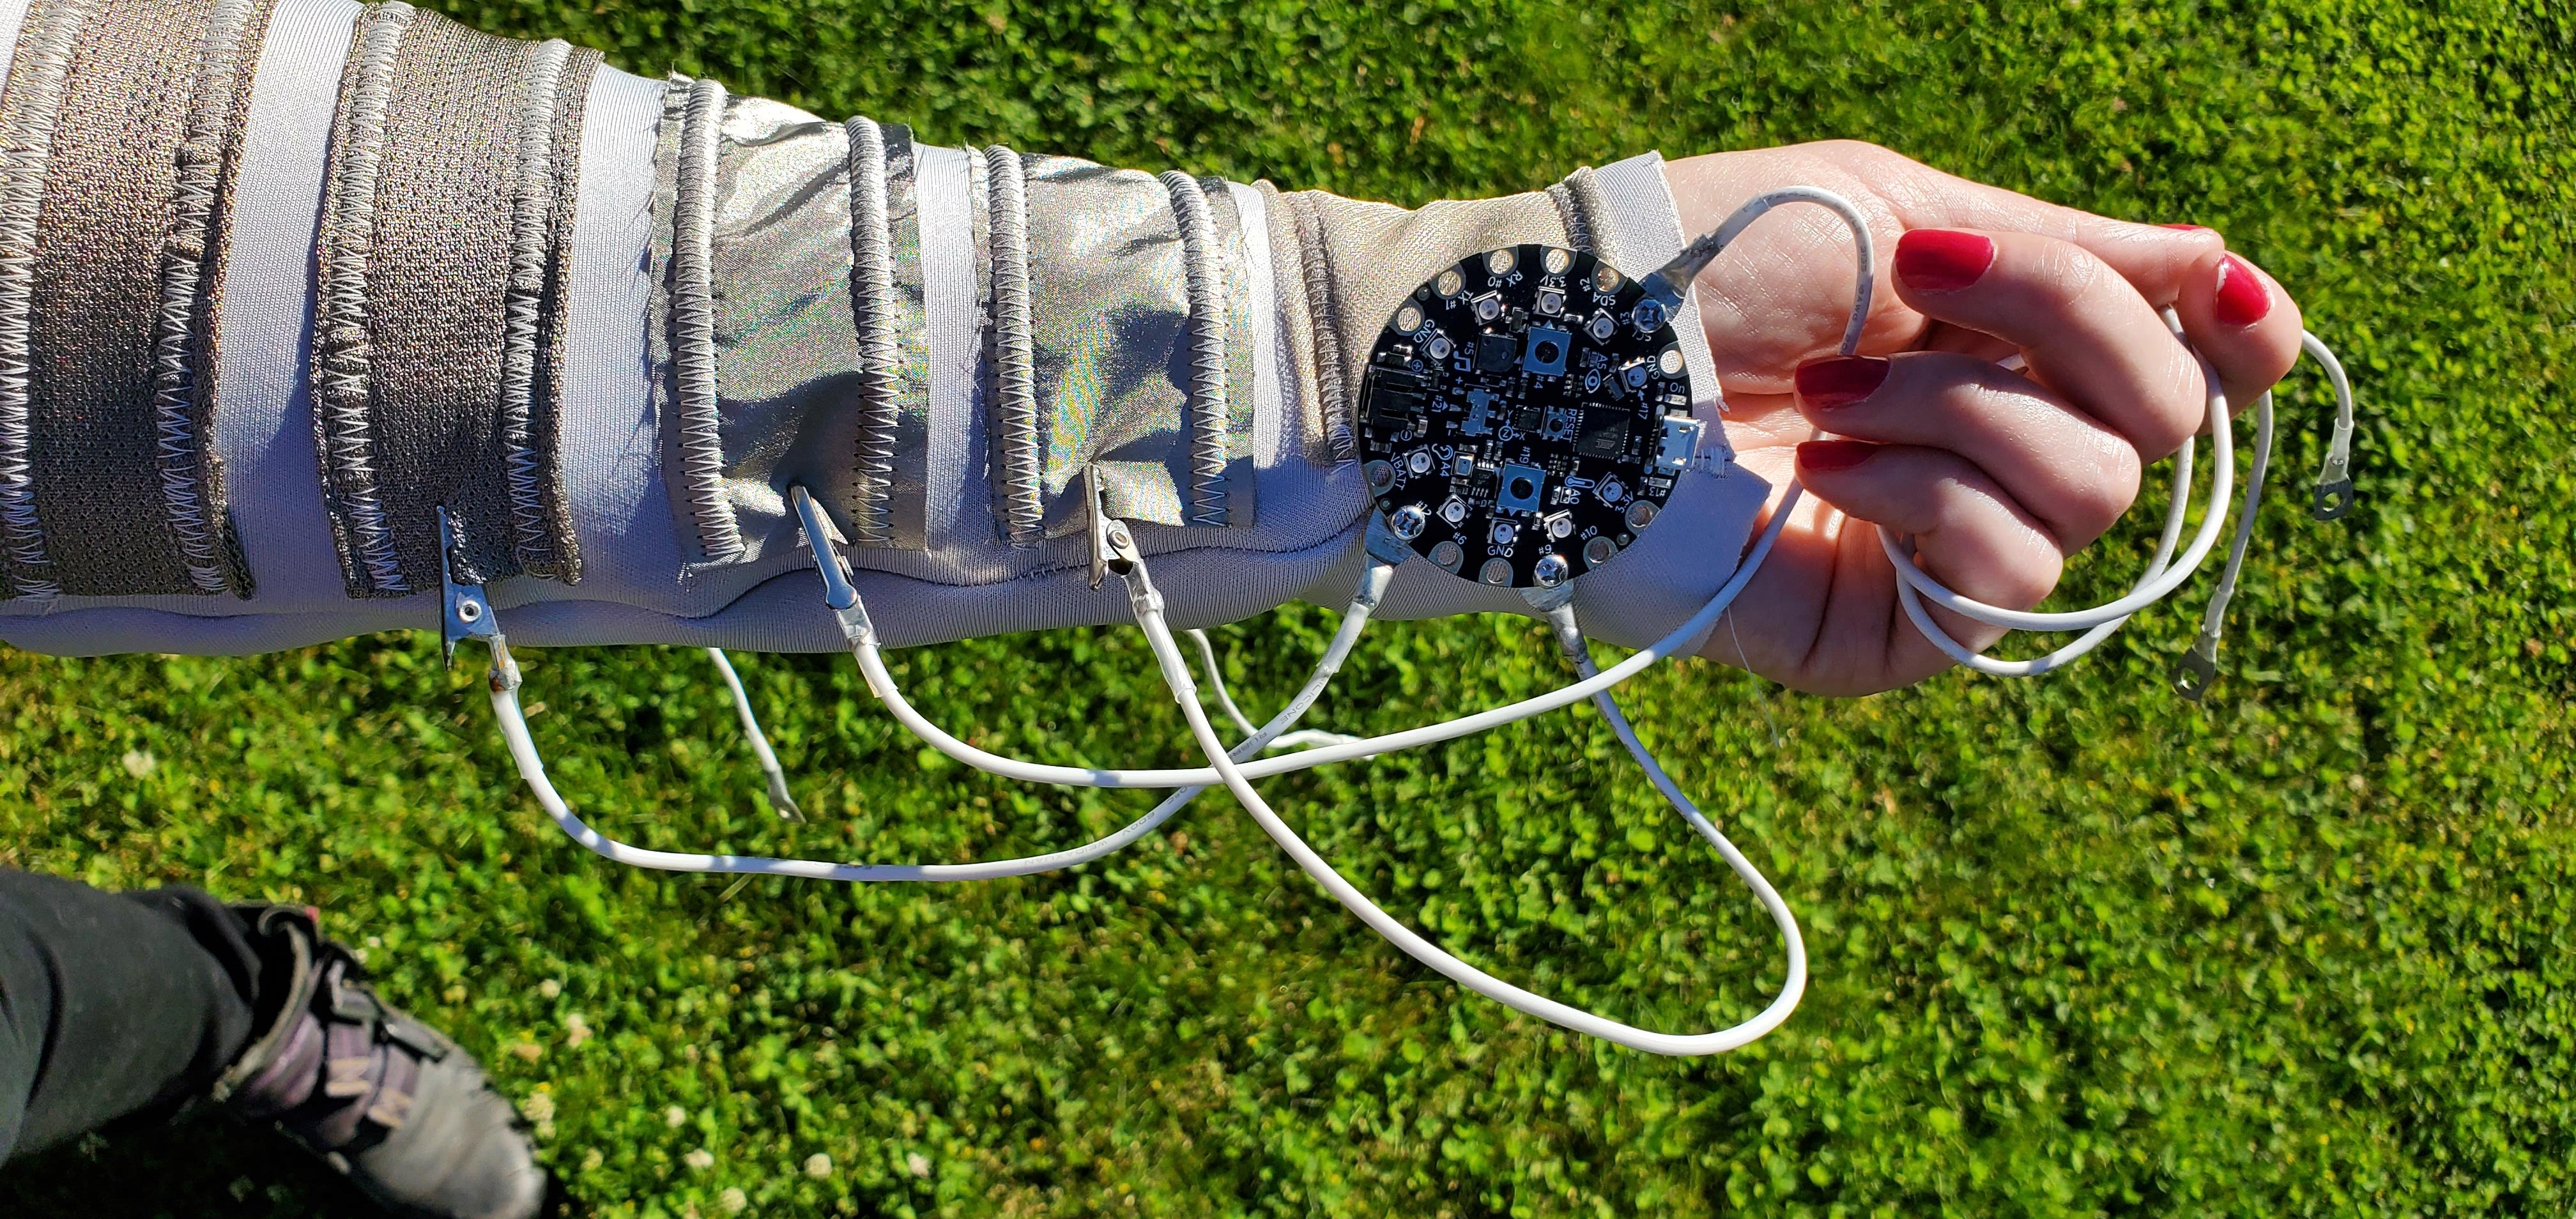
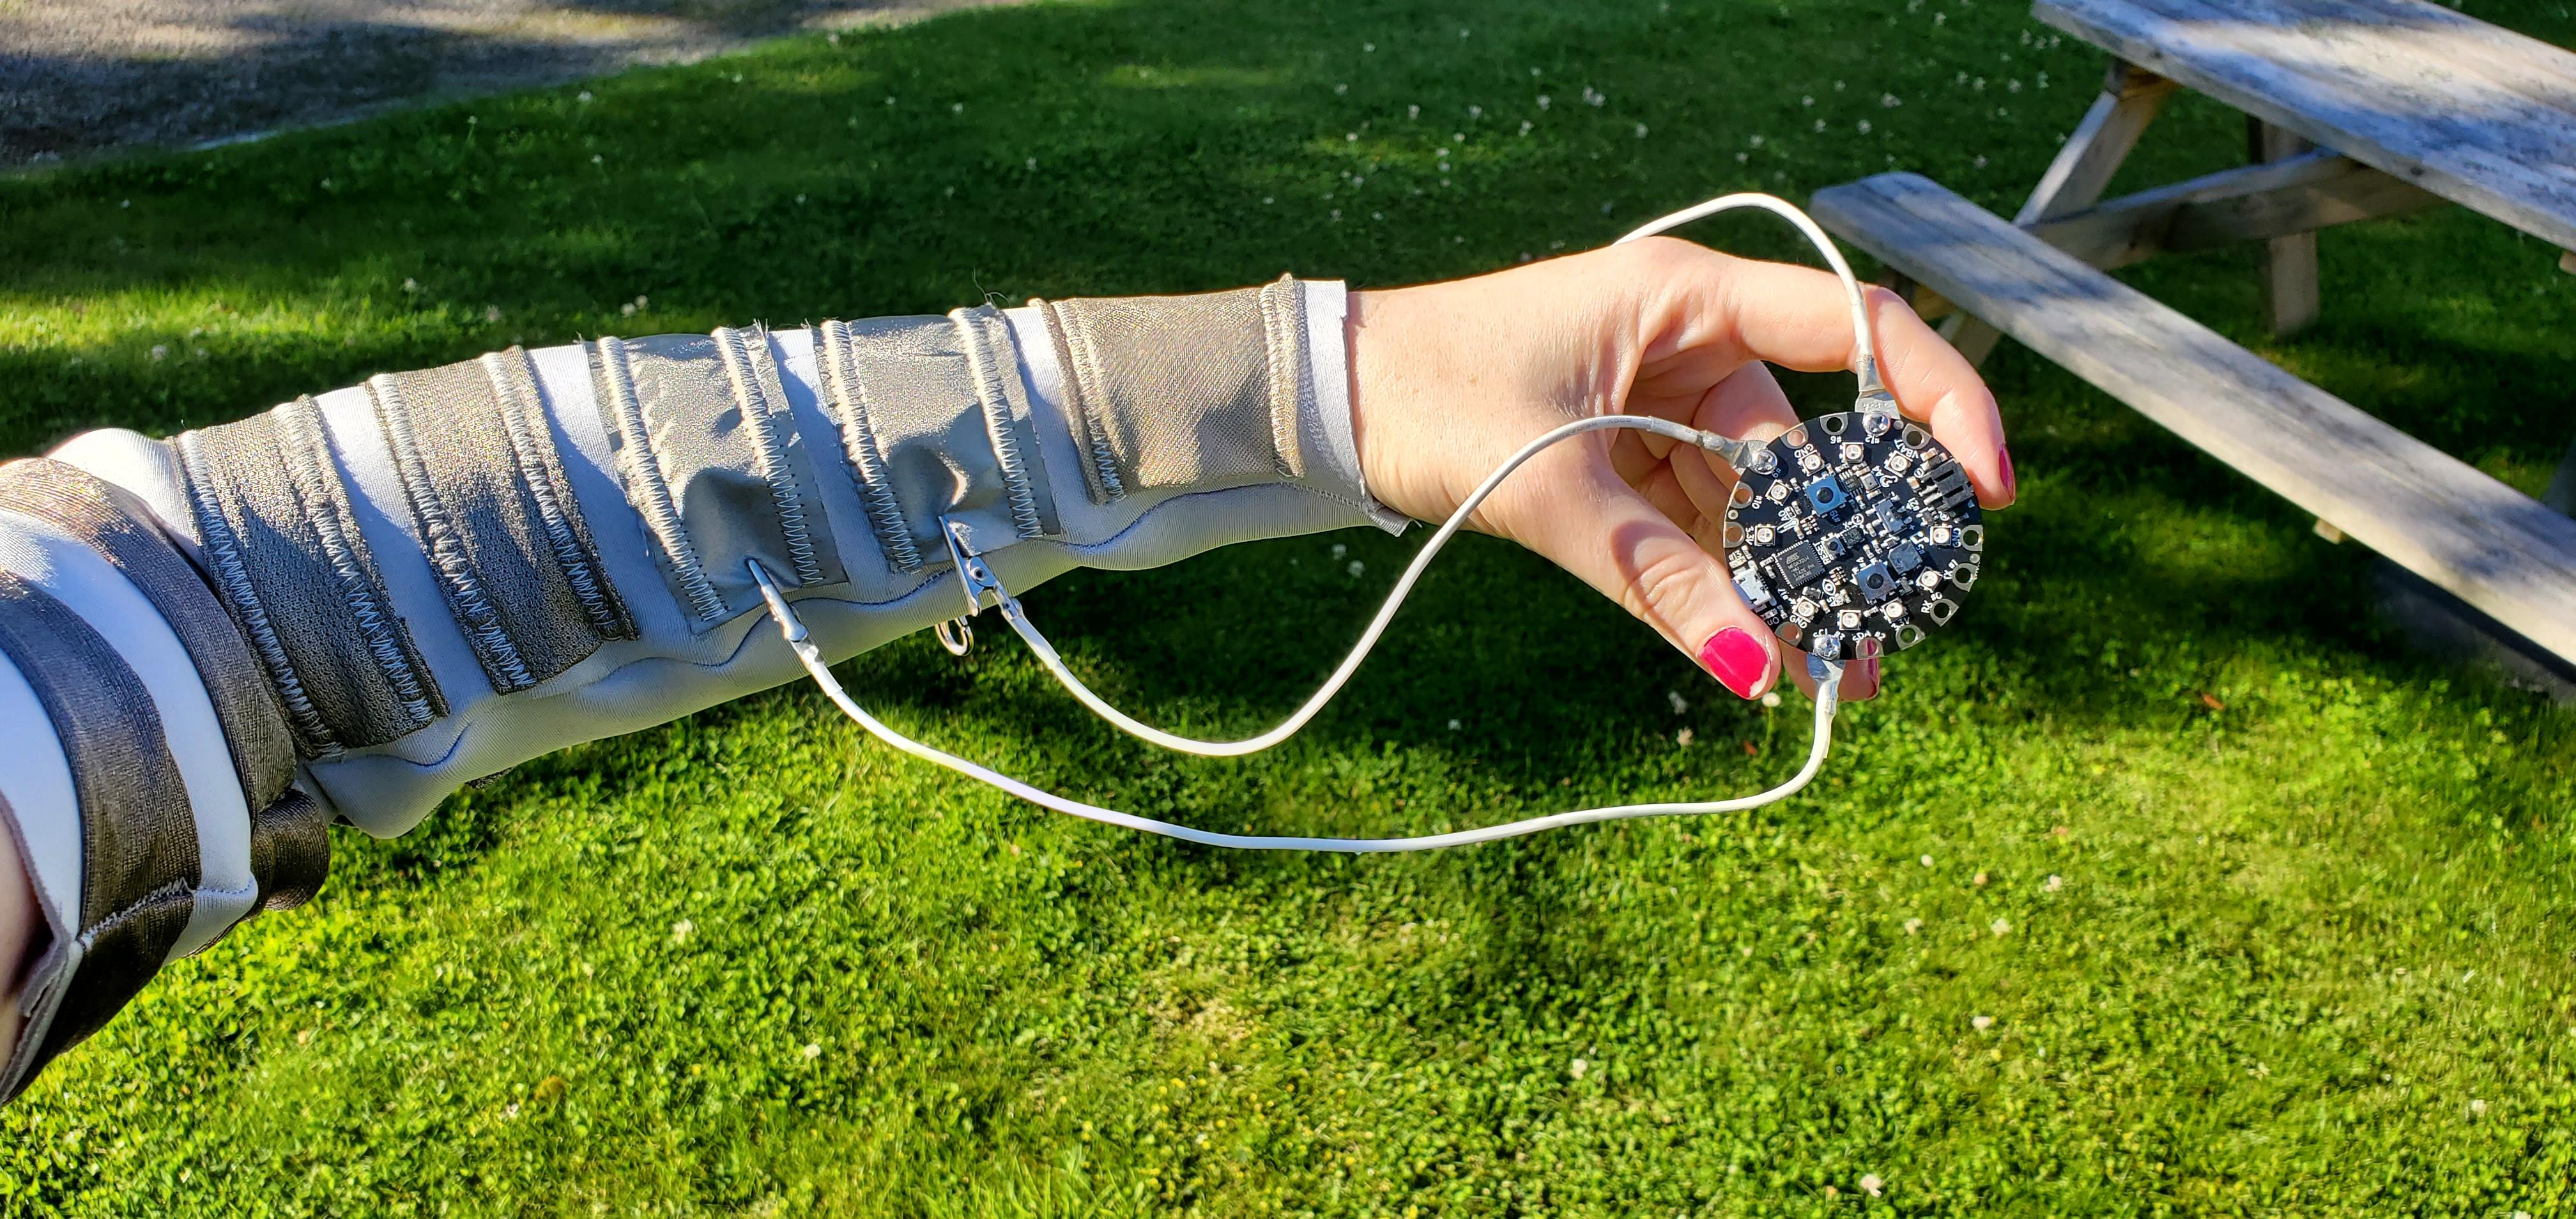

I love fabric!
I really love conductive fabric, so if you've never used conductive fabric, I hope you sew and enjoy this Instructable.
Conductive fabric is fabric that conducts electricity. Typically there are metal strands woven into the fabric, or the metal strands might be woven with other fabrics, such as polyester. Making e-textiles, wearables, and soft circuits often use conductive fabrics for a variety of projects.
What are we making?
In this project, we are creating an Open Universal Input Sleeve. This adds touch input capabilities quickly and stylishly to your projects!
Why do you need the sleeve?
Using this sleeve, in any configuration can provide inputs for your electronic projects. You can connect it to any circuit board and - use it for touch input (native on an ESP32 board, for example), adding touch capabilities to any project. If your microprocessor board doesn't have native touch capability, you can use a touch library (ADCTouch, I'll provide a code example at the end of this guide) to add this to an Arduino-based board.
Once you've followed along to create a basic sleeve, you can modify this in infinite ways! Share your creation - what fabrics will you use? How many touch inputs? What shapes and styles will you add?
Steps for the Sleeve
This Instructable will have instructions for:
- Creating the sleeve
- Using the sleeve as an input device, with code for Circuit Playground / Other
Let's jump in!
Supplies
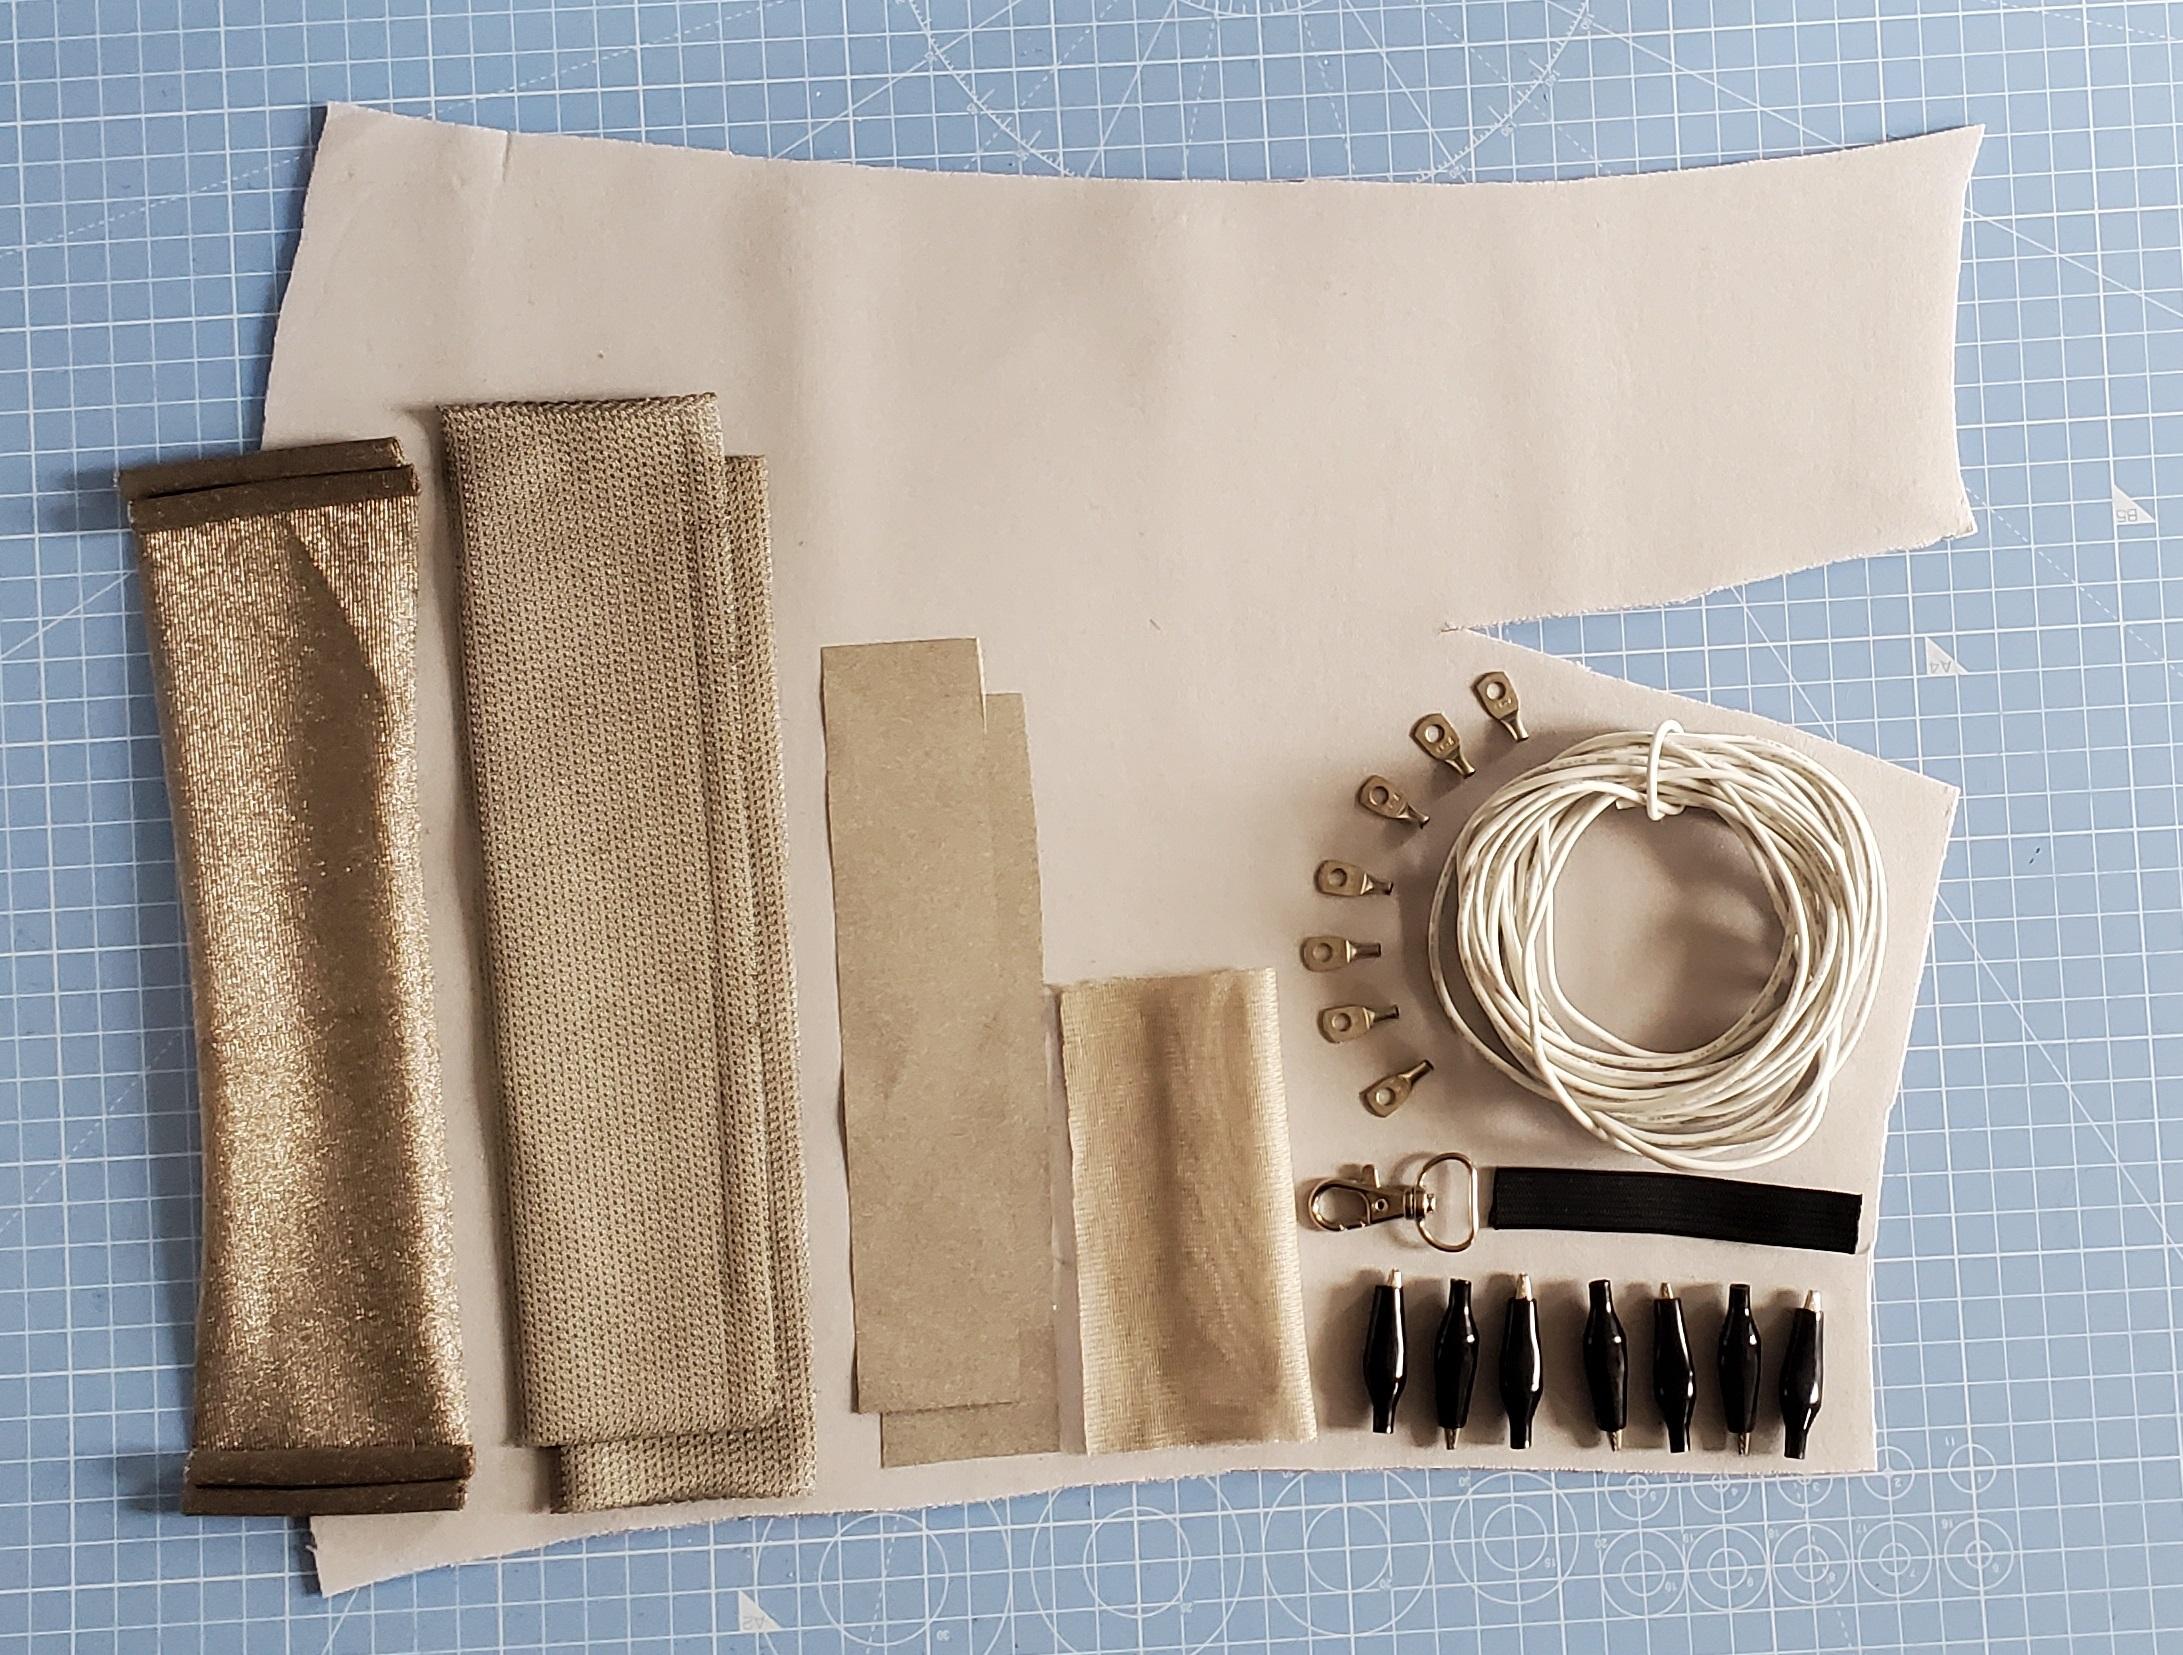
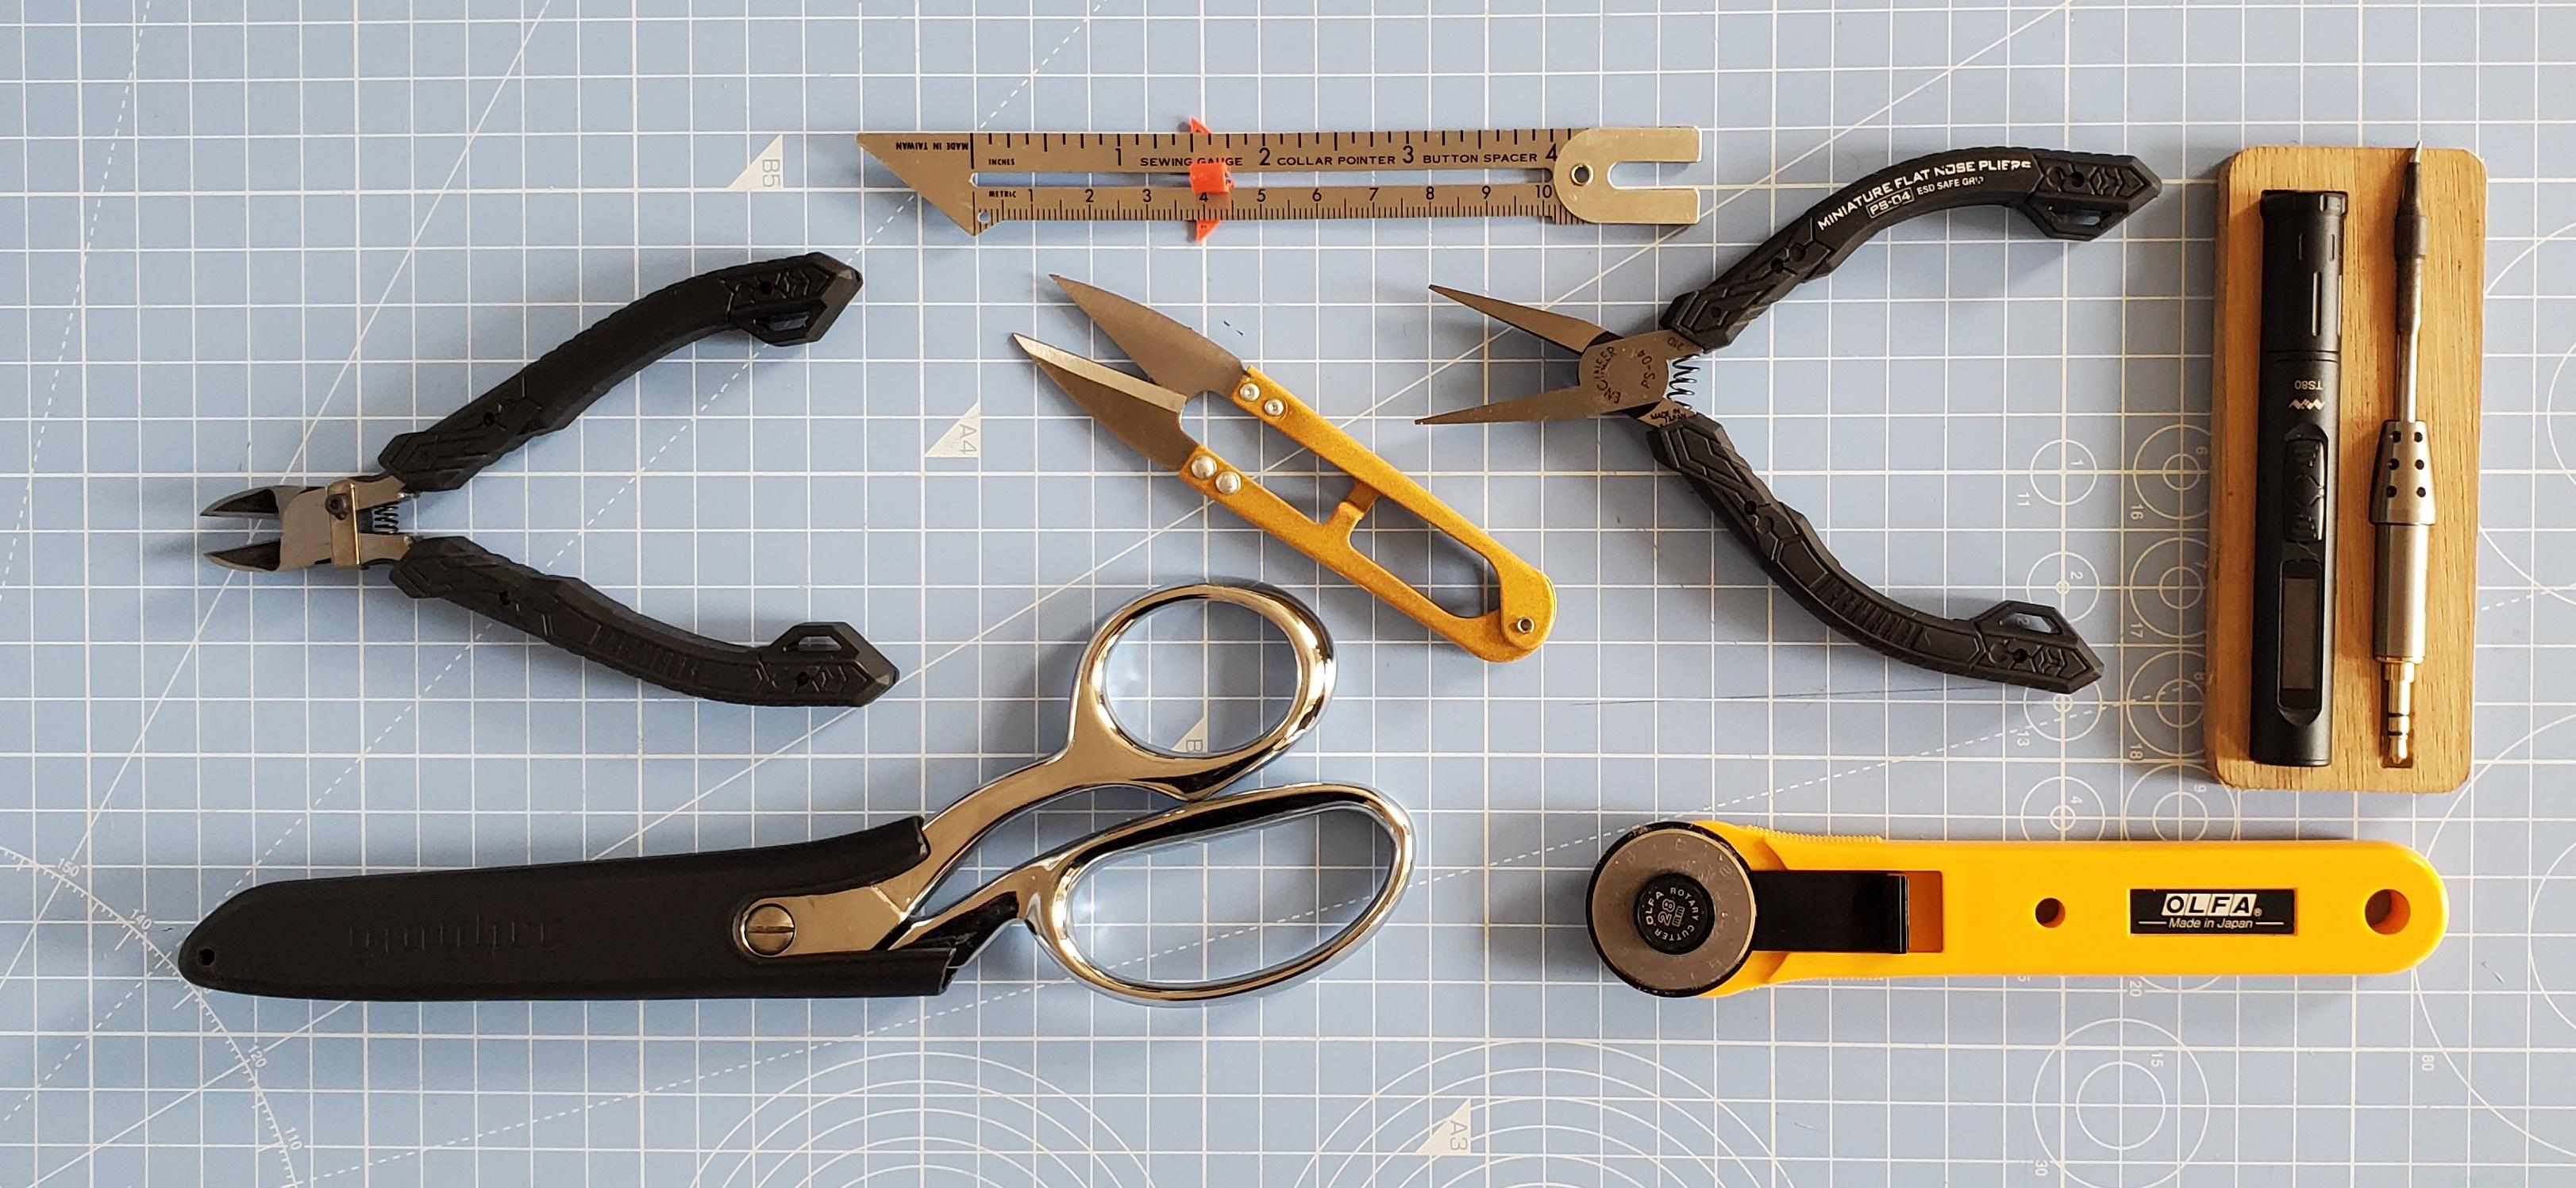
The items you need will depend on which parts of the Instructable you would like to follow.
Part 1: Creating the sleeve
To create an Open Universal Input Sleeve you'll only need 4 items:
- Fabric for a sleeve, I'm using Neoprene (or scuba) because it shapes really nicely with the body. Size: 370mm x 300mm, your size may vary.
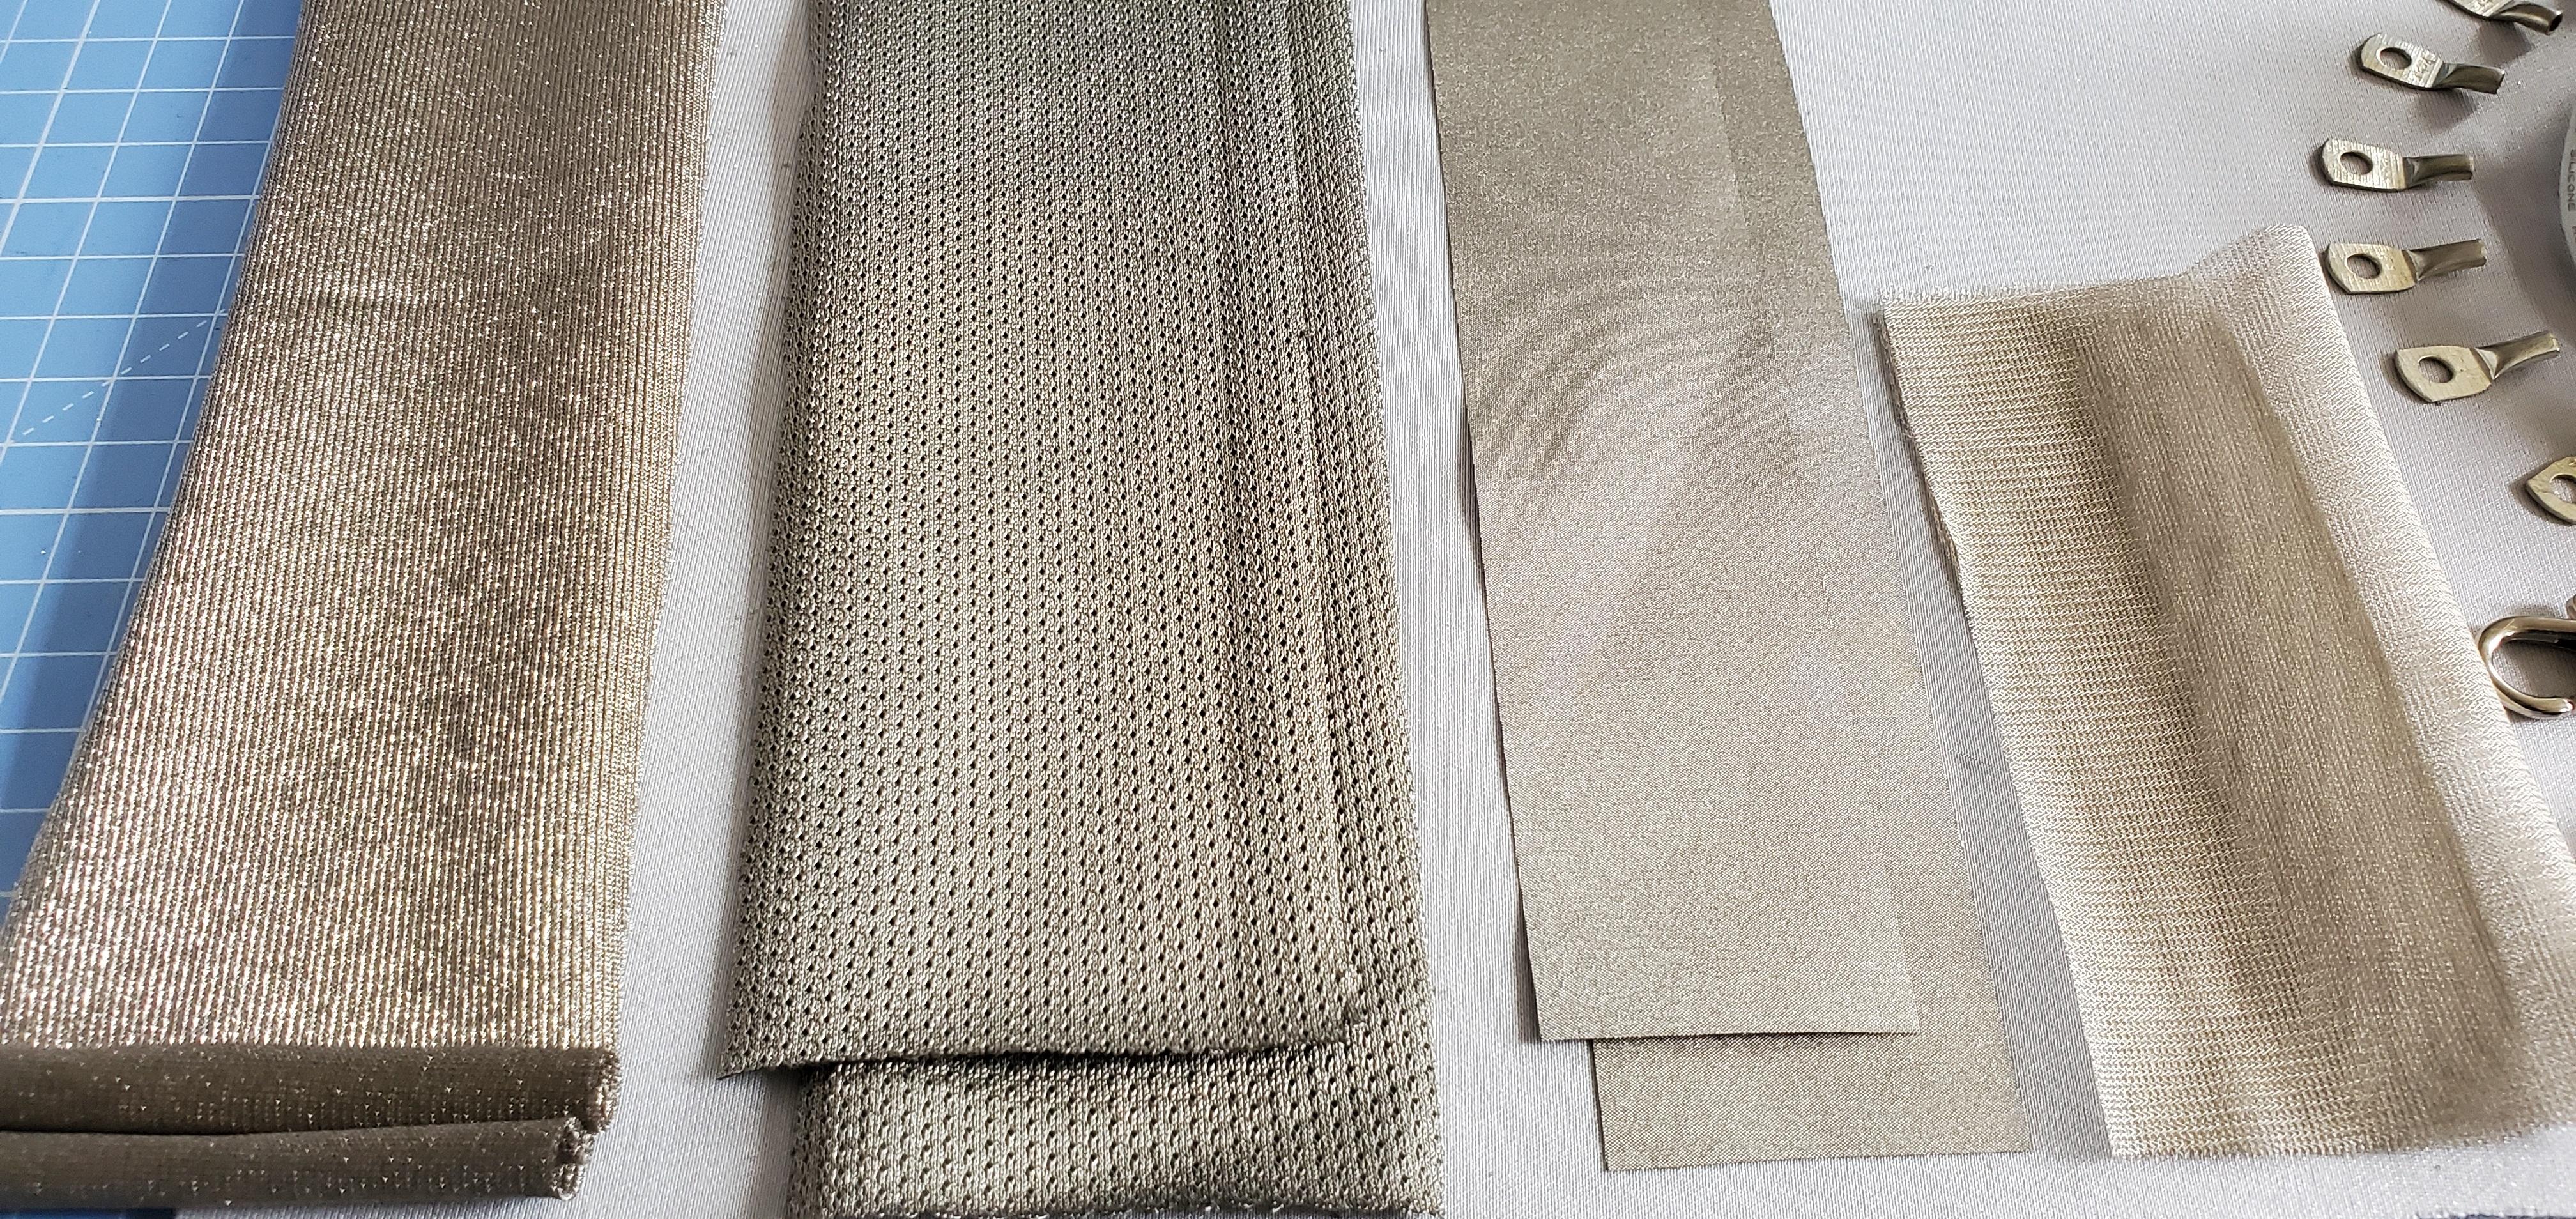
- Conductive fabric pieces. (I've got mine from Tinker Tailor.) You can choose all the same conductive fabric for a streamlined look, or different types of conductive fabrics can add a nice effect. I'm going to make 7 inputs, so I'll need 7 different pieces. Note: You can add more conductive places on the sleeve if you want. If you want to turn it into an instrument for example, music has 8 notes in an octive, so you might want to have 8 touch inputs. You can easily add an extra touch area.
- Thread and needle for sewing. I'm going to use a sewing machine but you can sew this by hand.
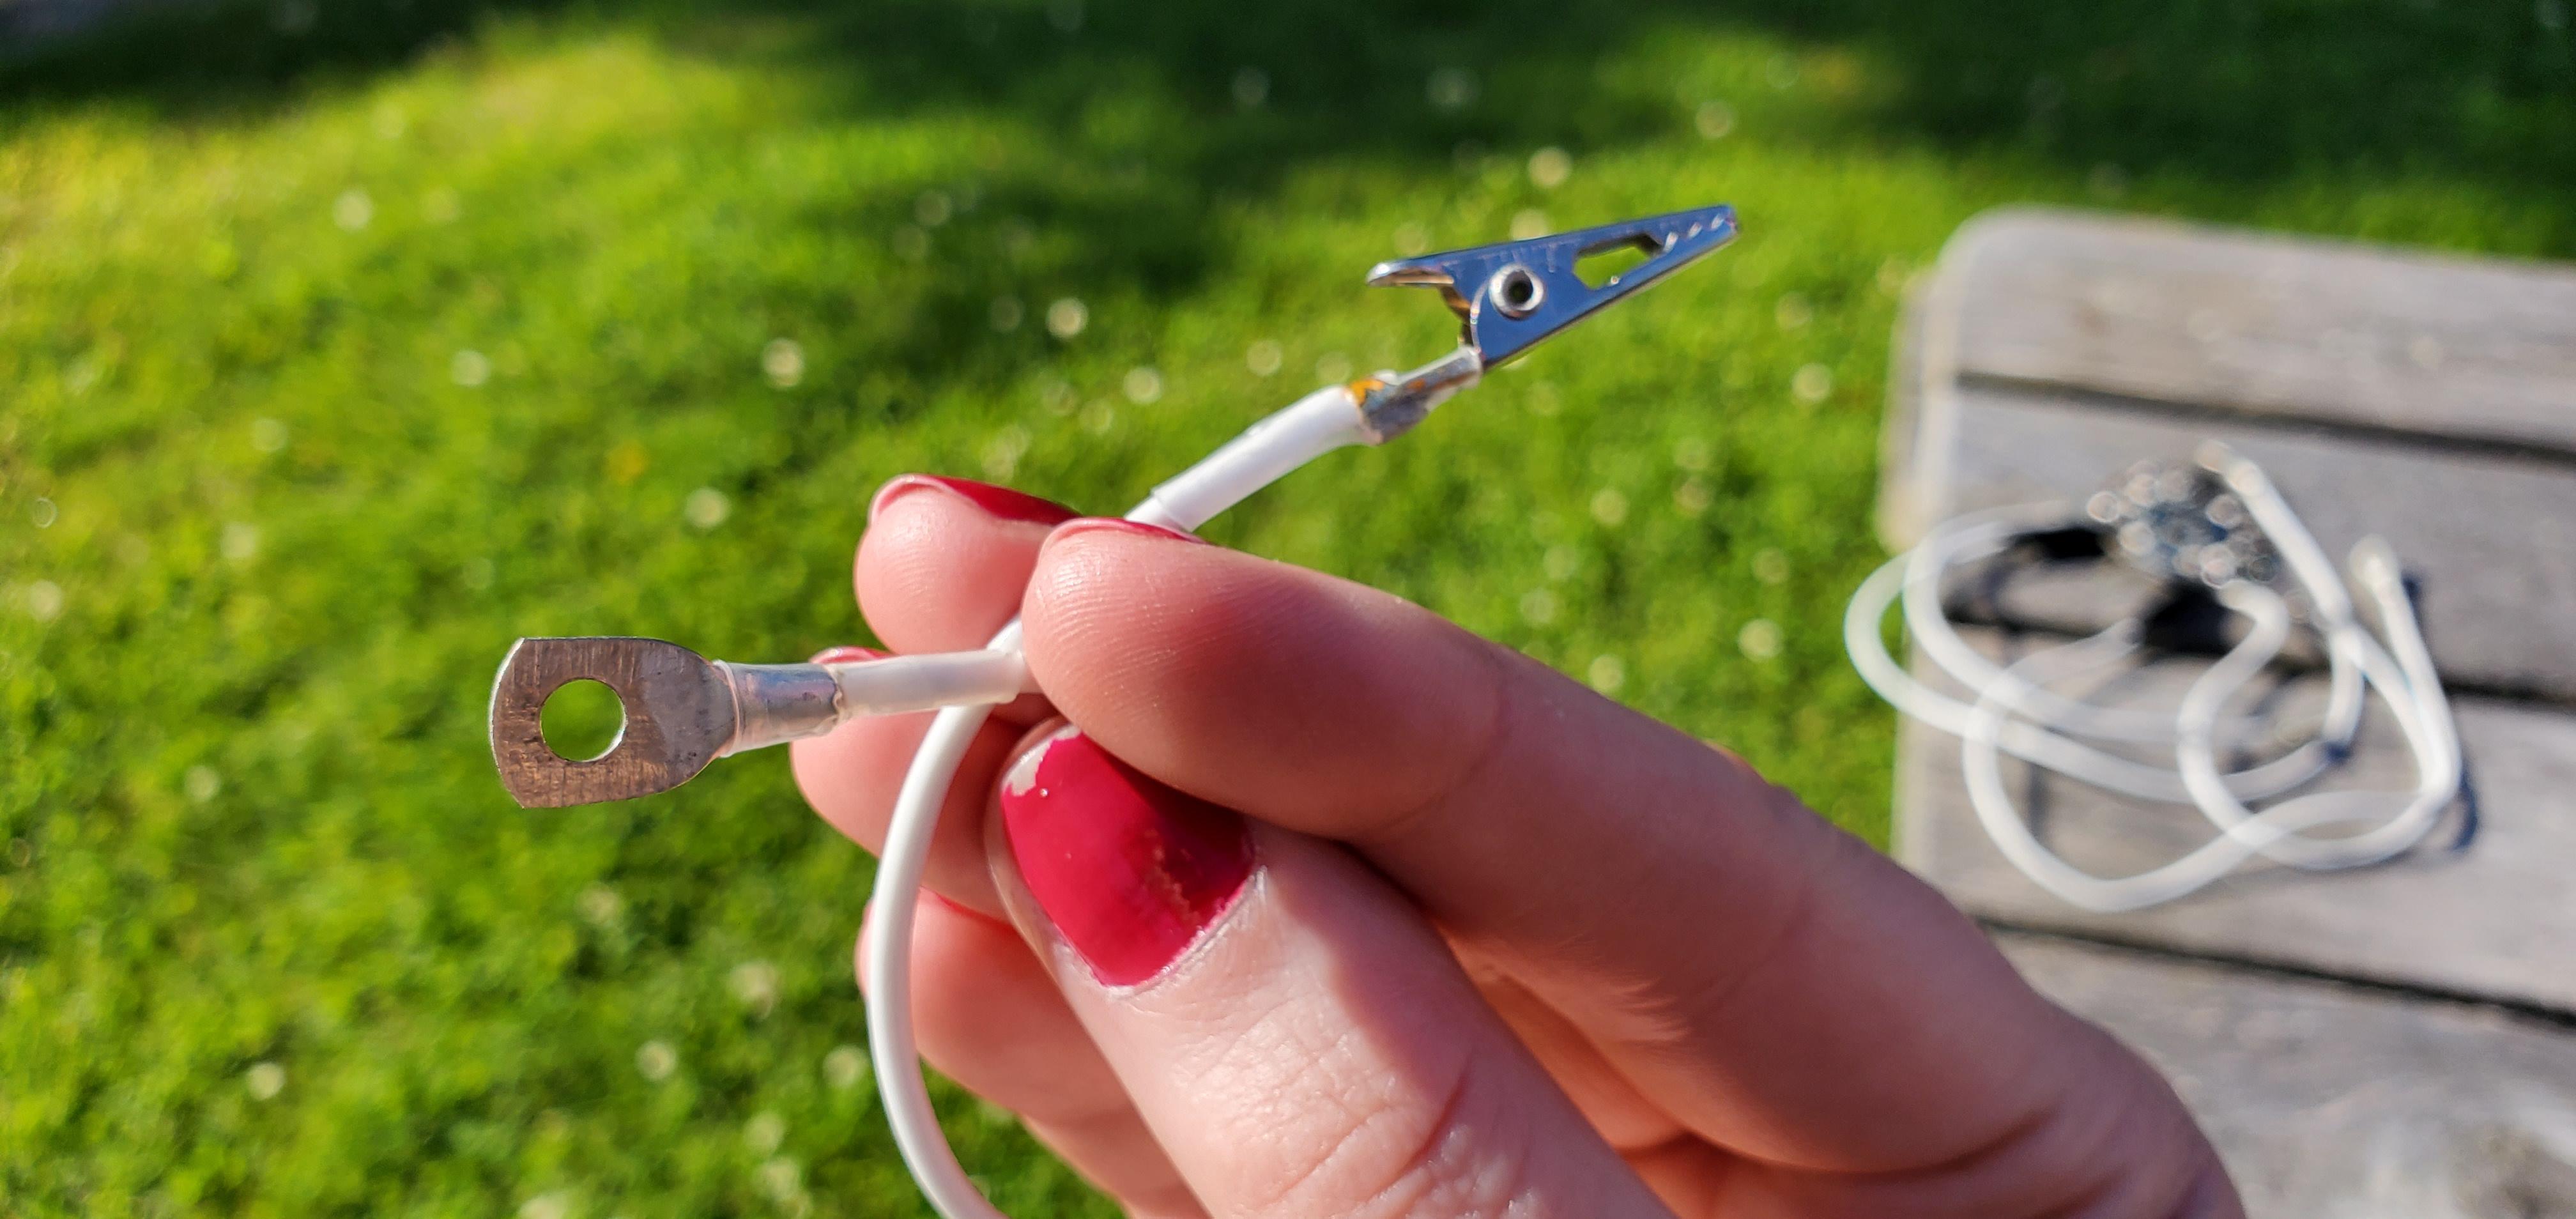
- Crocodile clips, to attach to your circuit.
I'm going to add a small clip (lobster clip) to hold all the terminal ends from connector clips I am making for this purpose (see other Instructable on making your own connectors), and this will be attached to the sleeve with elastic. So you'll need a small piece of elastic (1.5cm wide) and the ring clip if you want to add this as well.
Also, you will need scissors, or I prefer to use a circular/rotary cutter for super straight edges. A ruler and cutting mat will also make this easier too.
Part 2: Using the sleeve as an input device, with code for Circuit Playground / Other
For this step you'll need:
- Crocodile clips, or the clips made from this Instructable.
- An Arduino based microprocessor. I've written a code example for Adafruit Circuit Playground, and Arduino
Creating the Sleeve
Check Your Material Is Conductive
If you are new to conductive fabrics, you'll want to be able to check that the fabric you have is conductive. If the material is conductive, it will carry the electrical current that our touch generates when we interact with the material. If you haven't used the touch capabilities of an Arduino-based board, or ESP32, this should be exciting! If you have used touch before, you'll know that we can use a huge variety of items that carry our touch, and I've done circuits that use leaves as touch inputs. You only need to use a multimeter to check if what you are choosing is conductive. We can use a multimeter for this.
To measure if your fabric is conductive:
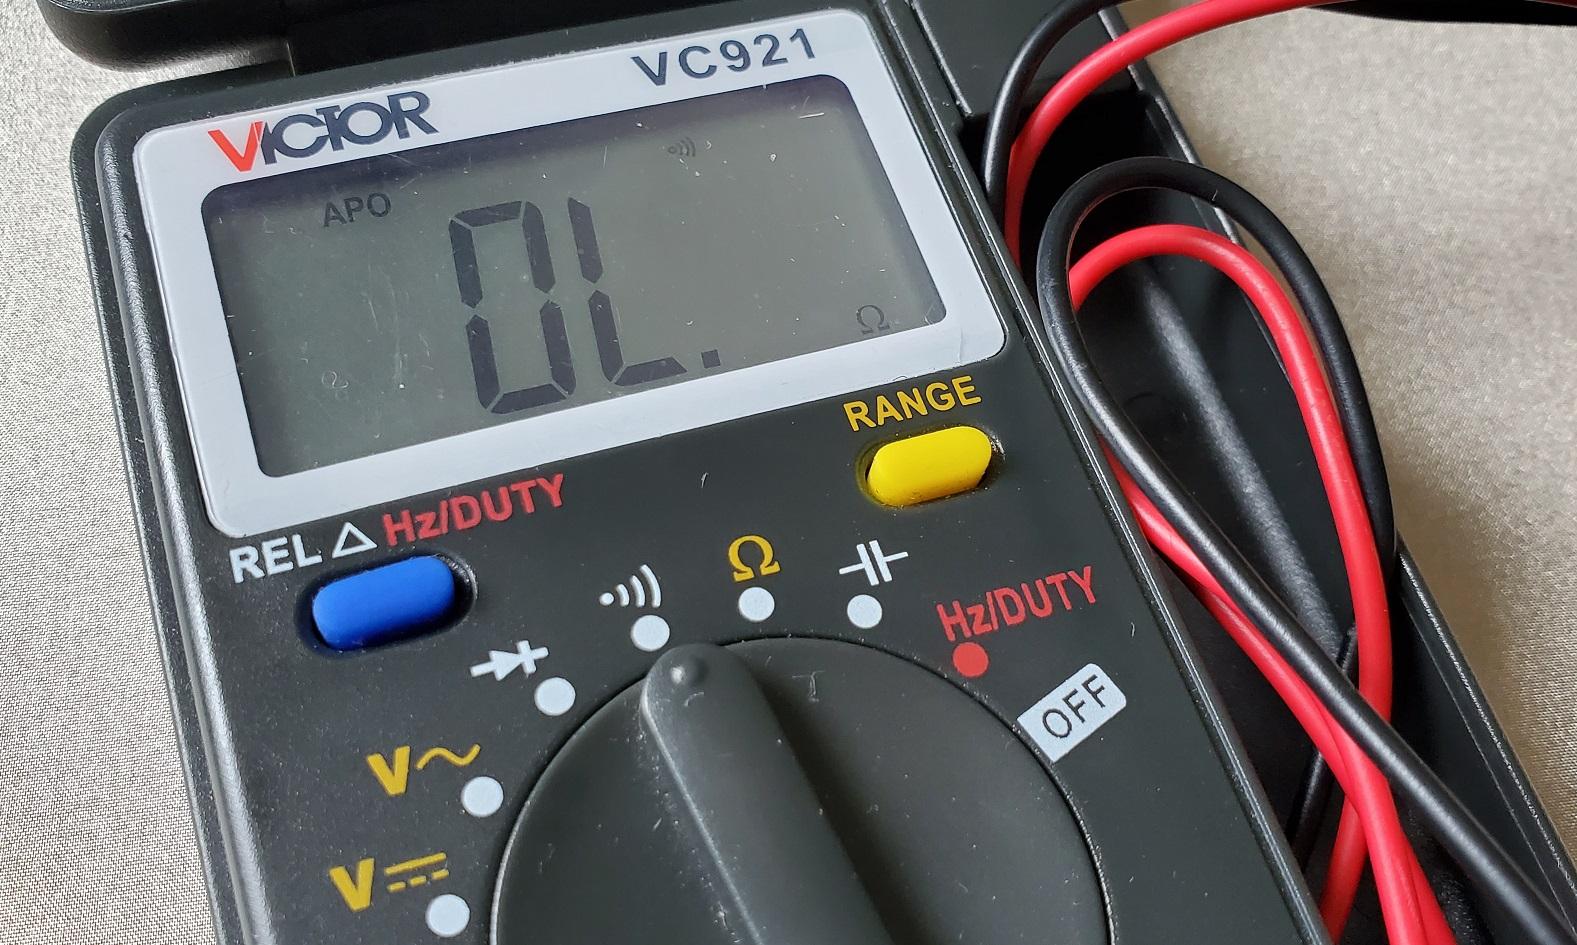
- Using your multimeter, turn the dial to the symbol that looks like a speaker (see photo)
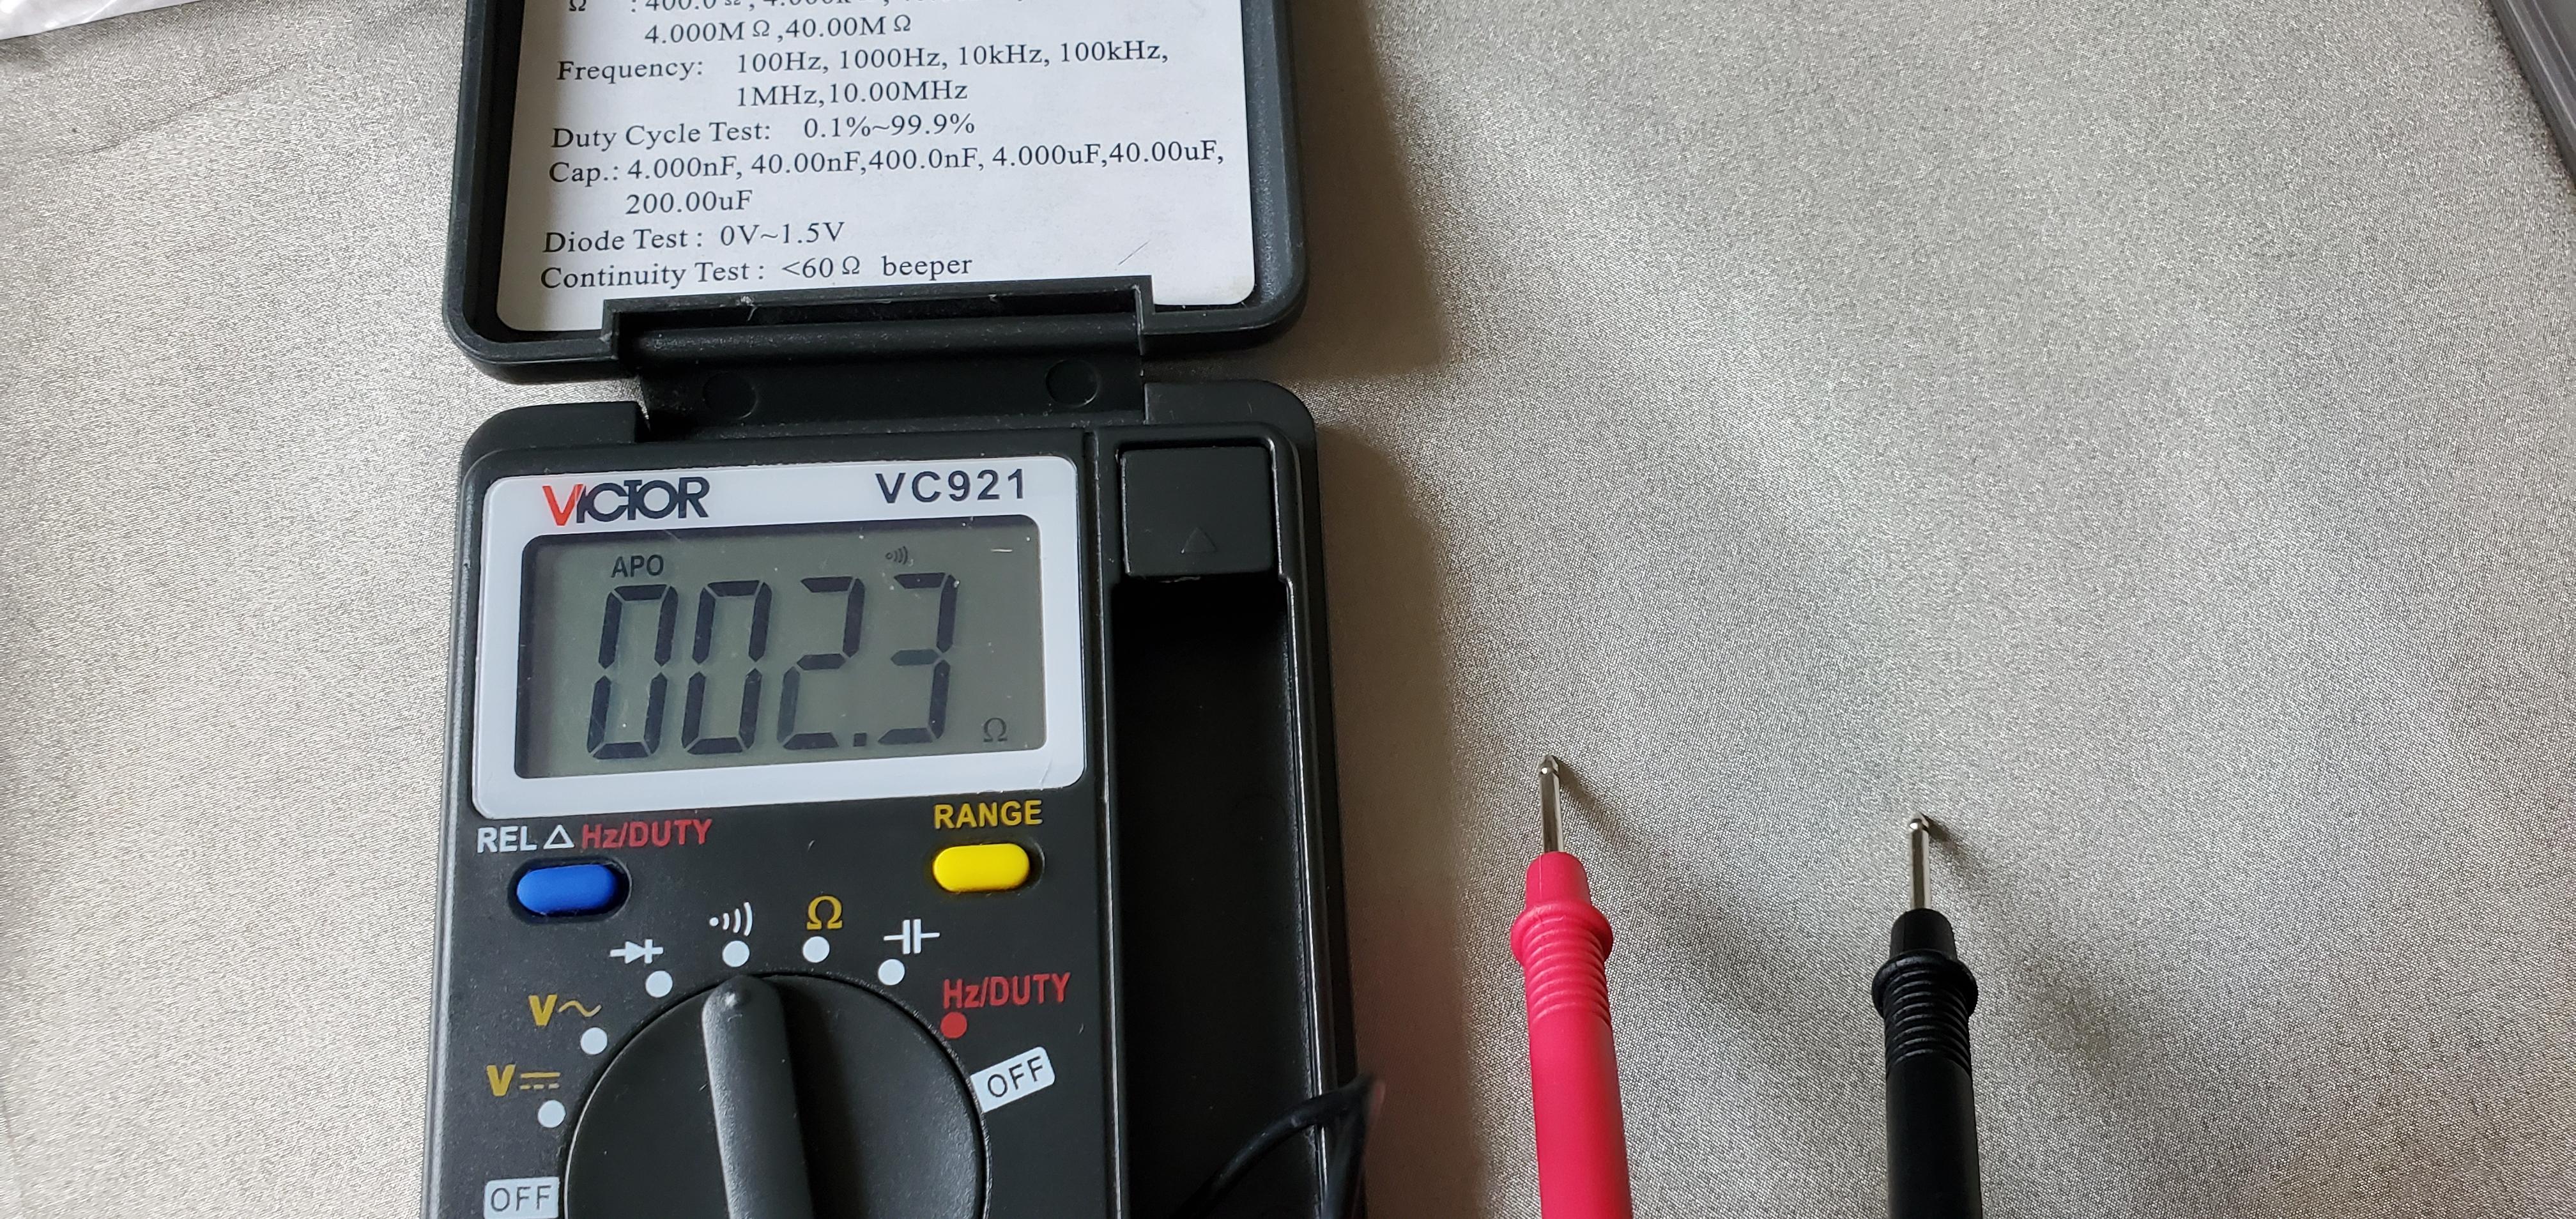
- The screen should read OL Open Loop. This means there is no conductivity. If you touch the red and black probe together, it will show a value and not OL. It will also make an alarm sound. this sound tells us that there is a connection, it is conducting electricity.
- Hold both probes onto your fabric (or material that you want to test for conductivity):
- If OL remains, it is NOT conductive.
- If it shows a value, then it IS conductive.
Cut Your Sleeve Pattern
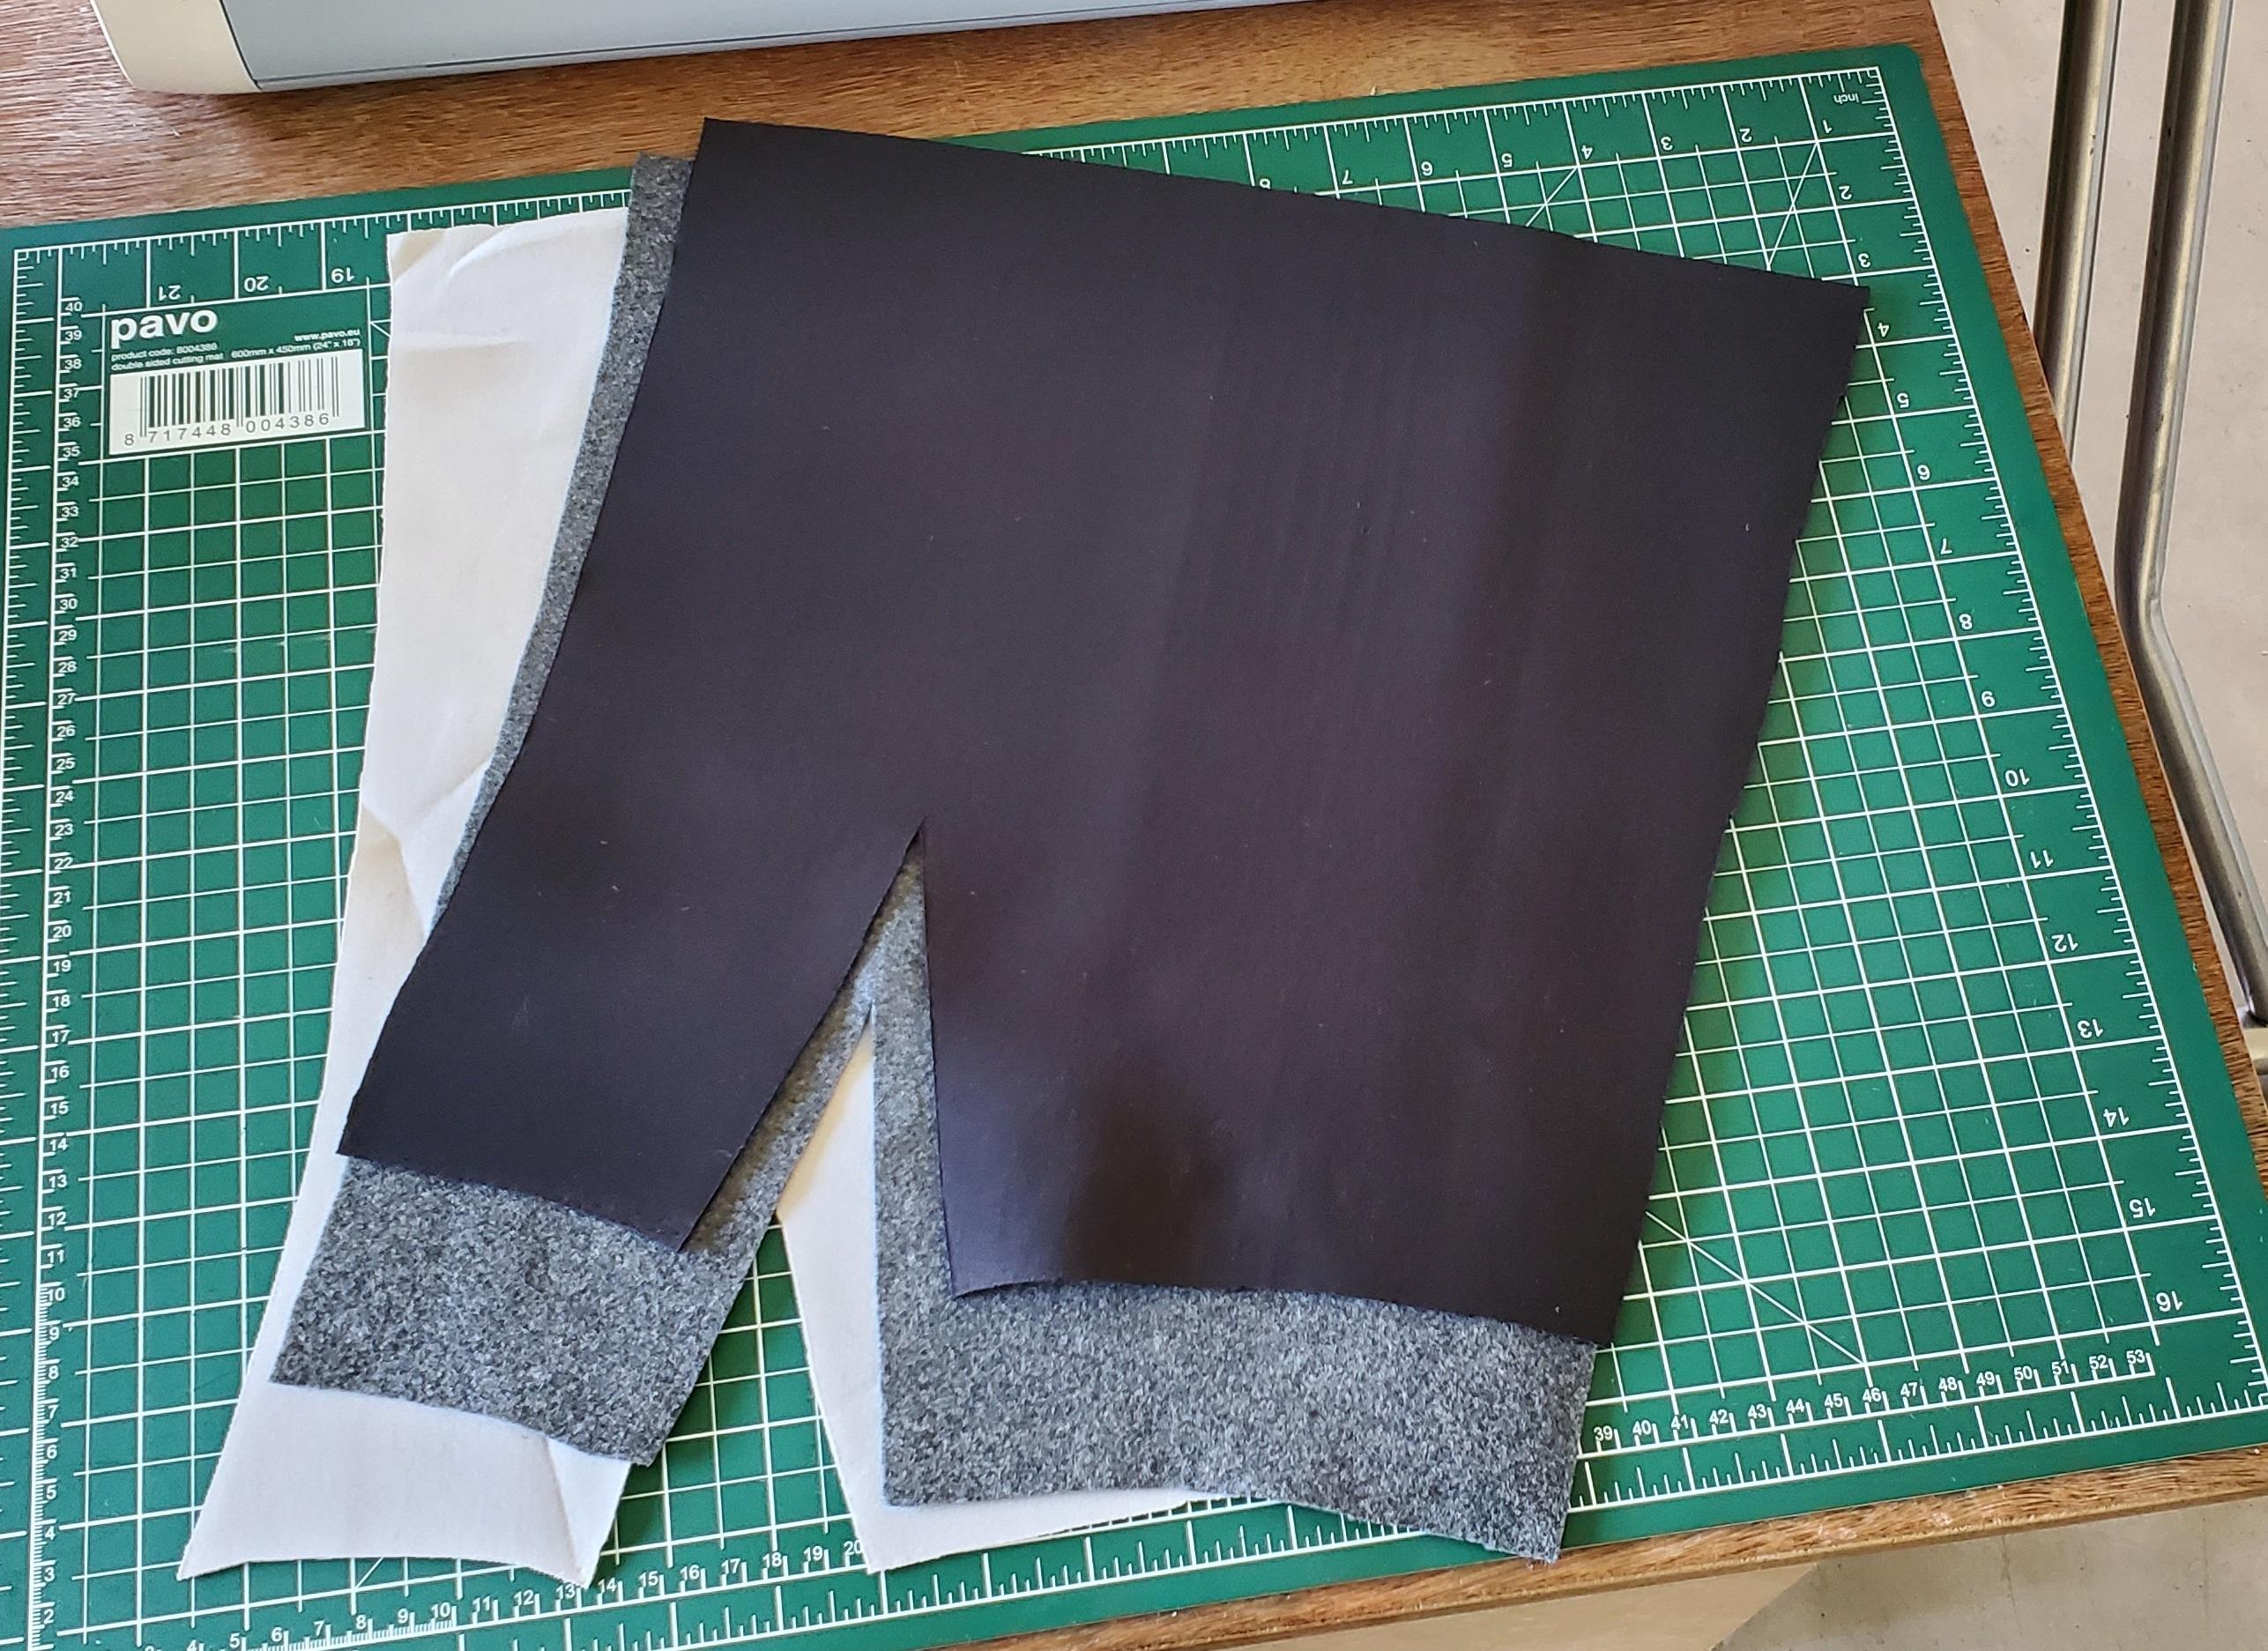
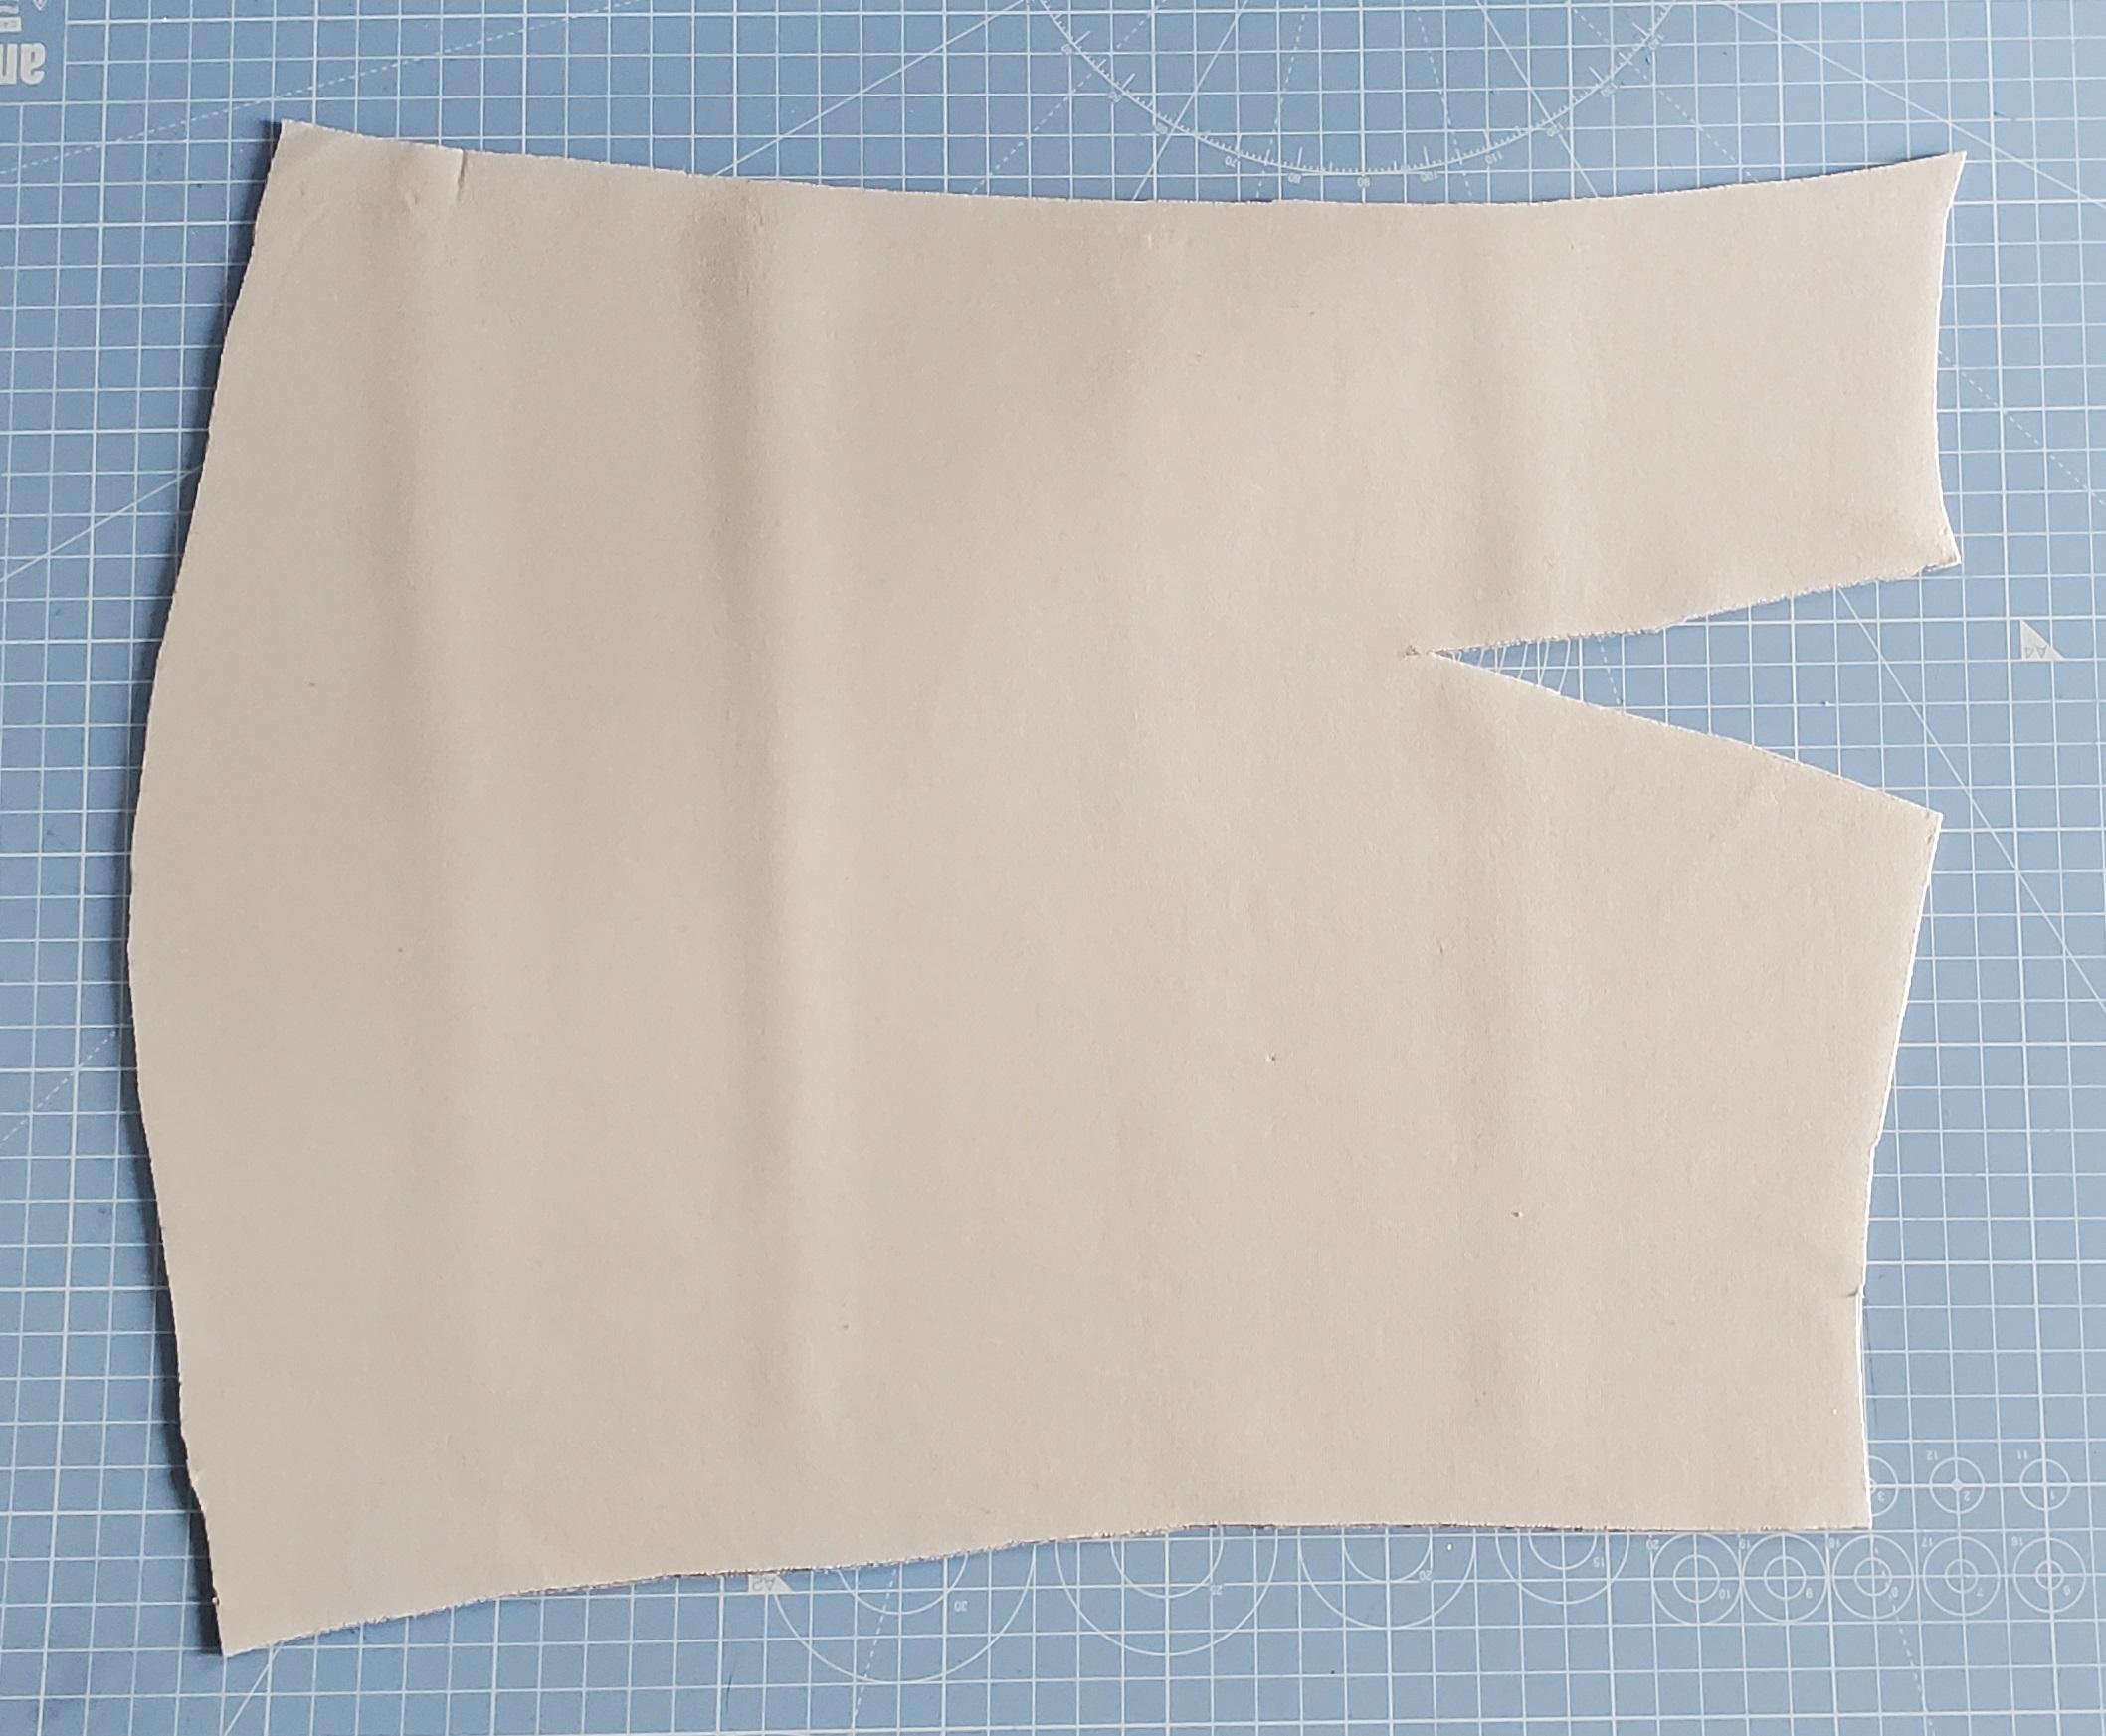
Using Neoprene fabric will save you some work. Because when we cut this fabric, we don't really need to sew an edge because the finish on it works nicely as our edge. This Instructable works well with felt fabric too. Neoprene and scuba fabric are similar, scuba can be a little thinner and has no center core, and neoprene has a rubber center with fabric covering both sides. This can make it very comfortable as well.
I've put a pdf template you can use for the arm piece (size is to print at A3, or print 2 x A4 and tape together). You can measure your arm and make changes to the template to choose your piece. You can also measure your arm and then cut a piece to suit - be sure to leave some extra fabric for the closing edge.
Downloads
Cut Your Conductive Material
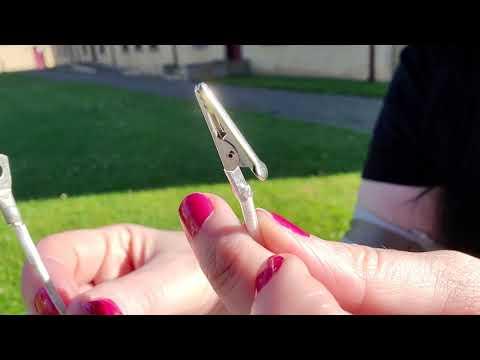
[The video shows how these pocket areas are made and used so you have oversight of the completed project in mind when you are cutting your fabric pieces and placing them.]
I'm going to have 7 inputs available so I'm cutting 7 pieces.
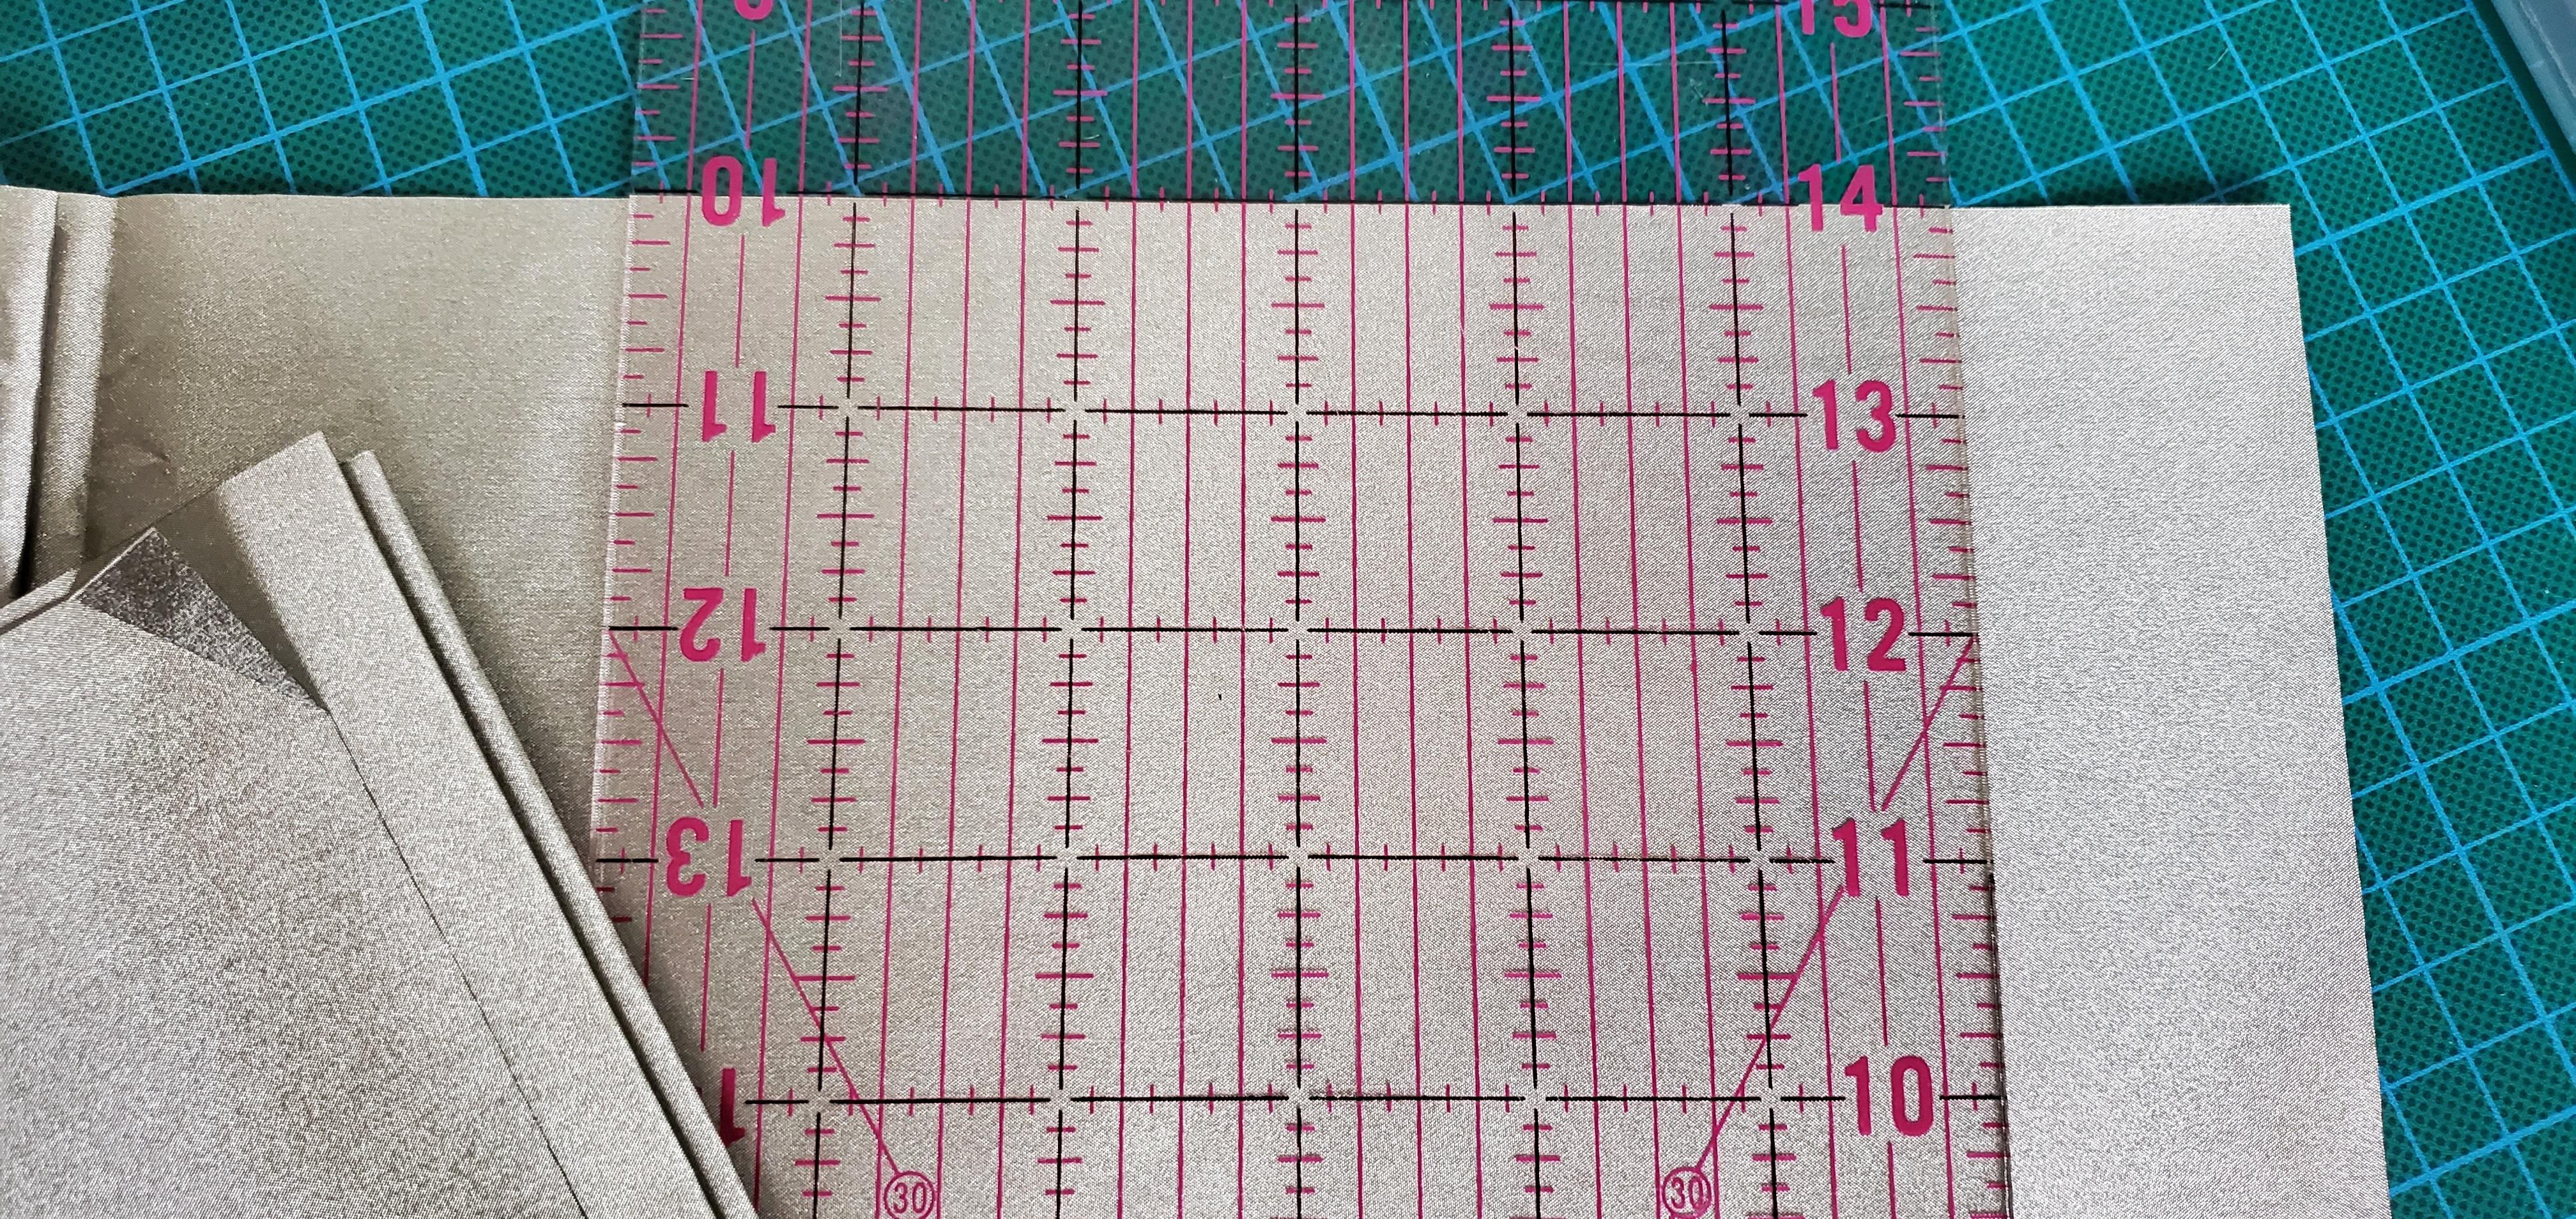
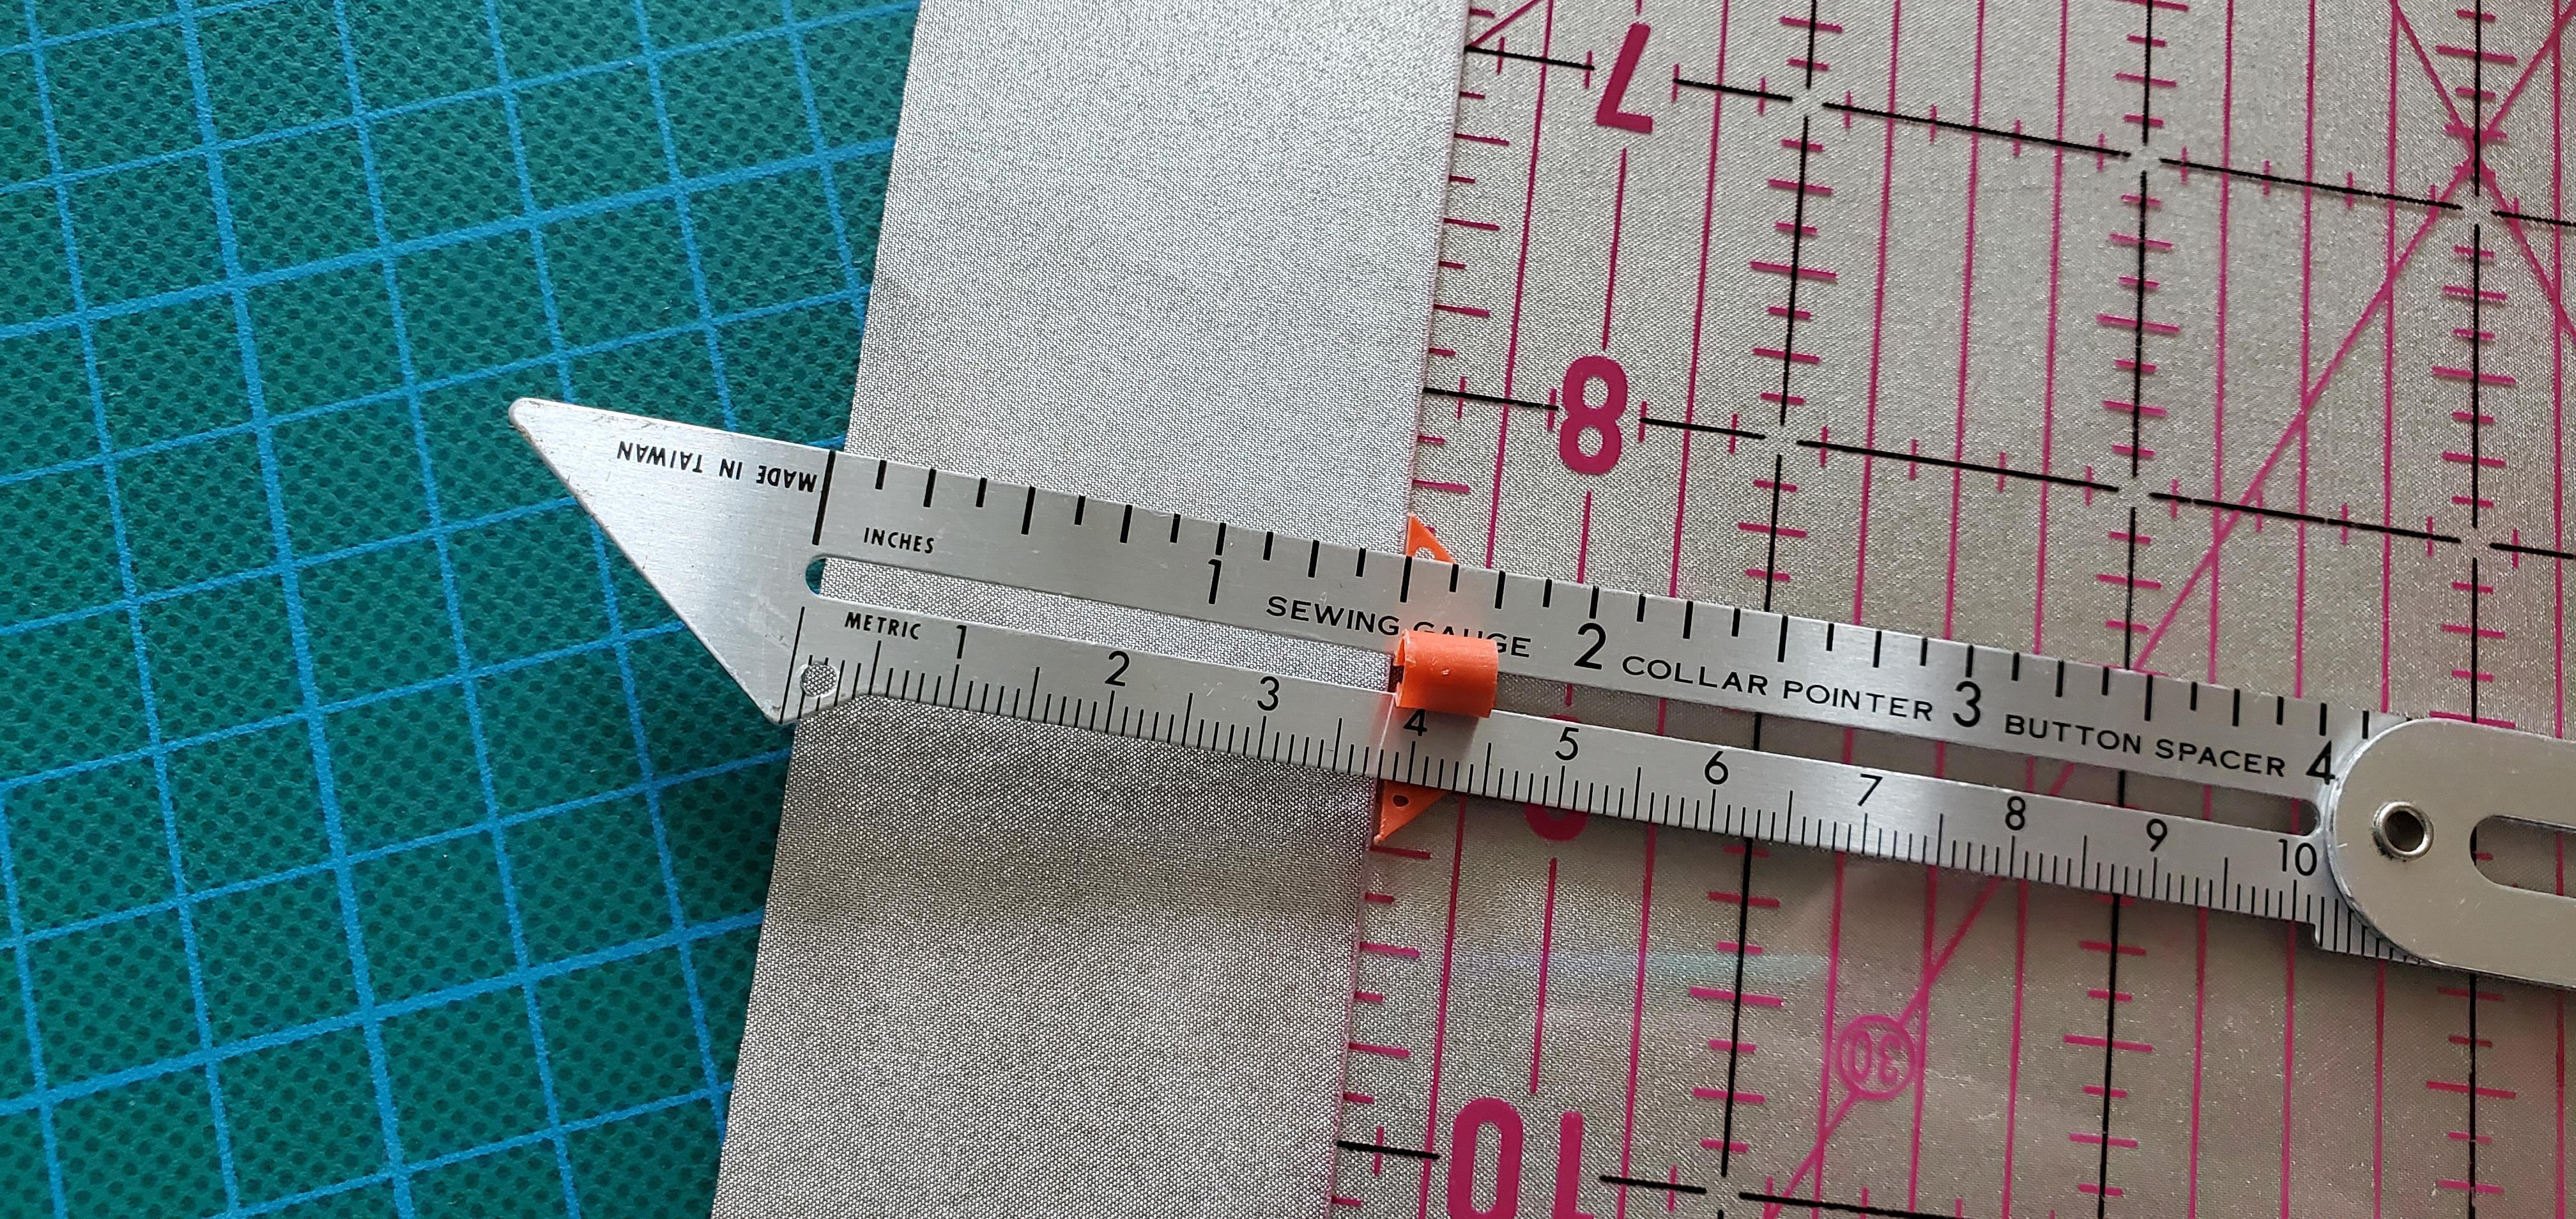
I've measured my sleeve so I want these pieces to be 40mm wide each.
Make the pieces in your preferred size, I want them to be easy to touch so they are quite large. You also need to be able to fold the end of it about an inch - so add 1 inch to the end of the piece you cut.
I cut:
- 1 x Thin silver mesh
- 2 x Soft metallic fabric, nickel, copper, and polyester 40mm wide x 180mm
- 2 x Silver breathable mesh - these I'm cutting wider so I can fold the edges over when I sew them to prevent them from fraying
- 2 x Stretchy silver
Sew the Cuff
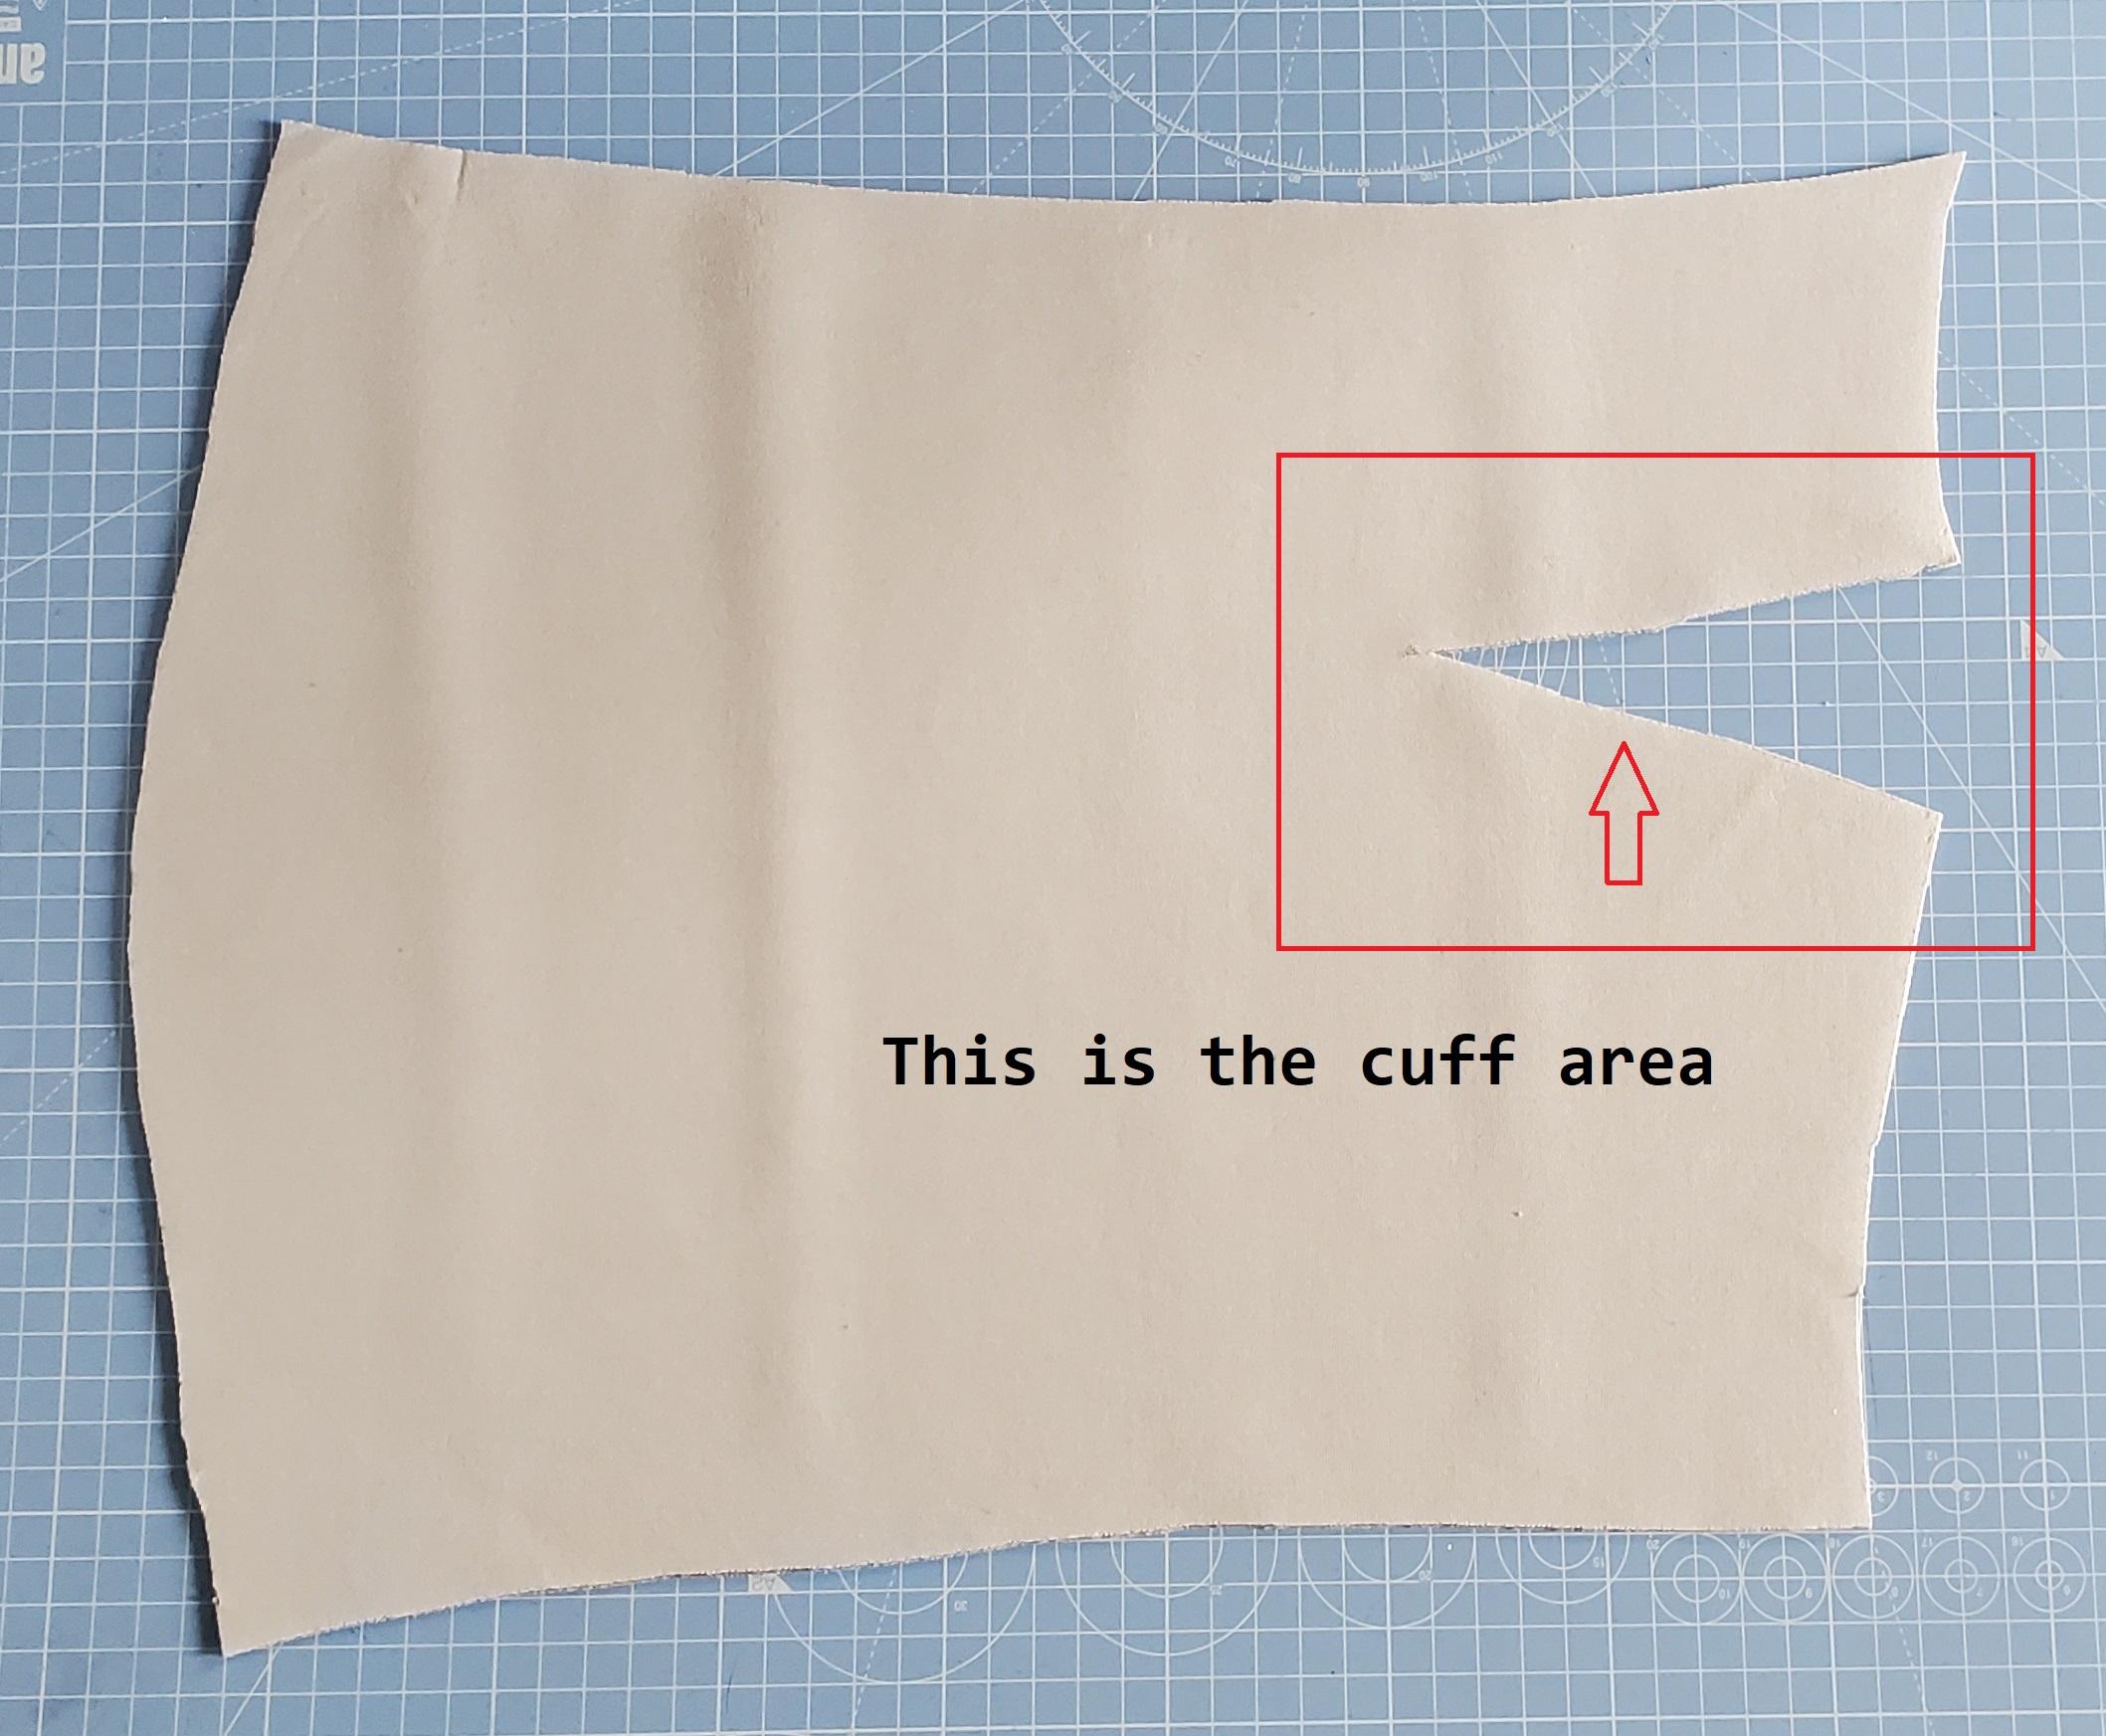
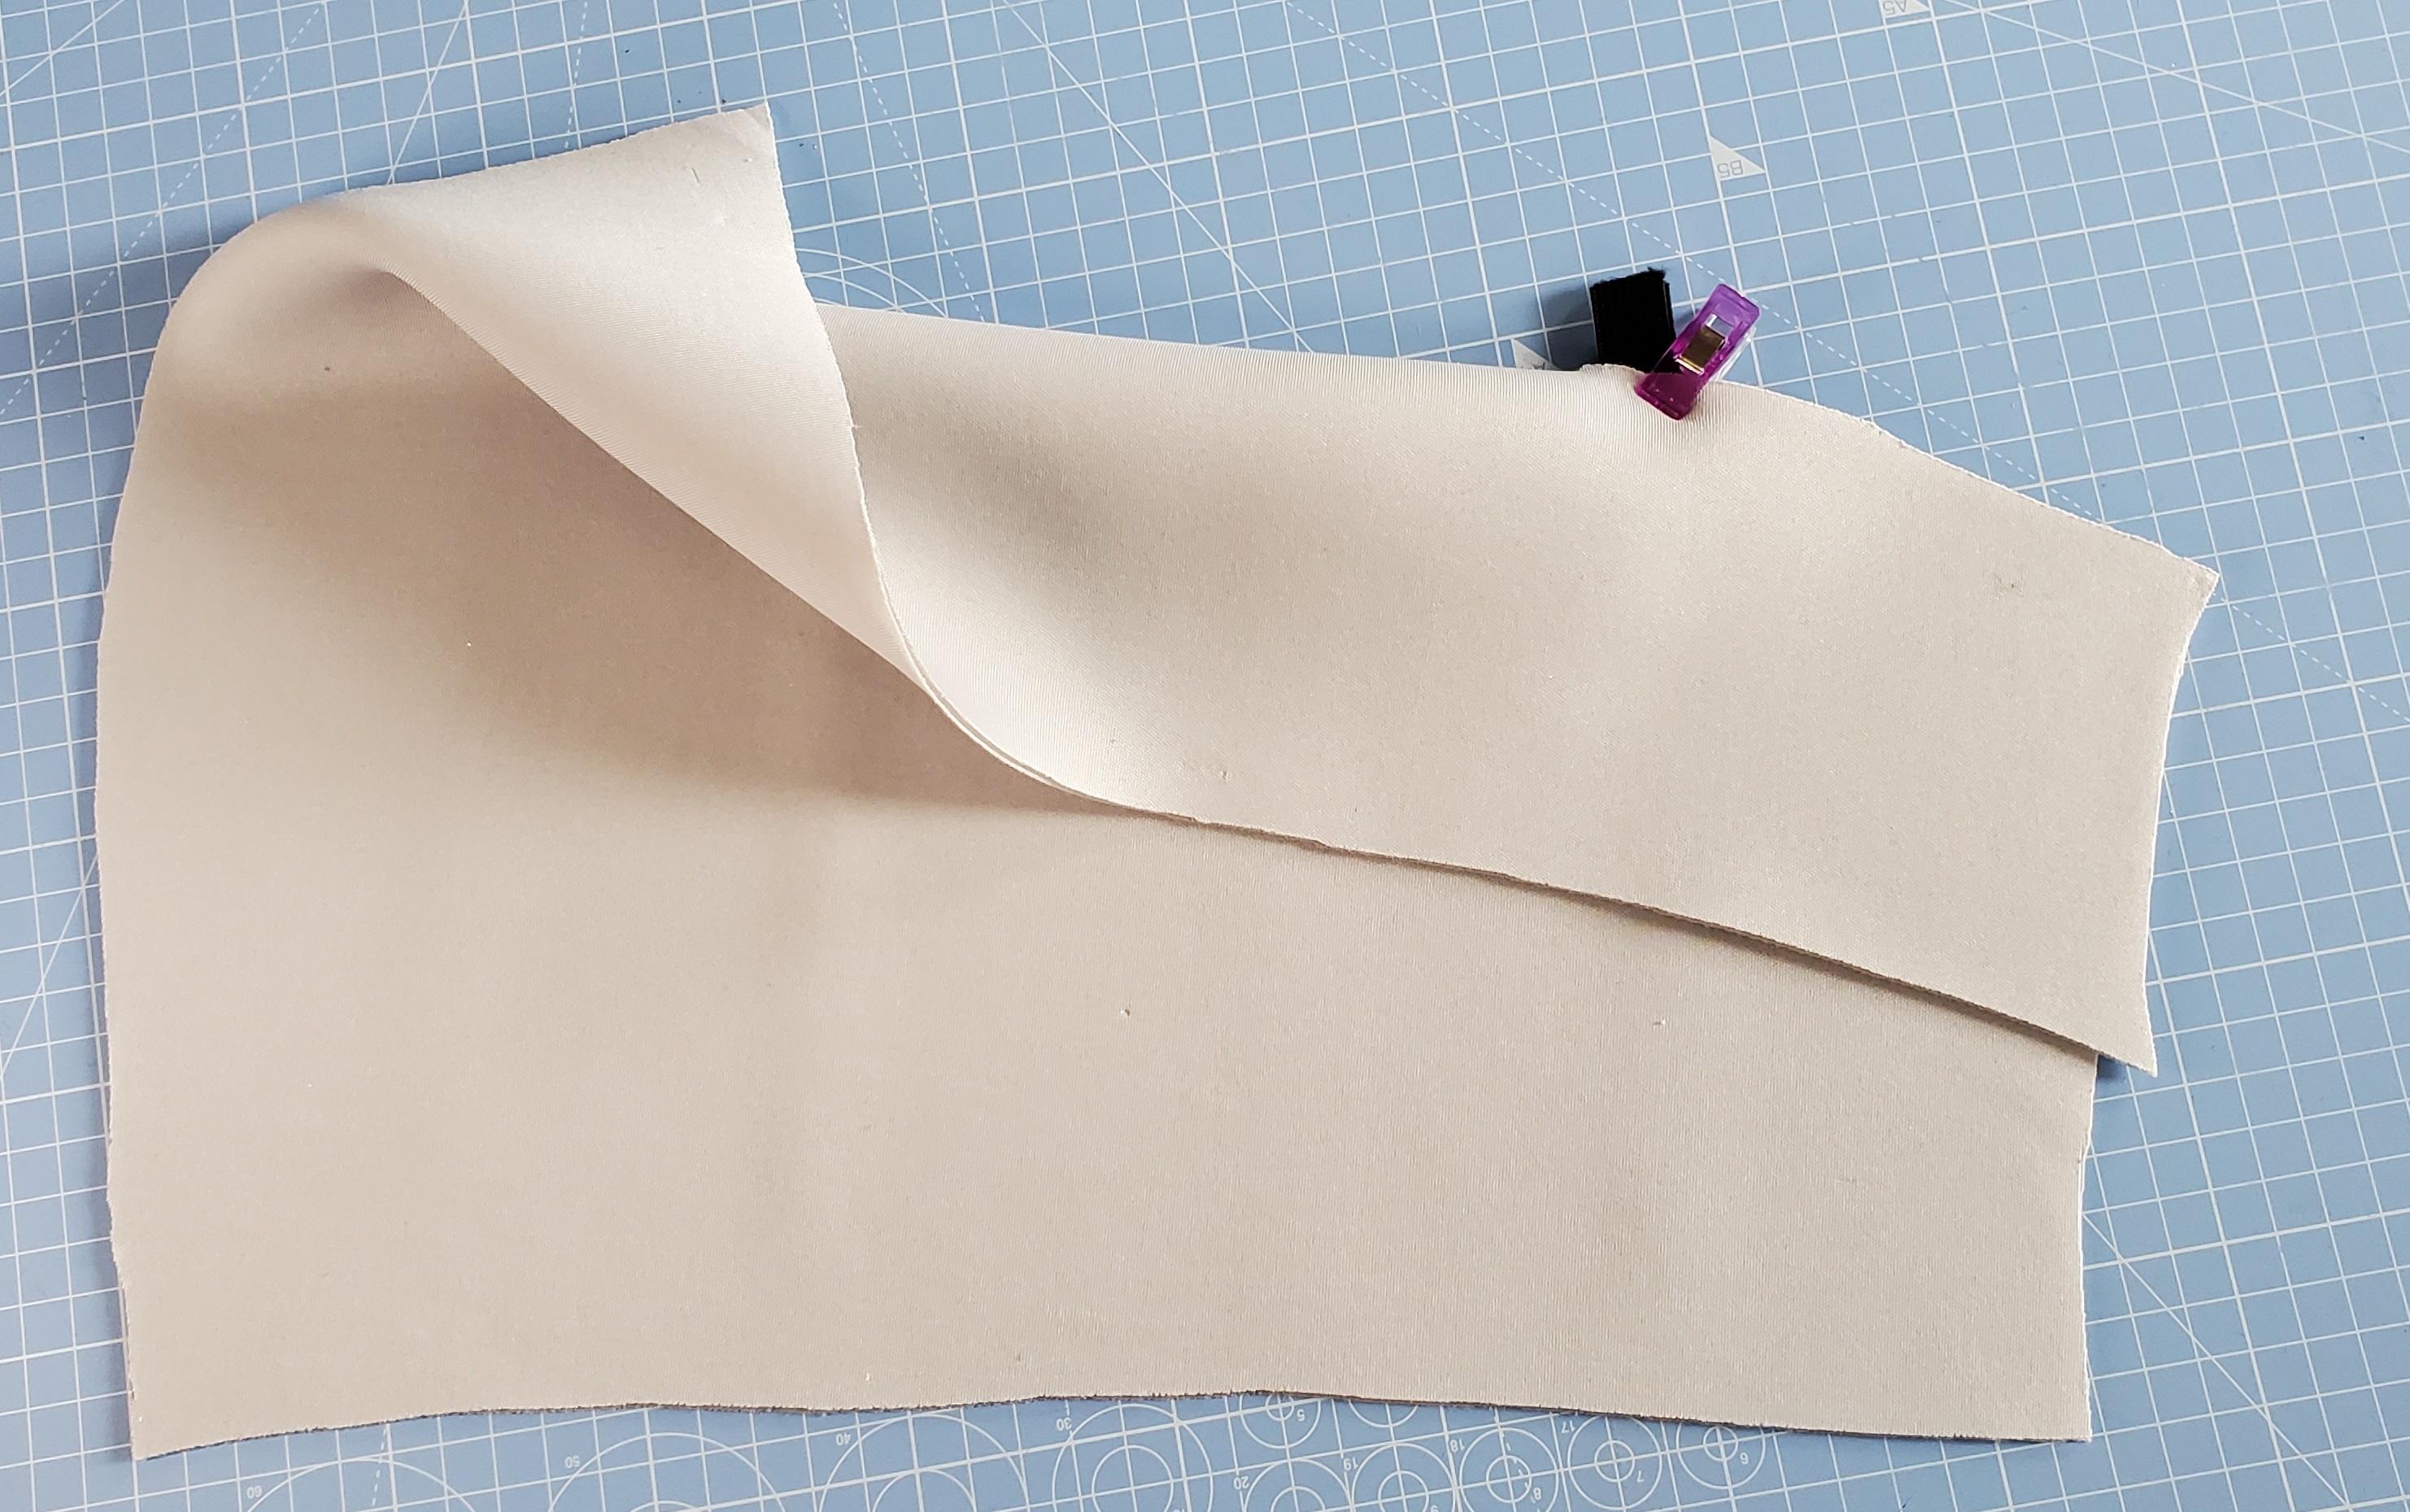
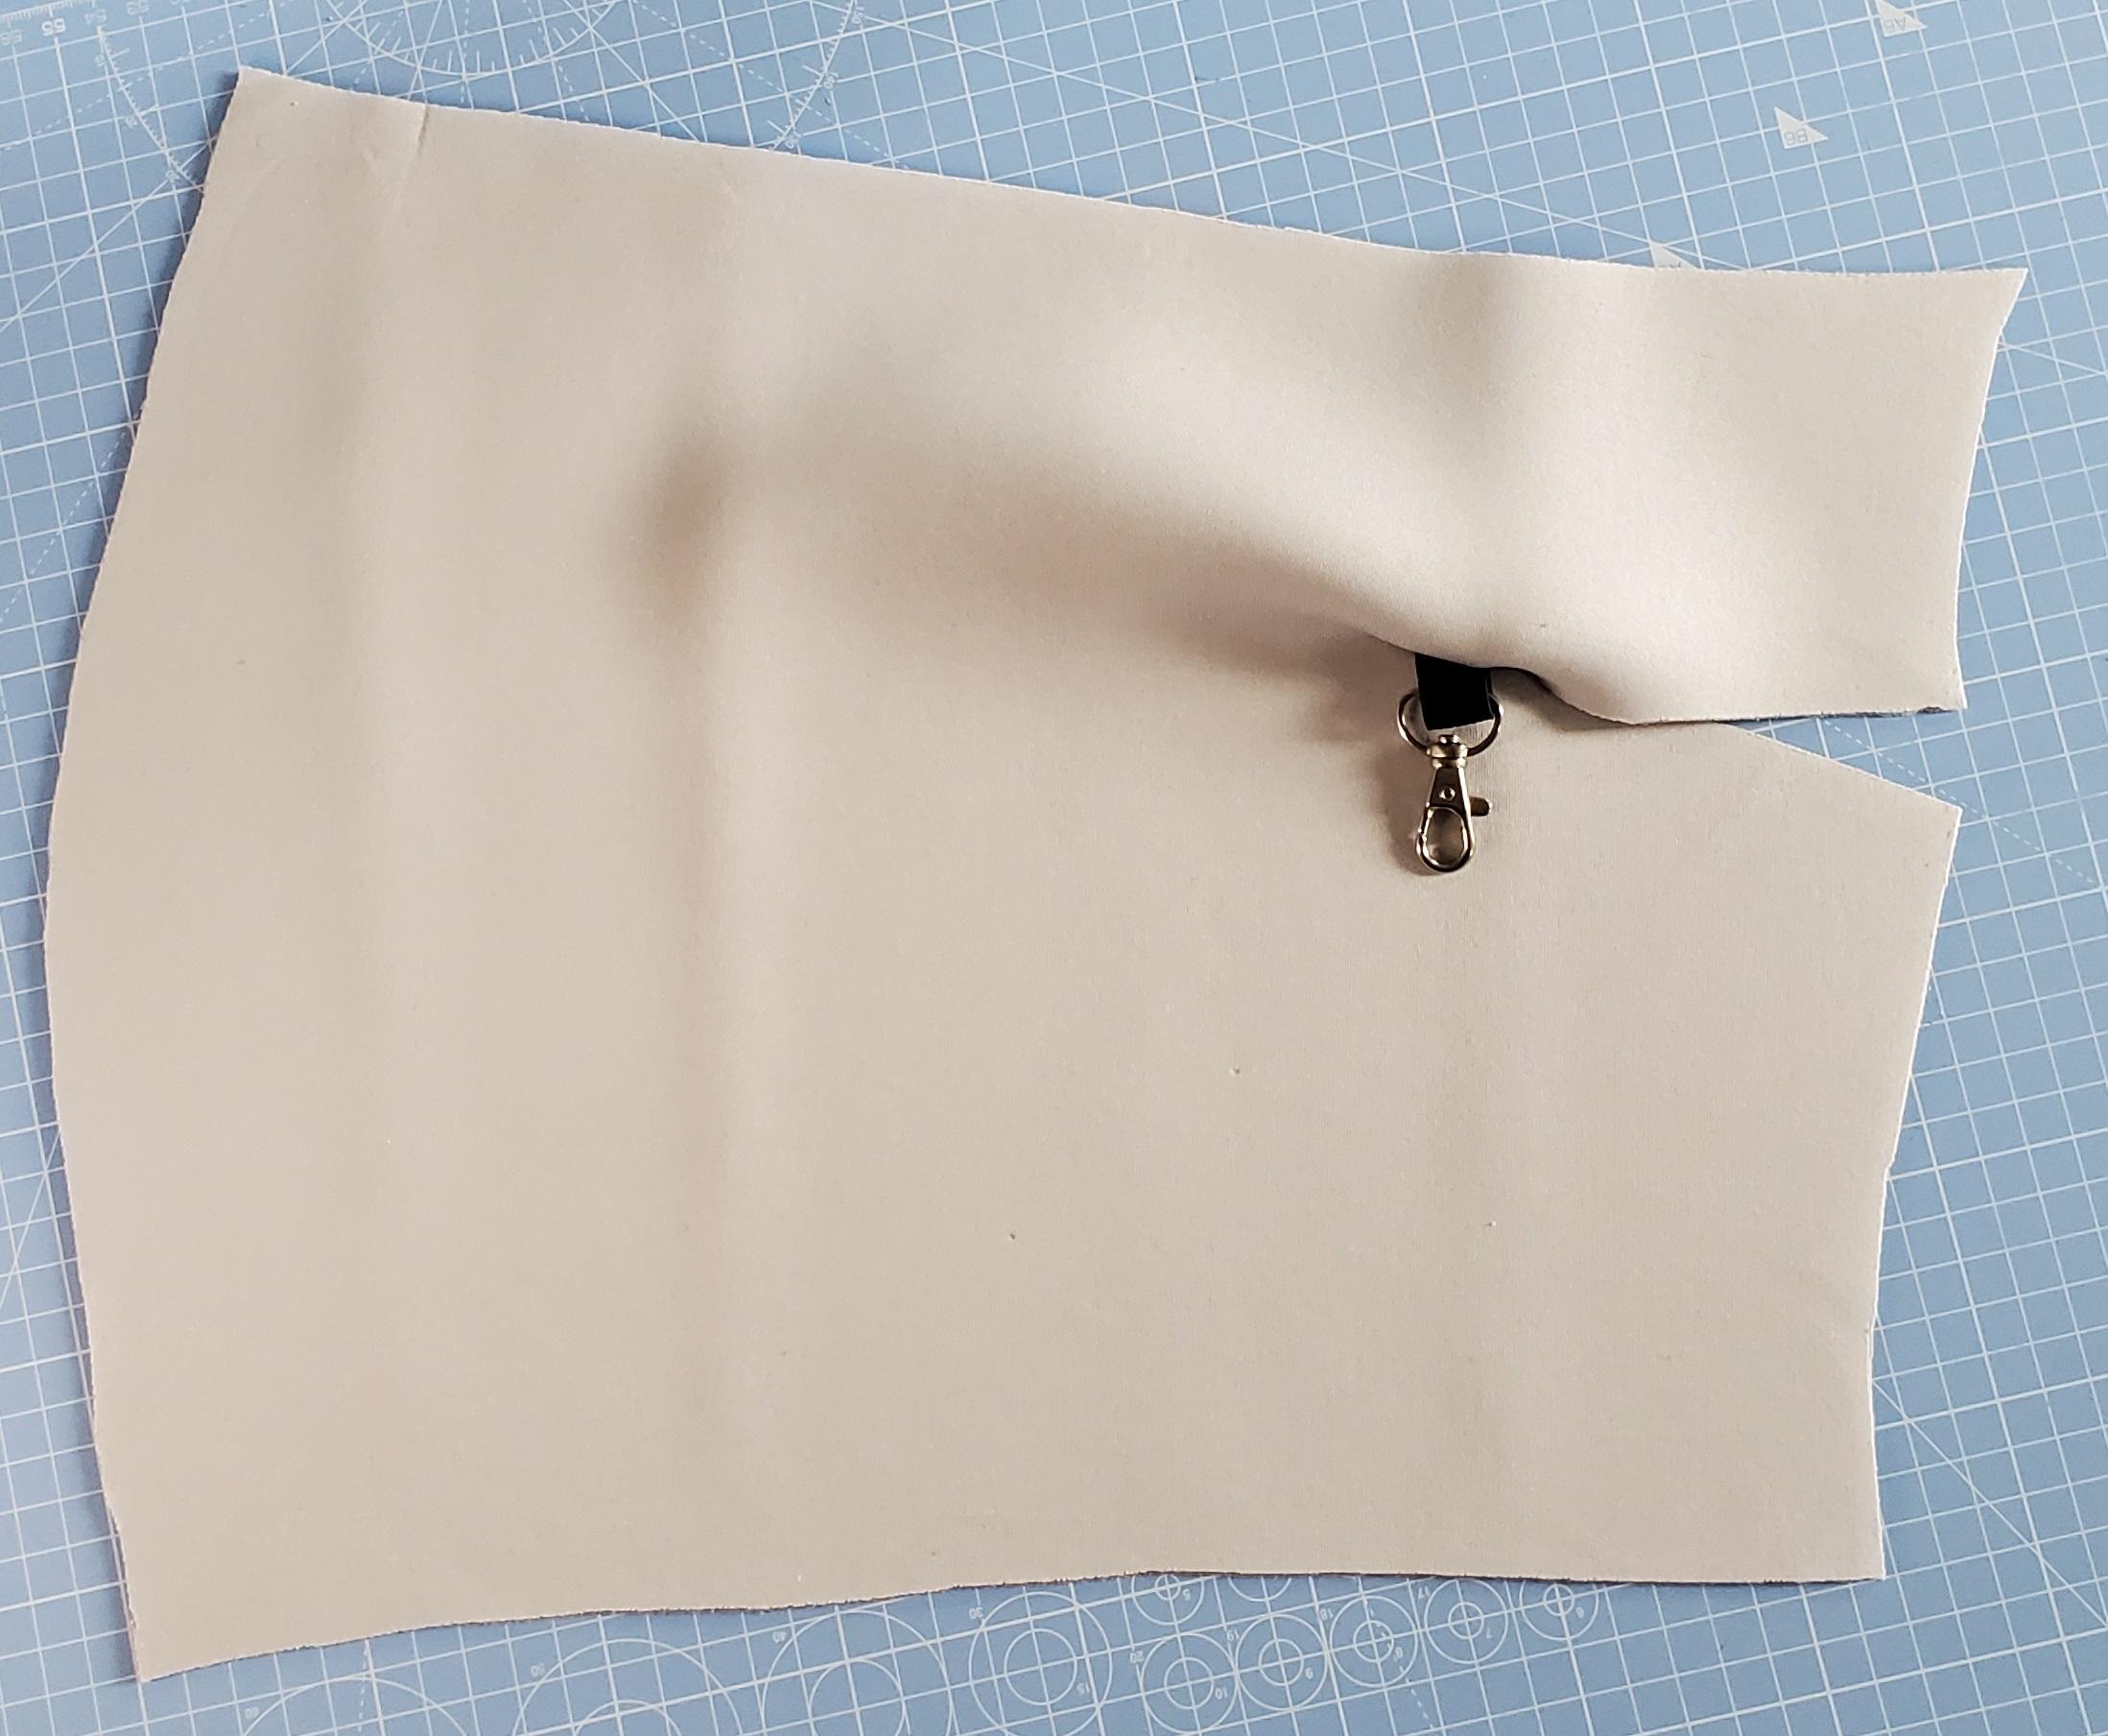
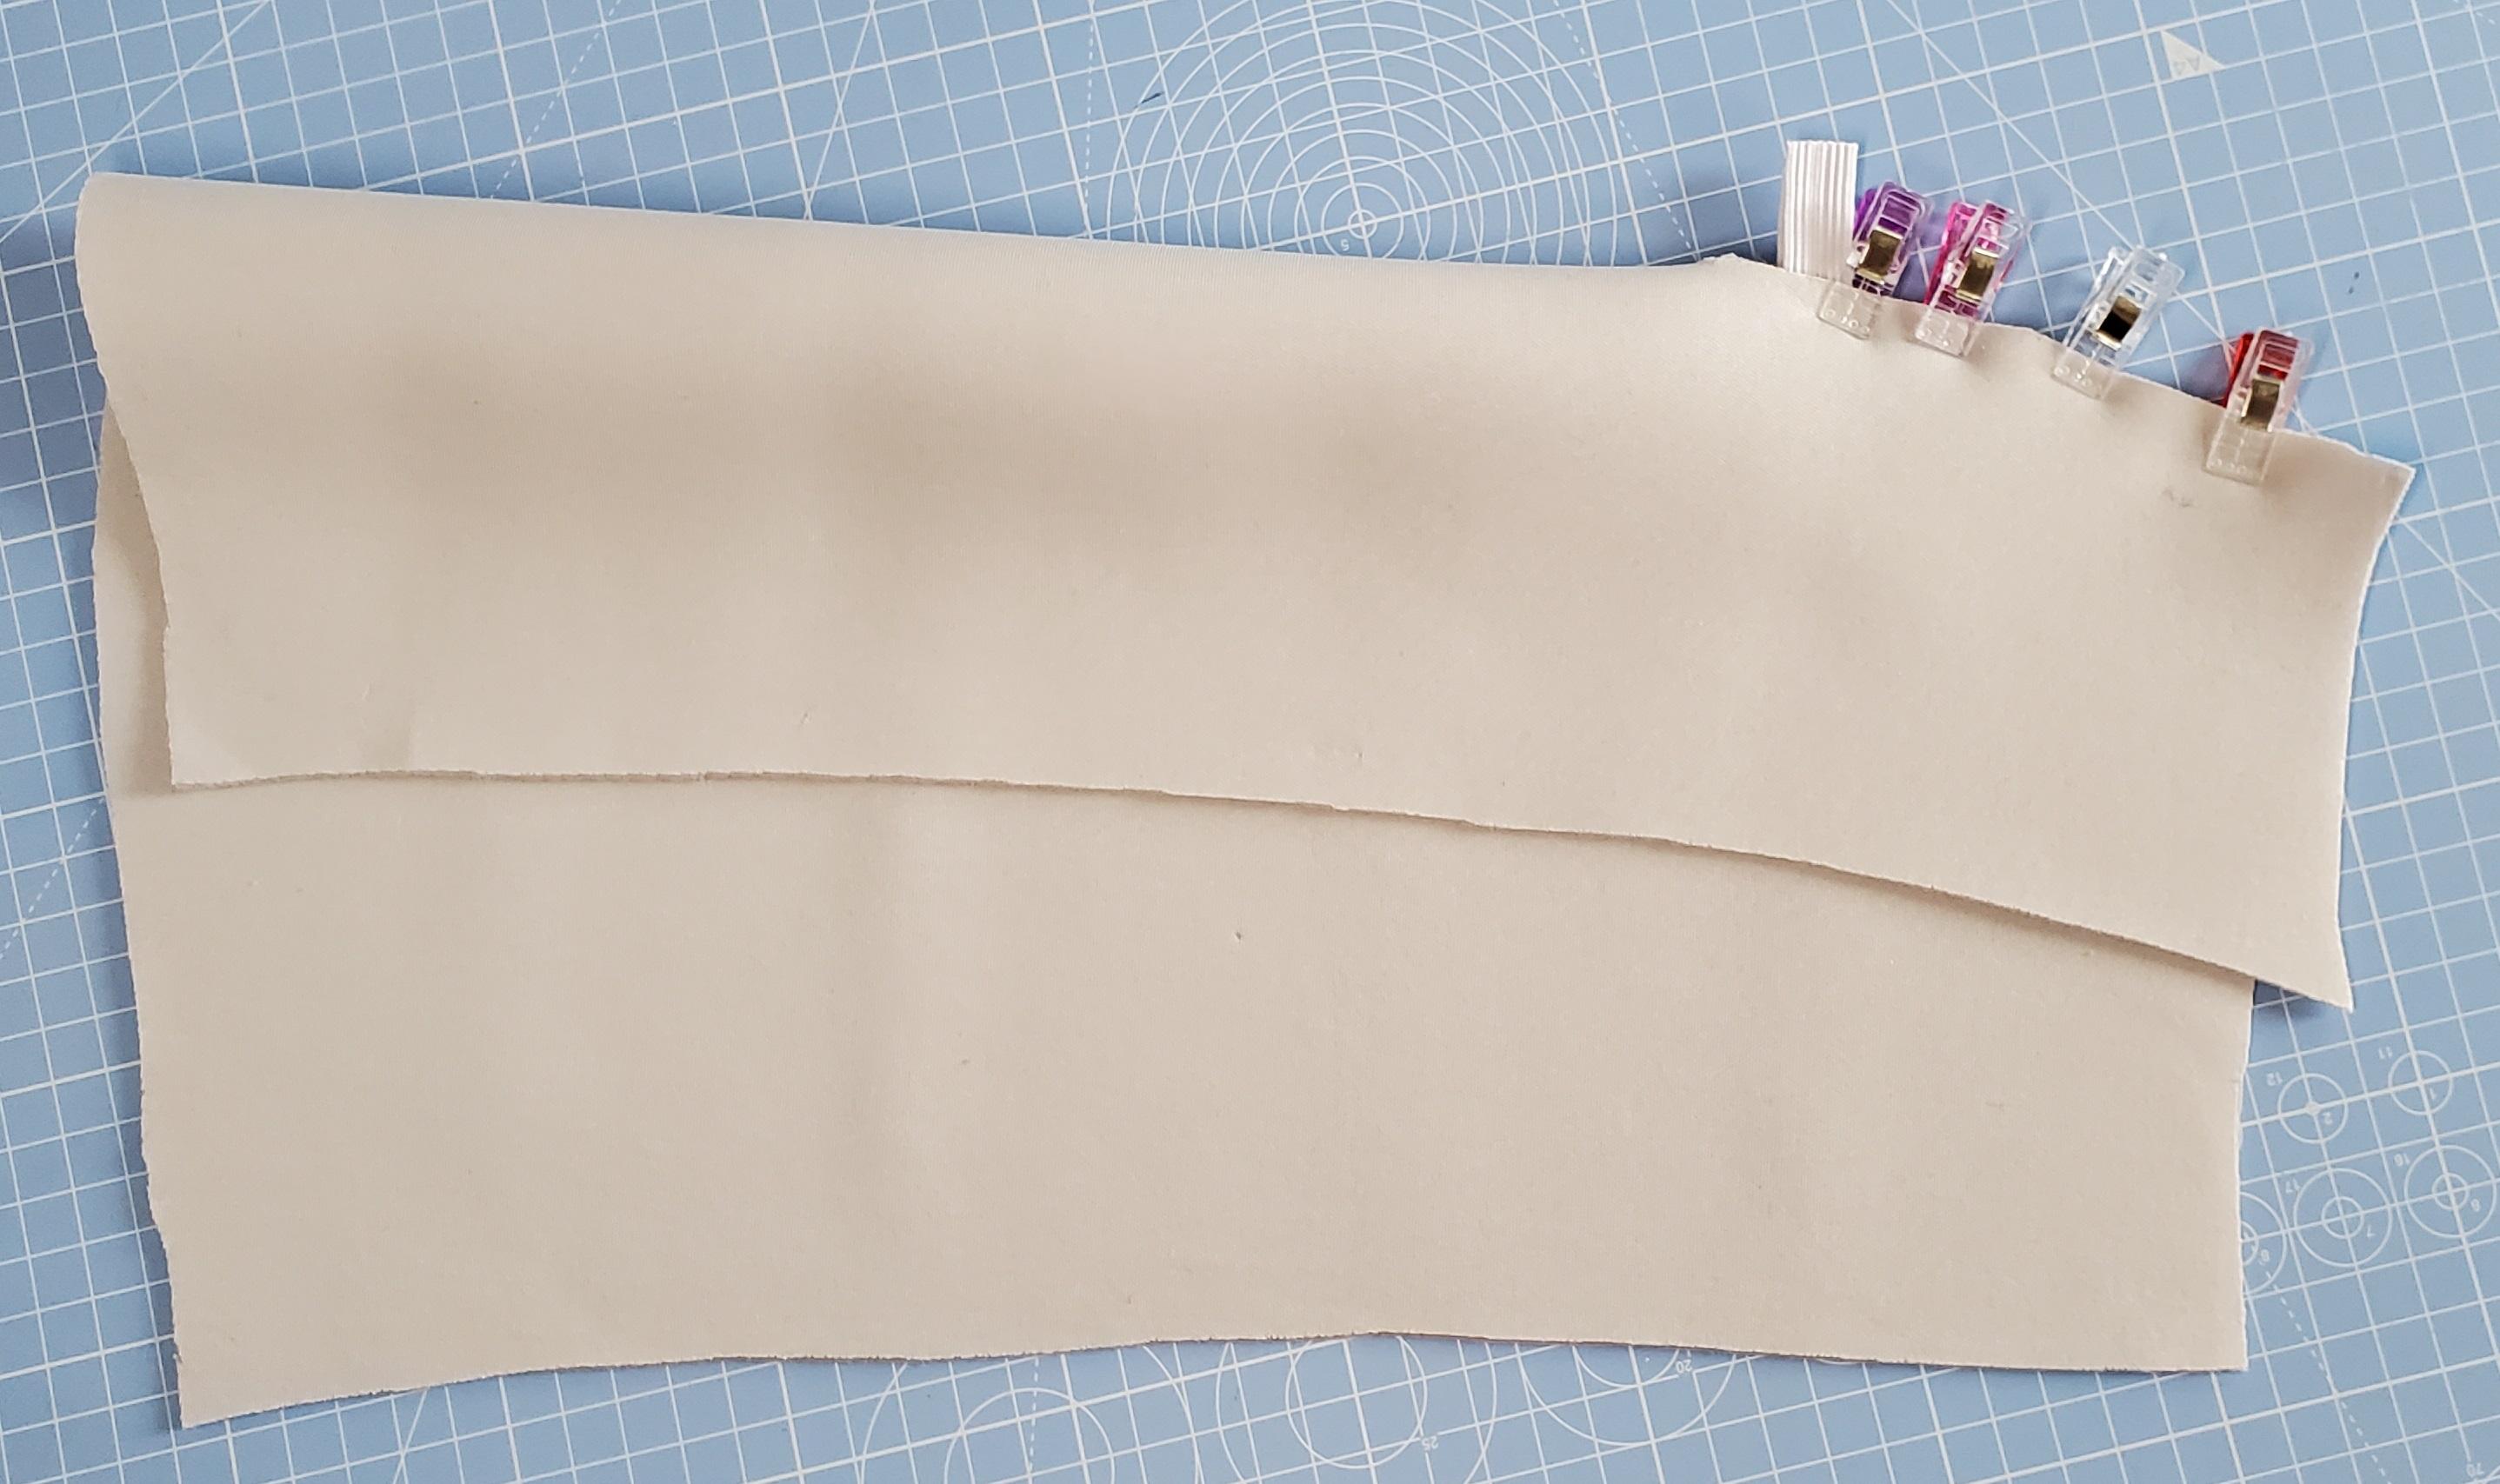
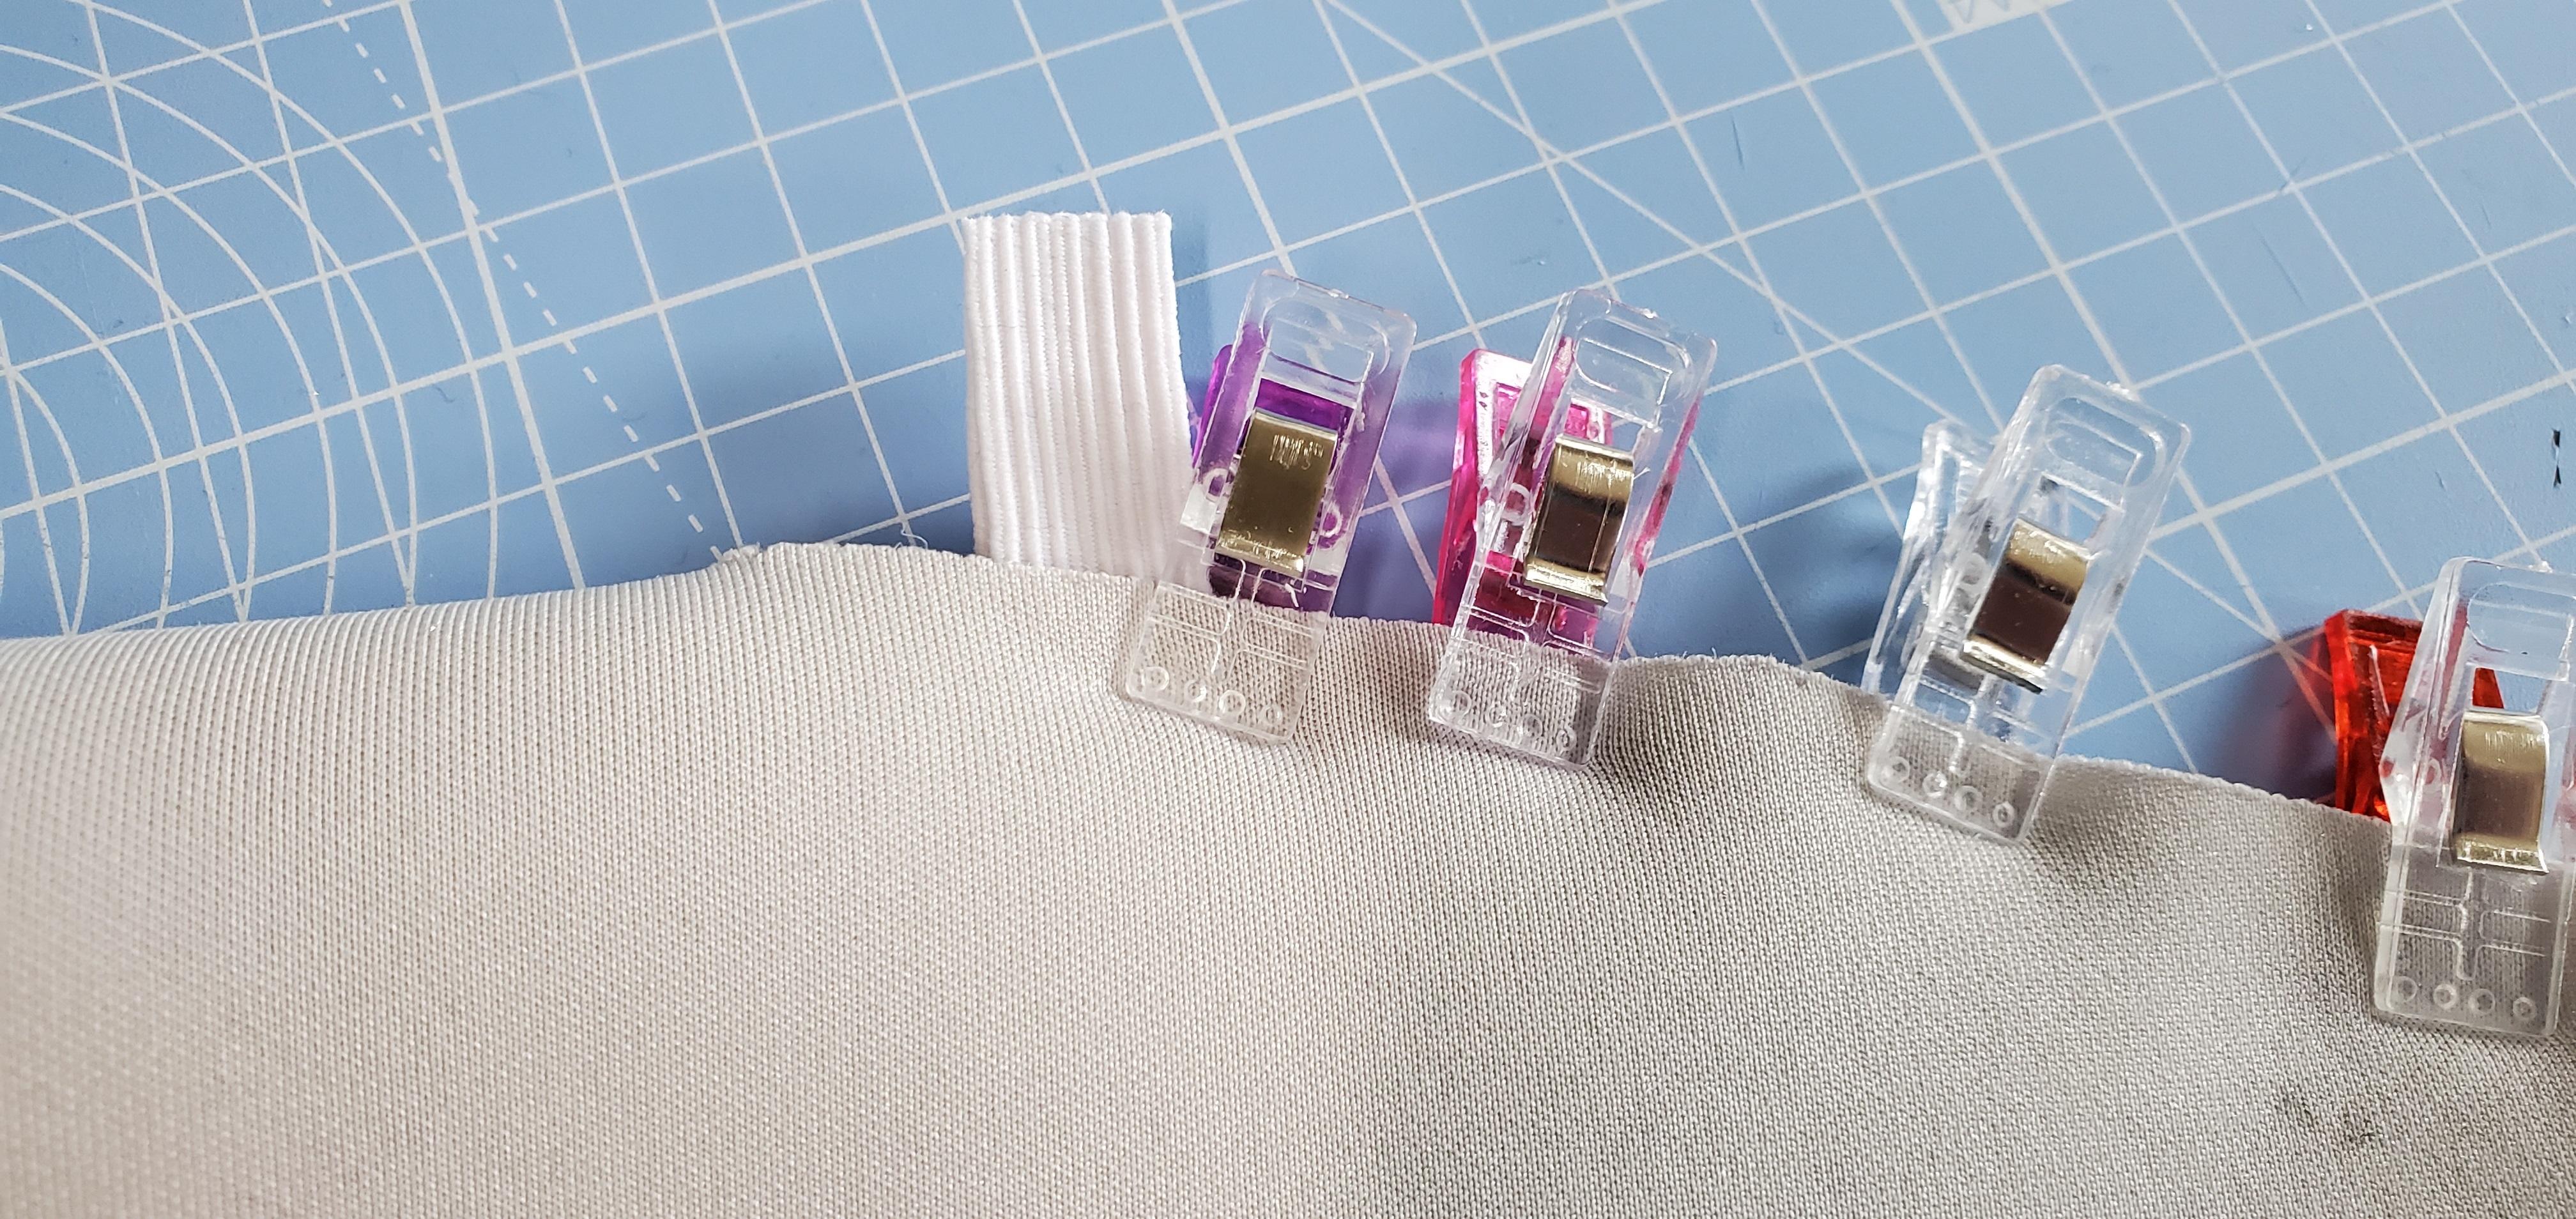
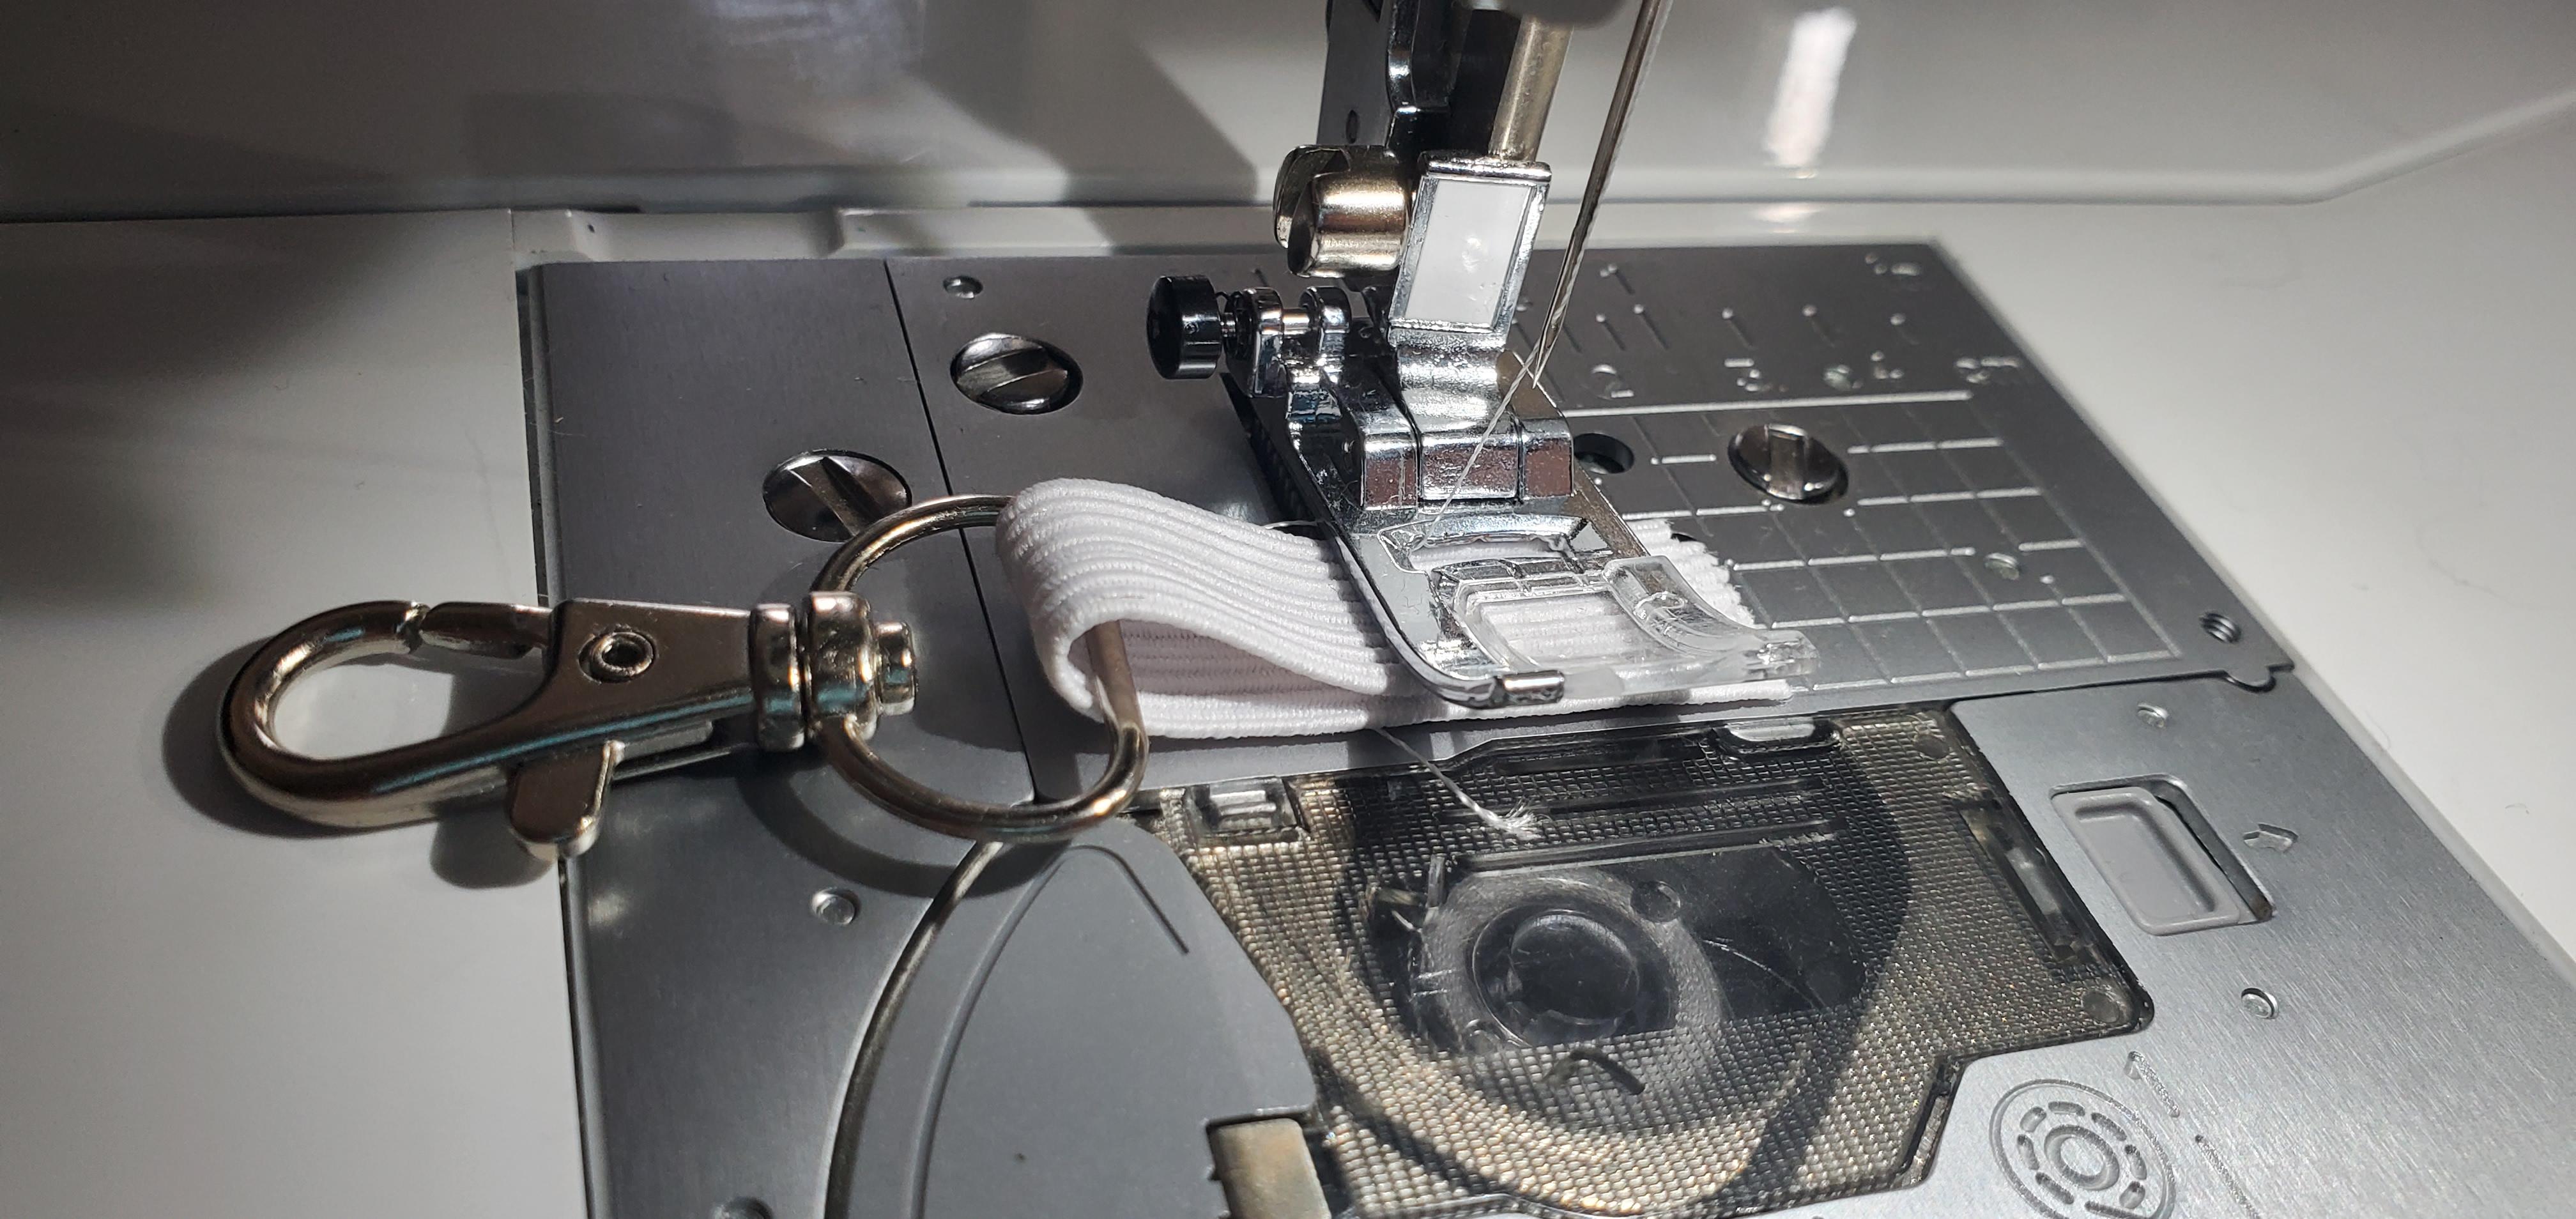
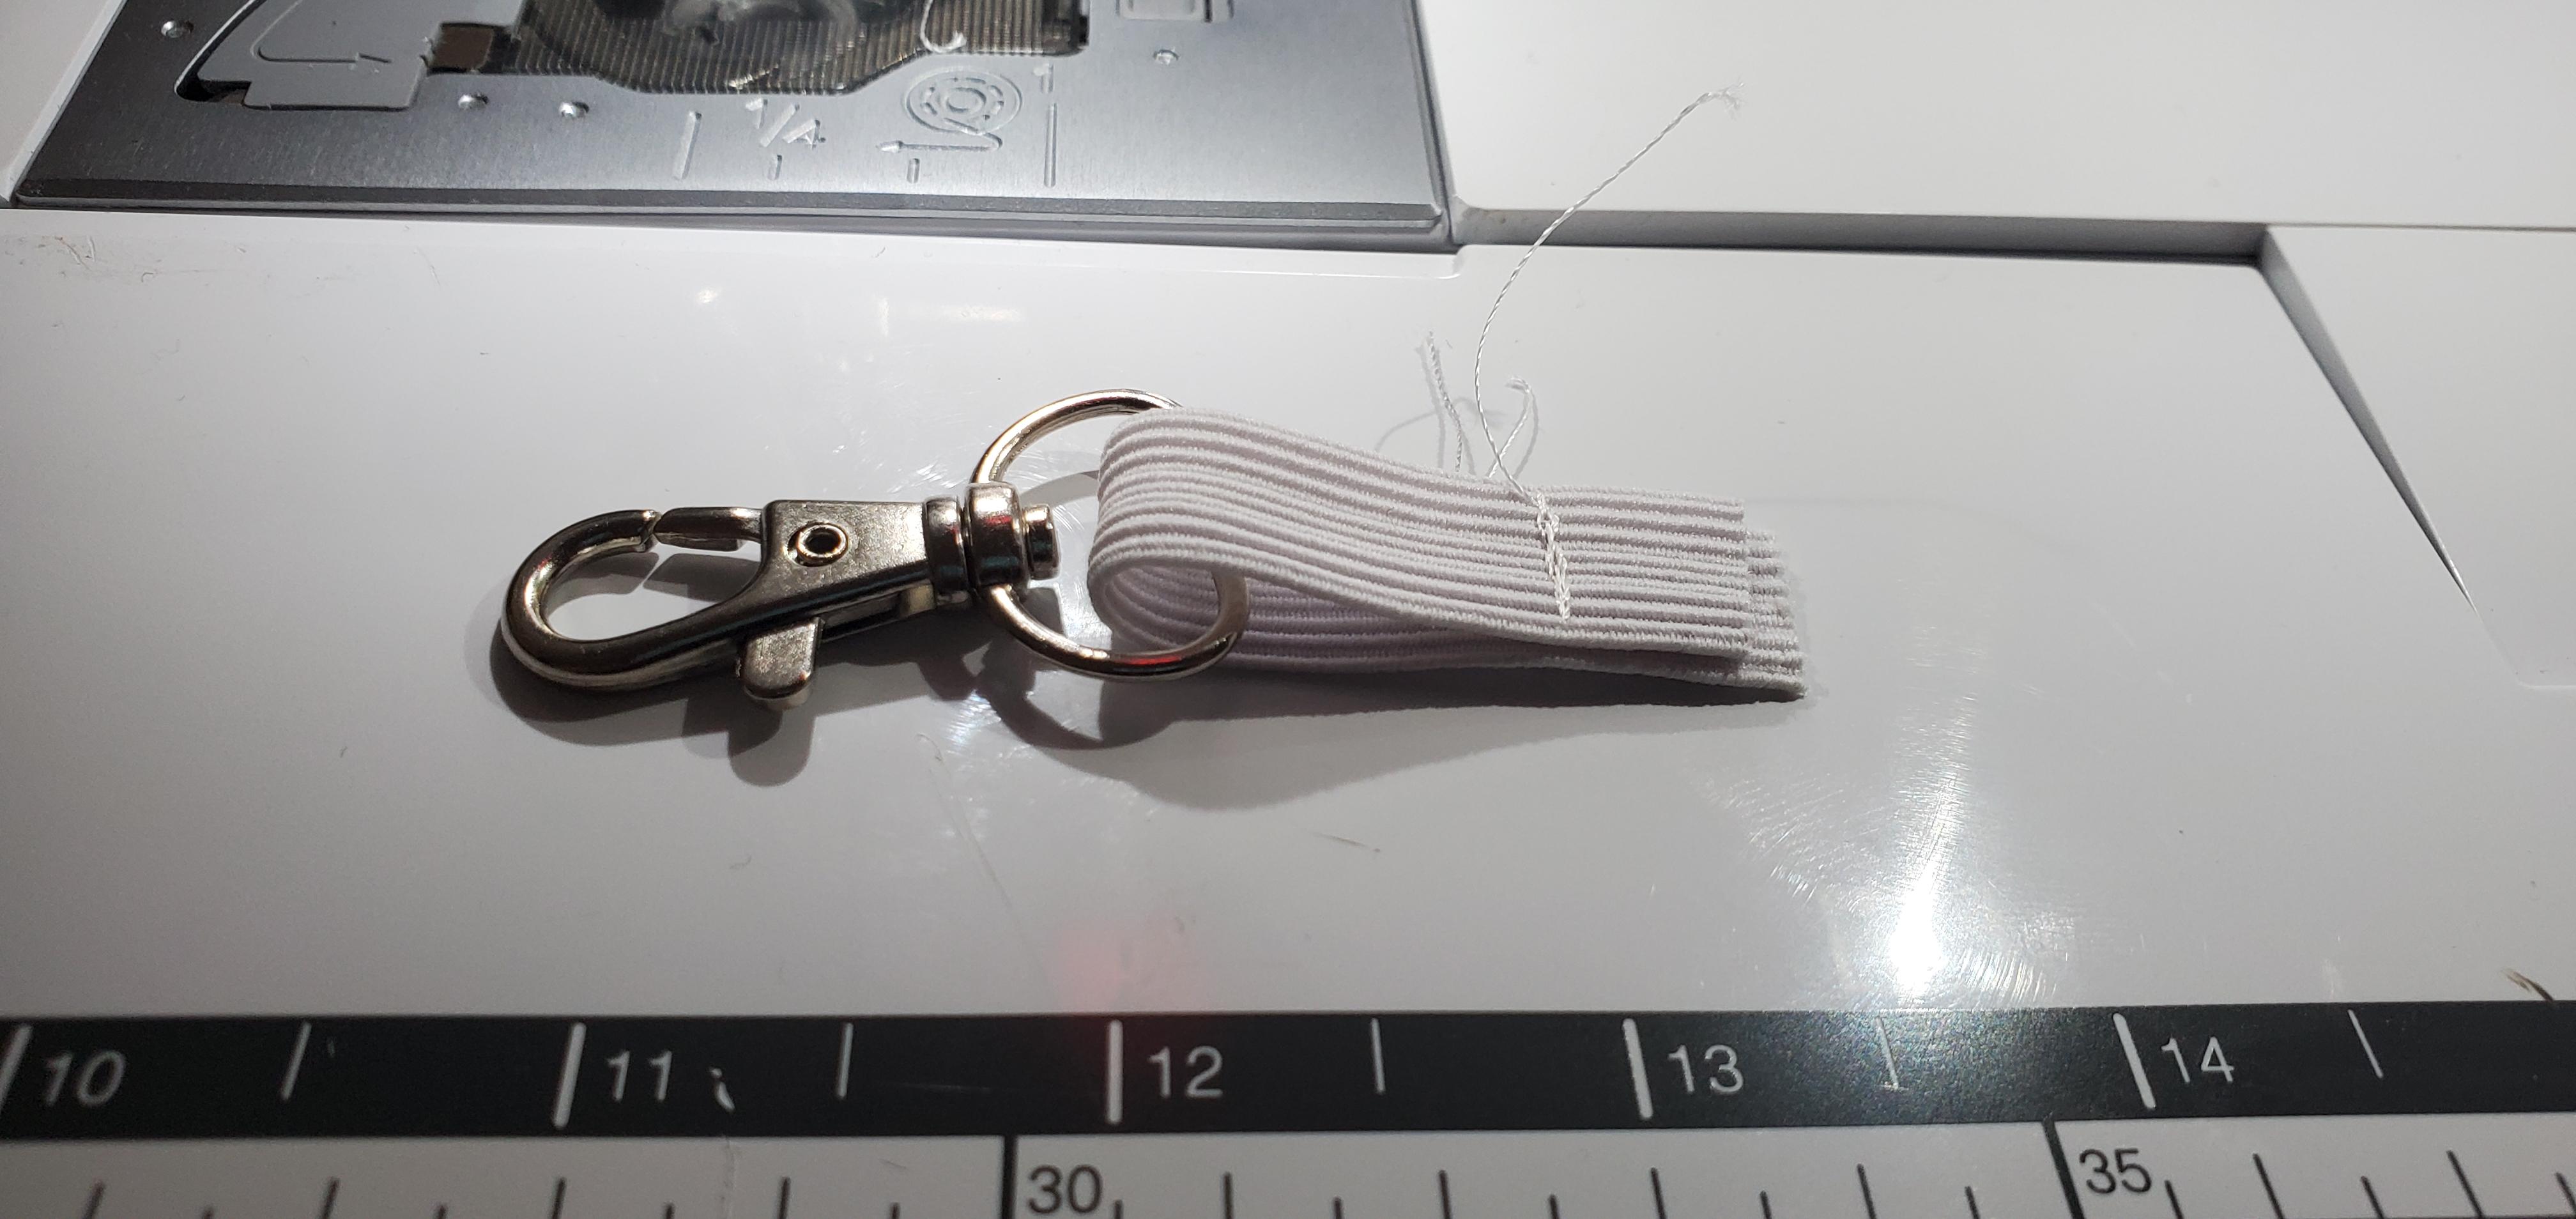
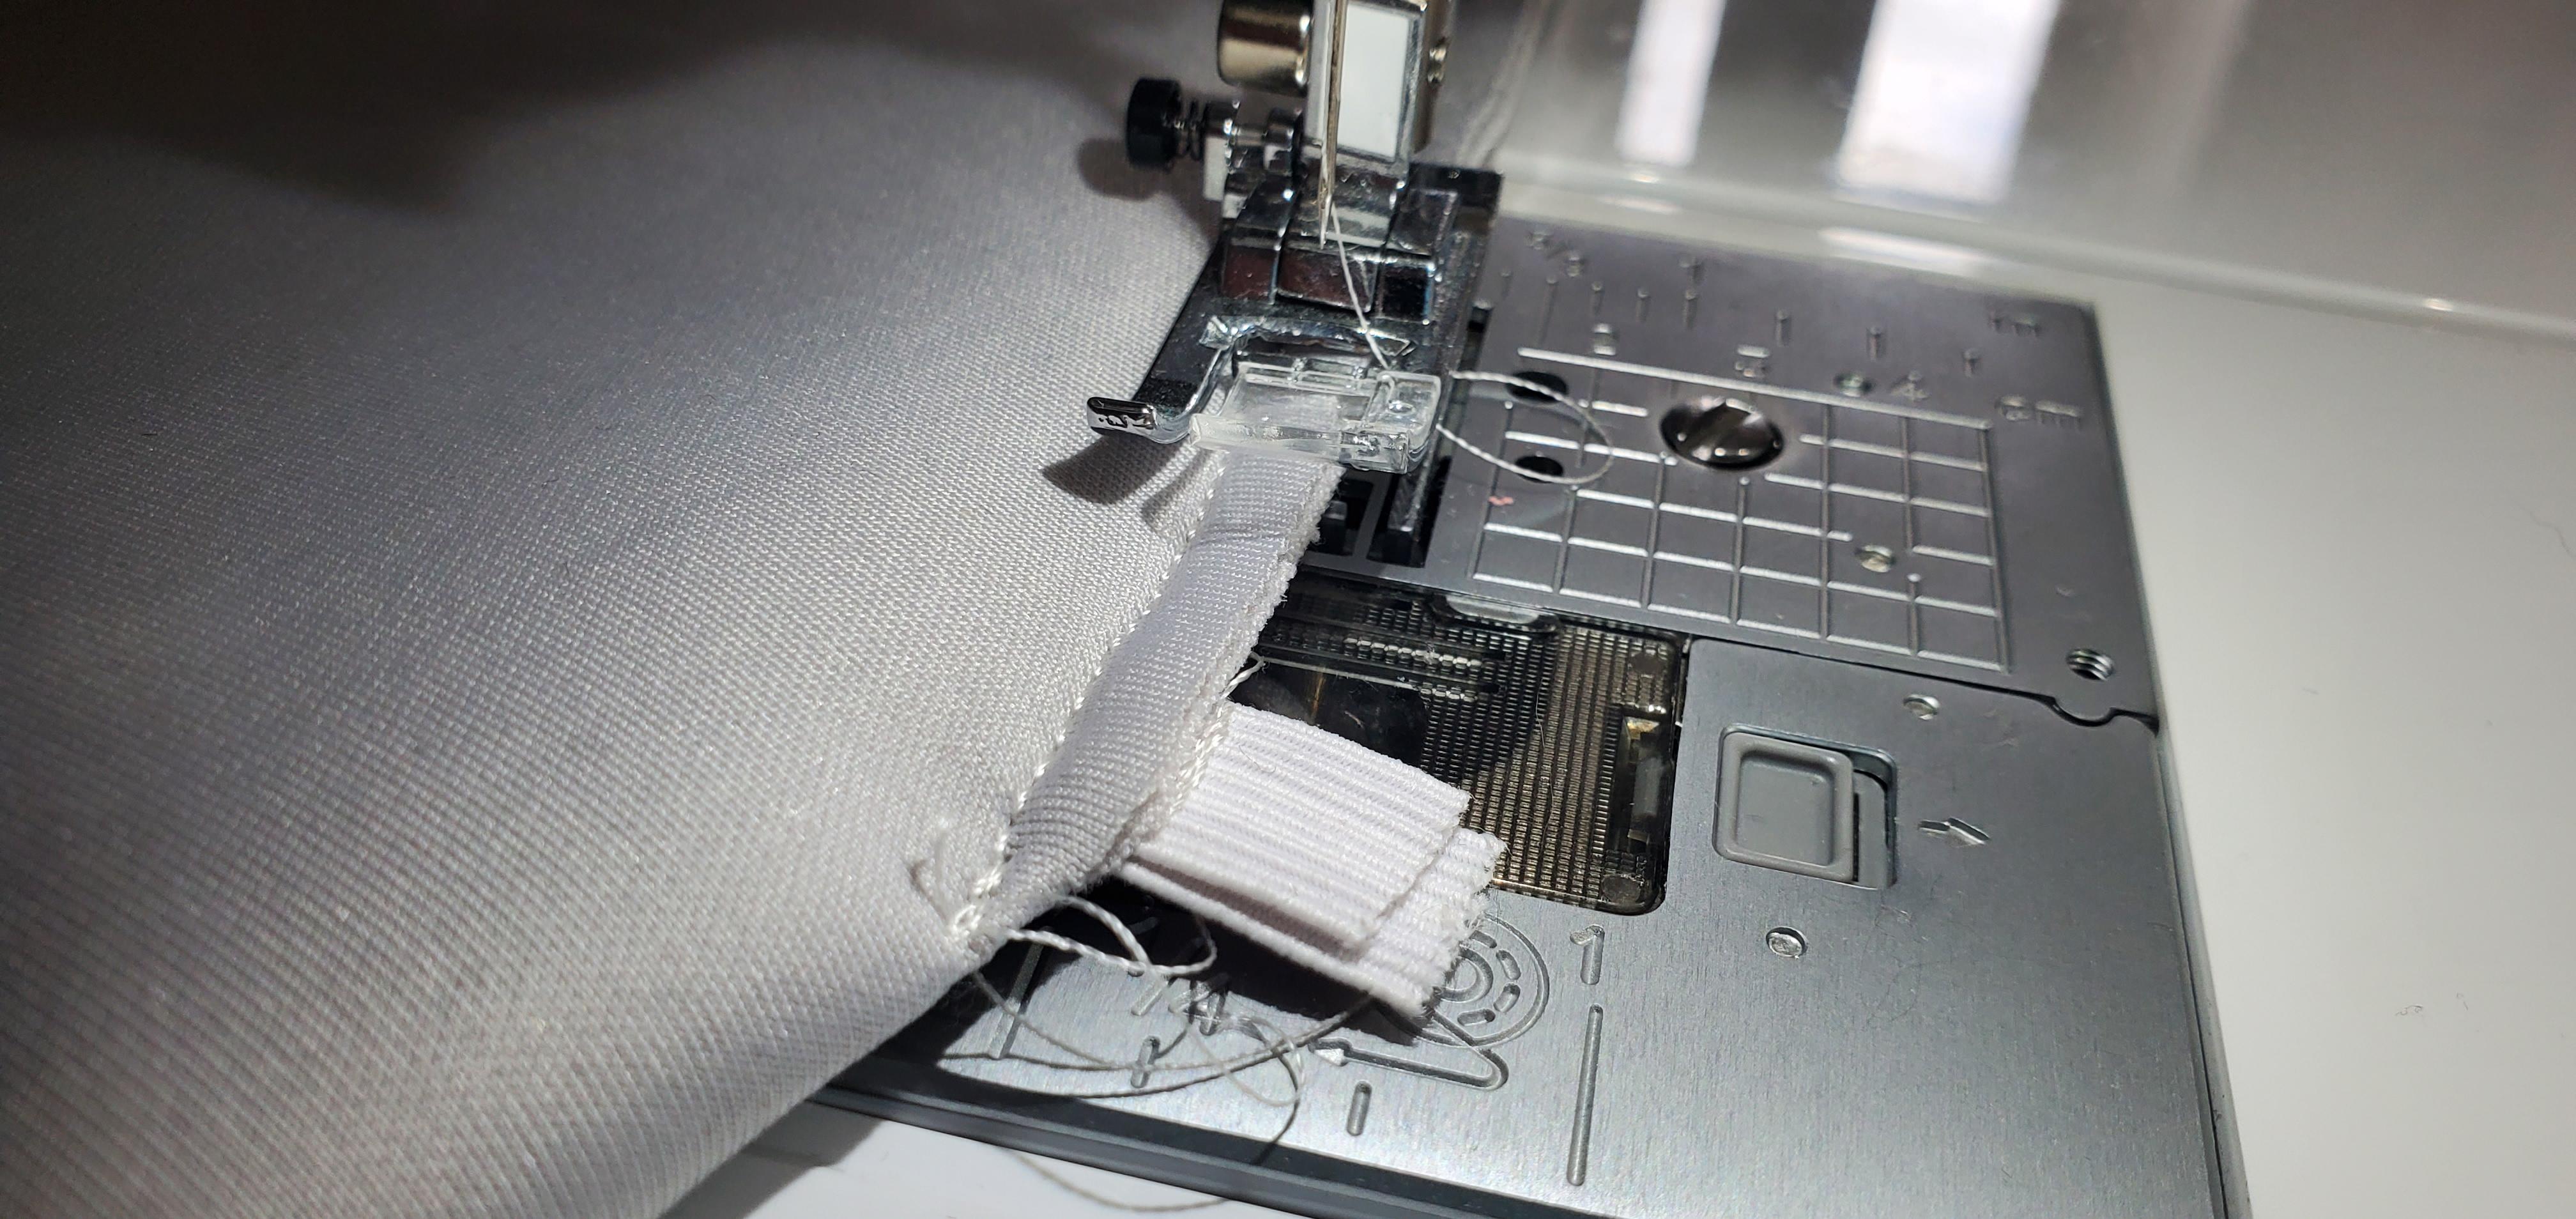
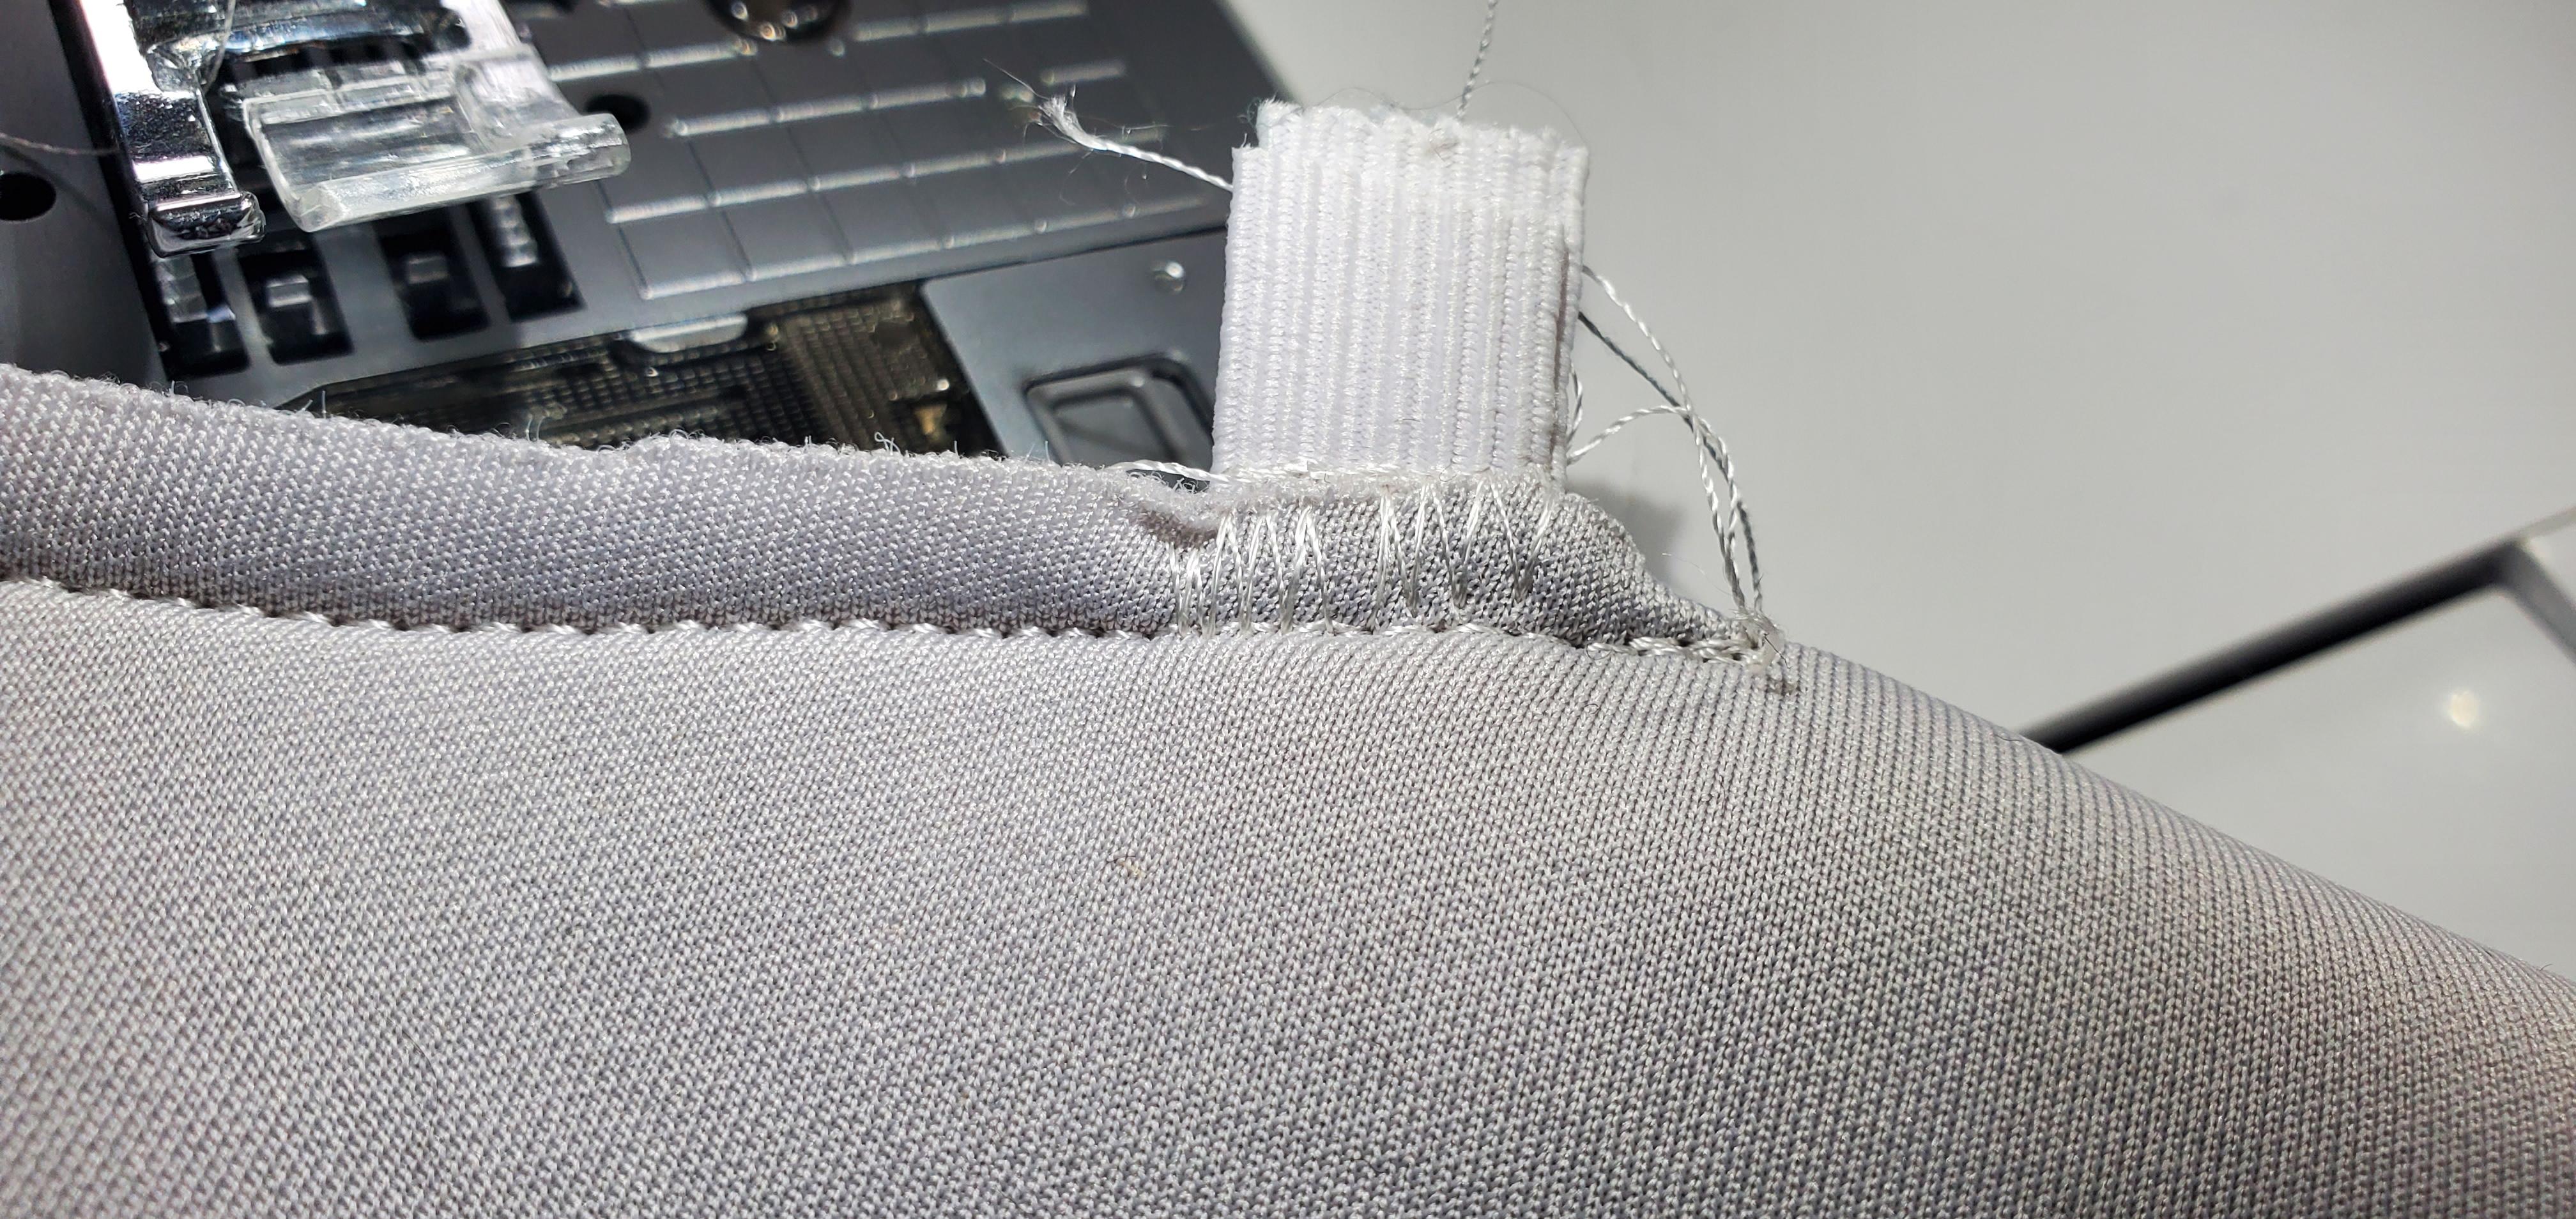
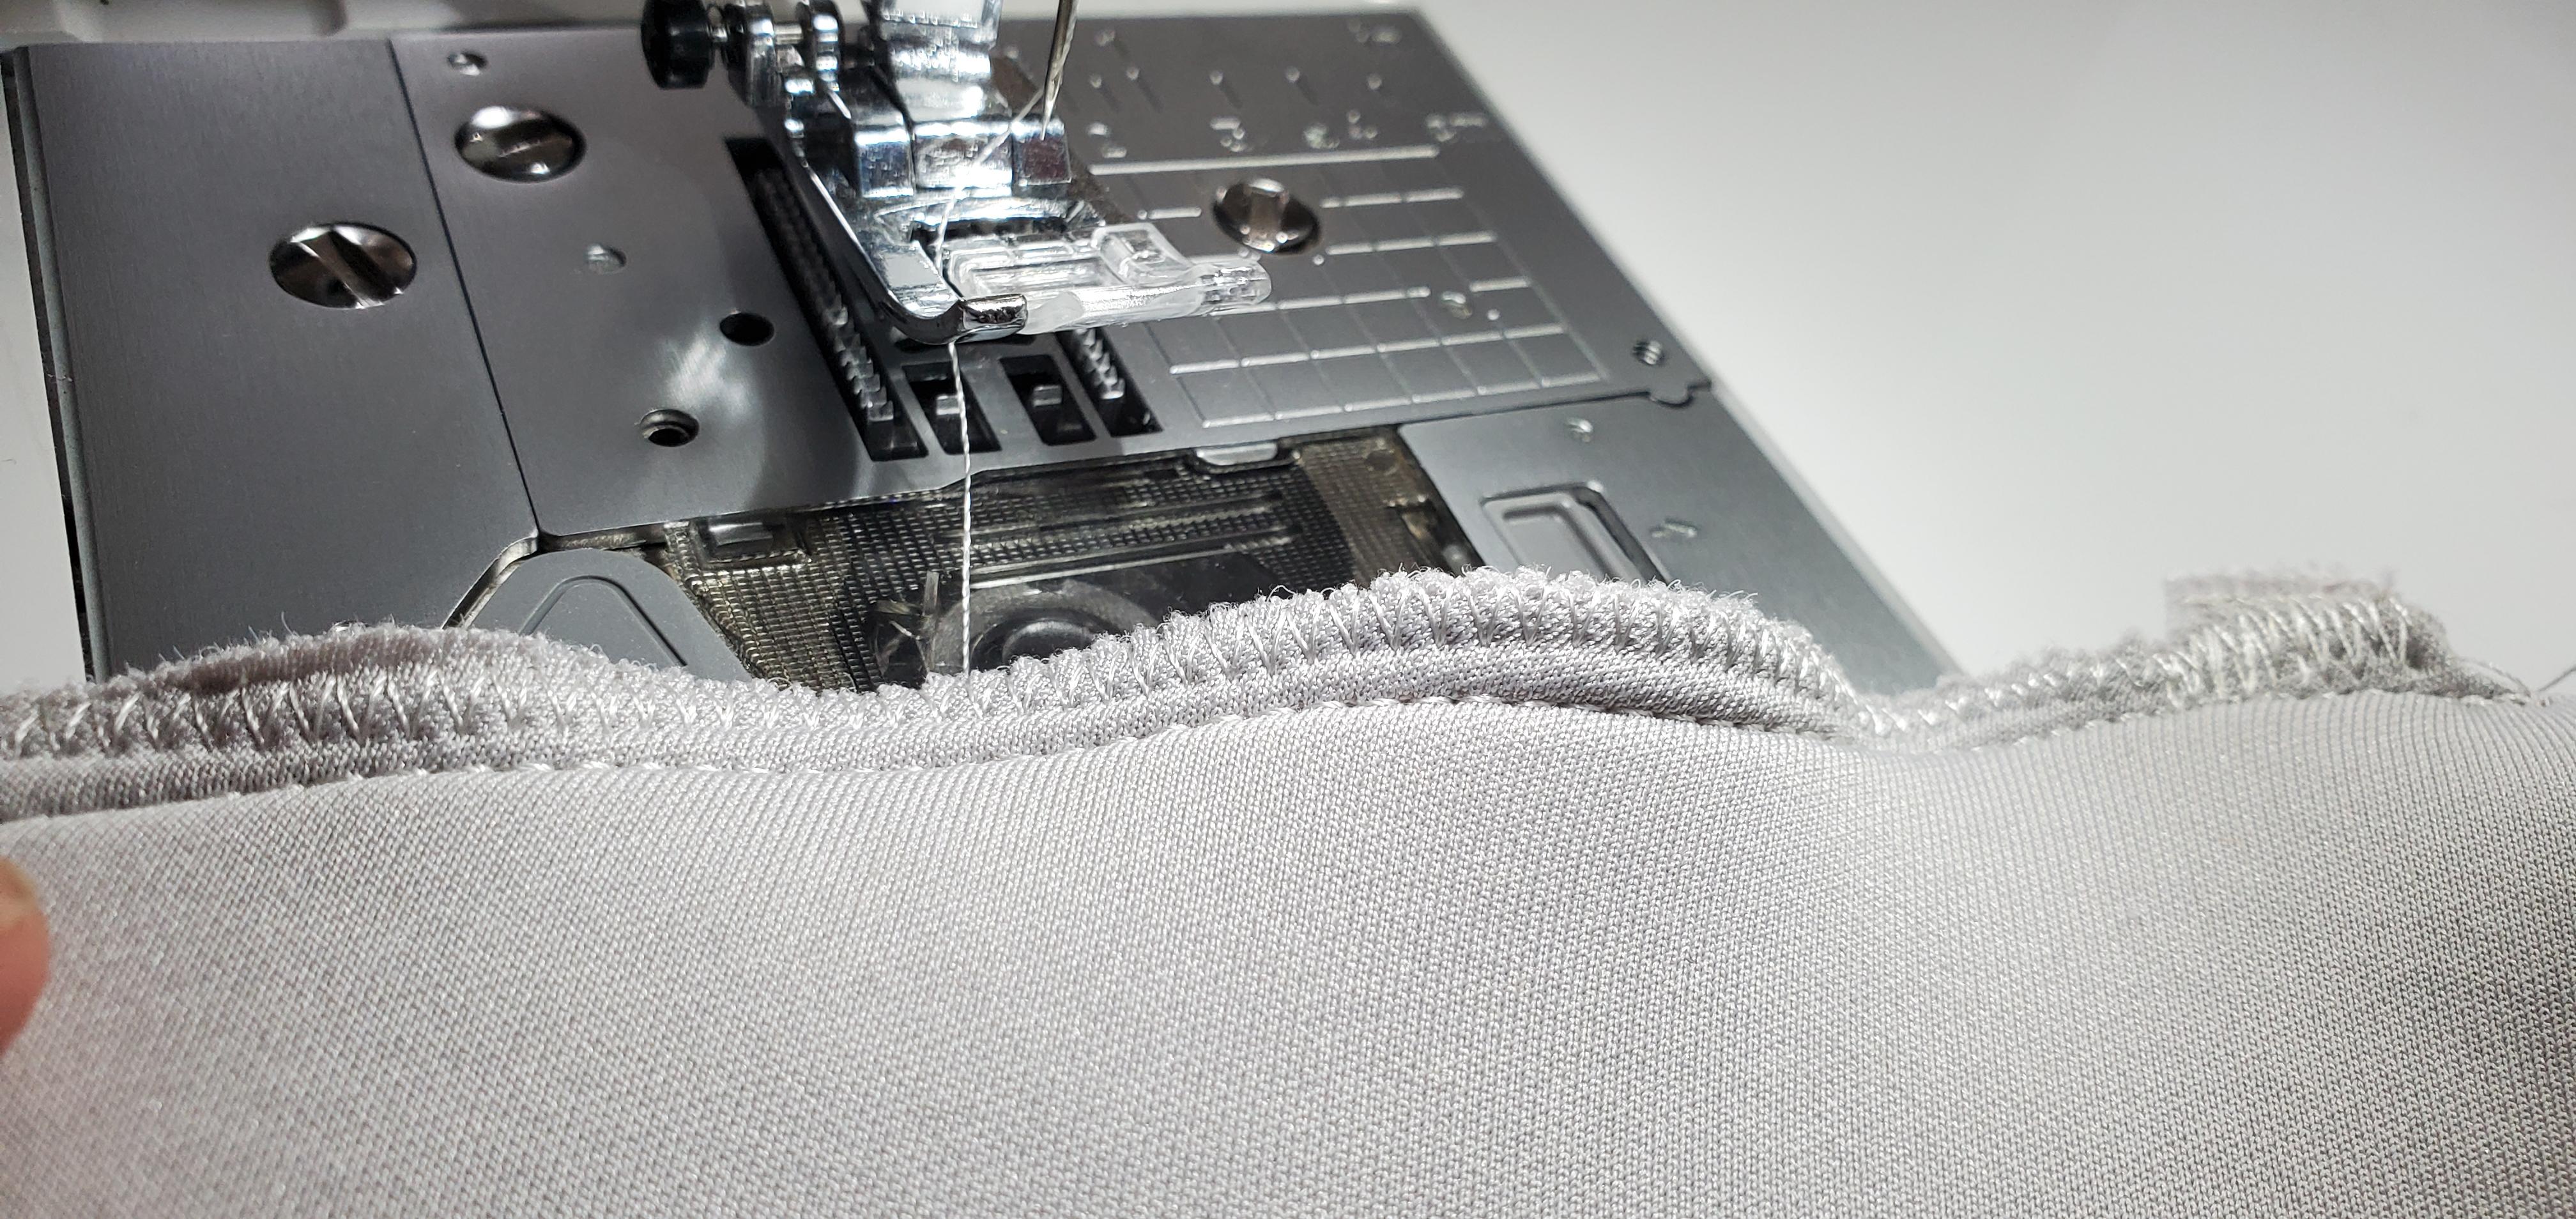
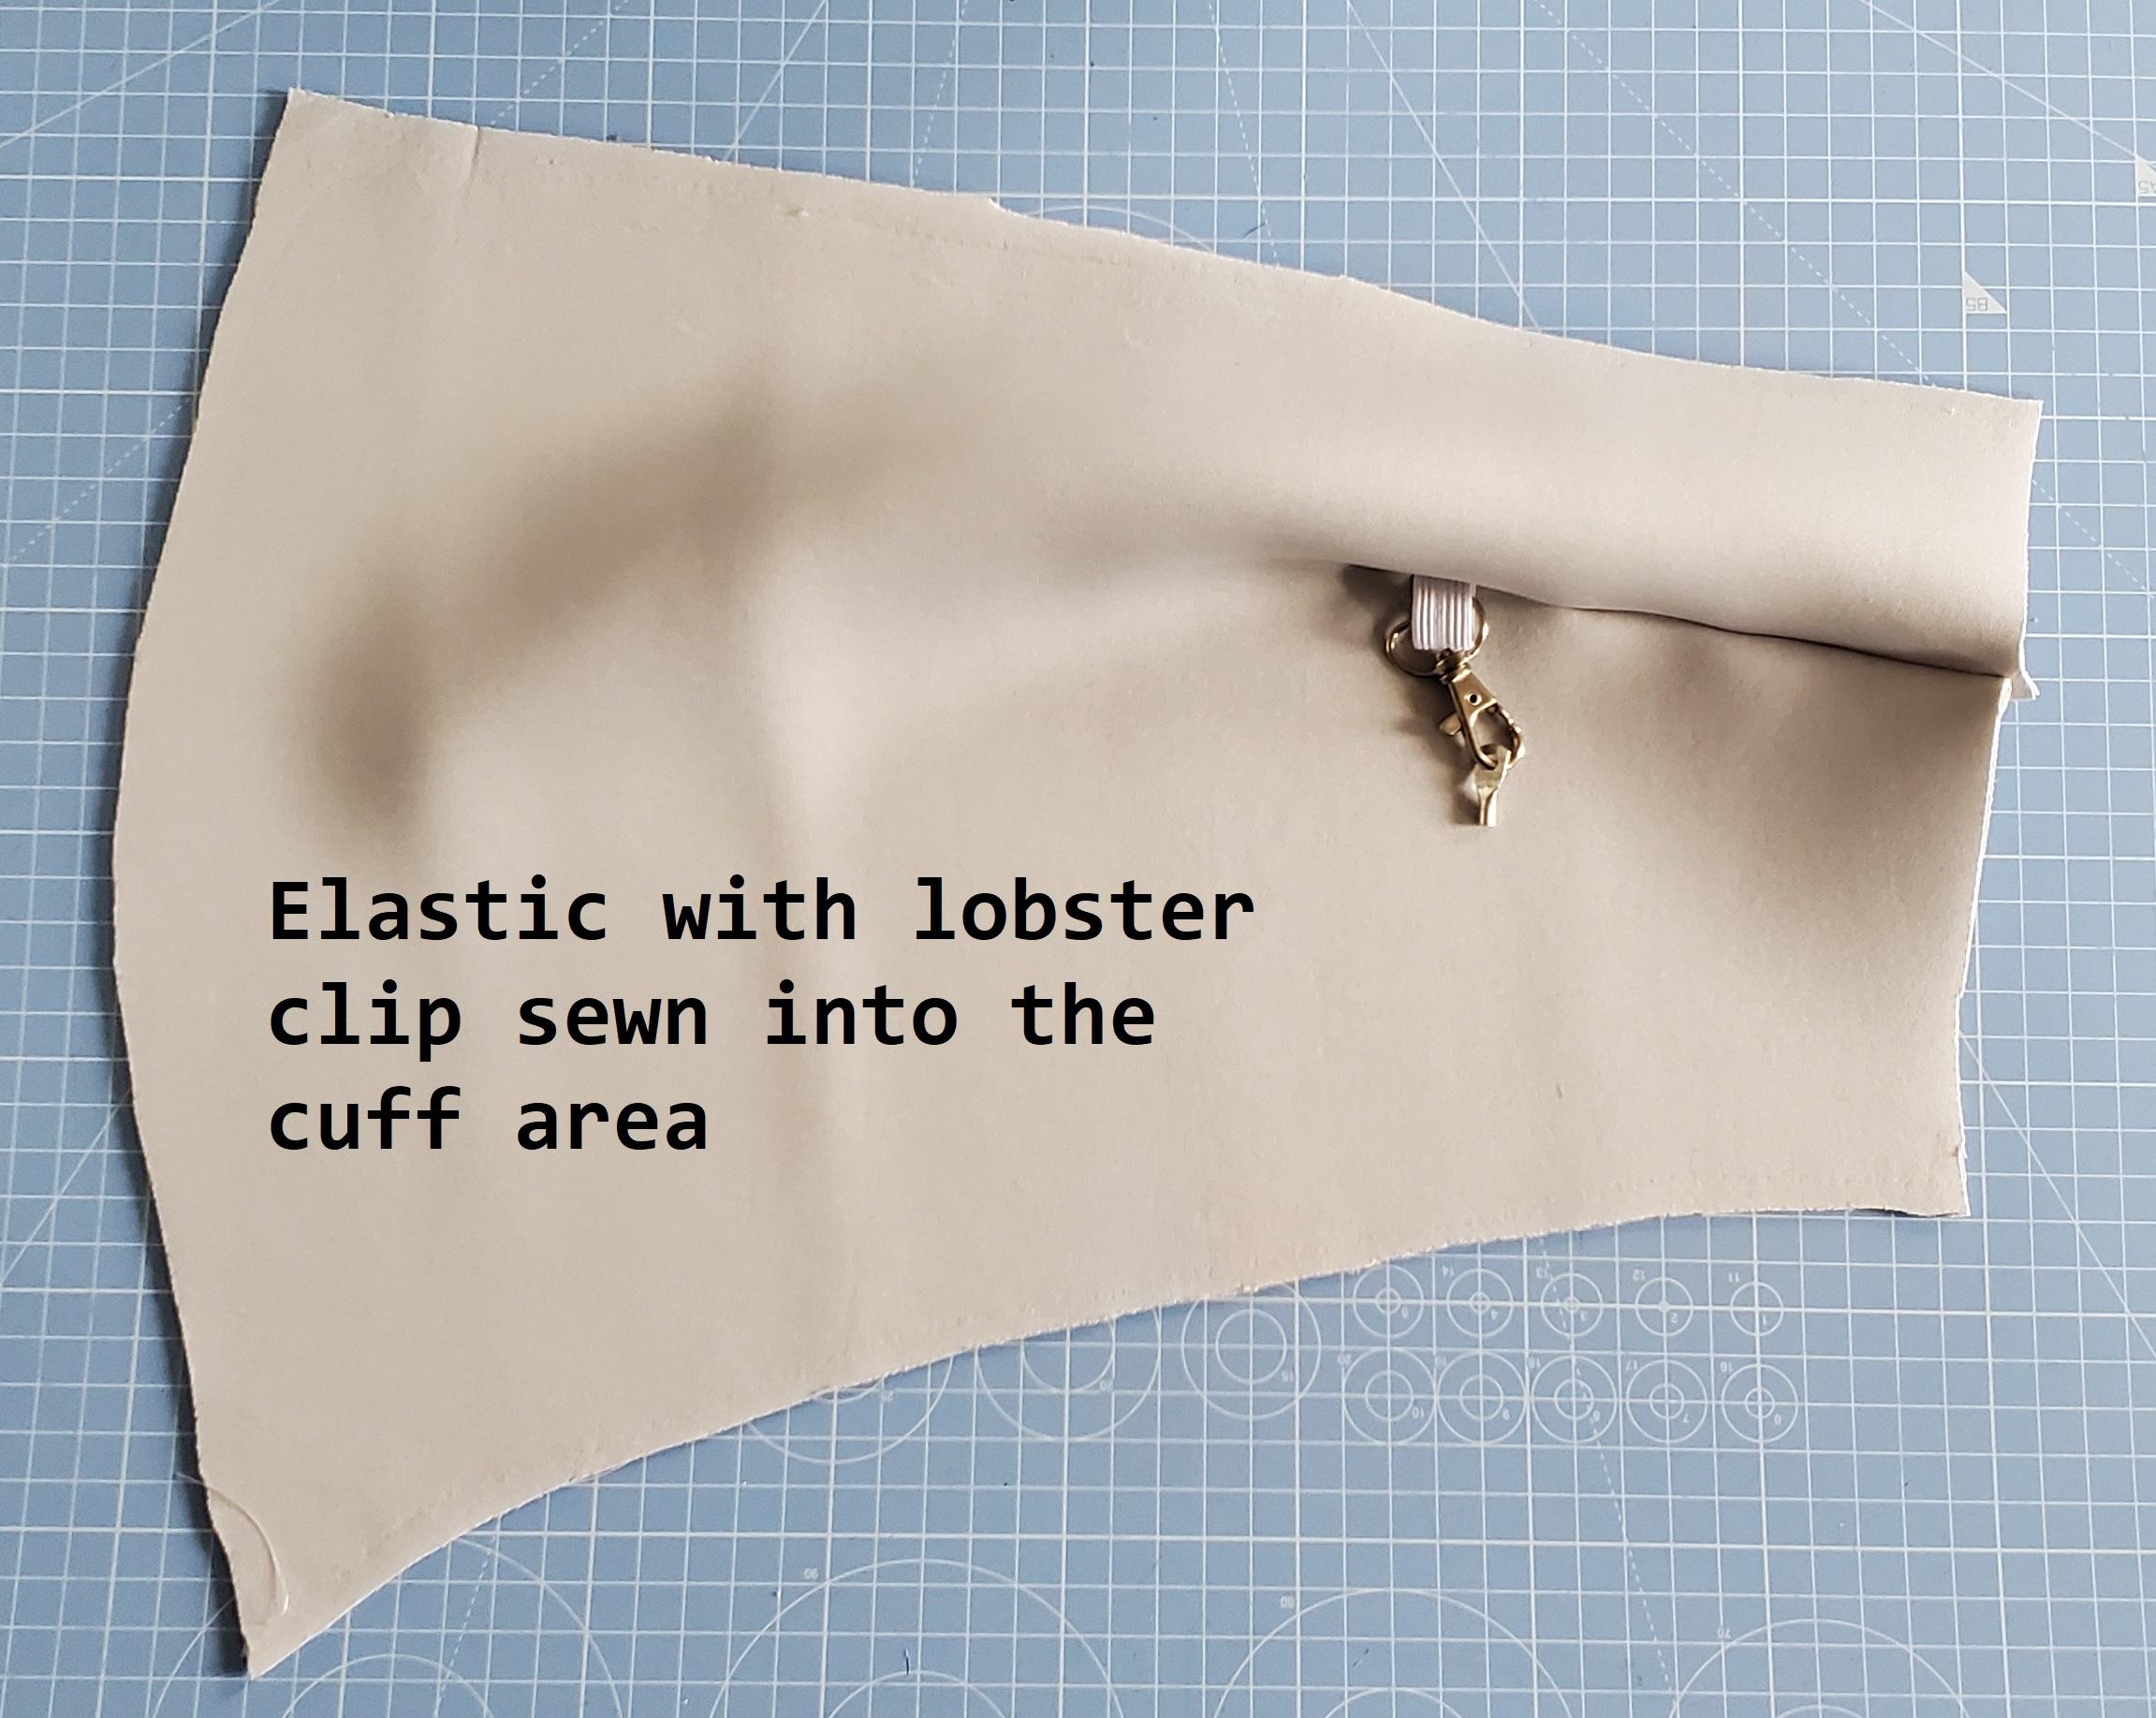
You'll notice this pattern has a cut in the cuff area of the sleeve. This is the first part we'll sew. This is because when we add the conductive fabric to the sleeve we need to get it perfectly fitting, and so this will need to be sewn beforehand.
If you are adding the lobster clip to hold the ring terminals, we add it in this part too.
- Place the lobster clip on elastic through this cuff cut
We will sew it into this part so that it will be secure. I'm sewing it high up in the cuff. This is because I don't want to have my wires hanging down too long.
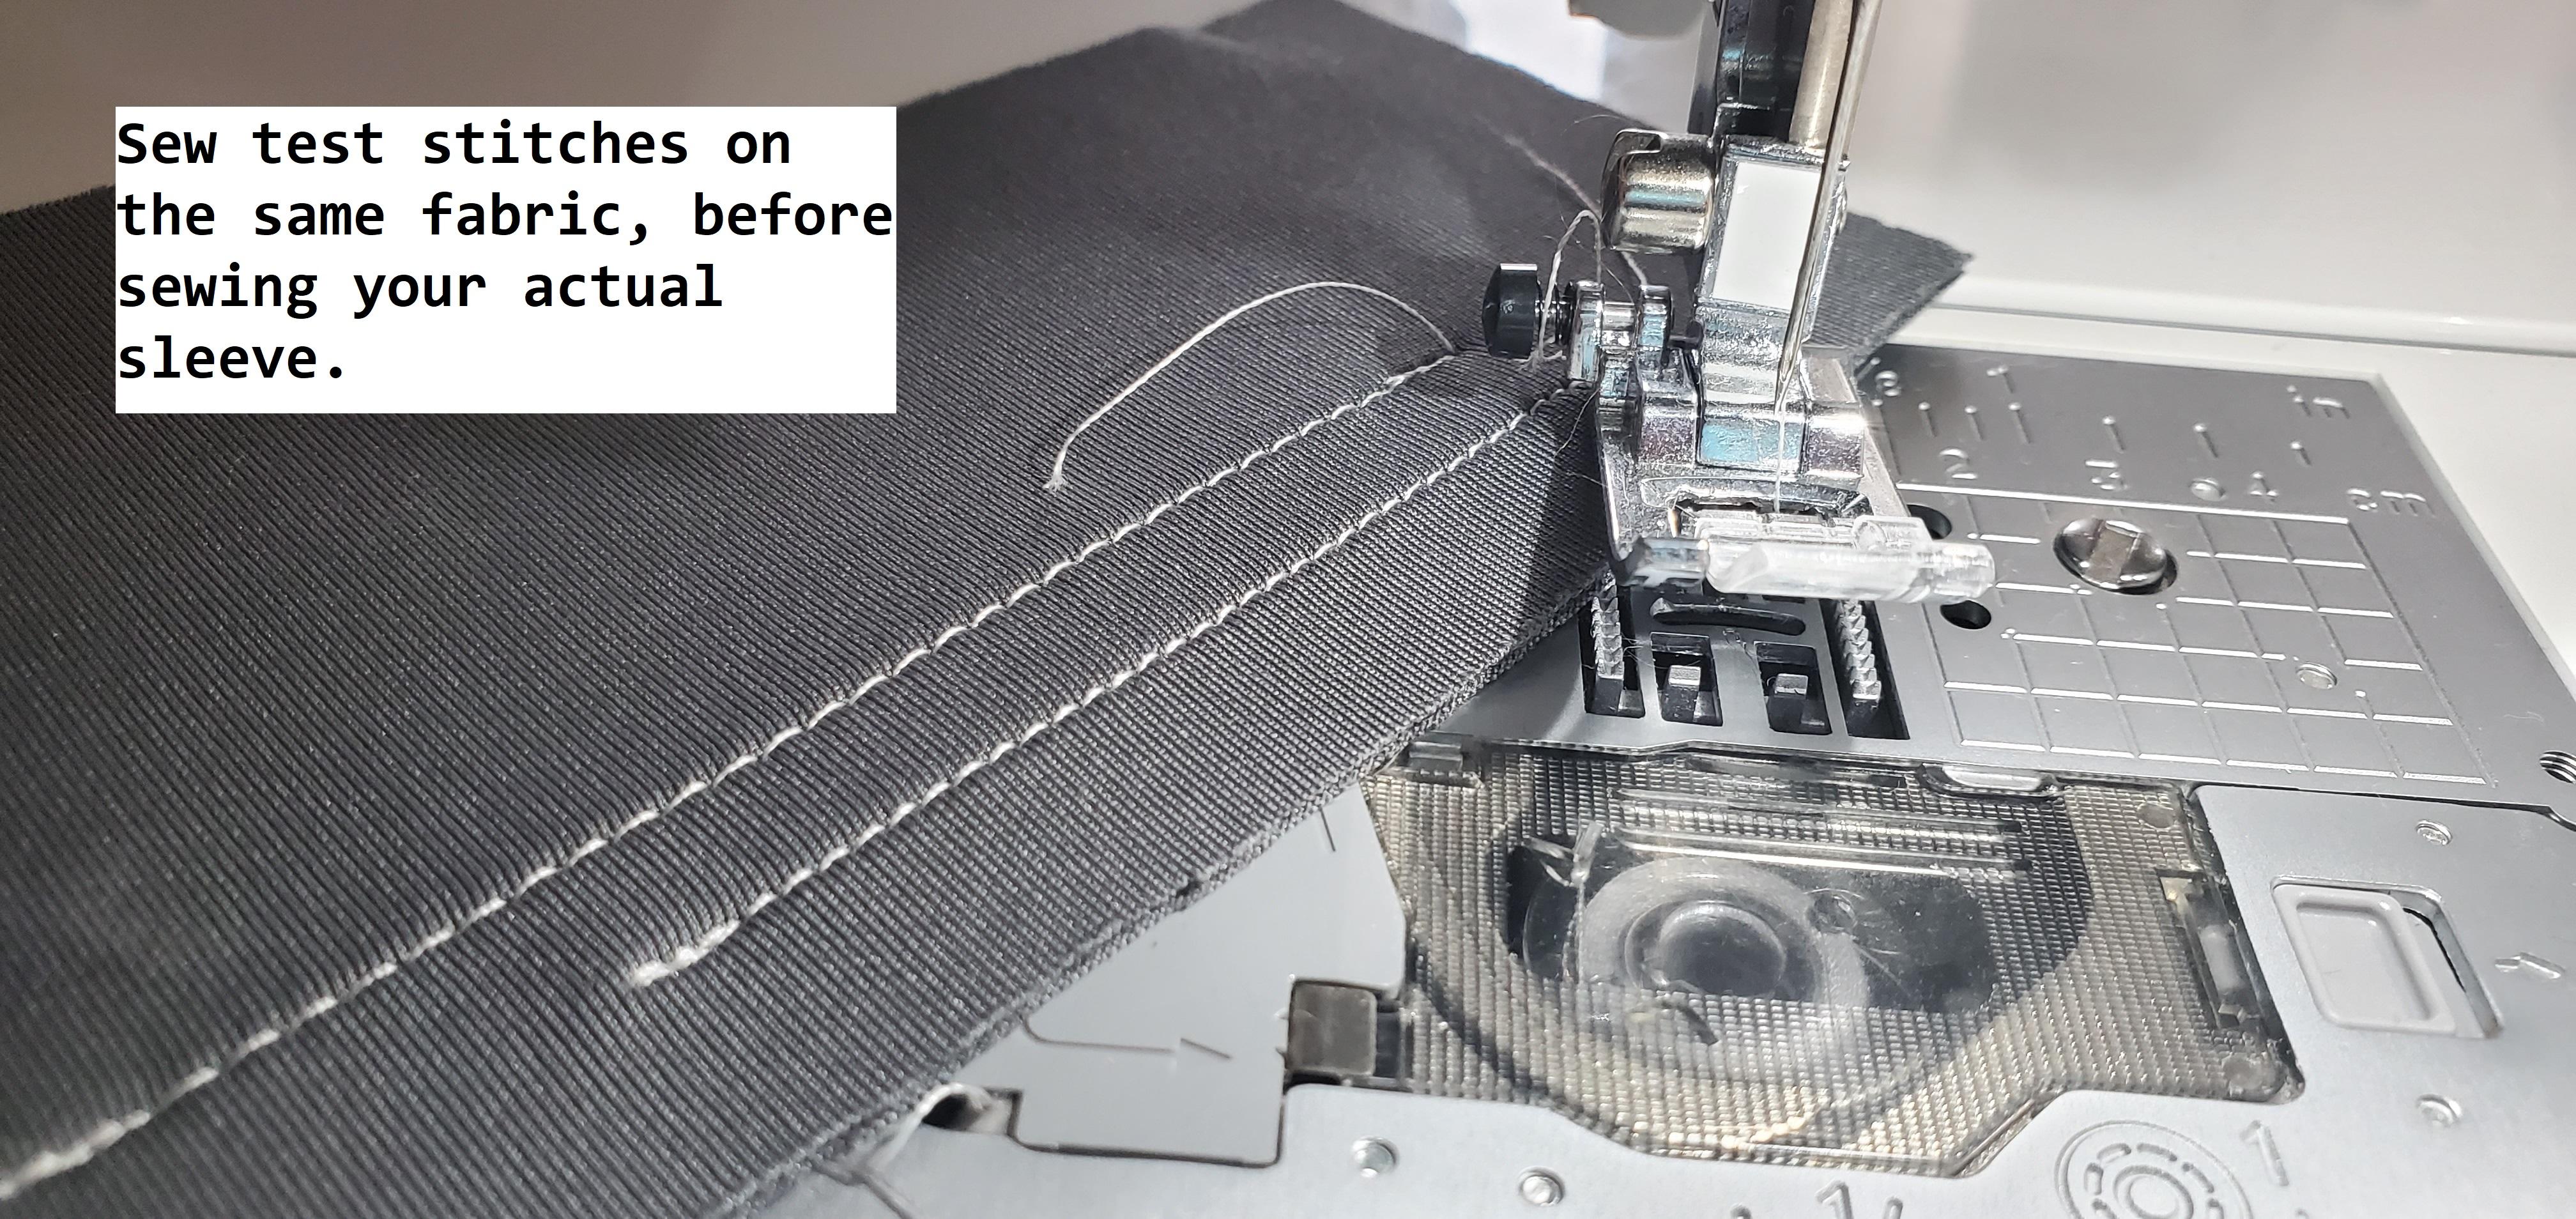
Important - before you begin sewing, if you are using a sewing machine - test on a scrap piece of neoprene first! Neoprene can be a little difficult to sew. Set your stitch length and tension to suit the fabric.
- Sew the elastic together (with lobster clip on it) with a few stitches near the end of the elastic
- Put the elastic piece with lobster clip into the cuff cut
- Sew the cuff area together
I've used a stitch size of 3.5, any smaller and it can pull the neoprene a little too tightly.
I added a zigzag stitch over this cuff area to secure the stitches and elastic in place.
Place to Check the Conductive Fabric Pieces
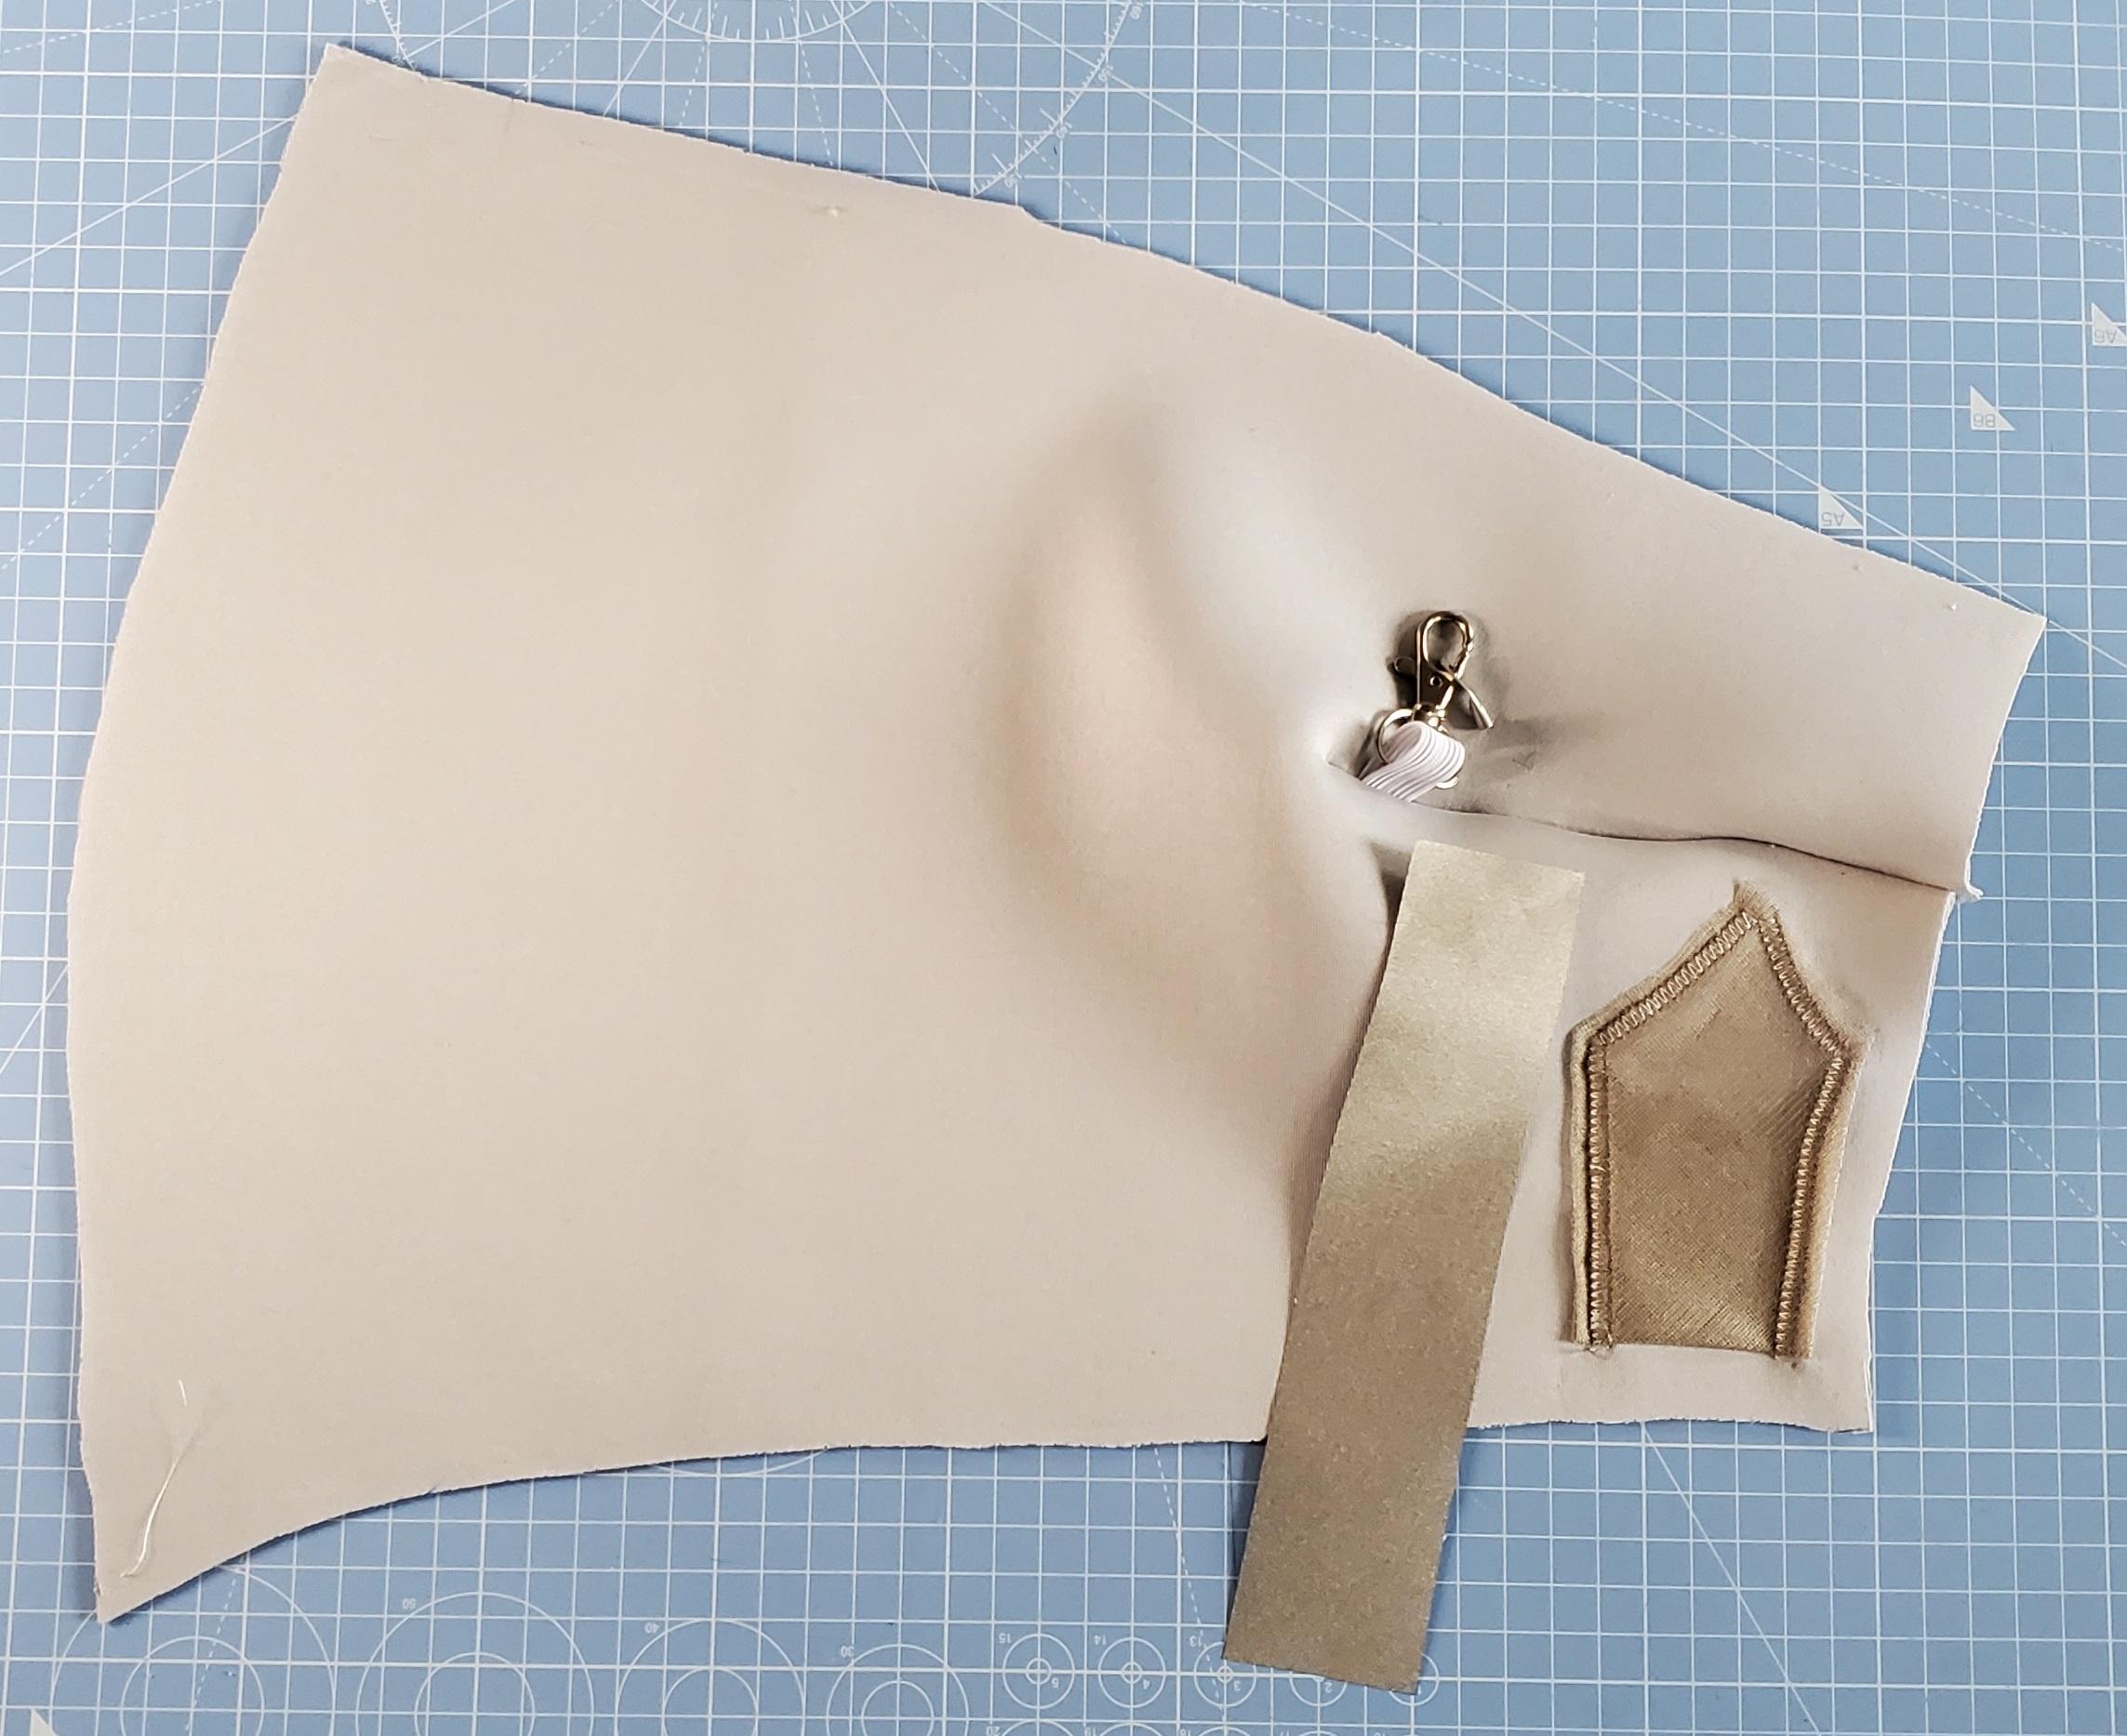
Using the sleeve as a base, place conductive fabric pieces you cut earlier on the sleeve. Make sure there is the correct spacing between them. Remember - if the pieces touch at all they will conduct - so they will become 1 large piece. So it is VERY important the pieces of conductive fabric do not touch.
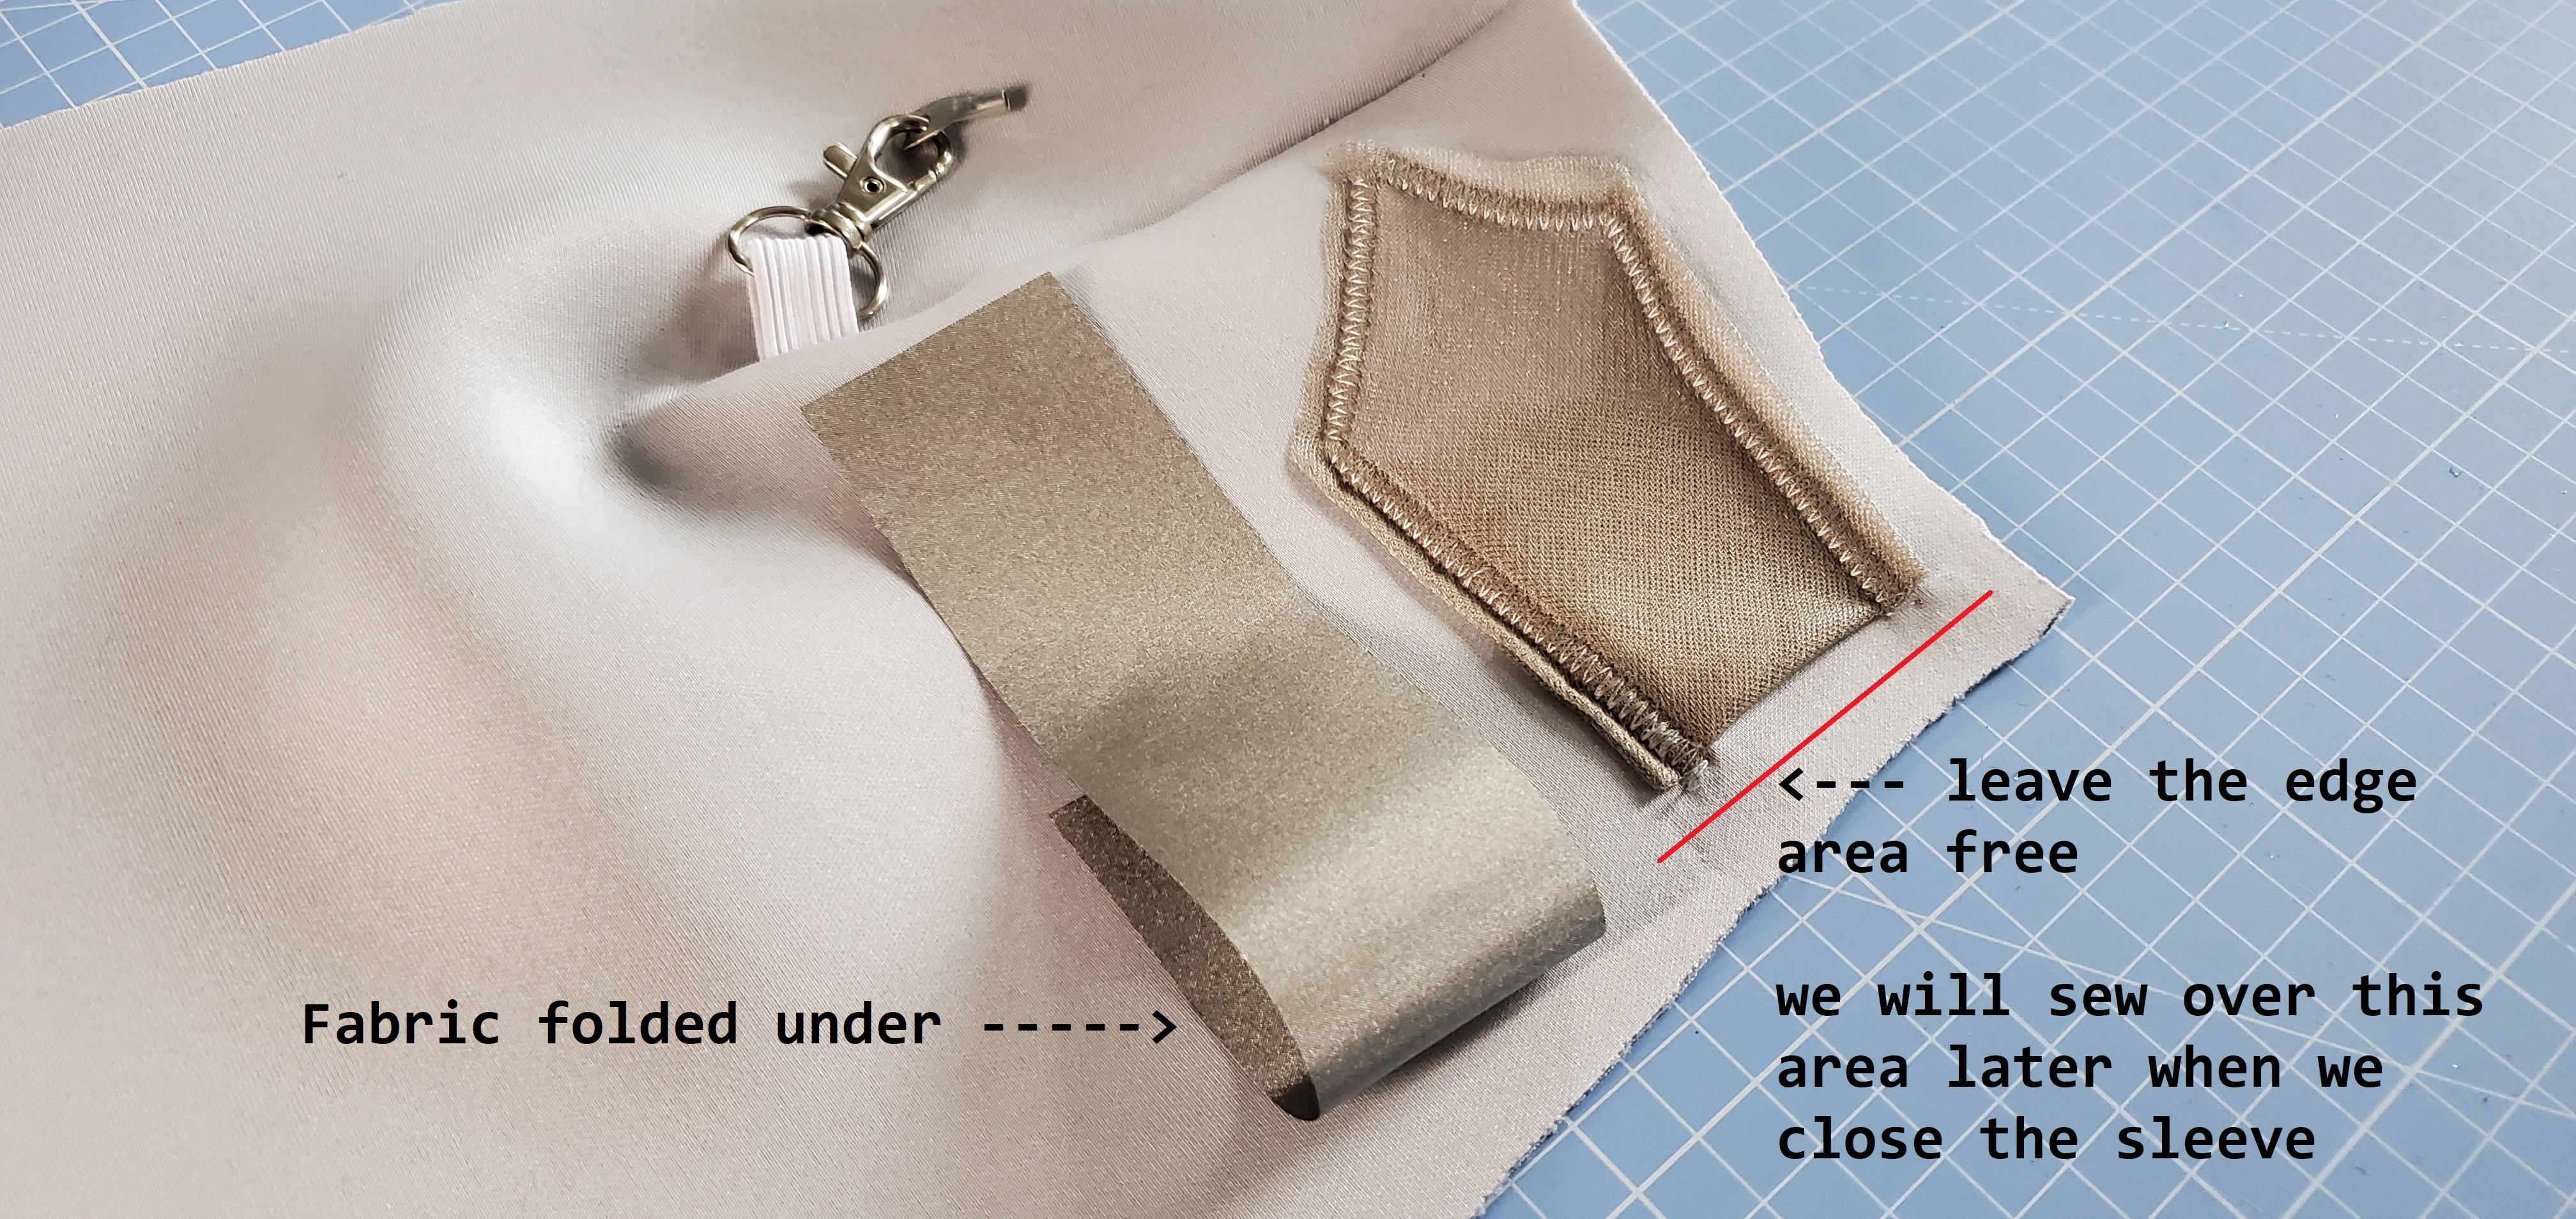
Also, the pieces will not touch all the way to the seam area. We will need access to these 'pocket' spaces we are sewing for the crocodile clips.
Add the First Piece of Conductive Fabric
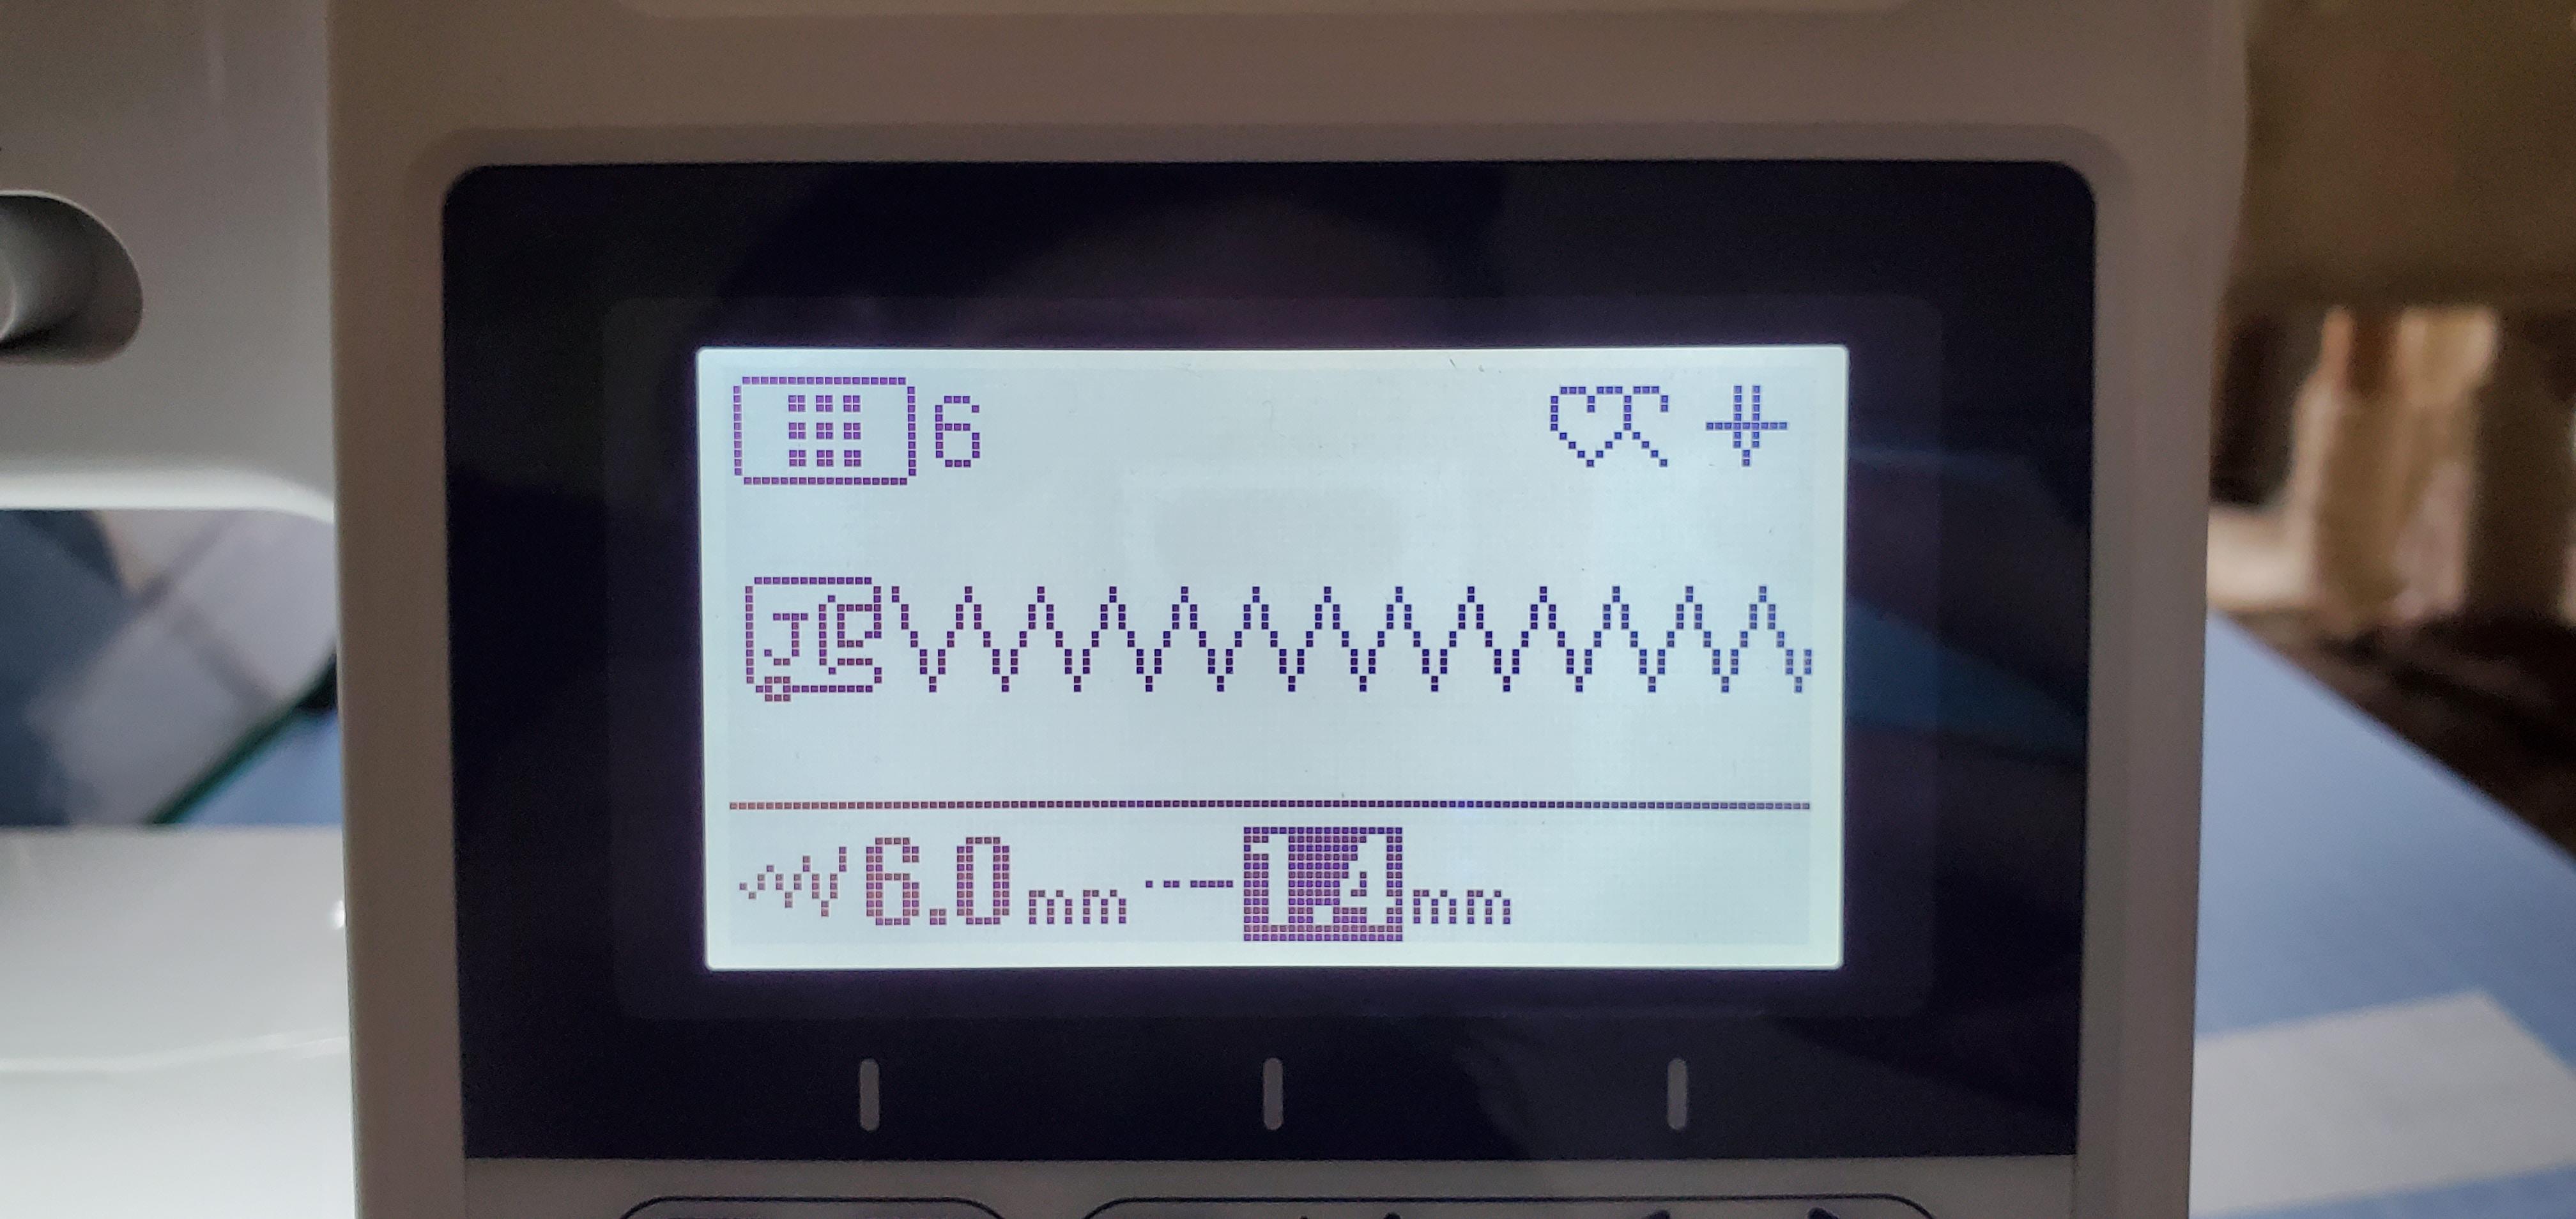
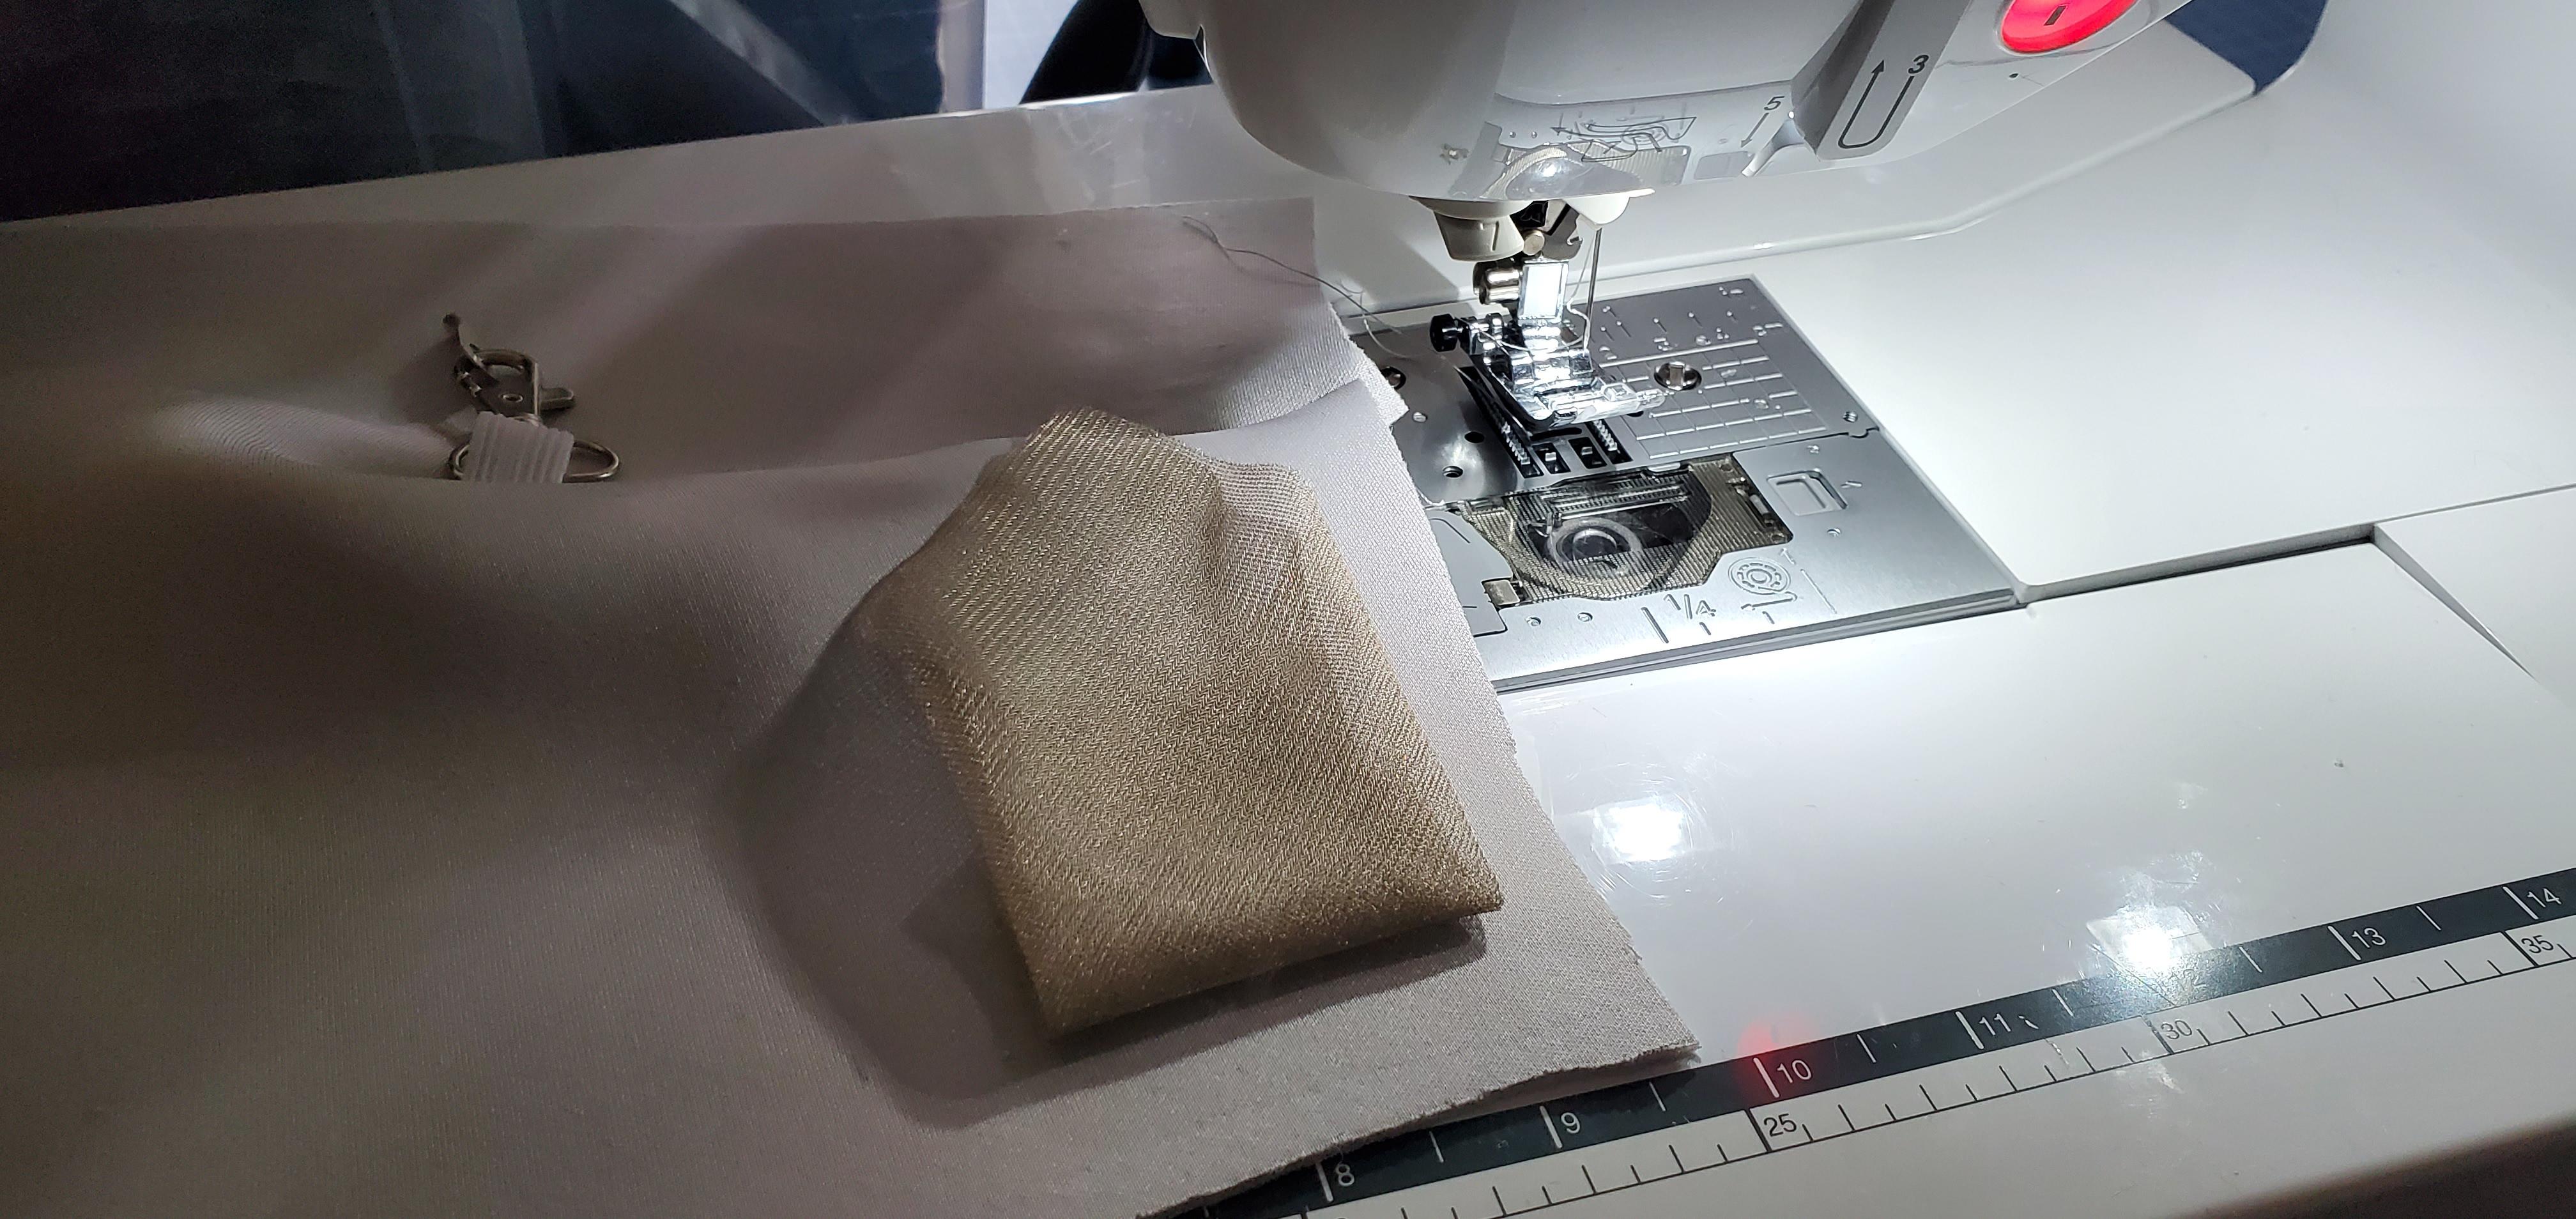
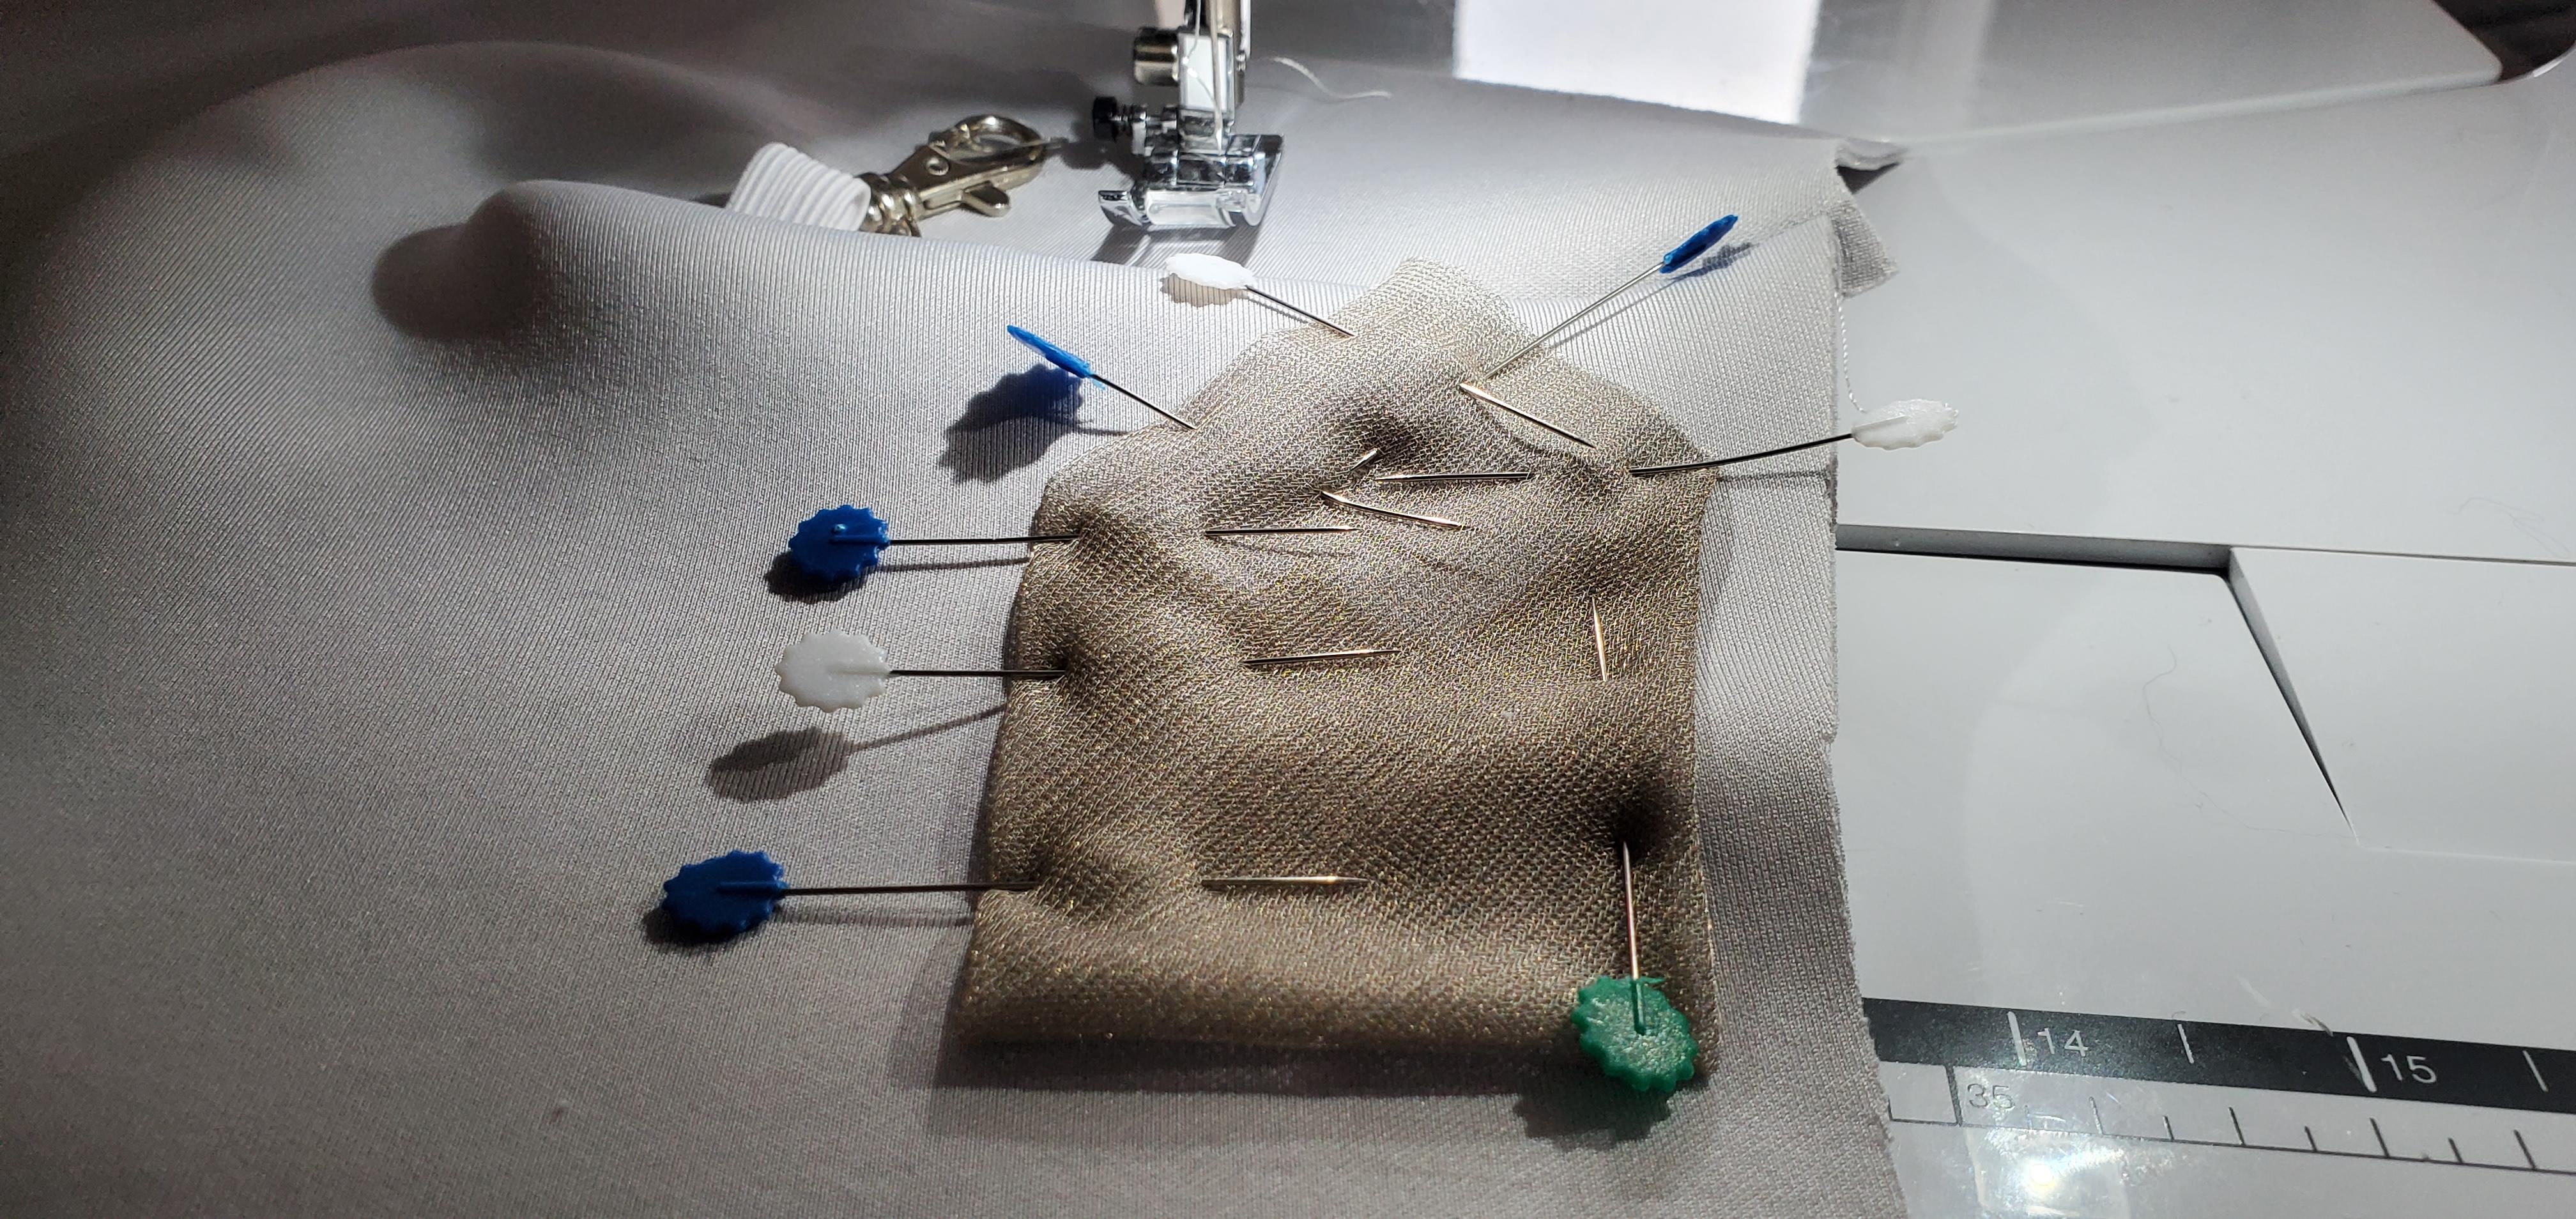
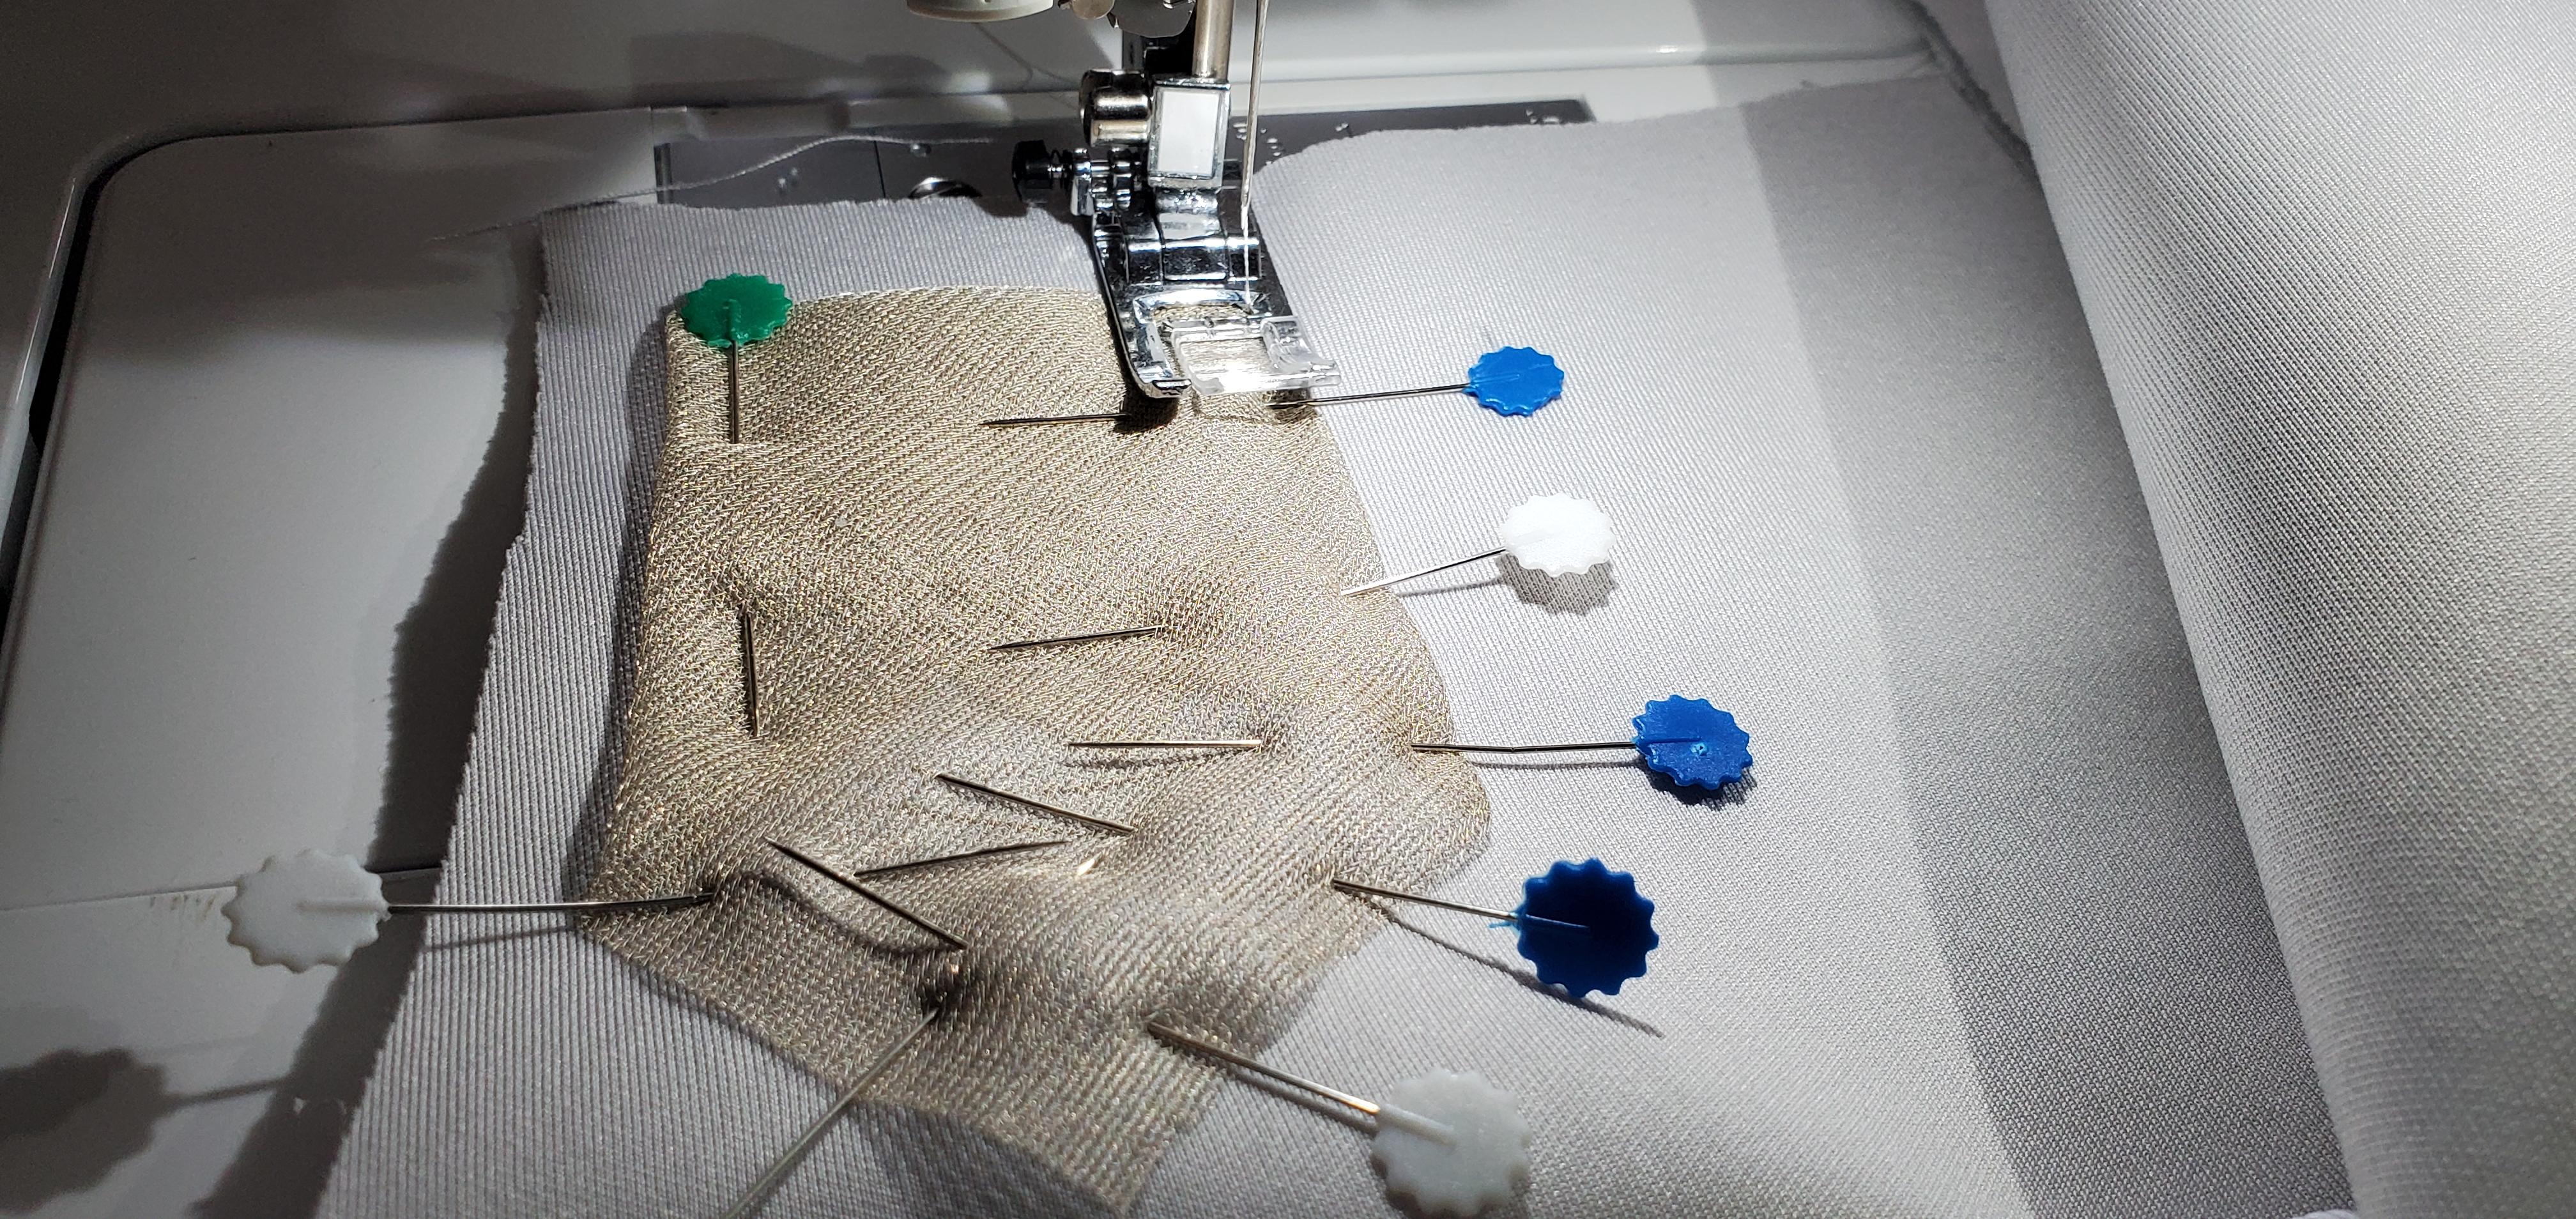
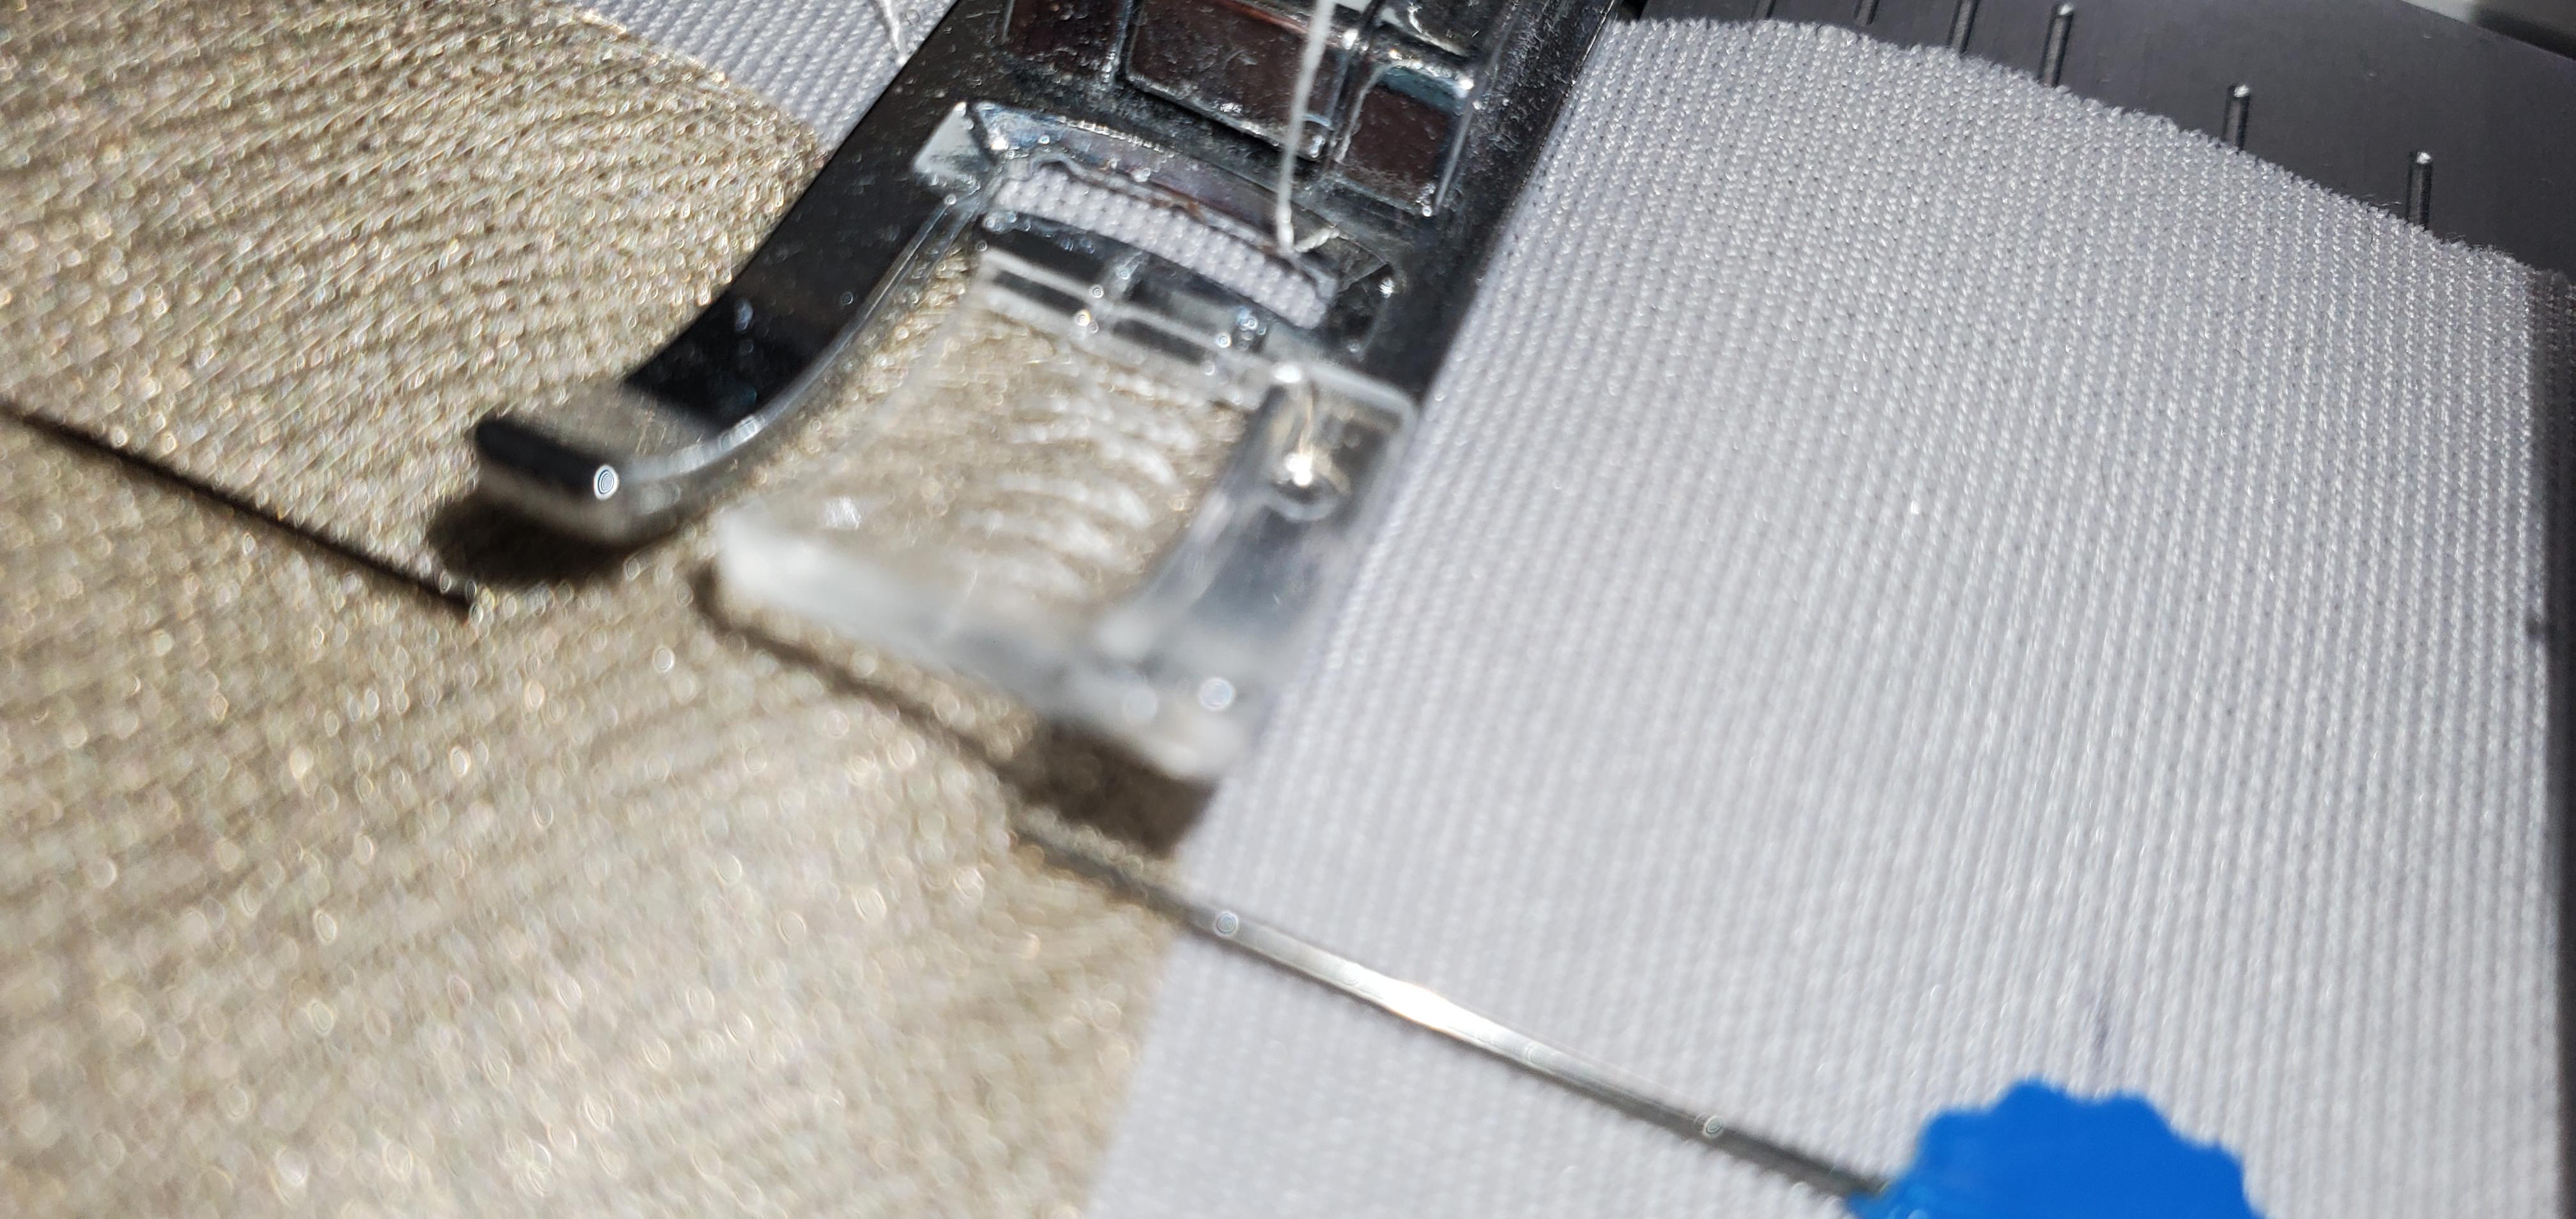
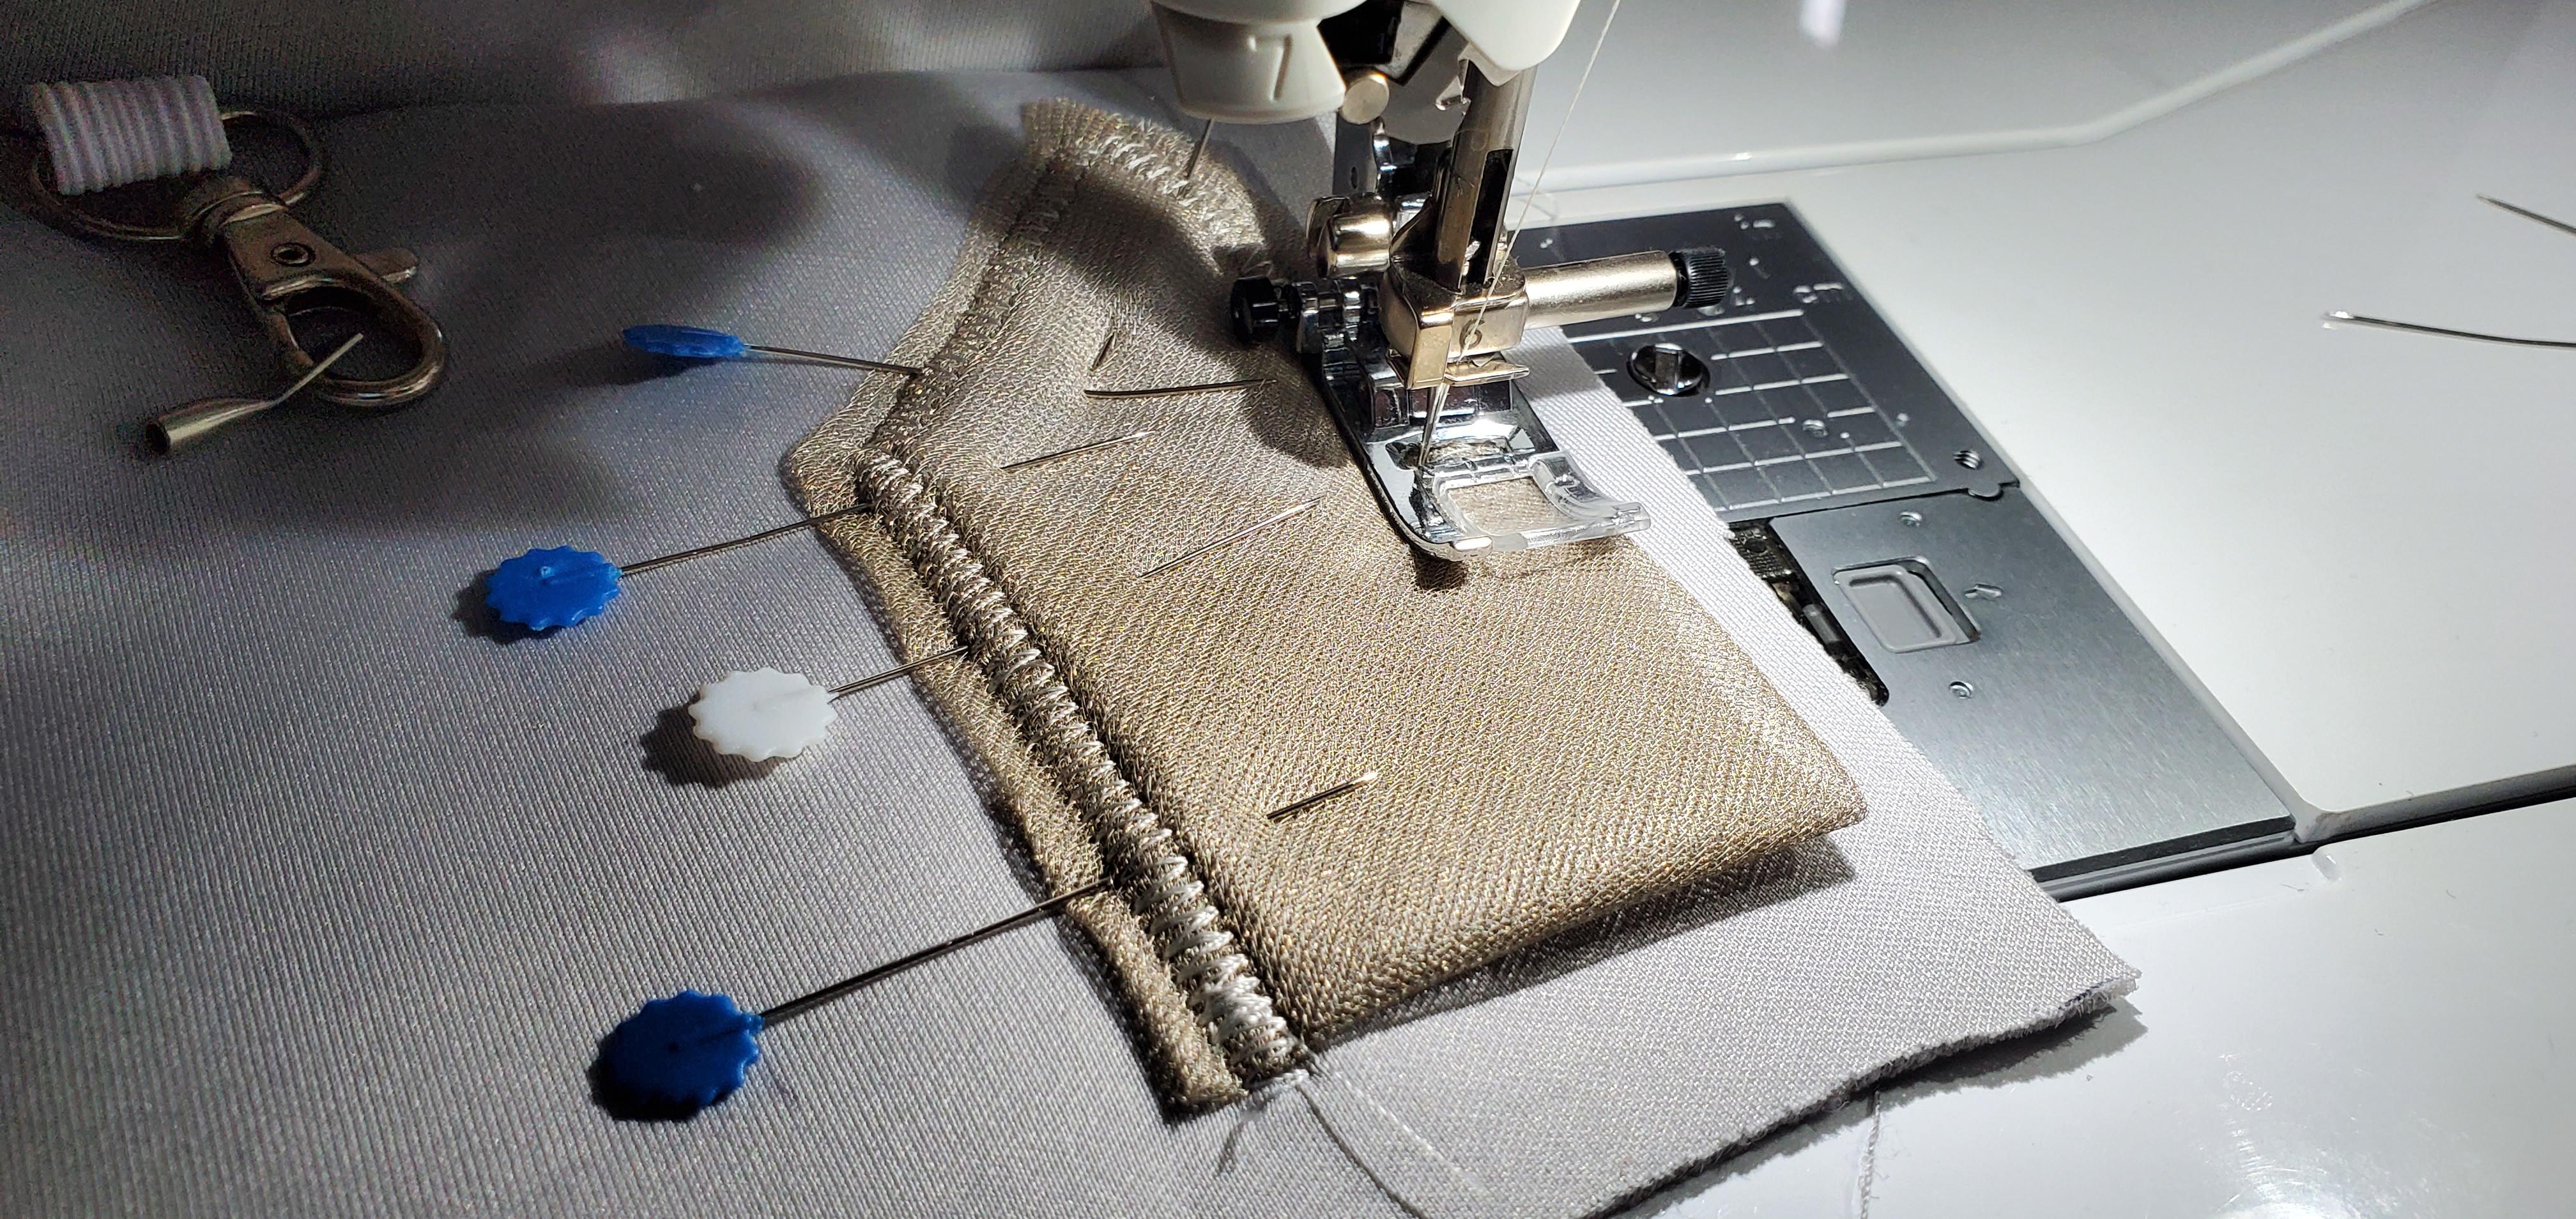
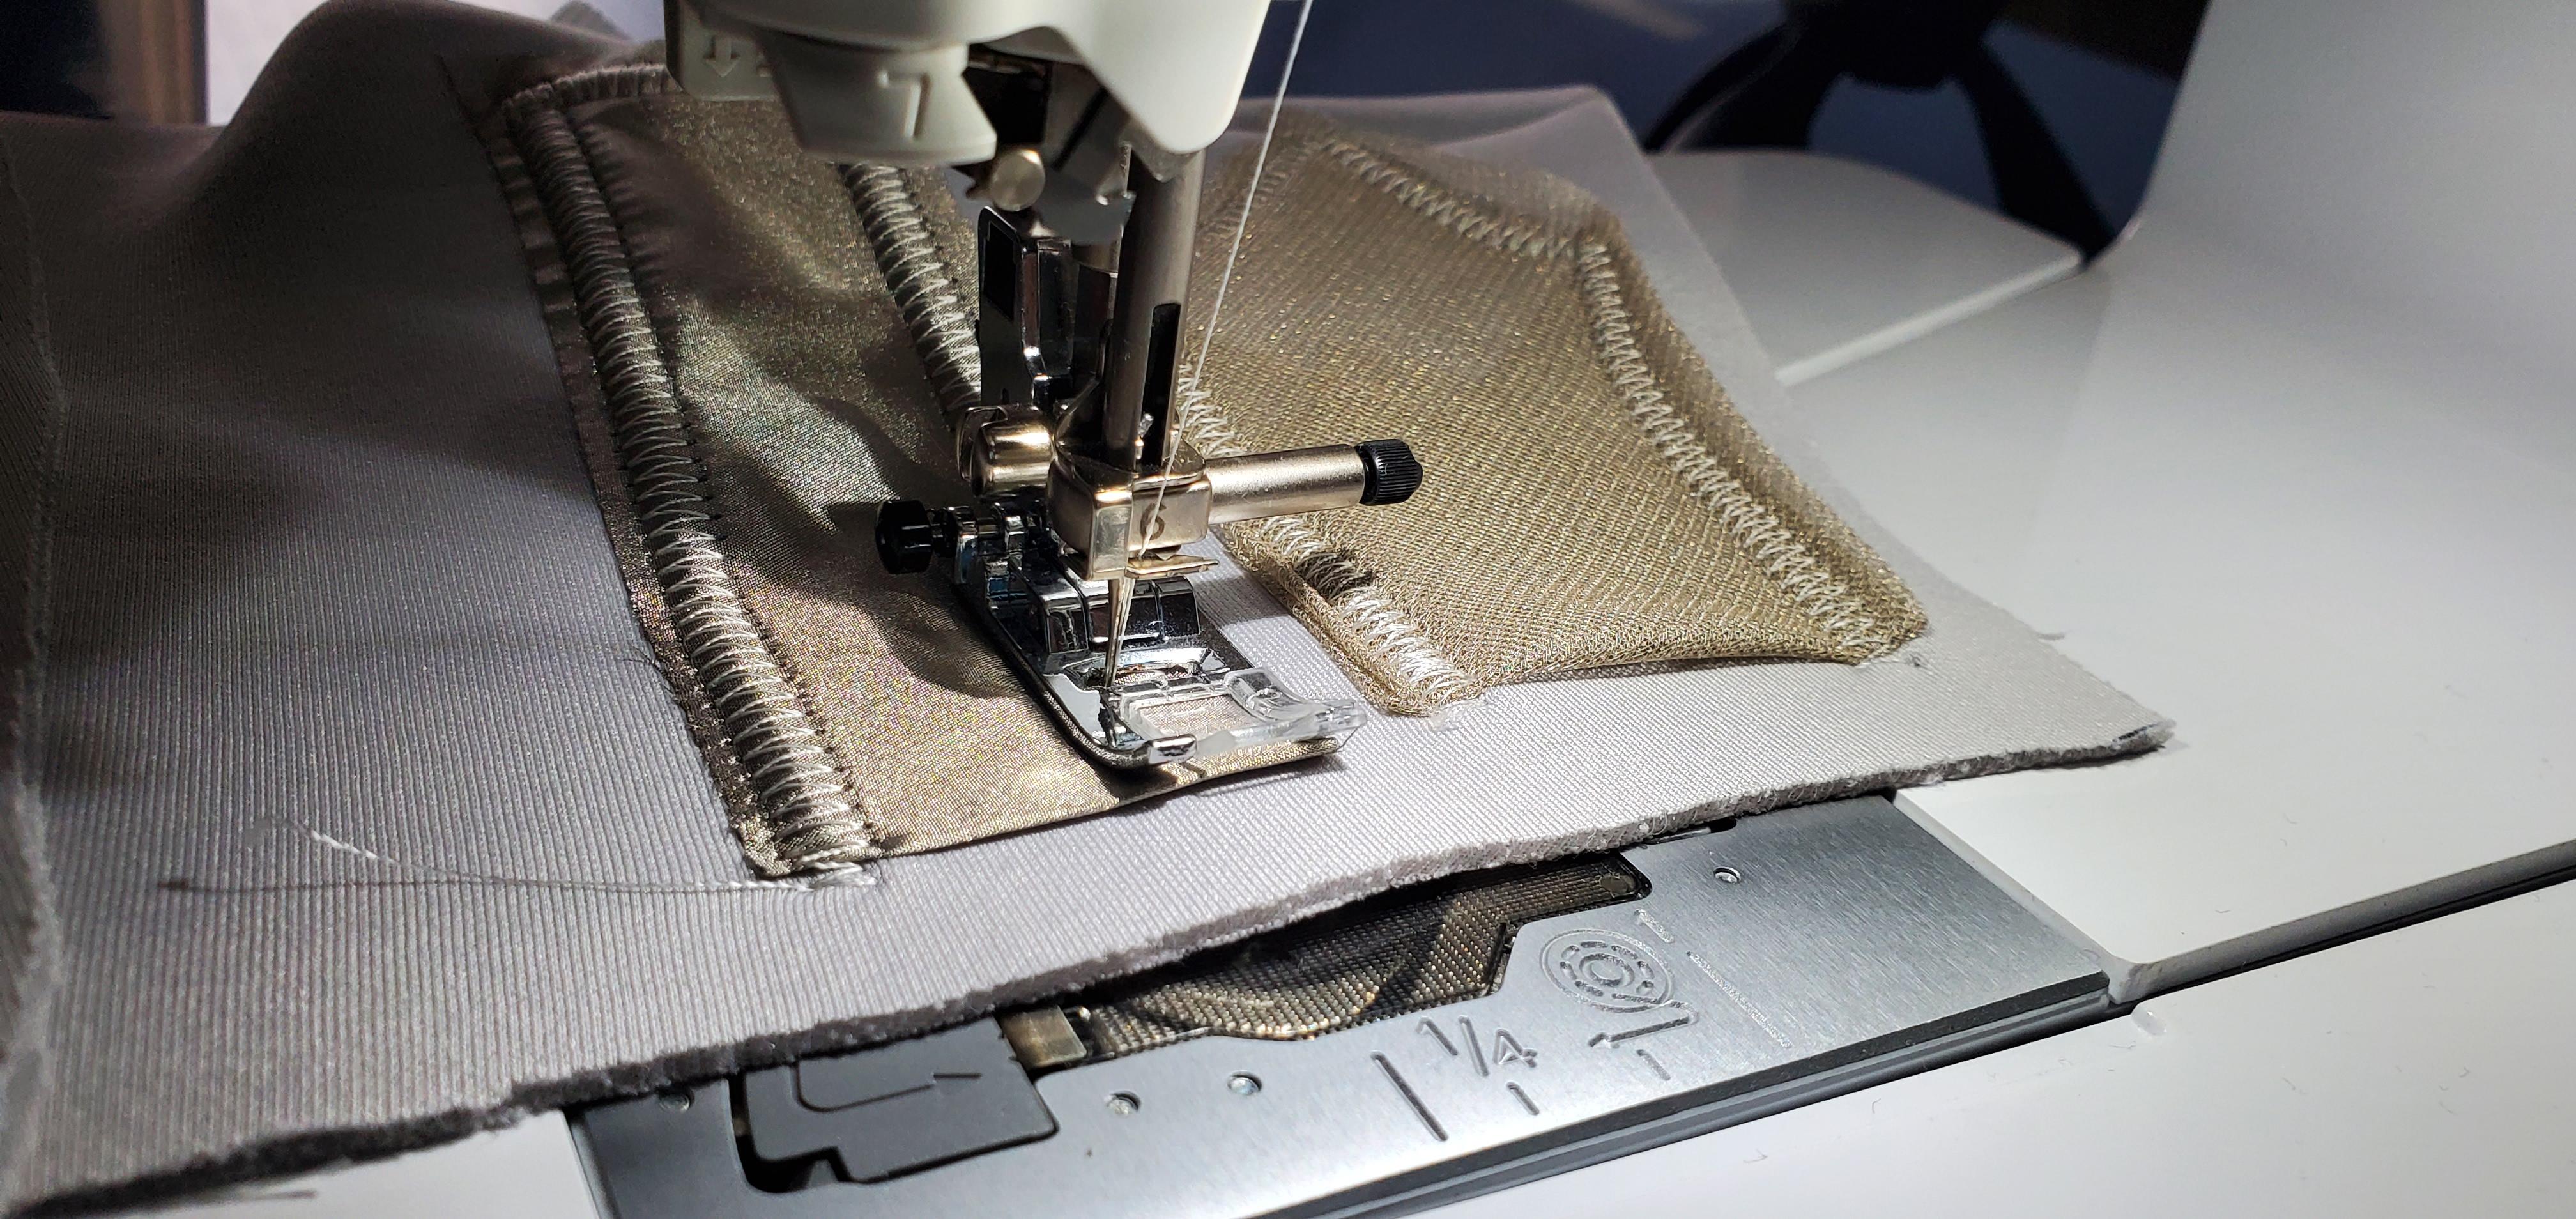
The first piece I'm using is the smallest because it will fit close to the wrist area. I'm using a fine conductive mesh fabric. I folded it so there aren't any edges that are too delicate. I'm using a zigzag stitch - this allows the neoprene to keep its elasticity because the thread will move without breaking. If we did a straight stitch, the thread could break with our body movement. On my machine (Brother) I set zigzag stitch number six, with 6.0mm and 1.4mm settings.
You also need to fold under the bottom of the fabric that you use. This is because it will create a small pocket that we use to attach the crocodile clip to.
- Fold the conductive fabric
- Pin in place
- Start at the bottom lower corner of the fabric
- Sew all the way up to the top, across the top, and down the other side
- Do not sew along the bottom! Leave this open for the croc clip to be placed when in use.
Remove the pins as you sew.
Place the Second Piece of Conductive Fabric
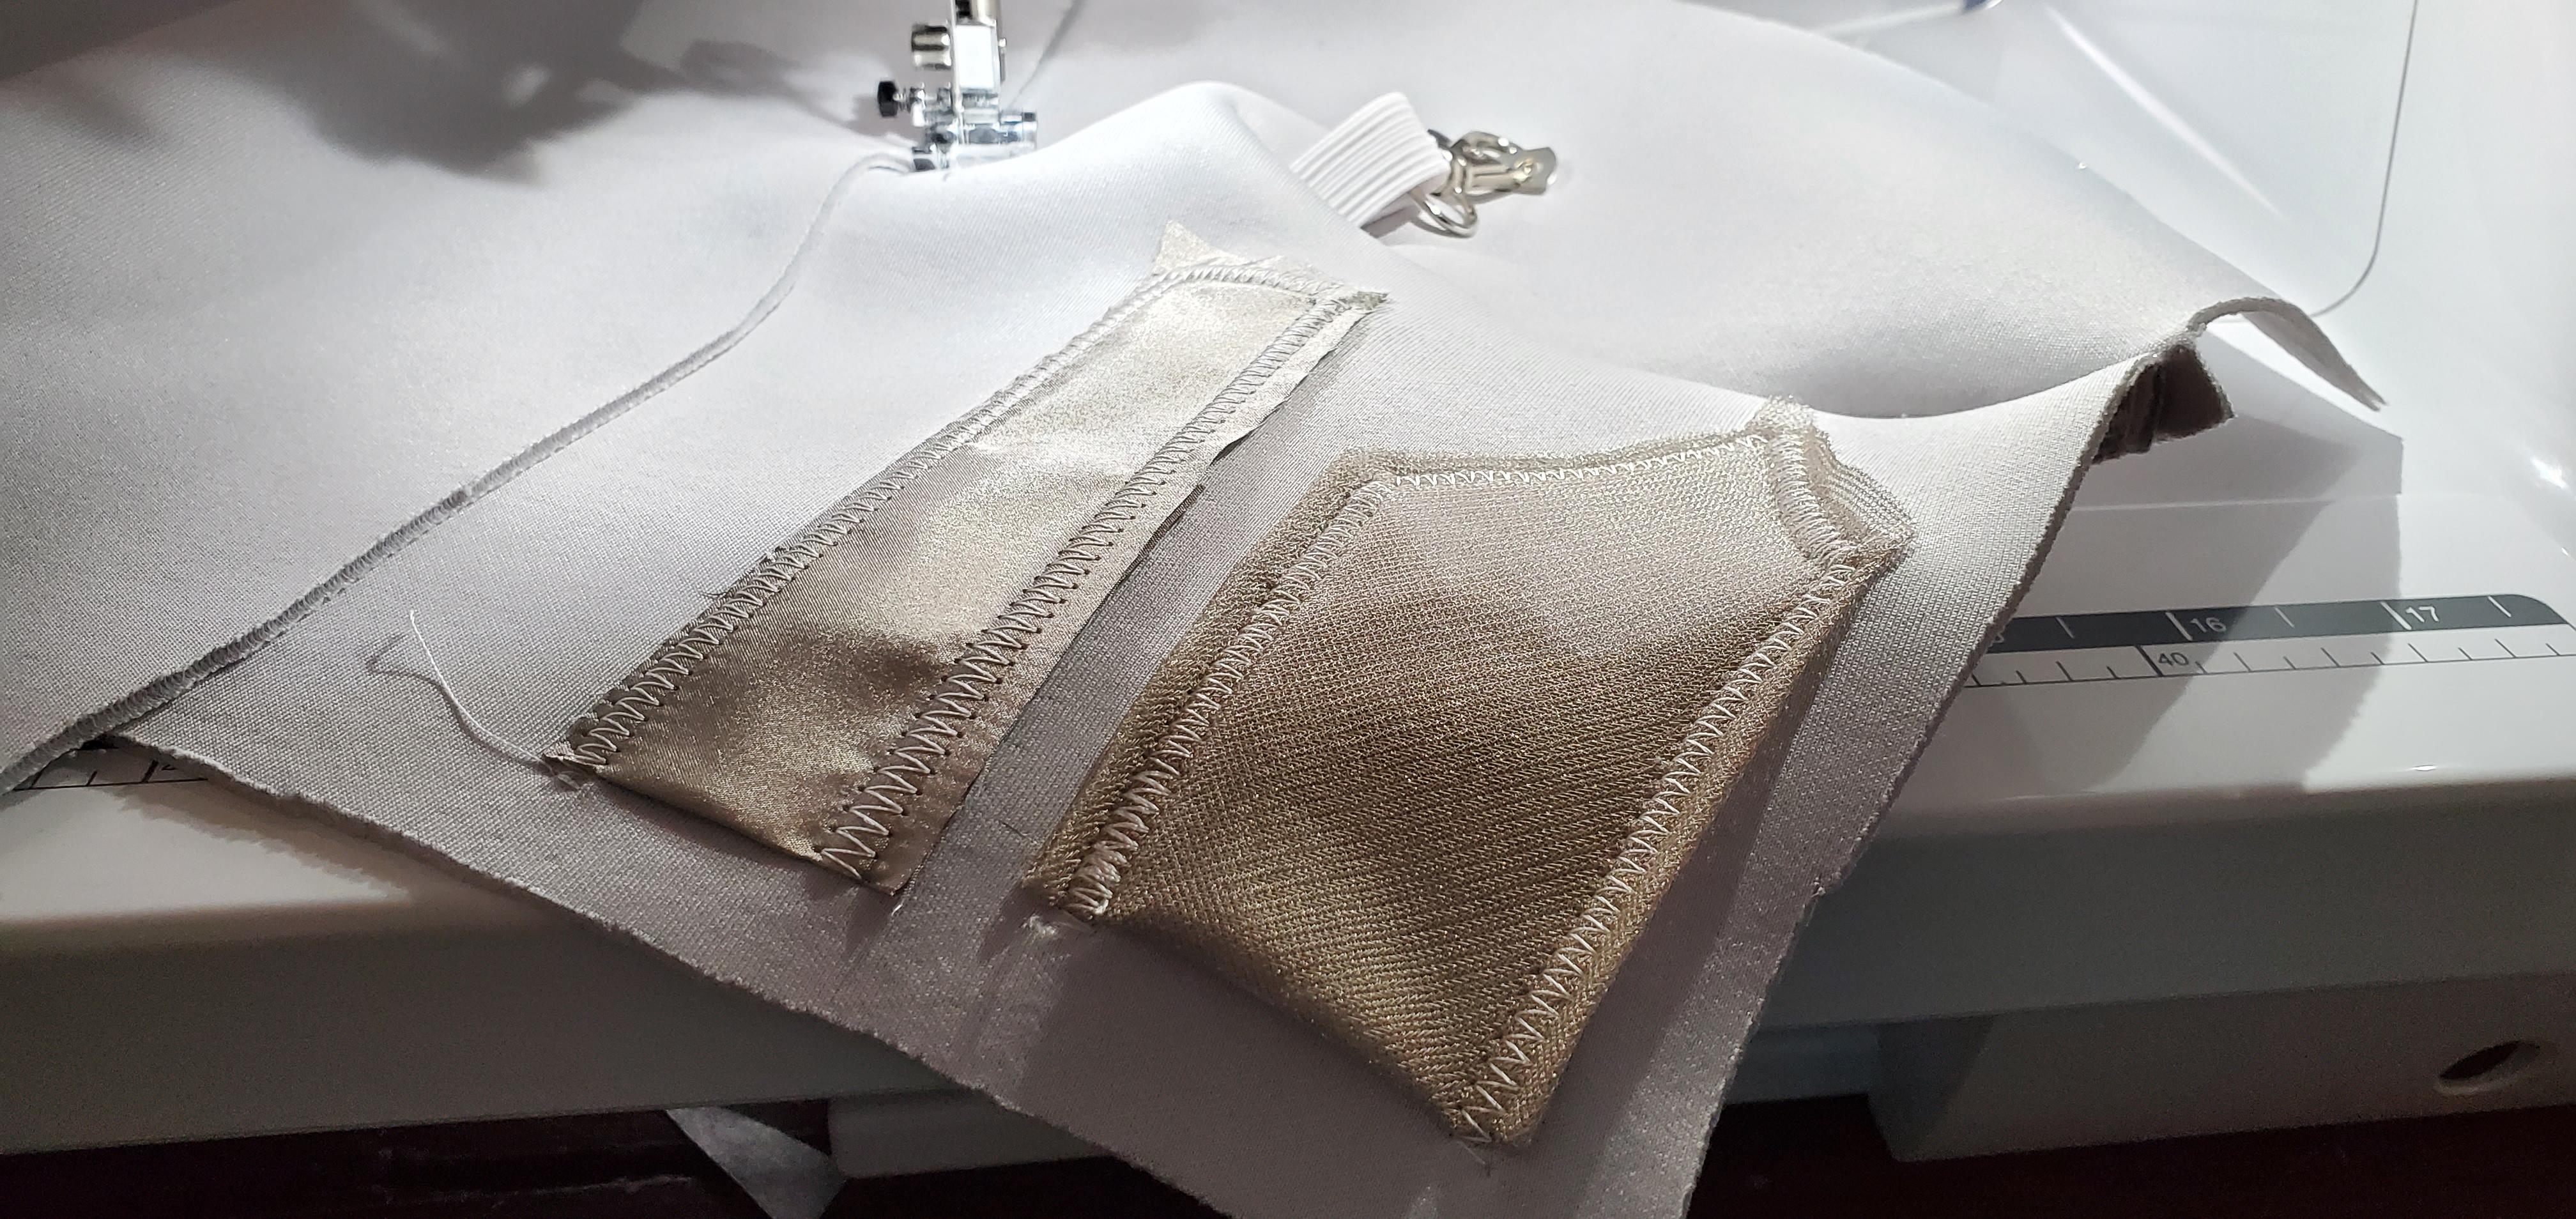
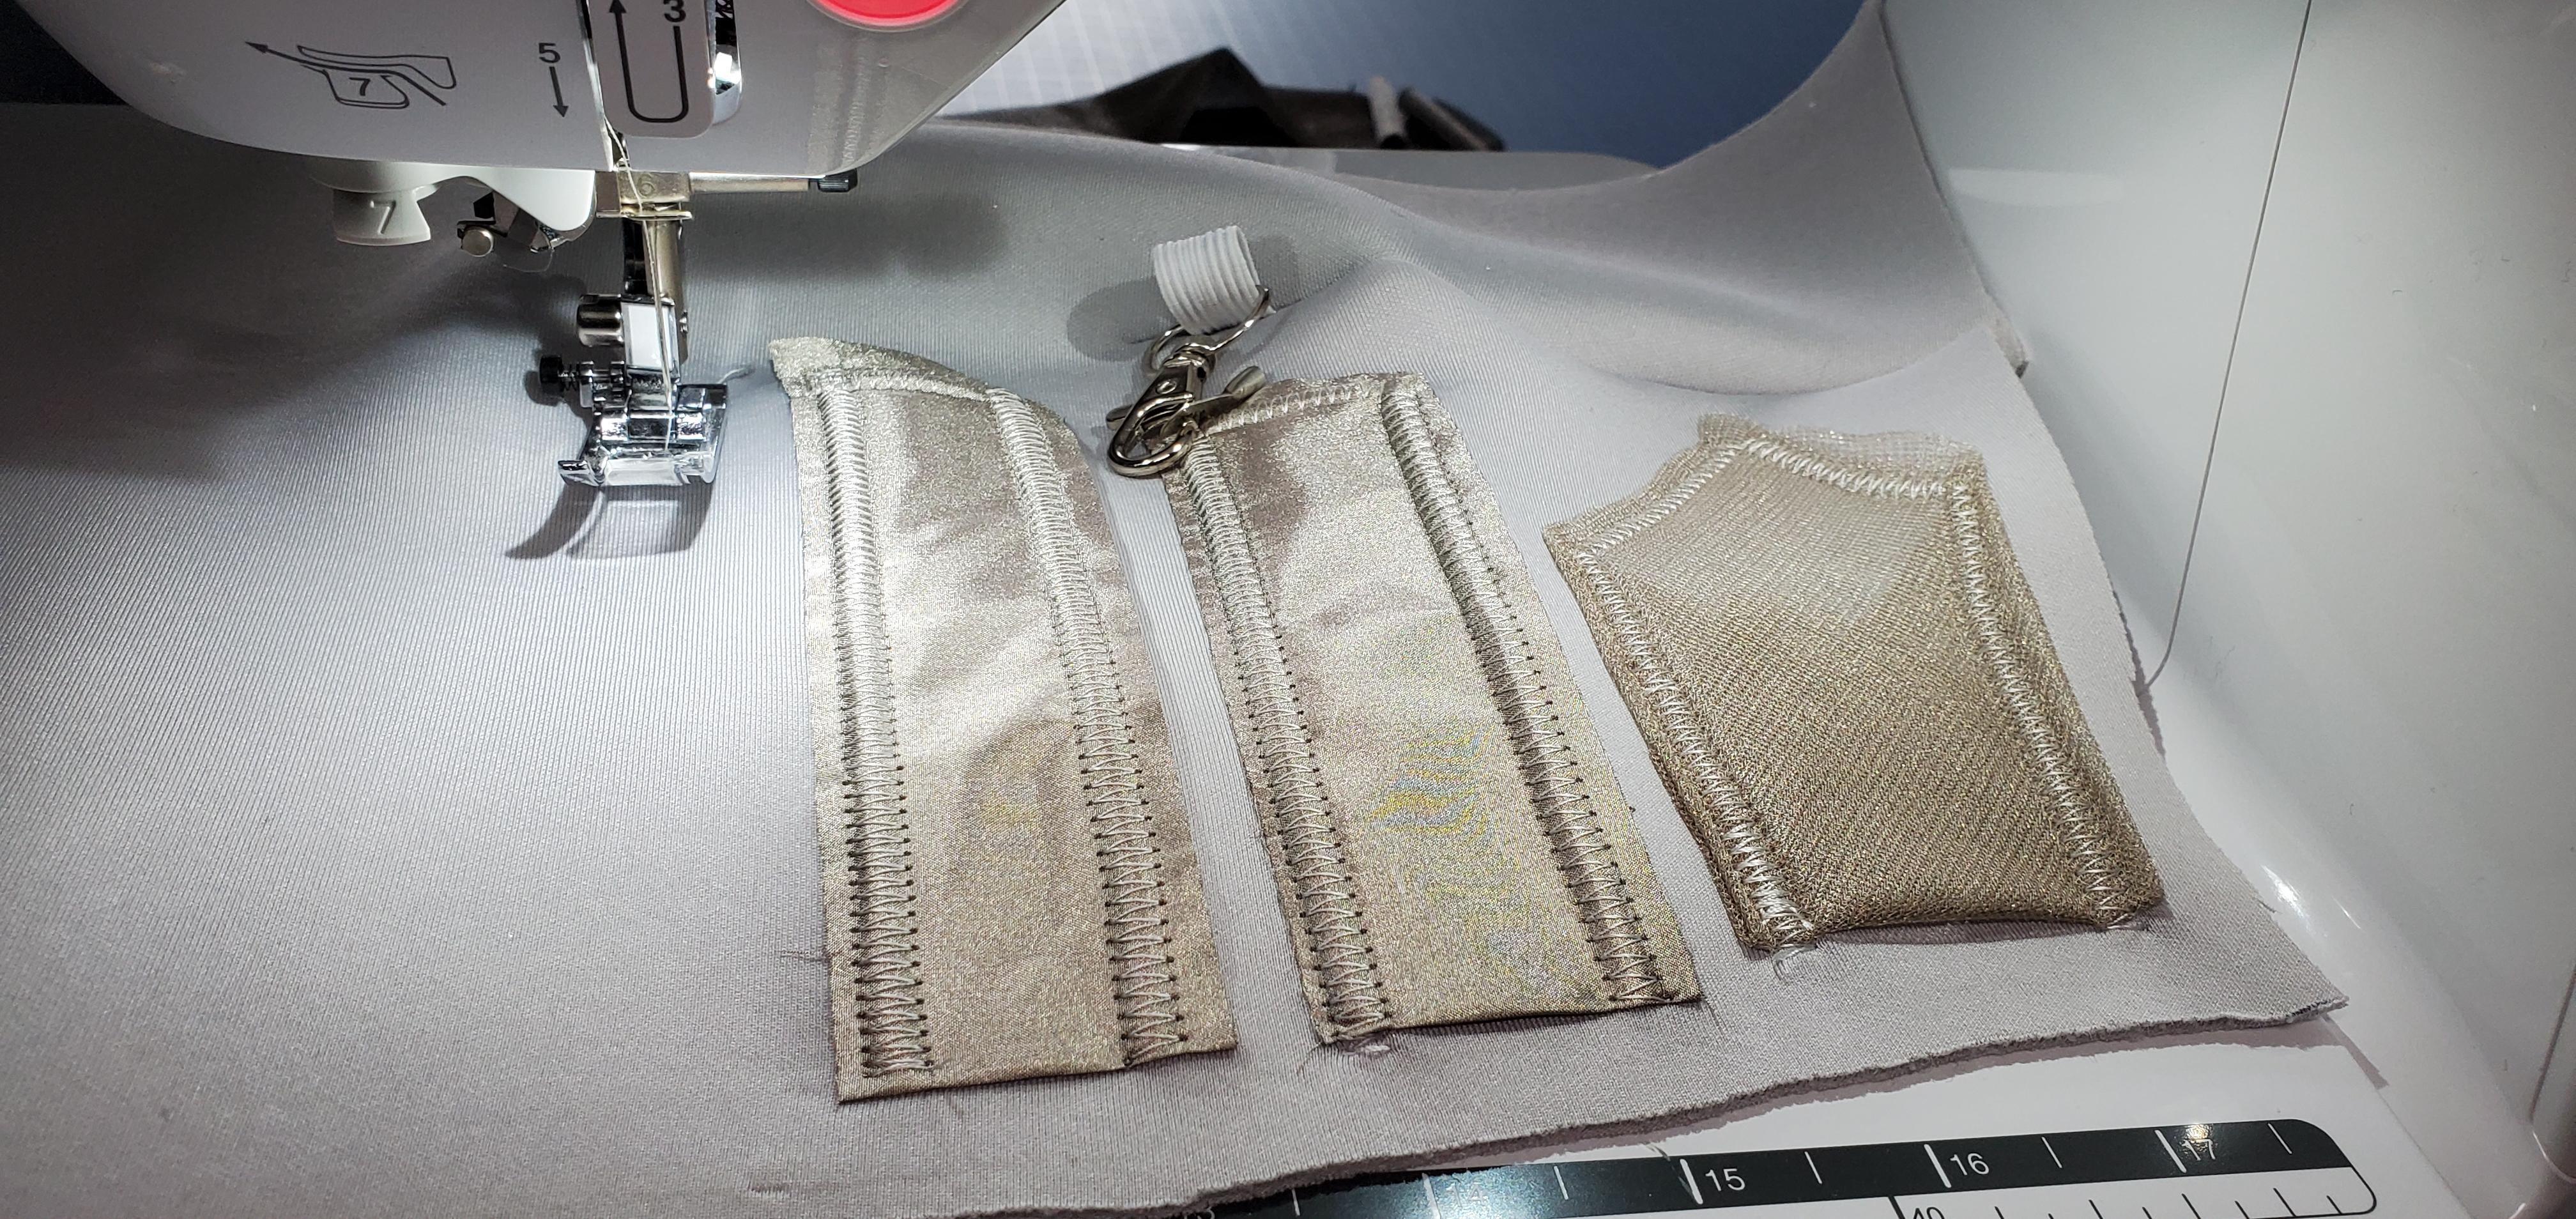
Now place the second piece of conductive fabric into place. I'm using a slightly less flexible piece but it will be ok because it's still a small cuff size.
- Place near but NOT TOUCHING the other piece of conductive fabric
- Fold the end of the fabric underneath, at the bottom near the sleeve edge
- Follow the same technique as the previous step:
- Start at the bottom lower corner of the fabric
- Sew all the way up to the top, across the top, and down the other side
- Do not sew along the bottom! Leave this open for the croc clip to be placed when in use
Repeat this sewing again for the third piece of conductive fabric.
Sewing the Mesh Style Conductive Fabric
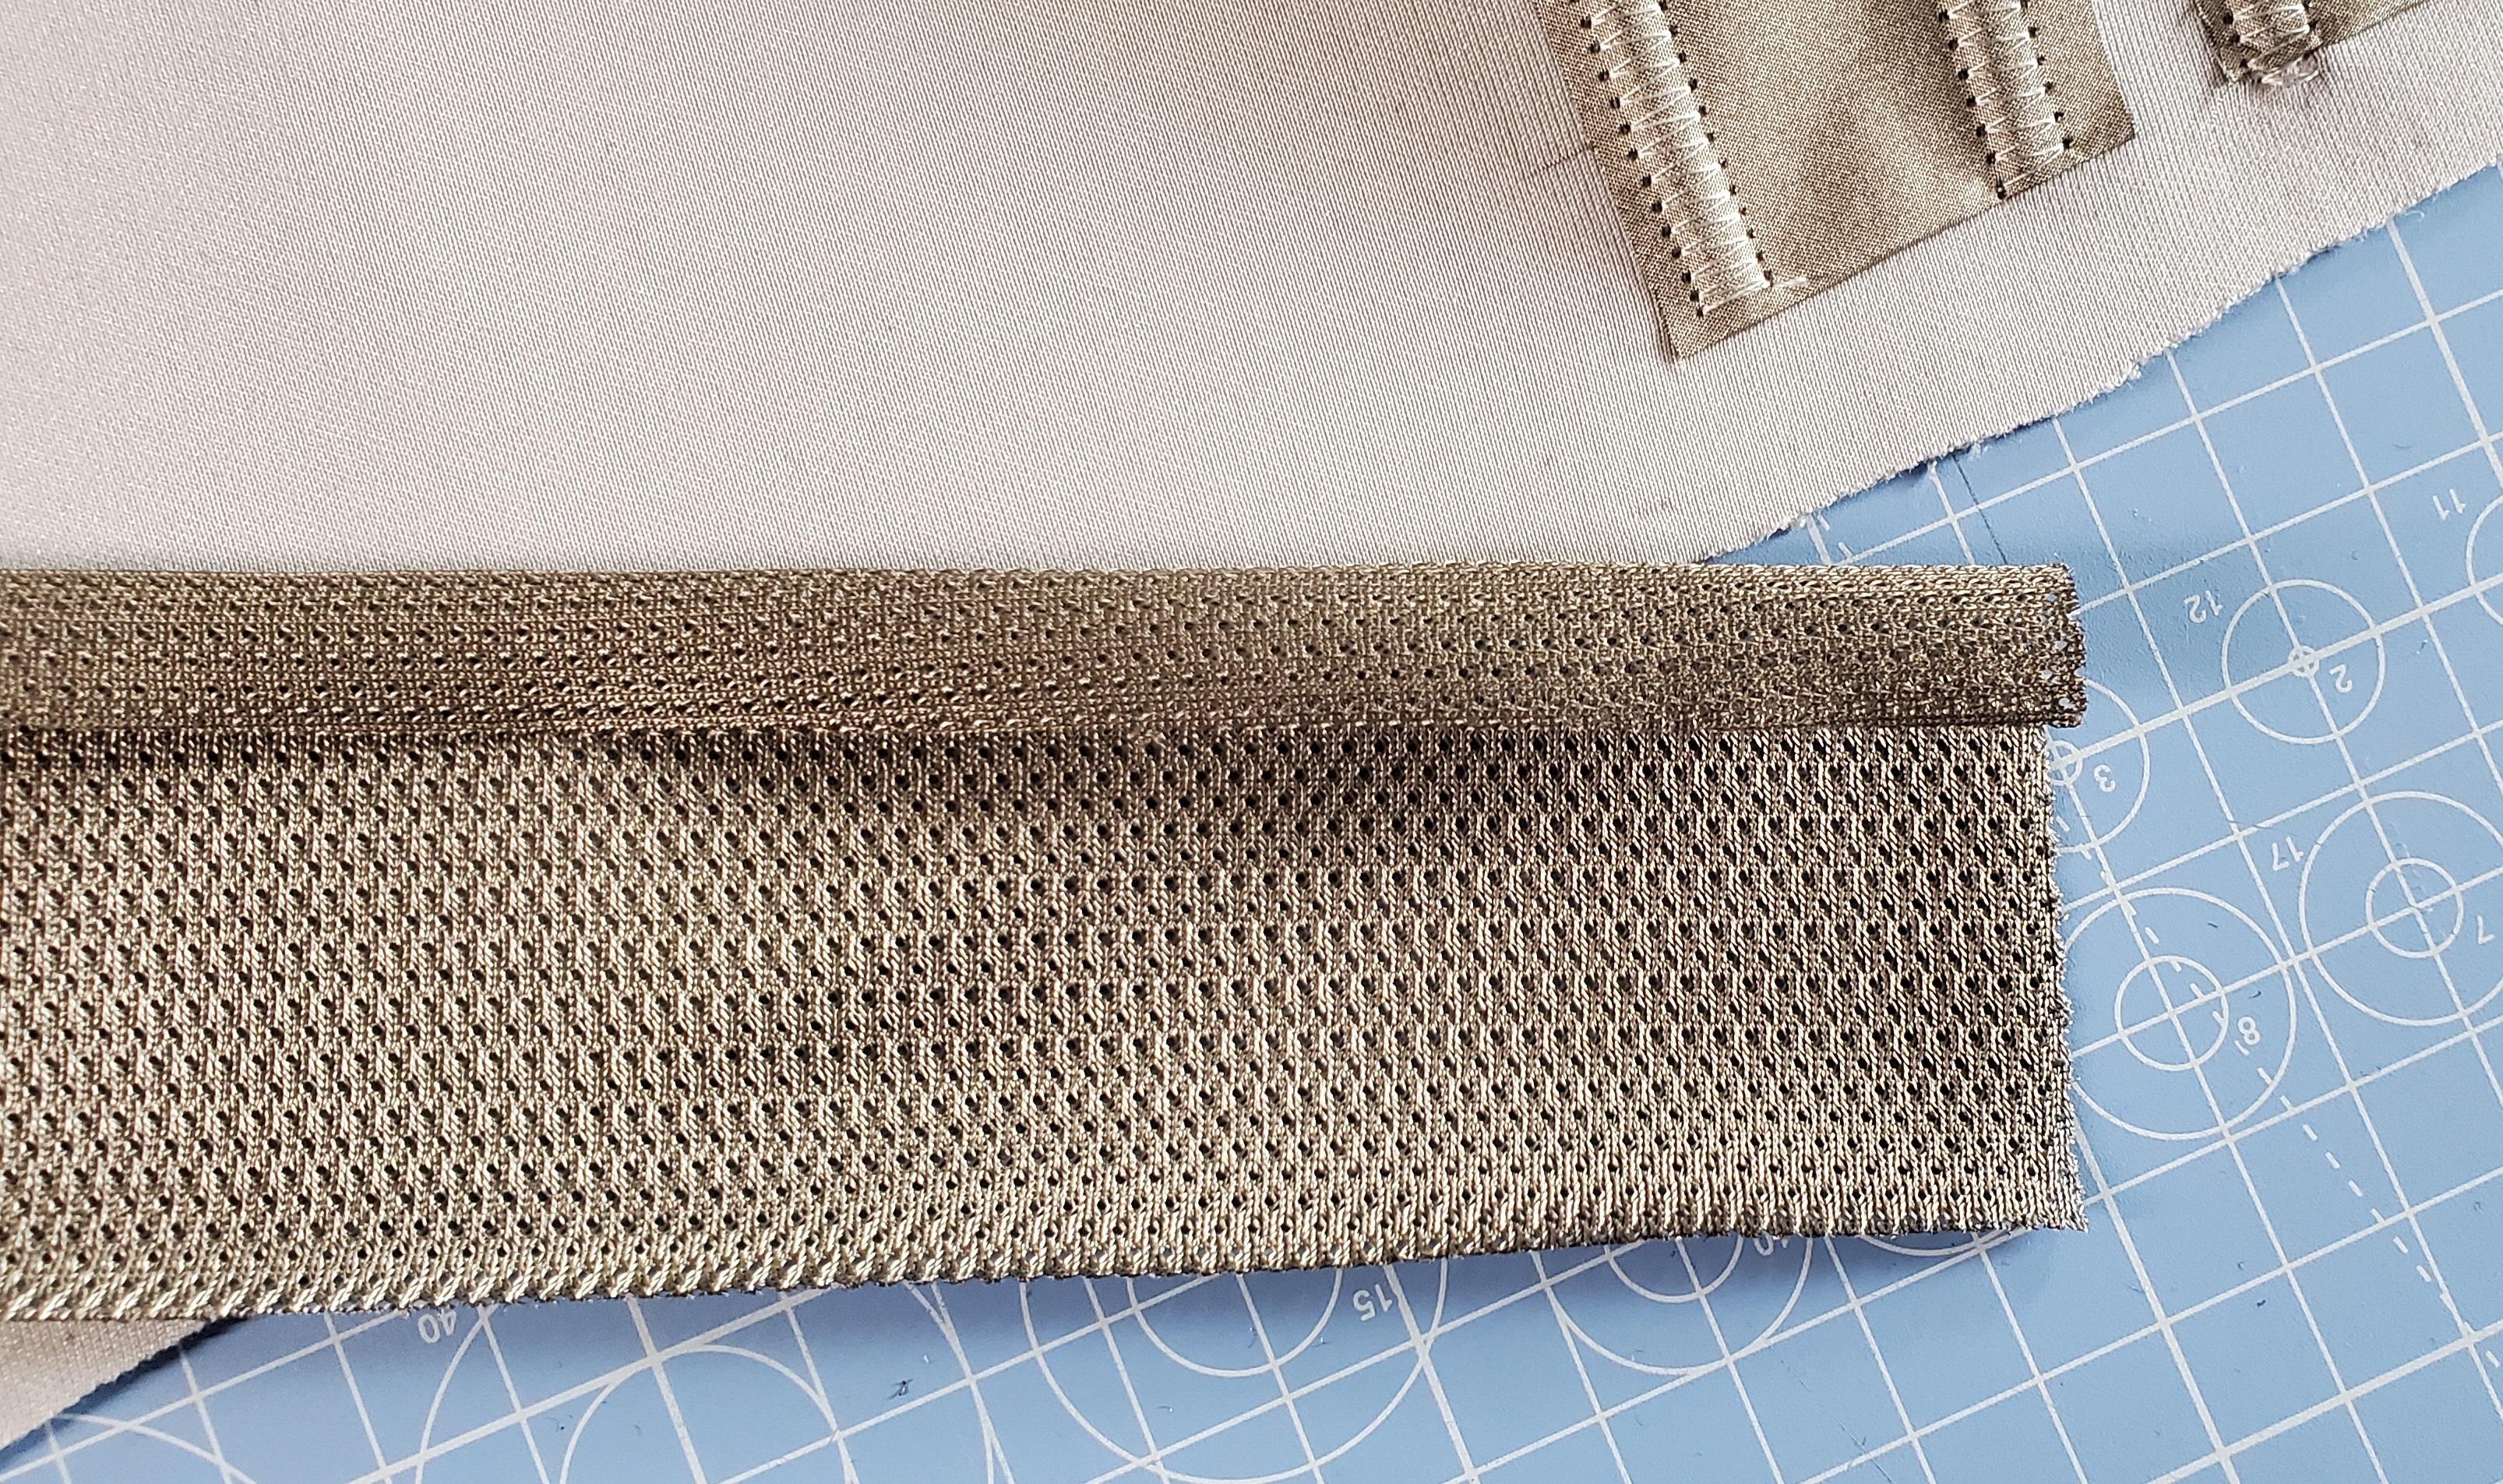
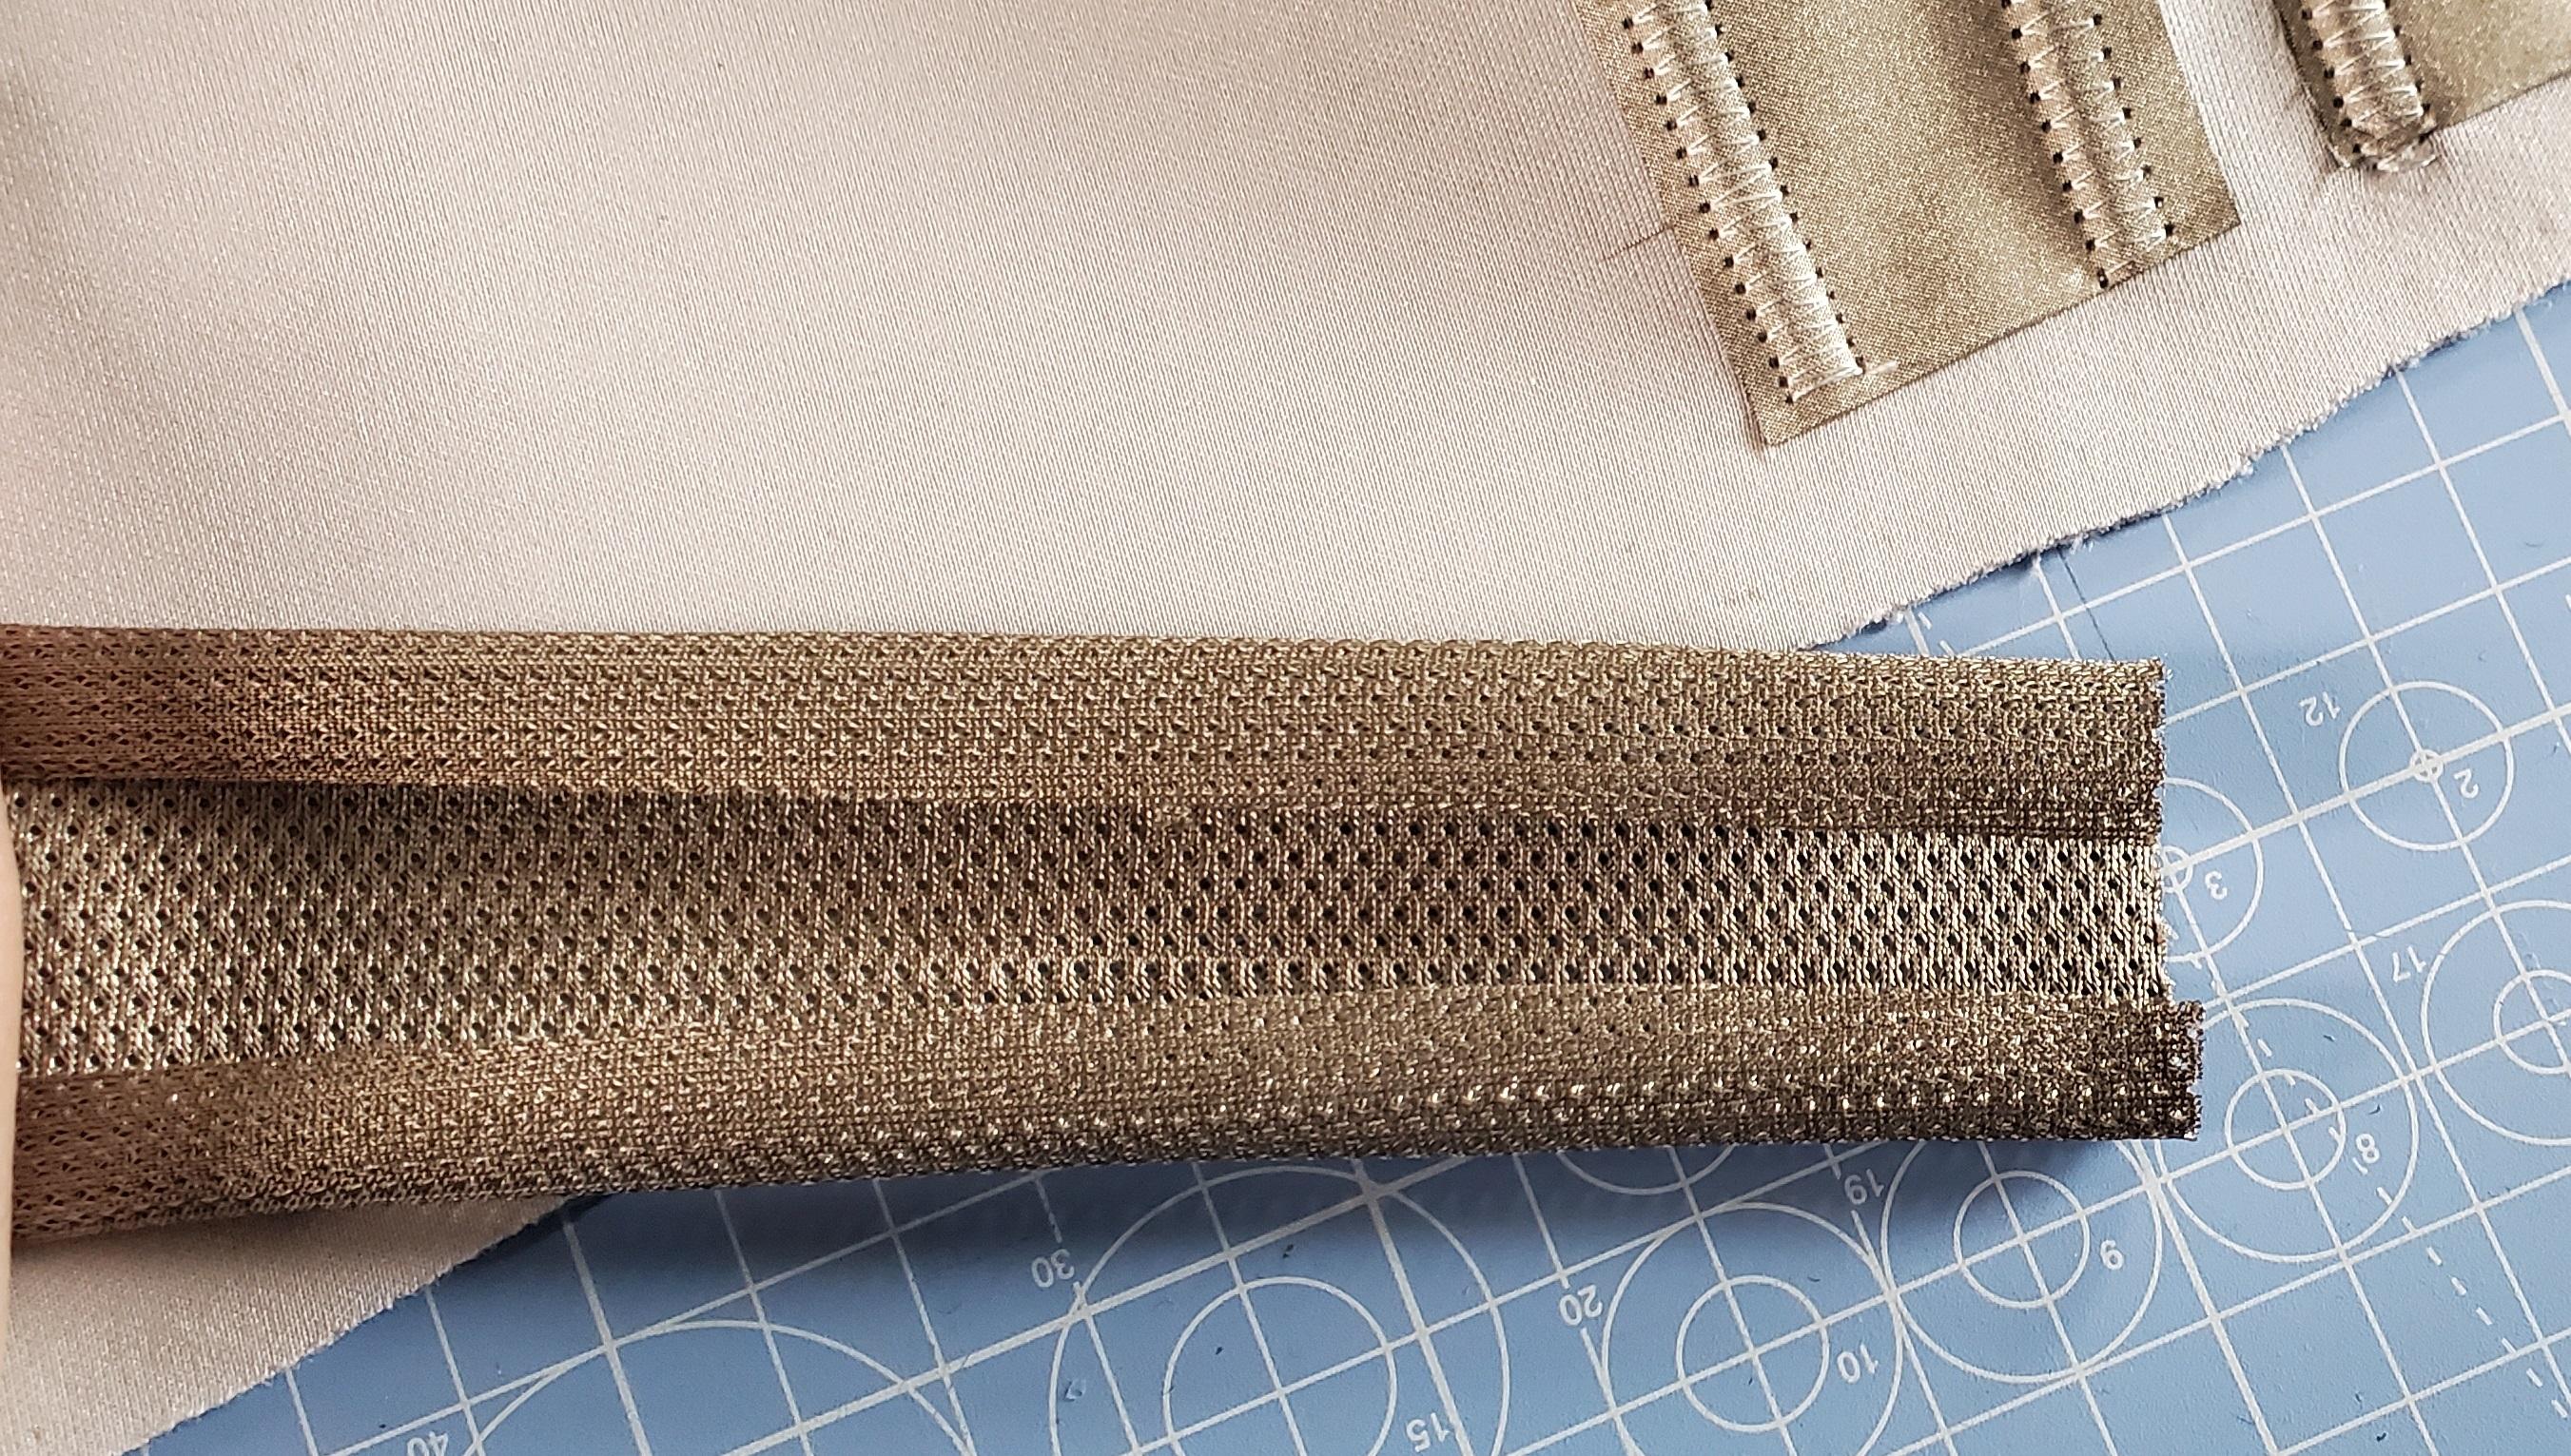
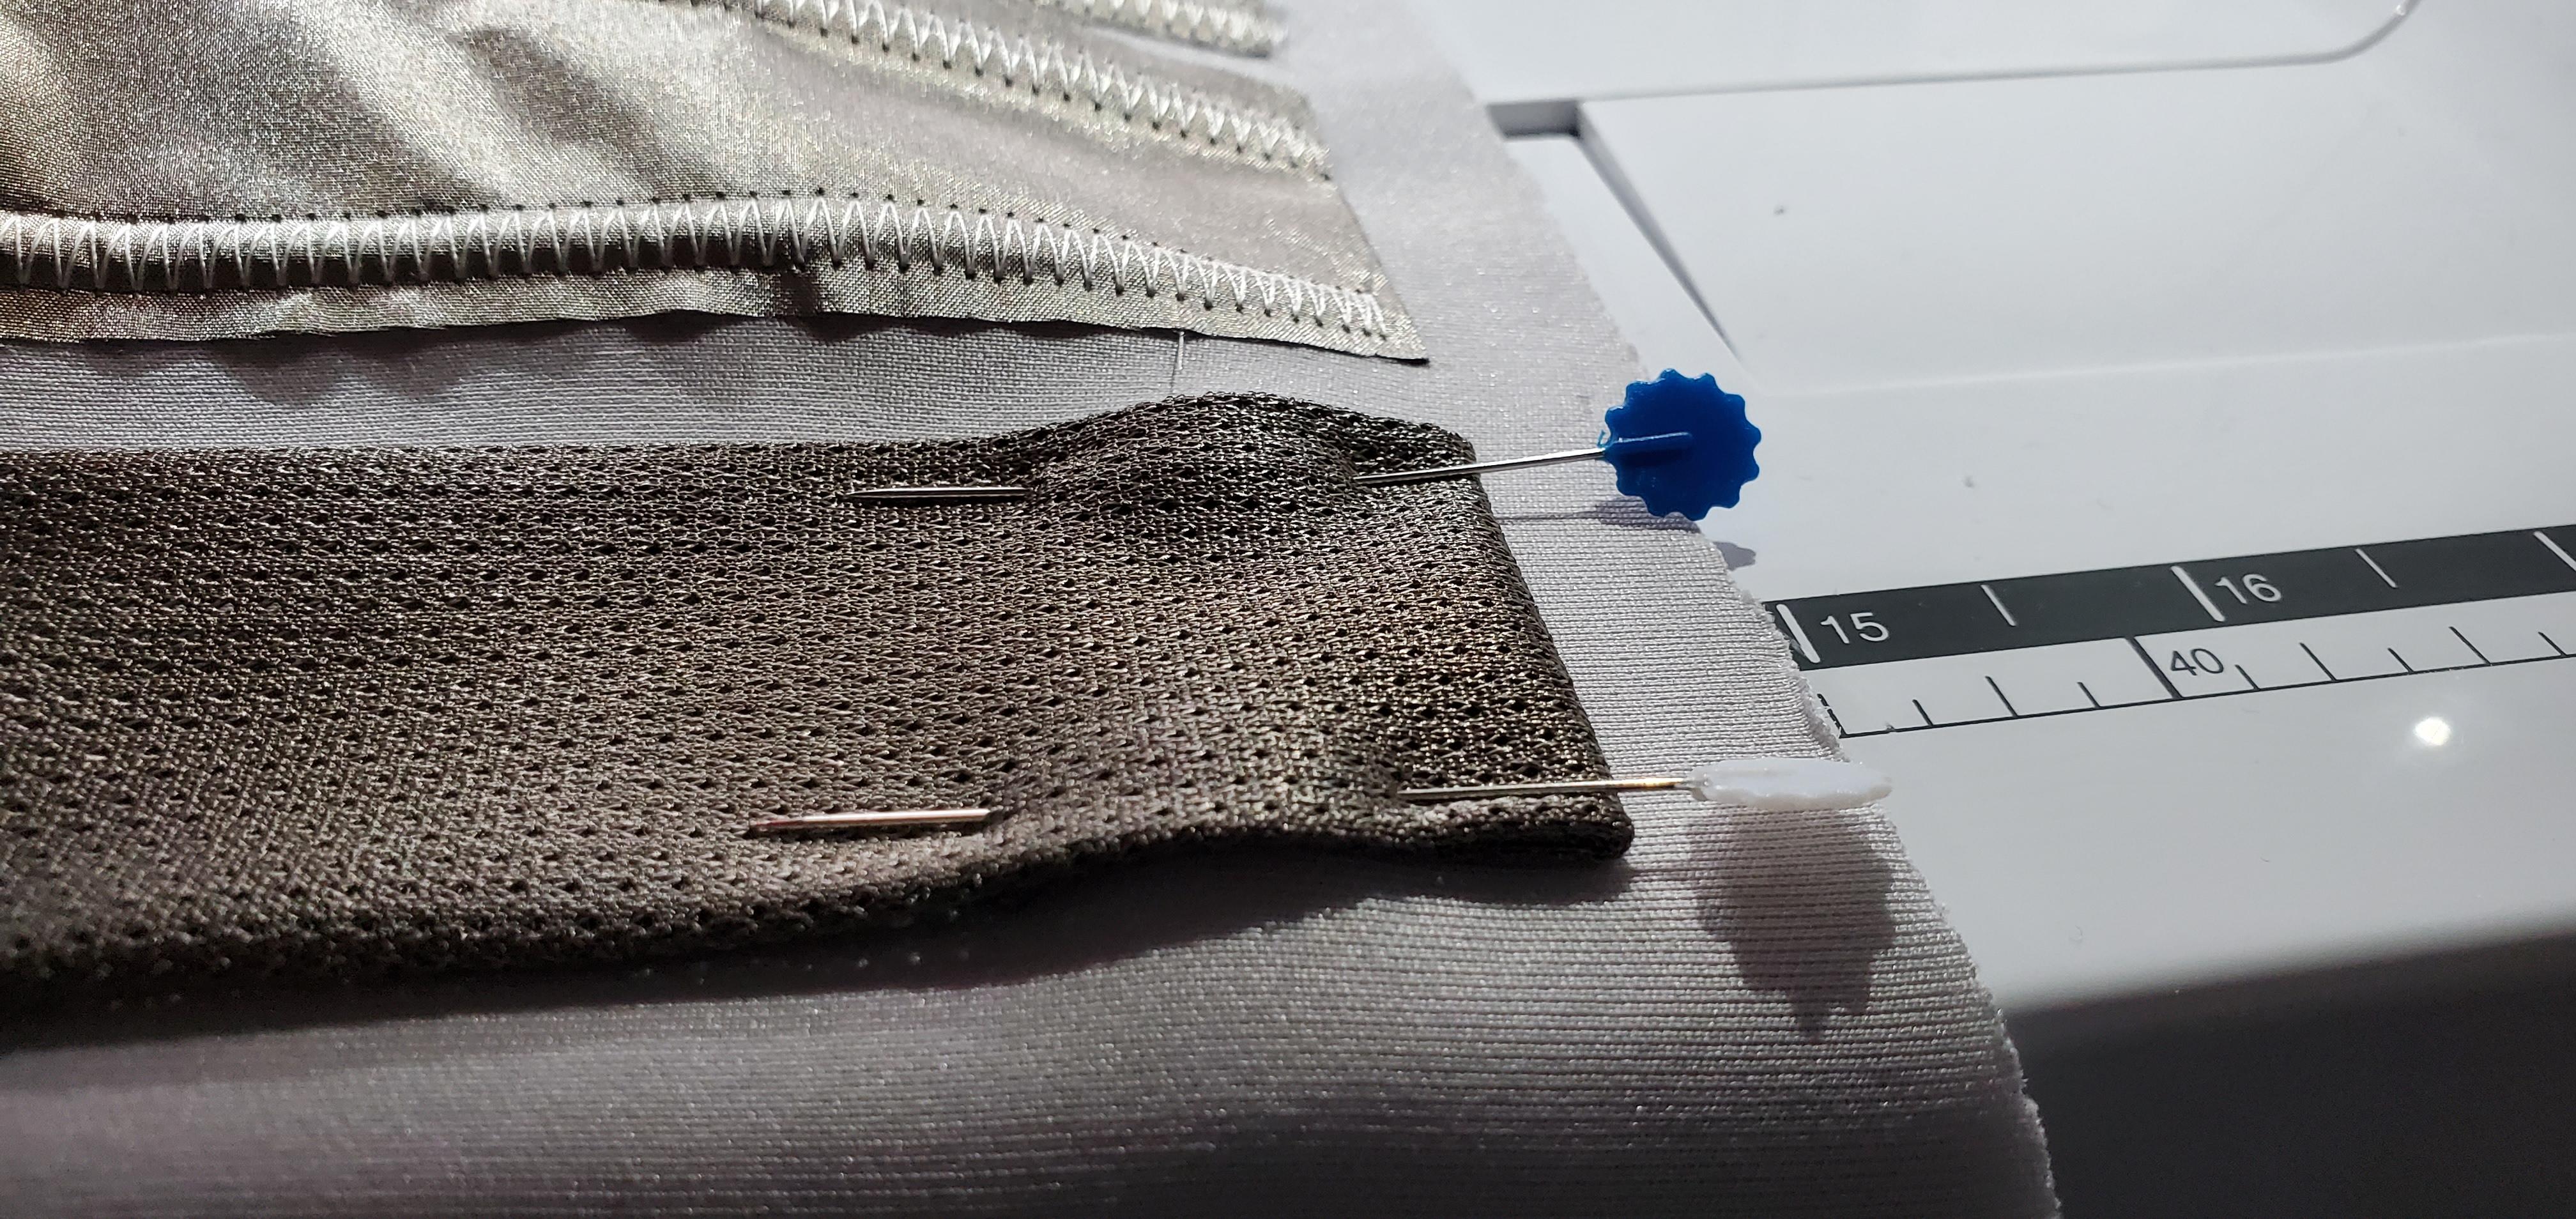
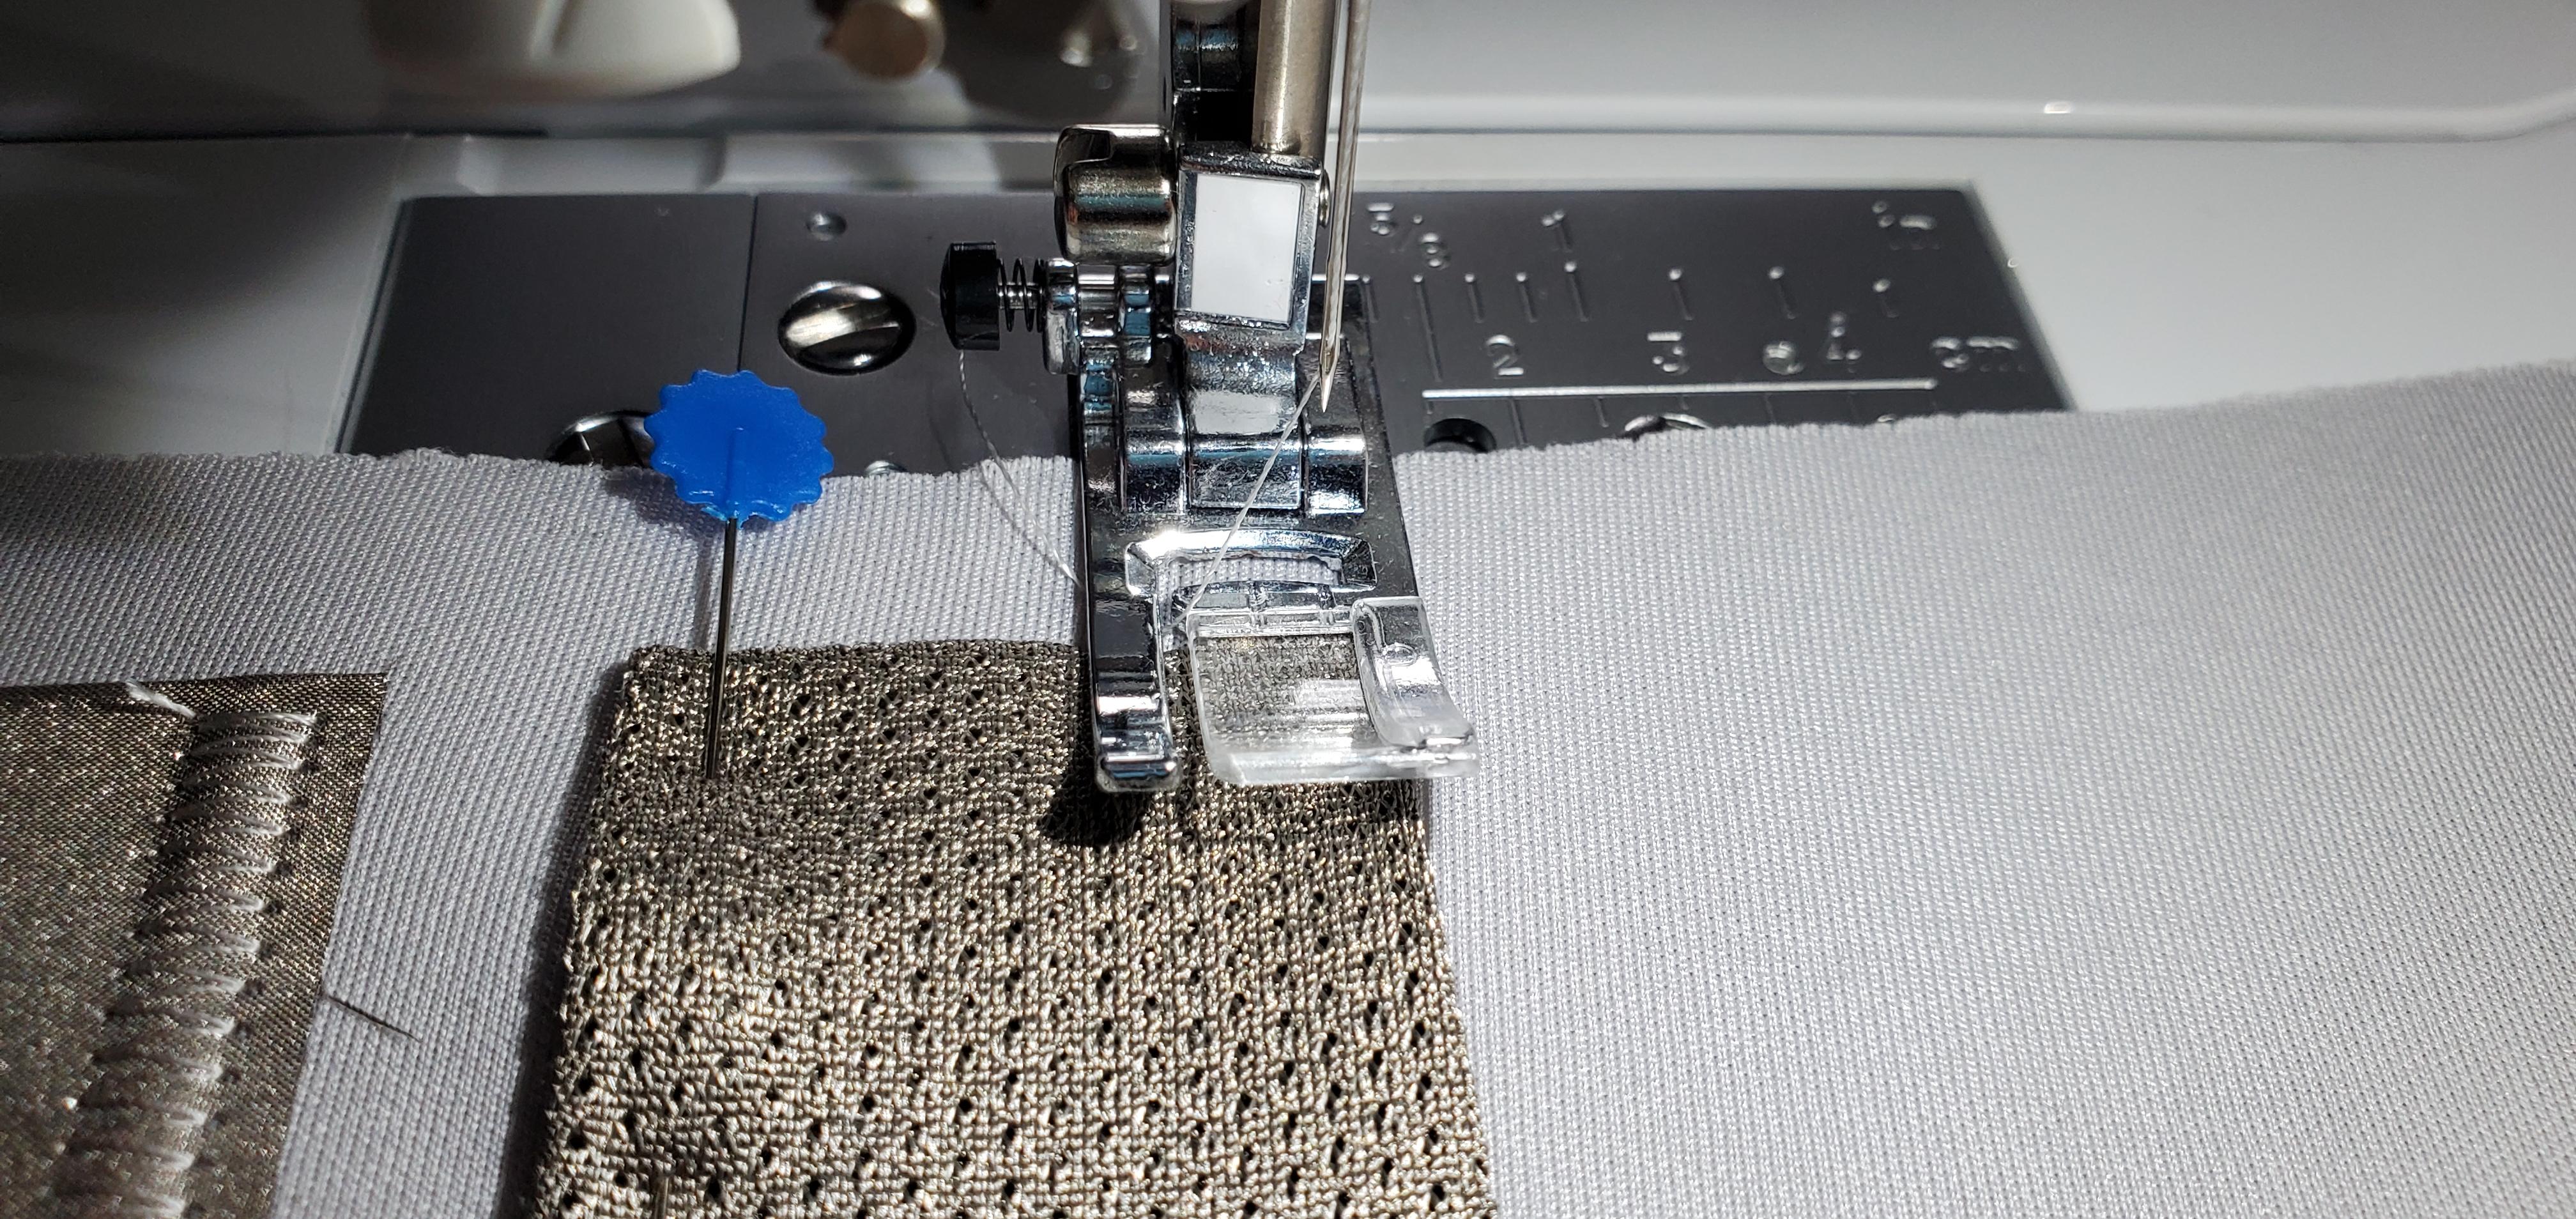
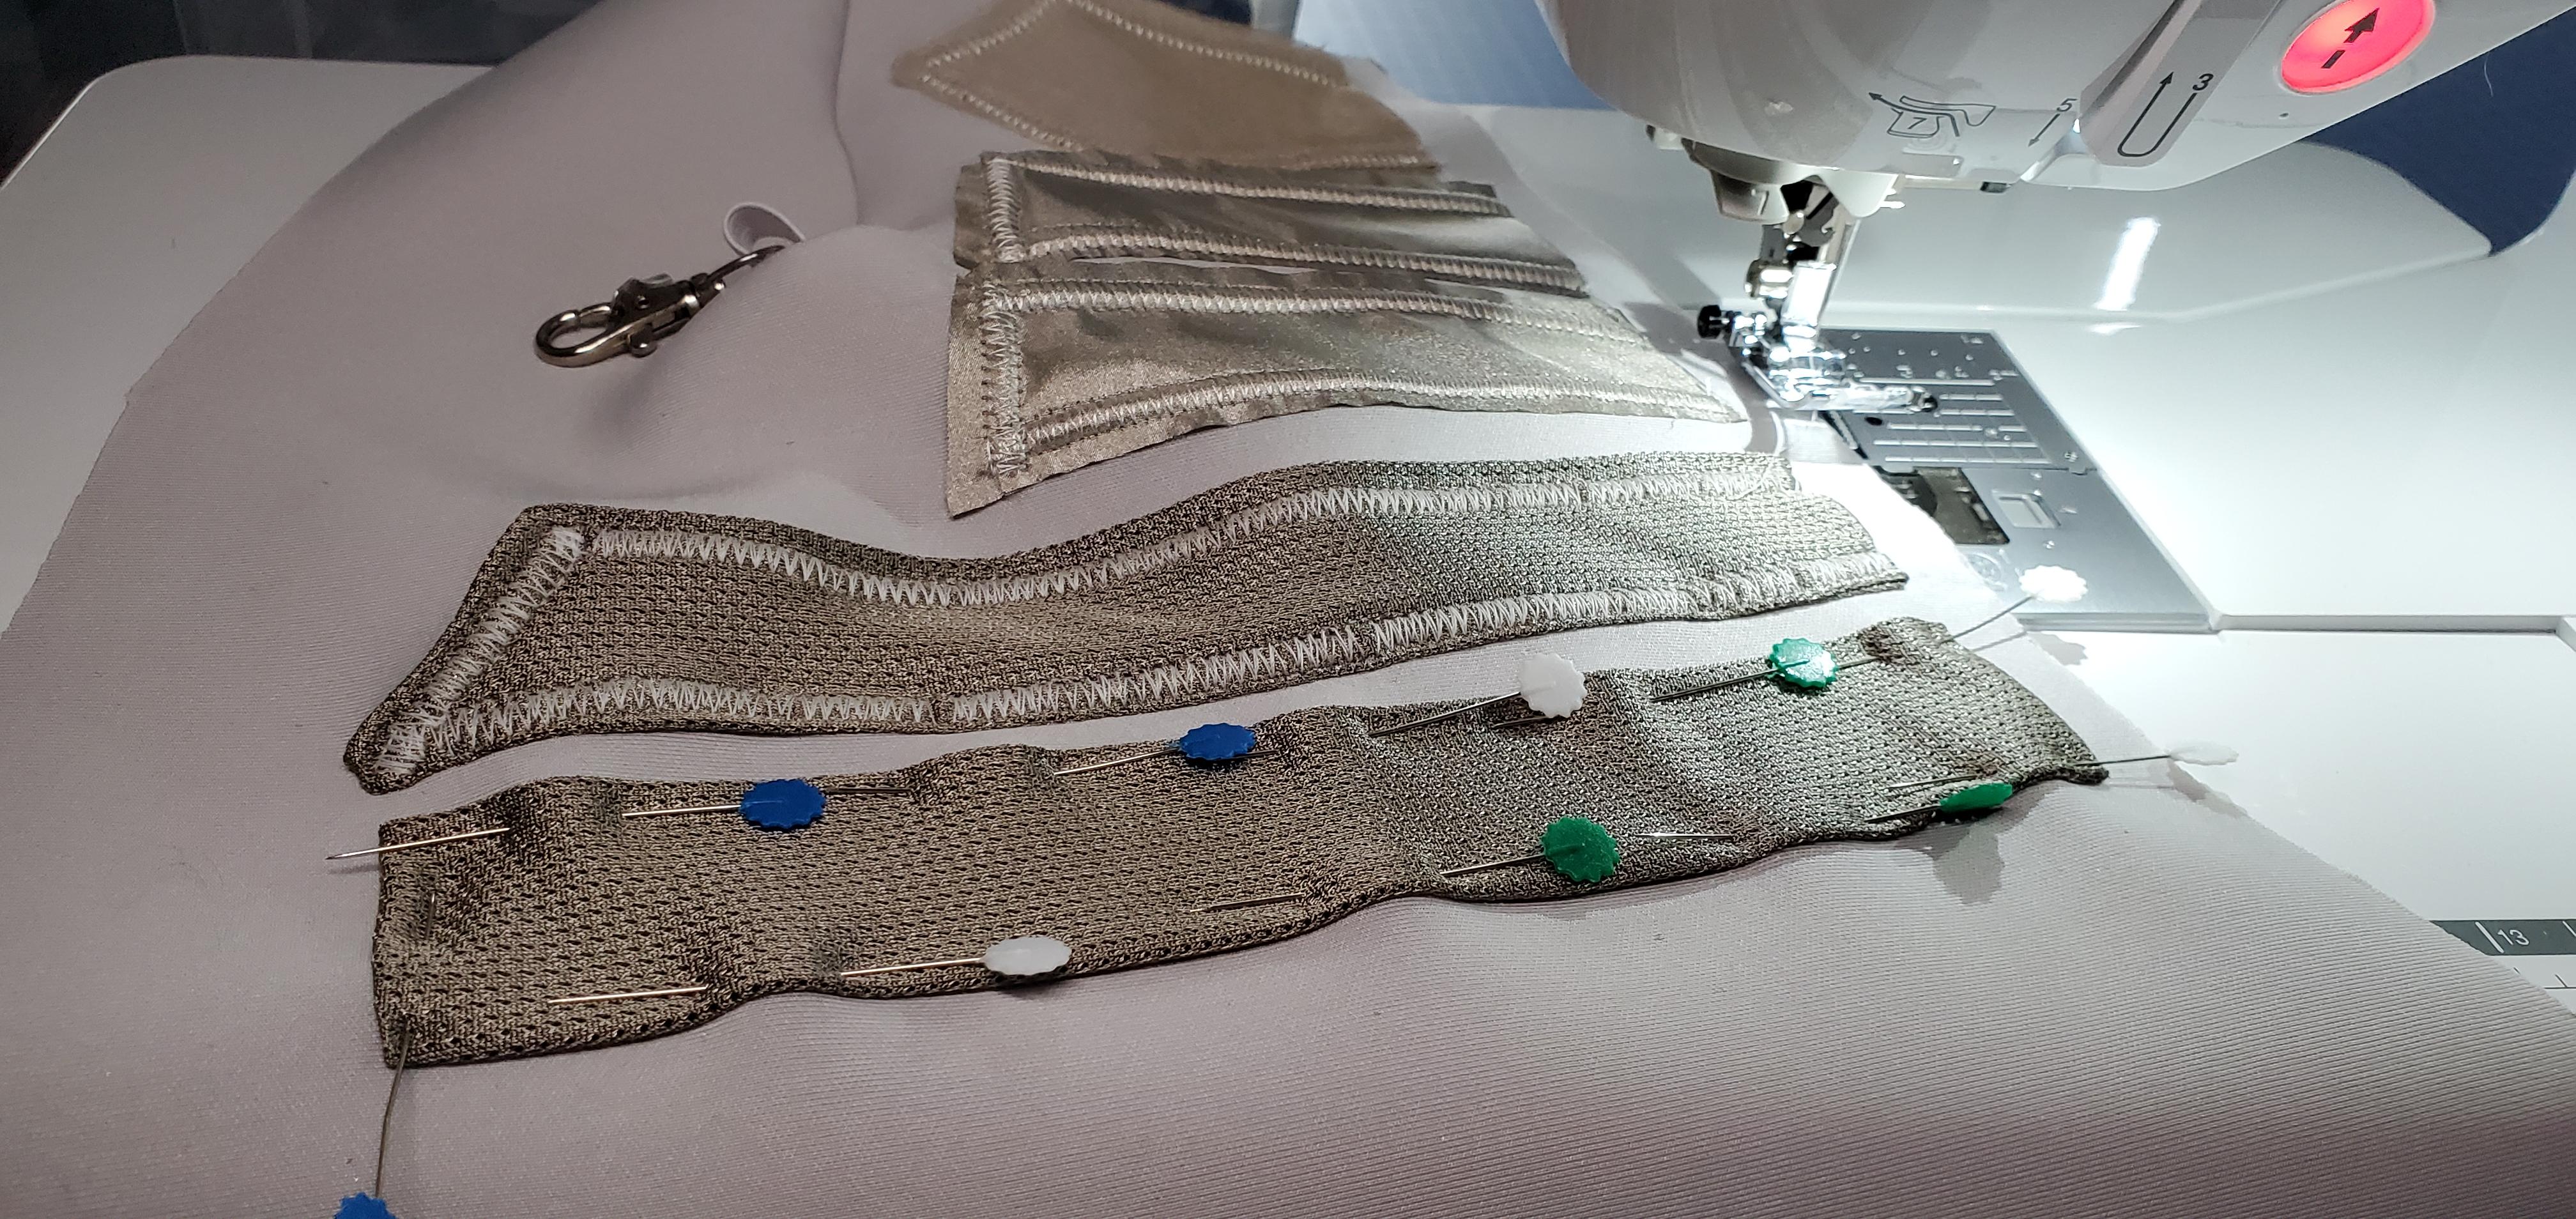
For mesh fabric, it can fray, so we cut a larger piece so we can fold the edges under as well.
- Fold in the edges of the fabric
- Place downwards on the sleeve fabric
- Fold the bottom of the fabric underneath again, to form this pocket edge
- Pin into place
- Sew as per the previous steps - from the bottom corner, up across, and down - and stop there to leave it as a pocket
Silver Stretchy Conductive Fabric
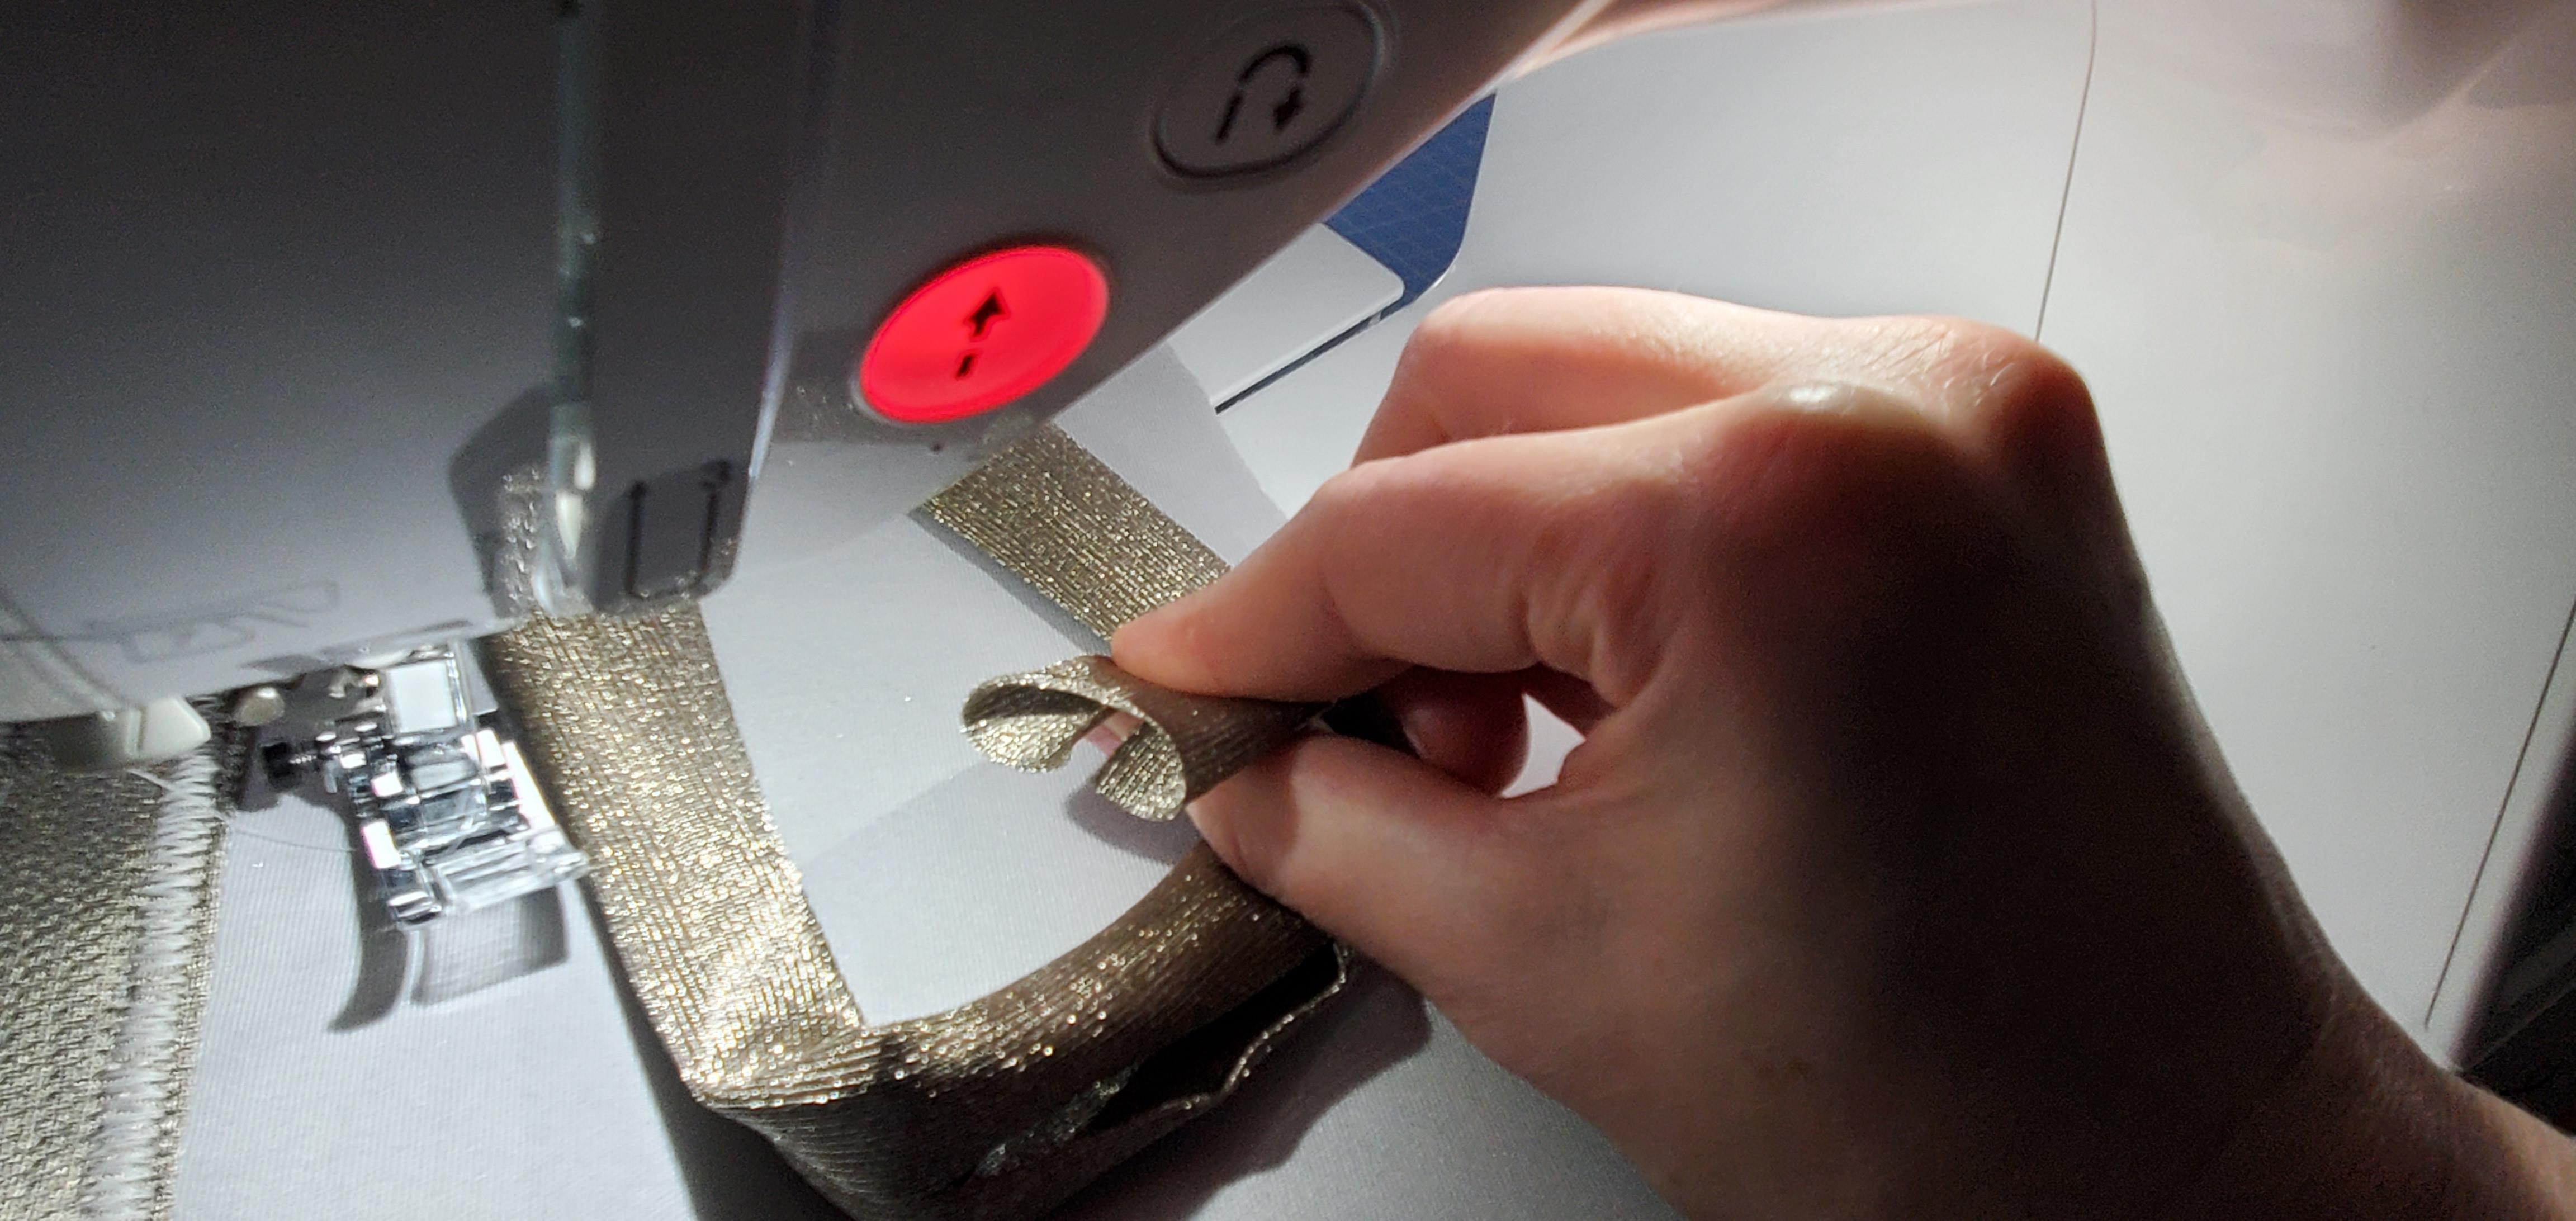
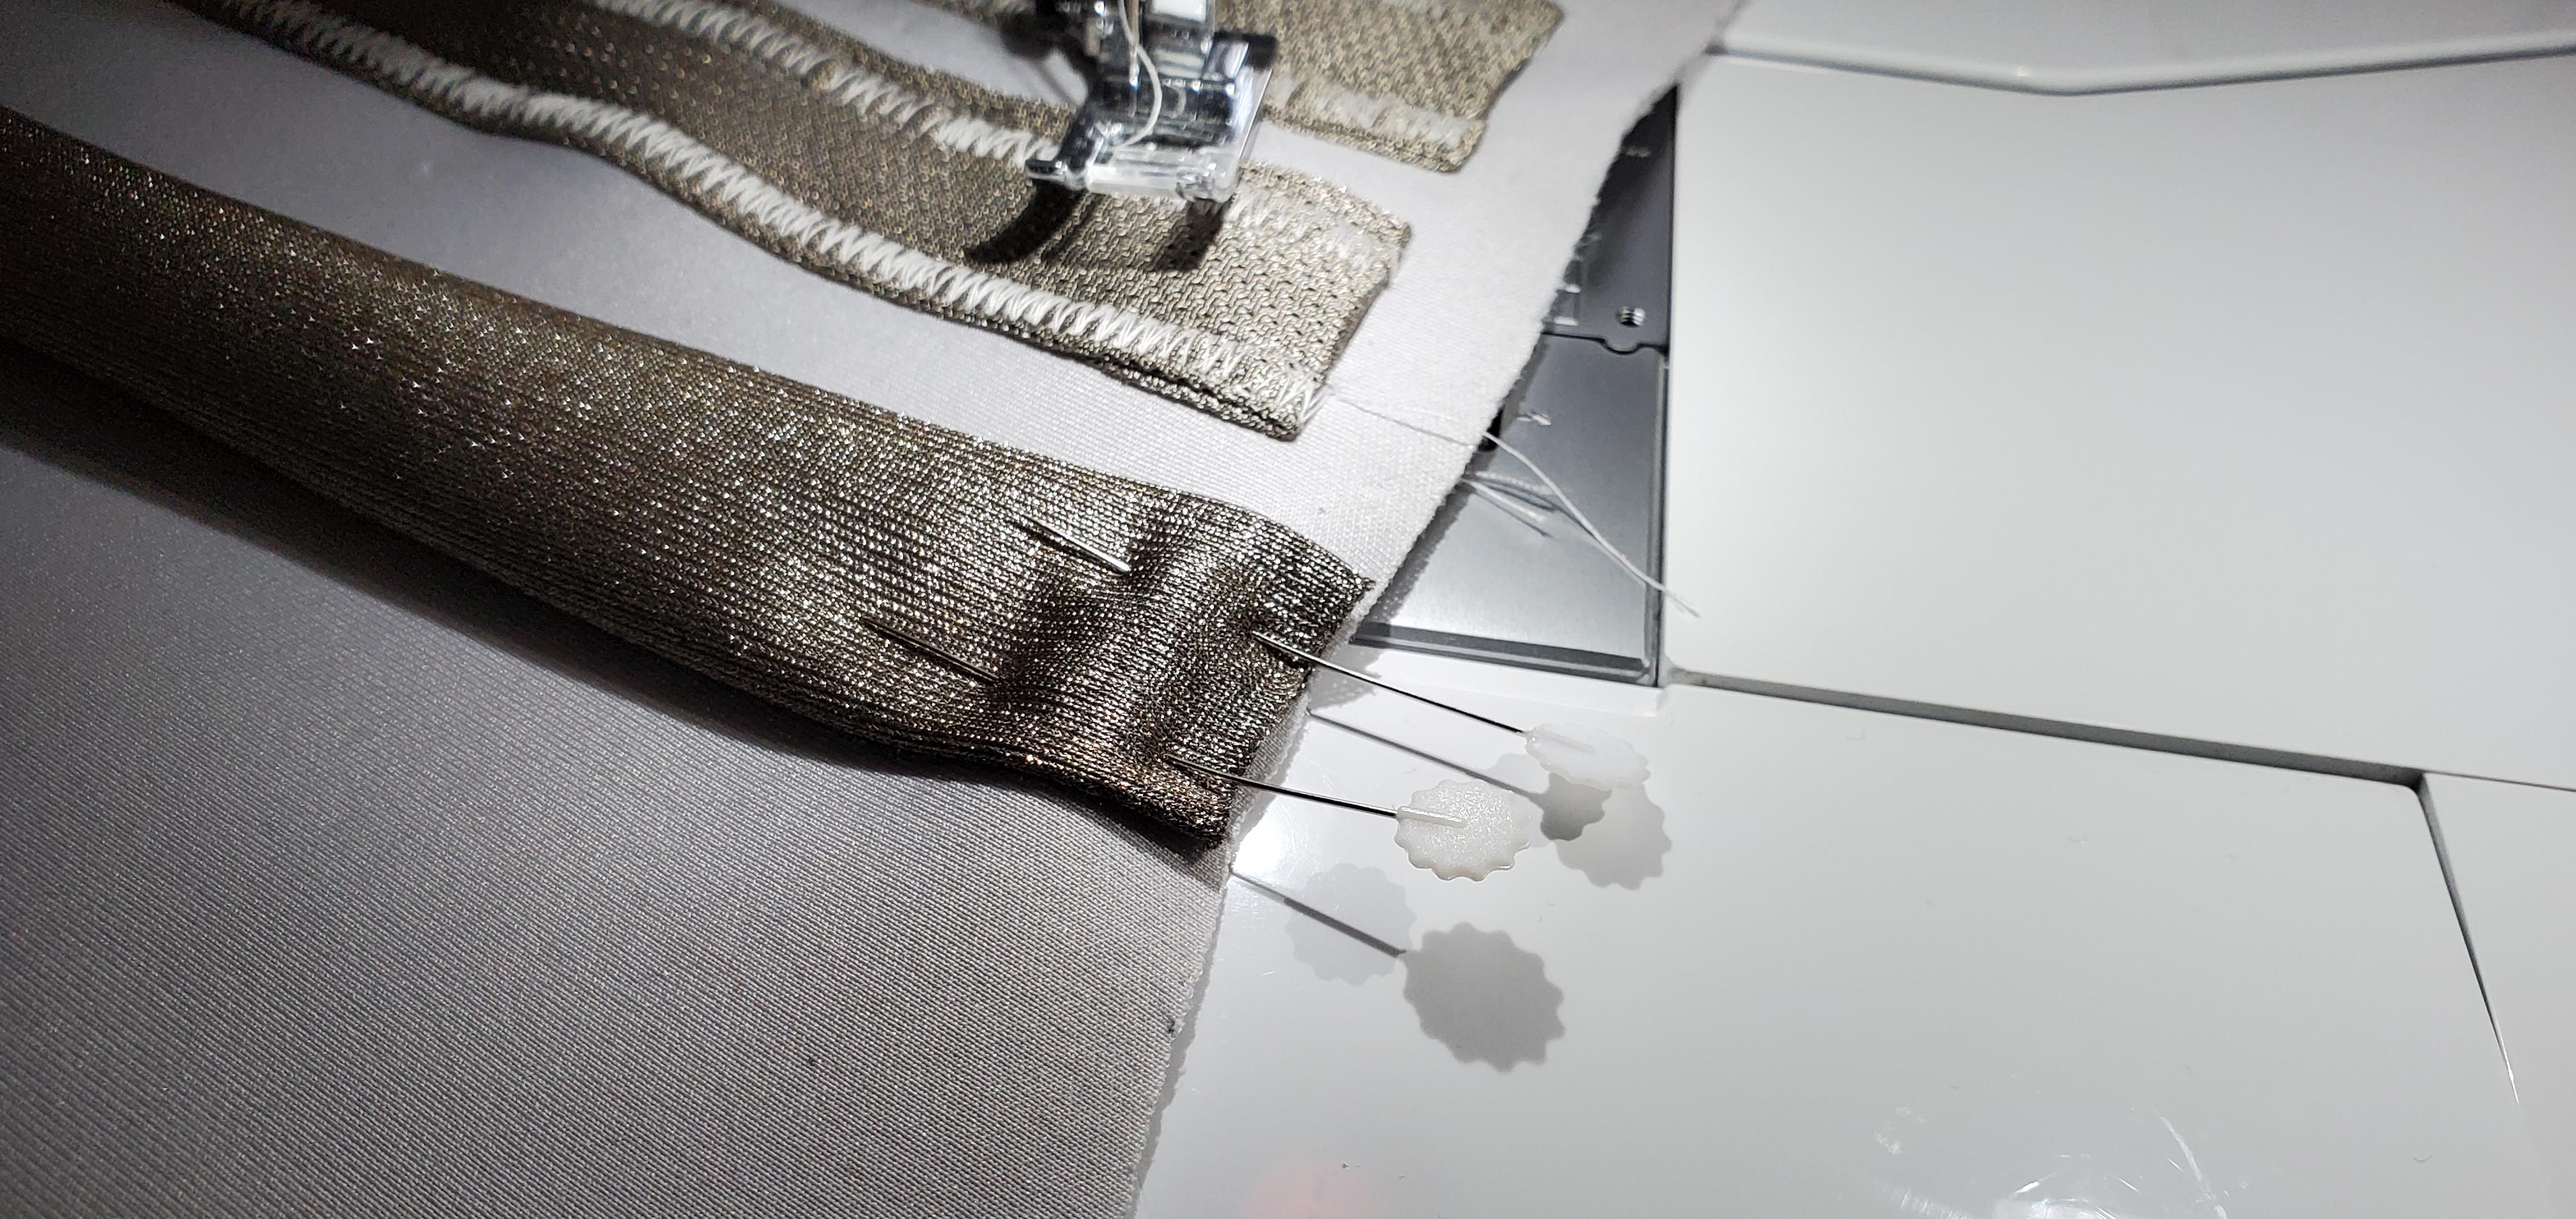
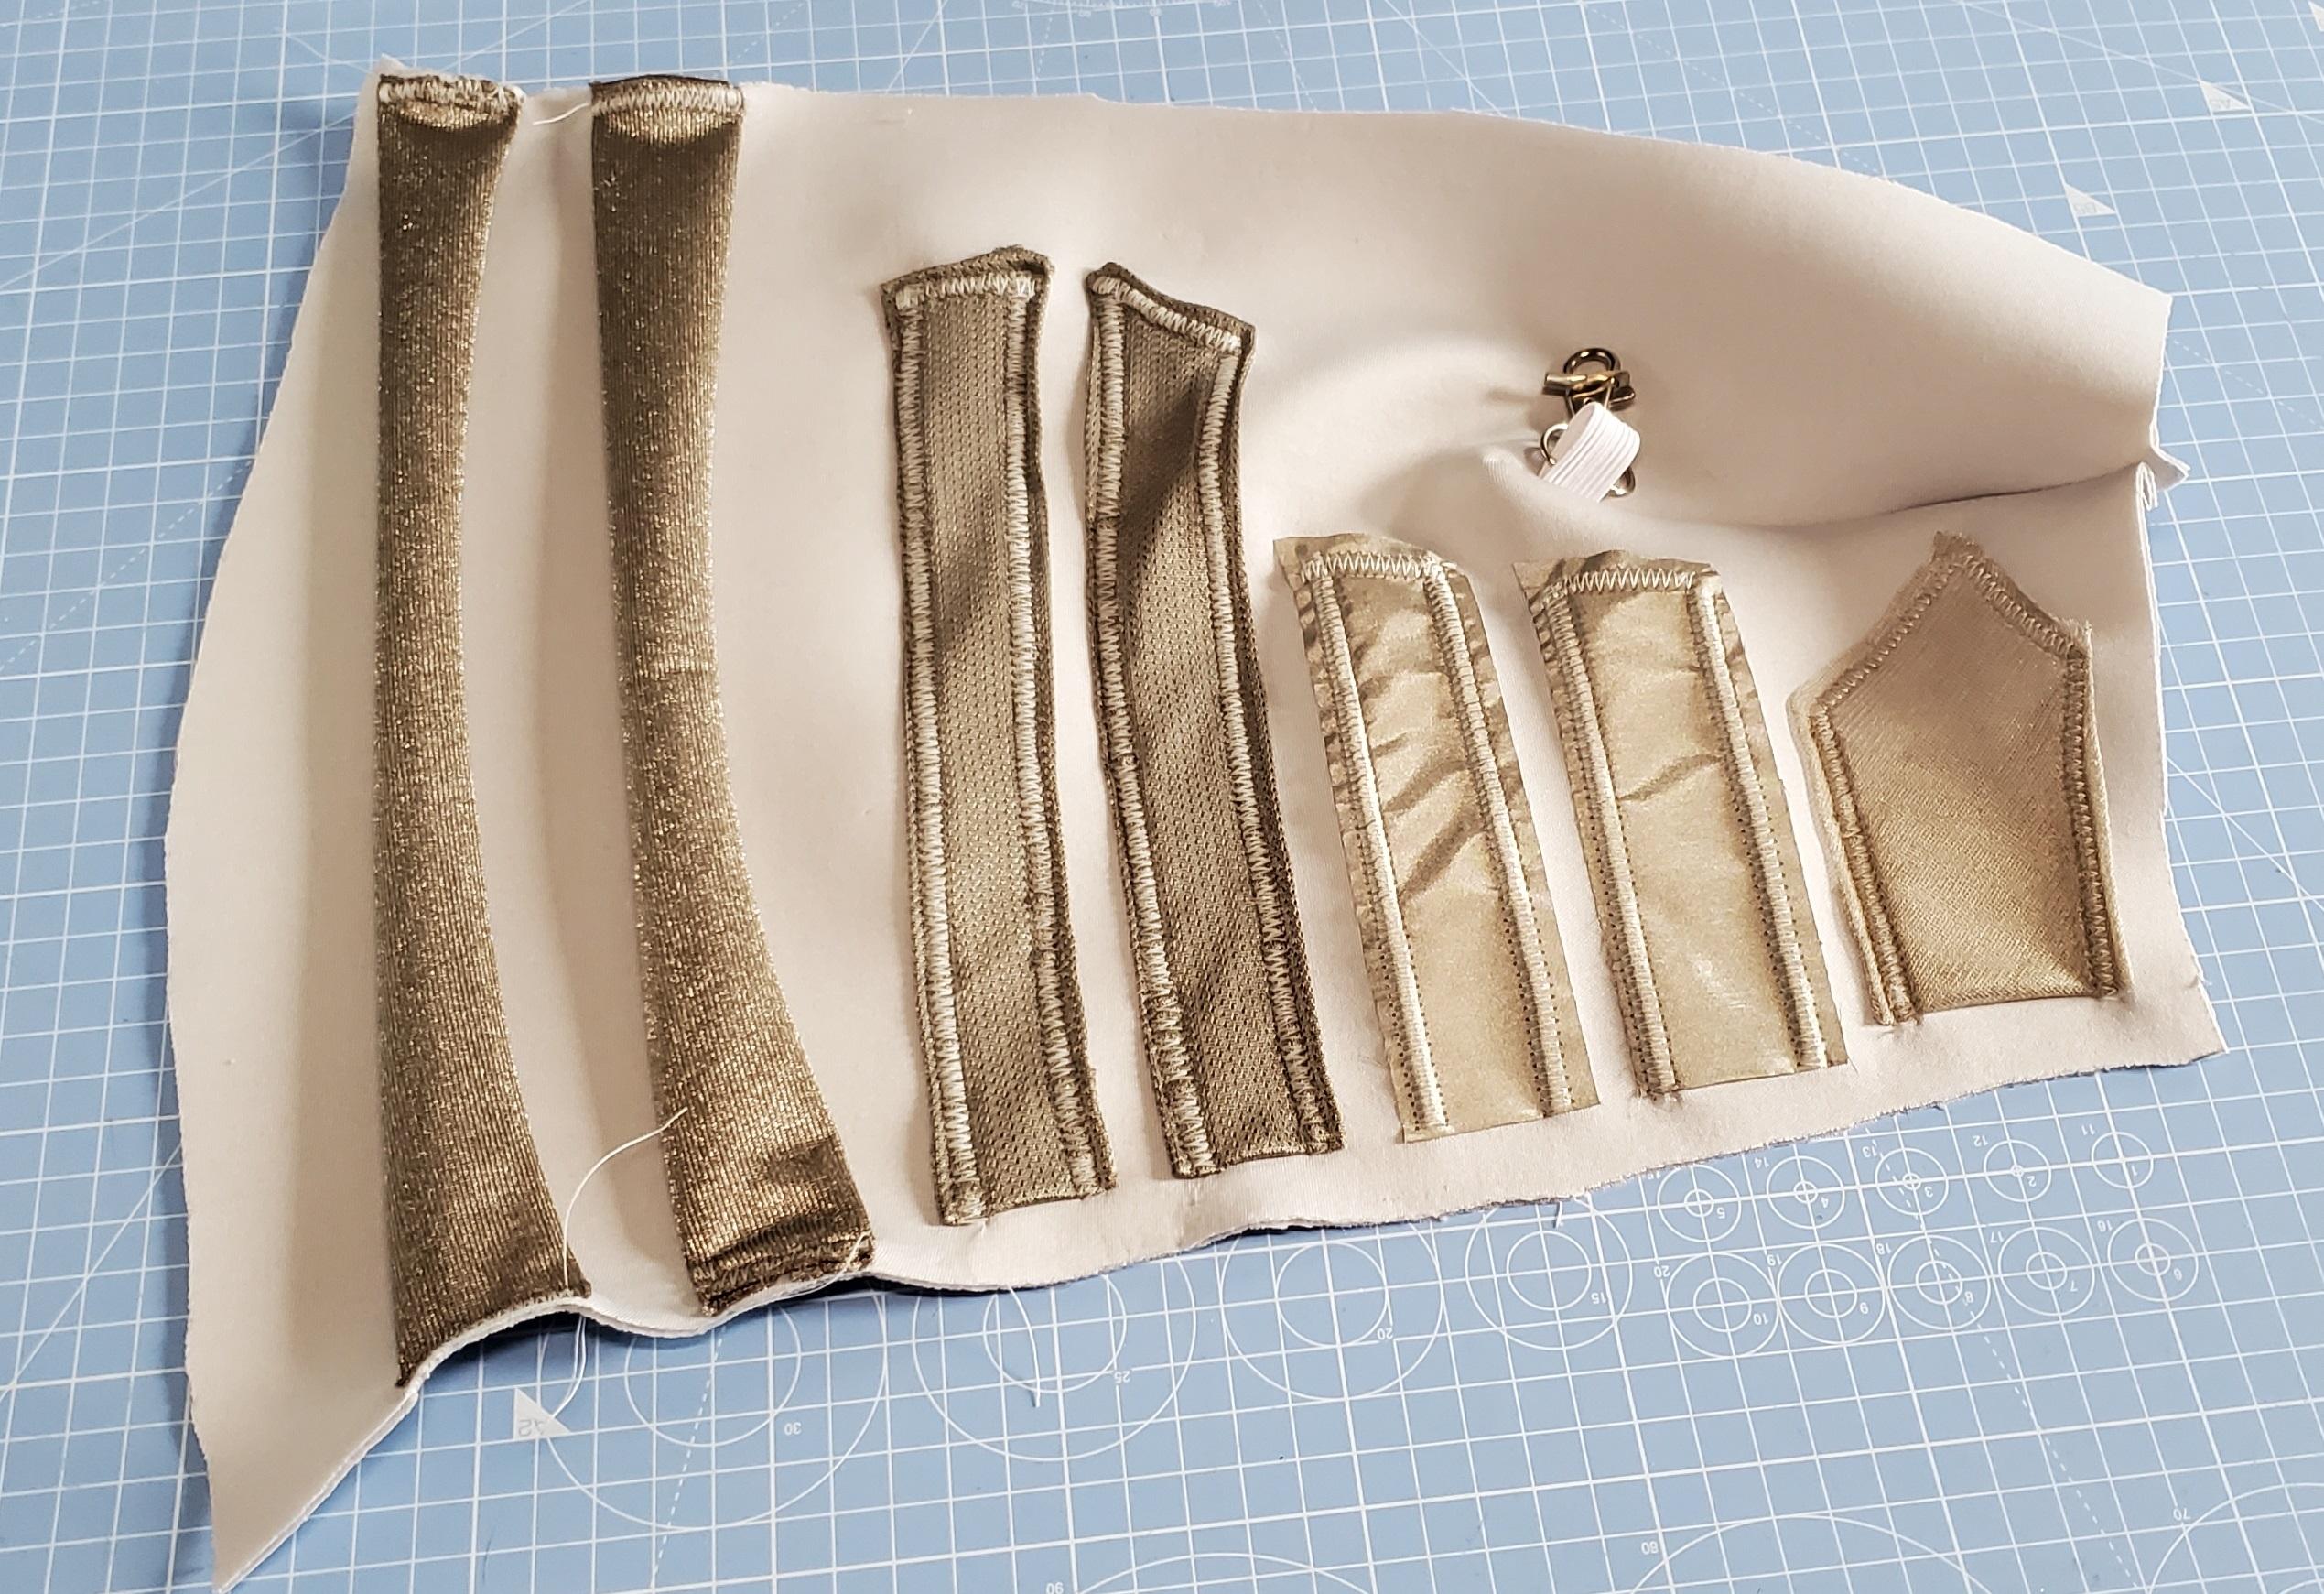
This fabric has very delicate beautiful qualities to it, so I decided not to sew it down the same as the others. For this fabric, I wanted it to be more of a 'cuff' look.
- Fold the edge of this into itself - see photos
- Place this on the edge of the neoprene
- Sew just the edge into place
- Do the same with the other end of the fabric
This conductive fabric should now be sewn along both ends of the neoprene and not sewn on the middle section at all. Look at the photos for reference. This was just my styling decision, and if you've used different conductive fabrics, you can sew it into place as we did for the previous pieces.
*phew* we've finished sewing all 7 pieces of conductive fabric into place!
You can add more conductive places on the sleeve if you want. If you want to turn it into an instrument for example, music has 8 notes in an active, so you might want to have 8 touch inputs. You can easily add an extra touch area.
Sewing the Sleeve Together to Wear It
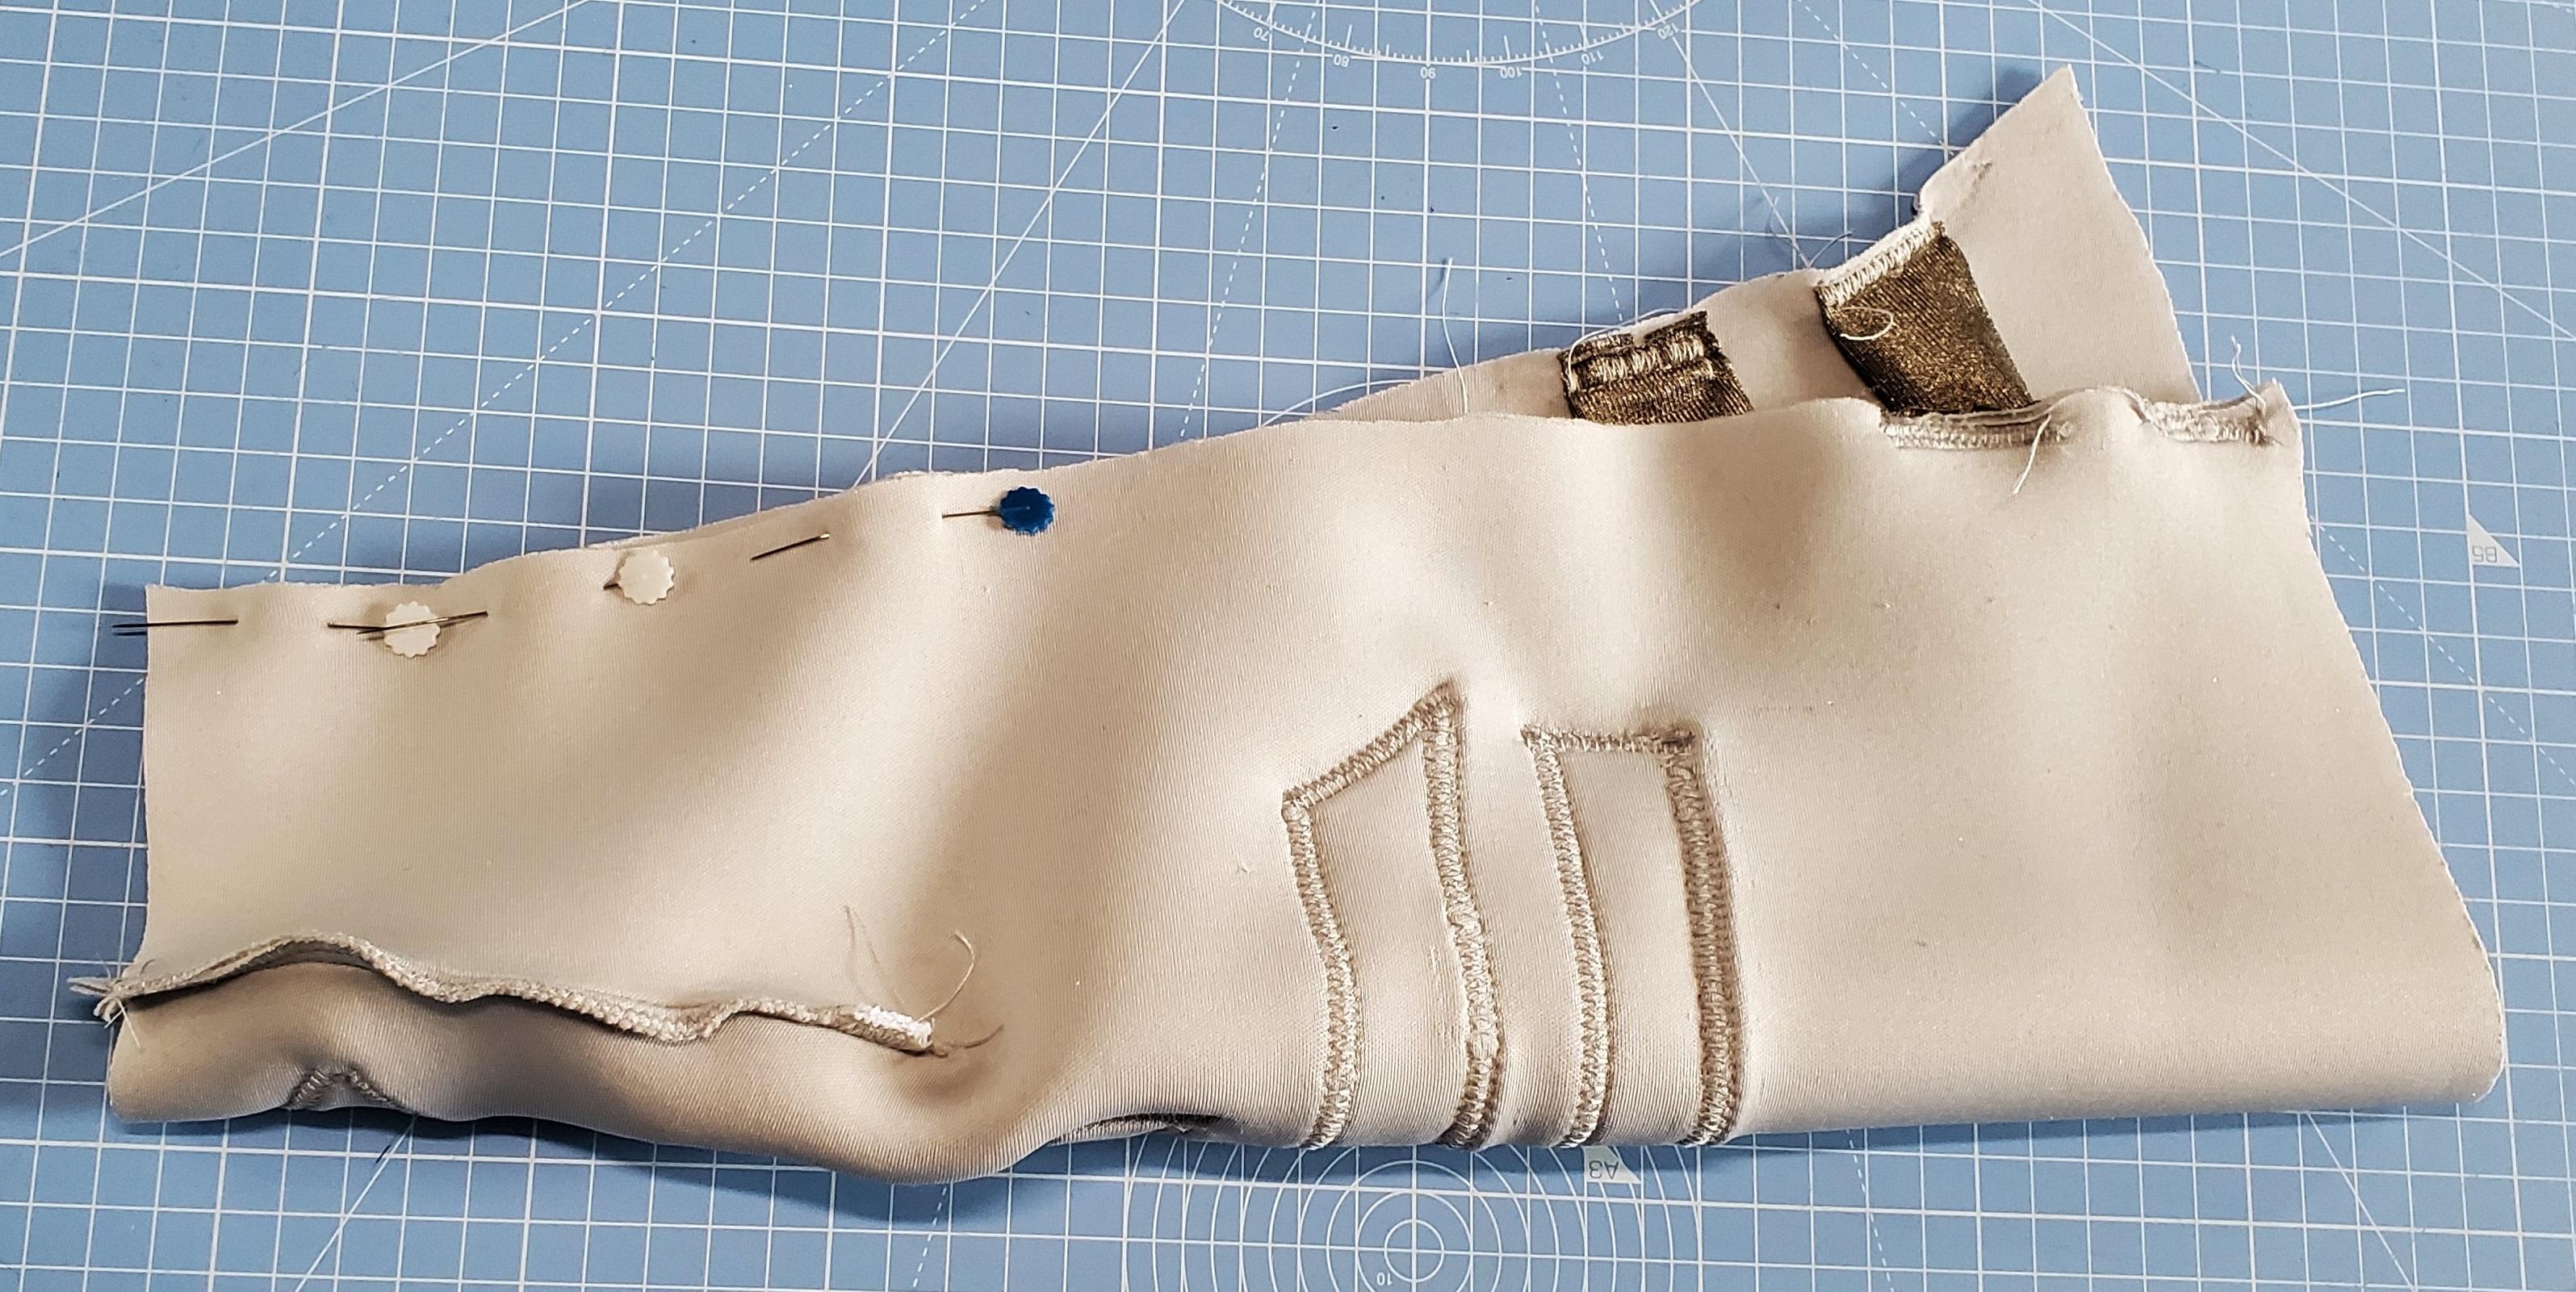
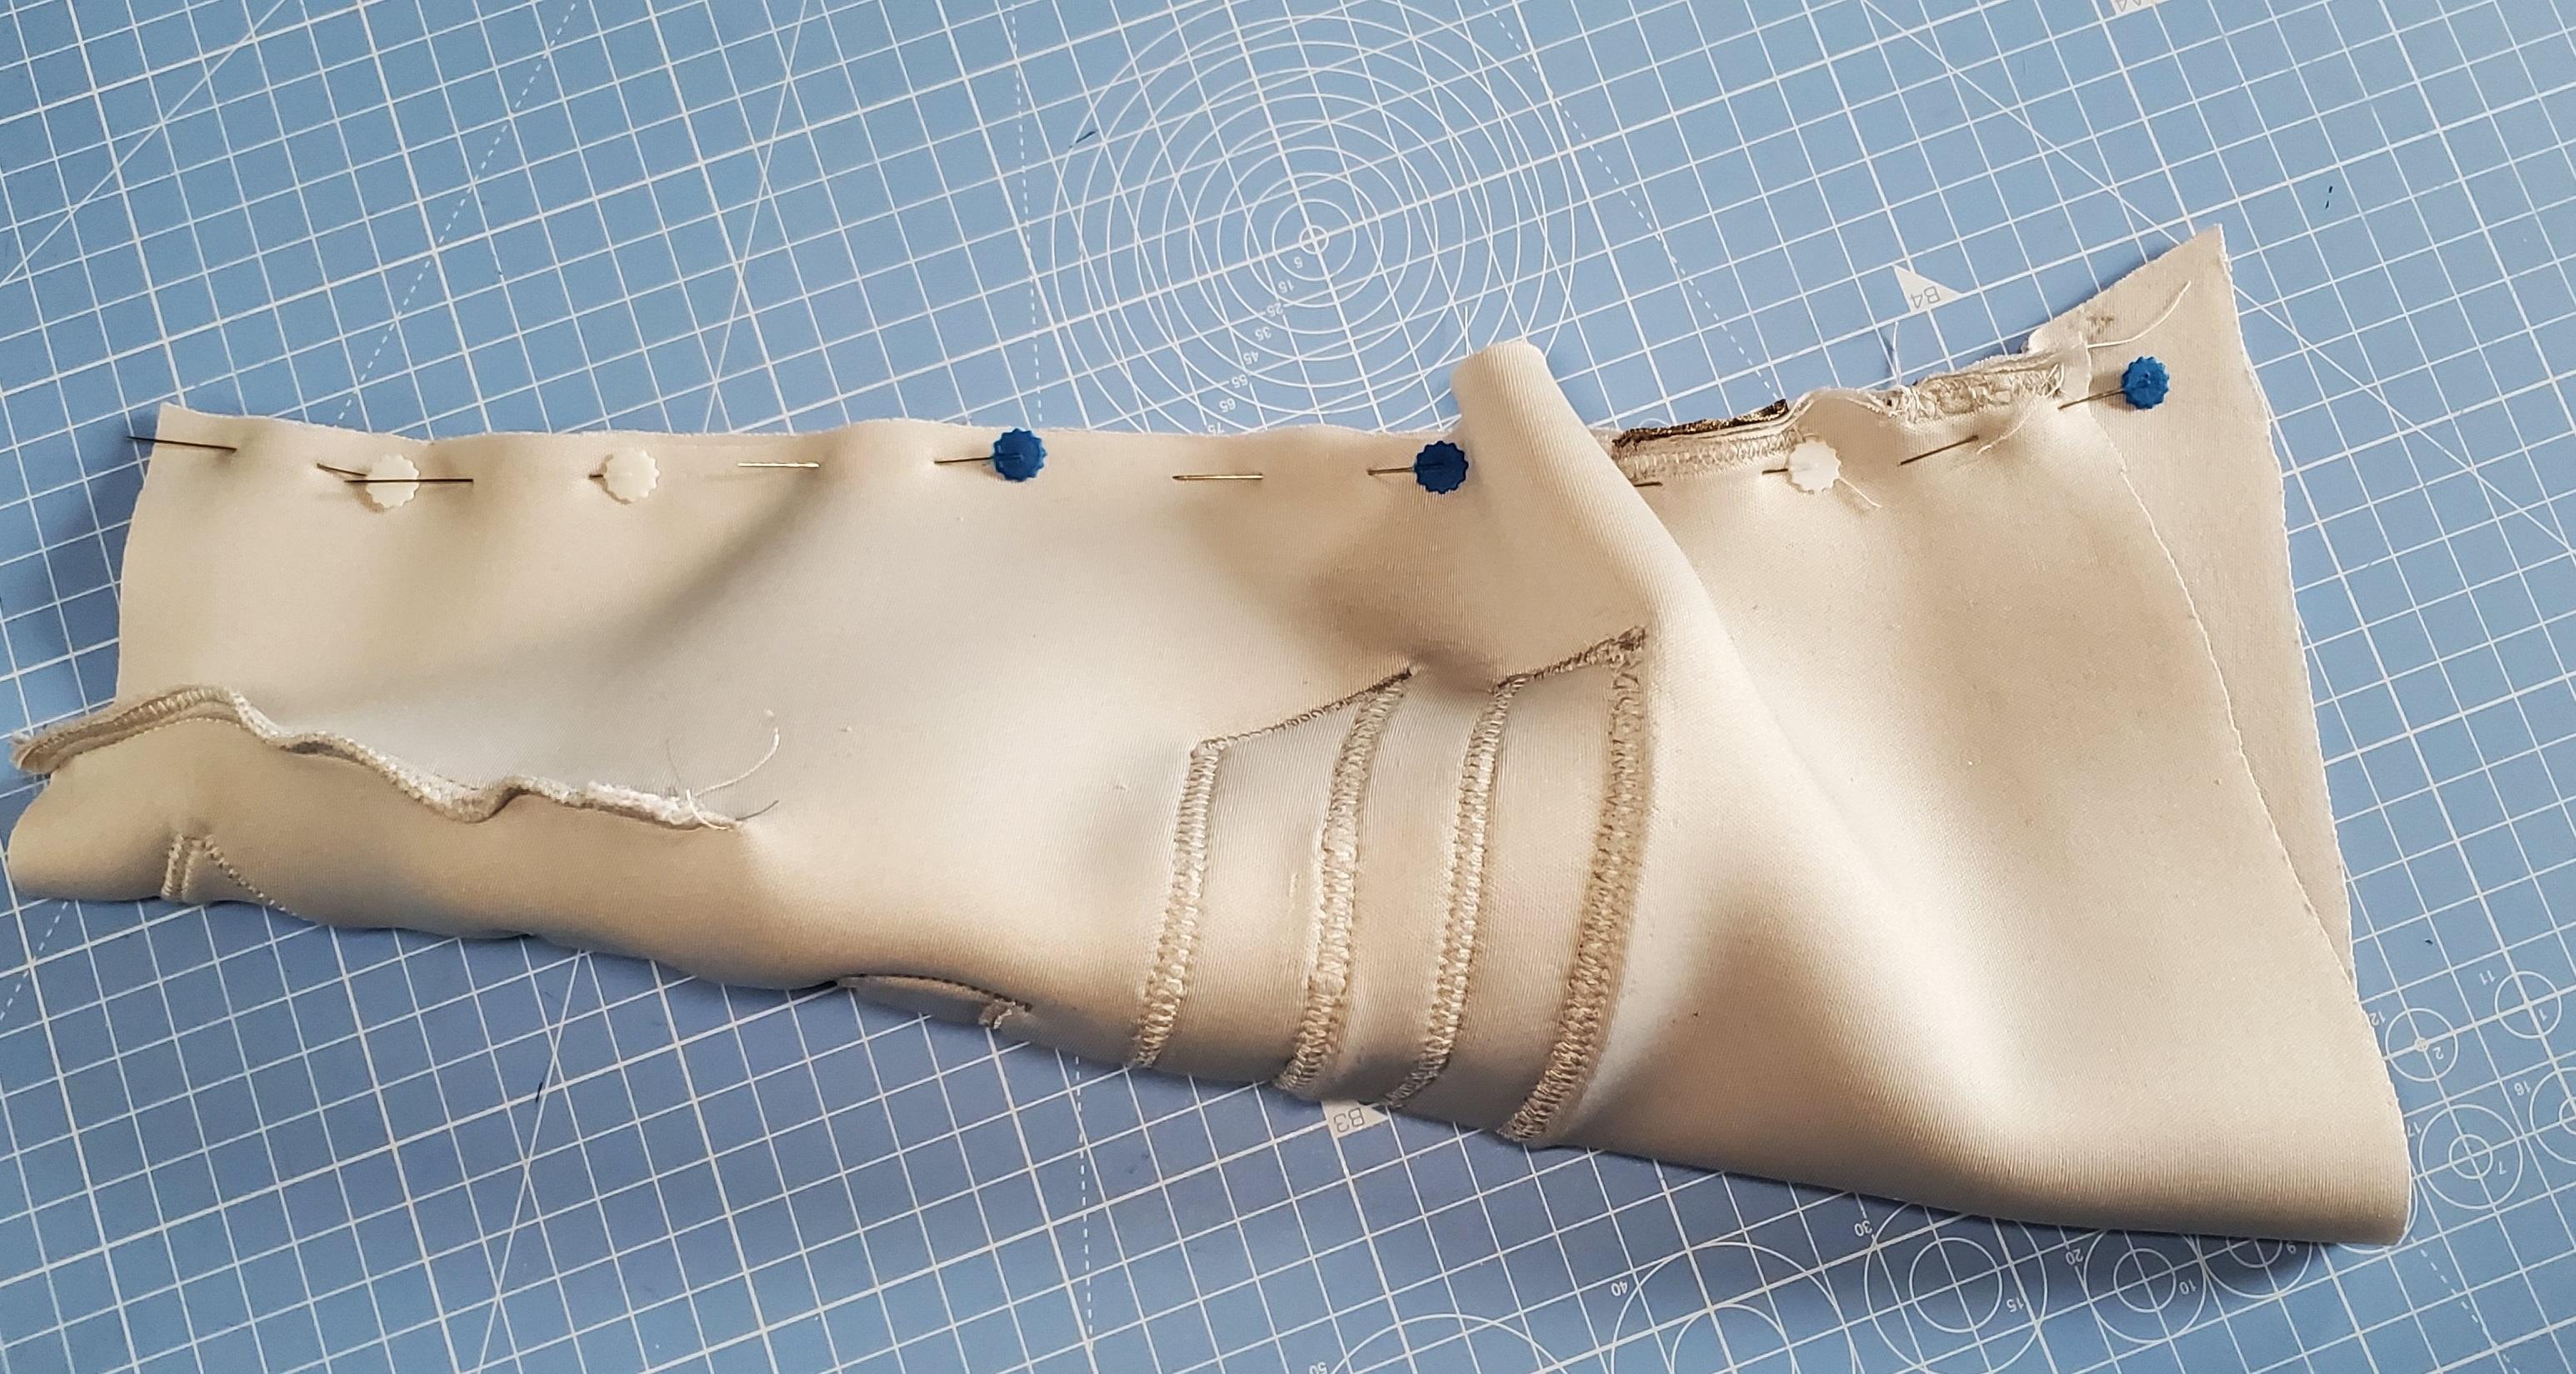
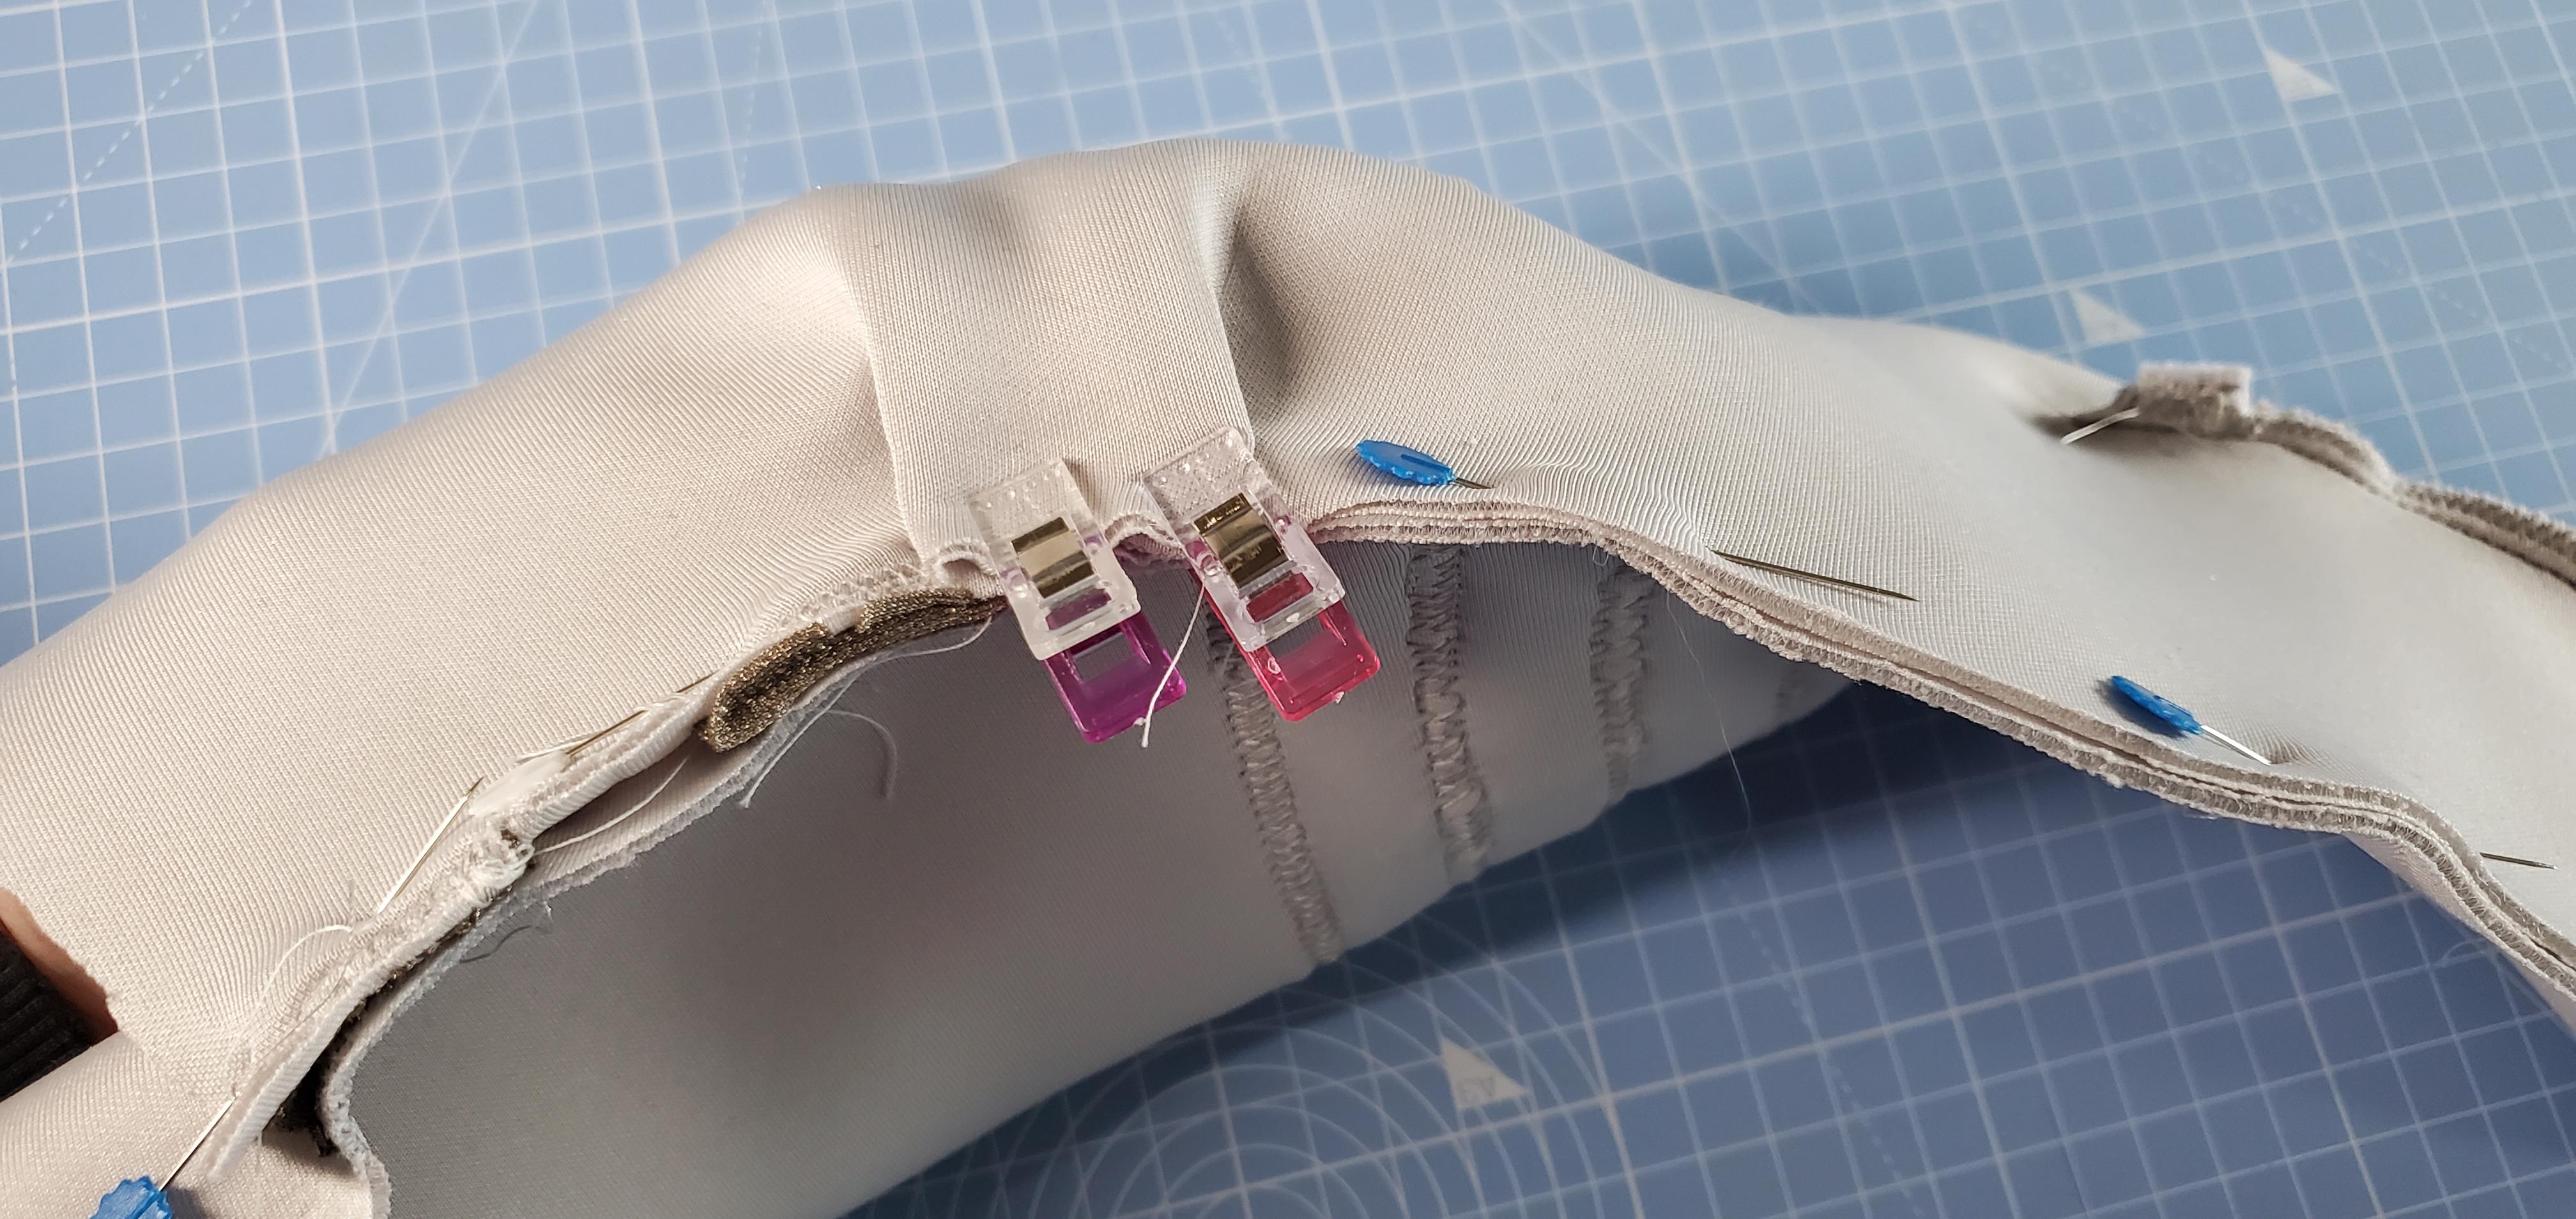
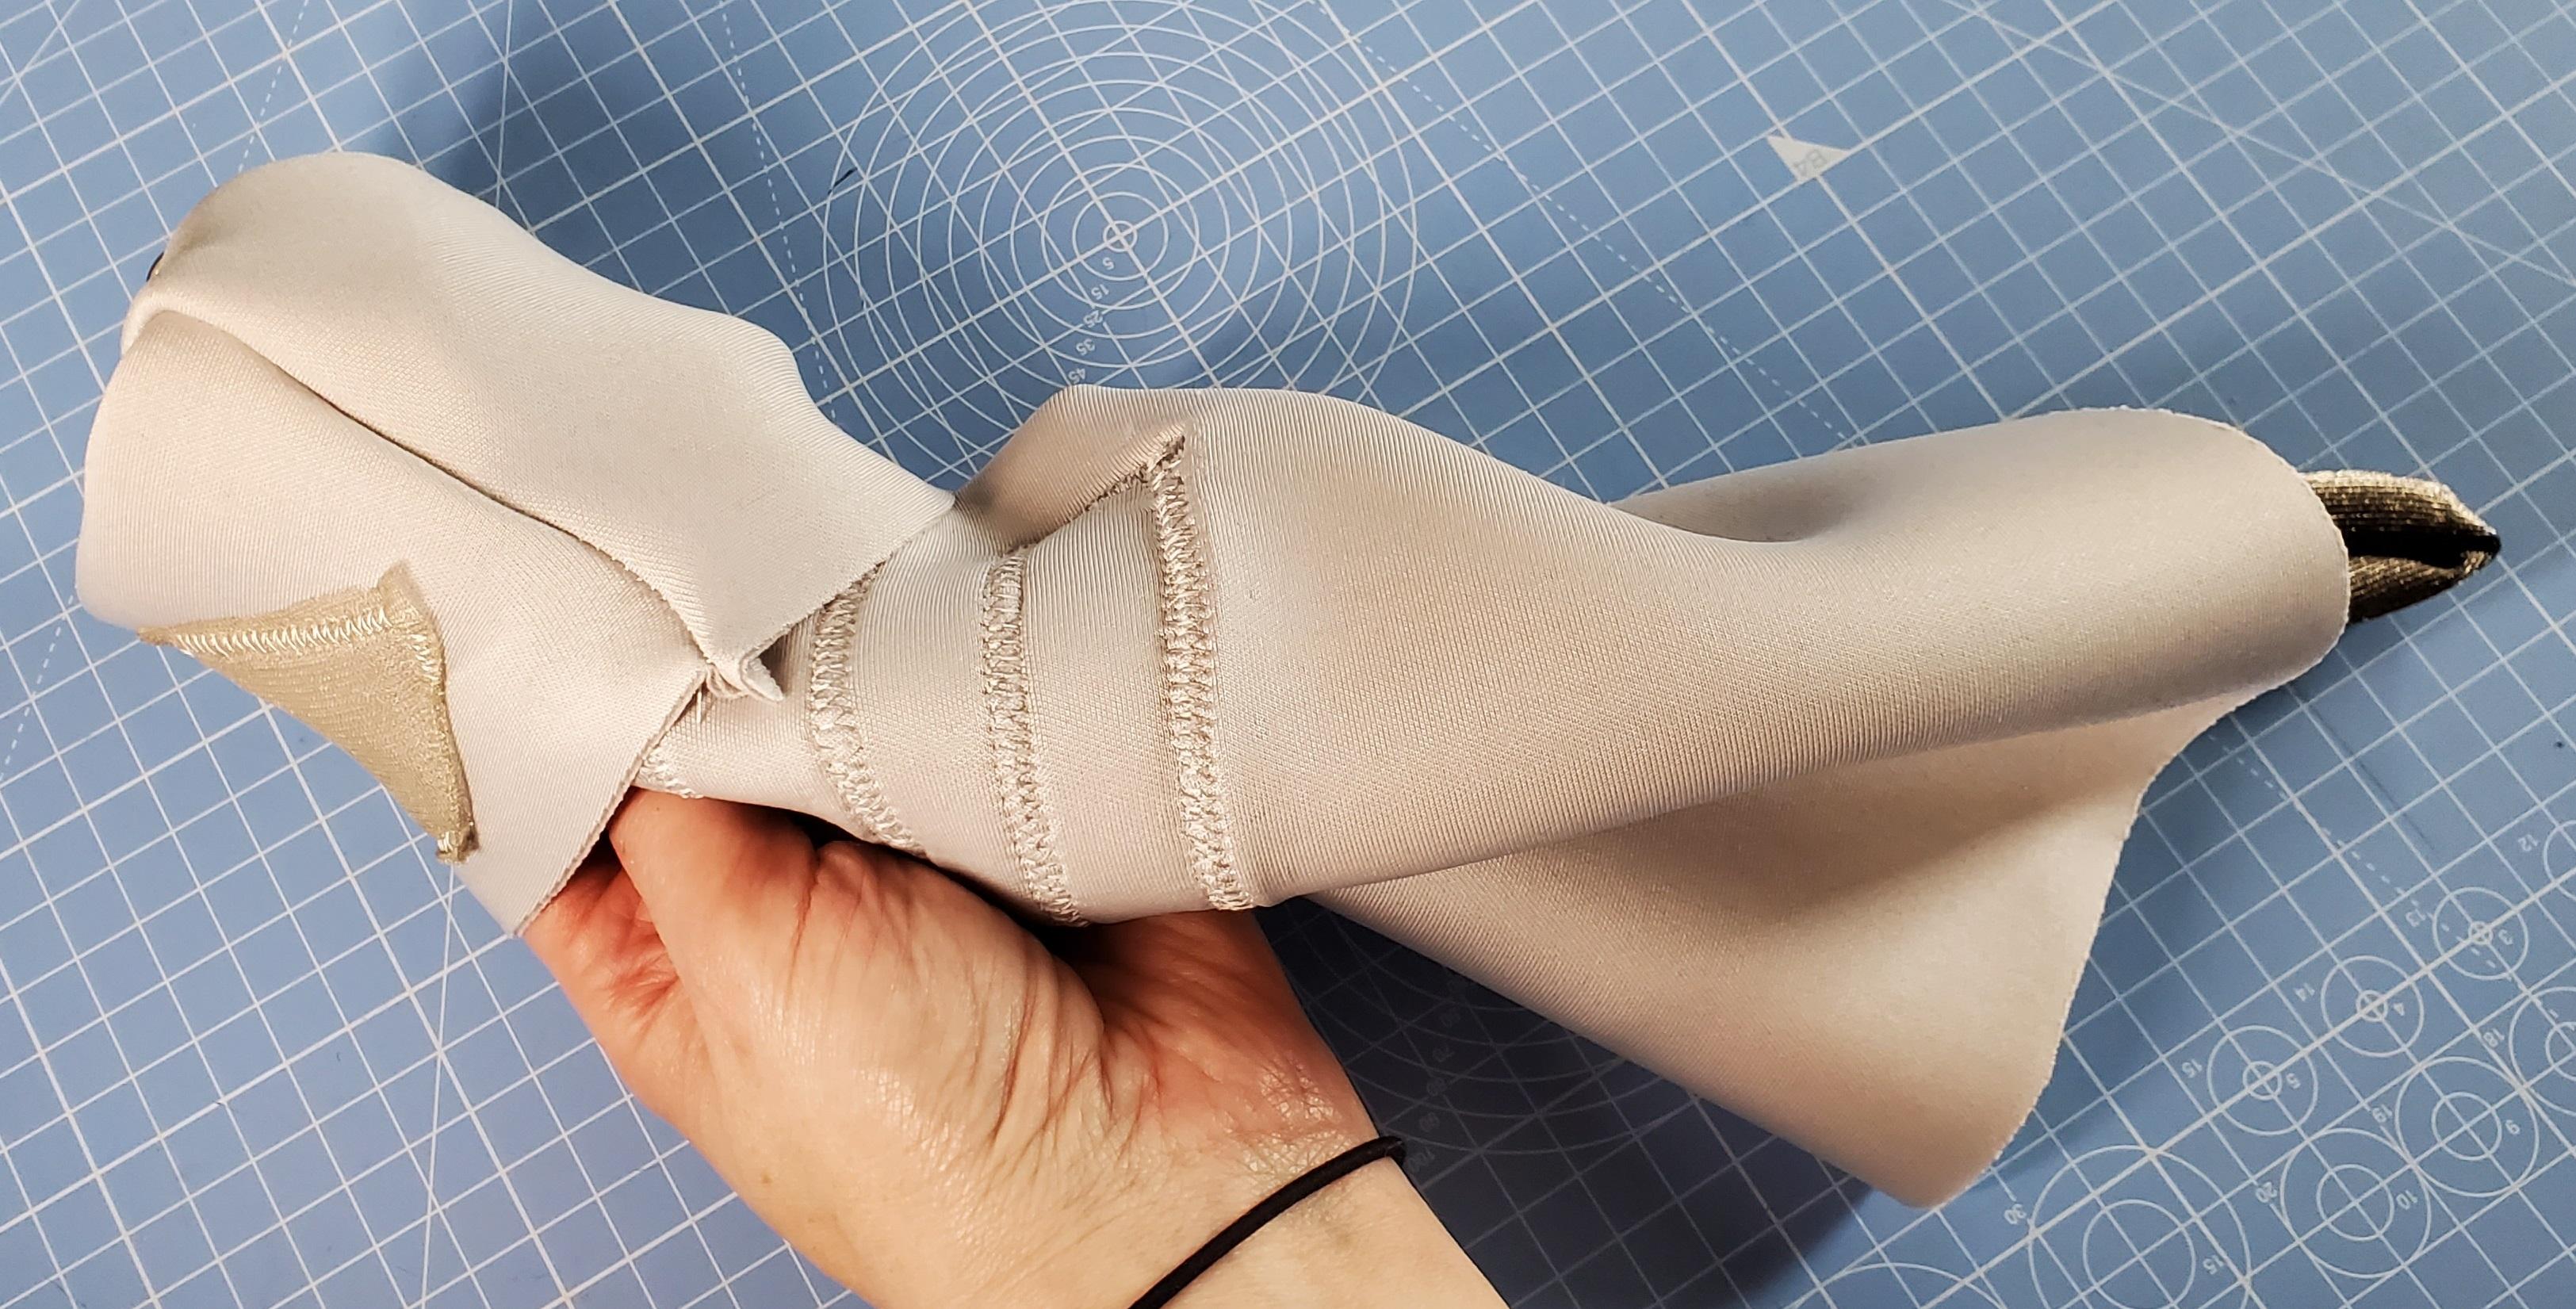
Now that we have finished let's pin the sleeve closed.
- Pin the conductive fabric sides to face each other, so the inside of the sleeve is facing the outside
- Hold the edge together, and start to pin together into place
- Pin all the way up - align the top 2 conductive pieces where we have sewn the edges.
- Where these align, pin into place
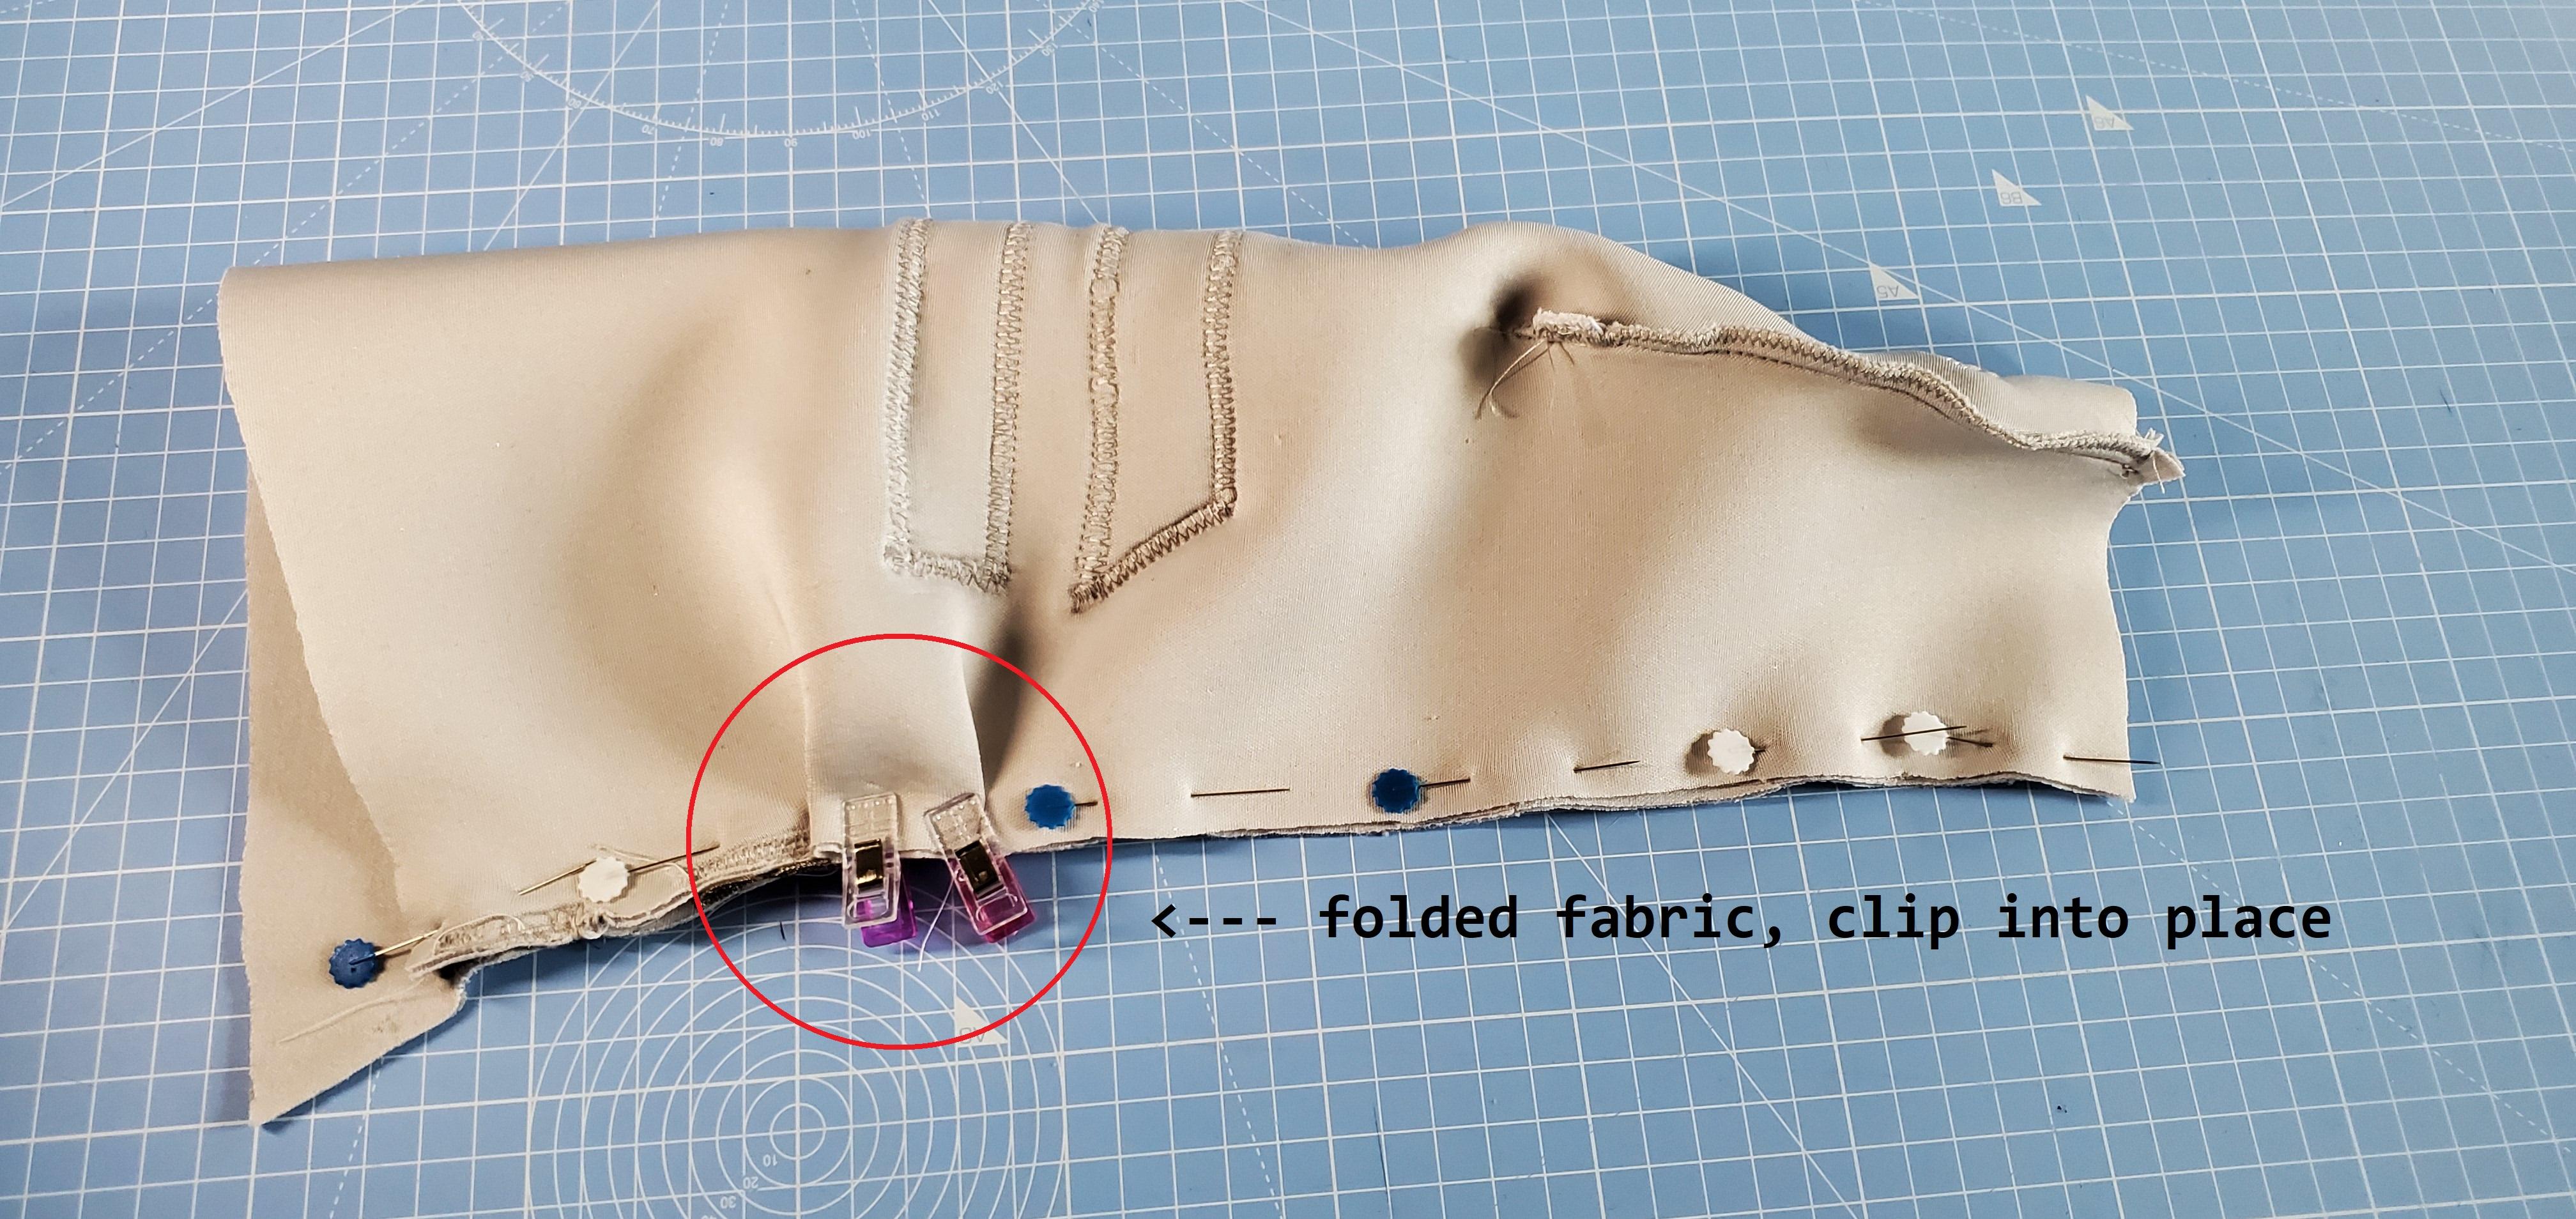
- There will be some 'bunching' of fabric near where your elbow will be
- Pin this area so it is flat - press it flat, and you'll see that it bunches out on both sides, pin these into place or use a clip as I have done (see photo)
- Sew all the way along this edge after pinning
- Inside out your sleeve
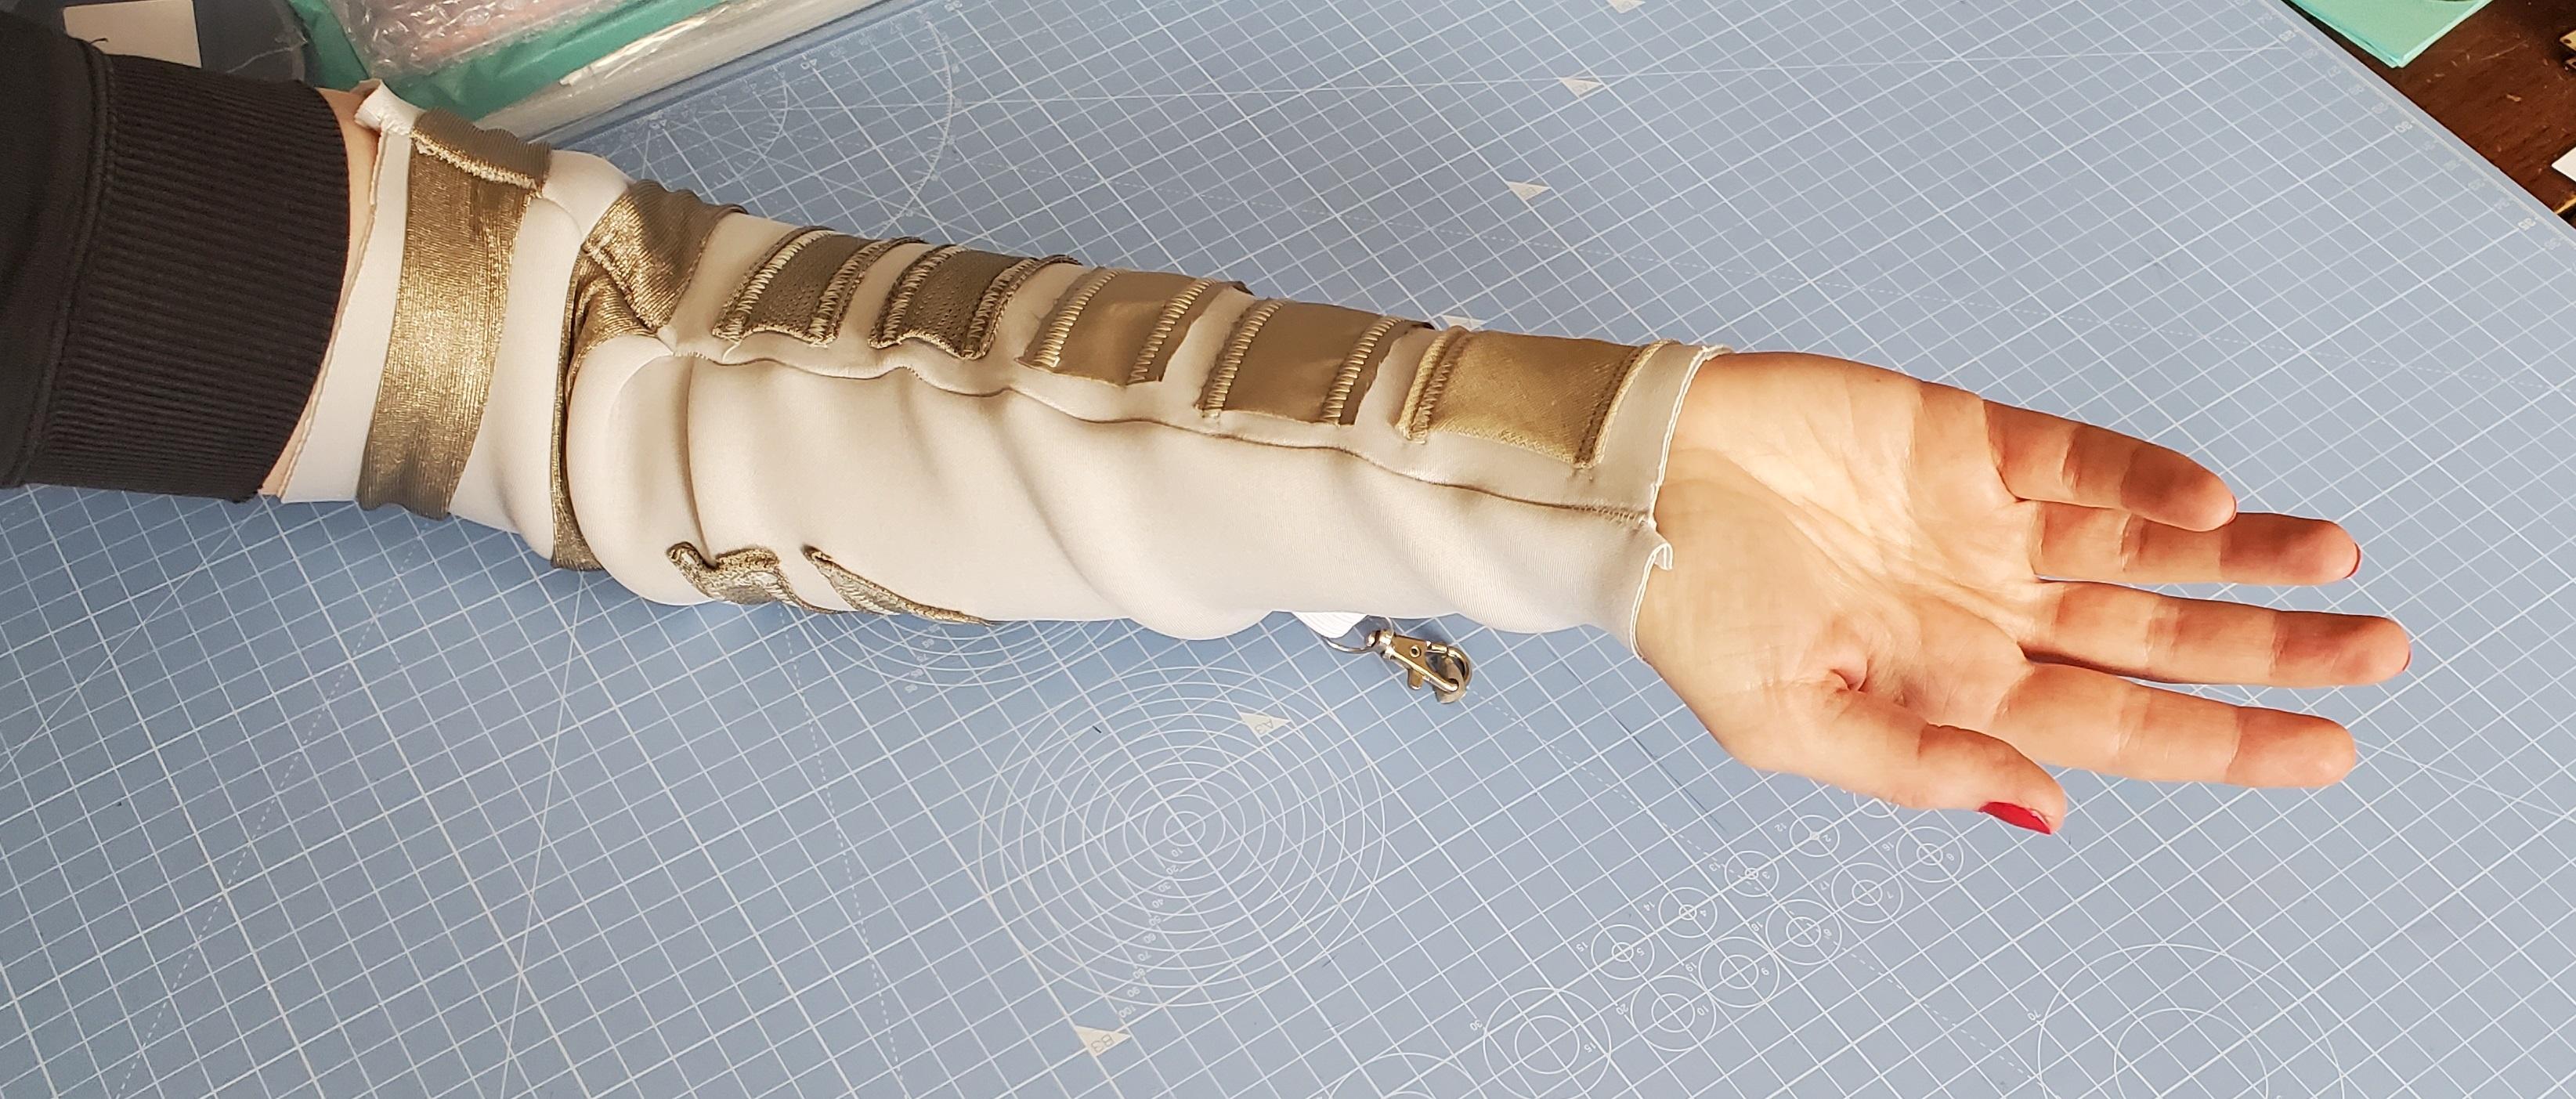
Ya! You now have created your own Open Universal Input Sleeve!
You can use it with crocodile clips as an input device - with your touch.
If you want to make project-specific clips you can follow this Instructable on creating connectors. If you're happy with croc clips, you can jump to Using the sleeve as an input device, for sample code.
Using the Sleeve As an Input Device
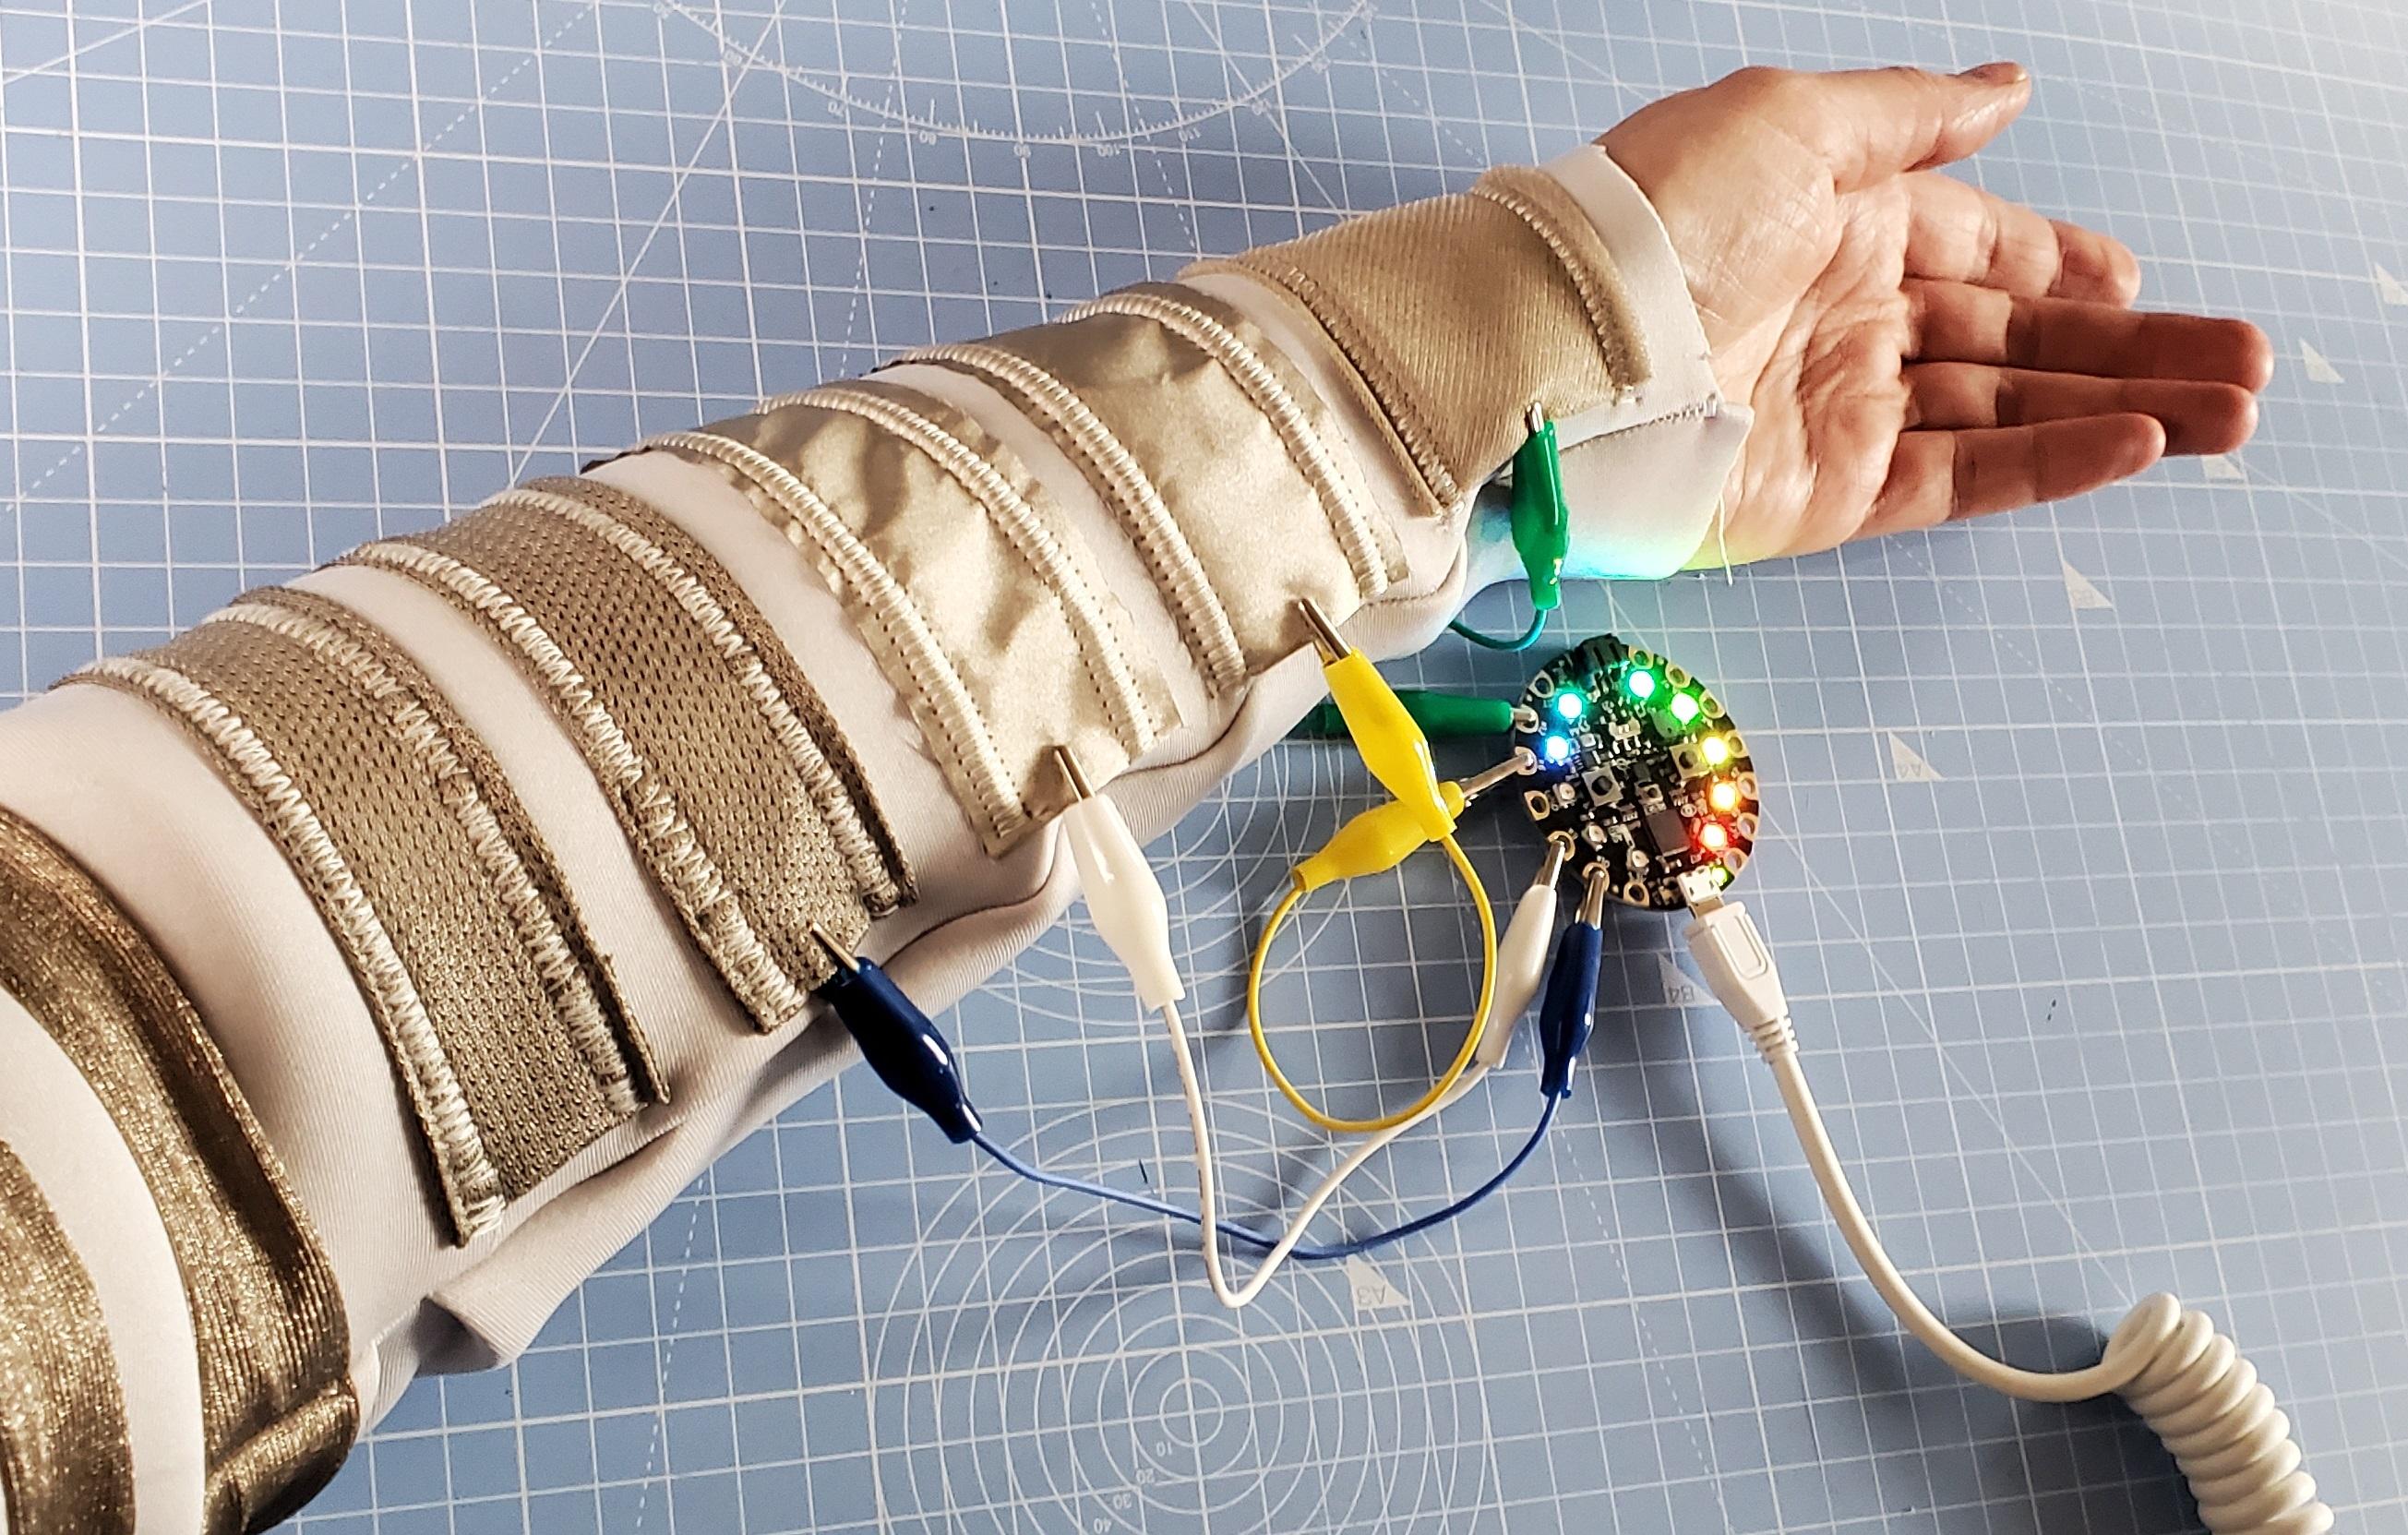
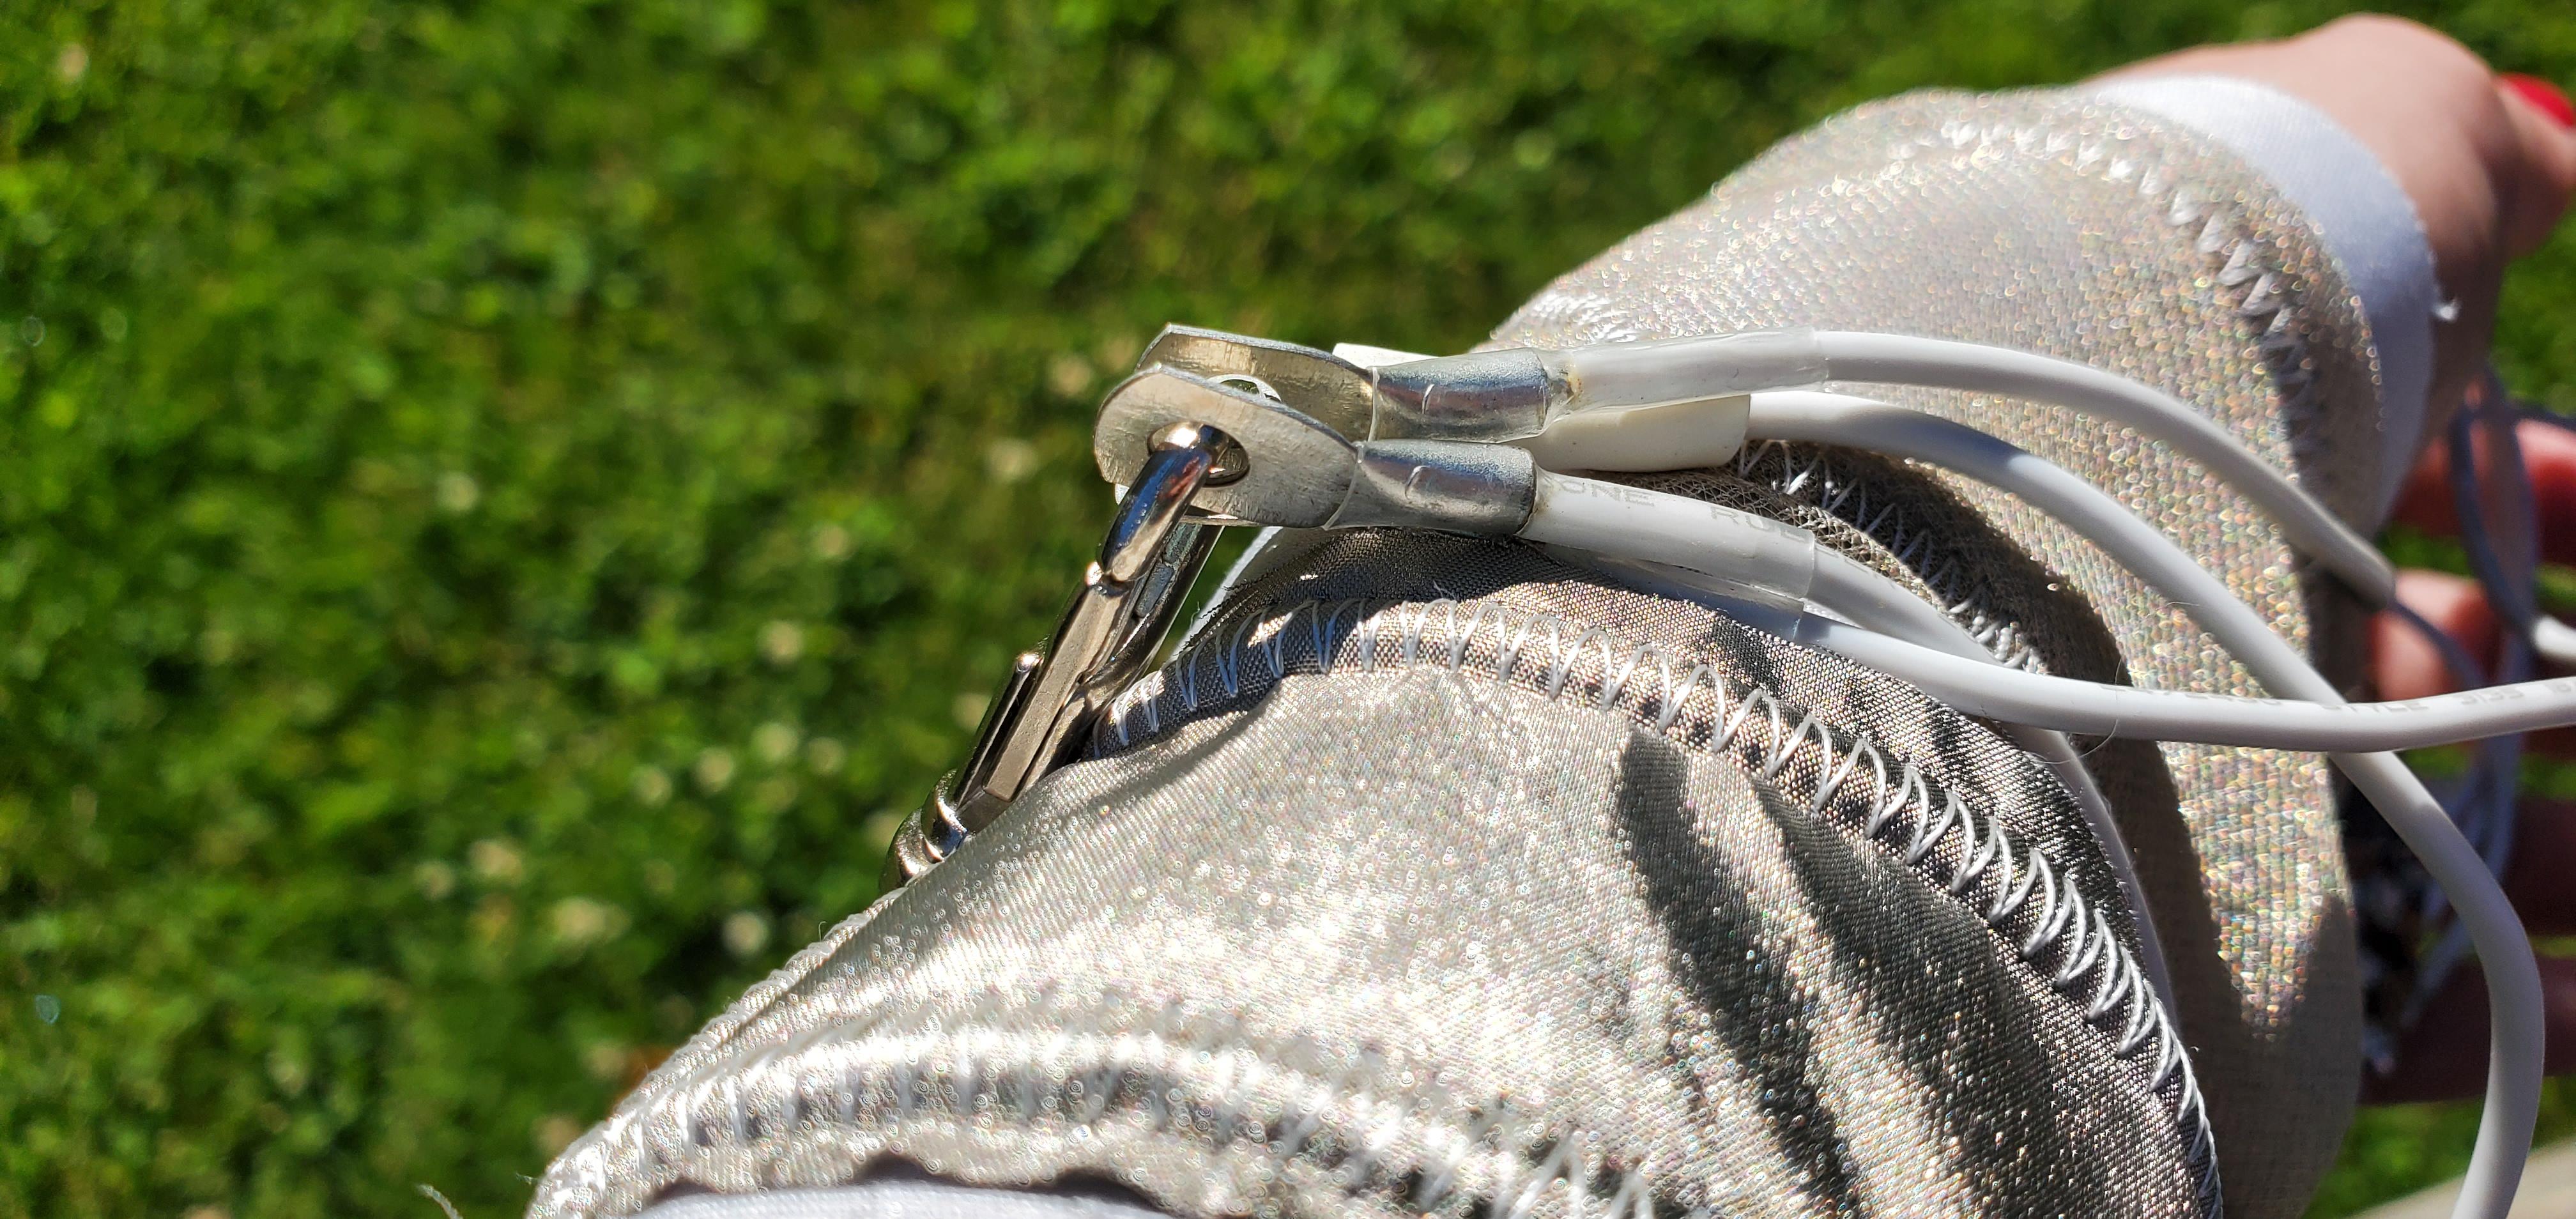
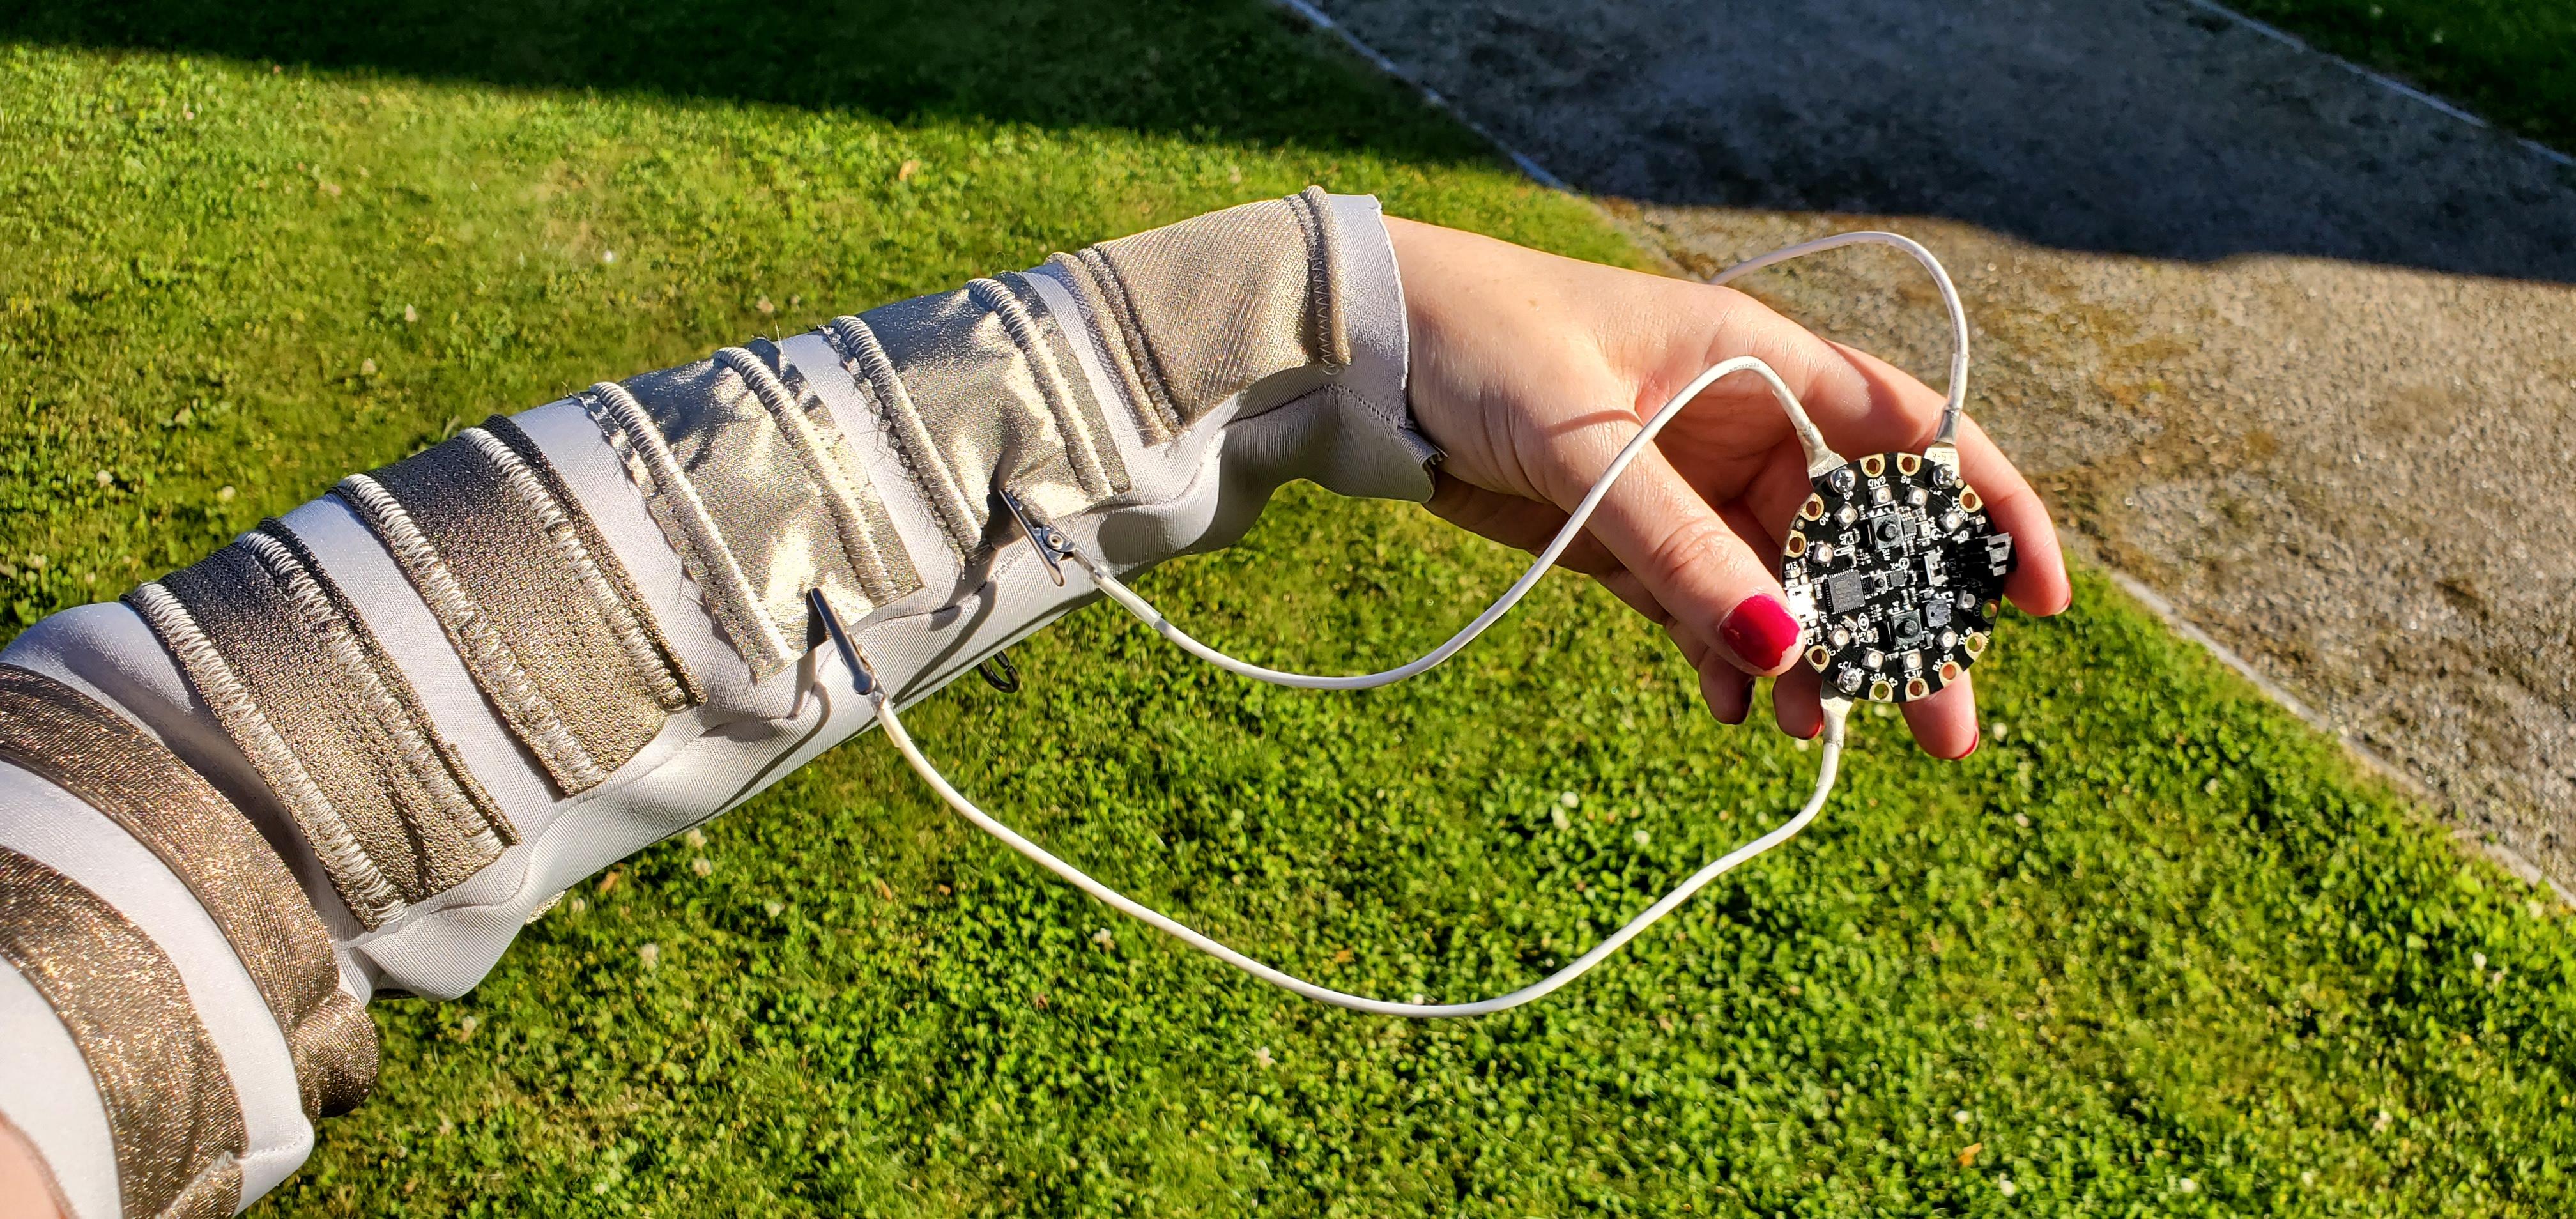
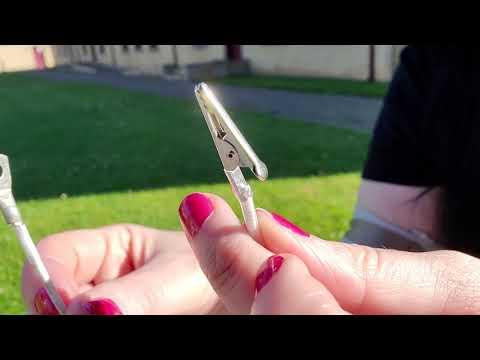
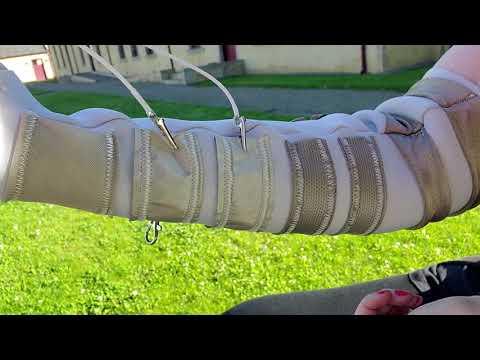
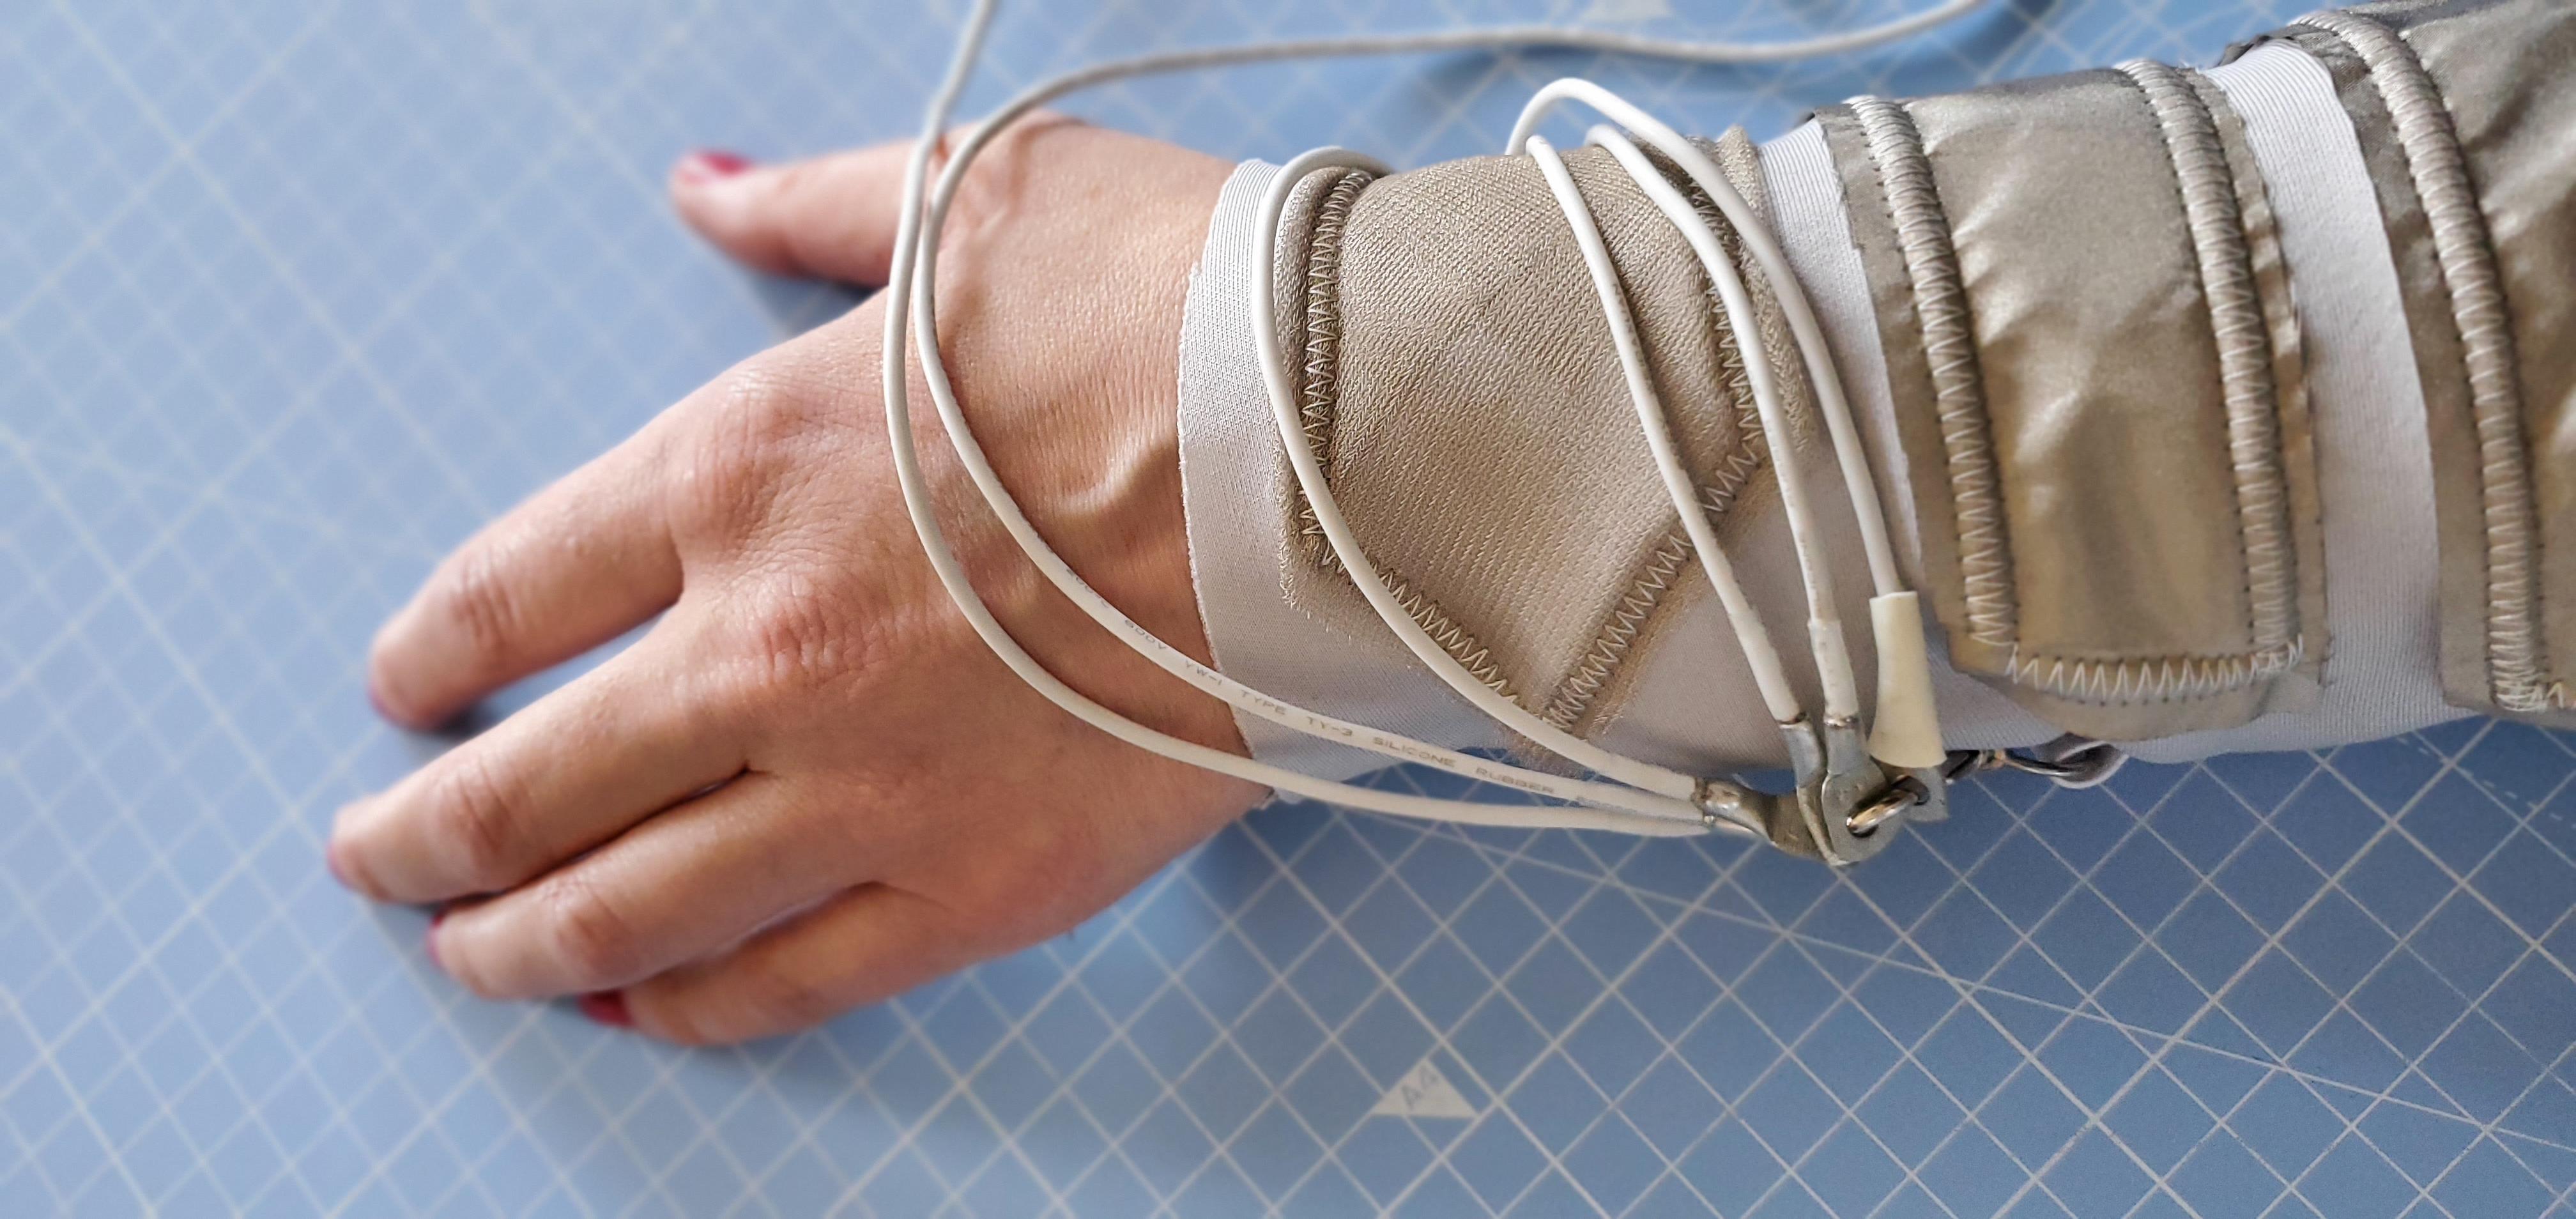
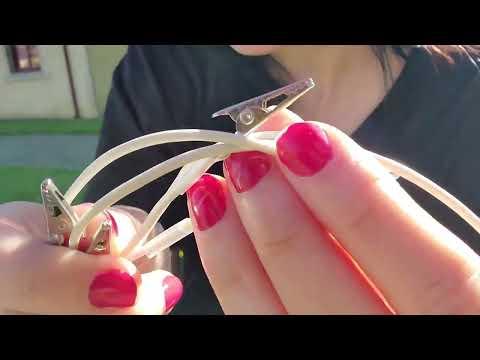
You might be using crocodile clips, or you may have made purpose build clips for this sleeve. We will now use the clips with the wearable conductive fabric sleeve to look at input with a microcontroller.
Looking at the pockets we created with conductive fabric, attach your crocodile clips to these edges.
You can use this code: https://github.com/cmoz/instructables/blob/main/OpenUniversalInputSleeve.ino with a Circuit Playground board, that has touch-enabled pins.
Upload the code to your Playground board after connecting the crocodile clips to pins
- pin 3
- pin 2
- pin 0
- pin 1
- pin 12
- pin 6
- pin 9
- and pin 10 if you added an 8th conductive strip
After the code is uploaded, you can now touch the strips and see the effect and hear a sound in response!
Other Arduino boards
If you have another board, you can install a library, ADCTouch. After this library is installed, try one of the example files included in the library, I have uploaded some other example code here: github.com/cmoz/instructables/blob/main/OUIS_ADCTouch.ino. This code is for an example of controlling a servo motor when touches register. If you are newer to Arduino, try this first:
- Open Arduino
- Go to Tools > Manage Libraries > search for ADCTouch, by martin2250
- Install
Open the example file: File > Examples > ADCTouch > Buttons
#include <ADCTouch.h>

int ref0, ref1;     //reference values to remove offset

void setup()
{
    // No pins to setup, pins can still be used regularly, although it will affect readings
    Serial.begin(9600);
    ref0 = ADCTouch.read(A0, 500);    //create reference values to
    ref1 = ADCTouch.read(A1, 500);    //account for the capacitance of the pad
}

void loop()
{
    int value0 = ADCTouch.read(A0);   //no second parameter
    int value1 = ADCTouch.read(A1);   //   --> 100 samples

    value0 -= ref0;       //remove offset
    value1 -= ref1;

    Serial.print(value0 > 40);    //send (boolean) pressed or not pressed
    Serial.print("\t");           //use if(value > threshold) to get the state of a button

    Serial.print(value1 > 40);
    Serial.print("\t\t");

    Serial.print(value0);             //send actual reading
    Serial.print("\t");

    Serial.println(value1);
    delay(100);
}
Upload the code to your Arduino board, be sure to select your Board and Port from the Tools menu. After it is uploaded, with the crocodile clips attached to A0 and A1 of your board, you will be able to touch the conductive fabric and it will register the reading.
You can see the value after you open the Serial Monitor in Arduino.
Finished!
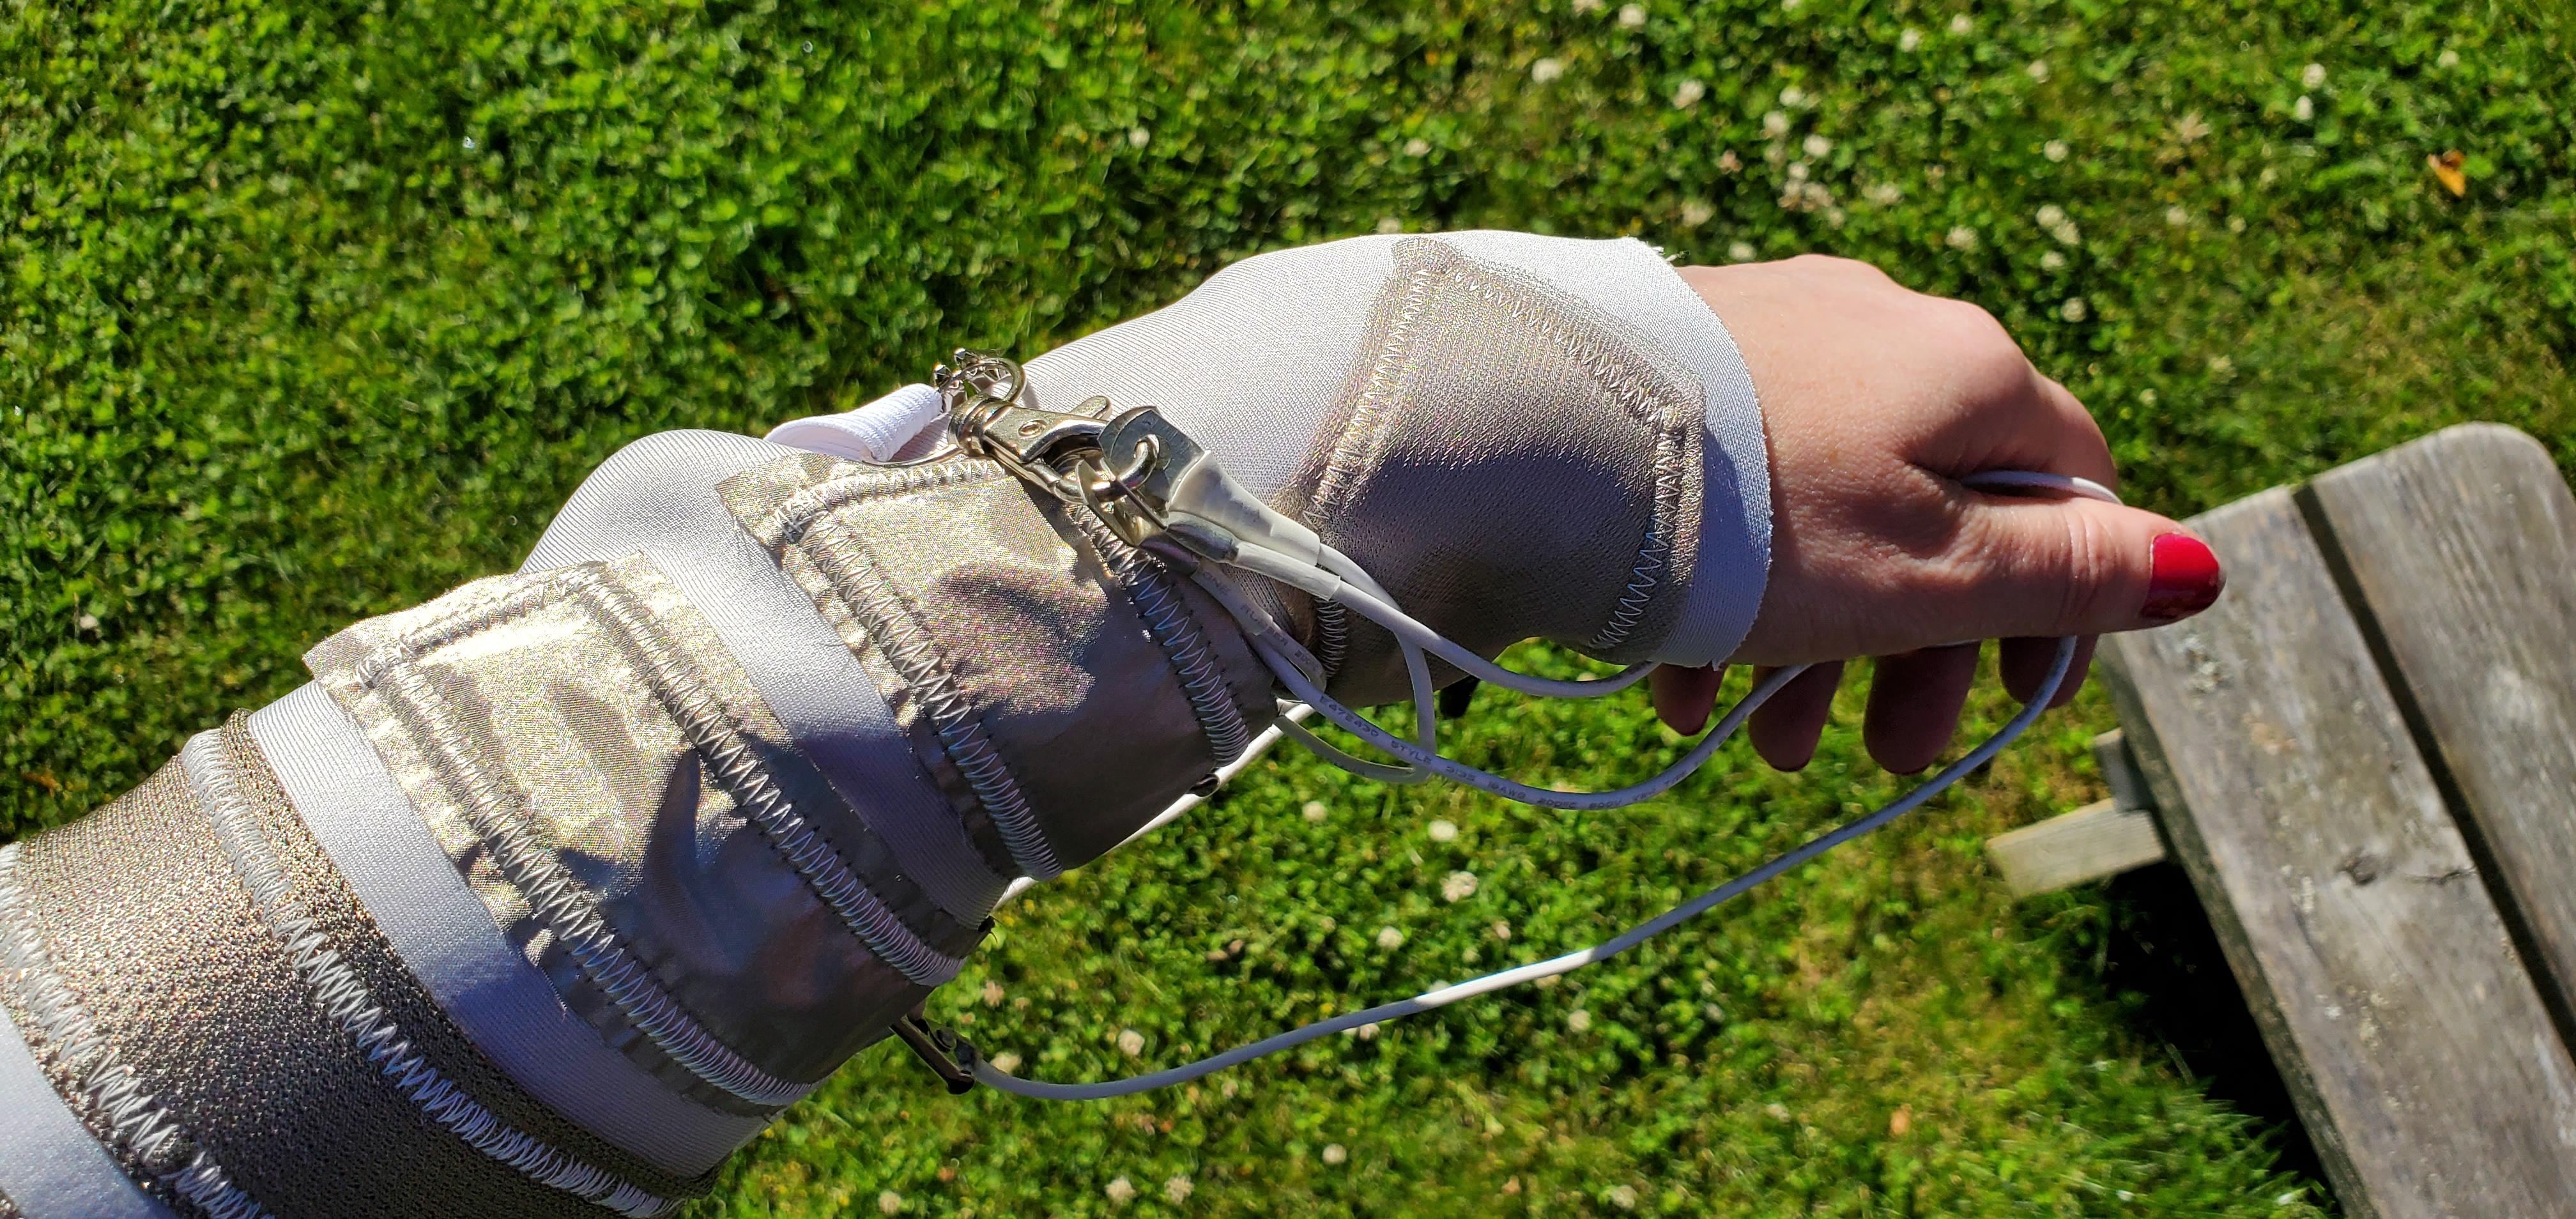
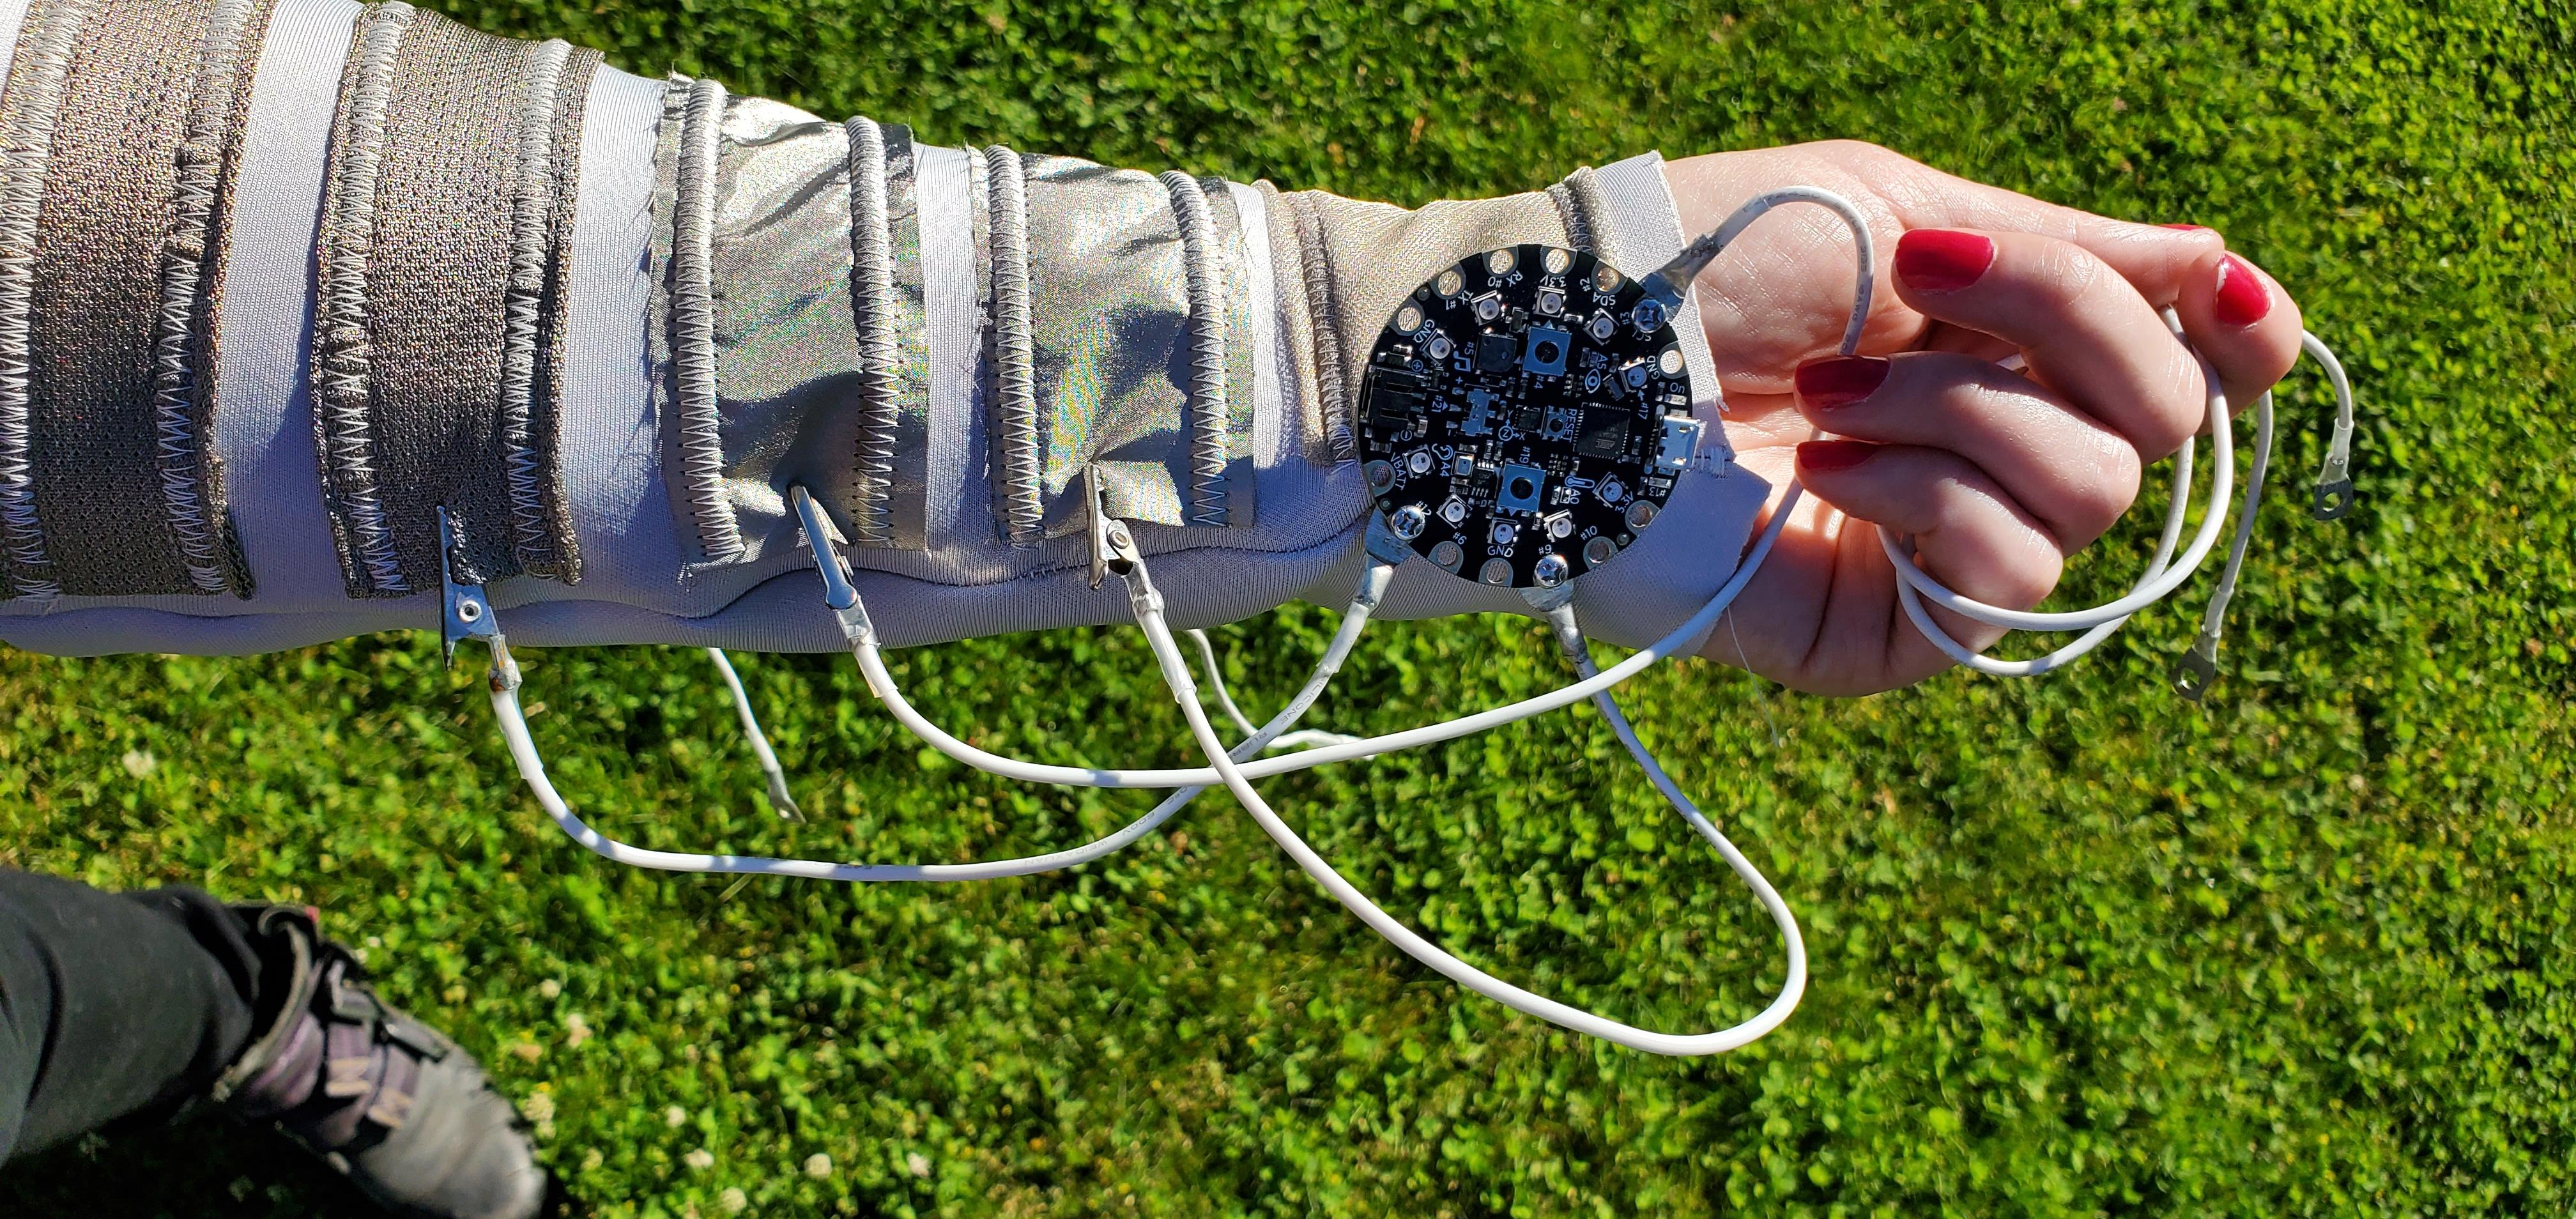
Finished!
All done! Congratulations you now have your own unique input device and you must be cool :D
I hope you modify this, use it in your own prototypes, change how the conductive fabric is used, or how it looks, alter the number of outputs, and get creative with it. Don't forget you can follow my other Instructable to create your own unique, project-specific connectors too.
The video is explaining the way it works and using it, so I know it is long but just skip through it to see parts of the system if you'd like more info. Thanks for your support if you've made it this far!
Learning about wearable technology? Join me in my journey!
💜Make fun wearable tech projects with me! Do you want to learn more tips and tricks for creating wearable technology? https://www.youtube.com/@ChristineFarion
➡️Dive into more fun projects with Arduino and ESP32 by exploring my playlist.
➡️Additionally, for wearable technology items, such as conductive fabrics, visit my little maker shop Tinker Tailor. or my book on Amazon about making wearable technology.
➡️Or for other projects and information, see my site: https://christinefarion.com