Top-down Mechanical Maze in a Shoe Box, Using Arduino
by bobjeltes in Circuits > Arduino
664 Views, 0 Favorites, 0 Comments
Top-down Mechanical Maze in a Shoe Box, Using Arduino
![IMG_1038[1].JPG](/proxy/?url=https://content.instructables.com/FOO/NTND/JXUO5AZM/FOONTNDJXUO5AZM.jpg&filename=IMG_1038[1].JPG)
I built a cardboard, top-down maze that has a small twist to overcome, in order to be able to get to the end of it.
Supplies
- A shoebox, or any box that you deem fit.
- Lots of cardboard (to cut the maze out of)
- A standard Arduino kit, with
- A breadboard
- Plenty of wires
- Plenty of LED's
- Buttons (optional, for testing)
- Servo (for moving parts)
- Any device that you can use to write code (PC, laptop)
- A powerbank (optional, for making it portable)
- A pawn-shape, something with a narrow top and a wide base
- Aluminum foil
- Cutting tools (like retractable knives)
- Cutting mat
- Glue
- Tape
- Double-sided tape
- Electrical insulation tape
- Soldering kit
- A can of spray-paint
Step 1: Design and Build Your Maze!
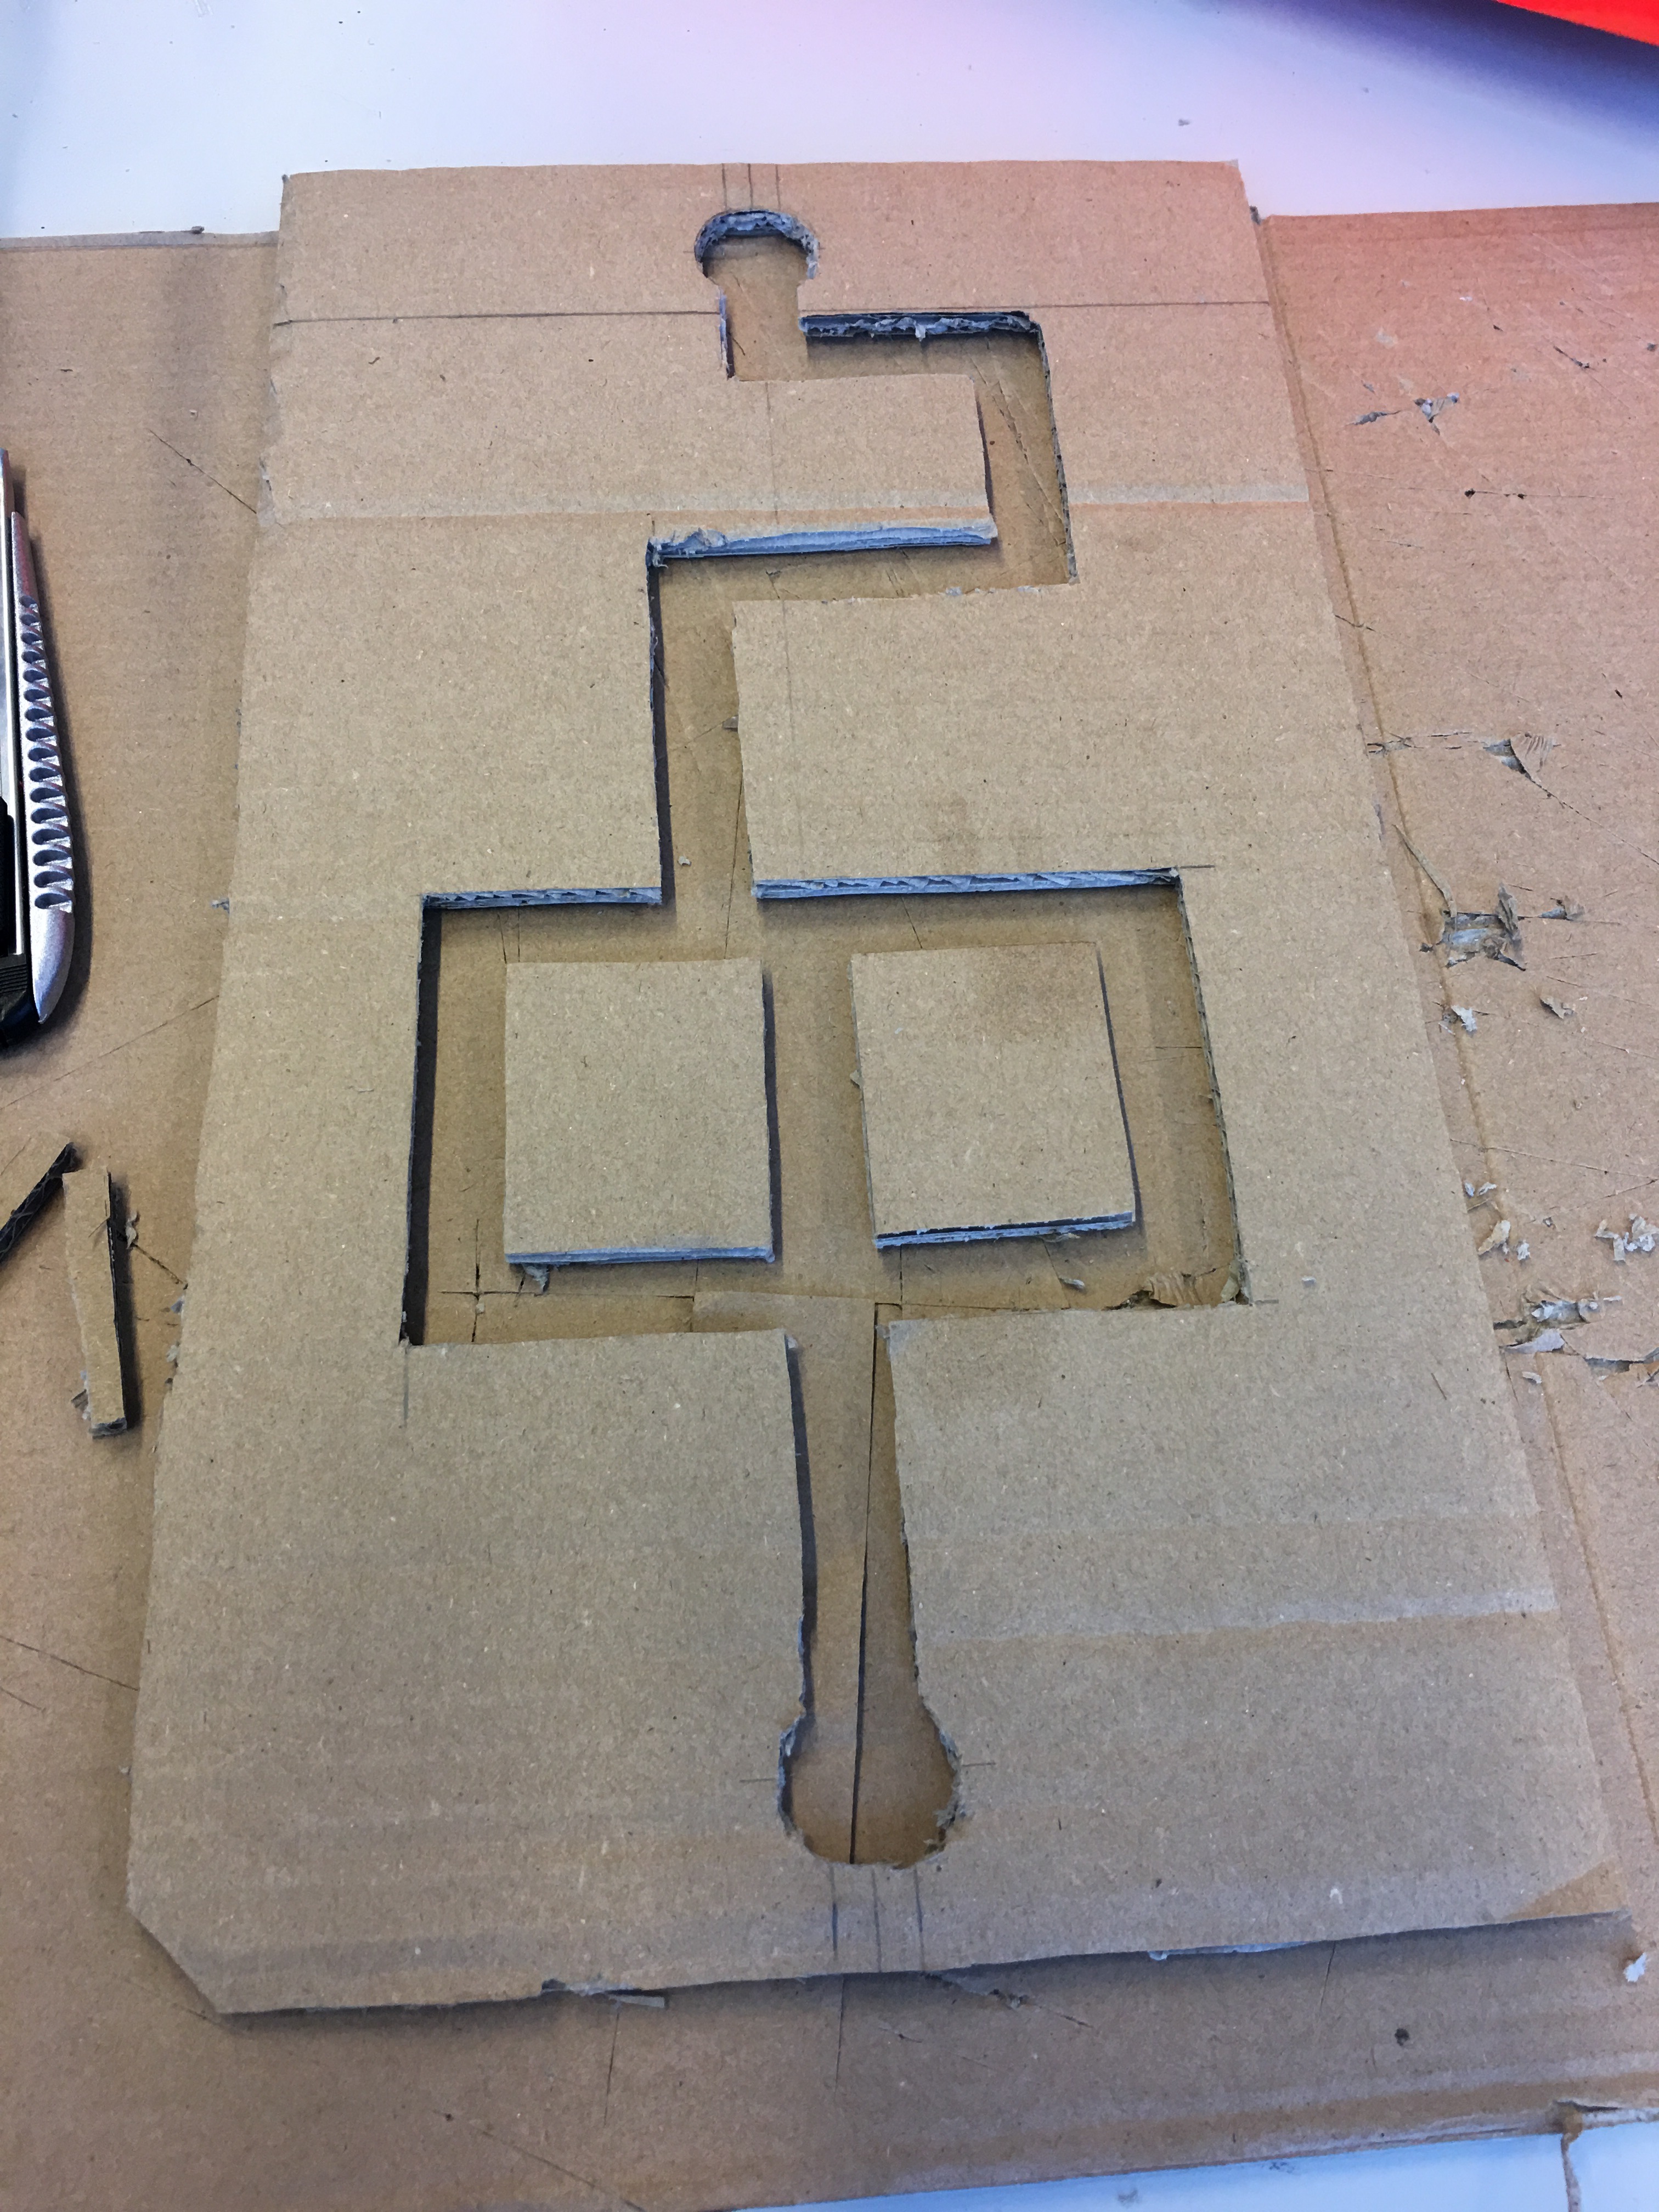
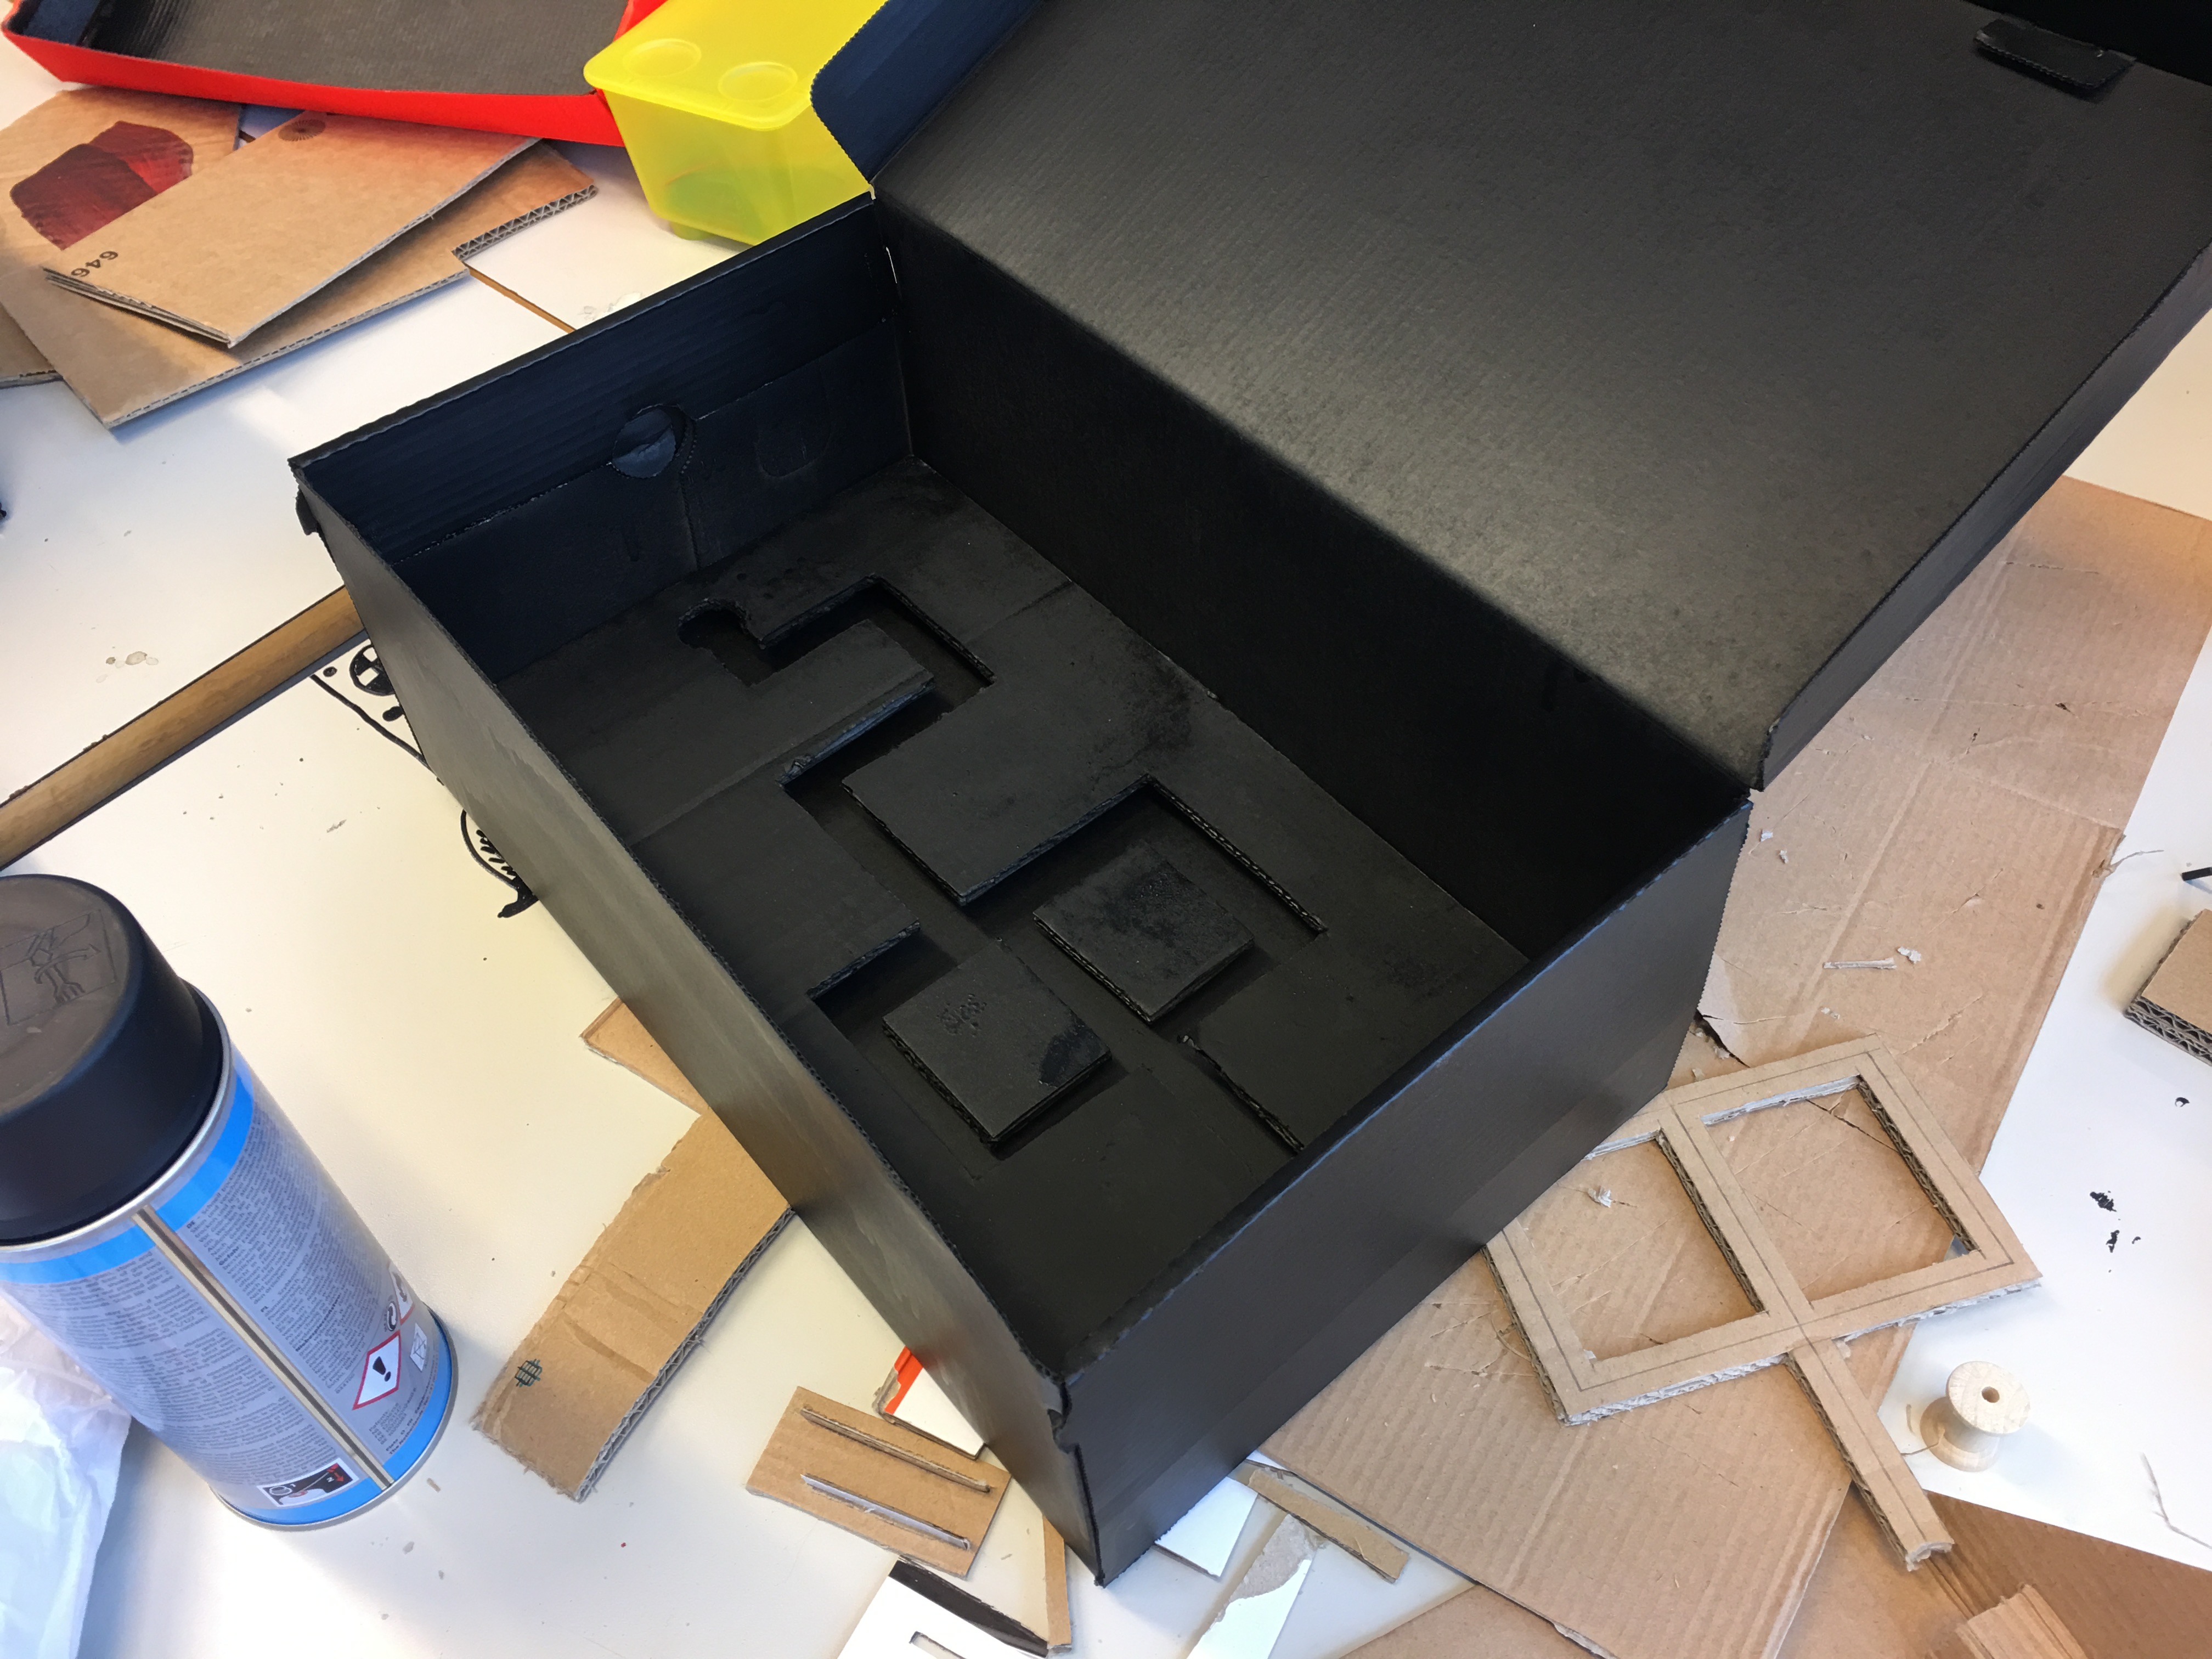
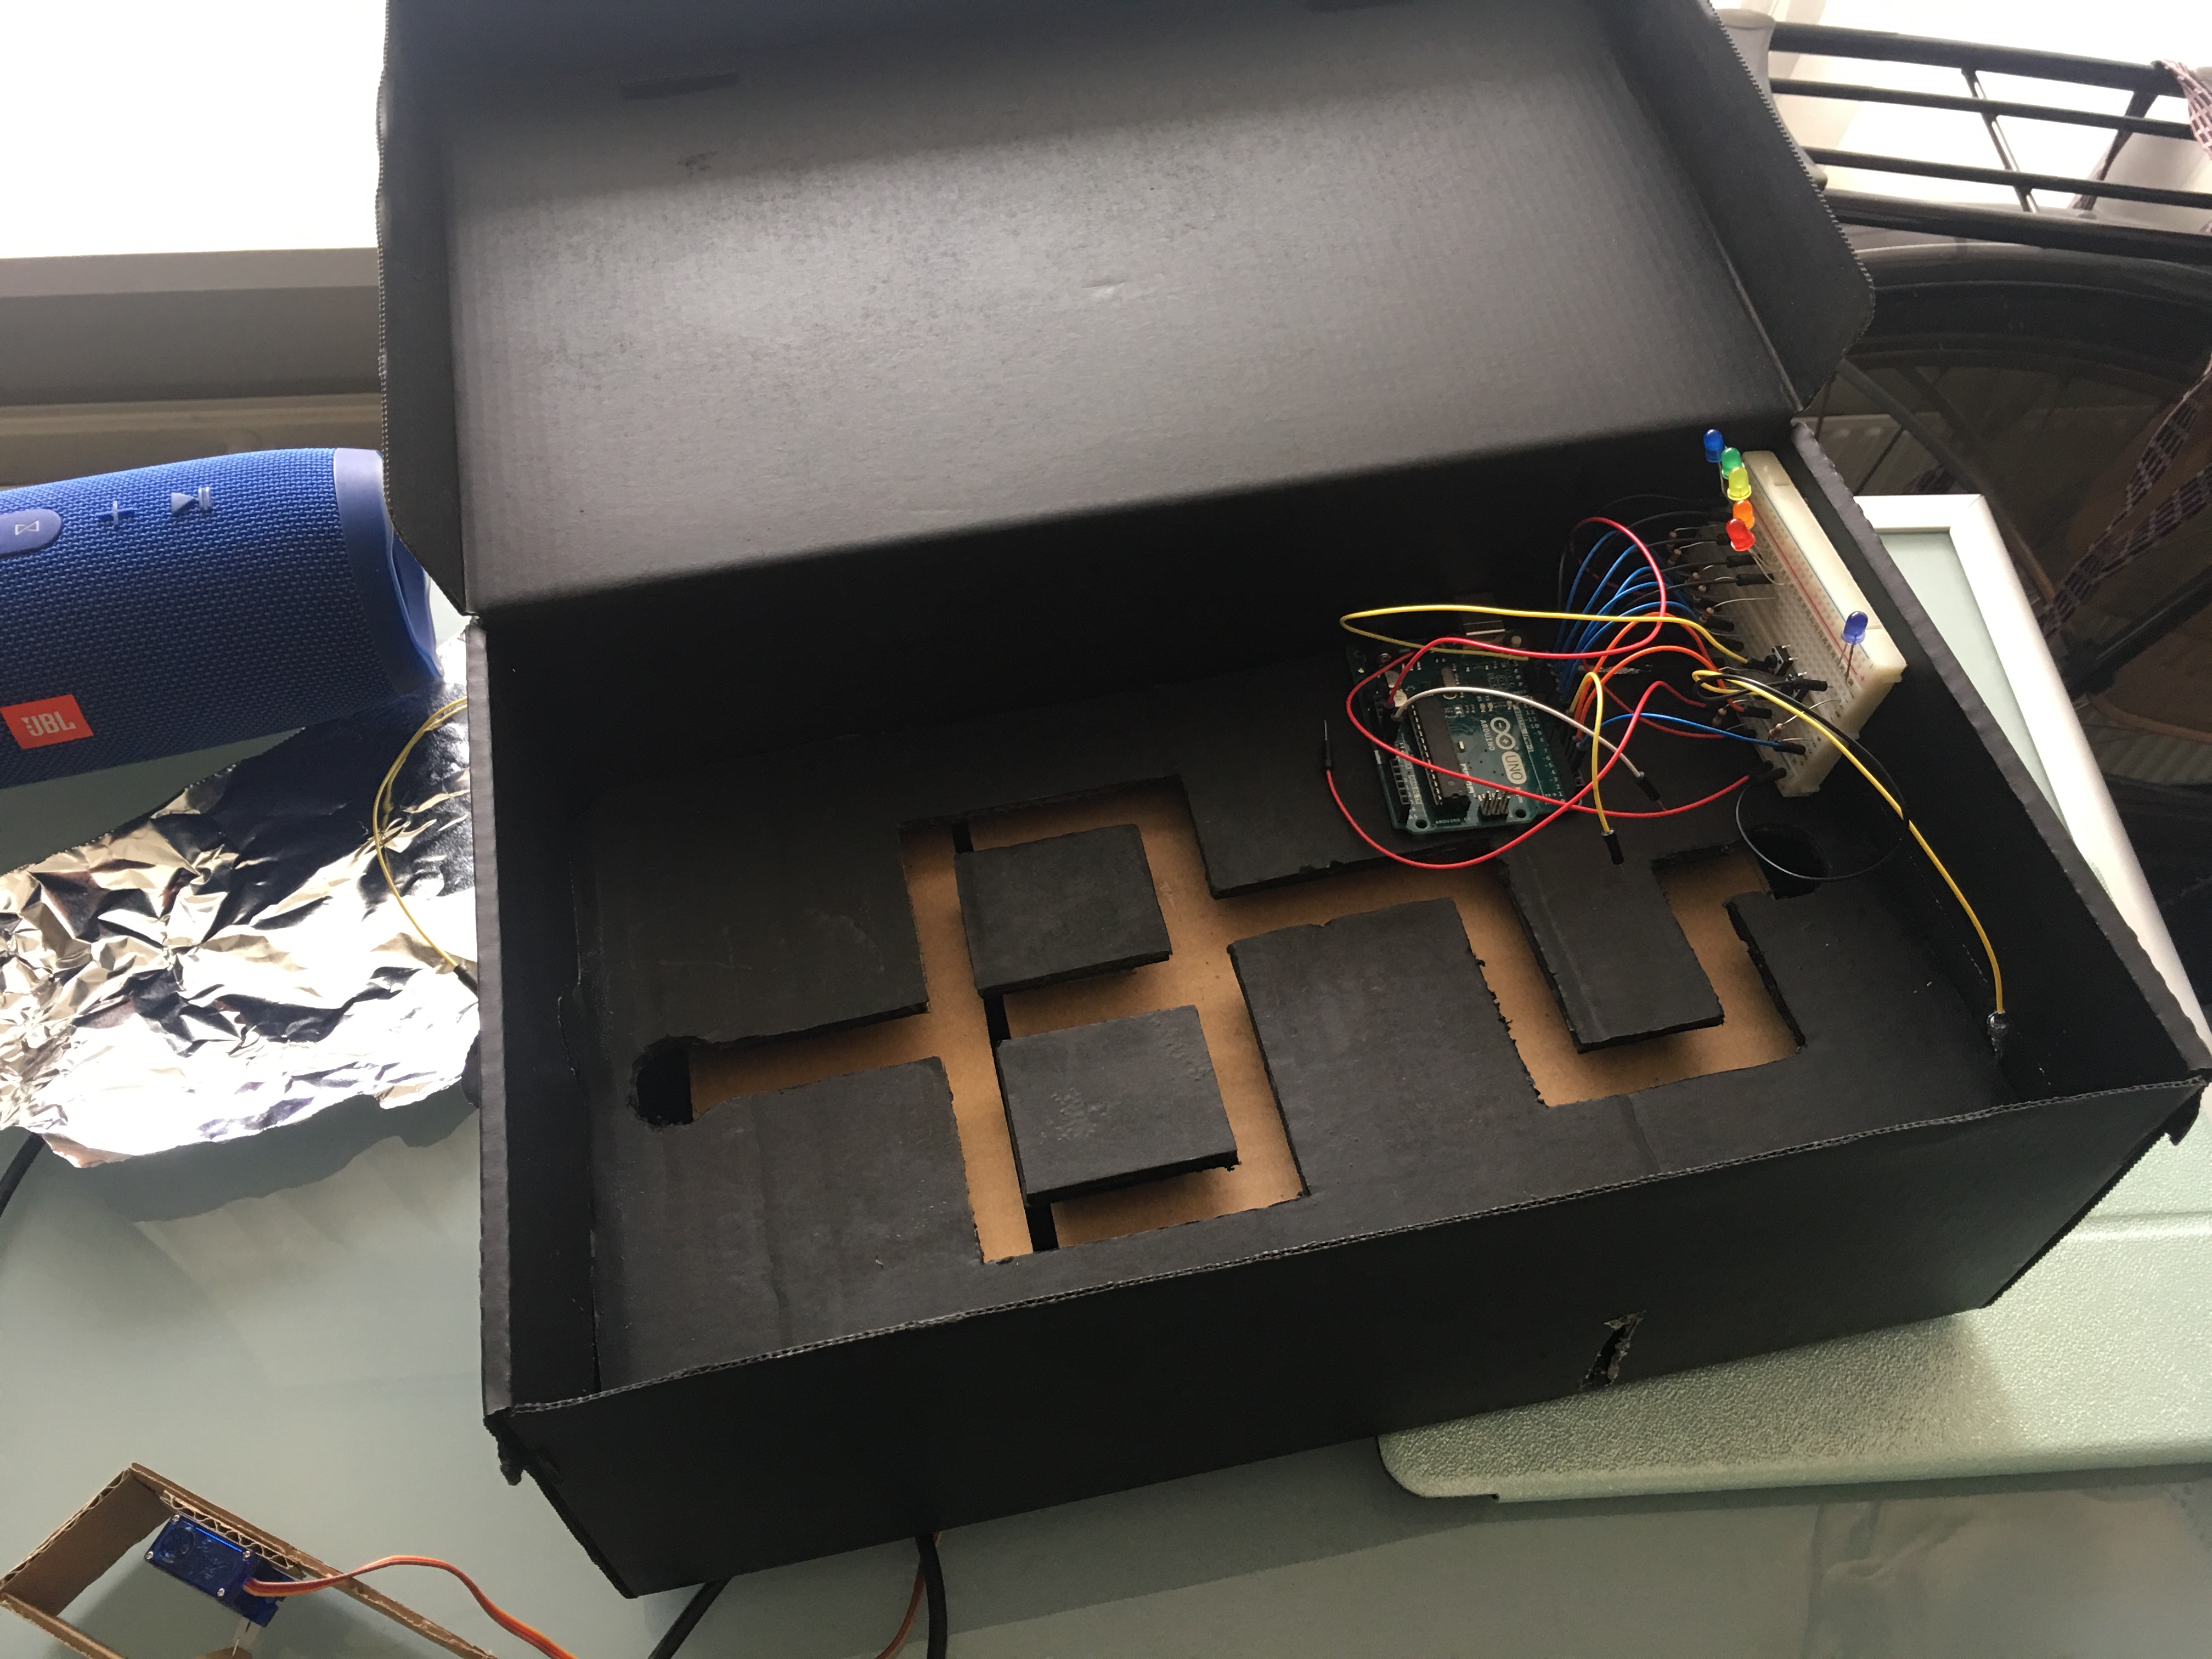
Planning is key!
Before you start building, take the time to make a fun lay-out for your maze! It's also good to think about where you want any points of interest to go, such as a button or trigger, or an obstacle that the player has to remove before continuing.
Your maze will have 3 layers:
- The bottom of the box
- The middle layer, which your pawn/playing piece will be resting on
- The top layer, which will have the cutout path that keeps the pawn inside the maze
Note: I built my maze out of cardboard, but your version could be made out of another material such as wood, or maybe even 3D-printed.
Bottom layer
Unless you have crazy ideas, the bottom of the box will go mostly unchanged. Between this layer and the middle layer, will probably be where you'll stow any cables from the Arduino that you don't want someone using your maze to see. (Unless you can make the cables fit in really well in the top layer. Then, do so by any means!)
Middle layer
The middle layer will completely cover the bottom layer. It will need some support to keep it up, in case you want to run wires underneath it for your circuits.
Top layer
This layer will be the meat of your maze. You will need to cut out a start, end, and the path(s) connecting both.
Be sure to leave a little bit of space between the middle and top layer! Your pawn will need room to move between the layers, while still being restricted so you can't just wiggle the pawn out of the maze. Hence, the pawn with a narrow top and wide base.
You can leave space between the layers by adding cardboard support pieces under the top layer, where they won't intersect with the maze's path.
A nice finish
Once you're done cutting everything, it's nice to give everything a nice look. I used spray-paint to make the otherwise dull shoe box a little less dull. I needed about 3 thin layers on every surface before the paint covered everything nicely.
Note: don't do what I did, and cut out pieces after you're done painting. You'll ruin the nice paint-job.
Step 2: Arduino Time!
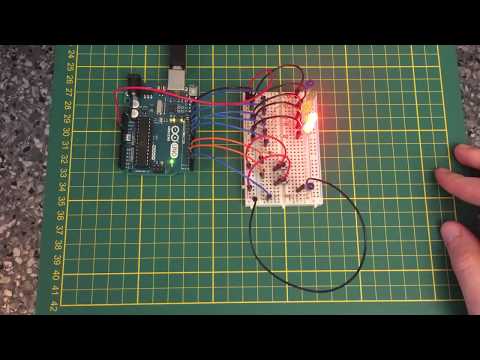
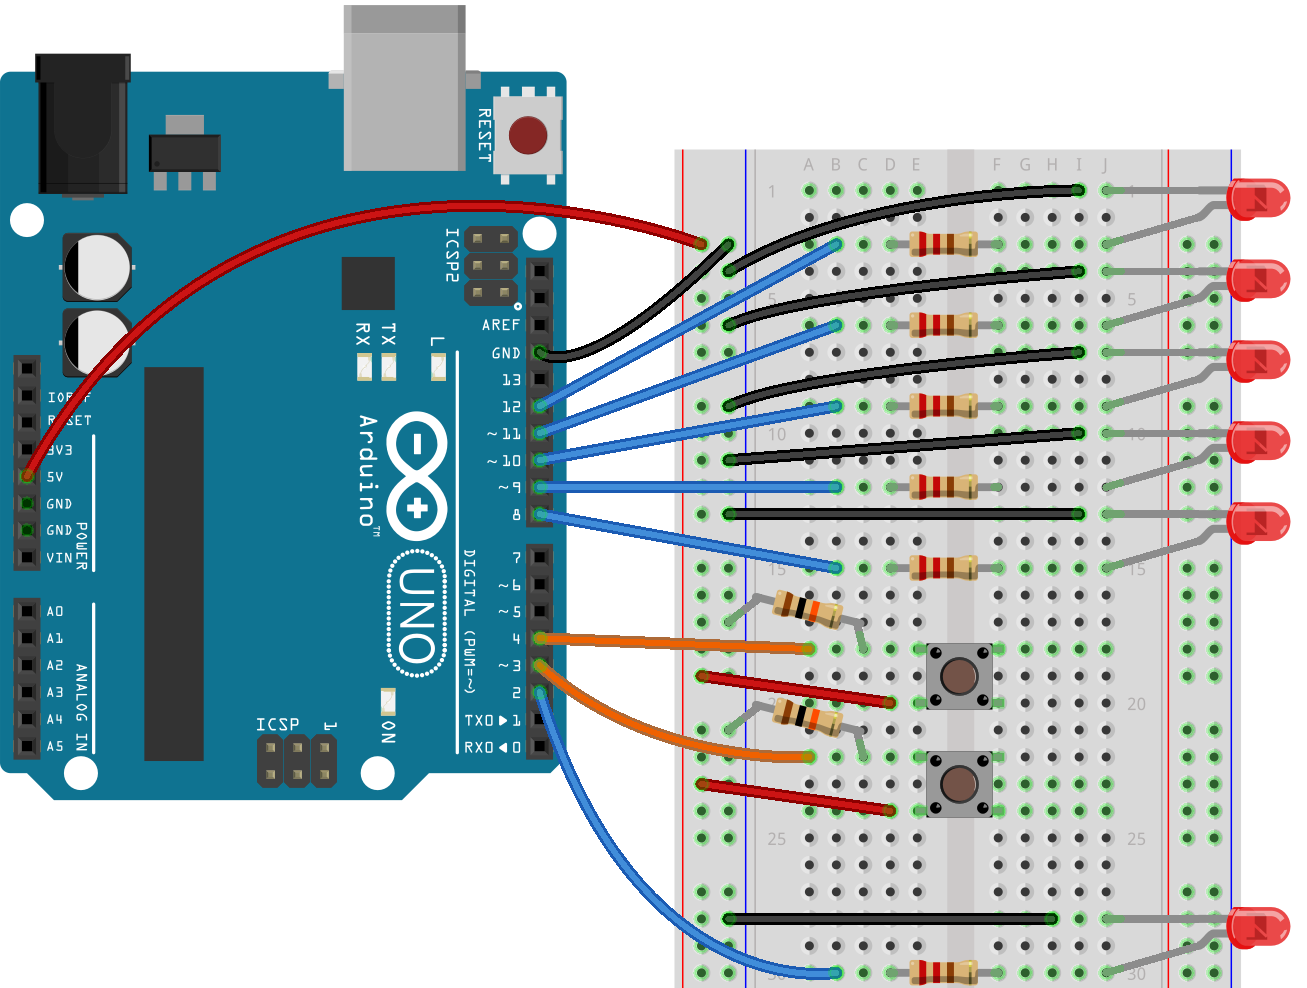
I decided on the following setup:
- A trigger to start a timer, indicated by 5 LED's
- A single gate that blocks the exit
- A trigger somewhere else in the maze, that lights up another LED and opens the gate if it is activated before the timer reaches zero
To test, I started with a setup of 2 buttons, the set of 5 LED's, and another LED to indicate the second button being pressed.
Here is the code that I used, along with this setup:
https://github.com/eMsylf/ITTT/blob/master/Button_...
With this code, you can for example...
- shorten or extend the amount of time the player will have before the timer runs out after activation with the setTime variable
- if you use a servo, determine how the servo turns, using servoClosed and servoOpened (note: pay attention to the if-statement in line 66. Make sure that you switch the > for a < if the servoOpened is a higher number than servoClosed)
I used a servo to create some kind of gate, which slides a piece of cardboard down into the ground so that the player can pass.
Step 3: Add Everything Together!
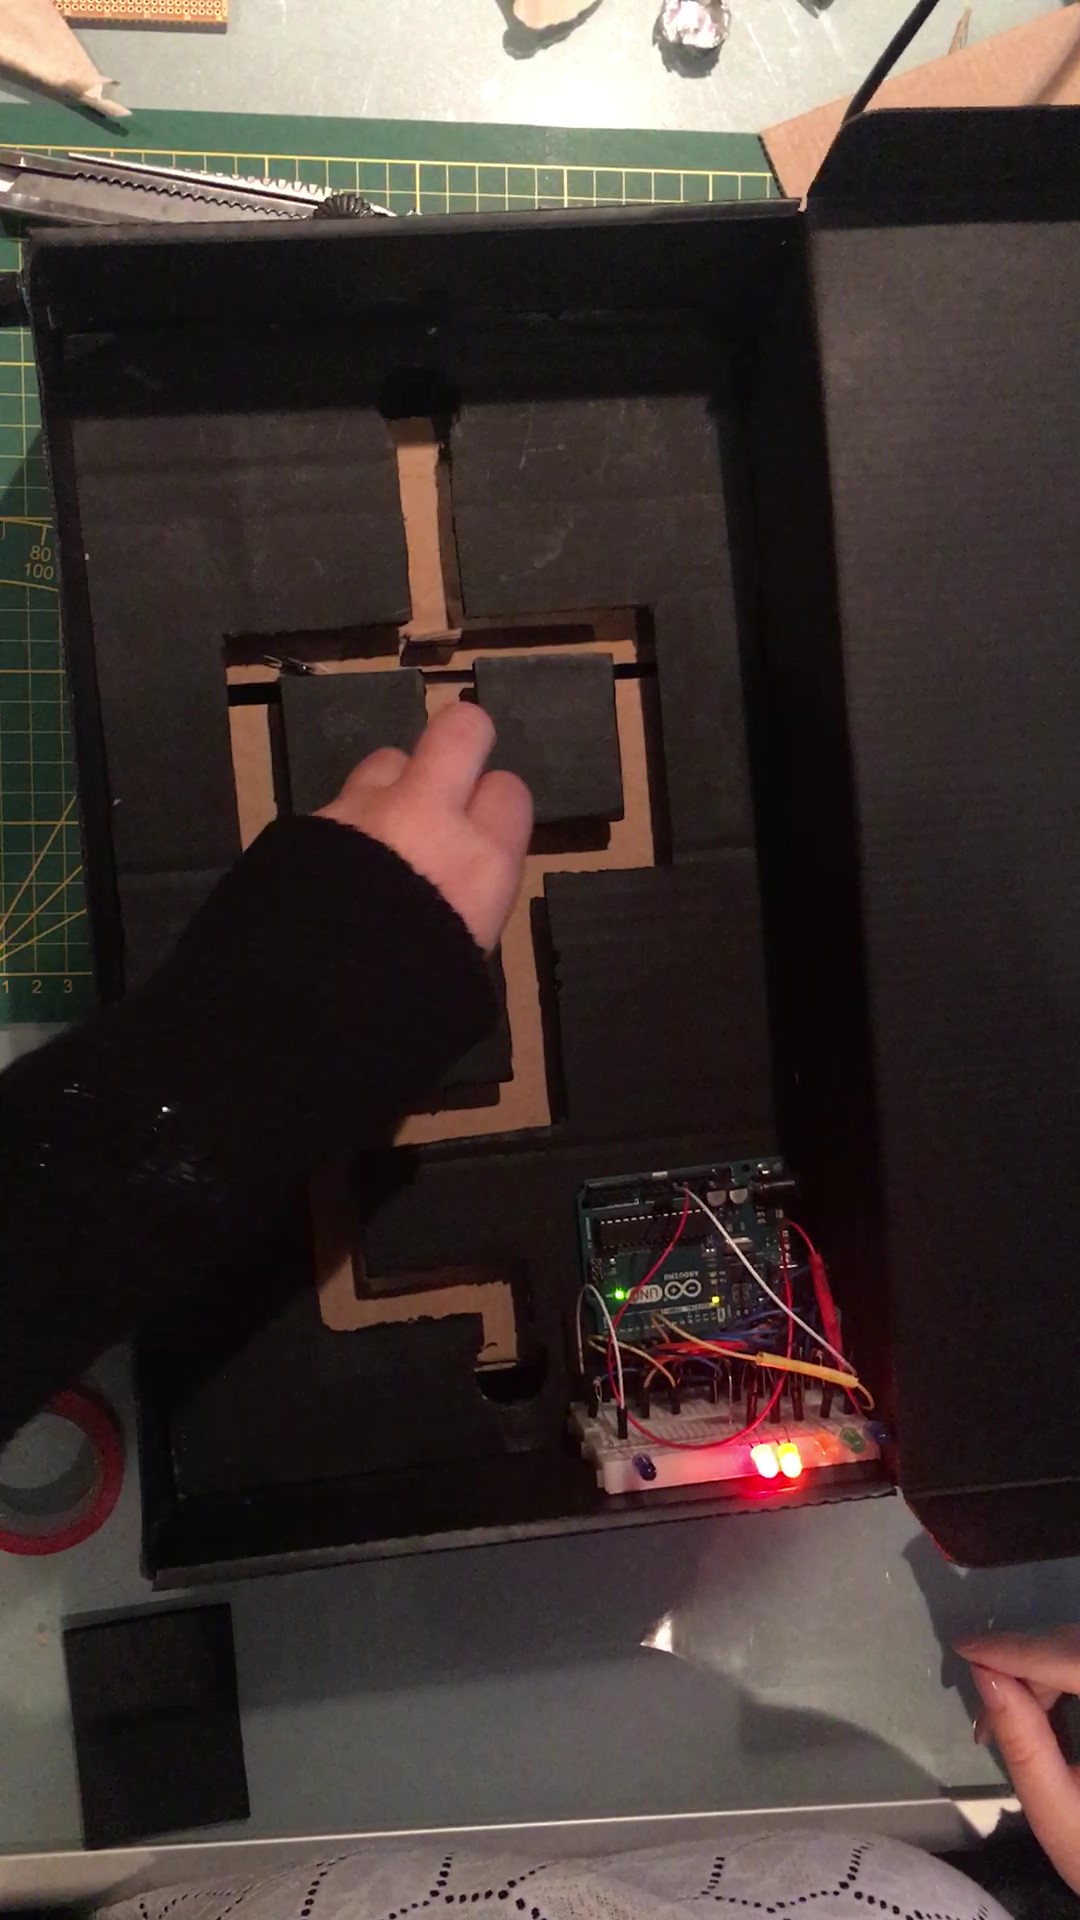
It's time to put your Arduino setup to work!
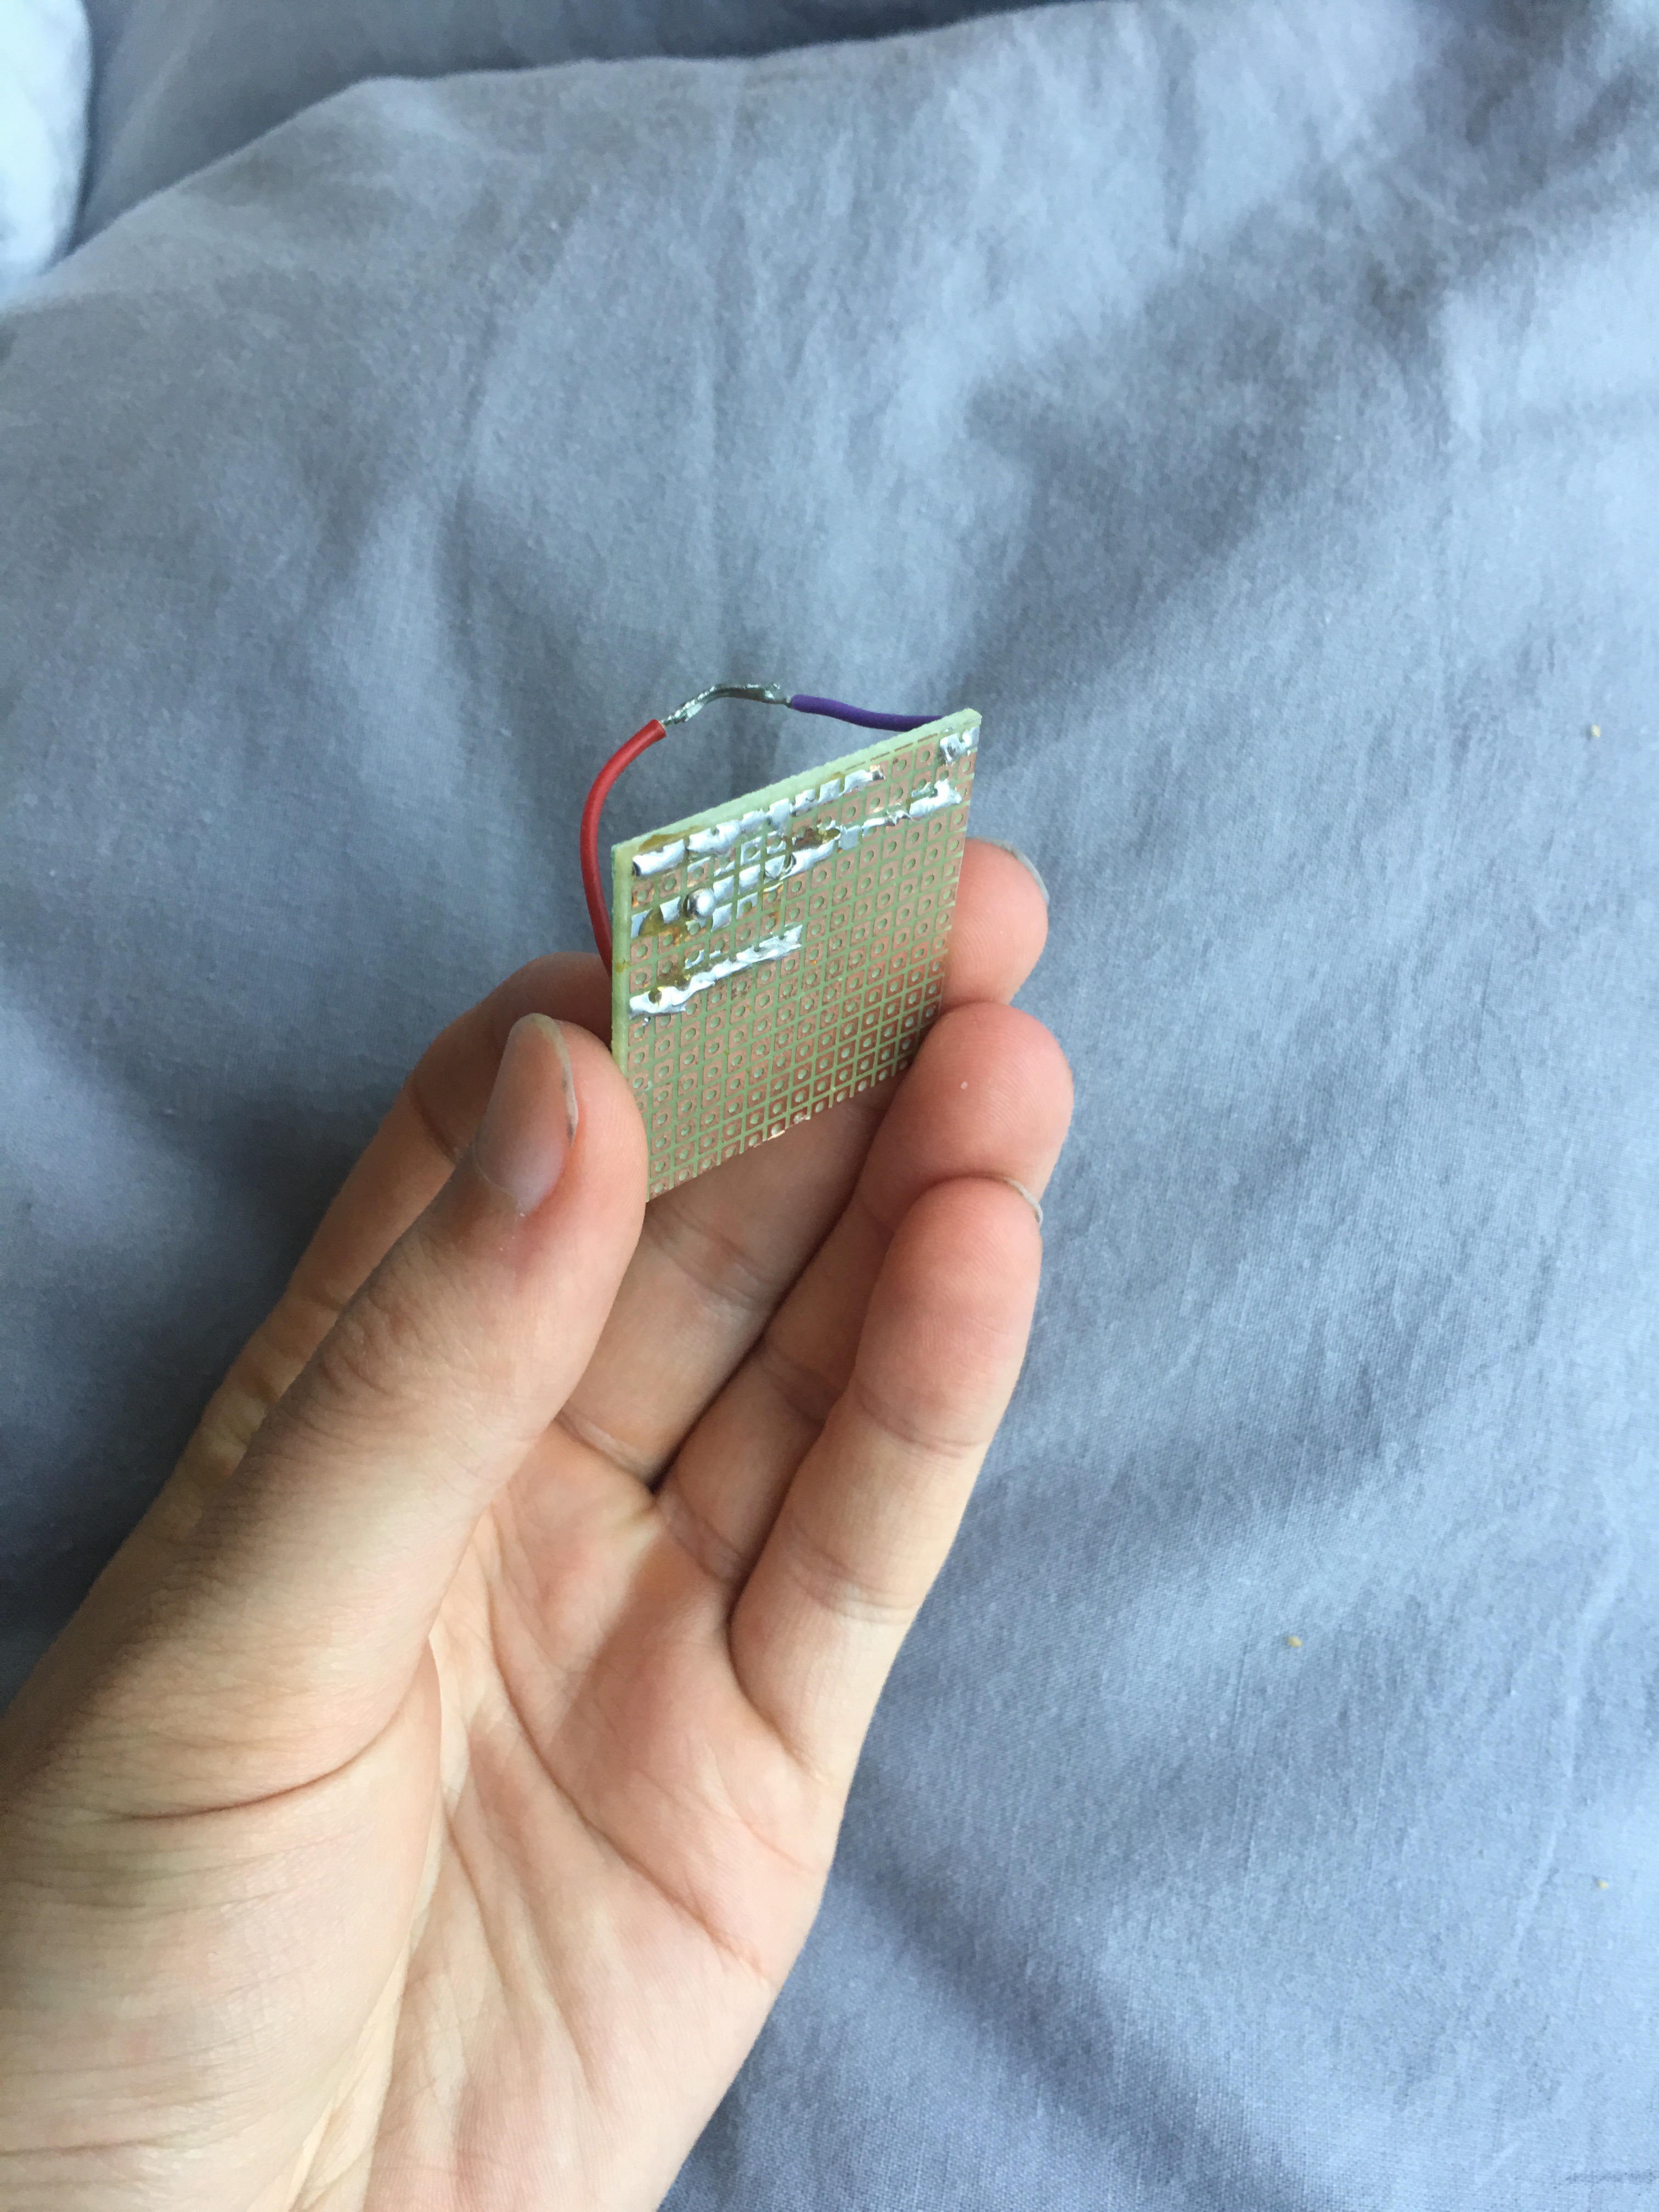
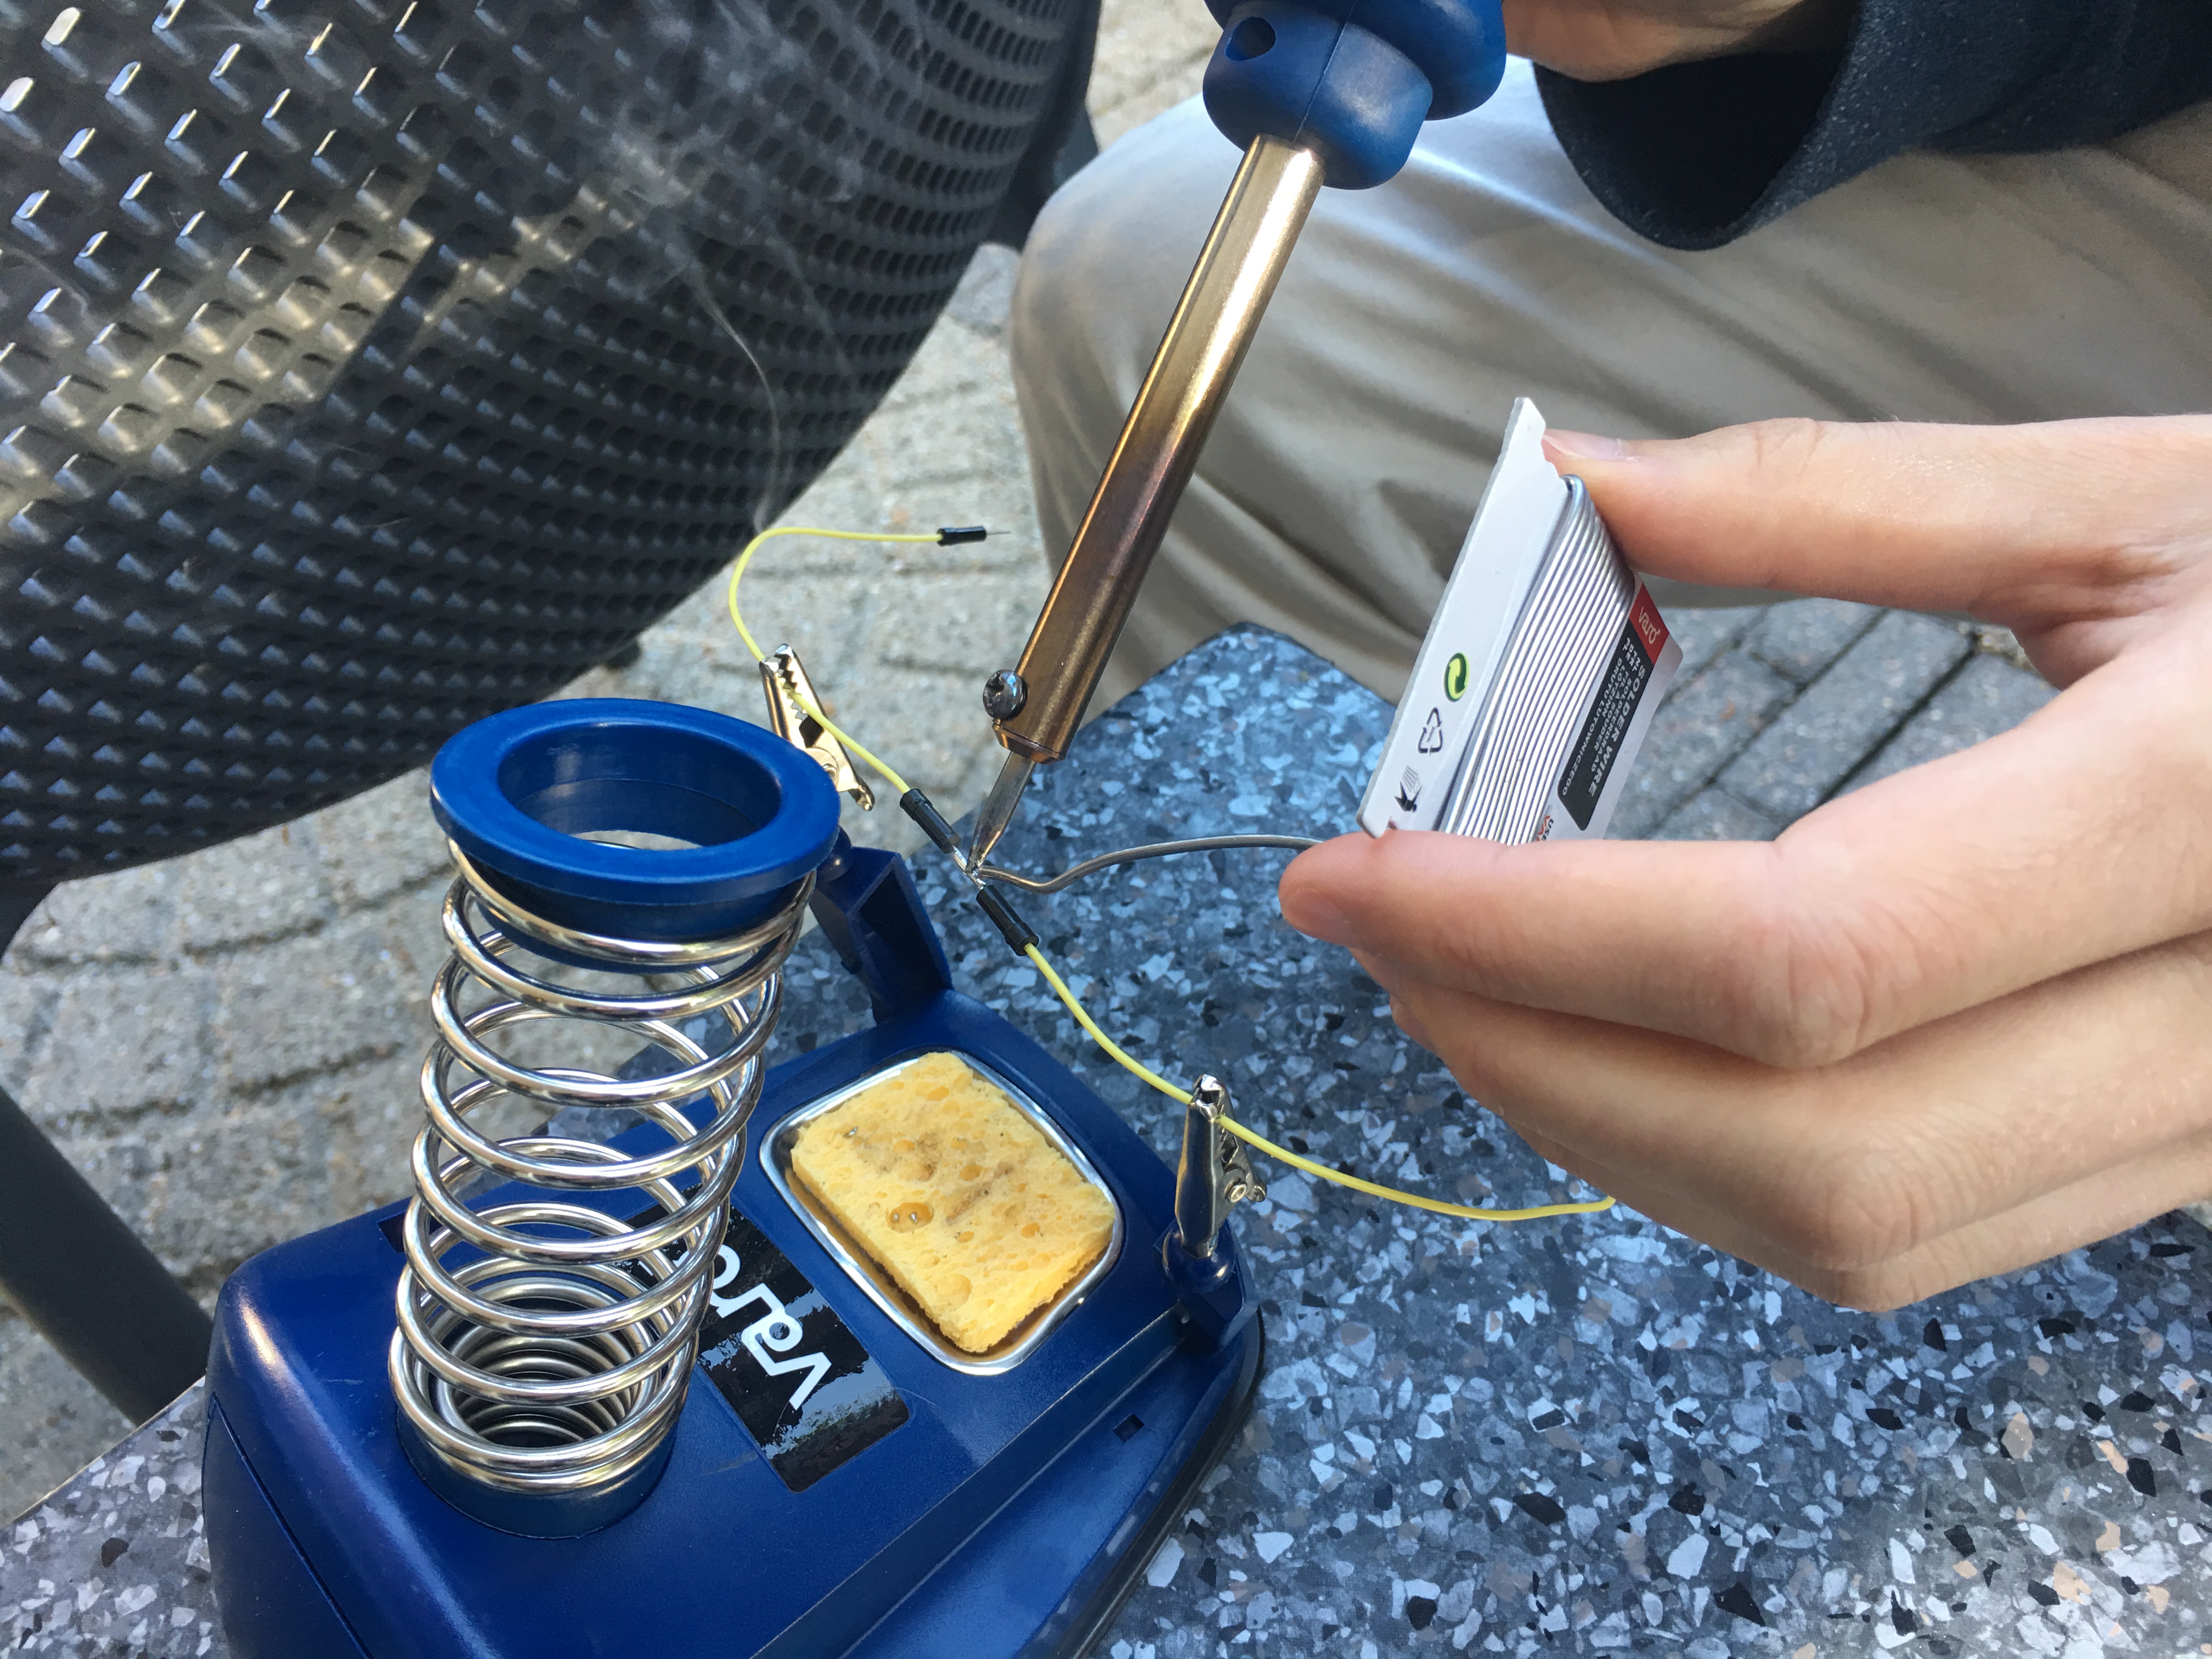
Here is where you might need to do some soldering, if you find that your wires are too short, or if you want to use a wiring board (which I didn't, but can be very handy if you have little space to work with). Always be careful when soldering, and use proper protection.
I am a complete beginner at soldering, so I watched this tutorial before I started
I also practiced on a small piece of wiring board before soldering any parts that would go into the maze.
Power source
If you want an external power source other than your computer/laptop, a powerbank is a really easy option.
- Be sure to test your powerbank, however! I had one that turned off after 30 seconds if no button on the Arduino was pushed, and you probably don't want that.
- Make sure to use a powerbank that delivers a 5V/1A output. Anything else might ruin your Arduino!
Step 4: That's It!
I hope that this helped you with building your own mechanically-infused maze!
My maze in action:
Bonus: Don't Try to Cut Your Wiring Boards Like I Did.
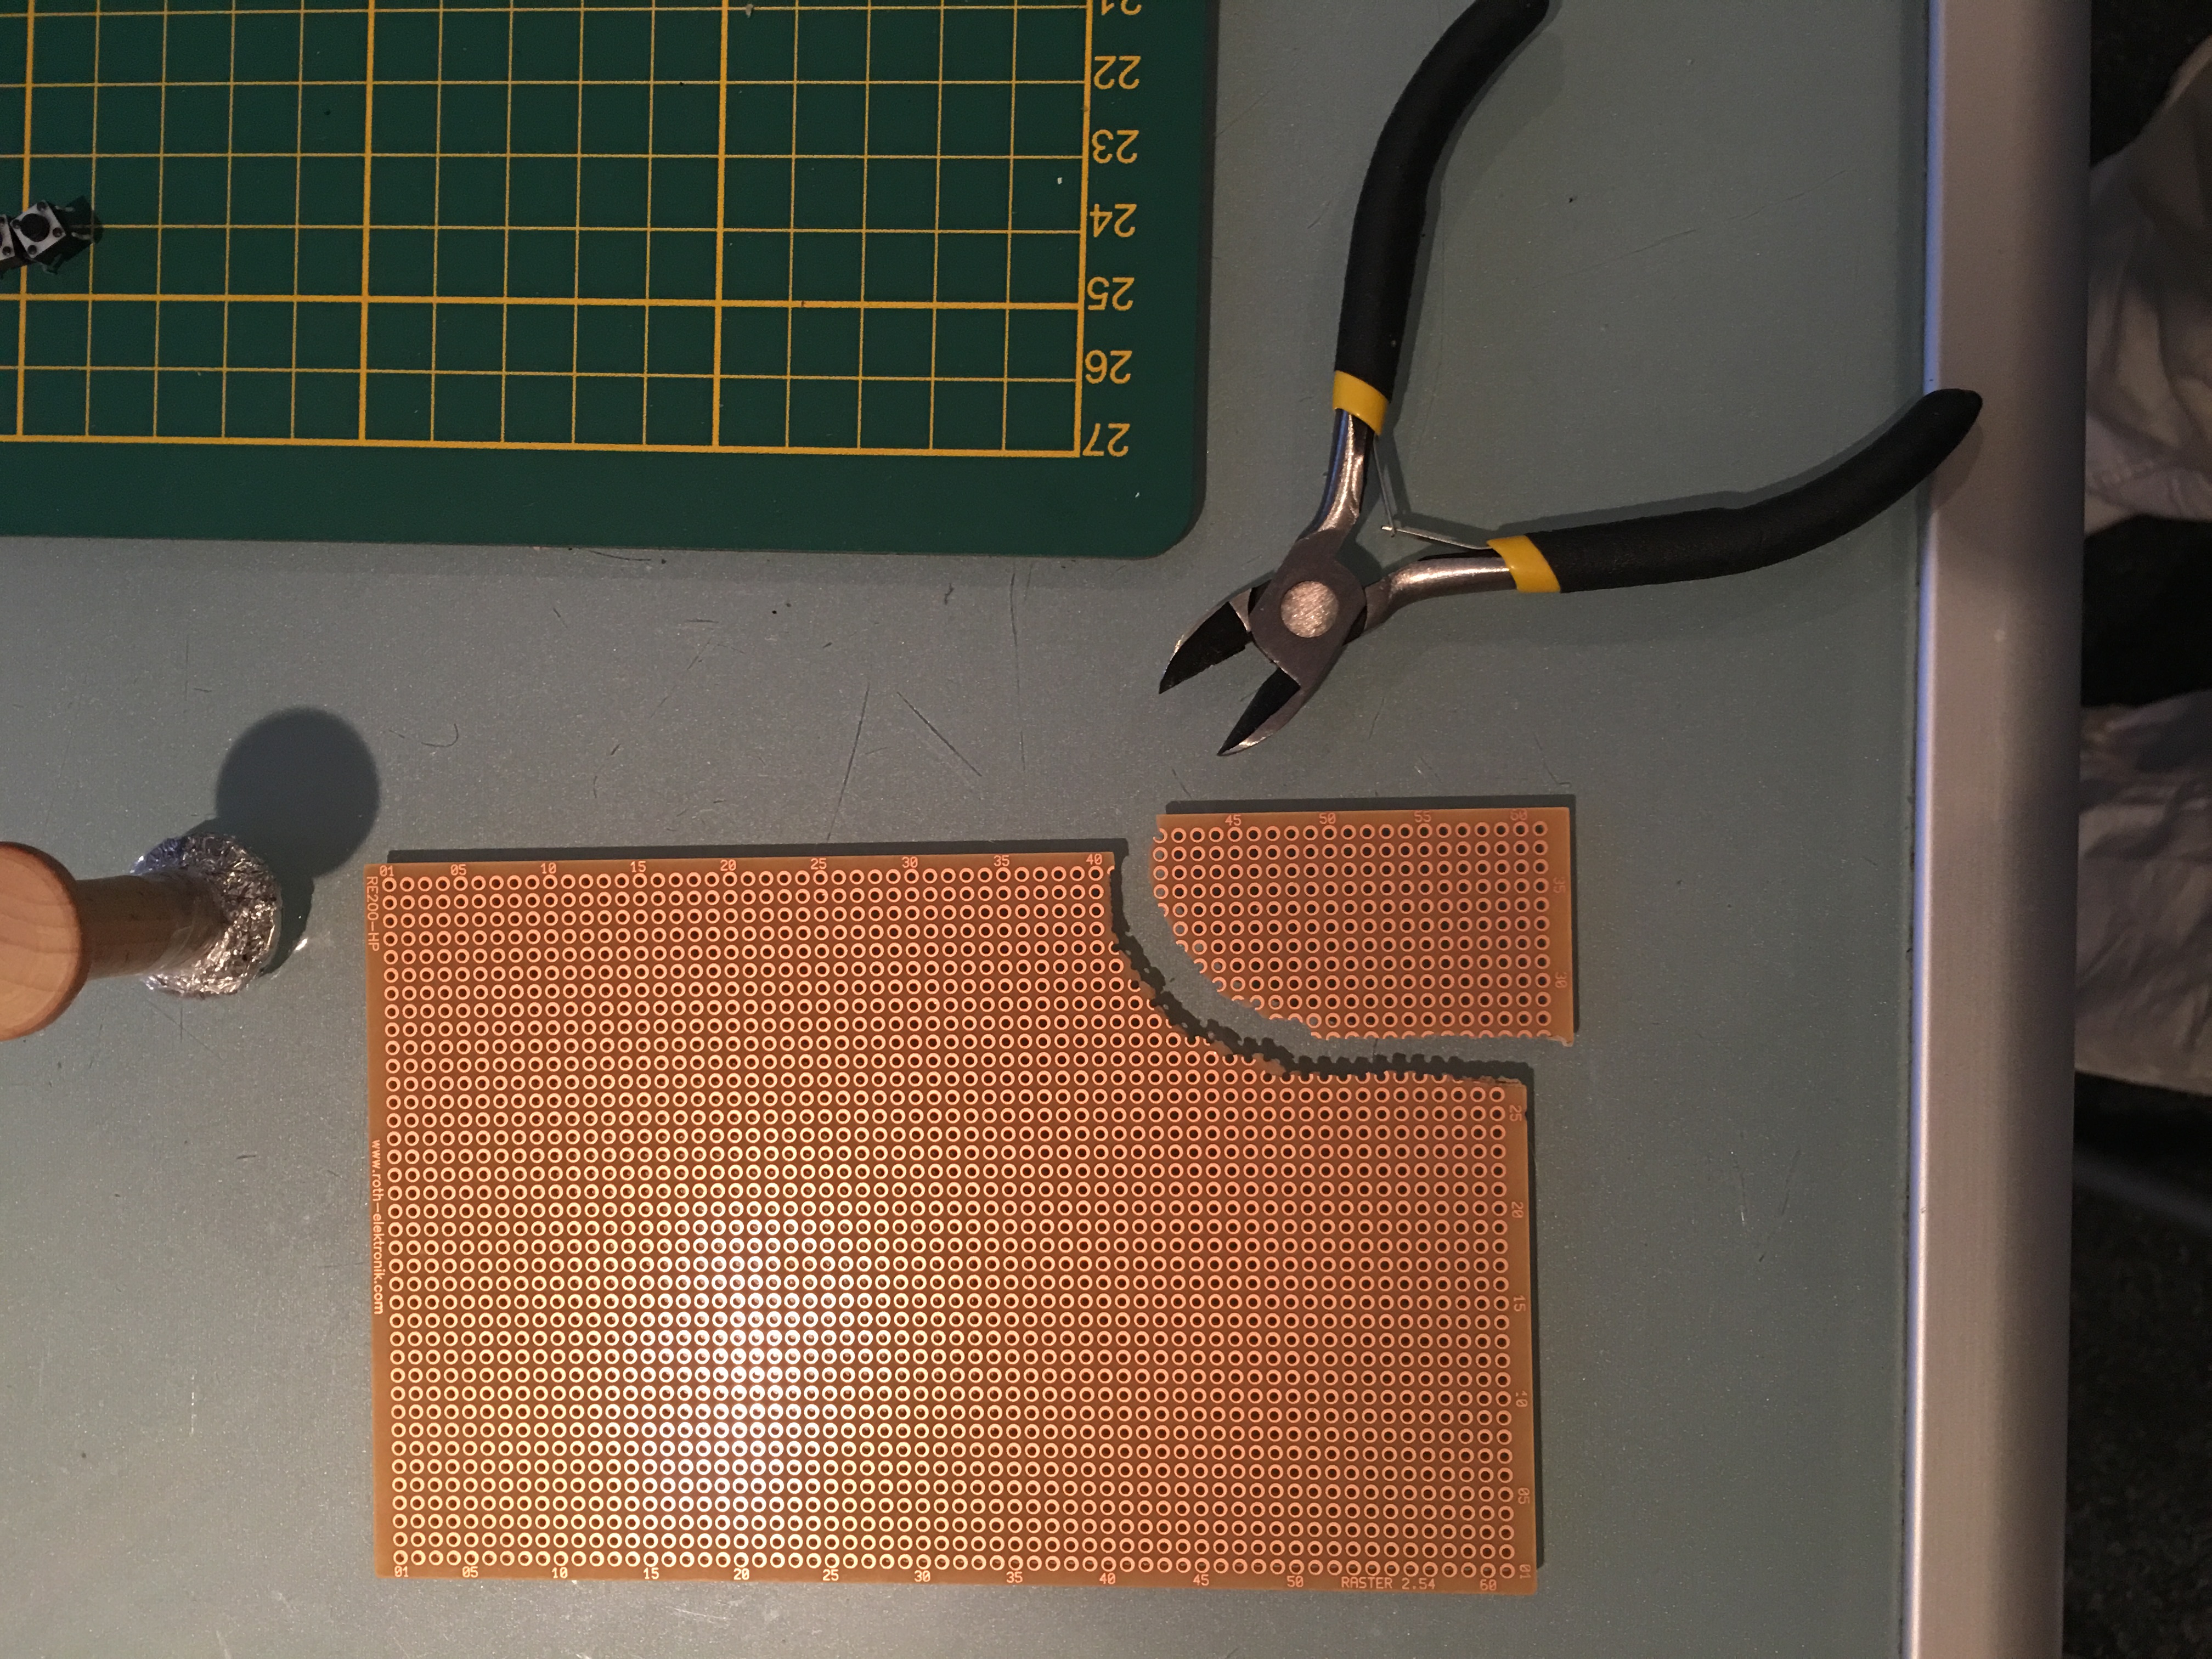
Believe me. Saw them instead.