Toothpick Through Your Hand! (in Photoshop)
by mangenoll in Design > Digital Graphics
7180 Views, 5 Favorites, 0 Comments
Toothpick Through Your Hand! (in Photoshop)
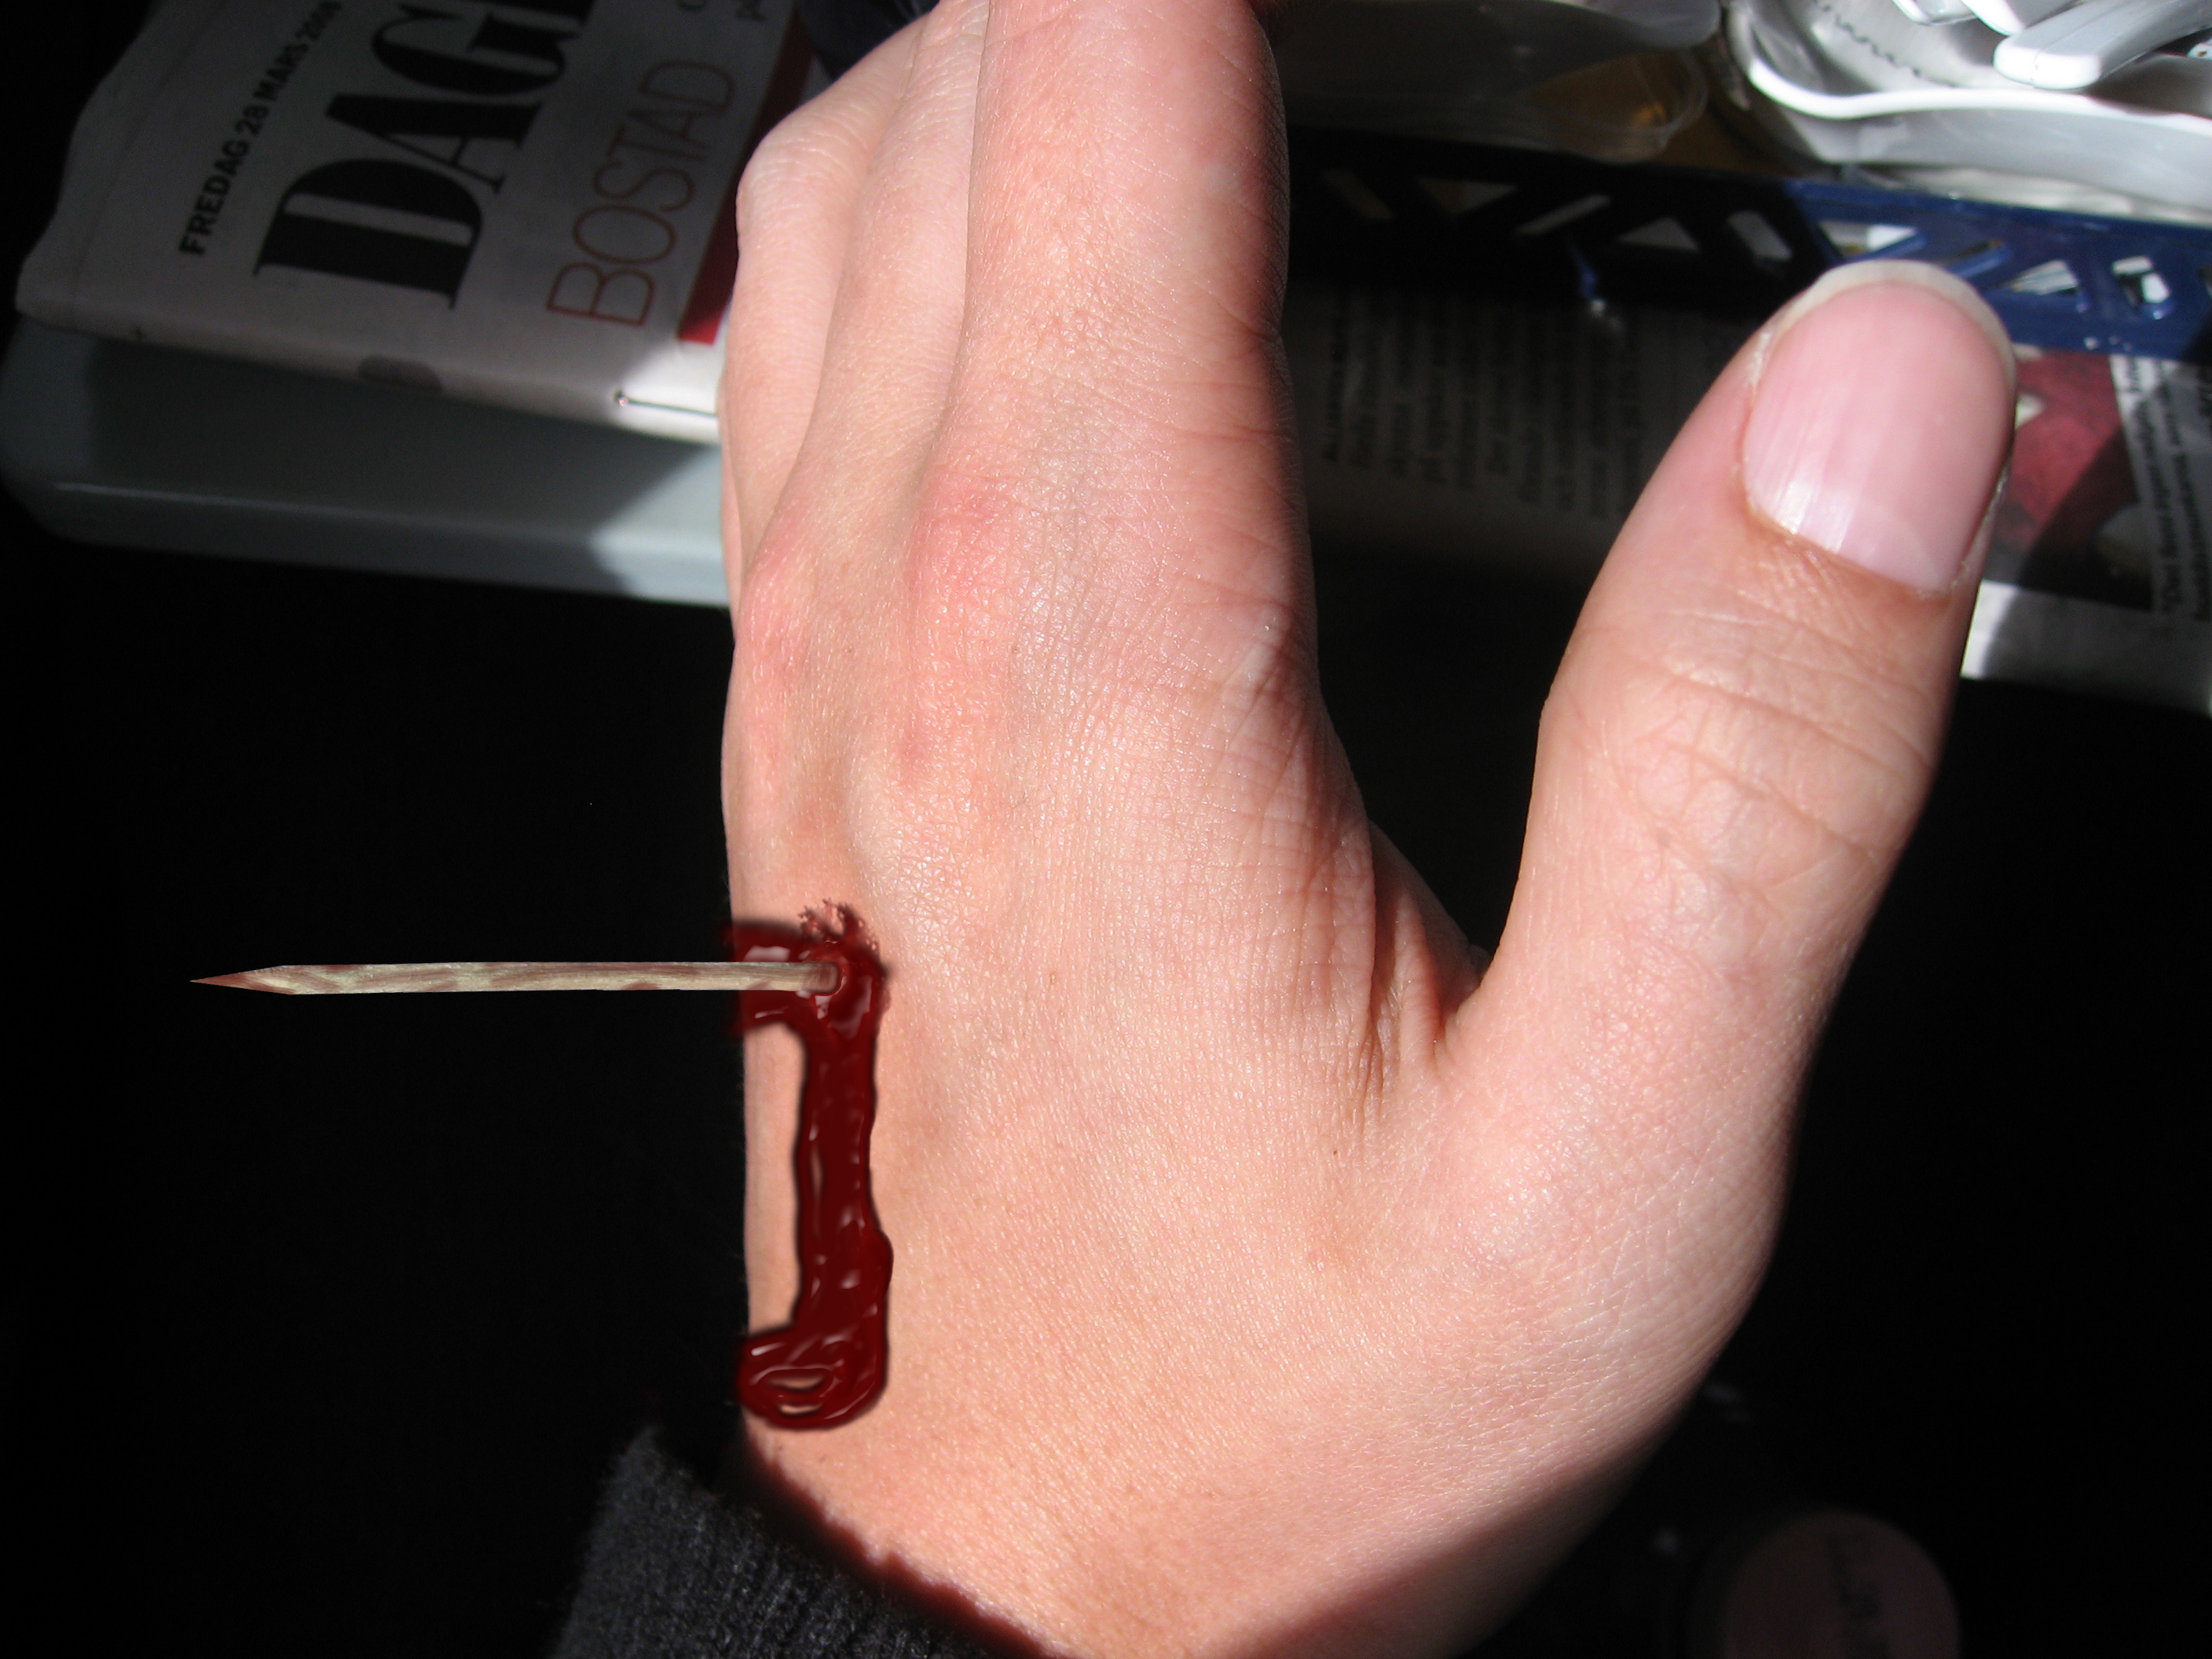
In this Instructable you will learn how to create a cool, bloody effect, using two pictures (taken of your own), photoshop and some creativeness.
Start Like This
.JPG)
.JPG)
.bmp)
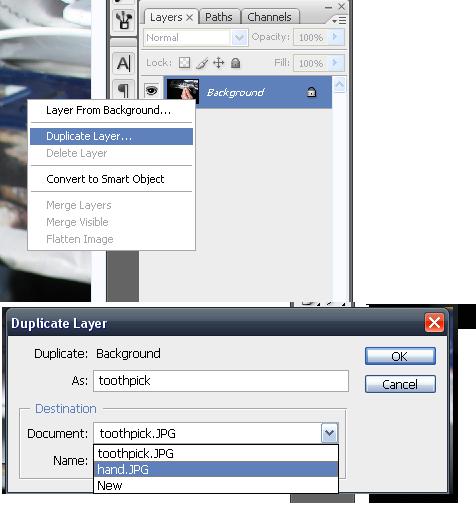
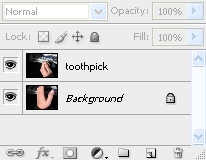
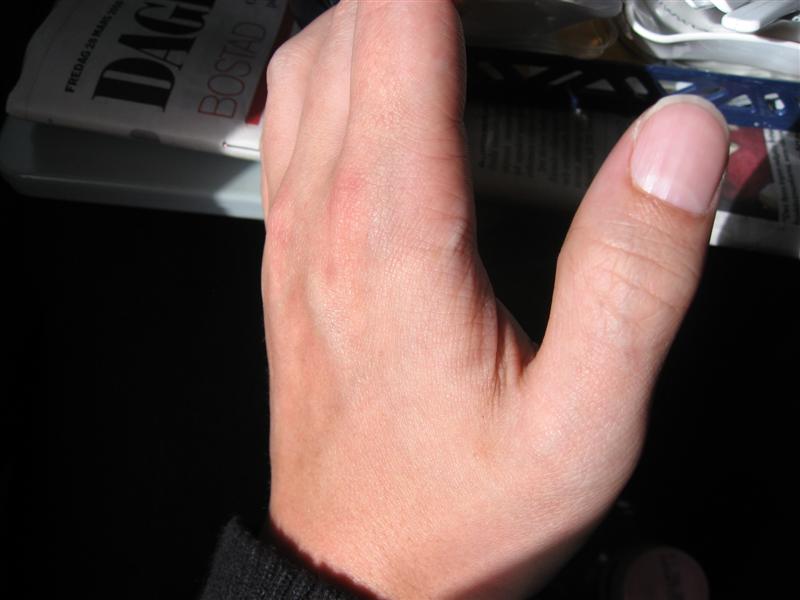
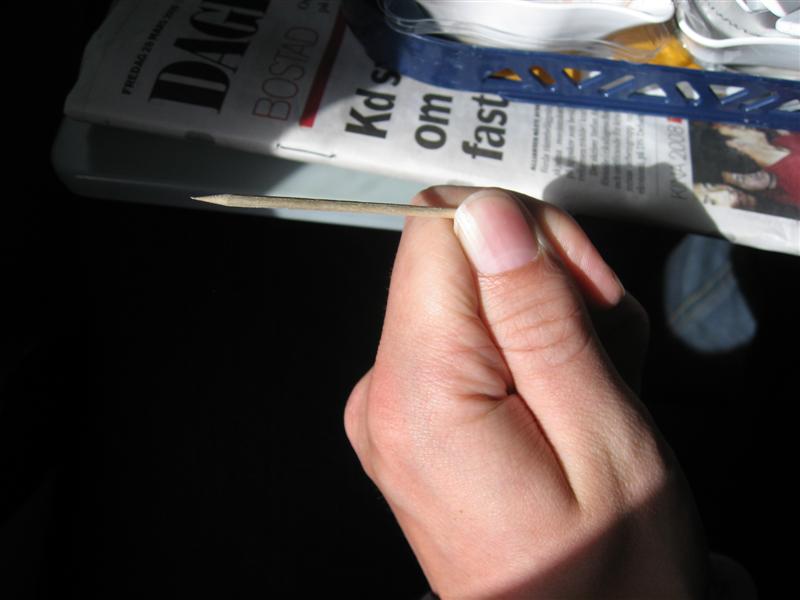
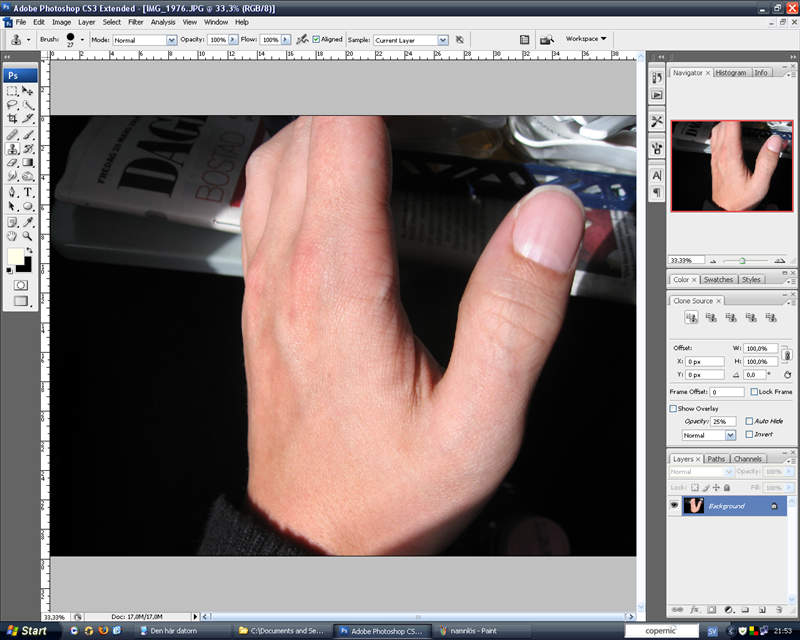
Download the two files to your computer. Open the two images (called hand.jpg and toothpick.jpg), the hand-image and the toothpick image, with Photoshop. I'll use Photoshop CS3.
Erase
.jpg)
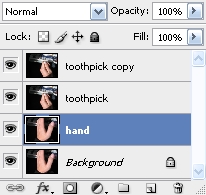
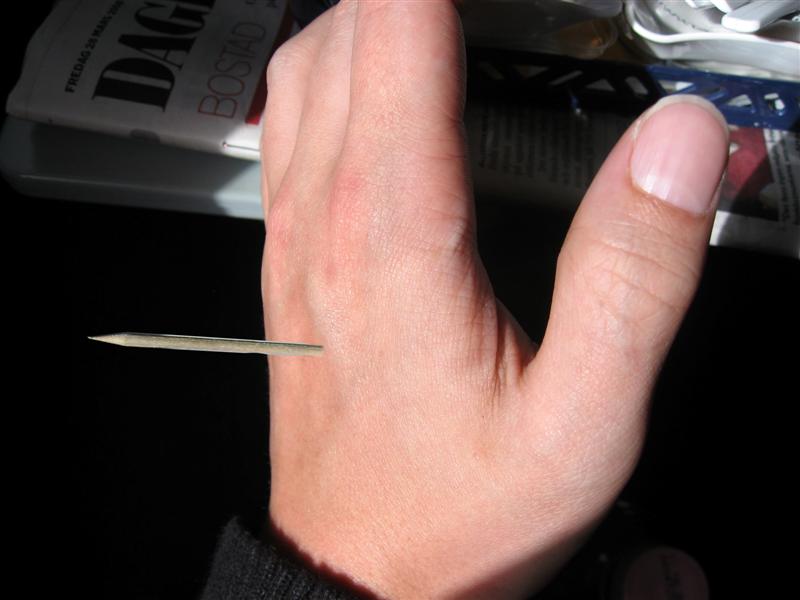
Select toothpick copy and press E to select Eraser. Make the brush big (somewhere about 1337 works for me) and hardness 100%. Erase everything except for the toothpick, this time it doesn't have to be perfect.
Move the toothpick layer so it seems like it is pointing out right from the hand. Not perfect! But it shall at least look like it can be a bit true, otherwise you got to capture new source images (or download at some place, but for this kinds of stuff it is almost easier to capture the photos yourself).
Move the toothpick layer so it seems like it is pointing out right from the hand. Not perfect! But it shall at least look like it can be a bit true, otherwise you got to capture new source images (or download at some place, but for this kinds of stuff it is almost easier to capture the photos yourself).
Erase Again
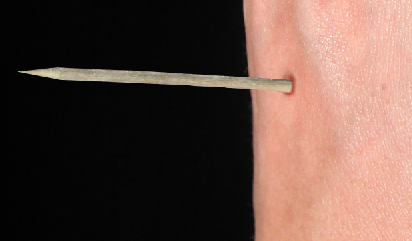
Now start over from the erasing point, but do it all more accurate. Remember to save all the time so you can go back to an earlier state if you want to change something. If you don't like to use the eraser tool you can use the polygonal lasso tool.
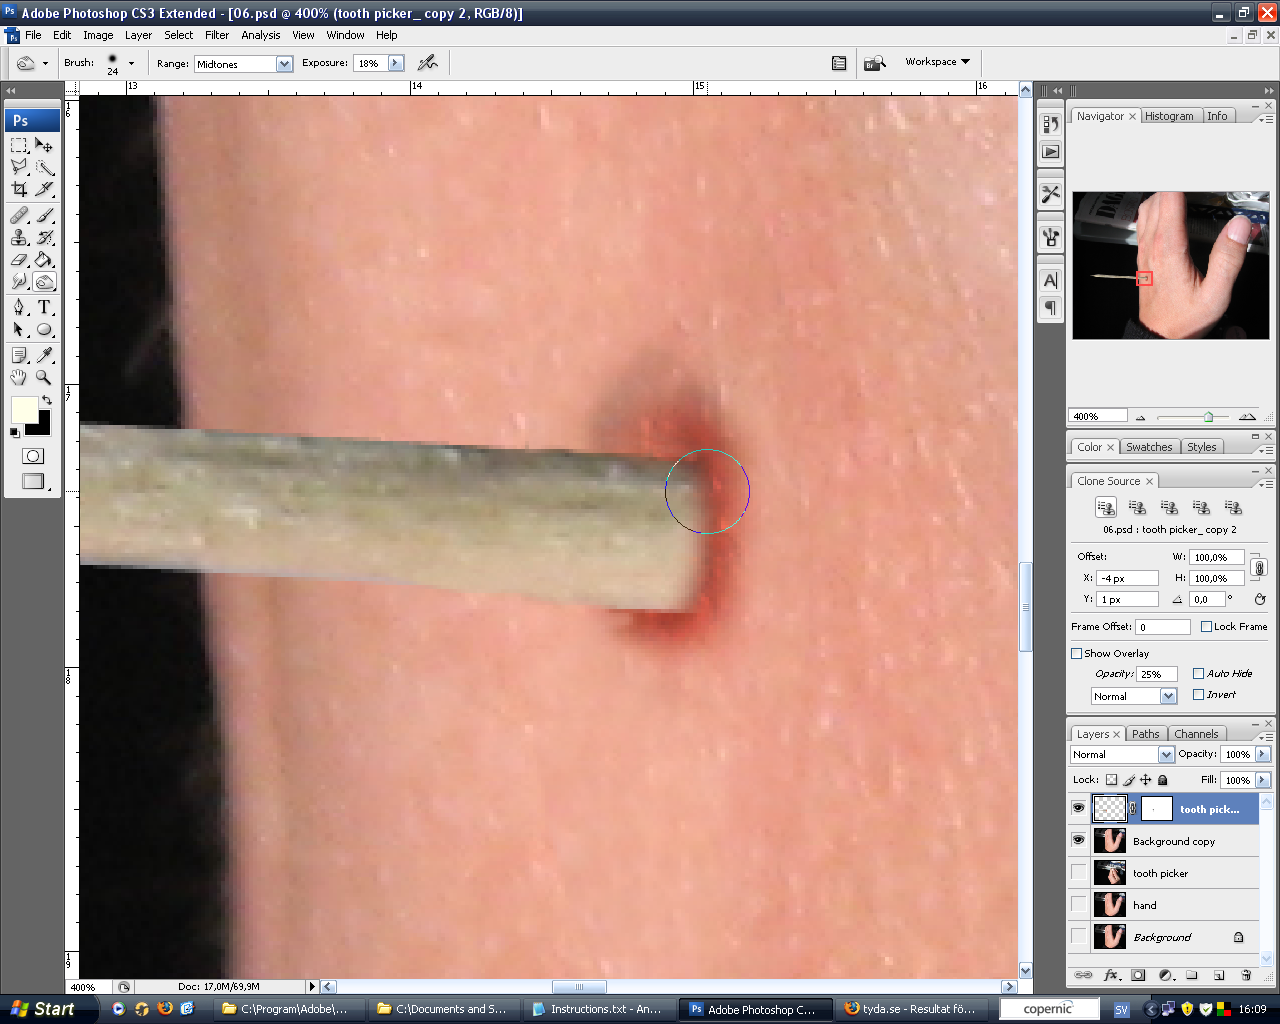
Place the toothpick so it is in the right place and zoom in around the area where the wound will be.
Press [O] to activate the burn tool (watch out so you don't get the dodge or sponge tool) and choose a small brush size, 6 works for me. Change the exposure to somewhere between 5 and 20. It's often better to use low exposure and paint many times, than use high exposure a few times.
Now start to paint around the root of the toothpick so it shapes a circle around the "hole" through the hand.
Get Brushes!
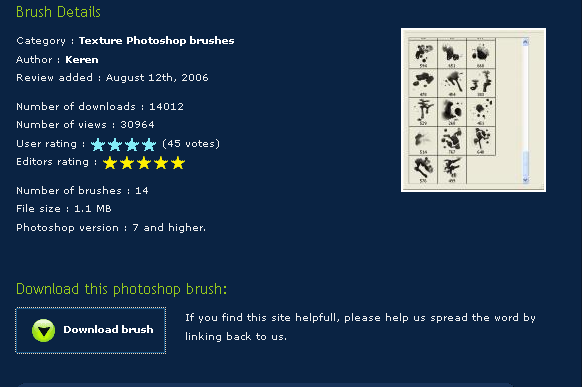
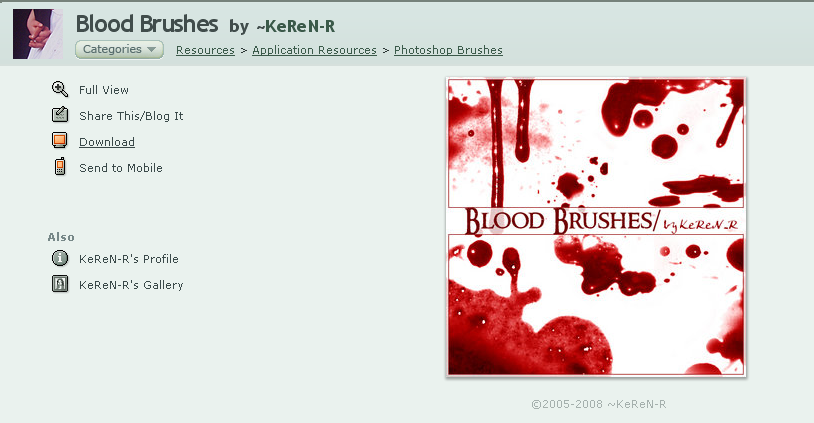
Now's the time to open Firefox (or other if you like) and go to "getbrushes.com" and download KeReN's Blood Brushes for Photoshop (cred to KeRen for the brushes) [img]
Import the brushes to photoshop. If you don't know you can watch at the FAQ on getbrushes.com there's a good explanation.
Import the brushes to photoshop. If you don't know you can watch at the FAQ on getbrushes.com there's a good explanation.
Paint With Your Imported Brush

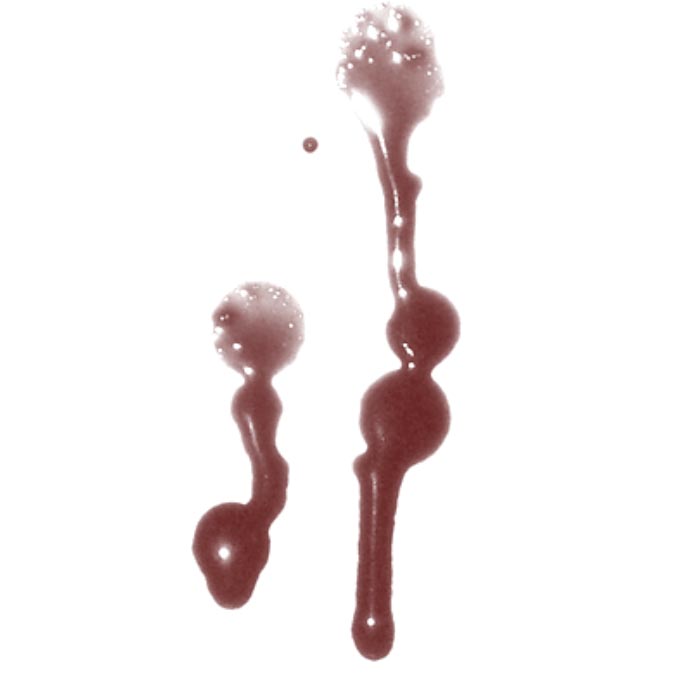
The brush is actually a set of brushes, and now it's in your brush-box. It's quite far down so you have to scroll a bit. The brush I use for this tutorial is called Sampled Brush #4 and is in the package named in the last step.
Create a new layer (blood) and place it between the toothpick layer and the hand layer.
Activate the imported brush and choose a good, blood-red color. Change the size (I used 862) and then paint once. One simple click, or two if the shape is to light.
Create a new layer (blood) and place it between the toothpick layer and the hand layer.
Activate the imported brush and choose a good, blood-red color. Change the size (I used 862) and then paint once. One simple click, or two if the shape is to light.
Warp the Blood! (and Make the Skin Look Weird)
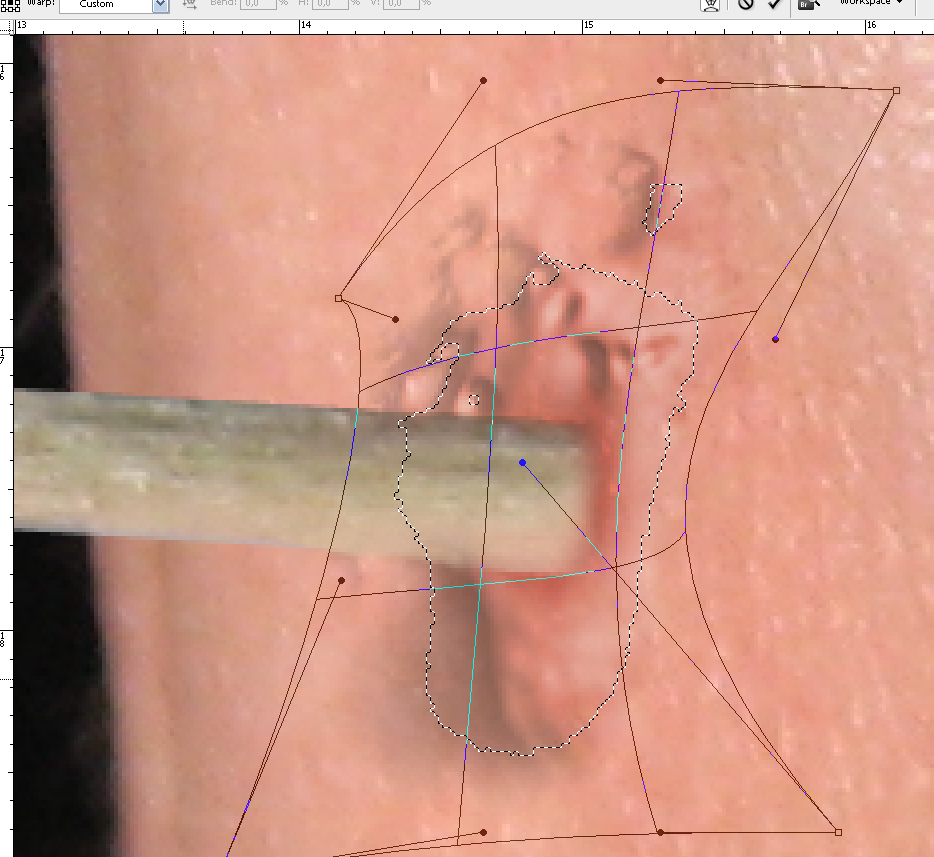
Warp!
Drag in the handles until the blood seems to be a bit more realistic.
Now skin:
Now duplicate the blood-layer and hide the original blood-layer. Rename the "blood copy"-layer to "skin". Erase everything on the skin-layer without the area around the hole, so what's left is shaped almost like a circle.
Warp the skin-layer (if you like to you can use Liquify instead. Filter --> Liquify)
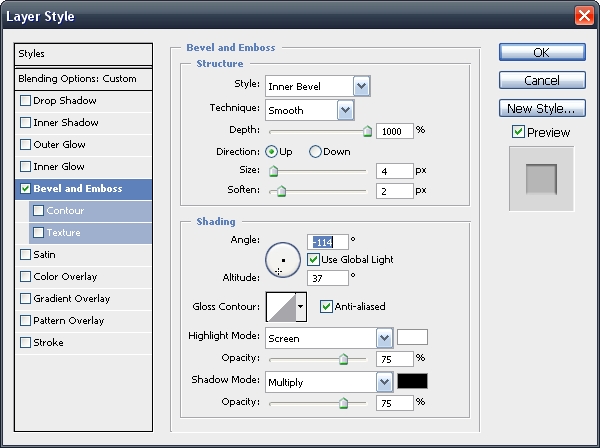
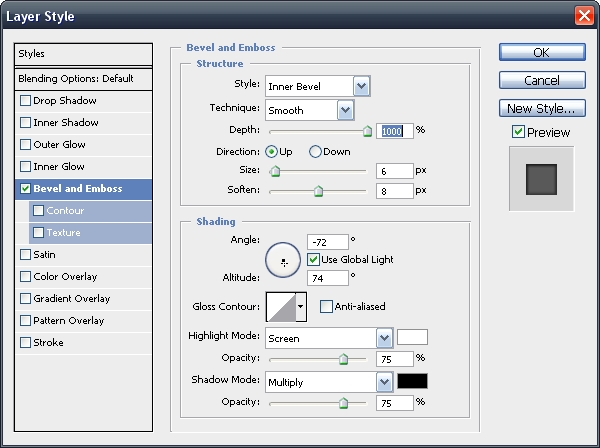
Warp until it looks good. Right-click on "skin" and open the Blending Options menu. Click on Bevel and Emboss and choose the options shown in the image.
Press ok.
Set the Opacity on the skin-layer on 66% and fill 40%.
Masking
.jpg)
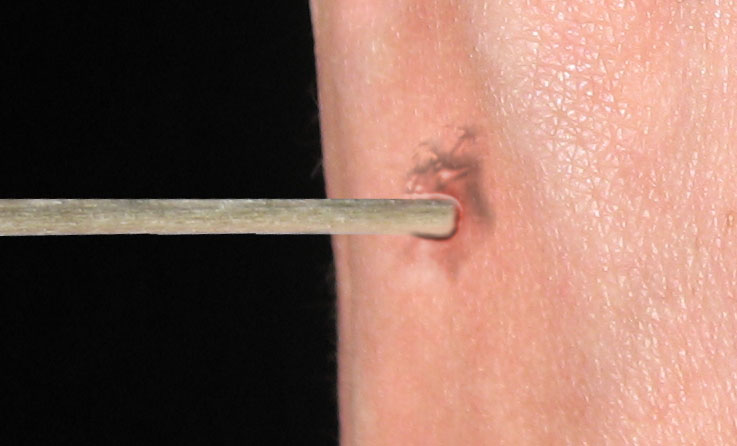
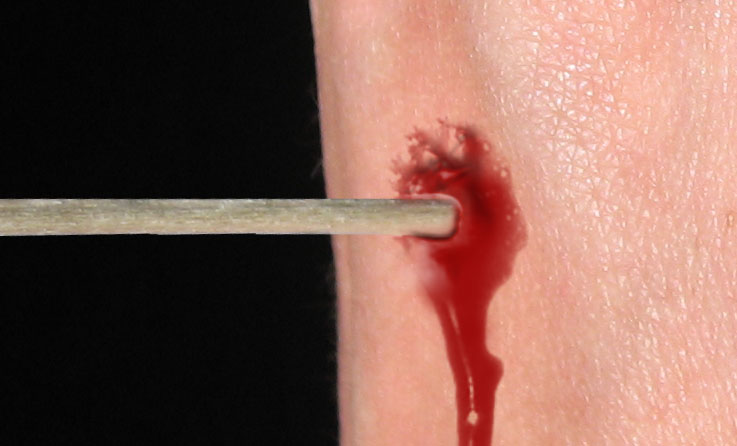
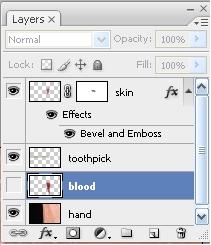
Place the skin-layer so it is the top-layer. Press the add layer mask button to add a layer mask.
Use a brush with the same diameter as the toothpick has, and paint over the toothstick. This will hide the "fakie-skin" so it looks a bit better.
Show the blood-layer again.
Use a brush with the same diameter as the toothpick has, and paint over the toothstick. This will hide the "fakie-skin" so it looks a bit better.
Show the blood-layer again.
Smudging
.jpg)
Use the smudge tool with around 55% pressure, some brush that isn't just round and try to drag the blood out a bit, so it looks like it flows down on the hand. I use long smooth motions and thinks that it gives the best results.
Open the blending options for the blood layer and use these settings:
Soon we're finished...
Open the blending options for the blood layer and use these settings:
Soon we're finished...
Blood Spatter
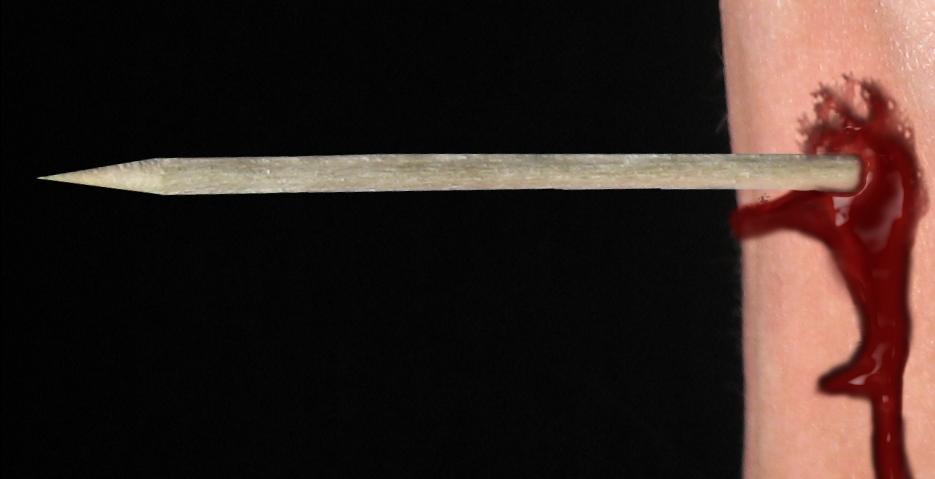
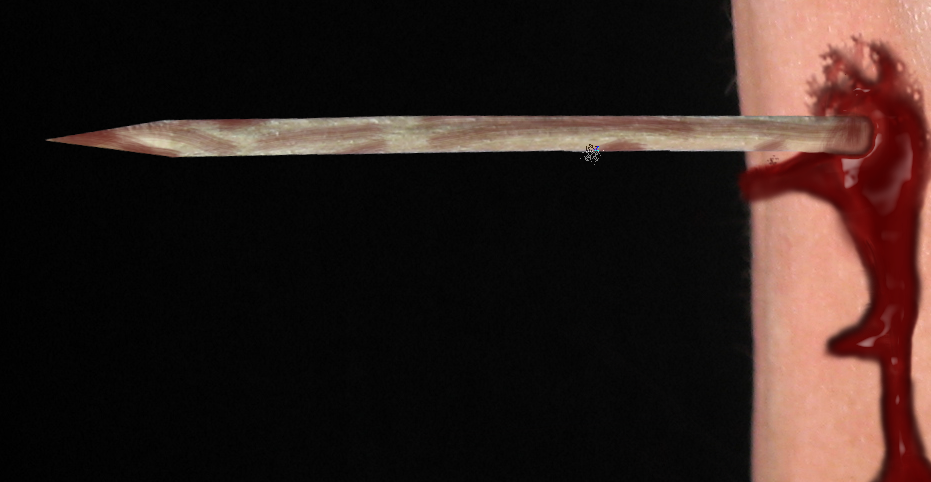
If this image would have been real, the toothpick would have been put trough your hand from the other side, the side you don't see on the image. This means that it has to be blood on the toothpick.
To paint some more blood follow these steps:
Activate the toothpick-layer ctrl-click on the toothpick-layer to select it. This prevents blood to come on places you don't want it to be on.
Get a splatter brush (built in to photoshop) with low opacity and red color and start to paint a bit on the stick. Just a bit, and maybe some splashes with blood too.
Extras and Saving

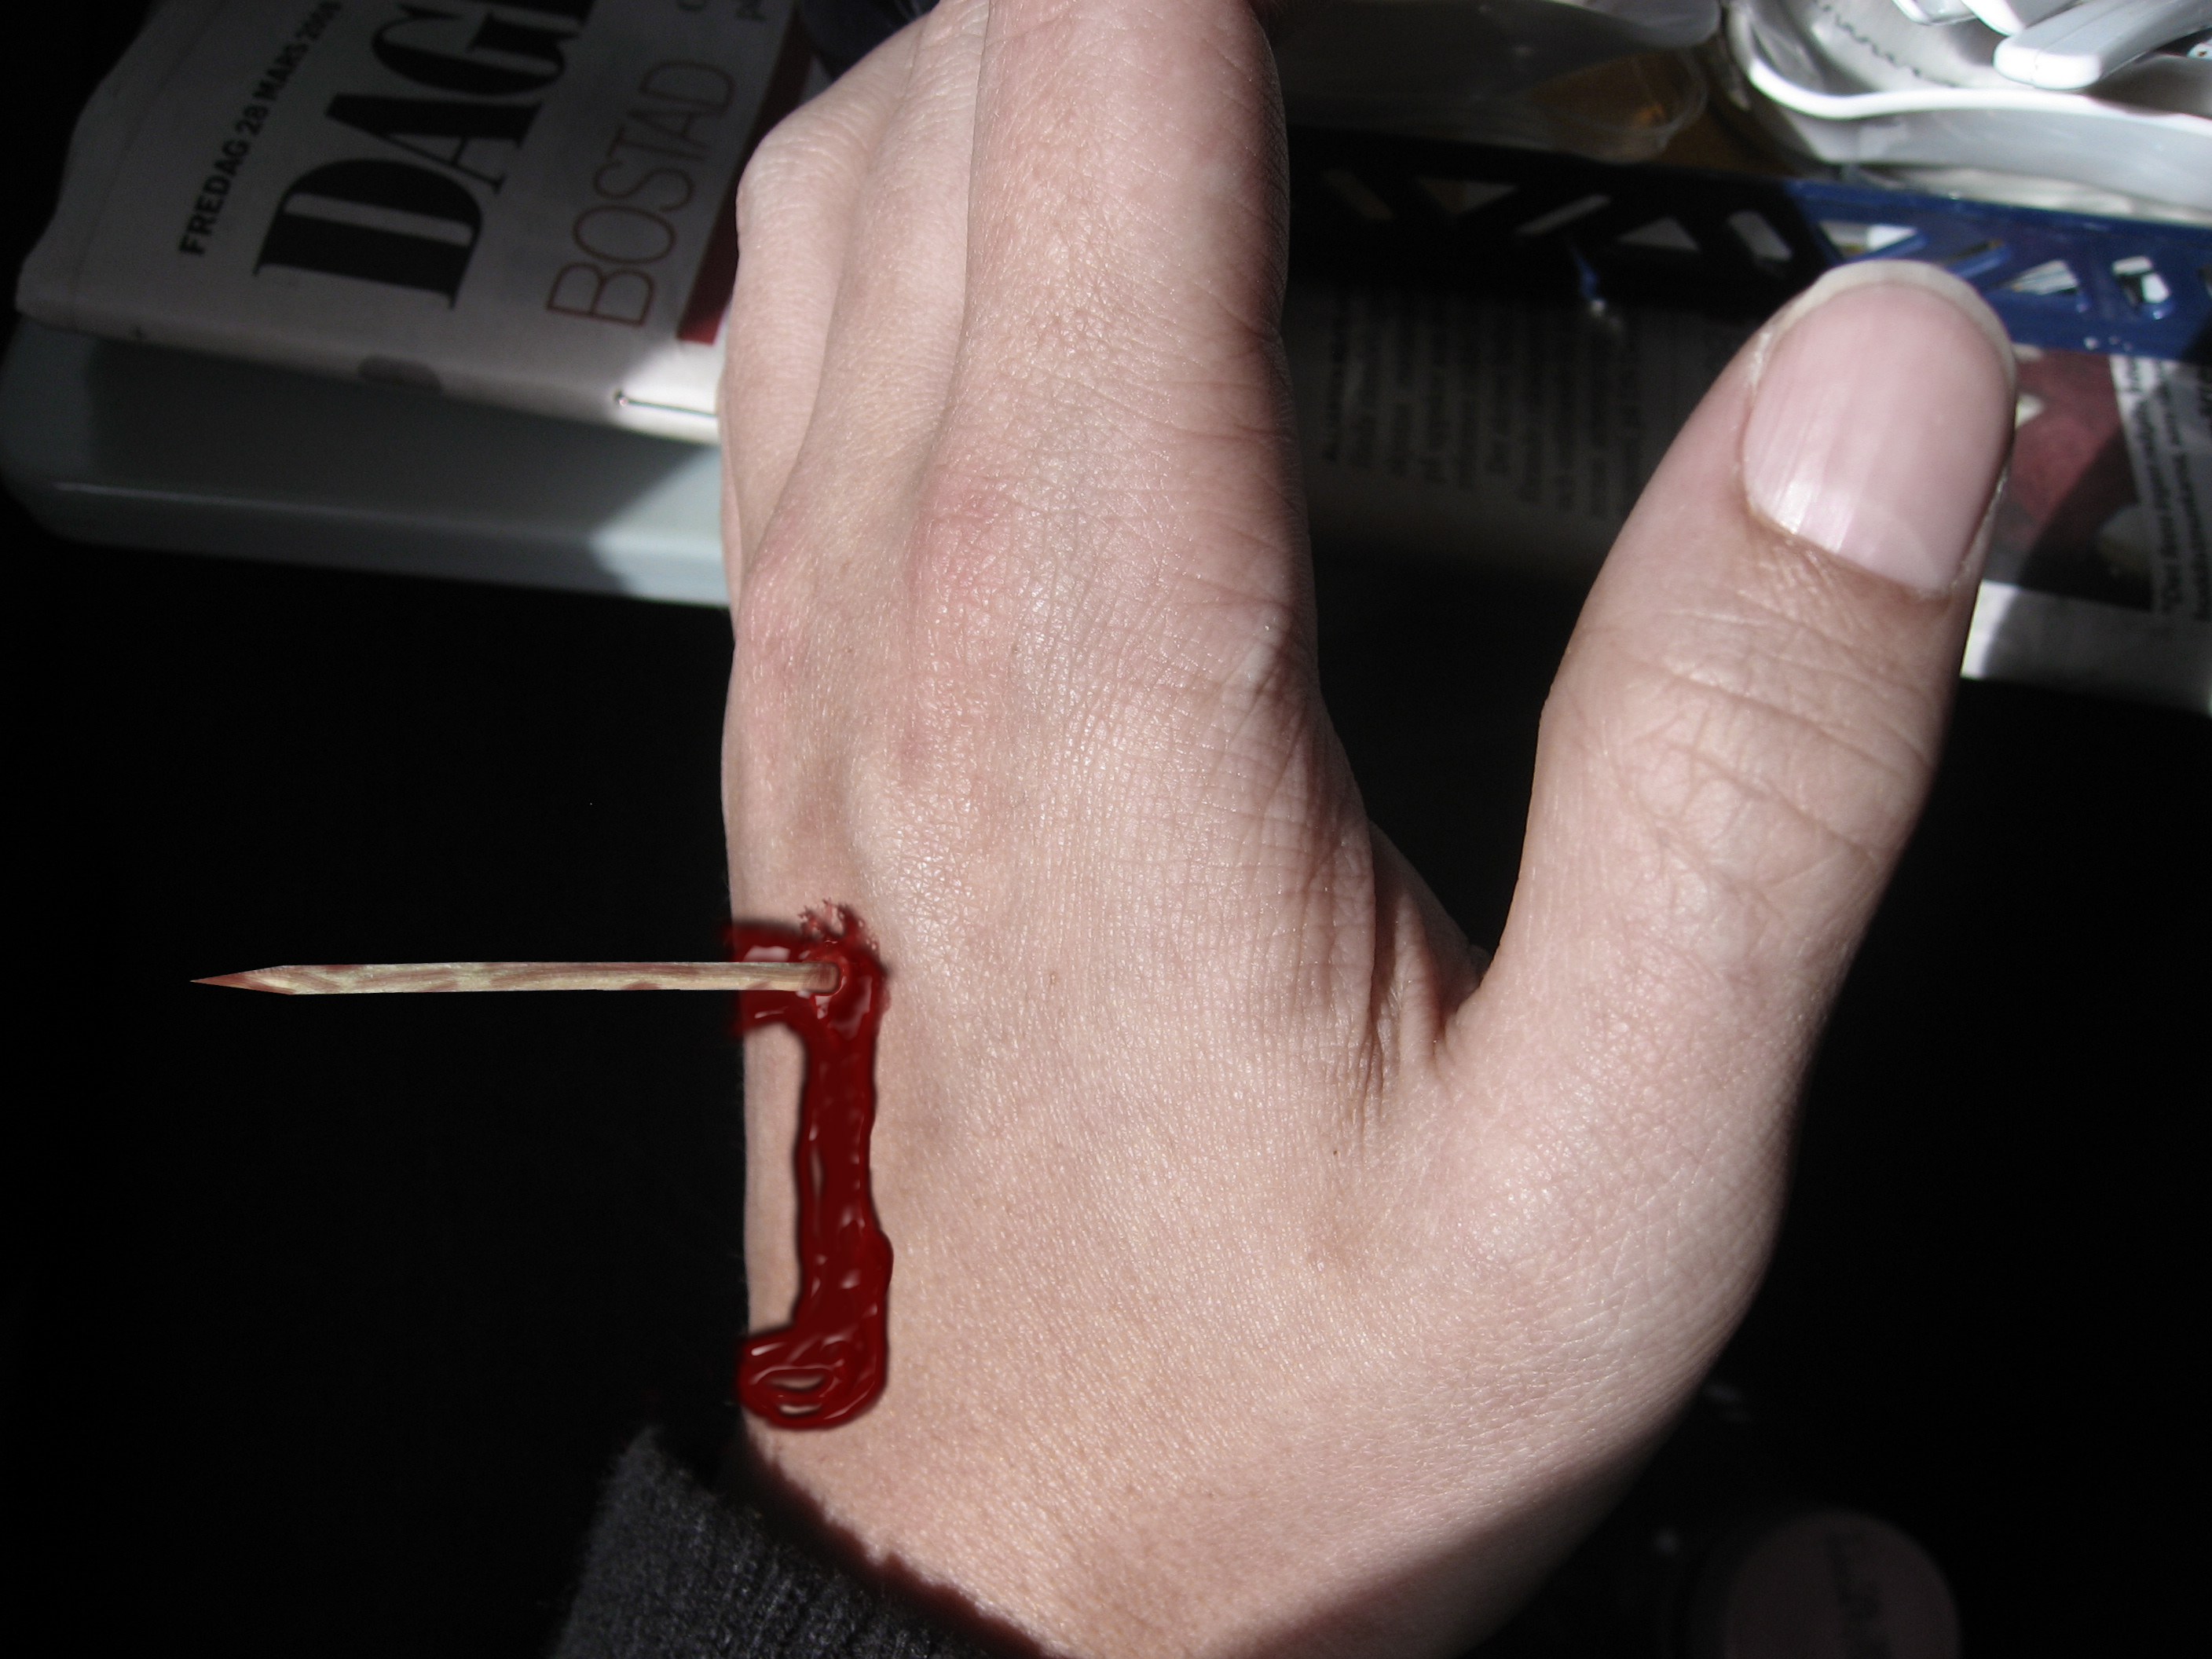
So, almost done.
If you like to you can make the hand more grey (by adjusting black & white in Image --> Adjustments --> Black & White) or paint a bit more blood, like I did (either with the new brushes, or with some of the main-brushes). If you want more blood, paint it in the blood-layer to get the same effects as you already have on the main-blood.
Just saving left:
To save the image, press: File --> Save As... --> Write a name, change psd to jpg (or png or wathever you like) in the list below the name-form.
Then press Save and choose settings for the jpeg-compression, around ten works good.