Tissue Paper Landscape
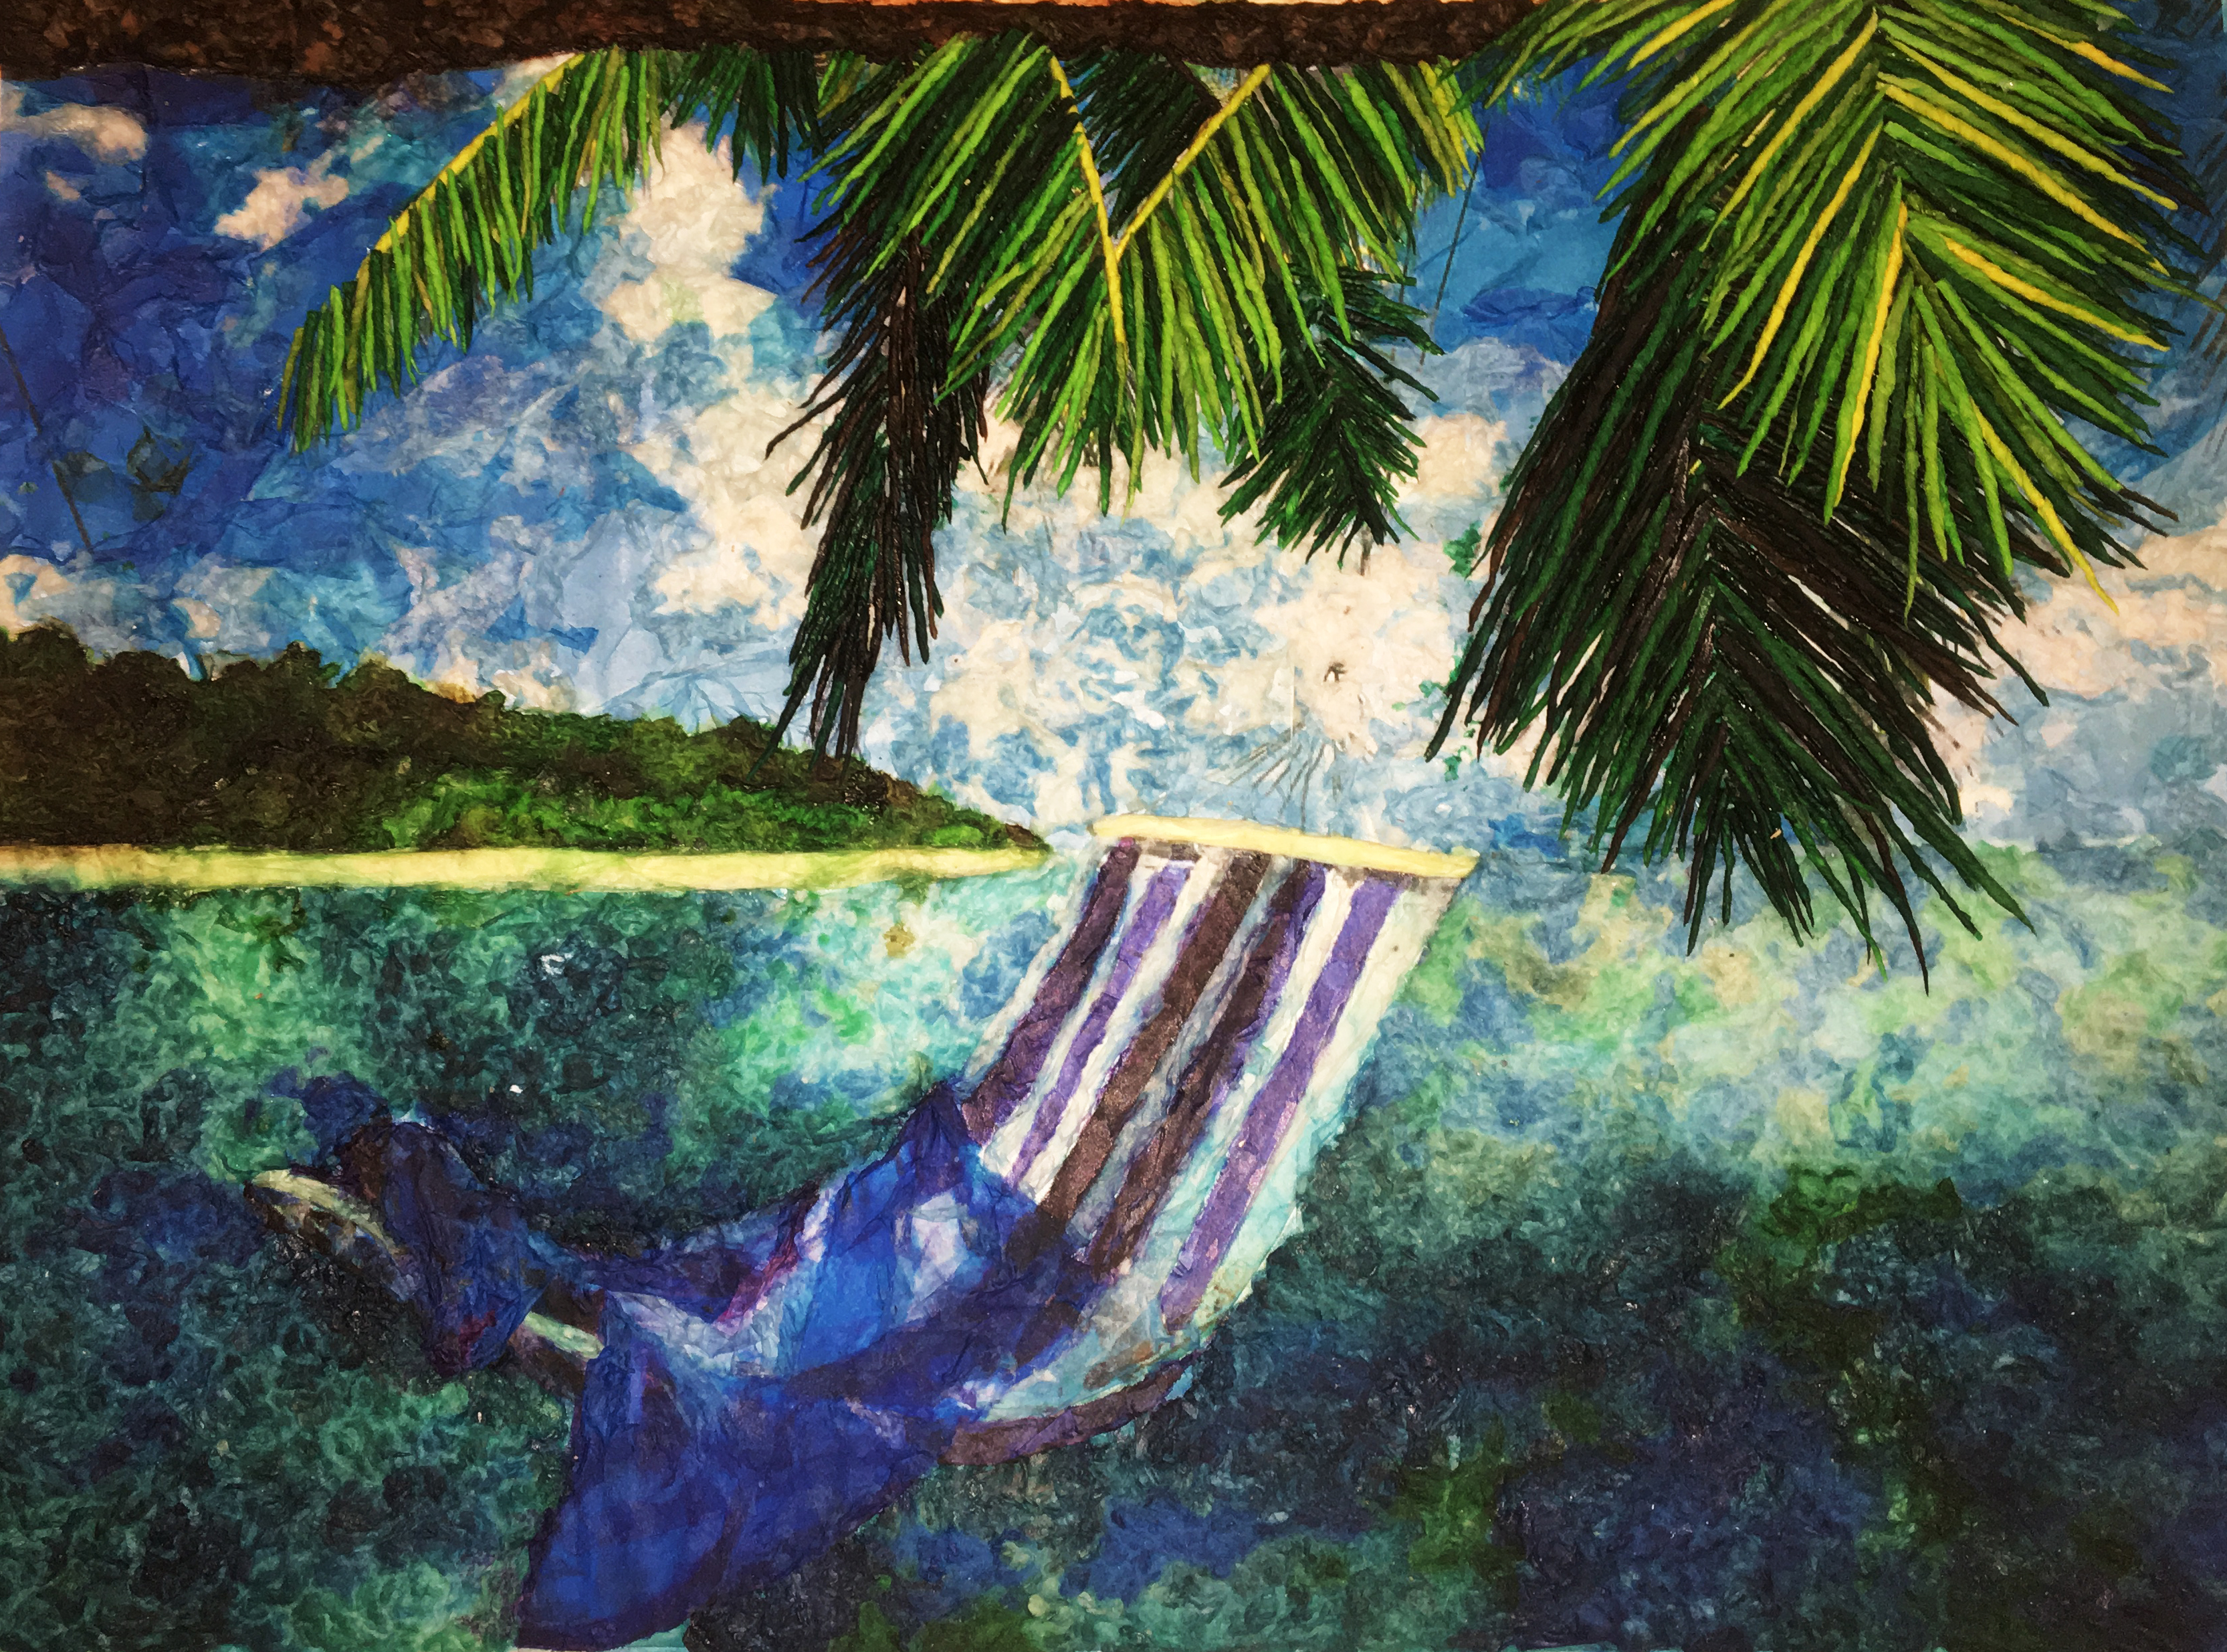
Have you ever wanted to create beautiful landscapes but haven't quite mastered the skill of painting? Maybe you're a regular Picasso, but you're looking for something new to mix things up a bit. Or perhaps you're like me and you love discovering new ways to create art. Whatever the case may be, this is the perfect project for you!
I first tried out this project with high school students in my Art 1 class as a way to introduce them to new techniques and build their confidence as artists. Since then, I have watched my students experiment with the process of the project, and together I think we have perfected the technique.
In this instructable I am going to show you some of the tips and tricks I have come up with. I hope they come in handy, but I also encourage you to put your own creative twist on it!
Materials
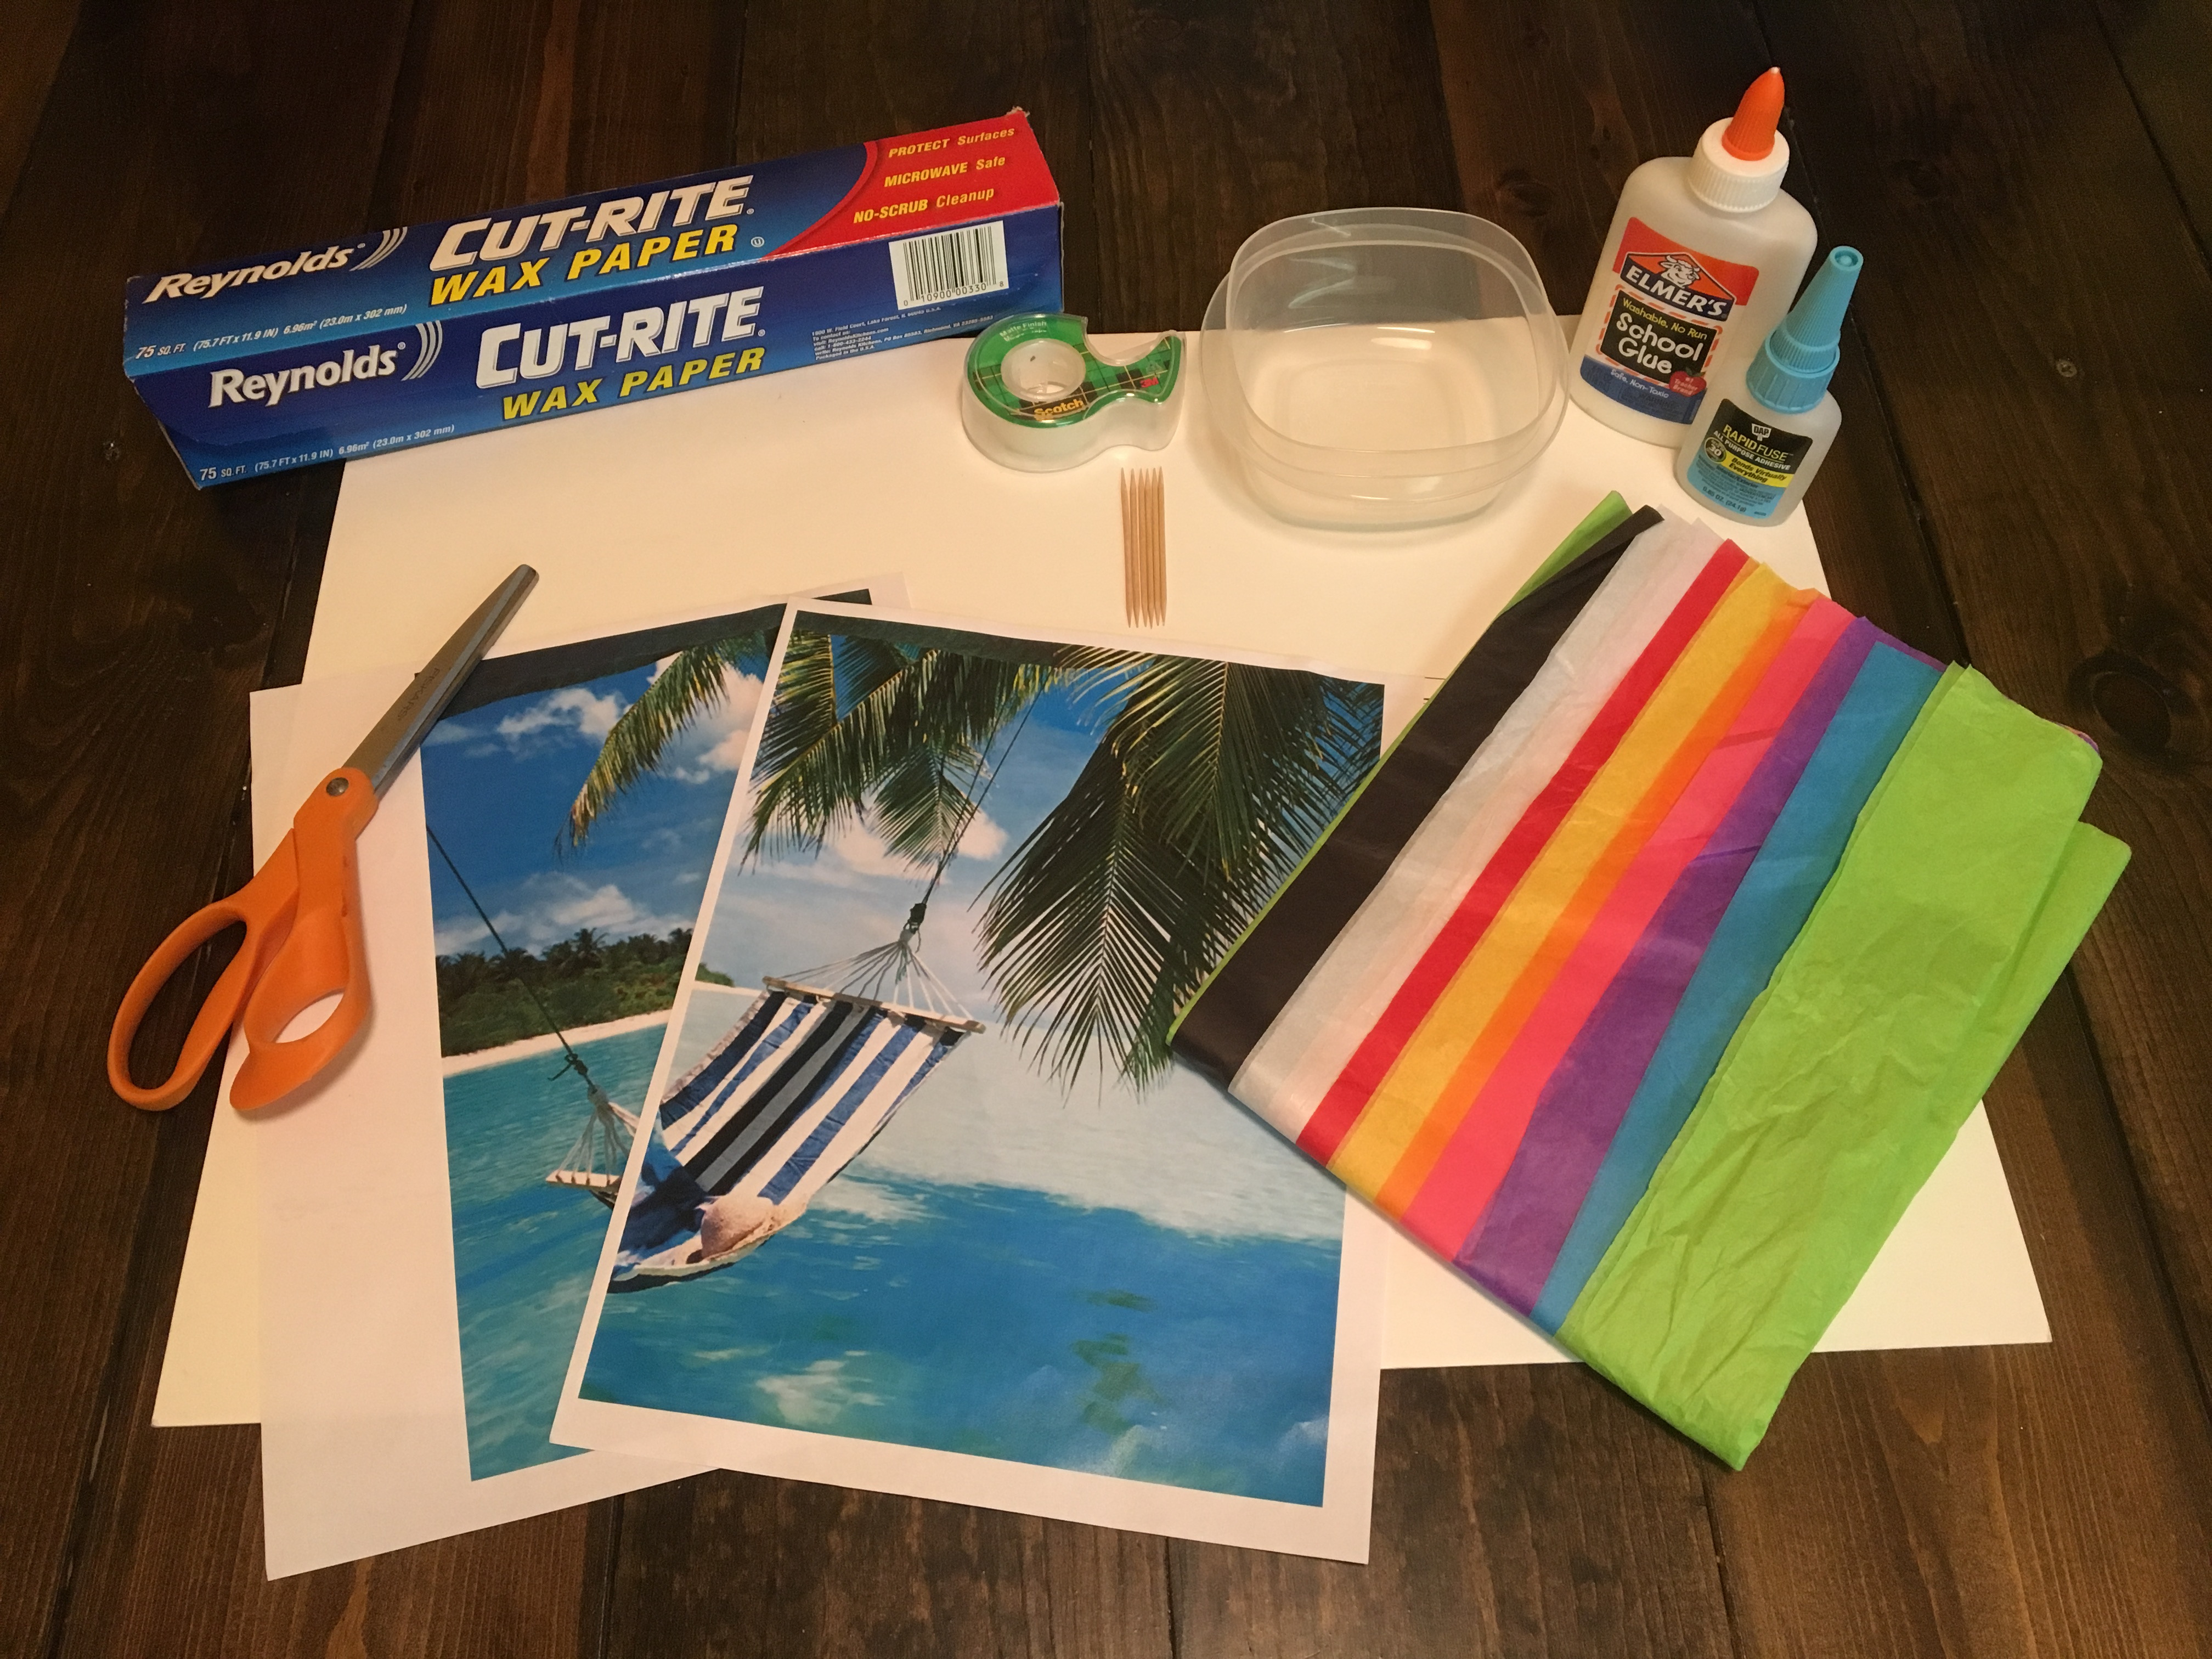
Here's what you'll need:
- Printed high resolution image (I have found that landscapes work the best. I also like to stretch my image across two pieces of copy paper so that the end result is larger, but I wouldn't recommend anything smaller than 8.5 x 11 inches)
- Clear tape
- Scissors
- Matte board (card board or foam board work too, but you want something sturdy)
- Toothpicks
- Small plastic container
- Wax paper
- Elmer's glue
- Super glue
- Tissue paper in various colors**
**IMPORTANT: There are various types of tissue paper available. There is the paper that is used in gift wrapping and there is "craft" tissue paper (sometimes called crepe paper). The major difference is that the kind used for wrapping gifts does not usually "bleed" its color, where as the craft kind sometimes does. These two variations are very important for this project. I like to use both. I will show you the difference between the two in the "Technique #1" step of the instructable.
Prepping Your Image
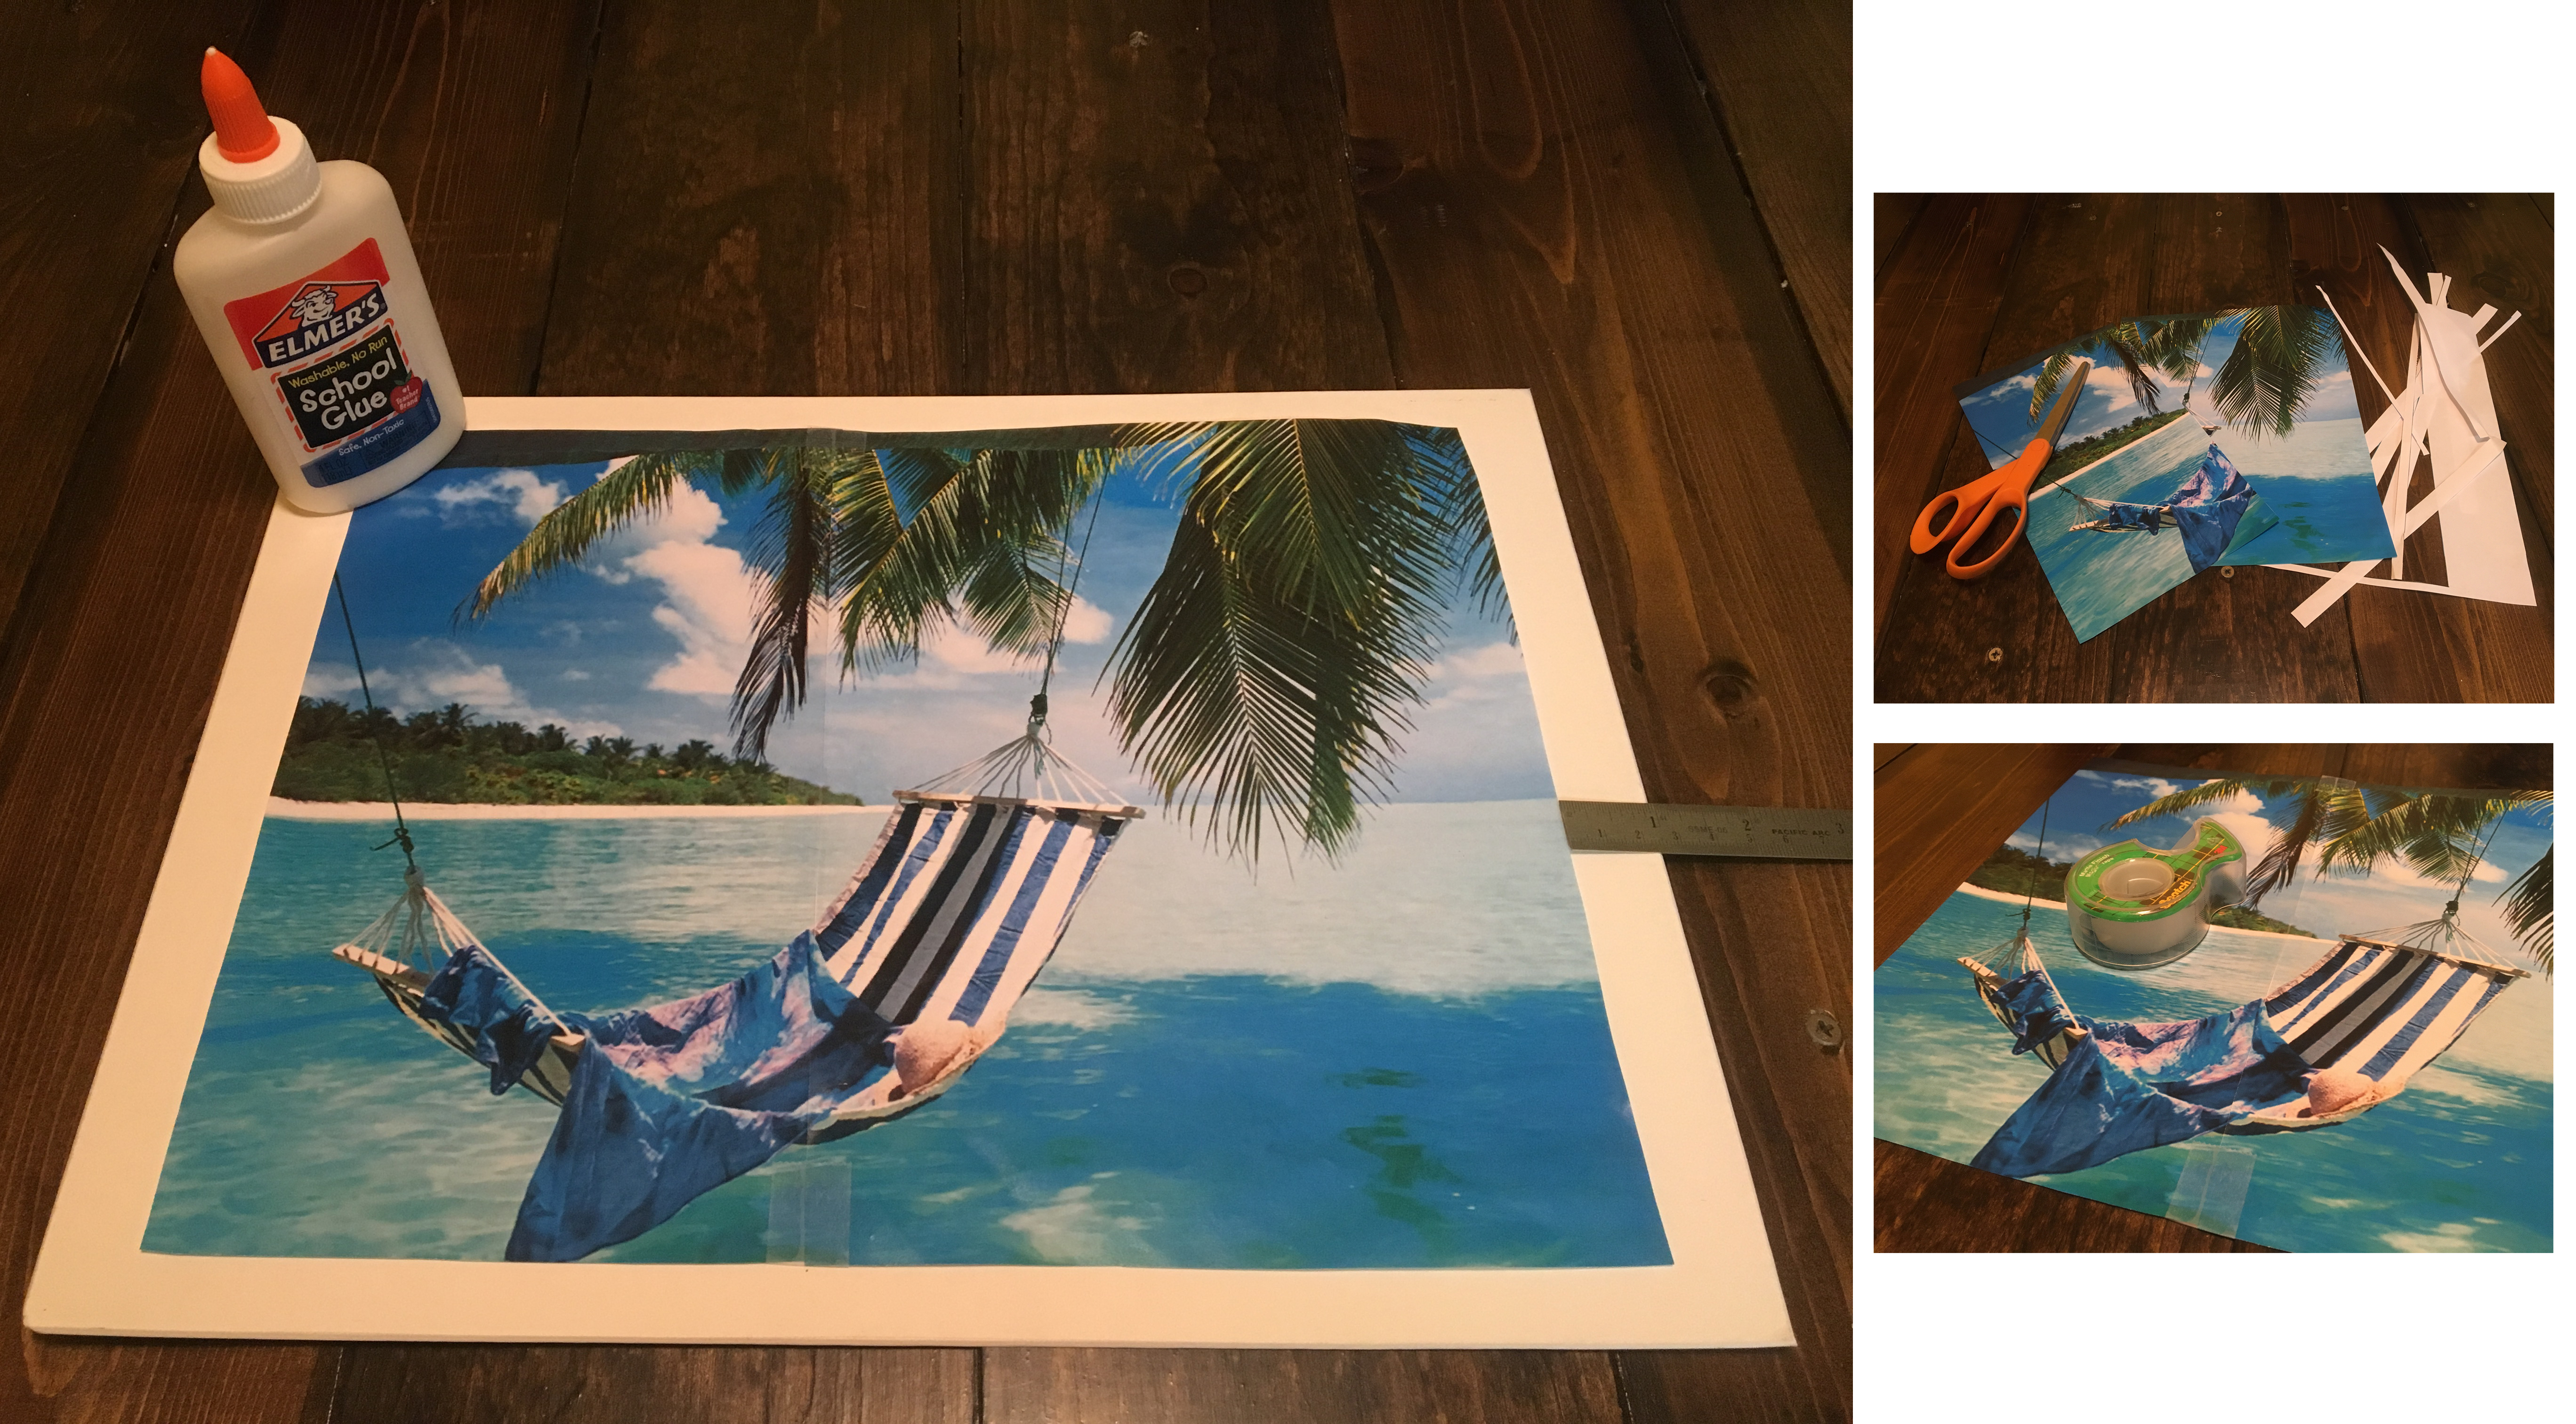
Once you have printed your image you should trim the white boarders. If you're like me and you've printed your image over more than one page, you will then carefully line up the pages and tape them together. Use the Elmer's glue to glue the image to the matte board. Make sure your matte board is at least 0.5 to 1 inch larger on all four sides.
Mix the Glue
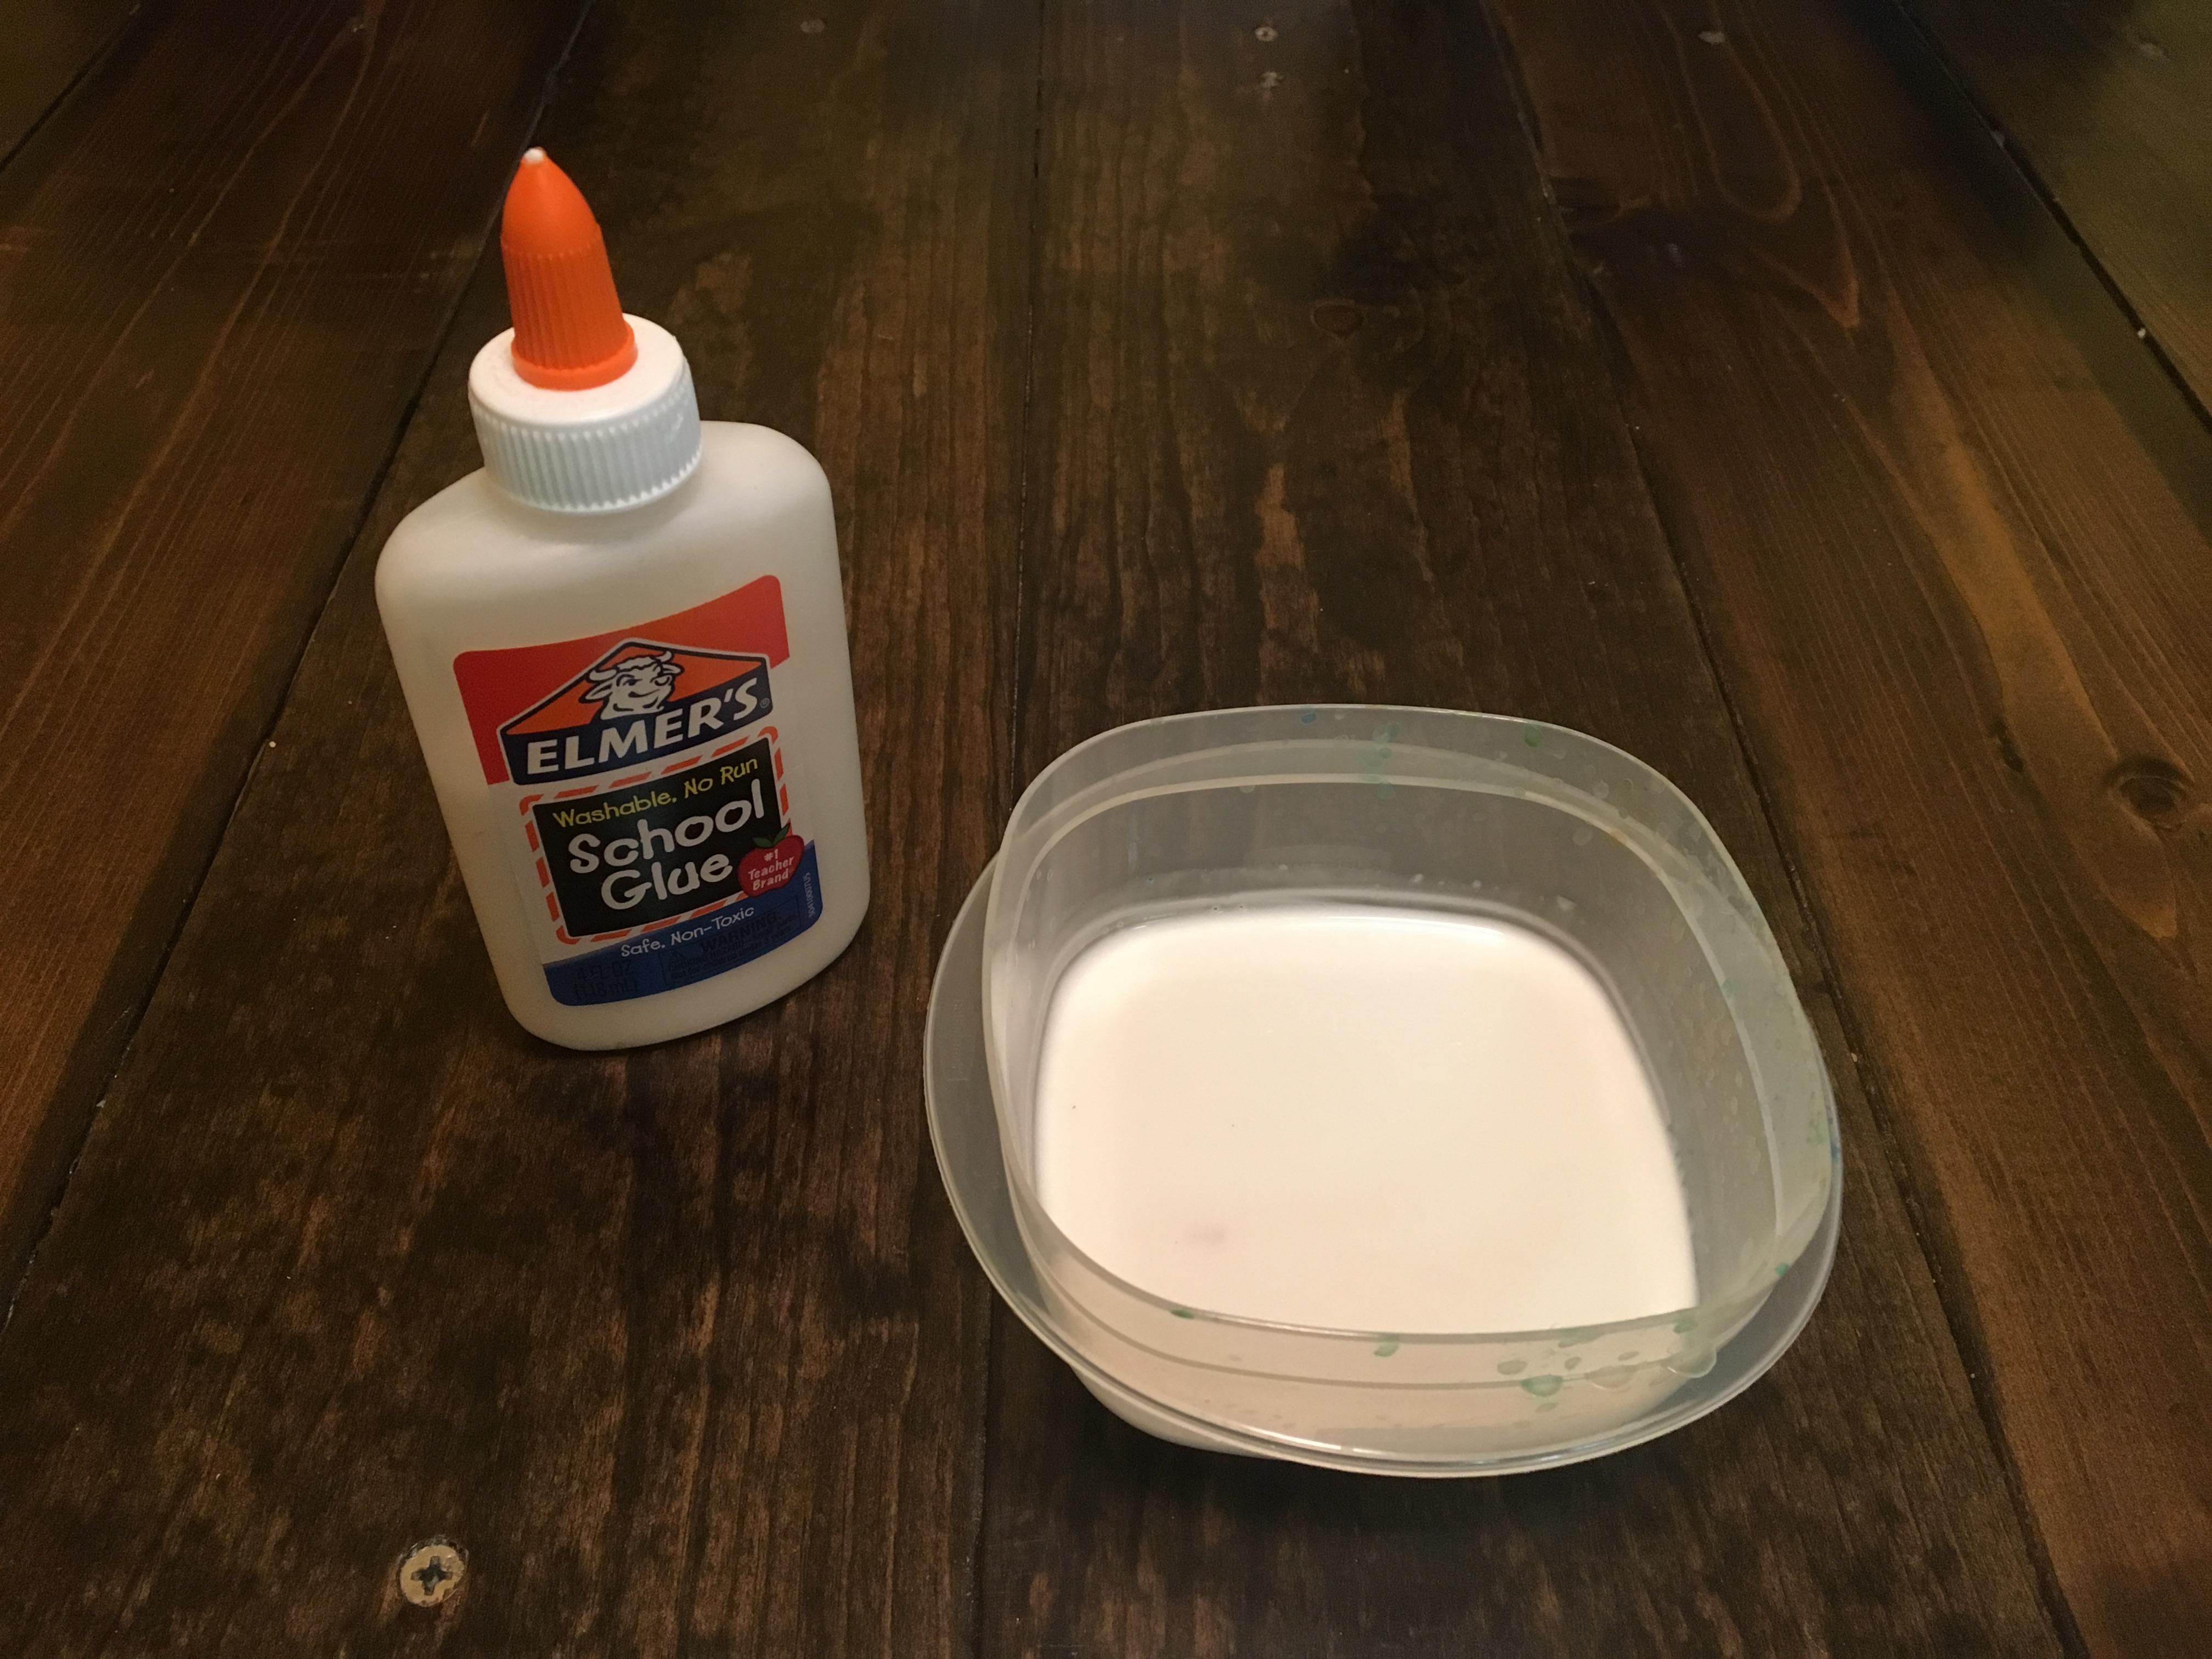
In the plastic container mix about 5 tablespoons of glue with 10 tablespoons of water. This does not need to be precise. You can eyeball it. You just want a ratio of about 1:2. Your mixture should be thin and runny like water, but still opaque (milky white). You may need to remake this mixture several times through out the process because the dye from the tissue paper may start to run out into the glue mixture. You don't want the color of your glue to change the color of the tissue paper (or who knows, maybe you do so you can create unique color combinations).
Now, before we move onto the various techniques, let me explain how to go about creating your work of art. You are essentially matching up the colors from the printed image with the colors of the tissue paper. You will lay down blue tissue paper where the printed image is blue, green tissue paper where the image is green, and so on. Unless you have ordered a special pack of tissue paper, you will find that there are A LOT more colors in your printed image than there are tissue paper. The techniques in the following three steps will show you how to manipulate your materials in order to create all of the colors you need for your specific image.
Technique #1
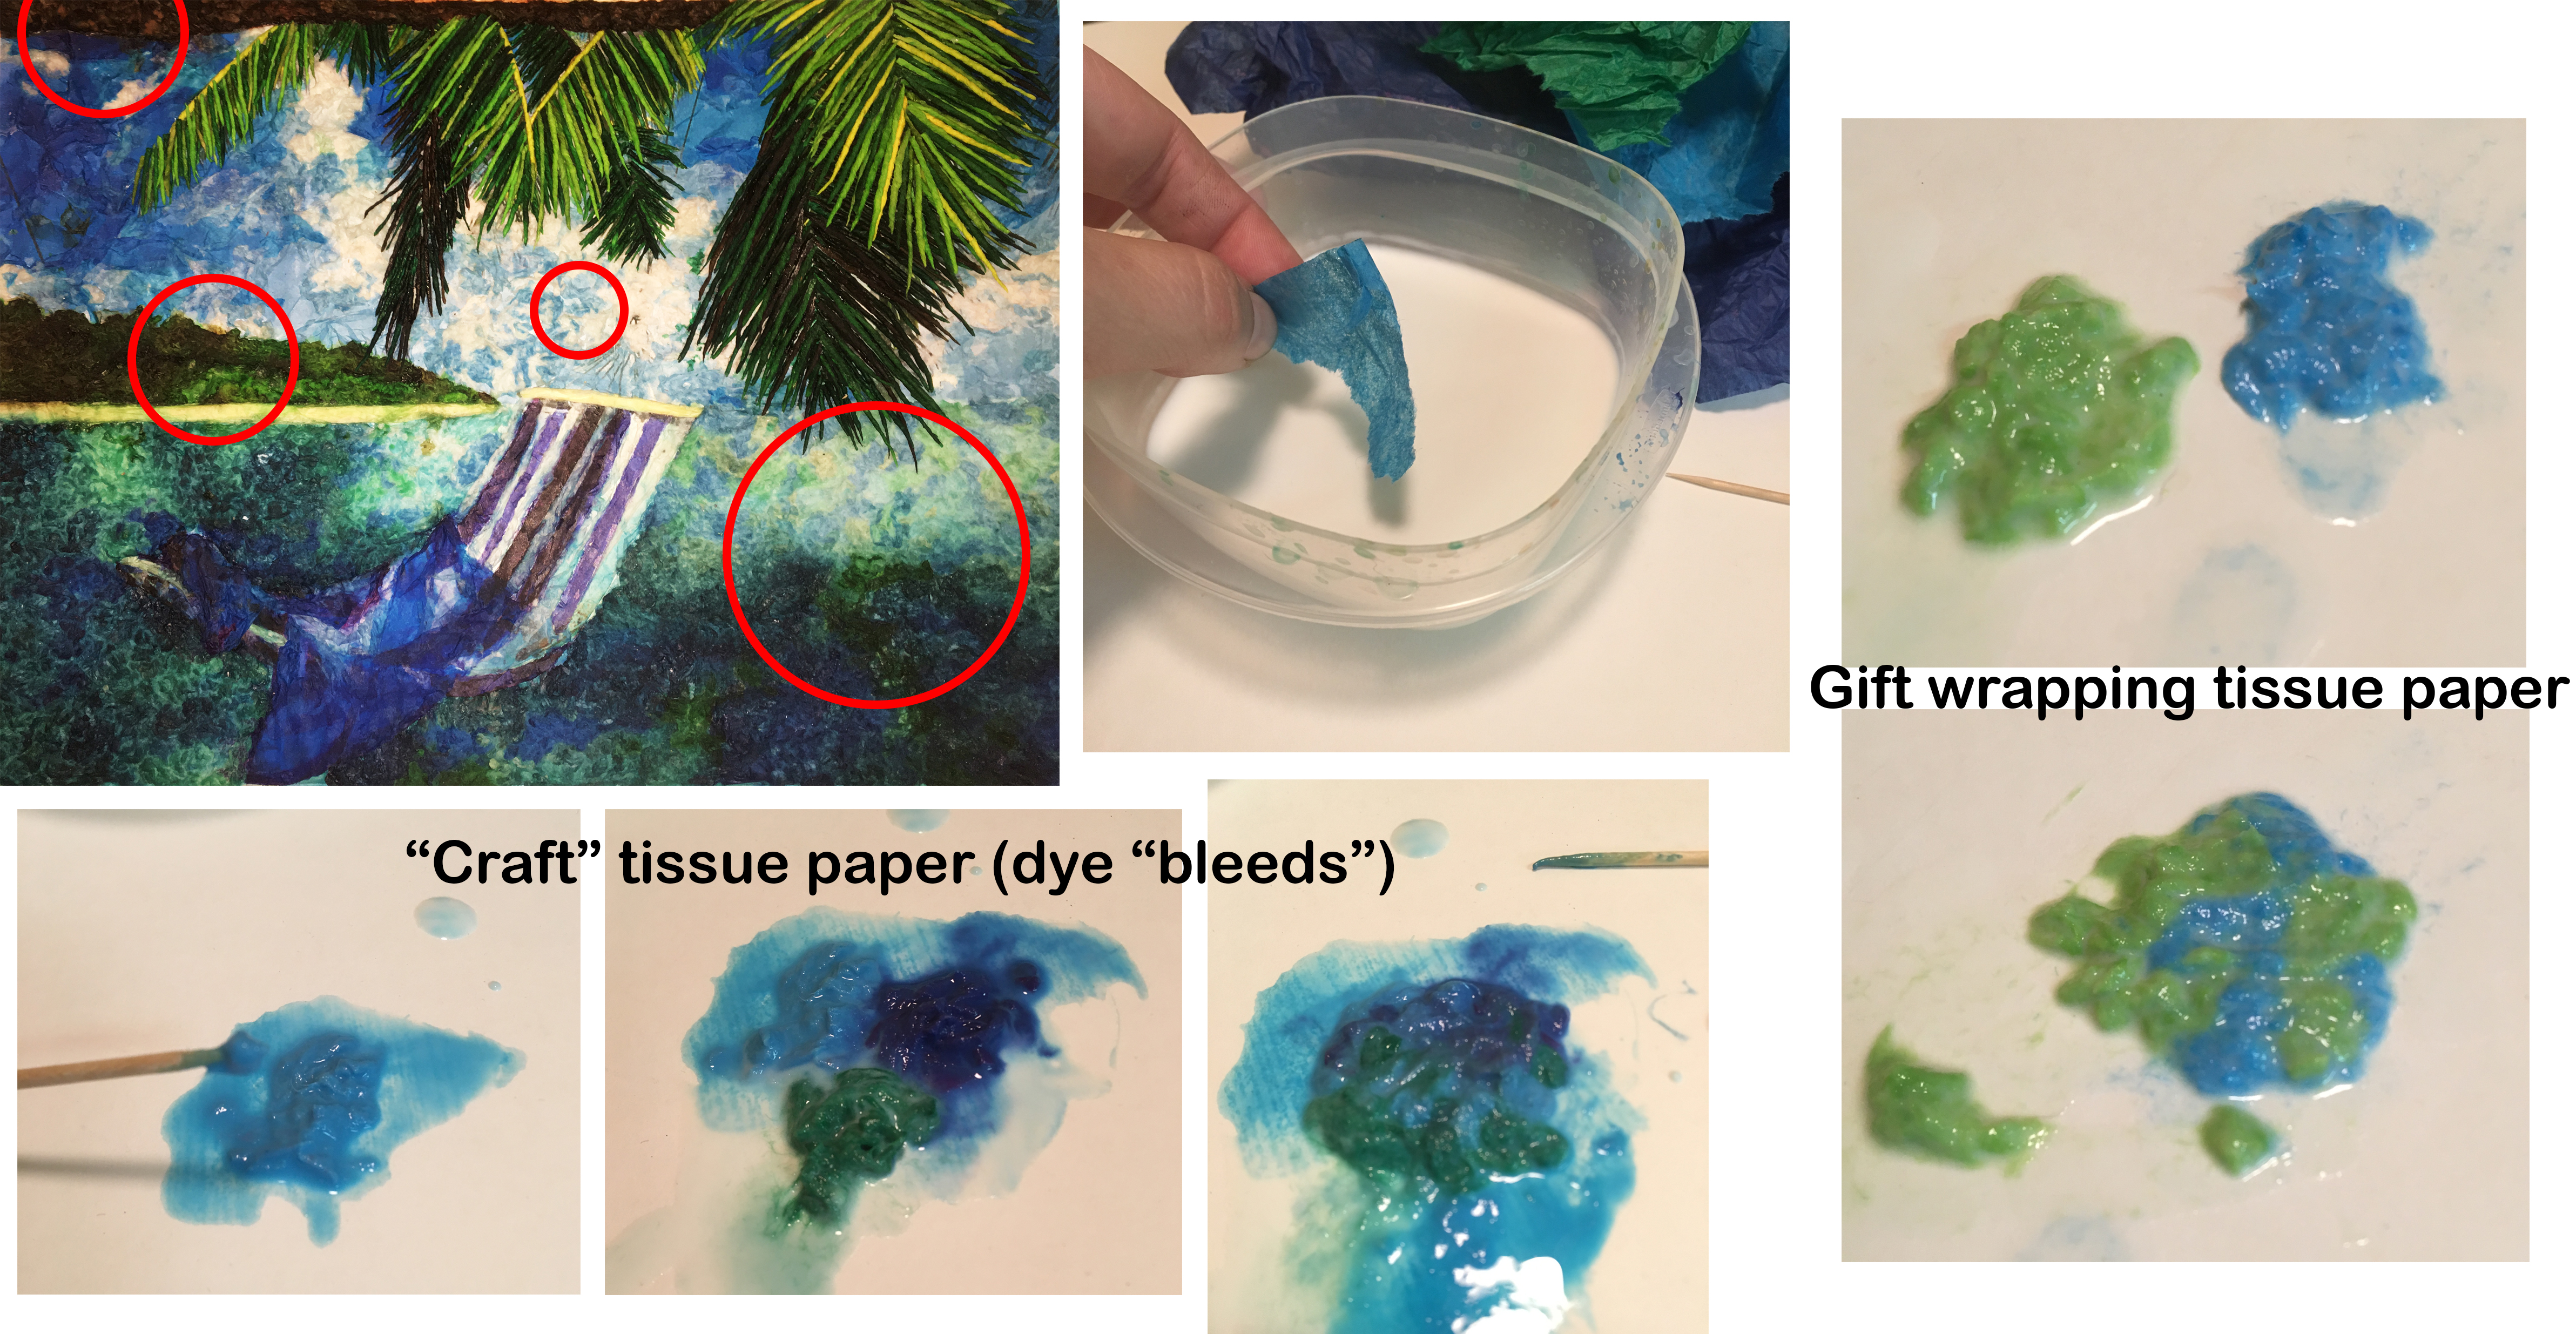
This first technique is perfect for blending color, creating colors that are not included in your collection of tissue paper, and creating different types of texture.
First, tear off a small piece of tissue paper and dip it into your glue mixture. You may choose to simply roll the tissue paper into a ball and place it on the printed image (the amount of glue you use determines different types of texture) or you can follow this technique for blending colors:
Once your piece of tissue paper is soaking wet you will use the toothpick to scrape and shred the paper. The goal is to get it to be the consistency of a papery pulp. Once your paper is turned to pulp you can drag and mix colors together using the toothpick. This is where the different types of tissue paper come in handy. If you want discrete and more realistic blending you should use the "craft" tissue paper. When the paper is wet the dye begins to bleed and so the different colored dyes start to mix together as well.
You may want to have a solid understanding of color mixing because you don't want to end up with muddy browns. You can get some basic color mixing info at this site: Color Mixing
Technique #2
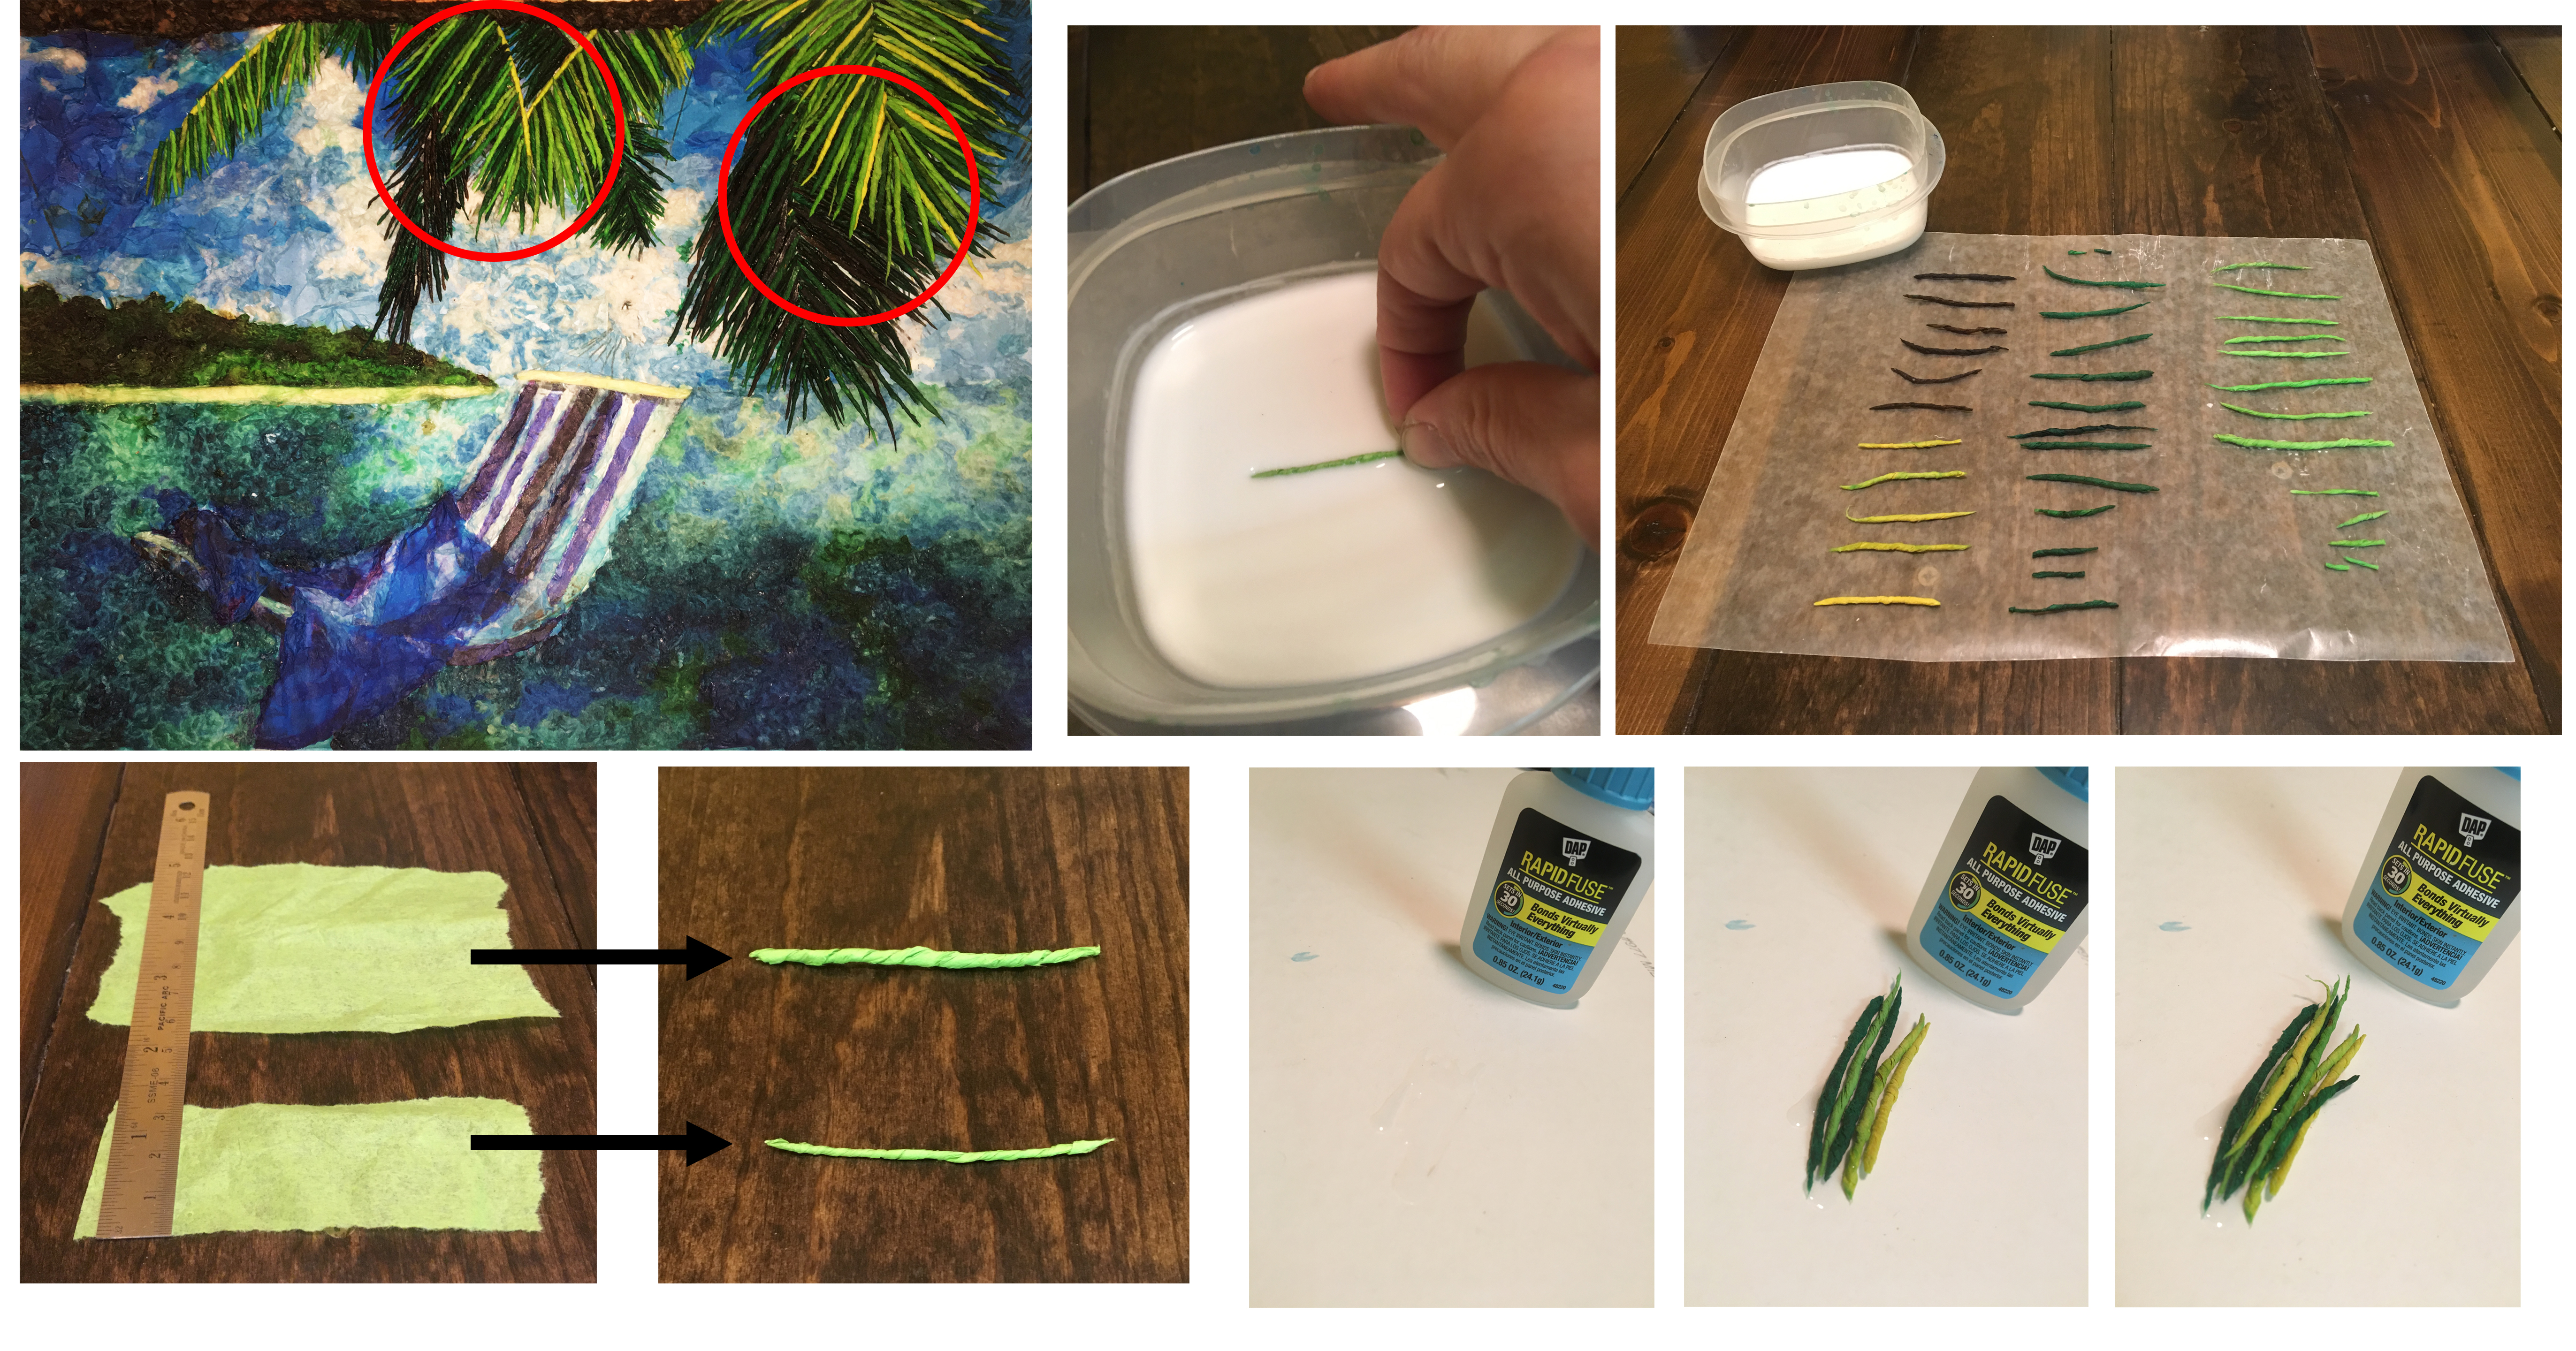
This technique is probably the most tedious. It can be used to create texture, lines, and specific shapes.
First, tear a piece of tissue paper to the length that you need. The width is up to you depending on what aesthetic you are going for. Next, tightly twist the tissue paper between your fingers. Repeat this until you have all of the pieces that you need.
Now you will wet the twisted pieces with the glue mixture. I like to dip my fingers in the glue and then roll the twisted paper in between my fingers so that glue covers the entire surface. You may want to lightly dip one side of the twisted paper into the glue mixture, but you want to be careful not to get too much glue. More glue takes longer to dry and if the paper gets too wet it will begin to expand and untwist itself.
Set the dampened tissue paper on a sheet of wax paper to dry.
Once the glue mixture has dried, your twisted pieces of tissue paper should be stiff. You should still be able to bend and shape them, but the surface should be hard. Now it's time to place them where they go. This is where the super glue comes in handy. Put a generous amount of super glue onto your printed image and place the twisted pieces of tissue paper on top. You can also layer the twisted pieces - just add more super glue on top of the first layer and place the twisted pieces on top of each other.
Technique #3
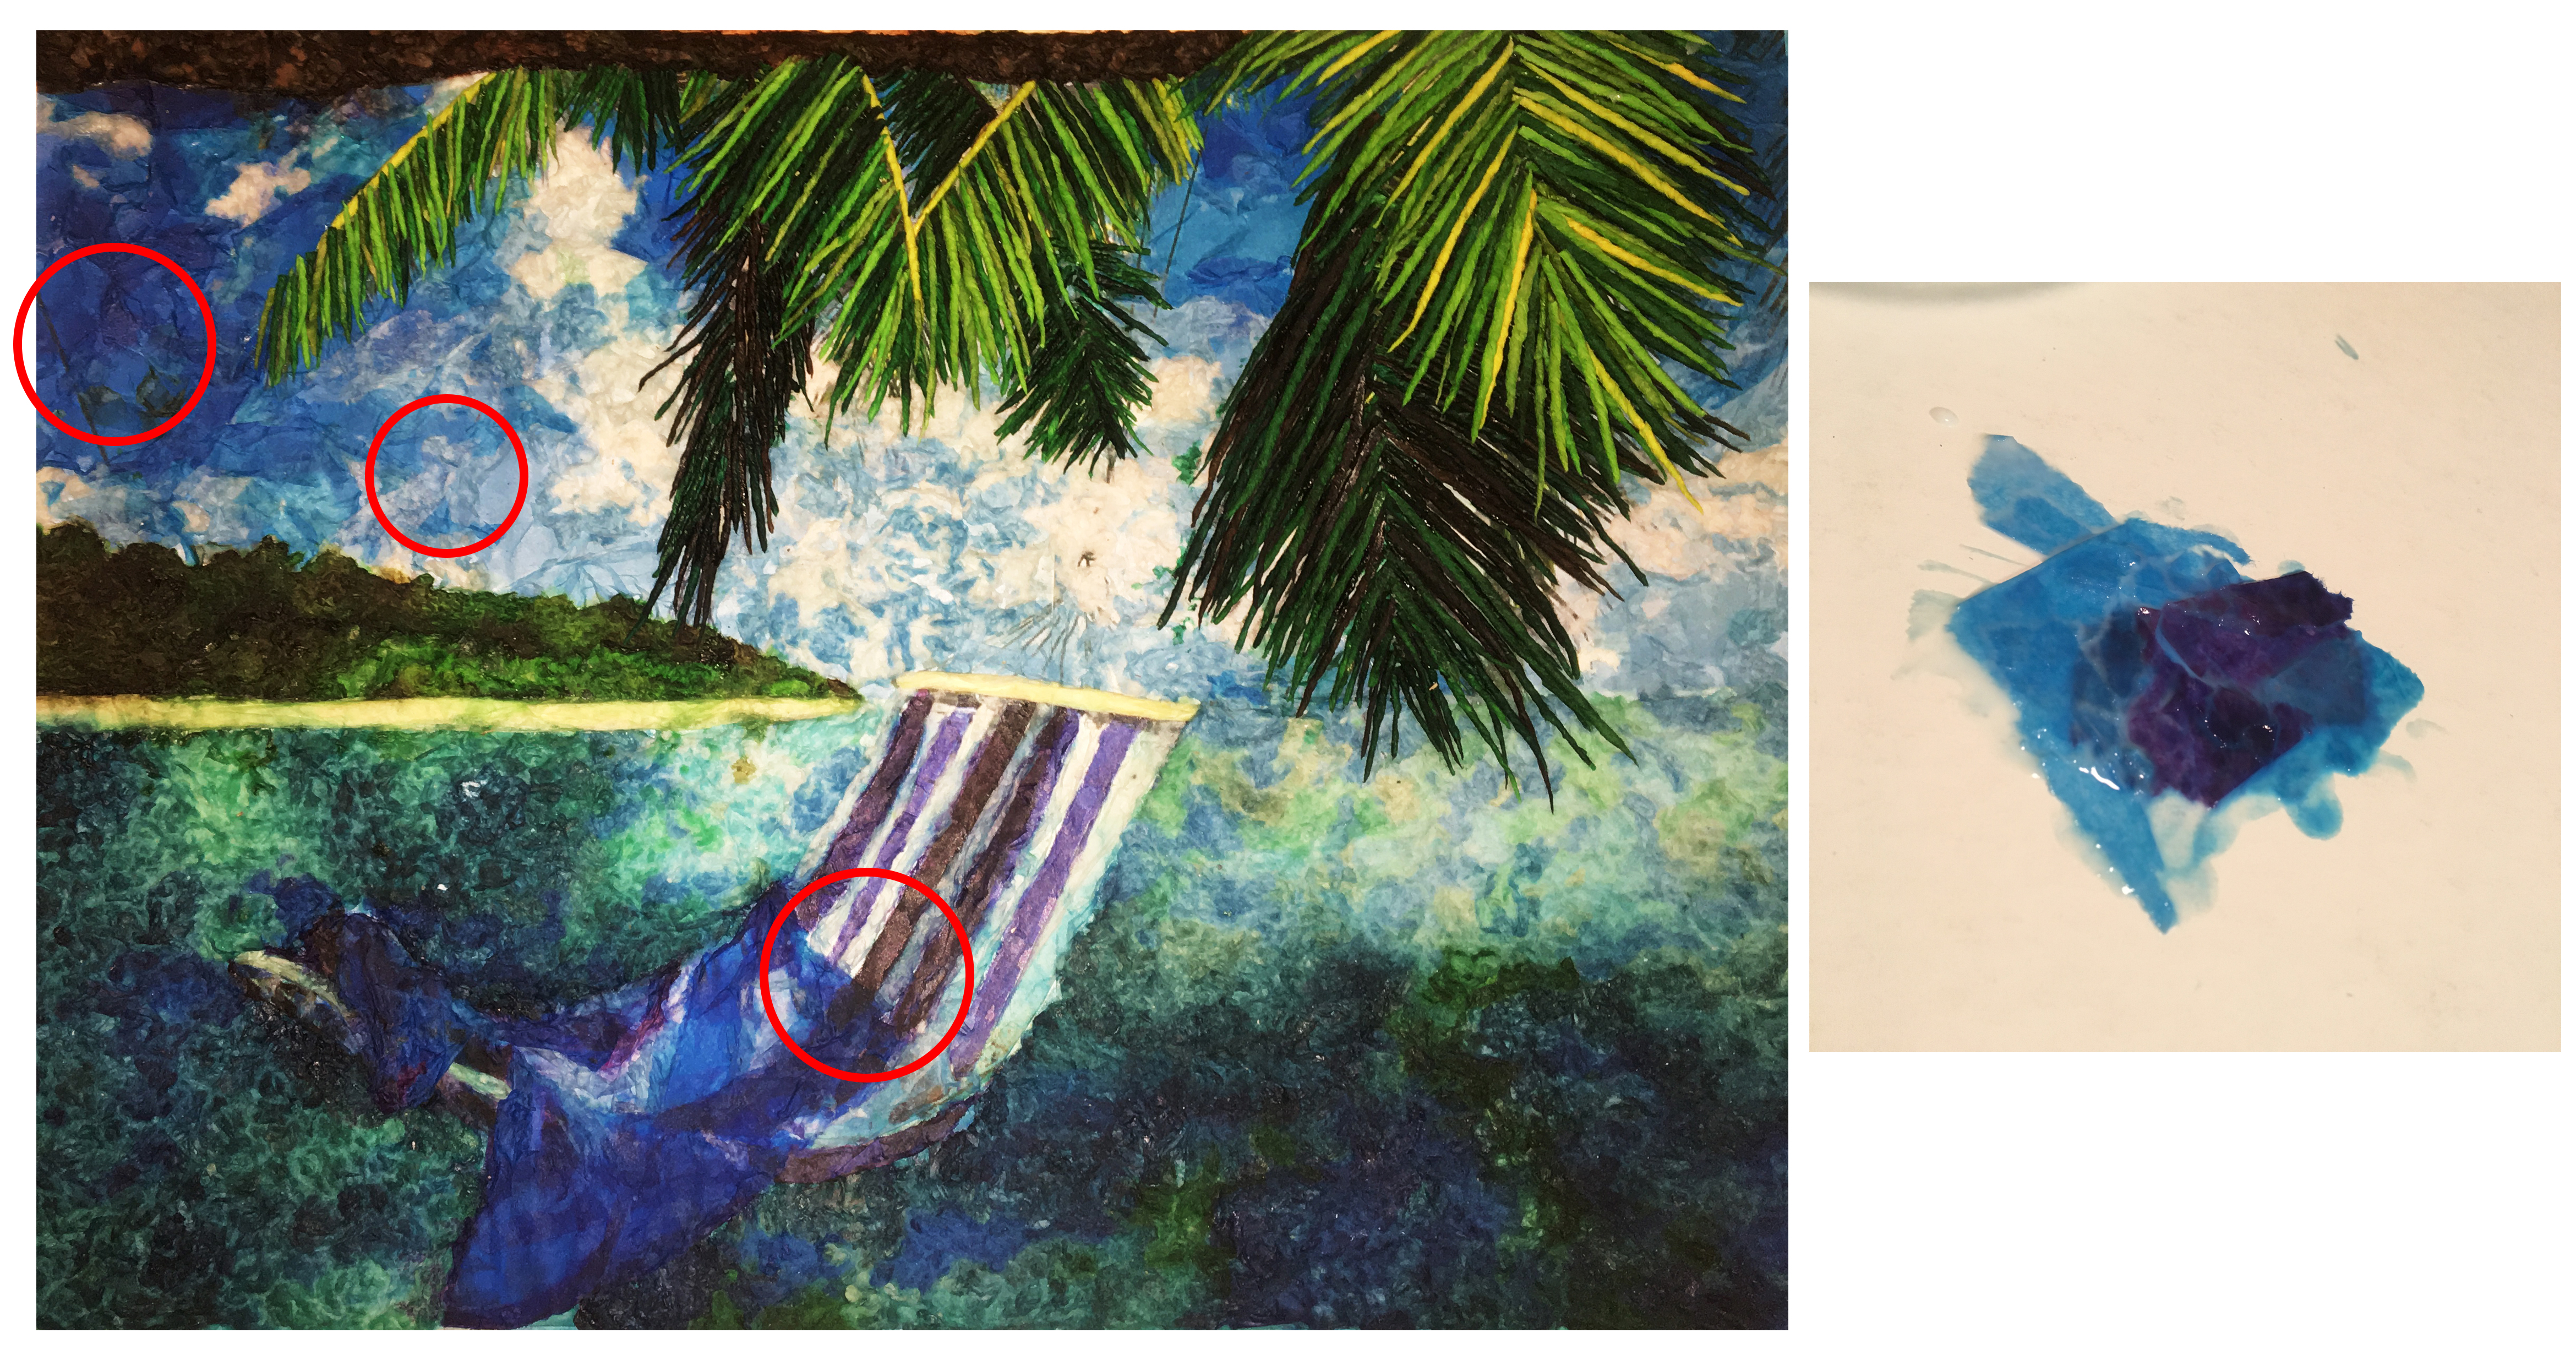
This third technique is probably the most simple of the three. All you do is simply wet the tissue paper and lay it down flat over the printed picture. You can overlap pieces to achieve a wider variety of colors and let the paper fold and wrinkle to create texture.
Let It Dry
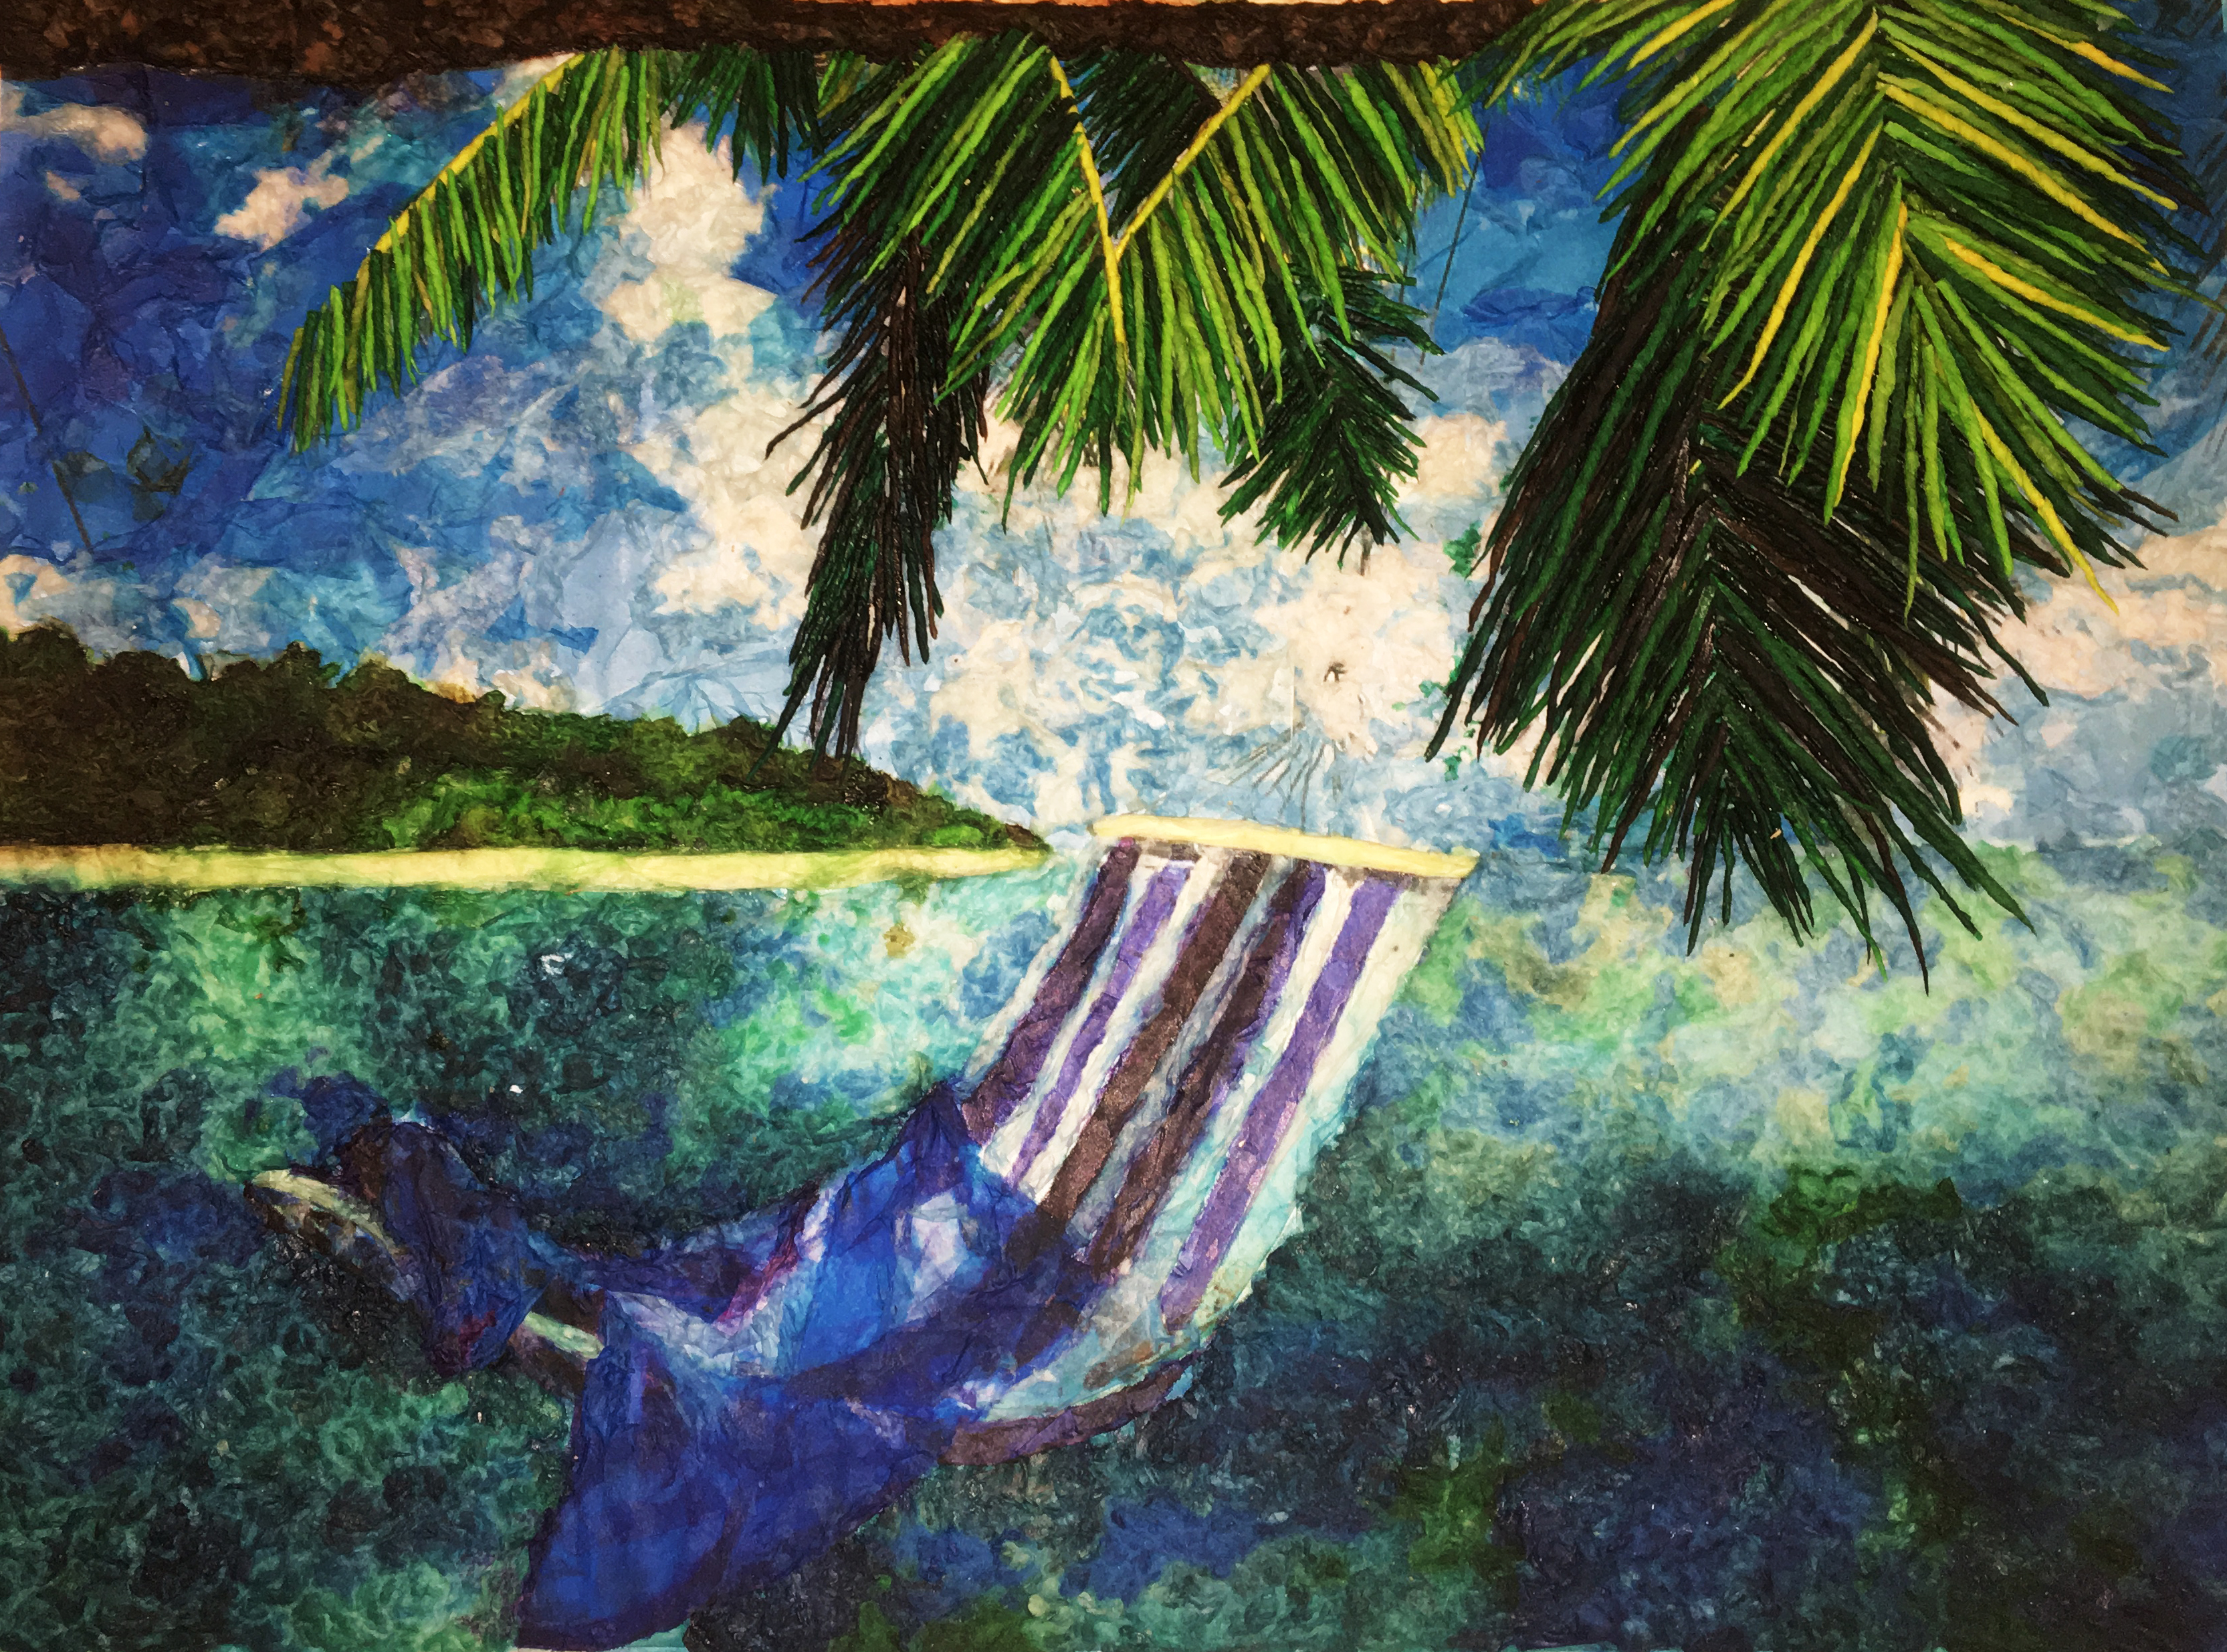
Once you have completely covered your printed image with tissue paper, set it aside and wait for it to dry. Allow a few hours for your landscape to dry completely (it should be hard and sturdy). Now all that's left to do is decide where you're going to hang it!
I hope you enjoyed this project. It can be tedious at times, but I think the end result is worth it! I hope you all find different ways to tweak this project and make it your own.