Quiz With Multiple Users and Statistics Based on Flask & MySQL
by elfensky in Circuits > Raspberry Pi
2759 Views, 12 Favorites, 0 Comments
Quiz With Multiple Users and Statistics Based on Flask & MySQL


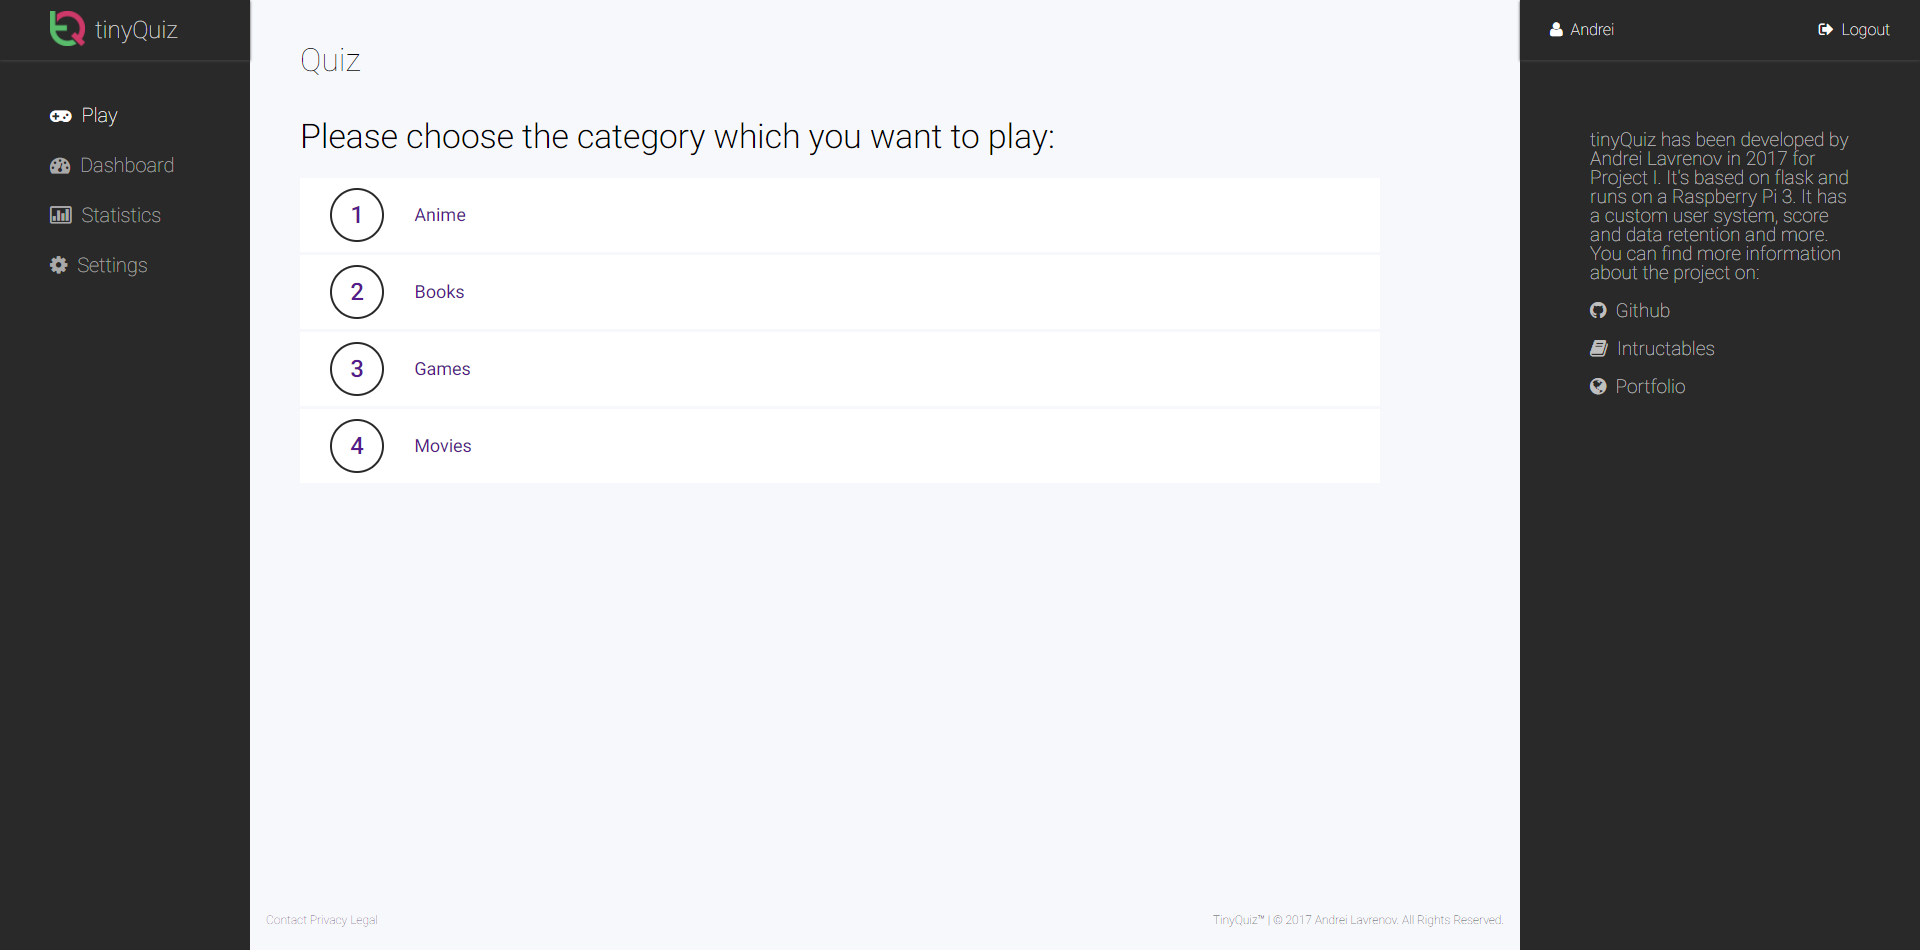
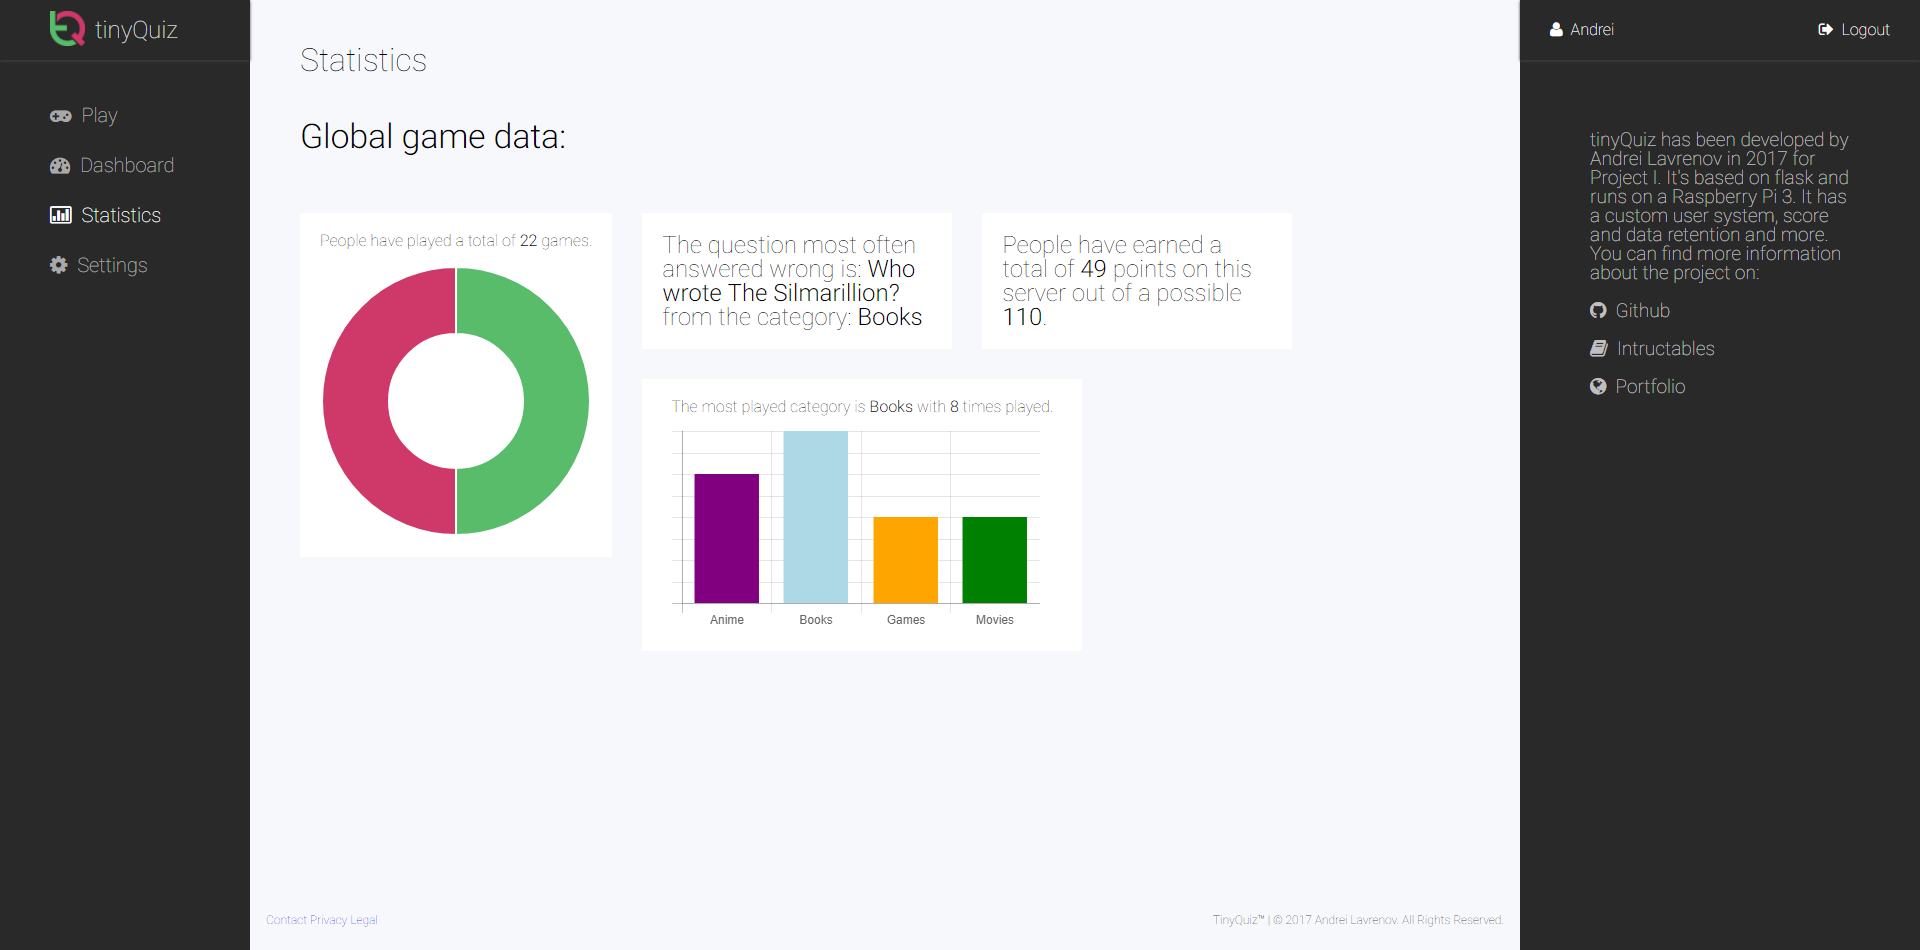
Do you want to amaze your friends with new knowledge? Perhaps you just like learning new facts. Worry not, tinyQuiz is made for you. This single-player but multi-user quiz is build around the flask framework and runs on the Raspberry Pi 3. I made this as my end project for one of my courses.
It features a minimalist and simple aesthetic, a screen to see the ip address of the pi and some cooling so you won't have to deal with a throttled gaming experience.
Gather the Required Components
Hardware:
Quiz:
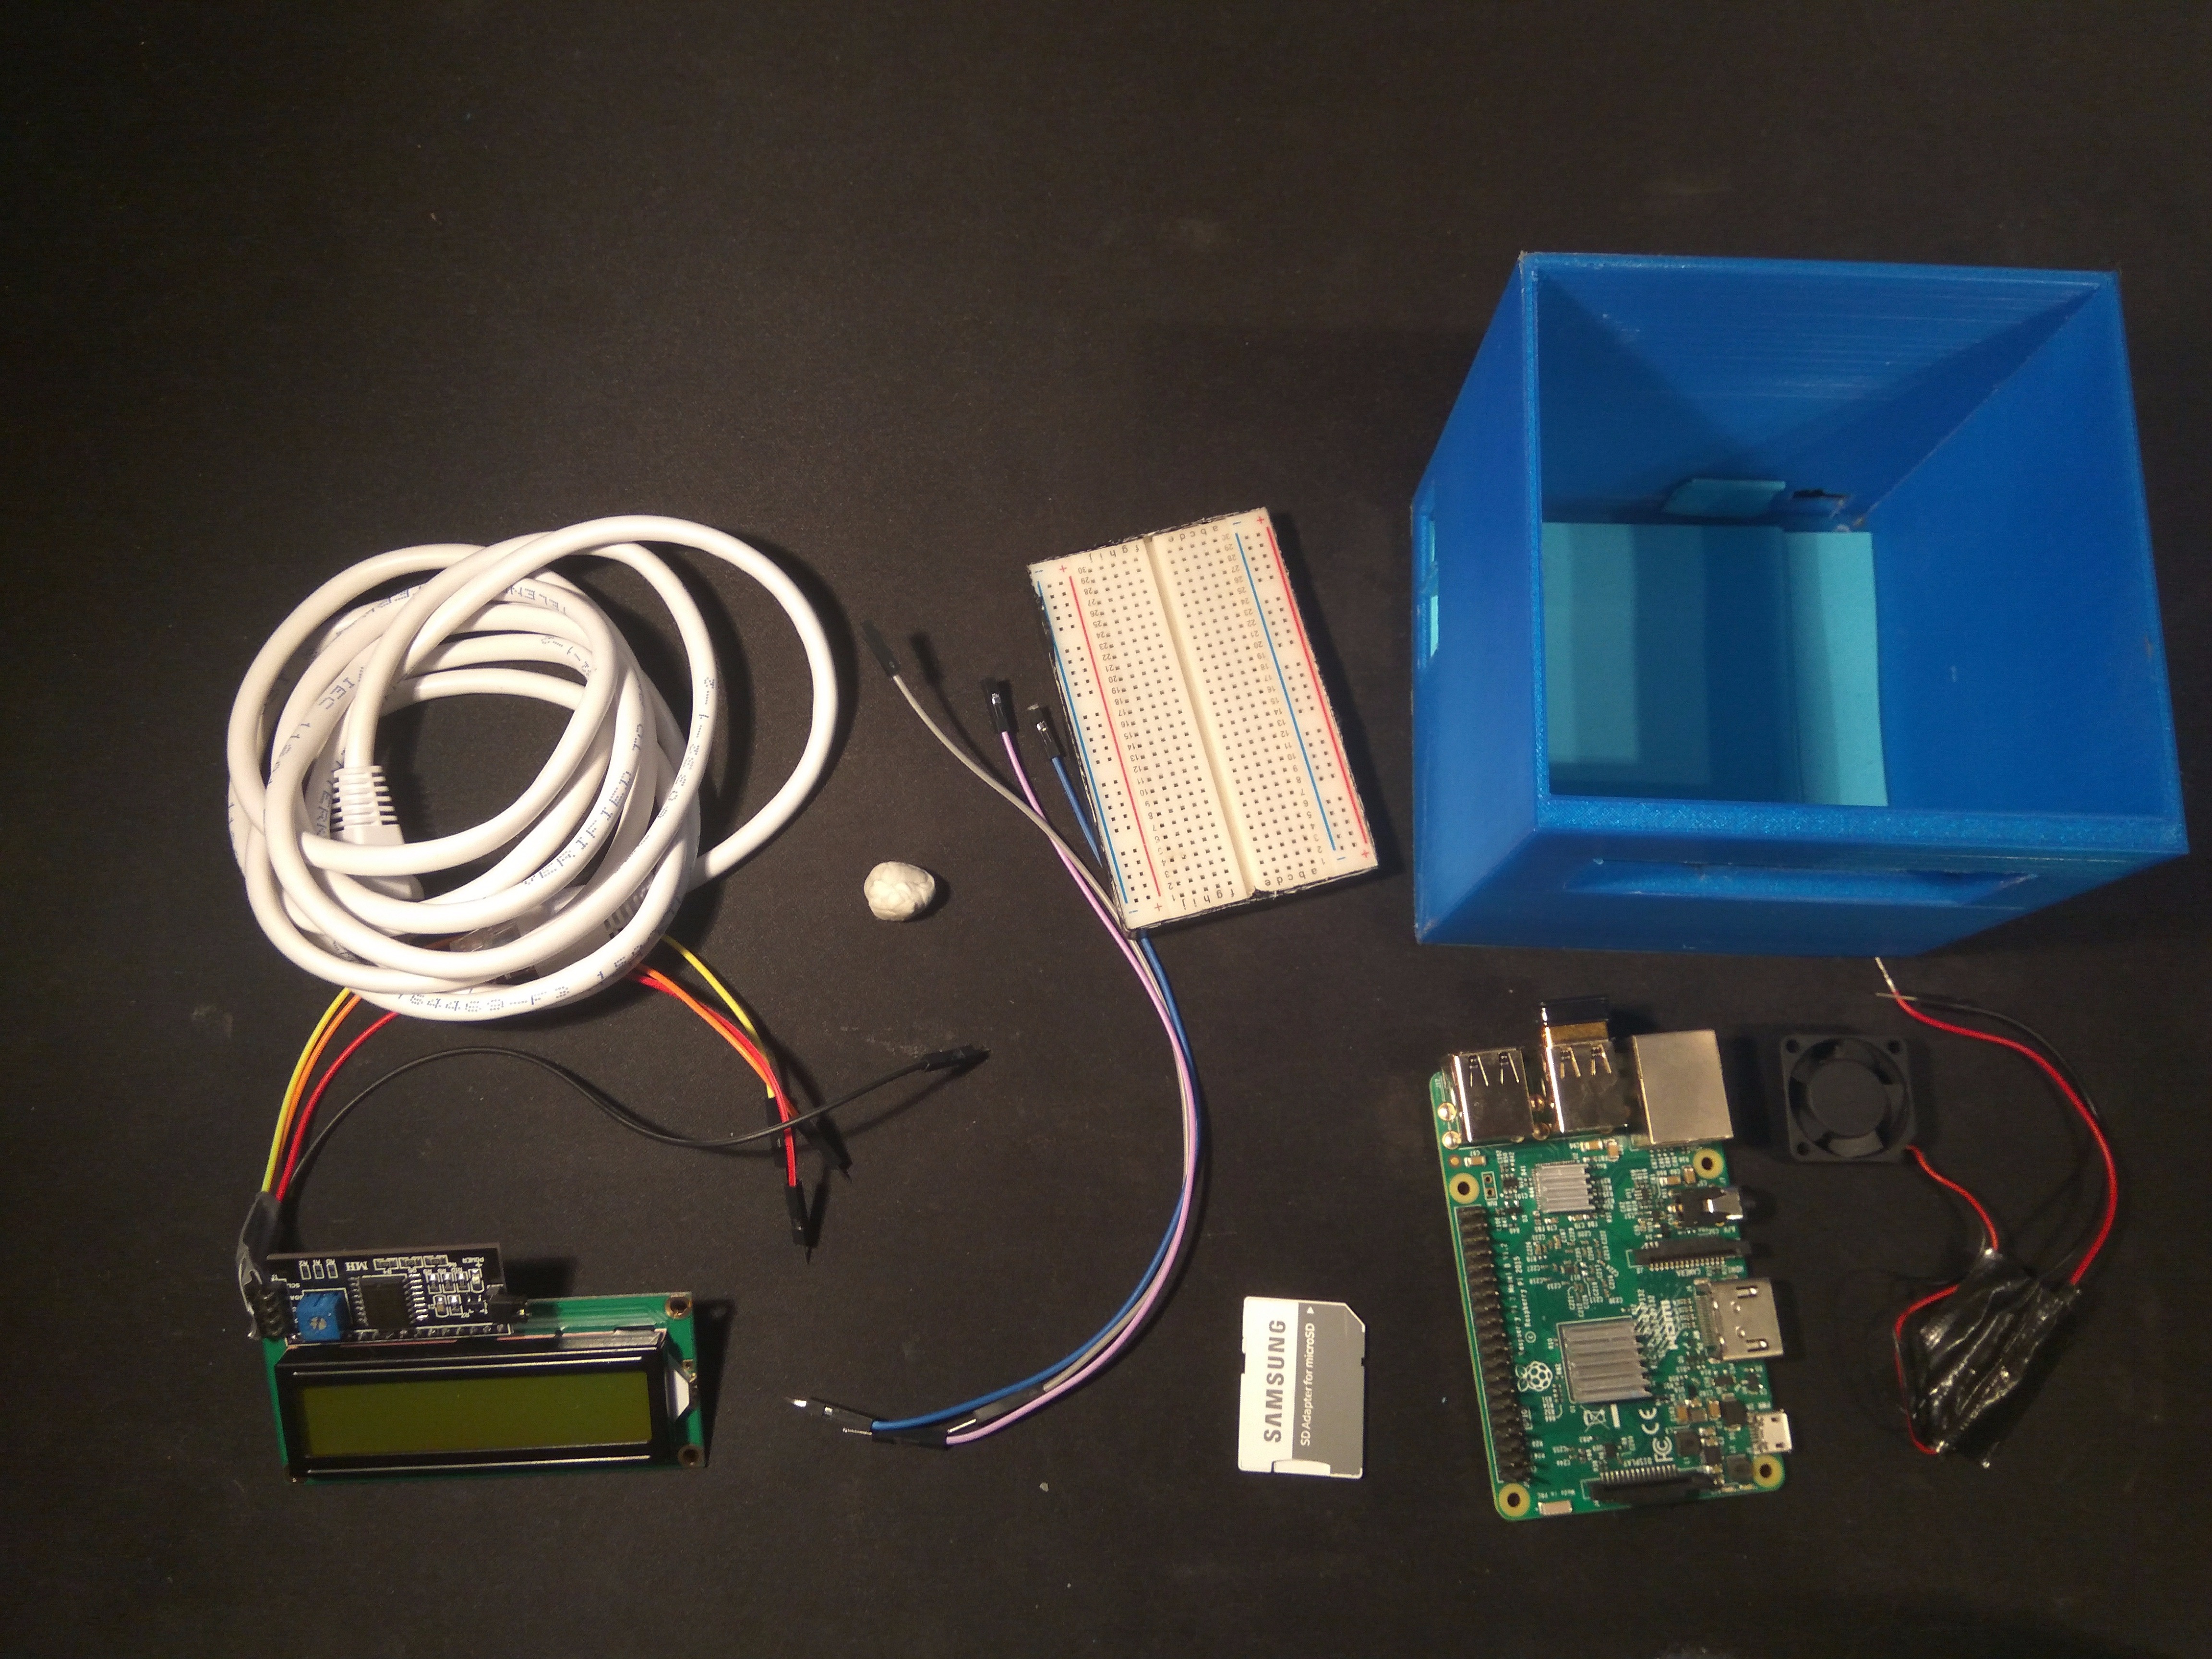
- Raspberry Pi 3 B (example)
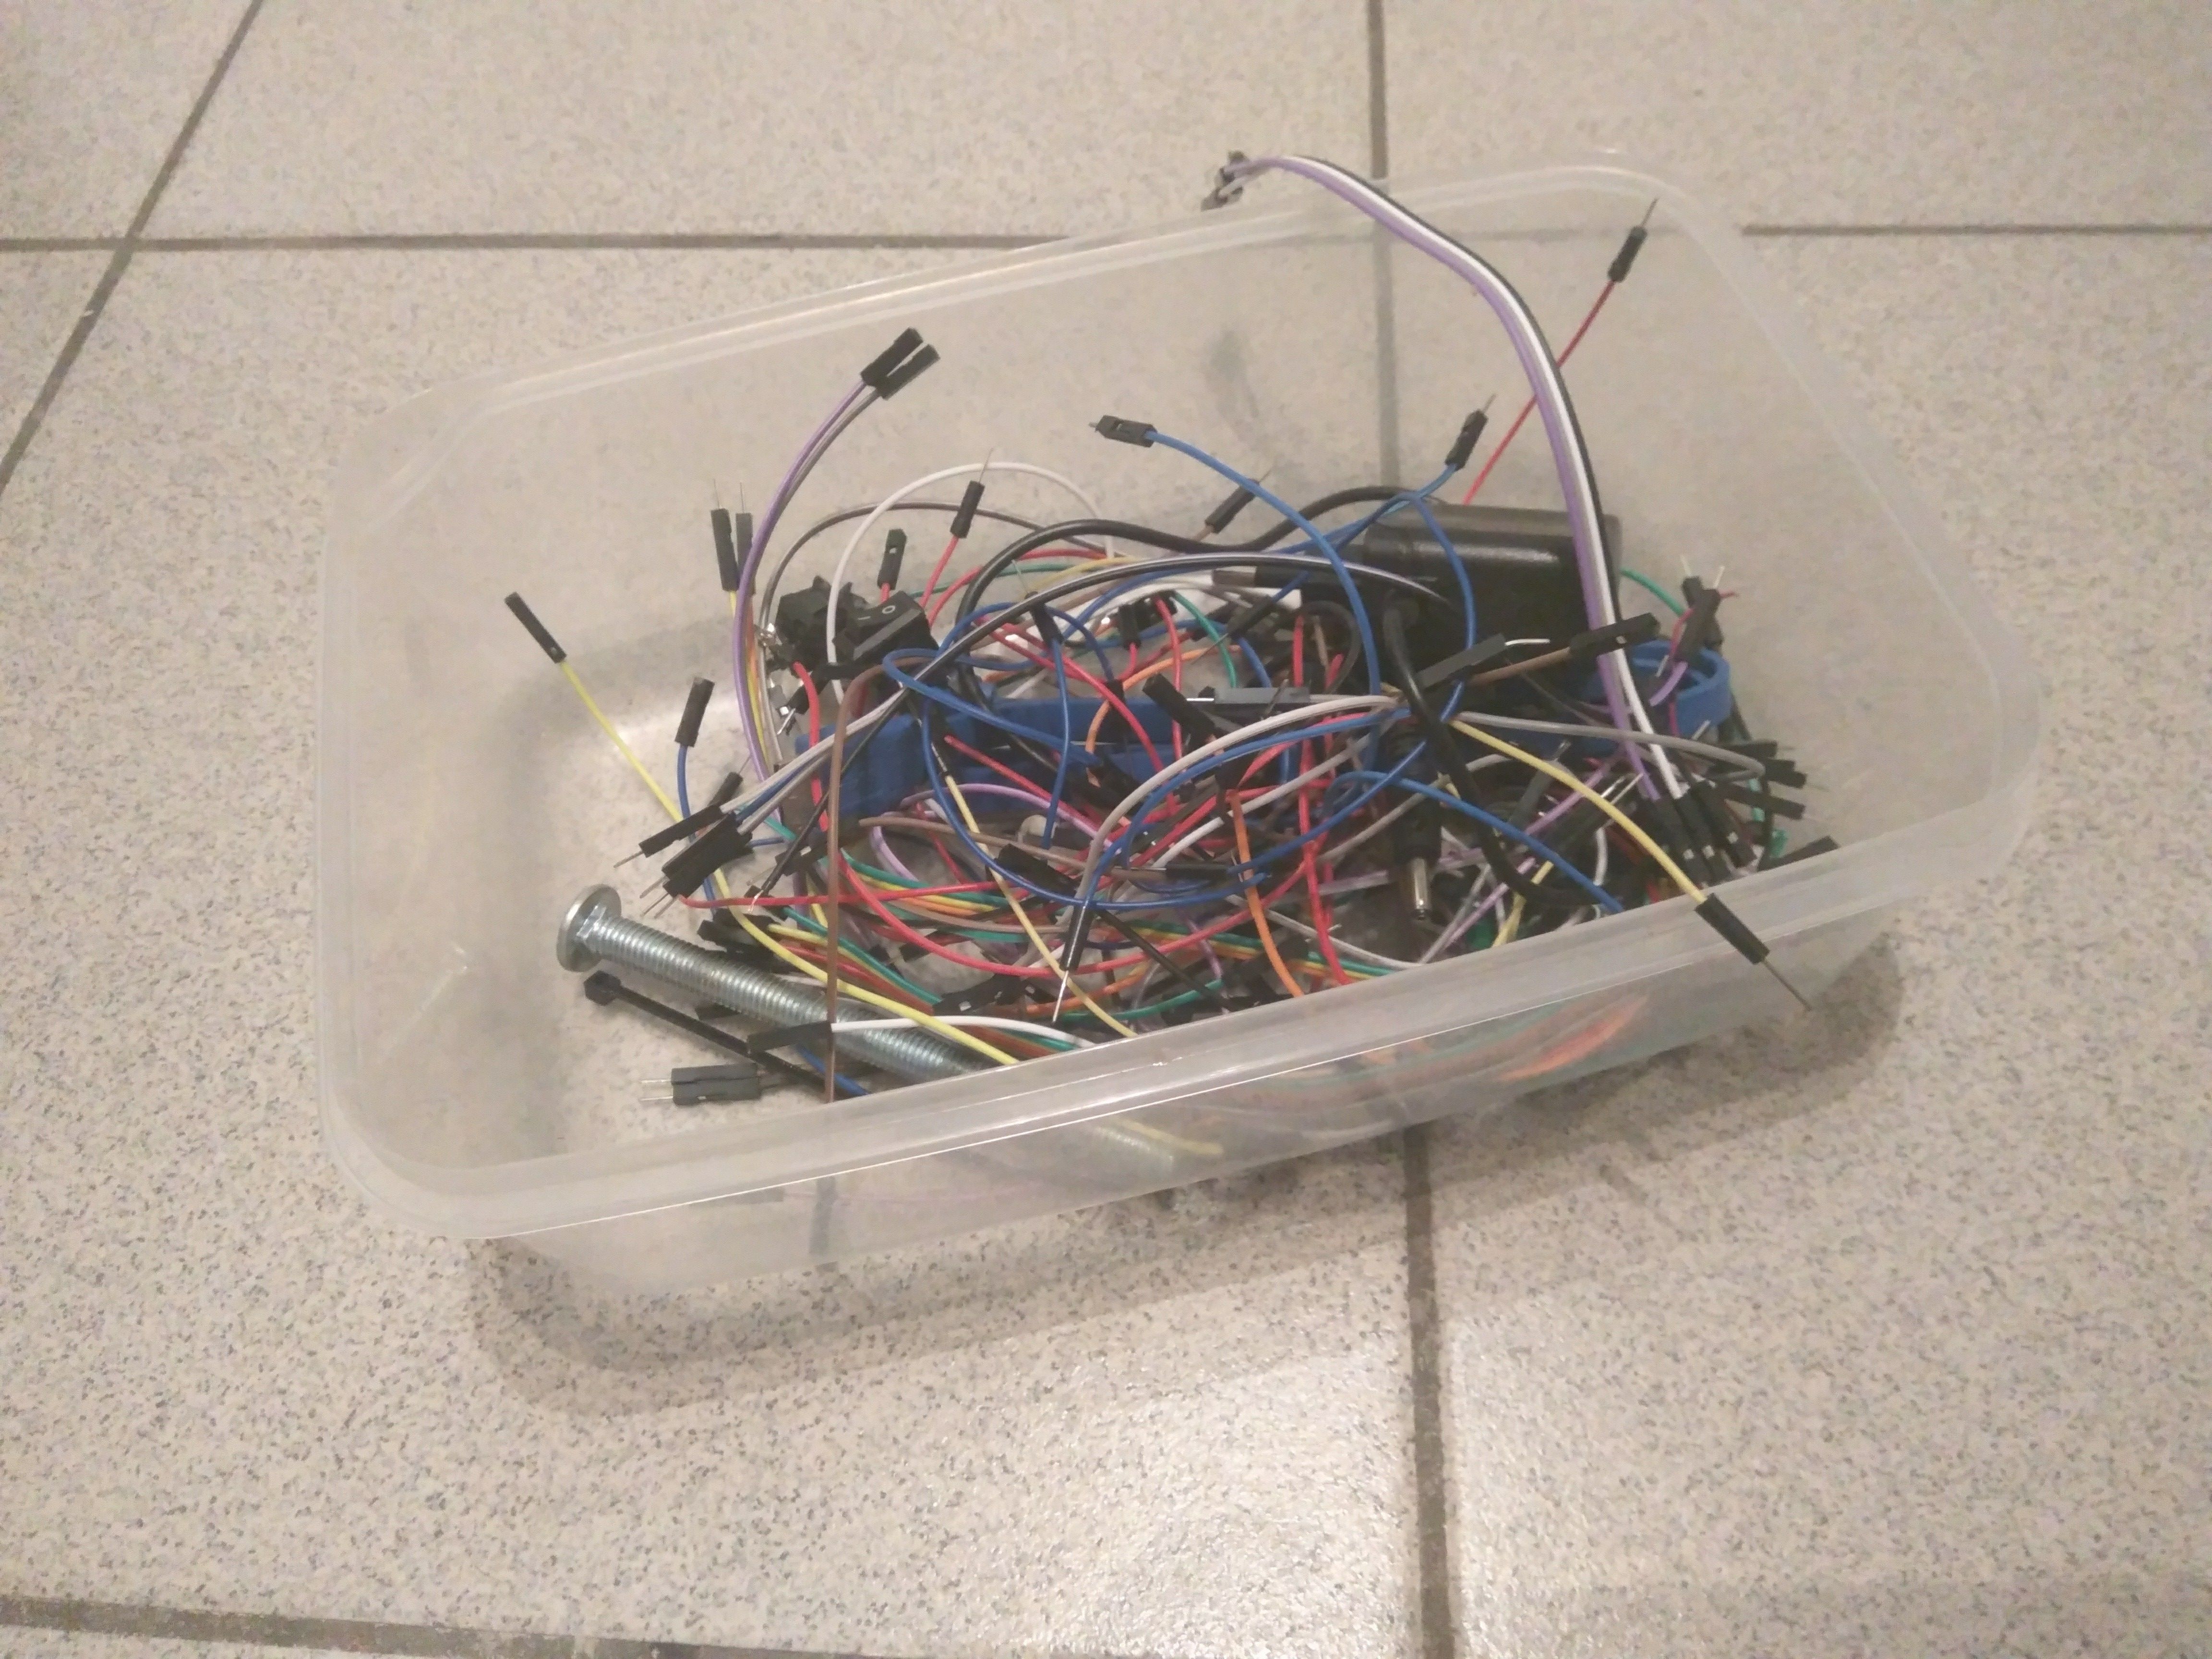
- Breadboard jumper cables of various types (m2m, m2f, f2f) (example)
- Ethernet cable (example)
- 16x2 LCD Display (example)
- Breadboard (example)
- i2c chip (example)
- 3D printed enclosure
- knead-glue
- SD-card adapter
Cooling:
- small 5V fan that can fit the inside of your Pi enclosure (example)
Software:
Set Up the Pie
Download and install the Raspian Jessie image onto your Pi's SD card using Win32DiskImager. Before booting up, change the cmdline.txt by adding ip=169.254.x.x to it. the last two sections can be chose by you.
This will give your Pi an APIPA ip address so you can access it when connected directly with an ethernet cable.
dwc_otg.lpm_enable=0 console=serial0,115200 console=tty1 root=/dev/mmcblk0p2 rootfstype=ext4 elevator=deadline ip=169.254.80.73 rootwait
This is what my cmdline.txt looks like, and 169.254.80.73 is the ip I will continue to use during this tutorial.
Plug the sd card into the Pi, plug the pi into your computer's ethernet port and plug the power into the Pi.
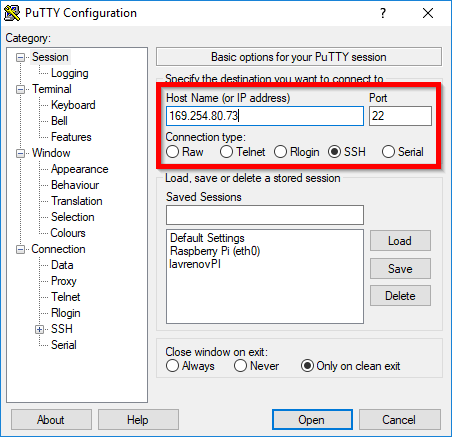
Open PuTTY and create an SSL connection using the aforementioned IP address on port 22. Log into the Pi, the default login being "pi" and the default password is "raspberry".
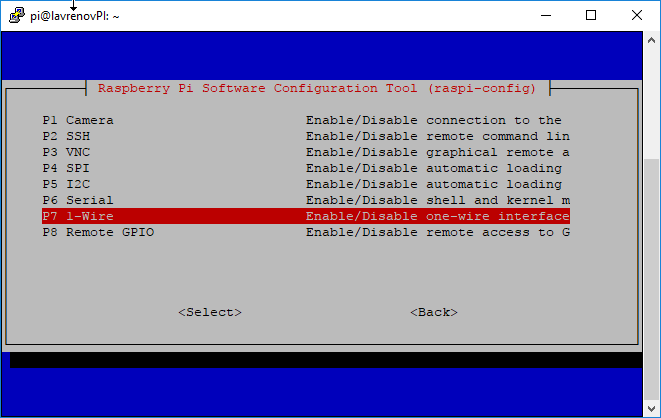
type sudo raspi-config, and in the interface options enable i2c. You can change the password to your liking in the previous menu.
Do not forget to connect your Pi to WiFi. Either do it through the GUI, or edit the wpa_supplicant.conf file.
Using FileZilla, connect to the Pi using the same data as with PuTTY, and drag the project files someplace on the pi. Mine are in /home/pi/Documents/tinyQuiz/. You can download the files from a zip here or get them from my github.
Now we will need to install mySQL and create the database required for the program. After you're connected to WiFi, type the following commands: (beware, they may take from 10 to 30 minutes).
sudo apt-get update<br>sudo apt-get upgrade
sudo apt-get install mysql-server
sudo apt-get install mysql-client (you'll be asked for a password.)
mysql -uroot -p<br>CREATE USER 'user'@'localhost' IDENTIFIED BY 'password';
GRAND ALL PRIVILEGES ON *.* TO 'user'@'localhost' WITH GRANT OPTION;<br>CREATE DATABASE db_quiz;
quit;
sudo apt-get install python3-mysql.connector
pip3 install flask-hashing
mysql -uroot -p --database=db_quiz <home/pi/Documents/tinyQuiz/static/files/db_quiz_dump.sql
These commands will update your Pi, install the necessary software and create and populate the database using the dump file. You can change the 'user' and 'password' to something else, but then you will also have to do the same in the dbClass.py file, so is gets the right credentials to log into the database.
Downloads
Putting the Hardware Together
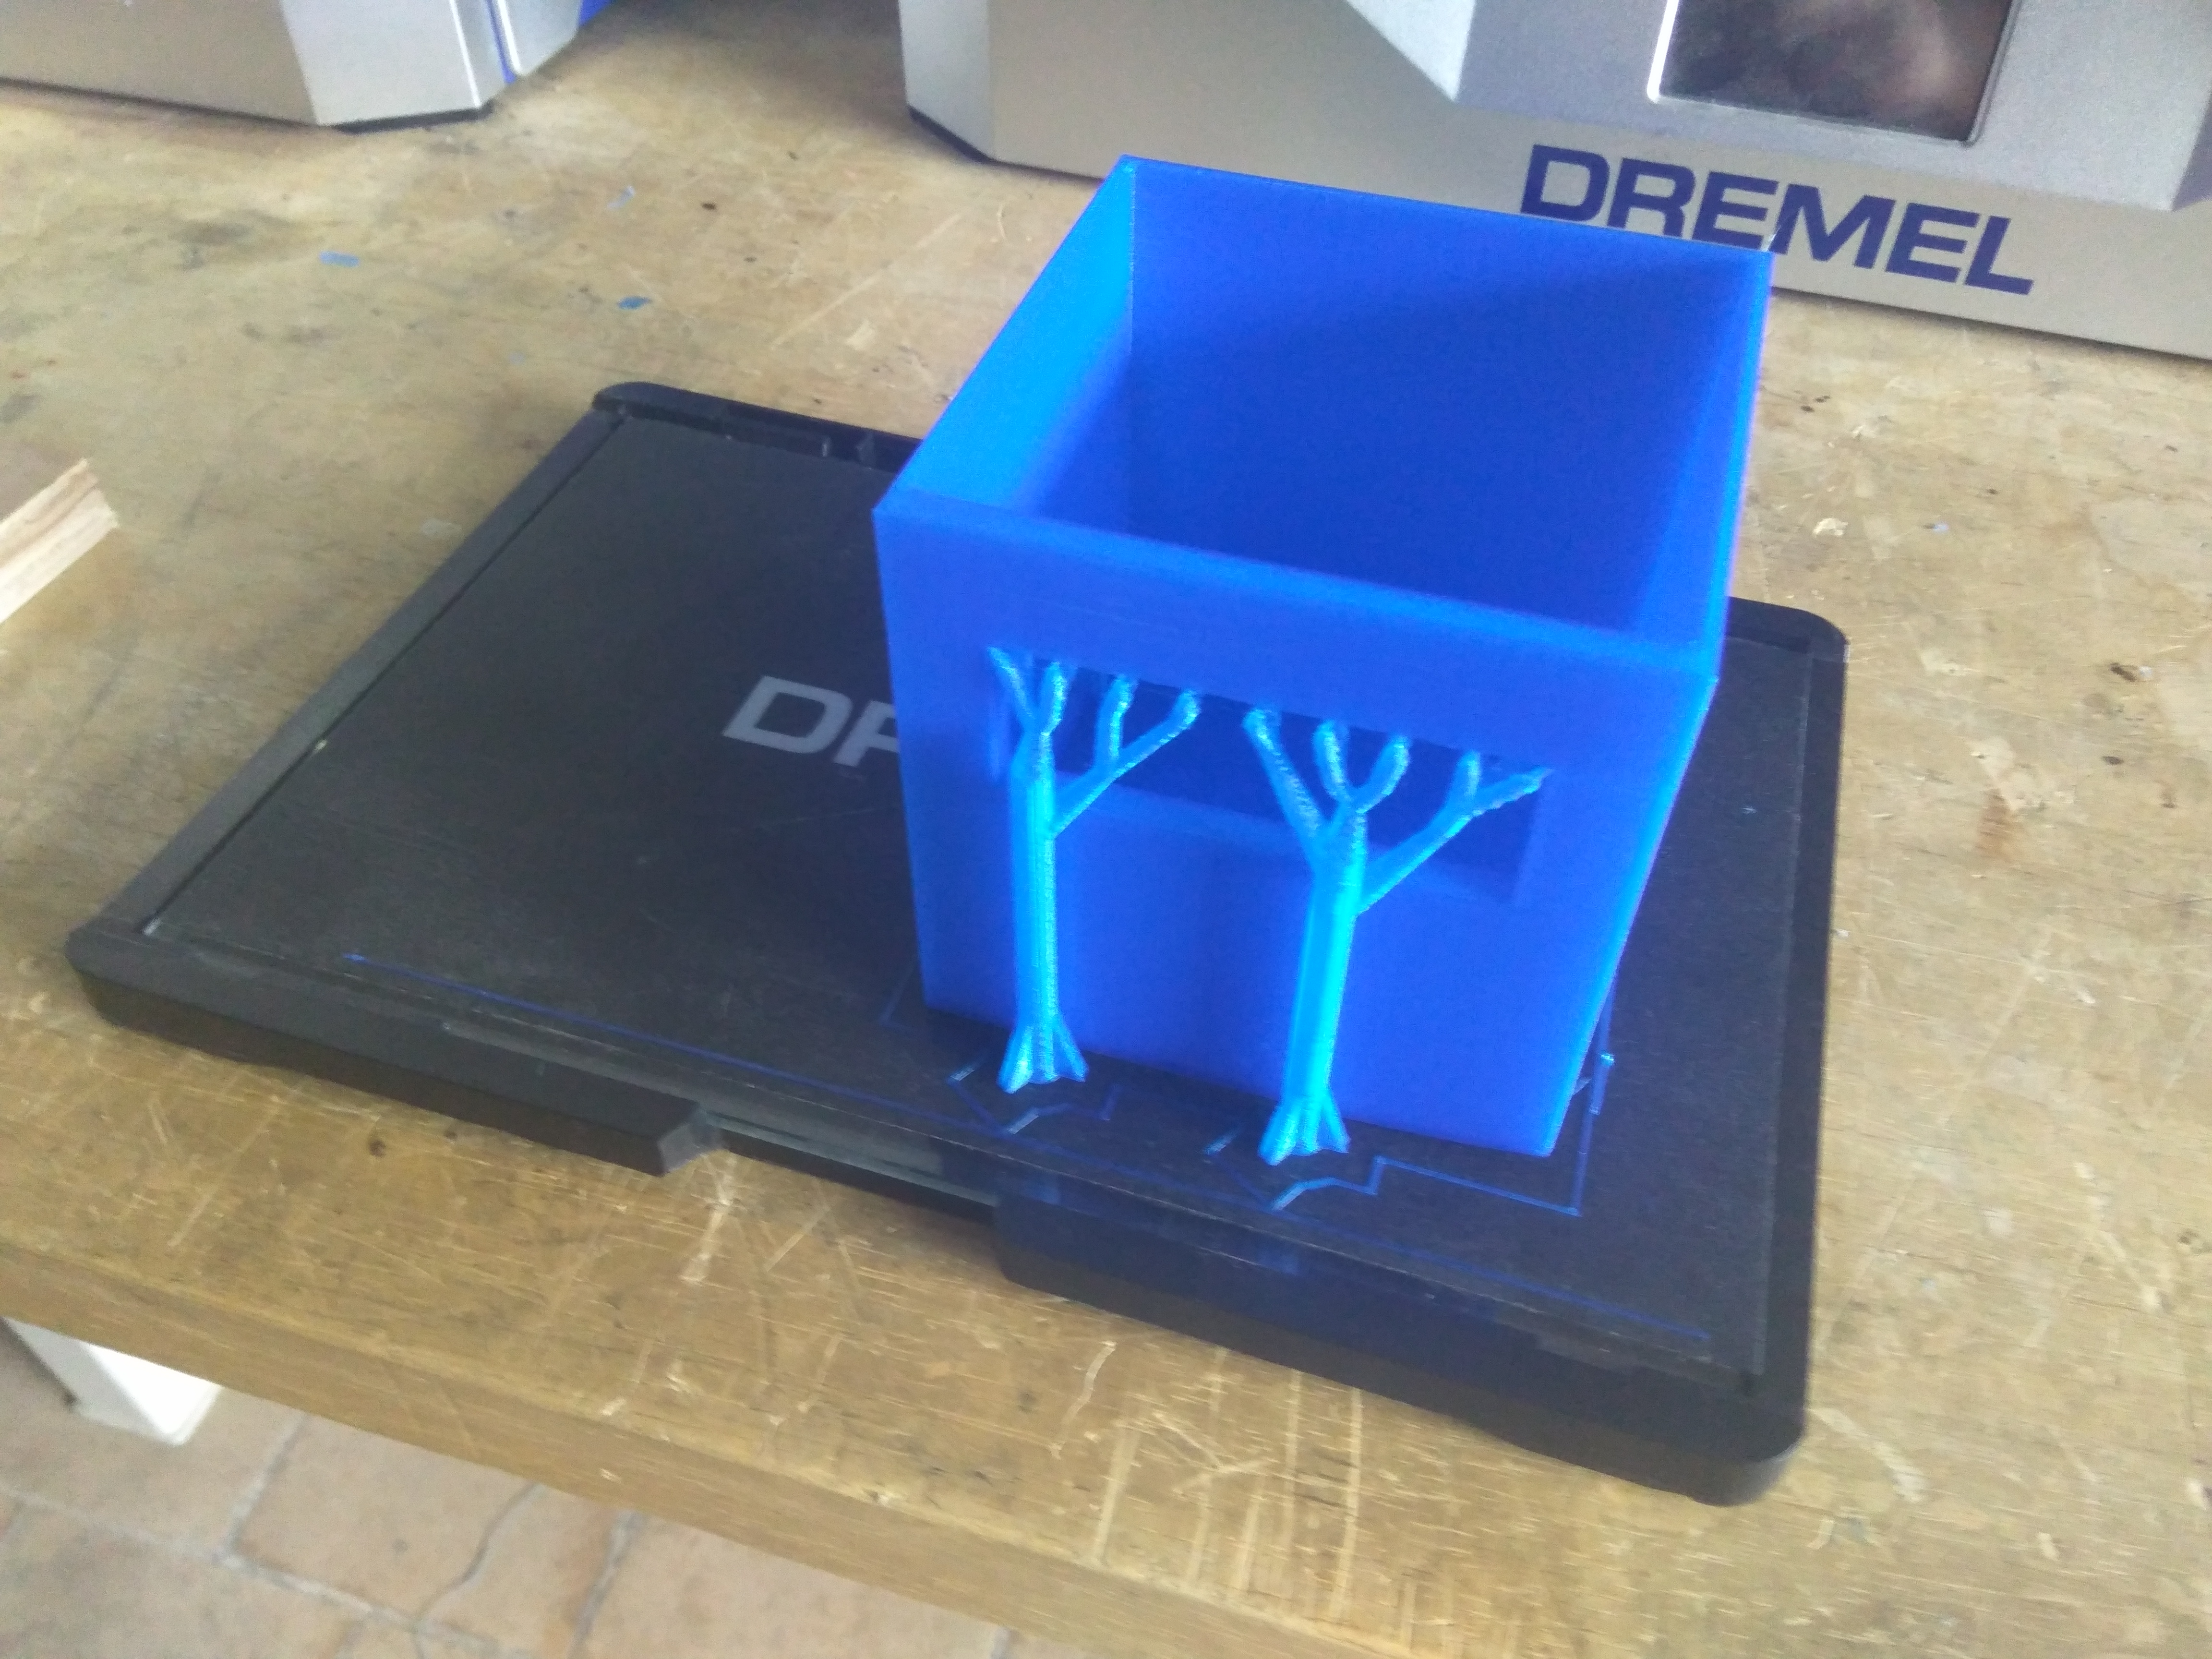
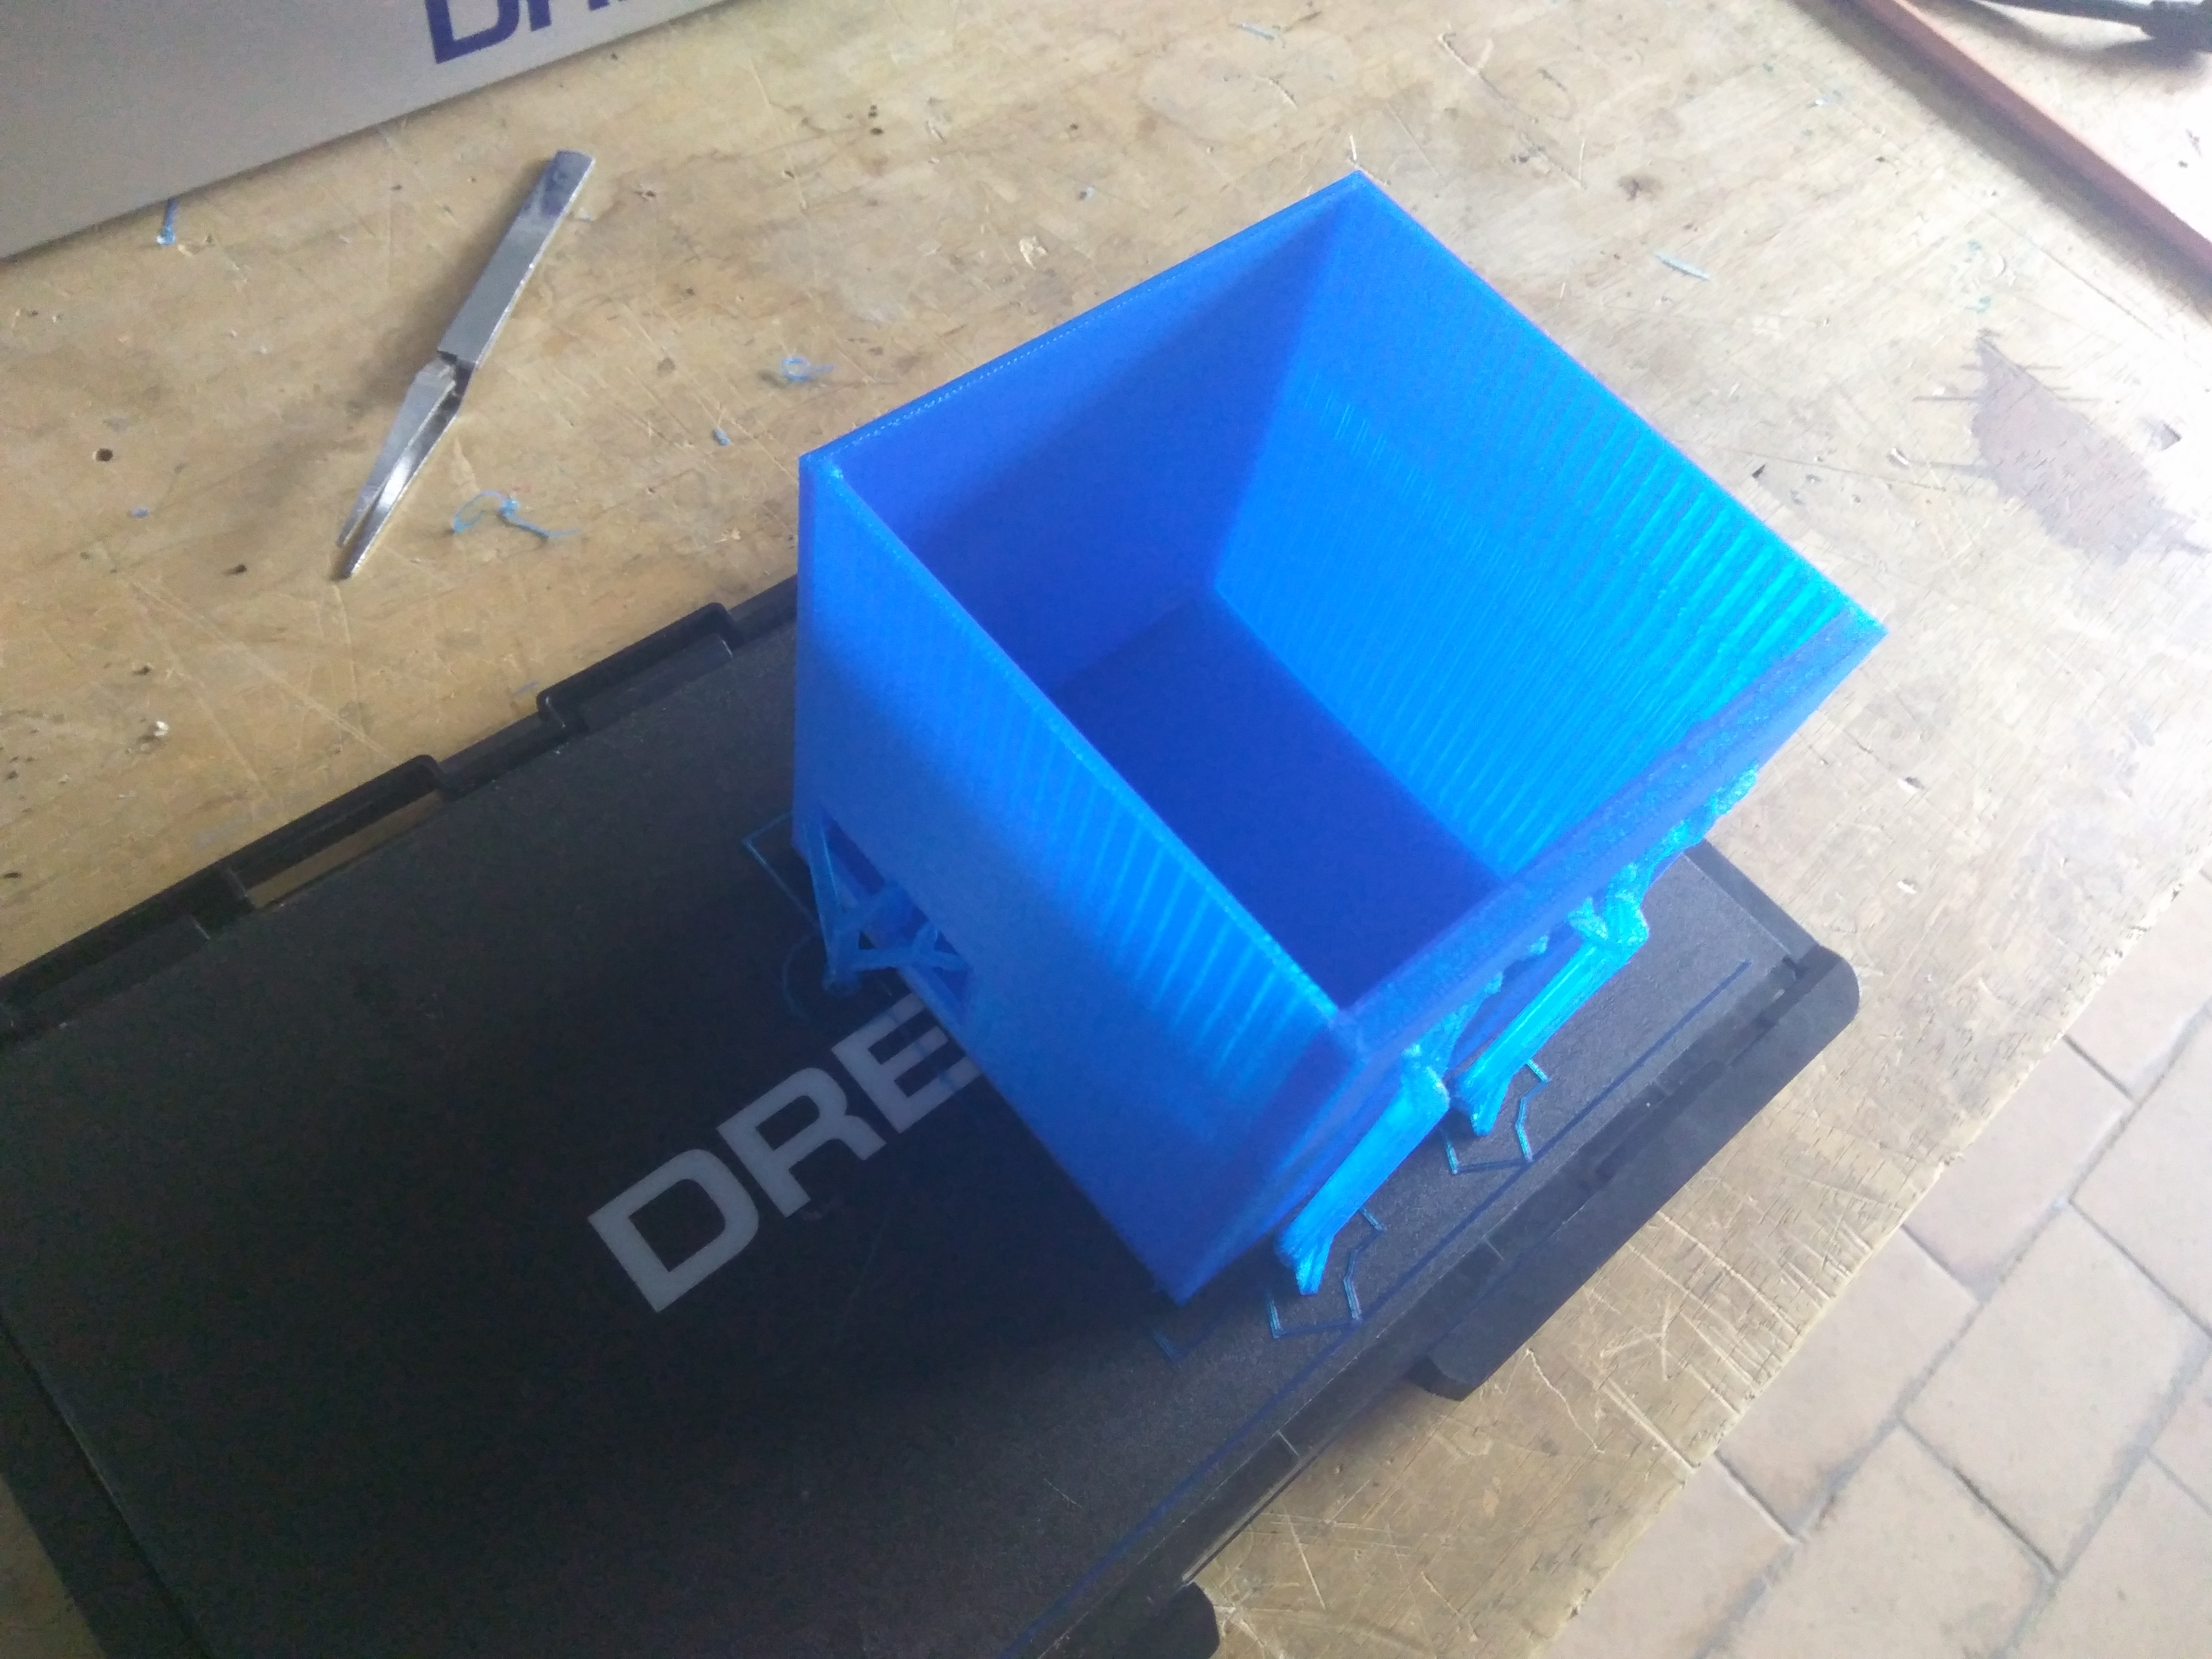
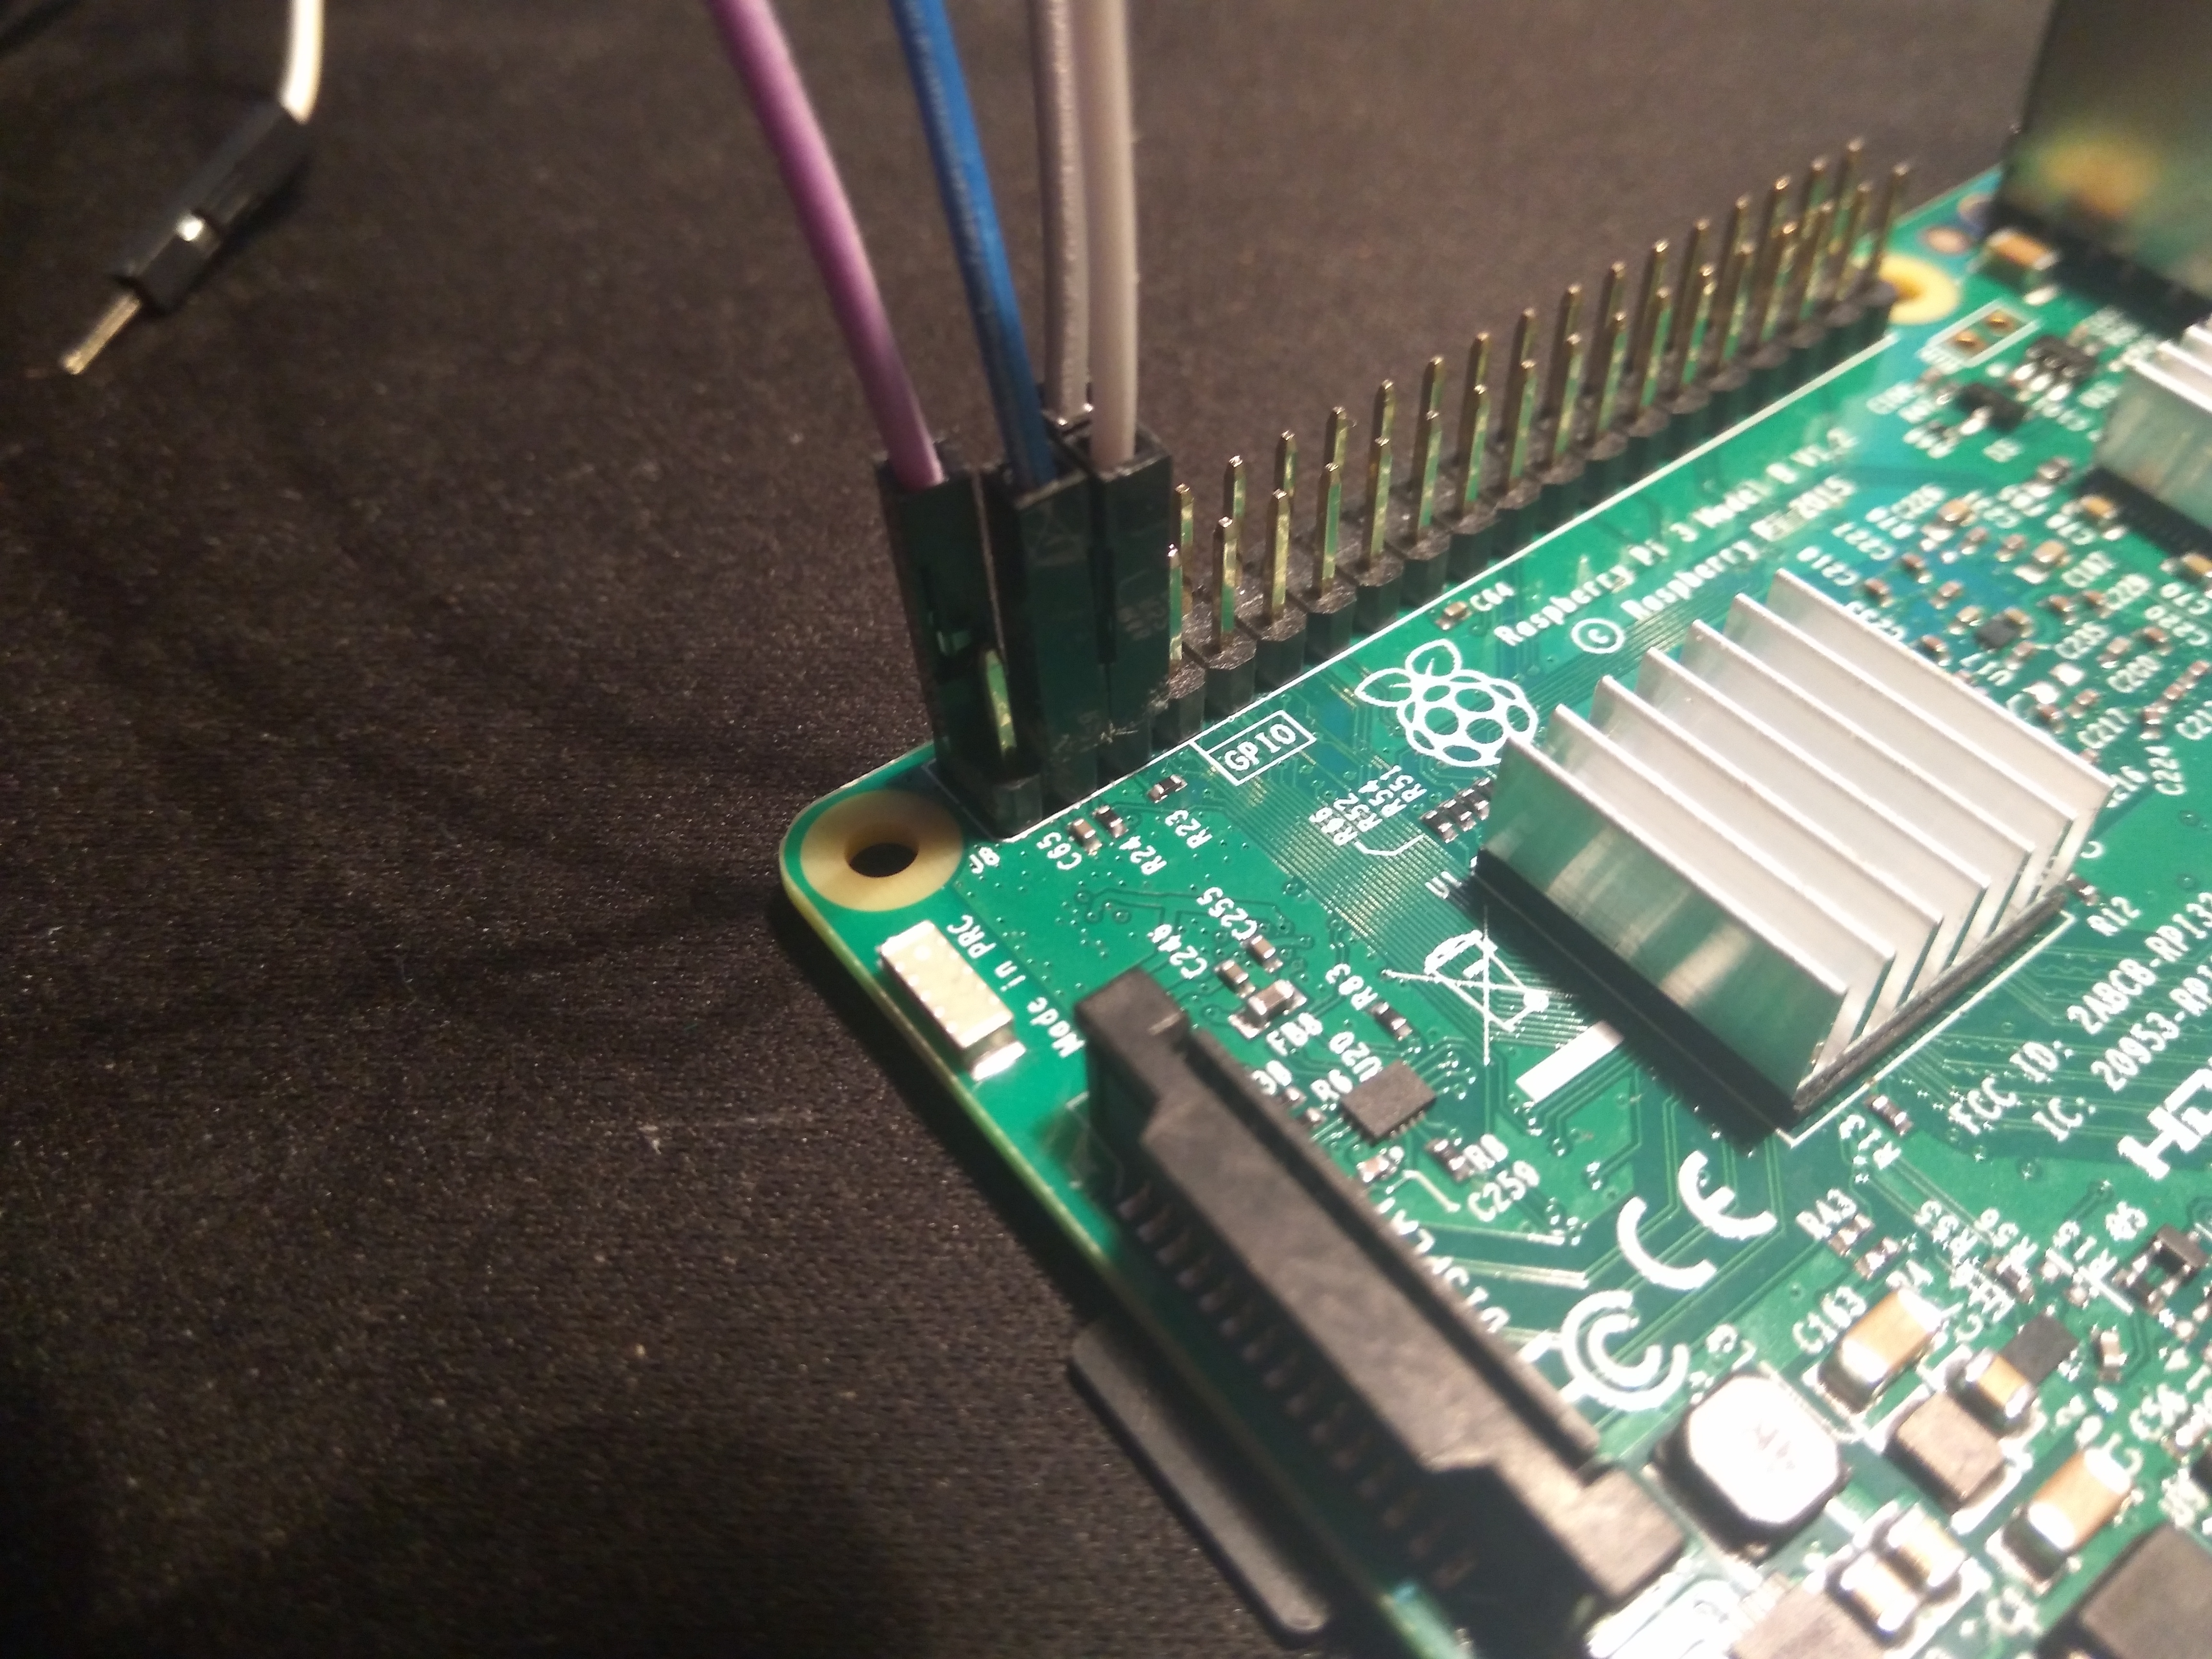
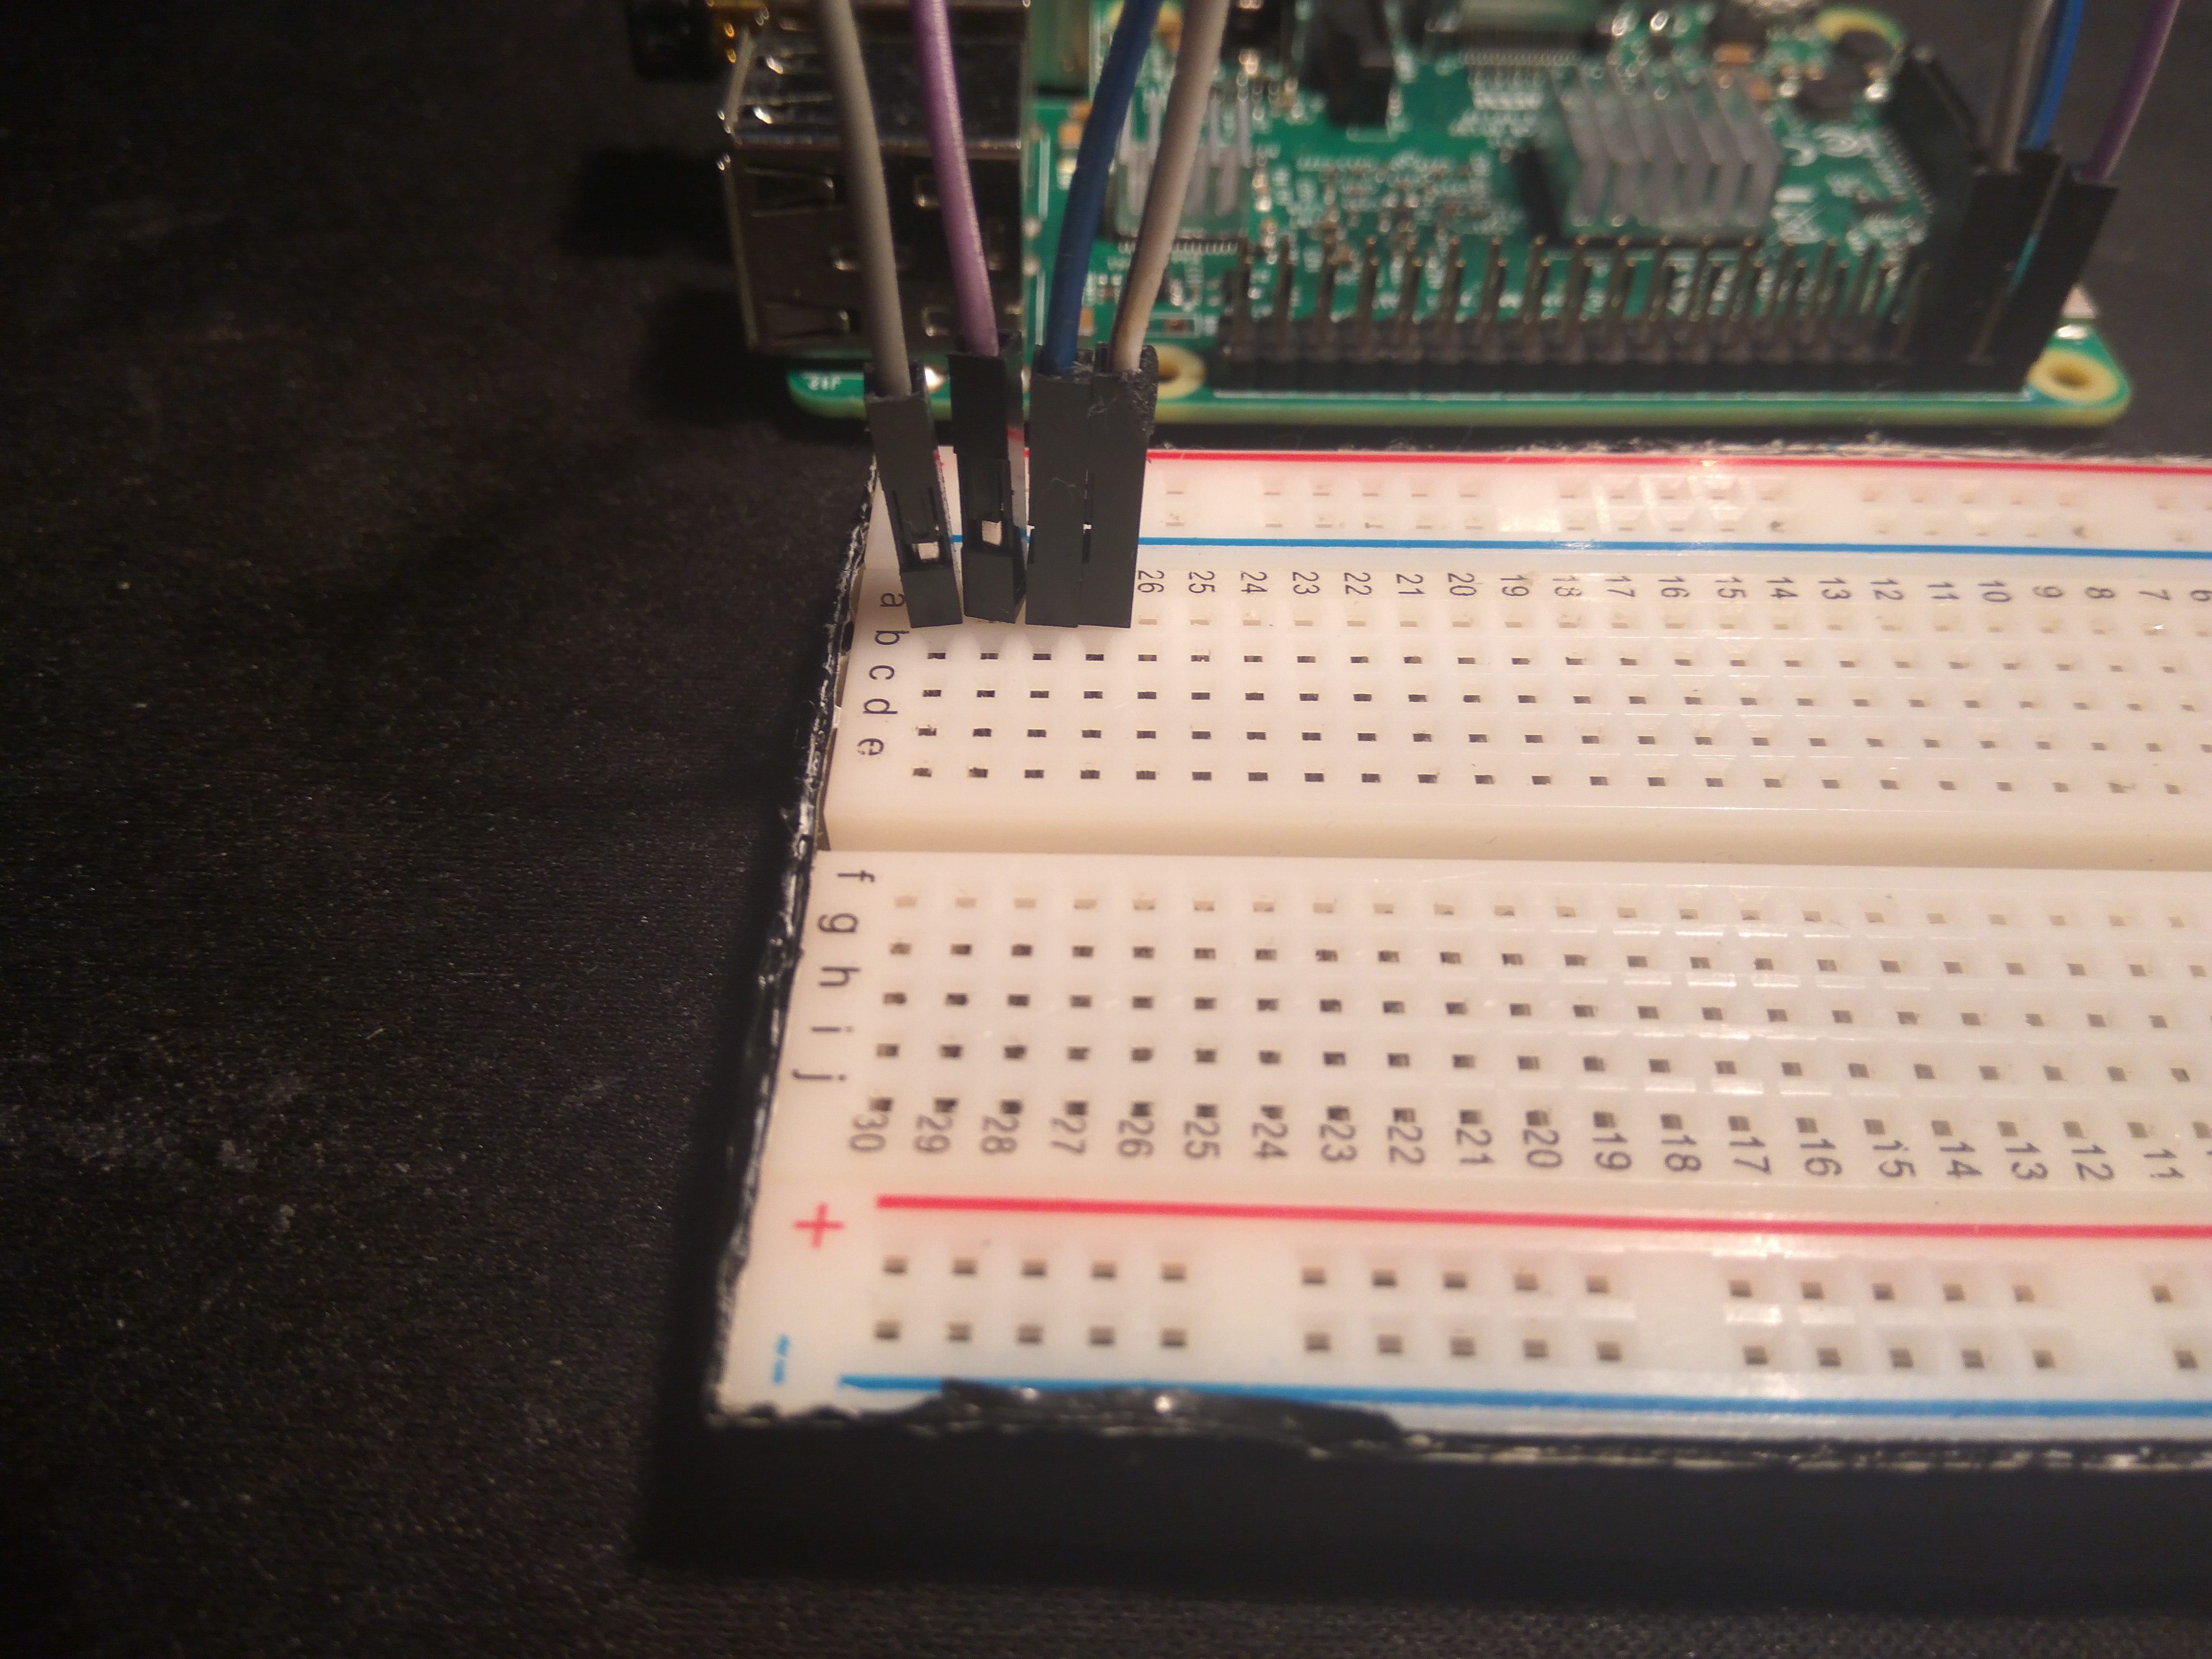
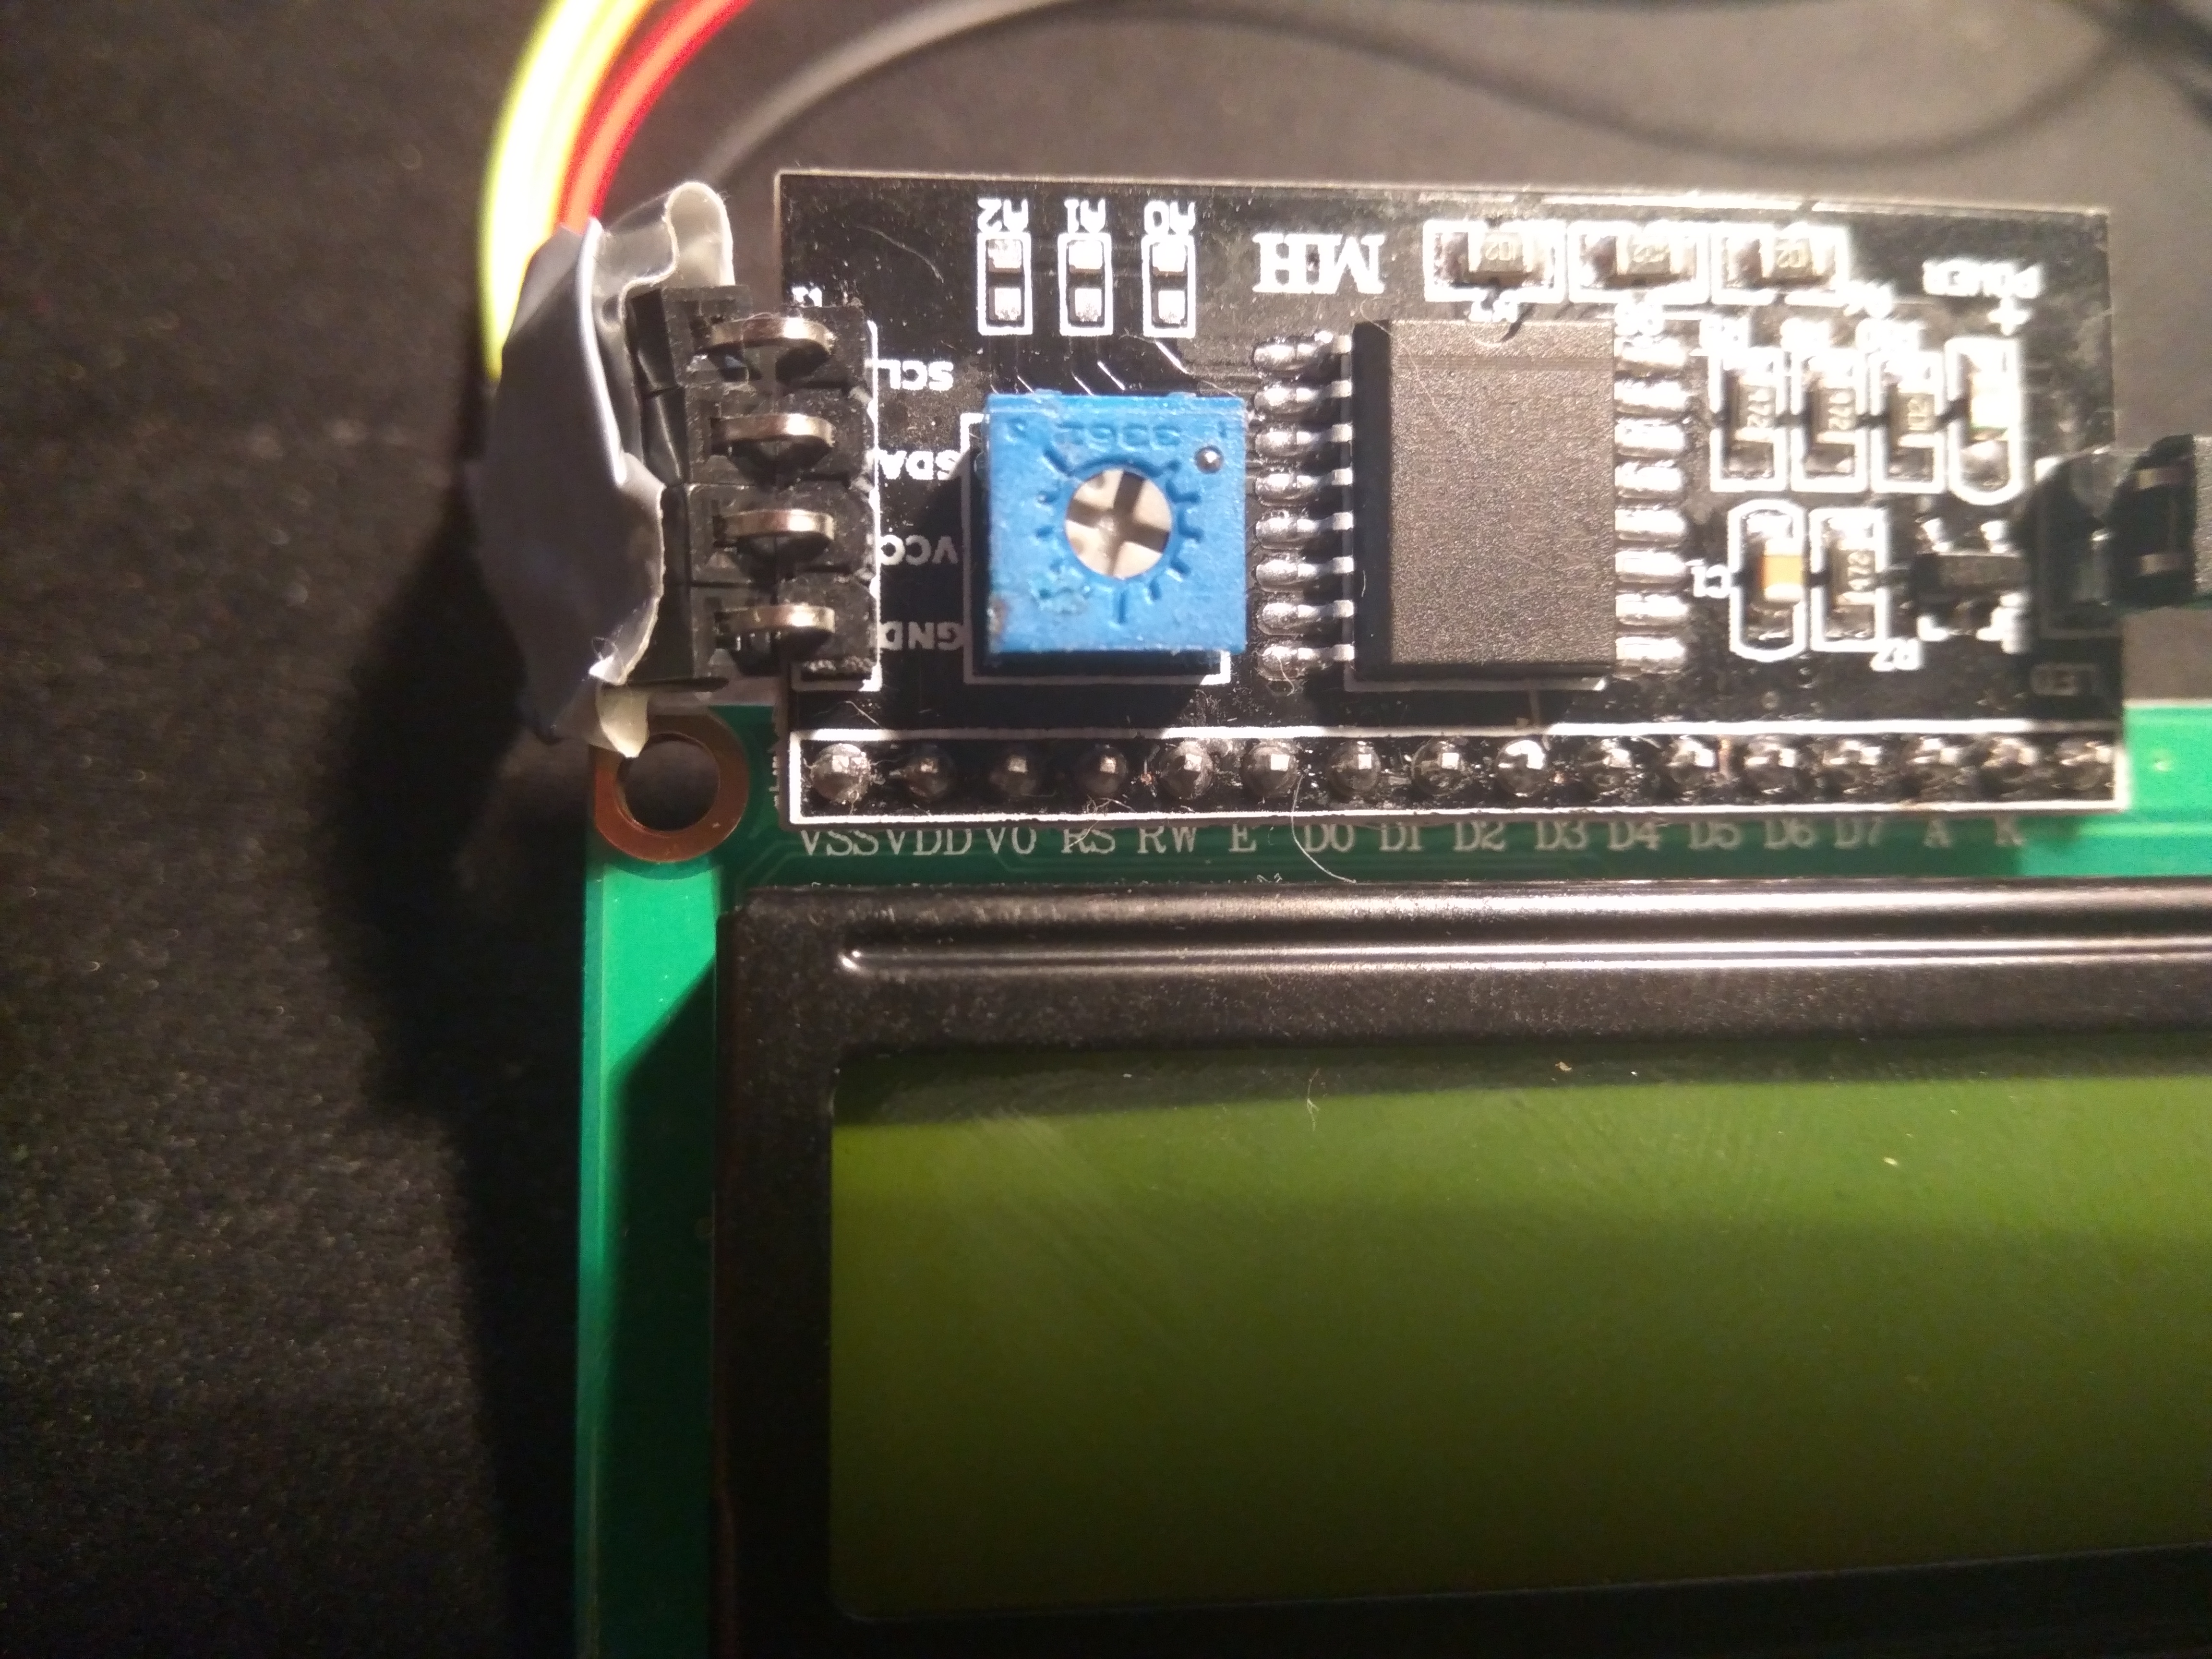
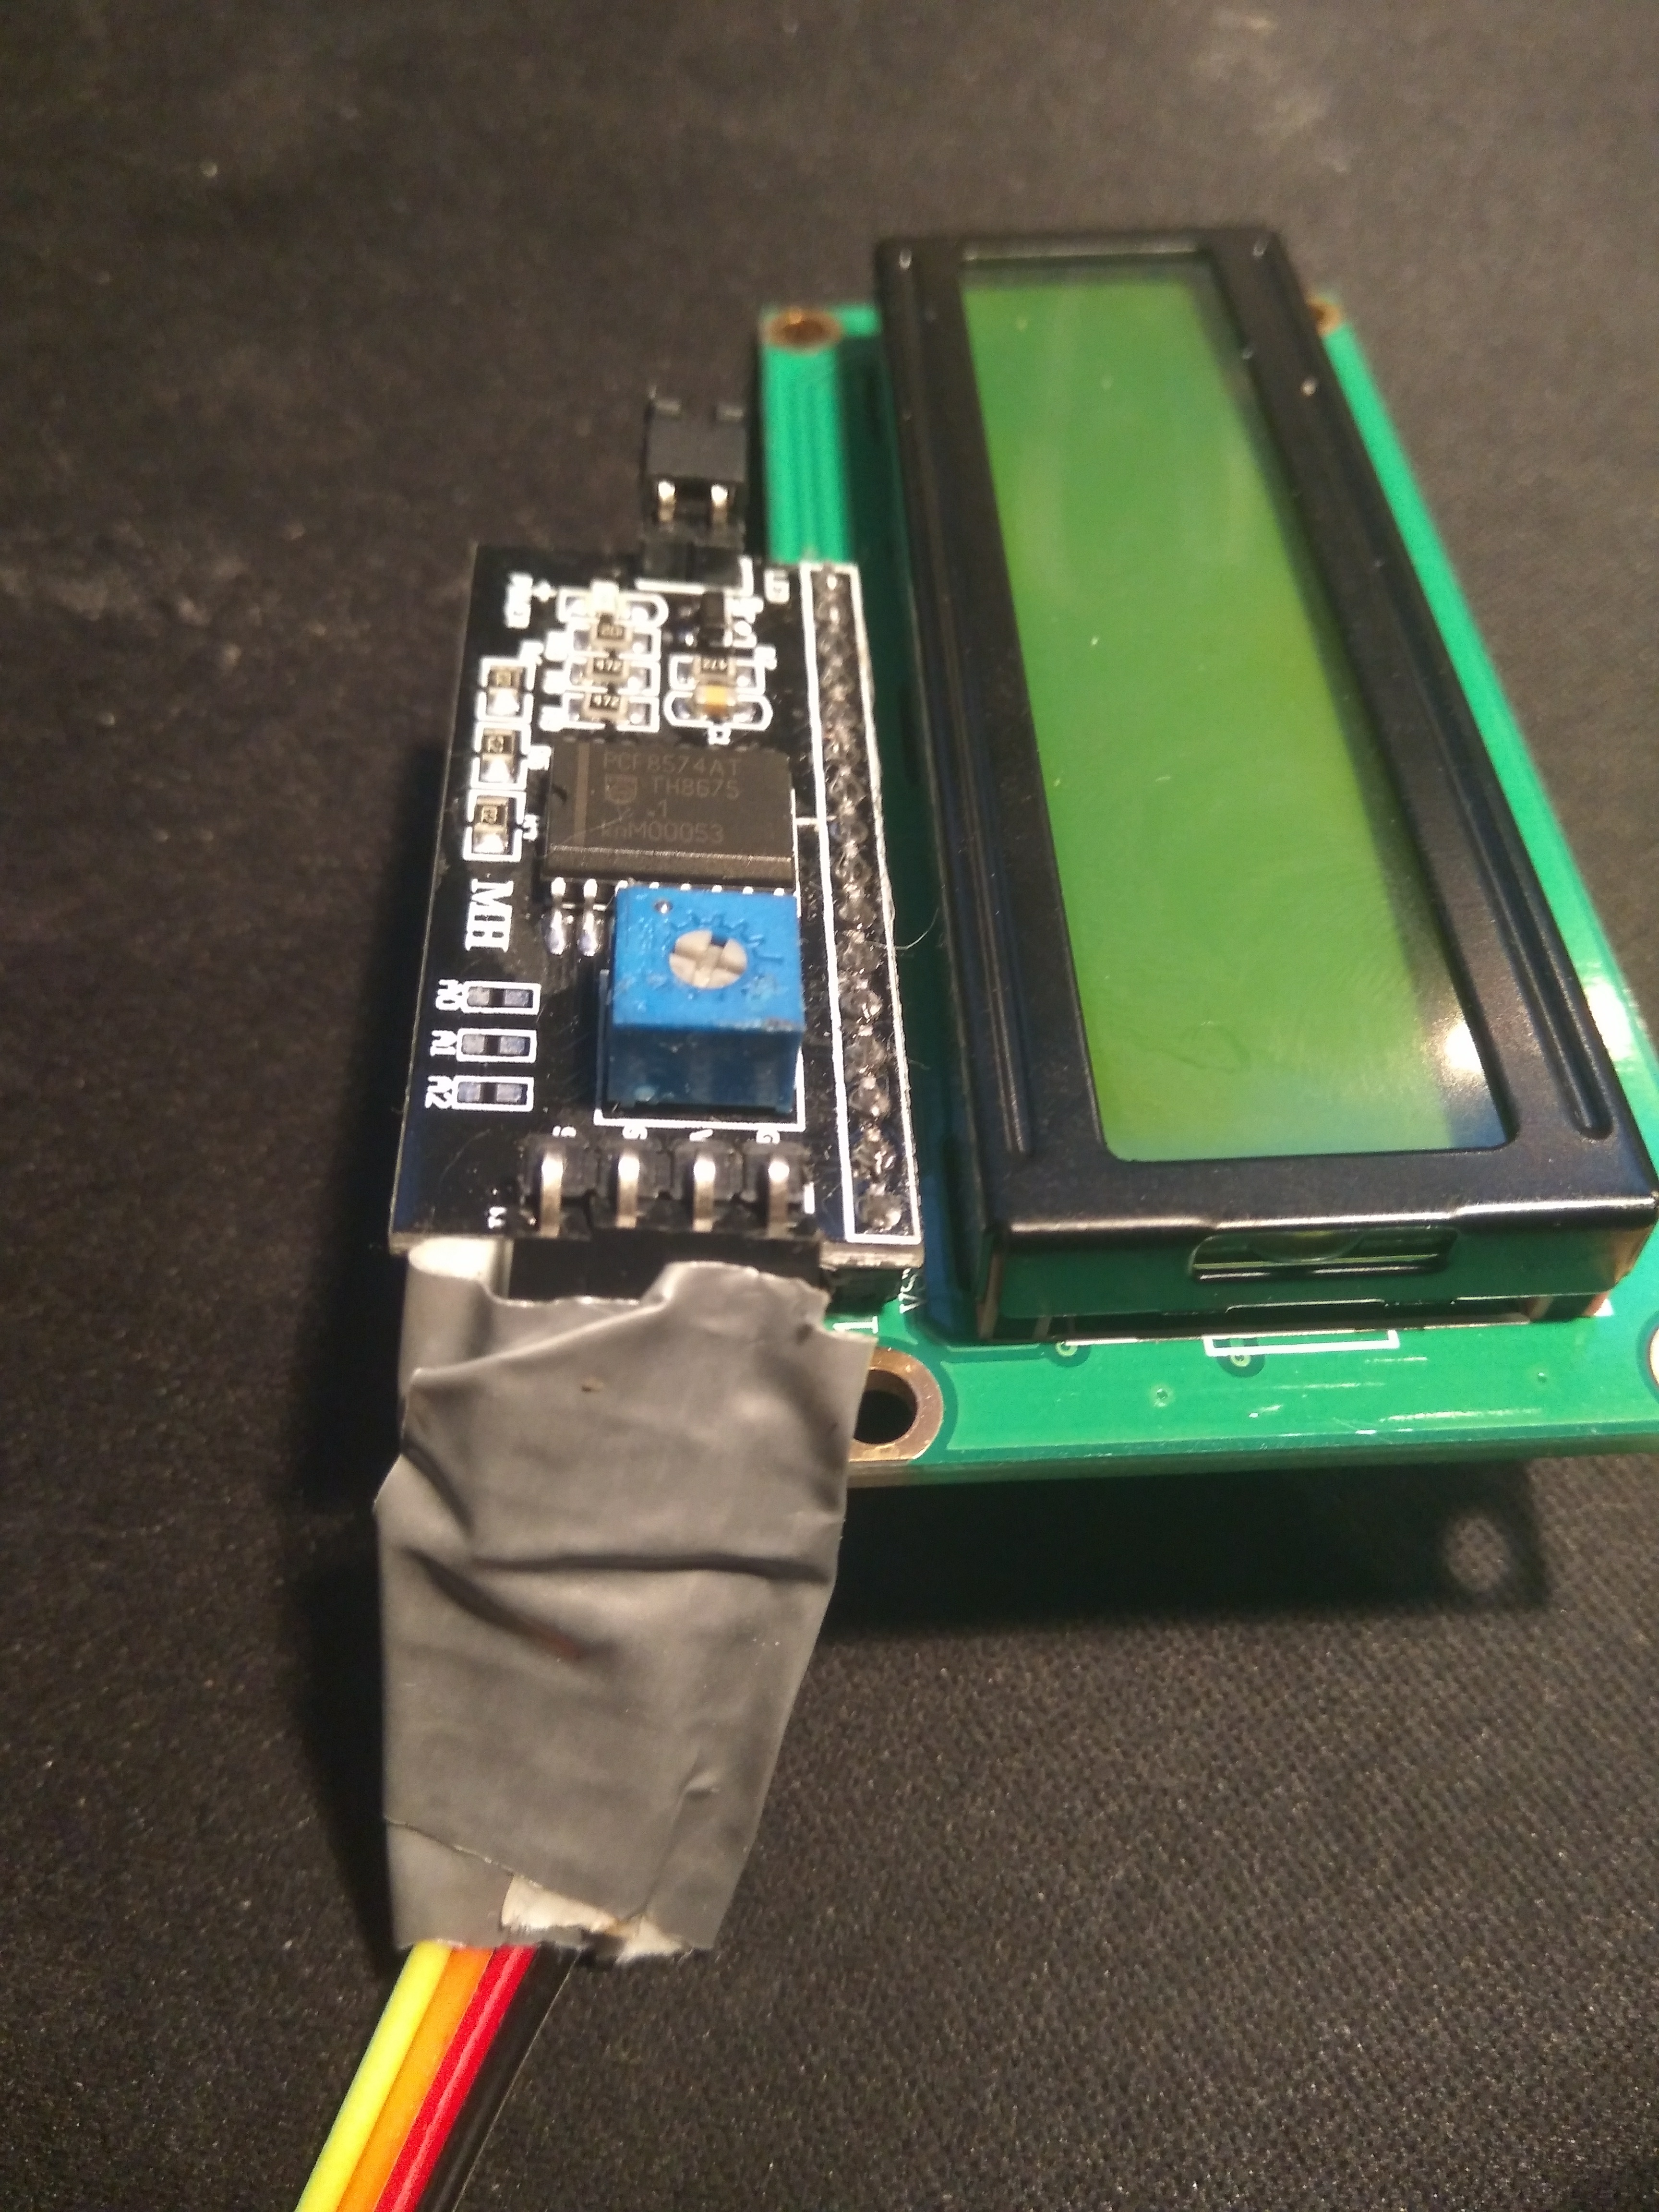
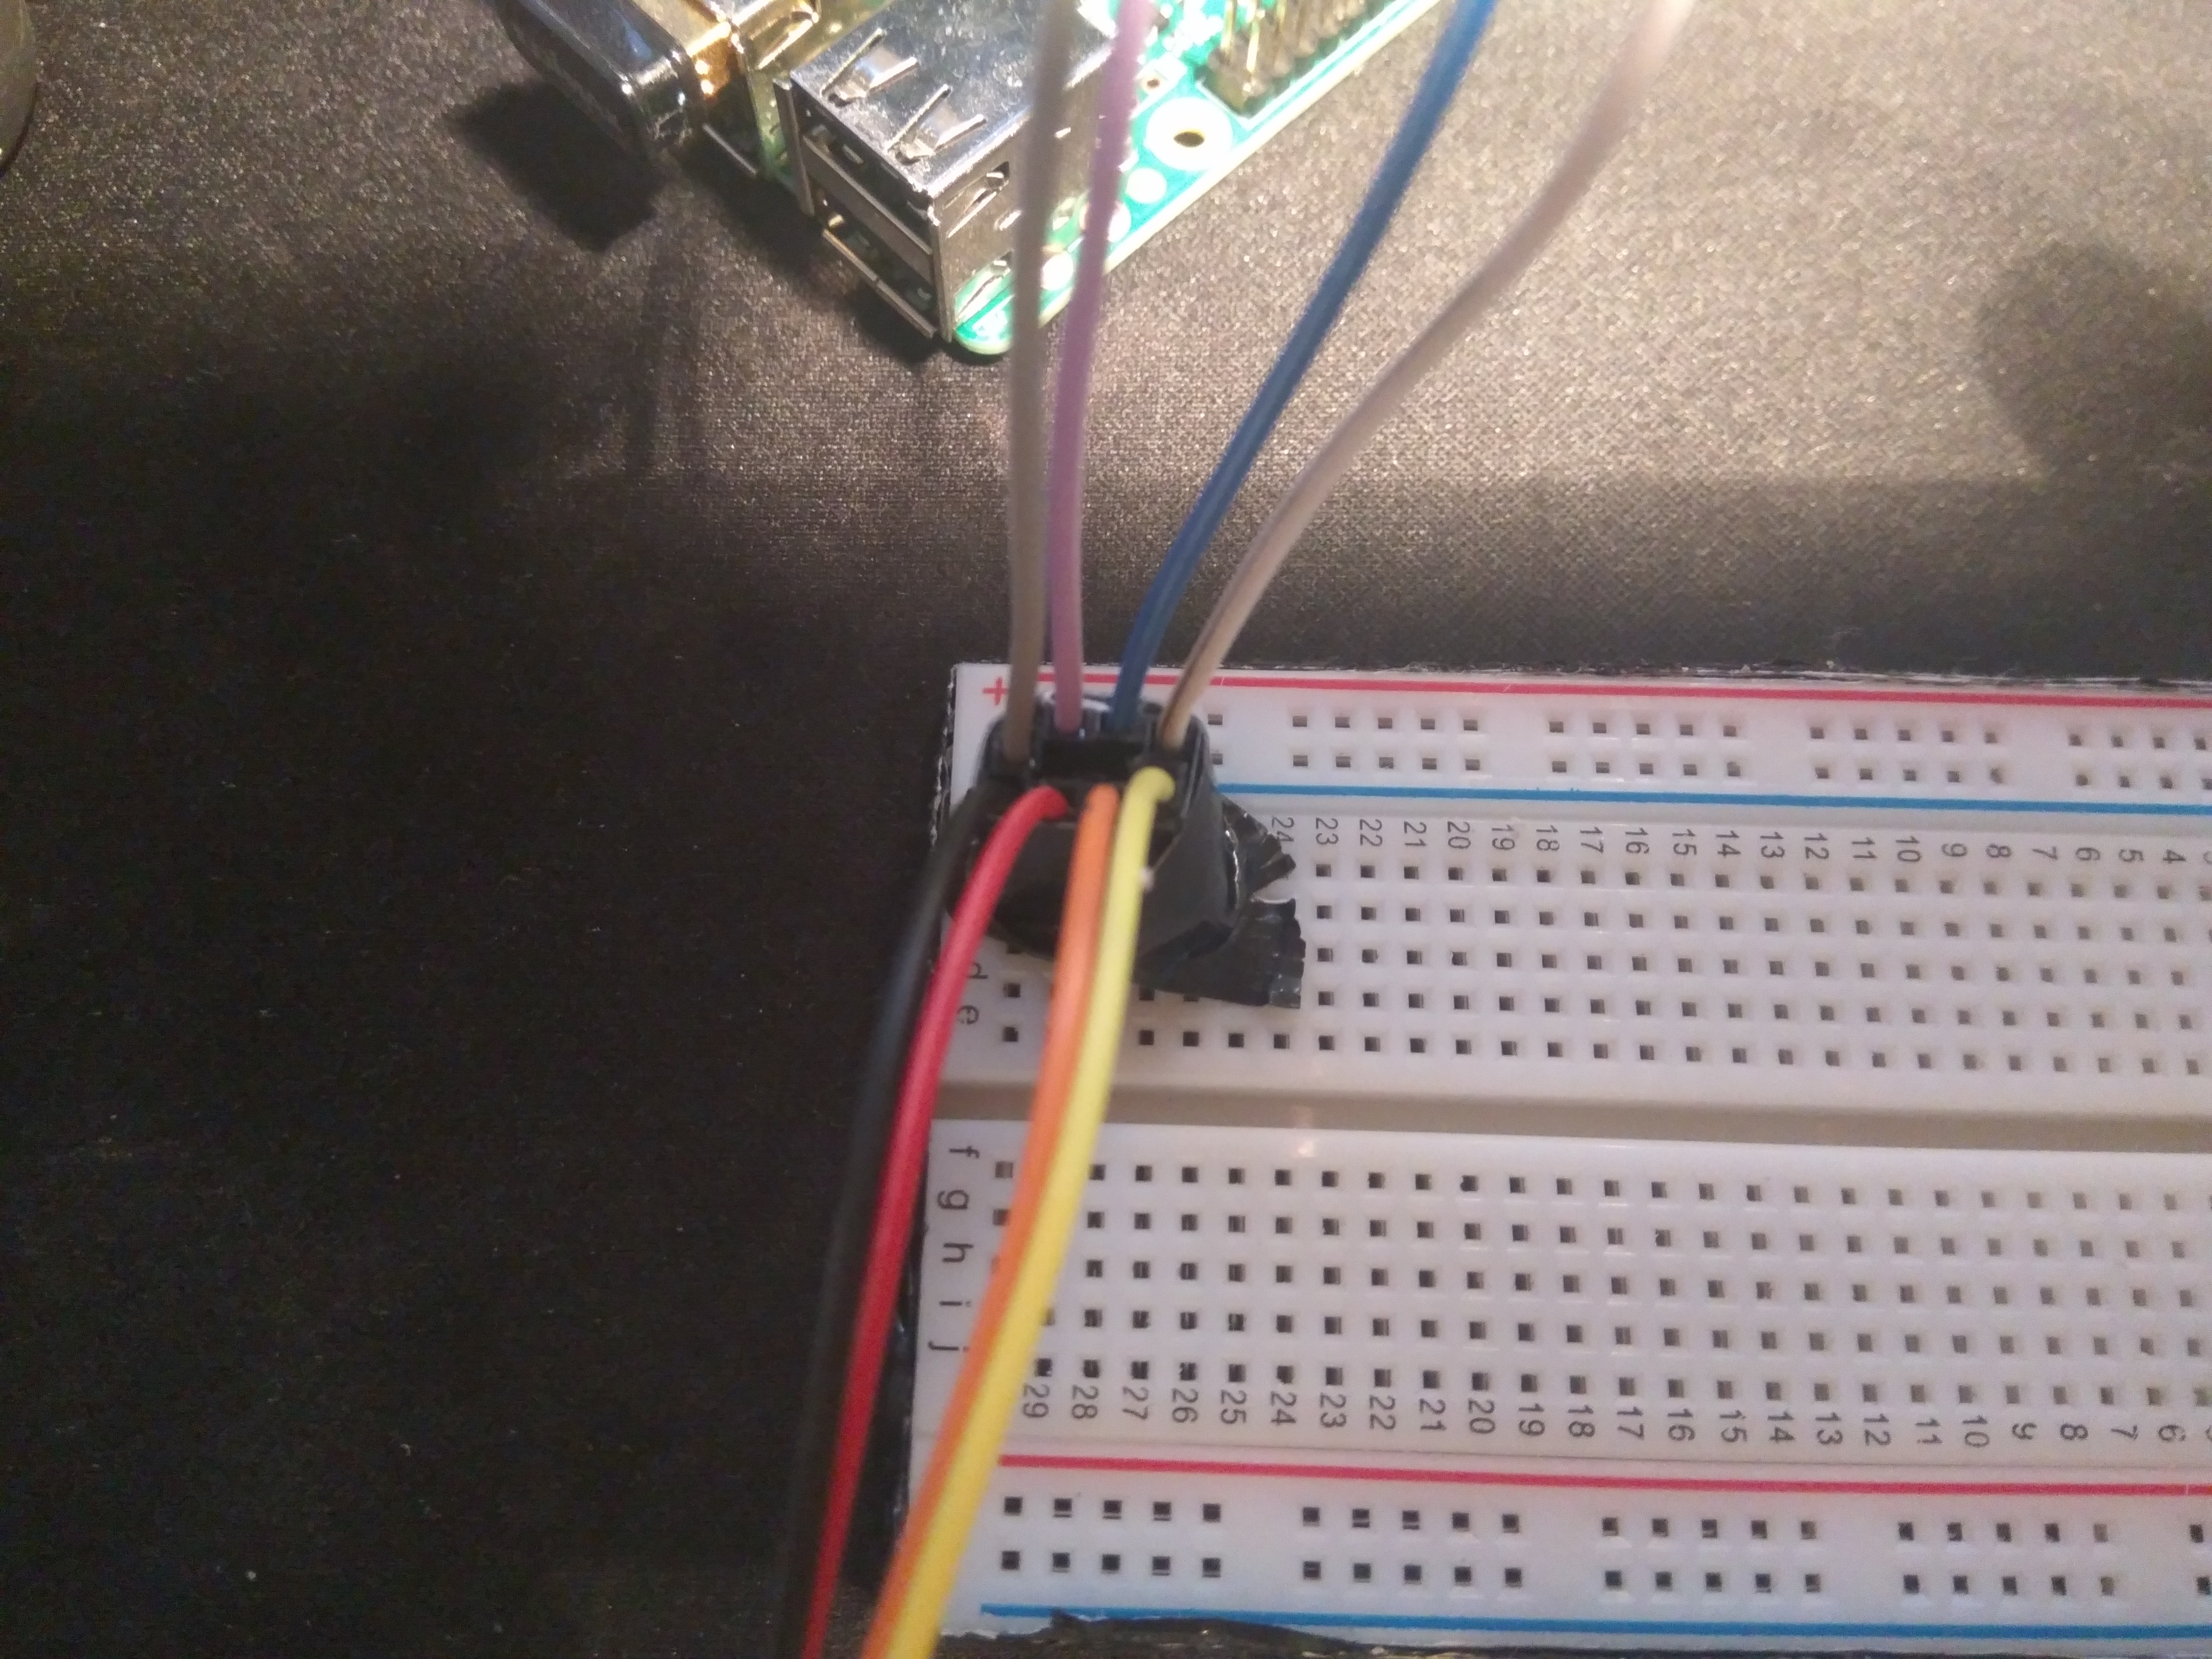
Now comes the more hands-on part. Either 3D print mine, or create your own case, mindful that it needs to house the raspberry (with access to power & ethernet at least), a 16x2 LCD screen, a half-size breadboard and a fan.
Start by connecting everything outside the case, and testing if the code works. I have two separate scripts that need to be run. display.py is, well, obviously for the display. It will show you your current ip-address on the top row, and switch between the APIPA (you need to edit the code to correspond to the one you put in the cmdline) and the current time.
Meanwhile, tinyQuiz.py is the flask server, that since you've imported the database, should successfully run.
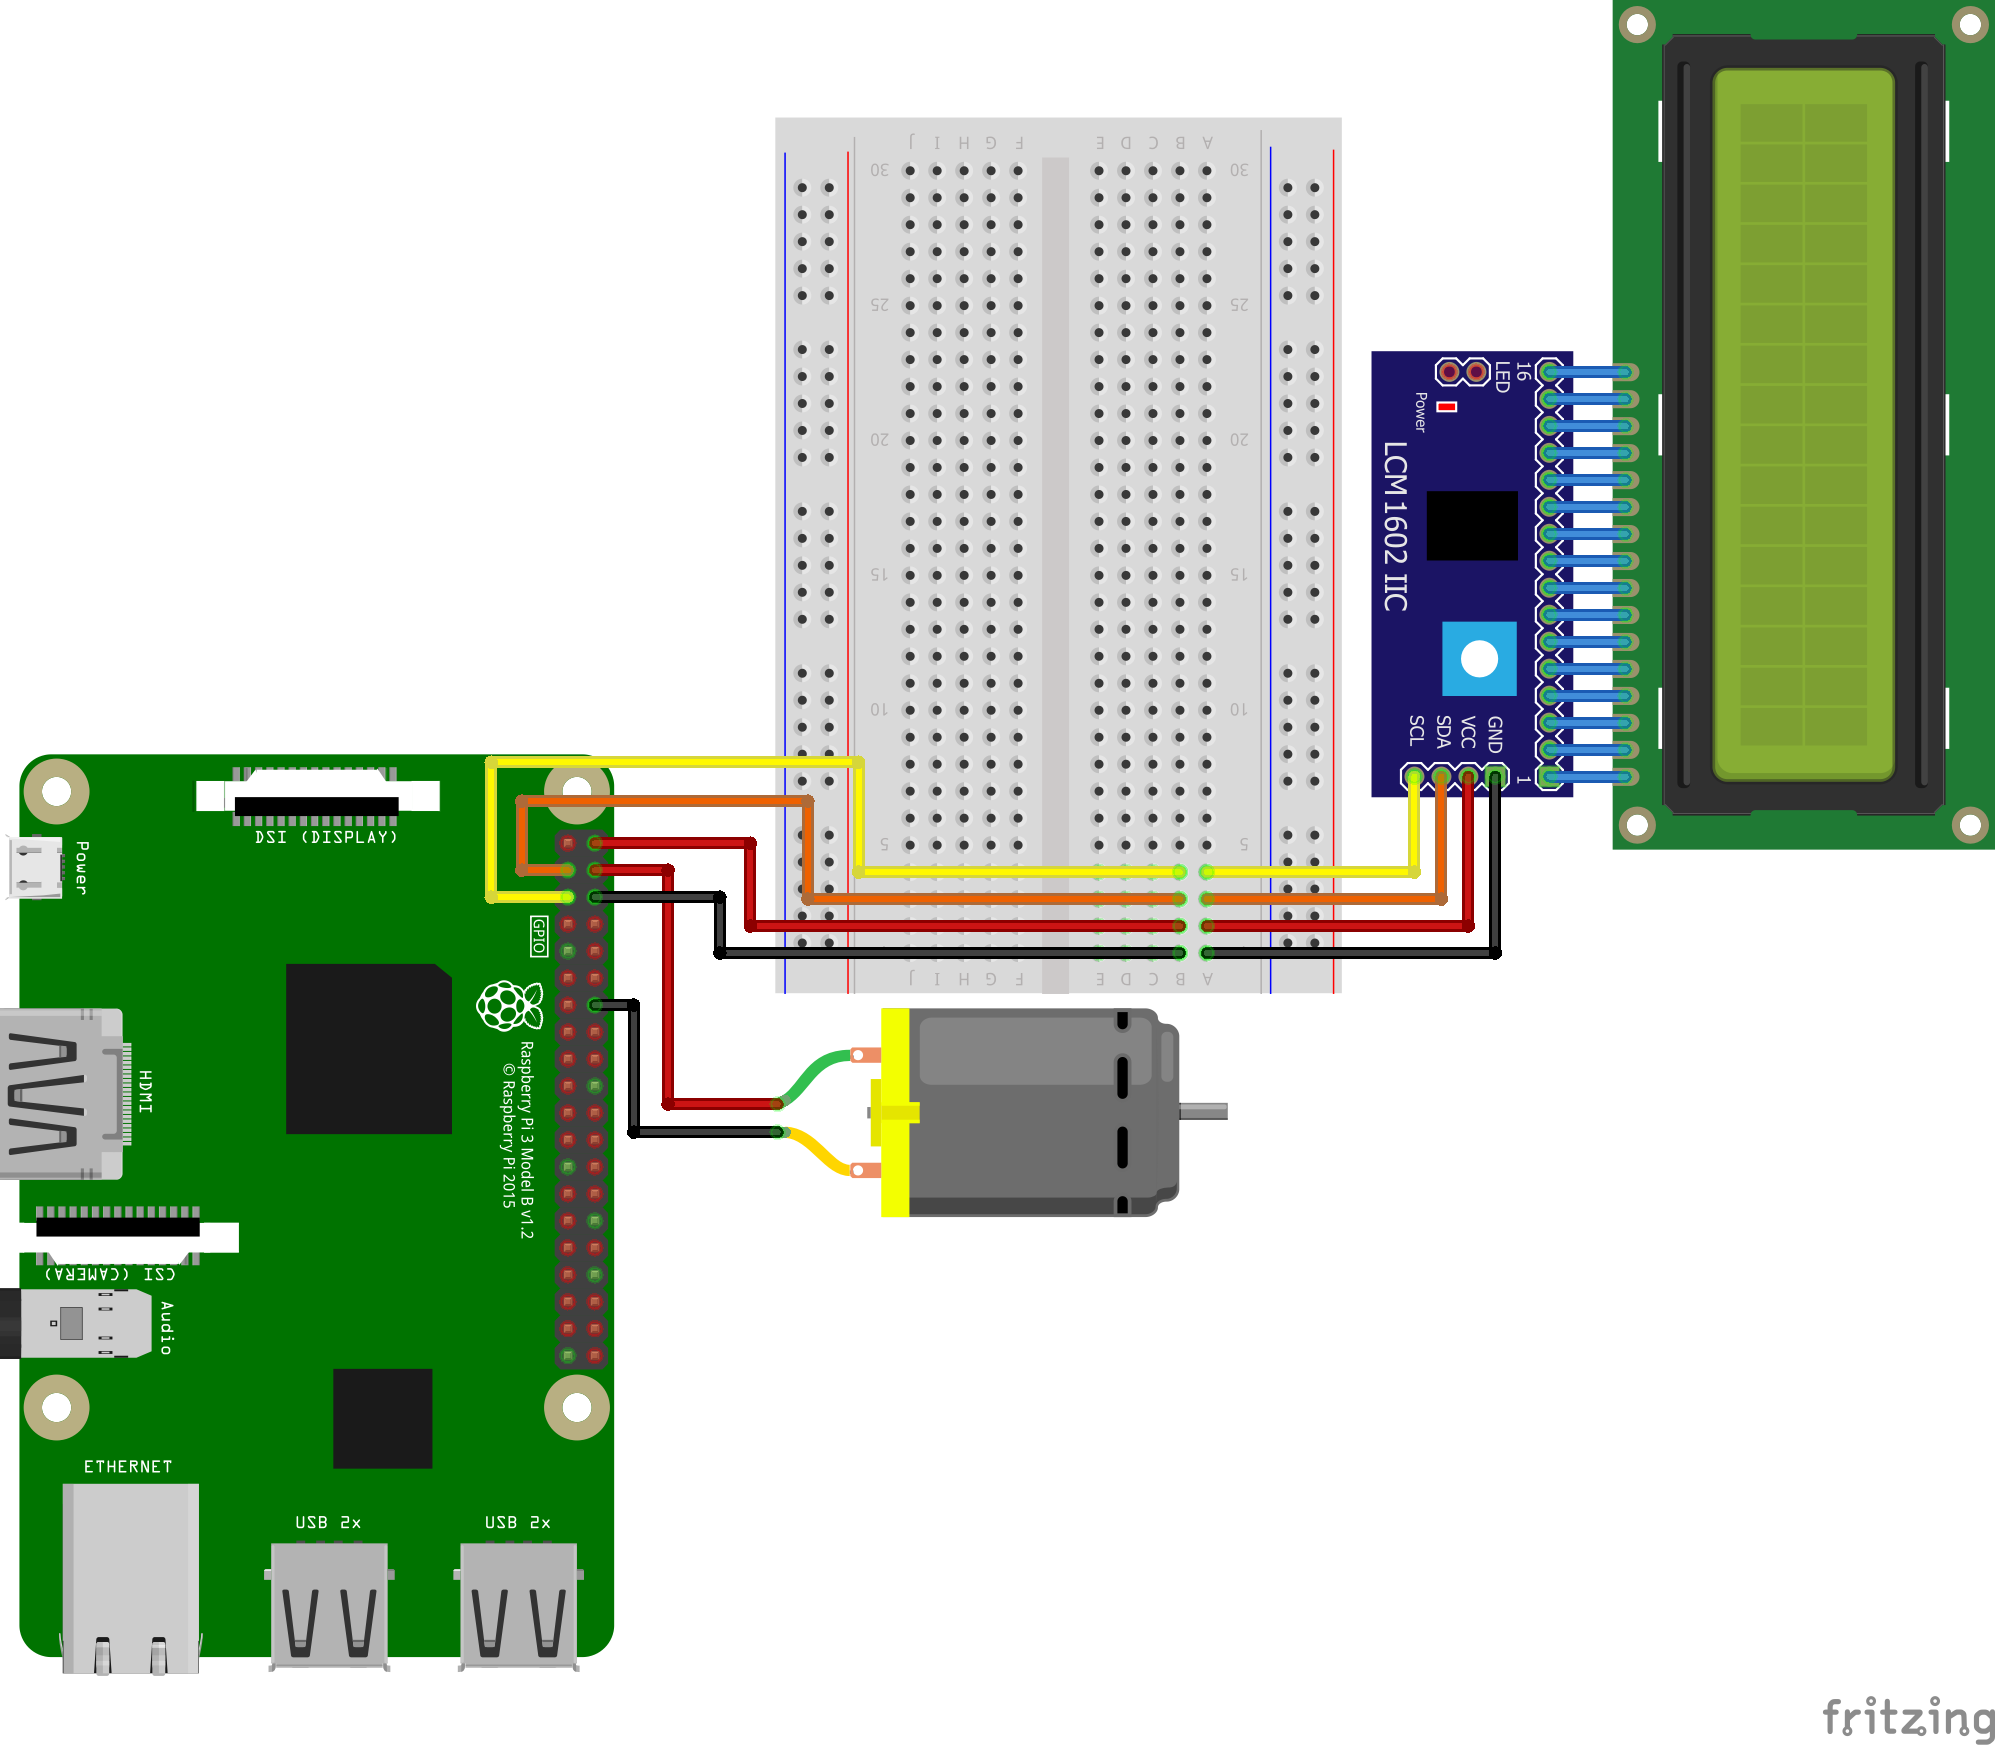
I have provided ample pictures as well as a fritzing schema of how everything is connected. The motor on the schema represents the DC fan.
Enclosure
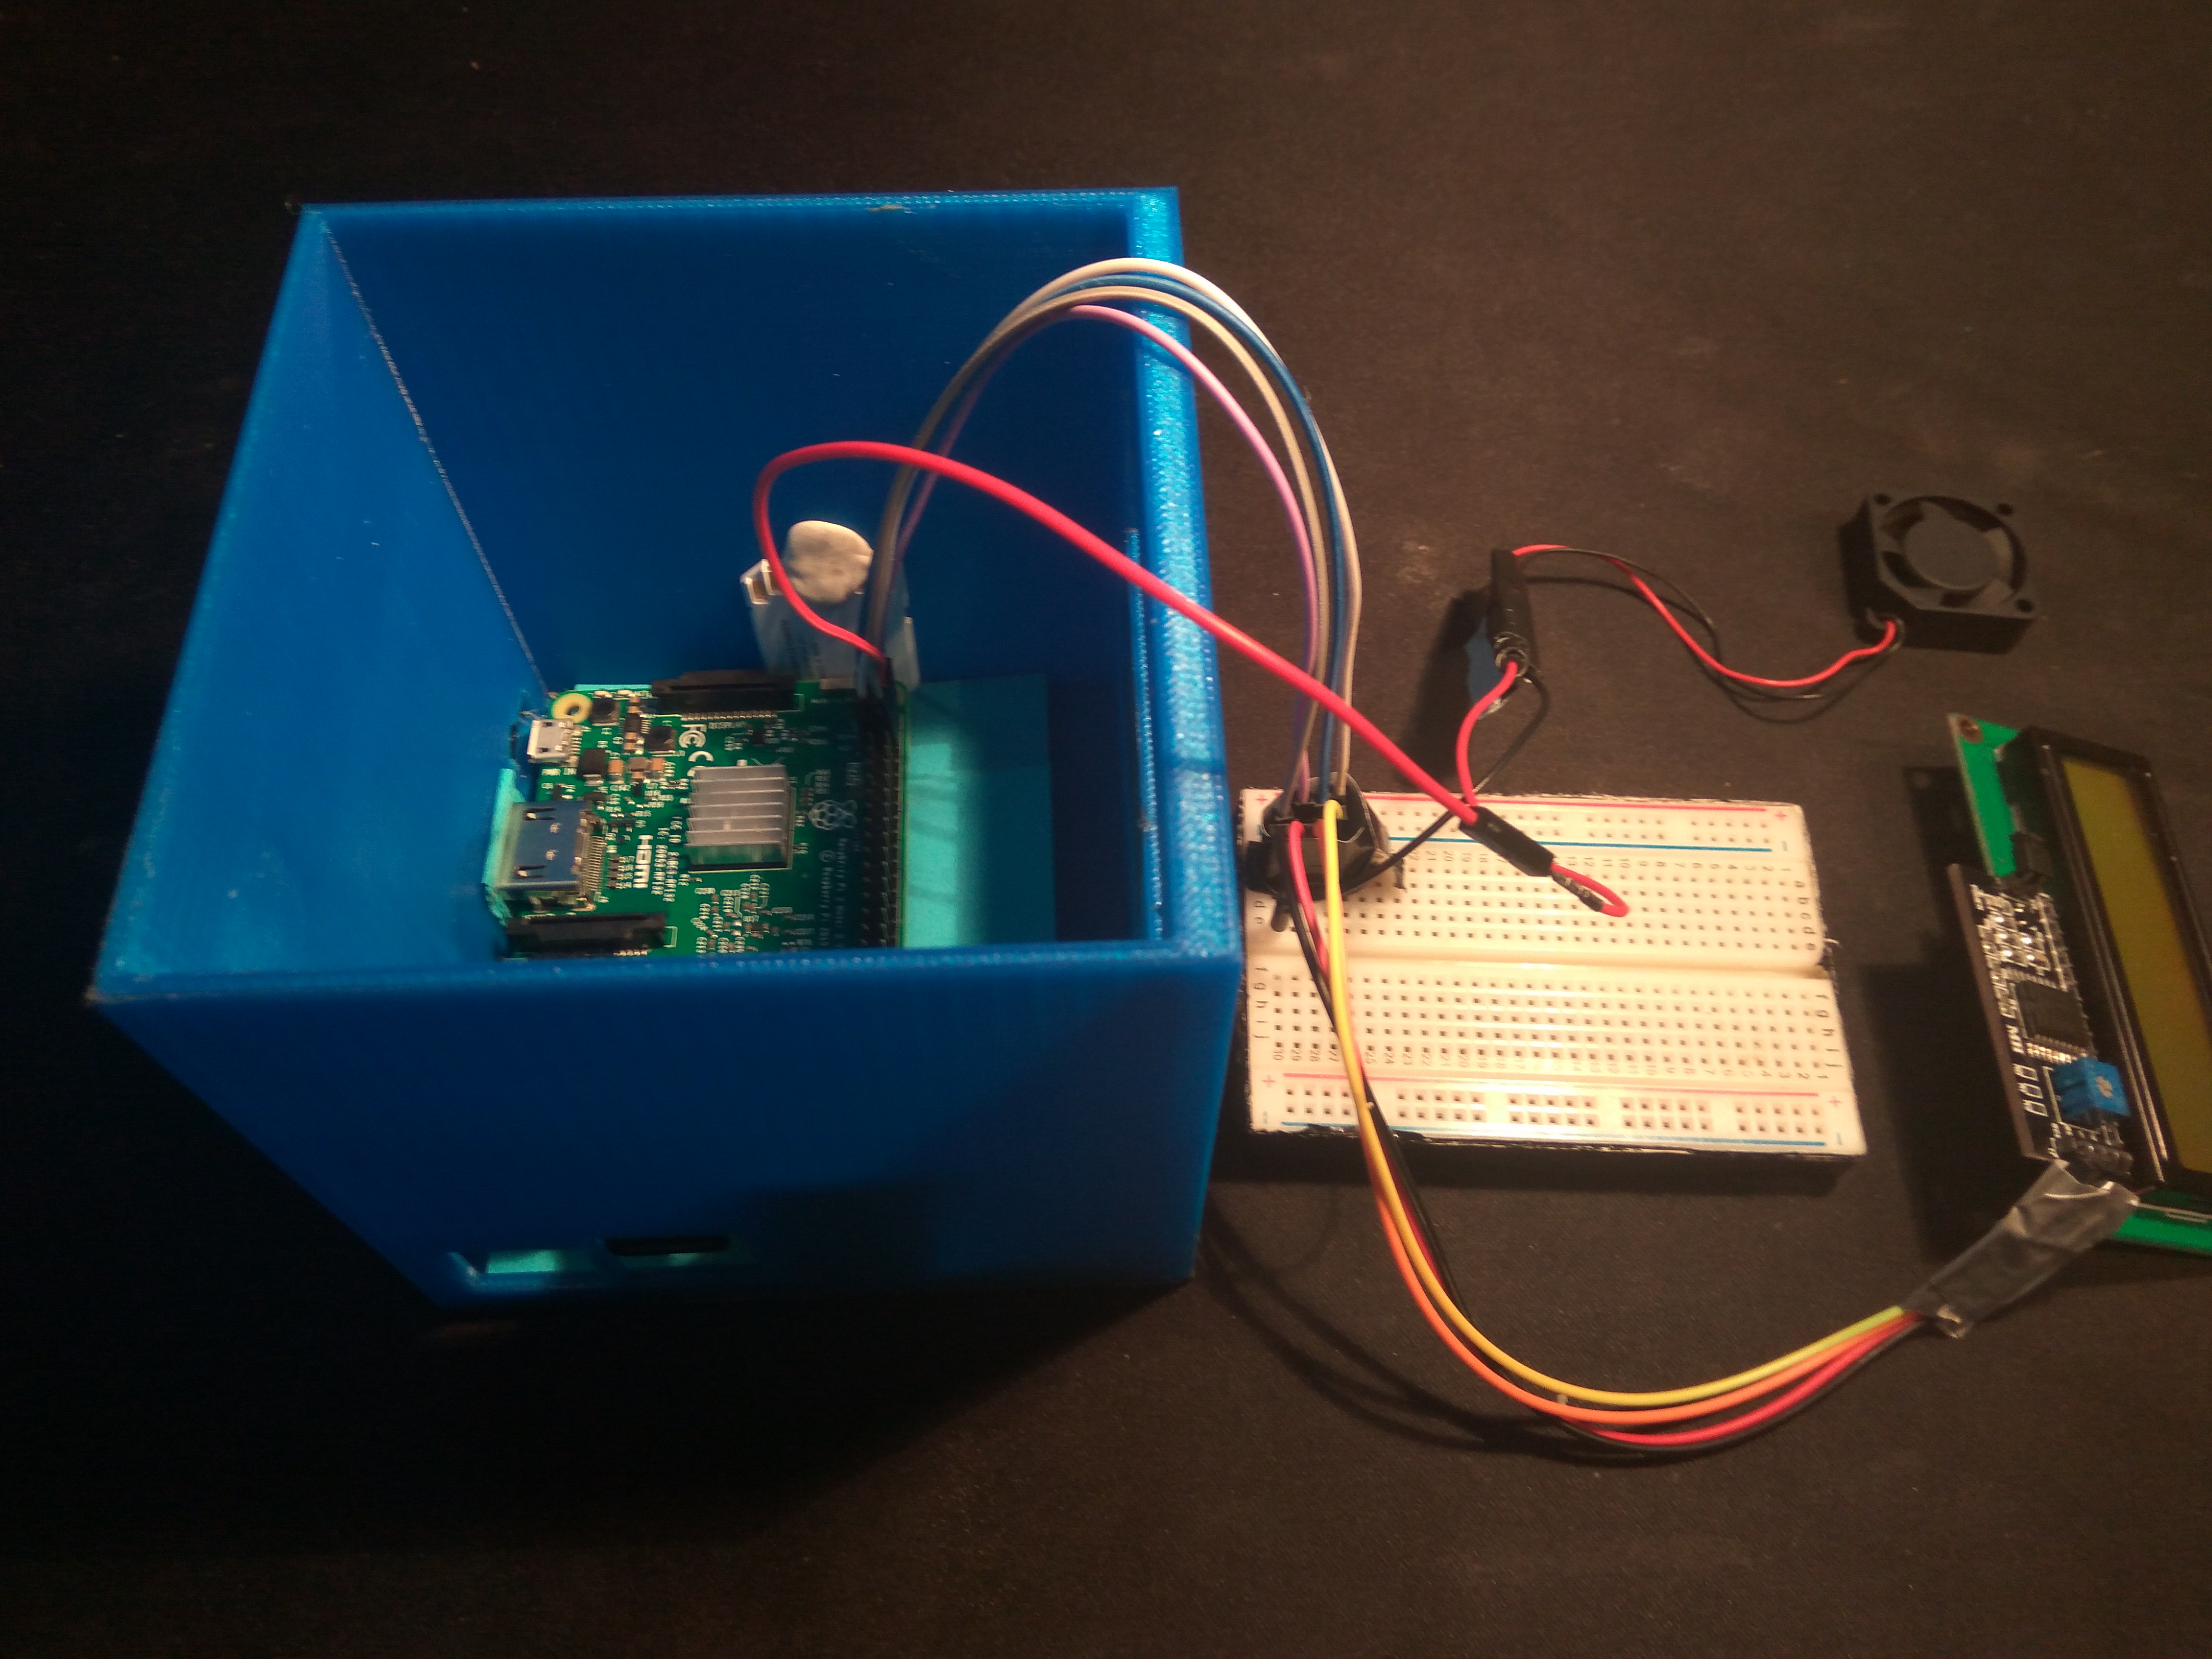
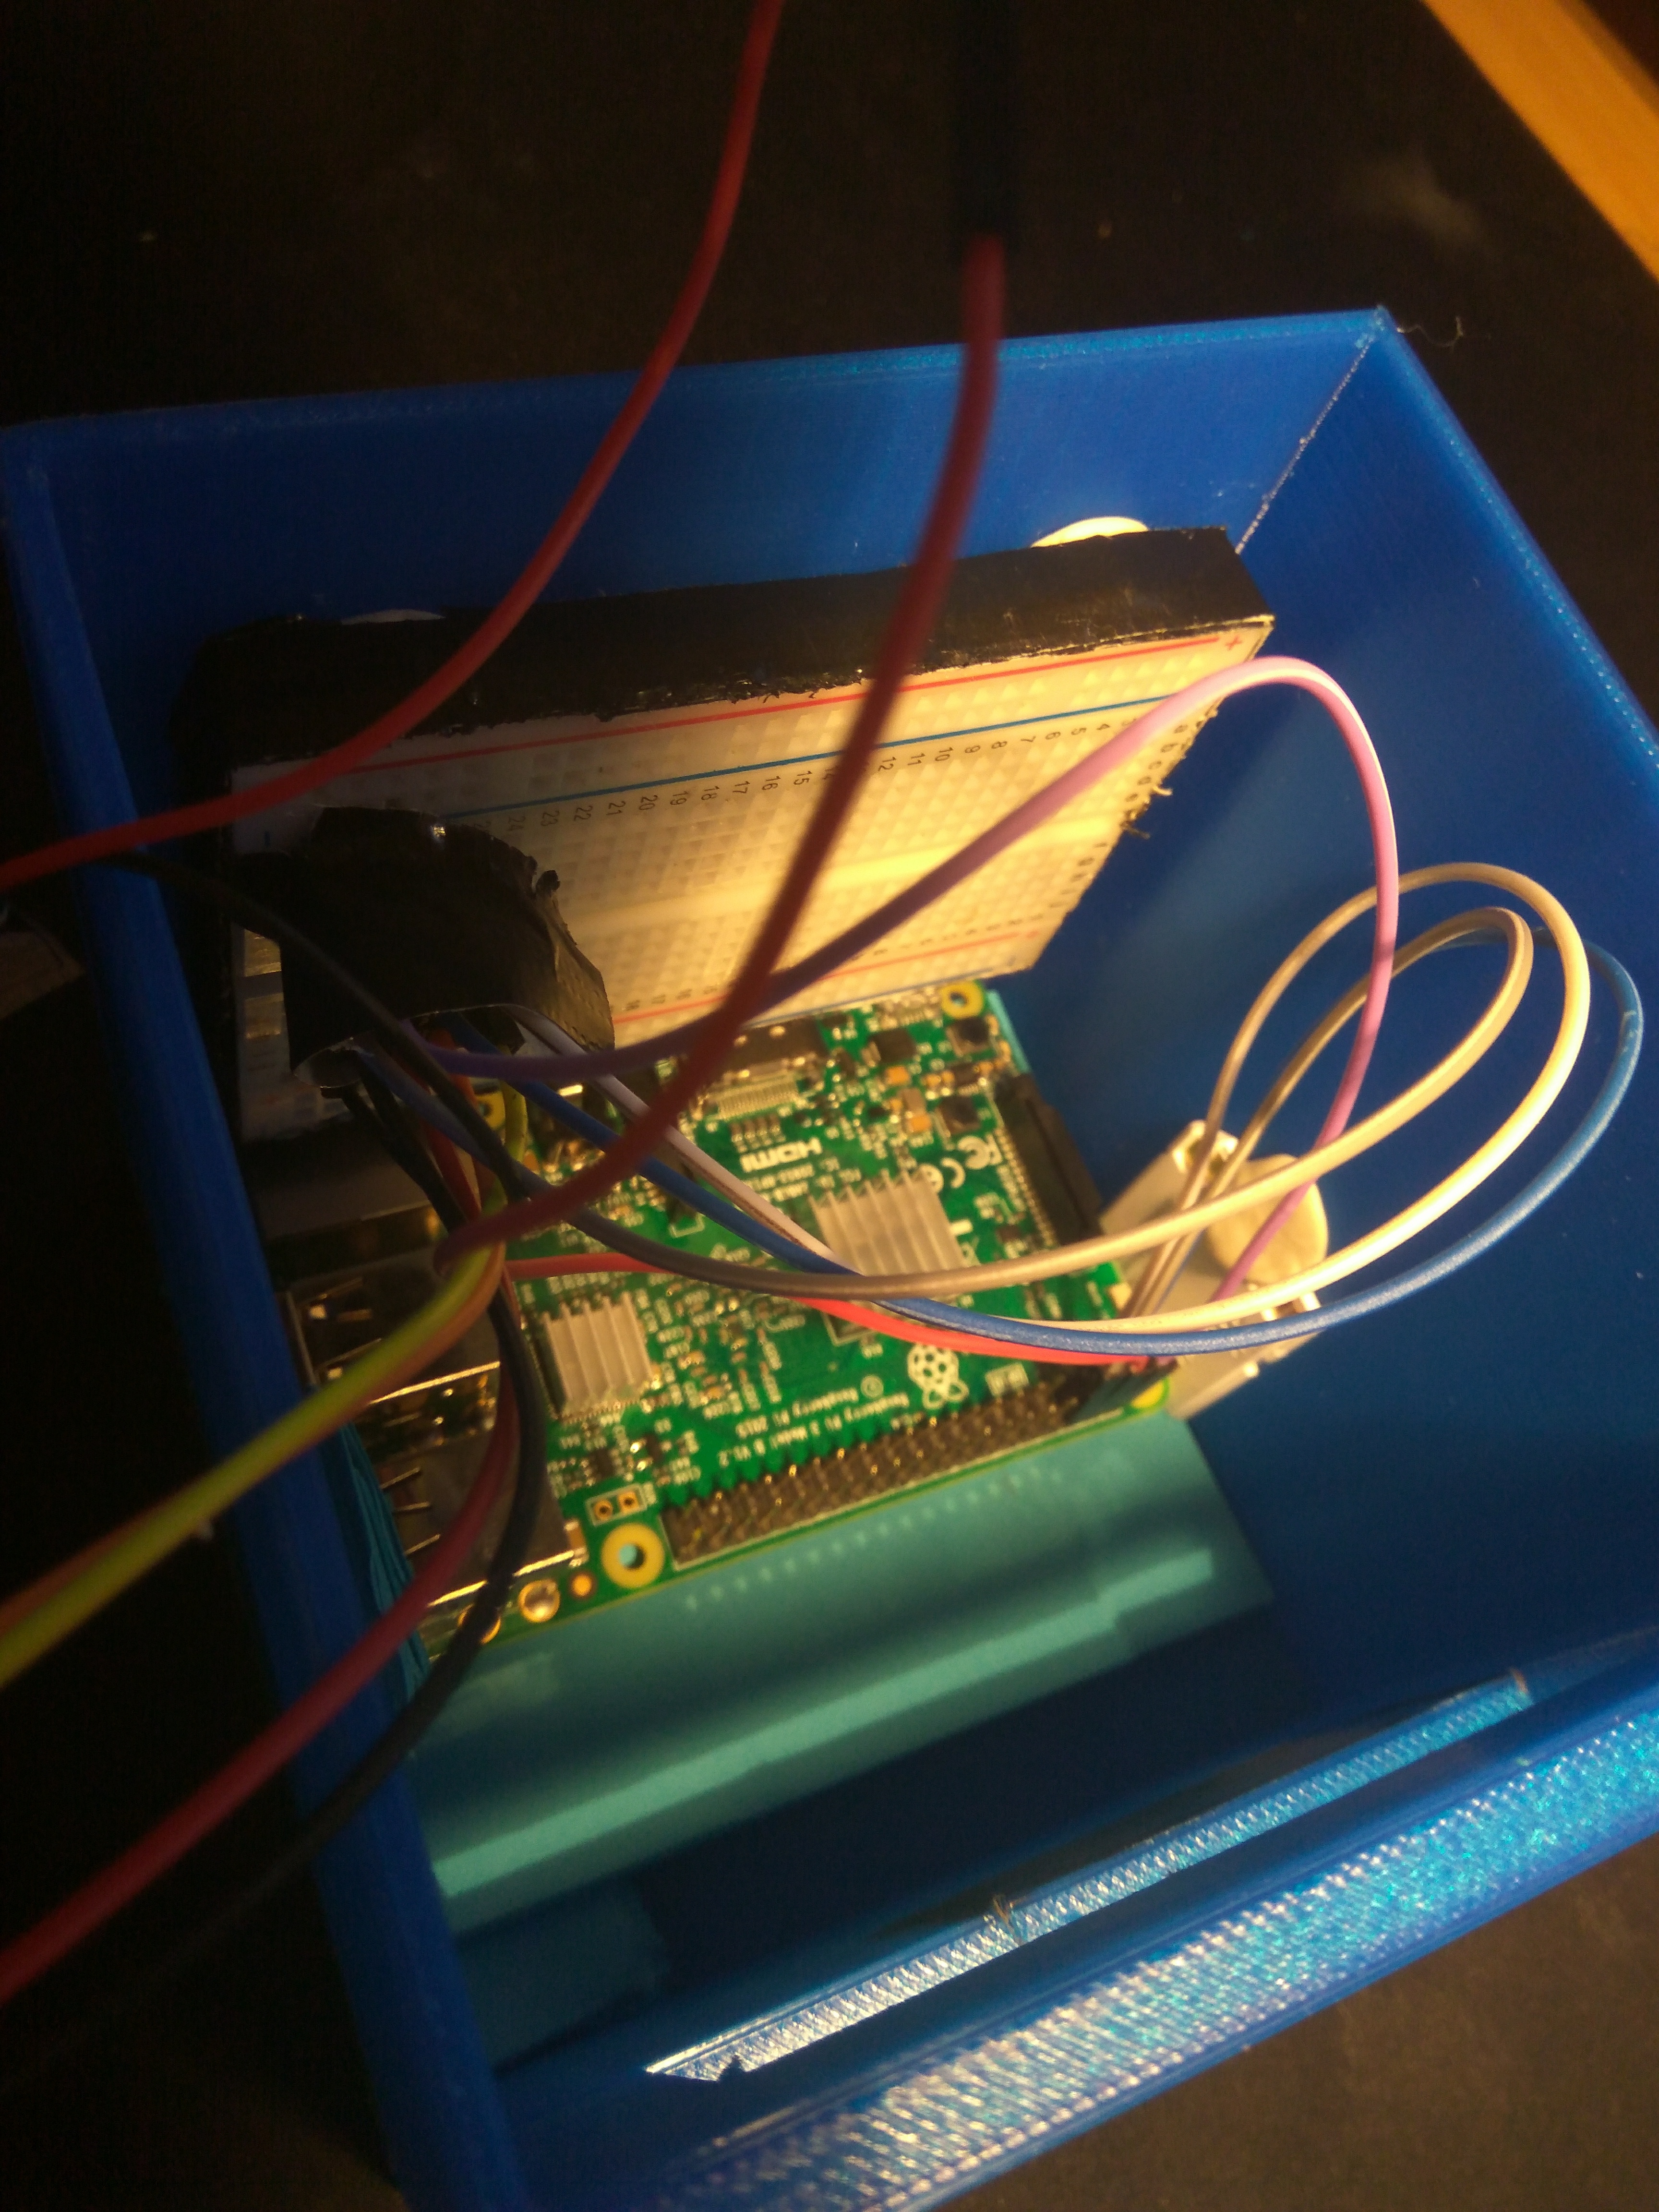
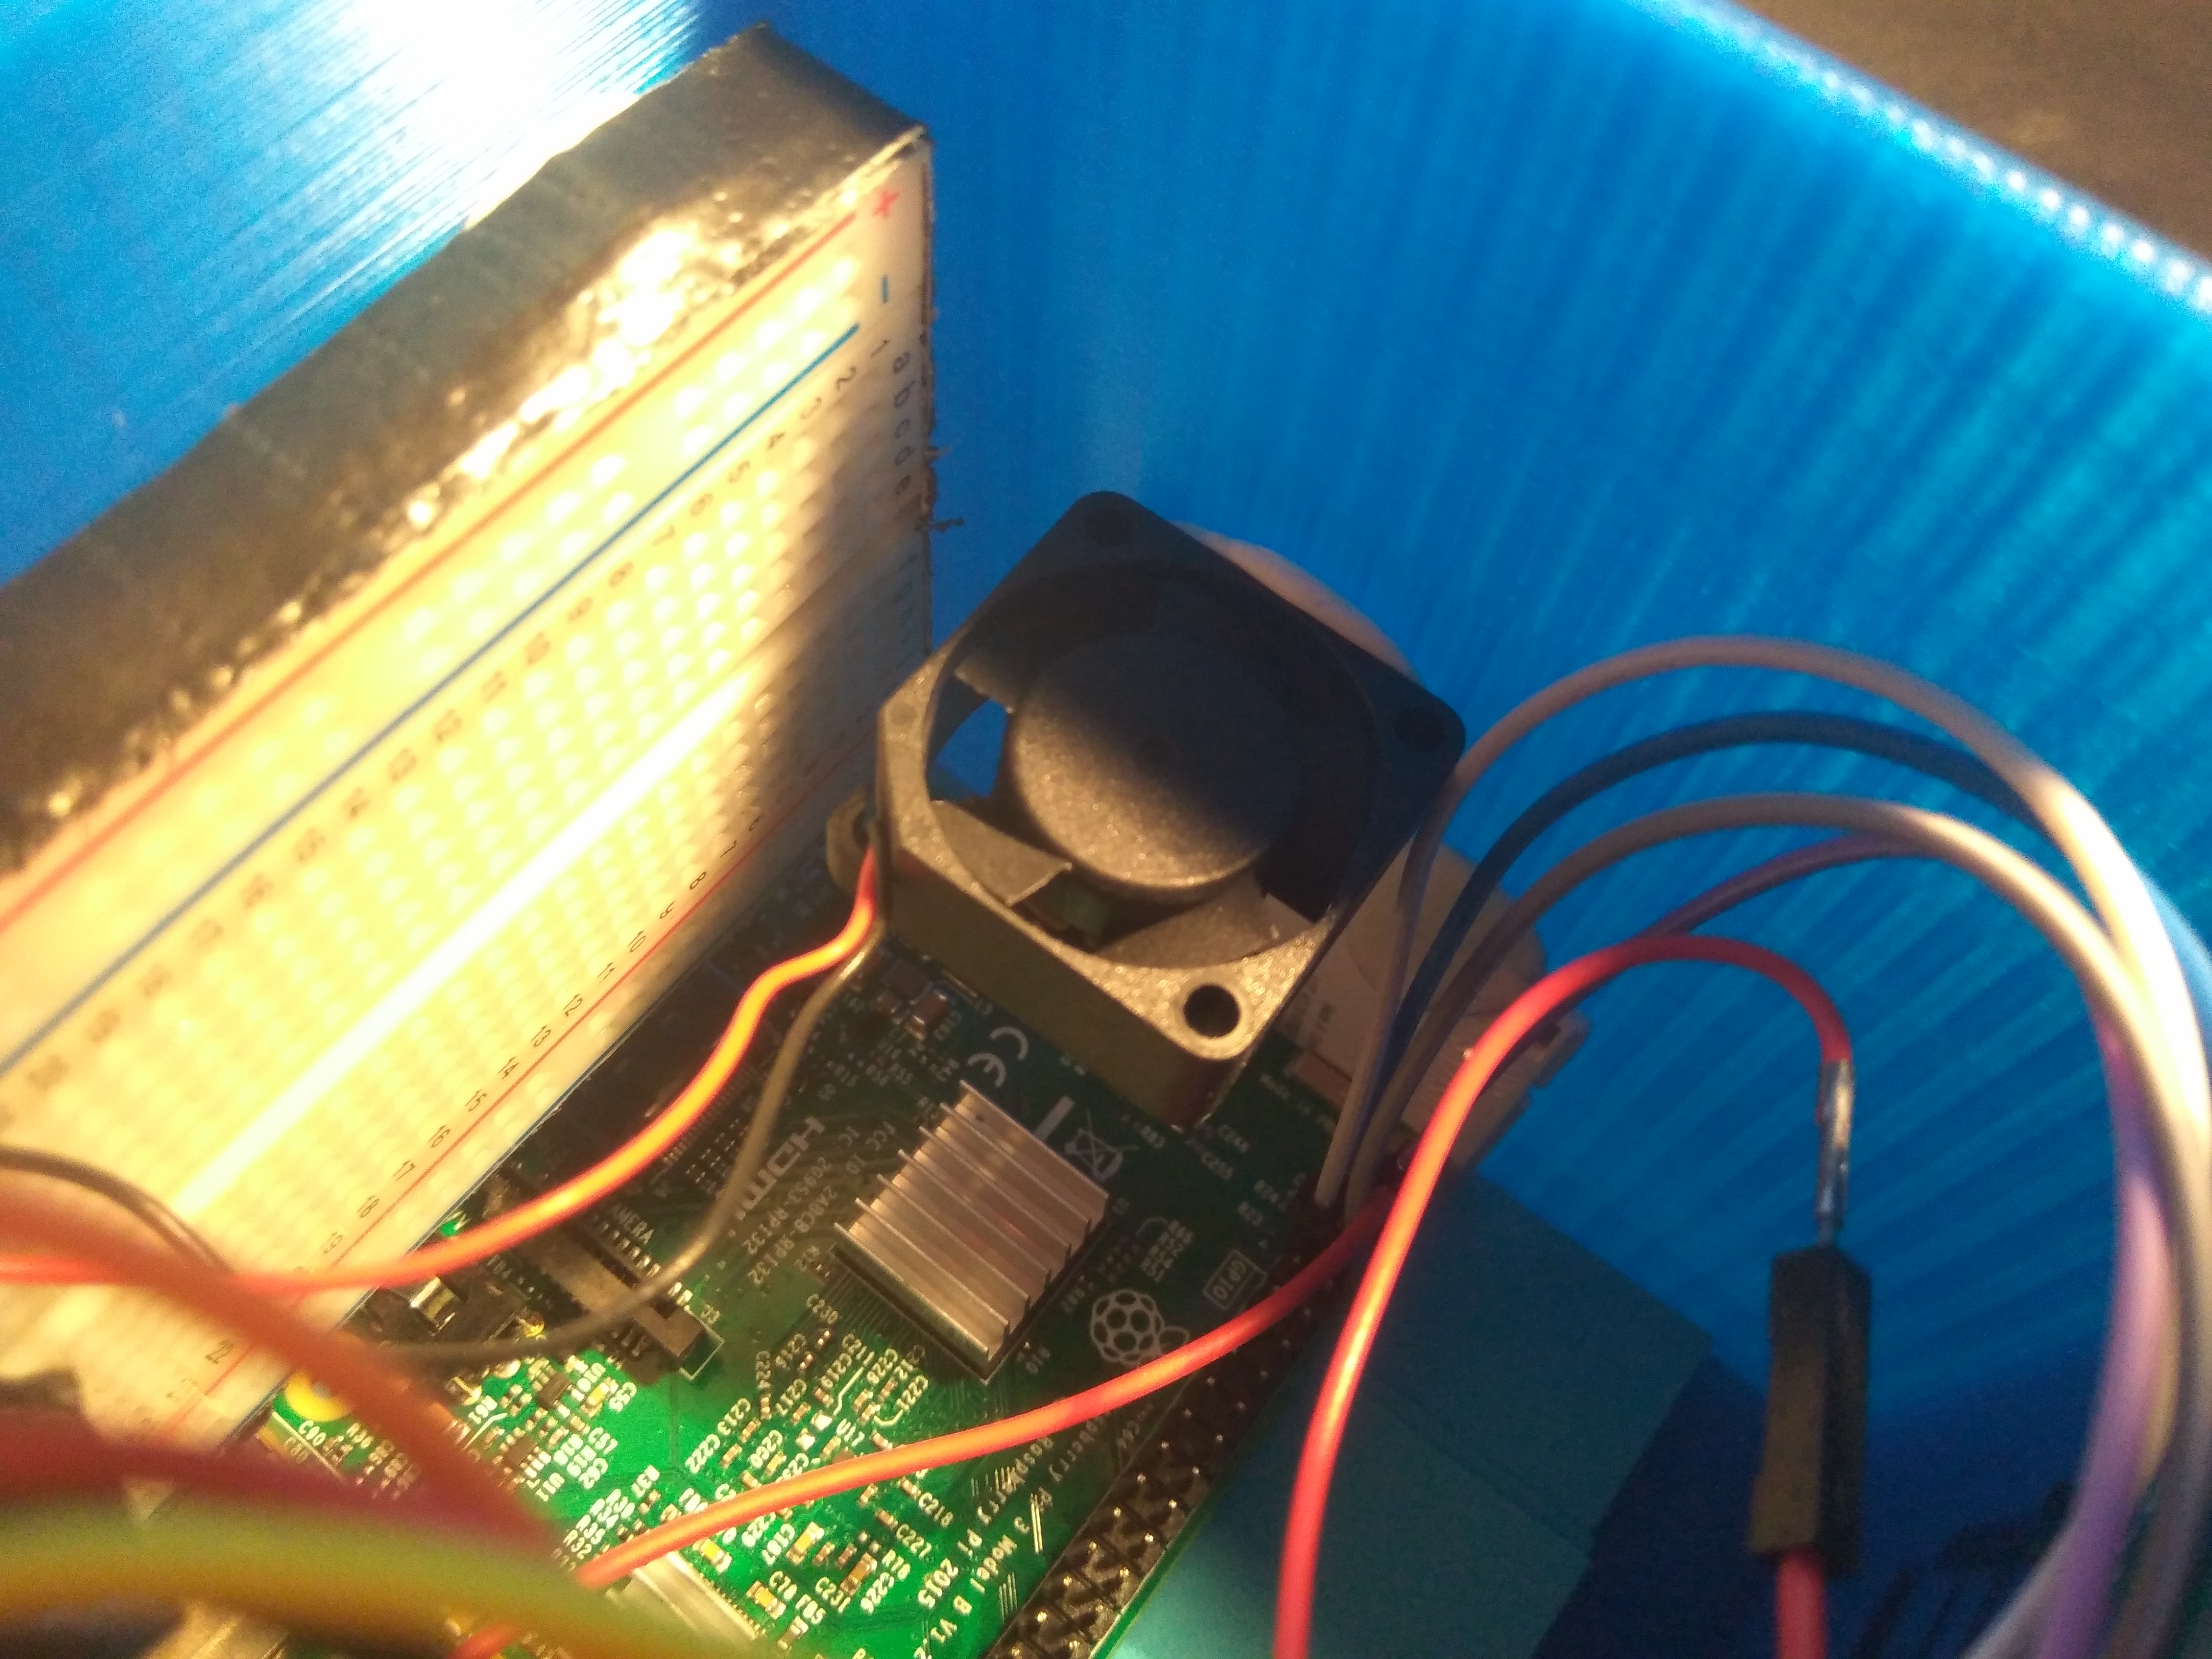
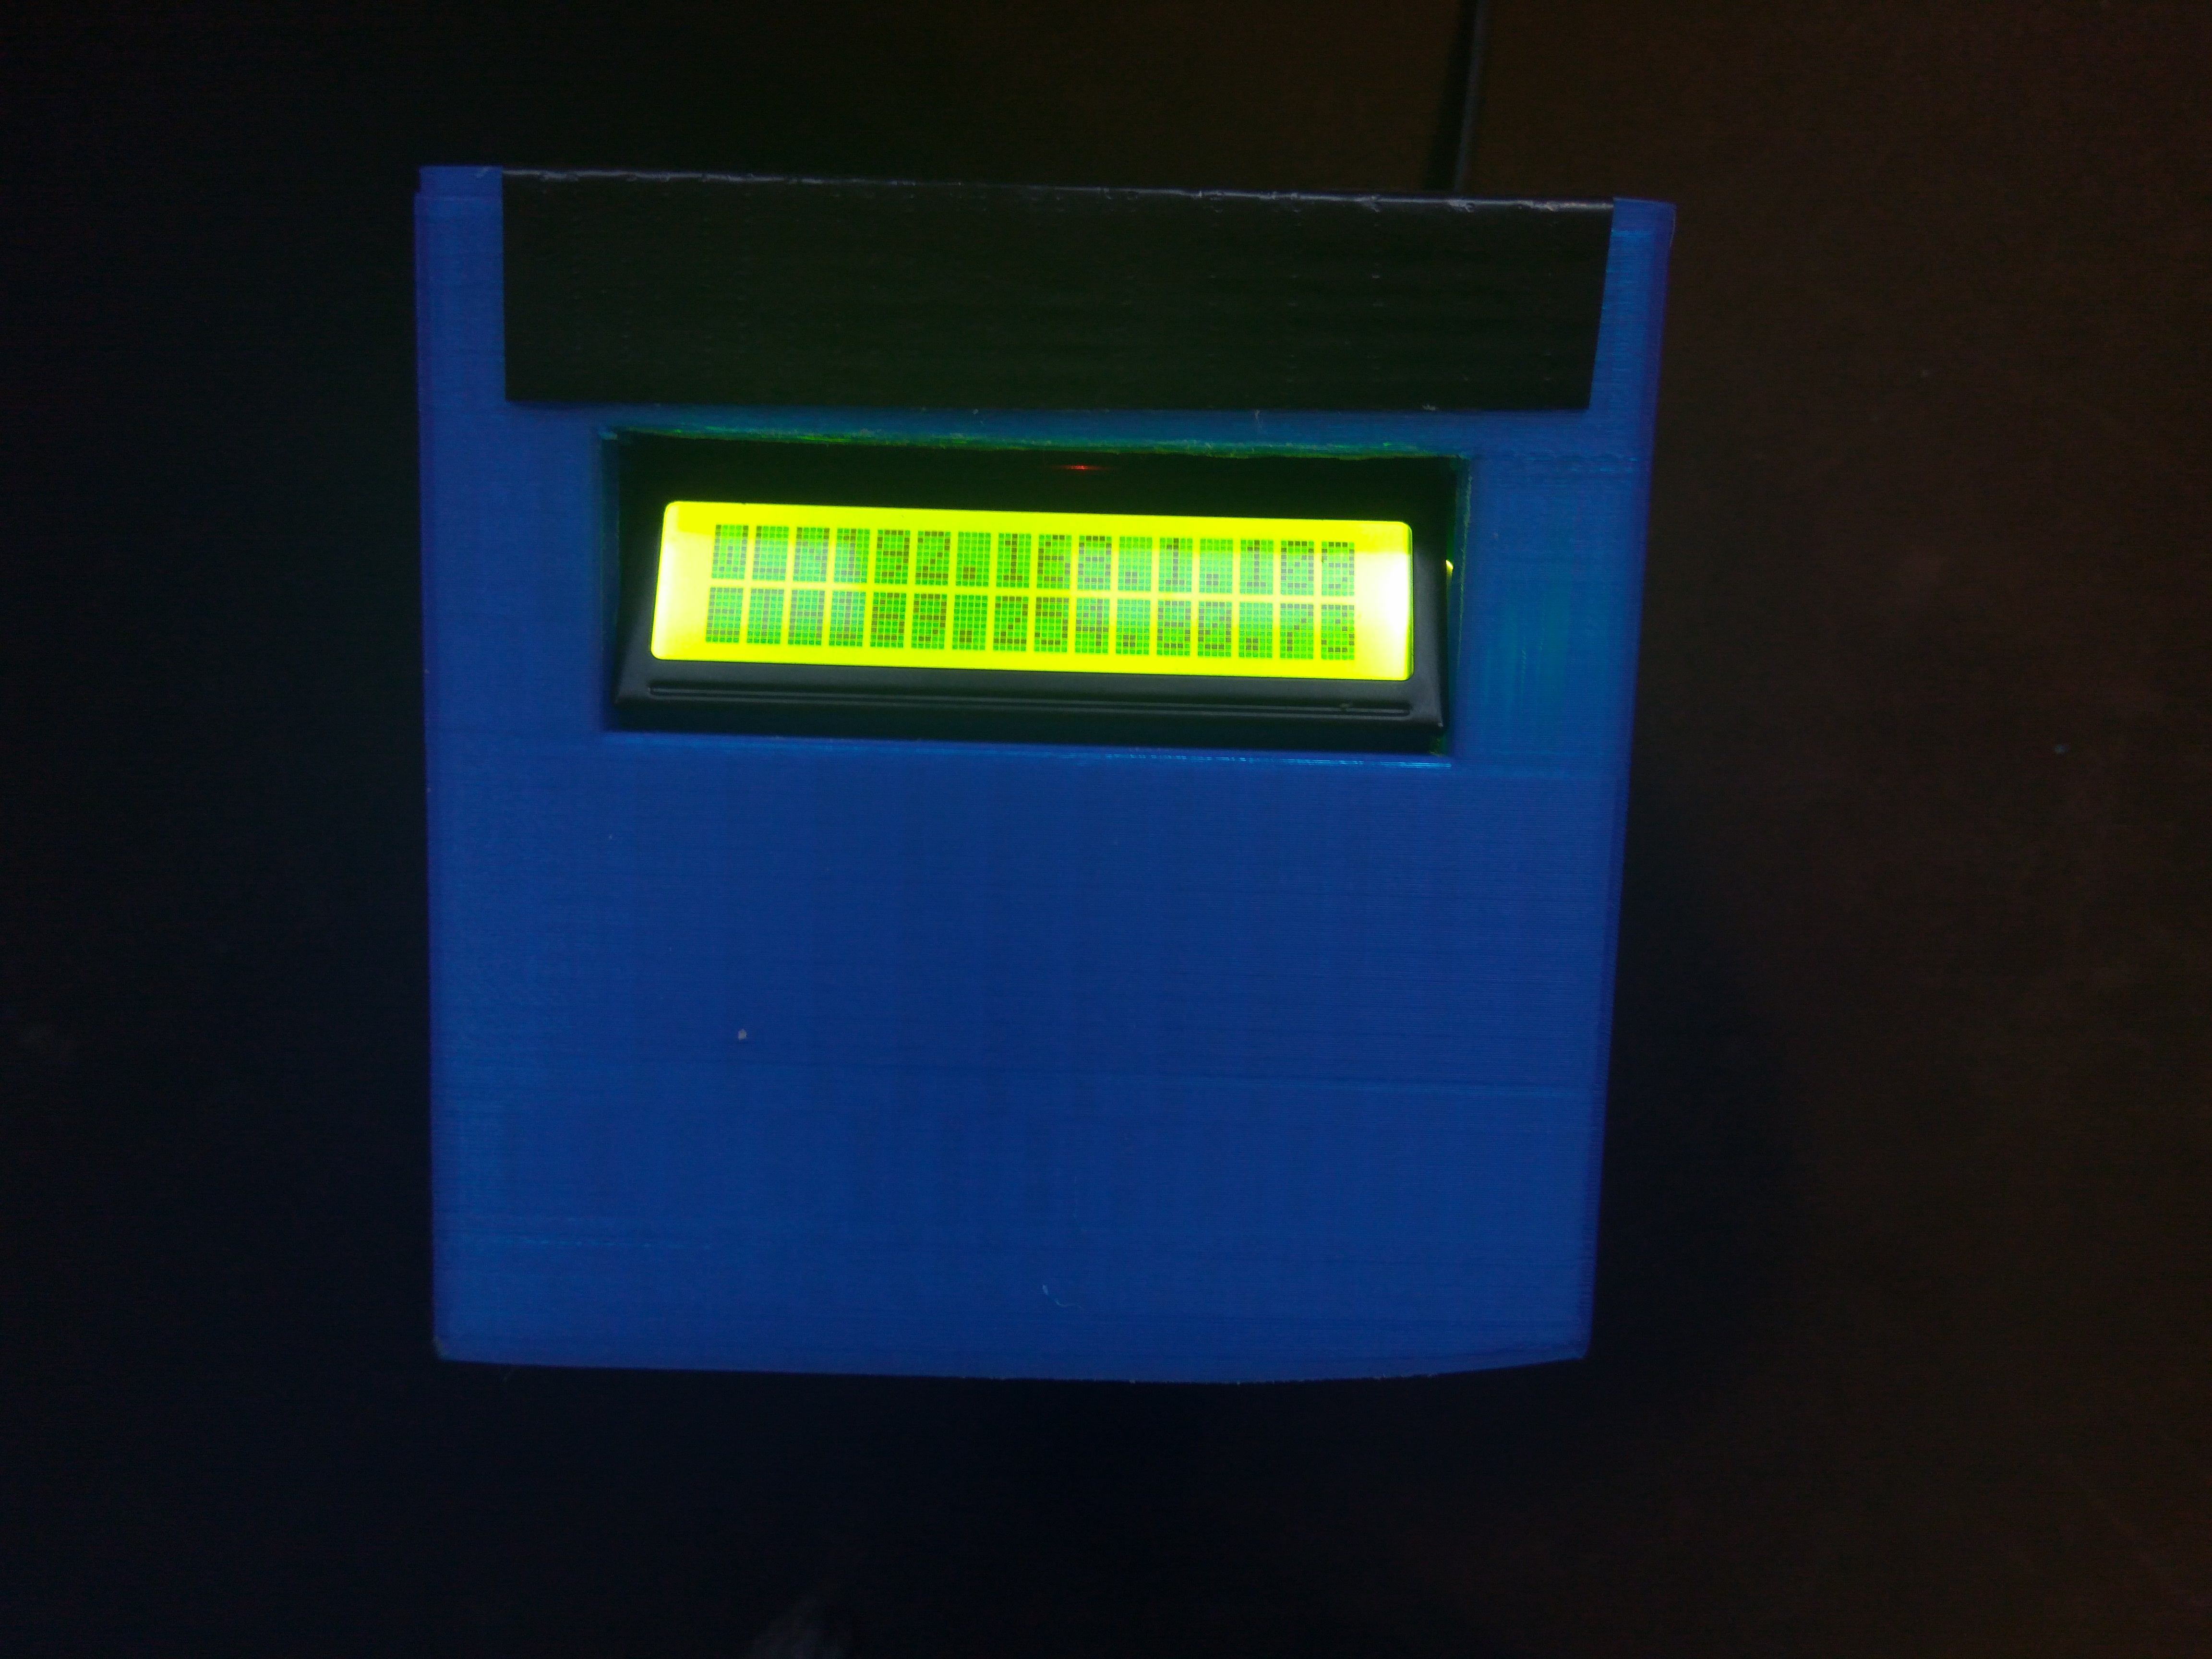
If you are sure everything works and is properly assembled, it's time to move it into the box. I personally used a liberal amount of knead-glue and other office supplied to make sure everything would stay in the right place.
I mainly use it because I dont want it to be a permanent setup, so after I get bored I want to be able to dissasemble it to make other cool stuff.
In any case (heh, see what I did there?) close the lid once everything's inside and still working and prepare yourself. Mentally. You won't like what comes next.
"Start Script on Boot" the Devil That He Is.

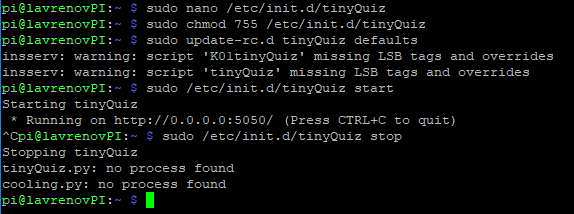
Ah yes, the most dreaded part of every project, in my opinion. Getting that *!@#!@&$^!(~ to start when the RPi boots. I don't know how others do it, but I've tried basically every menthod there is (ini.d, sh, LXDE, crontab and rc.local and none of them work reliably. crontab seems to be the most reliable out of the bunch, so we'll go with that:
Connect to PuTTY again, and type the following command:
<p>sudo crontab -e -u pi</p>
it'll ask you what editor you want to use (I prefer nano) and open the file. At the bottom of the file, you will have to add the following:
<p>@reboot sleep 30 sudo python3 /home/pi/Documents/tinyQuiz/tinyQuiz.py<br>@reboot sleep 30 sudo python3 /home/pi/Documents/tinyQuiz/display.py</p>
save the file. The code means that 30 seconds after it restarts, it'll run those commands.
Now get cron itself going by and then add it to the init.d above the exit() line so it start on boot.
<p>/etc/init.d/cron start<br>sudo nano /etc/rc.local</p>
After a reboot, you can run the following to see if cron's doing its job
<p>ps aux | grep cron</p>
Play the Game
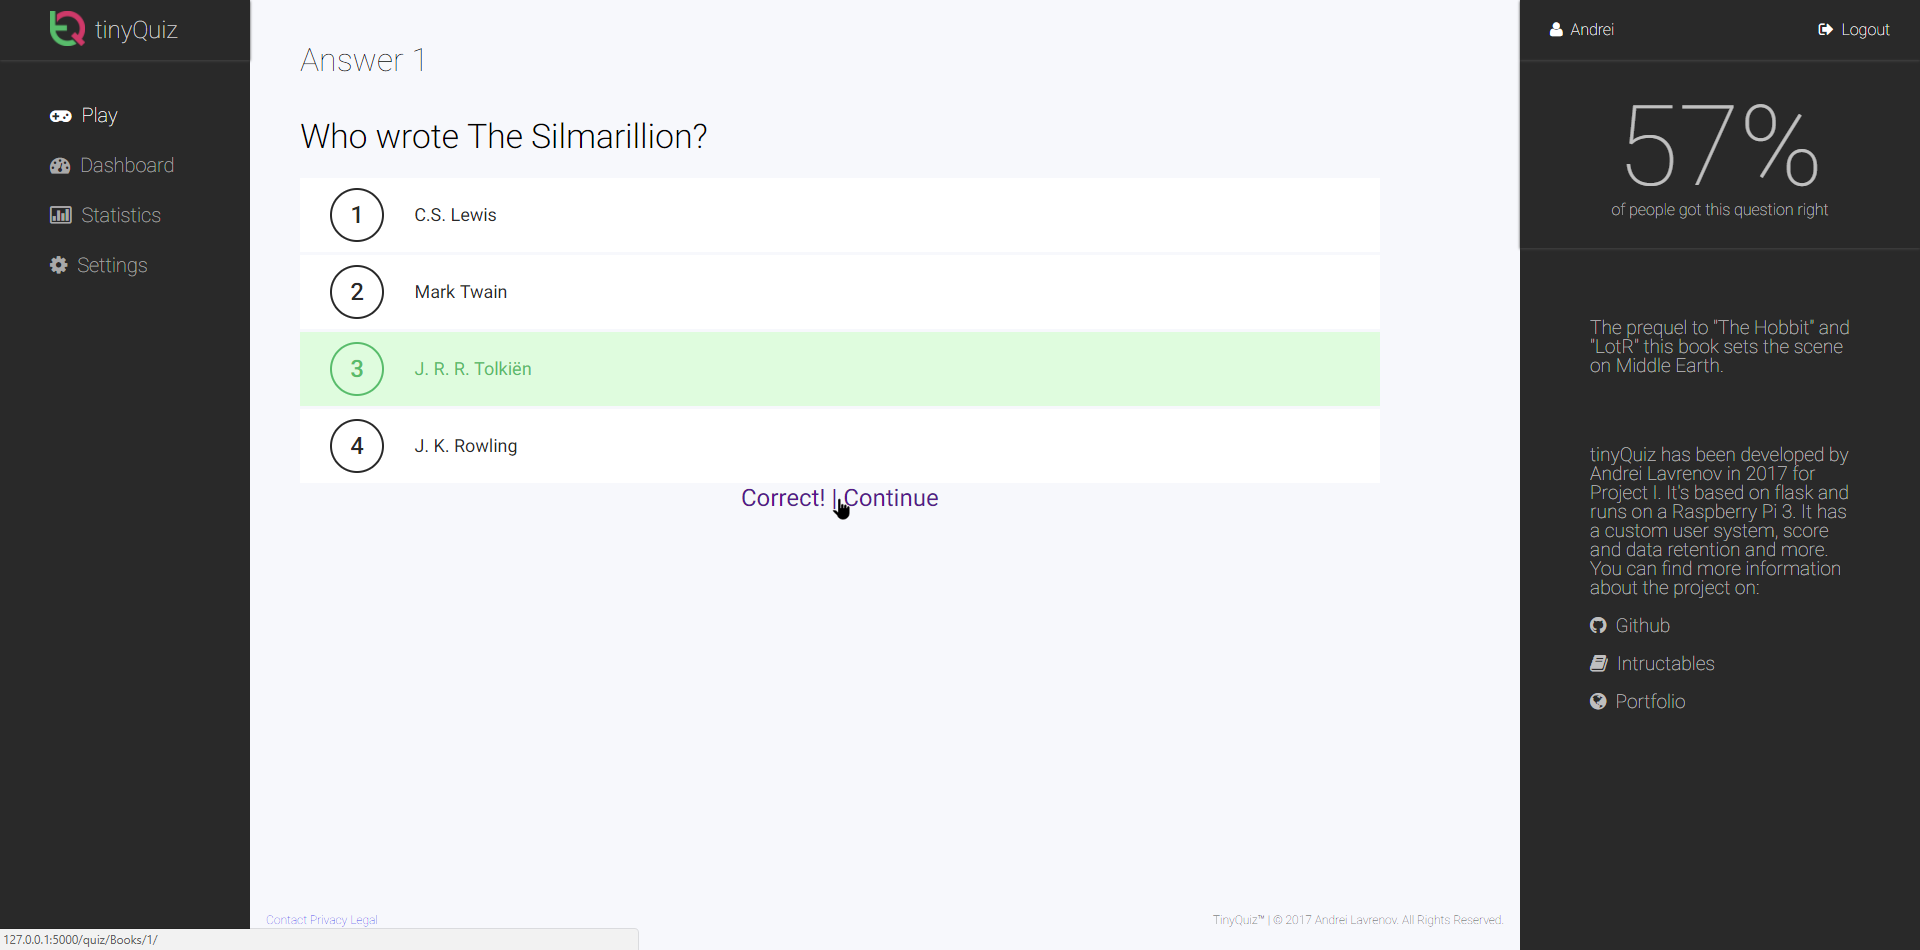
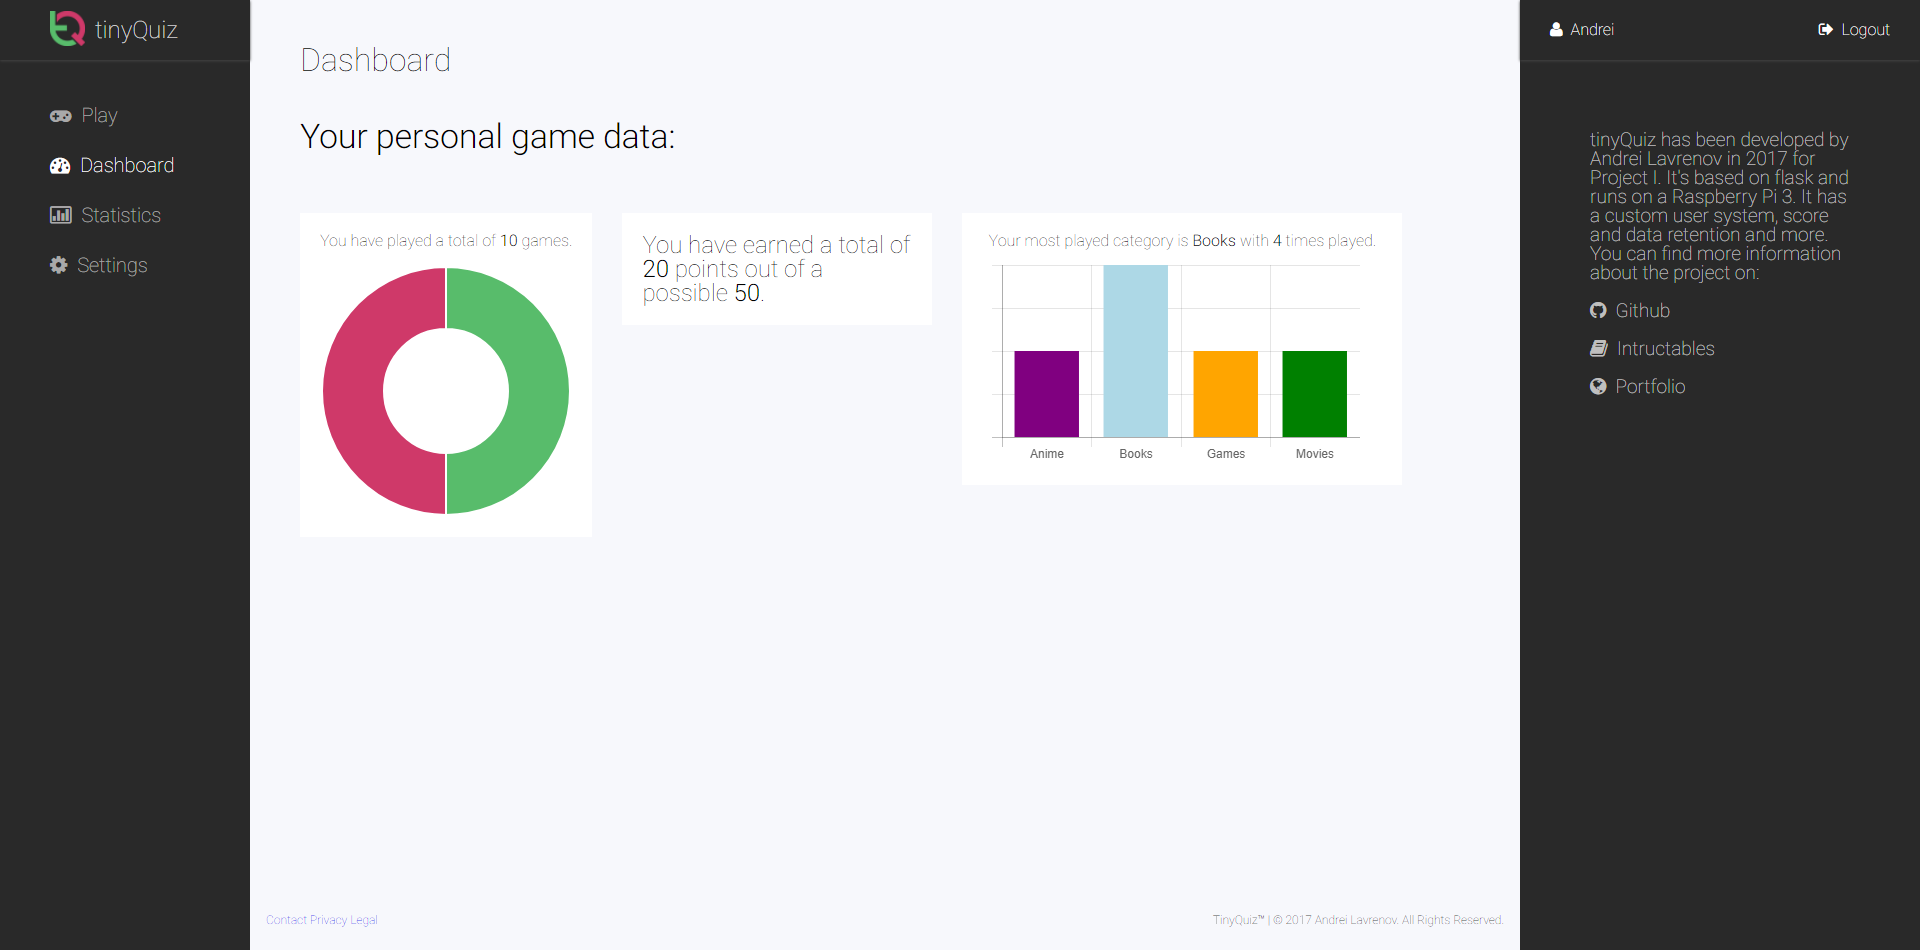
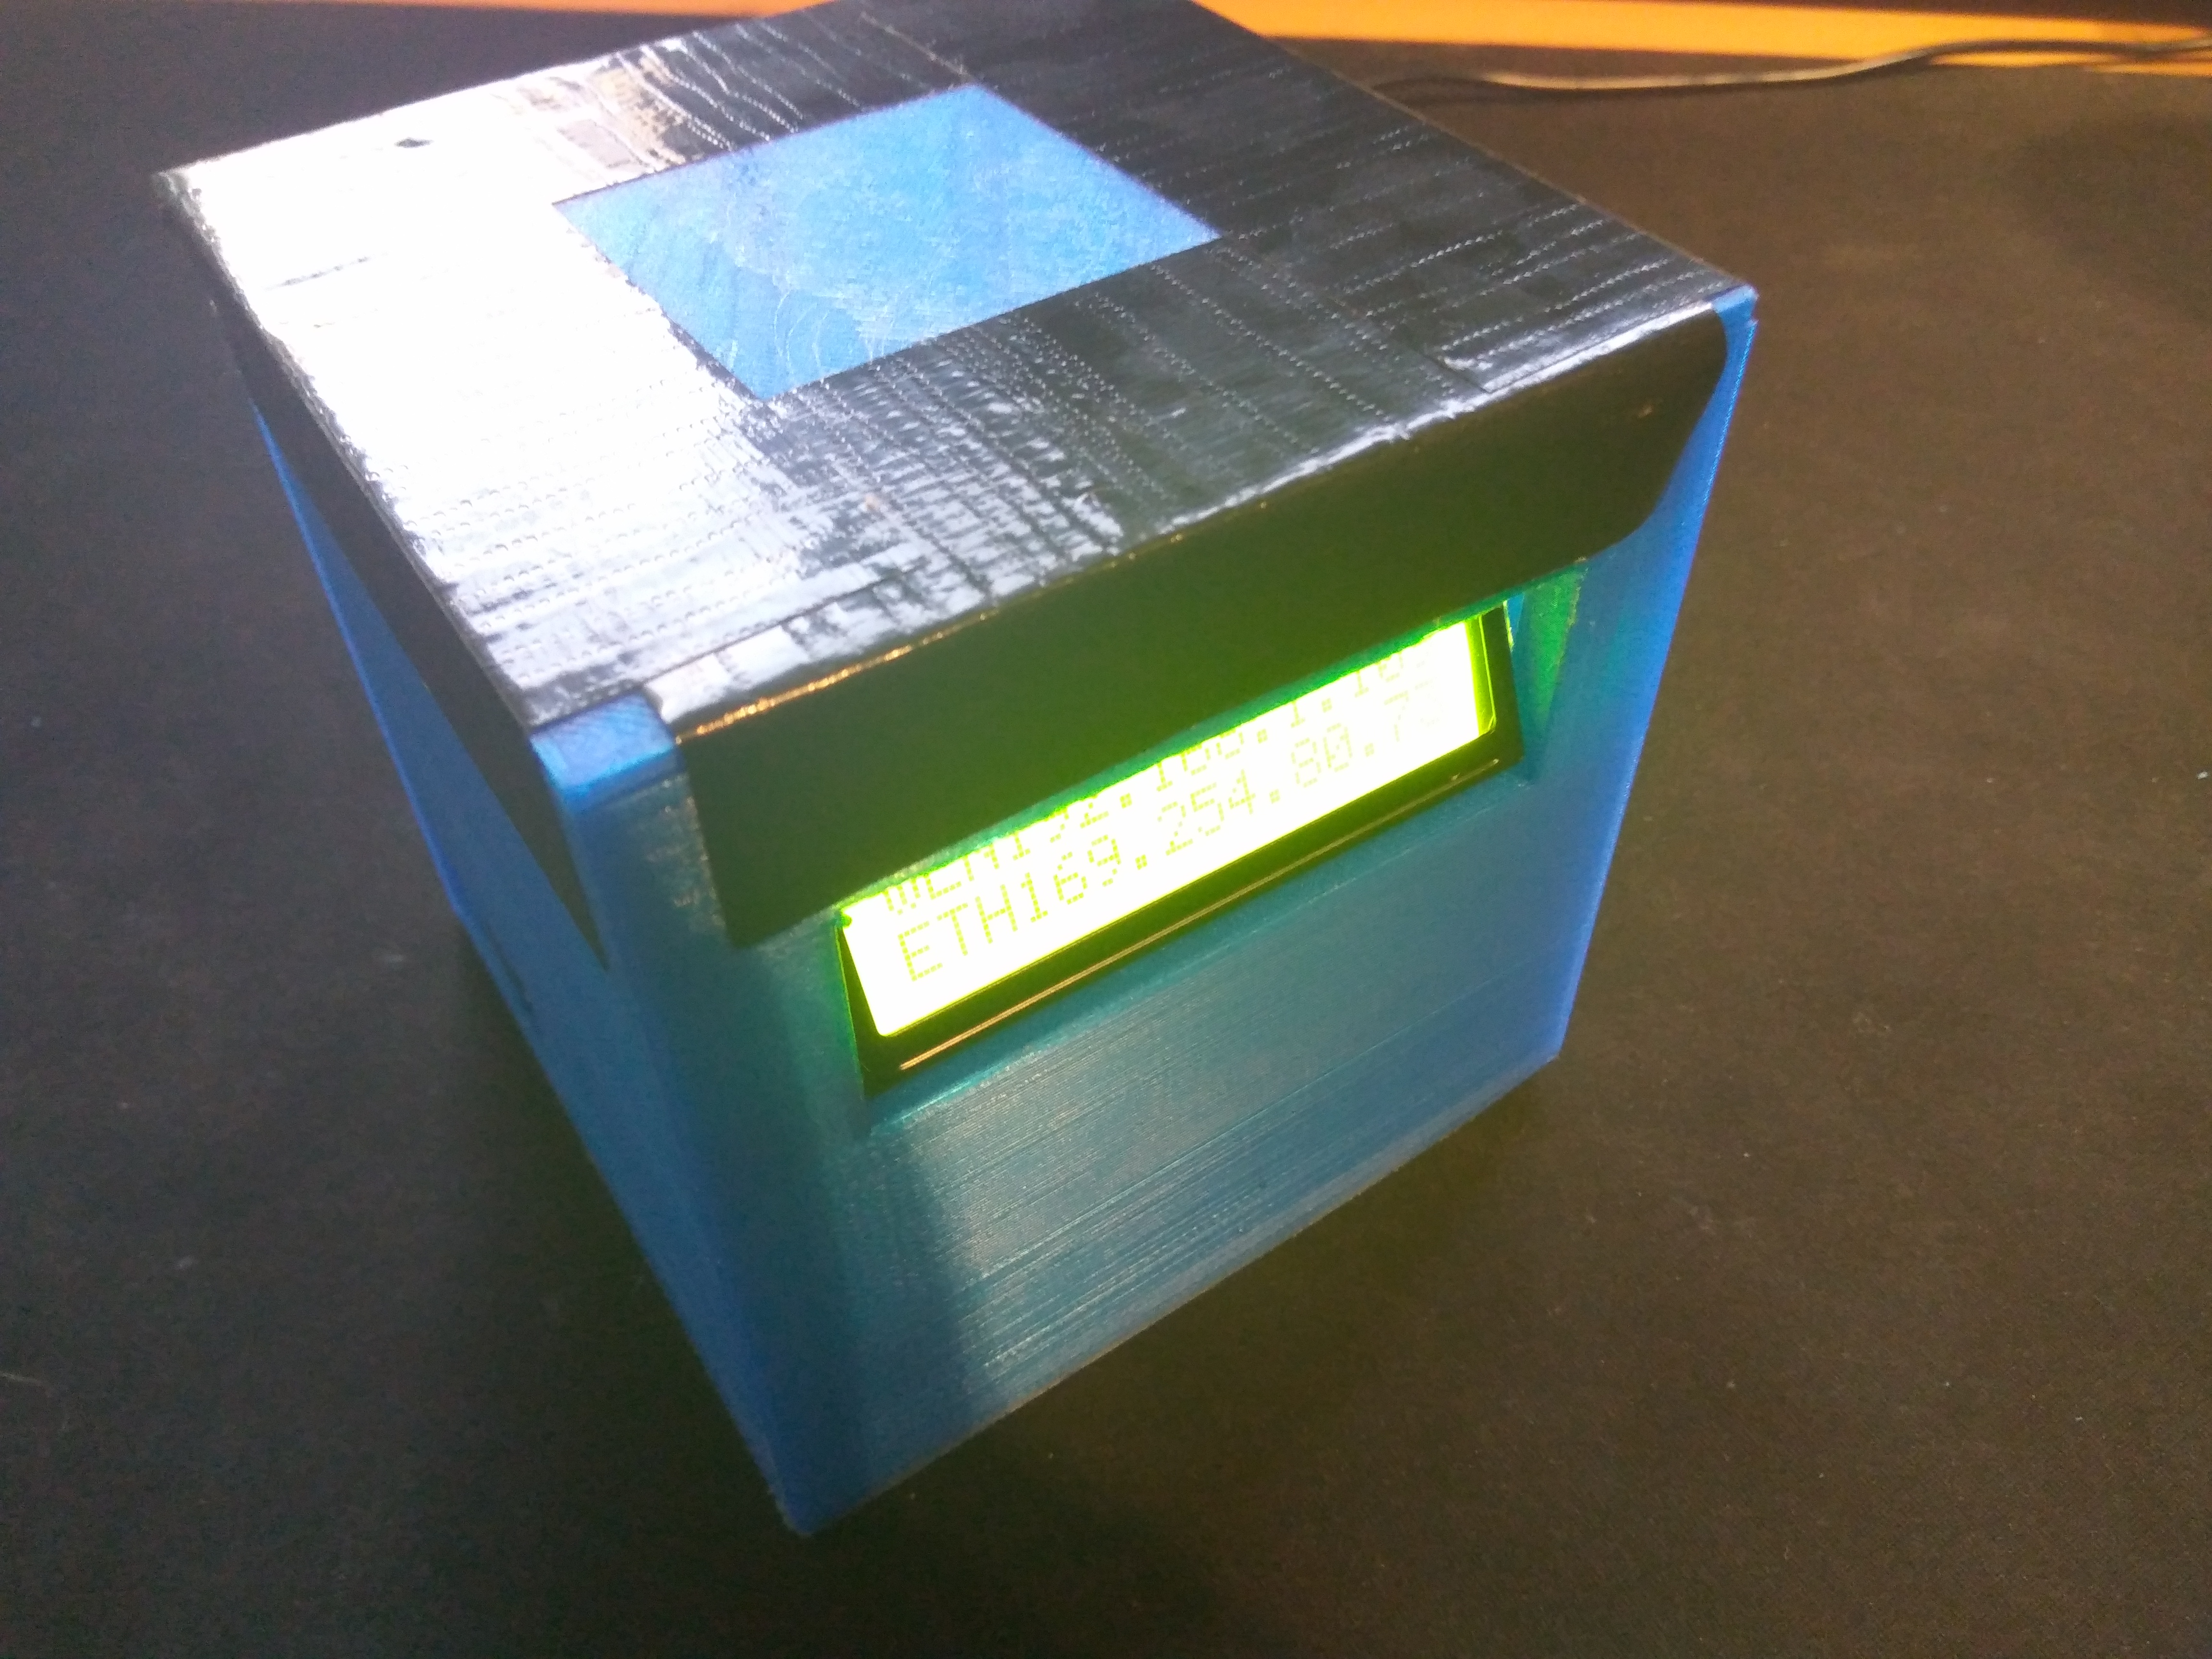
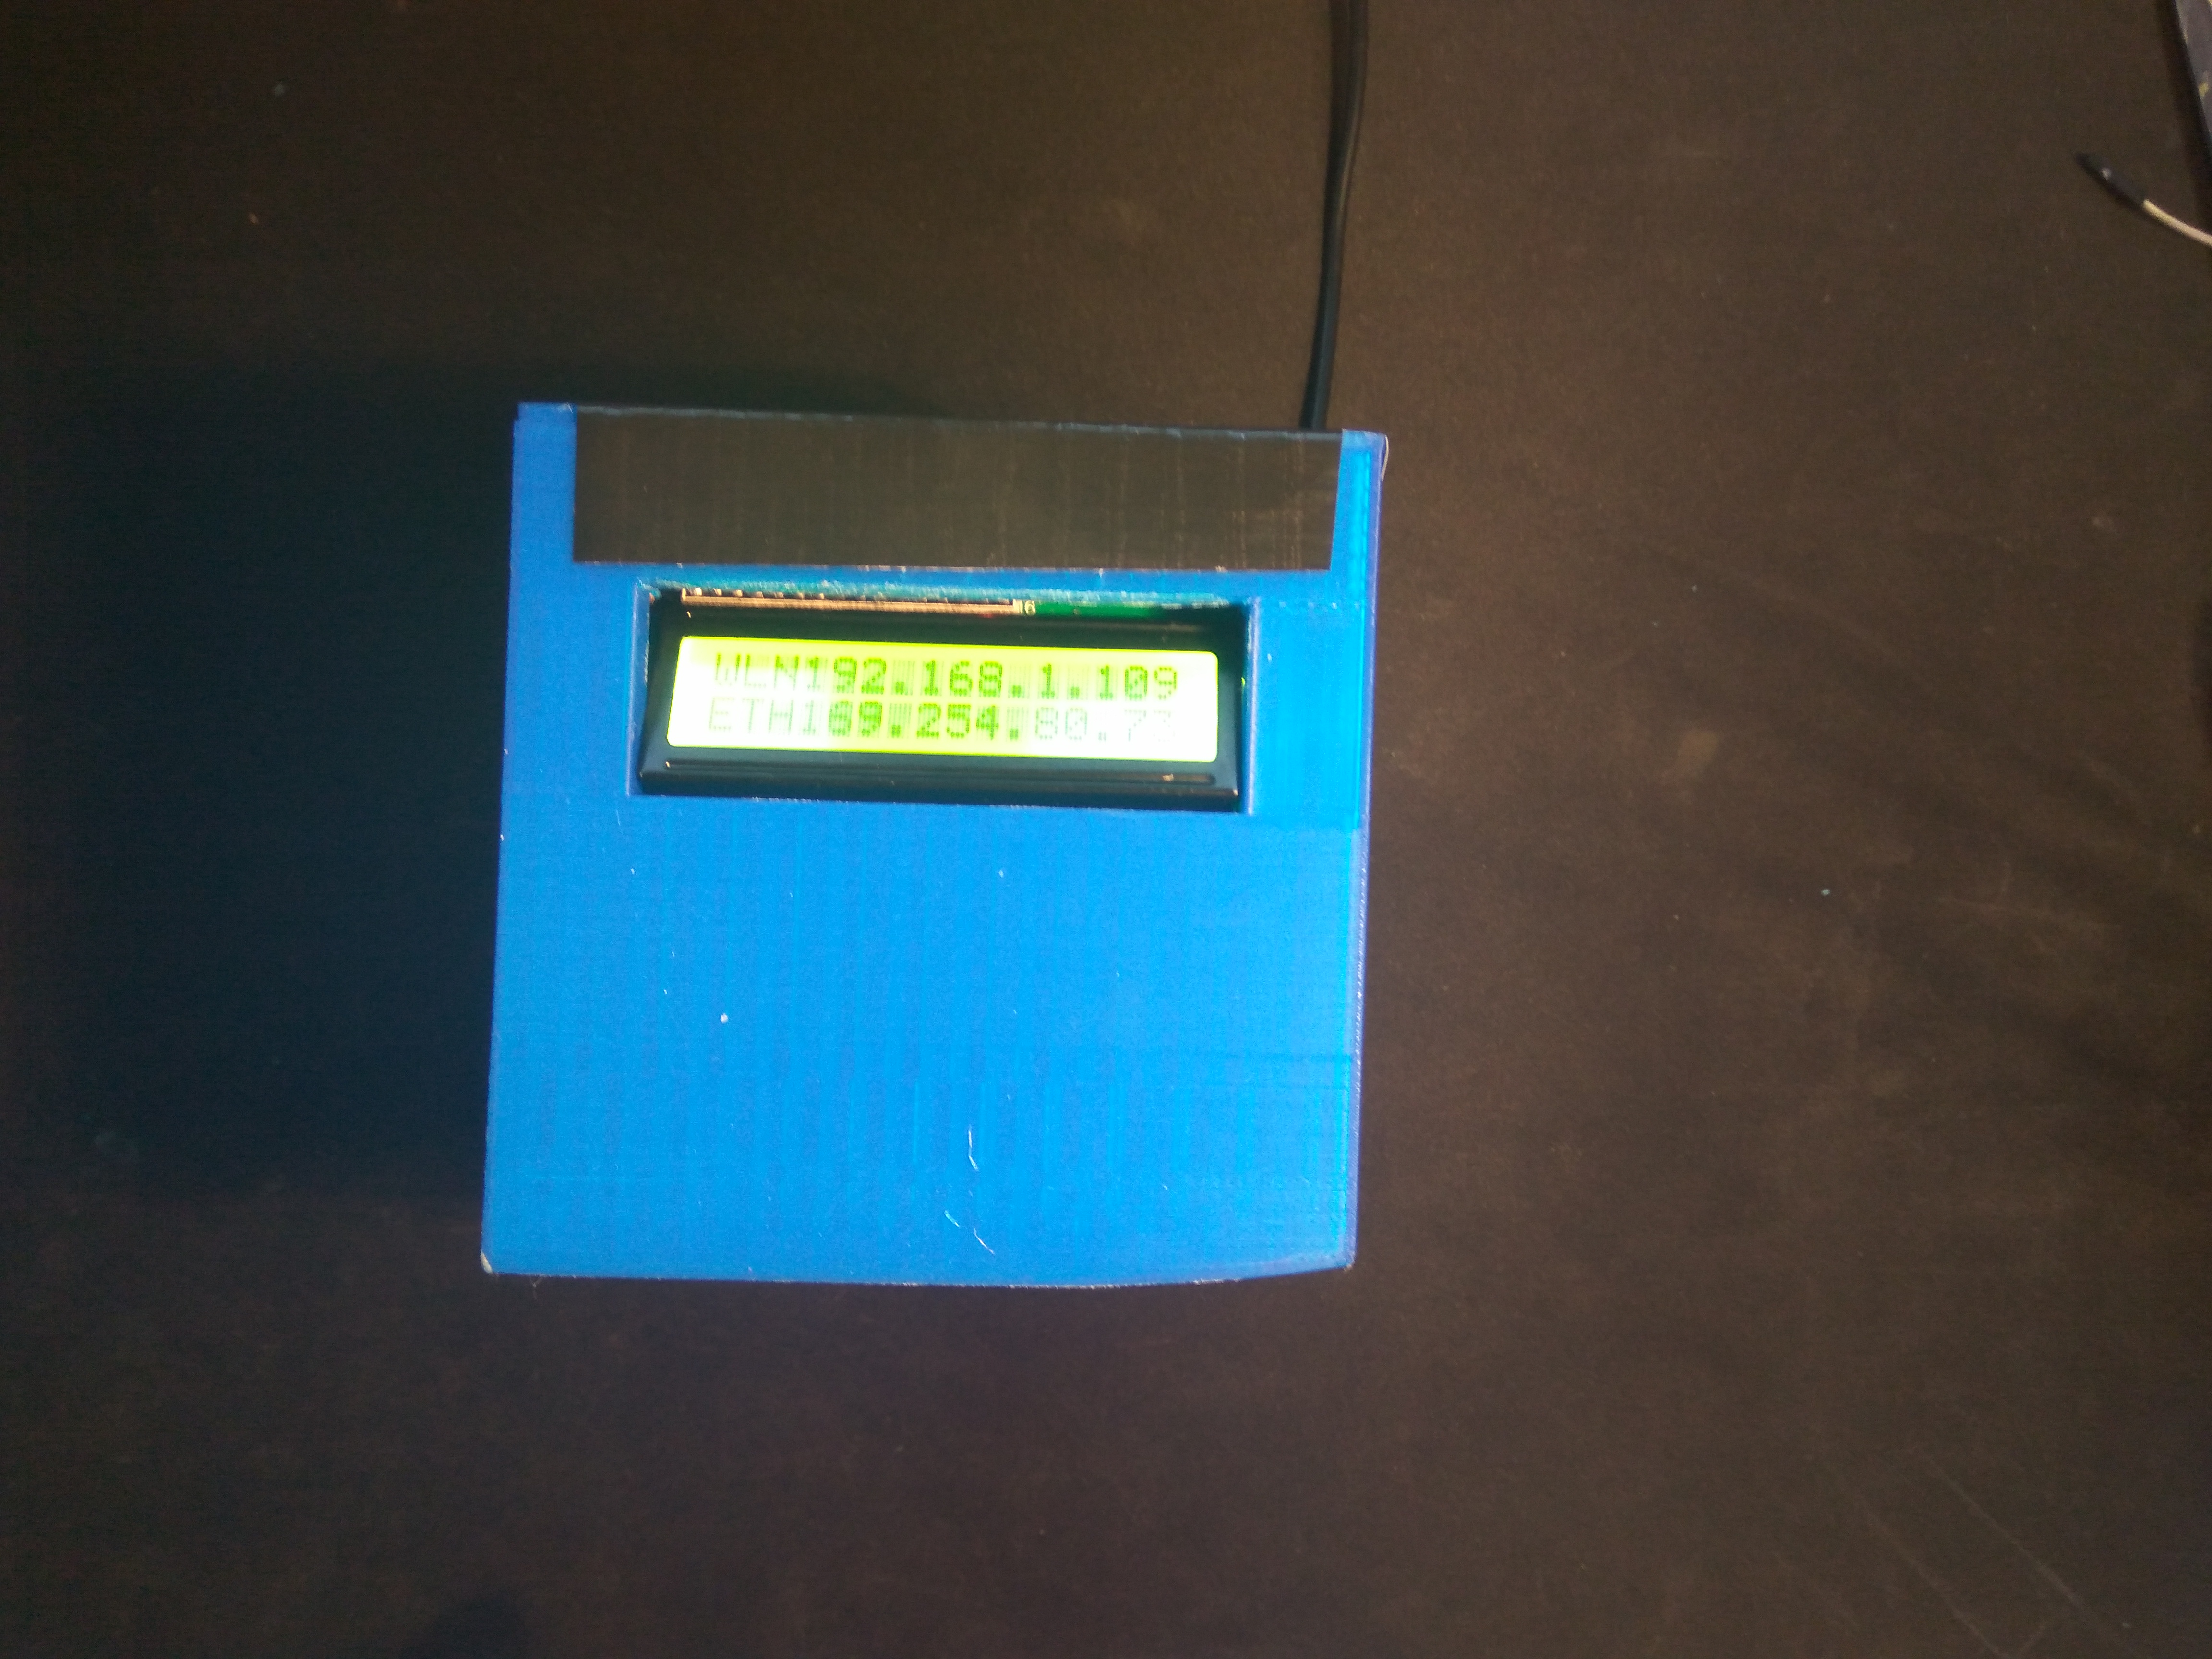
This is it. This is the moment we've all been waiting for. Coming from a long day of work, you want to relax and play your favorite game - tinyQuiz!
Get small box, and plug in the power. Within a few moments, you will be able to surf to the pi's localhost and enjoy these amazing graphics.
Go to the displayed ip, and play to your hearts content.