Tiny Robot Platform With Nano_part_4
by David_Lin in Circuits > Arduino
1312 Views, 13 Favorites, 0 Comments
Tiny Robot Platform With Nano_part_4


i am figuring about the part 3 roller bot out that
how to control the direction of the robot .
i use arduino nano controlling the wheels with servo
and dc-motor controlling by the remoter.
maybe there are someone wondering about the remoter
that is not smart enough.
in order to made it smarter (part_5), that means controlling the robot
platform when "NO ONE" is handling the robot .
Material

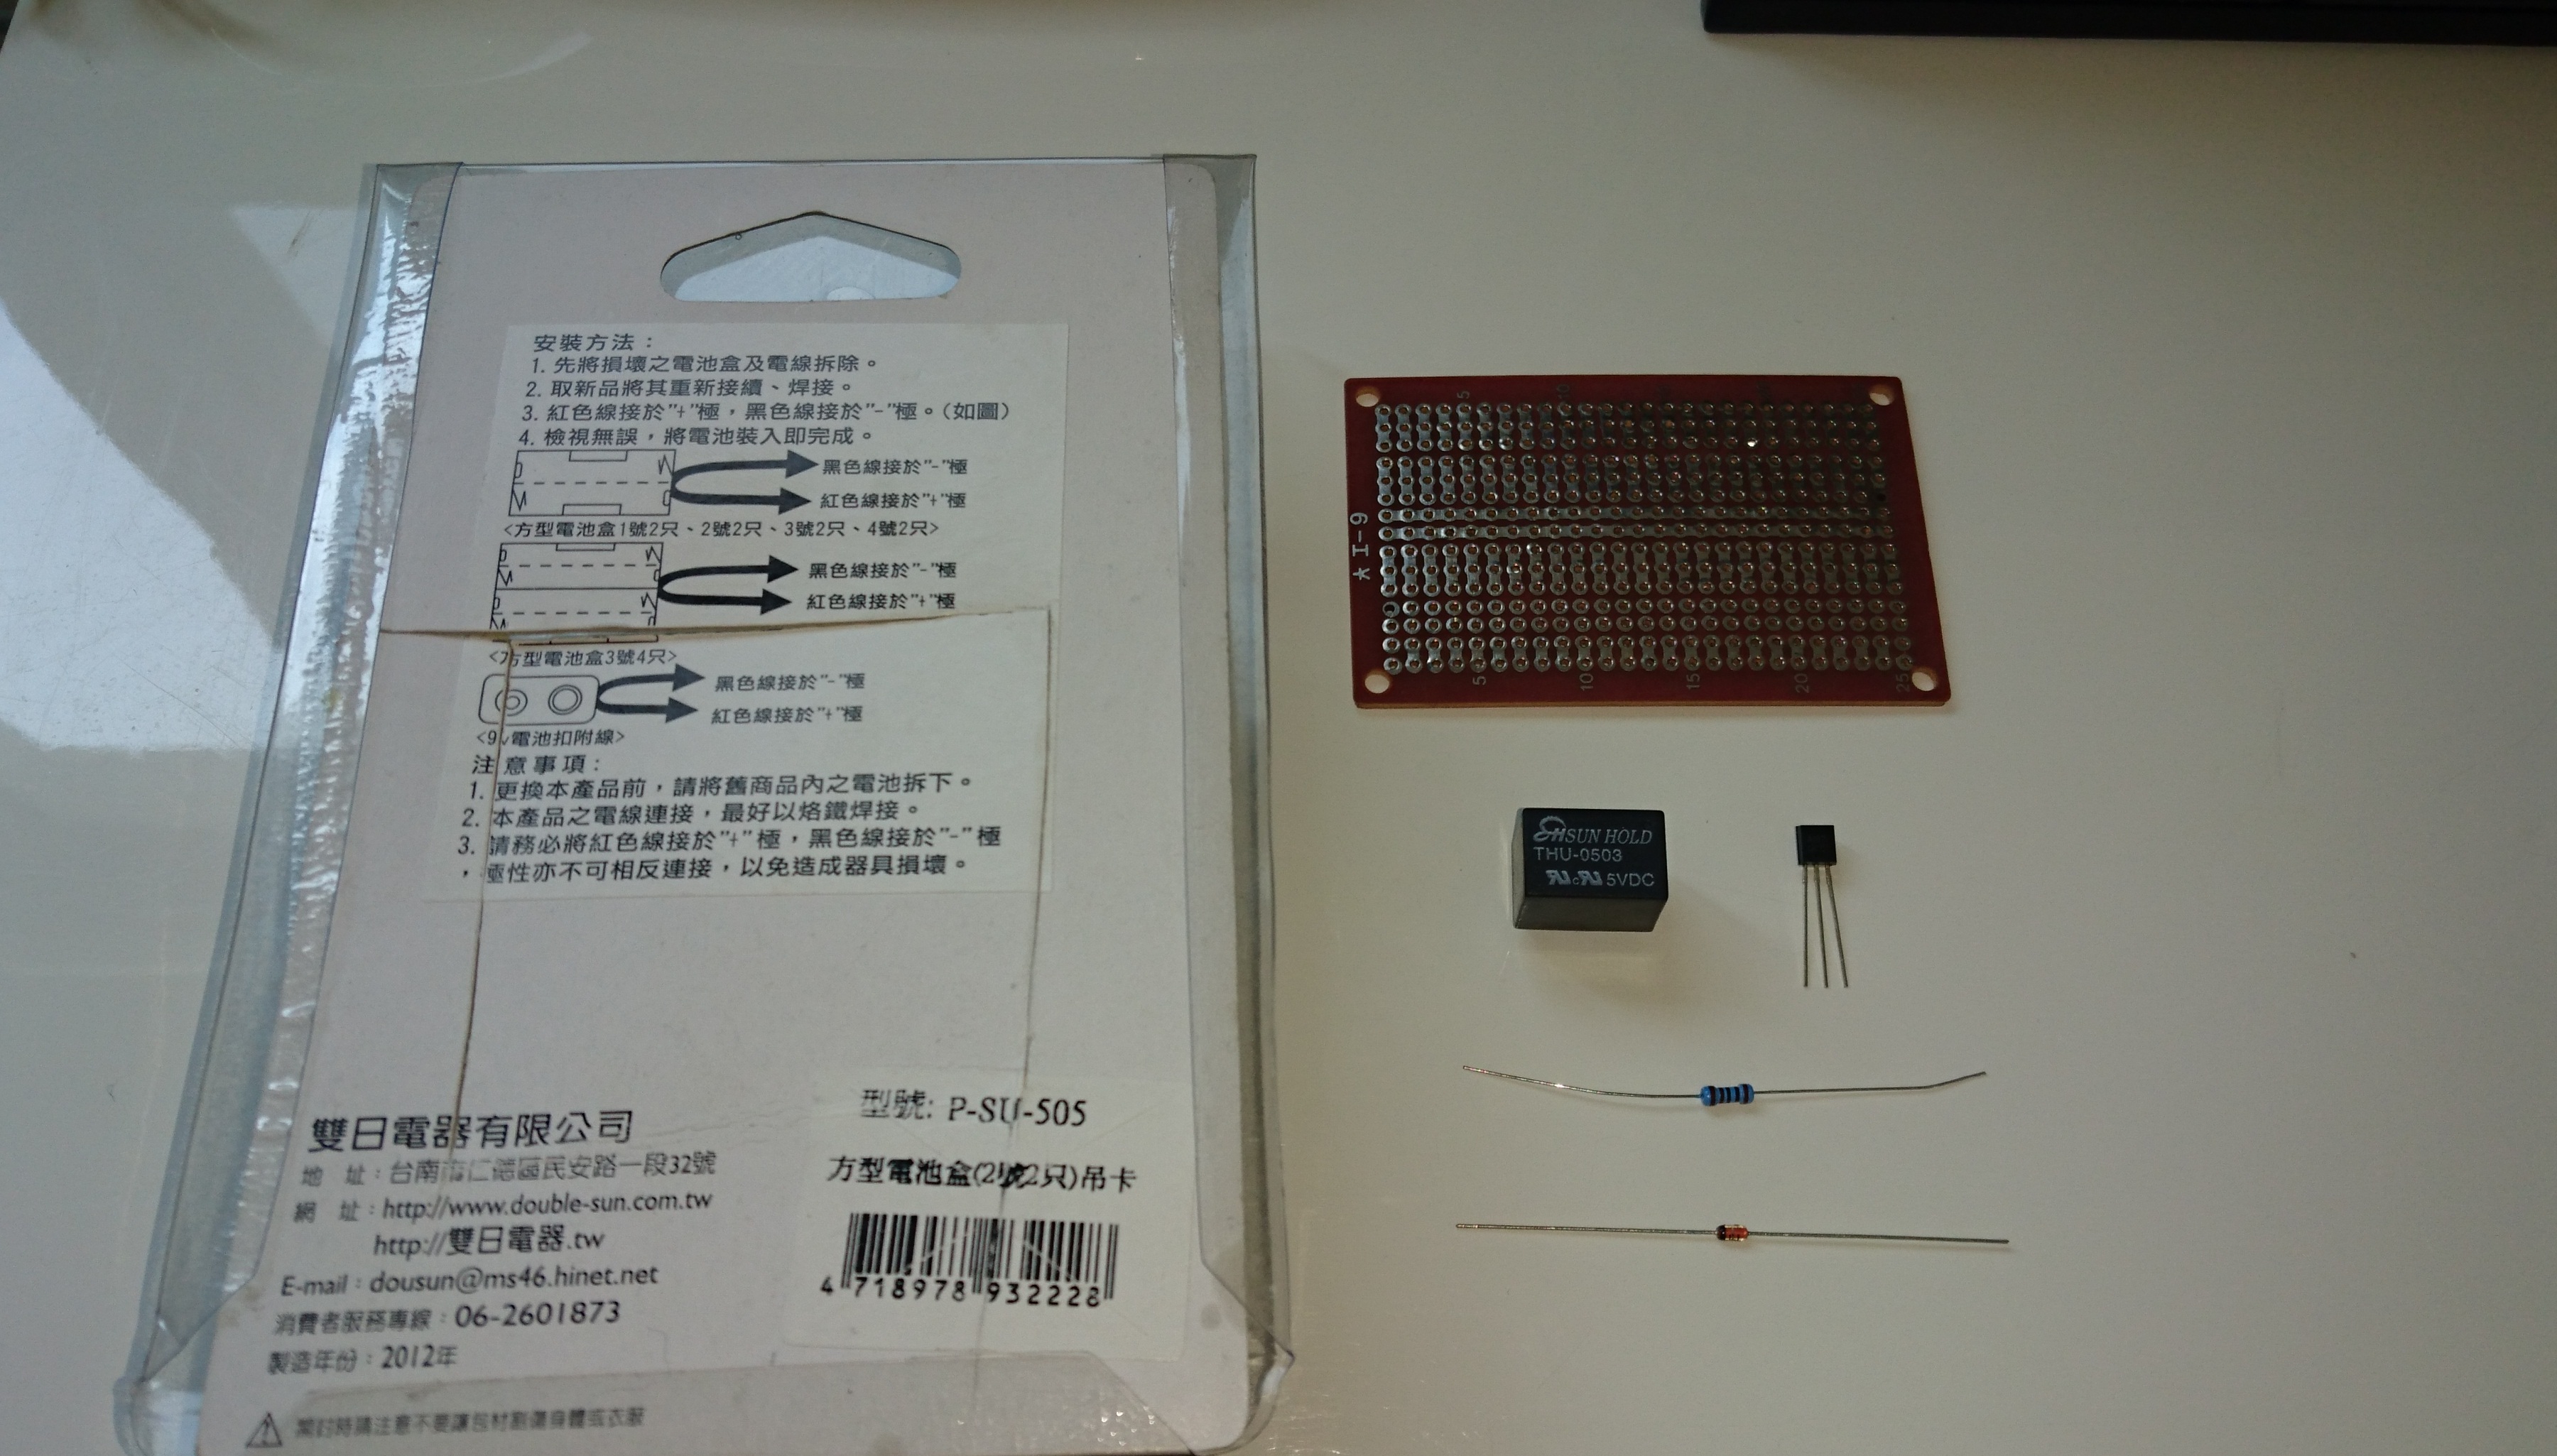


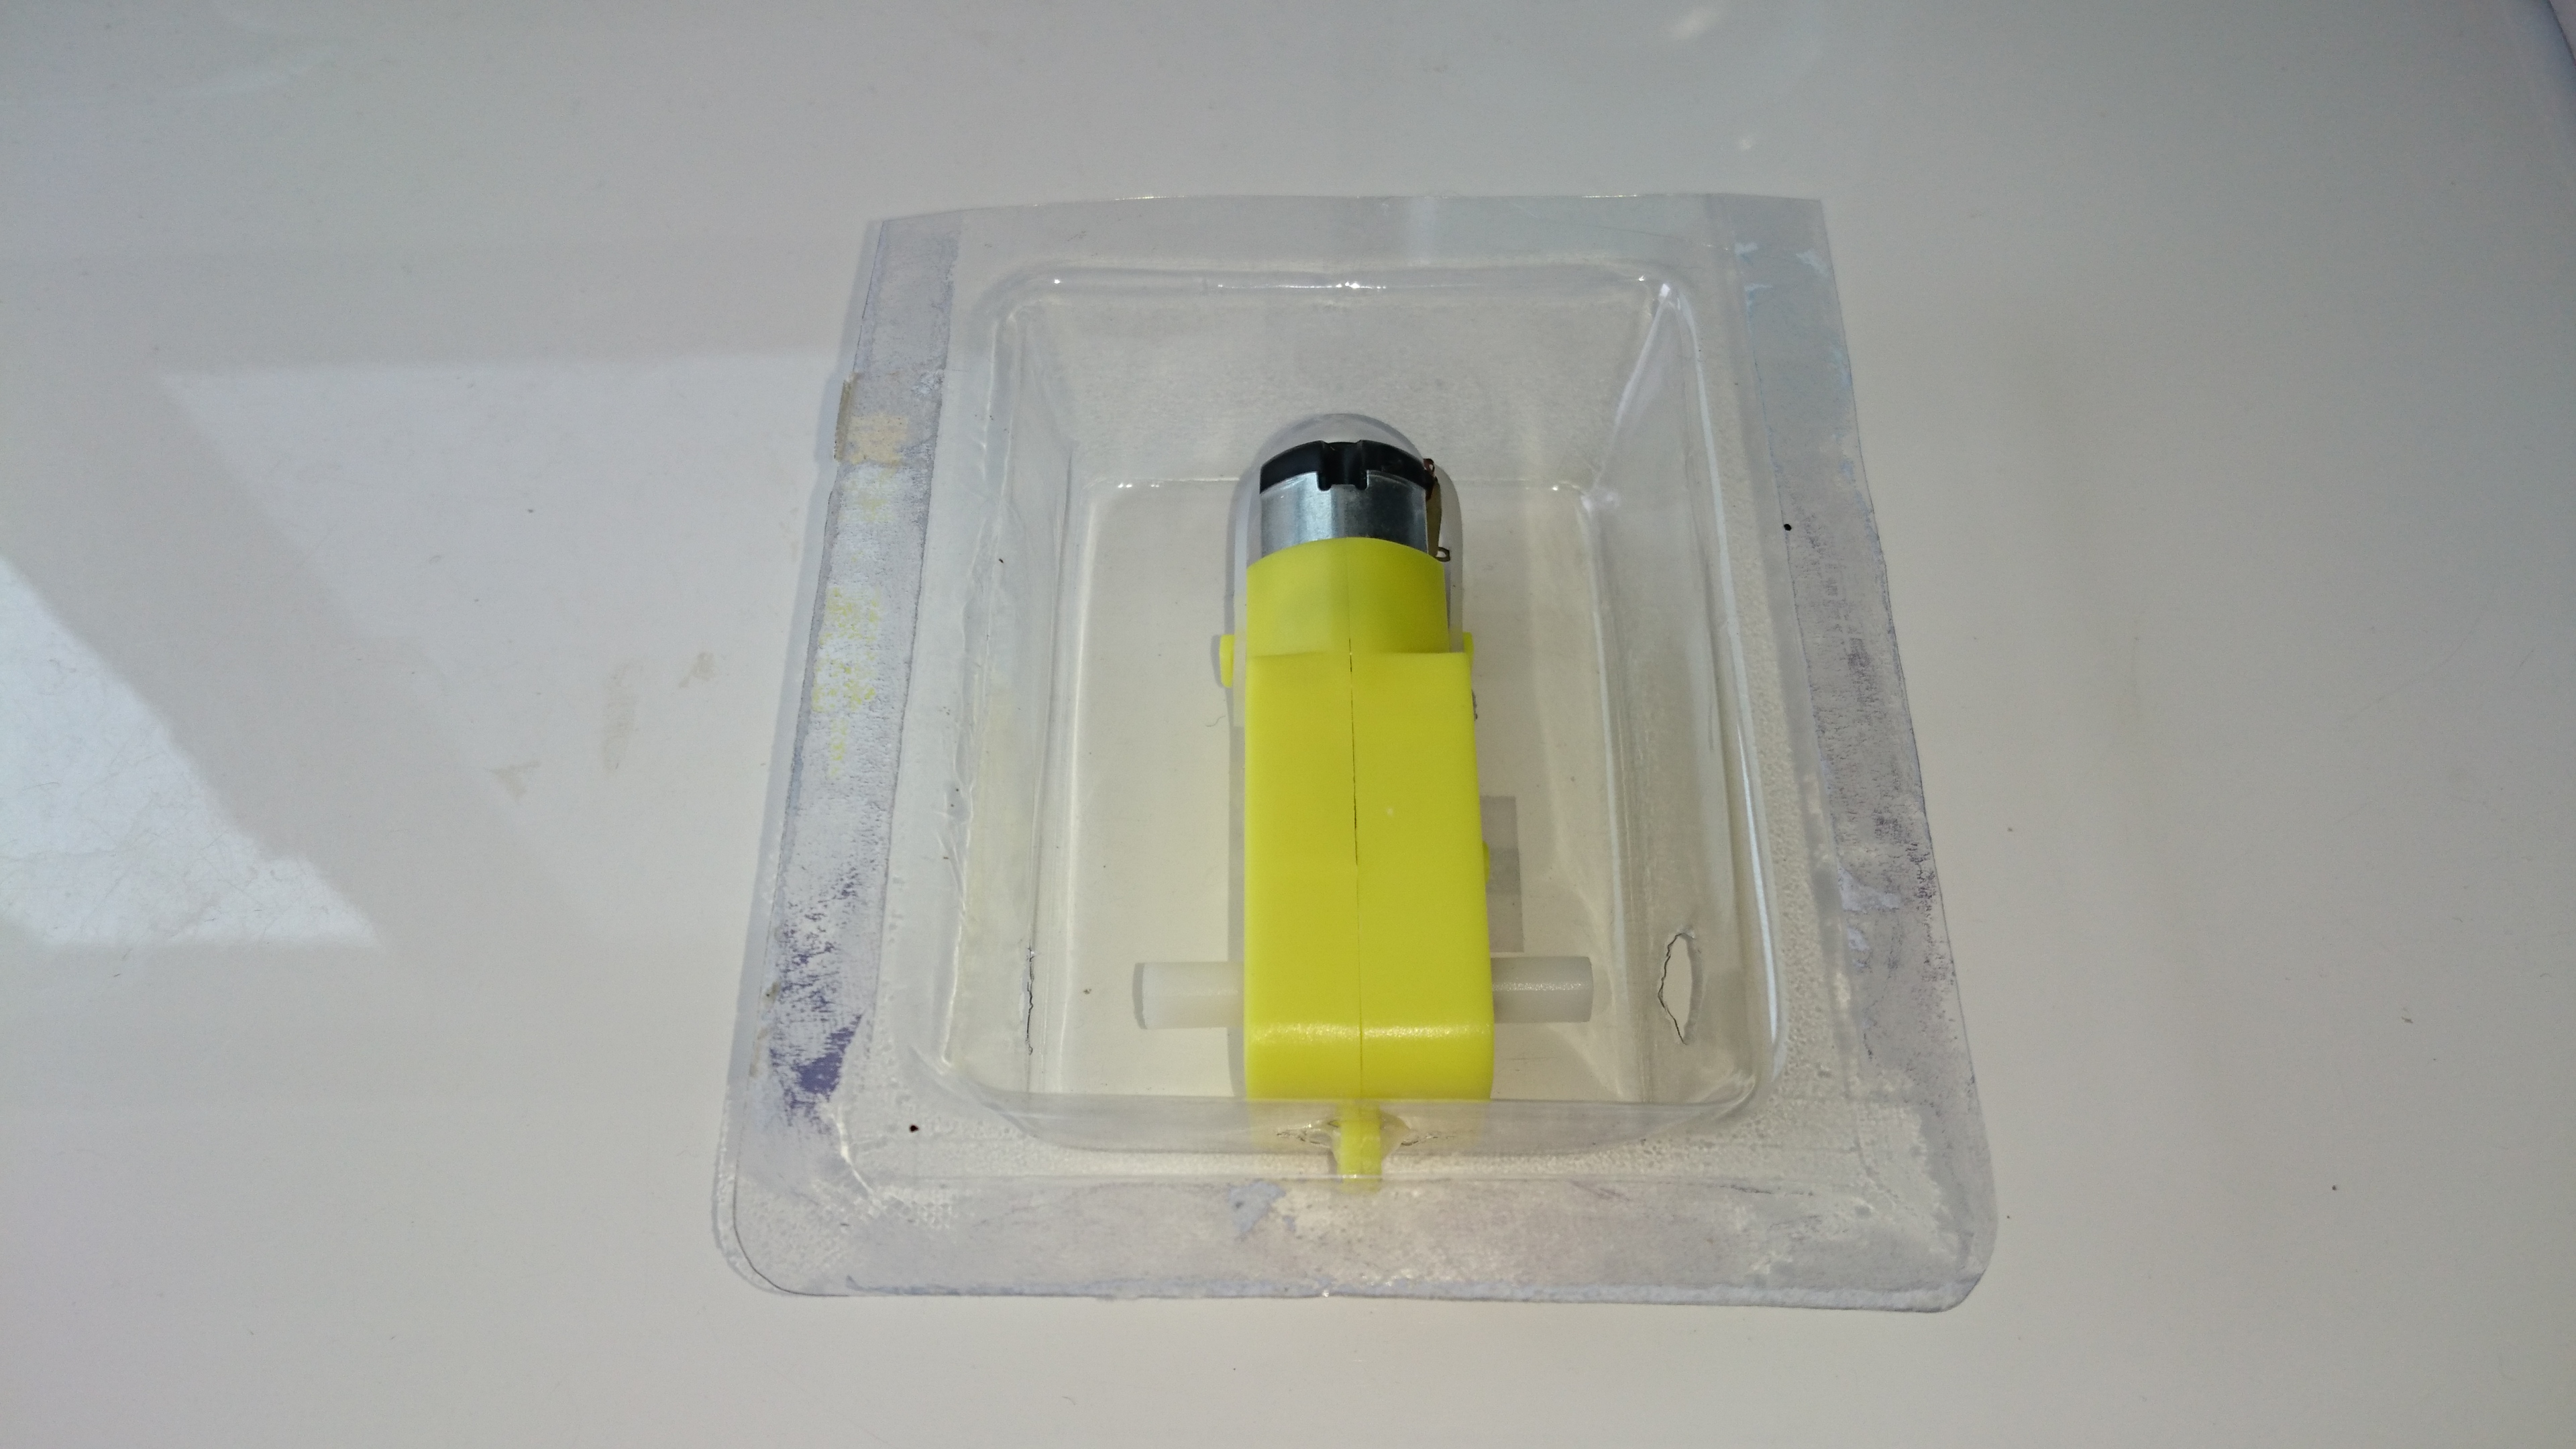
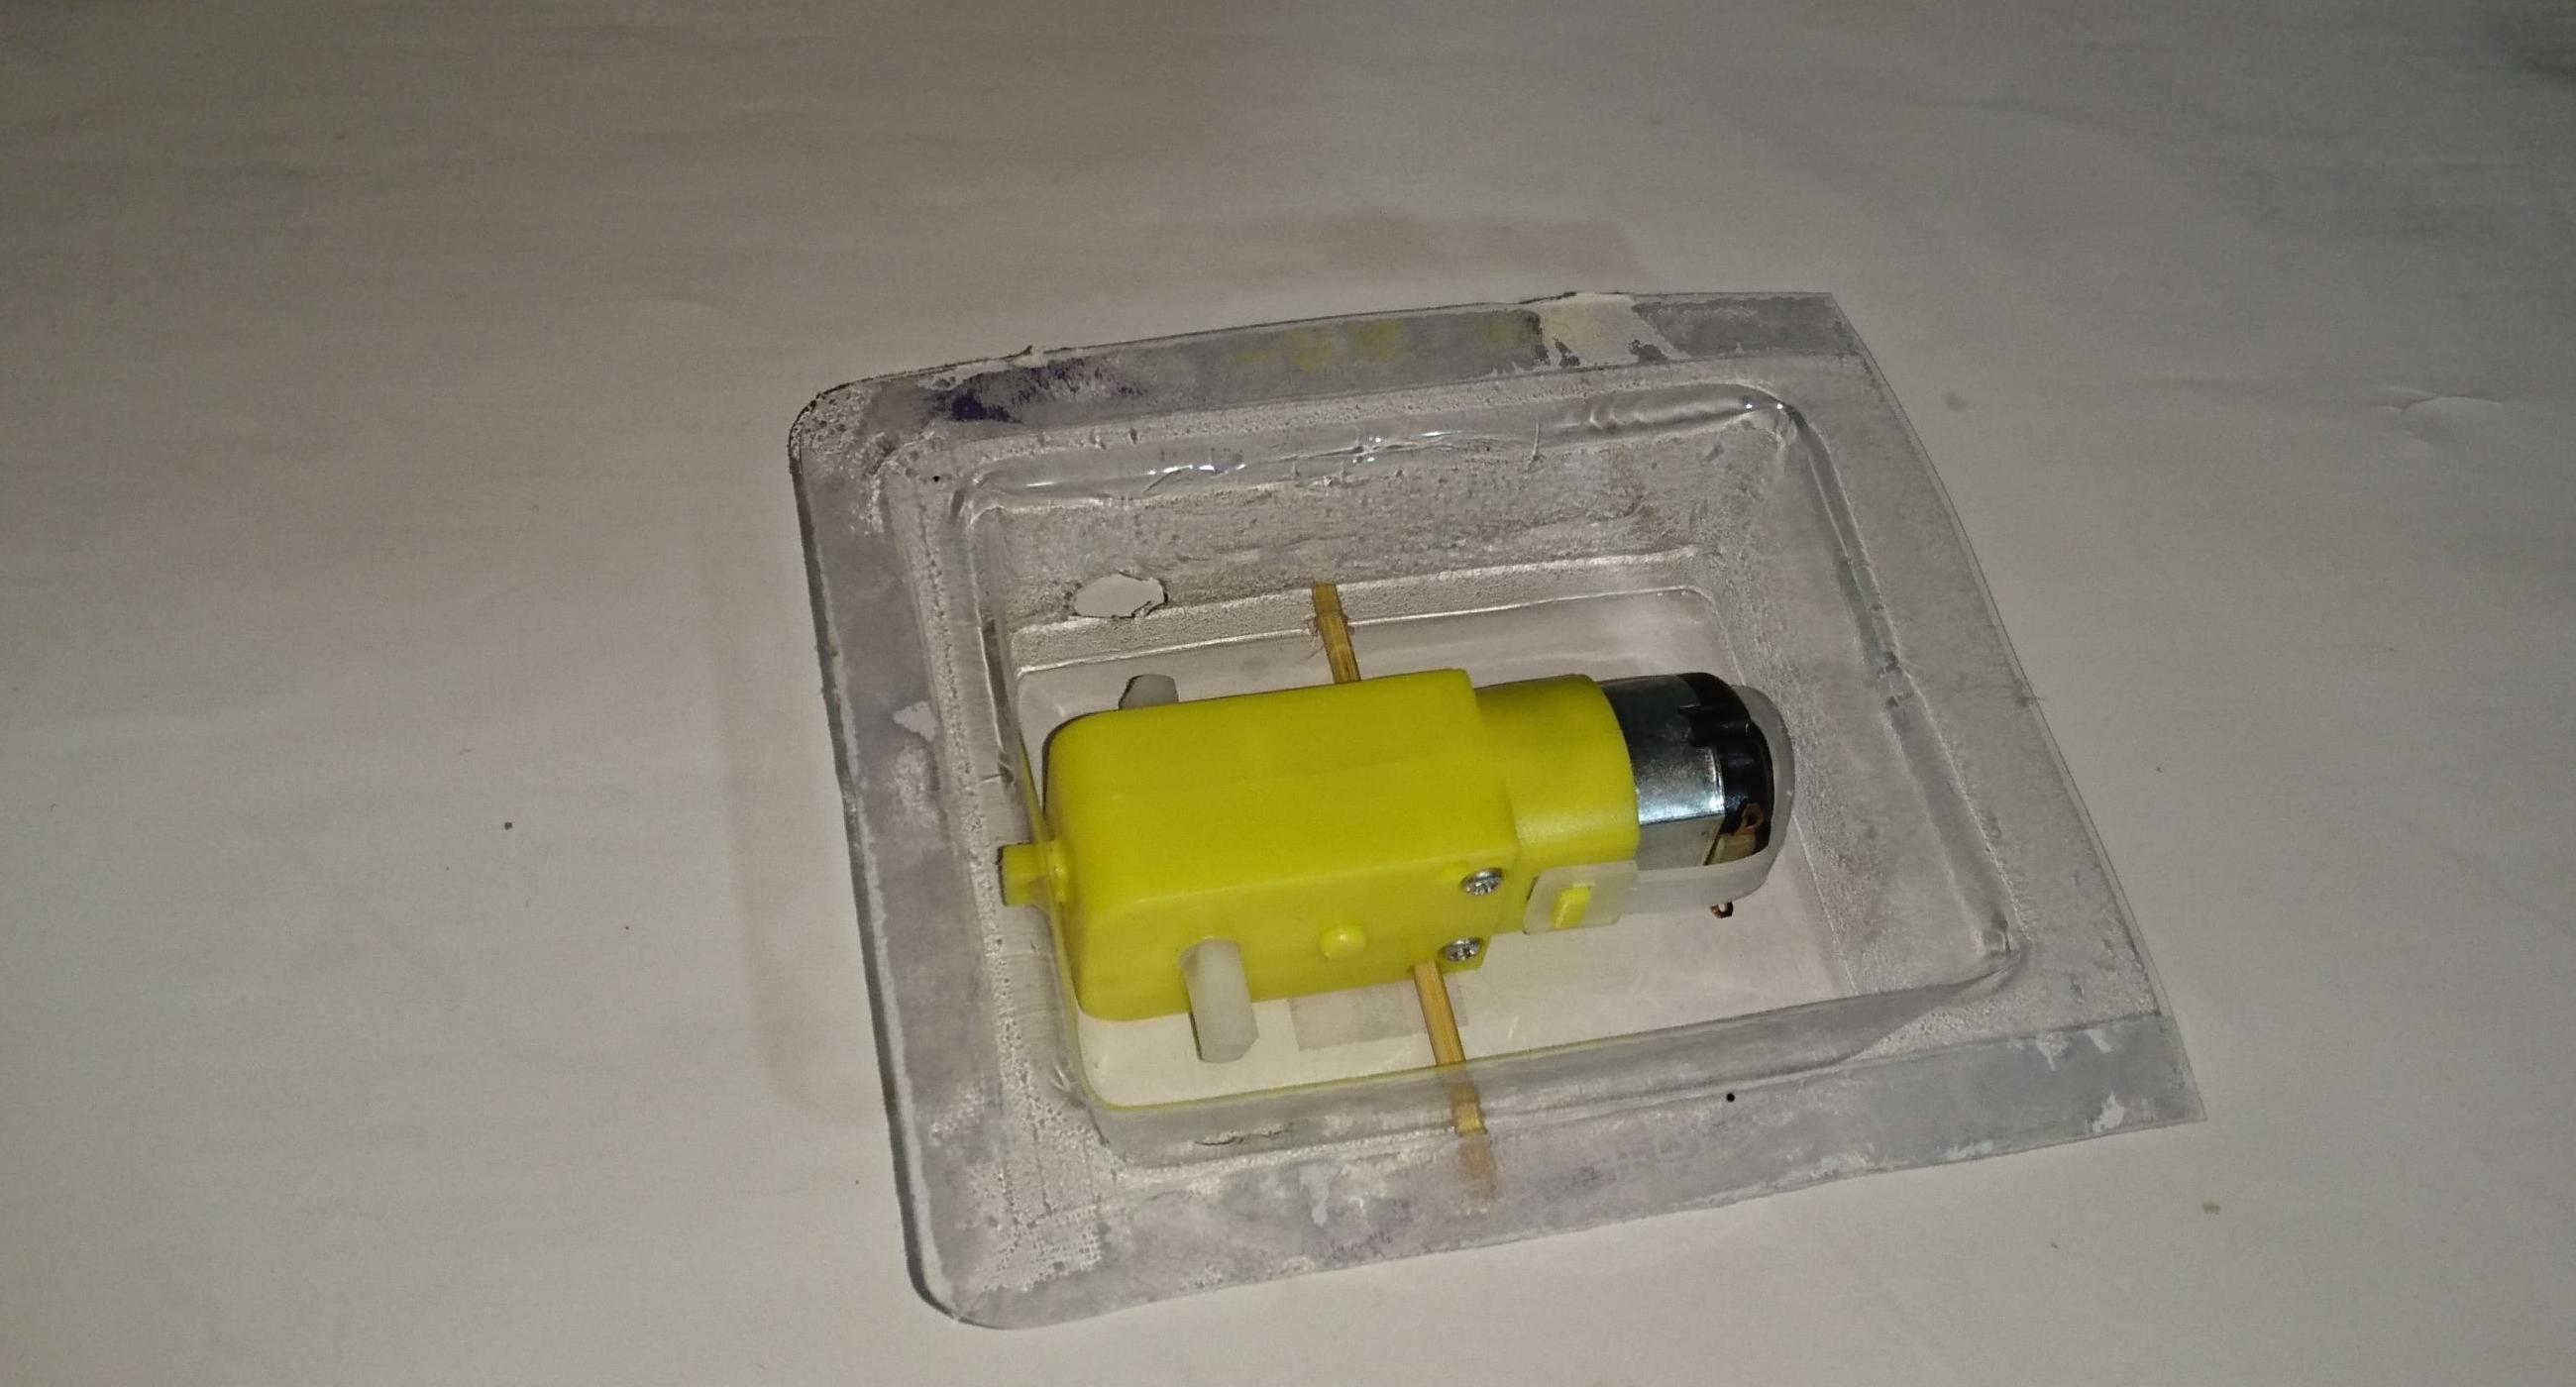
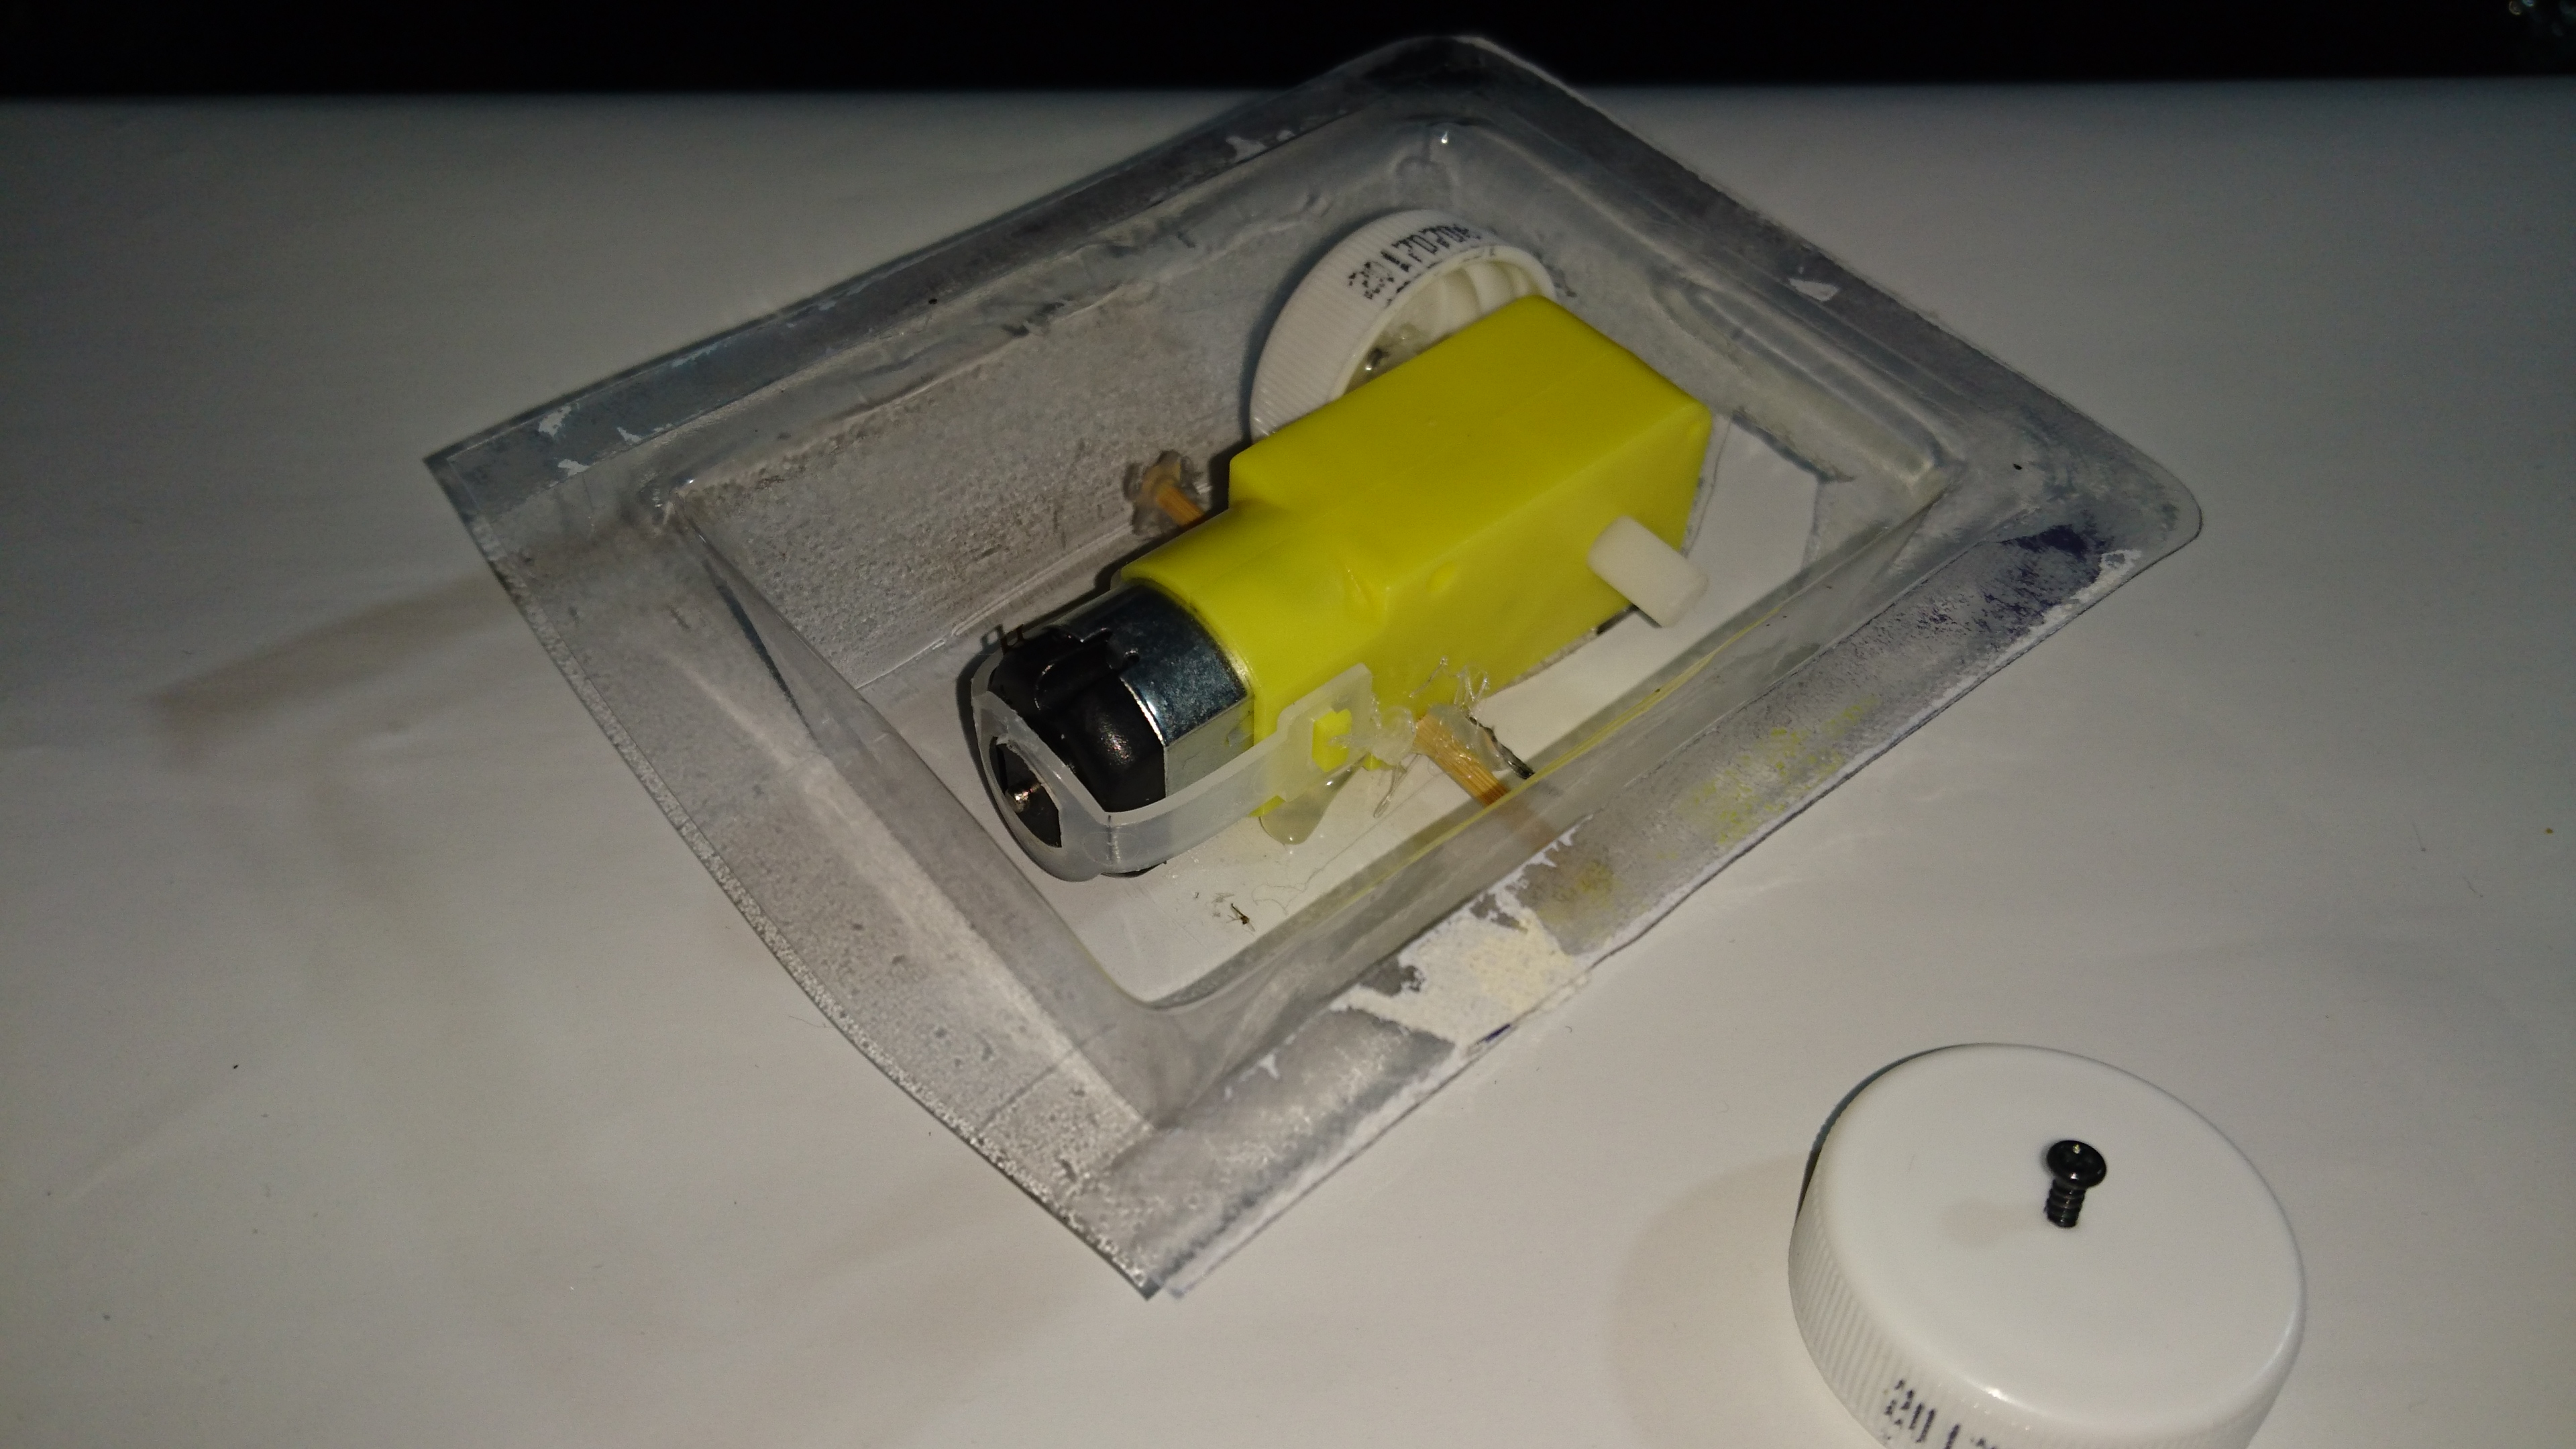
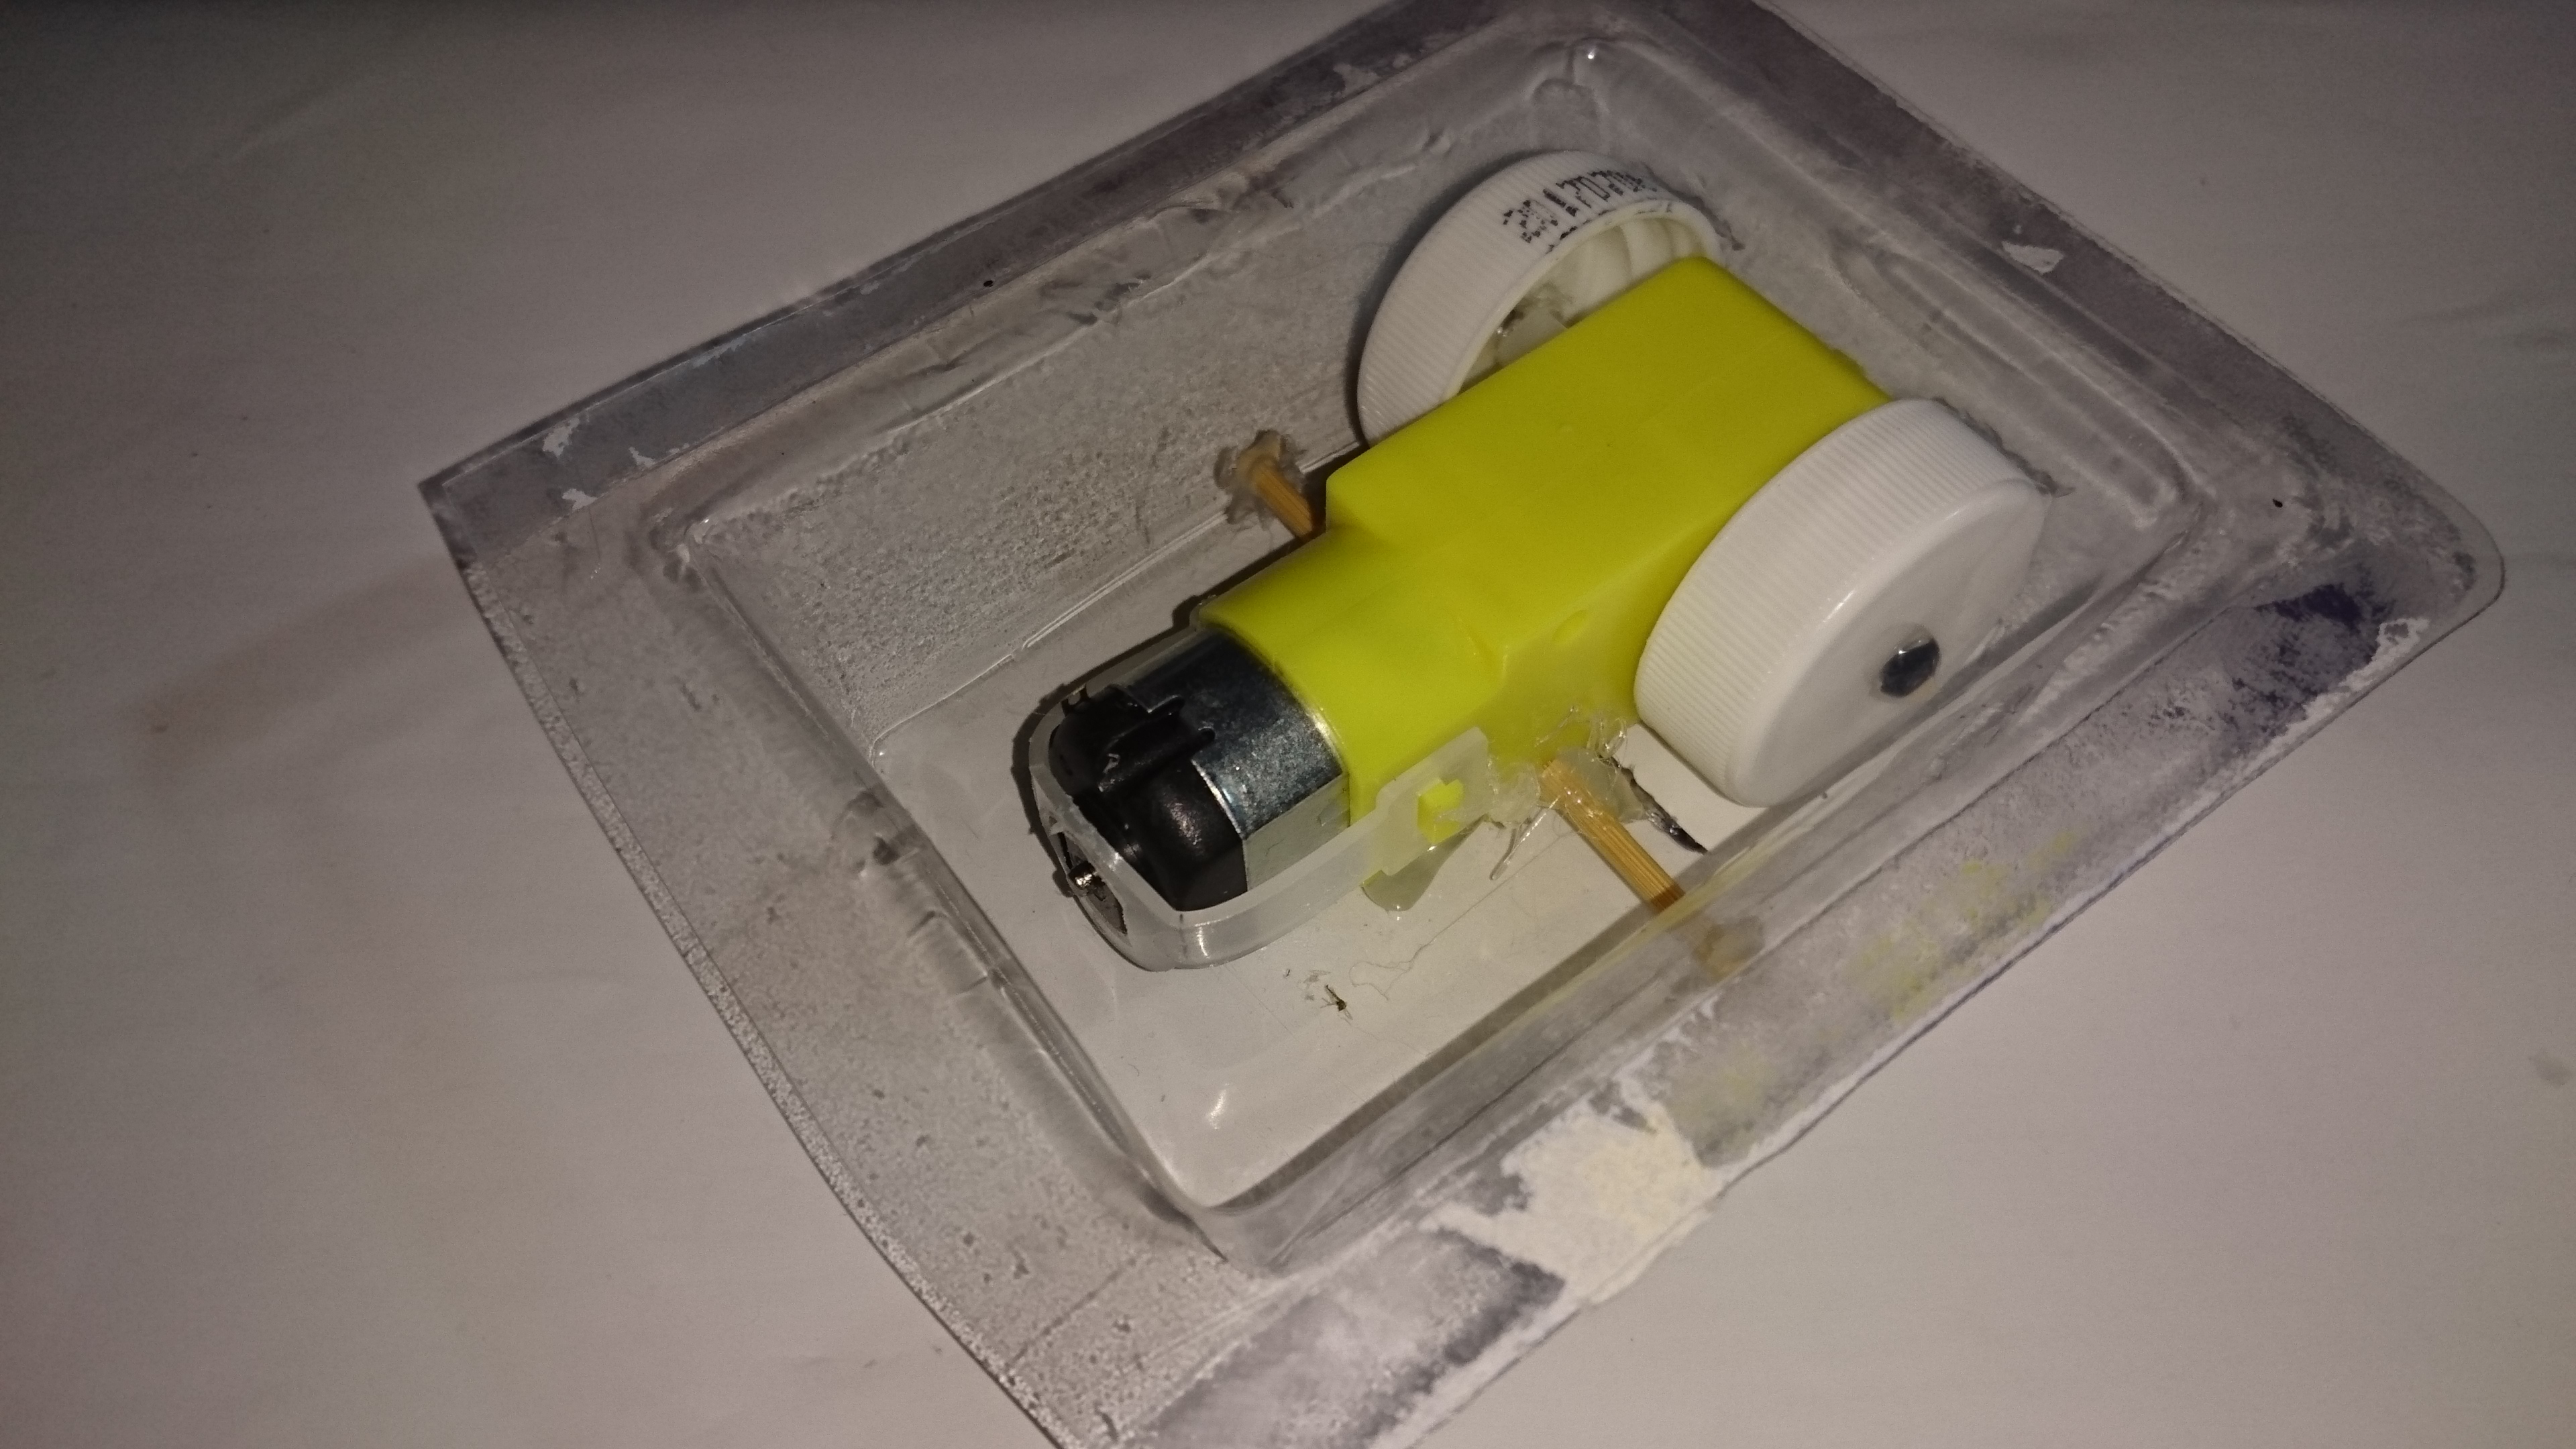
dc-motor gear * 1
micro servo motor * 1
screw * 9
BBQ stick * 1
Arduino UNO * 1(may for prototype use)
Arduino nano * 1
AAA battery * 4
AAA battery holder * 2
3.7 v Li battery(18650) * 1
3.7 v battery (18650)holder * 1
IR rcvr (arduino module) * 1
IR remoter(arduino module ) * 1
RY1 : LH1503 Solid State Relay * 1
RY 2, 3 : relay 5 v * 2
TR 1, 2 : 2N 3904 * 2
D1 : IN 60 * 1
D 2, 3, 4, 5, 6, 7 : IN 4148 * 6
C 1 : 100 uF * 1
C 2 : 0.01 uF * 1 (for bypass noise)
R1 : 2.2 M OHM * 1
R 2,3 : 100 OHM * 2
R 4,5 : 20 K OHM * 2
PCB * 1
mini breadboard * 1(prototype use)
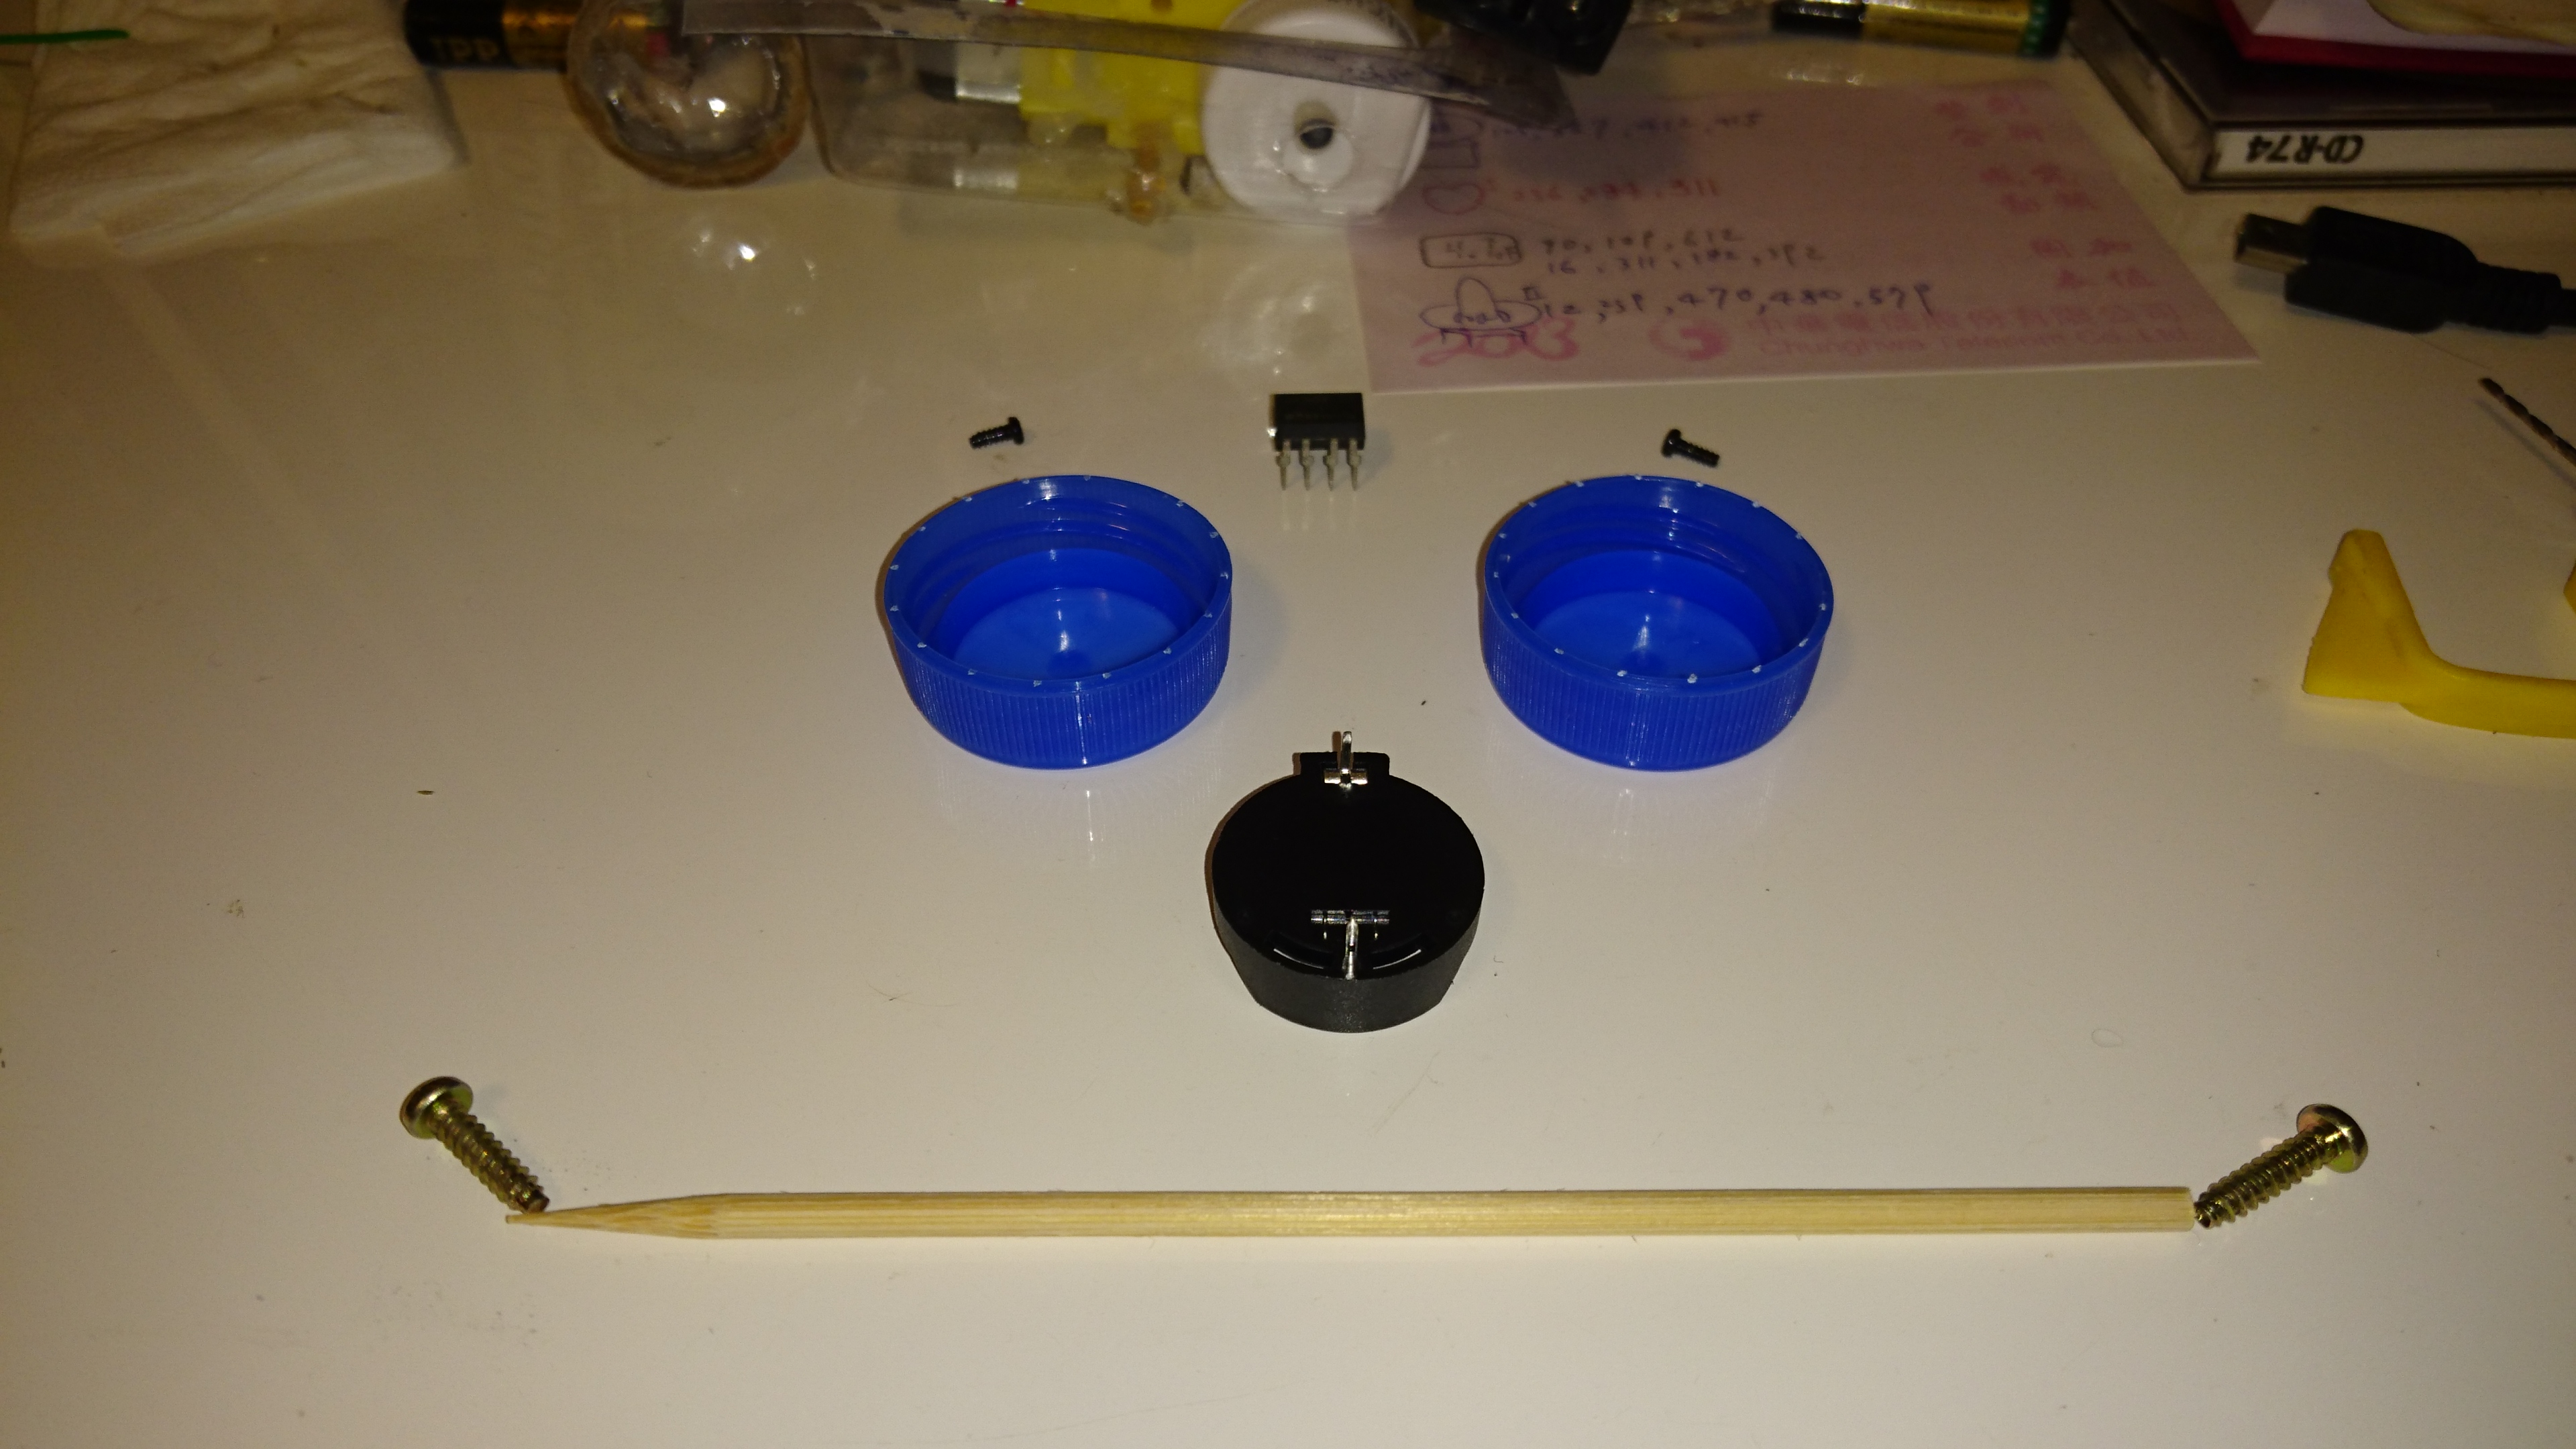
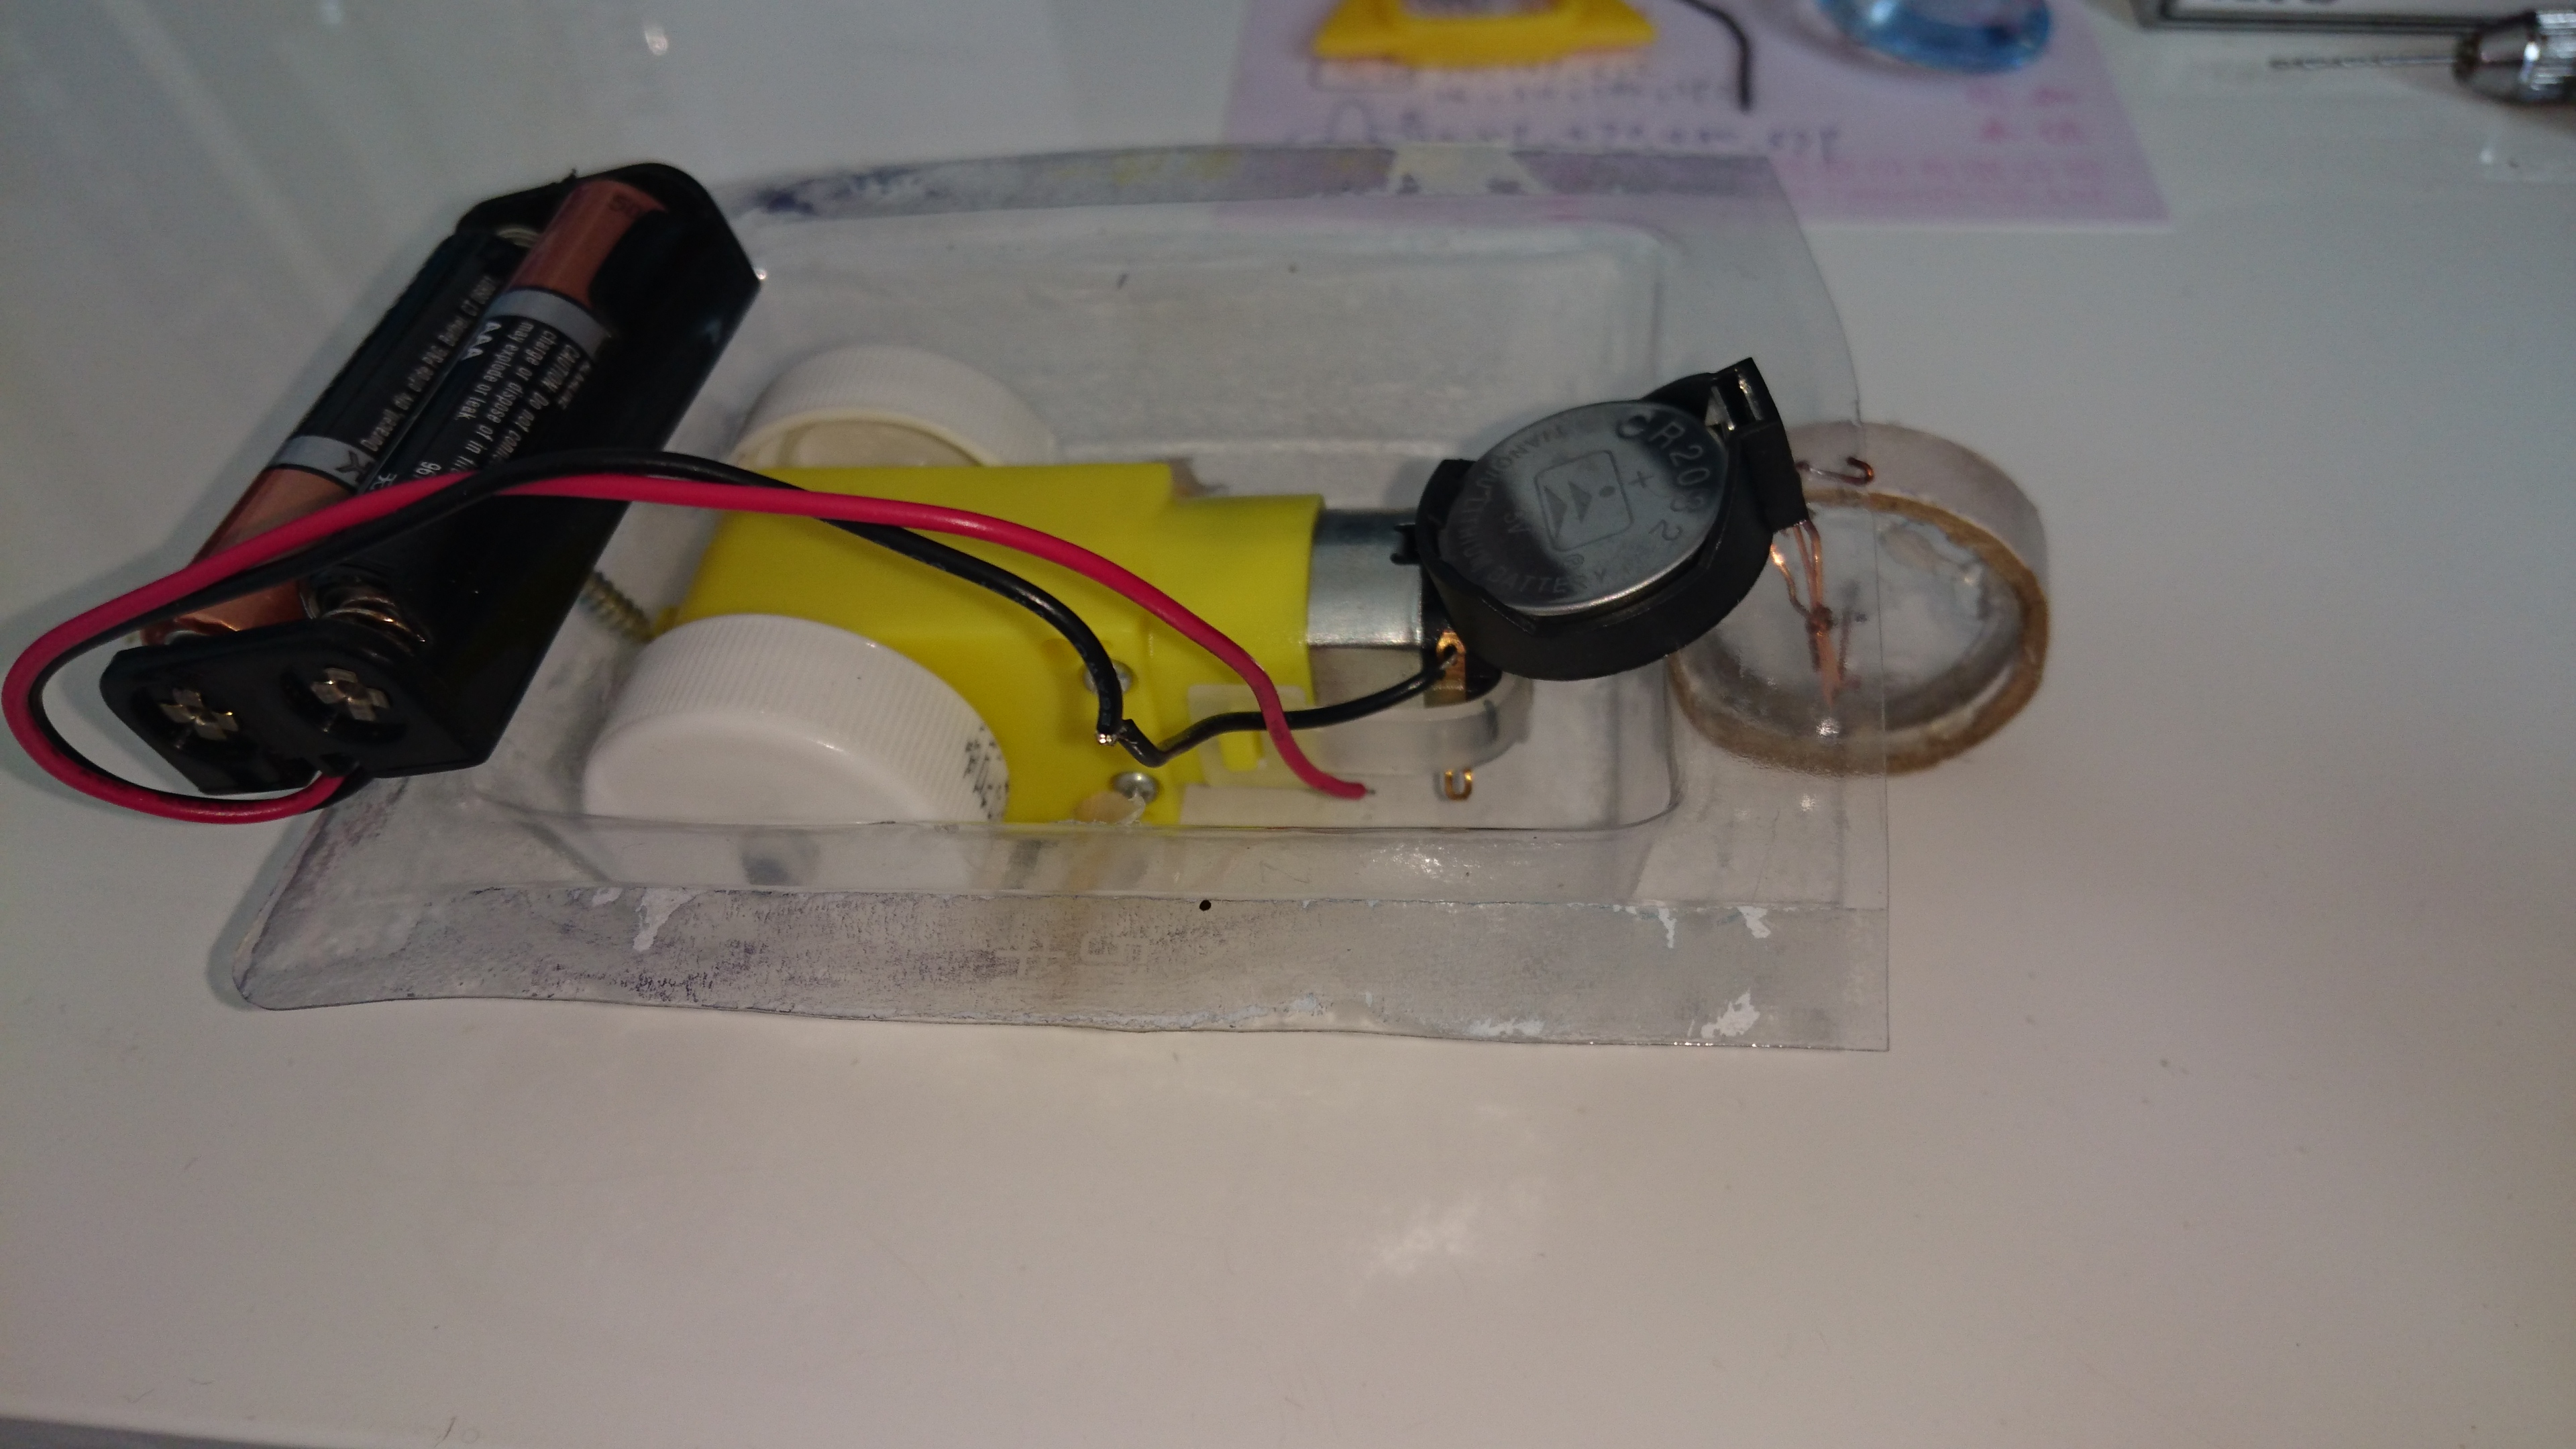
and (the 2nd PHOTO):I use the battery holder plastic cover package as the platform chassis of robot body.
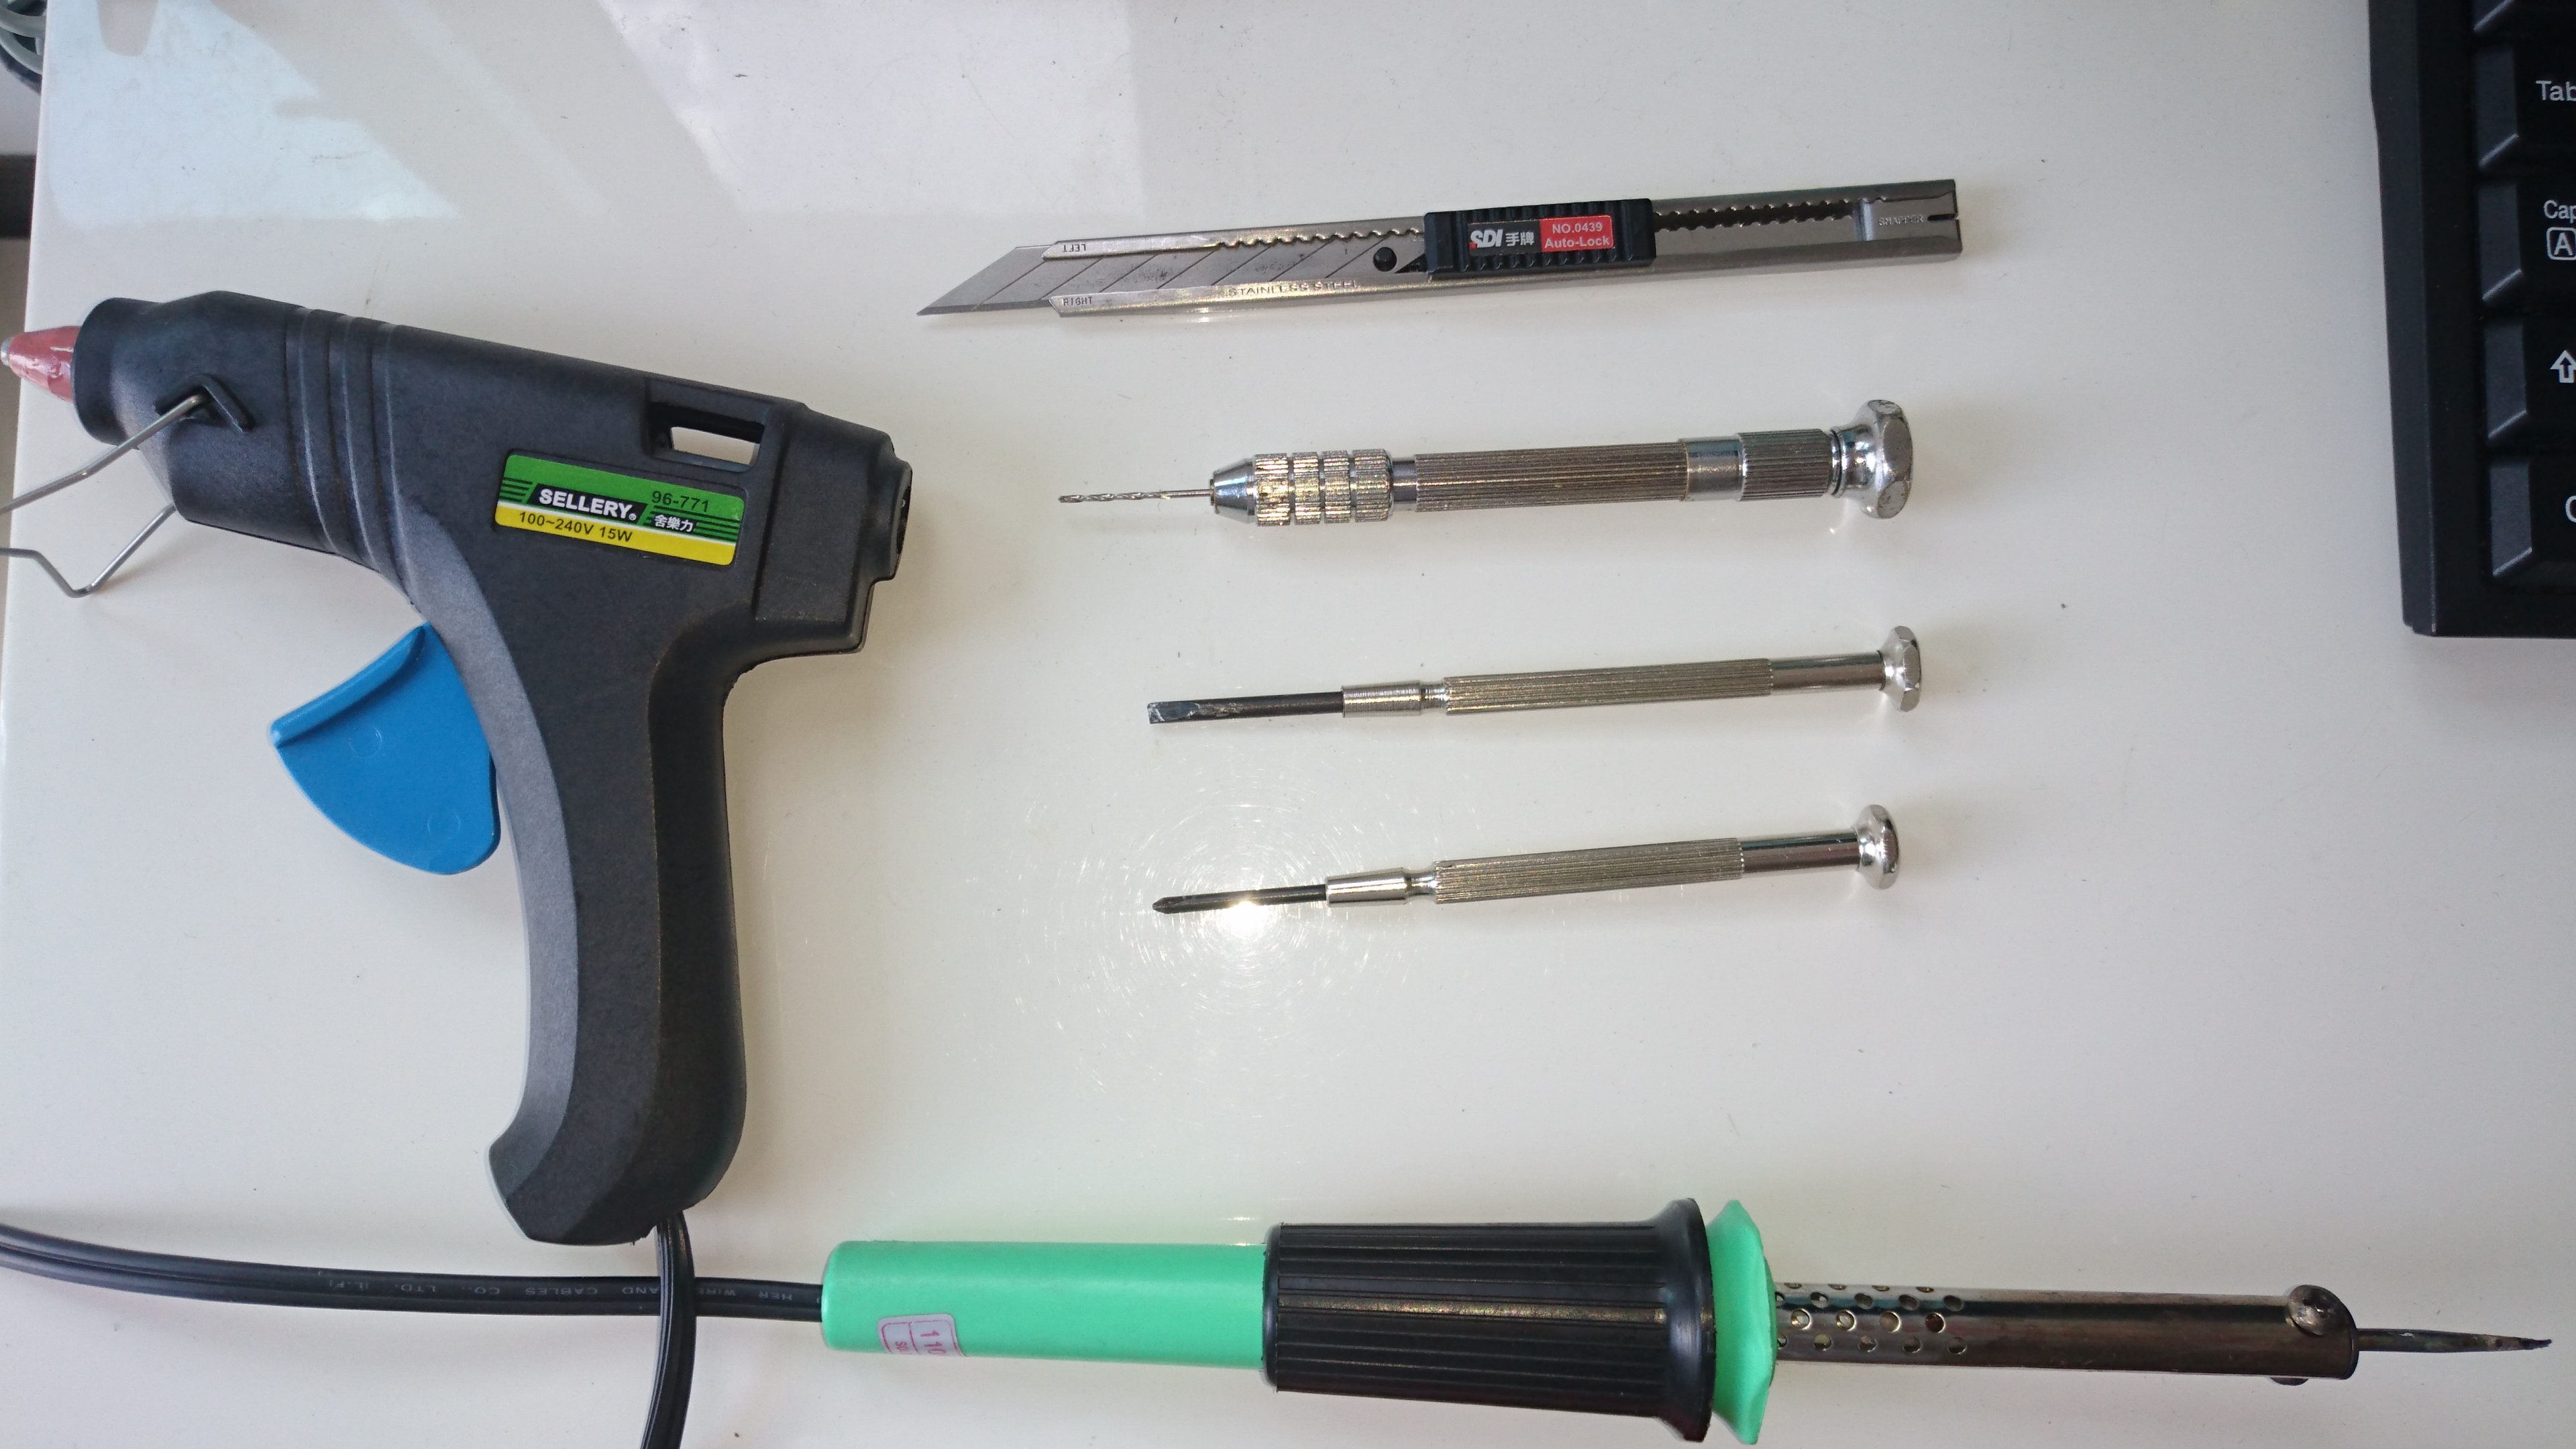
TOOLS :
cutter * 1
soldering iron * 1
hot glue gun * 1
screw driver * 1
hand drill *1
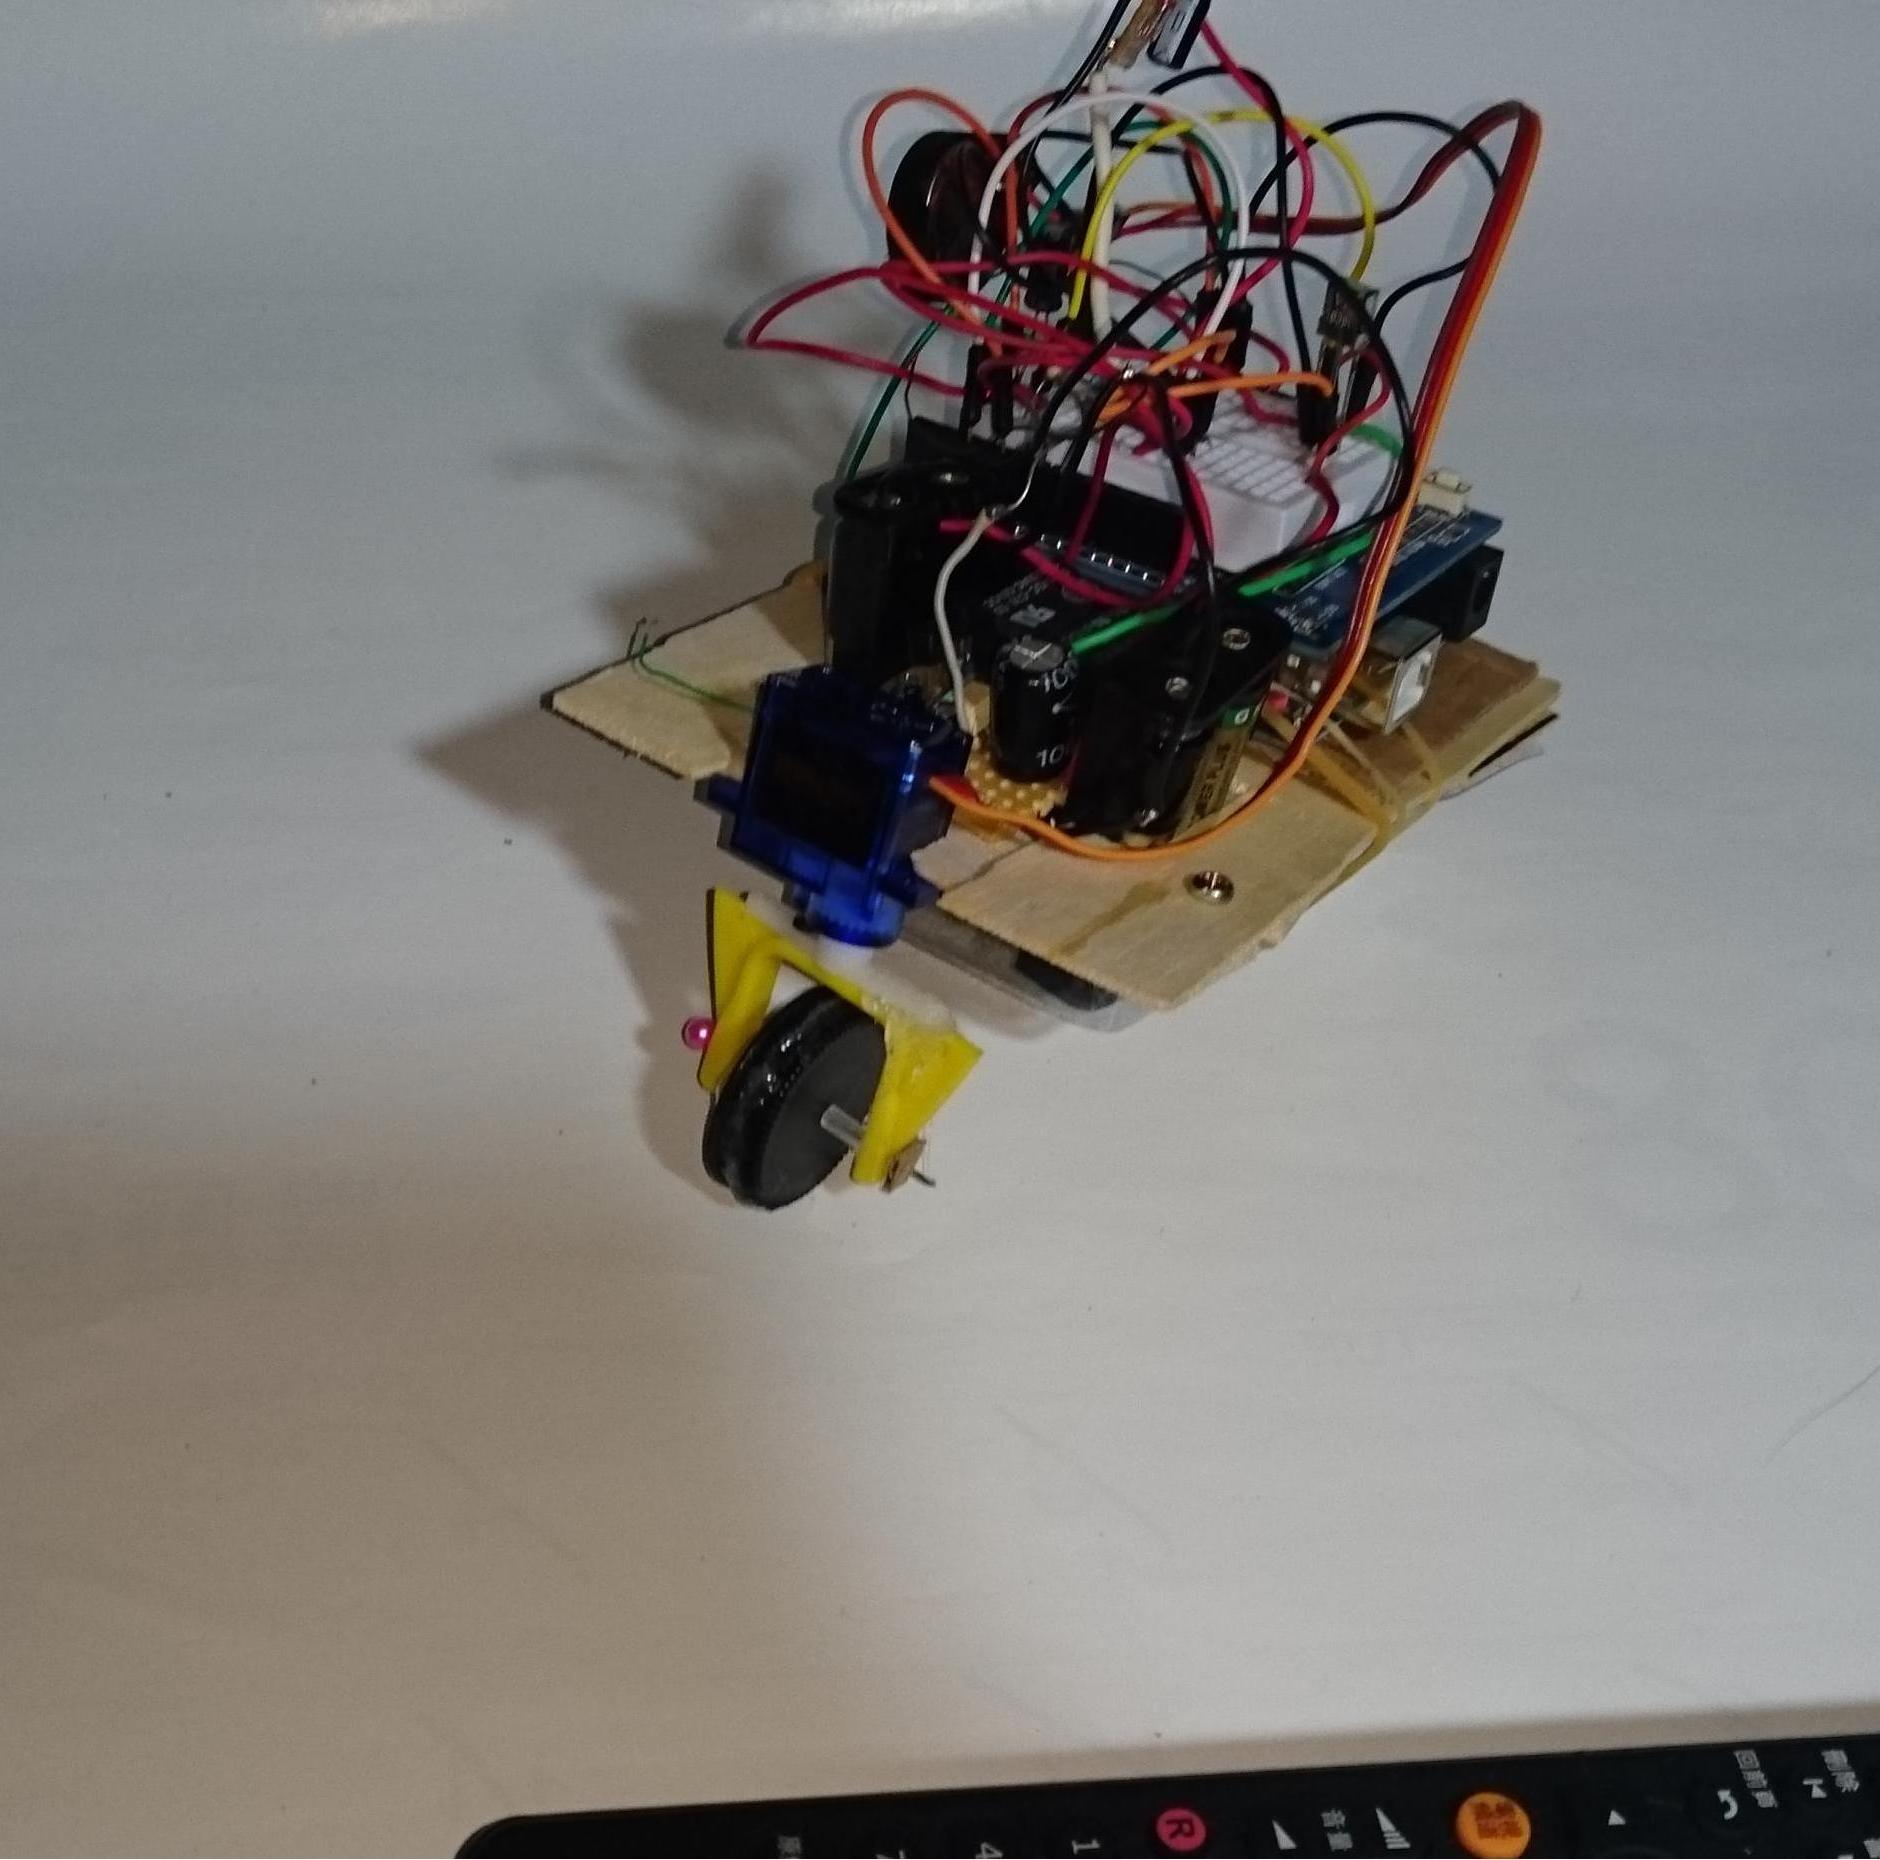
Make Rear Wheels

i use the wasted cola bottle caps as the rear wheels.
Make the Front Wheel

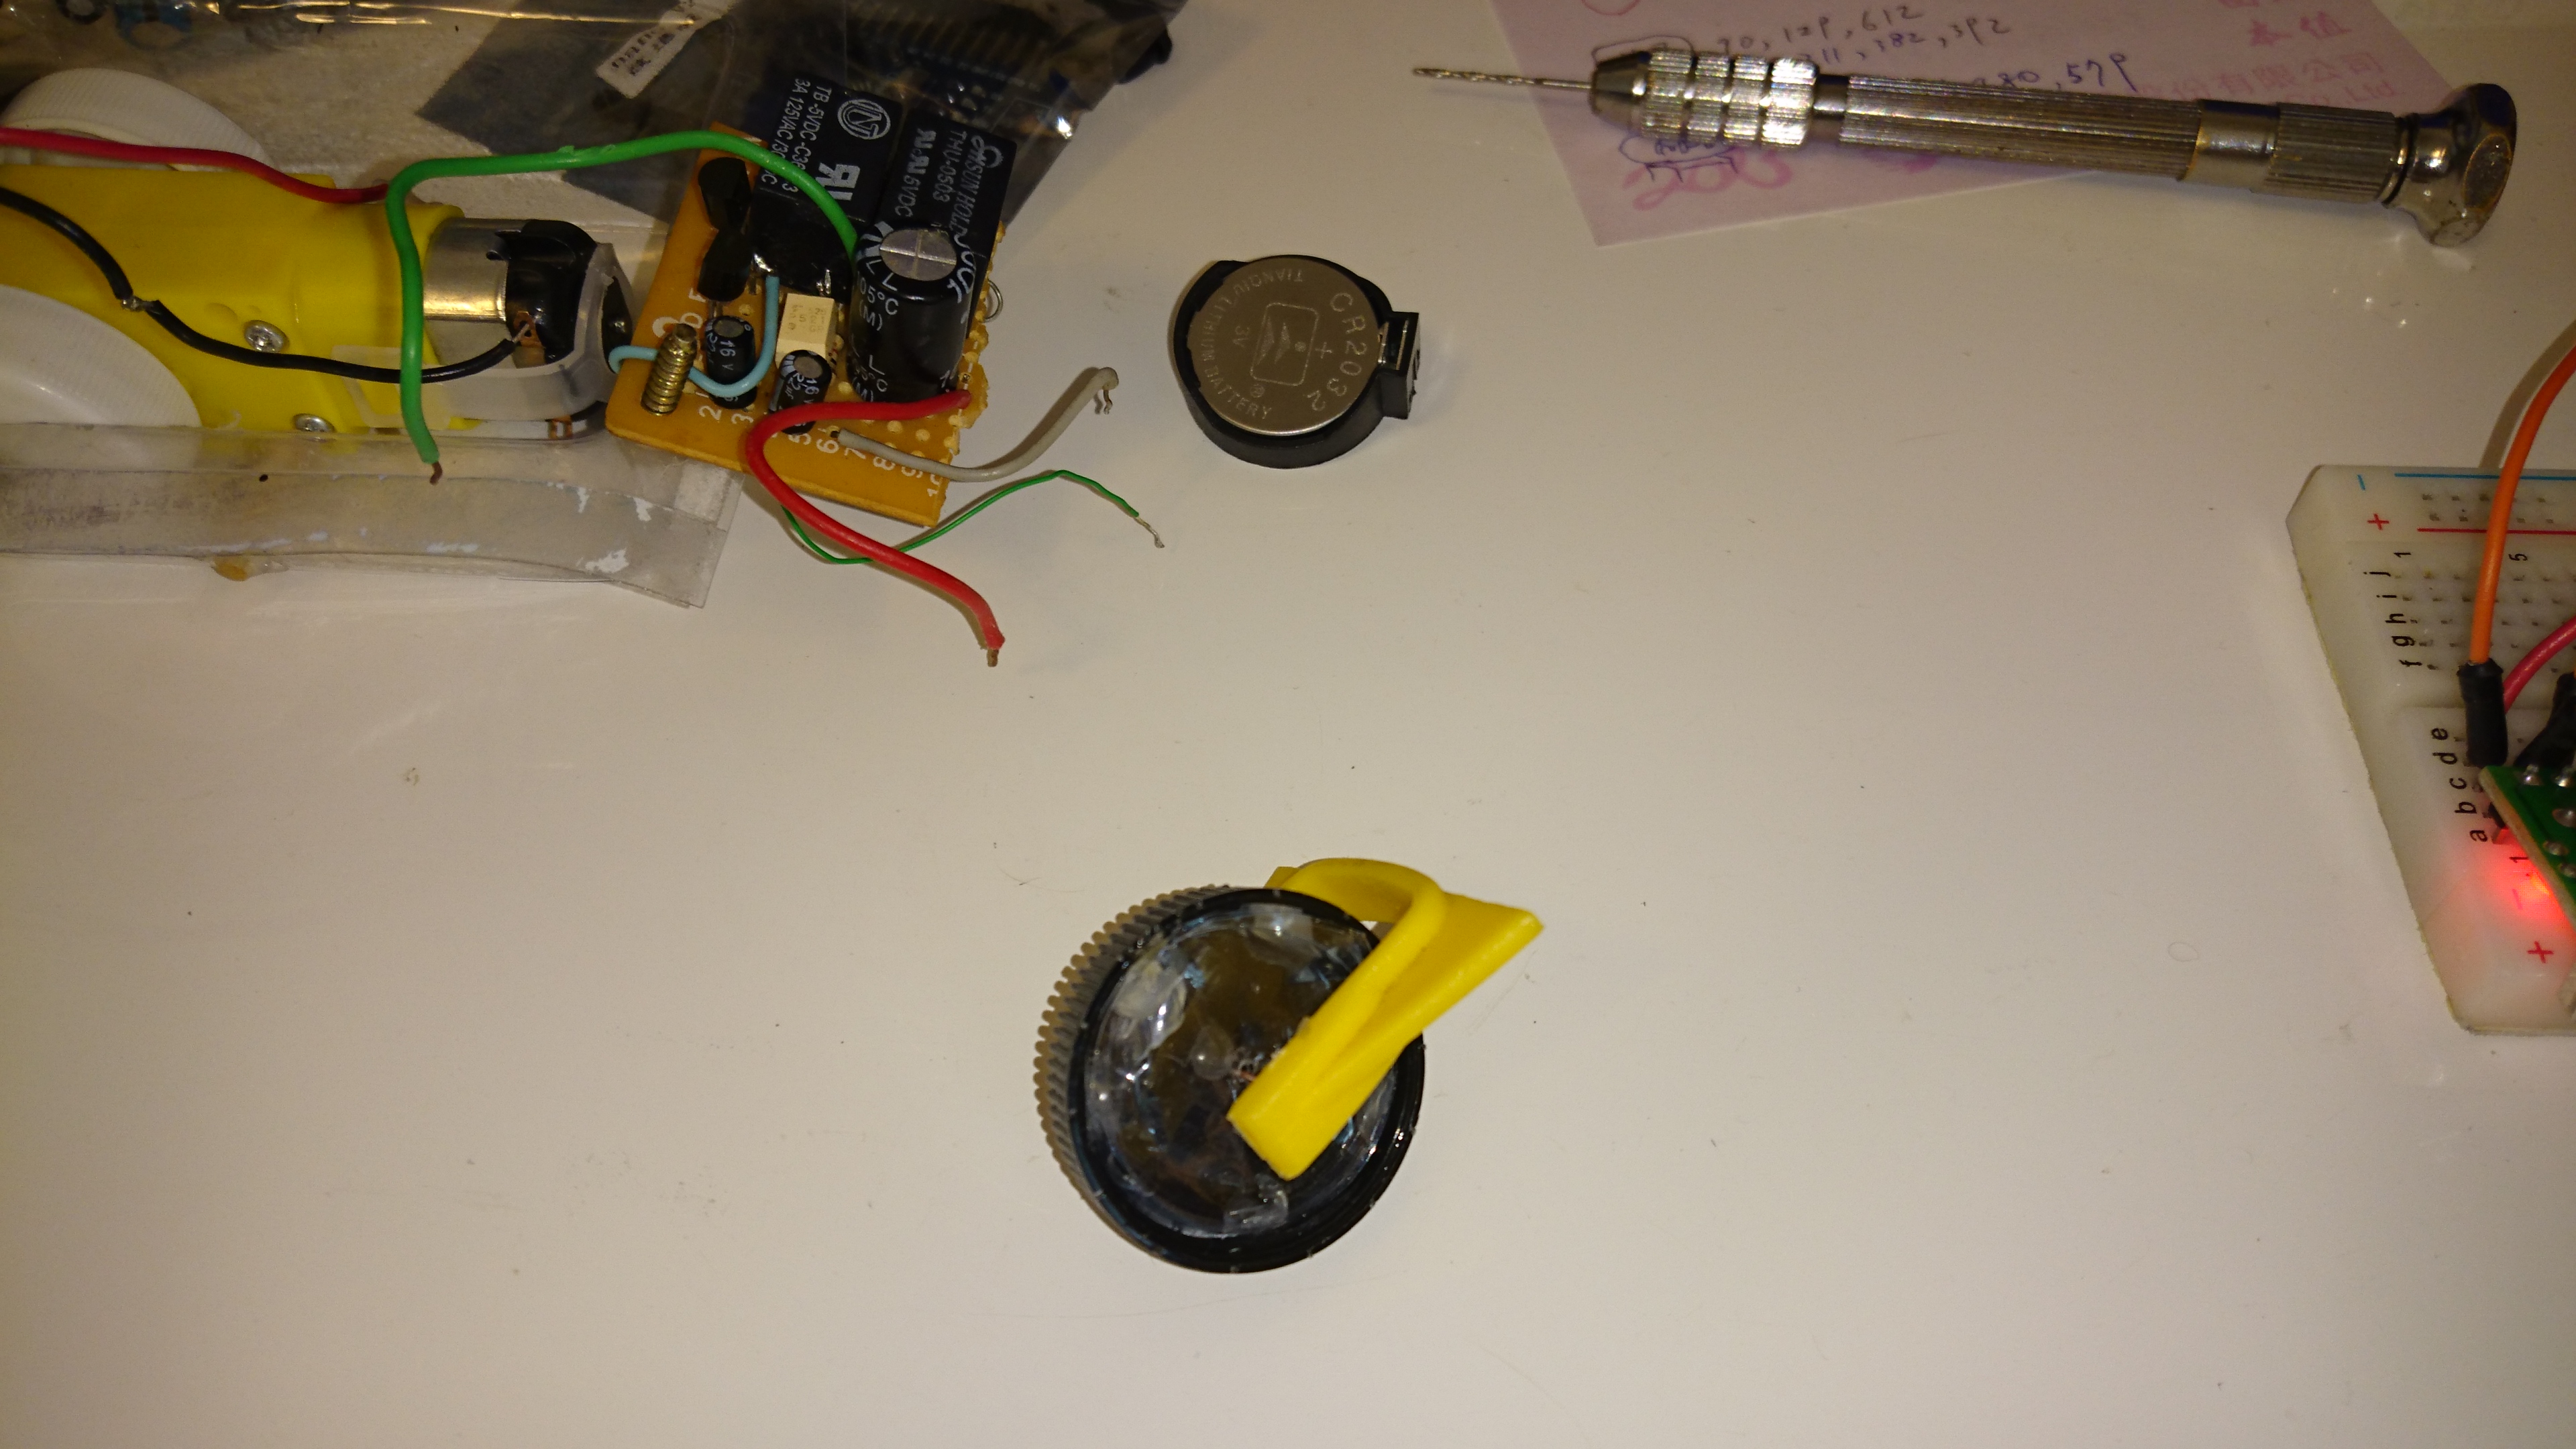
i use the wasted cola bottle cap and
a 3 v Li battery cover as the front wheel.
Connecting Front Wheel to Servo


PHOTO 1 : pressed left button.
PHOTO 2 : pressed nothing.
PHOTO 3 : pressed right button.
Video 1 : test the front wheel servo motor.
Connecting Rear Wheels to Gears

i use a in-boxed dc motor gear and a BBQ stick as
the back-bone of the plastic chassis of the wheels.
fixed the back-bone and the plastic cover together
with the hot glue gun.
i made the wheels with the cola bottle caps.
and then i use the hand drill to drill a hole all the caps.
and i cutout 2 rectangle holes with the plastic cover
in order to fit the caps.
fixed the caps to the shafts of the gear and screws
with the "+" screw driver.
test run with the chassis.
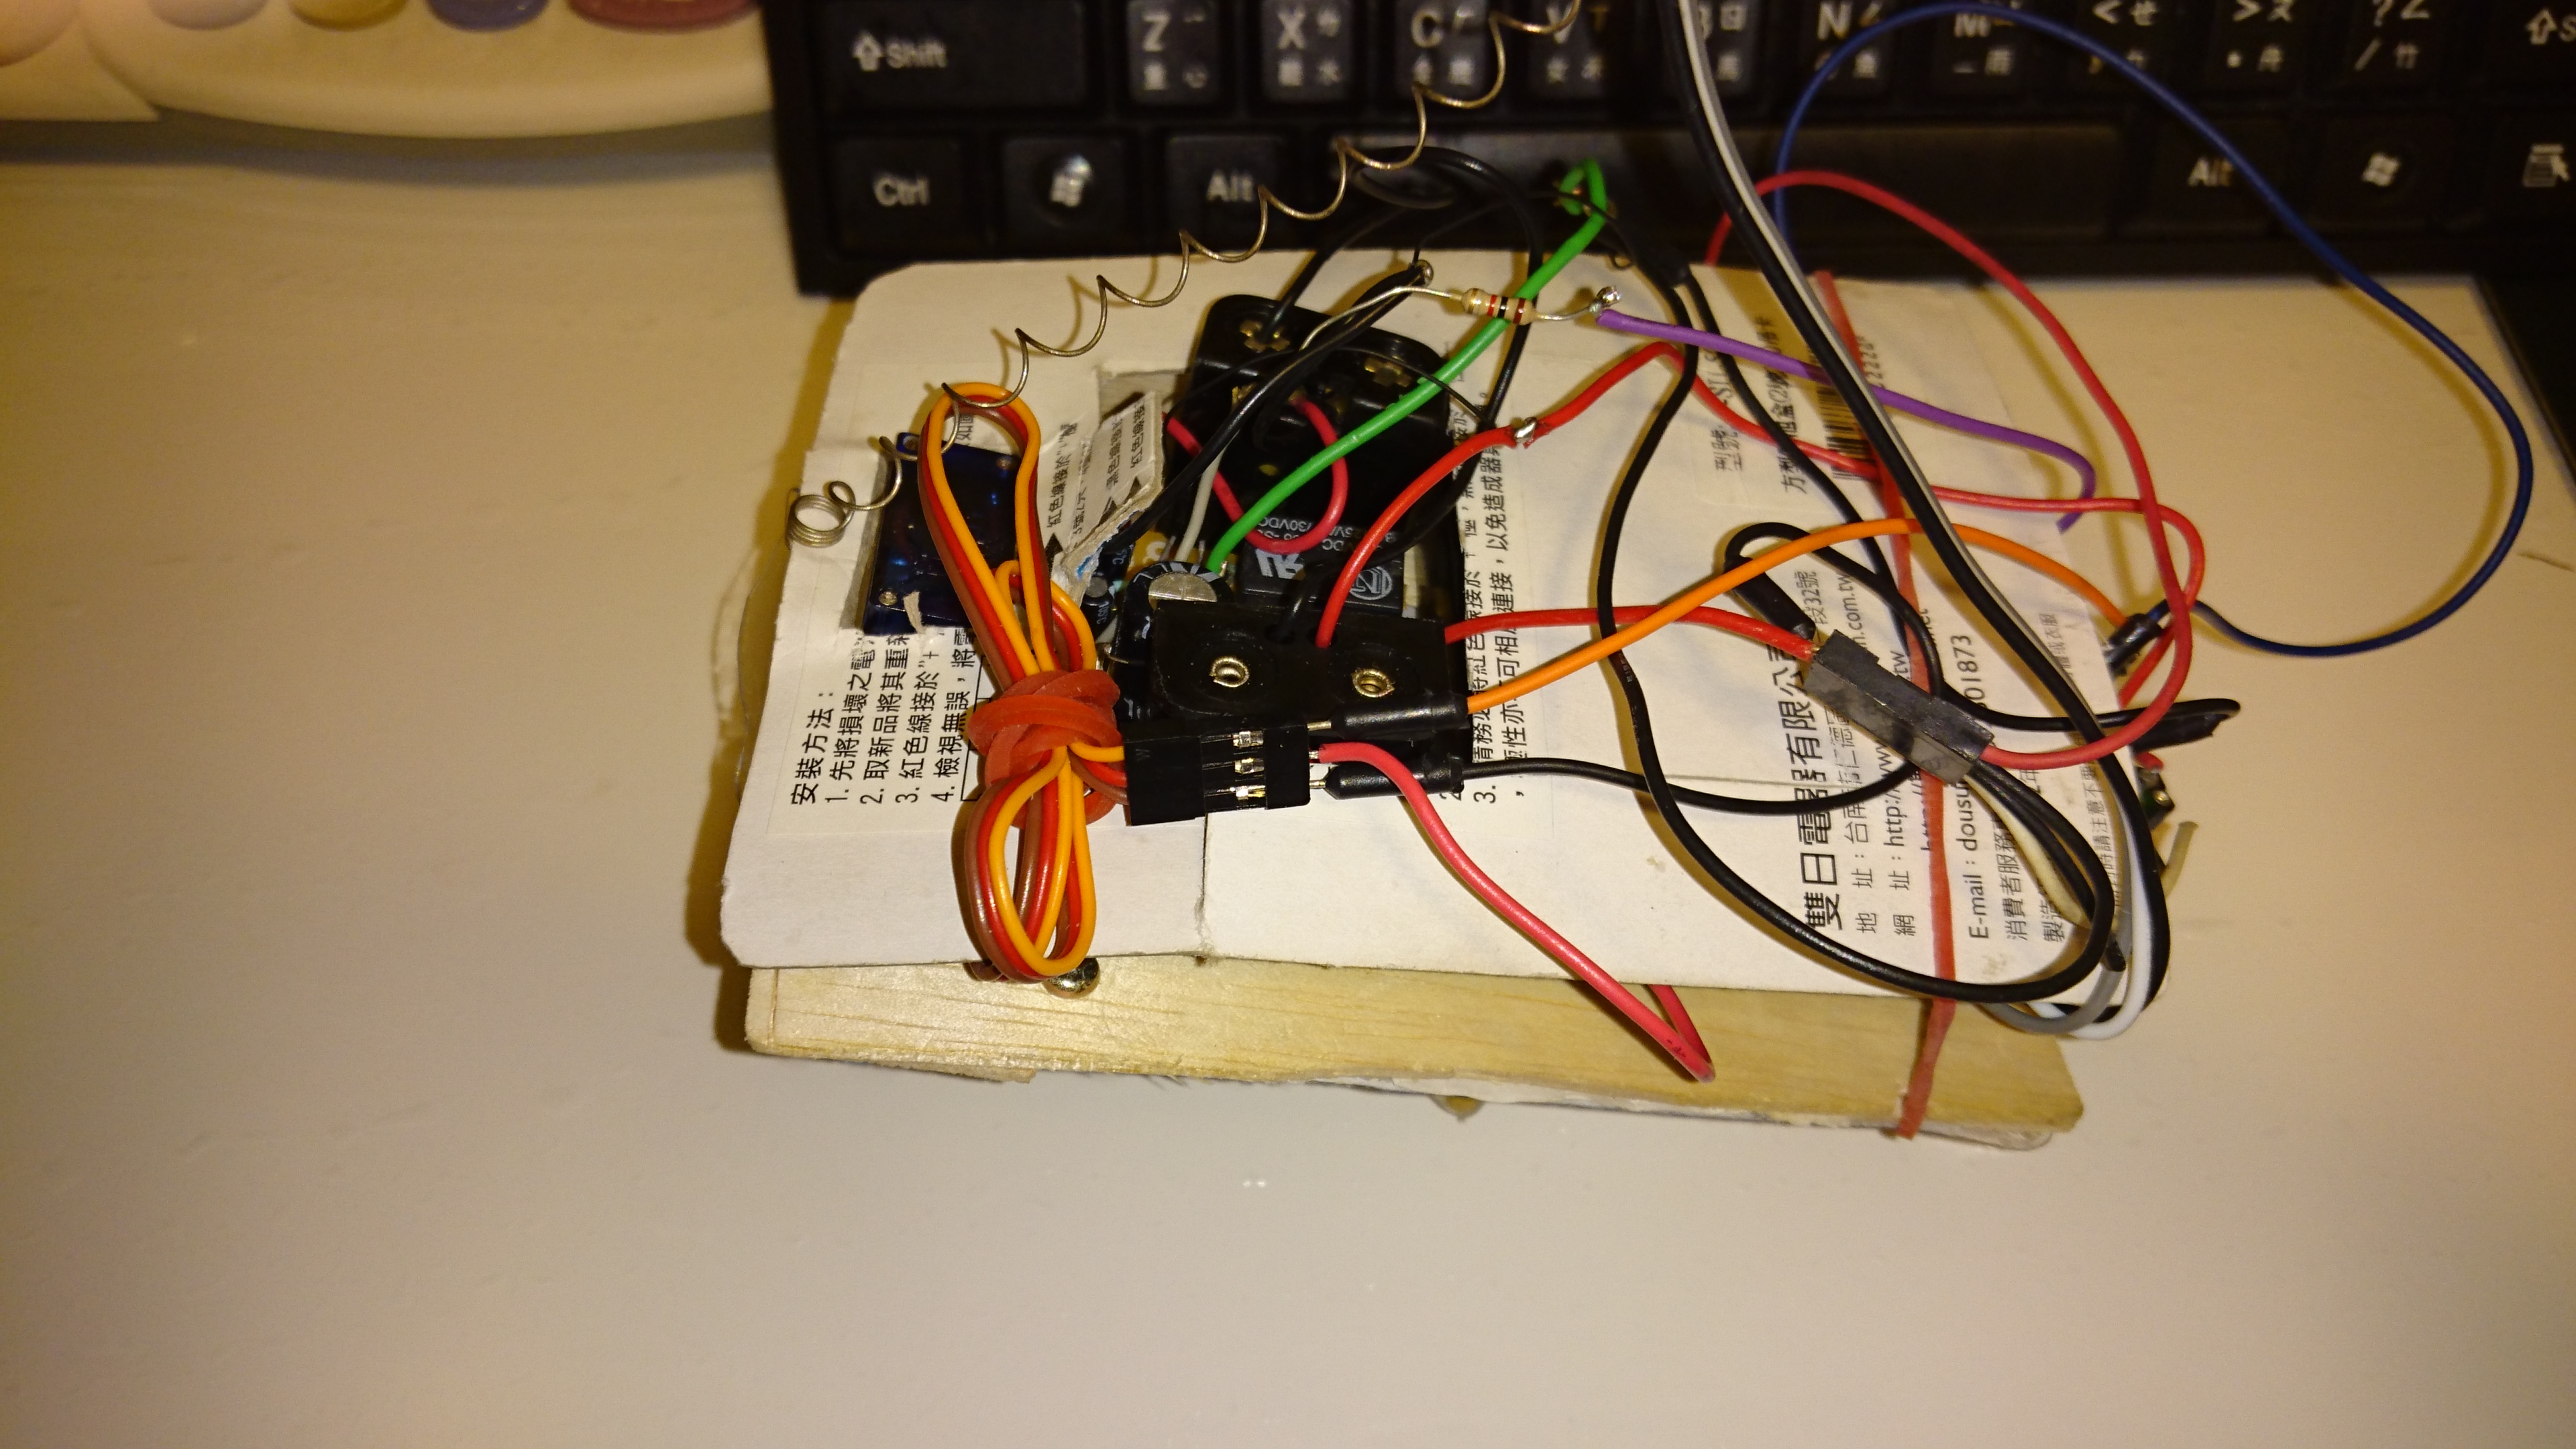
Schemetic and Prototype With UNO


before i soldering all the elements,
i cut the PCB into 2 half slices.
and one is for the 2 relays and TR.
and another is for nano and SSR
and for the control circuit.
i put a 0.01 uF beside the 3.7 v Li (18650) battery
and connect the servo power pin to 18650 + ,
in order to bypass the noise.
VIDEO 1 : testing the IR and motor with UNO without remoter.
*** this control circuit maybe could use monitoring drones !
when the battery comes low or the drones out of control.
And then fly back or release the parachute ! ***
Connecting Nano(UNO) and Control Circuit


maybe there are someone wondering about......
how does it work?
the IR remoter emit the code out. ...and travel ....
and then IR receiver get reception and output the waves.
the R1, C1, D1 construct a DET circuit.
therefor the waves after DET circuit become "HIGH" level.
something like Vin = 1.9 v
because Vin >= 1.7 v triggering the SSR active
and triggering the RY2 on
and then the motor runs...
TIP(s) : at the same time the arduino nano(UNO) decoding
the IR codes into forward, backward, turn_left,
turn_right and stop command....triggering the relays and
the nano and then the motors moves, which
means: just press one button
(will go forward and will turn at the same time !)
Connecting All Parts Together


there are three speeds of this robot platform --
1) SLOW : press any key and pause 2 sec. and press it again.
2) MID : just press down any key and don't release it.
3) FAST :press any 2 keys in-order. and press them again.
Coding

i use auto fetch instruct tech to solve the smart thing.
if someone is not operating from the remoter .
the arduino will while handling over to "auto" !
for example(part_5):
you could operate an vaccum-cleaner by manually,
use the remoter, or it will runs by it's own !
when the battery goes low,
it will come back home for charge by it's own !
Downloads
Test Run

the mission impossible is to run on the "8" track by remoter.
HAVE FUN !