Tiny Robot Plat Form With Pi Zero_part1
by David_Lin in Circuits > Robots
805 Views, 8 Favorites, 0 Comments
Tiny Robot Plat Form With Pi Zero_part1
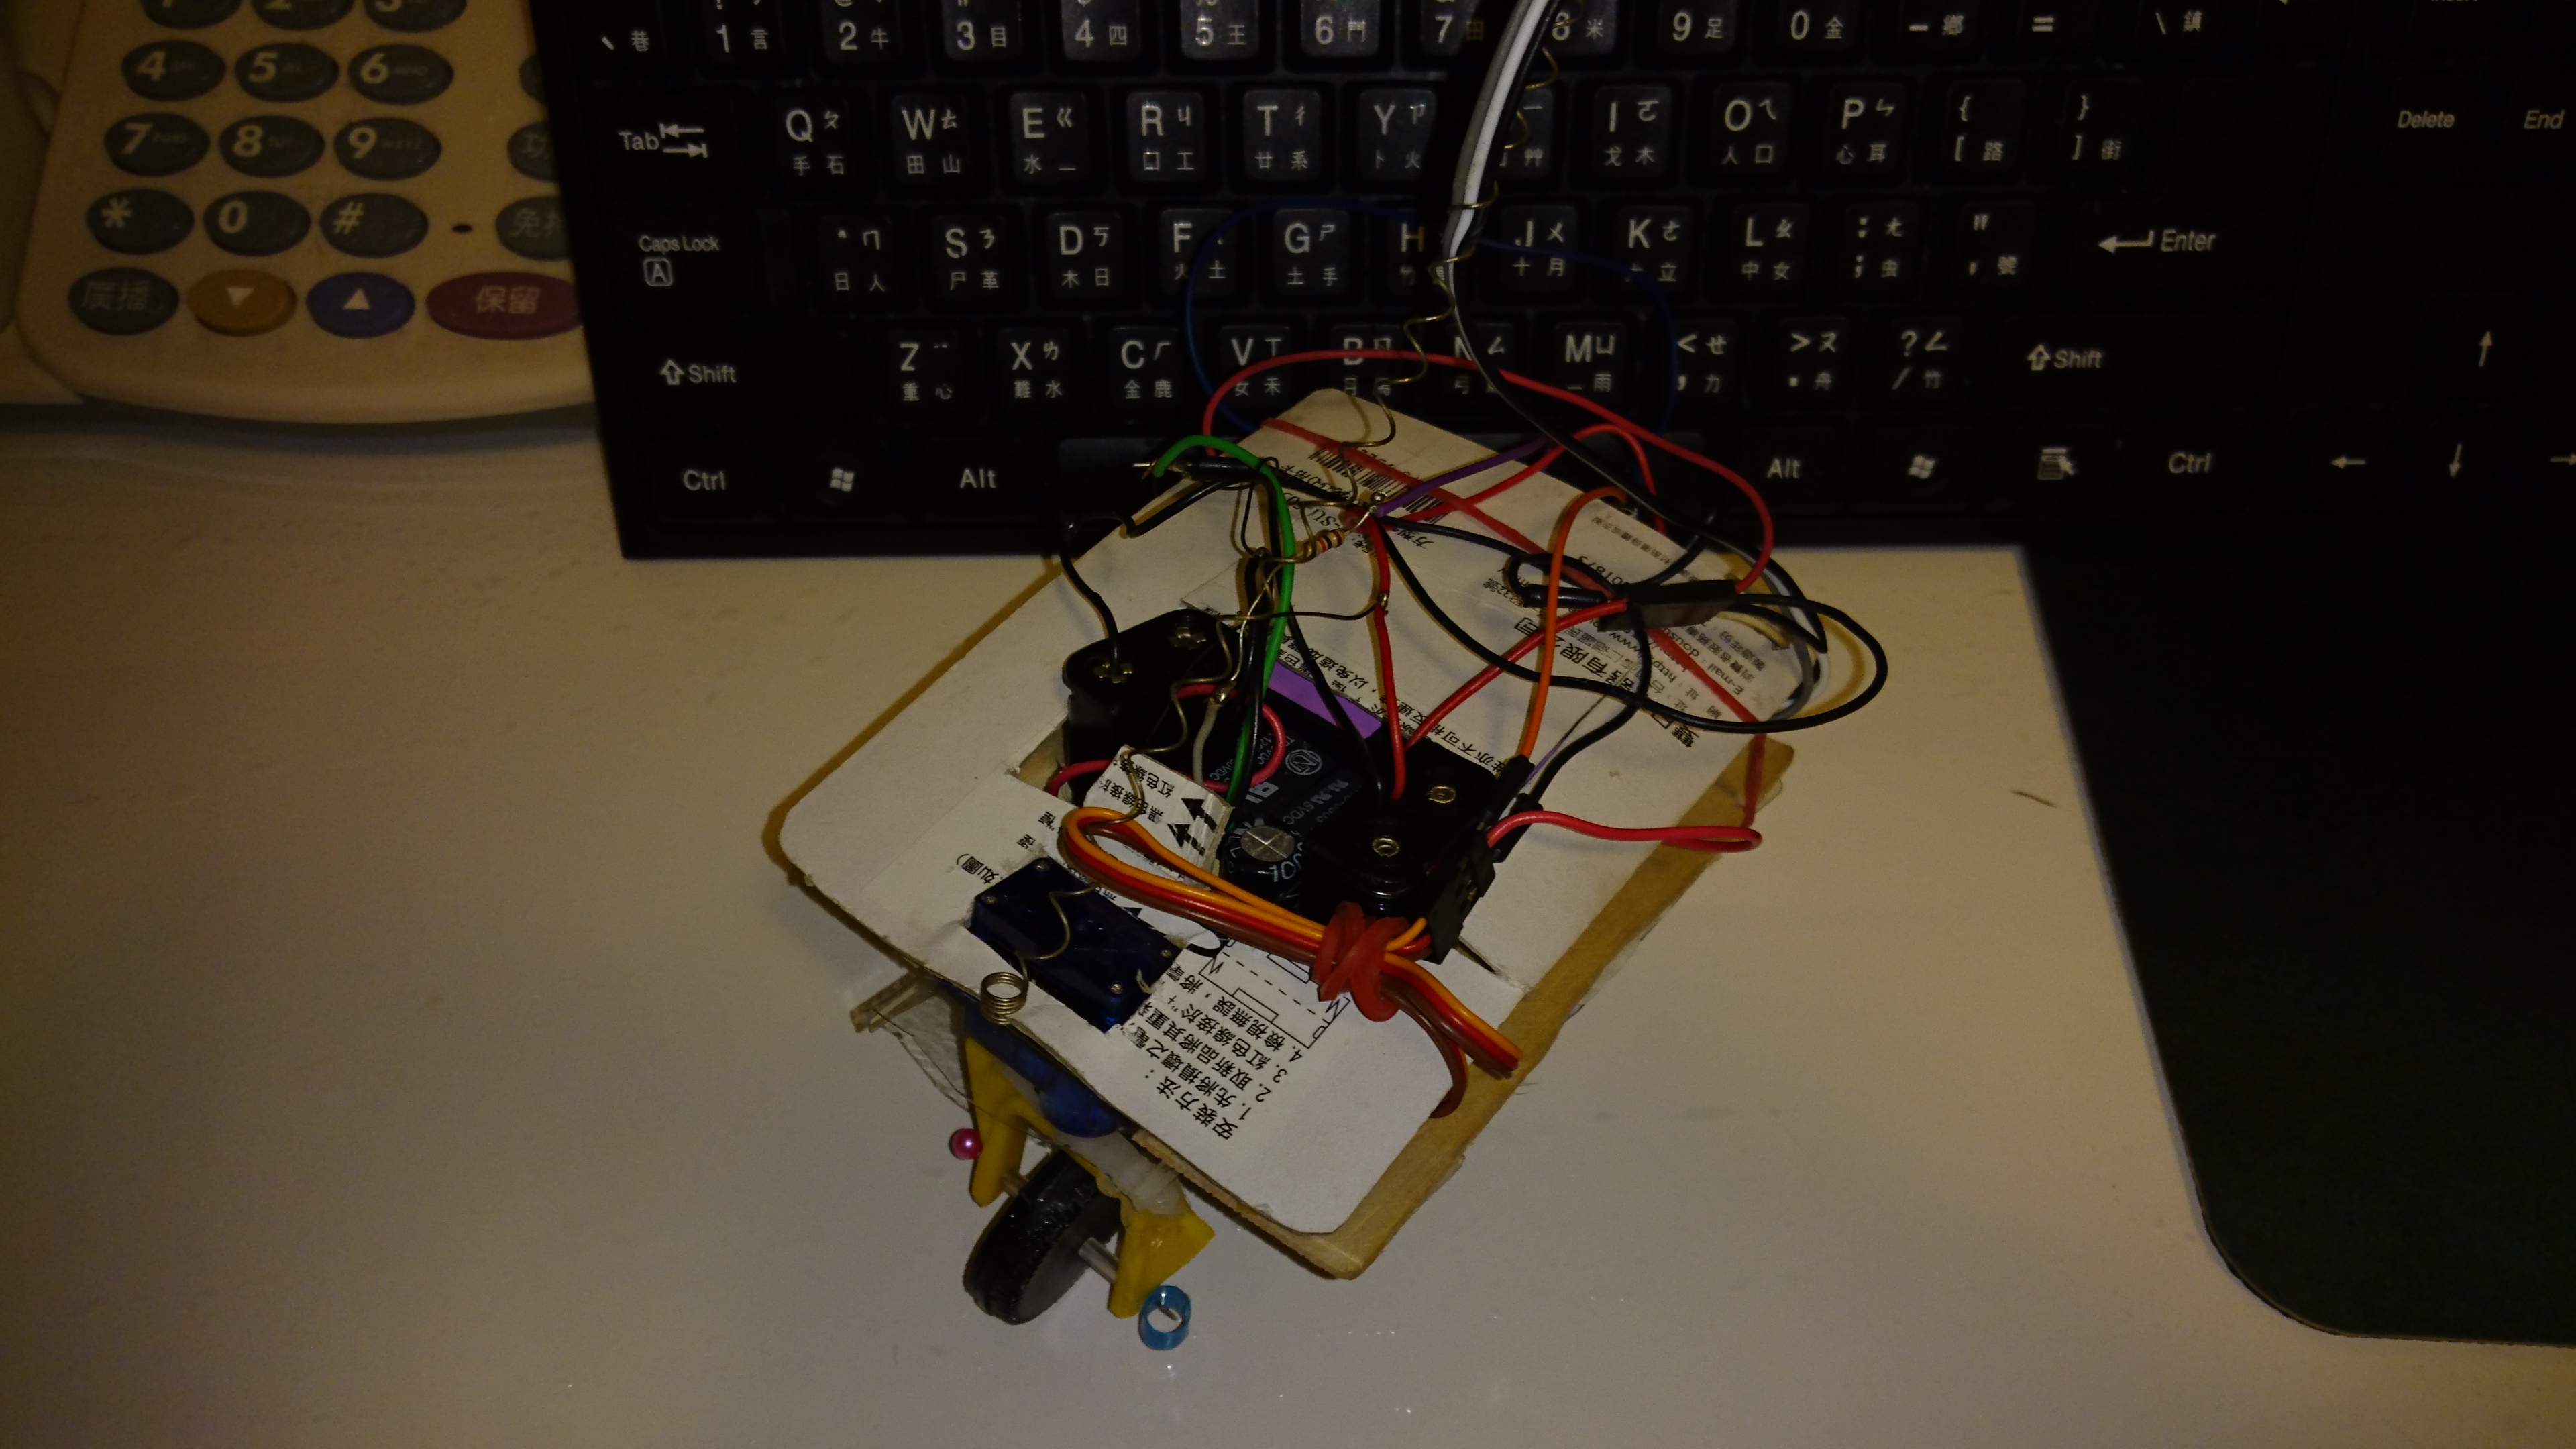
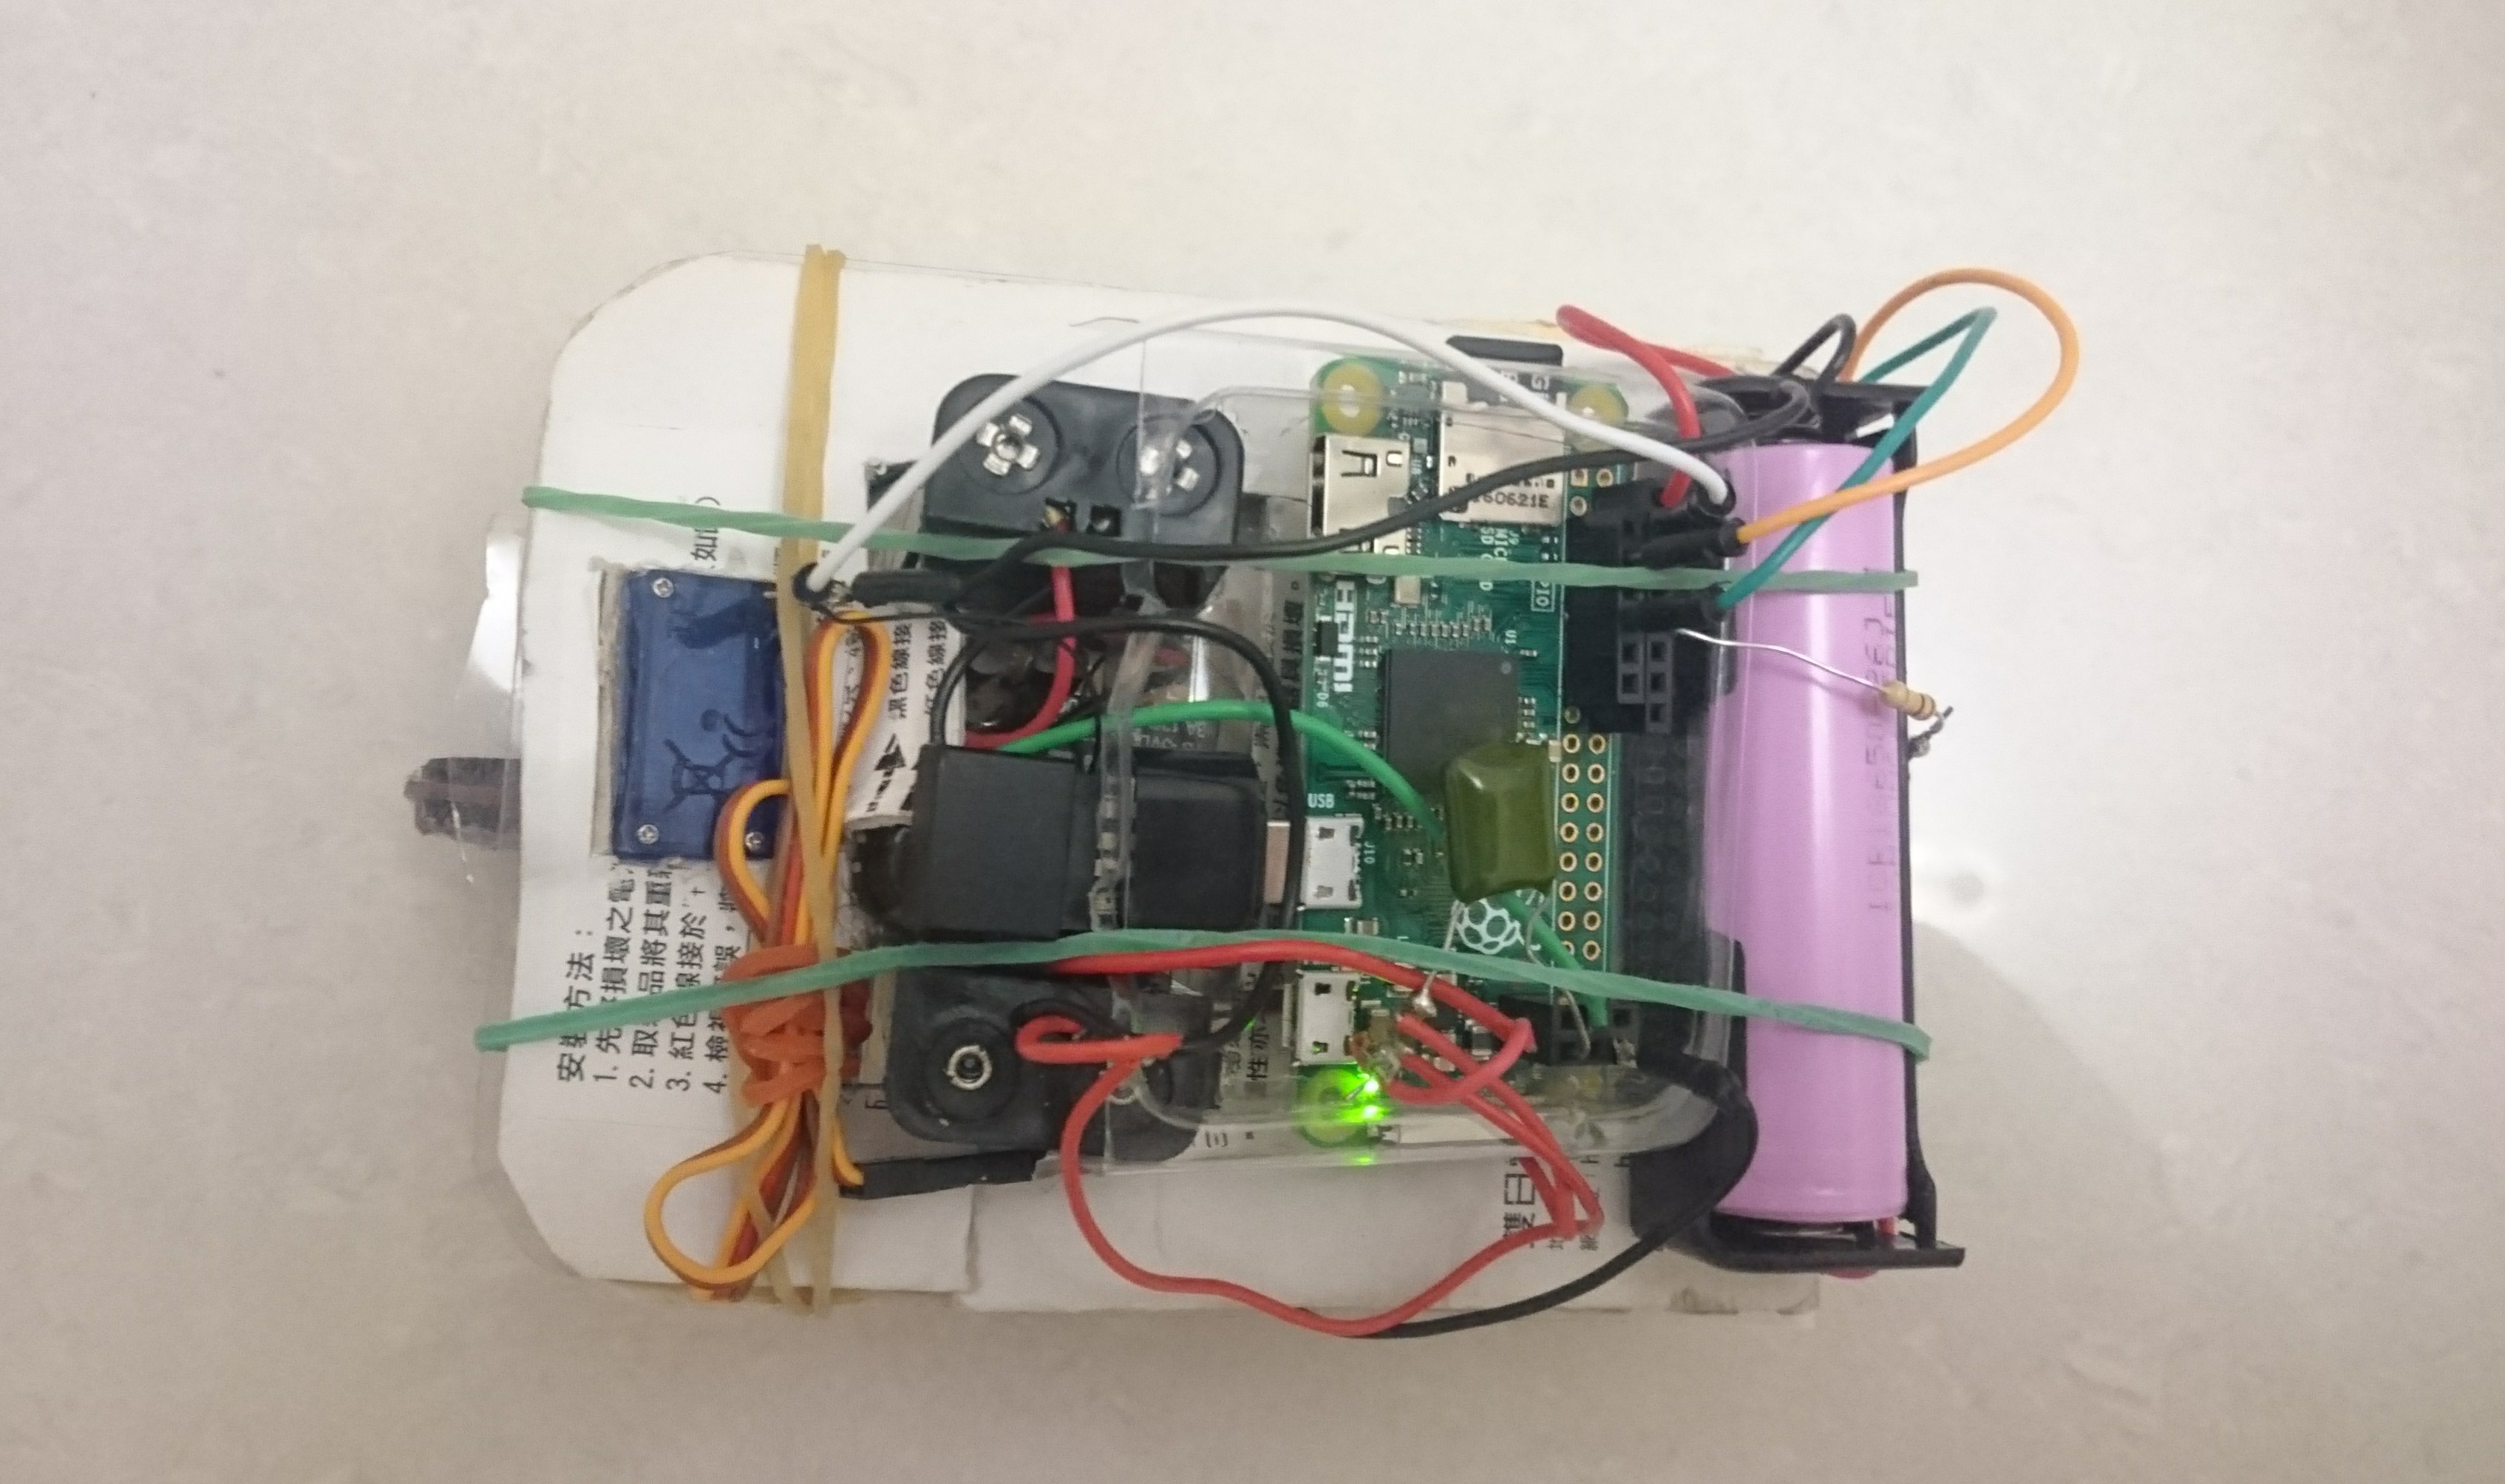
i am figuring about the part 4 roller bot out that arduino running in multi-program
crashing out ! (Tiny Robot Plat Form With nano_part_4 + reset circuit)
IN CODING(nano_part_4):
so i have to write a sub-program in order to reset it's self every second.
or it will not both receiving next remoter signals and running at the same time!
and finally, i use pi zero instead then.
because it's supporting multi-tasking!
and then , i slim it by took apart the IR receiver circuit and
took apart nano and the reset circuit, and remote it with
a wireless keyboard in order to speedup the response time.
Materials

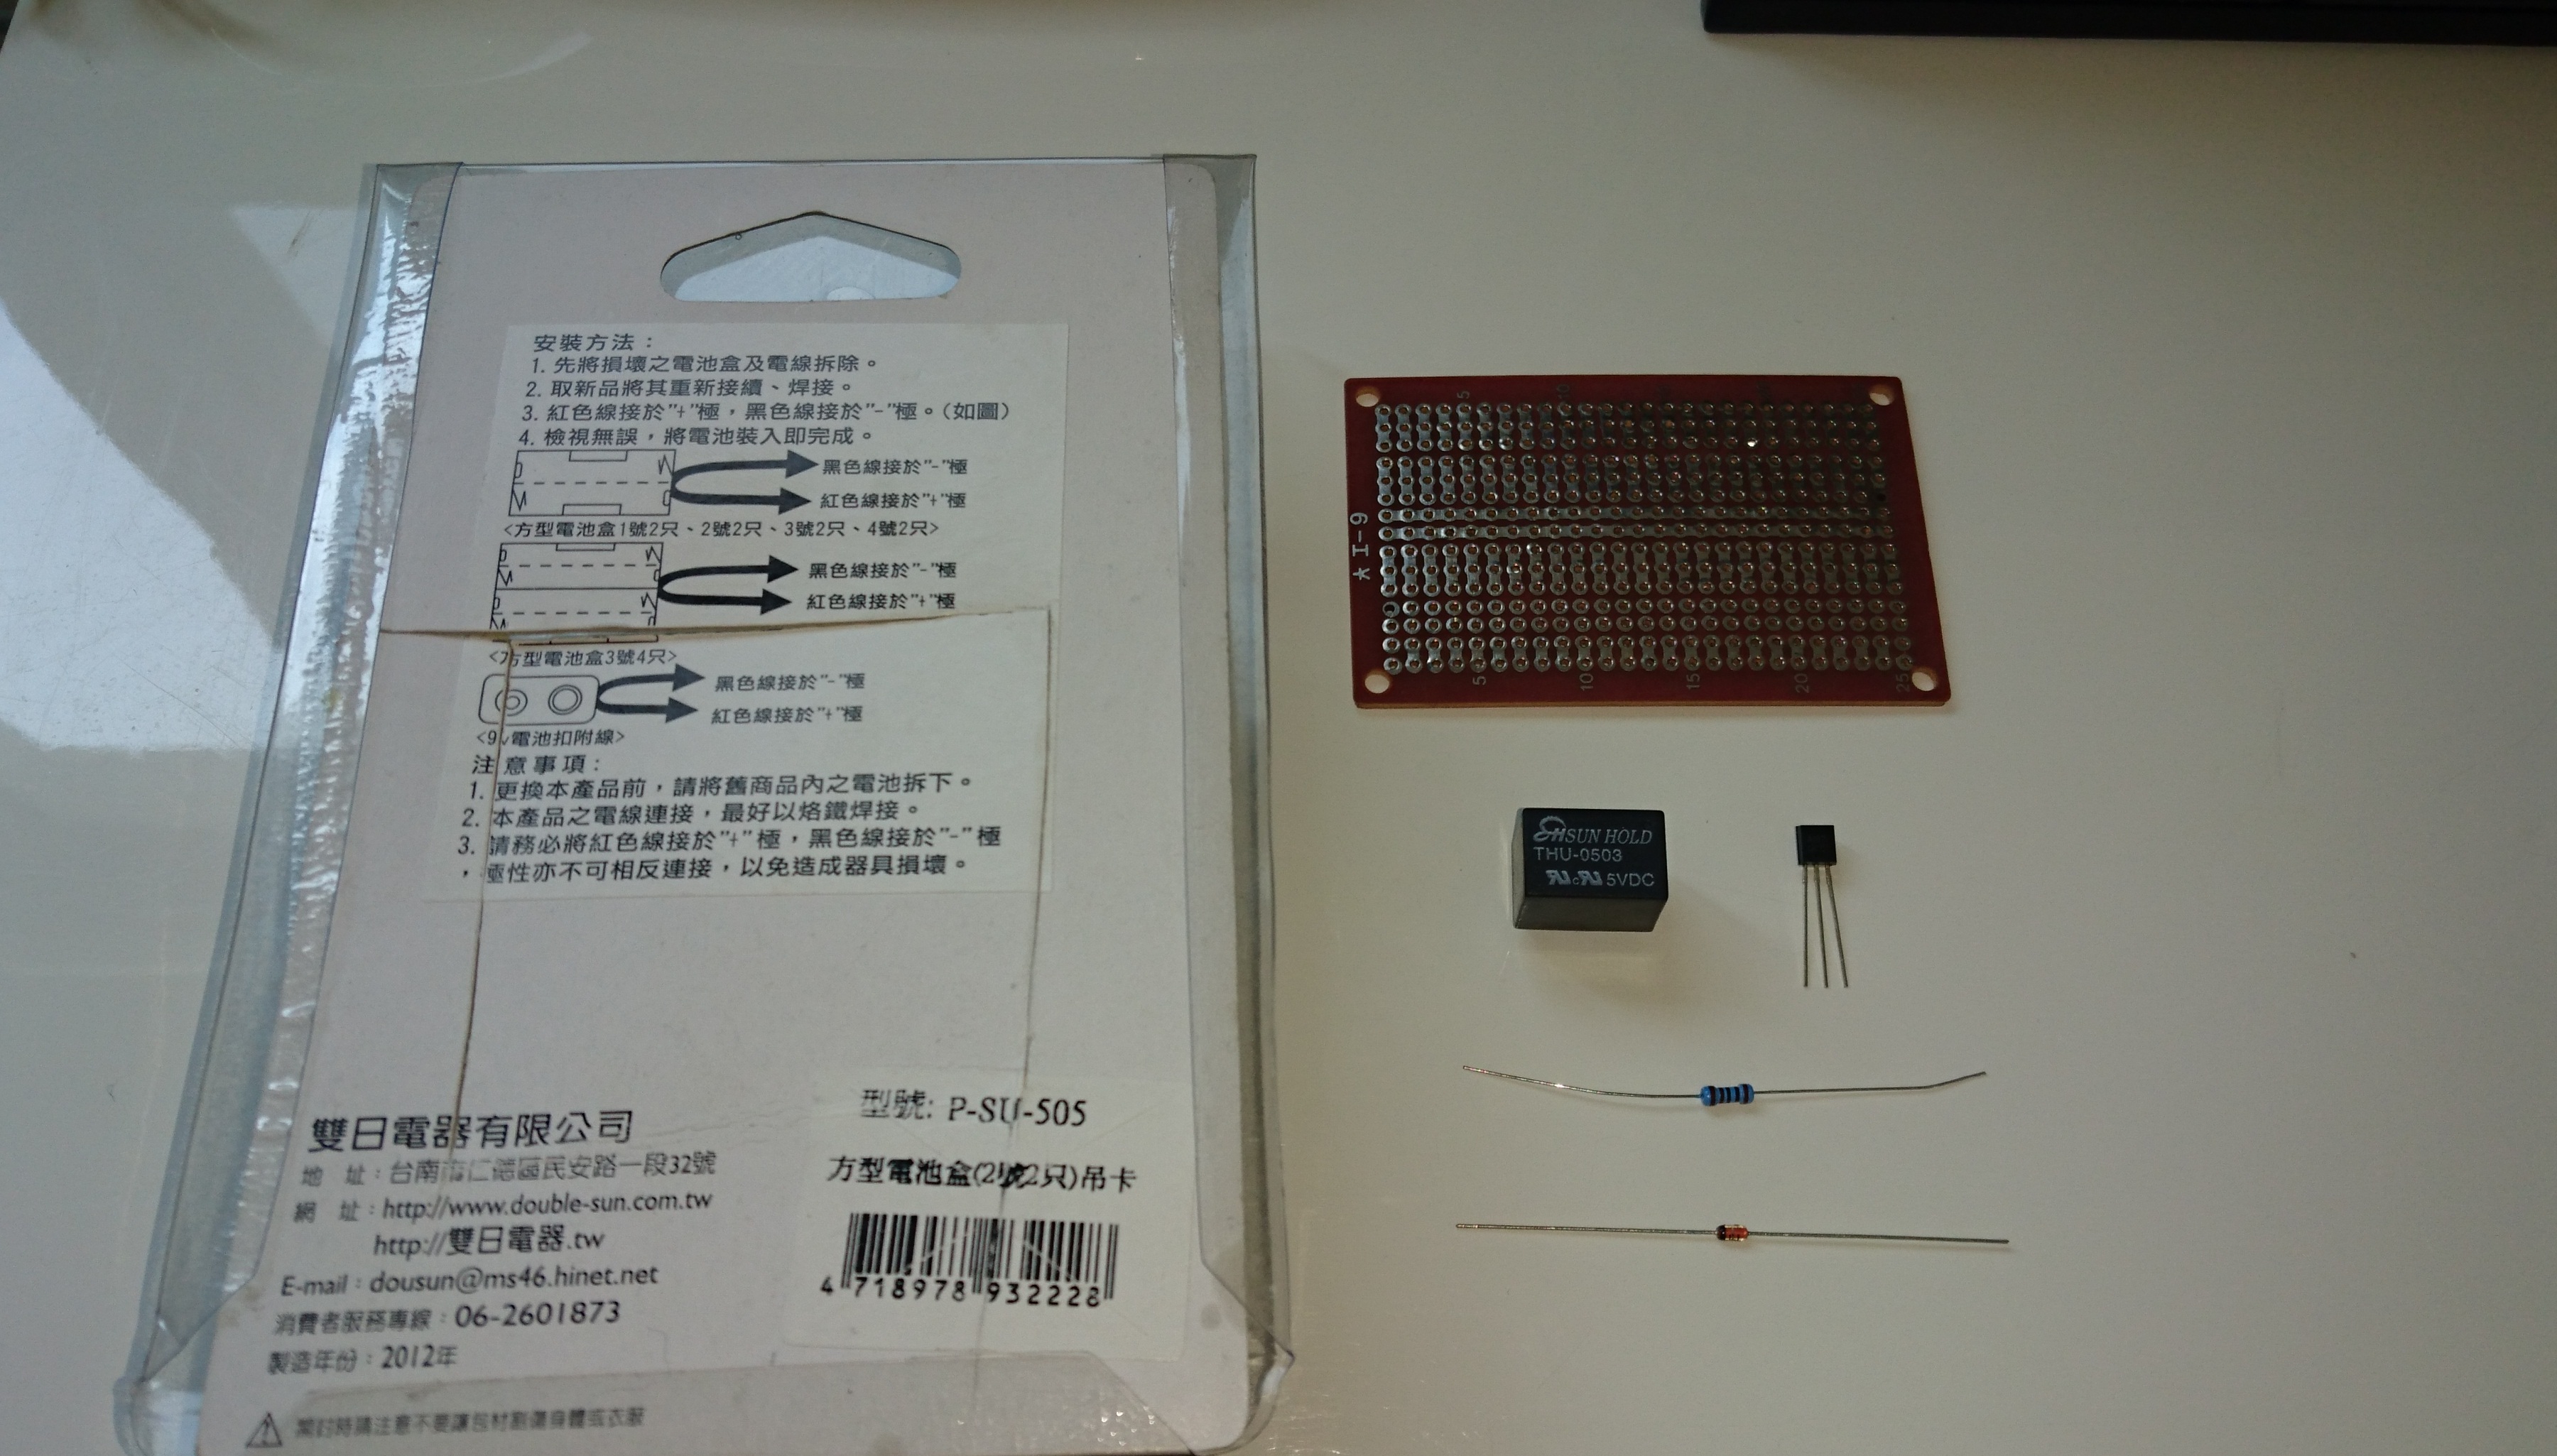

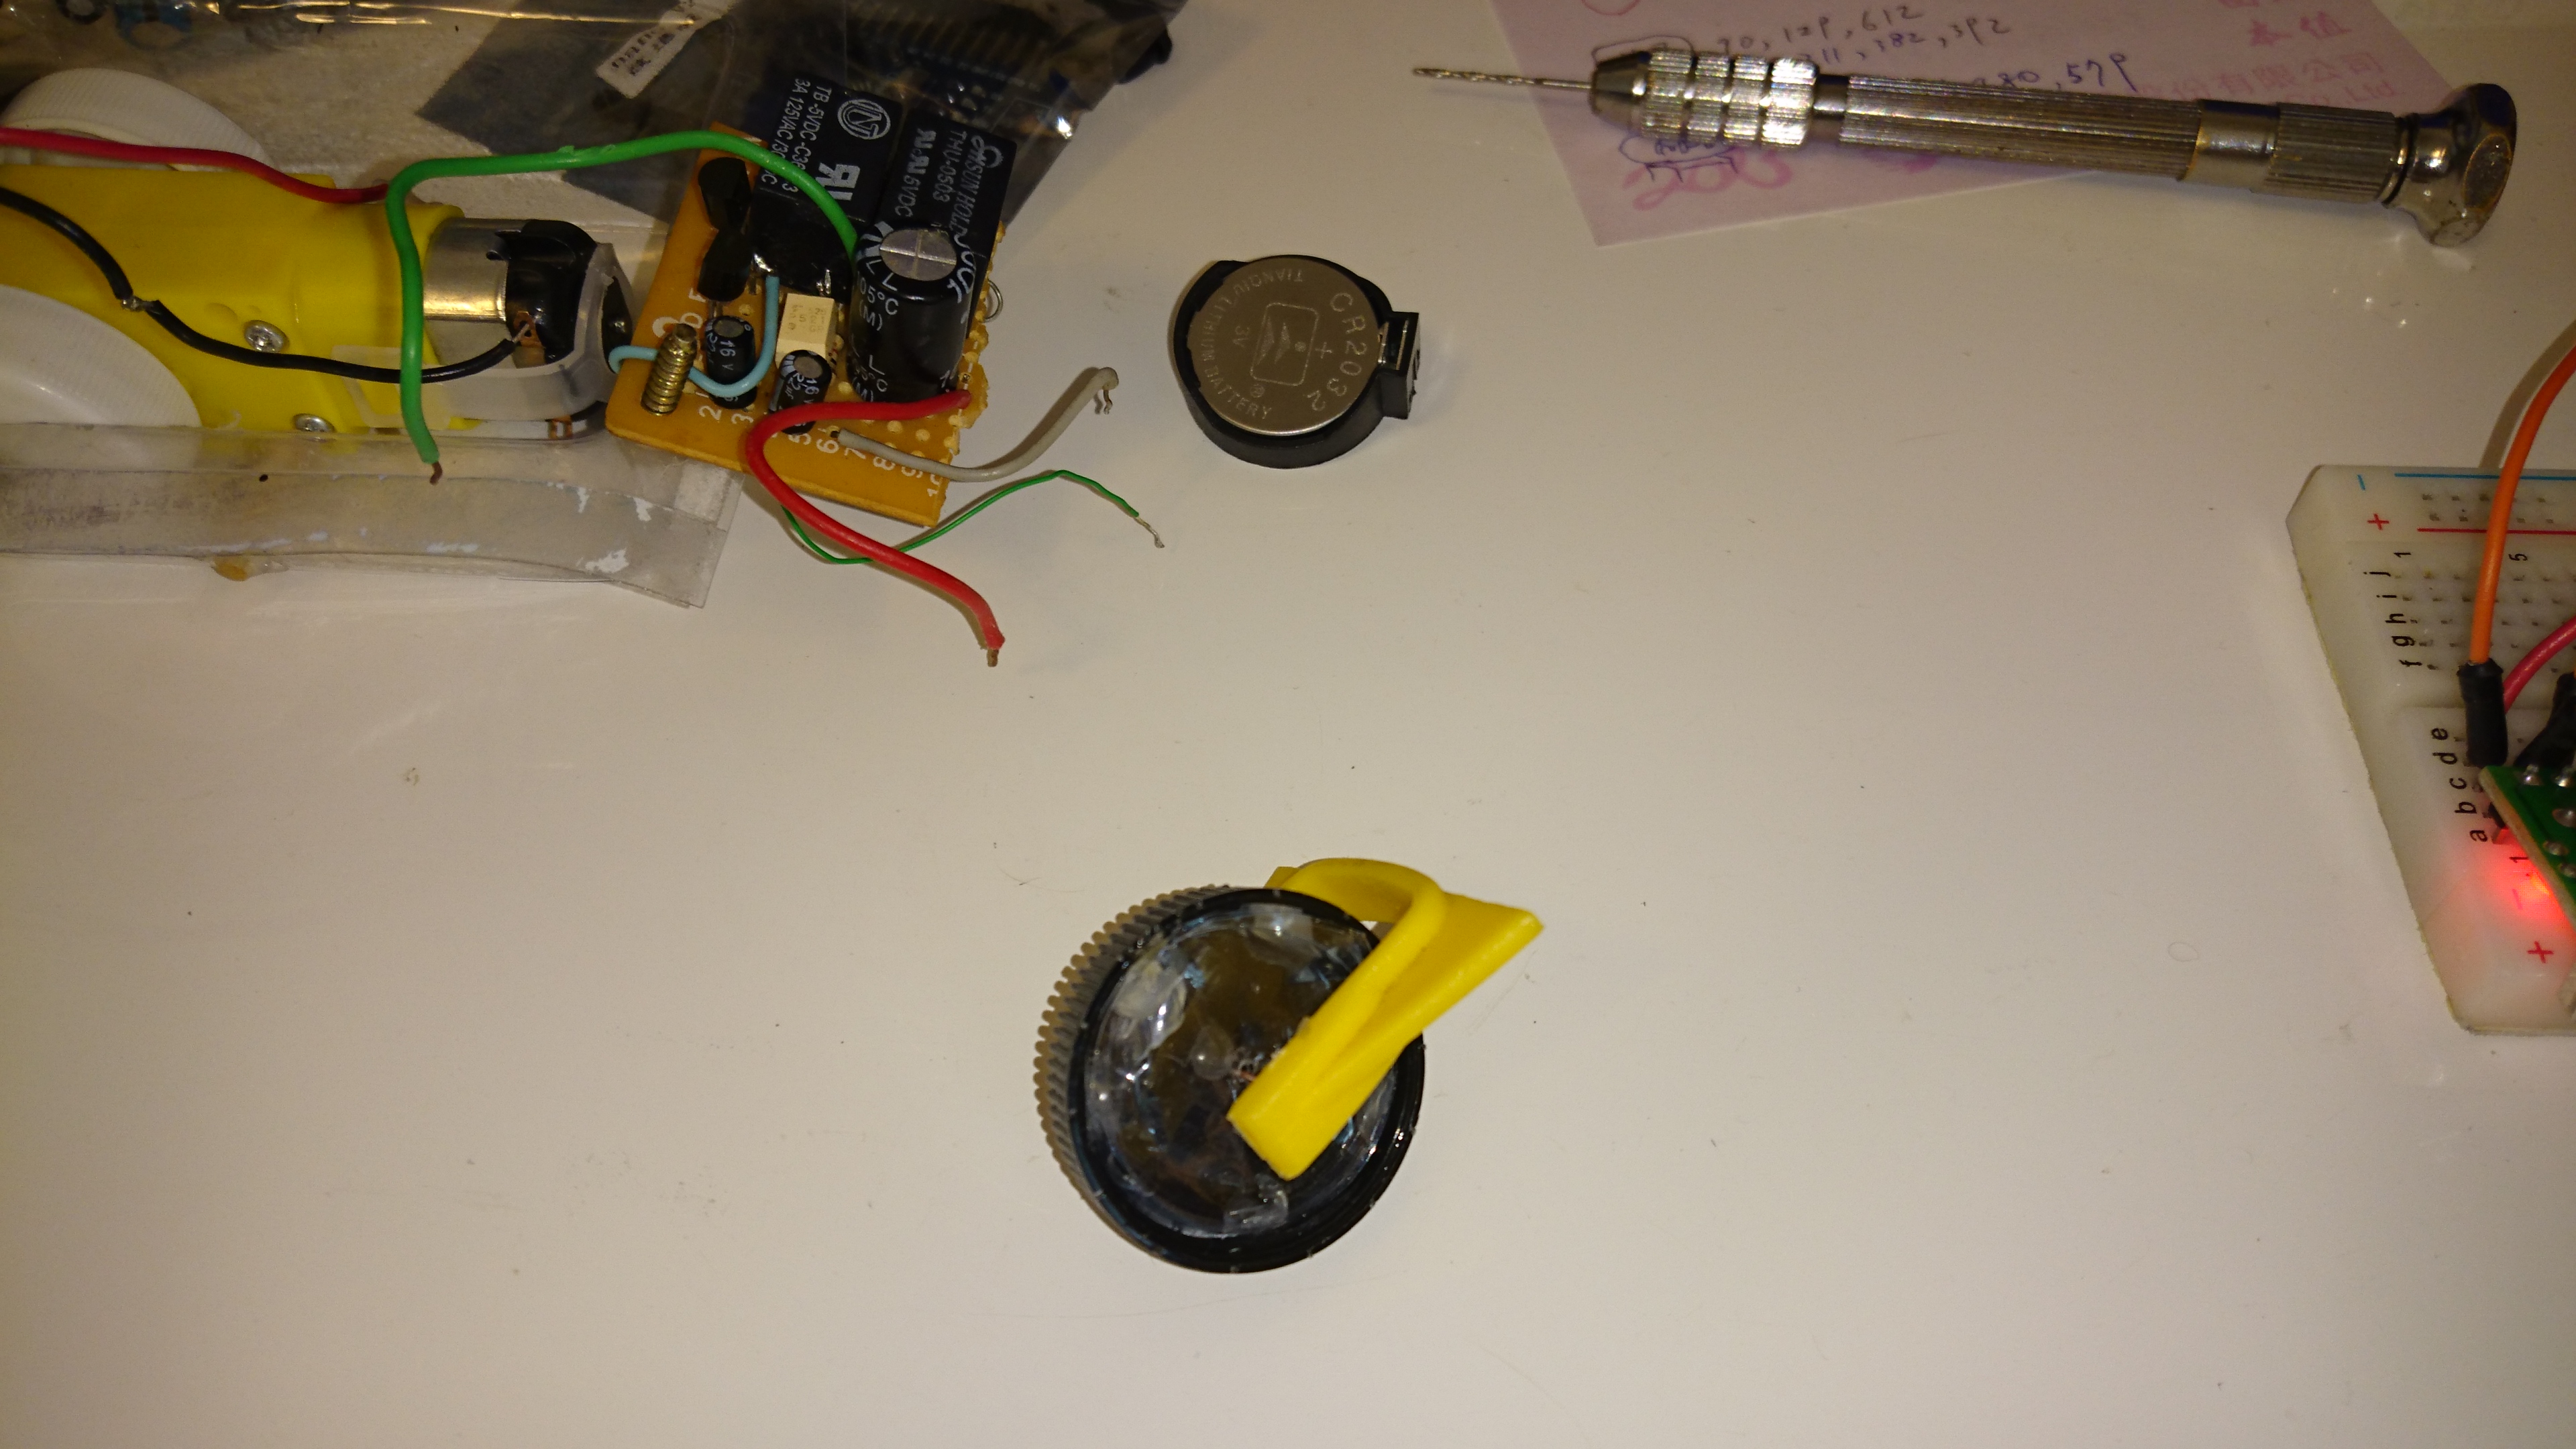
pi zero * 1
dc-motor gears * 1
micro servo motor * 1
USB wireless keyboard*1 (as the remoter)
5v relay * 2
AAA batt * 4
AAA holder * 2
3.7 v Li battery(18650) * 1
3.7 v Li battery(18650)holder * 1
TR 1, 2 : 2N 3904 * 2
D 1, 2 : IN 4148 * 2
C 1 : 100 uF * 1
C 2 : 0.01 uF * 1 (for bypass noise)
R1 : 10 K OHM * 1
R 4,5 : 1 K OHM * 2
PCB * 1
mini breadboard * 1(prototype use)
screw * 9
BBQ stick * 1
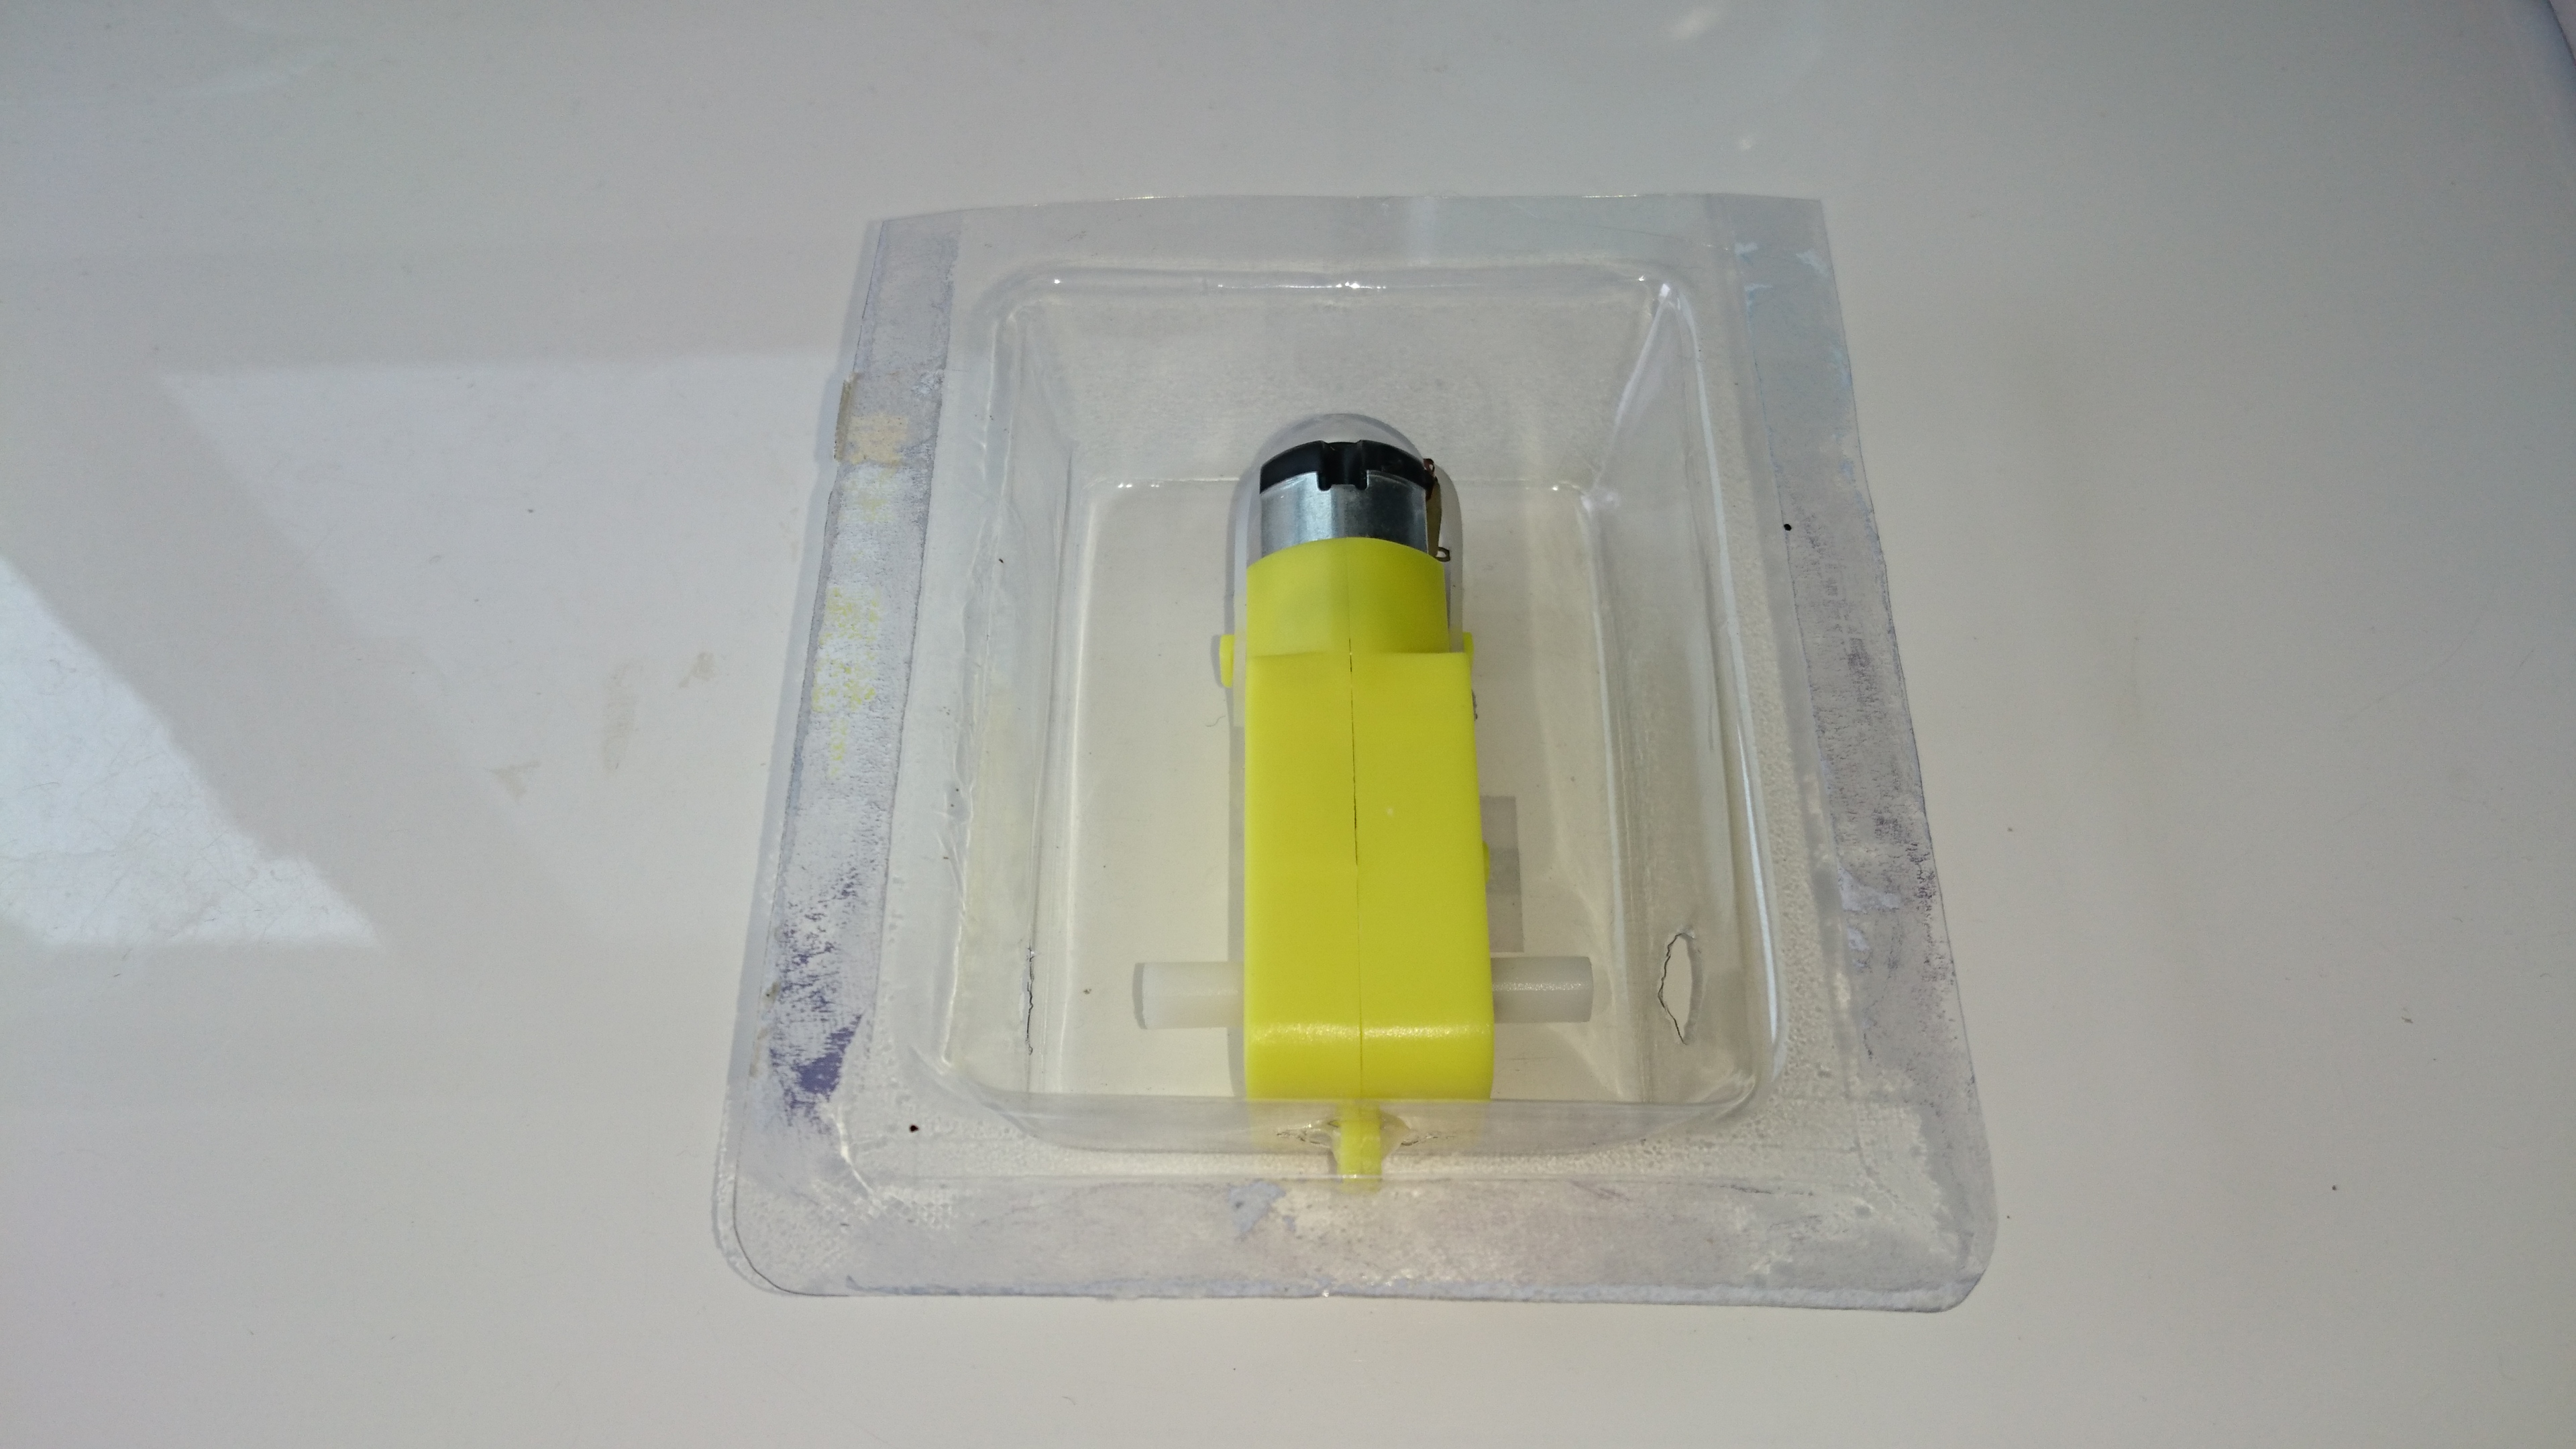
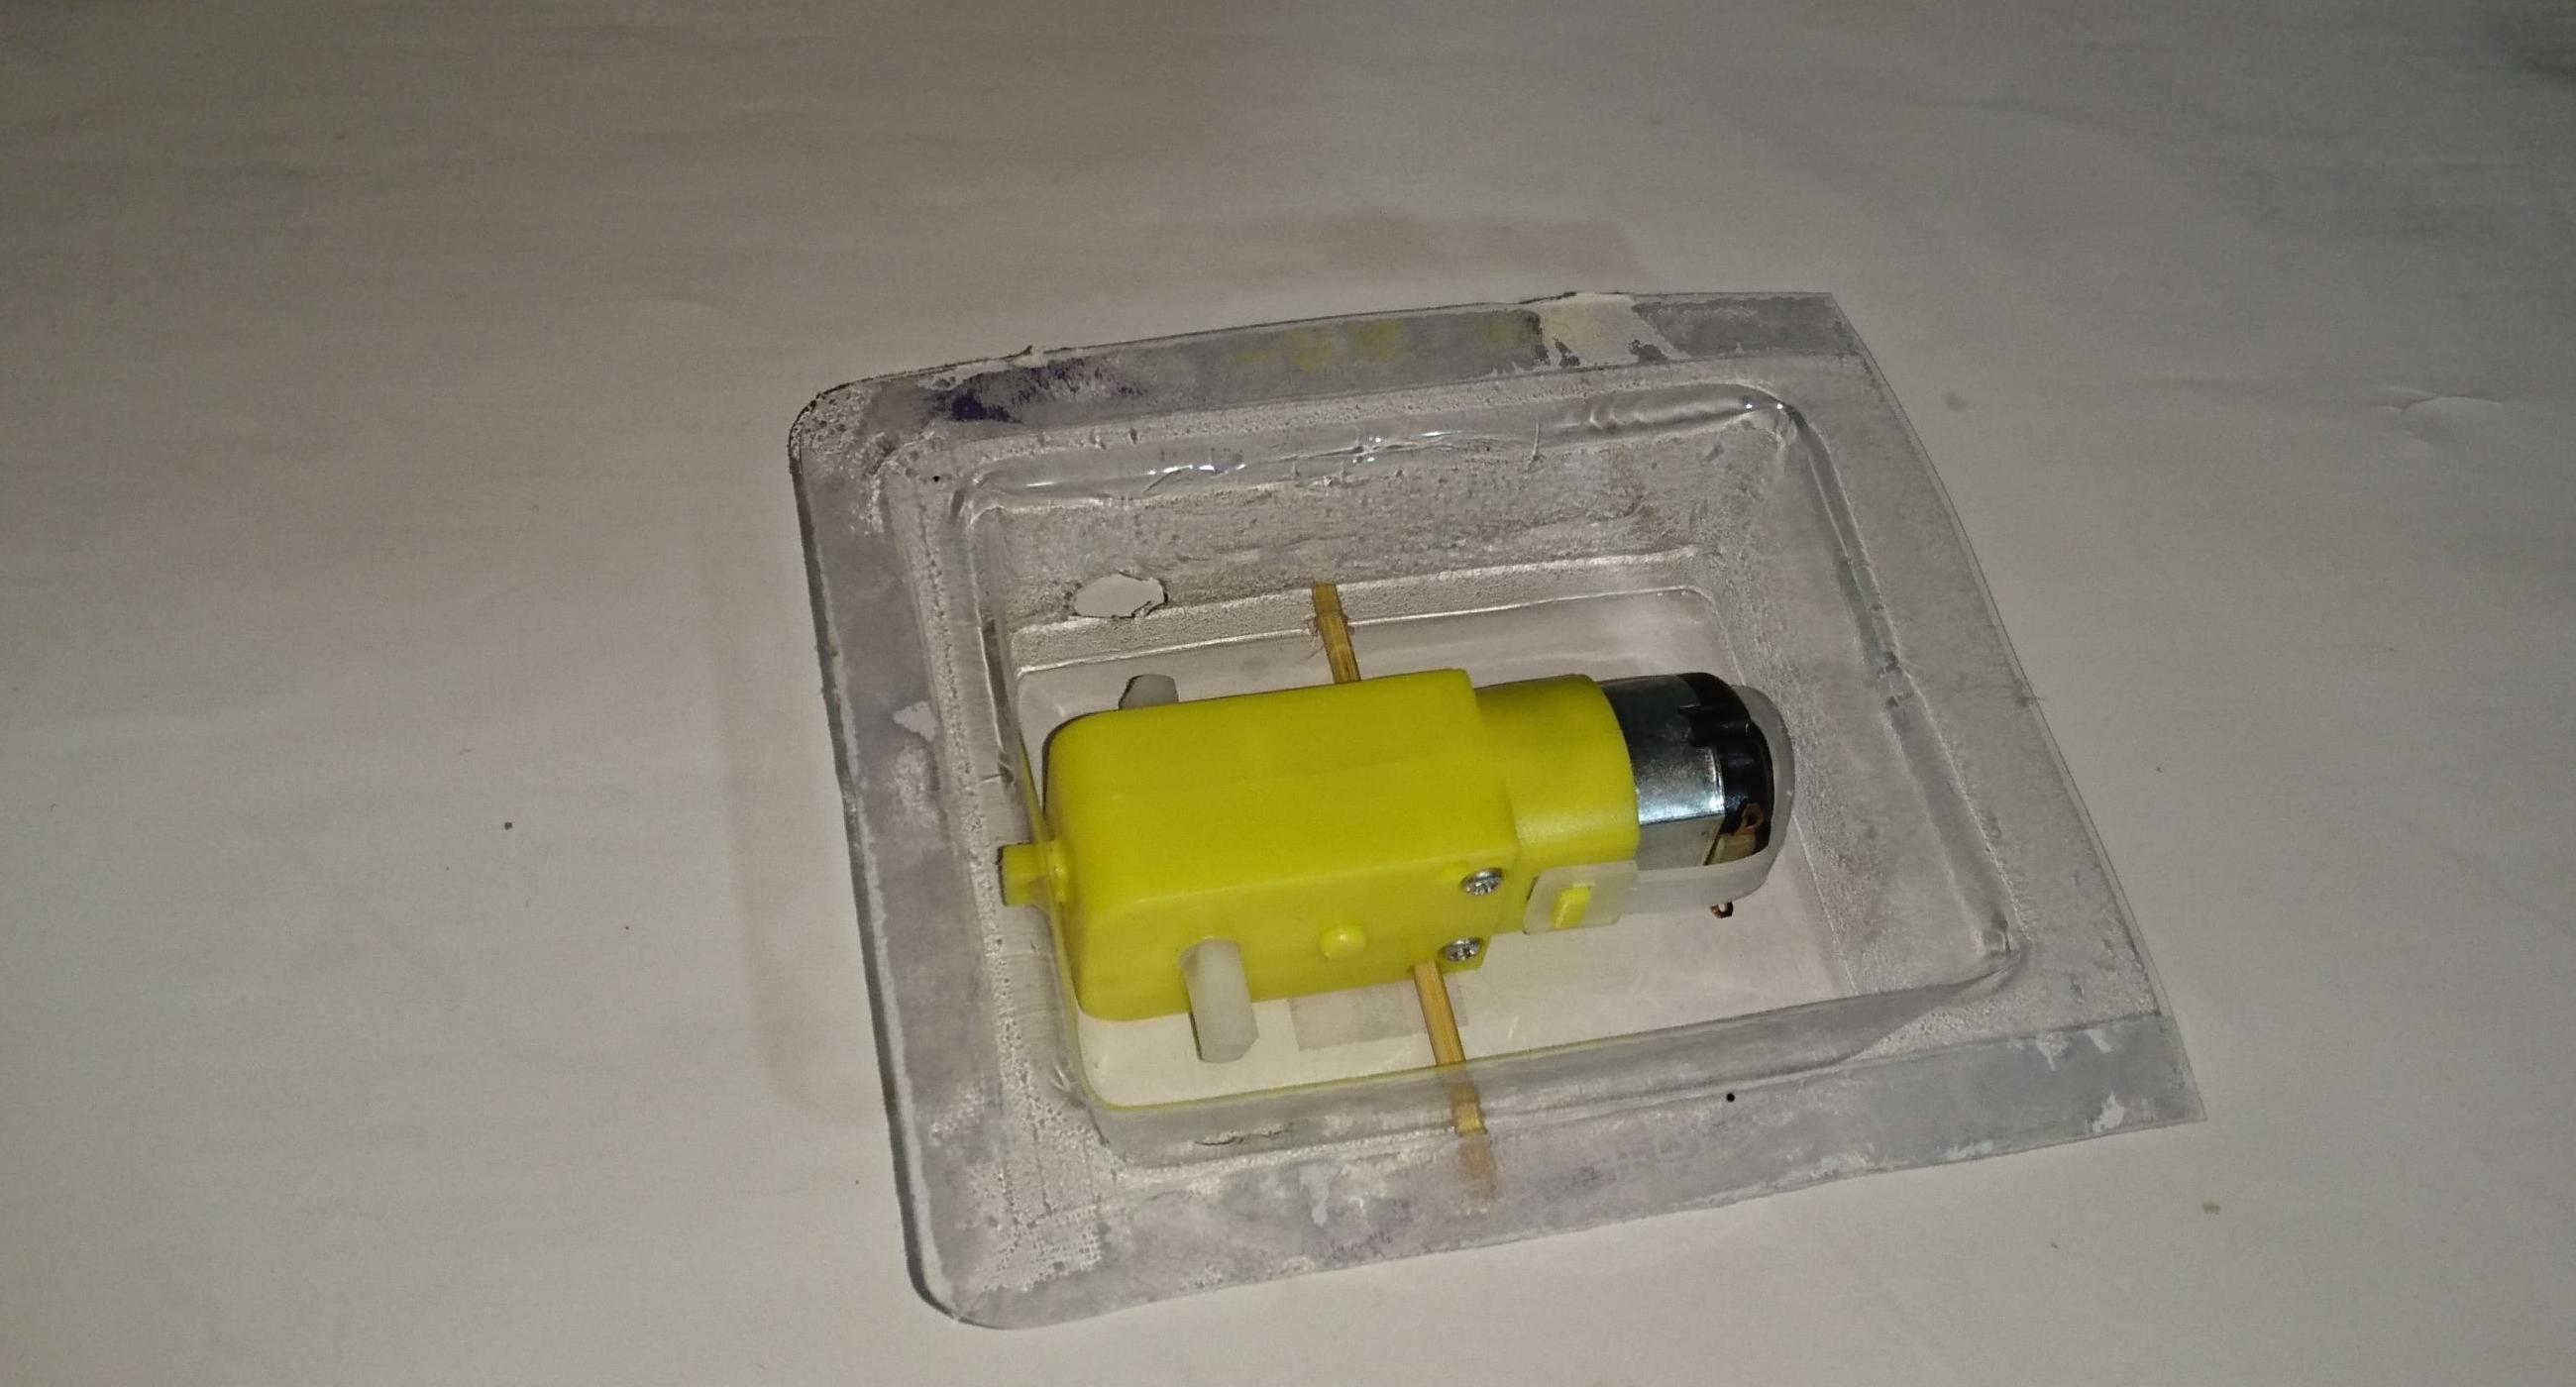
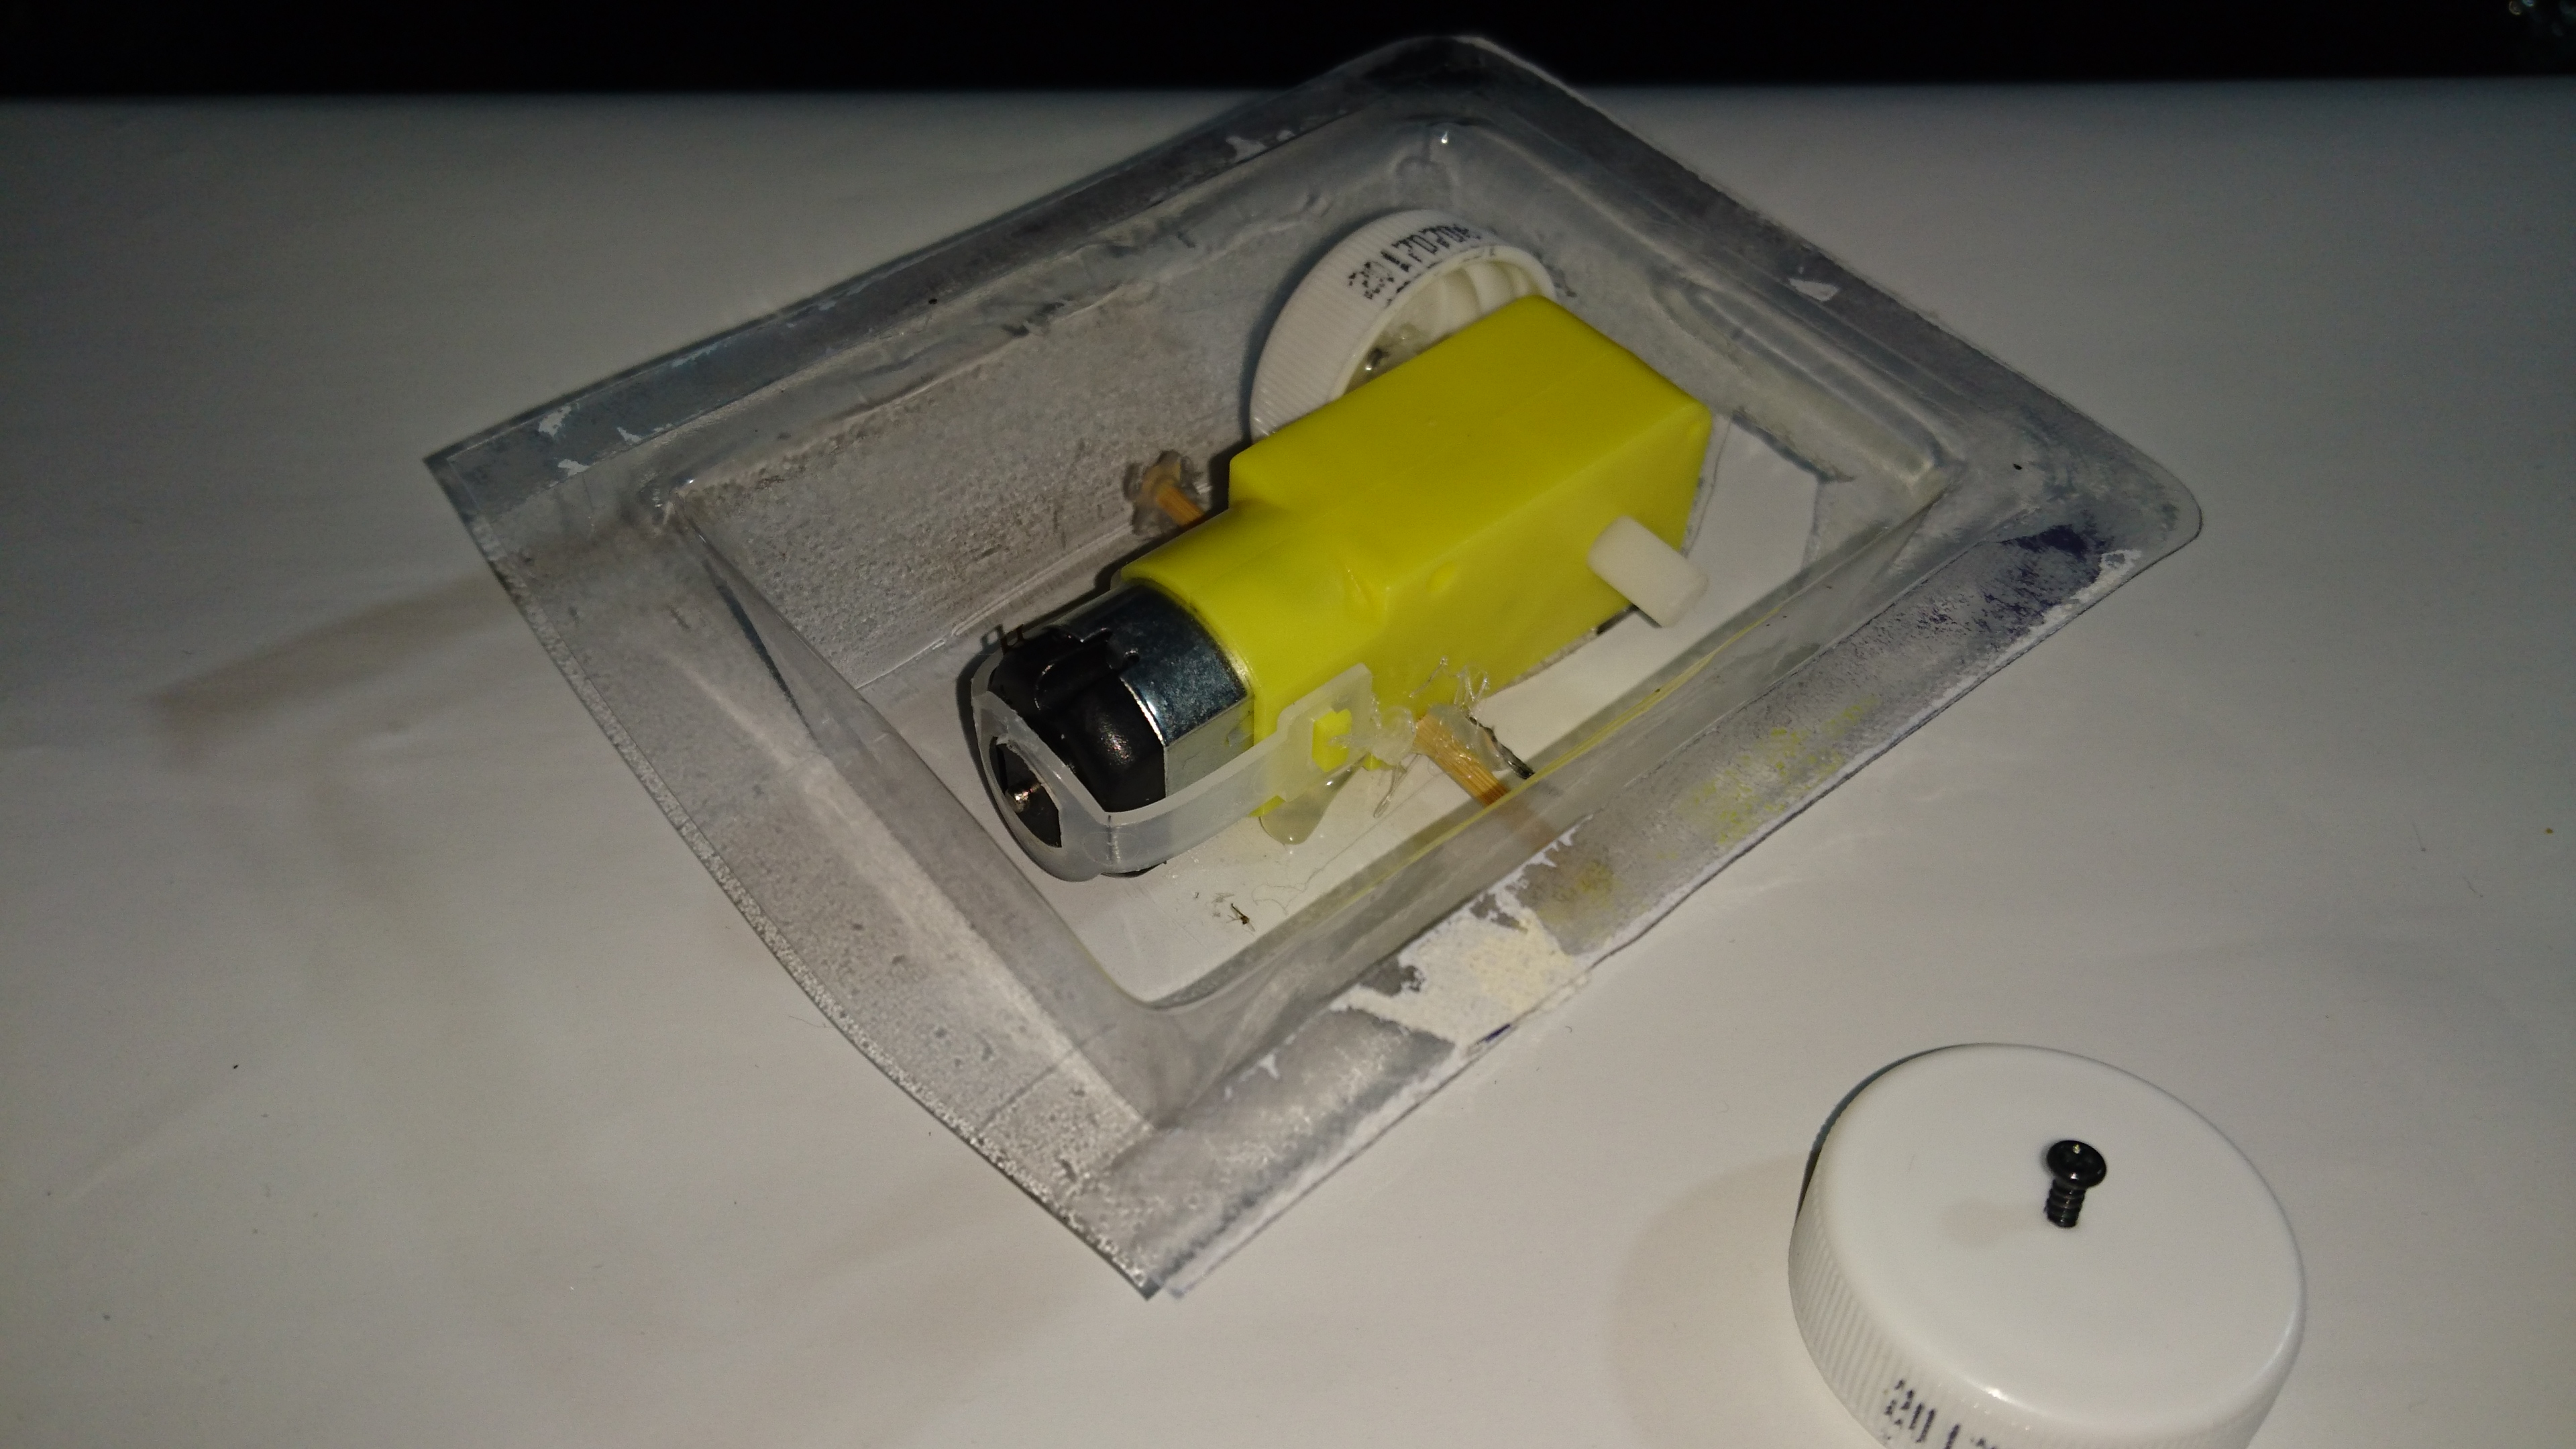
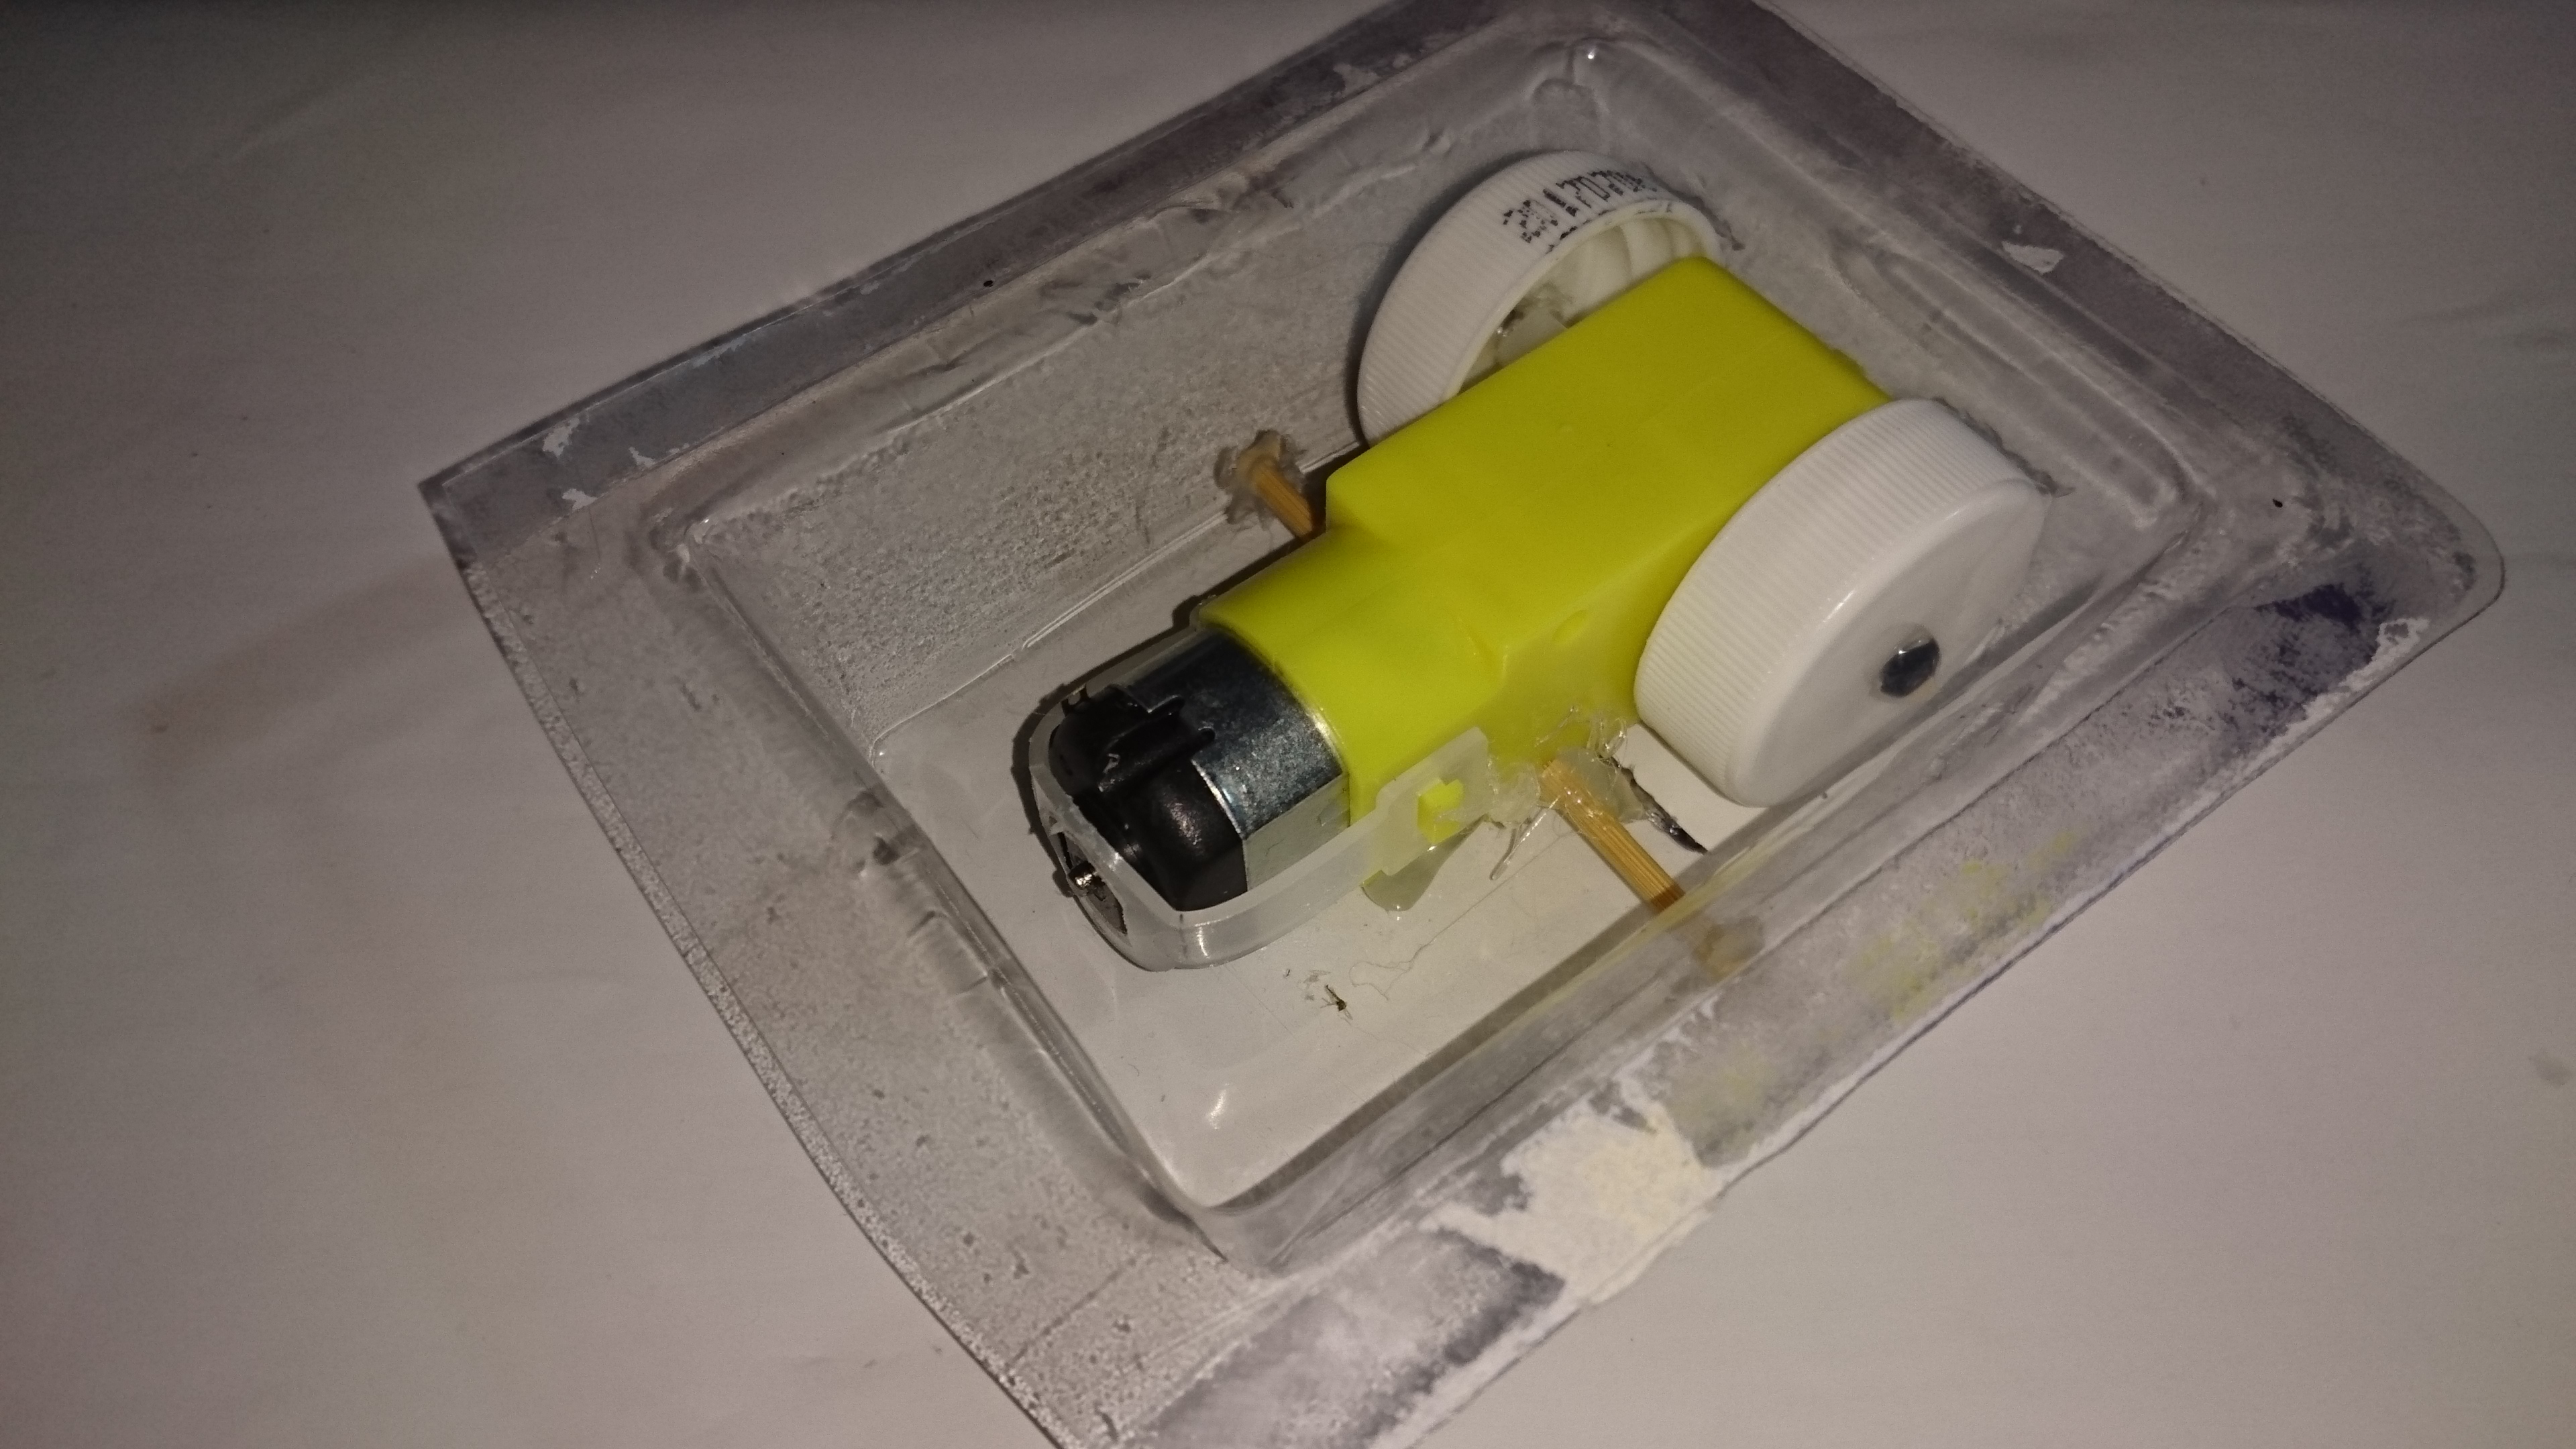
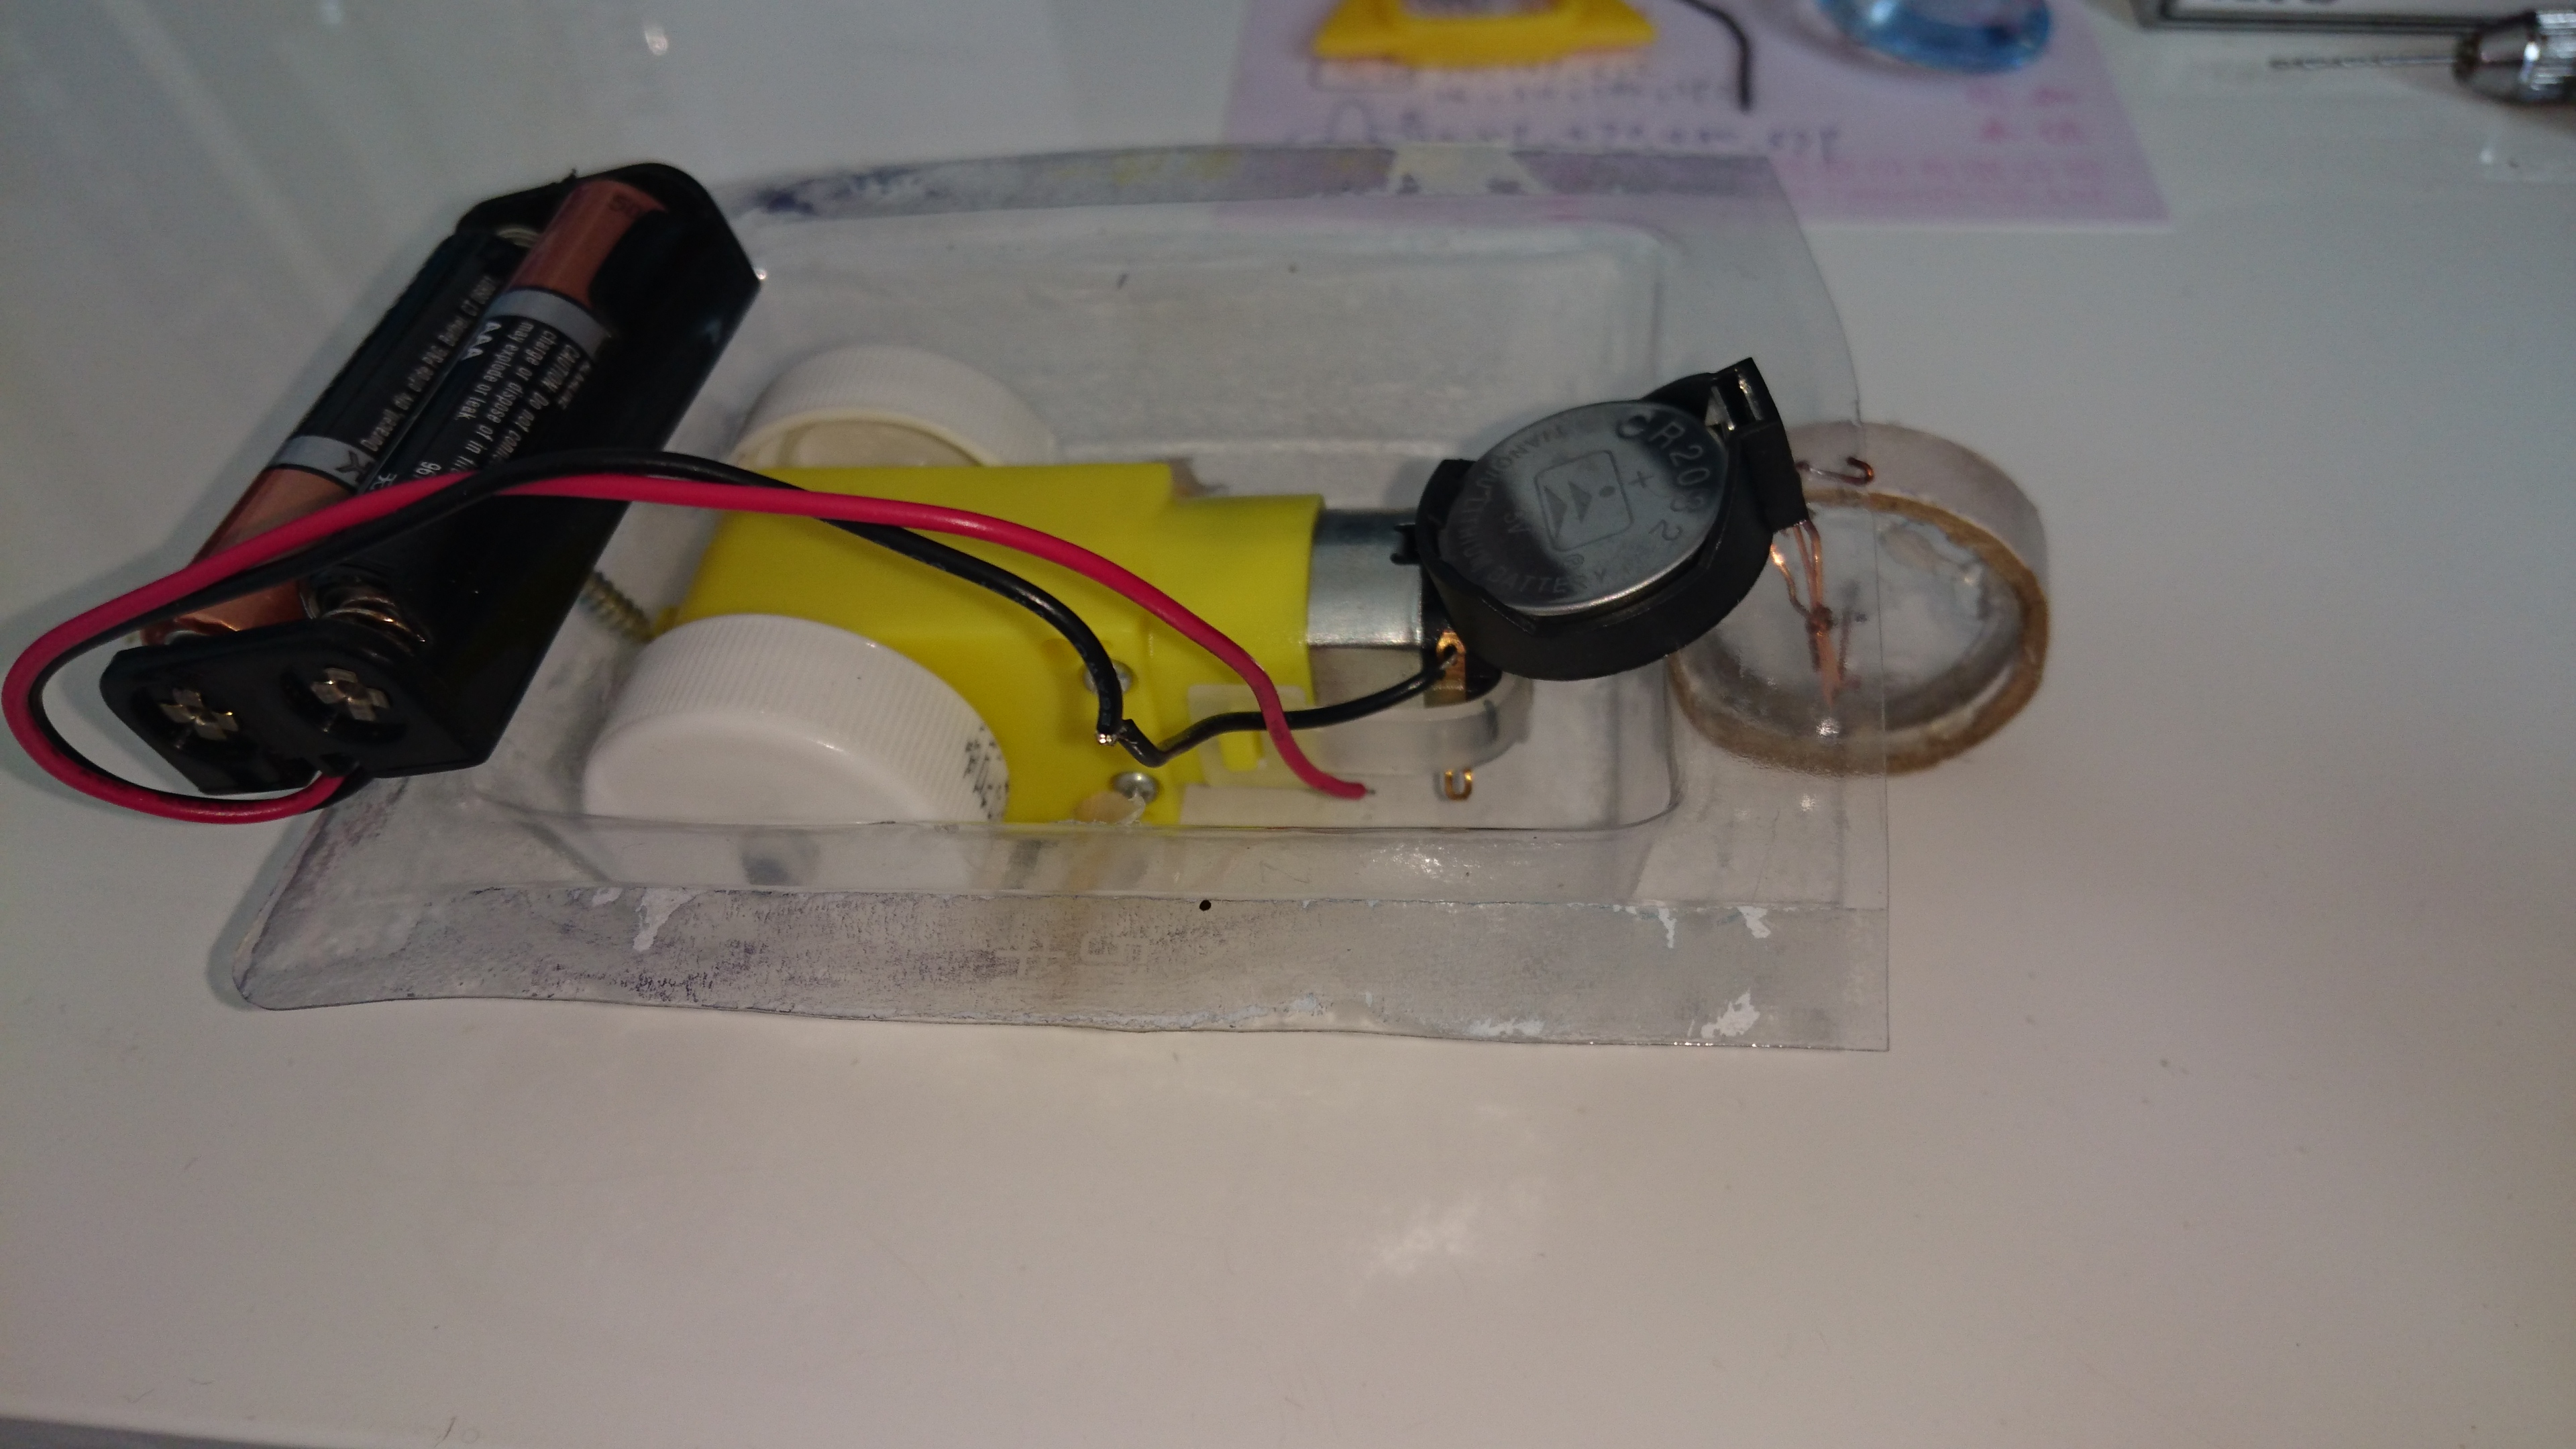
Make the Platform Chassis

Coding

# import curses, GPIO and time
import curses
import RPi.GPIO as GPIO
import time
#set GPIO numbering mode and define output pins
GPIO.setmode(GPIO.BOARD)
GPIO.setup(7,GPIO.OUT)
GPIO.setup(11,GPIO.OUT)
GPIO.setup(12,GPIO.OUT)
GPIO.setup(13,GPIO.OUT)
GPIO.setup(15,GPIO.OUT)
p = GPIO.PWM(12, 100) # channel=12 frequency=100Hz
p.start(0)
# Get the curses window, turn off echoing of keyboard to screen, turn on
# instant (no waiting) key response, and use special values for cursor keys
screen = curses.initscr()
curses.noecho()
curses.cbreak()
screen.keypad(True)
try:
while True:
char = screen.getch()
if char == ord('q'):
break
elif char == curses.KEY_UP:
GPIO.output(7,False)
GPIO.output(11,True)
GPIO.output(13,False)
GPIO.output(15,True)
elif char == curses.KEY_DOWN:
GPIO.output(7,True)
GPIO.output(11,False)
GPIO.output(13,True)
GPIO.output(15,False)
elif char == curses.KEY_RIGHT:
p.ChangeDutyCycle(22)
time.sleep(0.5)
GPIO.output(11,True)
GPIO.output(7,False)
GPIO.output(13,False)
GPIO.output(15,True)
elif char == curses.KEY_LEFT:
p.ChangeDutyCycle(8)
time.sleep(0.5)
GPIO.output(7,False)
GPIO.output(11,True)
GPIO.output(13,True)
GPIO.output(15,False)
elif char == 10:
GPIO.output(7,False)
GPIO.output(11,False)
GPIO.output(13,False)
GPIO.output(15,False)
p.ChangeDutyCycle(13)
time.sleep(.5)
#p.stop()
finally:
#Close down curses properly, inc turn echo back on!
p.stop()
curses.nocbreak(); screen.keypad(0); curses.echo()
curses.endwin()
GPIO.cleanup()
Wiring Up

Connect pi_zero to the PCB,
and then connect battery and motor together.
*** you need to save the code last step to EX: remote.py
and you append the .bashrc
"sudo python remote.py" in the last line
in order to boot up and run ! ***
Test Run
