Tiny Planet Photoshop Tutorial
by CJR2000 in Craft > Digital Graphics
35112 Views, 36 Favorites, 0 Comments
Tiny Planet Photoshop Tutorial
This Instructable shows you how to create a stunning tiny planet image in 5 simple steps.
Step 1: File>Open
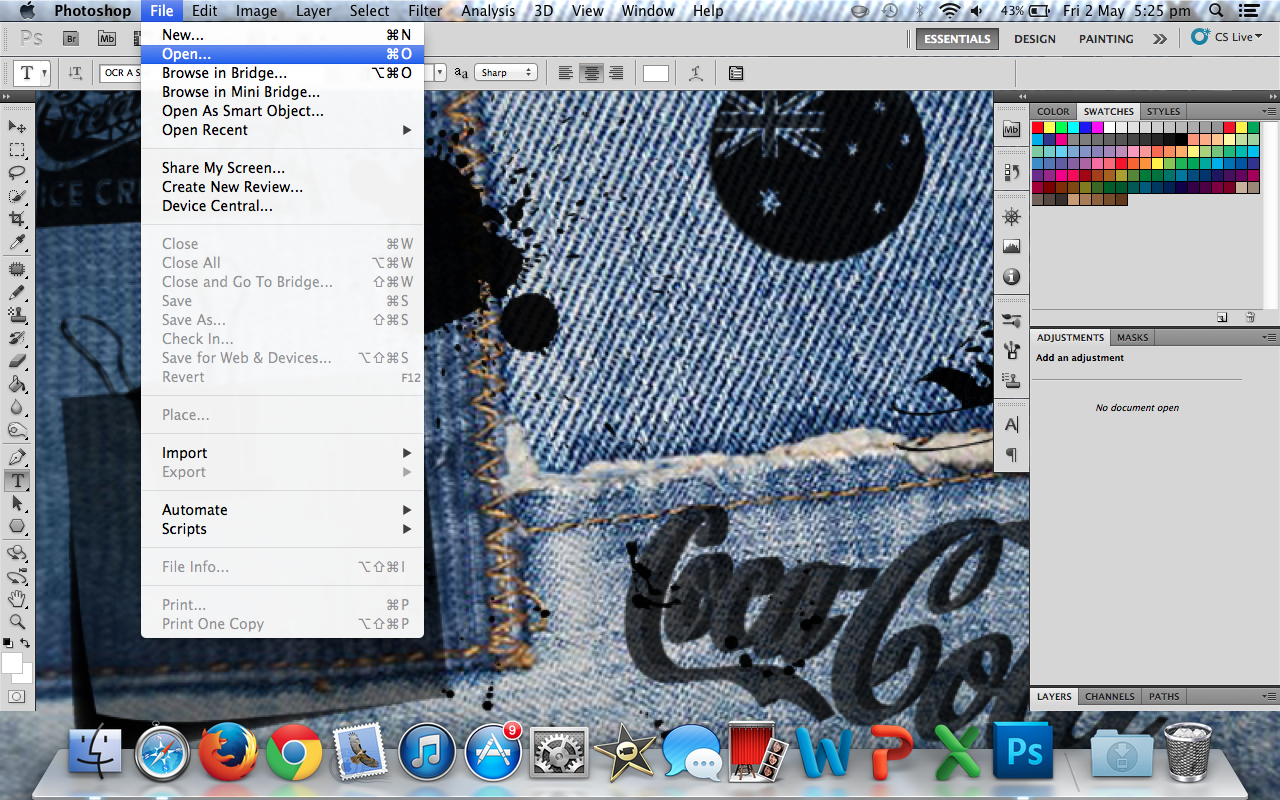
Insert a panorama into photoshop by clicking File>Open. The final result is better if you use a 360˙ image but a wide angle or smaller panorama works too. Your image can be your own or one off the internet.
Step 2: Image Size

After that, click Image>Image Size. Now unselect the 'Constrain Proportions' box and change the height of the image to the same as the width.
Step 3: Image Rotation
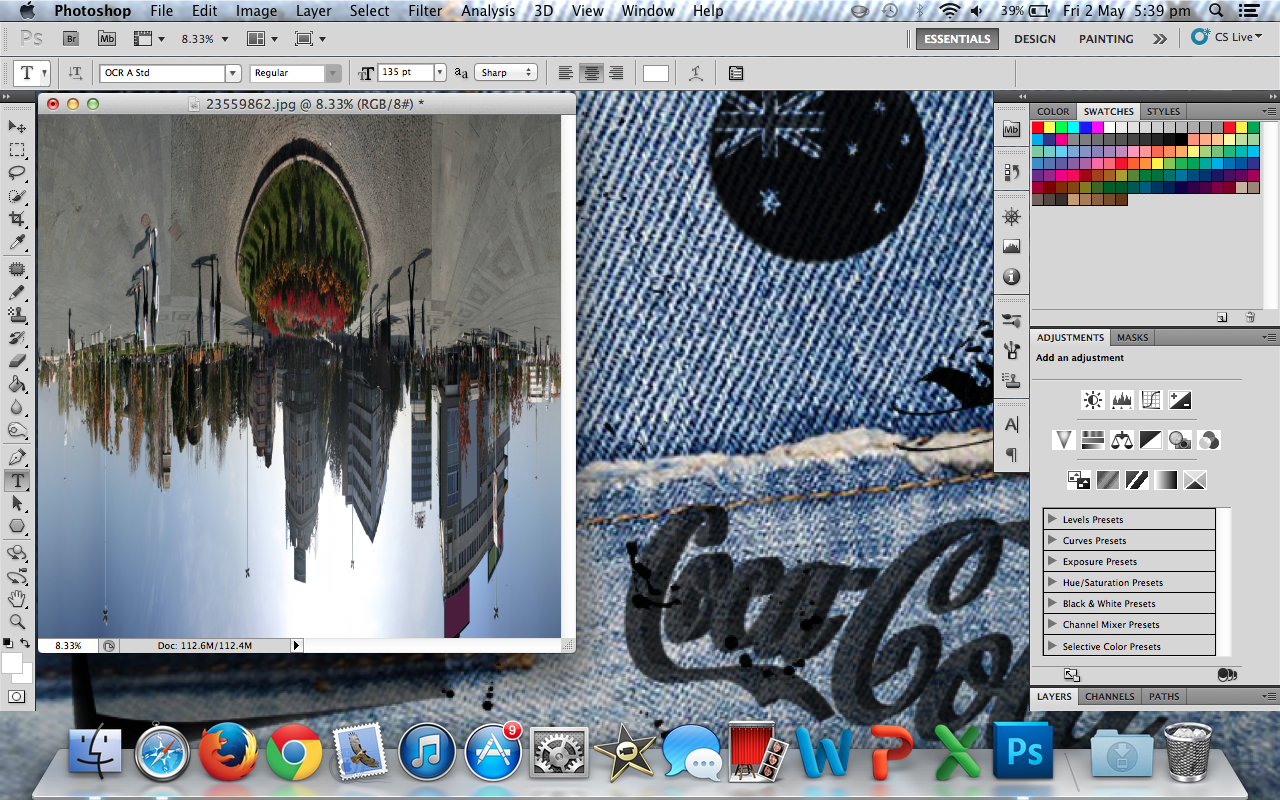
Now go to Image>Image Rotation>180˙. Your image should now look similar to this:
Step 4: Polar Coordinates
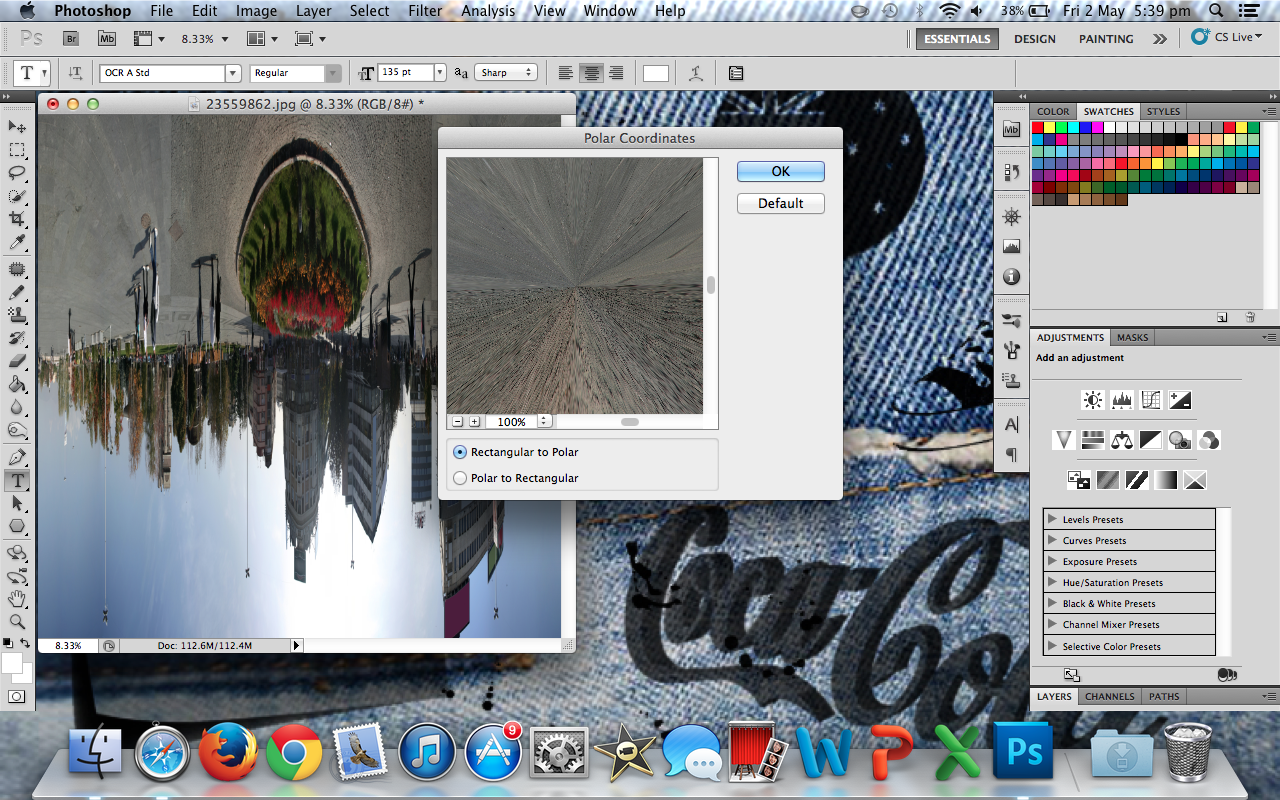
Finally go to Filter>Distort>Polar Coordinates. Tick the Rectangular to Polar box and click ok.
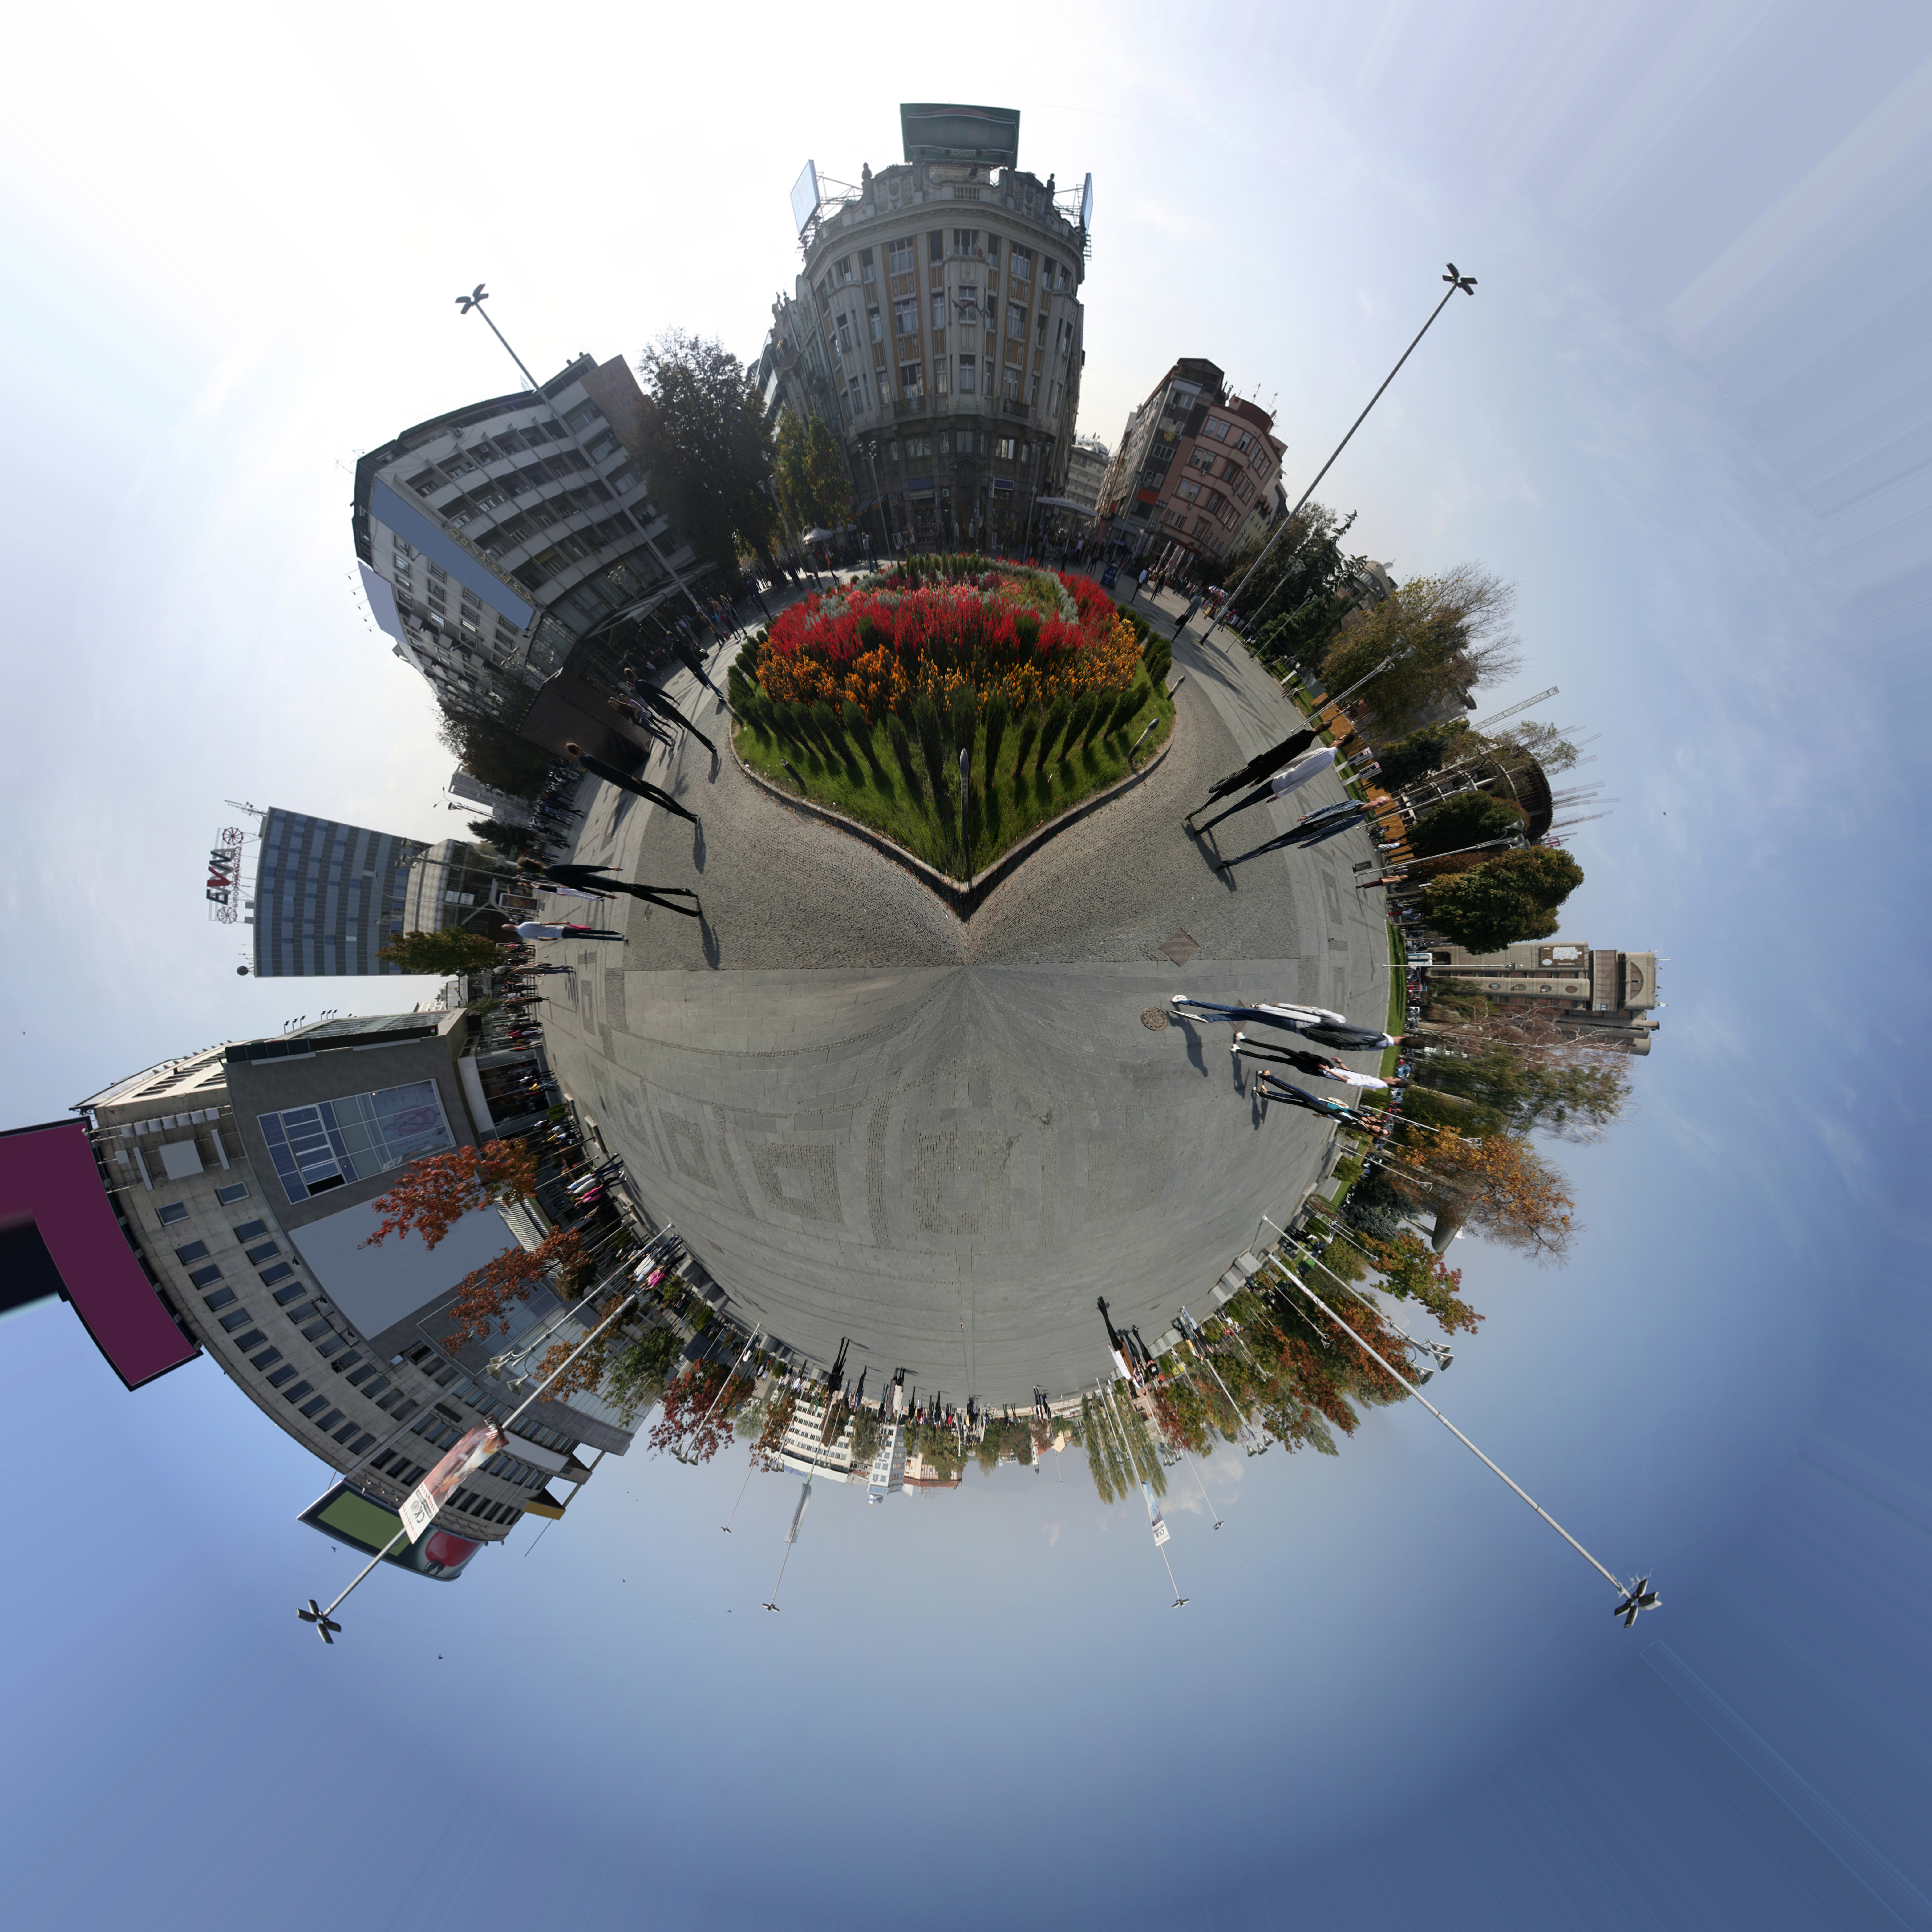
Step 5: Finished!
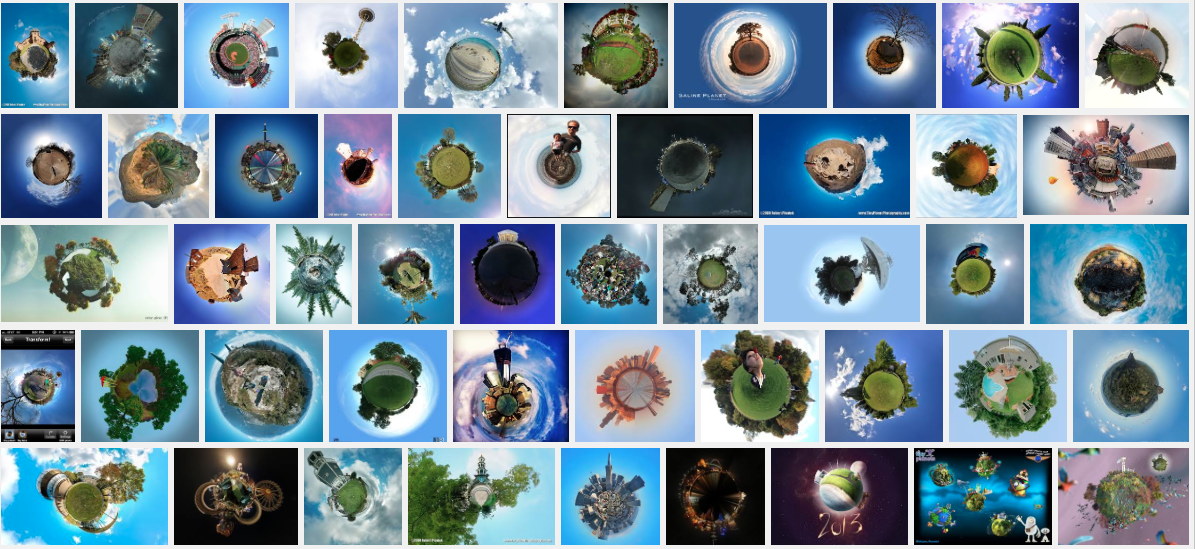
Congratulations! You have successfully completed the tutorial! Feel free to tweak and adjust your final image! There are endless possibilities to this effect so what are you waiting for? Go and create!