Tiny Outdoor Camera
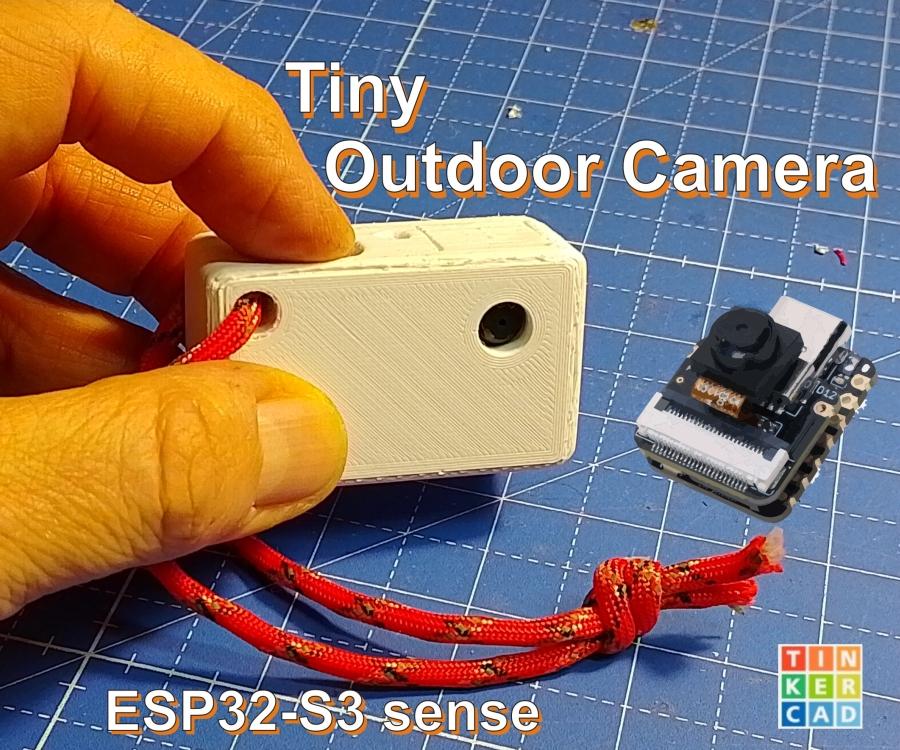
Amazingly tiny outdoor photo cam for quick one-handed use. (ESP32-S3 sense).
You only press the button as long as the picture is made and saved on SD card (1600x1200px). After that the ESP32 is powered off.
This camera is lightweight (31g), cheap and can be operated with just one hand. It is for photos only, not for videos!
Basic Arduino knowledge required!
Supplies
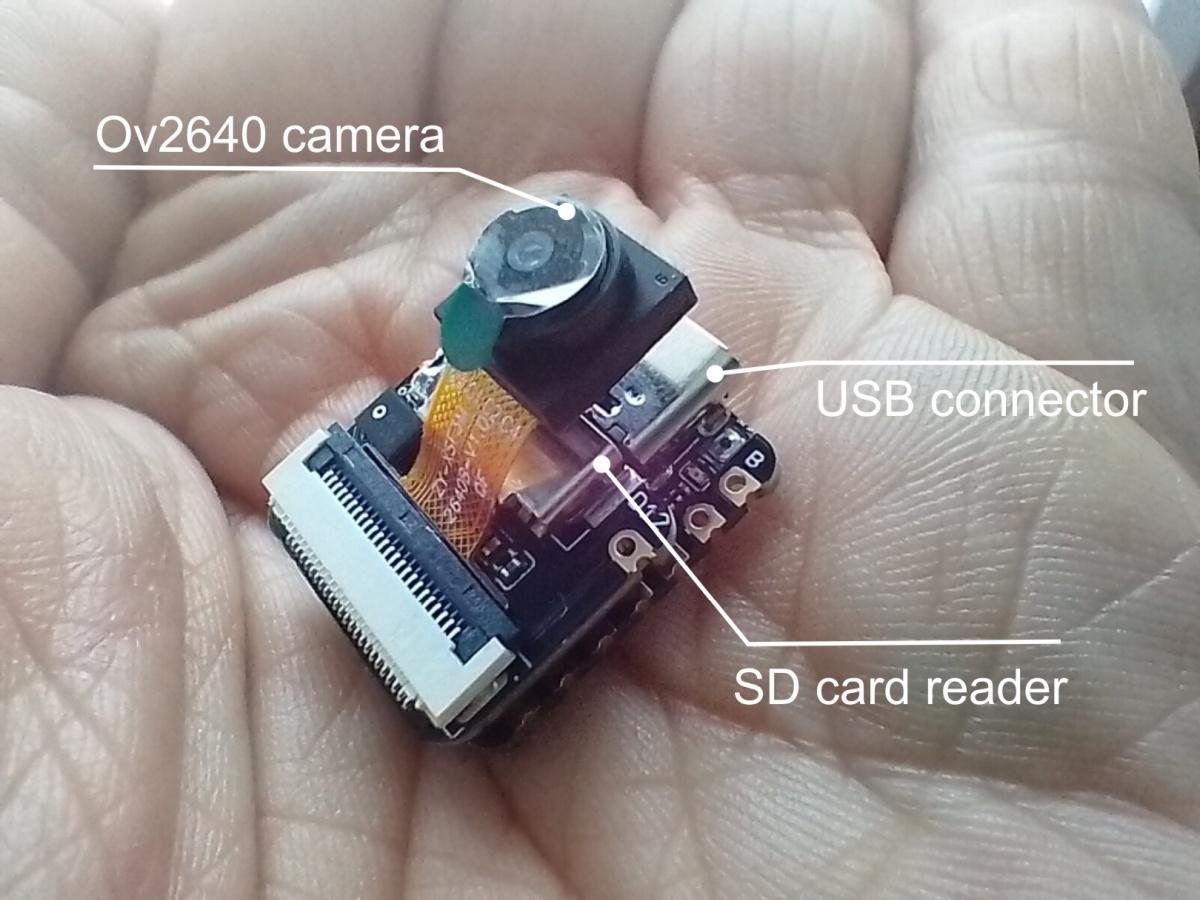
180mAh 3.7V LiPo battery
micro SD card
mini LED + 220 Ohm resistor
mini button
3D printer
Wiring
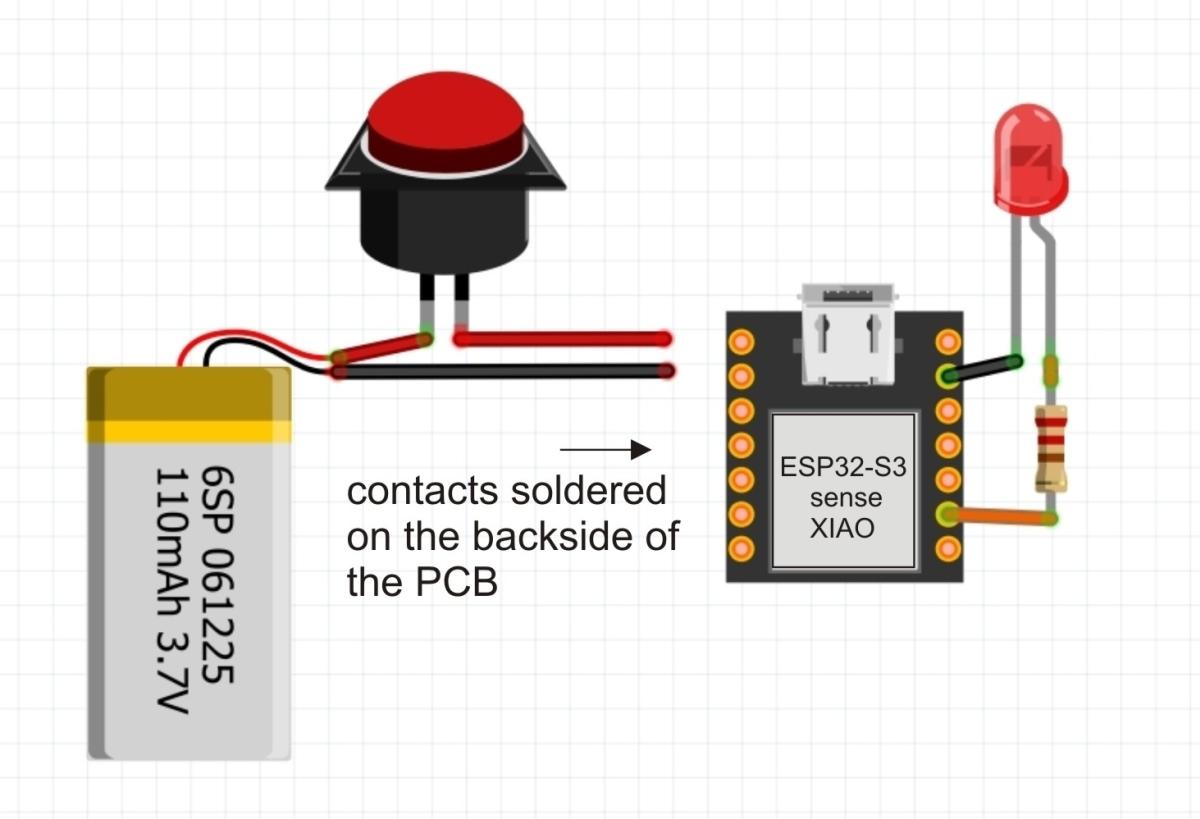
The wiring is very simple. As the ESP32-S3 is equipped with battery management, you do not need an additional charging board for the LiPo battery.
Camera, button, LED and battery are connected as described in the diagram. Keep the wires as short as possible.
I have noticed that the ESP32-S3 gets hot quickly during the video stream. However, as our camera is only active for a short time for photos, a heat sink or ventilation slots in the housing are not necessary
Later the battery can be charged via USB of the ESP32-S3. Don't forget to fix the button in pressed position with a piece of tape to connect the battery with the ESP32.
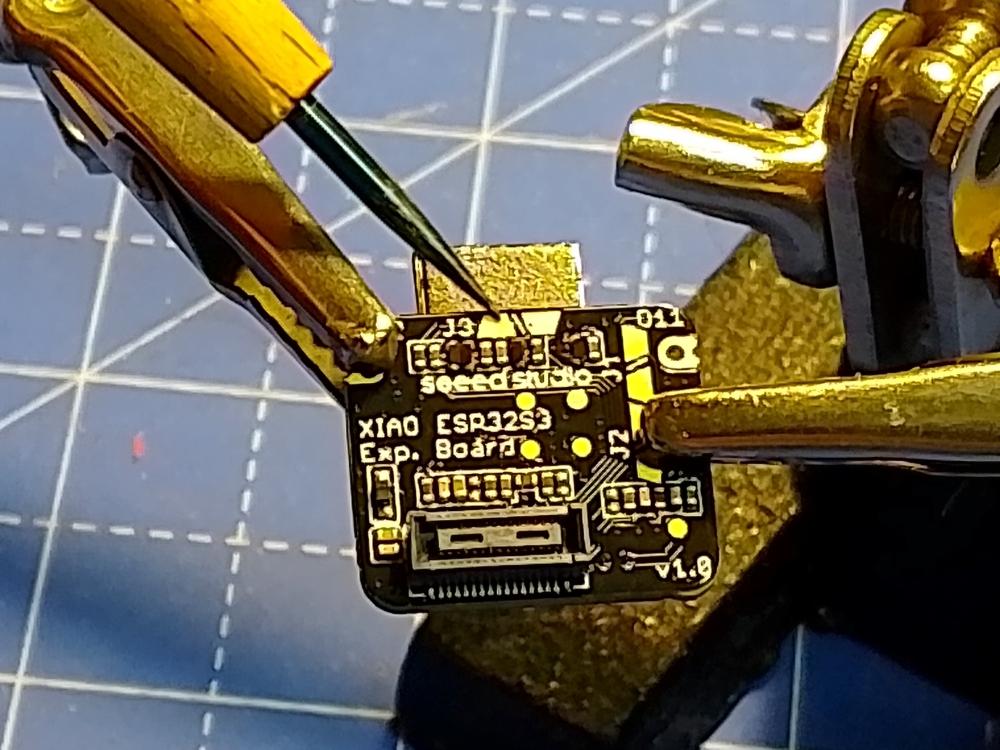
On the backside of the sense/camera module there are two metal pads named "J3". To activate the SD card reader you have to connect theses two pads by soldering.
Prepare the Microcontroller
The ESP32-S3 is surprisingly small and can be programmed with Arduino IDE. You can find help here:
https://www.instructables.com/Getting-Started-With-ESP32-C3-XIAO/
or here at github.
I struggled a long time to install the right servo library. I always got error messages.
The solution was:
1. Do not add only this to Arduino's board manager (File --> Preferences --> Additional board manager URL's)
https://raw.githubusercontent.com/espressif/arduino-esp32/gh-pages/package_esp32_index.json
but also this line:
https://raw.githubusercontent.com/espressif/arduino-esp32/gh-pages/package_esp32_dev_index.json
2. Ensure that you have enabled 'psram' at Tools in the Arduino IDE.
3. Board manager: ESP32, use Version 2.x. Version 3 is producing error messages with the servo libraries.
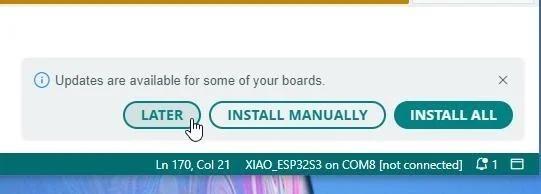
Resist when your Arduino ID prompts you to update the board information!
Software
I used the project of Sara and Rui Santos (https://randomnerdtutorials.com/esp32-cam-take-photo-save-microsd-card/) which I had already modified a little in my first Climbing Camera project. (Thanks to Sara and Rui at randomnerdtutorials.com !).
In the sketch "Outdoor-Cam_V2.ino" you can find the line:
config.frame_size = FRAMESIZE_UXGA; // FRAMESIZE_ + QVGA|CIF|VGA|SVGA|XGA|SXGA|UXGA
By changing UXGA to another format, e.g. XGA you can modify the framesize.
For help with uploading, please click here.
Downloads
Enclosure
At this point, unfortunately, you need a 3d printer. If you are creative, you can also build a housing out of wood or plastic or install the camera in a small metal box.
Perhaps the housing will then be a little larger, but this will not affect the function.
You only need to print out two parts.
Putting All Together
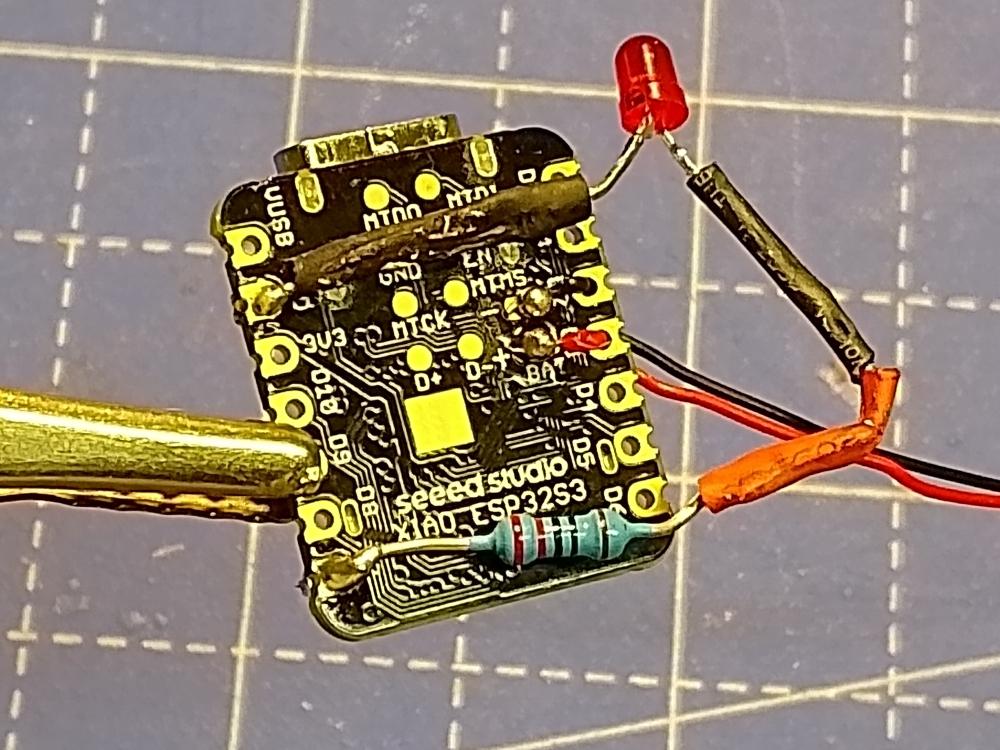
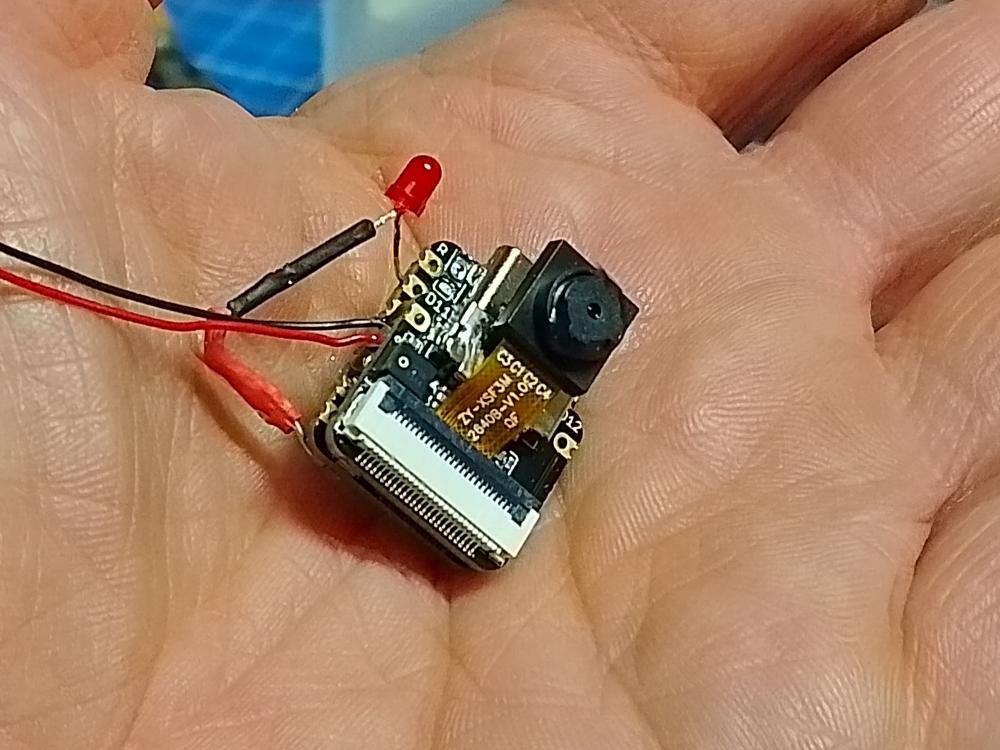
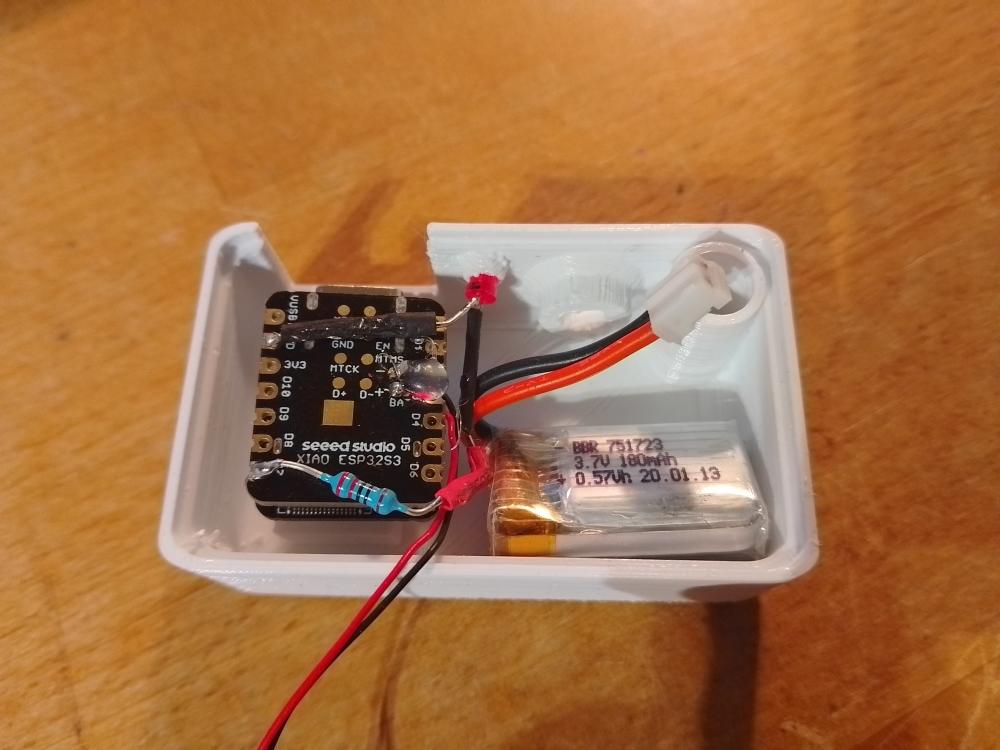
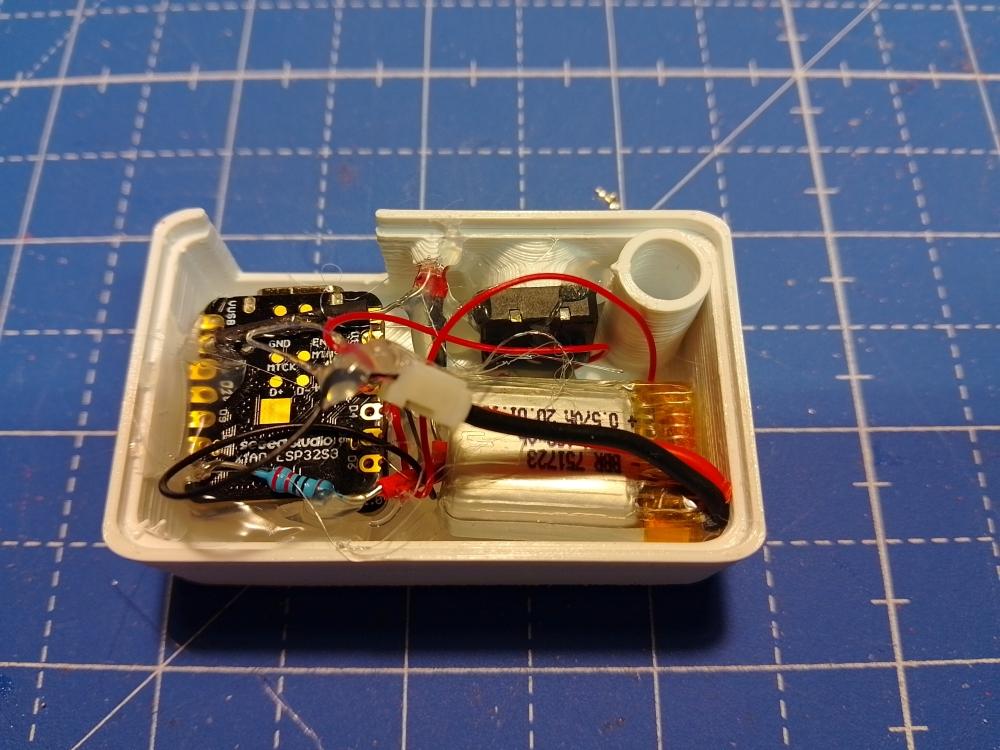
- Solder button and LED (with resistor) as seen in the wiring diagram.
- Solder the wires of the battery/button carefully to the contacts on the PCB of the ESP. I routed the two cables through pin holes to provide strain relief for the solder joints. I also fixed the contacts with hot glue.
- Connect the two "J3" metal pads on the backside of the sense module by soldering.
- Insert the micro SD card into the slot of the ESP (after you have formatted it of course)-(use tweezers for insertion and removal.)
At this point, you should definitely test the function of the camera first!
- Install the ESP, the button and LED and battery into the front part of the camera hull.
- Close the box and eventually use a rubber band to fix it.
Usage
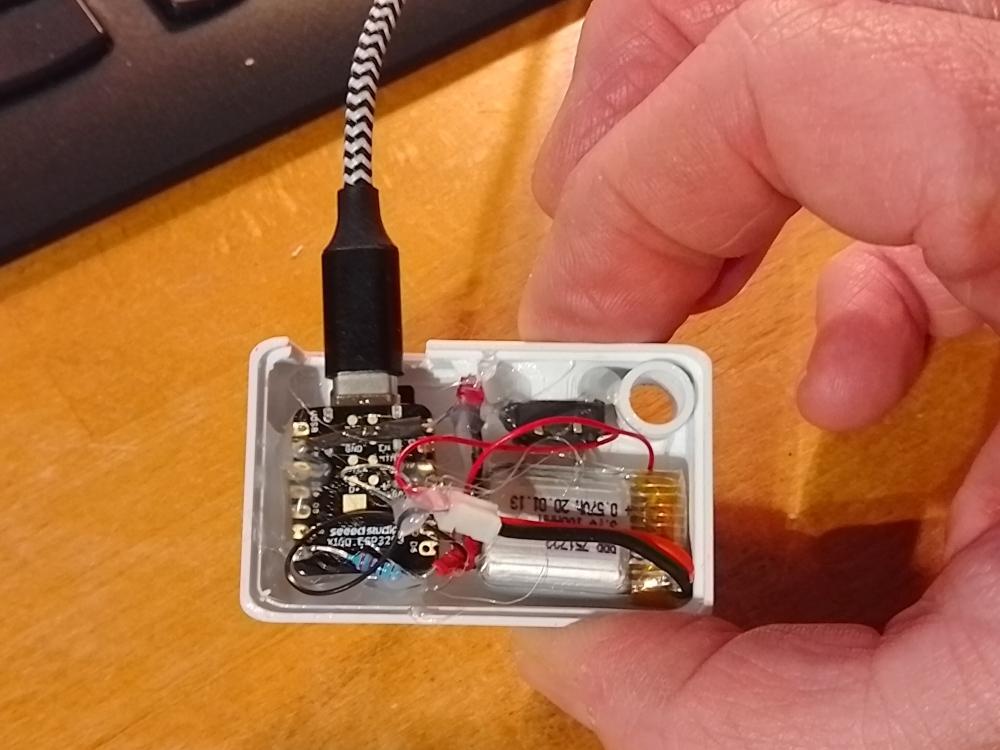
Charging the battery: Open the housing and plugin the USB-C to the camera. Press the button and hold it with the help of scotch tape.
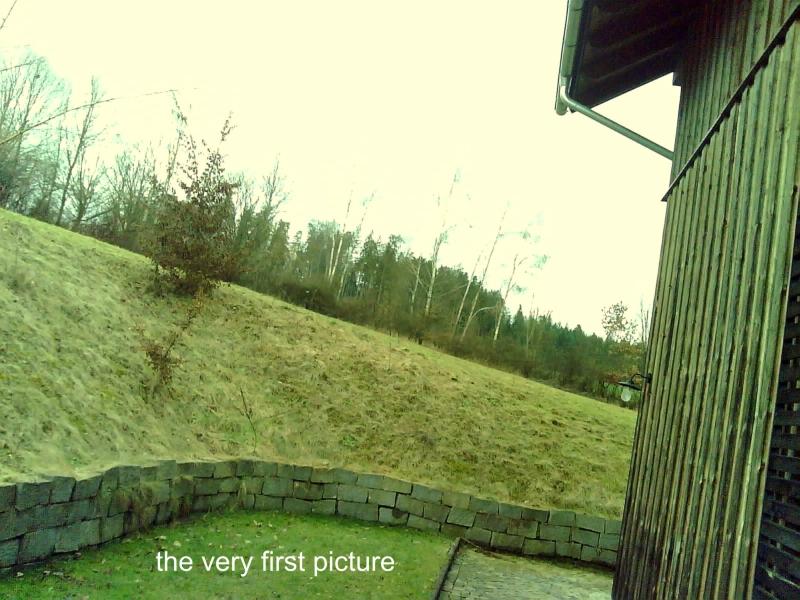
Take pictures: Hold the device steady and keep the button pressed. During image capture and storage the LED is on. Keep button pressed until the LED goes out again (-3 sec), then the saving process is complete.
(You only supply the device with power for as long as it is necessary for the photography process. A real deep sleep function is not necessary. The deep sleep mode is just used to shut down the microcontroller, but it does not really sleep because you interrupt the power supply yourself after a few seconds.).
In several tests I could make about 120 pictures (1600x1200px) with one battery charge.
The larger the image, the longer it takes to save.(Step 2)
It is as exciting as it used to be in the good old pre-digital age: you didn't have a display then and you had to wait until the pictures were developed. Yes, and some pictures are not getting good either - like in the past!
How to Get the Images Onto Your PC
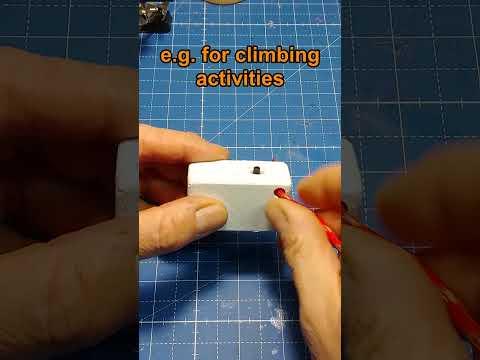
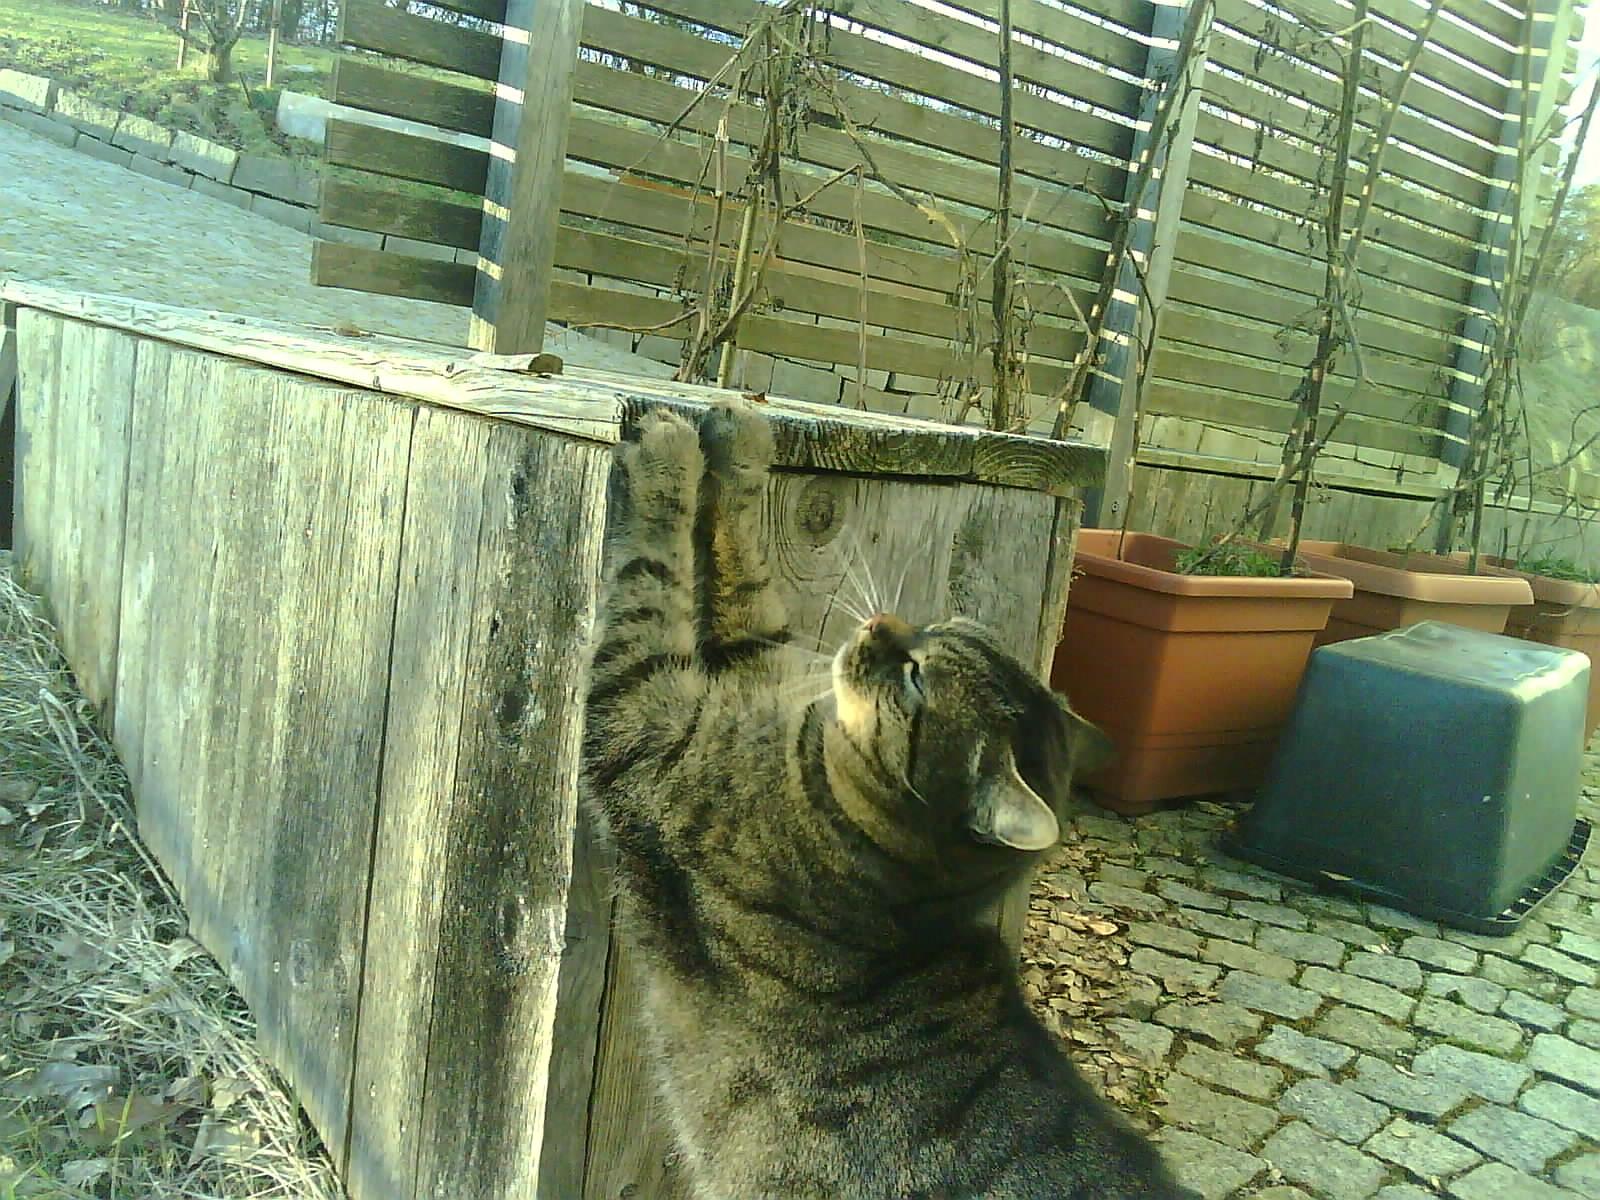
Simple: Open the camera, take out the SD card (use tweezers) and insert it into an adapter to read the data on your PC.
Advanced: If you are a maker you could think about using WIFI and reading the images via FTP (not included in this instructable).