Tiny Internet Clock
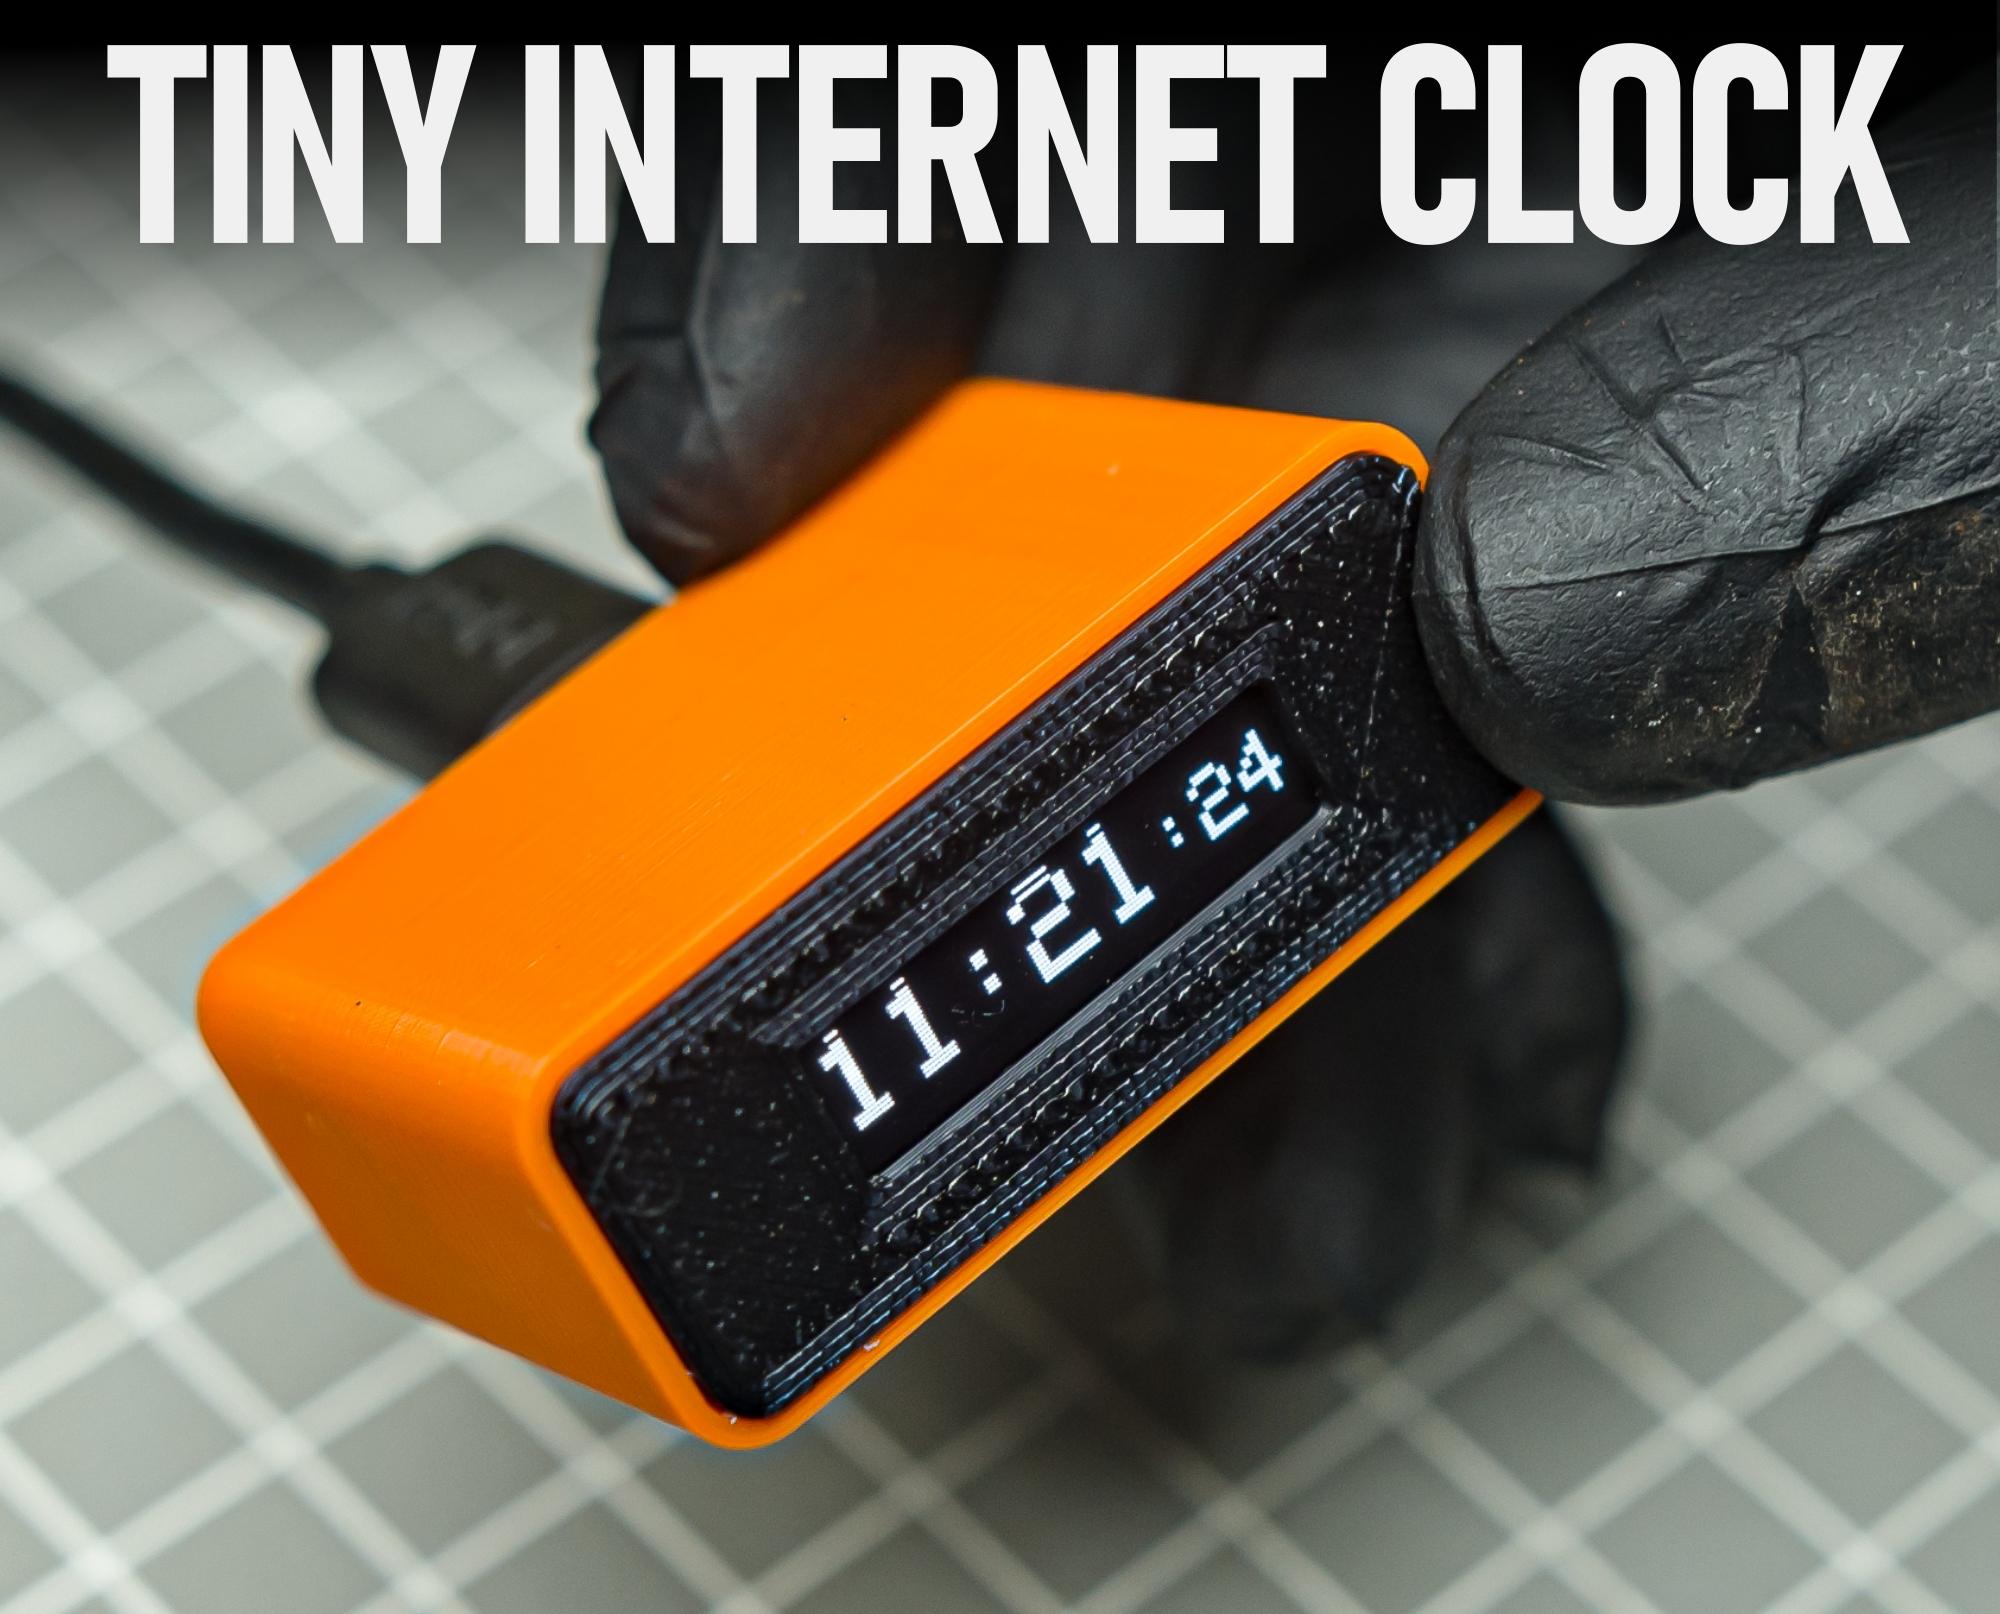
In this project, we will build a tiny internet clock connected to your wifi to get time from NTP servers.
Supplies

- Seeed Studio XIAO ESP32C3
- 0.91 Inch 128x32 OLED LCD Display
- USB C cable
- Connecting wires
Modeling in Autodesk Fusion 360

I used Fusion 360 for planning and designing this
3d Printing
We also need to 3d print some parts for this project. i printed mine with my Anycubilc Kobra 2 neo 3d printer All files are available at Step 1

Uploading Code to Xiao
I always like to upload the code to the microcontroller before assembly. I am using Arduino IDE for flashing the code.
You need to change 2 things to use this code
- Your wifi SSID and Password
- GMT offset
GMT offset needs to be mentioned in the second in the code, for example, your GMT offset is +5.30 hrs if you convert it into to seconds it will be 5.5 x 3600 = 19800 seconds
#ifdef ESP32
  #include <WiFi.h>
#else
  #include <ESP8266WiFi.h>
#endif
#include <time.h>
#include <SPI.h>
#include <Wire.h>
#include <Adafruit_GFX.h>
#include <Adafruit_SSD1306.h>

Adafruit_SSD1306 display = Adafruit_SSD1306(128, 32, &Wire, -1);
const char* ssid = "SSID";
const char* password = "Password";

int GMTOffset = 19080;  //Replace with your GMT Offset in seconds
int daylightOffset = 0;  // Replace with your daylight savings offset in seconds

void setup() {
Serial.begin(115200);
if(!display.begin(SSD1306_SWITCHCAPVCC, 0x3C)) {
  Serial.println(F("SSD1306 allocation failed"));
  for(;;);
}
  delay(2000);
display.clearDisplay();
display.setTextSize(1);
display.setCursor(0,0);
display.setTextColor(WHITE);
WiFi.begin(ssid, password);
  while (WiFi.status() != WL_CONNECTED) {
    delay(1000);
    Serial.println("Connecting...");
  }
  Serial.println("Connected to Wi-Fi!");
configTime(GMTOffset, daylightOffset, "0.in.pool.ntp.org","time.nist.gov");
}
void loop() {
time_t rawtime = time(nullptr);
struct tm* timeinfo = localtime(&rawtime);
Serial.print("Time: ");
Serial.print(timeinfo->tm_hour);
Serial.print(":");
Serial.print(timeinfo->tm_min);
Serial.print(":");
Serial.println(timeinfo->tm_sec);
display.clearDisplay();
display.setTextSize(3);
display.setTextColor(WHITE);
display.setCursor(0,10);
display.print(timeinfo->tm_hour);
display.print(":");
if( timeinfo->tm_min <10)
display.print("0");
display.print(timeinfo->tm_min);
display.setTextSize(2);
display.setCursor(90,15);
display.print(":");
if( timeinfo->tm_sec <10)
display.print("0");
display.print(timeinfo->tm_sec);
display.display();
delay(1000);
}
Wiring Diagram
This is the wiring diagram

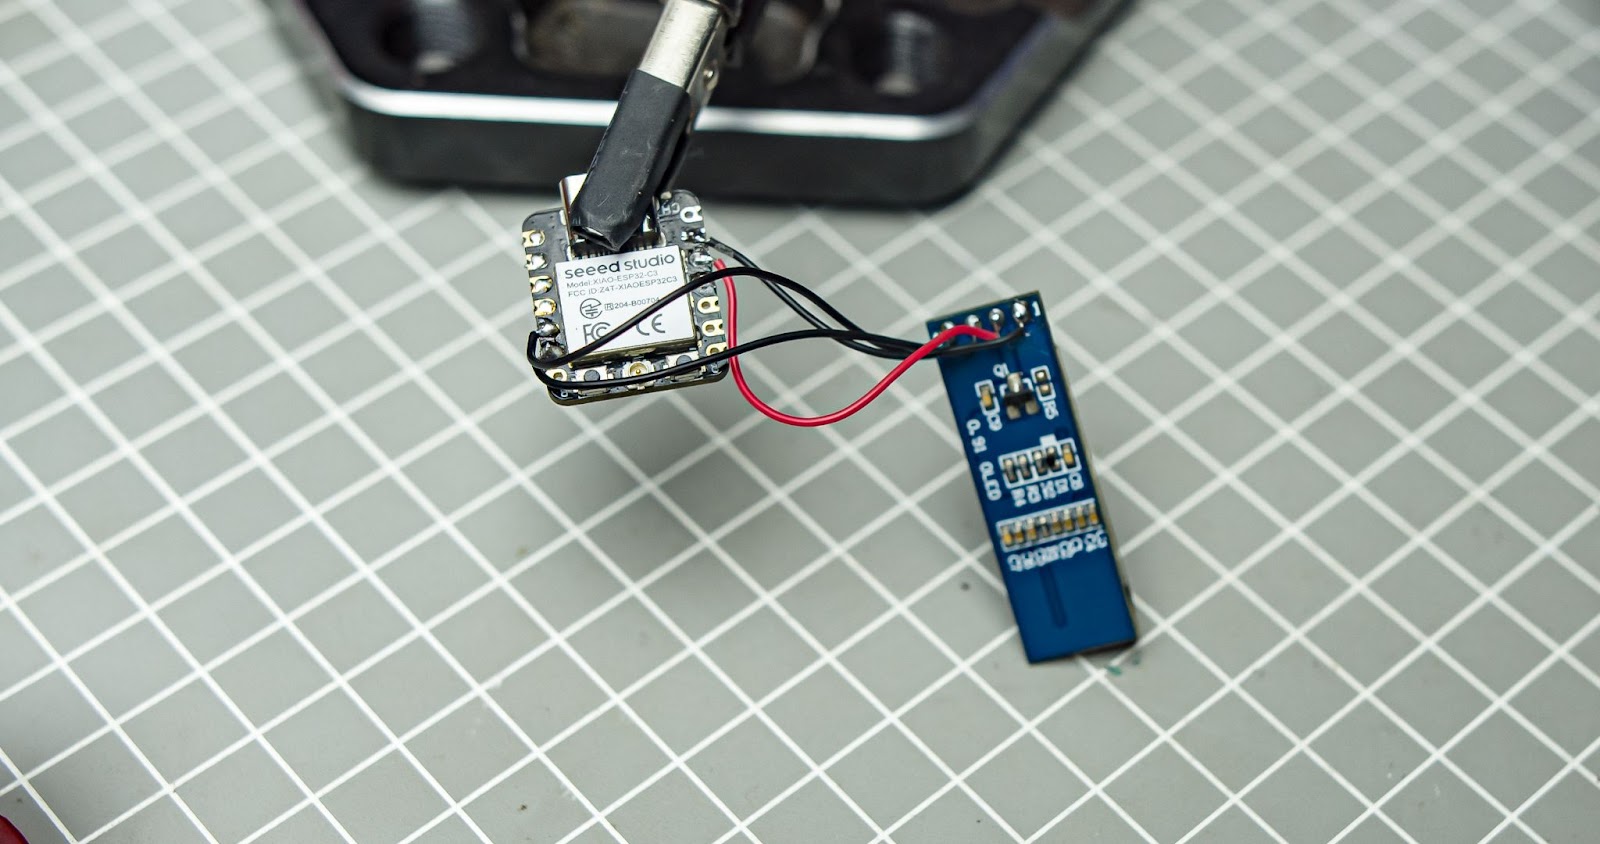
Assembly and Wiring
Step 1
Connect all 4 wires between OLED and Xiao
Step 2
Glue the oled into the font panel

Step 3
Stick the antenna on the top of the 3d print

Step 4
Place the xiao into the 3d print make sure the USB port is visible on the back glue it with a glue gun. Also, connect the antenna to the board


Step 5
Close the front cover by glueing it

Test
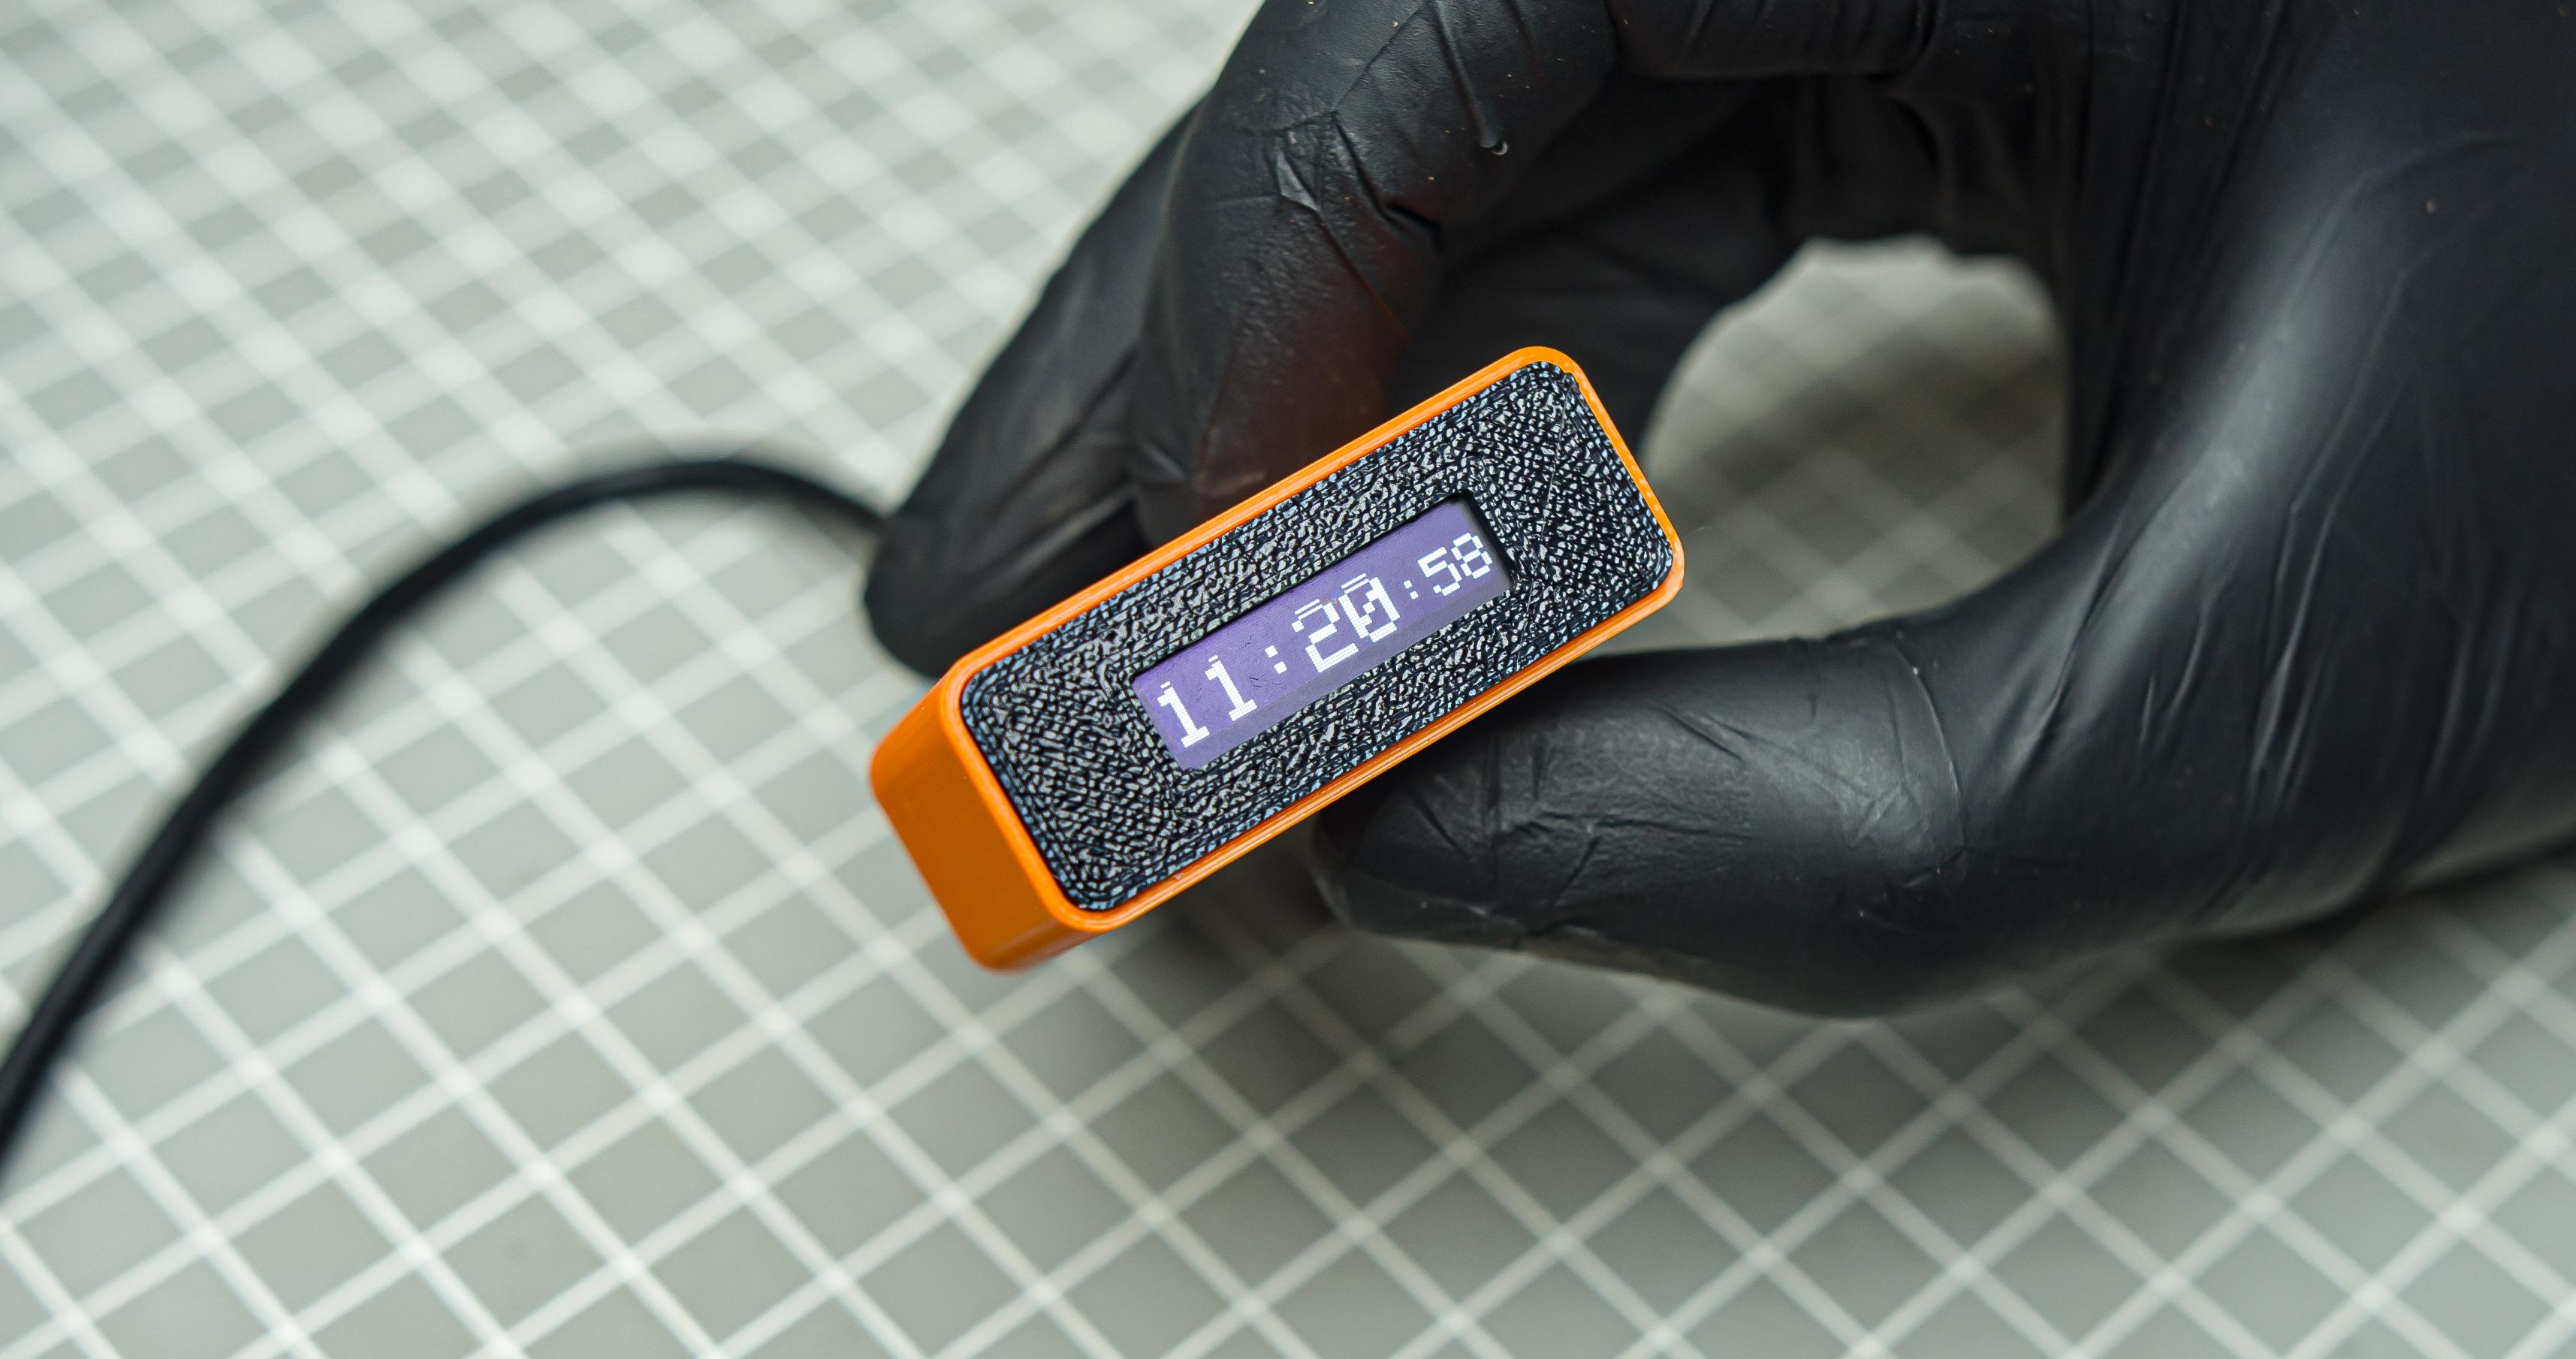.jpg)
Please connect the USB cable to power the device, which will automatically update the time.
If you found this project helpful or inspiring, consider buying me a coffee ☕

It really helps me keep building and sharing more open-source projects.
https://buymeacoffee.com/gokuxmaker