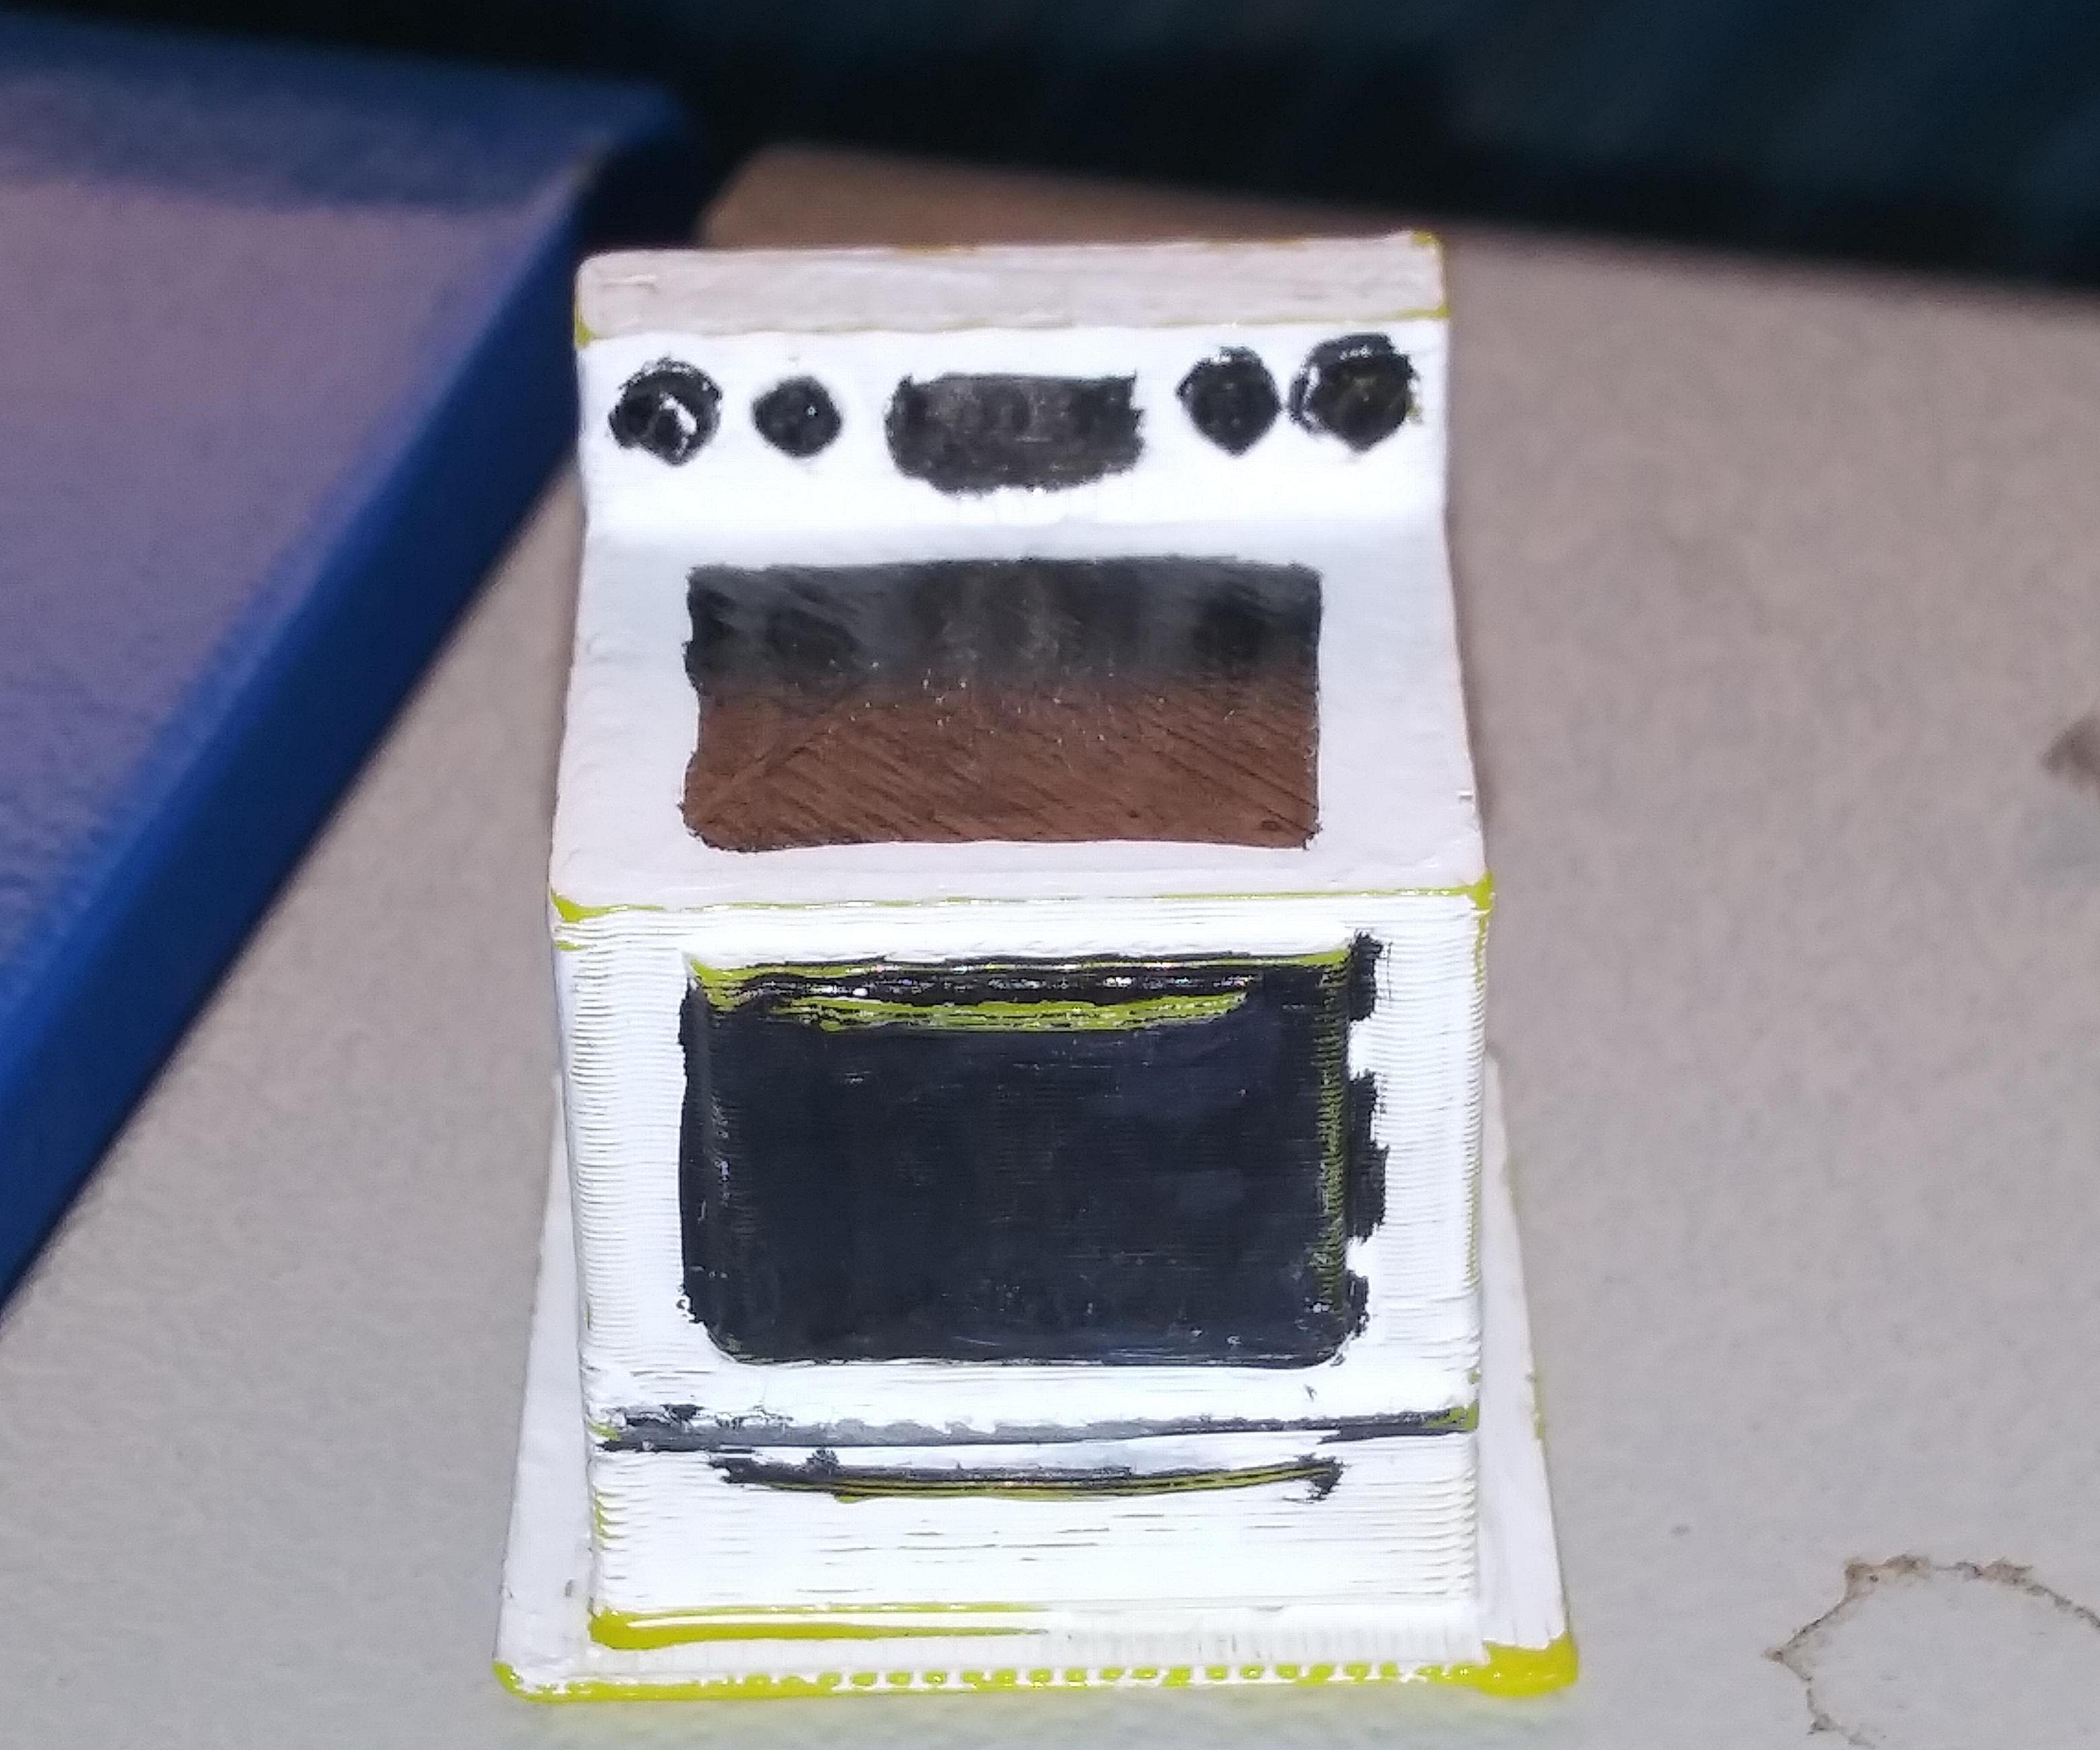
Tiny Glass Top Stove
.png)
Hello, I am going to show you how to make a Tiny Glass-Top Stove. You will need 3D Software such as Tinkercad (which I am using), a 3D Printer, and Some Paint.
The Base
.png)
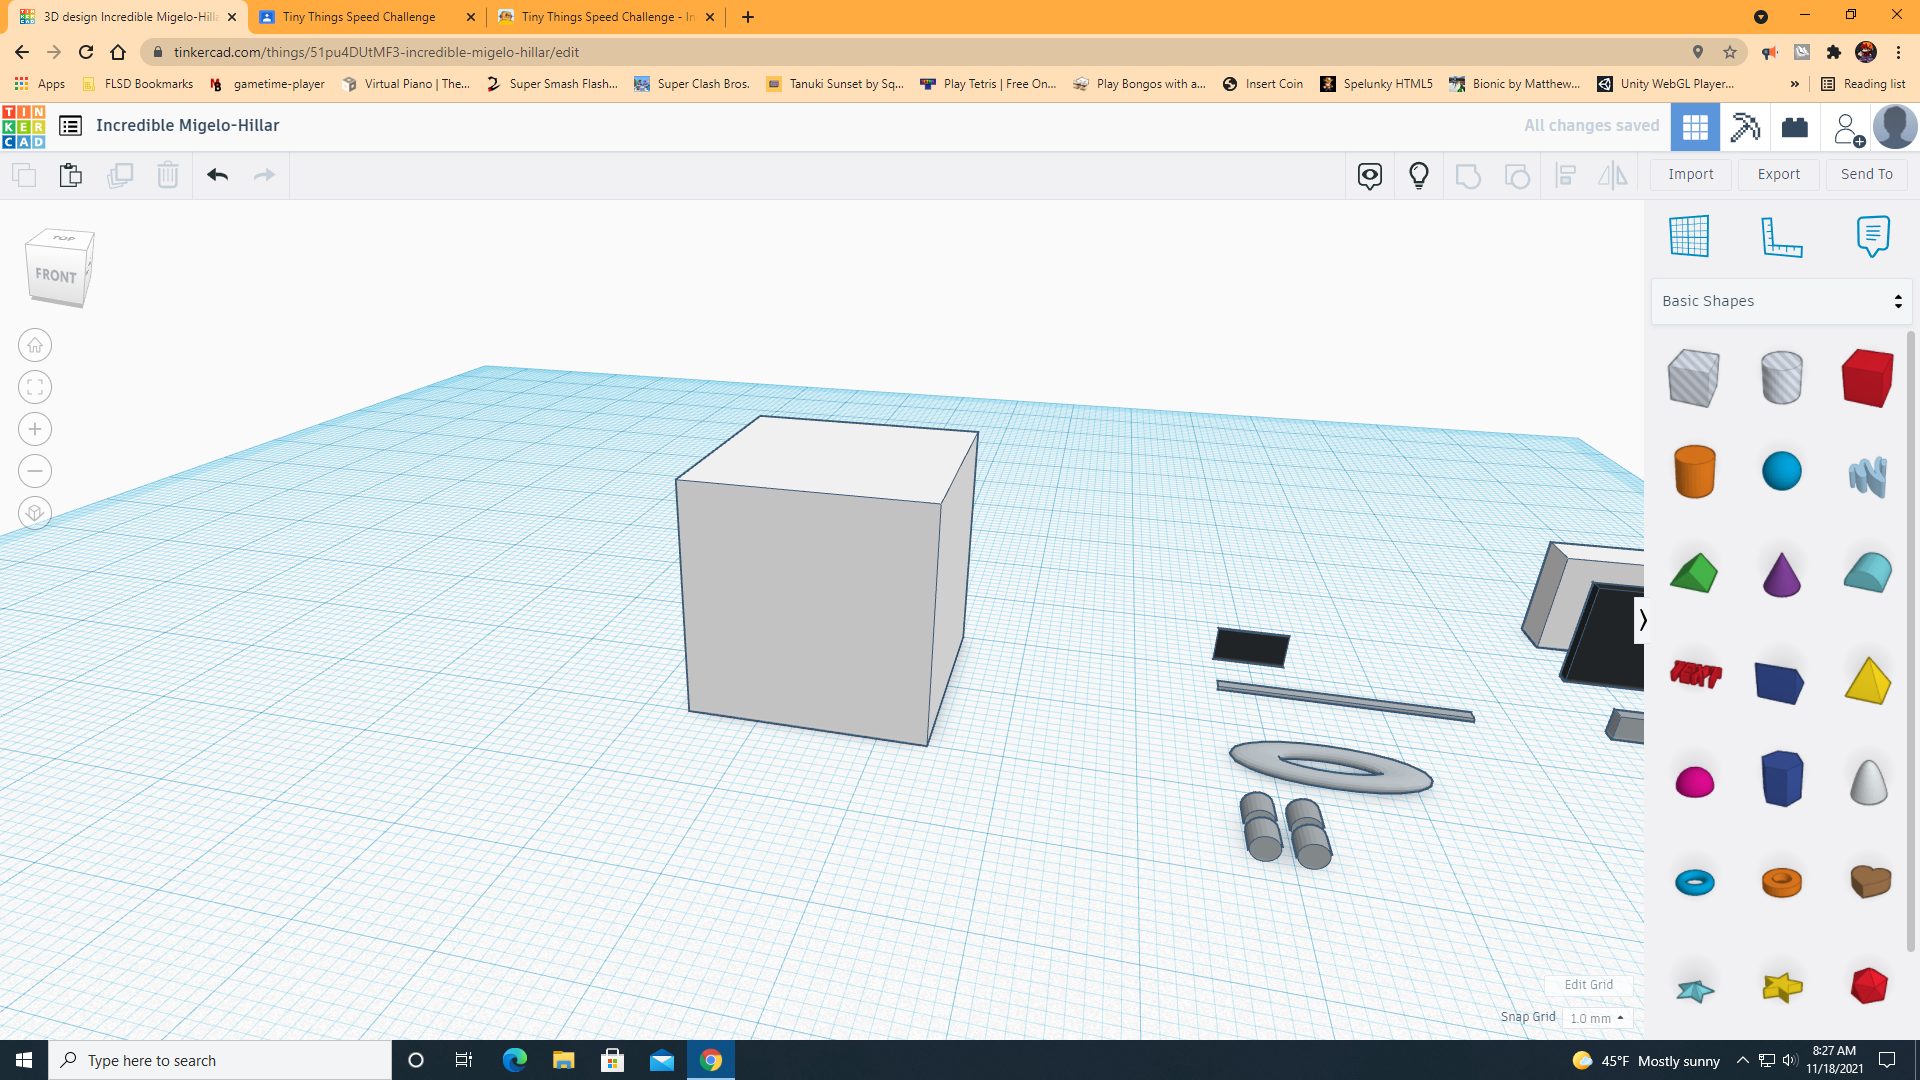
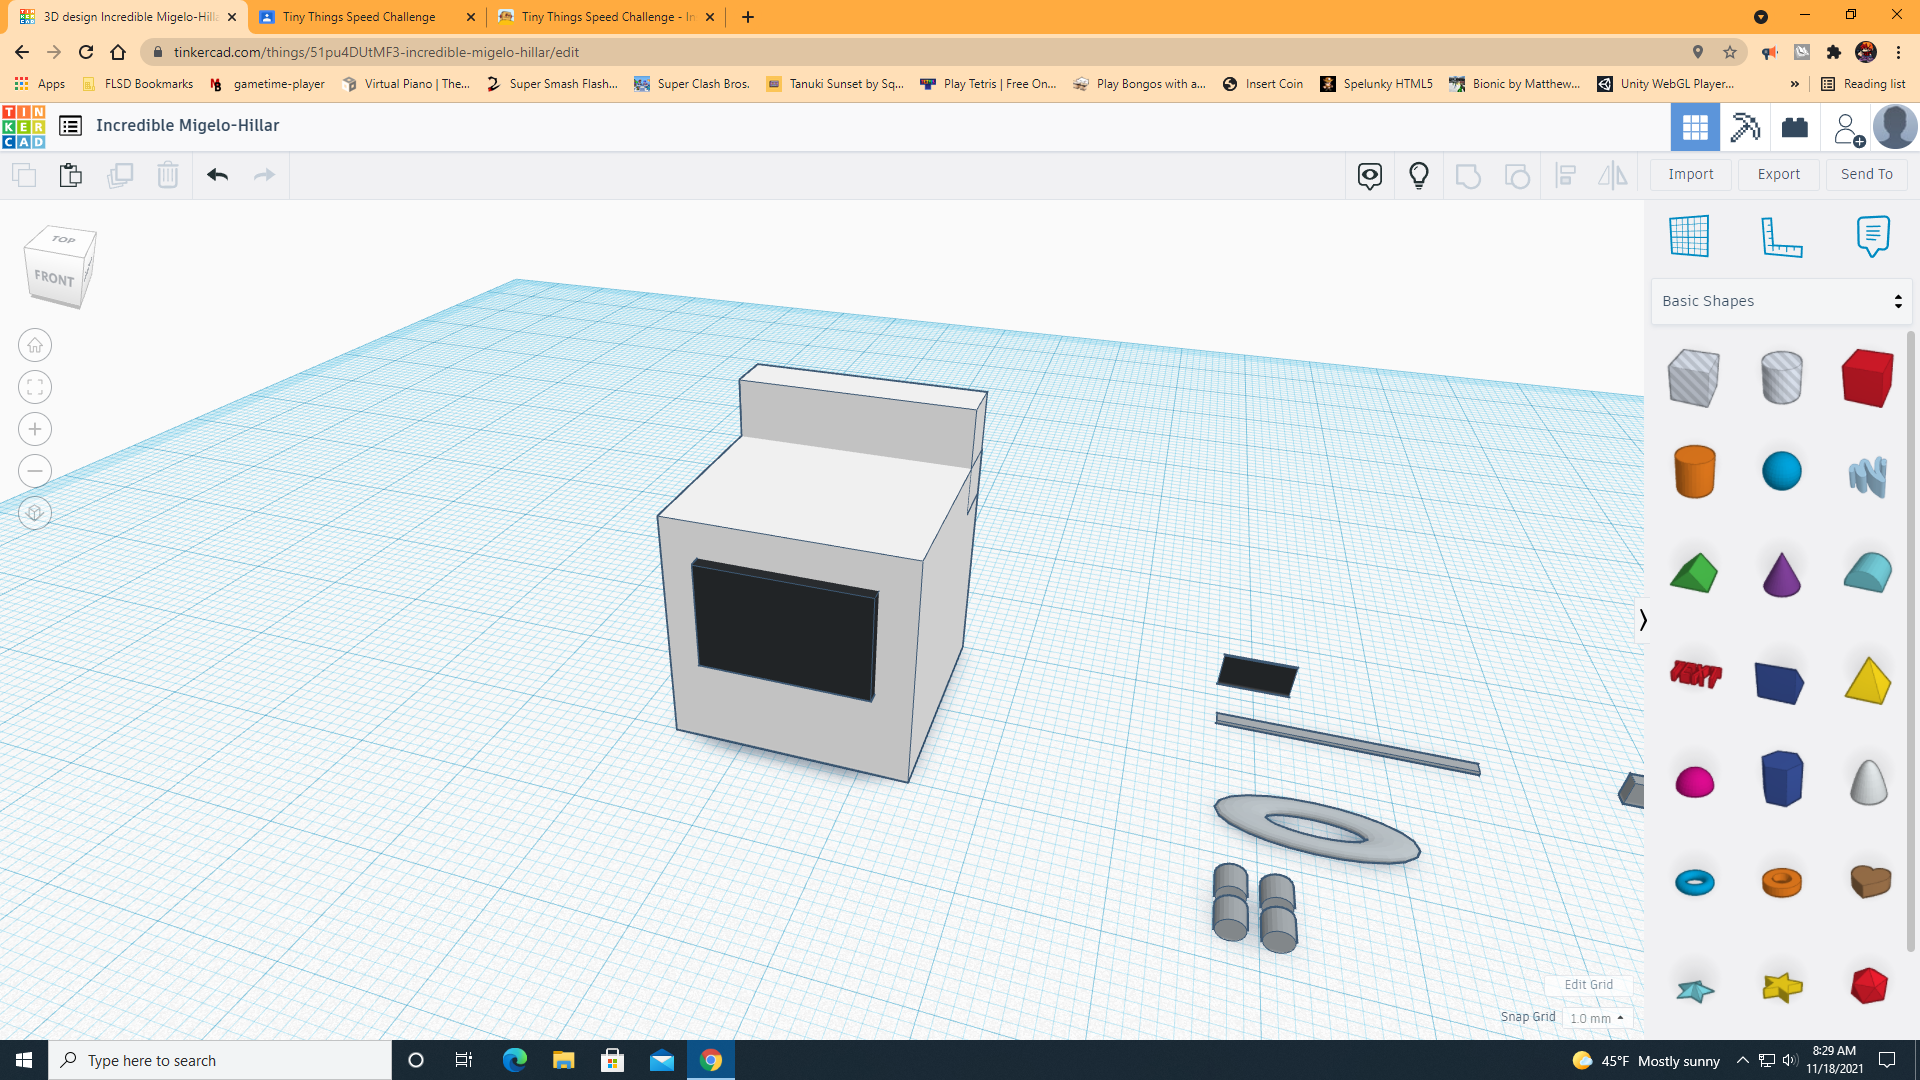
On your first step, you are just going to insert a cube with its default size. This is going to be the base of our stove.
The Controls Deck
.png)
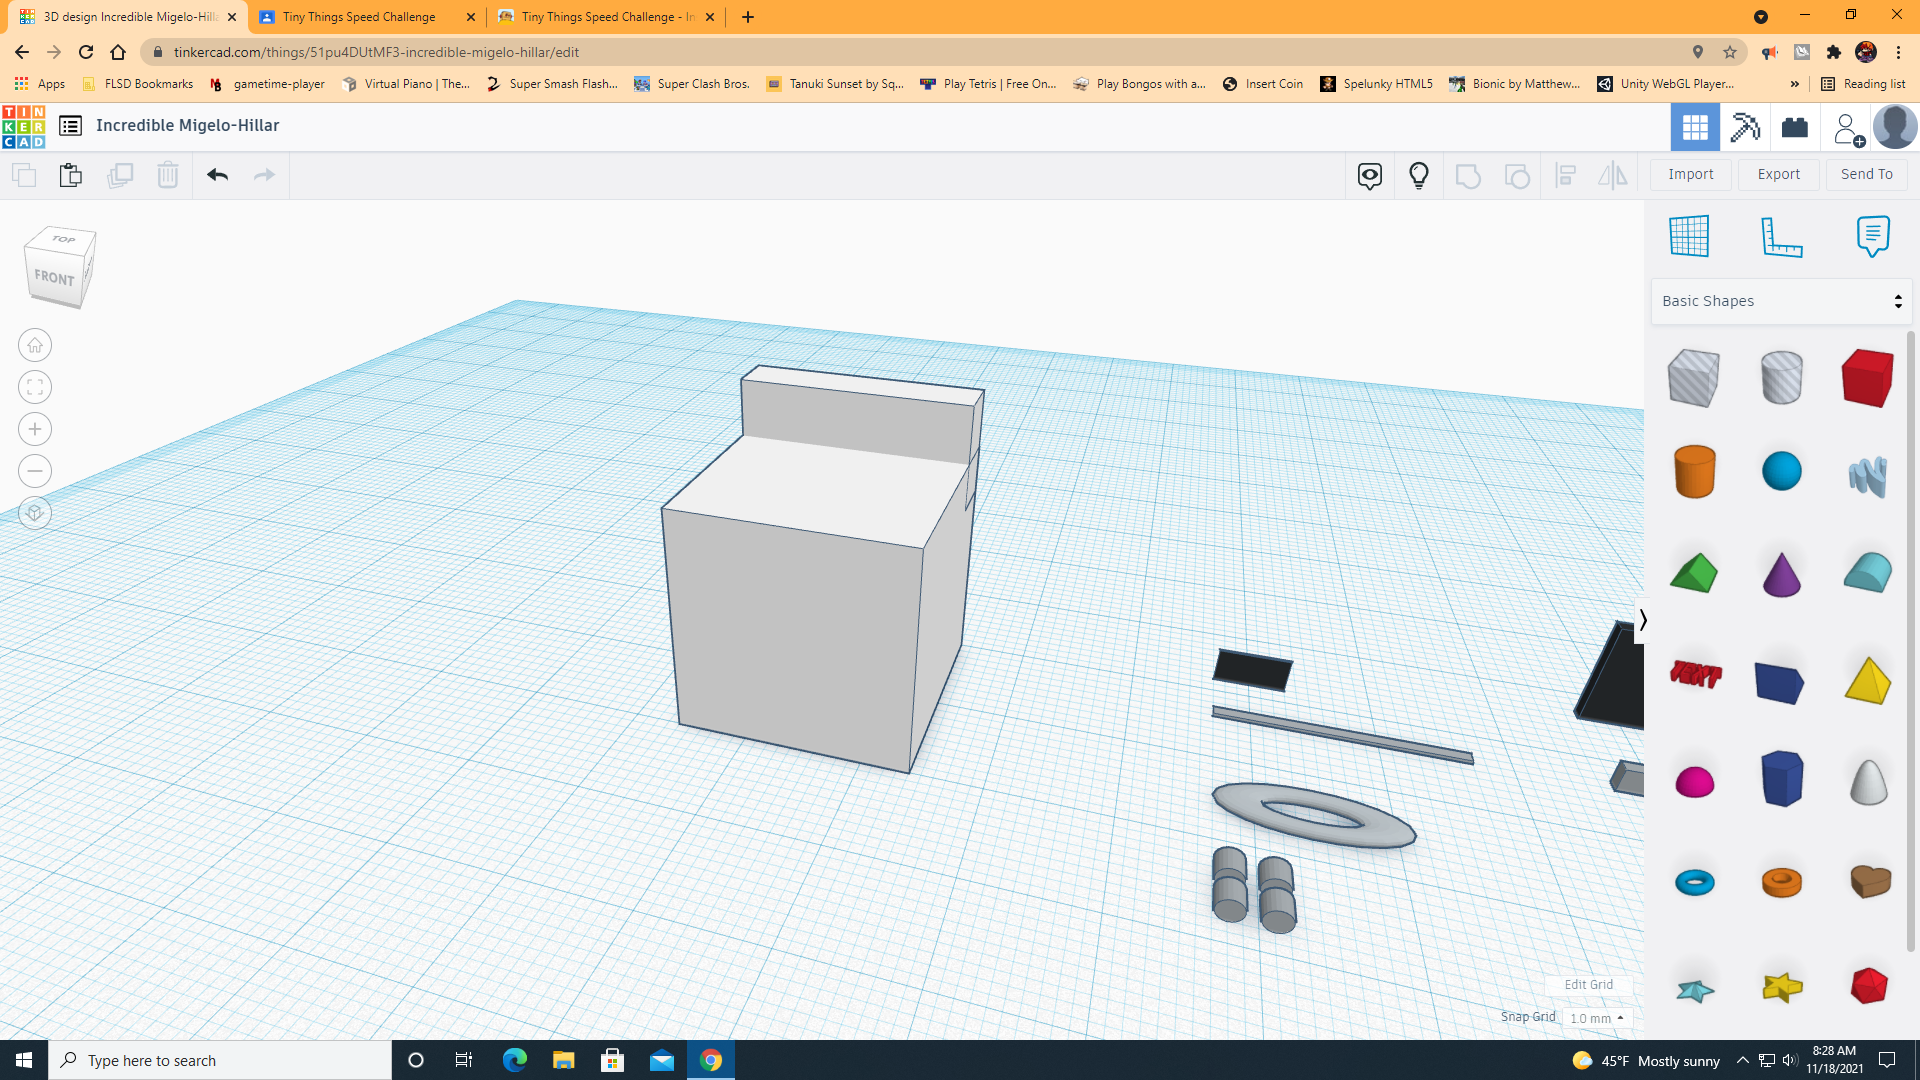
Next, you are going to take a cube and shrink it down to a rectangular size to make a place for the Heat Knobs which will come later.
The Oven Window
.png)
Next, you are going to take a Cube, which you will also shrink down, to make a place for the oven window.
The Oven Conterols
.png)
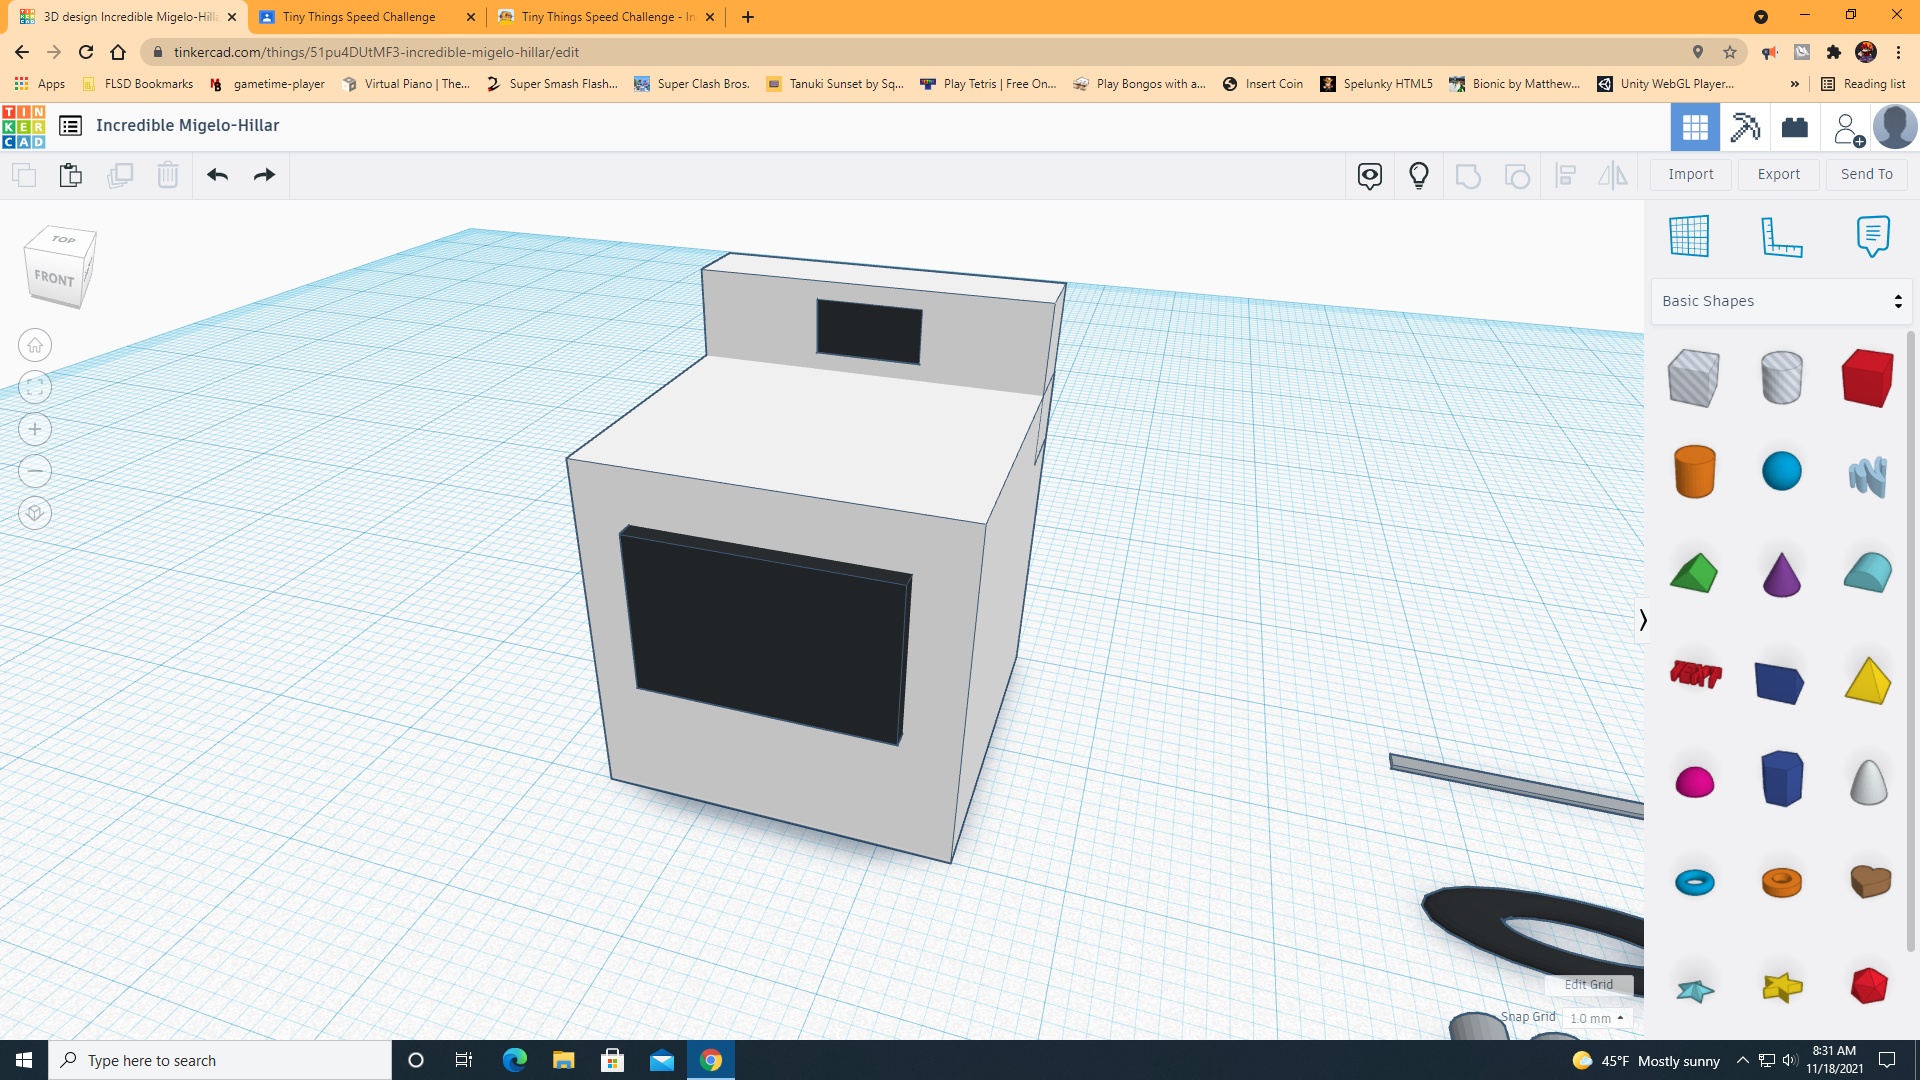
Now, you're going to want to make a really small rectangle and slap it on the Top Rectangle of the Oven. This will make the controls of the Oven.
The Bottom Pot Holder
.png)
Next, you're going to want to make a really thin square, and place it just a little bit below the Oven Window. This will make a spot to put some pots and pans.
Oven Extension
.png)
You'll want to make a small rectangle with the same length as the oven window. This will give a spot for the handle of the oven.
Handles
.png)
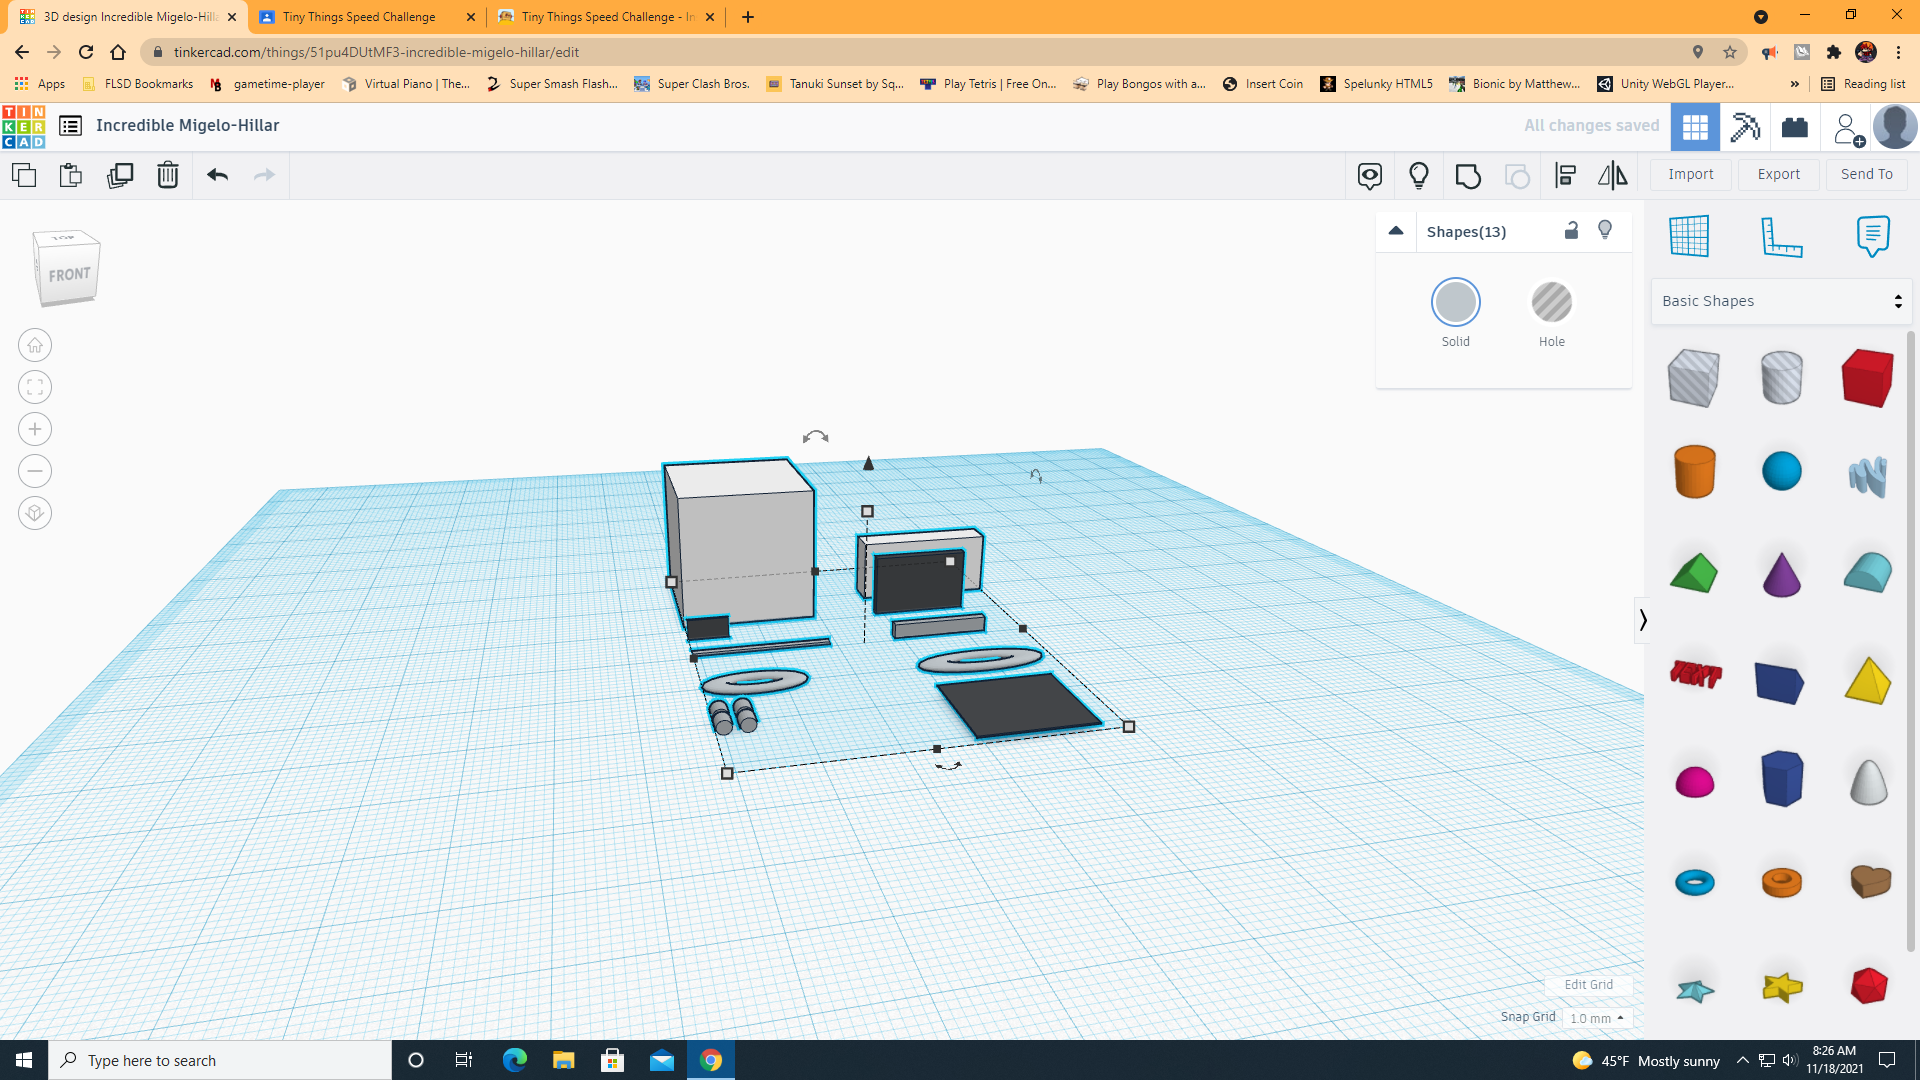
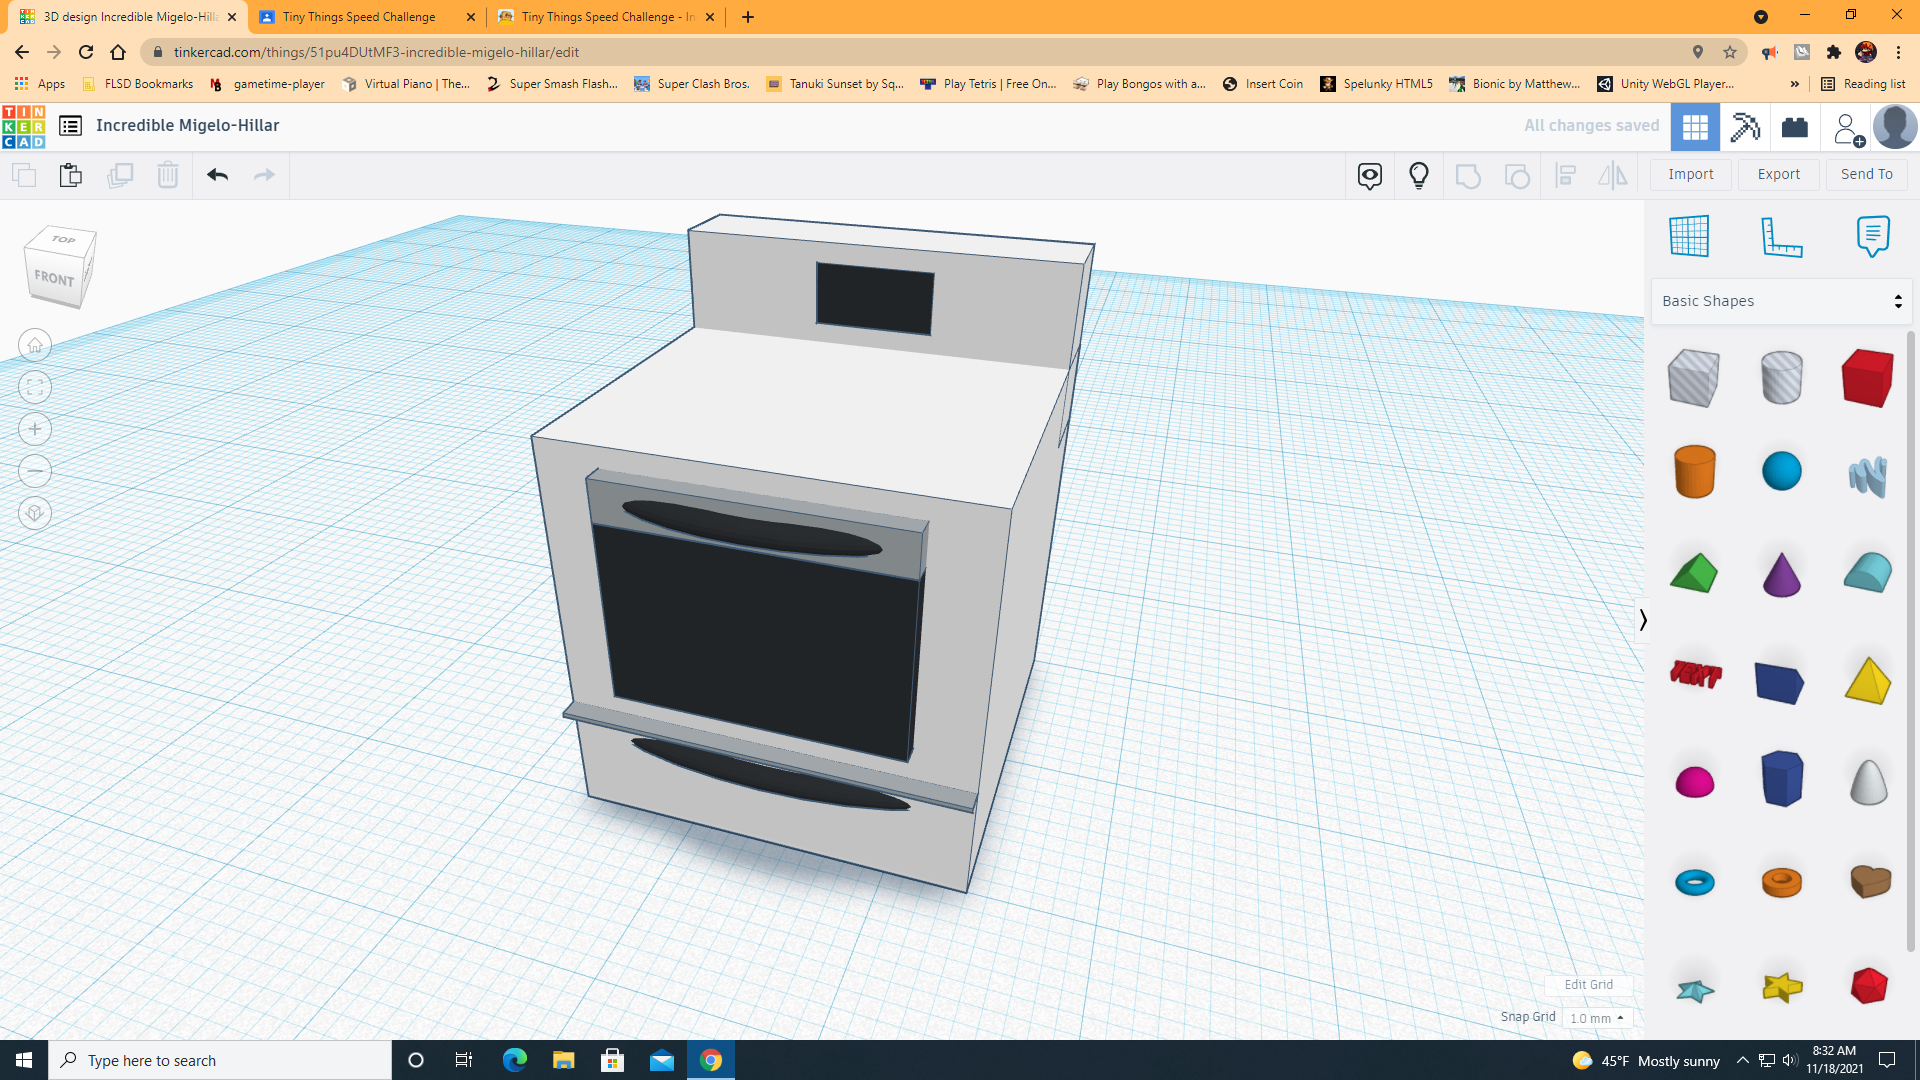
You'll want to take some Torus' and you'll stretch them out and thin them to make them look like handles. You'll place one on the gray rectangle from earlier, and the other you'll place just under the thin gray square.
Glass Top and Heat Controls
.png)
.png)
Now you'll make another thin square and slap it in the middle of the top part of the cube. You'll also want to make 4 small cylinders and place it on the top rectangle to make them look like knobs that control the heat.
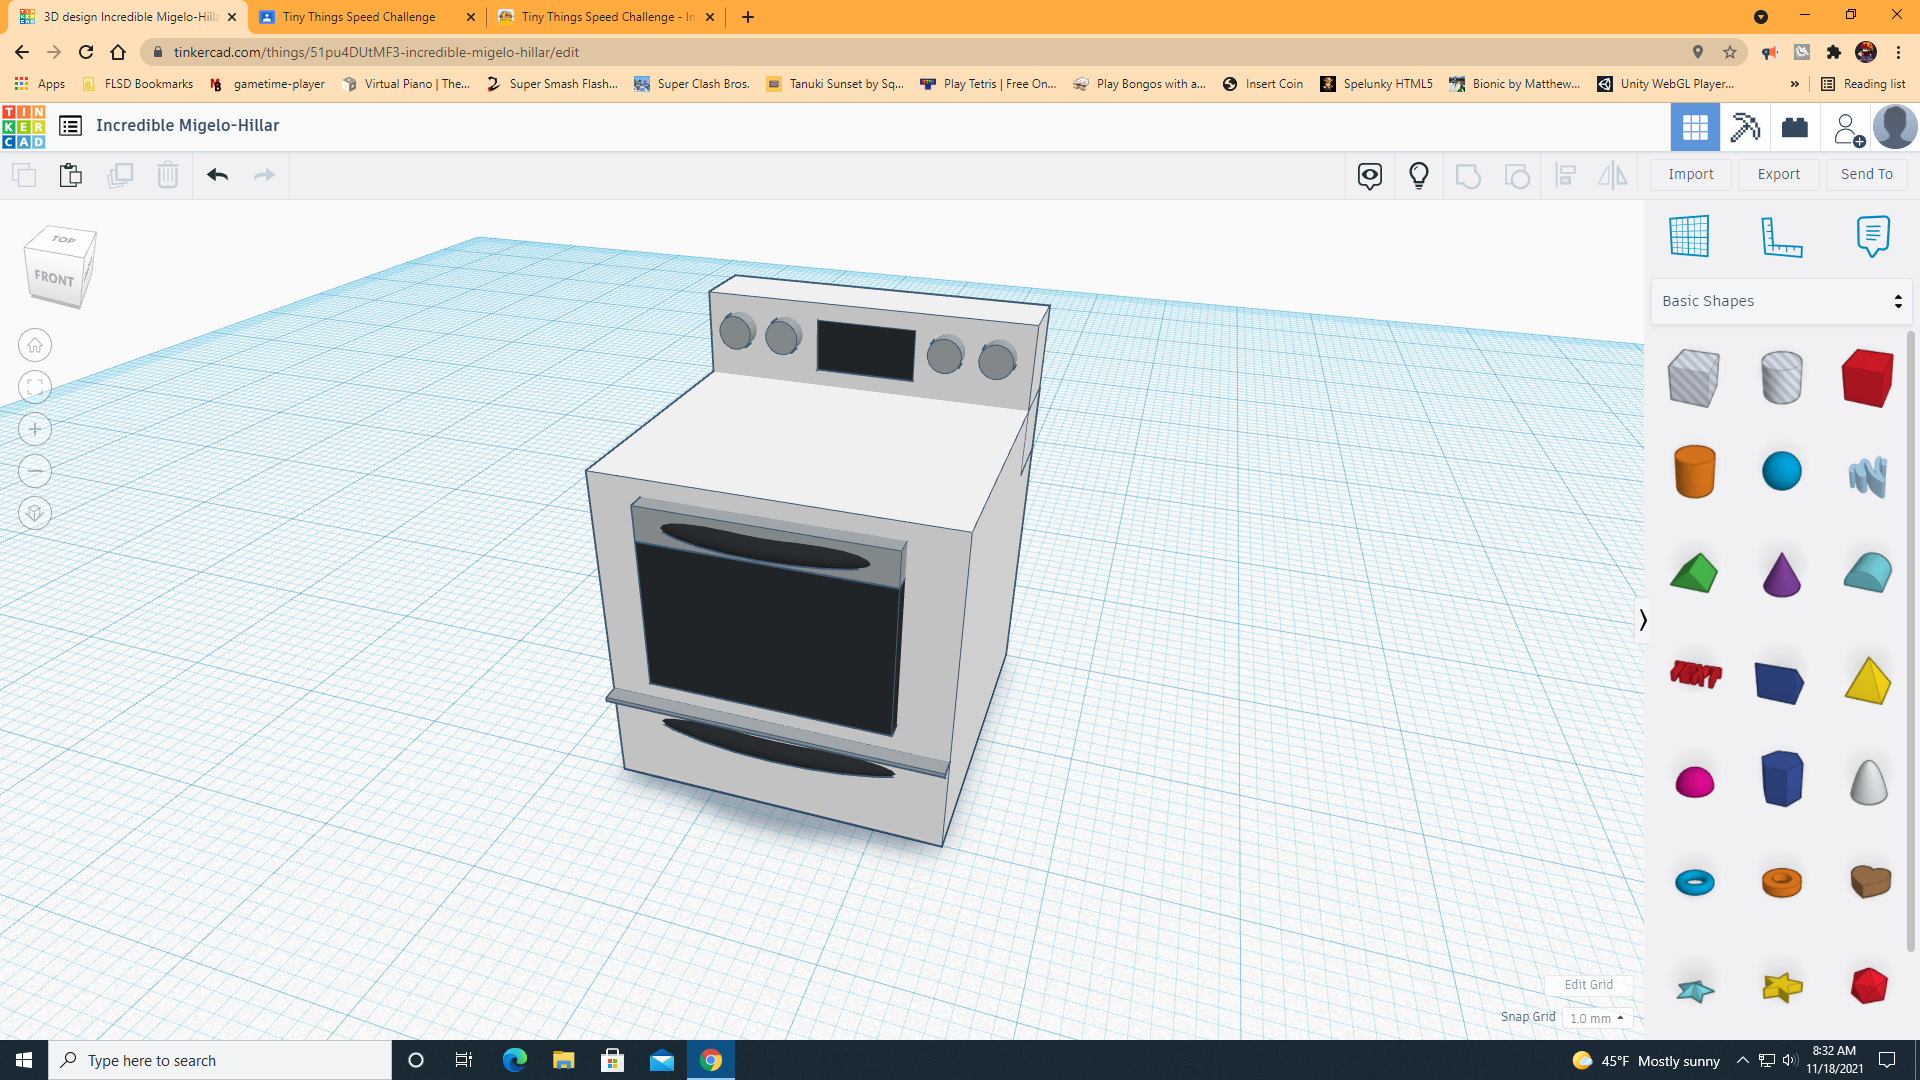
Printing and Painting
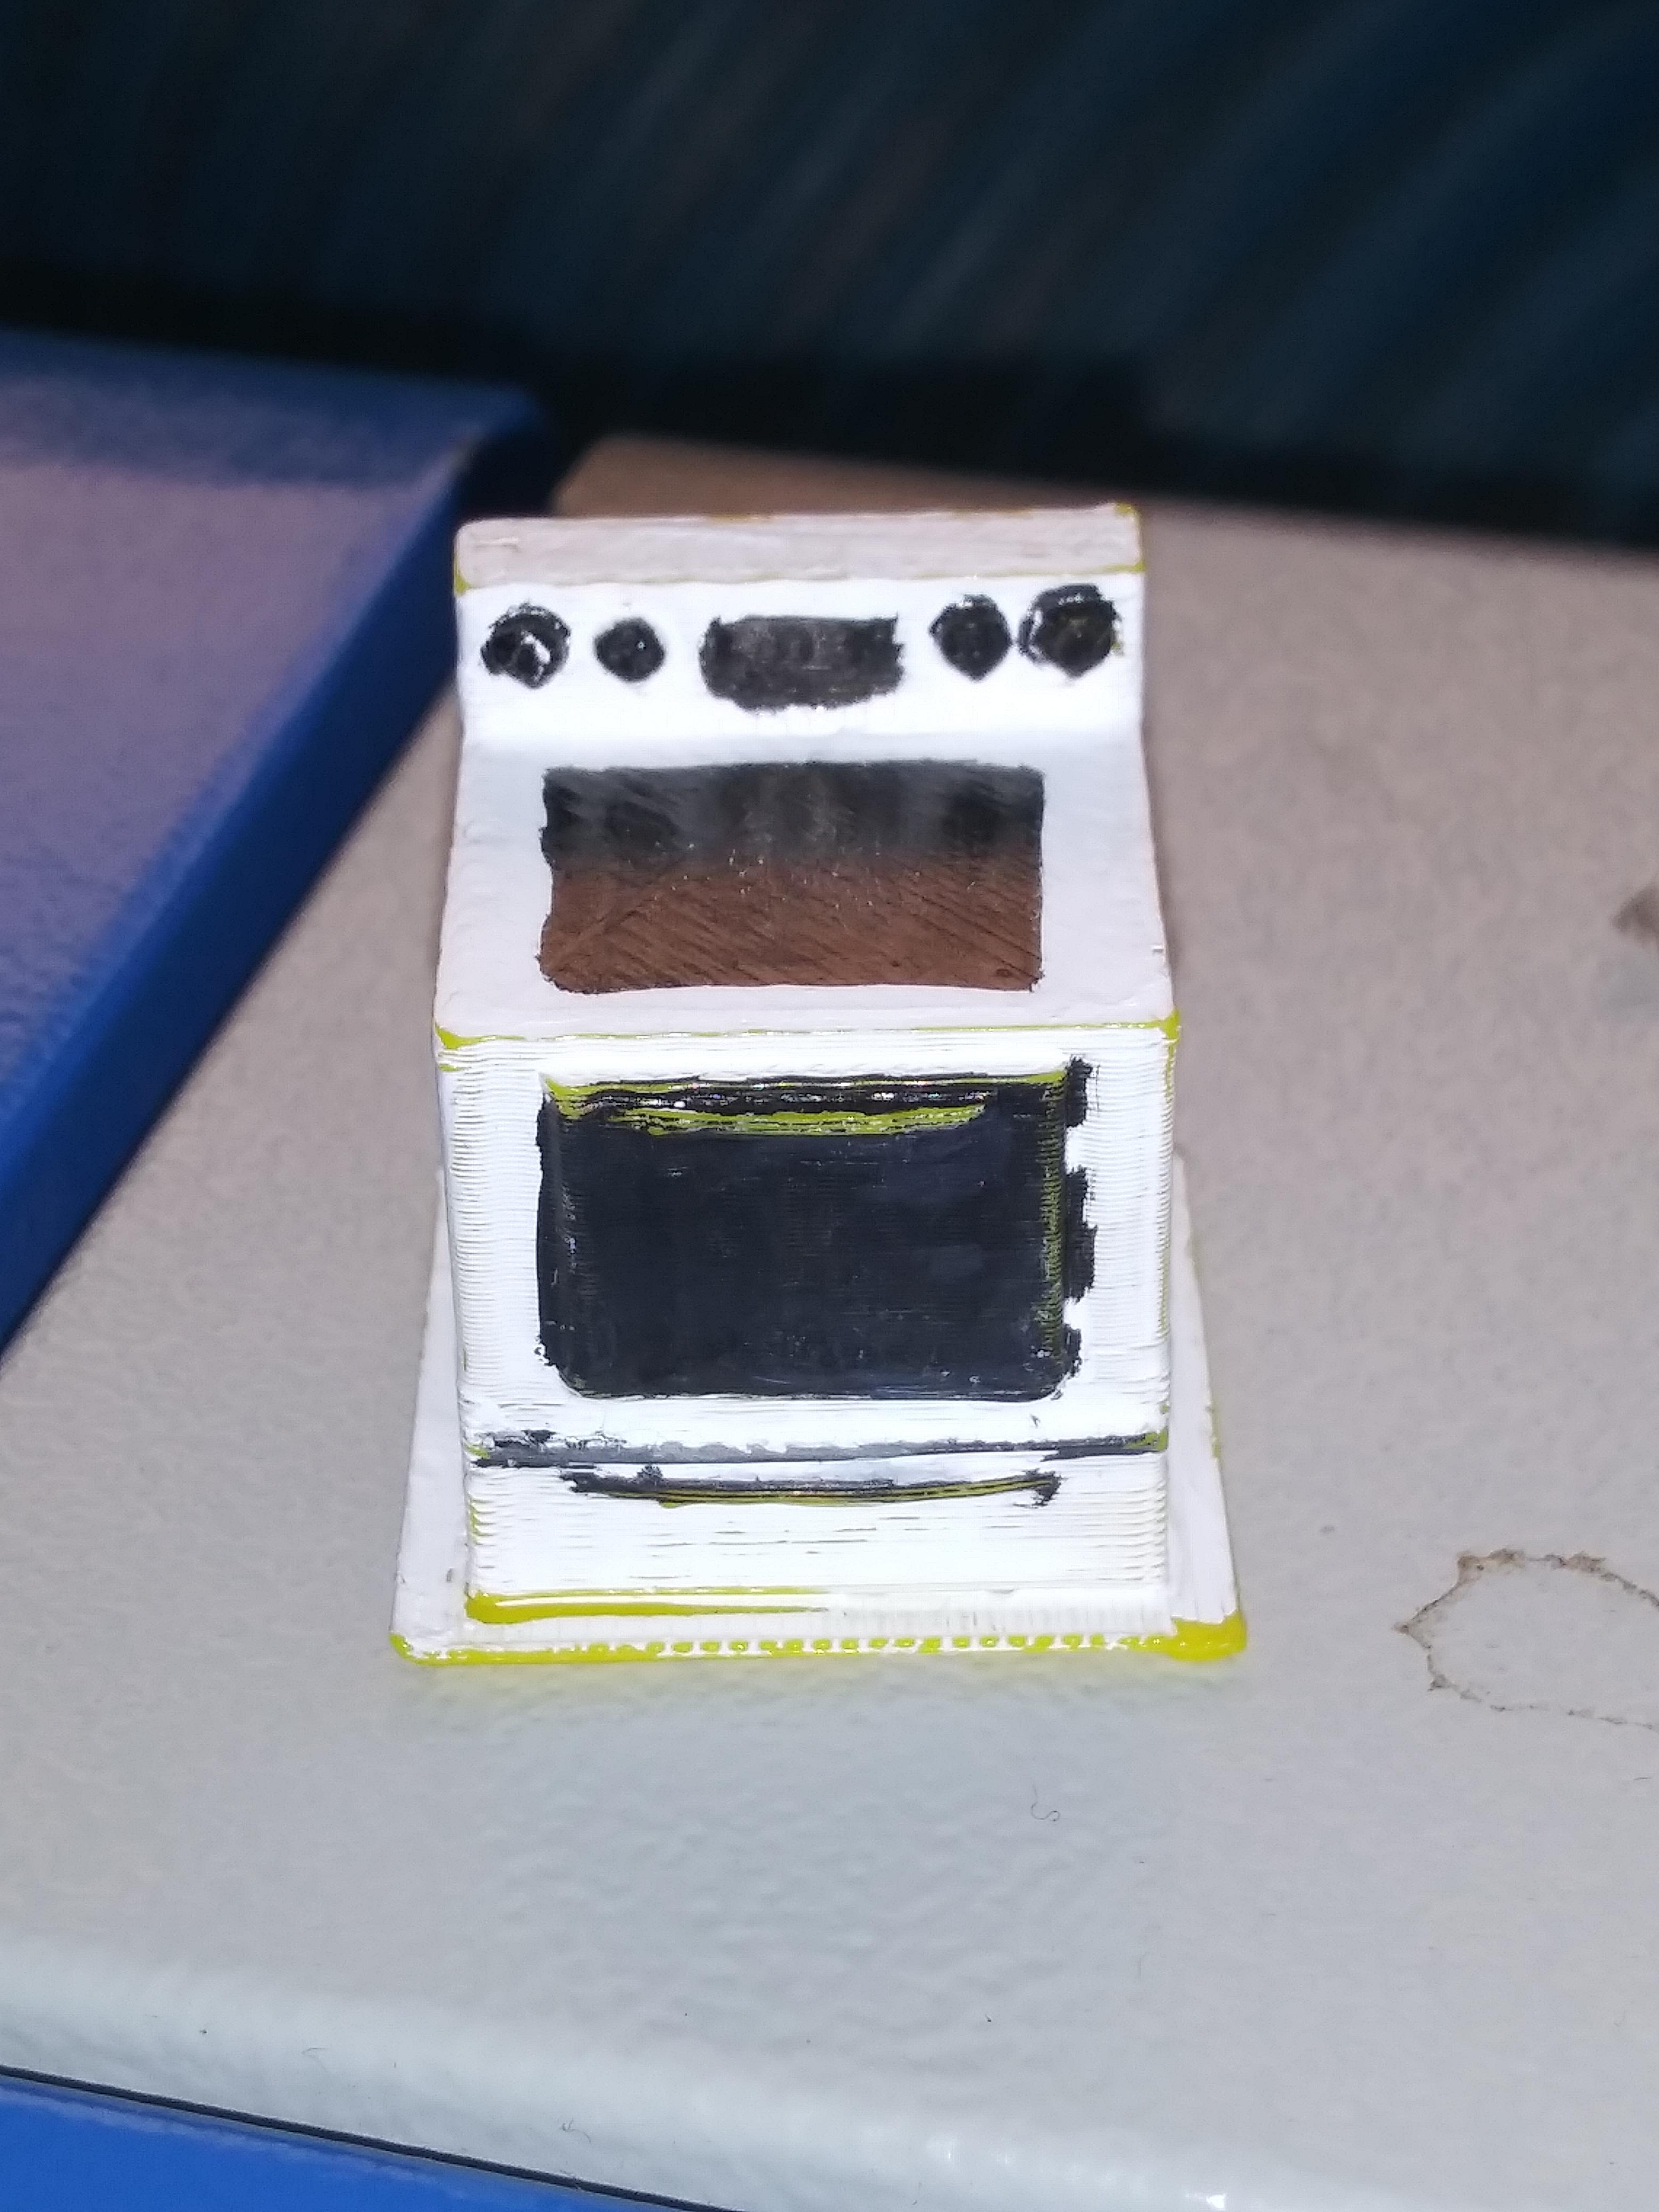
Lastly, you'll want to export your file as a .stl file and load it into 3DWOX or any other 3D Printing Software. After your print is finished, touch it up with some black and white paint to make it look like an oven. Then you're all fin