Tintin: Destination Moon - a TinkerCAD Diorama
by arduino_bot1 in Design > Digital Graphics
941 Views, 2 Favorites, 0 Comments
Tintin: Destination Moon - a TinkerCAD Diorama
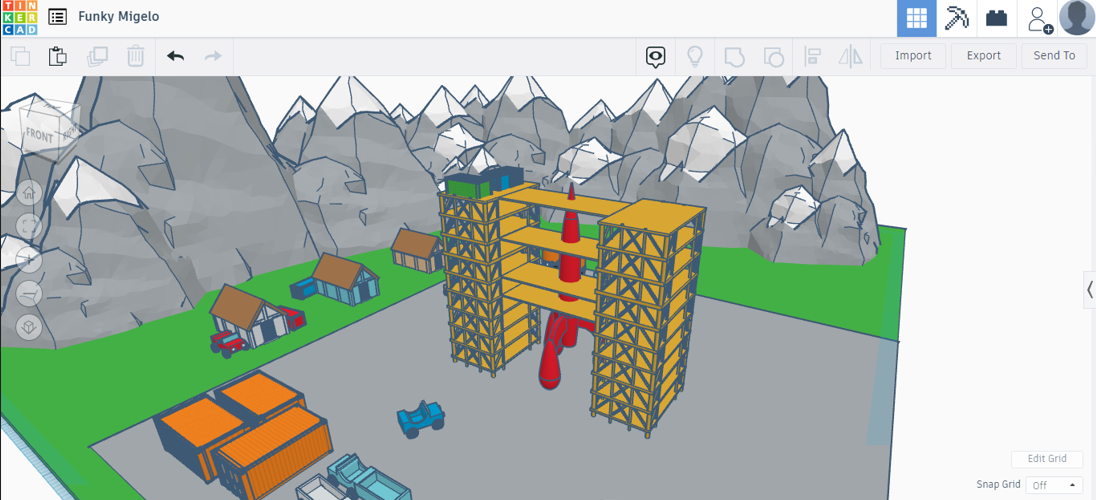
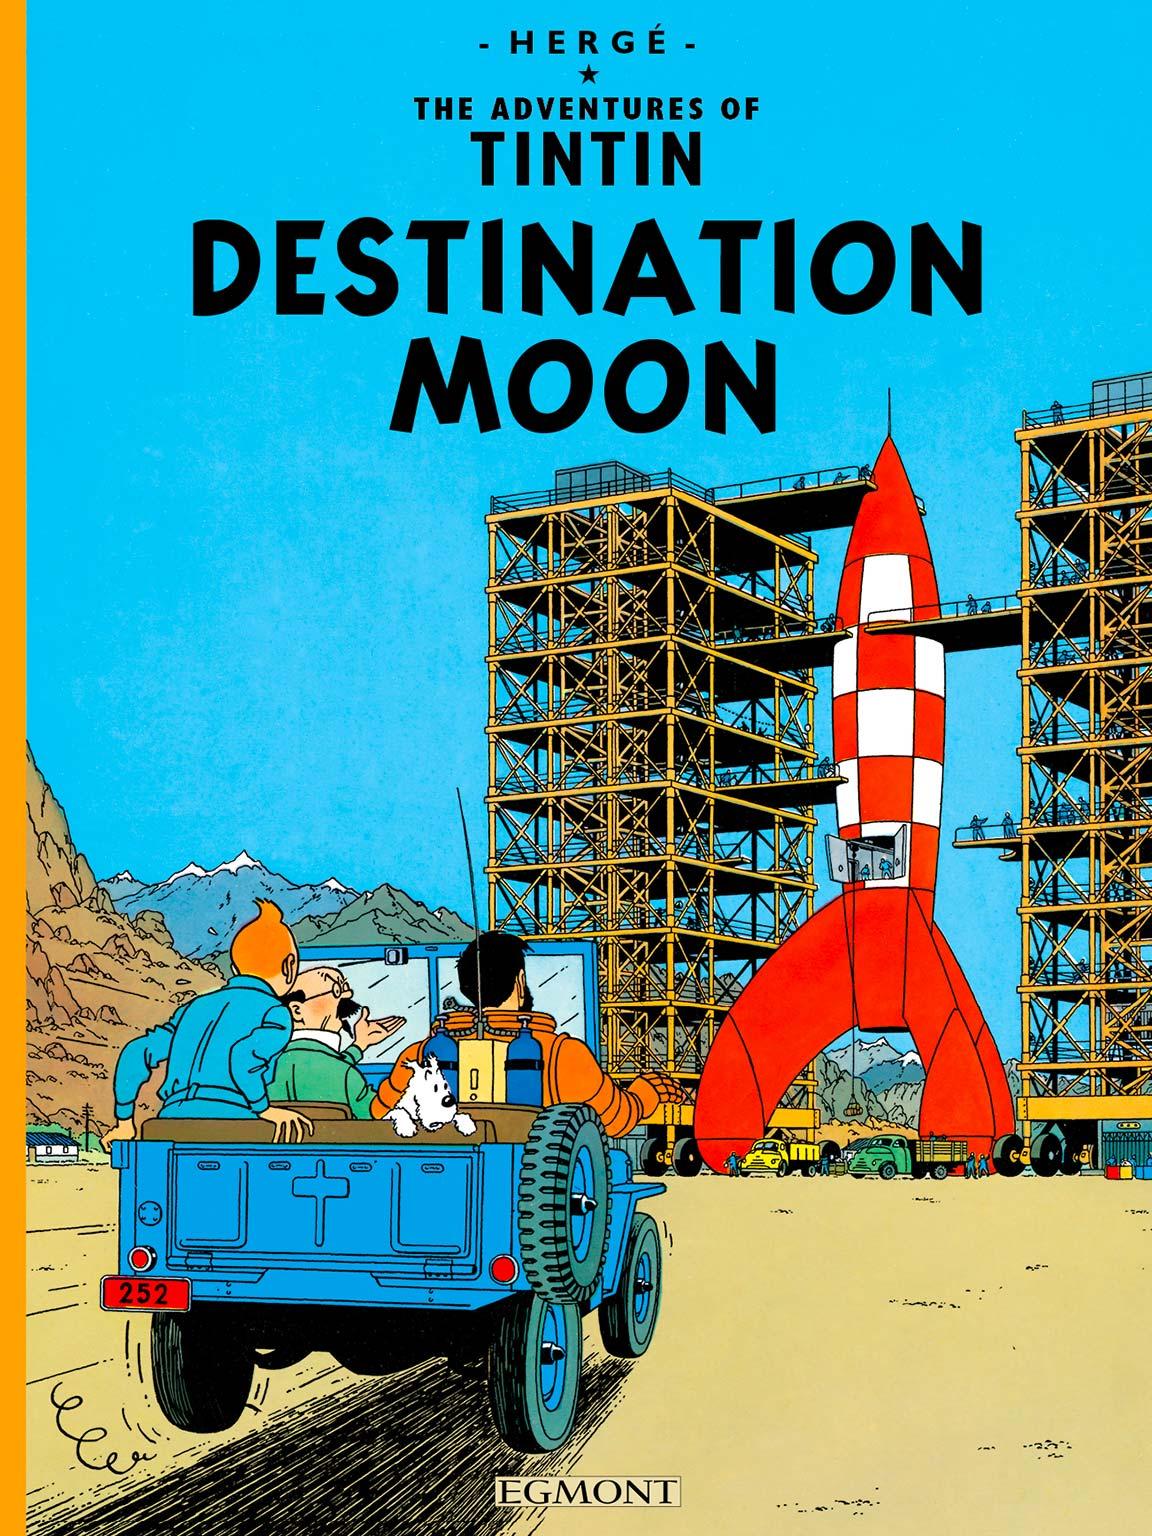
As a kid, I grew up reading a lot of comic books. Adventures of Tintin was one of them. Tintin, snowy, captain haddock; they bring back a lot of childhood memories where I read Tintin until I fell asleep, and dream about it in my sleep.
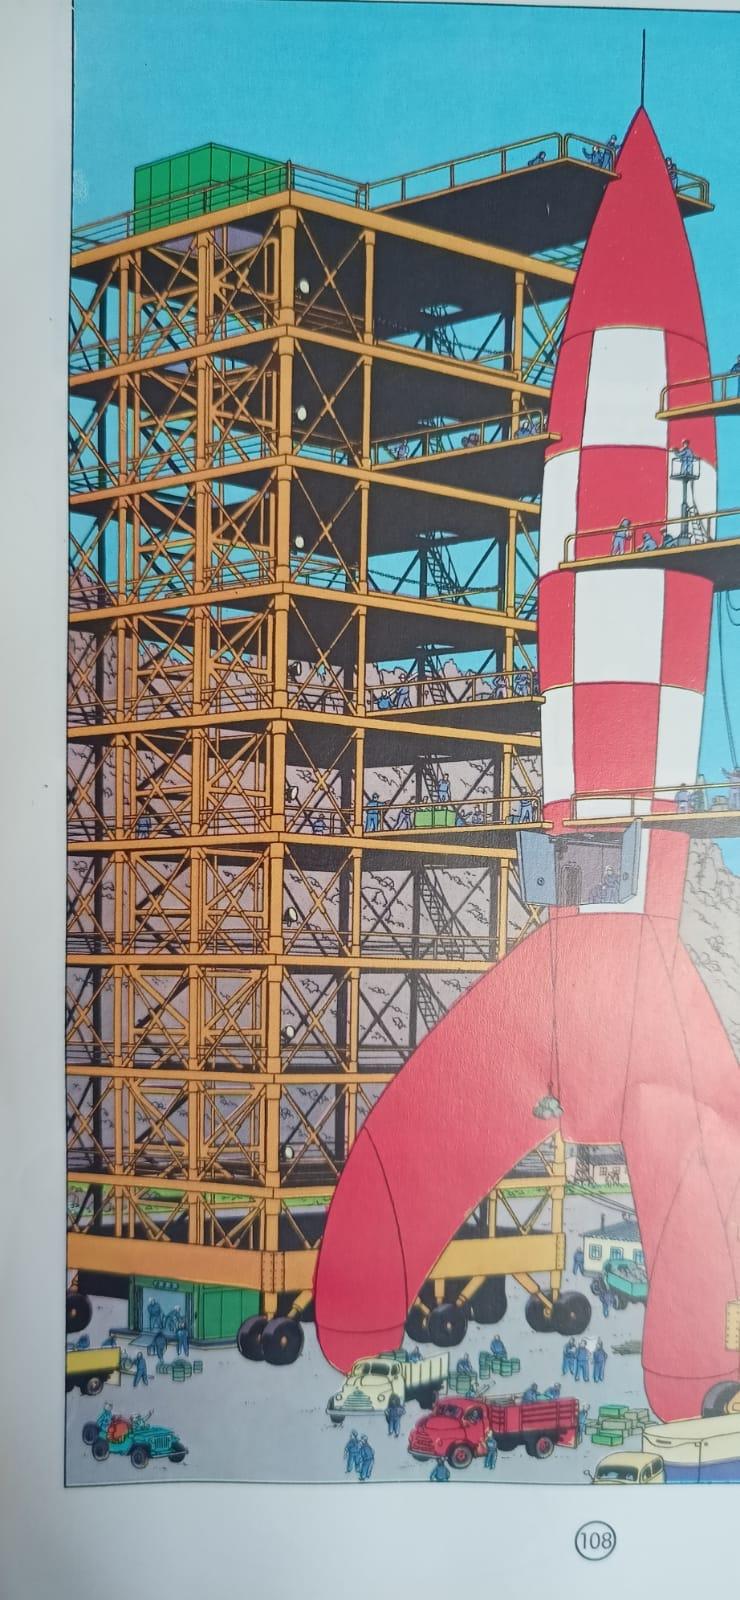
So, I decided to recreate the scene one of my most favorite volumes: "Destination Moon" in TinkerCAD.
If this embed doesn't work, pls click this link:
https://www.tinkercad.com/things/60D6L0UMiV3Supplies

- A computer
- Browser to run TinkerCAD [https://www.tinkercad.com/]
- Some imagination :)
Background
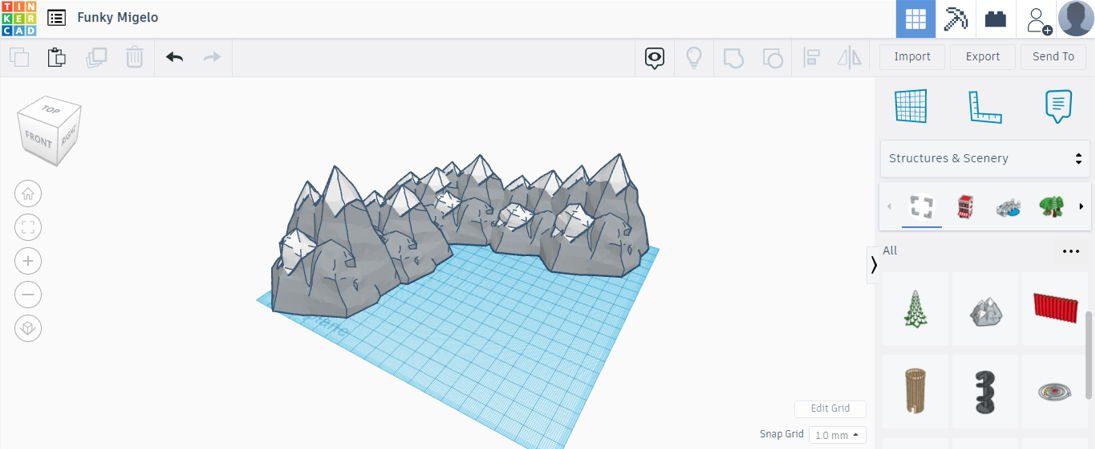
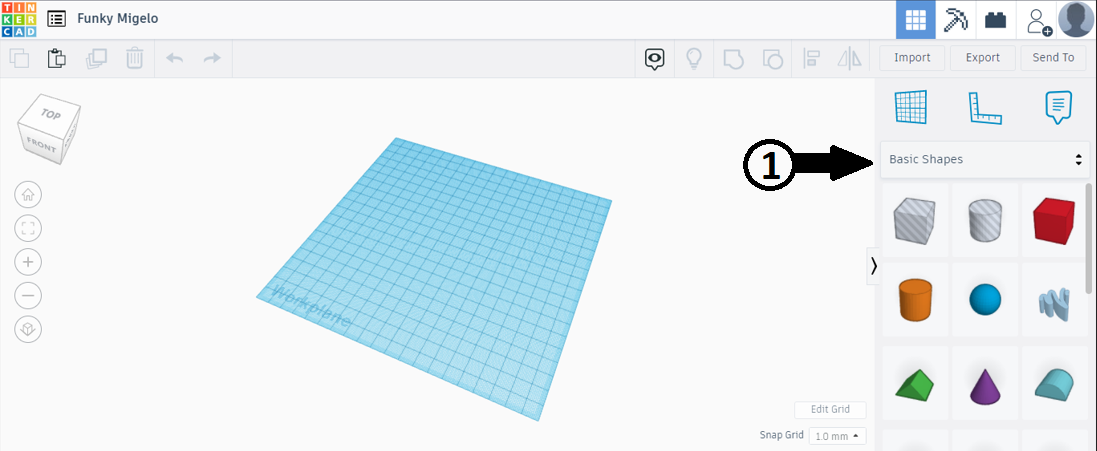
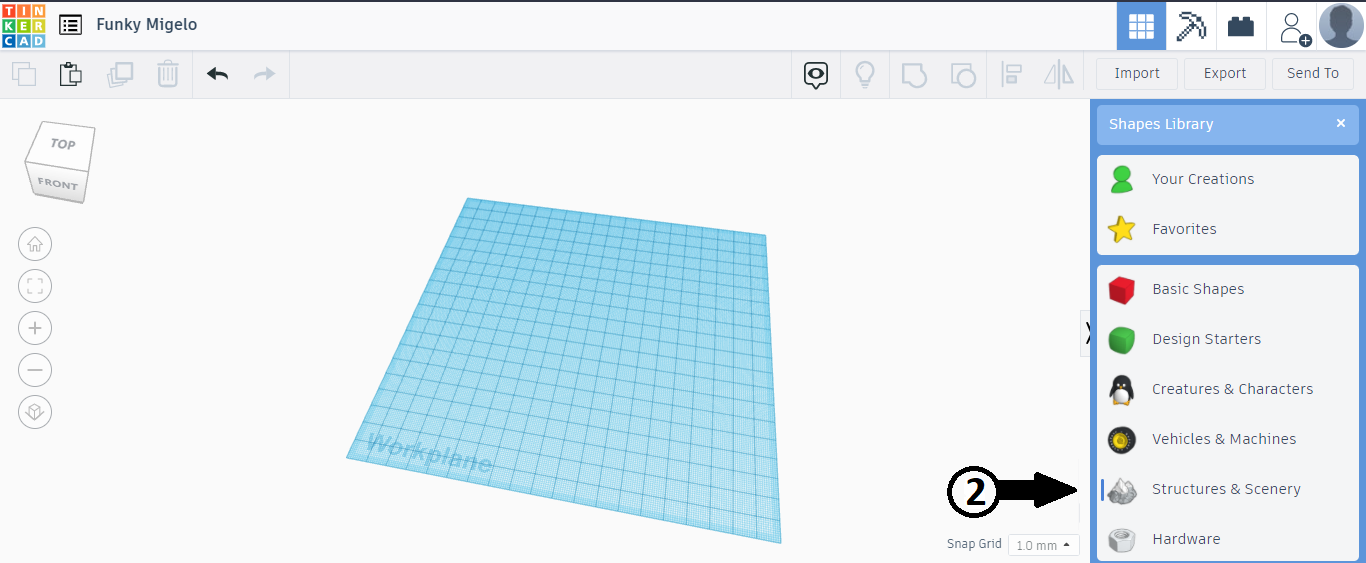
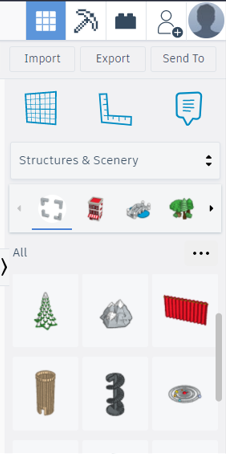
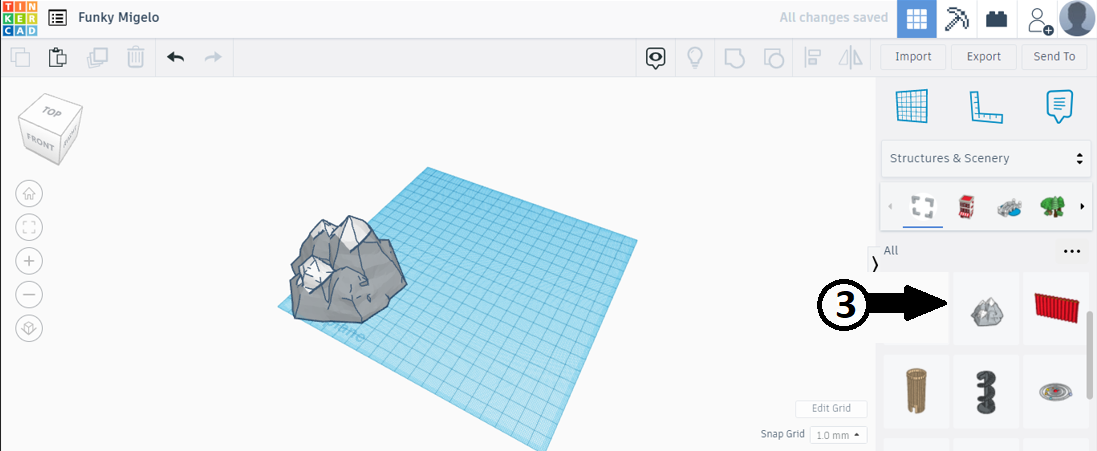
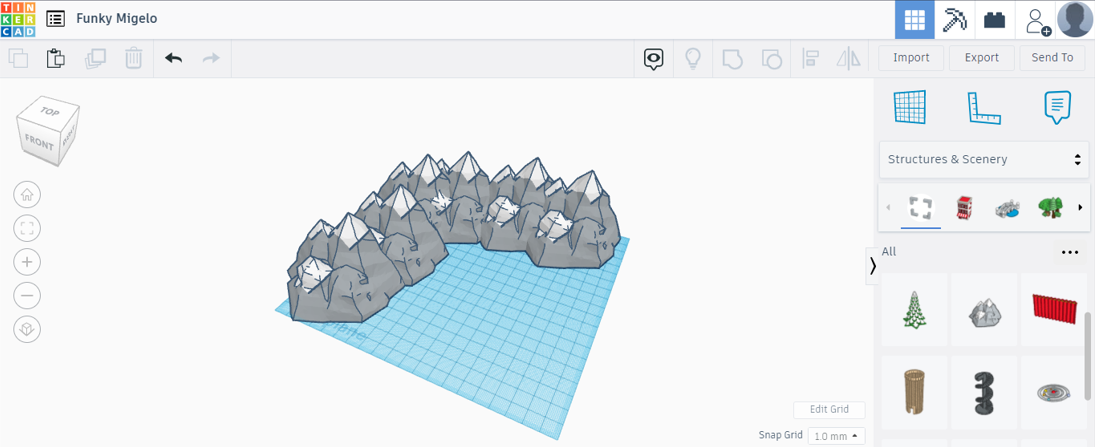
1) Background element
- Basic shapes > Structures and Scenery
- On scrolling down u can see a mountain/hill shape
- Drag it and drop on to the project plane.
2) Duplication
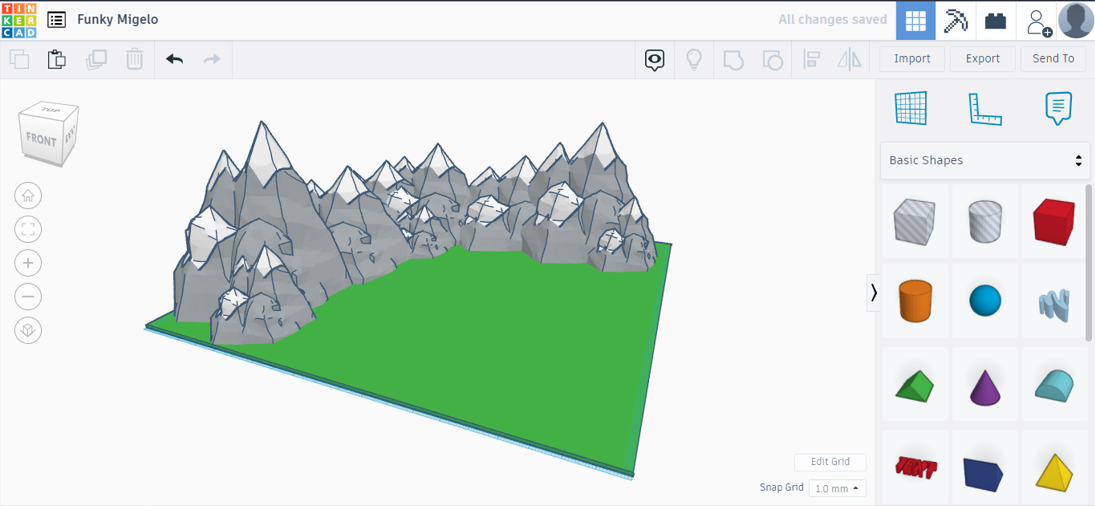
- Select the mountain, then ctrl+c then ctrl+v about 7-8 times to make several copies of the same mountain
- Now spread the duplicates along any 2 adjacent sides of the project plane
- As you'll see it looks unnatural. To make it more natural-looking use your creativity to increase/decrease the mountains' dimensions especially the height.
- You can get an idea from the images above.
Now that we have the most important part of a diorama ready, we can move on to make the terrain, vehicles and minute features.
Terrain
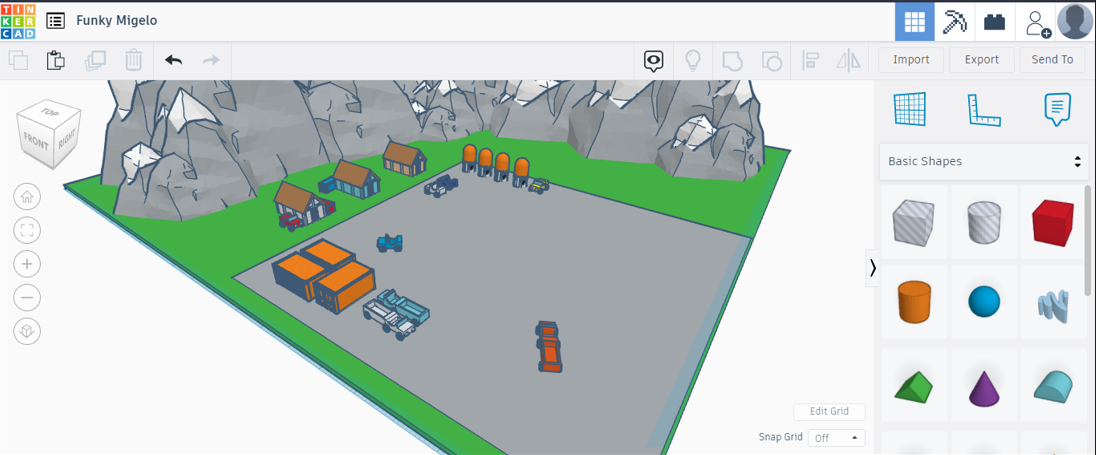
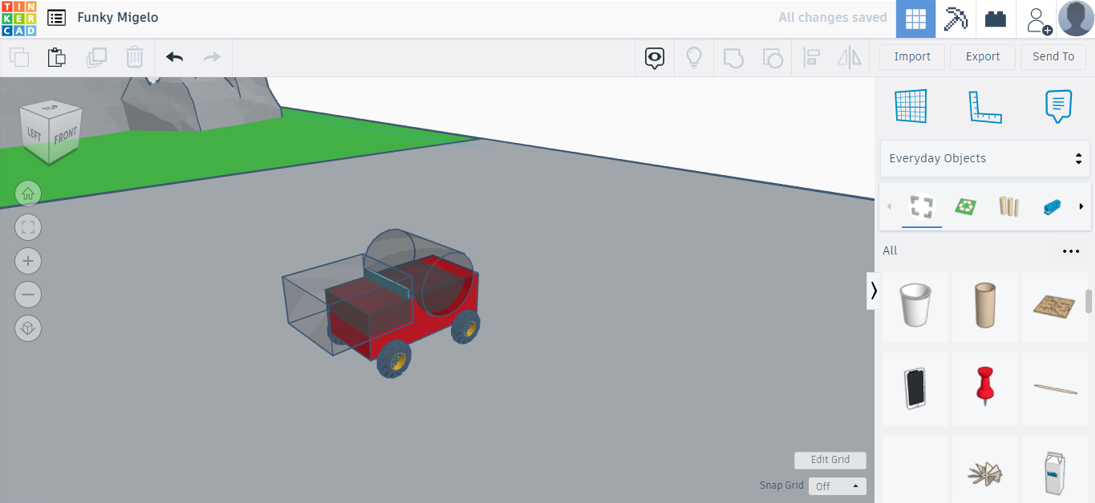
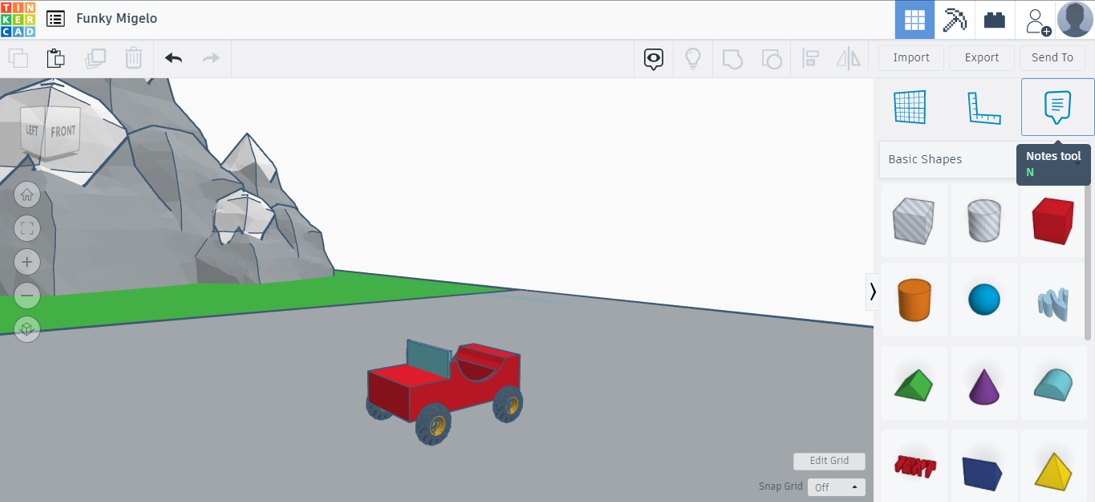
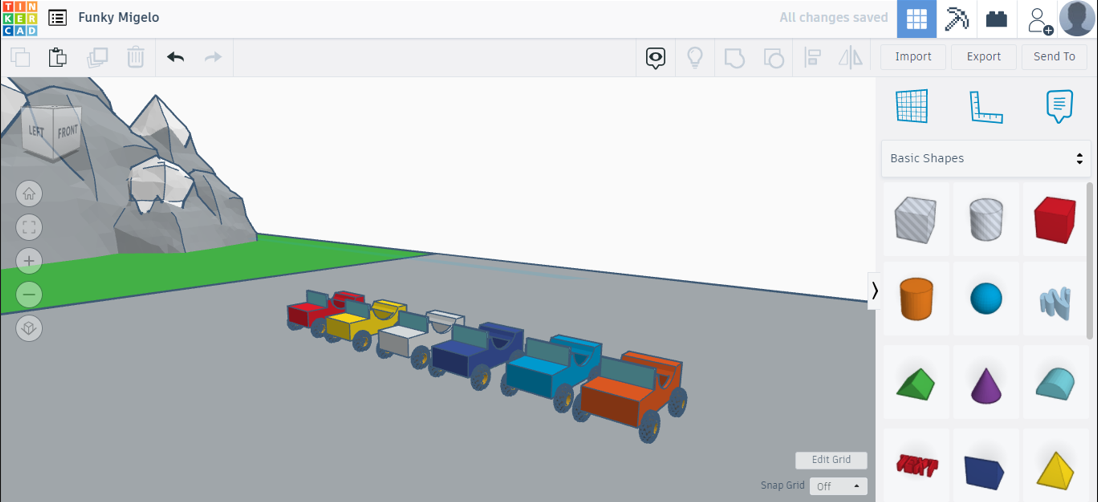
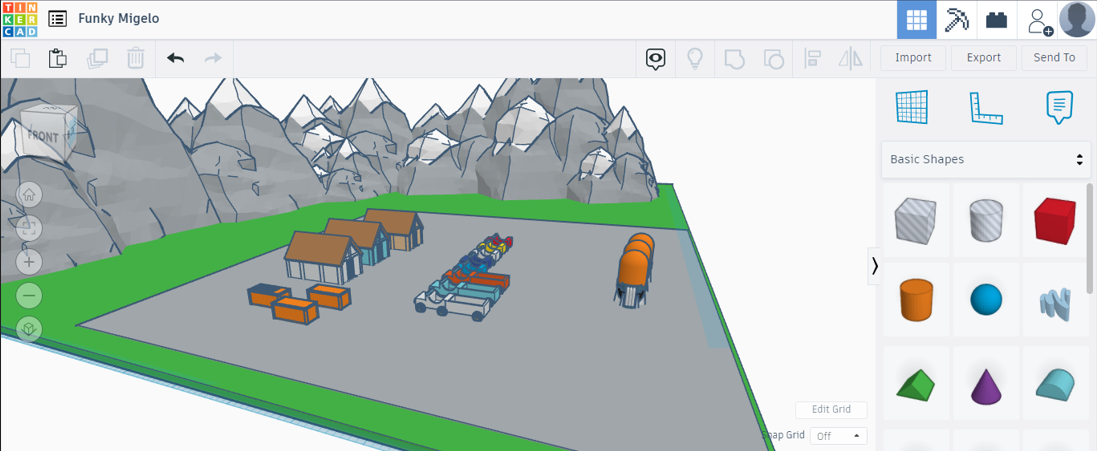
In the scene, it seems like its a sandy ground with no vegetation but on closely seeing the actual scene in the book, we see that the launchpad is built on top of a grassy terrain.
Lets first create the grass terrain, launchpad, then design the minute details like shacks, huts and vehicles.
1) Grass cannot be properly represented in TinkerCAD, hence we will be using a green base for the same
- Take a cube and resize it to 200x200x1,
- Change its color to green and lay it down on the project plane.
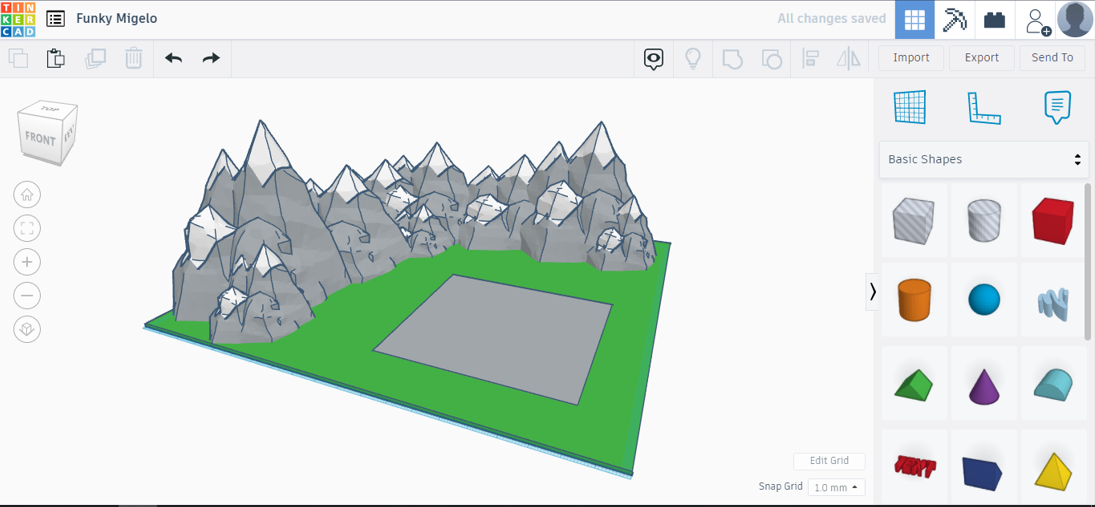
2) Making the launch pad/launch area
- just like the grass ground, add a new cube
- set its size to 100x100x1
- align it along the project planes' corner which is opposite to the mountains.
3) Making vehicles
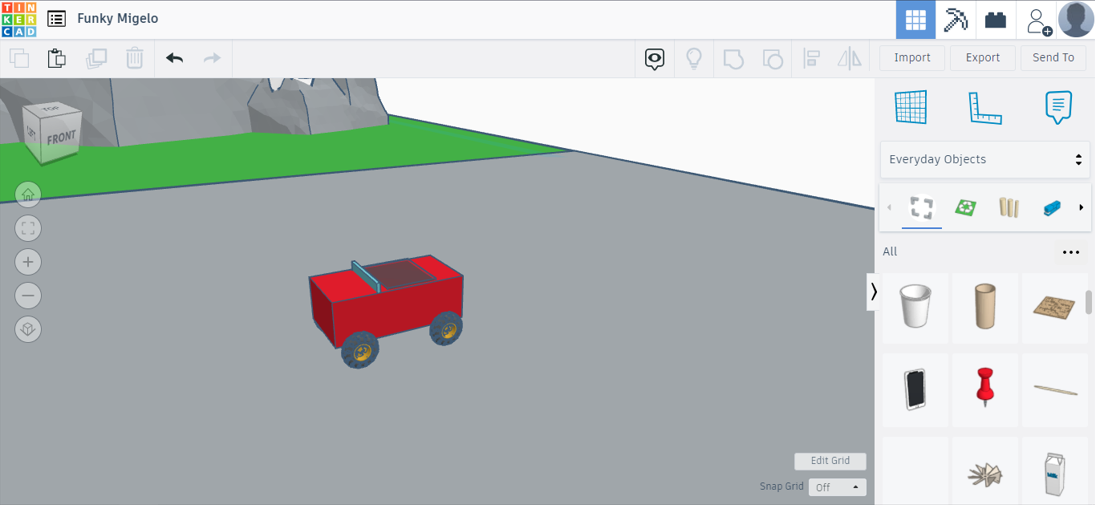
- As a kid I remember making 'matchbox cars', I've applied the same idea to make cars in this project
- make a cuboid, add 4 wheels.
- use a hole cylinder to make seats
- add some more details like headlights, radiator etc.
- This is where your creativity skills come into play...
- I made trucks by joining an empty container behind the cars made before.
4) Huts, houses, containers
- Shapes dropdown > Structures & Scenery > Orange container
- Shapes dropdown > Structures & Scenery > Orange fuel cell
- I have designed some houses using the pyramid and cube shapes.
5) Now that we have all the elements, we can arrange them as we wish since the scene does not show this in-detail.
- I arranged 3 houses outside the launchpad, a couple cars and 2 containers
- 3 larger containers a little far from the rocket, but on the launchpad
- cars, trucks all just scattered
- Fuel cells on a corner of the launch pad.
Scaffolding
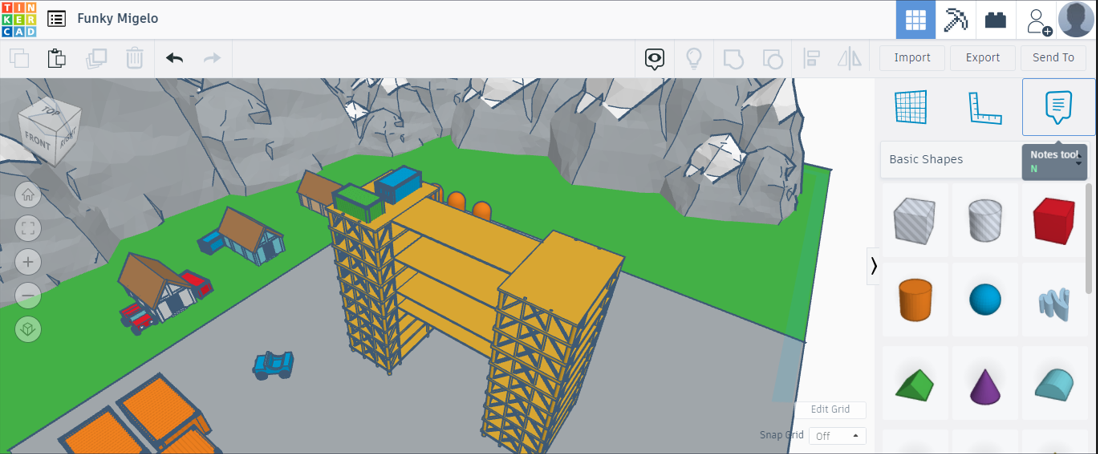
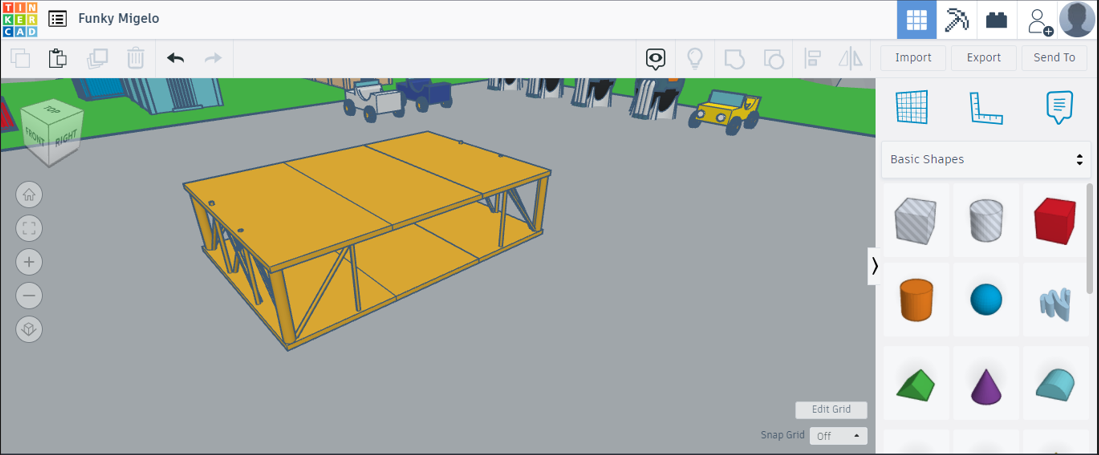
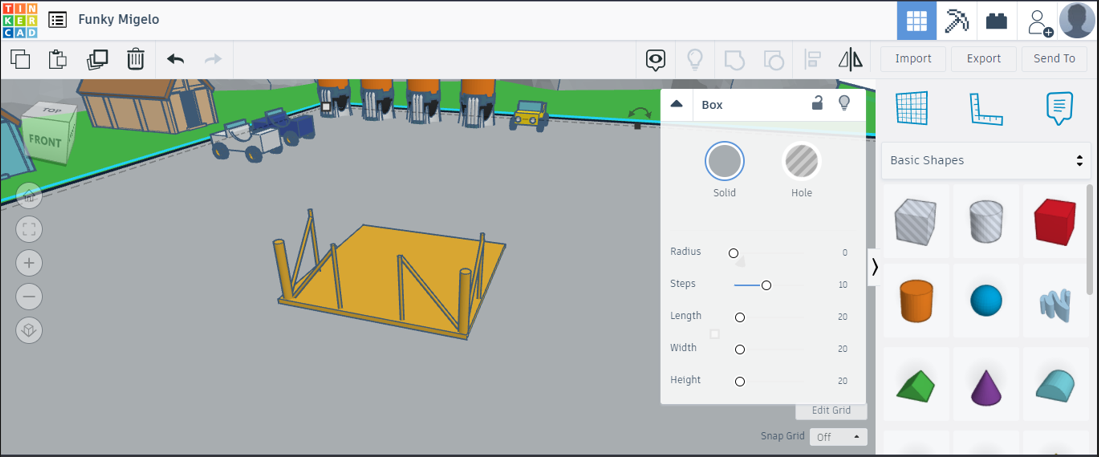
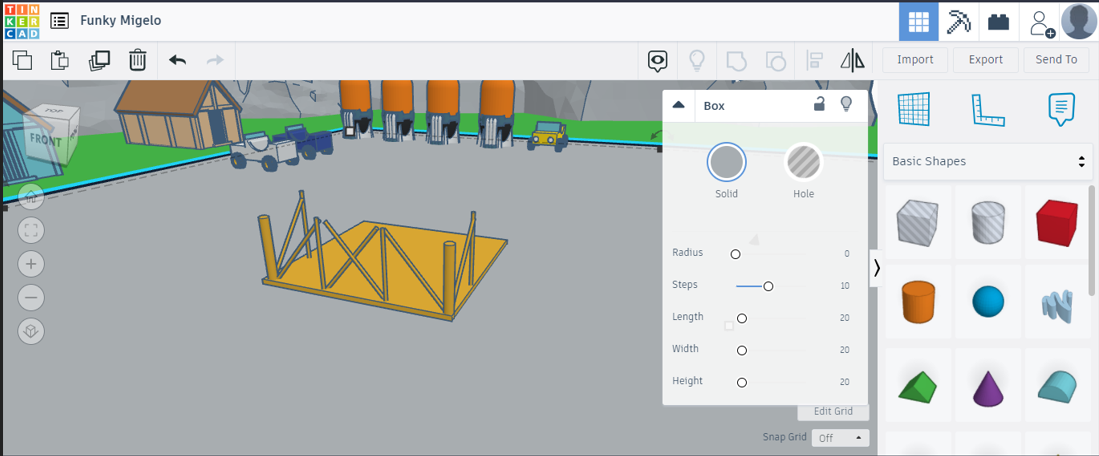
- This is one of the hardest part of the design and I will try my best to show how I did it.
- The scaffolding has 2 major shapes: cylinder and cube
- The scaffolding in the scene has 10 layers and also has a cylindrical passage, mostly for a lift or a ladder.
- Lastly we need to add wheels to the scaffolding
1) Base floor
- add a yellow cube with size: 10x10x0.20
- now add 2 cylinders with diameter 0.4 to any 2 corners of the cuboid
- Set the cylinders height to 4.6 mm
- add 4 cylinders of 0.1mm dia - 2 at the width and 2 on either length (see images to understand better)
2) Diagonals and roof
- Follow the image to understand (make sure the cylinders are 0.2 mm dia)
- copy the base layer and elevate to 4.6mm and group the parts.
3) Mirror
- Mirror the created design along the width to create 1 layer
4) Stack
- ctrl+c, ctrl+v and stack 10 floors to make the scaffolding complete (3.5mm per floor elevation)
Duplicate the scaffolding and place it 25mm away from the first one.
Now add a green container on top of the scaffolding and in the 5,6,8,10 floors extend the base so that it touches the other side
Rocket
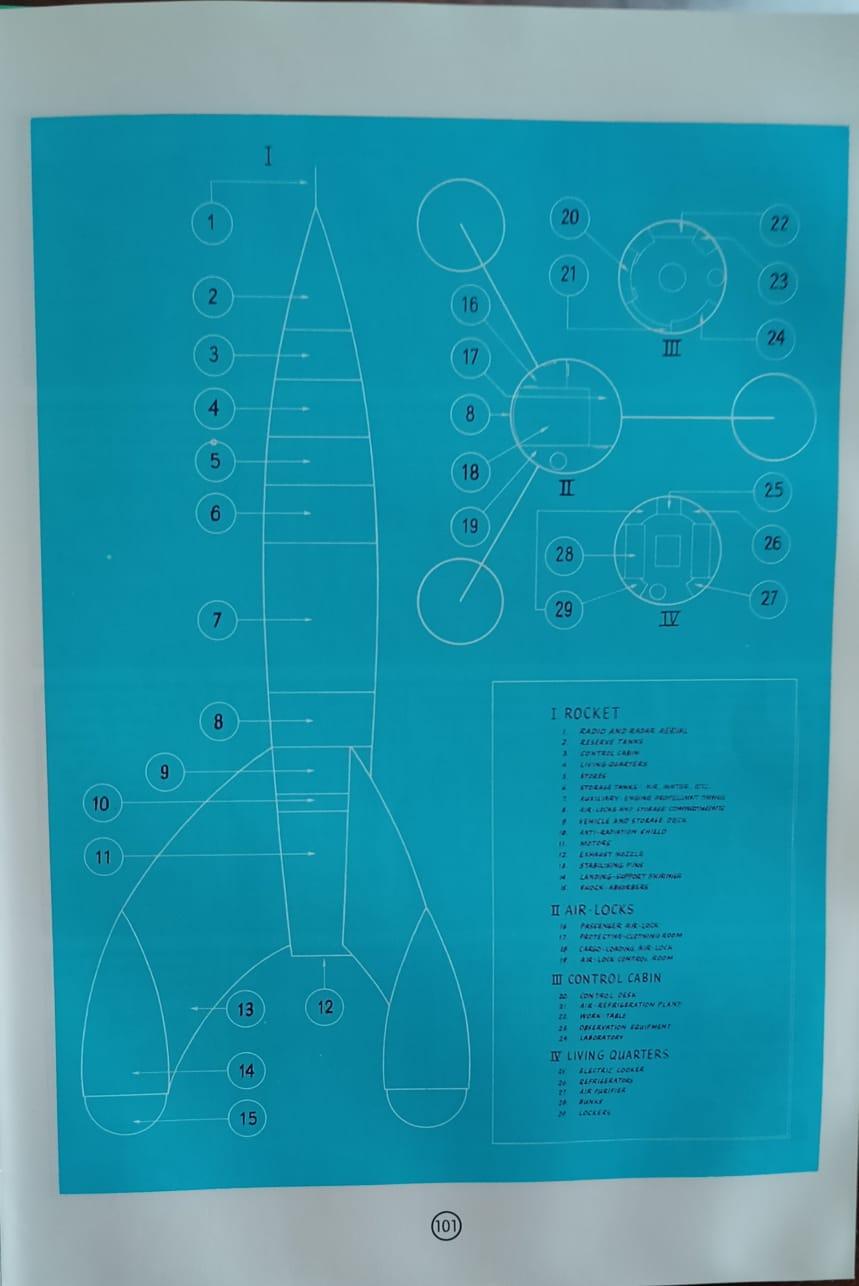
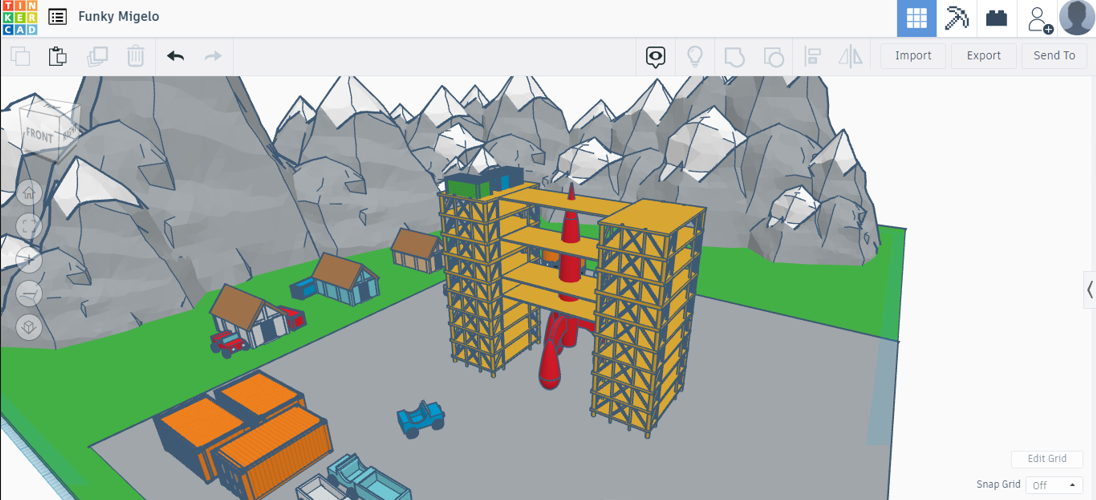
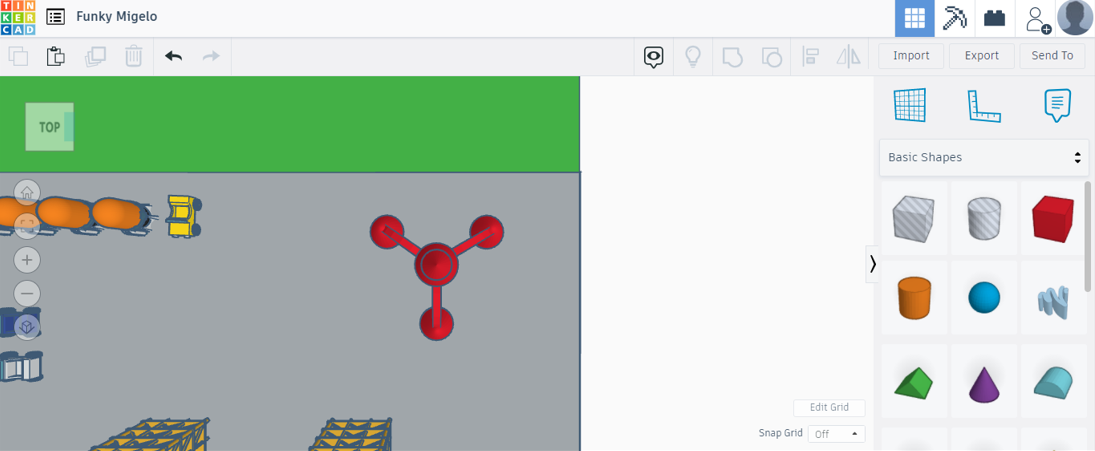
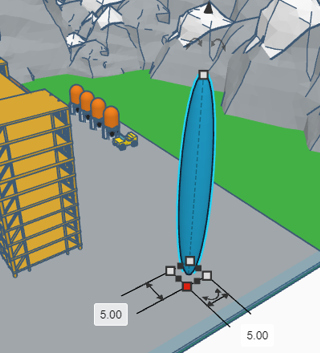
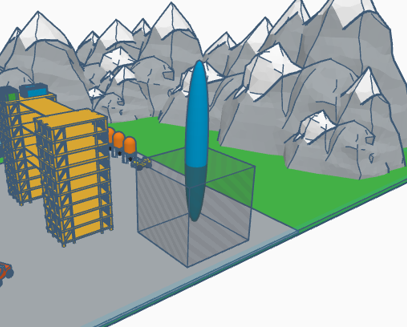
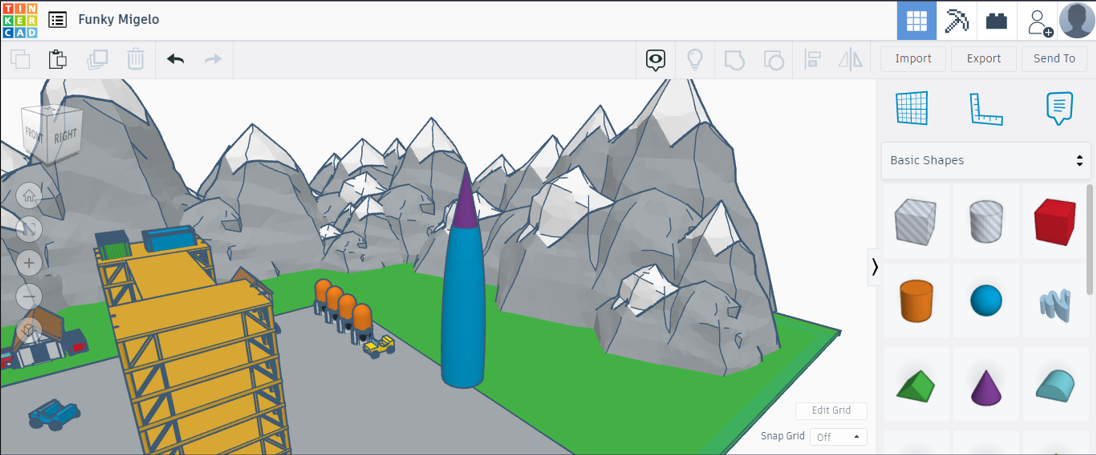
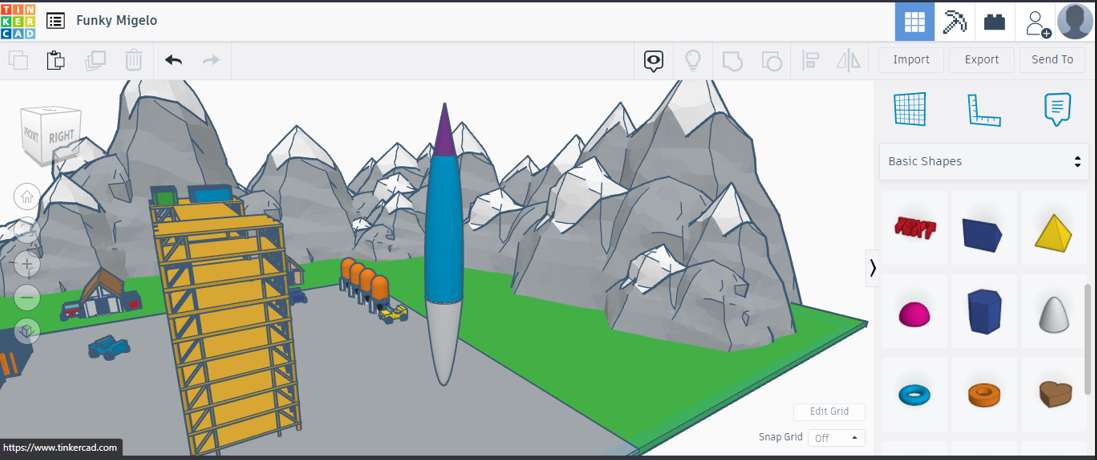
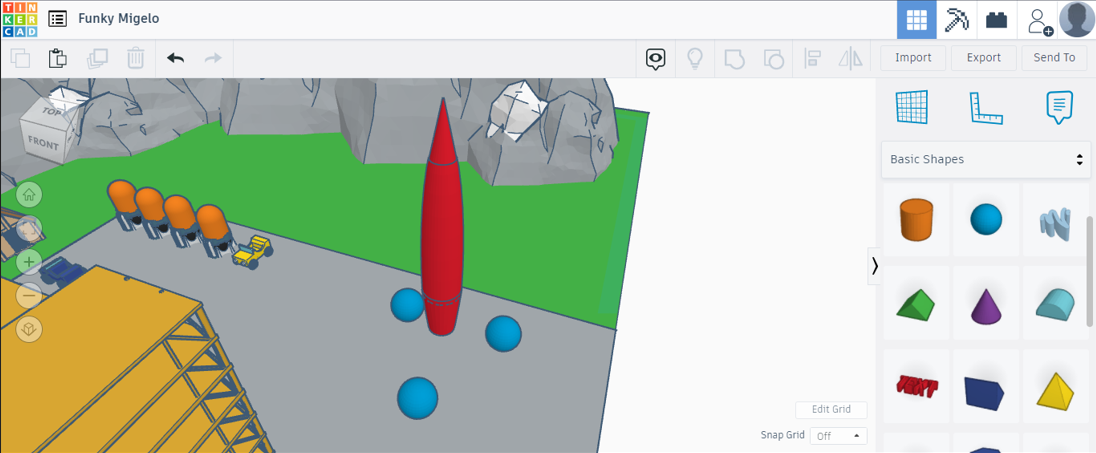
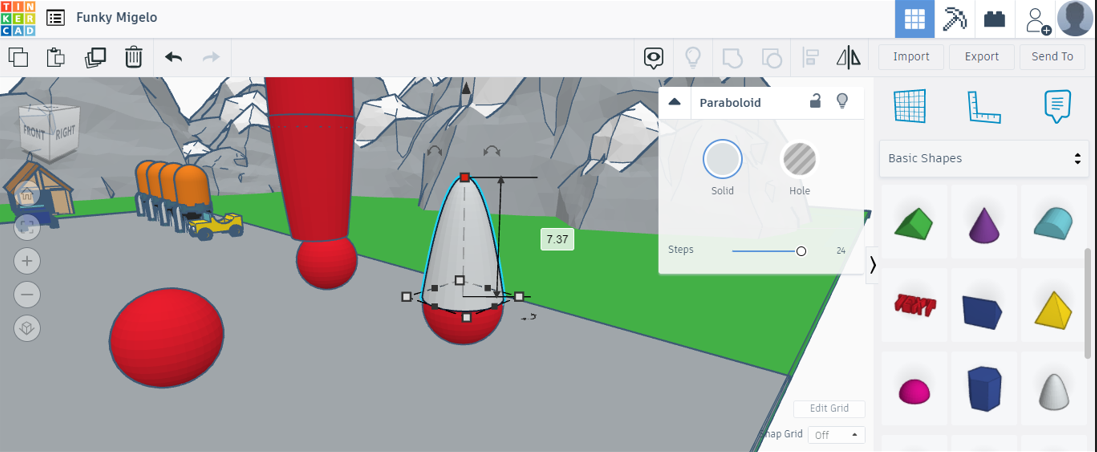
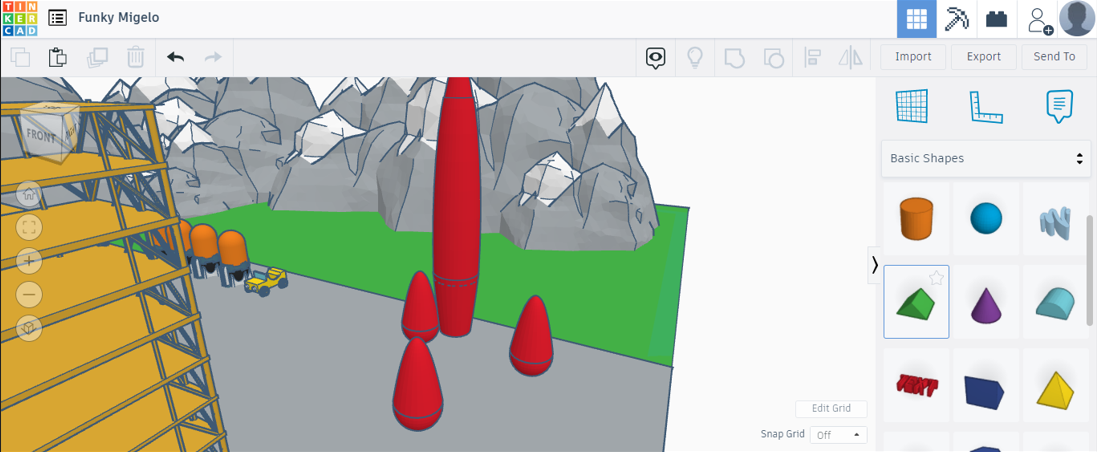
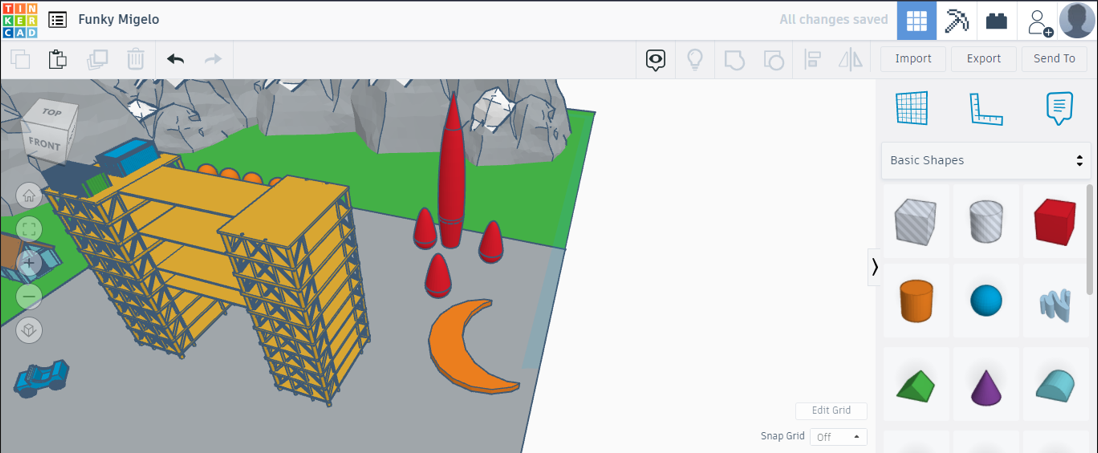
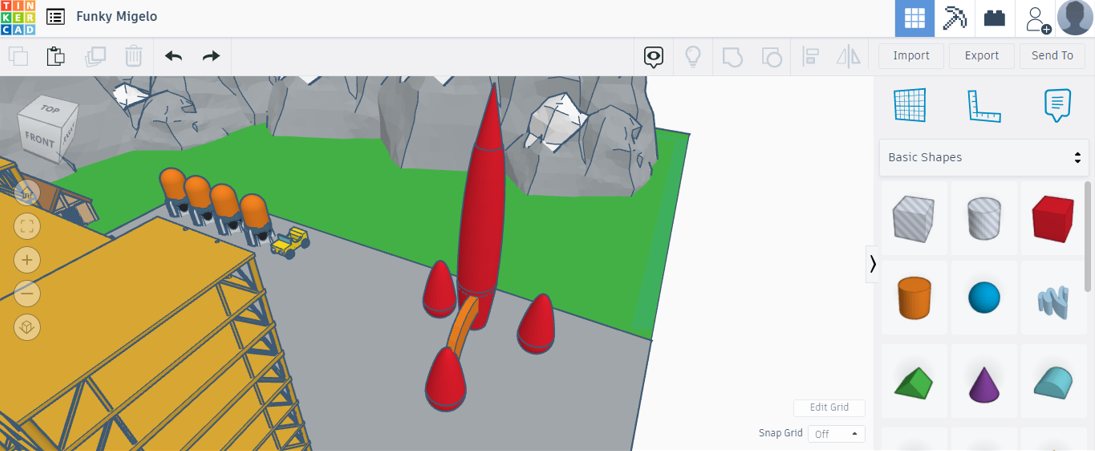
The book provides us with a blueprint of the rocket from which we can get a good idea about its geometry.
There are 3 shapes here in use
sphere, paraboloid, cone
Here are the steps
- Take a sphere set it to - 5mm, 5mm and height to 30mm
- remove about 40% from the bottom and 5% from the top using hole cube (see image)
- now, add a cone and set it to- 5mm, 5mm and reduce its height to the sphere's top circle diameter
- add a paraboloid and set it to 5mm, 5mm and attach it to the bottom like shown in the image
- remove about 50% from the bottom of the paraboloid
- add 3 spheres and 3 paraboloids set all 6 to 5mmx5mm and align them like in the image
- Make a crescent like shown in the image and align it using the 'top view'
- after aligning, group all the parts and rescale the whole rocket to 14mmx13mmx35mm
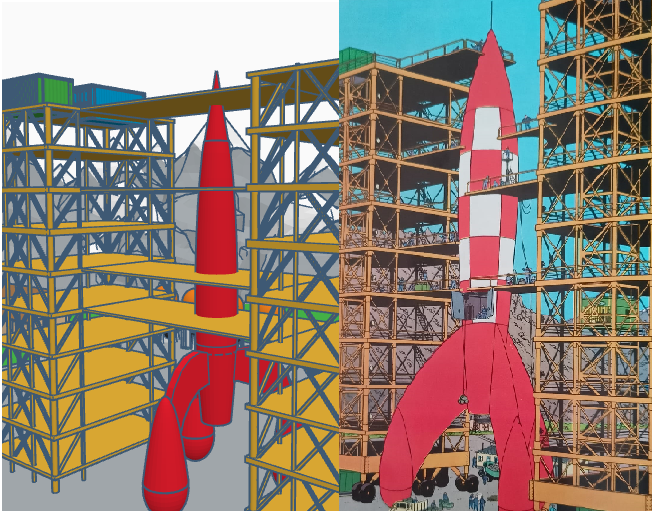
- Now place it between the two scaffolding
Done!
That's it for today
Hope you learnt something from this instructable
Have a great day!