Tinkercad Mini Table

I’m this instructable we will be making a mini table using Tinkercad. If you want to take the short way I’ll put the file down below.
Supplies
Tinkercad Account (free)
3D Printer
Downloads
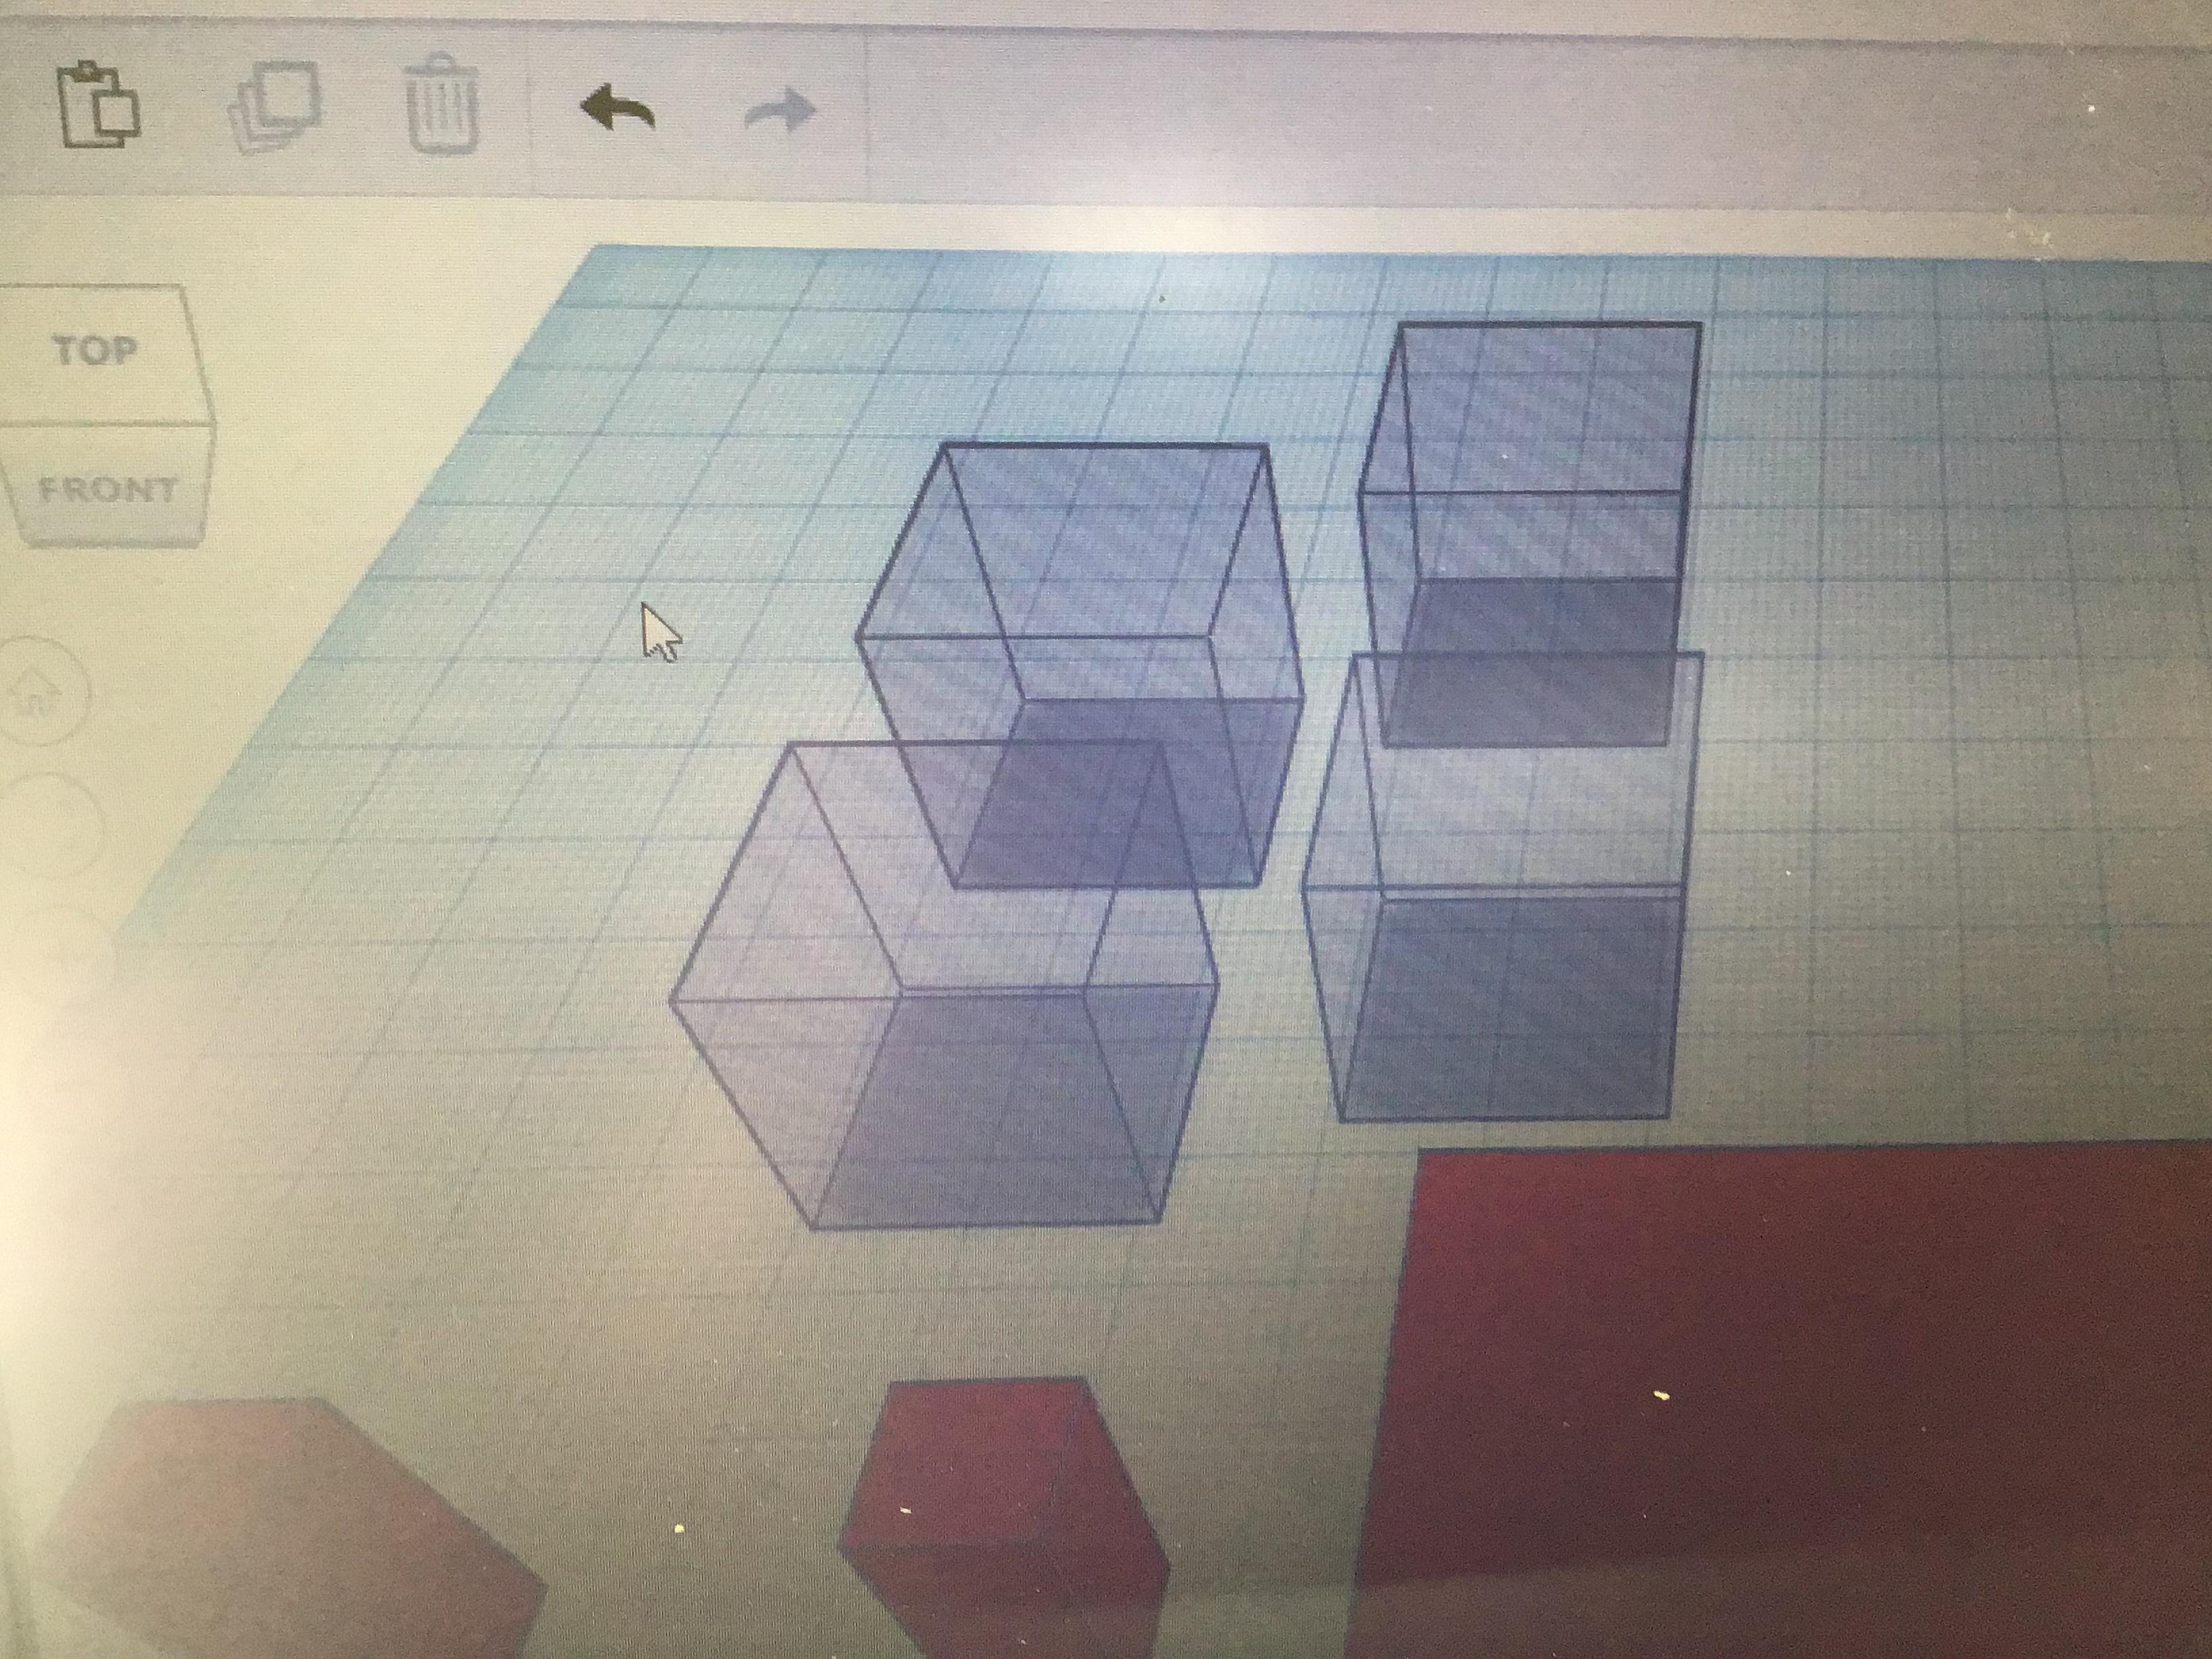
Get a Cube
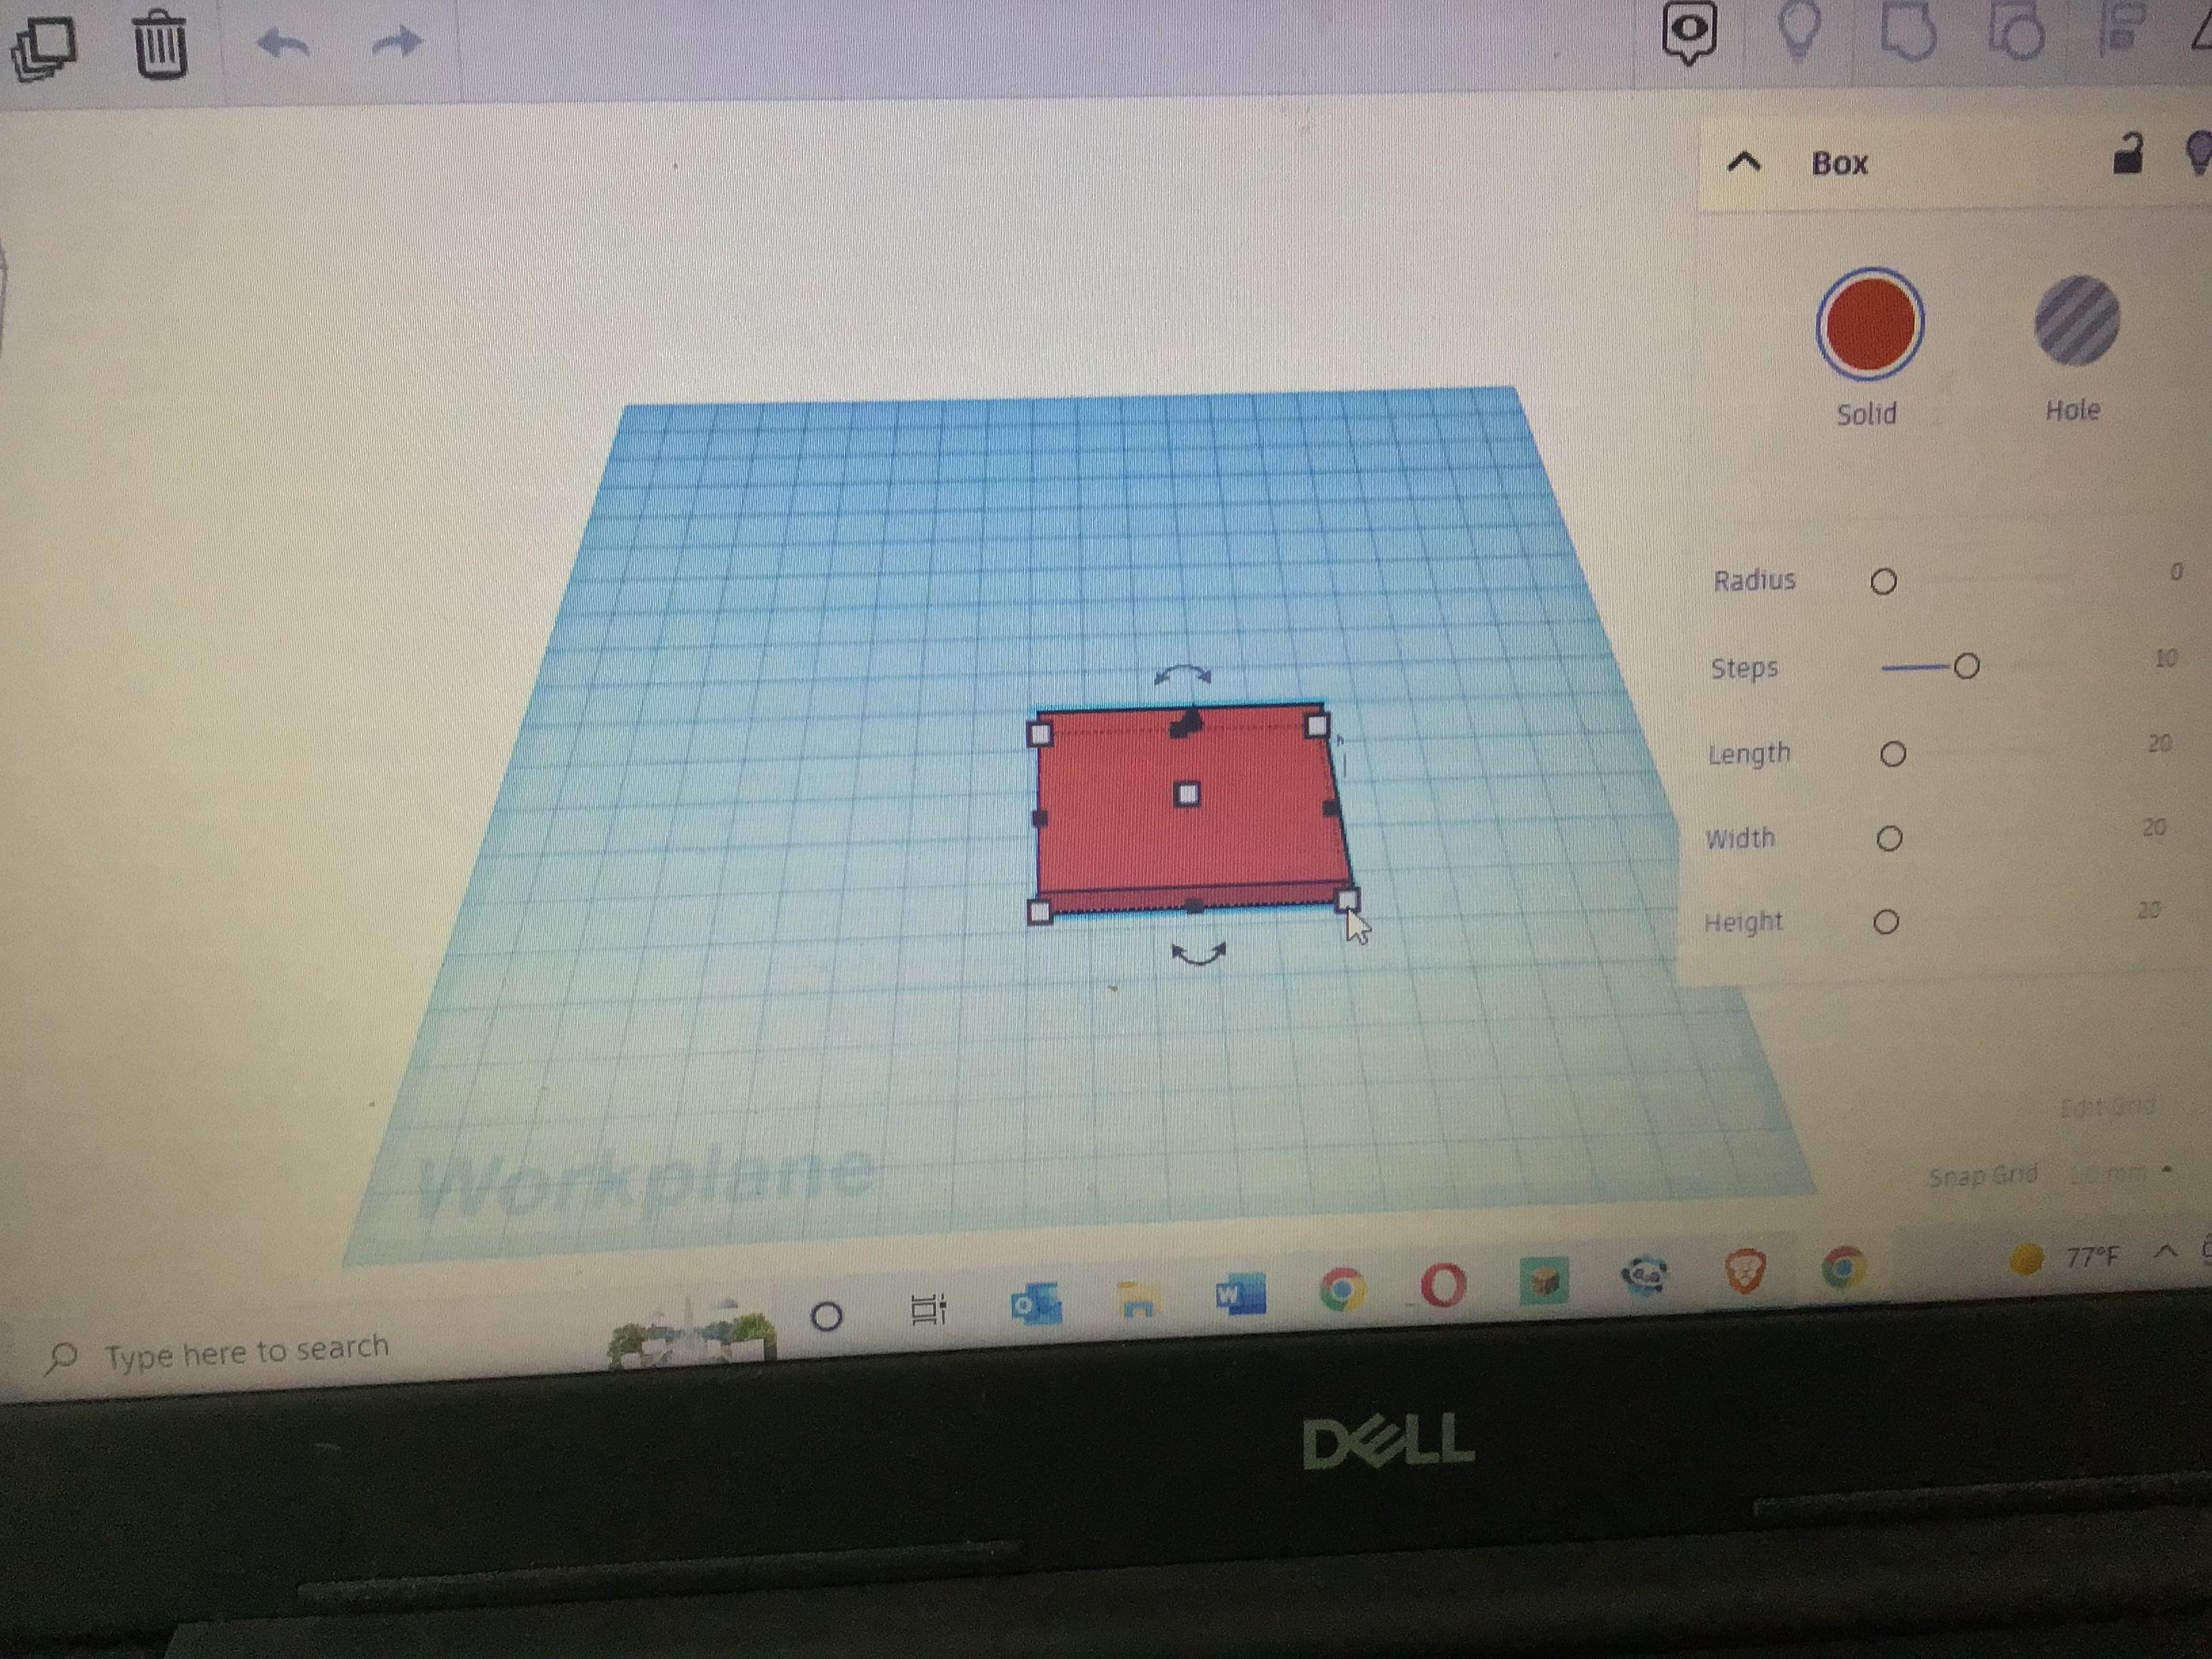
Get a cube from the shapes menu and make it:
Length: 50mm
Width: 40mm
Height: 5mm
Get Four Cubes and Fit Them to Specs
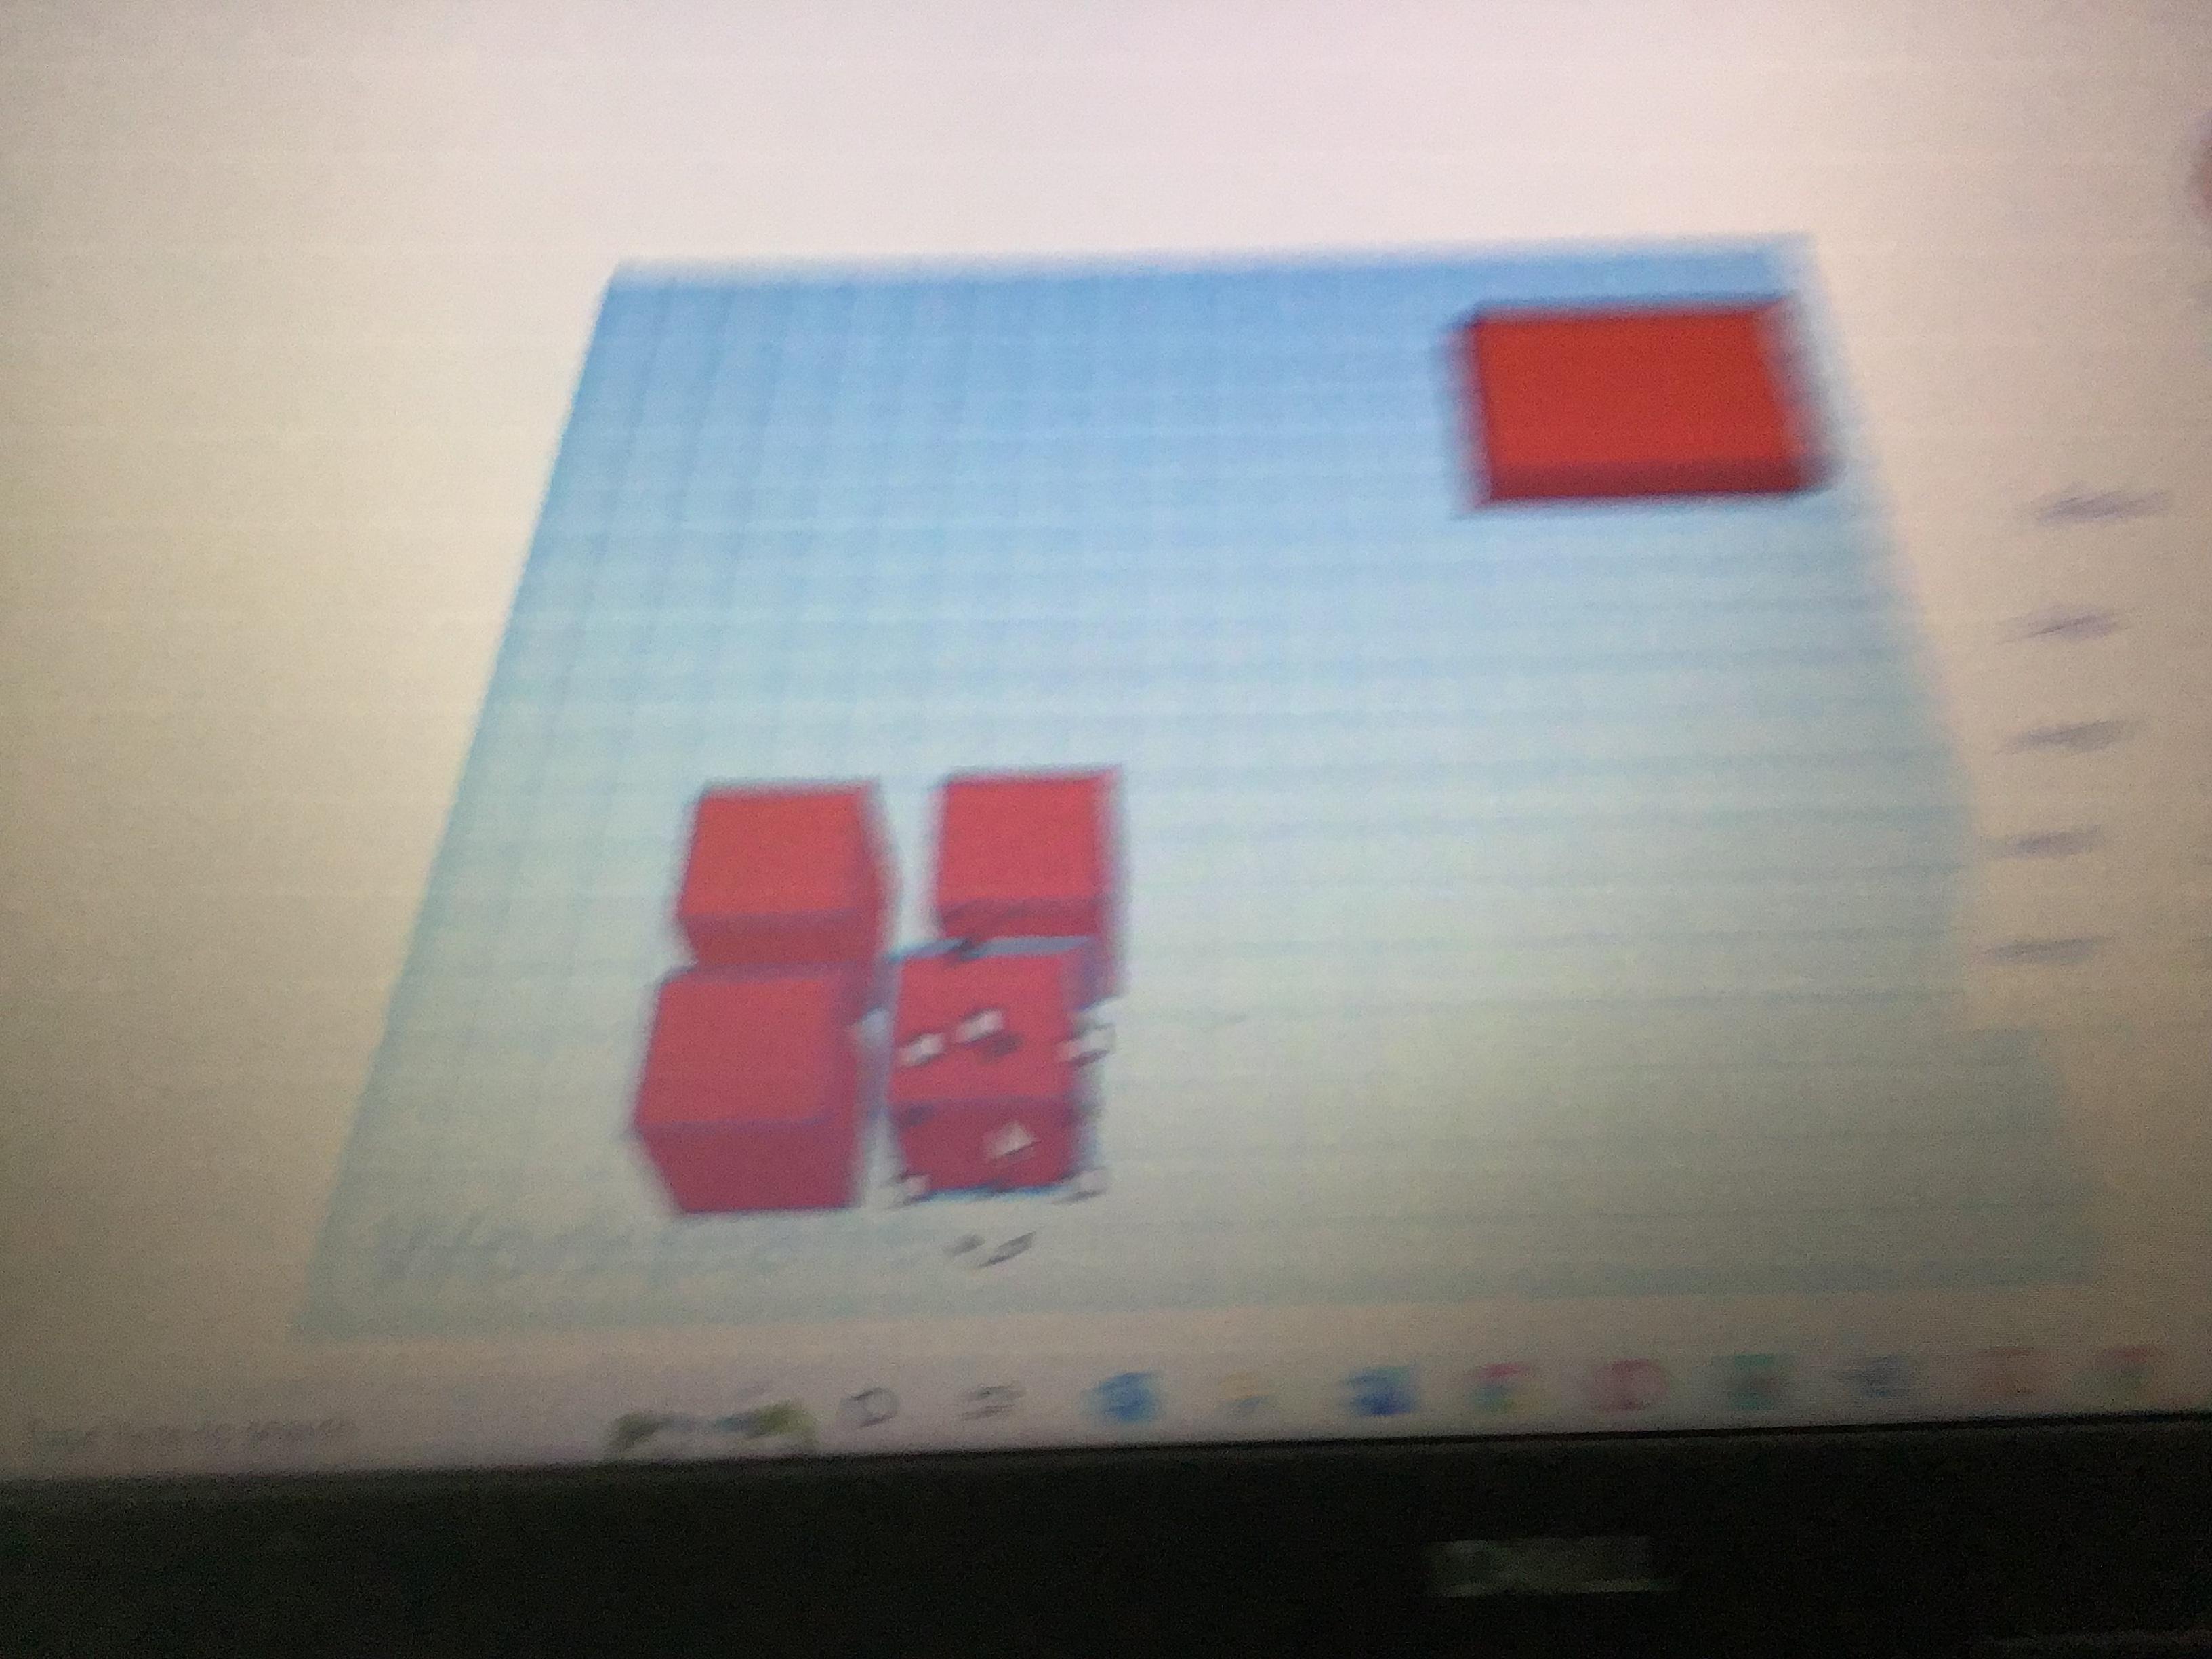
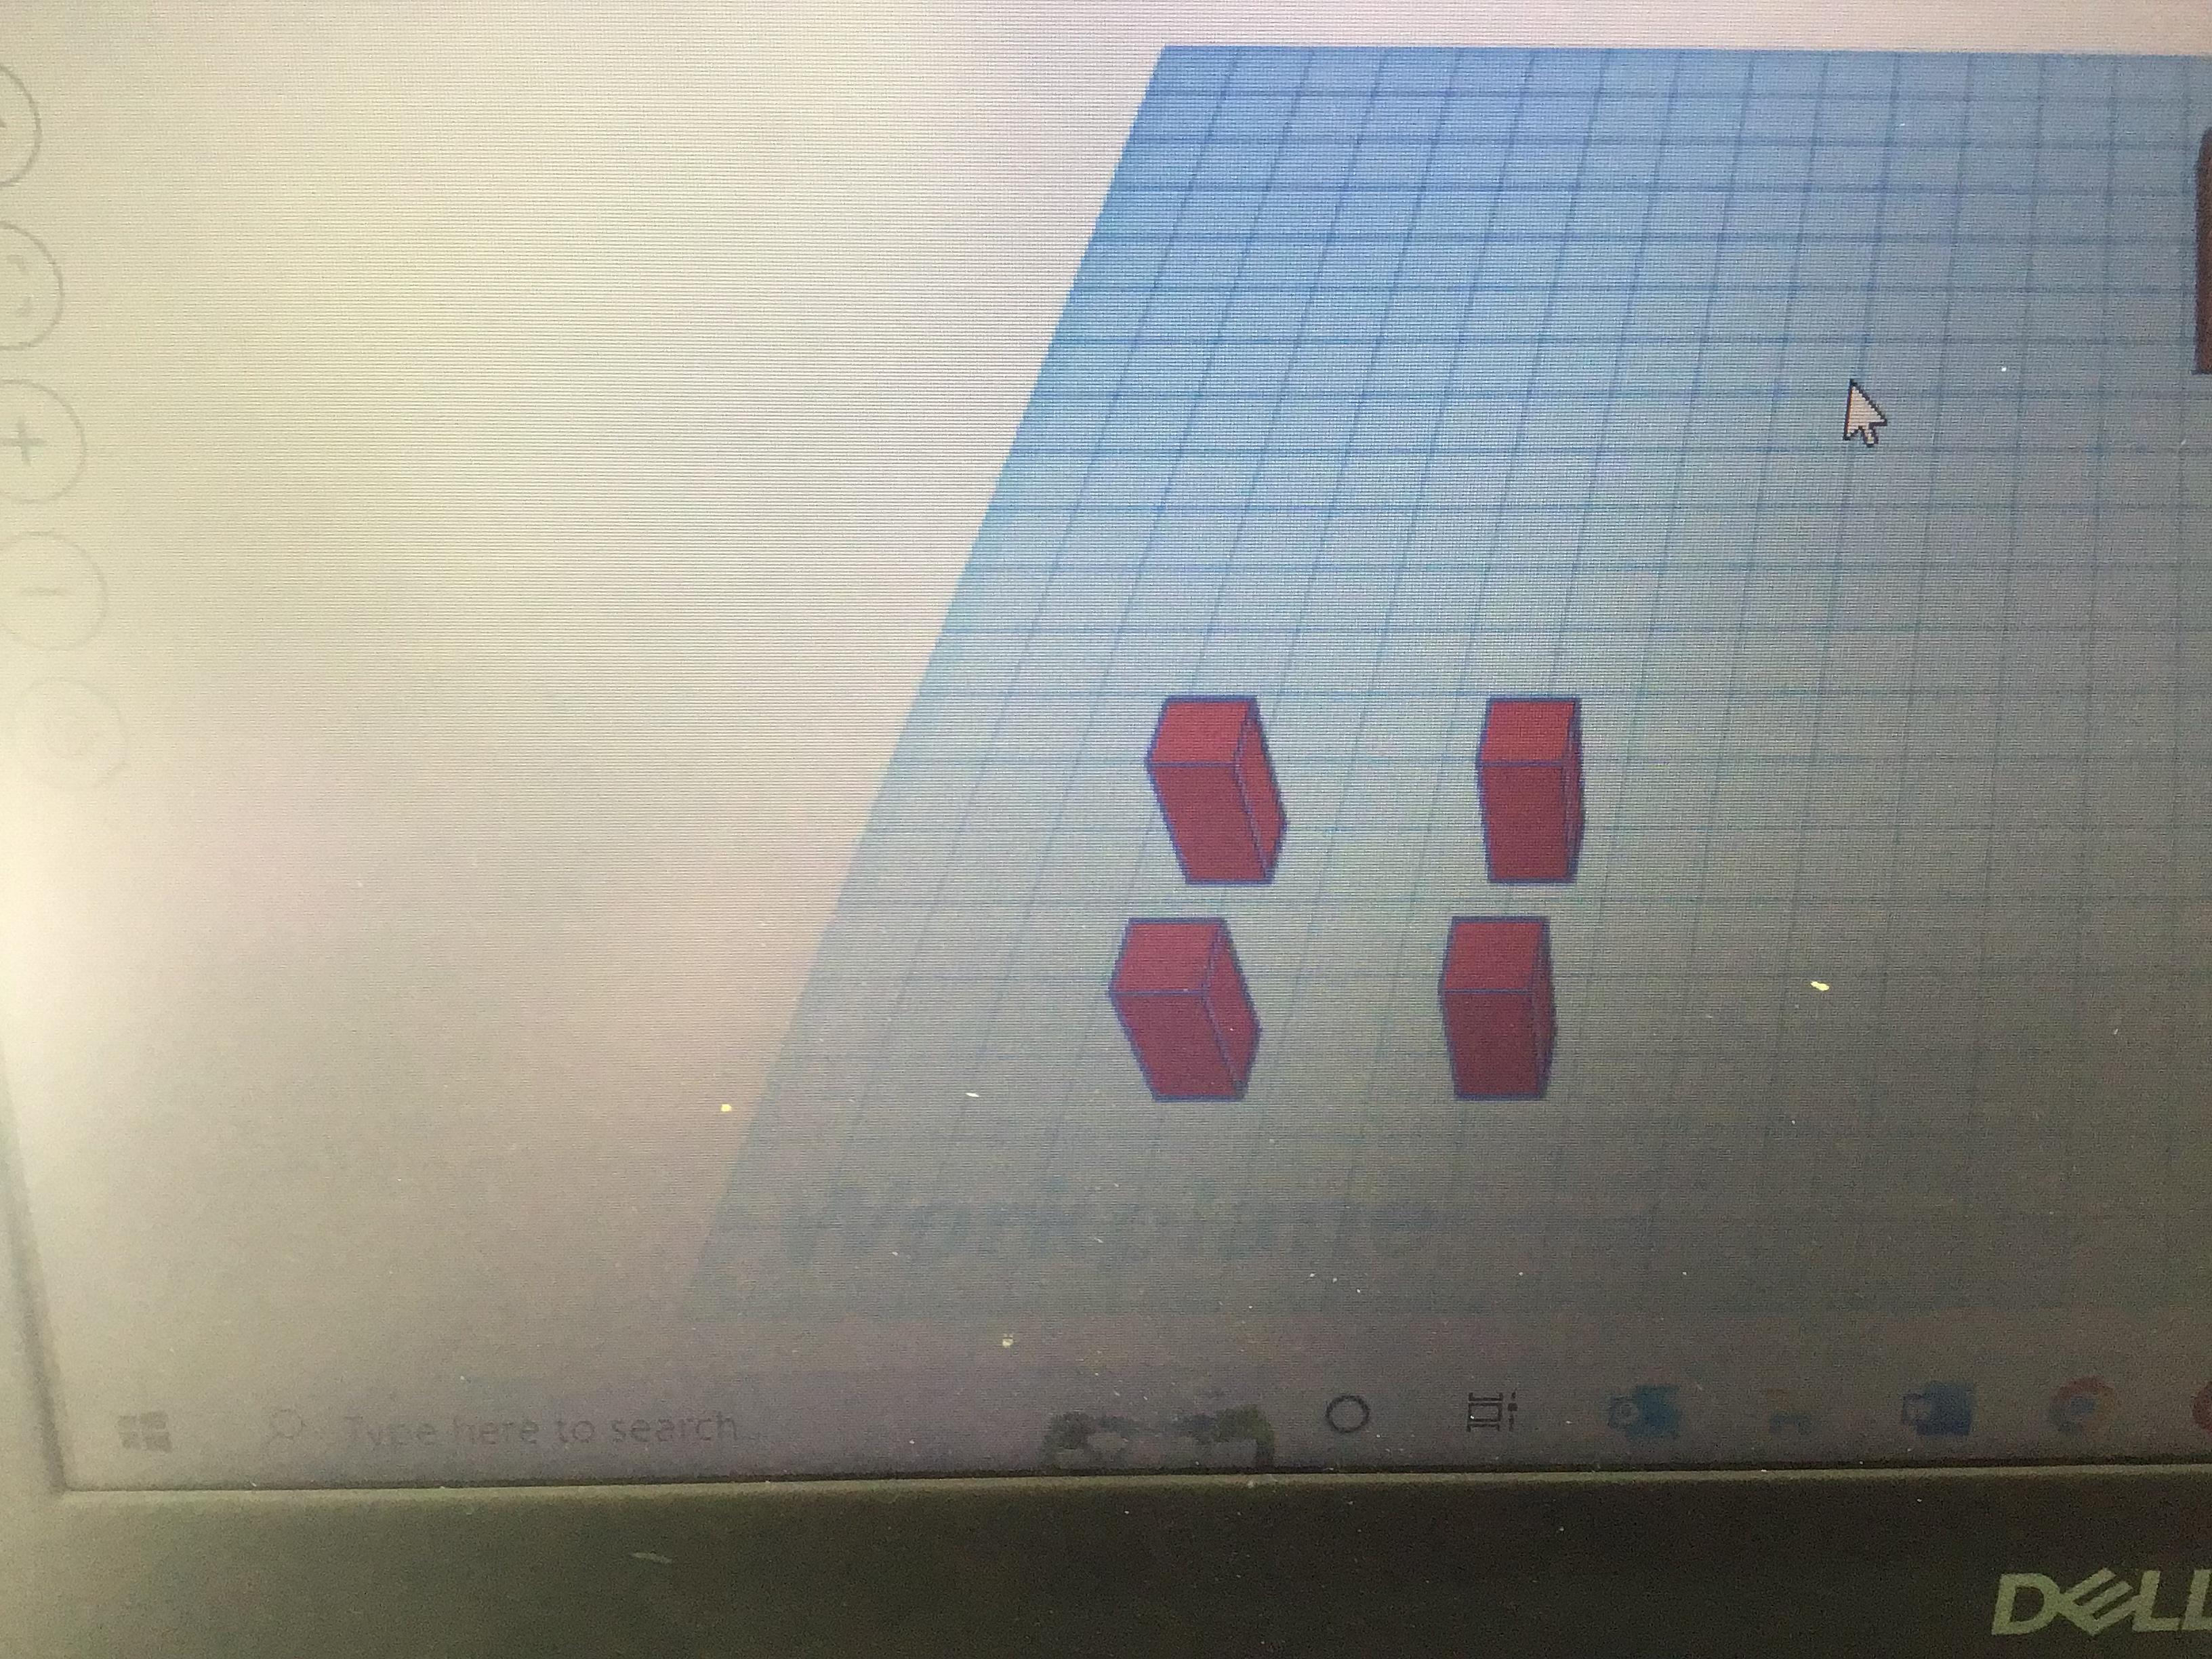
get four more cubes and make them:
Length: 7.5mm
Width: 7.5mm
Height: 20mm
Grab 4 Hole Cubes

Get four hole cubes and size them down to:
Length: 8mm
Width: 8mm
Height: 7mm
Put the Holes on Each Corner
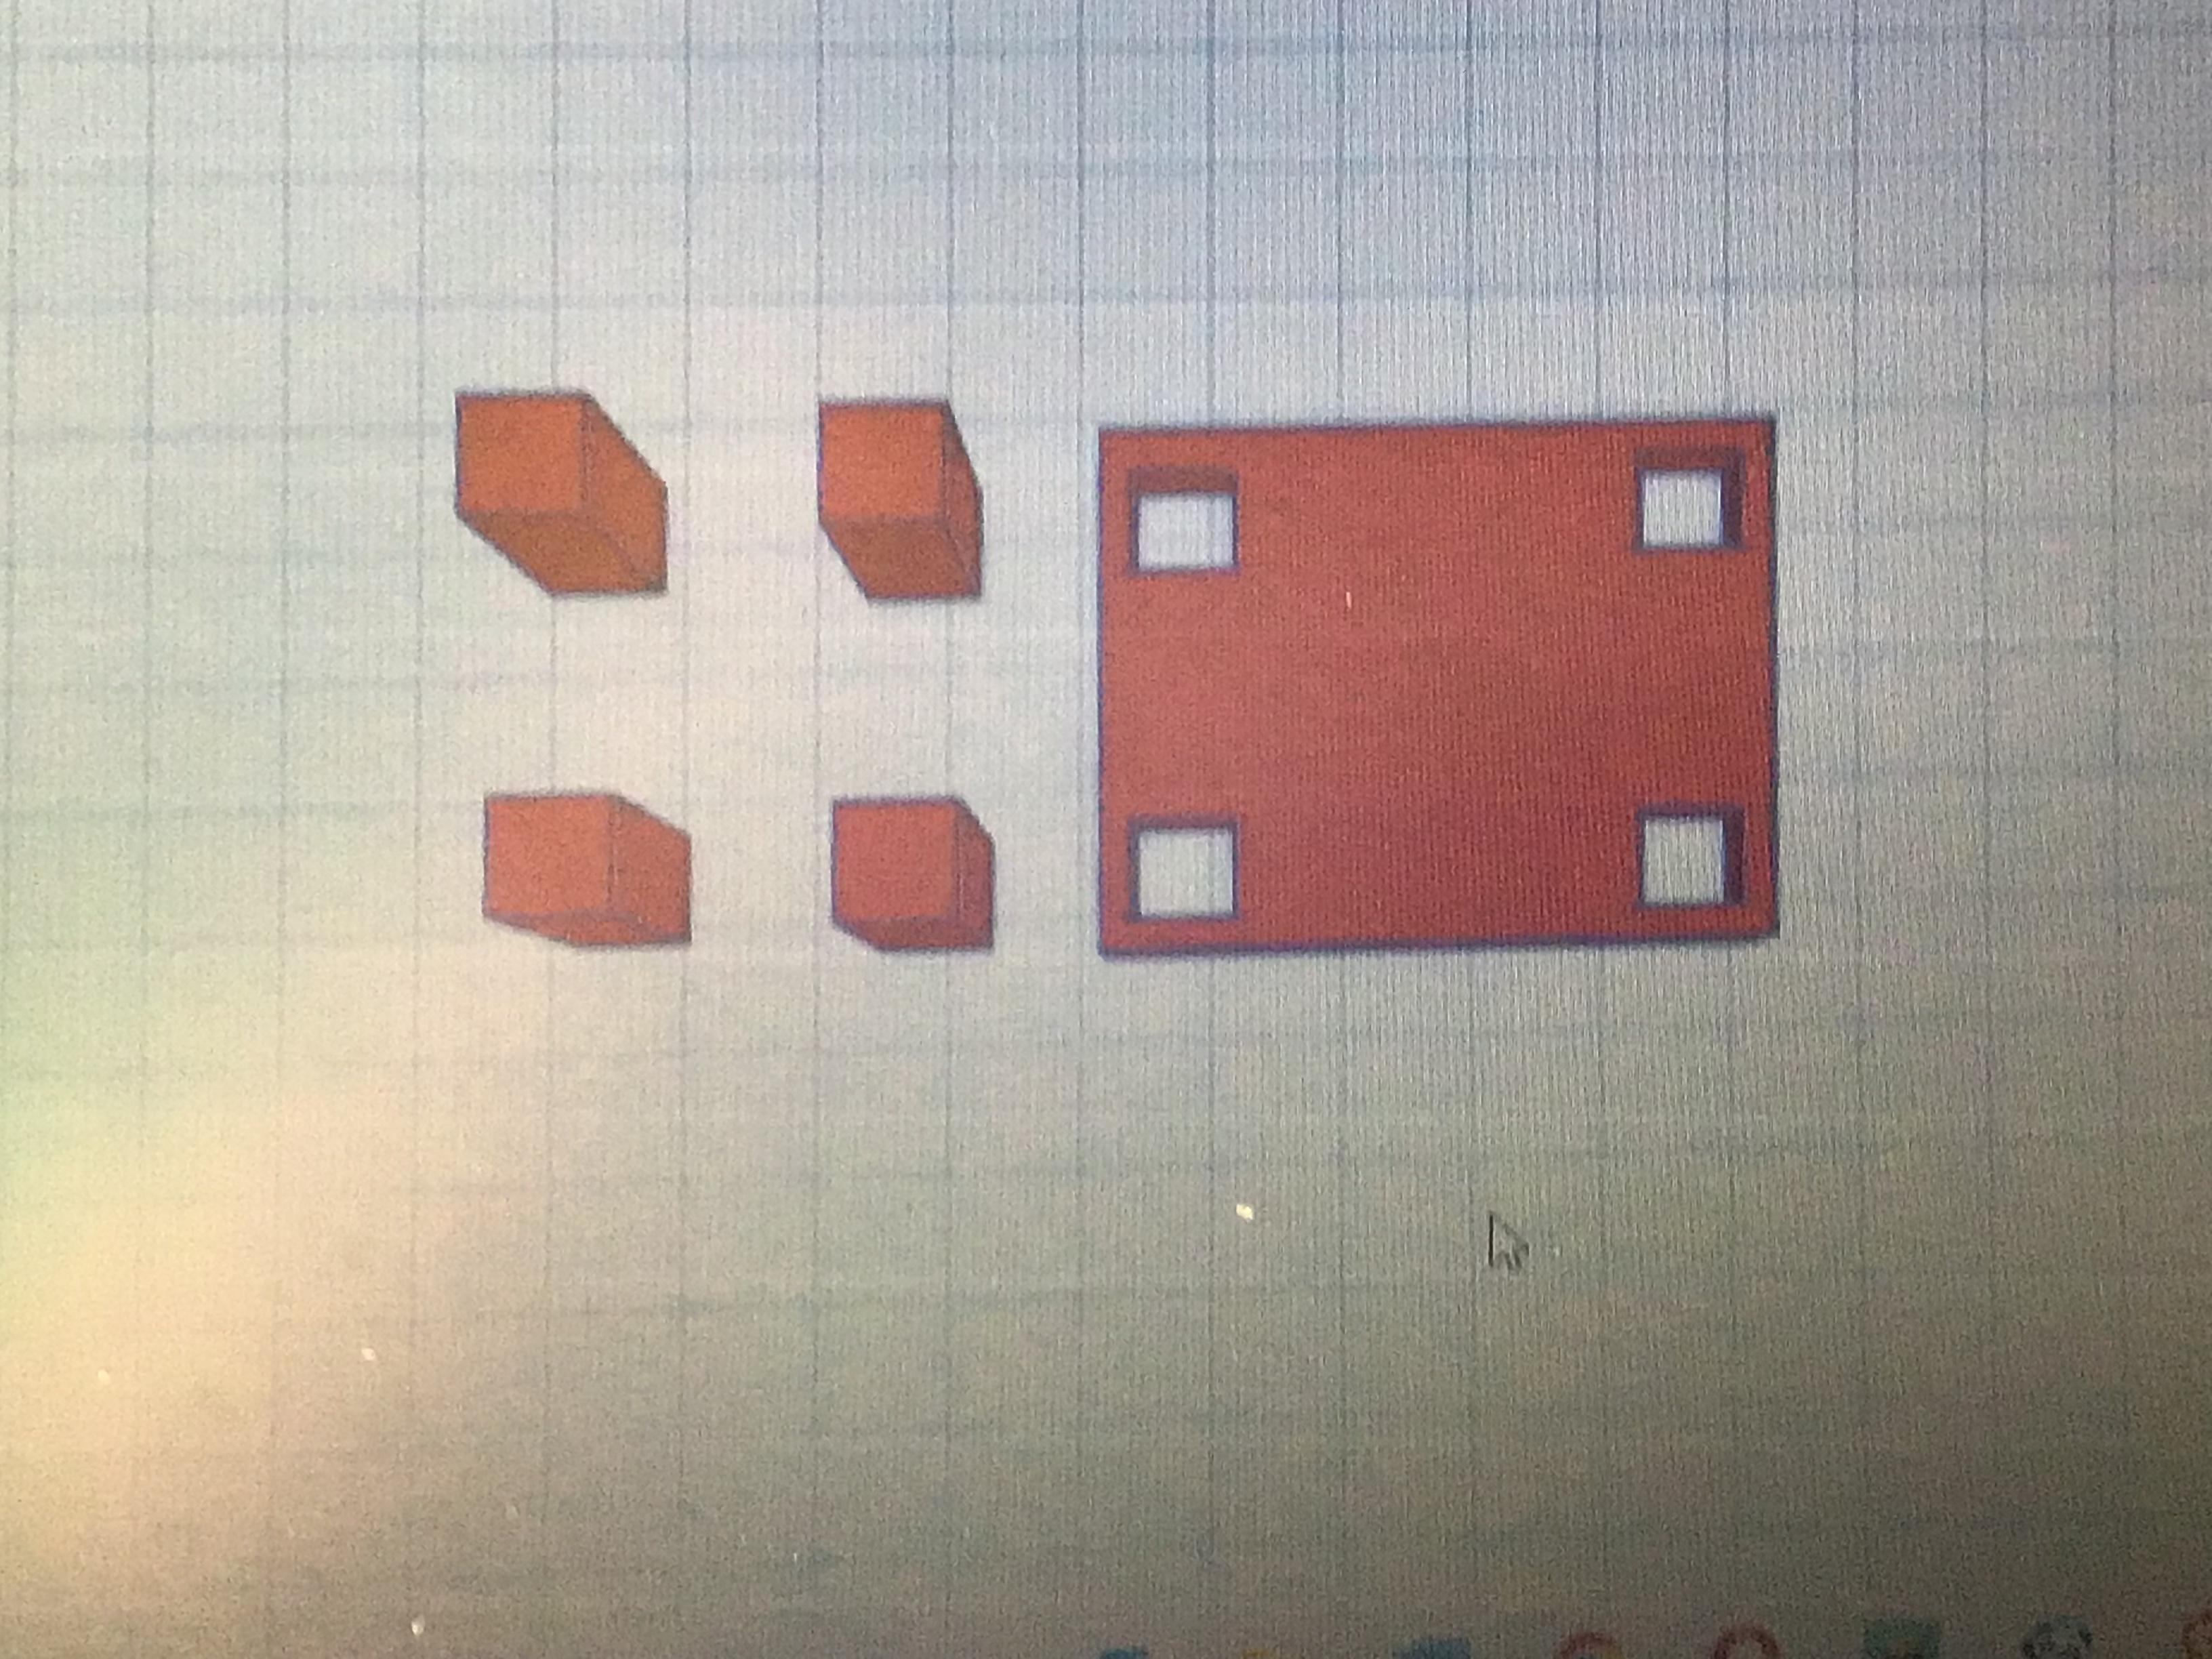
Put one hole on each corner and try and line them up as best you can. After that, group the holes into the table piece by holding and dragging your mouse over just the holes and the table top.
Export to Stl
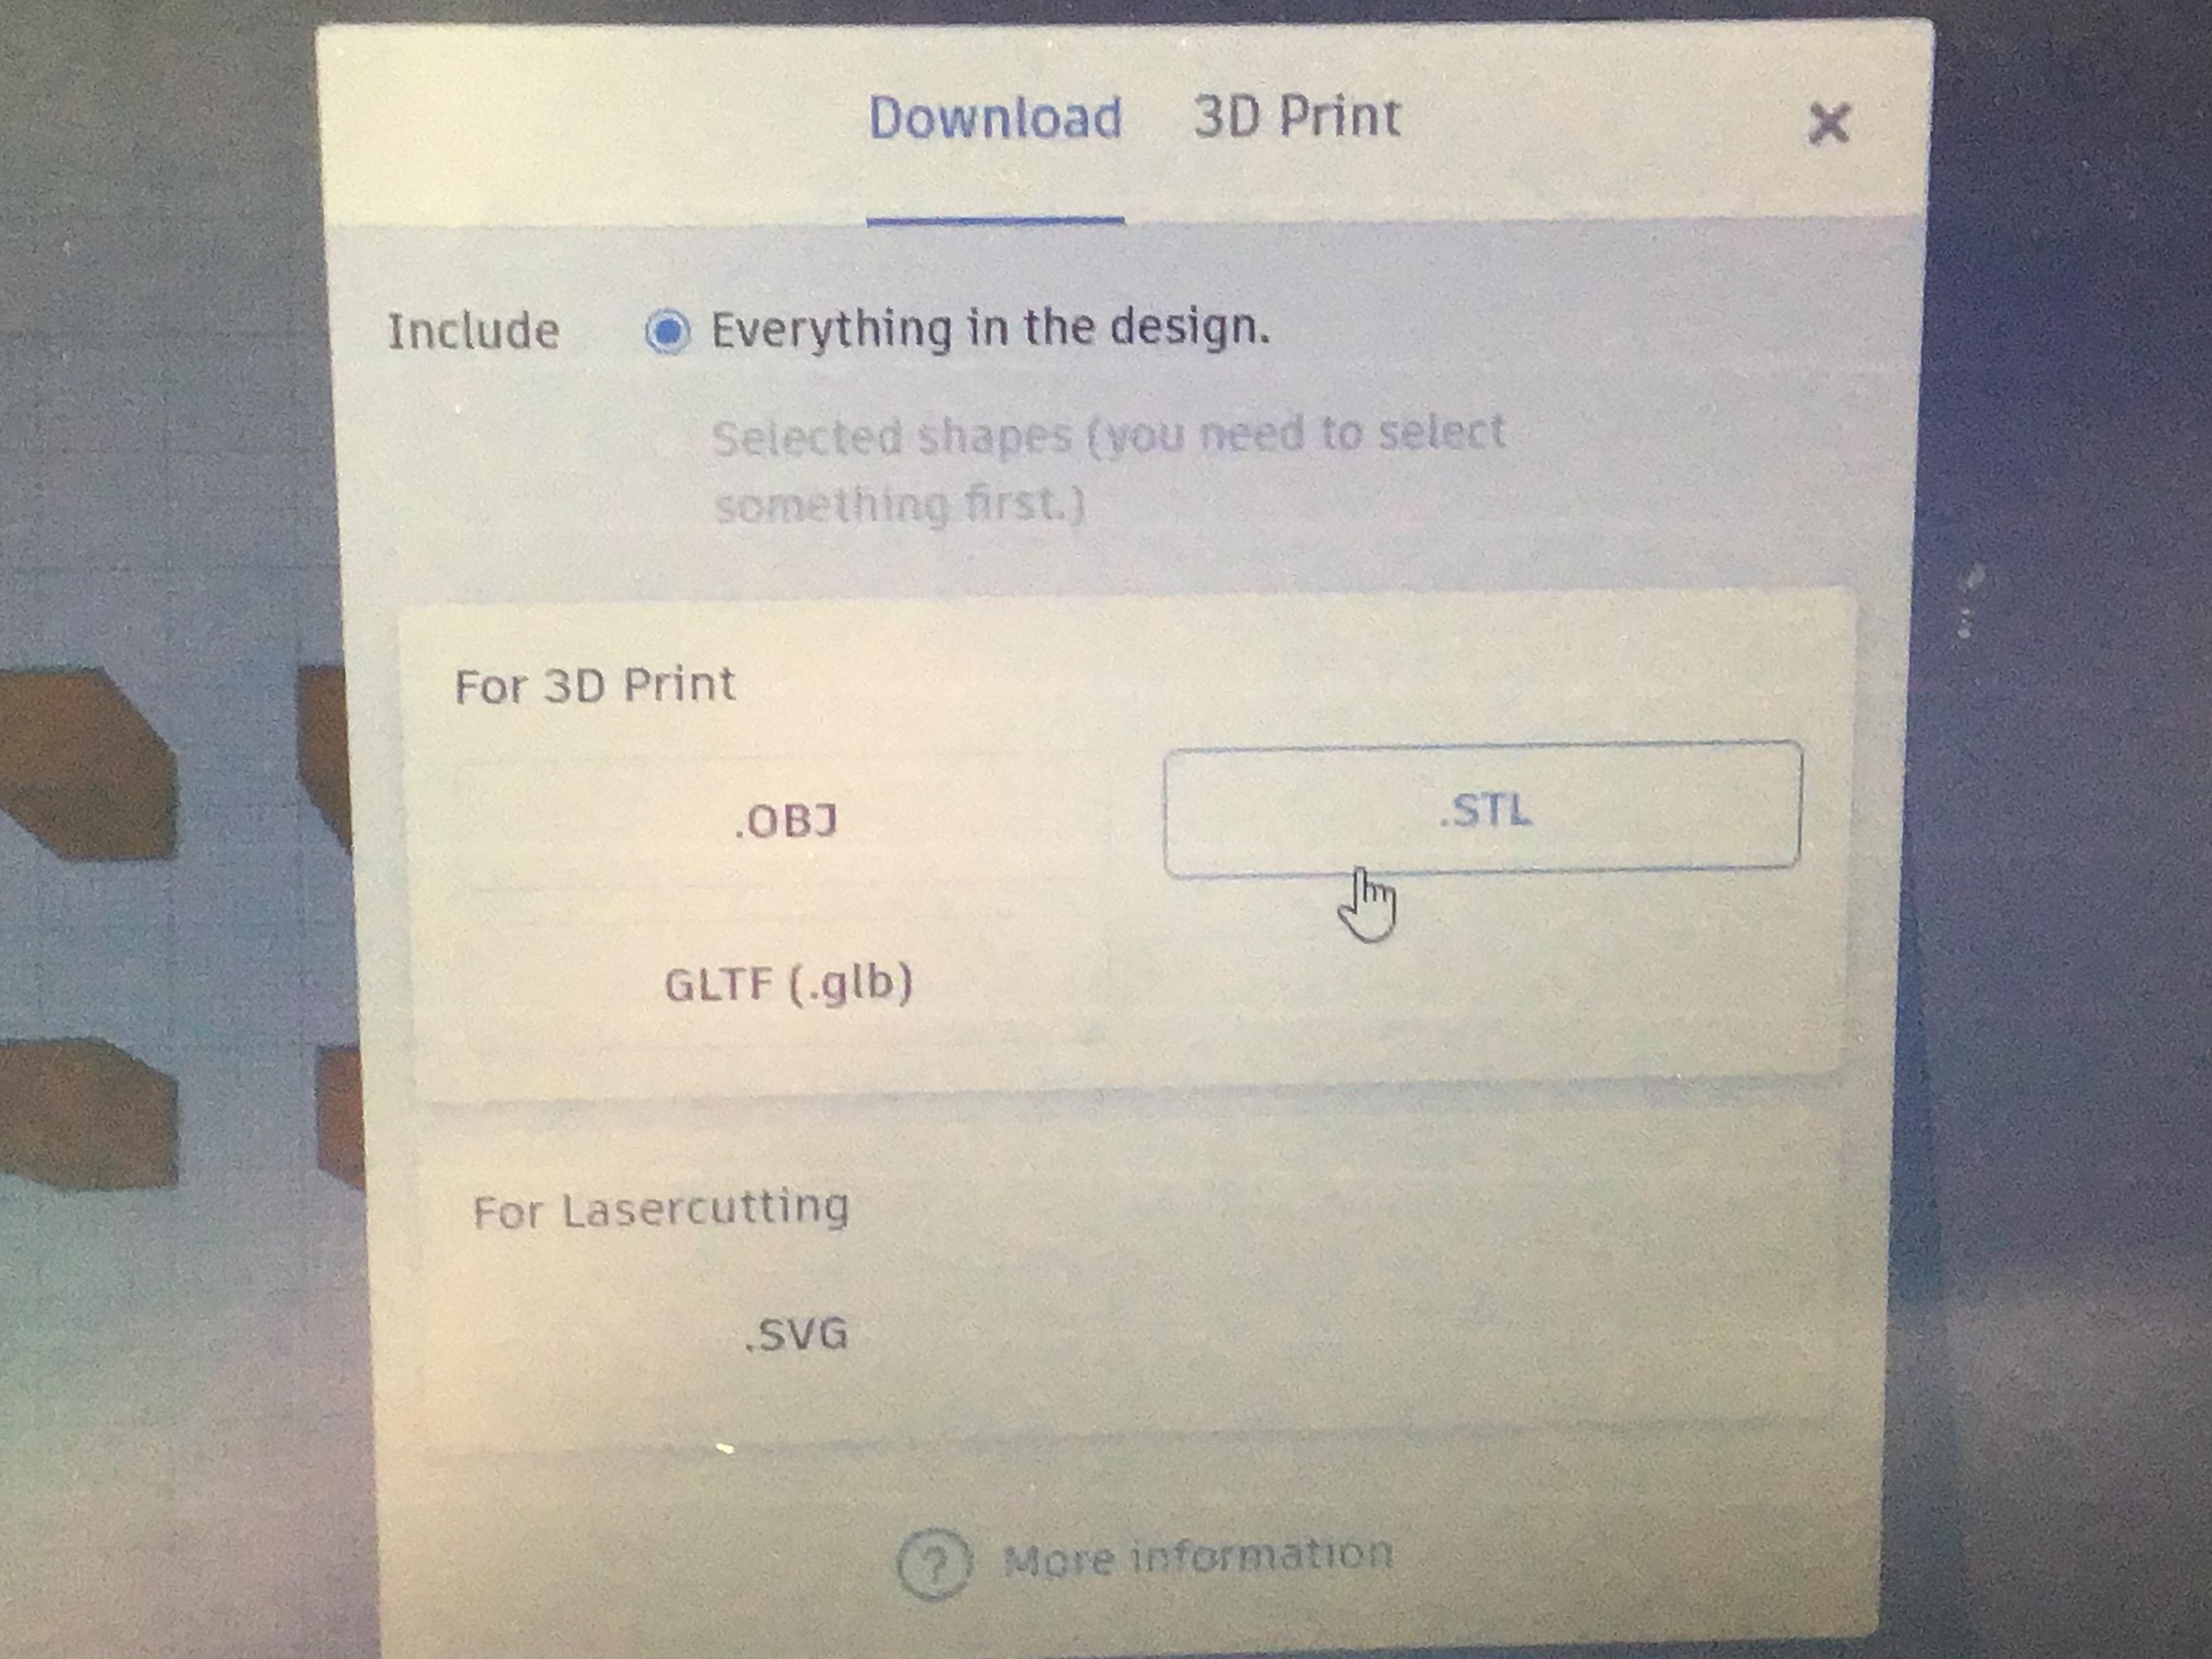
Export to an stl file by hitting the export button.
Print!
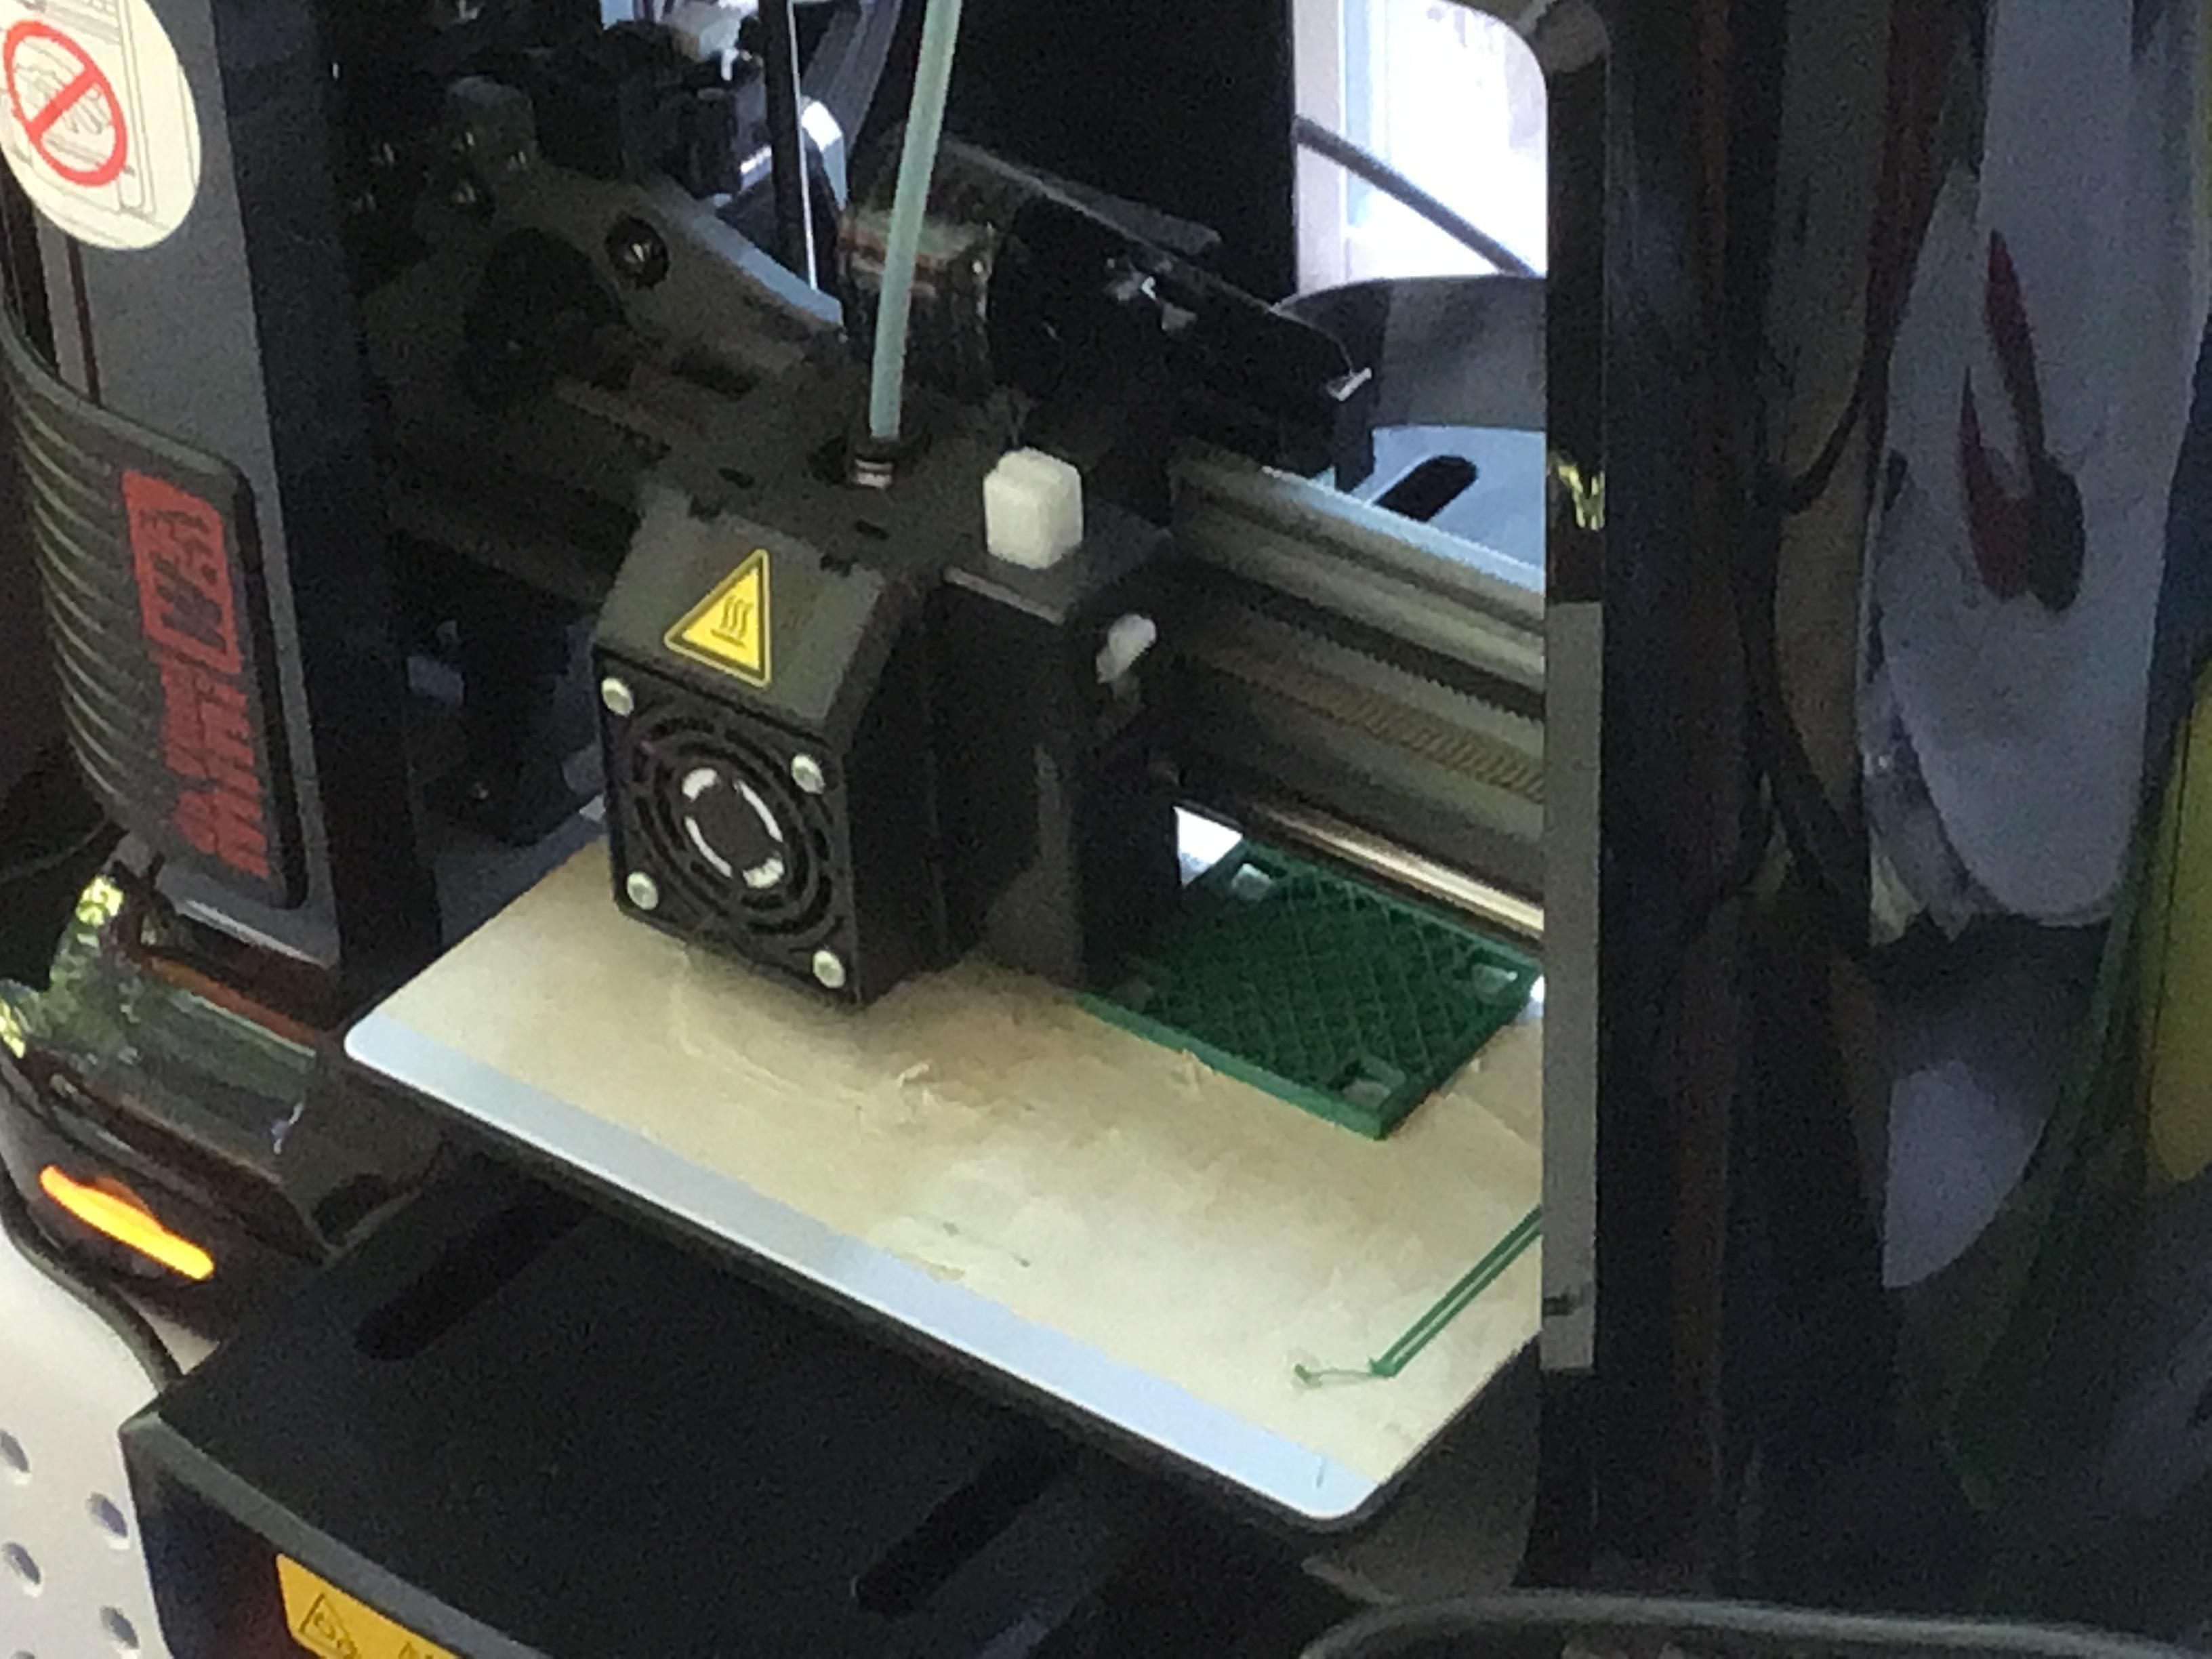
Go ahead and print!
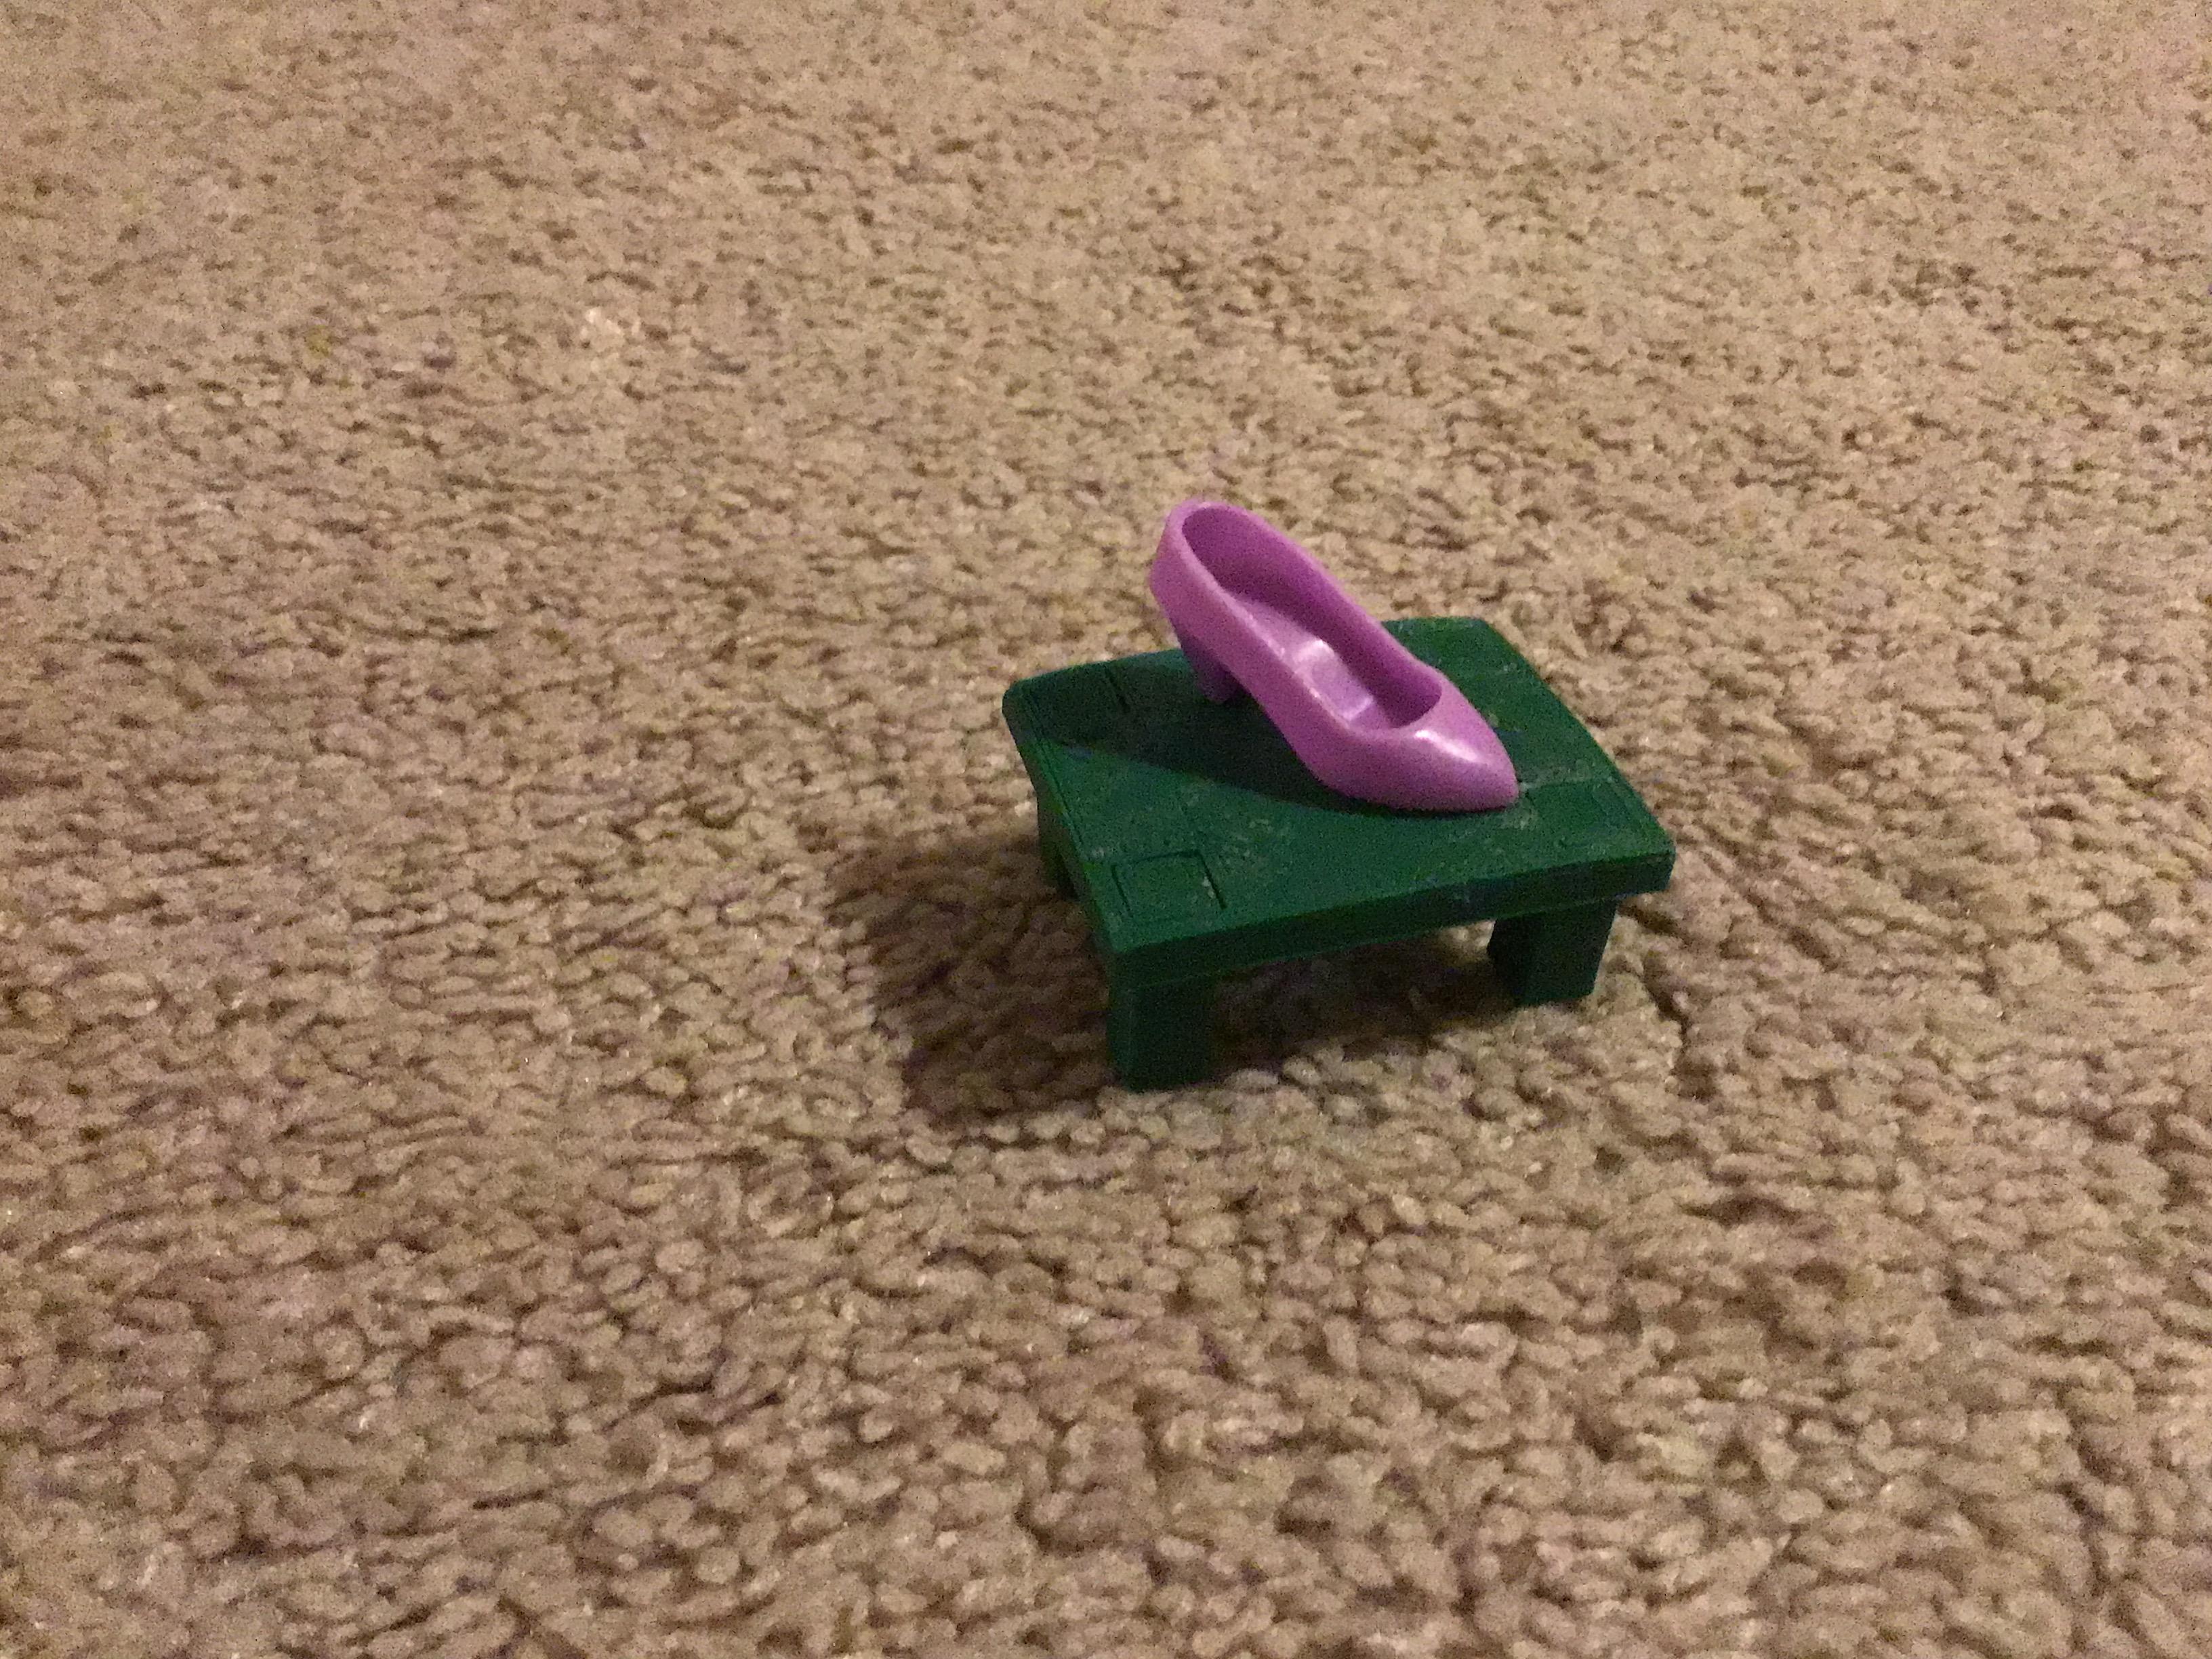
Push Table Legs Into Table Top
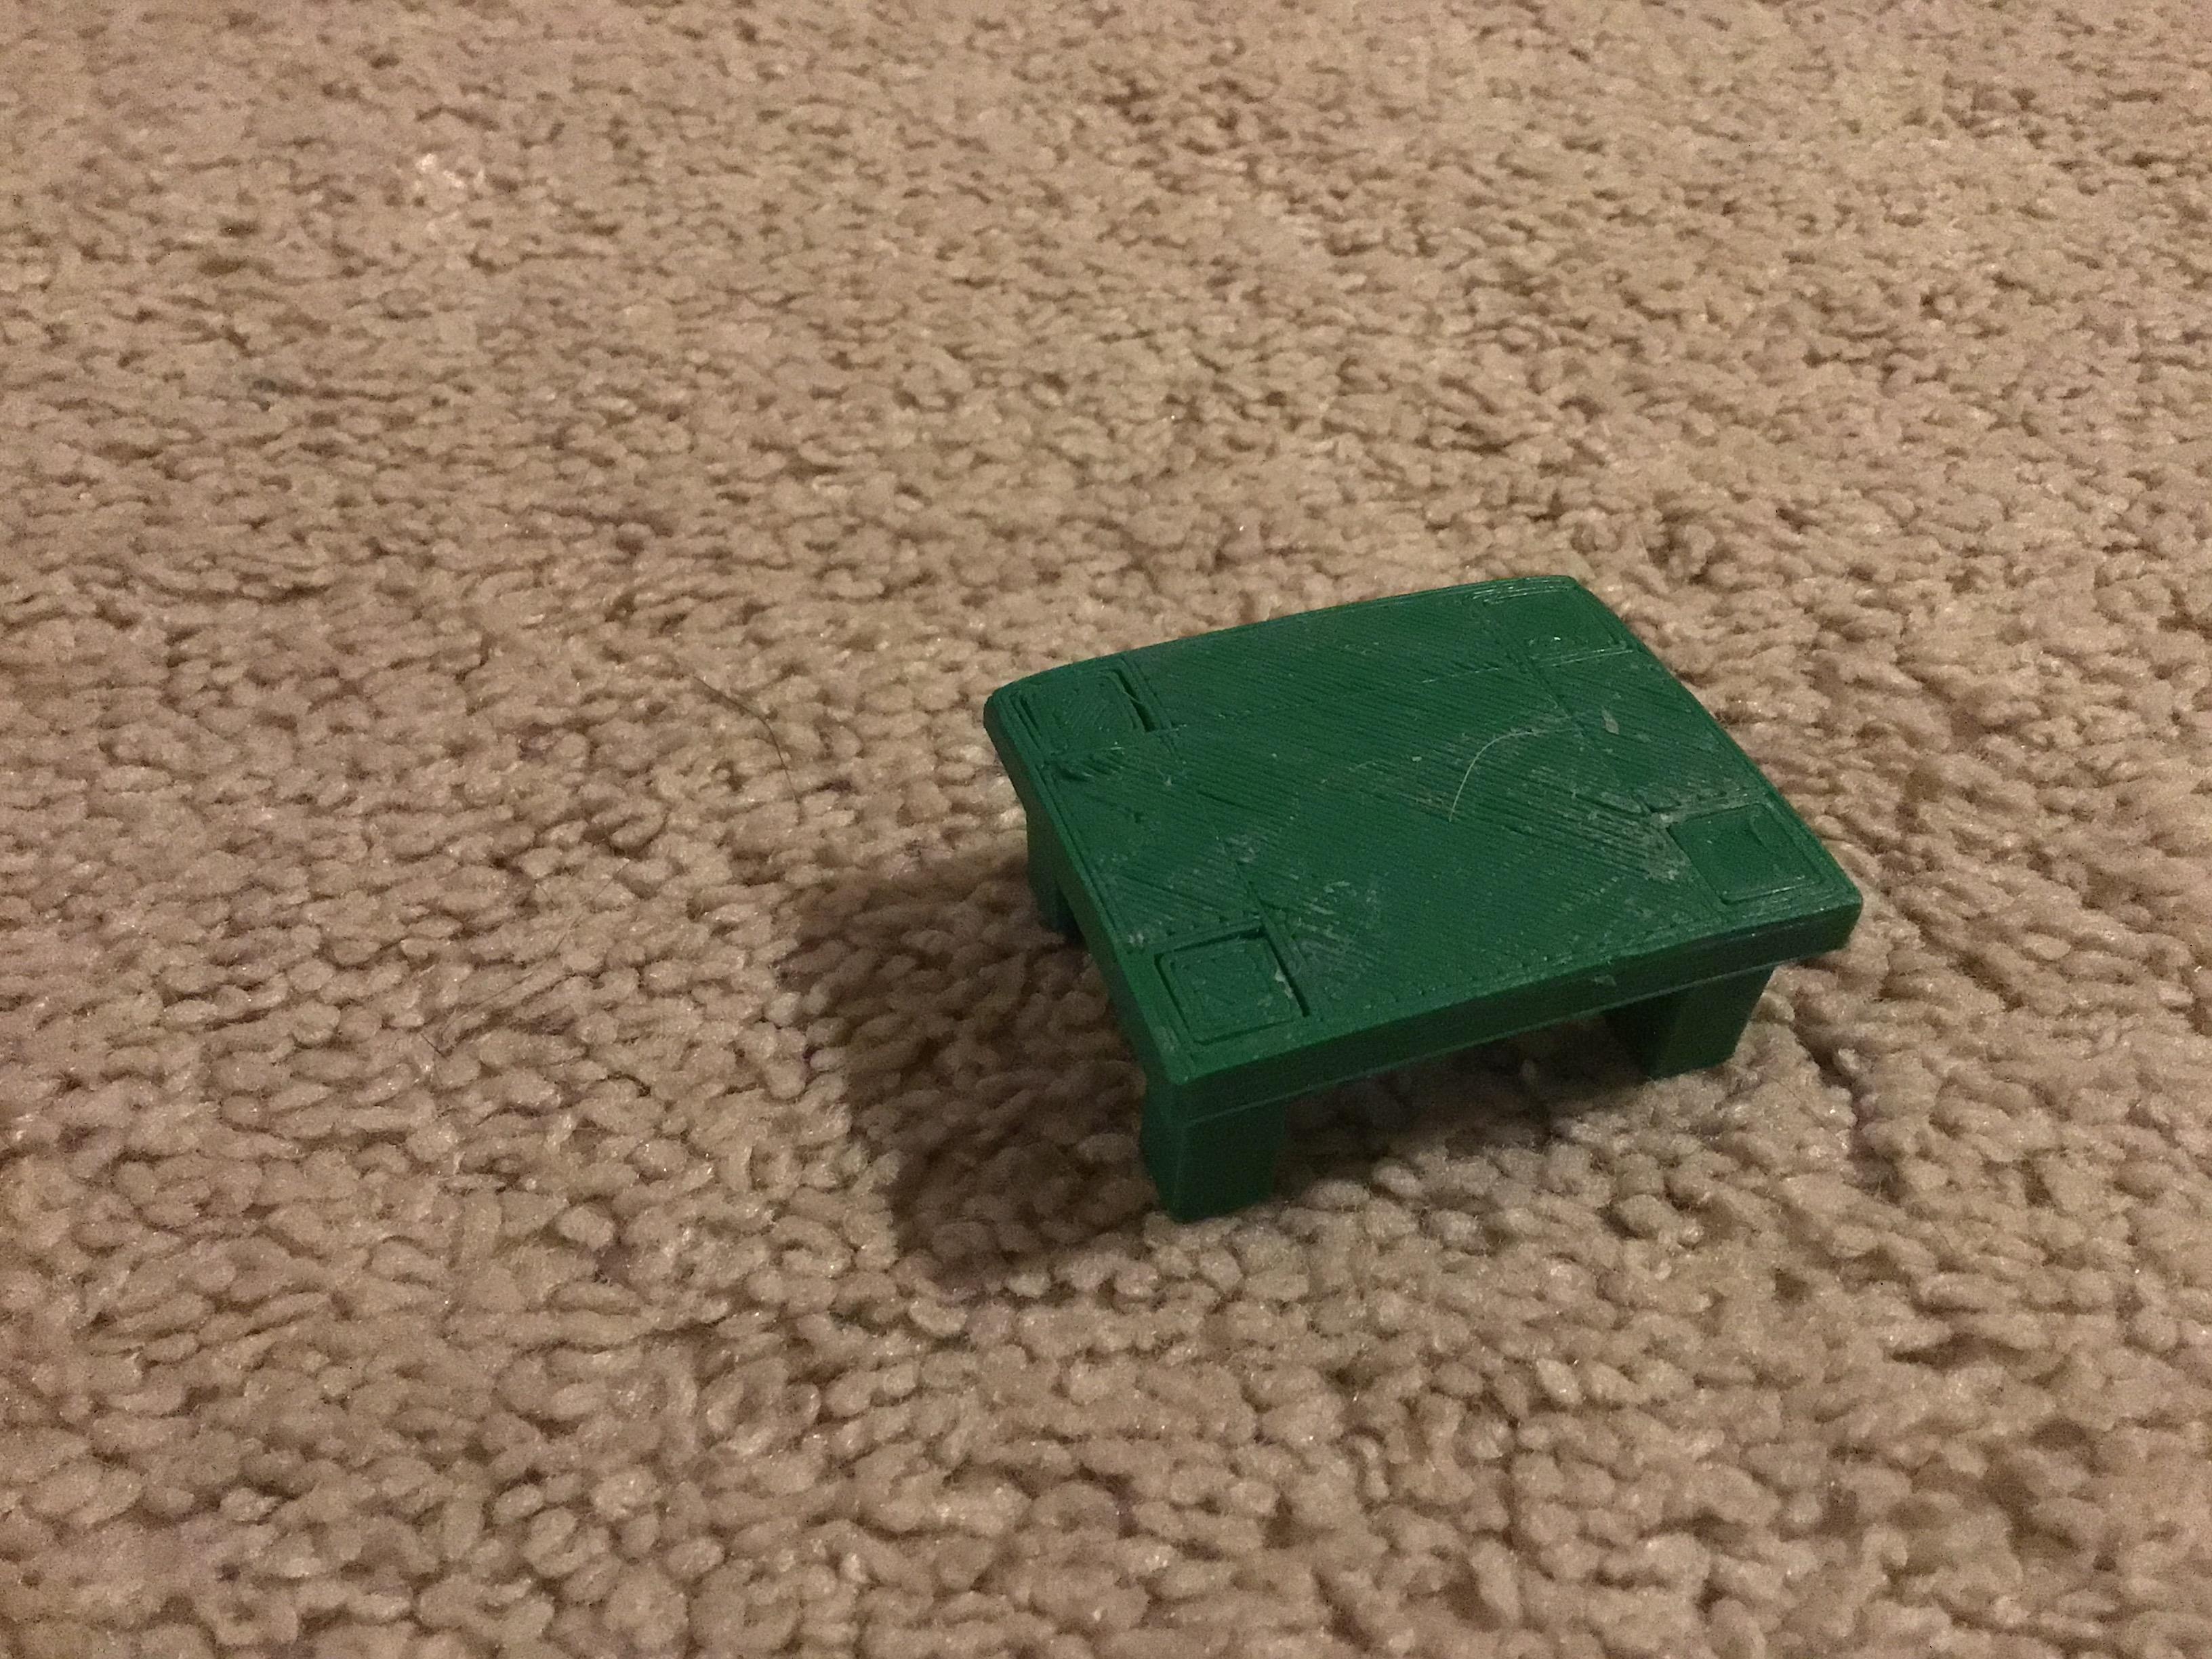
I use a hammer and lightly tapped, it in but you might be able to do it with your hands. This is what the finished project should look like. If you liked this instructable please consider following. Thank you.