Tinkercad Flowerpot Design!
by Aidan M Miller in Design > 3D Design
3395 Views, 1 Favorites, 0 Comments
Tinkercad Flowerpot Design!
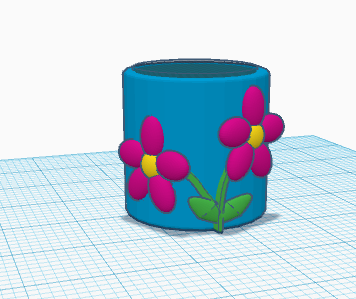
This is a super fun quick and useful project in tinkercad to either make step by step or just download and print. You can also scale it to any size you want for any houseplant! This project is also very easy to customize to make it your own. Remember to wait to the end to scale the pot up.
Downloads
Supplies
Their are no real supplies but you will need to have a free tinkercad account and some basic skills with tinkercad which you can acquire by watching a few youtube videos on the subject. Below is the .stl file of the project which you are free to download!
Make the Basic Pot
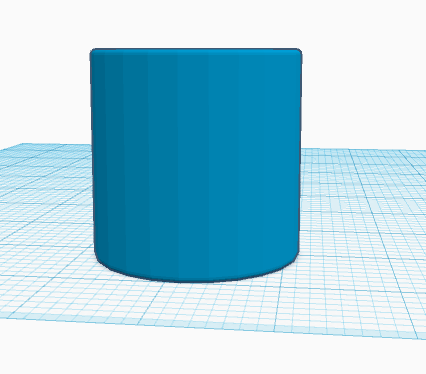
First edit the grid plane and set the units to inches. Then create a cylinder that is 2 in wide 2 in high and 2 in long. then create a slightly smaller one (about 1.8 in cubed) and make it a hole. then put the smaller cylinder inside the bigger one and then group them together to make the pot.
Make the Flowers
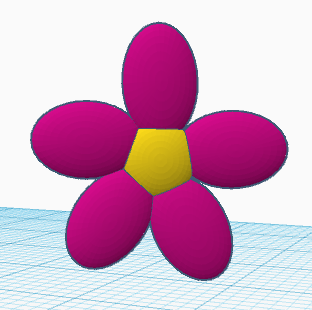
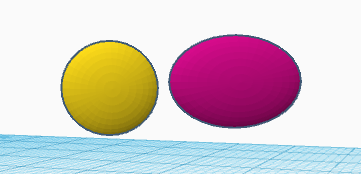
The center of the flower is a ball .4 inches in diameter and the petals are .5 inches long .3 inches wide and .4 inches tall. After you have done this copy the petal 4 times and place them as shown. Then group them together and copy it to make another flower. you can also make a flower with more petals or different shaped petals!
Make the Leaves
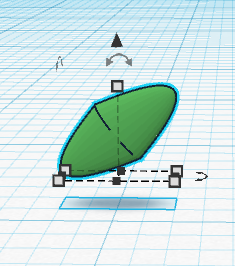
The leaves are two squashed paraboloid's put together as shown. The dimensions are, 1/2 in long by 1/8 in wide by 3/4 in tall.
Make the Stems
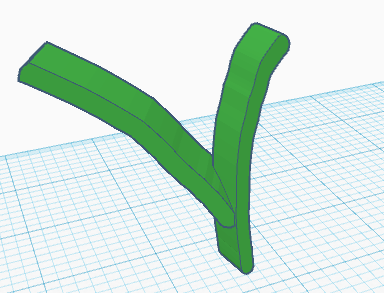
The stems were just two lines that I drew in the scribble basic shape tool. Just make sure that it matches the way you space your flowers .
Assemble the Flower Pot
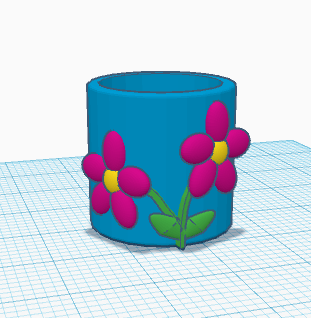
Take all the components and assemble them as shown and add more flowers or leaves if you want to. After you have grouped it all together now is the time to scale it to the size you want since 2 inches cubed is not very big! And now you are done!