TinkerCad and Makercase
by rmansfield3 in Teachers > Laser Cutting
1700 Views, 4 Favorites, 0 Comments
TinkerCad and Makercase
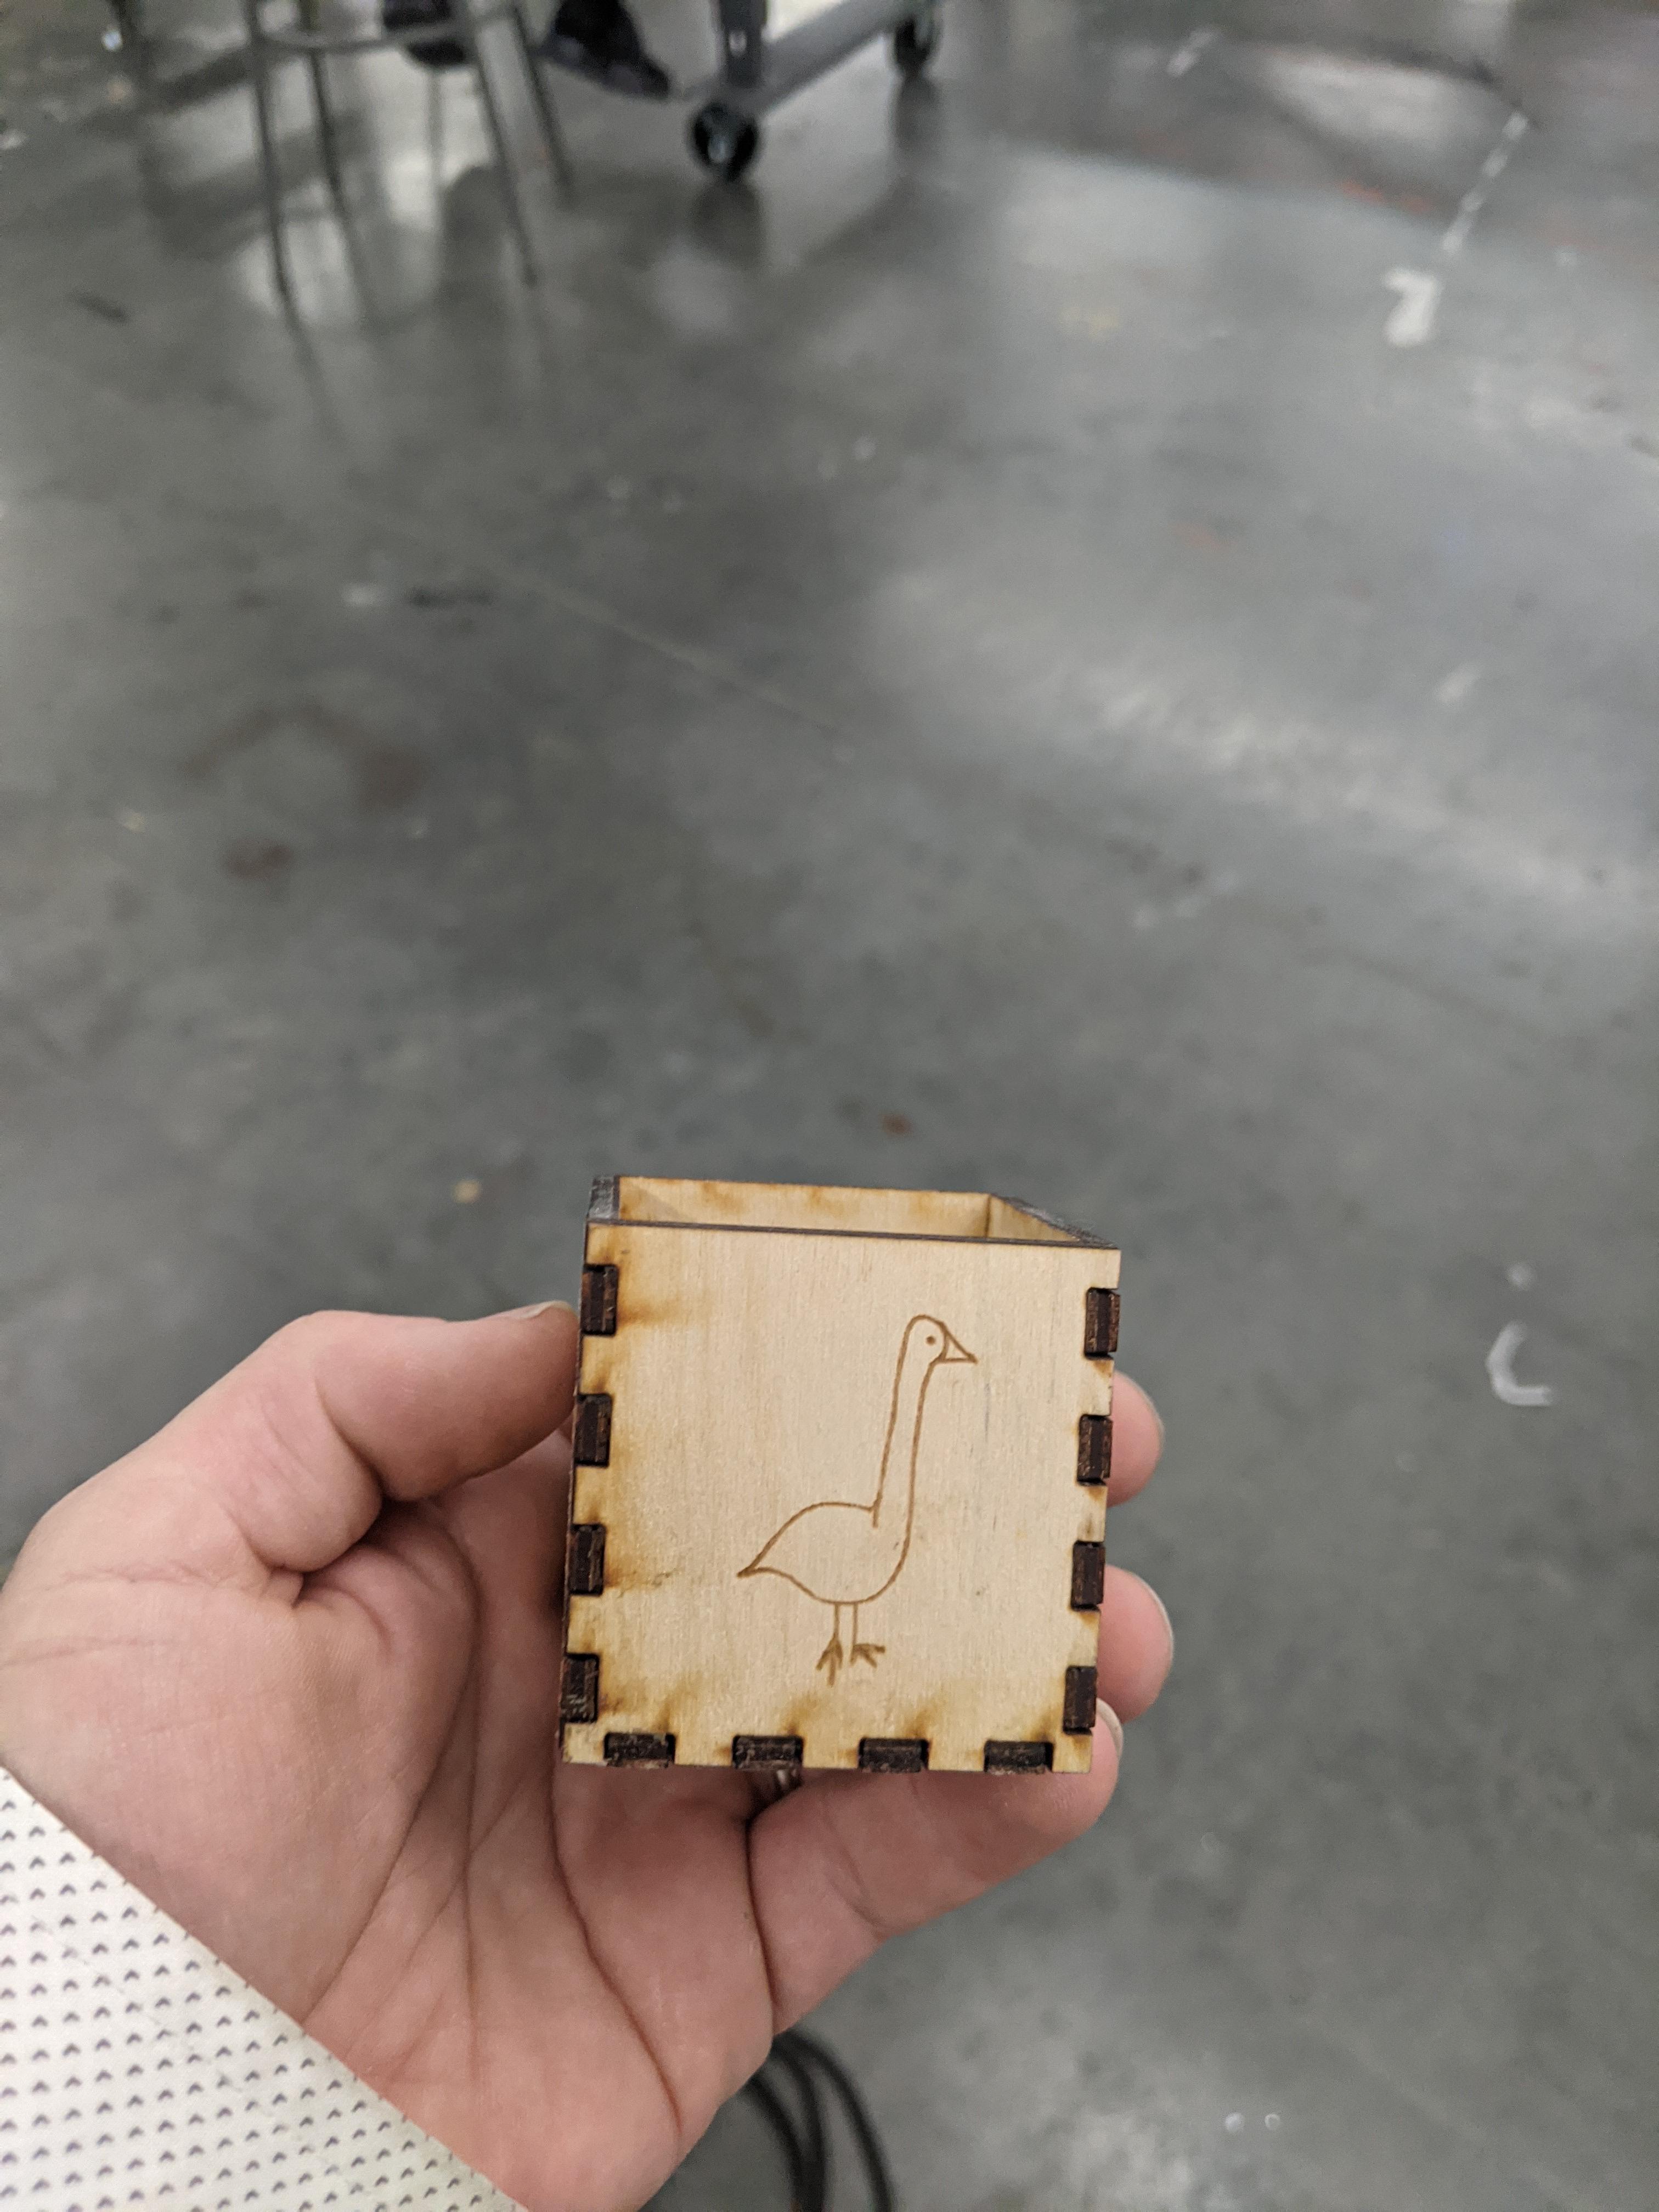
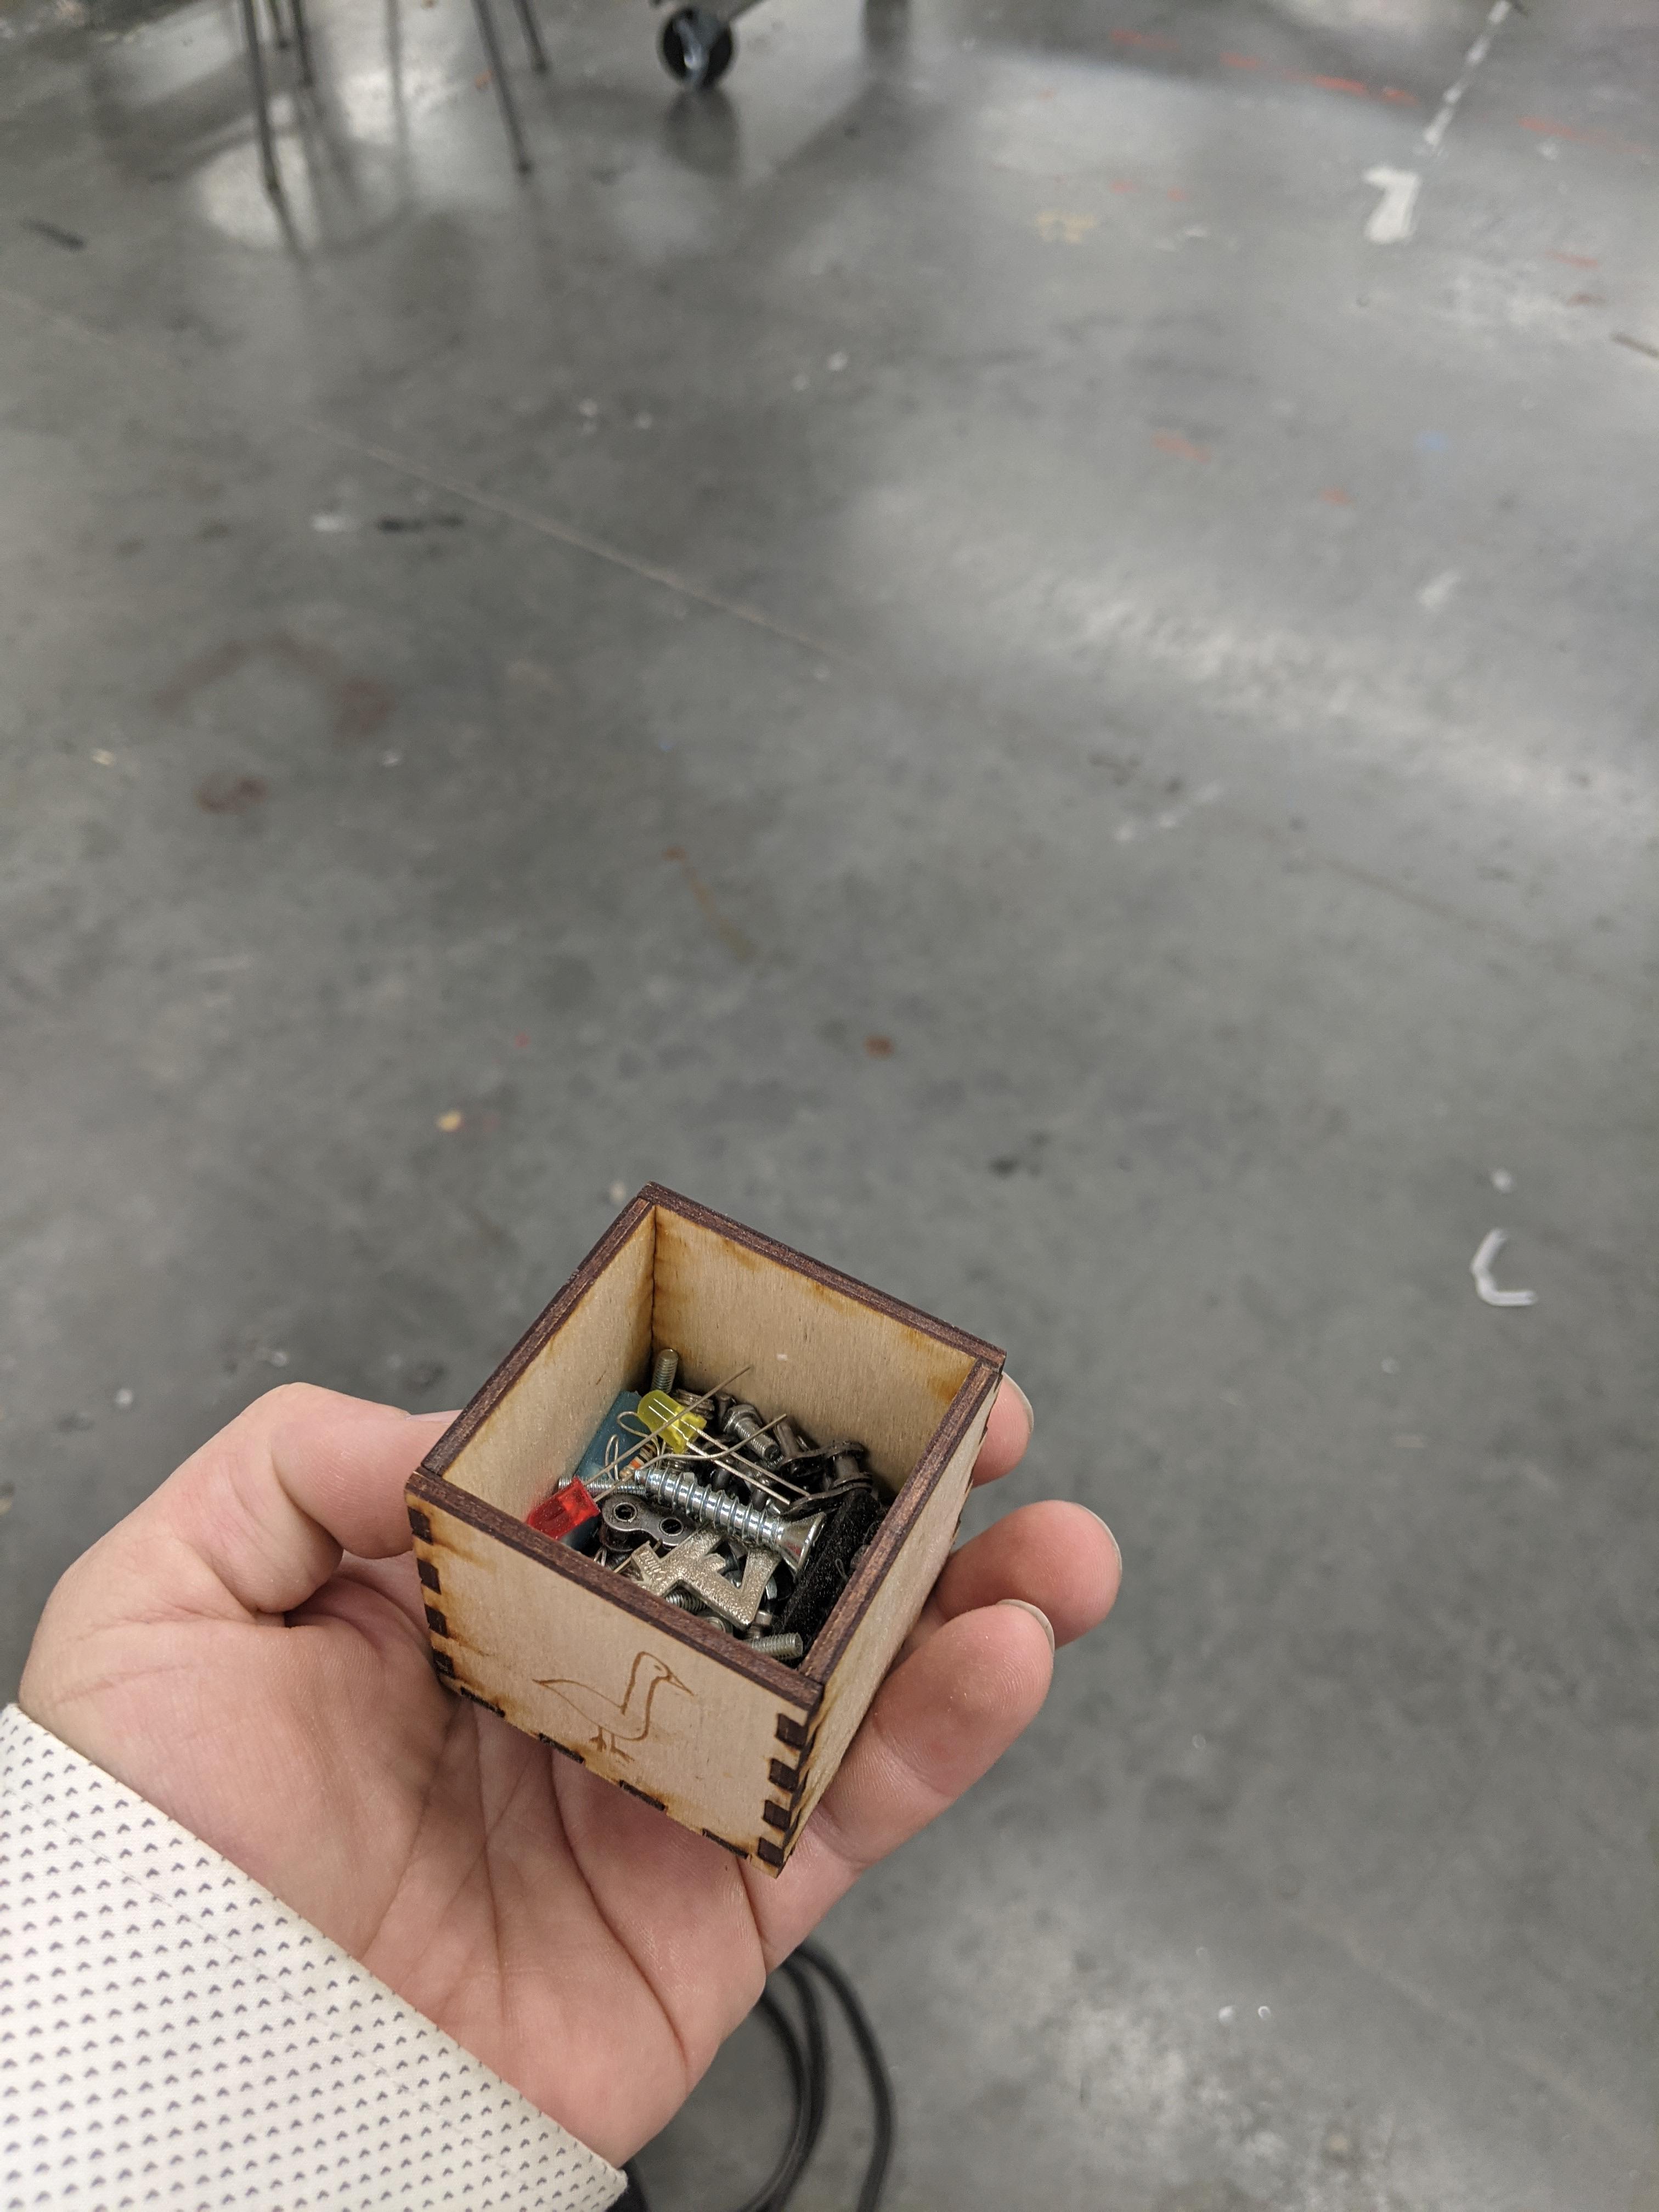
I teach in a maker space at a 1 to 1 school which uses Ipads. While they can be useful for lots of other subjects I have run into many issues trying to use software in the lab which can run on Ipads. This tutorial is of an assignment I have my students make in my Innovative Technology course. The plan is to design a box at makercase.com (https://www.makercase.com/#/), import the generated SVG into Tinkercad(https://www.tinkercad.com), add image or text to the box in Tinkercad then export as an SVG to cut on the laser cutter. I do not go over how to use the laser cutter in this instructable, mostly because that will vary for everyone depending on your laser cutter and software.
How to Design a Box in Makercase and Tinkercad on an Ipad
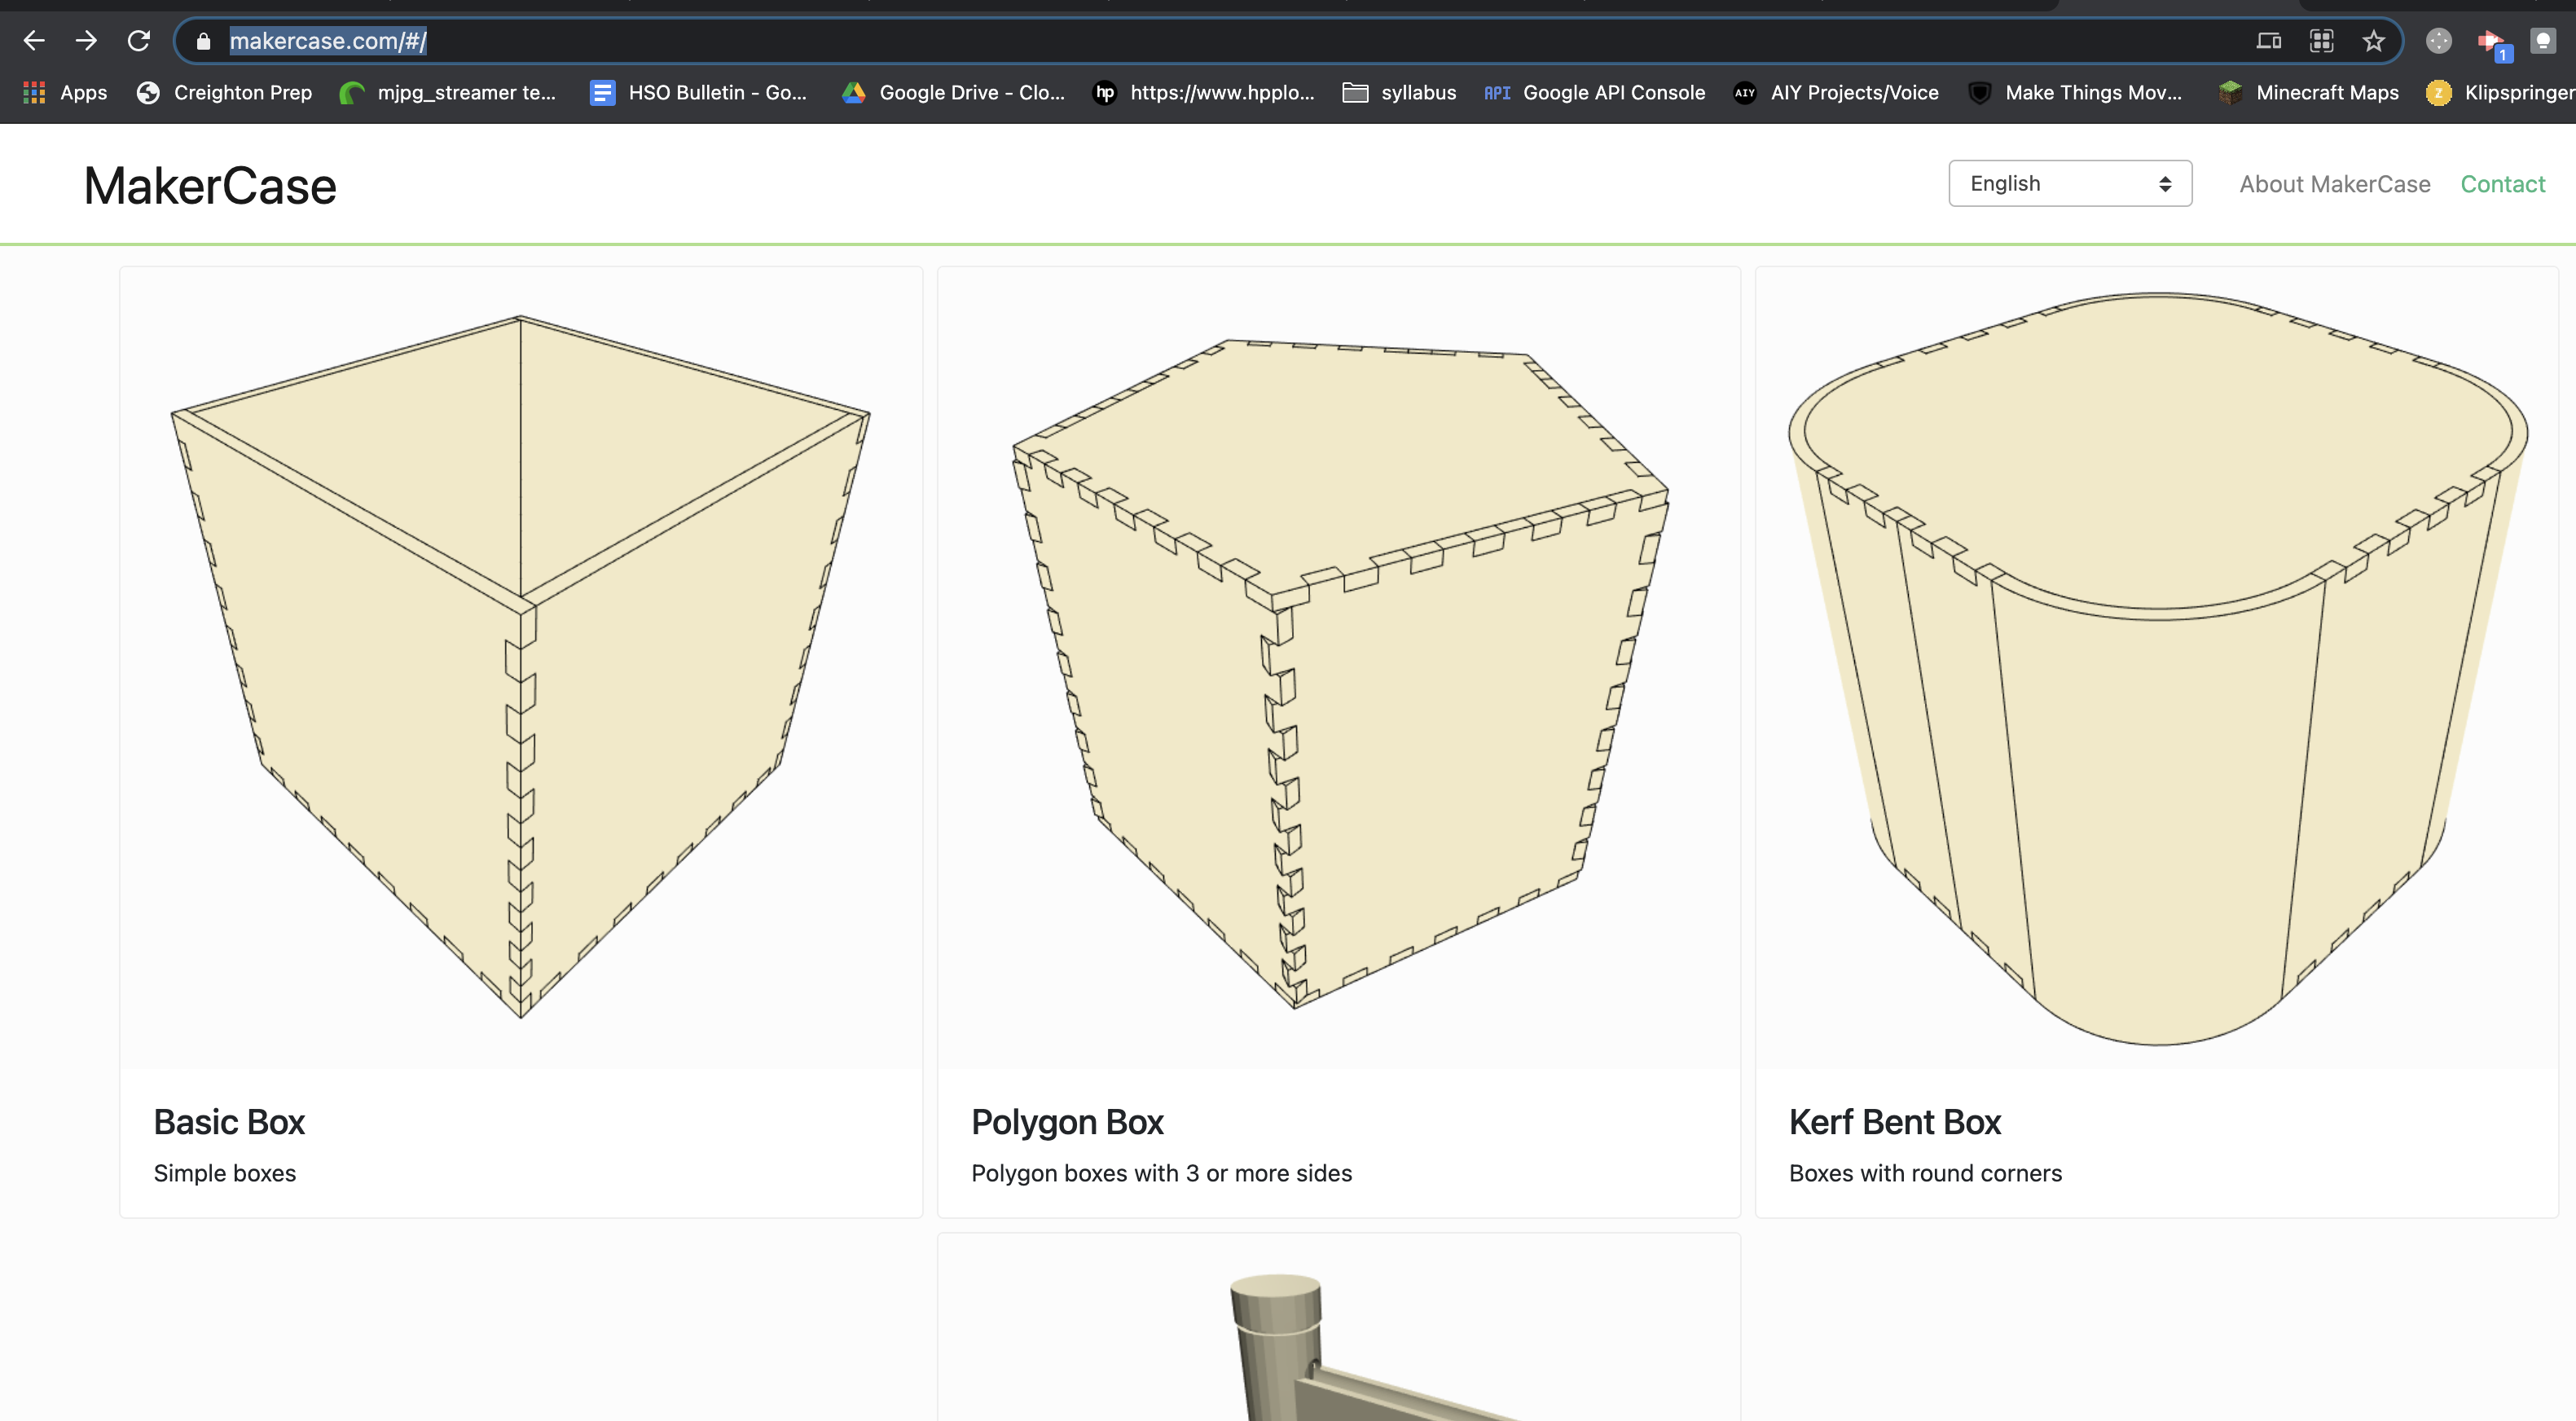
Navigate to Makercase on your web browser
be sure you are going to the real makercase! I have had students google it and end up on a really ad heavy copy.
I always choose the standard square box, but do what you like!
Adjust Your Size and Other Areas
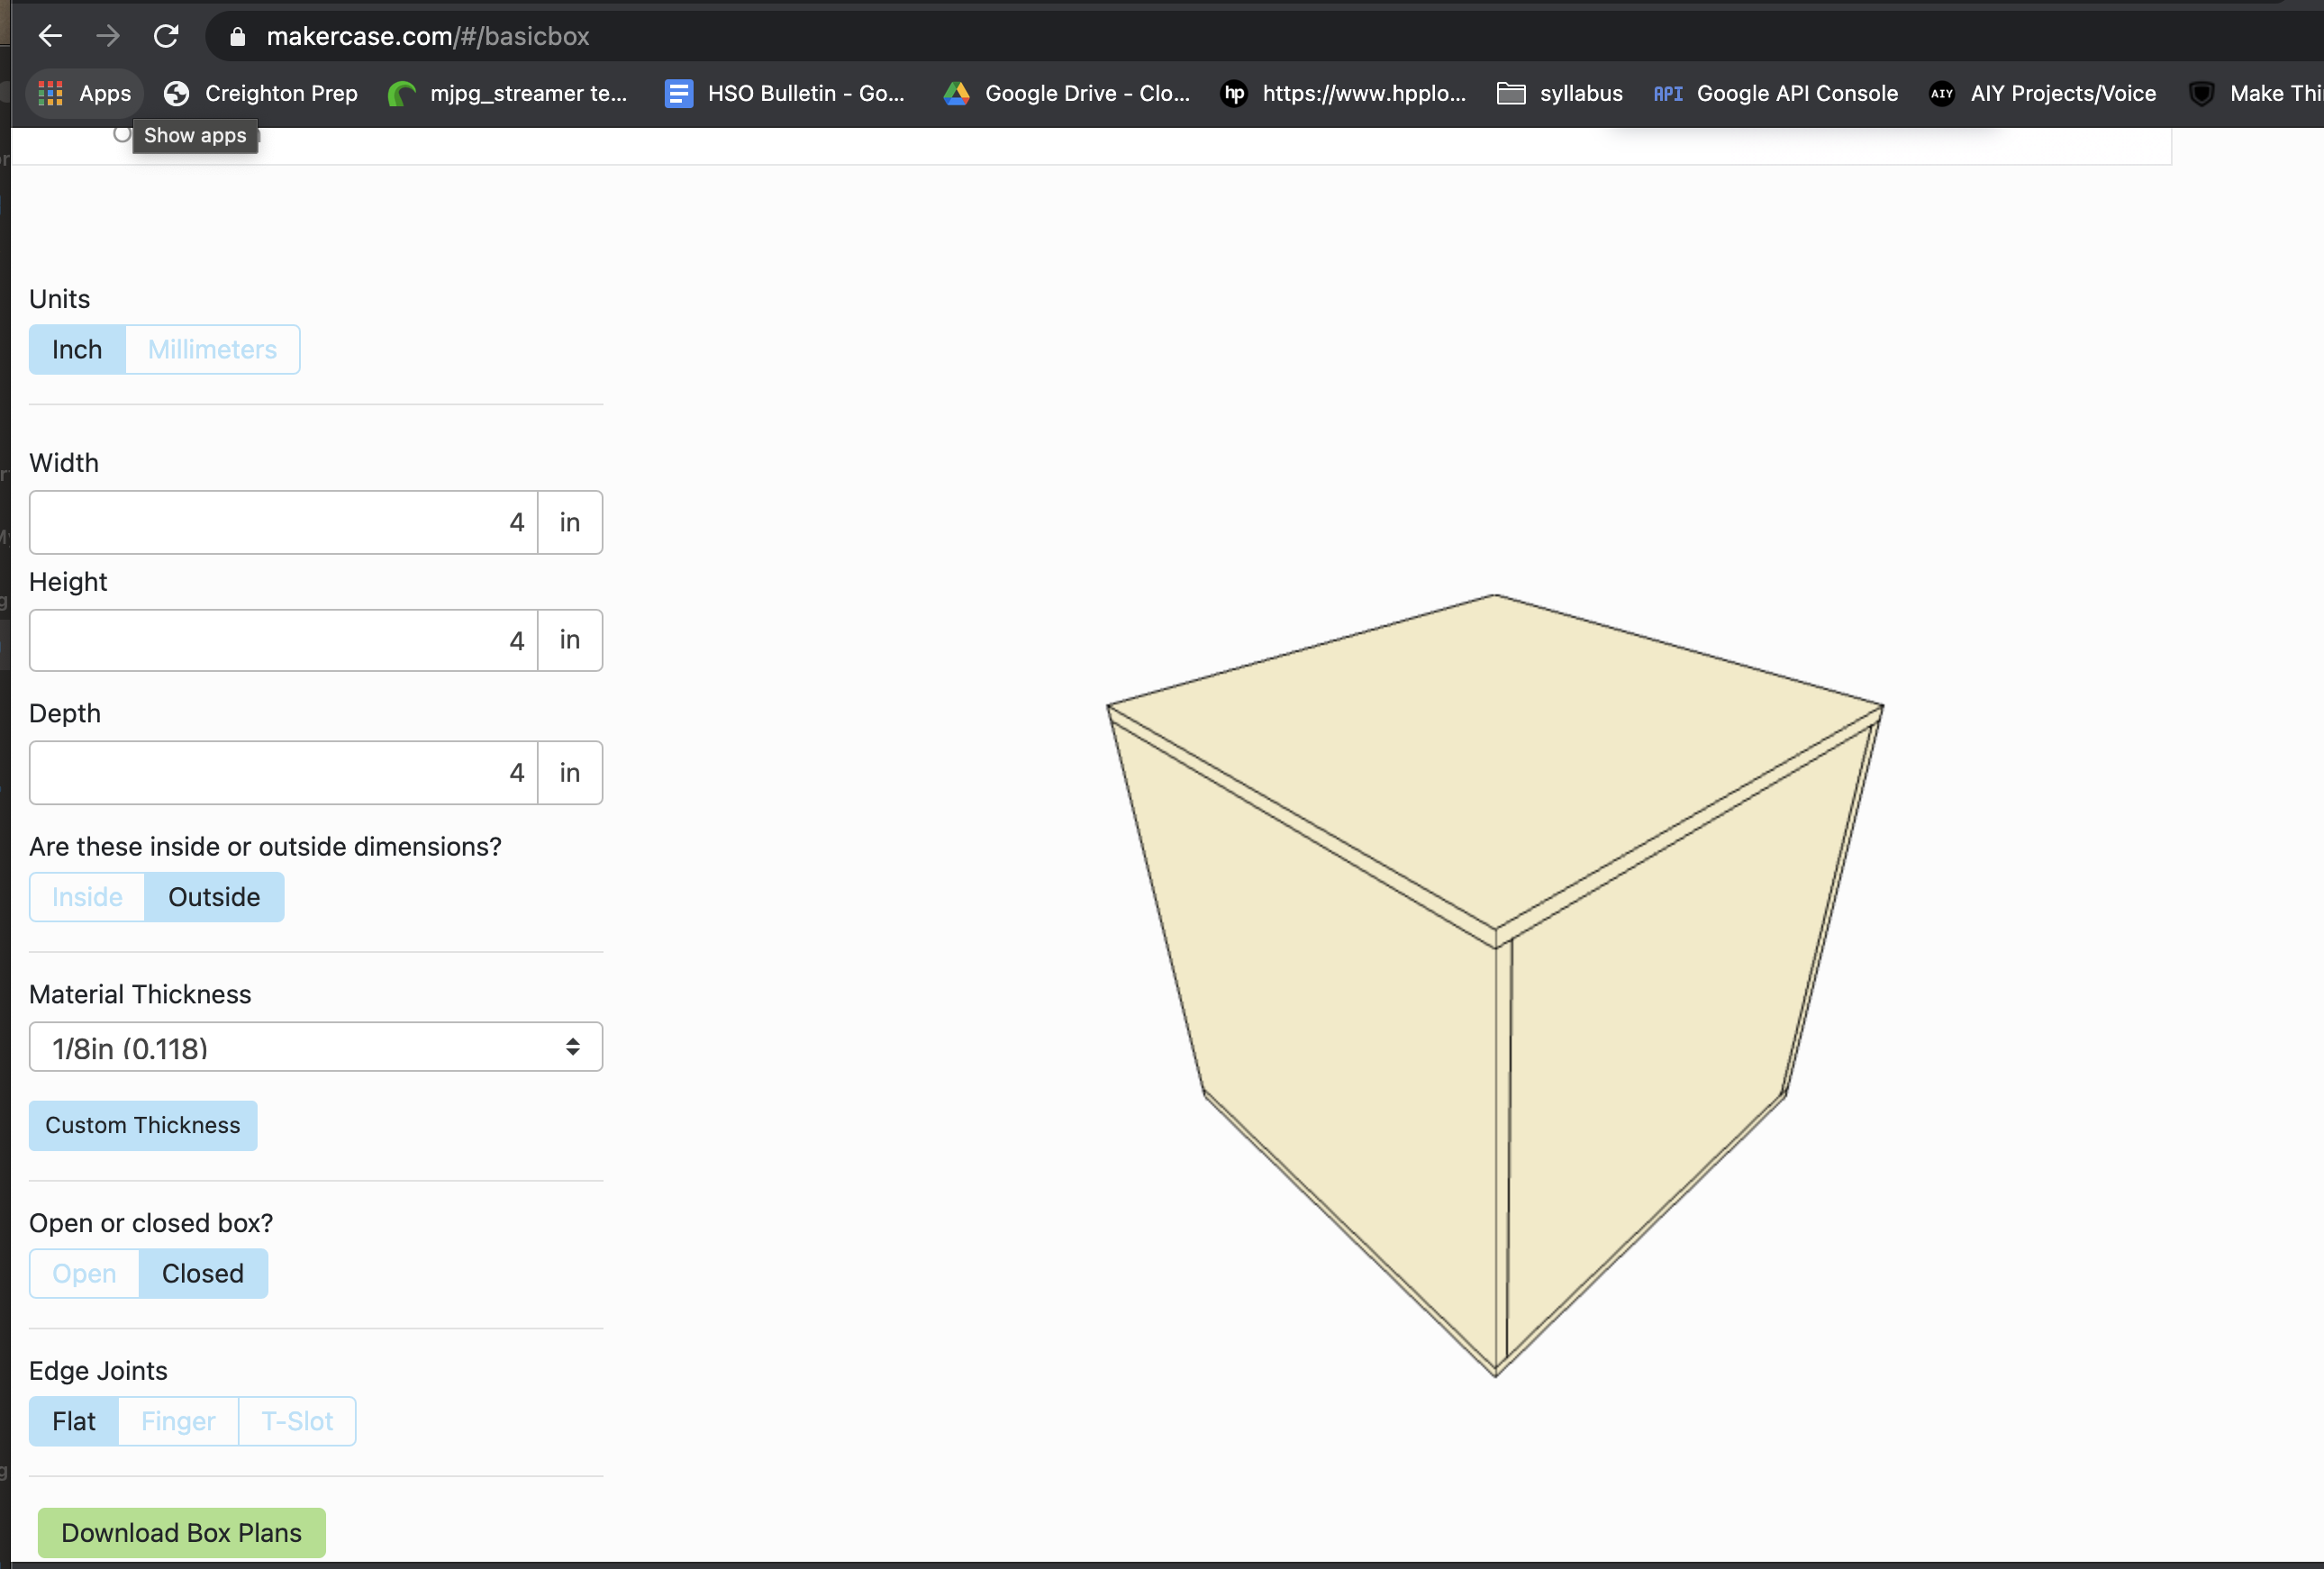
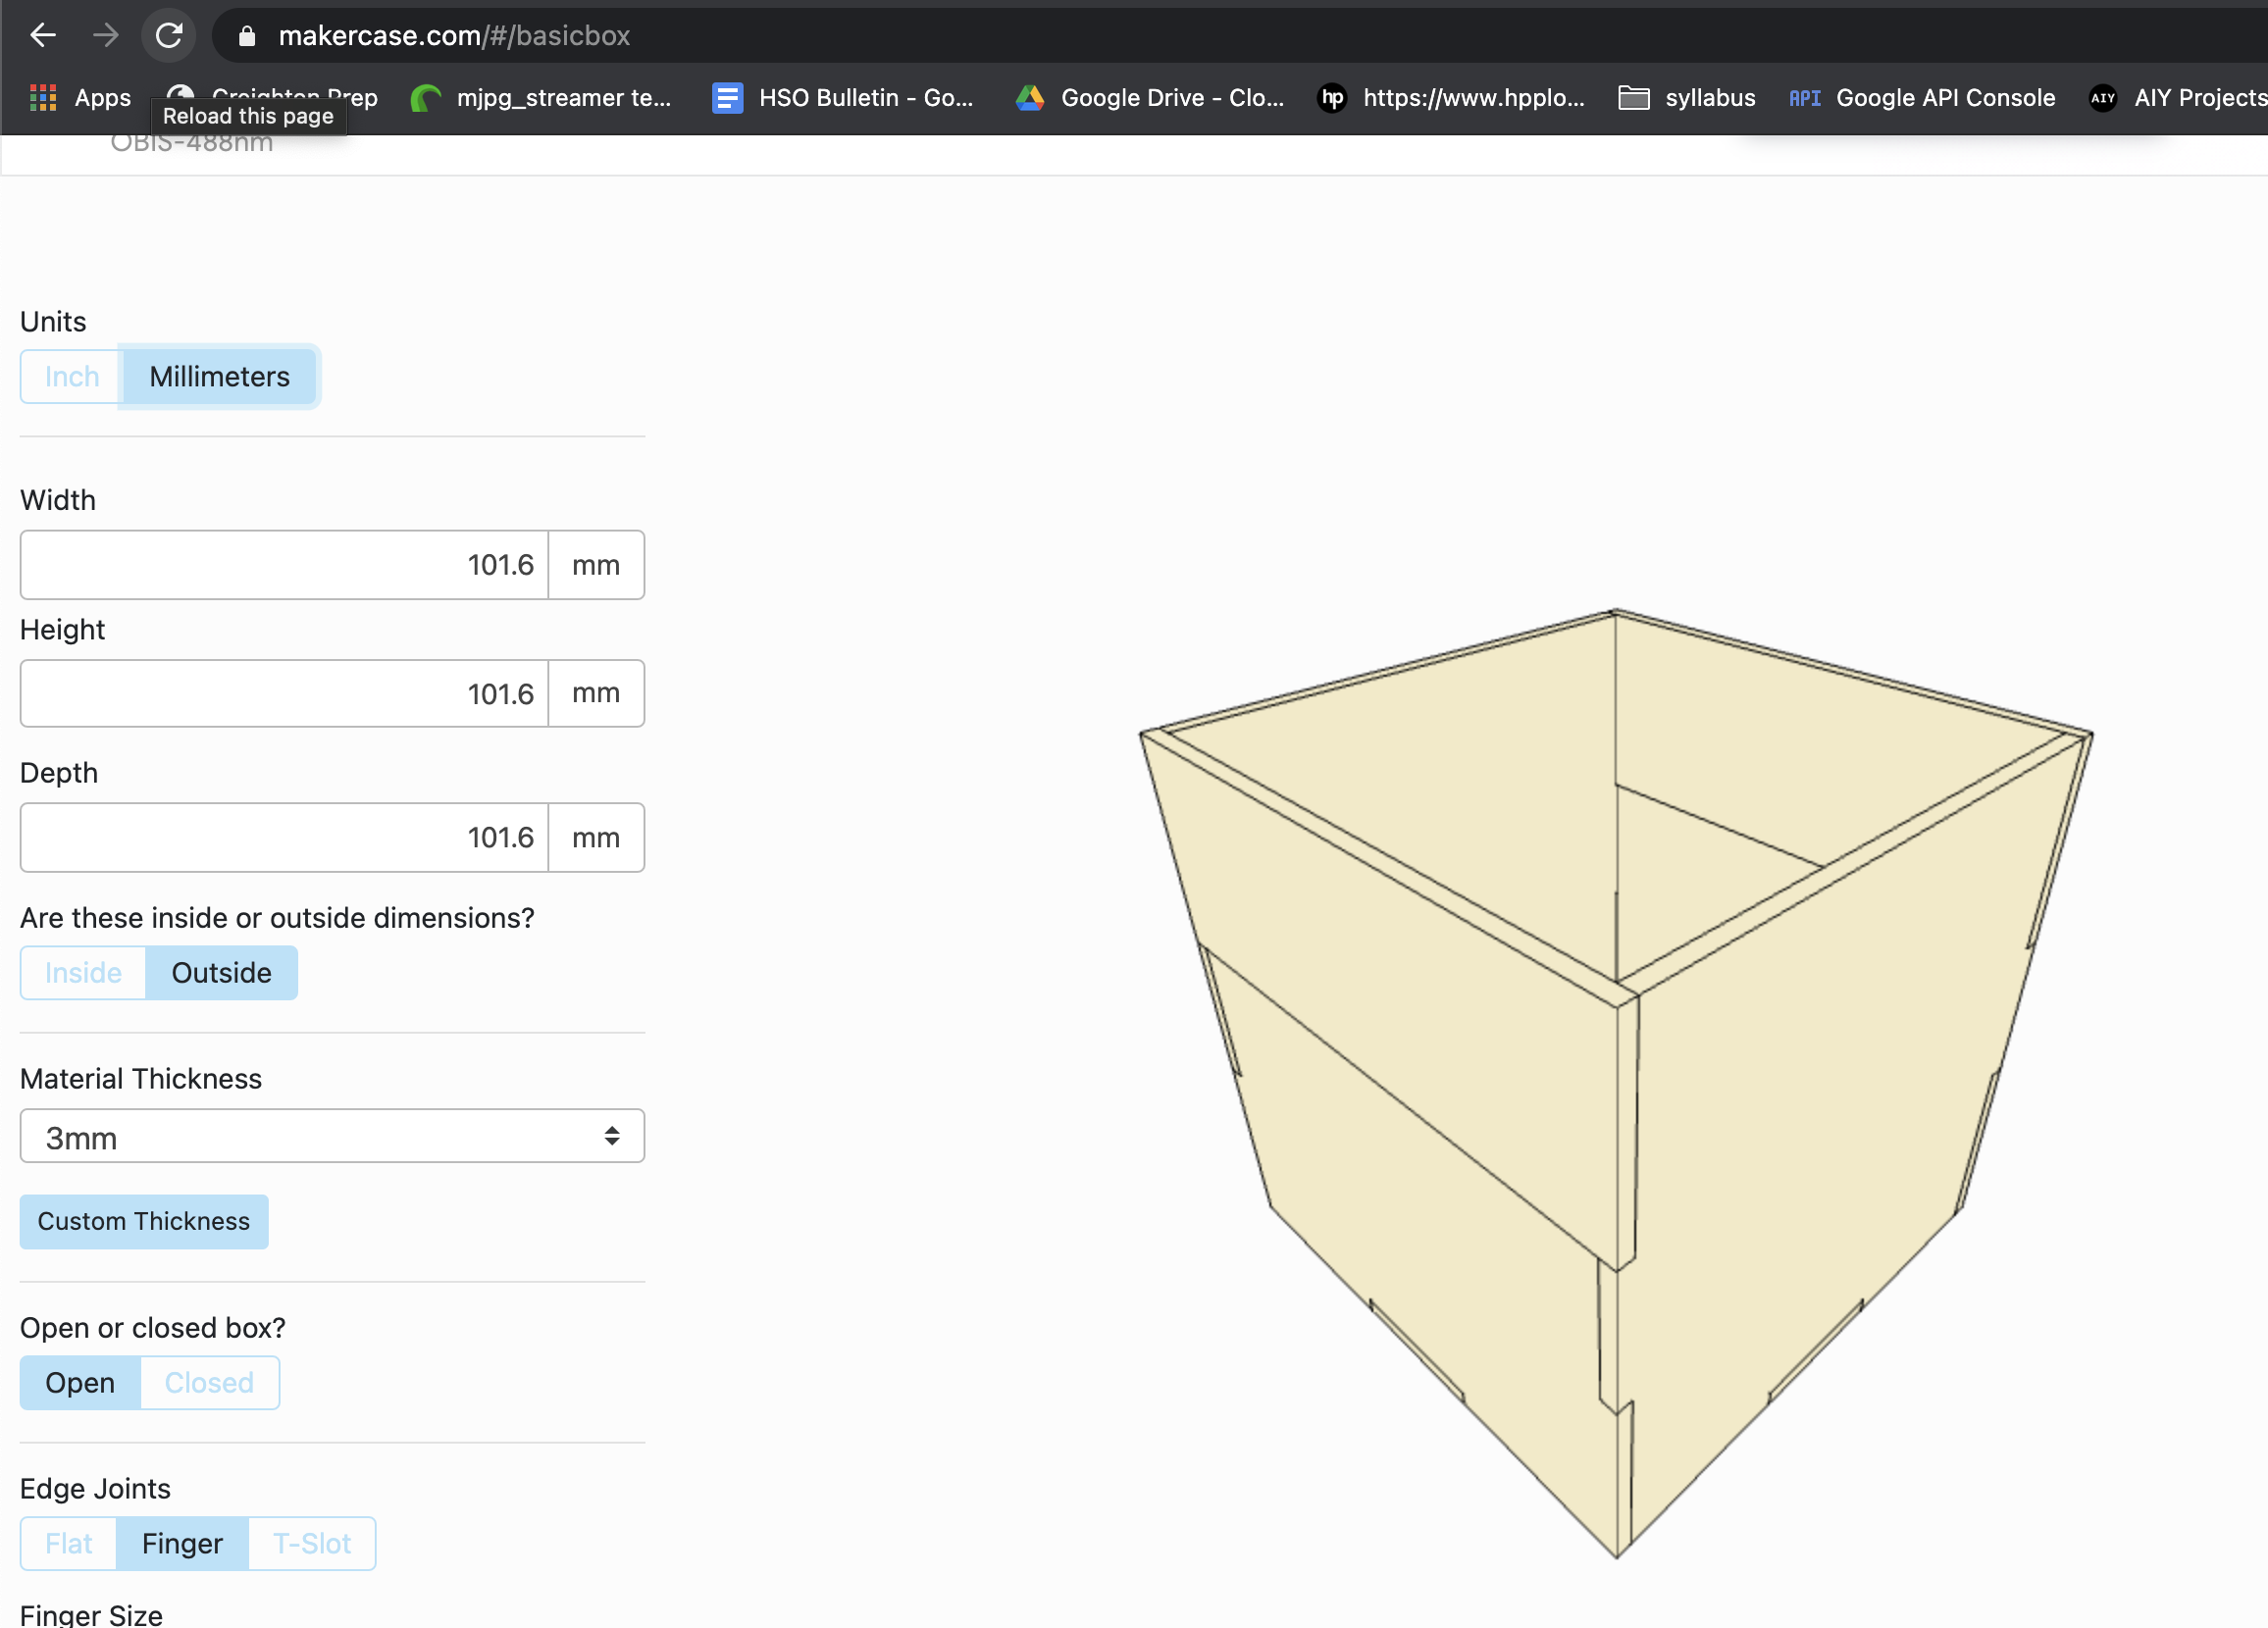
Once you select your size you are given the opportunity to change your parameters (its parametric!)
I almost always make my box in inches then change the units to metric before I export since the default for Tinkercad is metric.
Choose your length height and depth, then wether or not these dimensions are important to the inside or outside. Then the thickness of the material This is very important for a good fit. Especially if you are going to use finger joints, as this will determine the depth of the joint. Also I always suggest to use finger joints! Lastly, you can adjust the size of the finger joint.
Download Box Plans
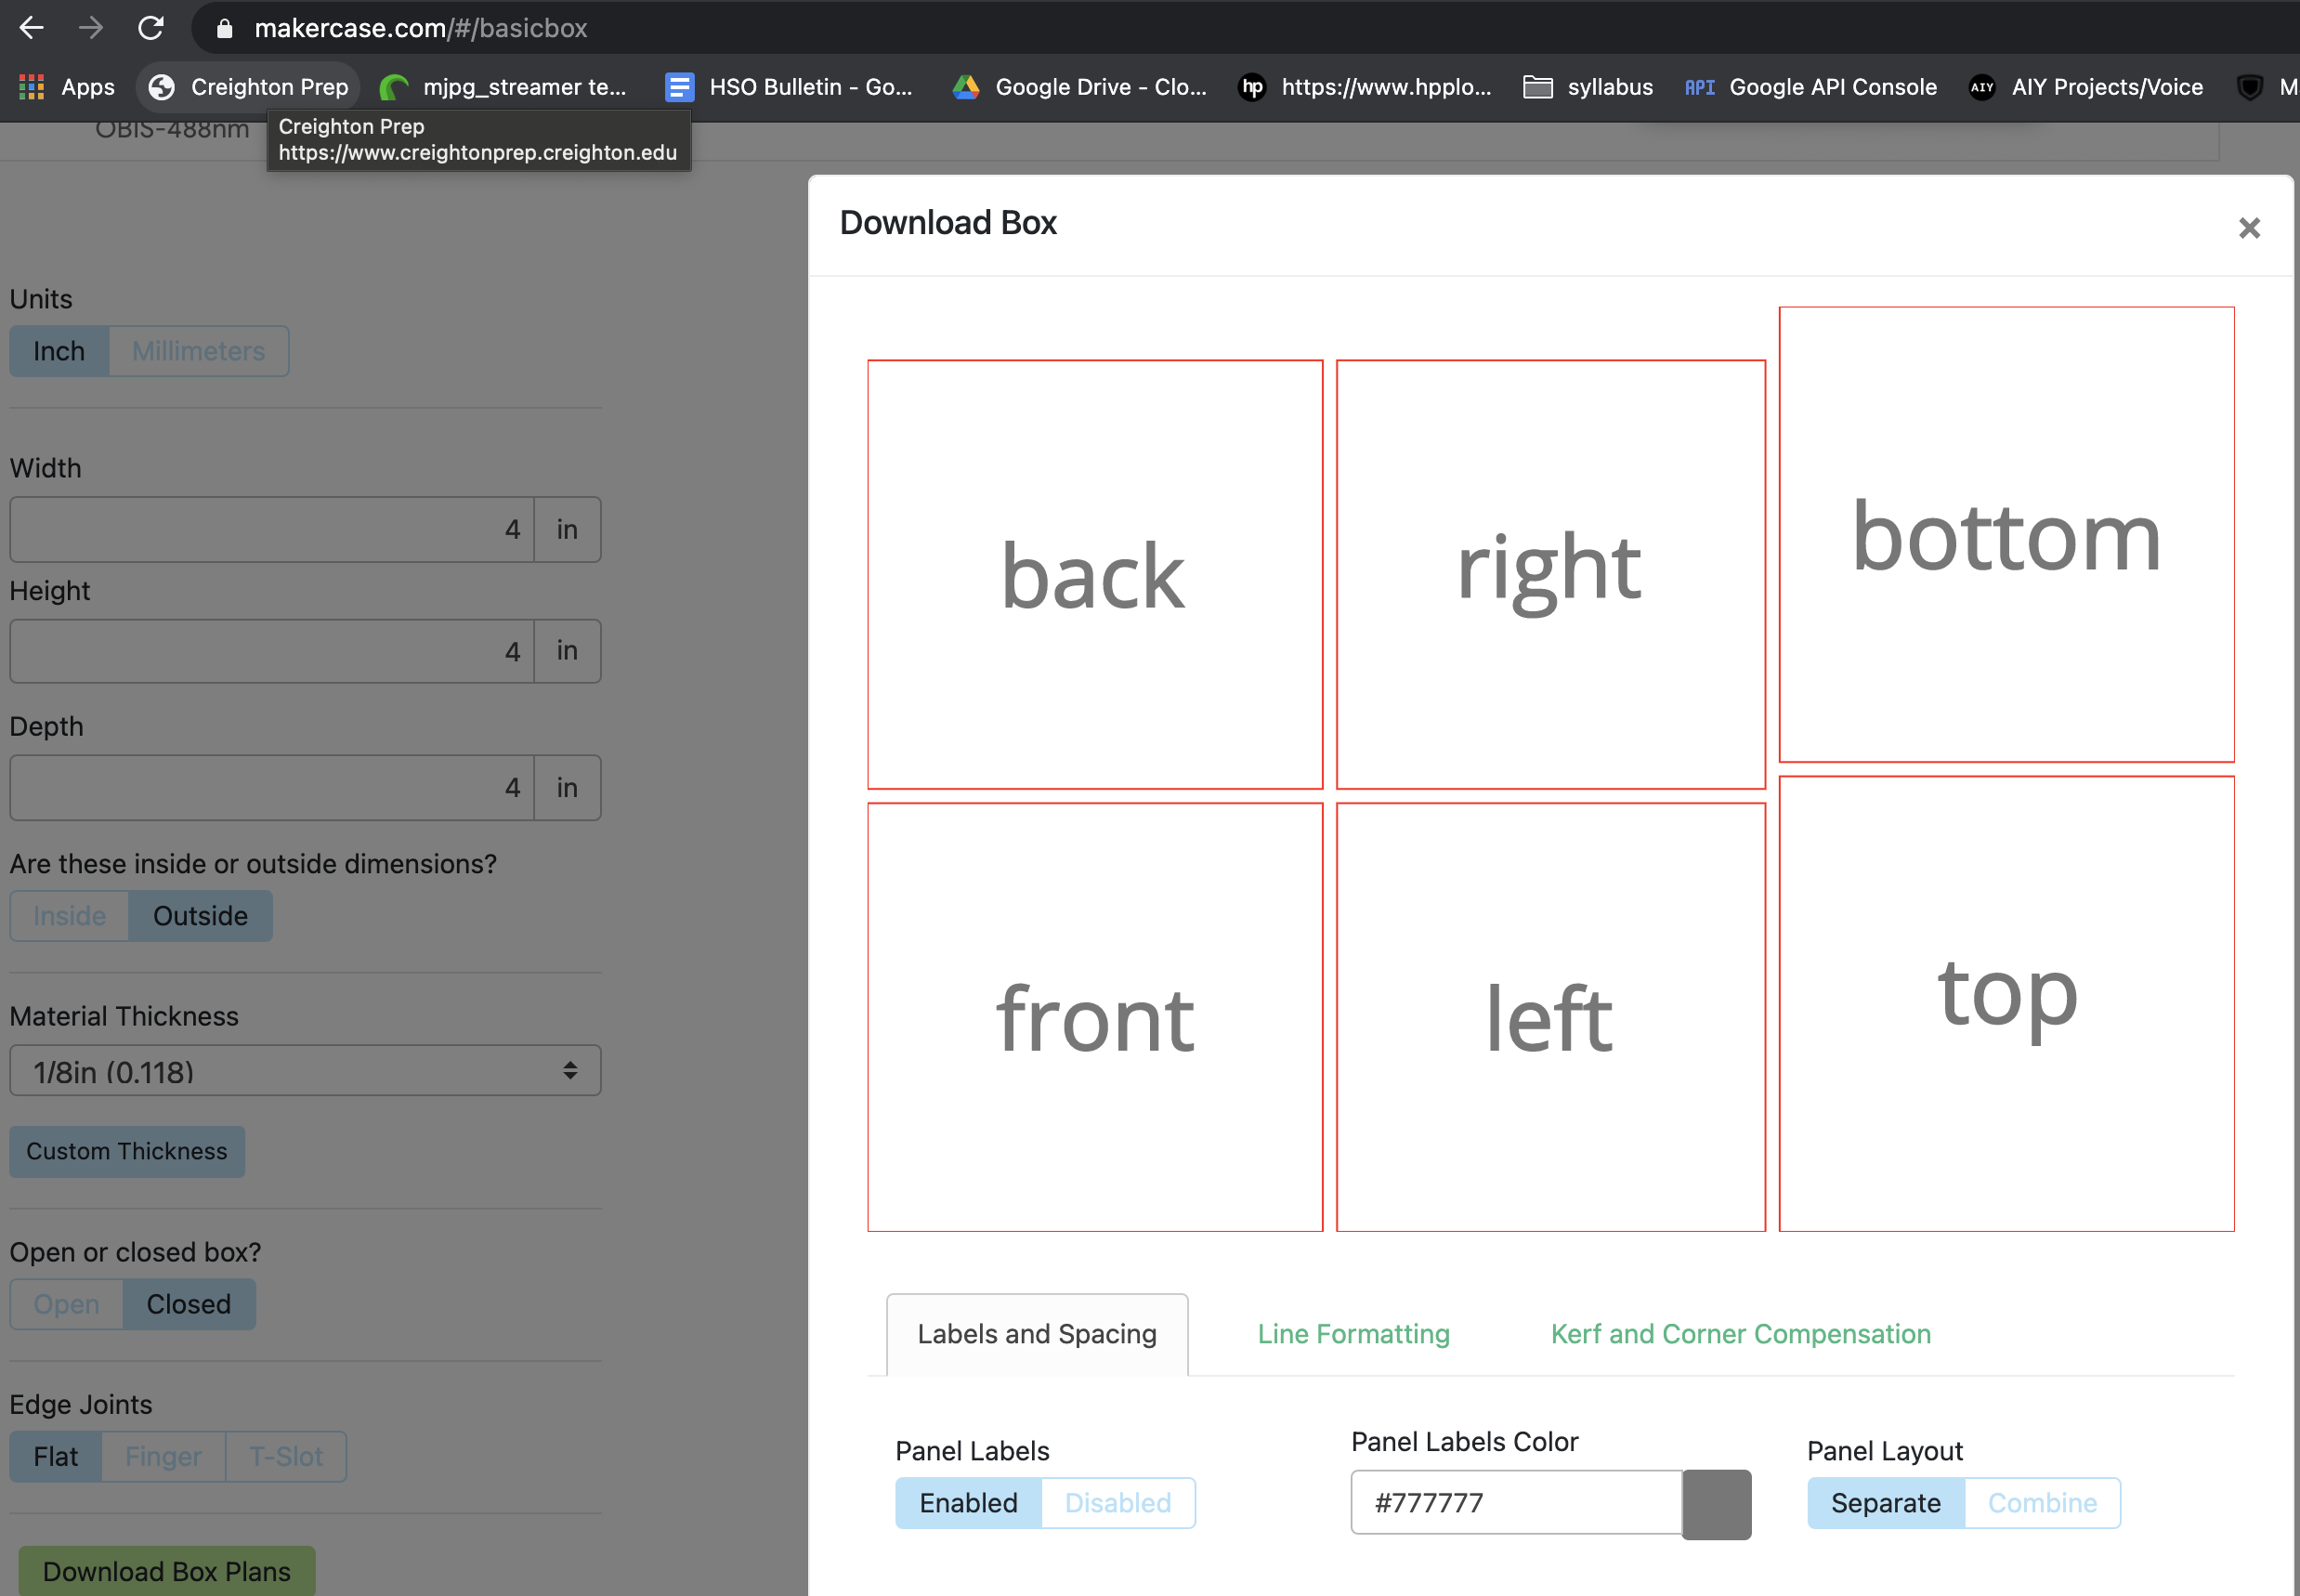
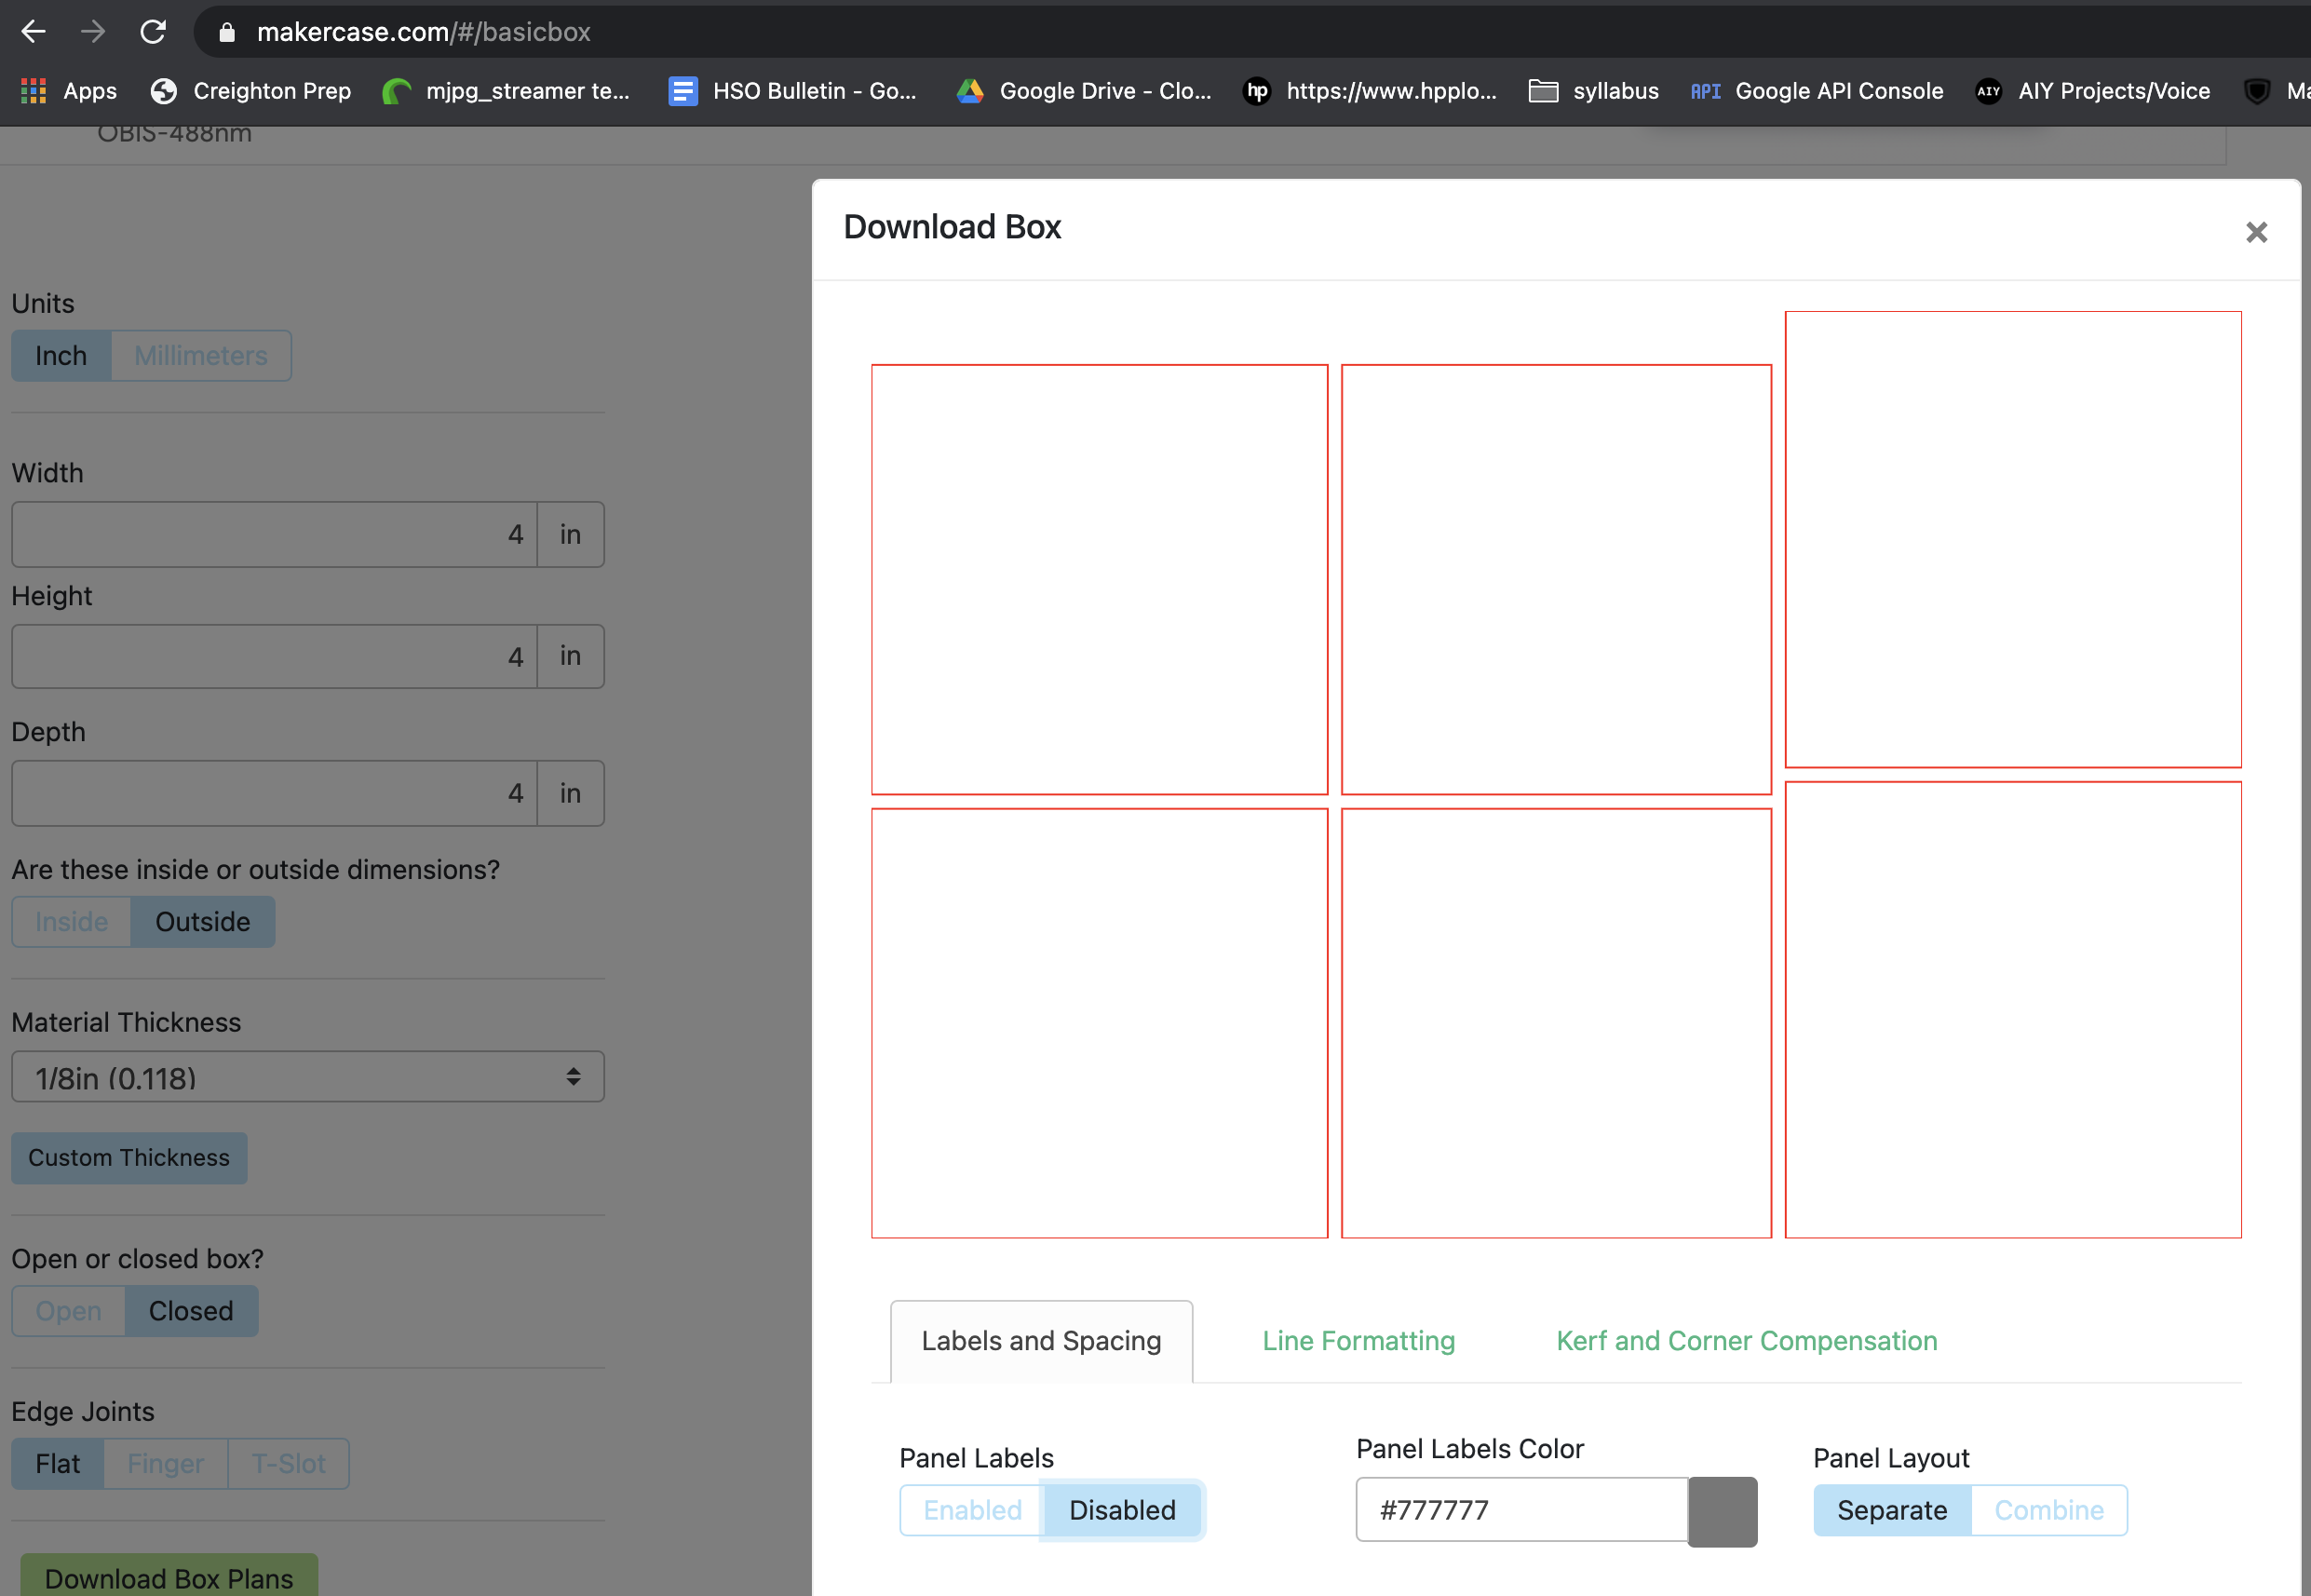
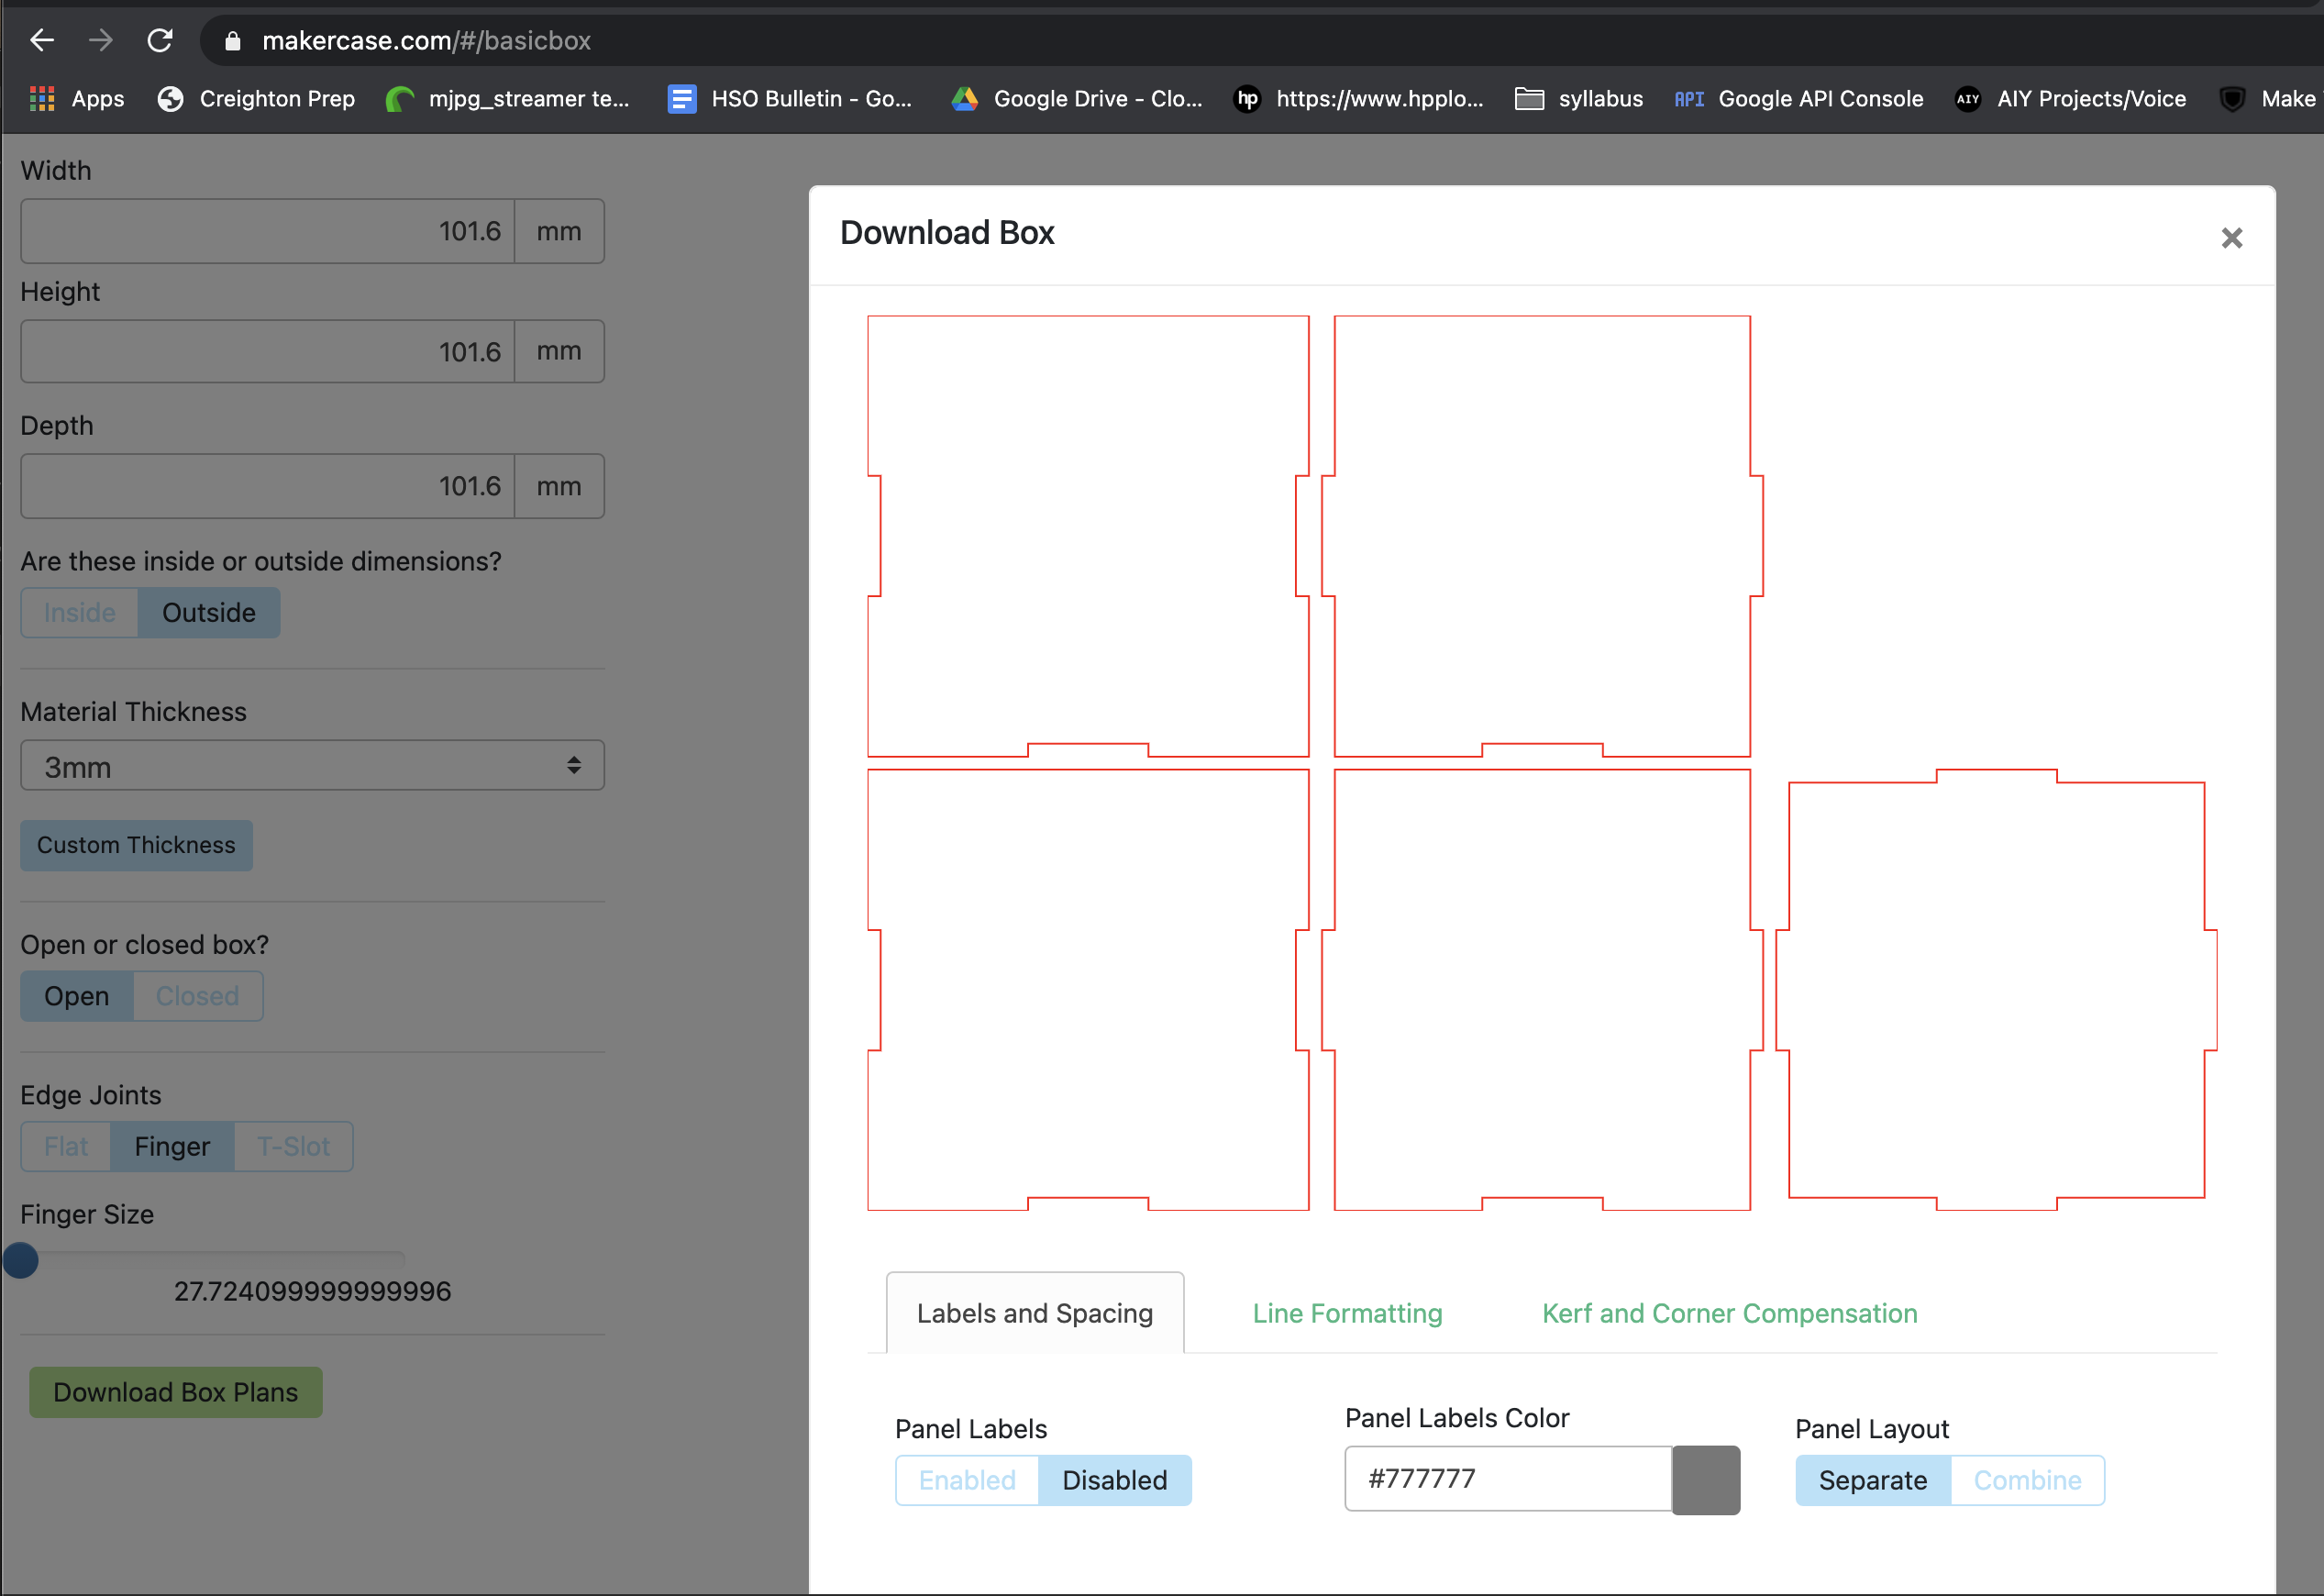
When you select the download box plans you are show a screen with the outline for the box you designed. I always disable the labels and combine the spacing. The line formatting will depend on your machine, for mine it is #FF000 pure red cuts at 0.001, and #0000FF pure blue engraves. However check your machine for the proper settings. Finally the kerf and corner settings are really useful if you are going to use a CNC router rather than a laser, so just ignore them. Go ahead and download as a SVG.
Import Into TinkerCad and Export for Printing
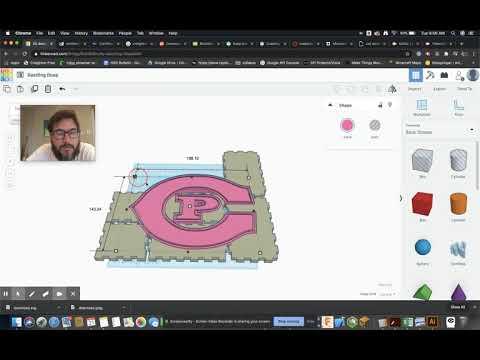
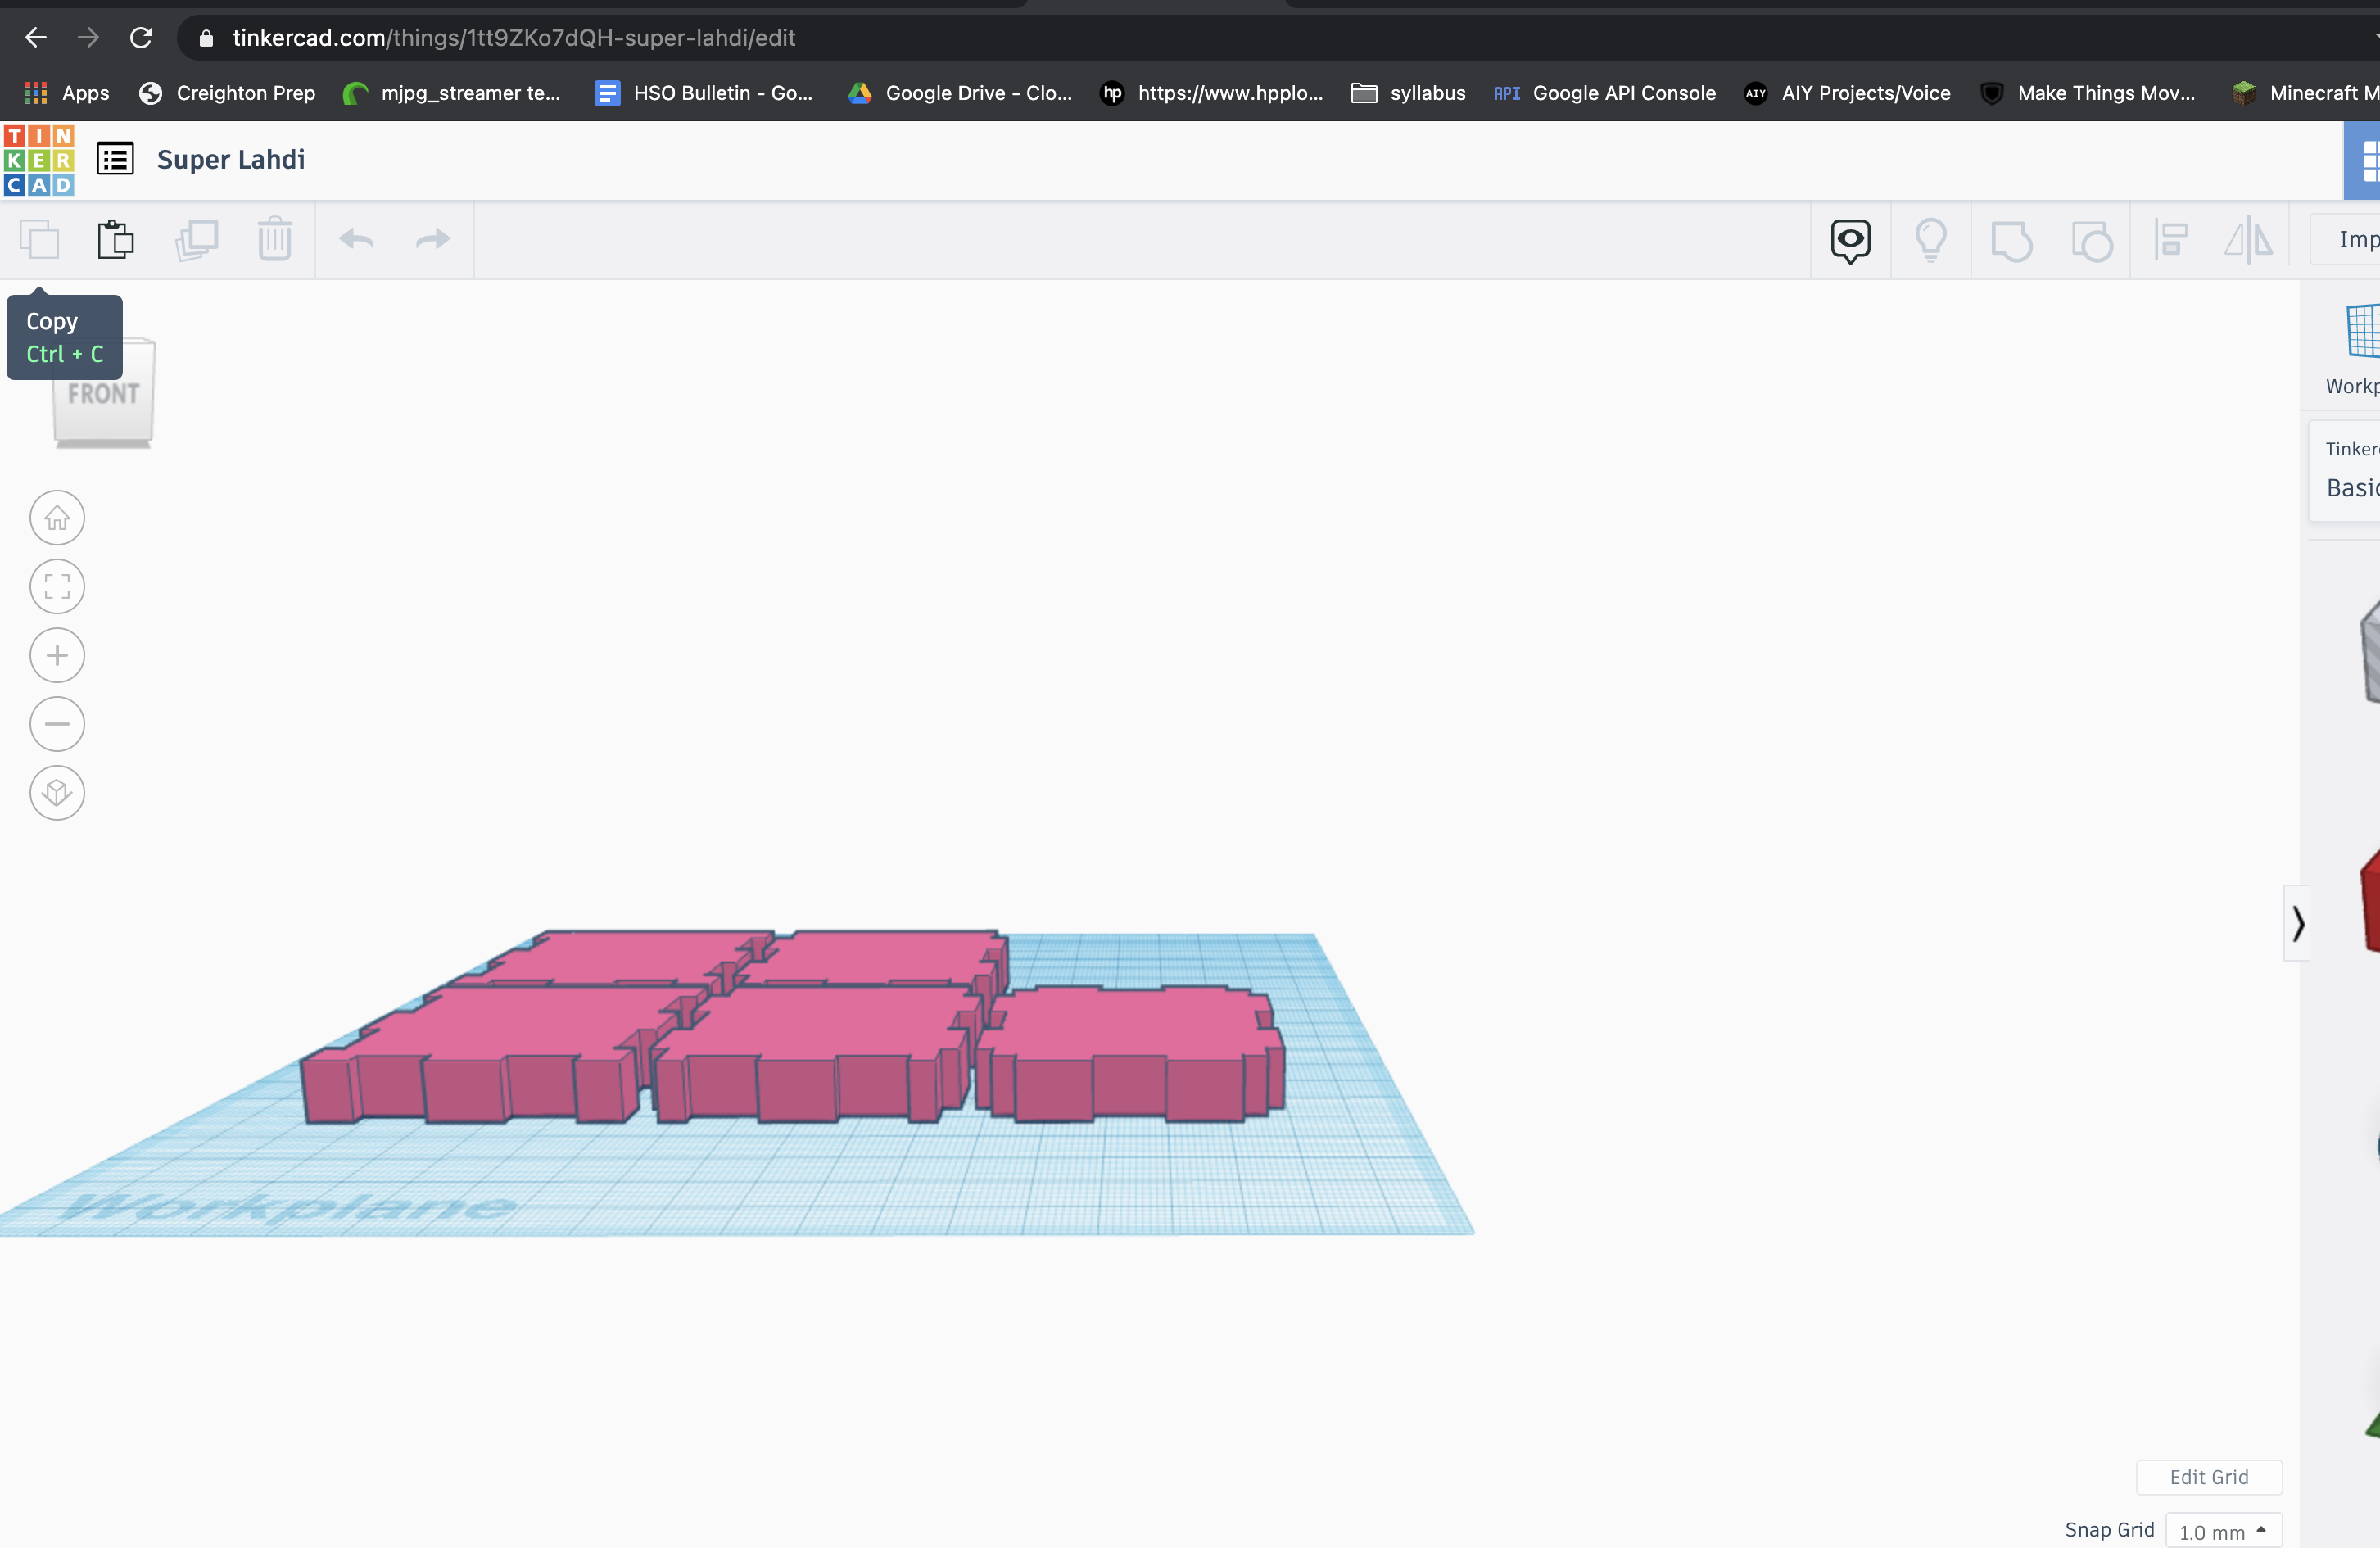
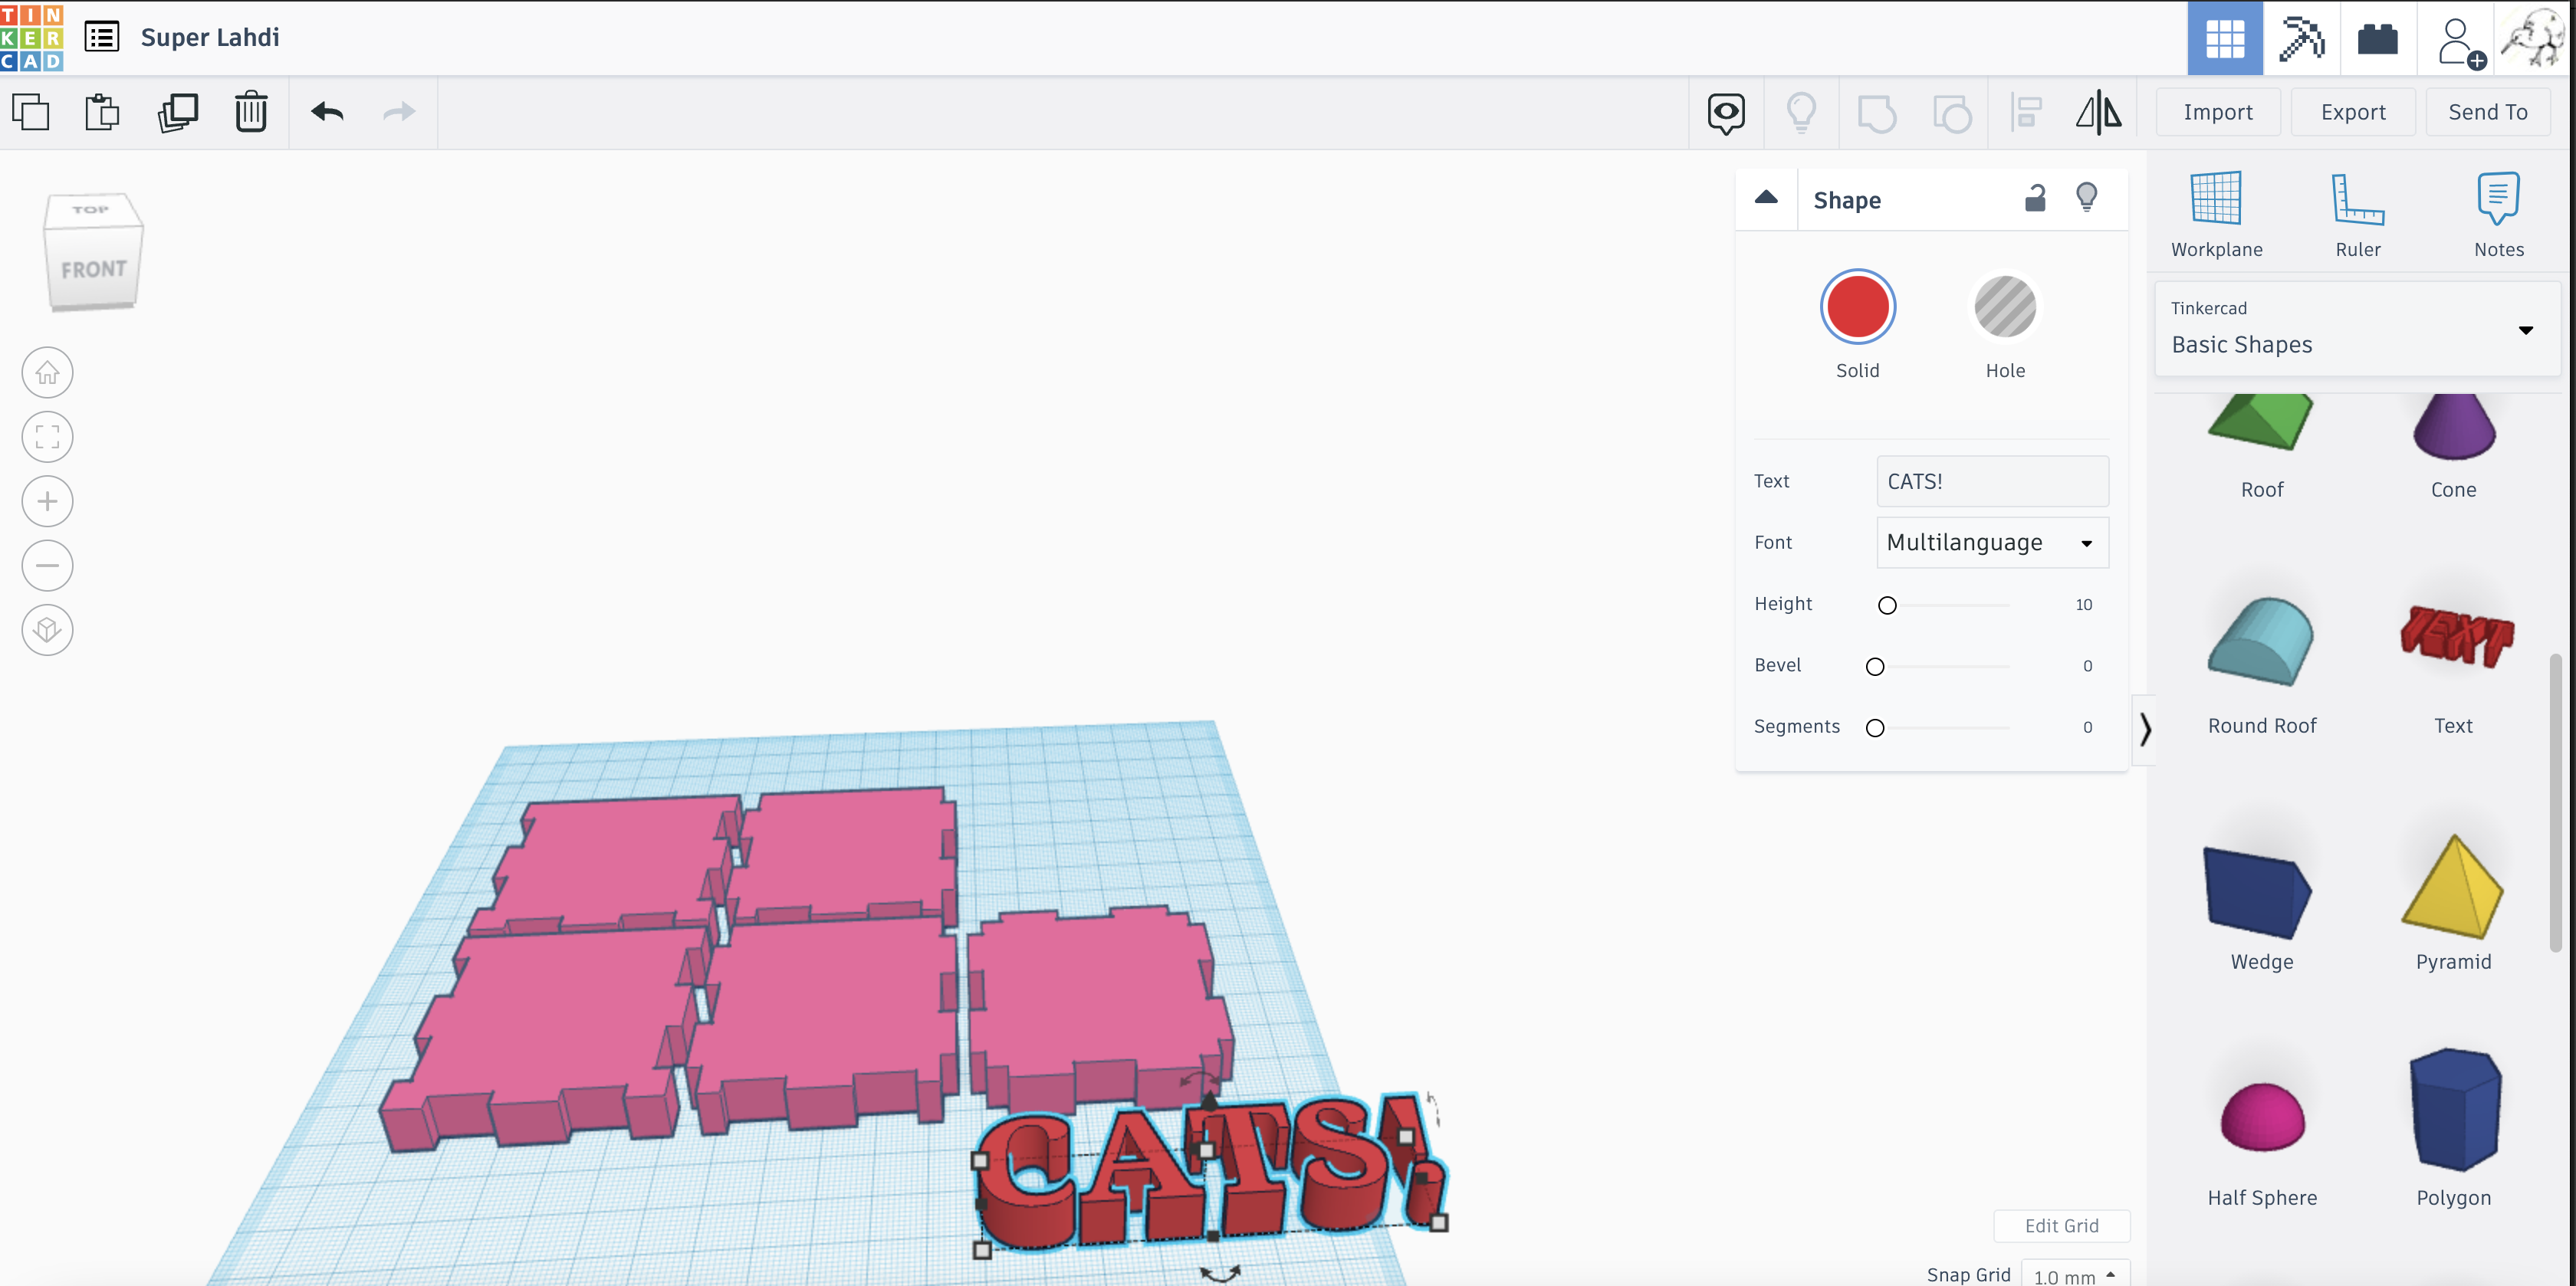
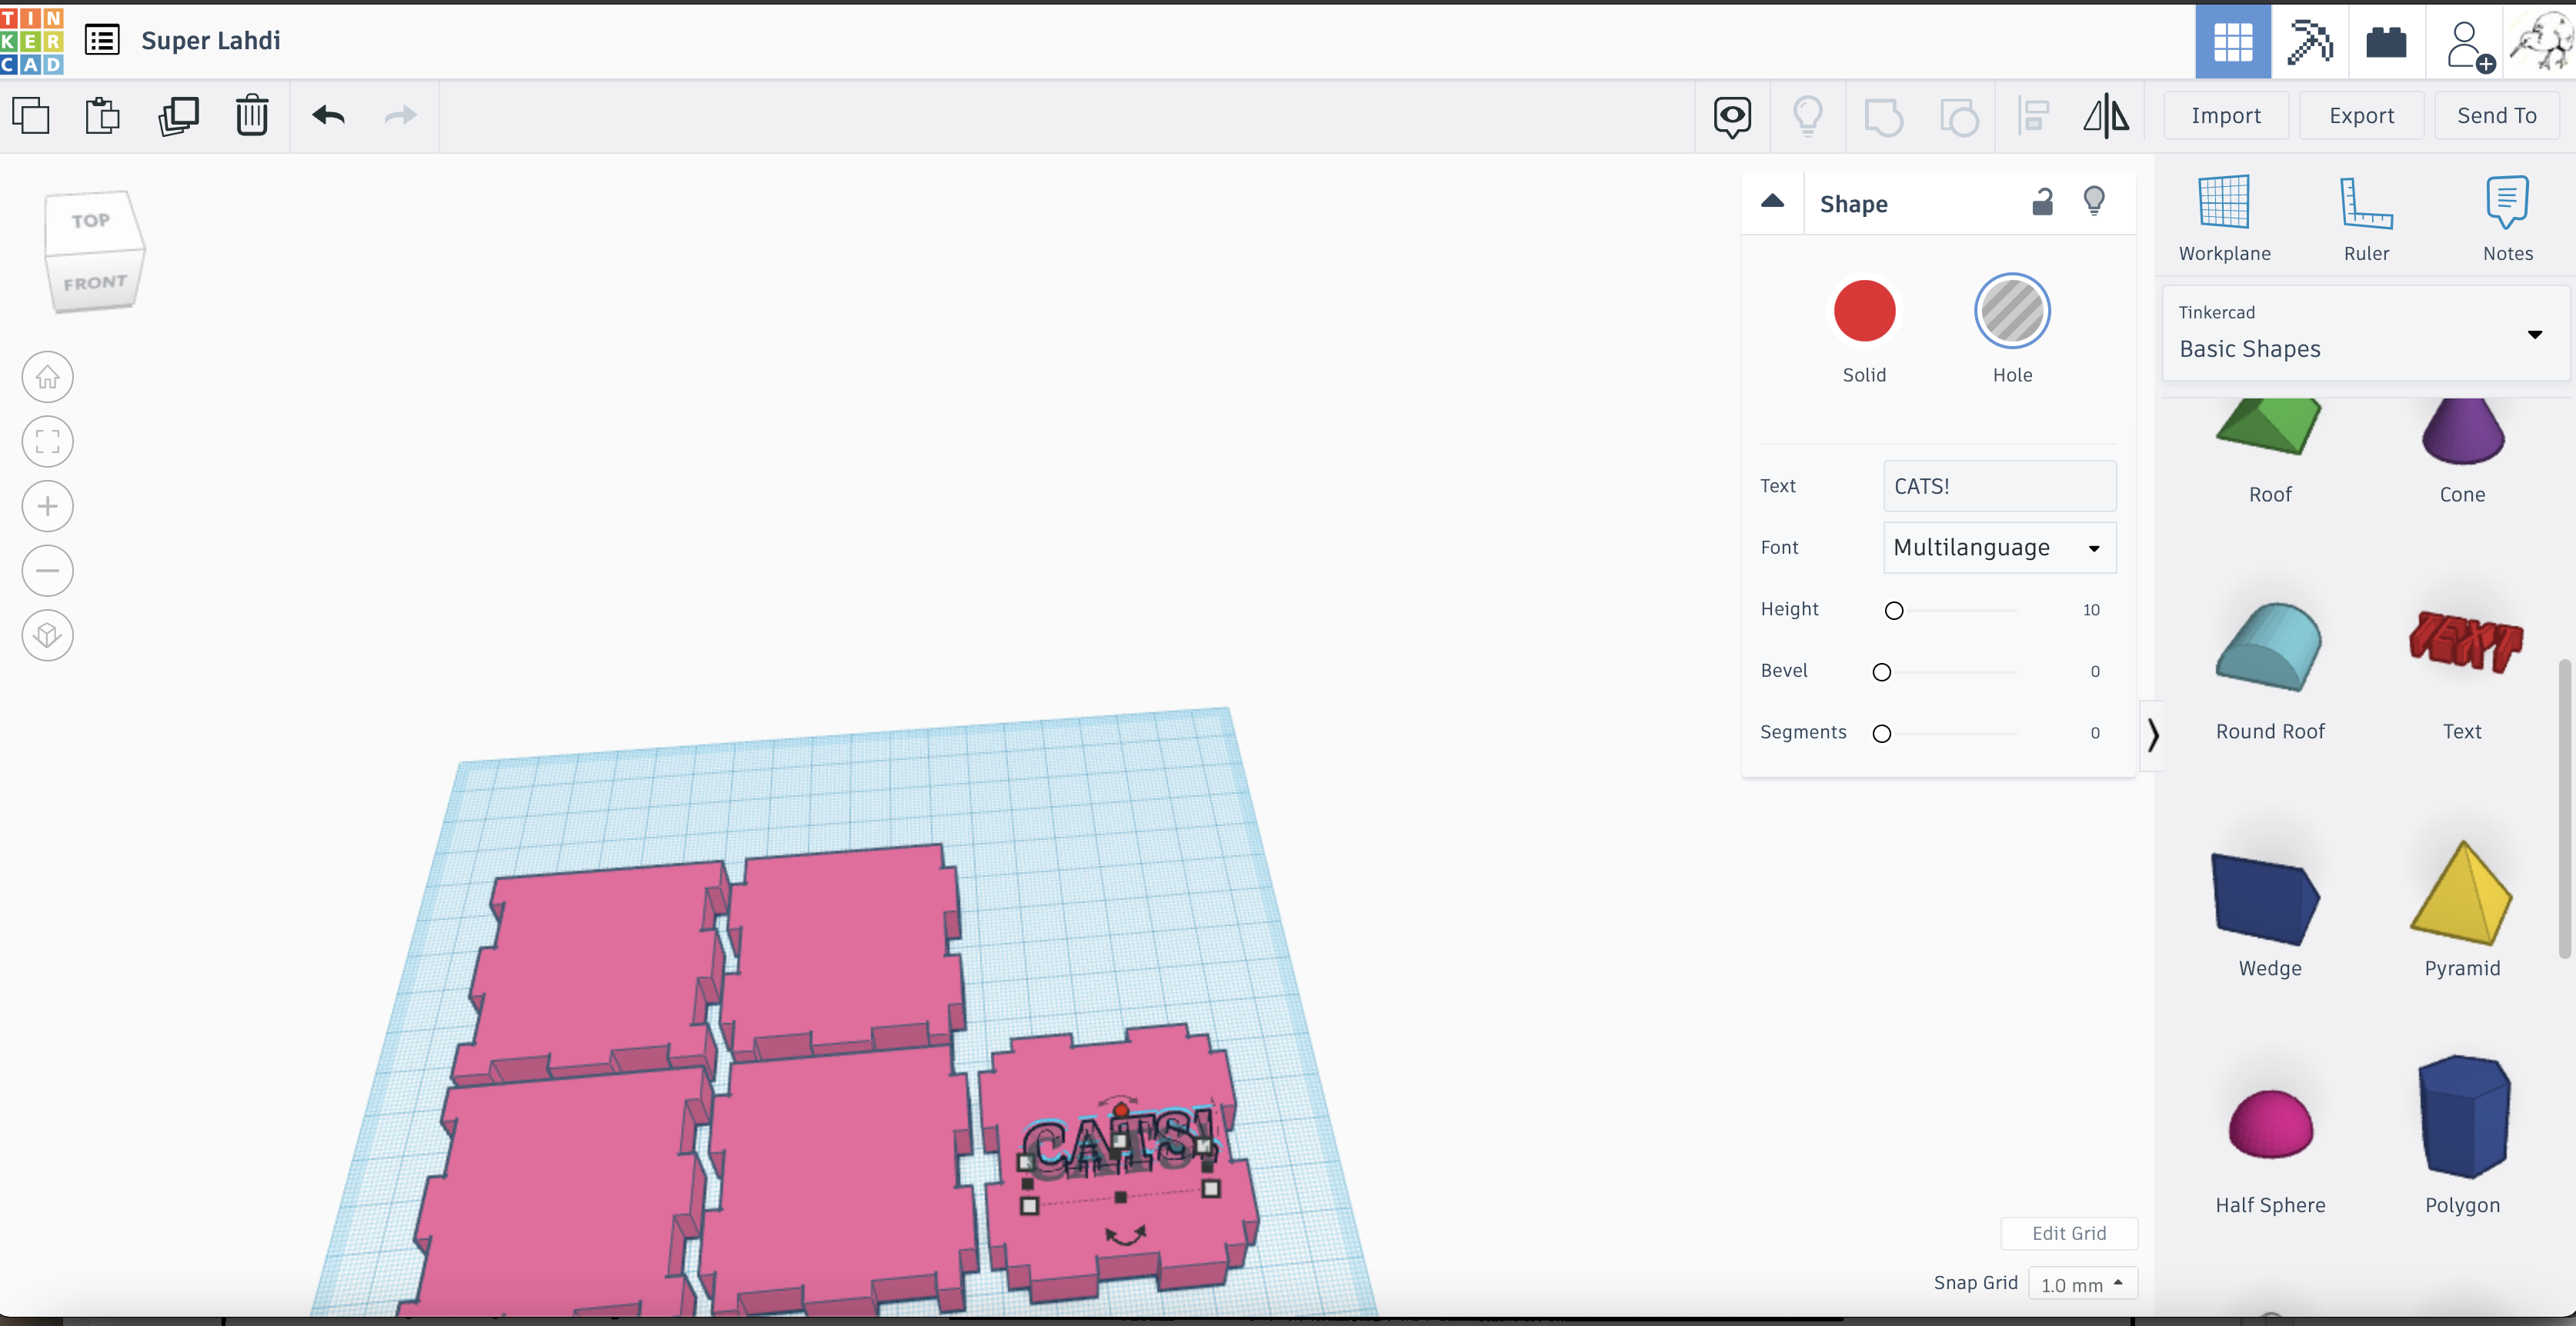
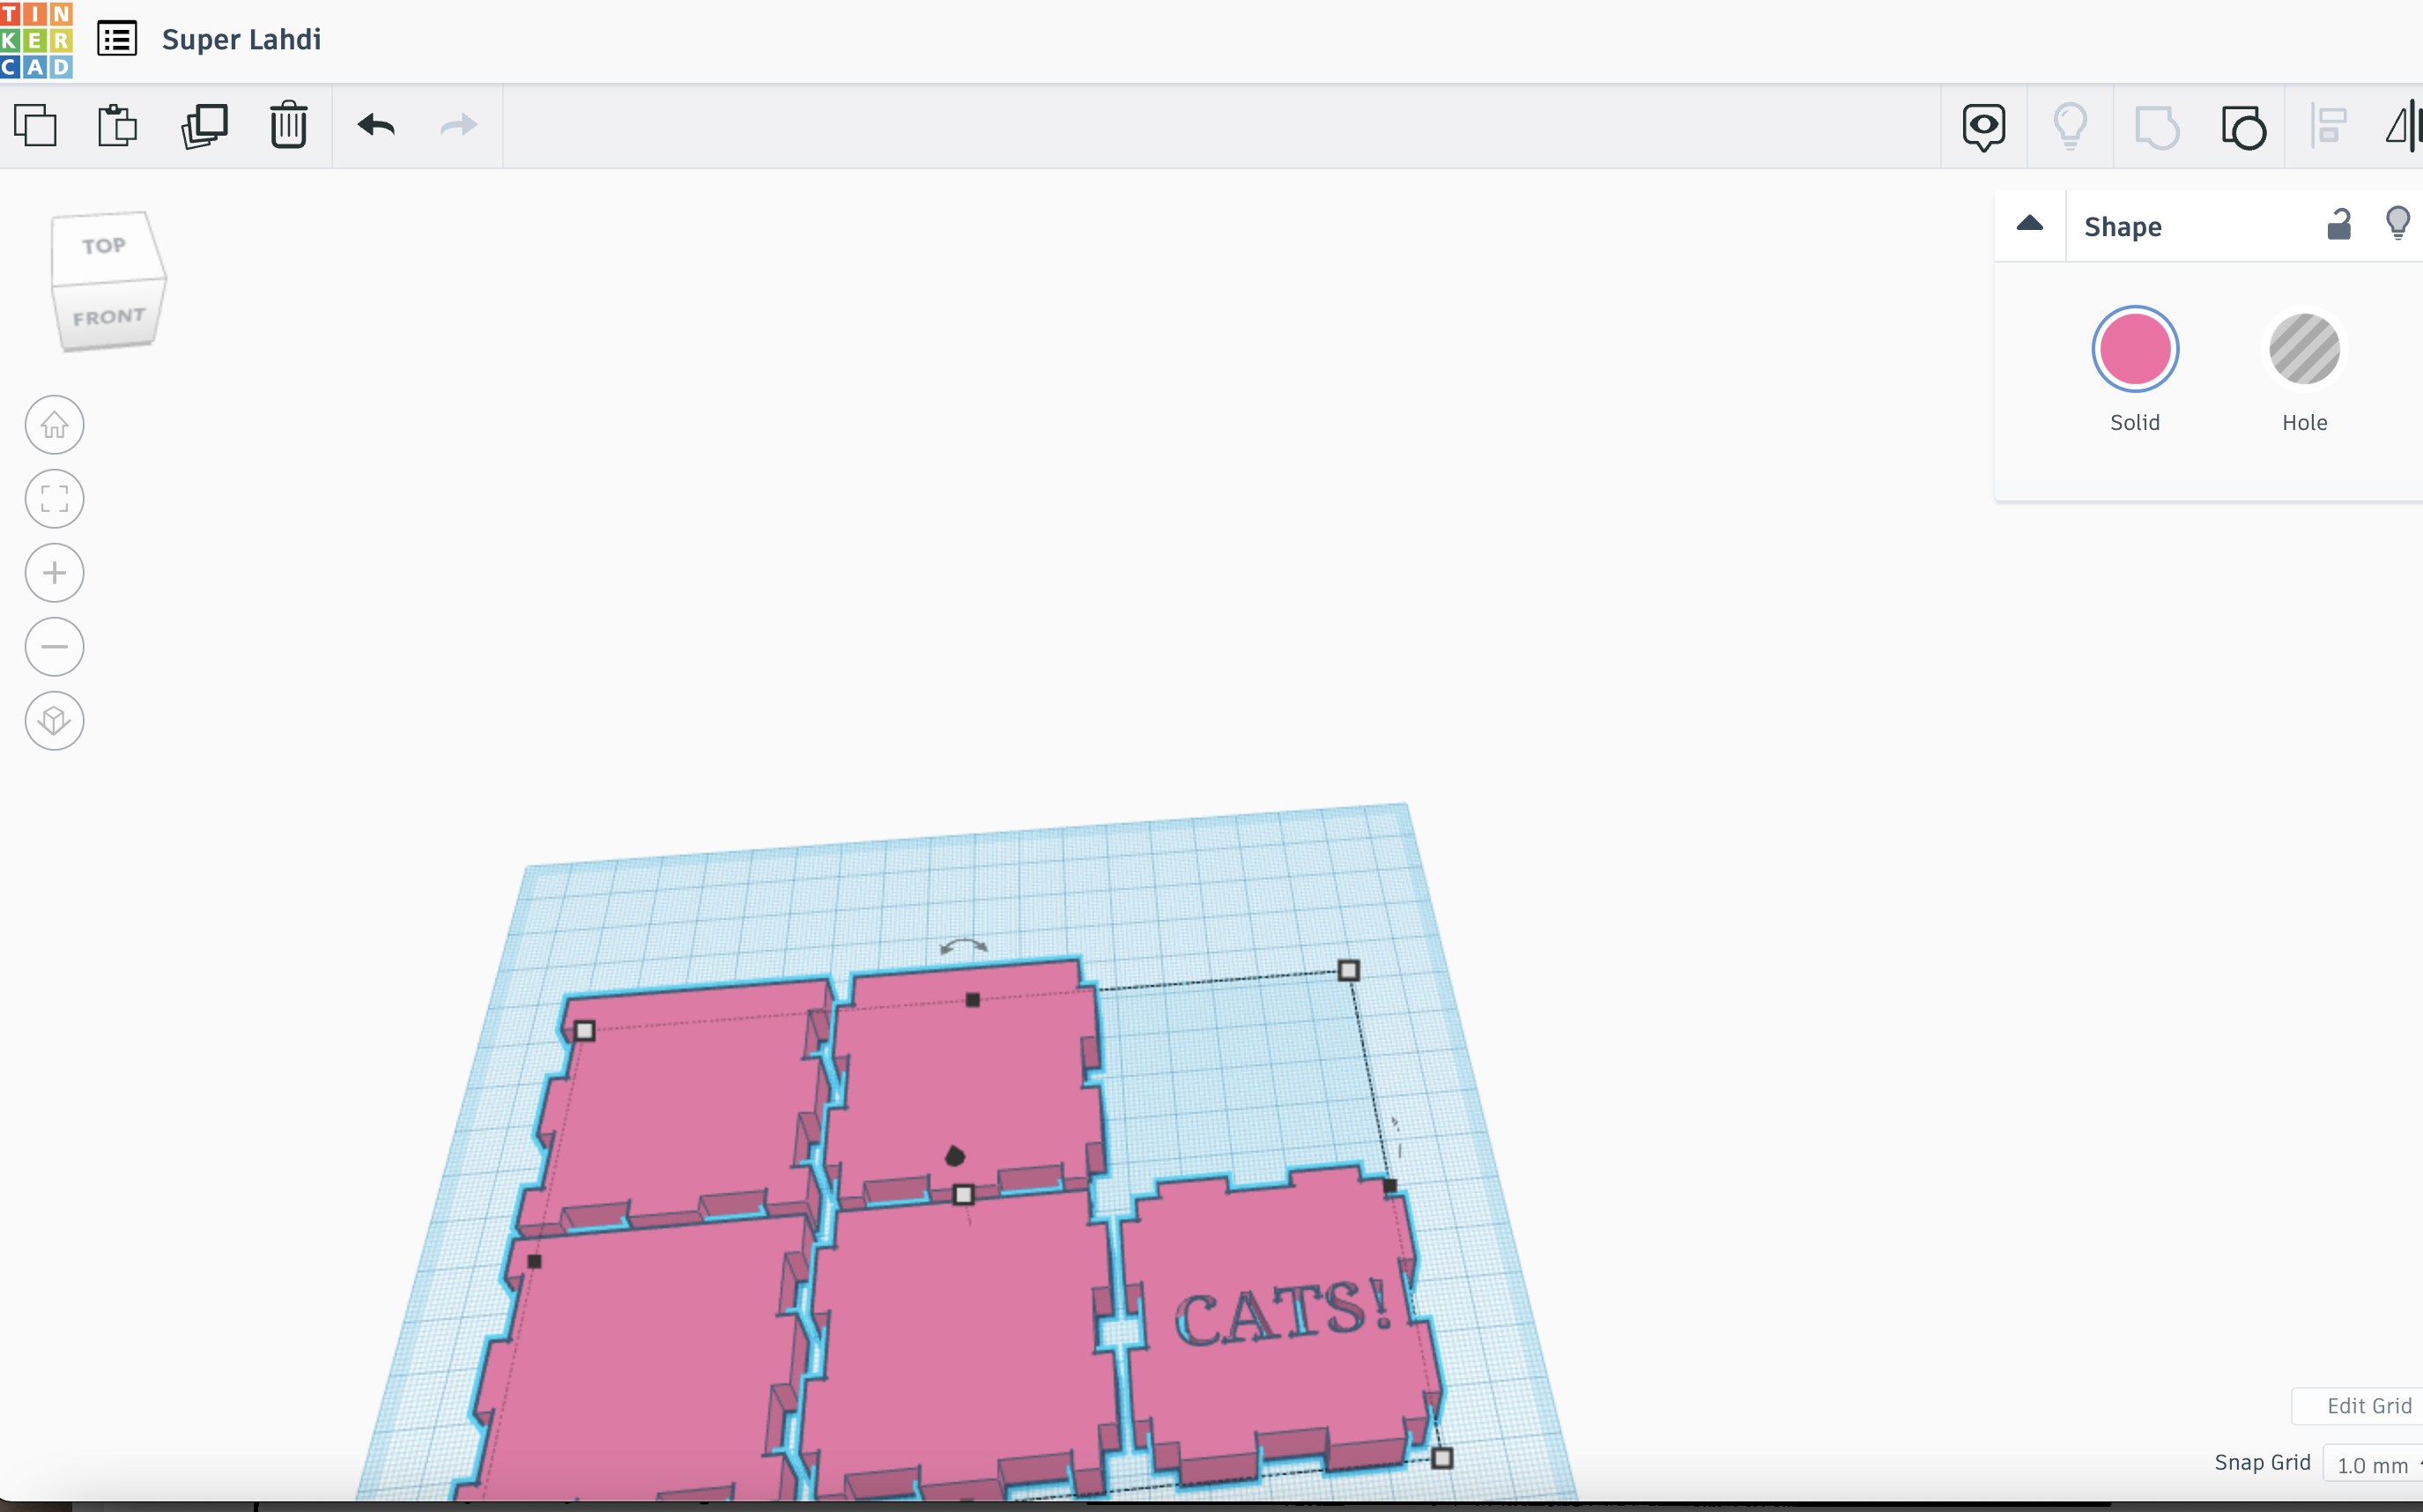
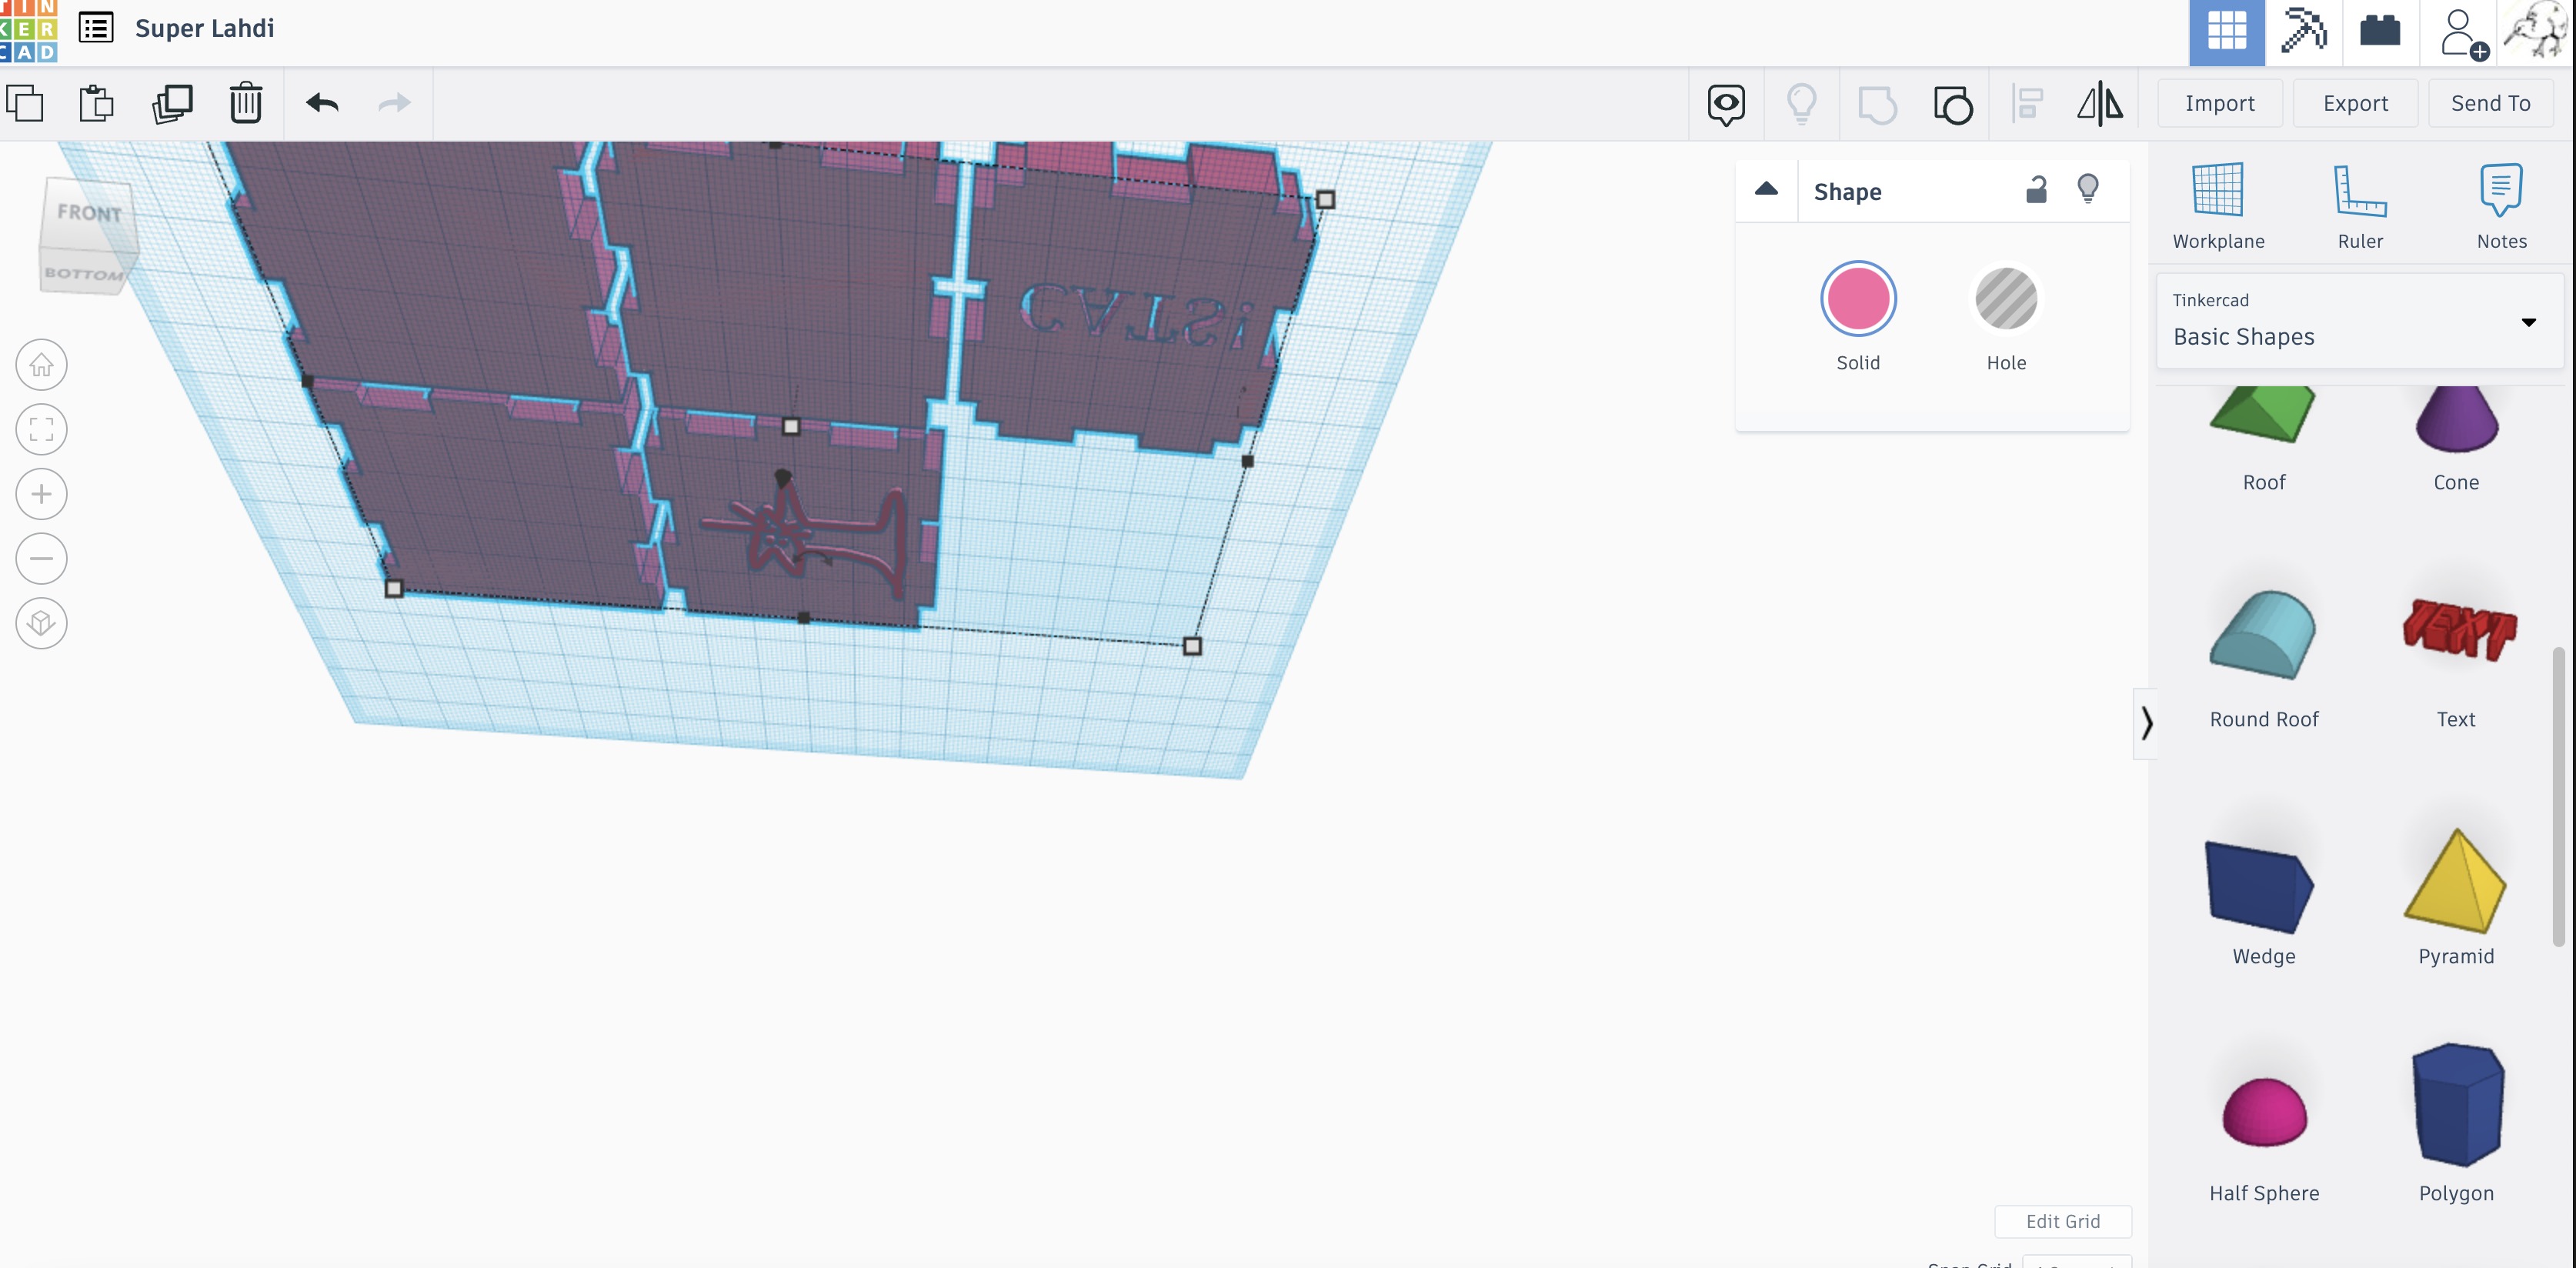
Then import your SVG into TinkerCad(www.tinkercad.com) once there you an add another SVG or text to your Box. Be sure whatever you add is a hole. Once you have it in place be sure to combine them as well. I often have students who do not have their images show up because they forgot to combine them. If you want to add an image that is not a SVG use an online SVG converter
Cut and Glue
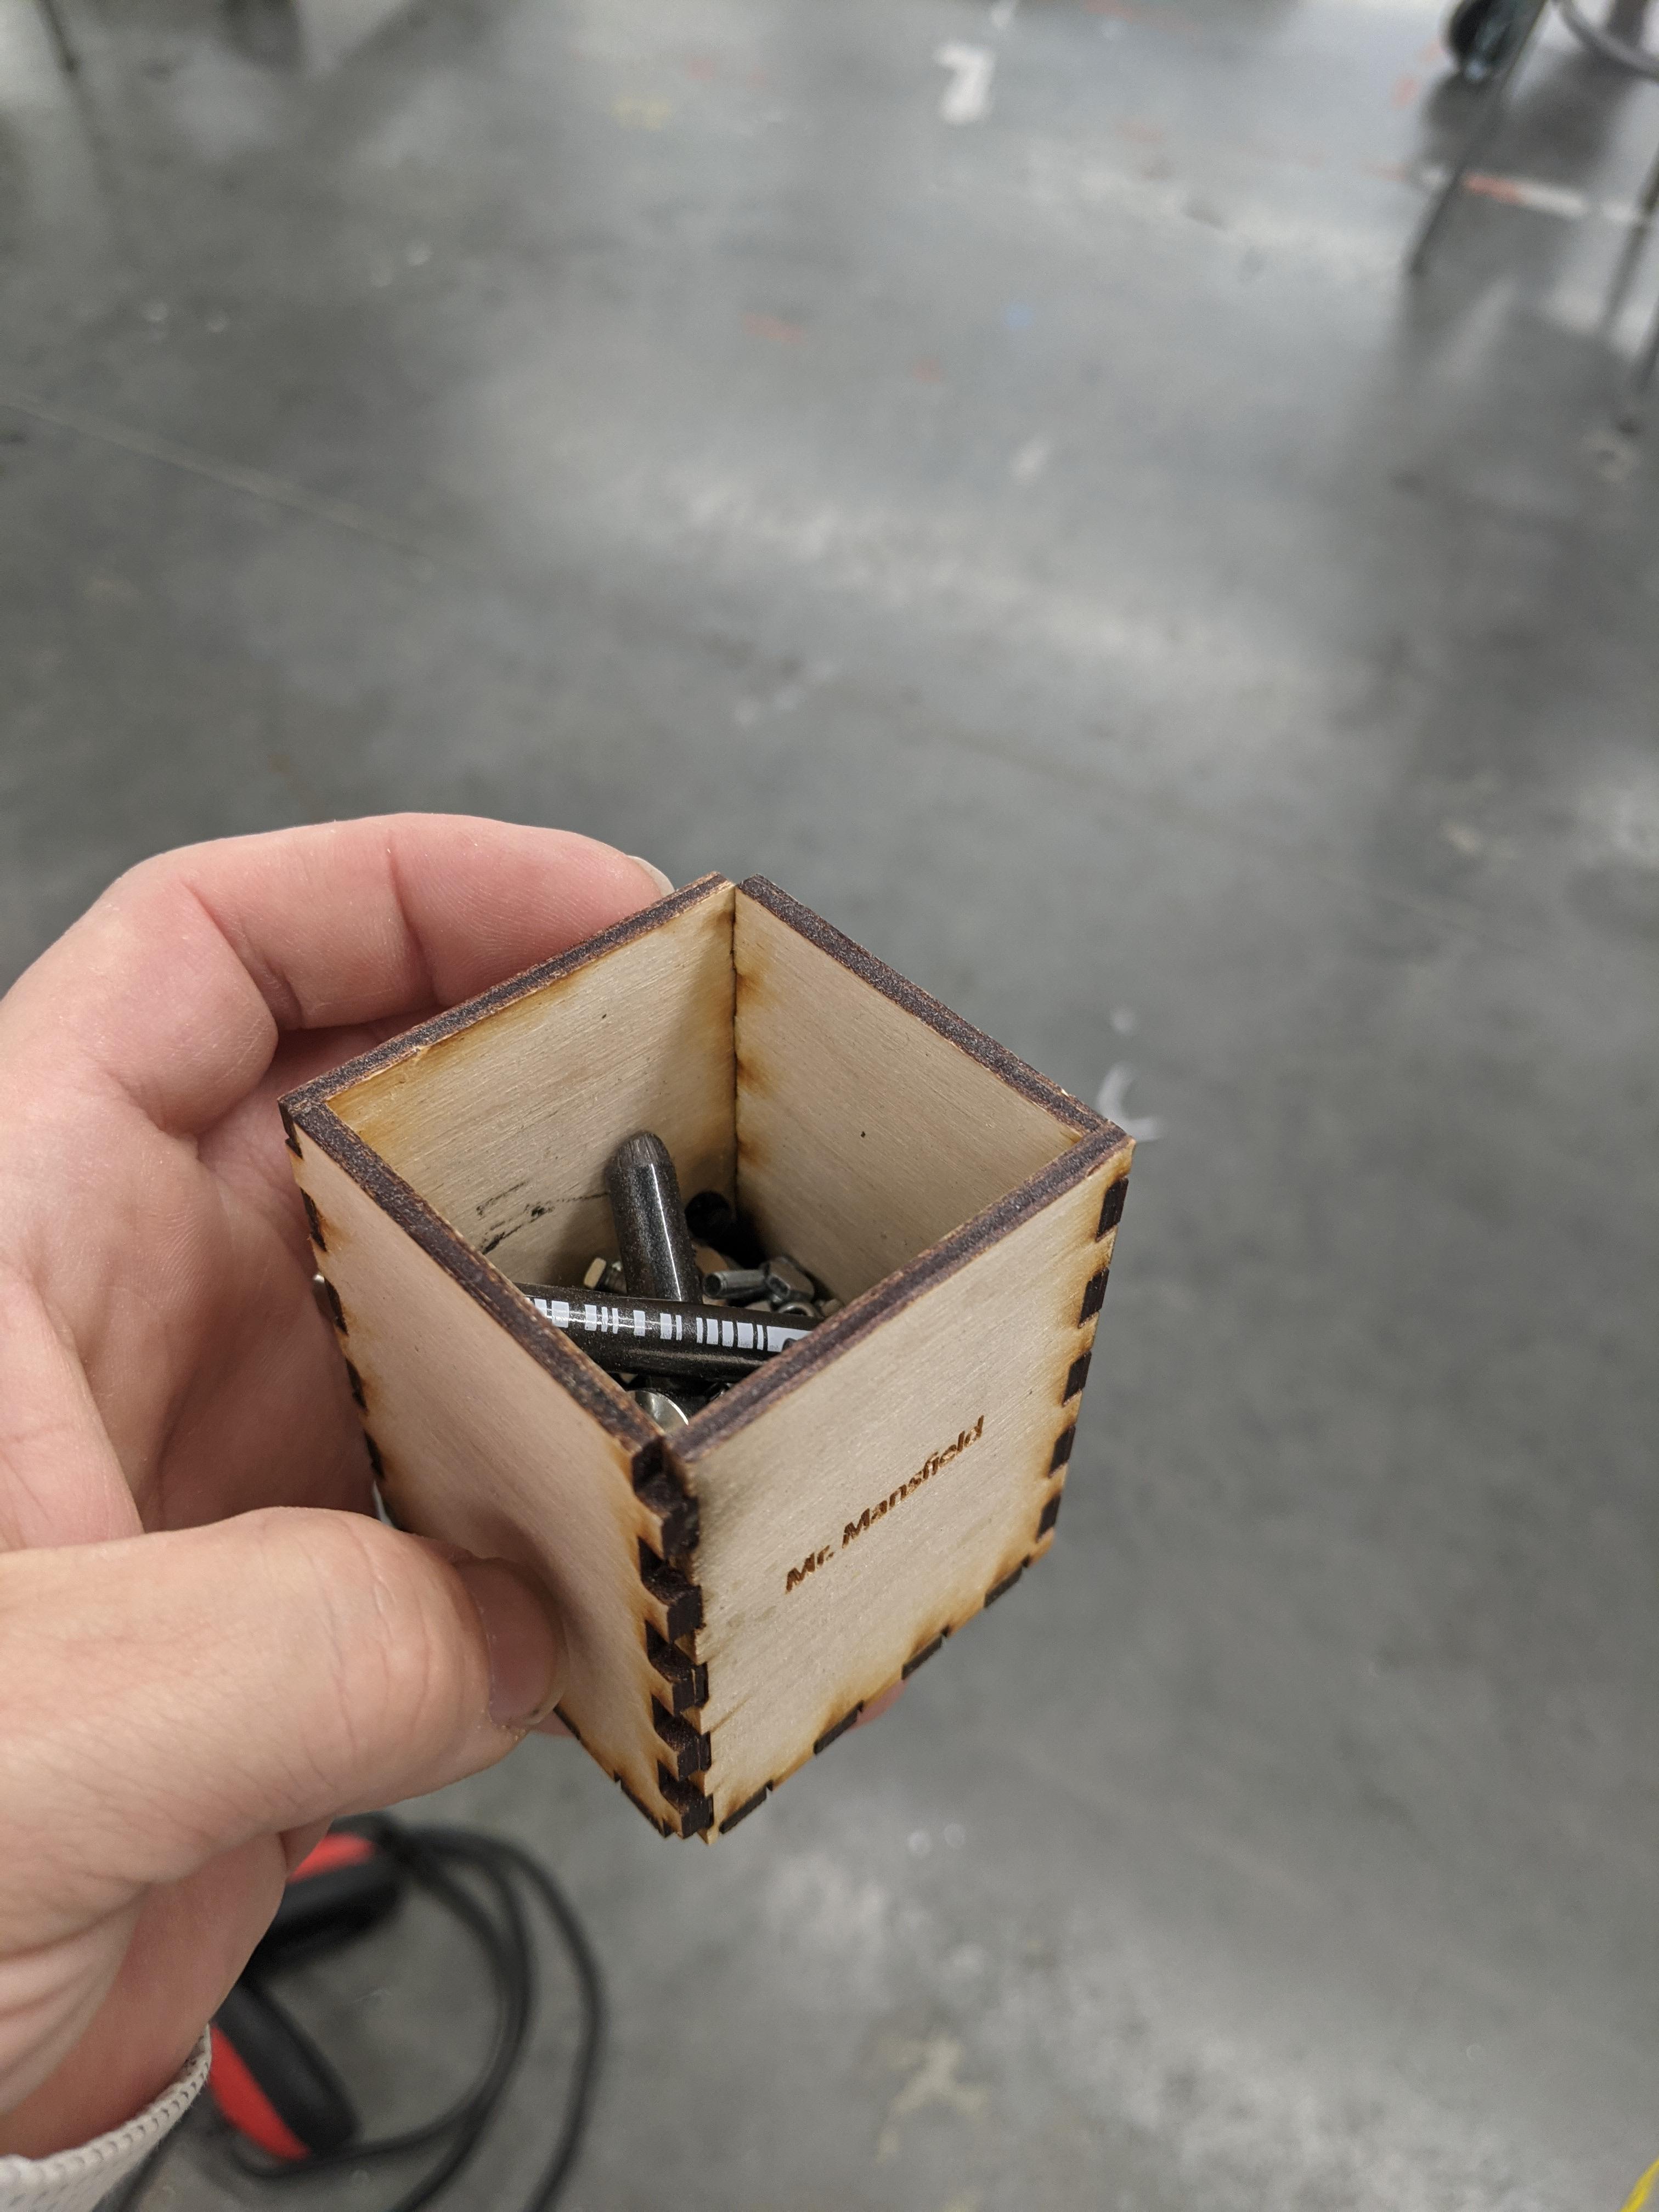
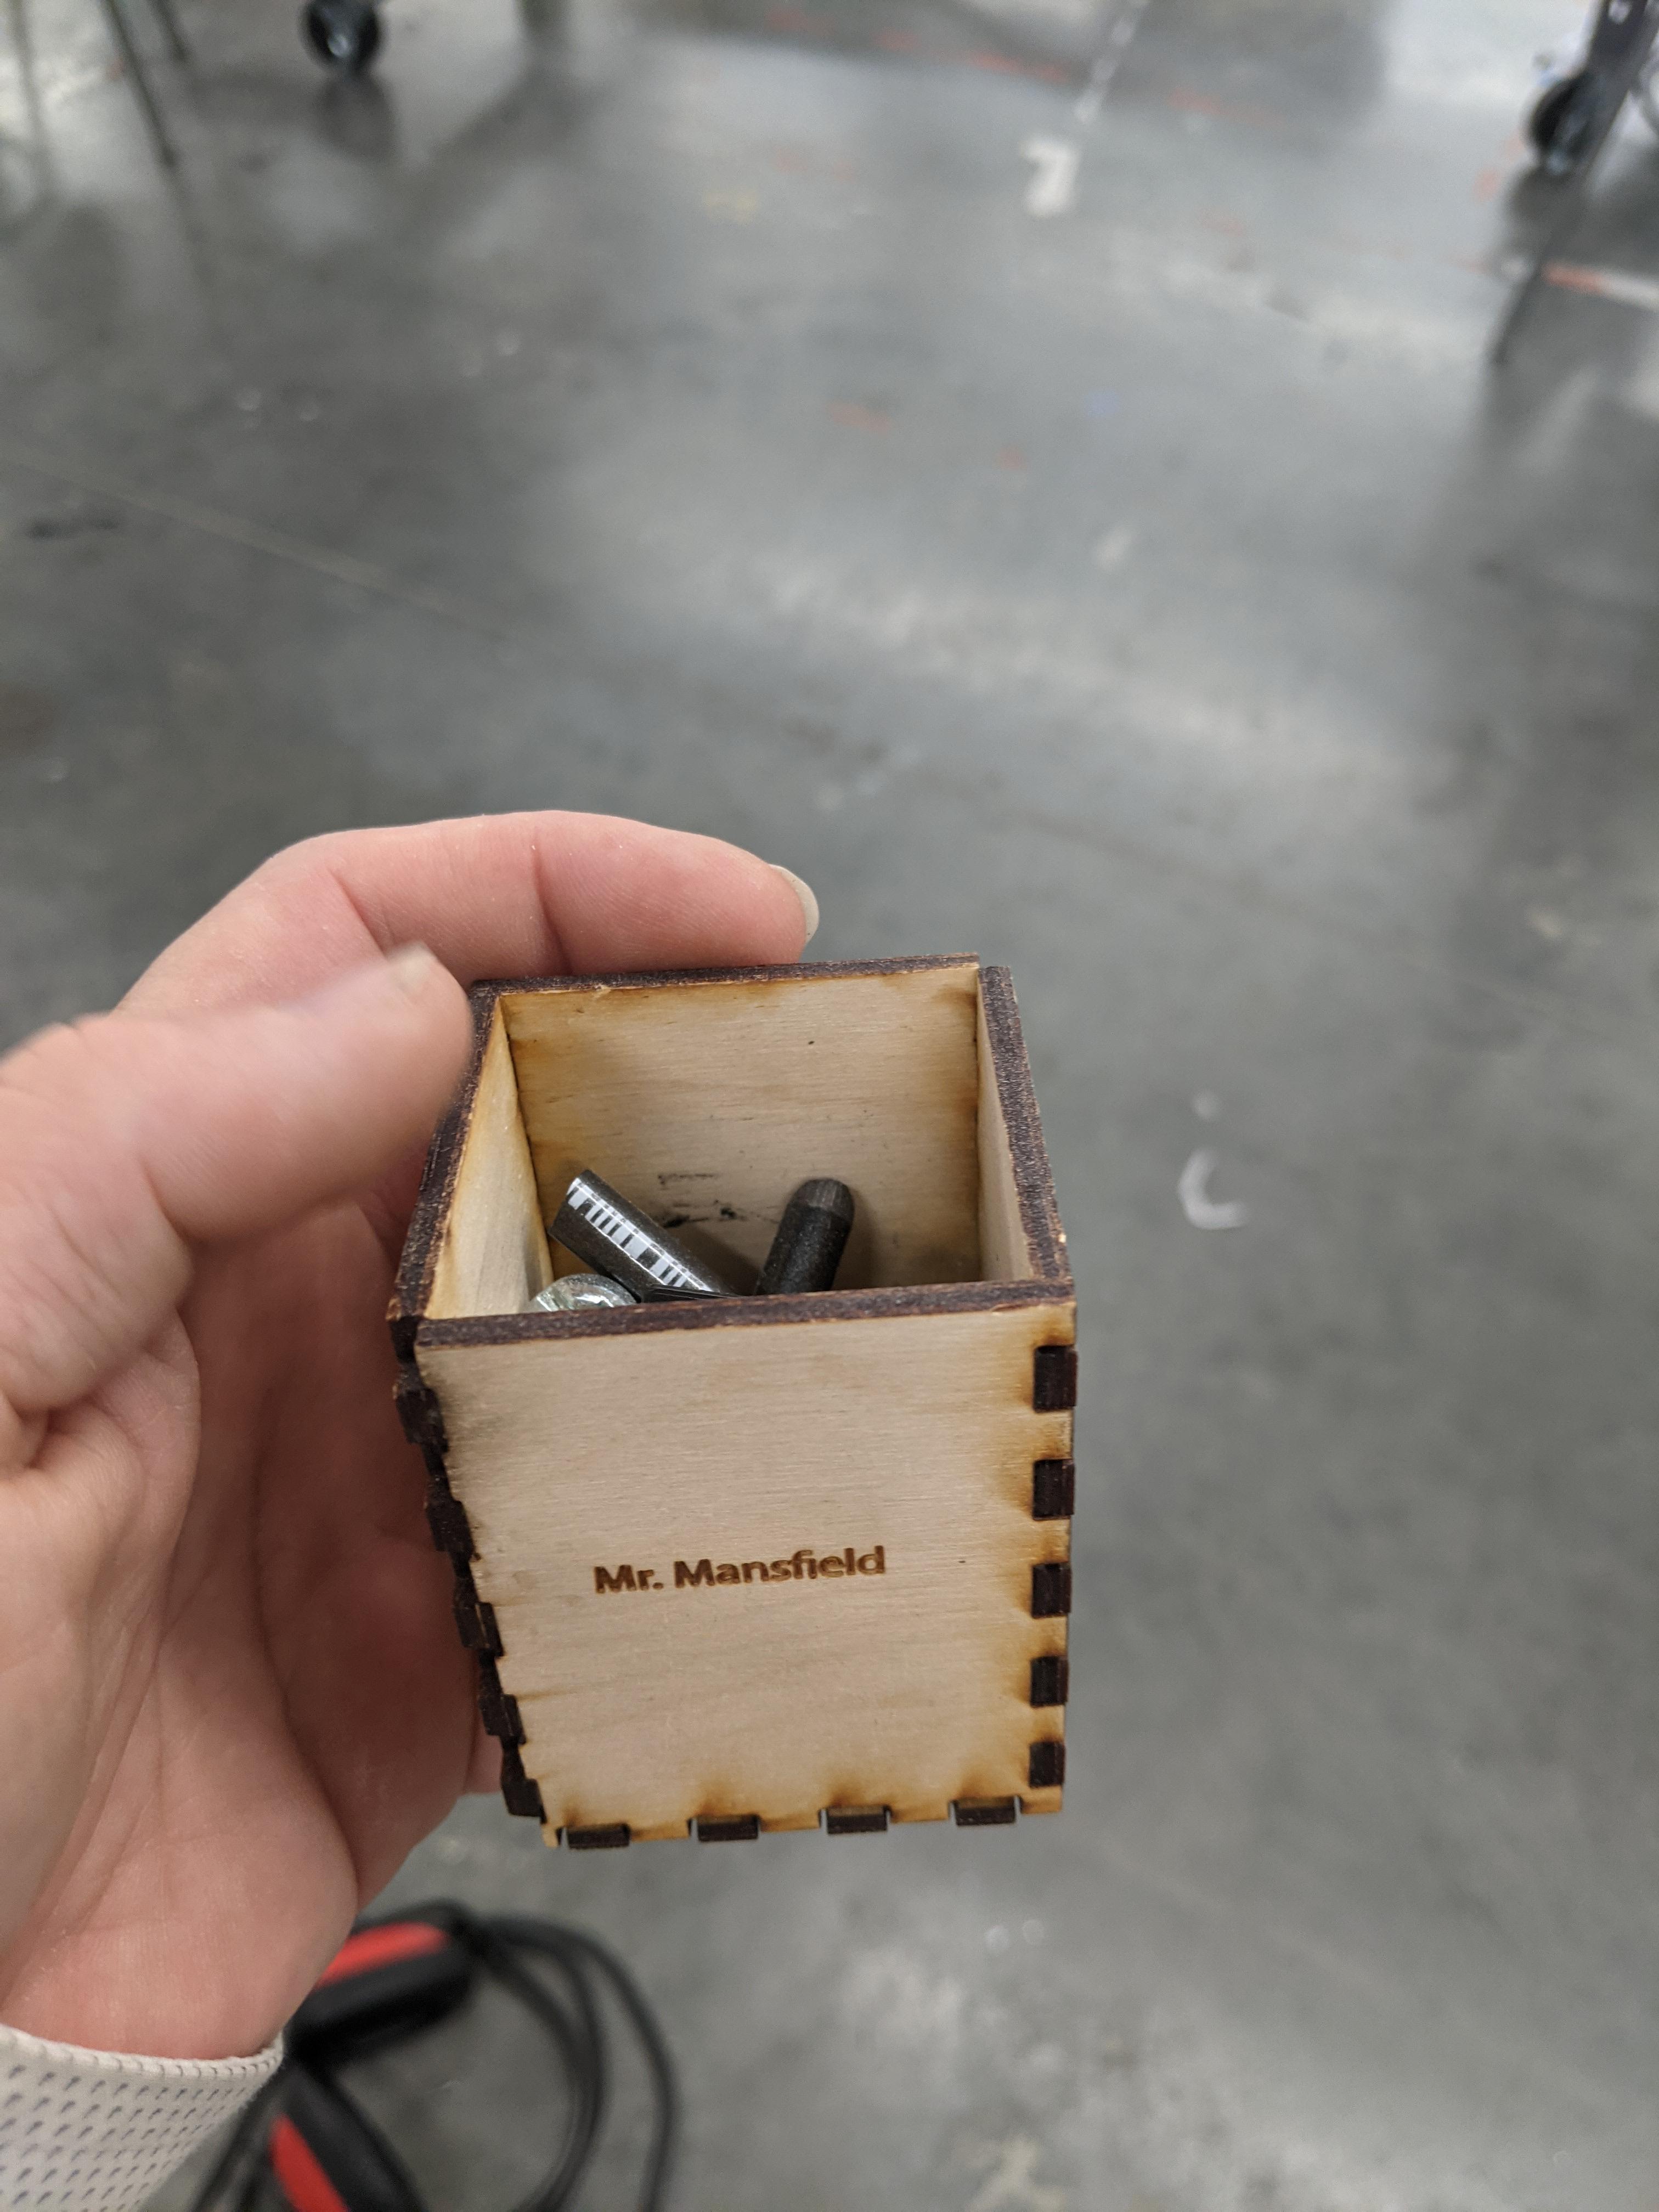
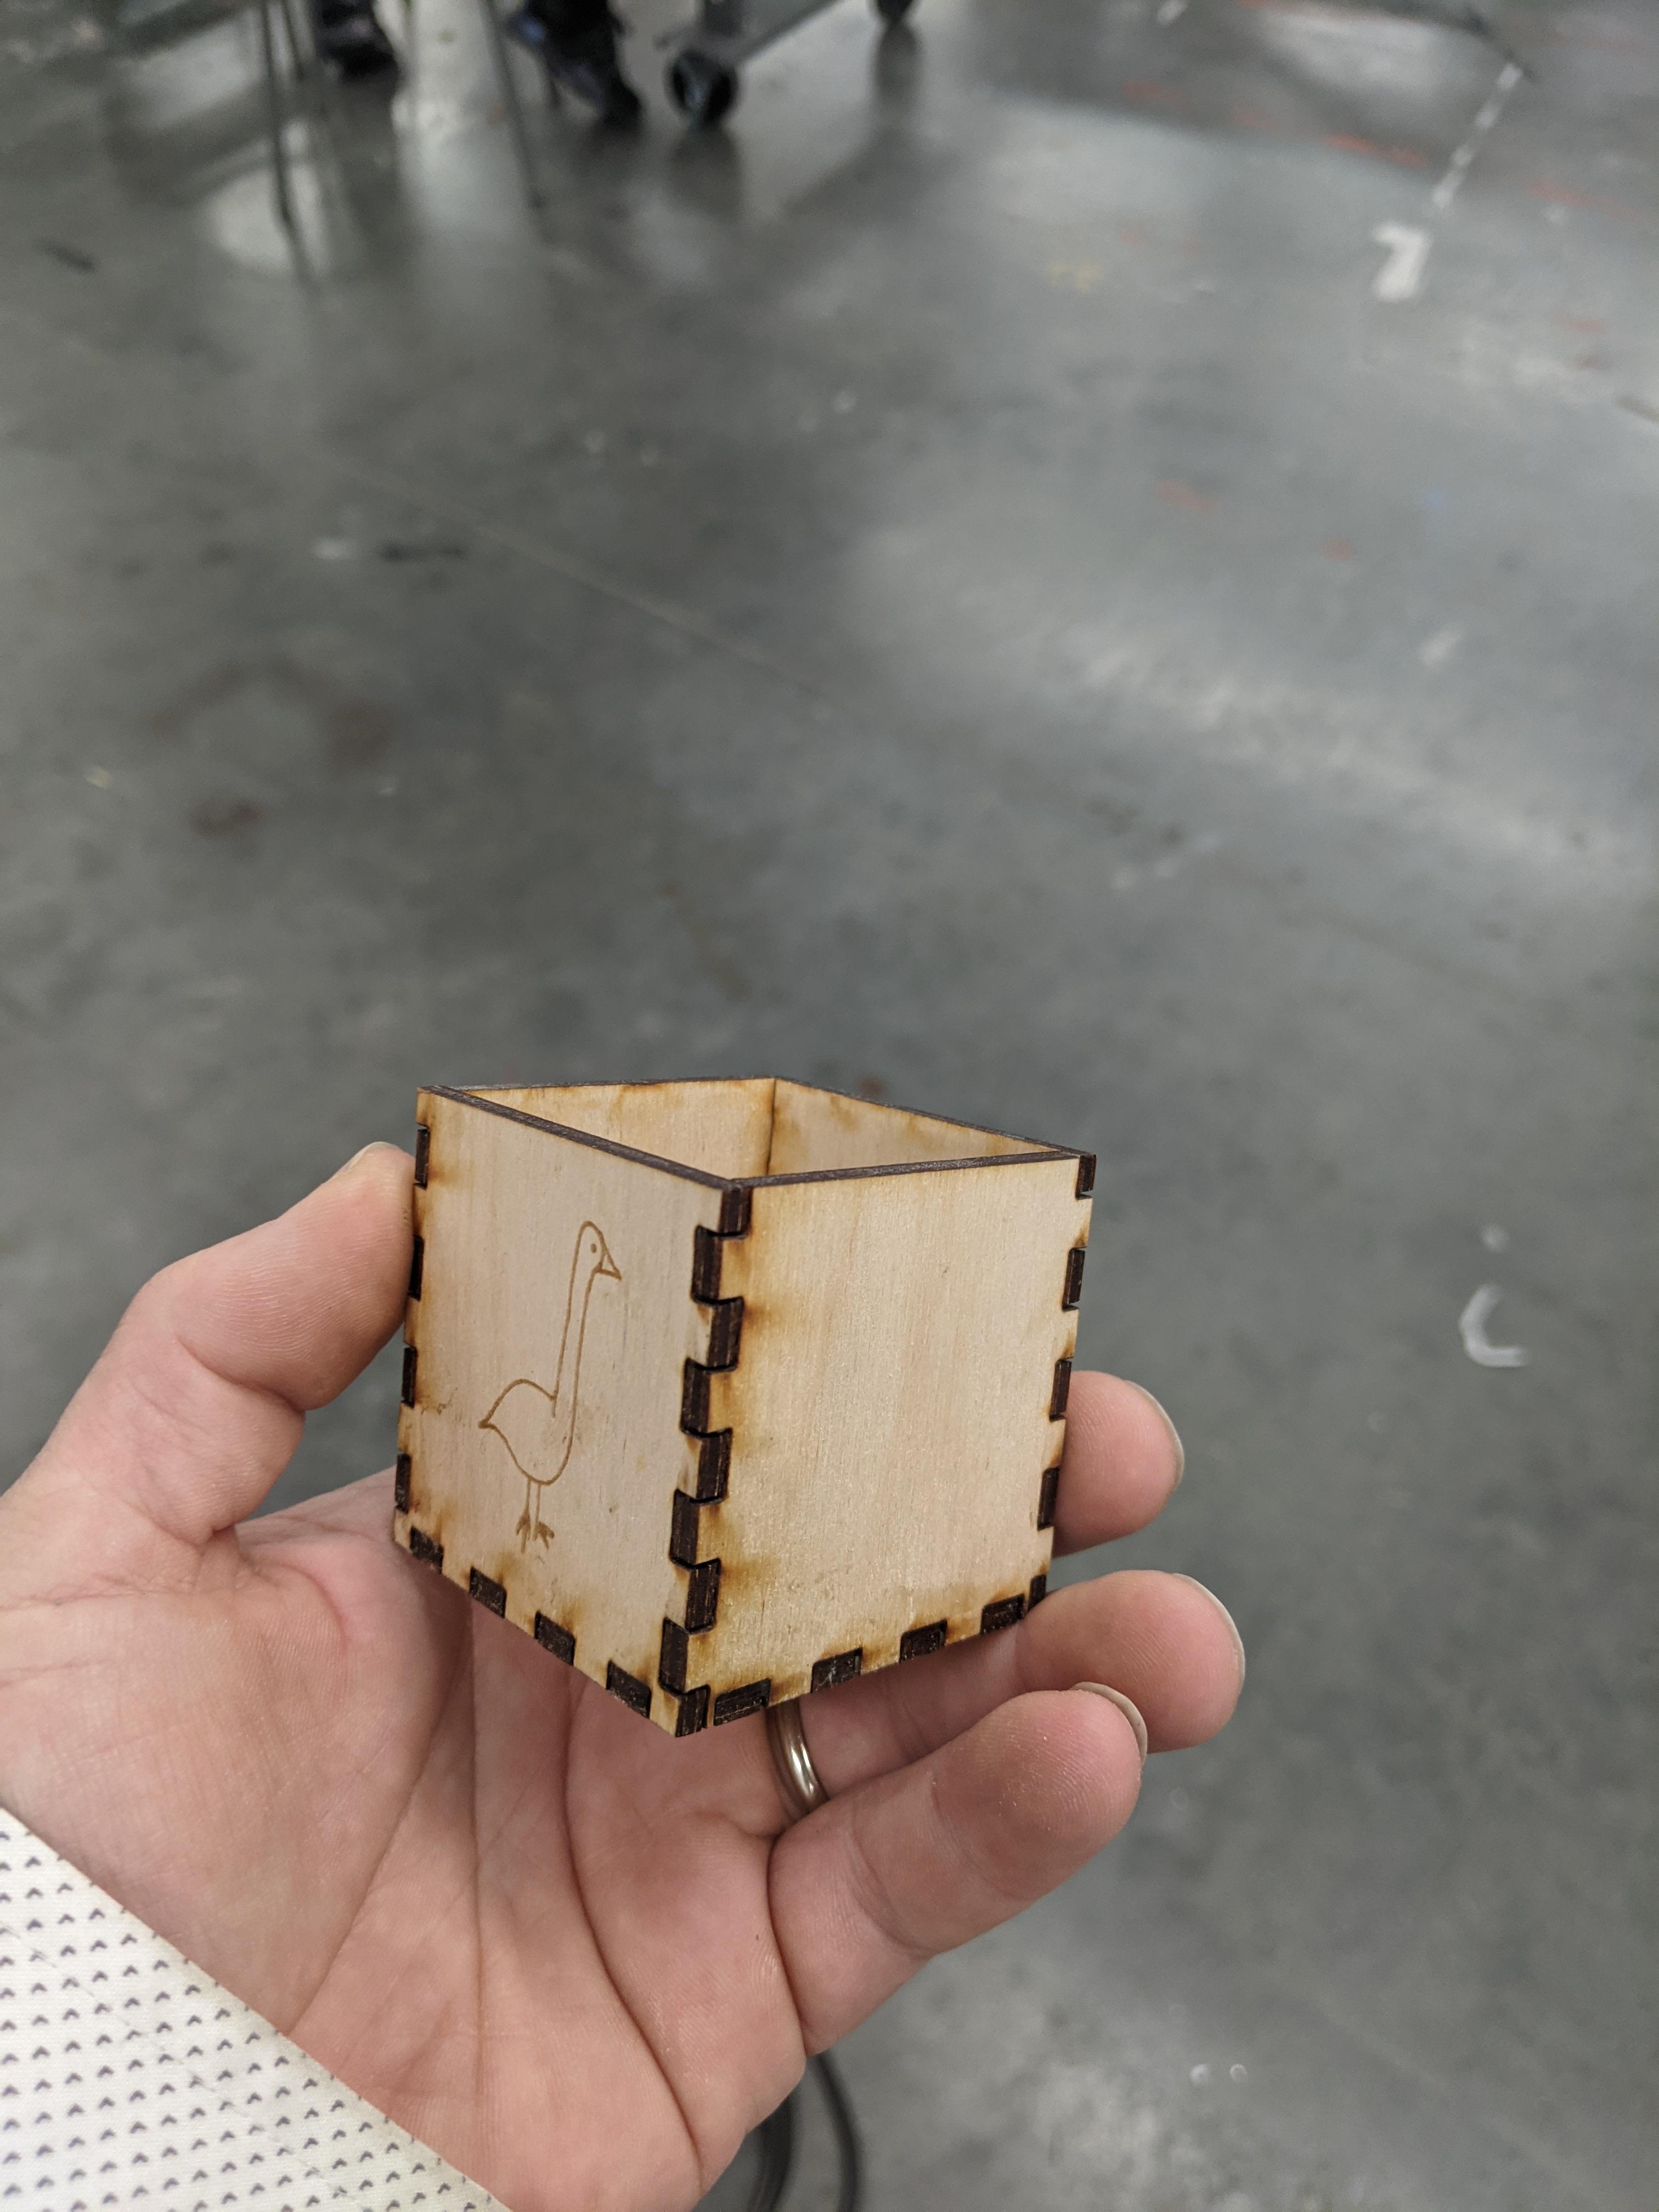
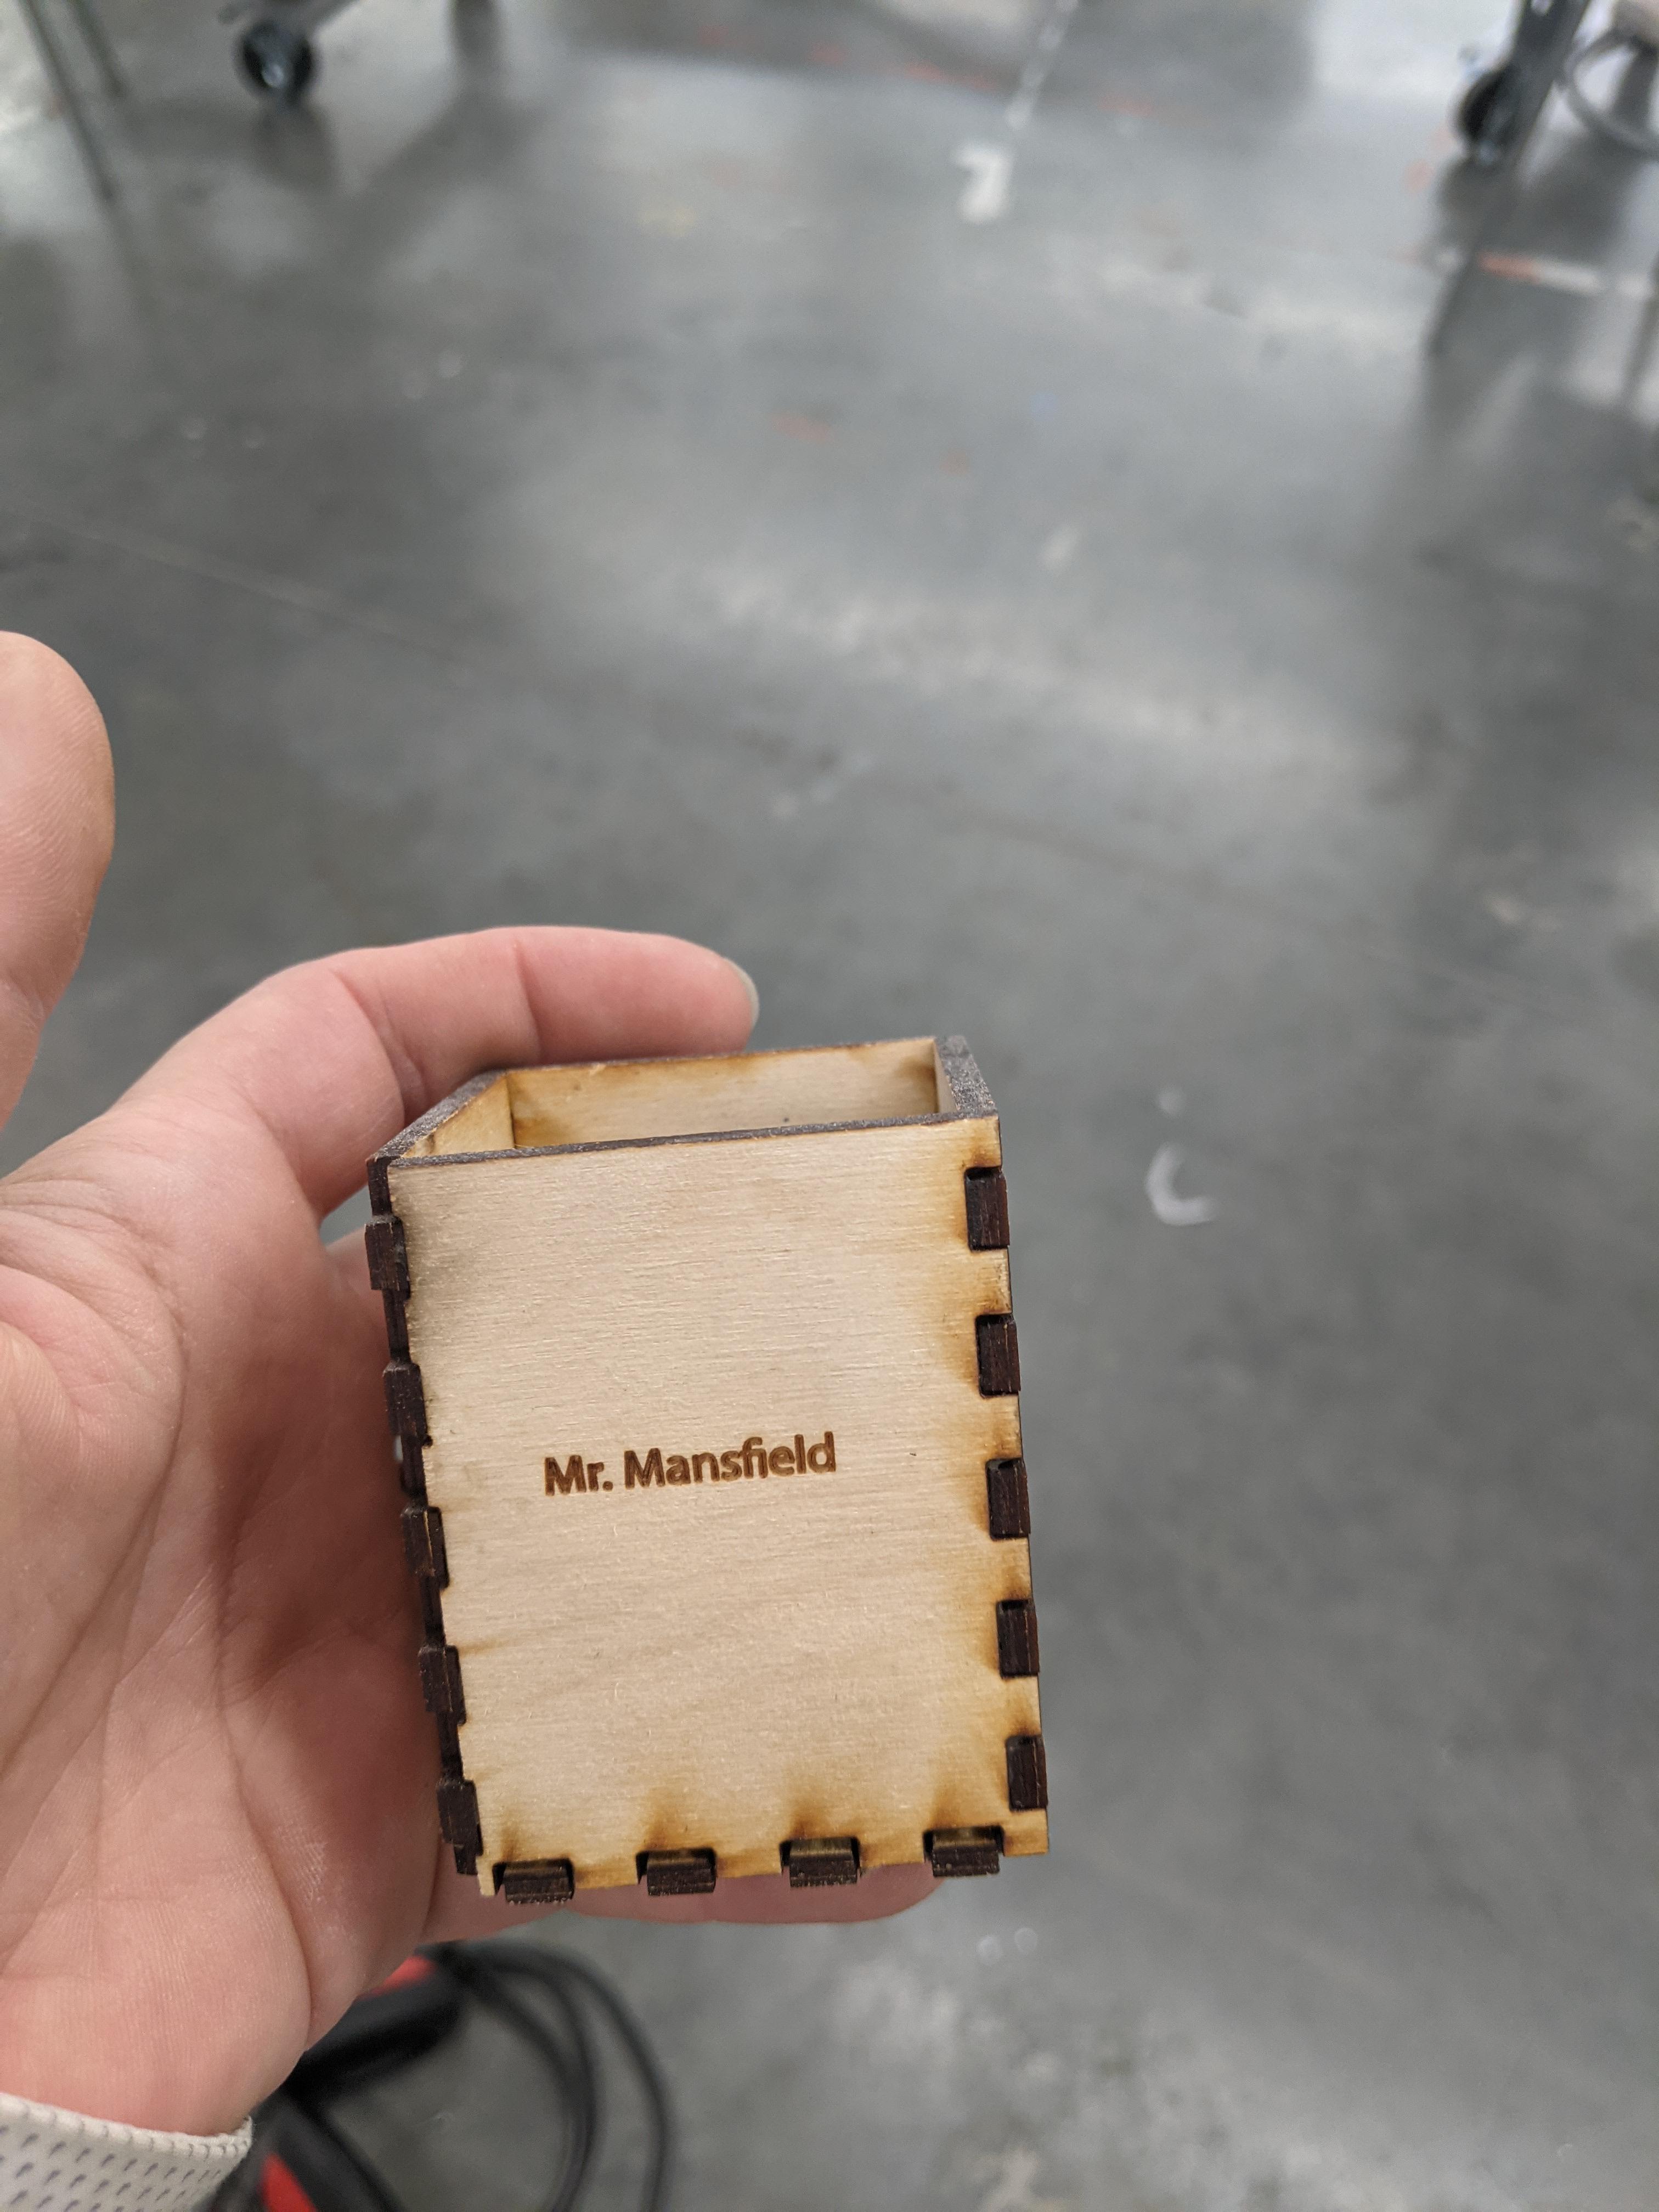
Cut and glue your project!
I use mine to collect all the little stuff on the floor of my lab!