TinkerCad Black Eye Camera
by necapps in Craft > Costumes & Cosplay
769 Views, 0 Favorites, 0 Comments
TinkerCad Black Eye Camera
.png)
Hello and welcome to my first ever Instructable. This one will be teaching you how to make the Black Eye Camera from the video game Rainbow Six Siege. I hope you can find this useful.
Good Luck
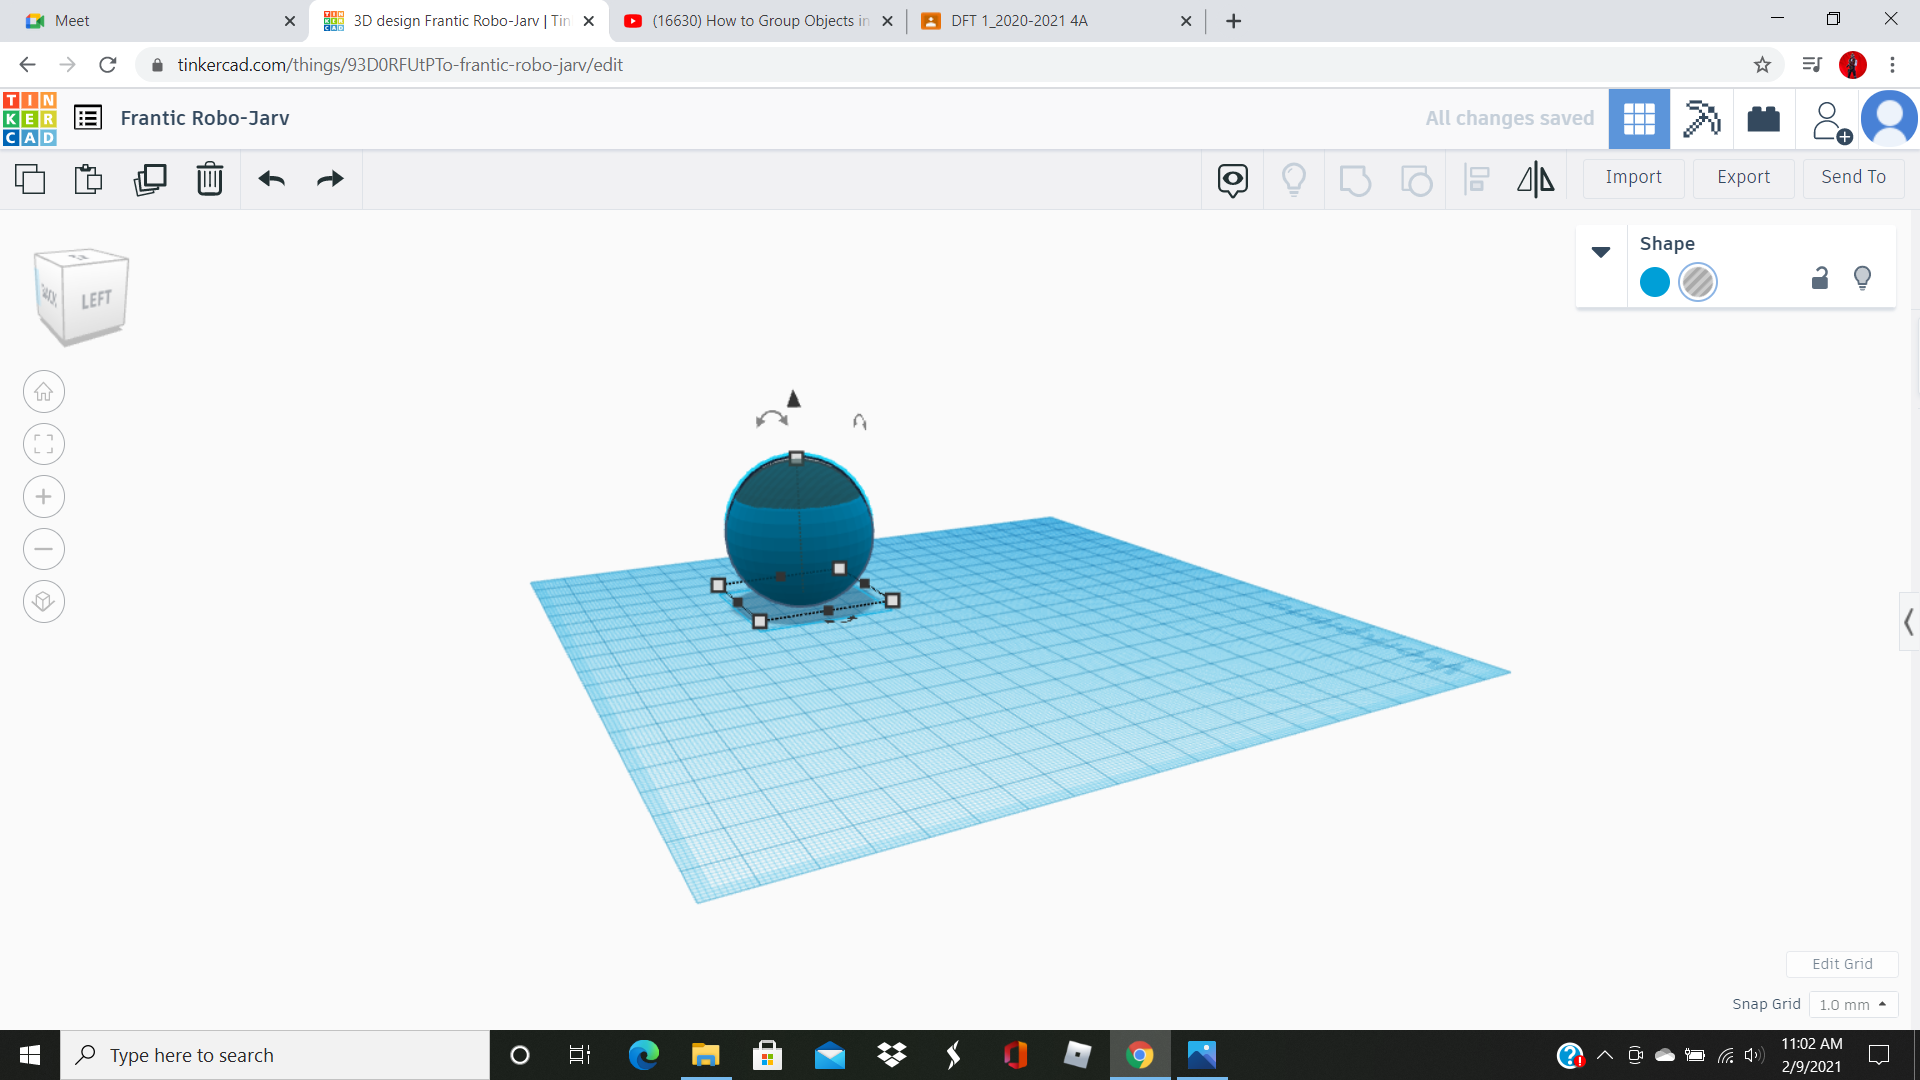
Step 1
Take the Sphere shape and resize to 42.00 on all parts.
Step 2
Now get a second sphere and make it a hole. Resize to 40.00 and line up the hole with the sphere.
Step 3
.png)
Now push the hole down in the sphere (Like the one above).
Step 4
.png)
Now we need to group the hole and the shape together . If you don't know how to here's a link (https://www.youtube.com/watch?v=IiWWjliIdVs)
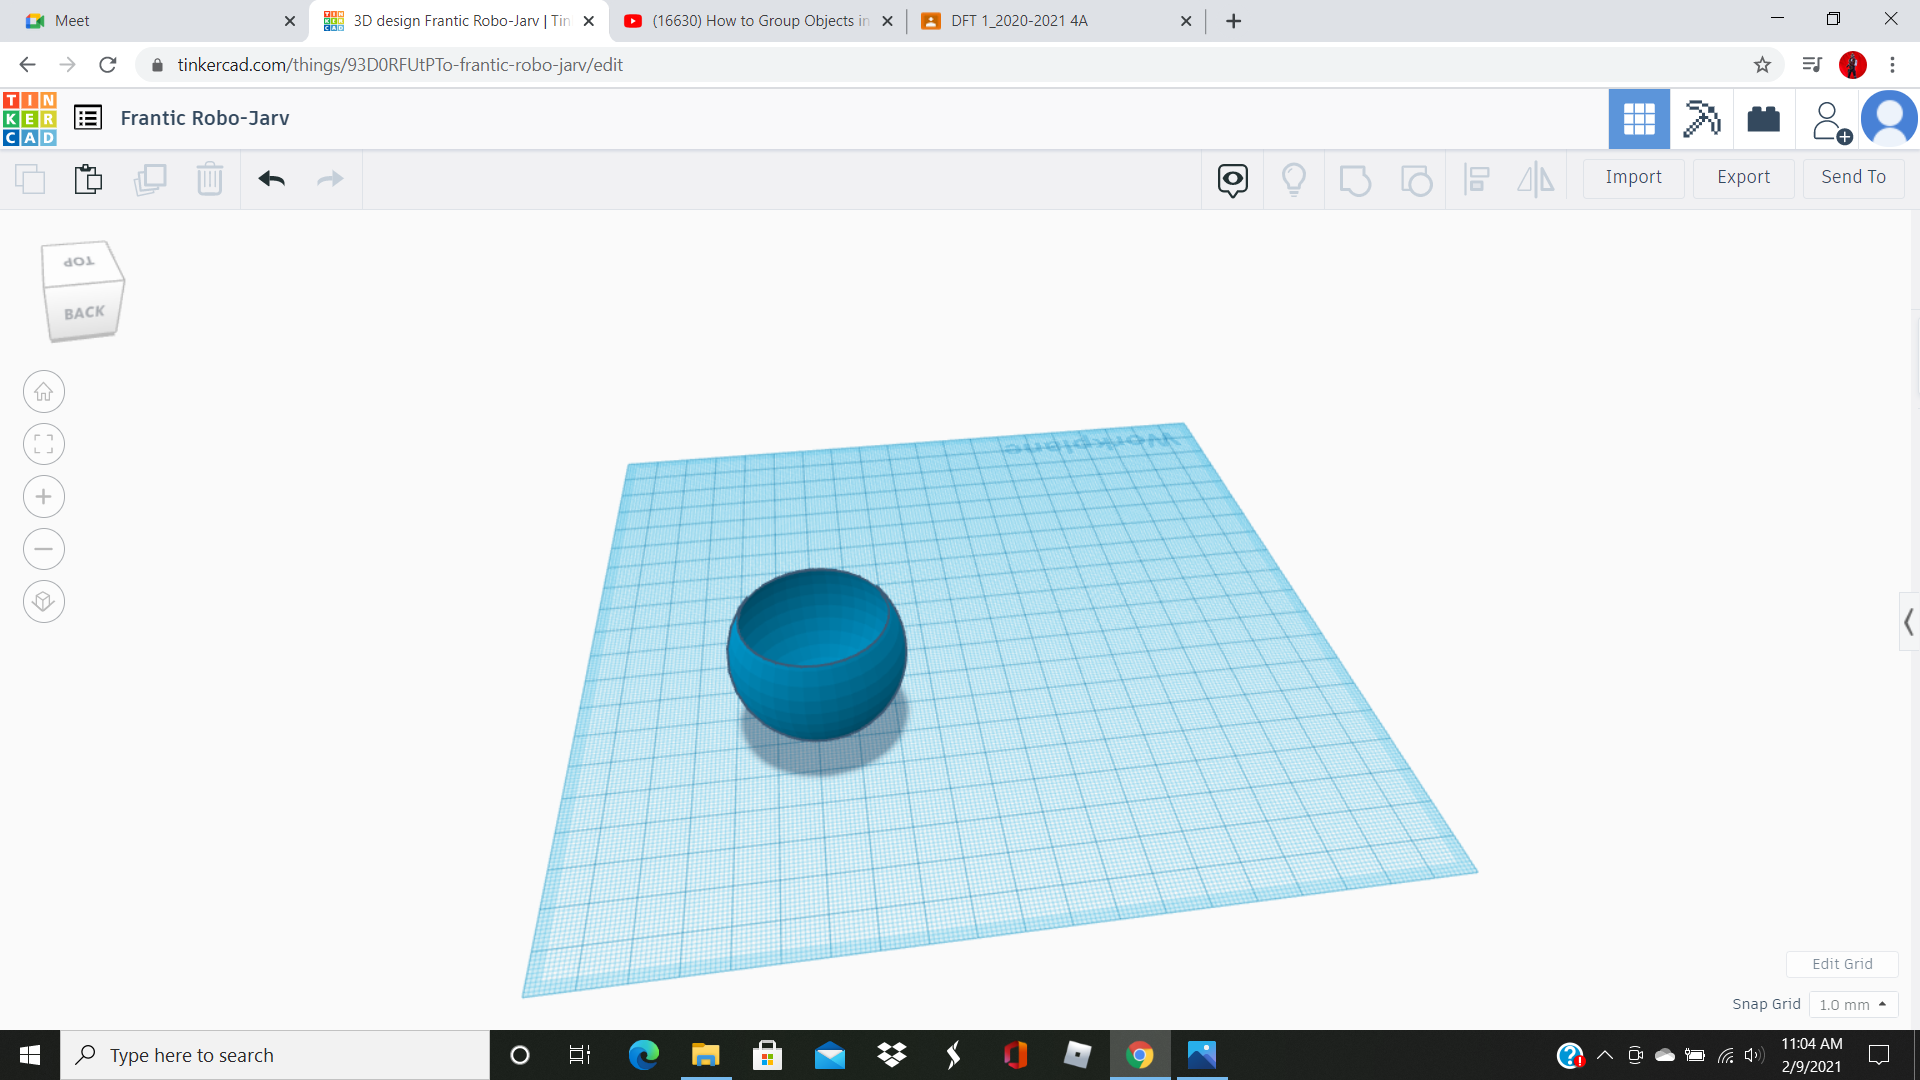
Step 5
Your sphere should have an open top now for you to insert the internal pieces.
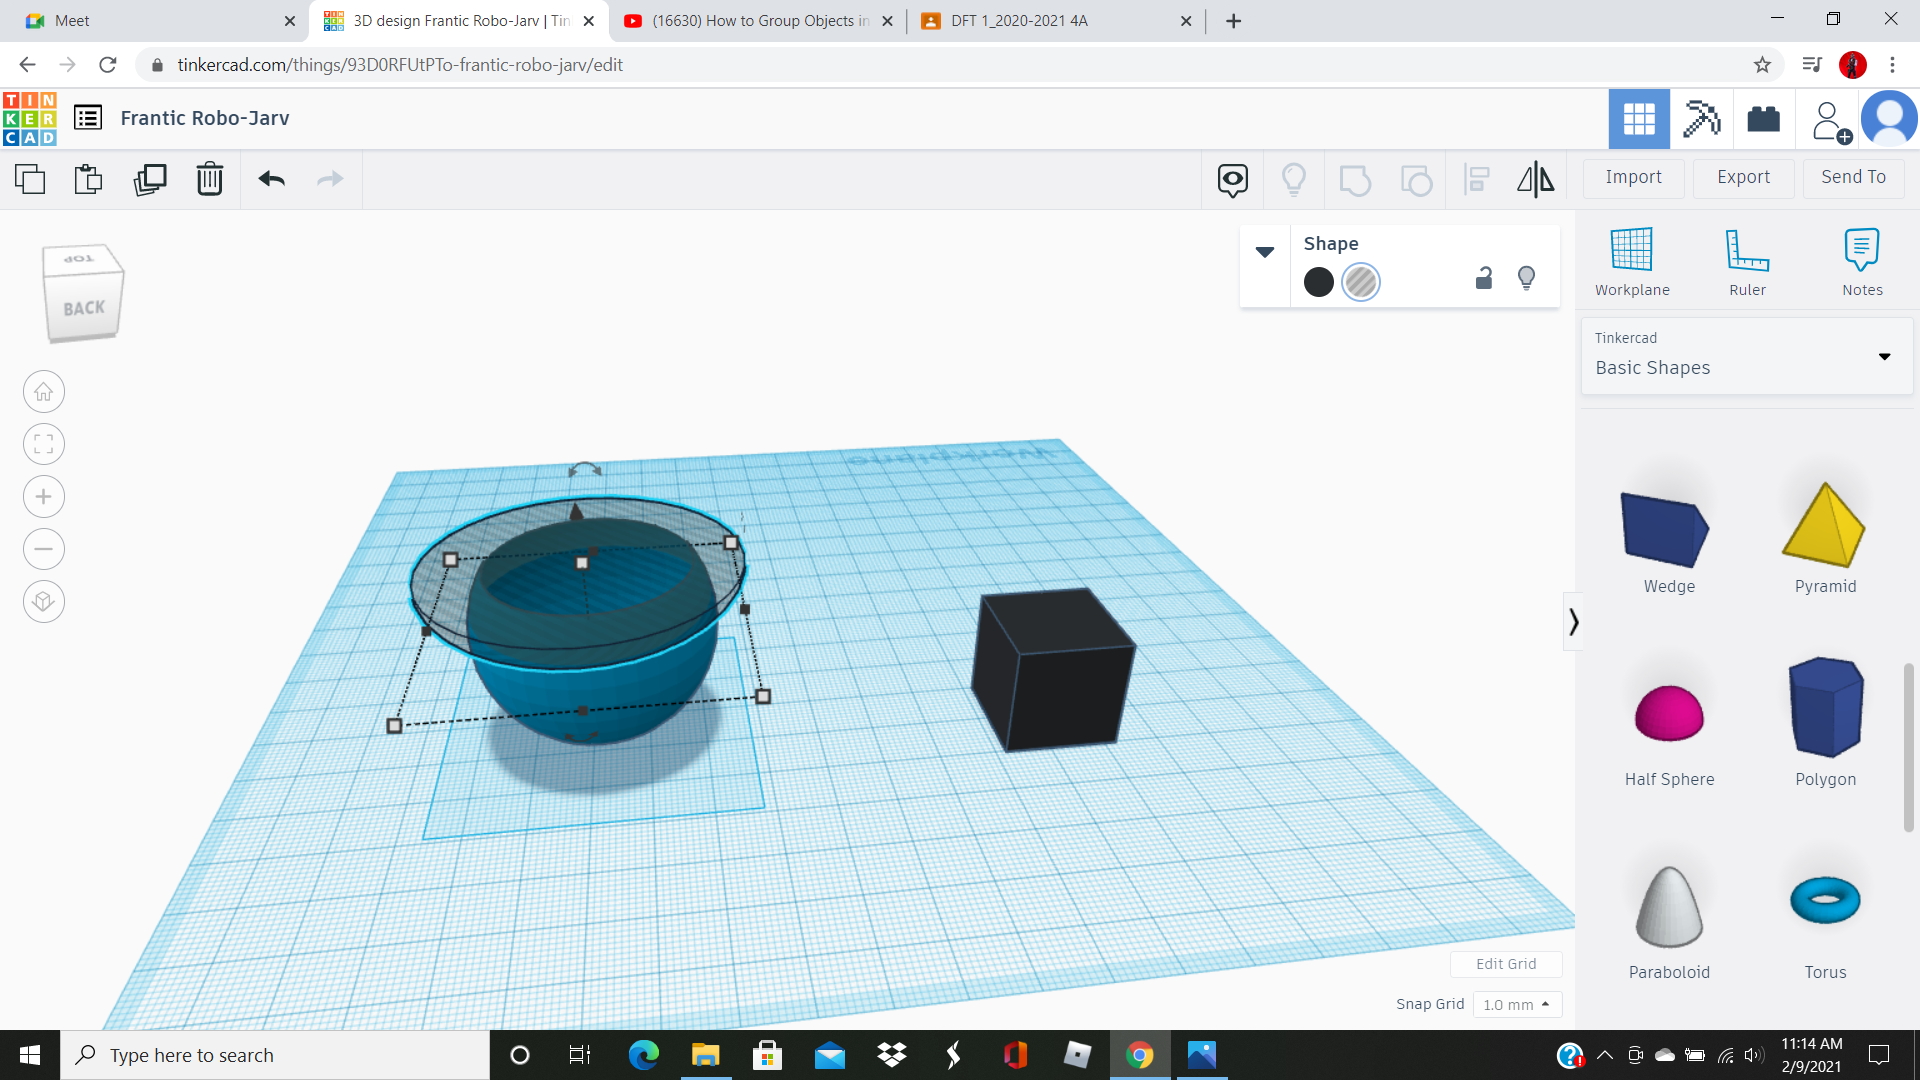
Step 6
Grab a box shape and another half sphere. Make the colors black on both shapes.
Step 7
Turn the half sphere over 180 degrees and resize it to a height of 11.00 and the others to 54.00 and make a copy of the half sphere.
Step 8
.png)
One half sphere should stay solid and the other one should be made to a hole. Line the hole up over the sphere and group together
Step 9
.png)
Make your solid half sphere resized to a height of 11.00 and then 34.00 and 33.00 on the sides and insert into the sphere.
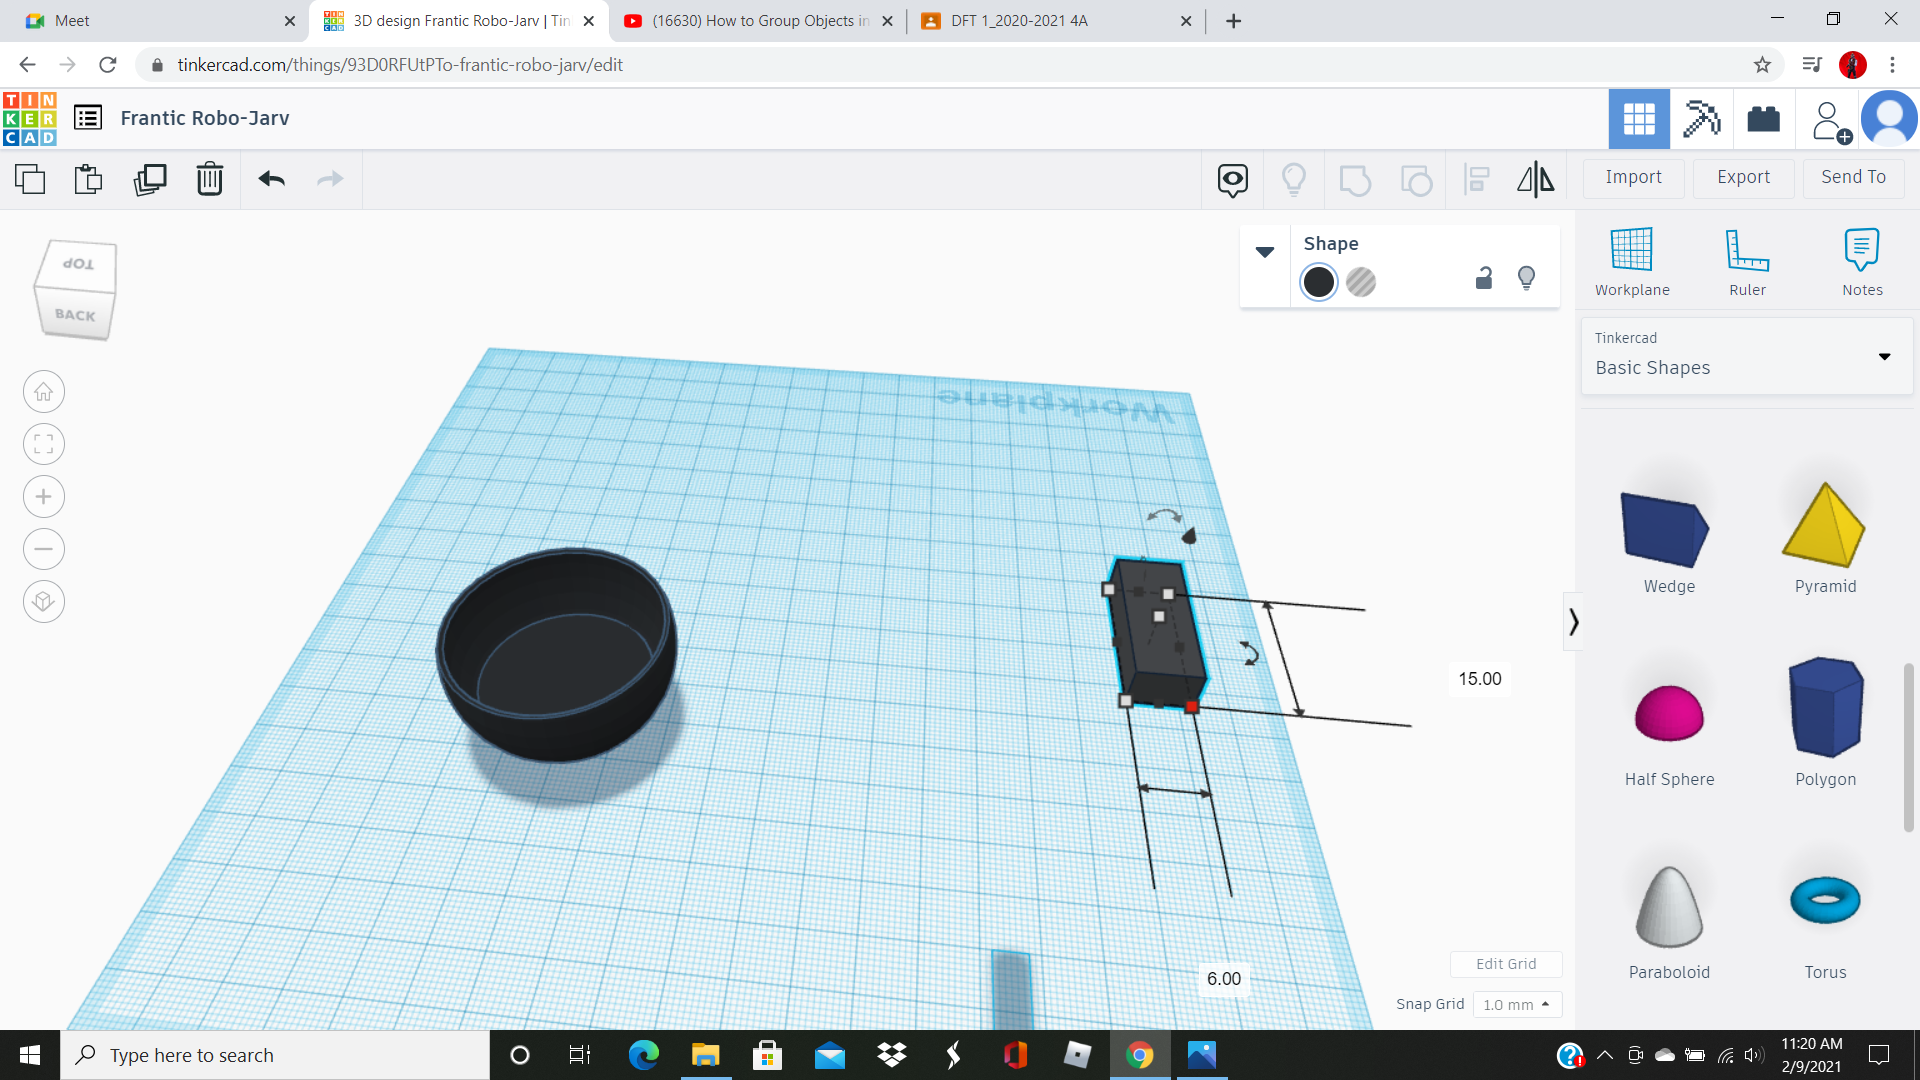
Step 10
Take your box and resize it to a height of 4.00 then 6.00 and 15.00 and make it blue, now make two copies and color one red and the other yellow.
Step 11
.png)
Insert the colored boxes towards the middle of your sphere and have them in a even row.
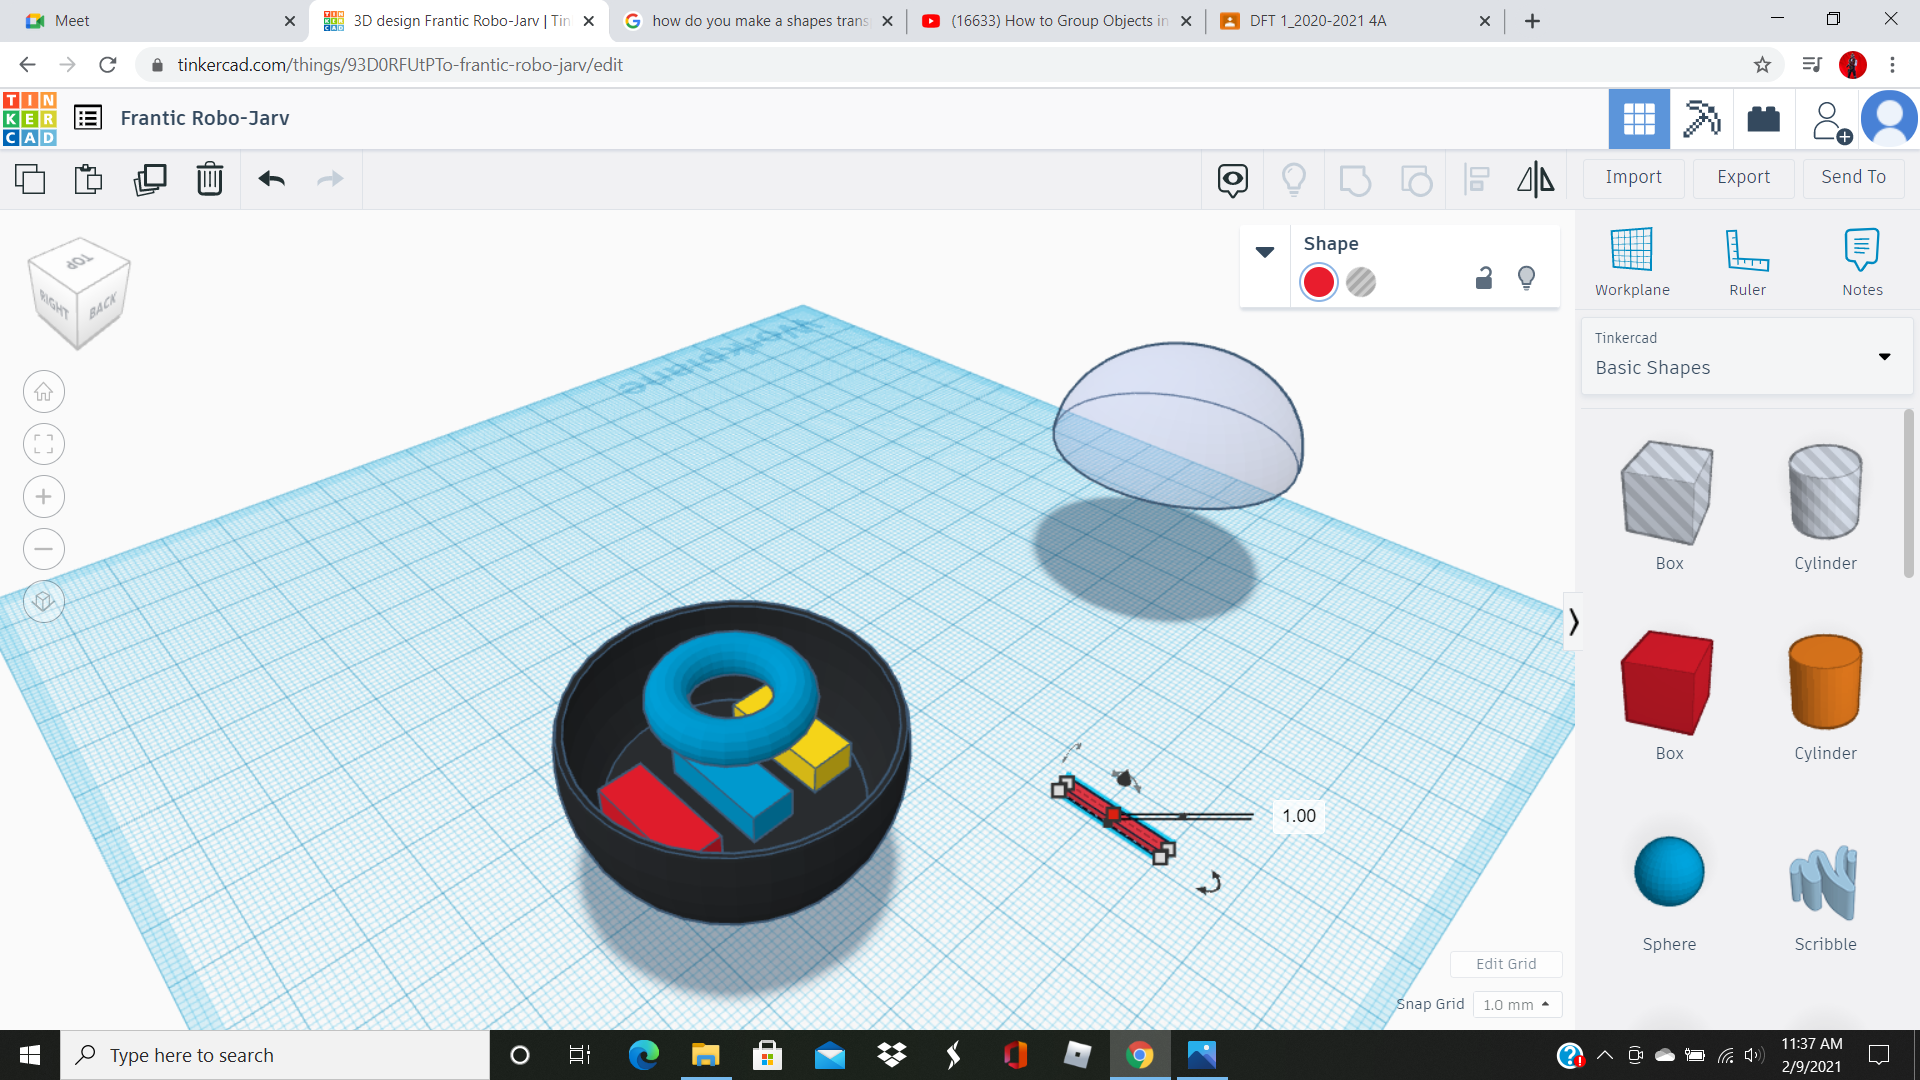
Step 12
Grab another half sphere and resize it to 12.00 in height and 40.00 and 41.00 on the sides. Now it needs to be made transparent, copy paste the link given to learn how to do that (https://www.google.com/search?q=how+do+you+make+a+shapes+transparent+in+tinkercad&rlz=1C1CHBF_enUS933US933&oq=how+do+you+make+a+shape+transparent+in+tinker&aqs=chrome.1.69i57j33i22i29i30.17429j0j7&sourceid=chrome&ie=UTF-8#kpvalbx=_ObgiYO7mOMratQaqo7DwBA9).
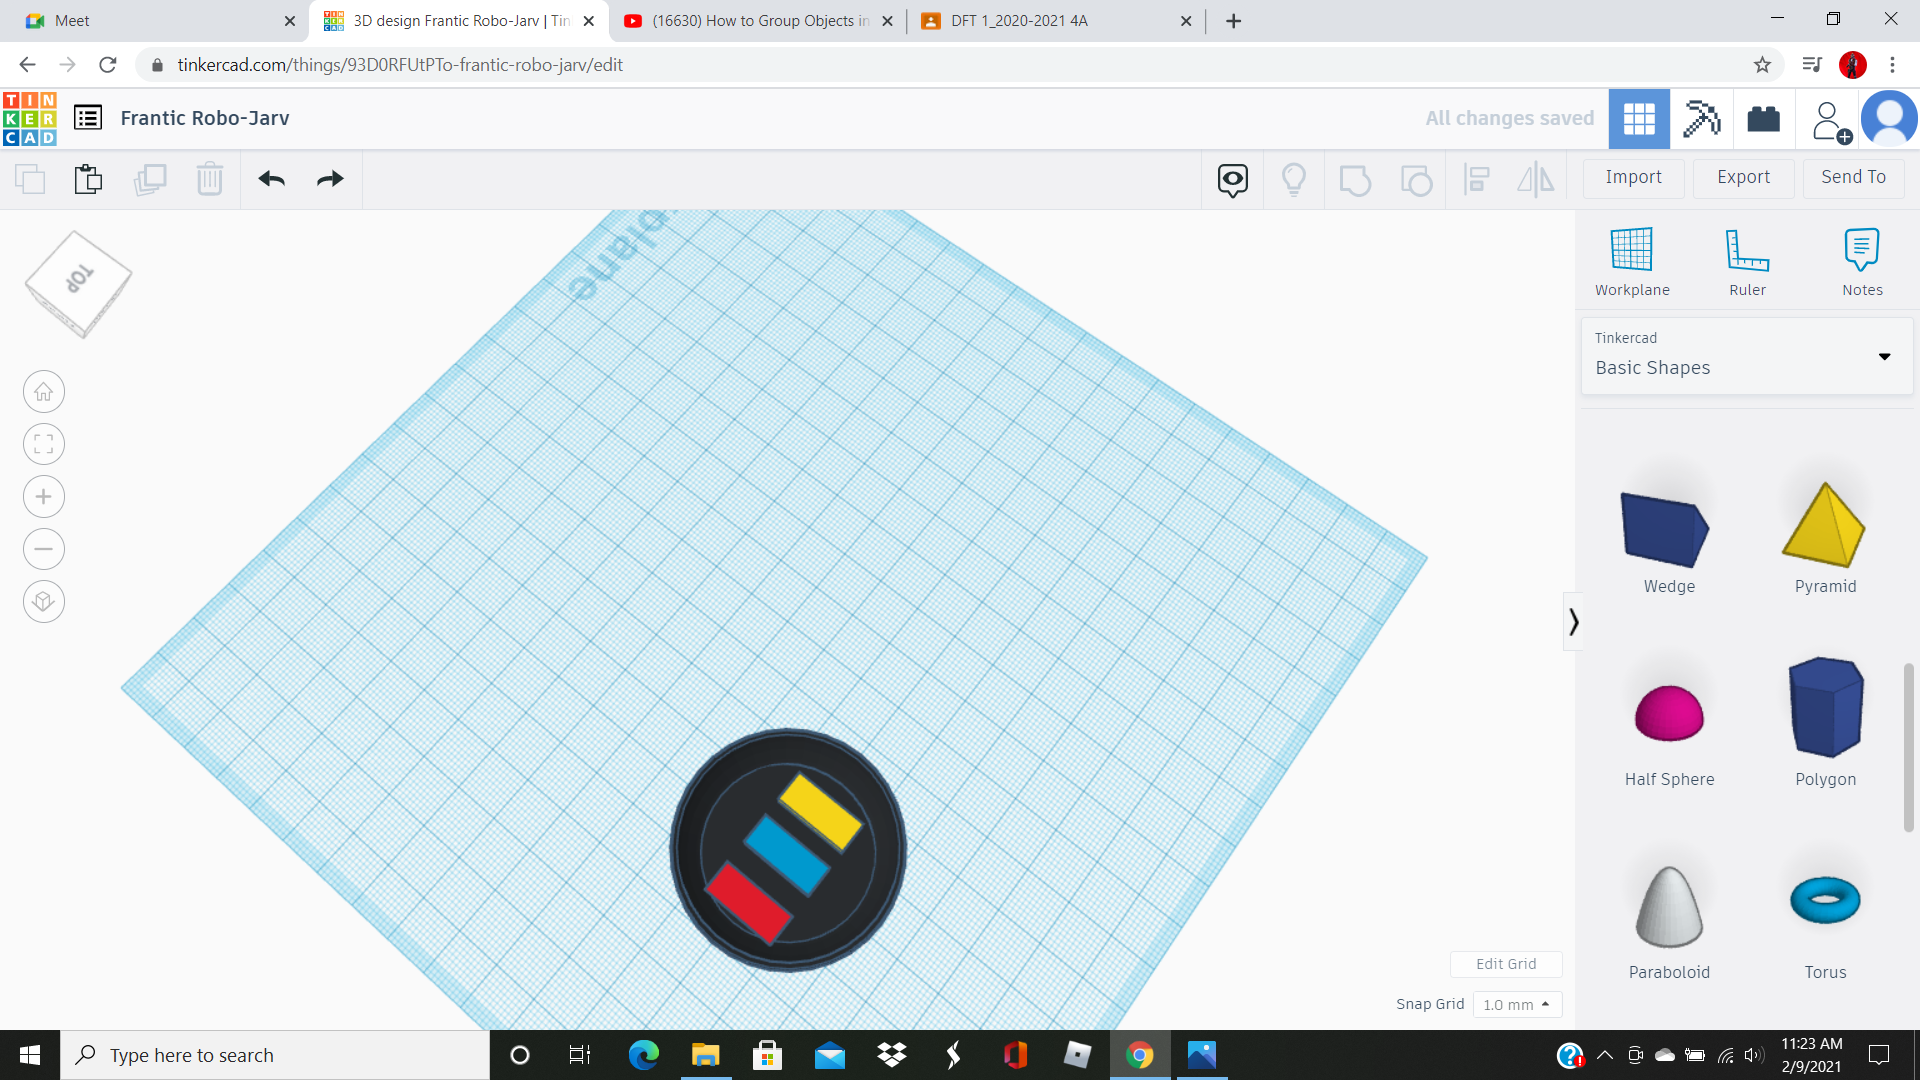
Step 13
Next grab a Torus shape and leave it as default, put it over the colored boxes in the middle of the sphere.
Step 14
.png)
.png)
We need support beams/wires to hold the Torus up so we need to get a box shape and resize it to 1.00, 2.00, and 16.00 and make three copies all red. Then surround the Torus with these beams and group them together. You can then use the multicolor option on the combined torus shape to get it looking right.
Step 15
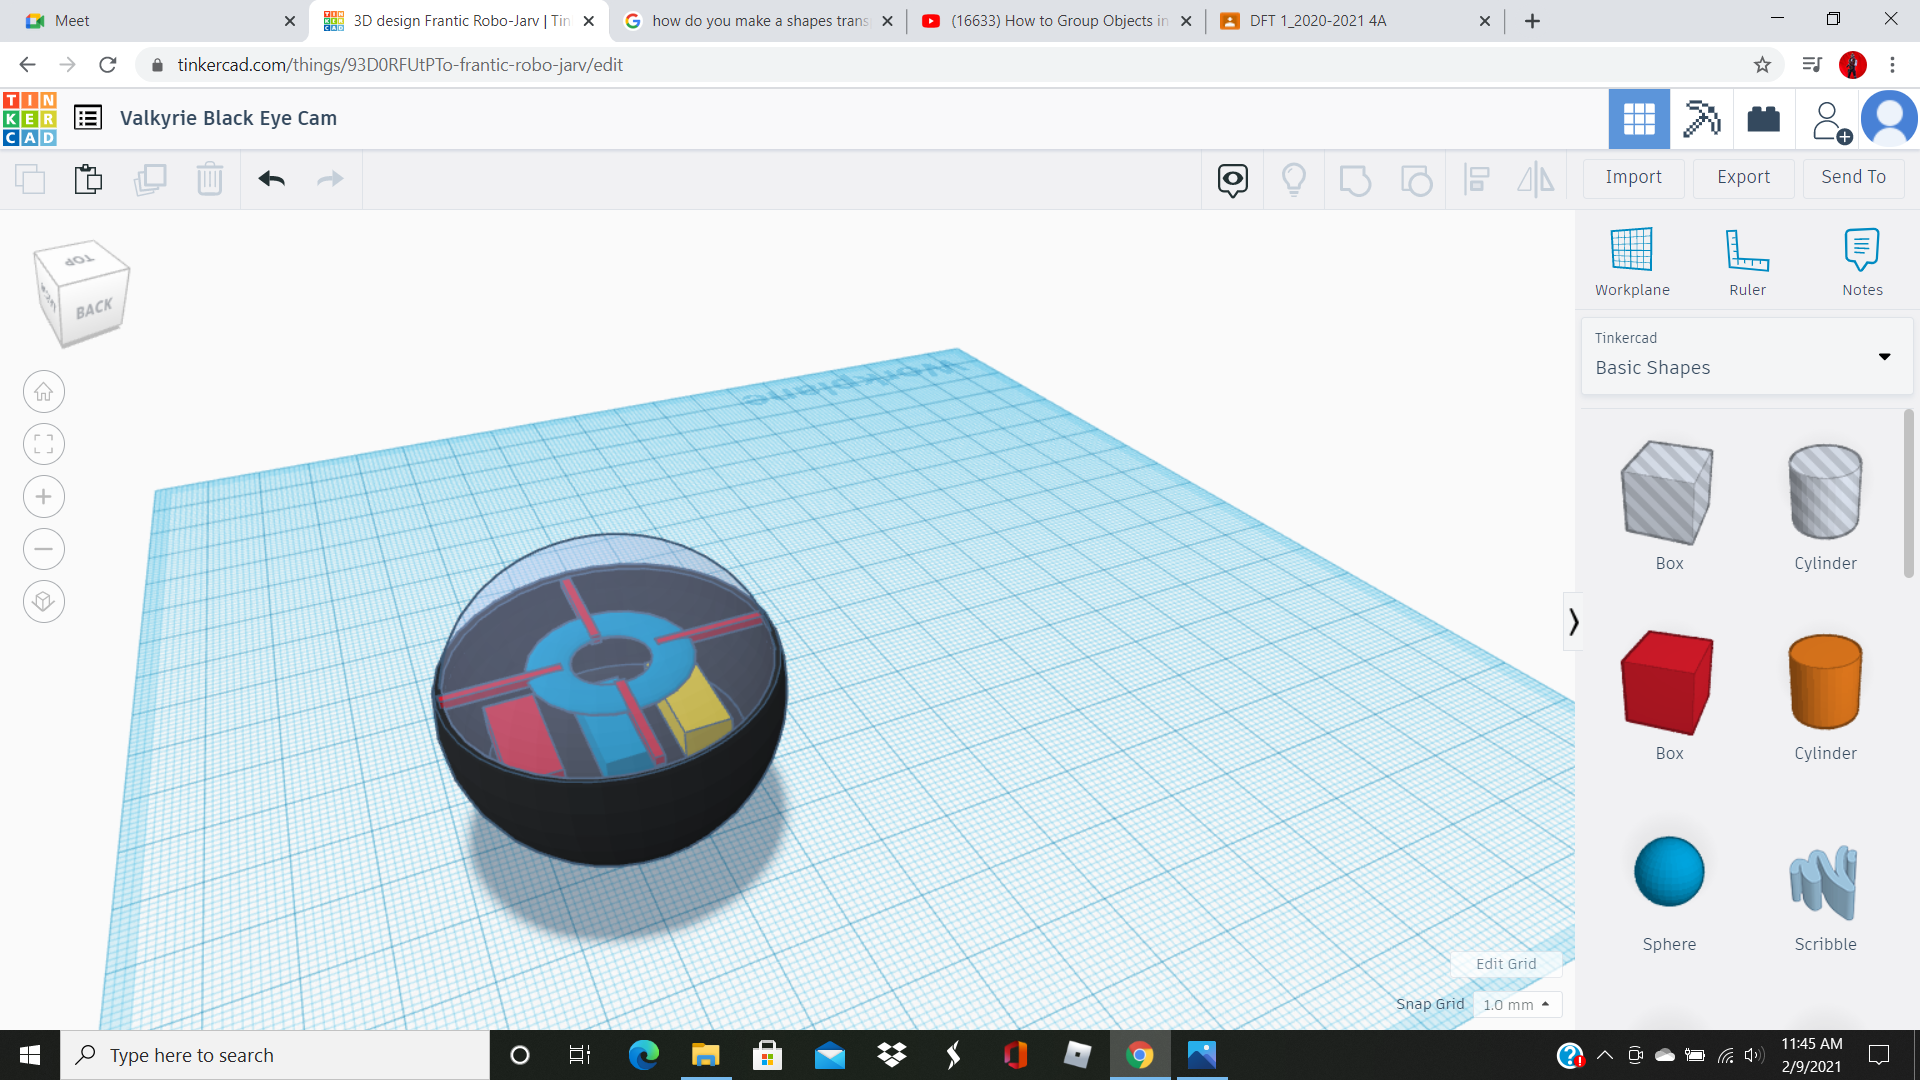
Put the new Torus shape back in its spot over the boxes and then close up the lid with that transparent half sphere. By now you should have you camera done and ready to enjoy.
Conclusion and Credits
I'm new to the Instructable and TinkerCad thing. This is my first ever instructable but I'm planning on making another one soon. It would be this exact same shape but it would be made to have working camera parts in it.
Thank You for using this and remember to stay tuned.