Tin Can Camp Stove

This Instructable will show you how to build your own camping stove using household items, and cook a simple lunch.
Gather the Materials

- a large can (2L or 1kg)
- a small can (tuna or pet food)
- corrugated cardboard
- wax: paraffin, crayon, or candle
- string or birthday candles
- tin snips
- scissors
- bottle opener
- food to cook (suggestion: grilled cheese sandwich or eggs to fry)
Prepare the Burner


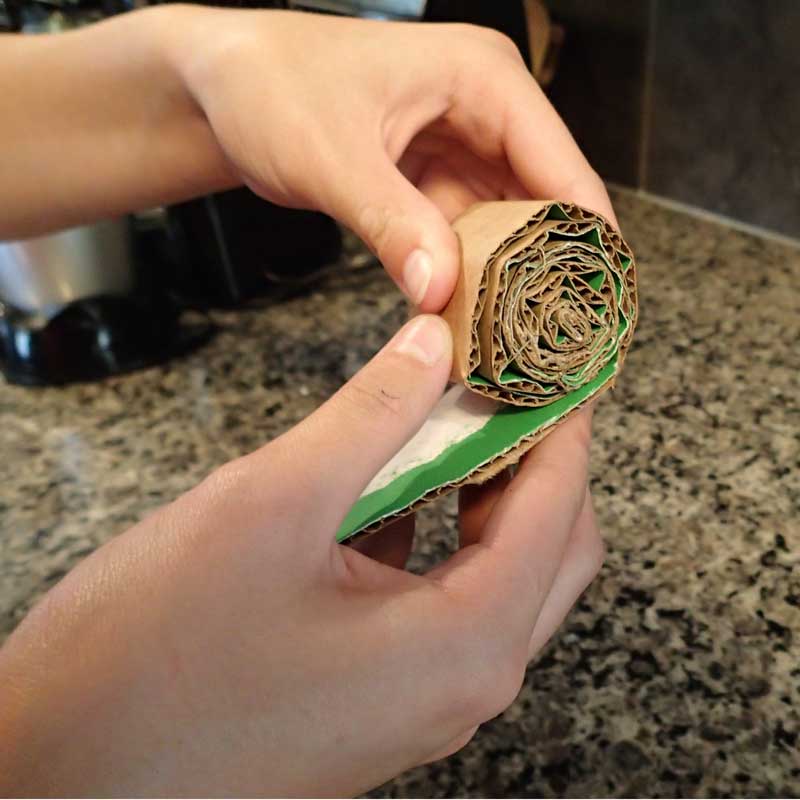
- Cut strips of cardboard the same height as the small can.
- Tightly roll the cardboard strips and place them inside the can.
- Fill the can with rolled cardboard.
- Place string or birthday candles in various spots to use as lighting wicks.
Melt and Add the Wax


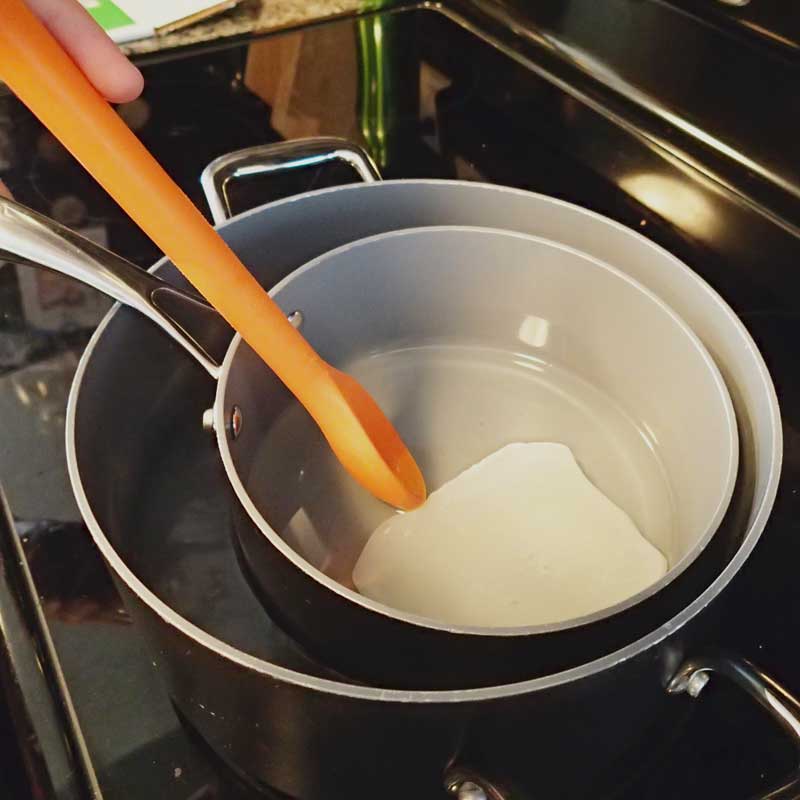
- Heat a pot of water on the stove. Place the wax in a smaller pot, inside of the heated pot of water to safely melt the wax. There is no need to boil the water.
- Pour wax onto the burner, soaking all of the cardboard. Do not overfill.
- Set the burner aside to cool and harden.
Prepare the Stove-top


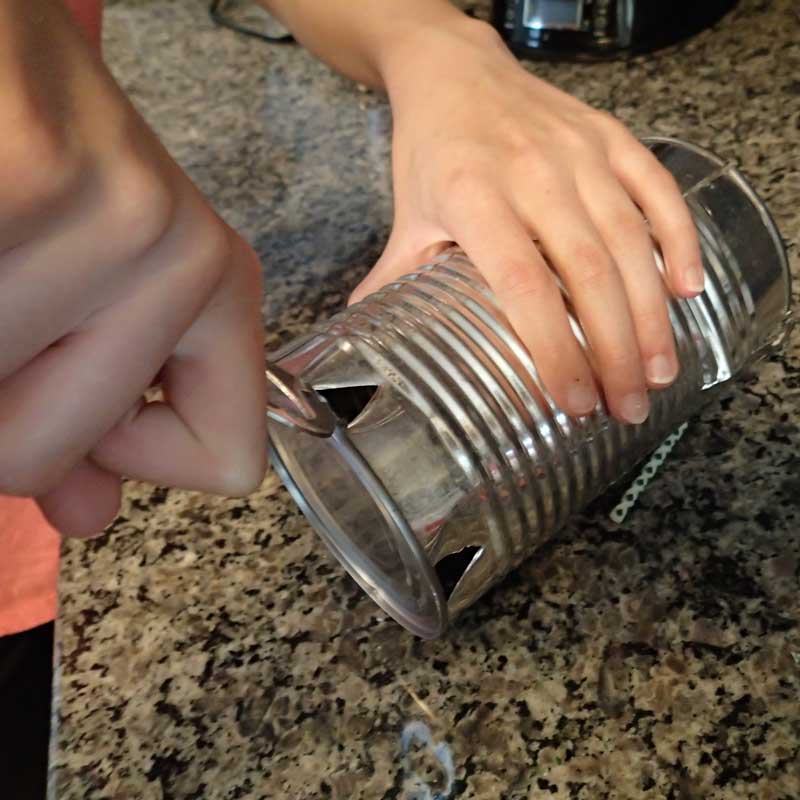
- Using the tin snips, cut a small door that flips up and out at the open end of the tin can.
- Use the bottle opener to cut six vents spaced out around the closed end of the can.
Cook


- Place the burner on a gravel or non-flammable surface.
- Light the wicks.
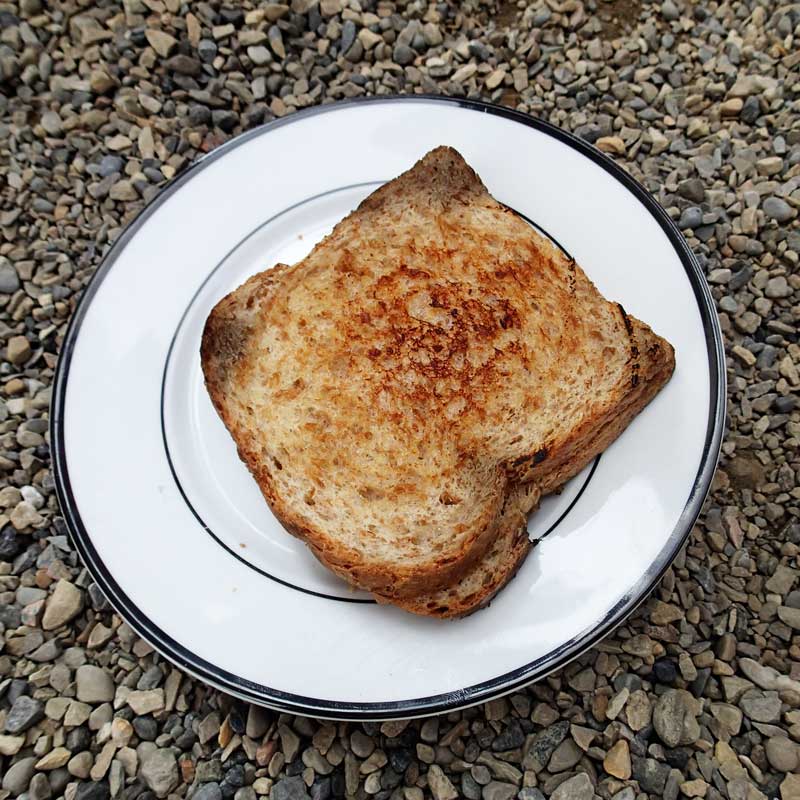
- Place the stove-top over the burner. The top of the can will heat up quickly, and make a great cooking surface for anything fried, like a grilled cheese sandwich, or an egg. You can also place a small pot or frying pan on the stove top. If you cook directly on the stove top, don’t forget to grease the cooking surface.
Extinguish the Burner


- Use a stick or spatula to knock the stove-top off of the burner.
- Wearing oven-mitts, use the large can to put out the burner, or flip the burner can over onto the gravel and let it smother itself.
- Let the stove and burner fully cool before trying to pack them up.