Time Lapse Photography With RPI and Pi Camera
by VIVEK GR in Circuits > Raspberry Pi
11172 Views, 122 Favorites, 0 Comments
Time Lapse Photography With RPI and Pi Camera
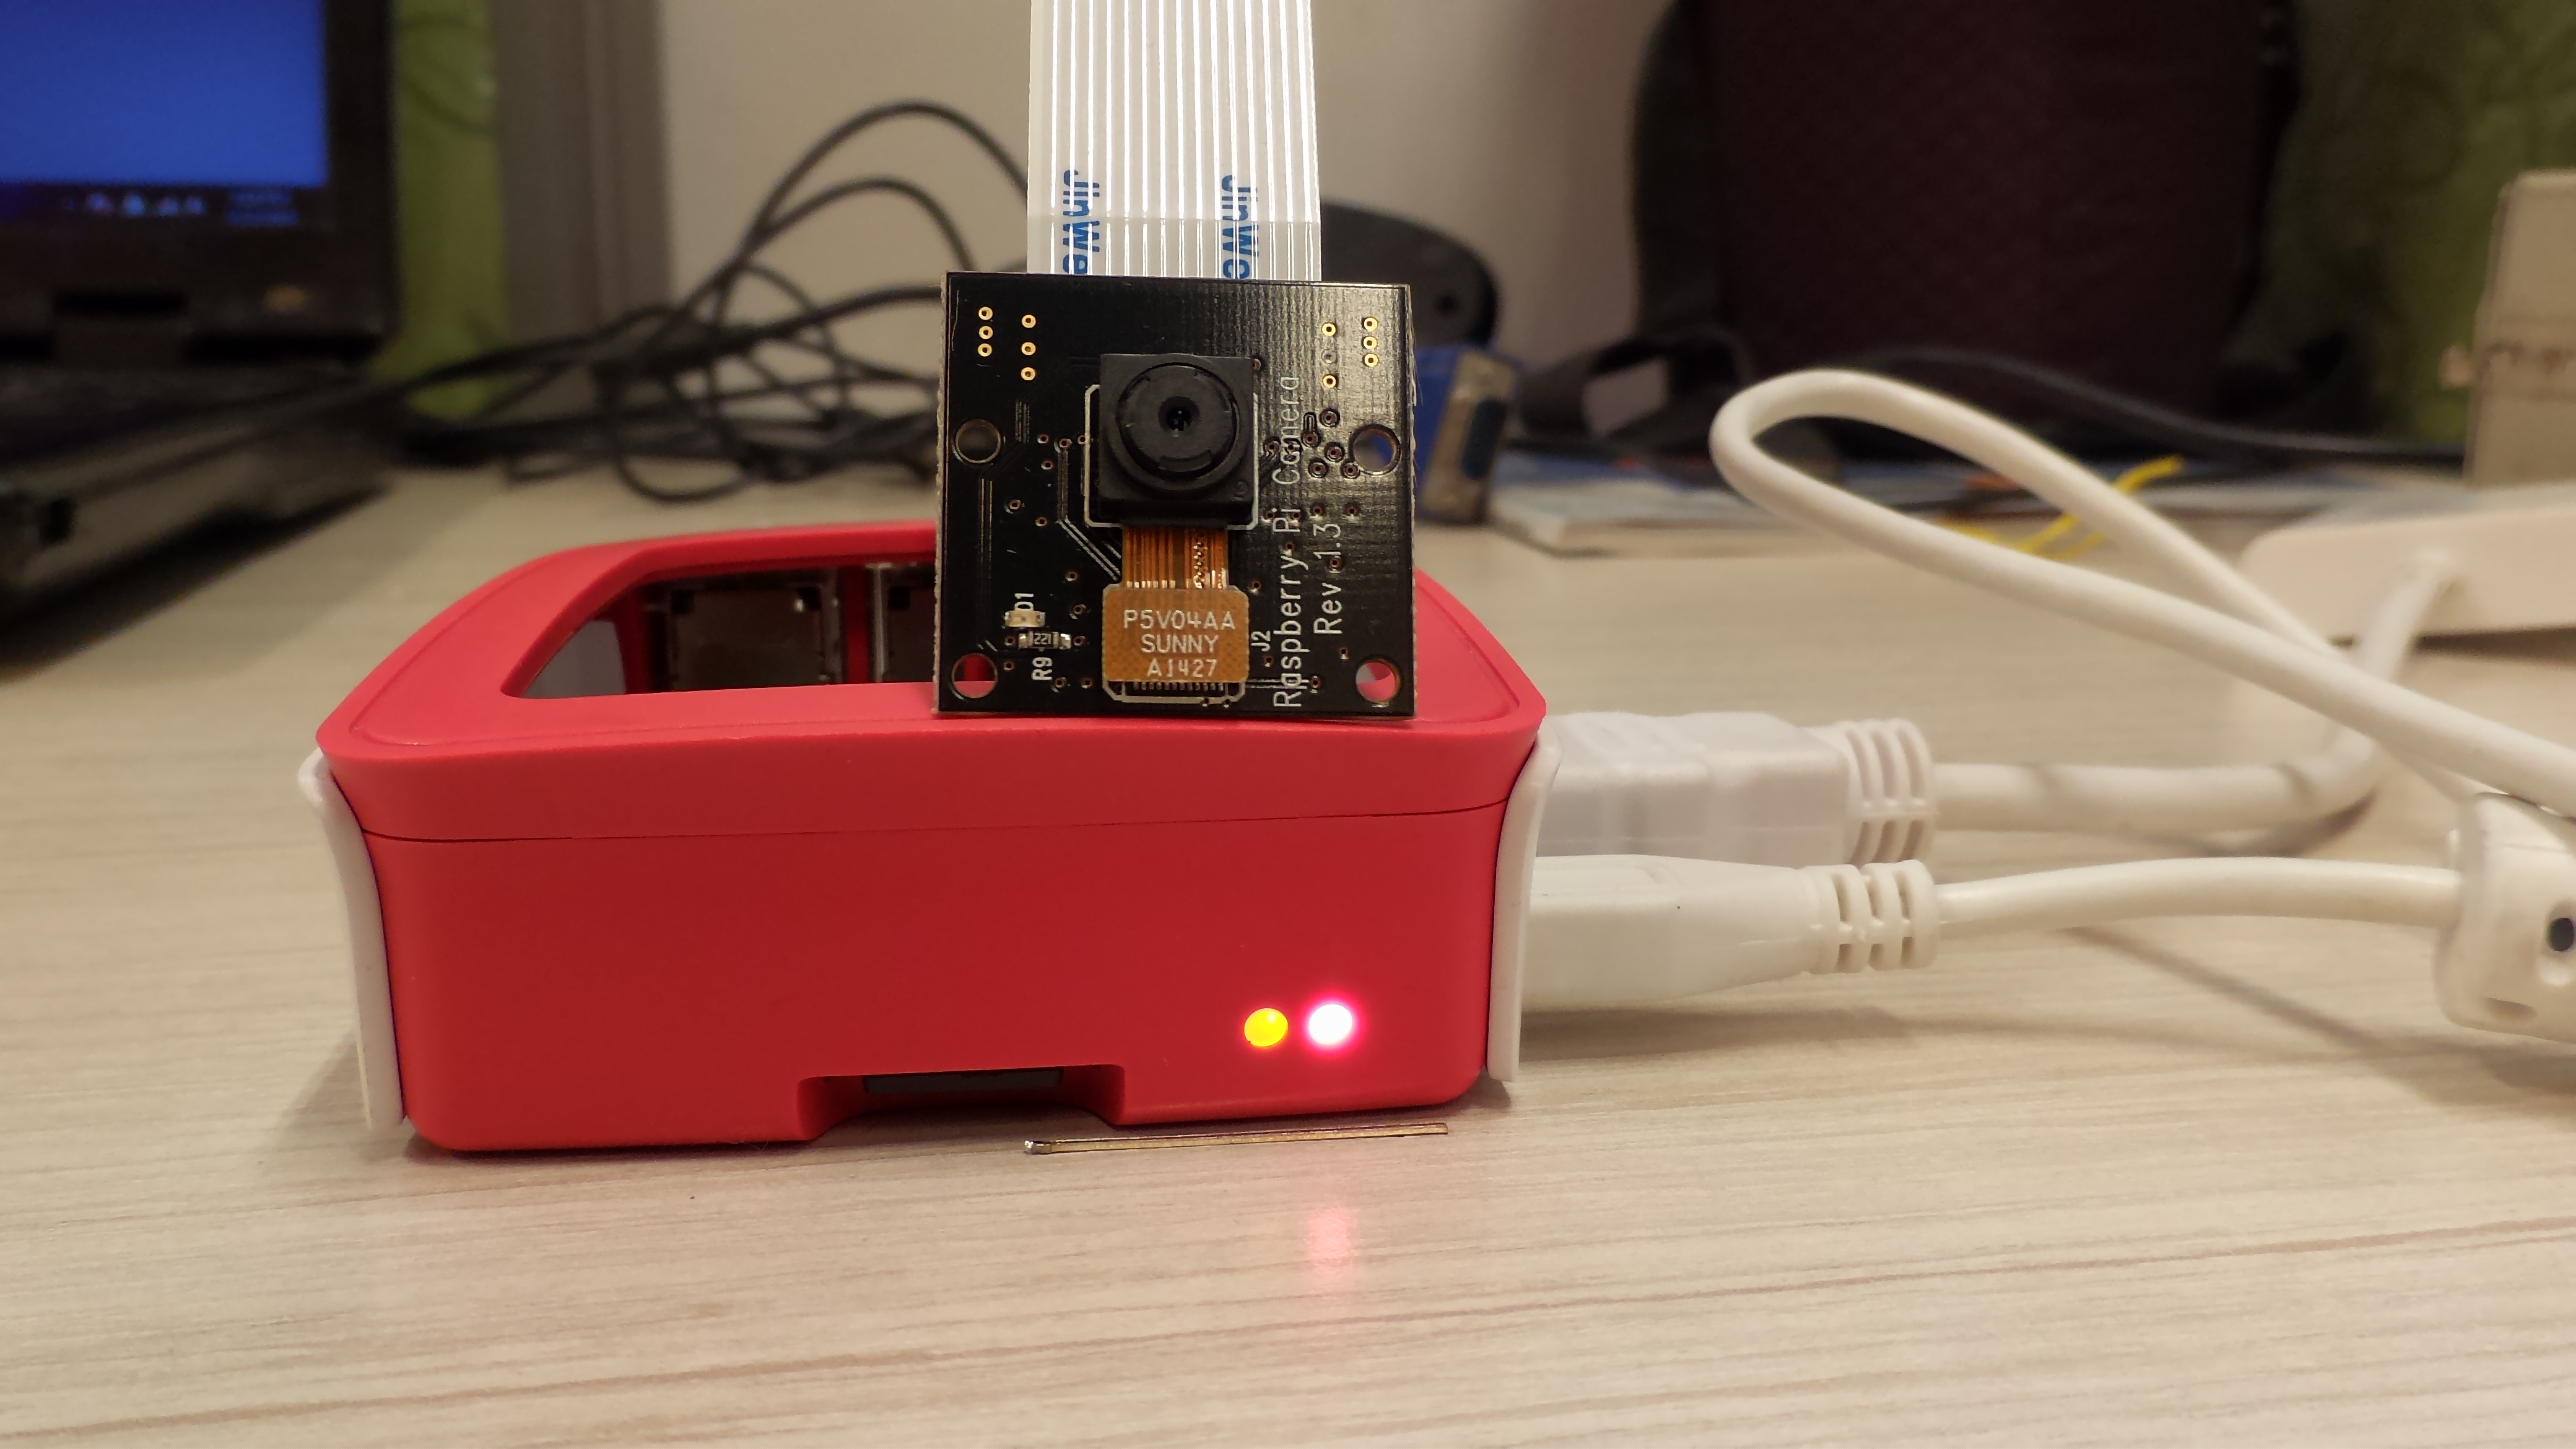
Hey guys, how are you?.This weekend is special as the new RPI 3 is released with more power processing capabilities and to get to know it abilities there is nothing good like testing a real project on it.
I am a amateur photographer and for me ,taking photos of the nature gives me immense pleasure . Time lapse photography is a great way to see the changes in the nature and enjoy it, but there are some impediments like heavy bulky camera with very low battery backup and the most important " Security" of the Camera, Come on who would dare to leave 2000$ camera open in the wild for days??
So here is the solution yes you guessed it right, RPI 3 with Pi camera an excellent and cheap technique to take time lapse photography. and enjoy nature while forgetting all the unnecessary worries which get us bogged down
So folks get ready and tighten your seatbelts and lets dive into the world of time lapse photography !!!
Materials Required
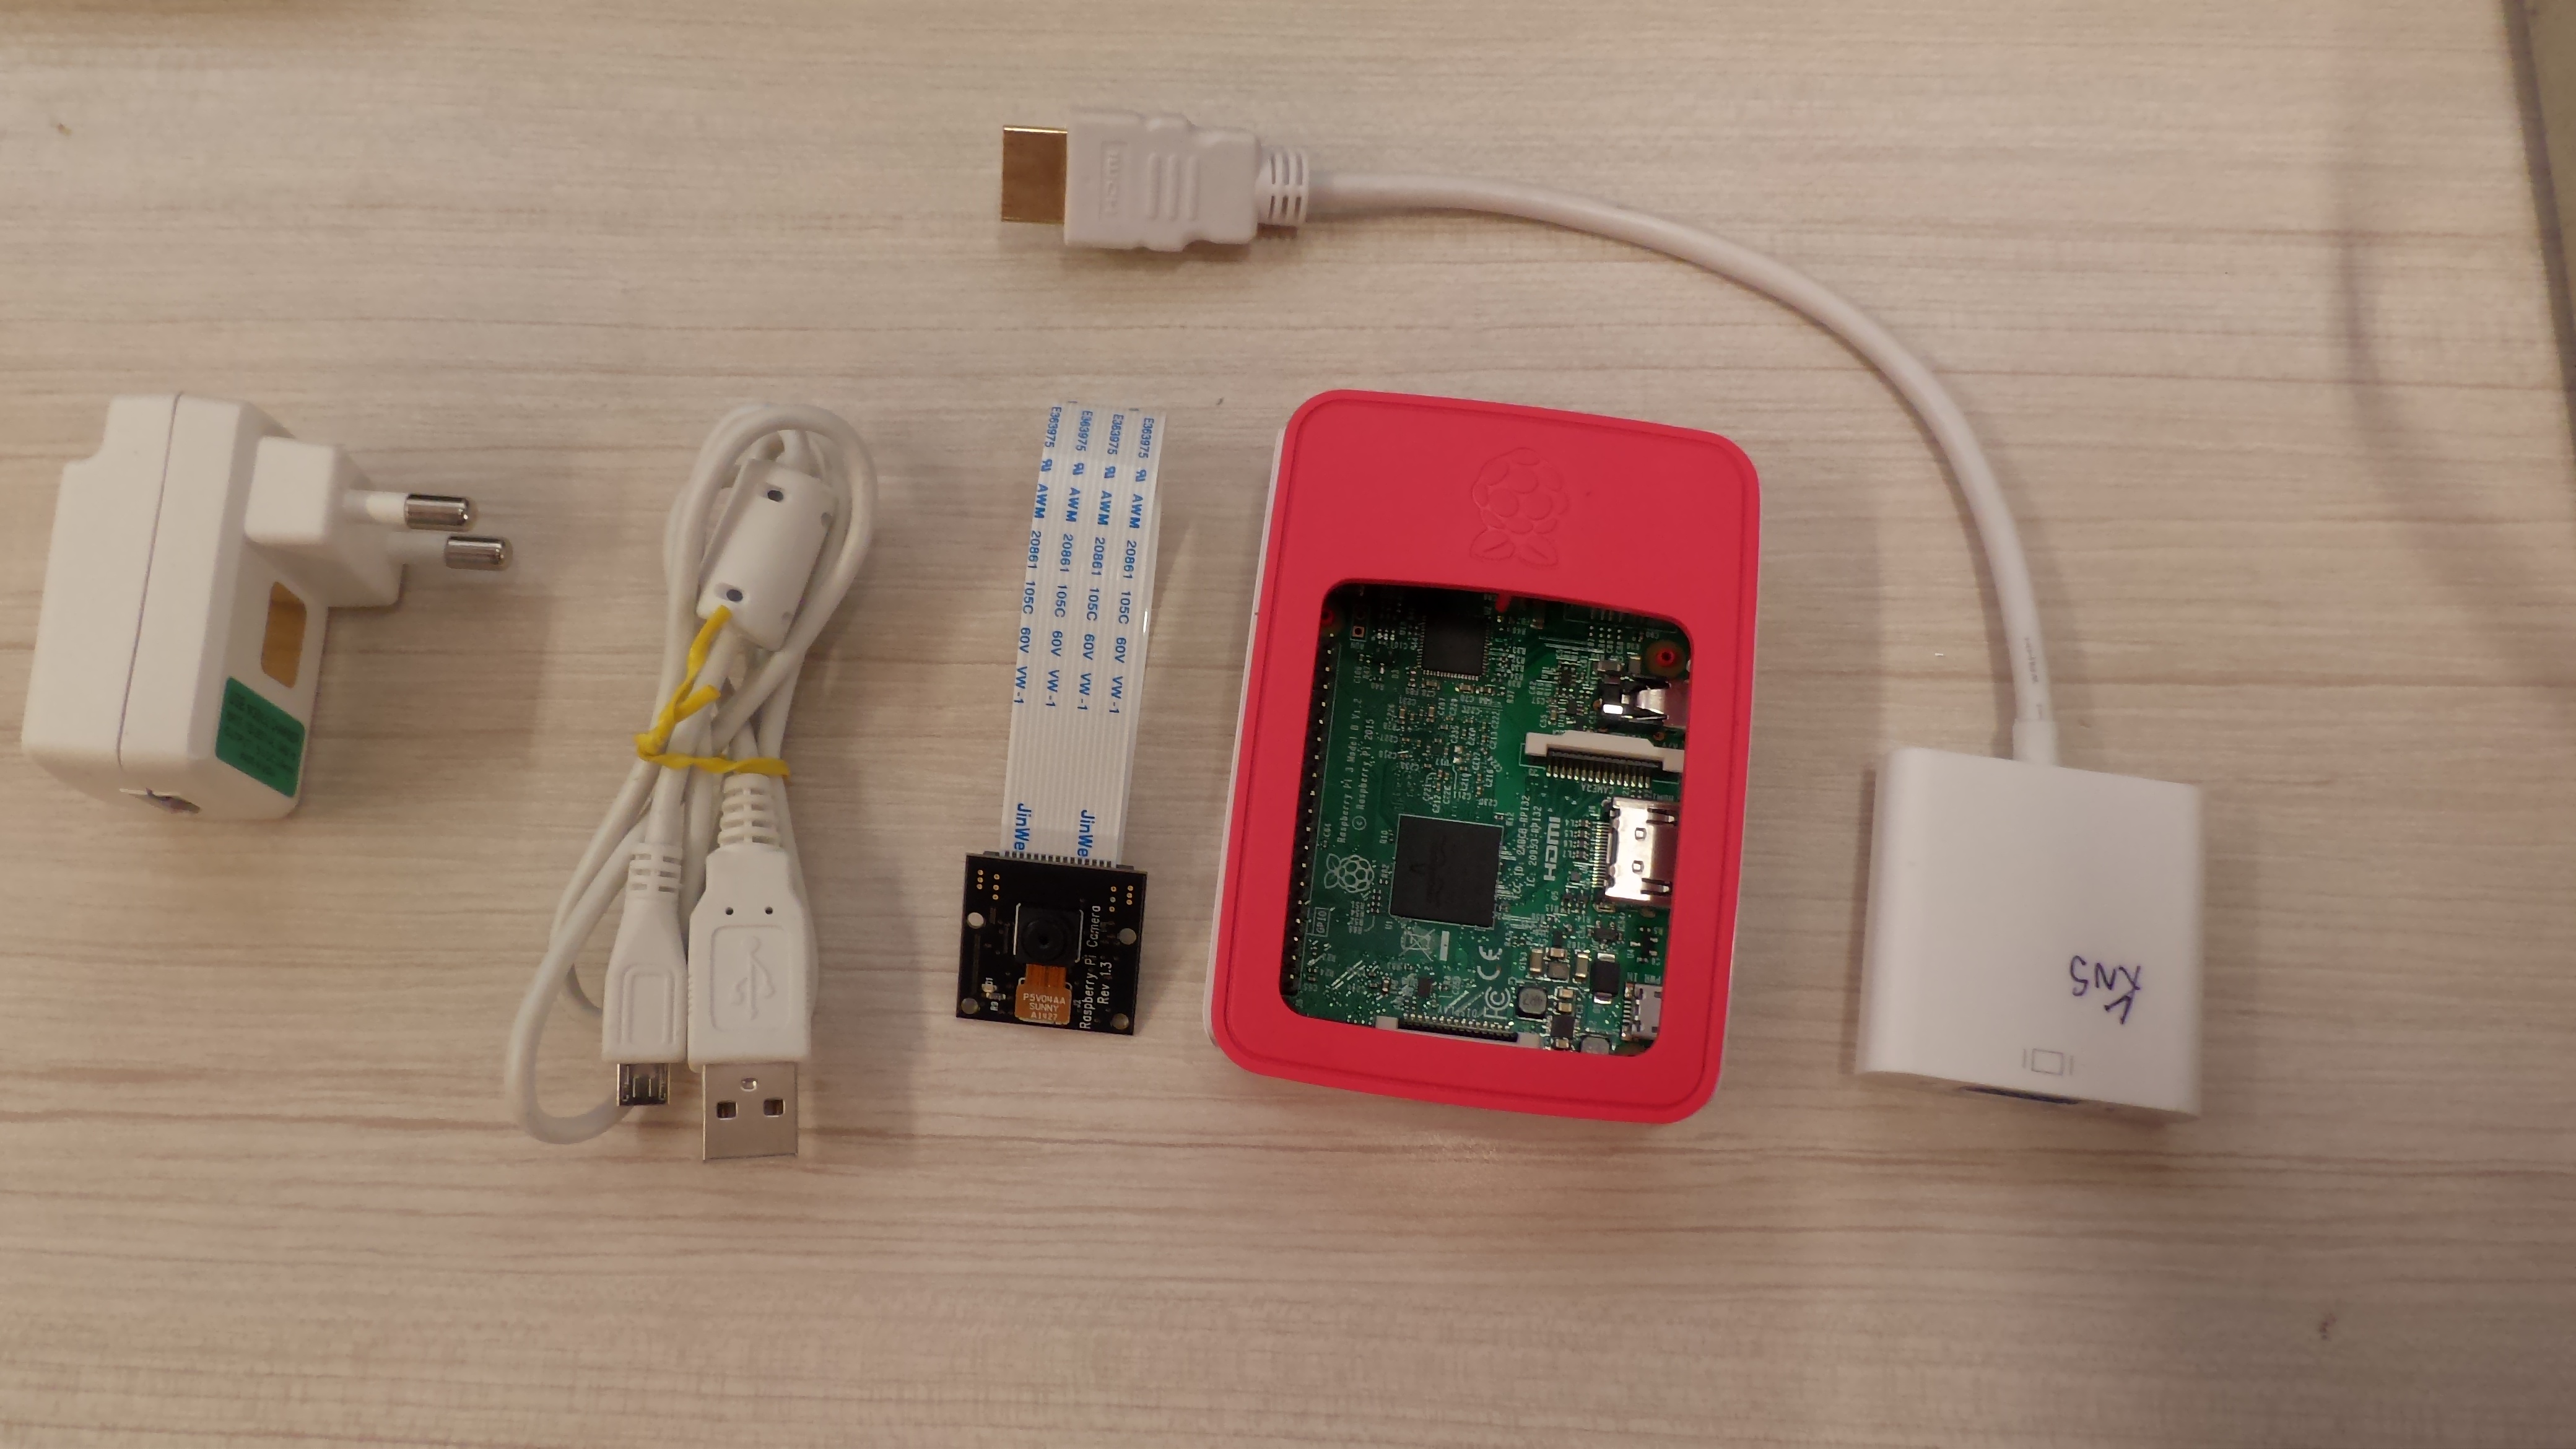
You will need a couple of things. Here I have used the latest RPI 3 version, but it can be used with other predecessor boards also. So here is the following list
1. RPI 3 ( with latest NOOBS package)
2.Power Adapter (If you are using RPI 3 make sure that you power it up with at least 2.5 A adapter)
3. PI camera.( I am using a NOIR camera, basically it does not have an IR filter)
4. HDMI to VGA converter (for displaying the output of RPI in PC monitor)
5. PC standard size monitor
6. Keyboard and Mouse
7. And yup the most important of all 60 Minutes of your precious time for building this project :)
*Note: The instructable assumes that the user has some knowledge on how to install raspbian OS from the NOOBS package.
Enabling the Pi Camera
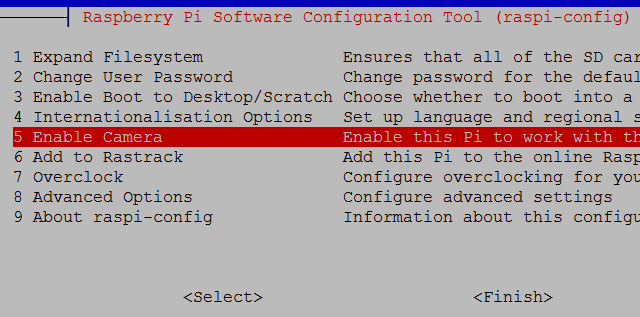
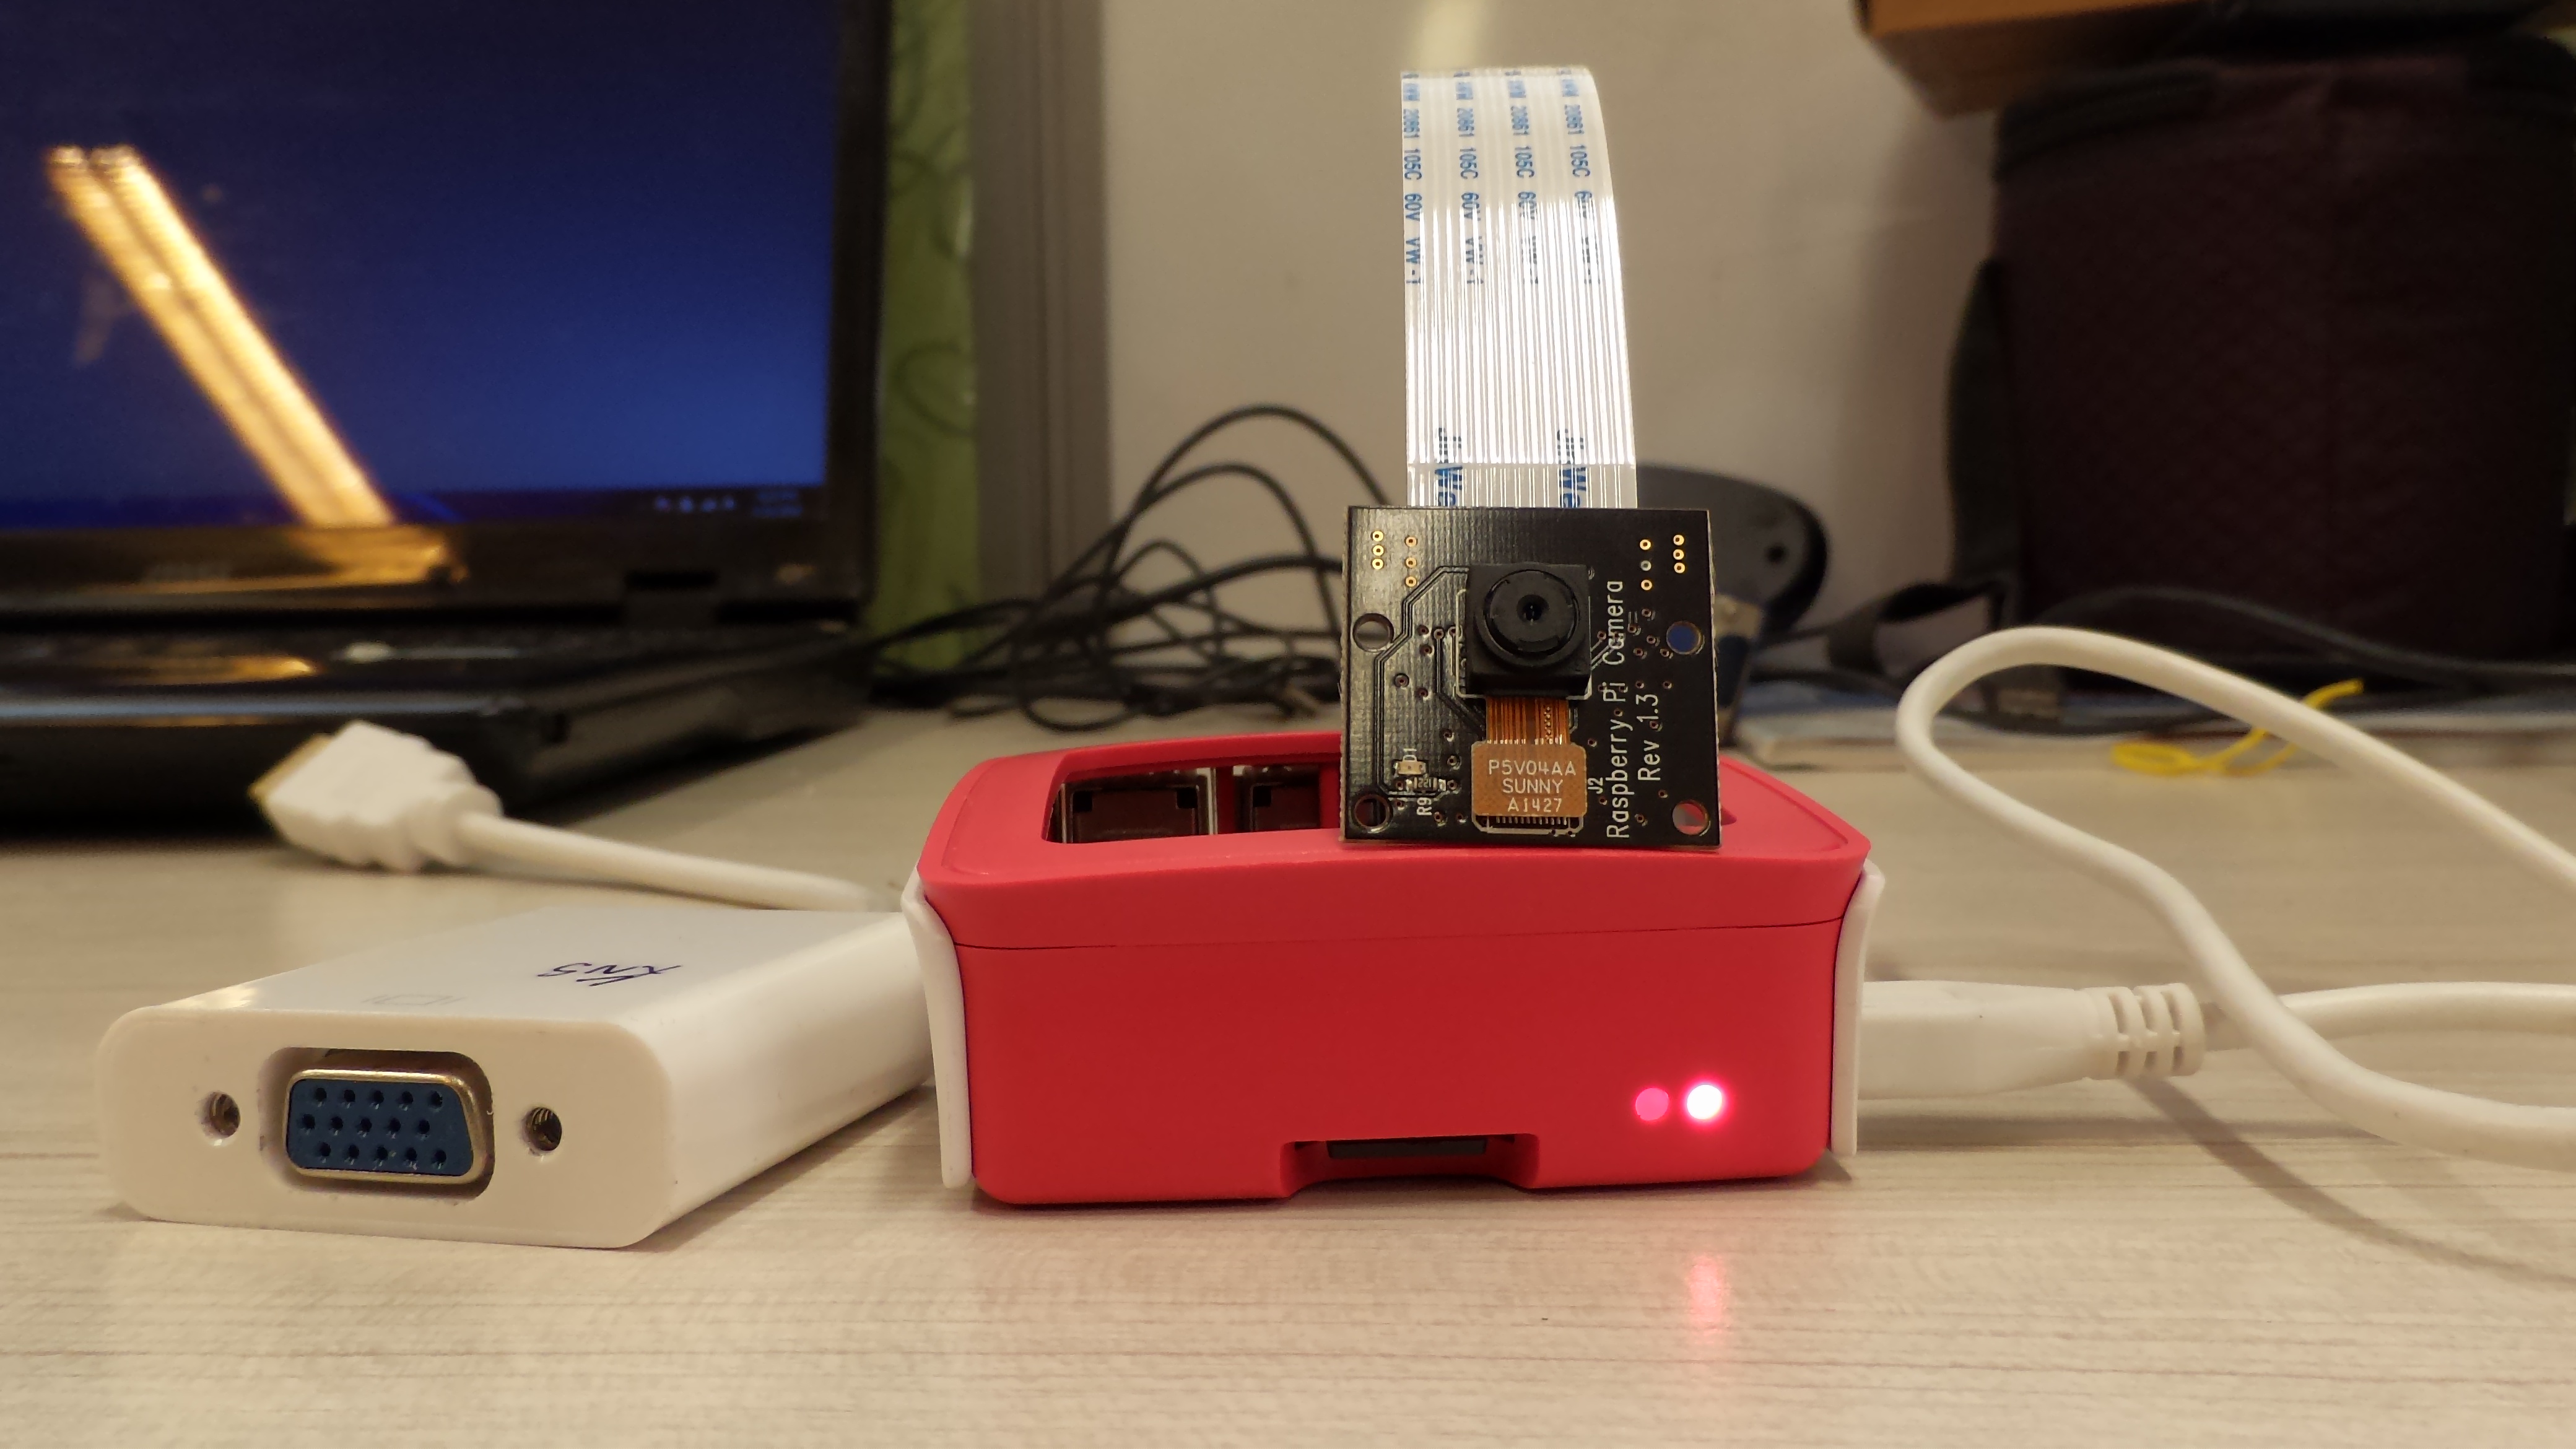
This is the foremost step , in the process of building the project is to enable the Pi camera .
1. Connect your Pi camera to RPI carefully.
Do not forget to peel of the blue lens cover of the camera , if your camera is new!!
2. Boot your RPI
3. Open your Terminal and type the following:
sudo raspi-config
And after that select Enable, then Finish and Yes to reboot.
(see the screenshot for better understanding.)
Installing Python Support
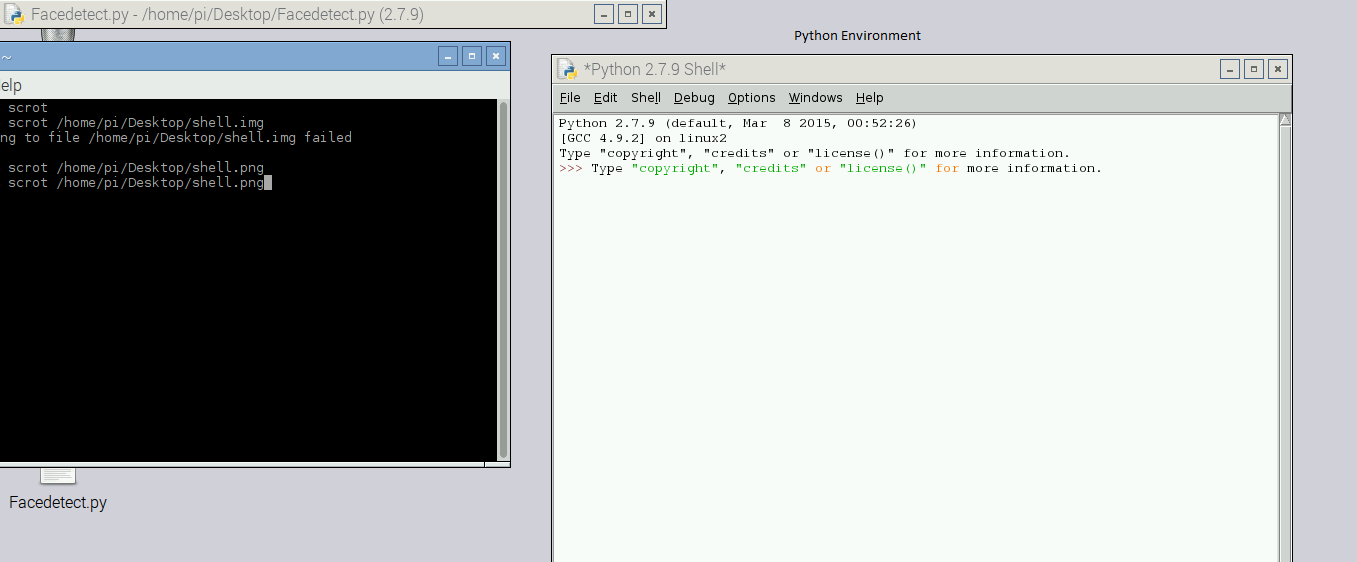
Now we will install the python support for the Pi camera
1. Type the following command:
sudo apt-get install python-picamera python3-picamera
sudo apt-get install ffmpeg
2. Once done , start the python environment
sudo idle &
This will bring up the python environment. Python is a easy language to learn and understand and that is why the whole project is based on it.
Testing the Camera
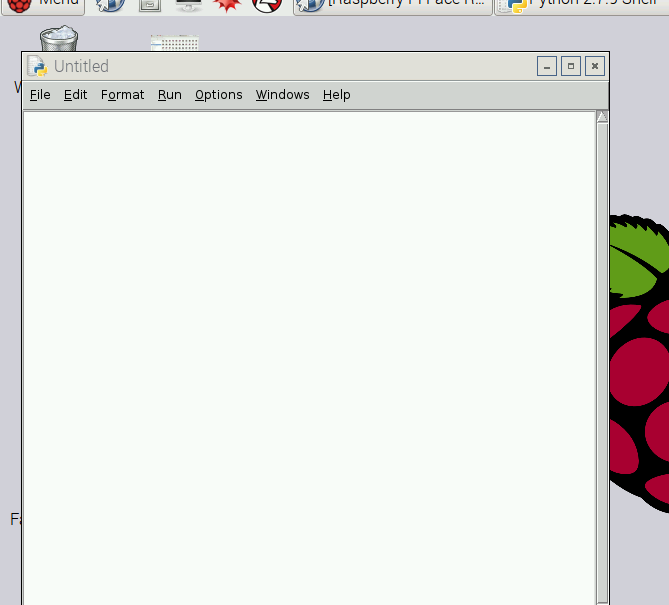
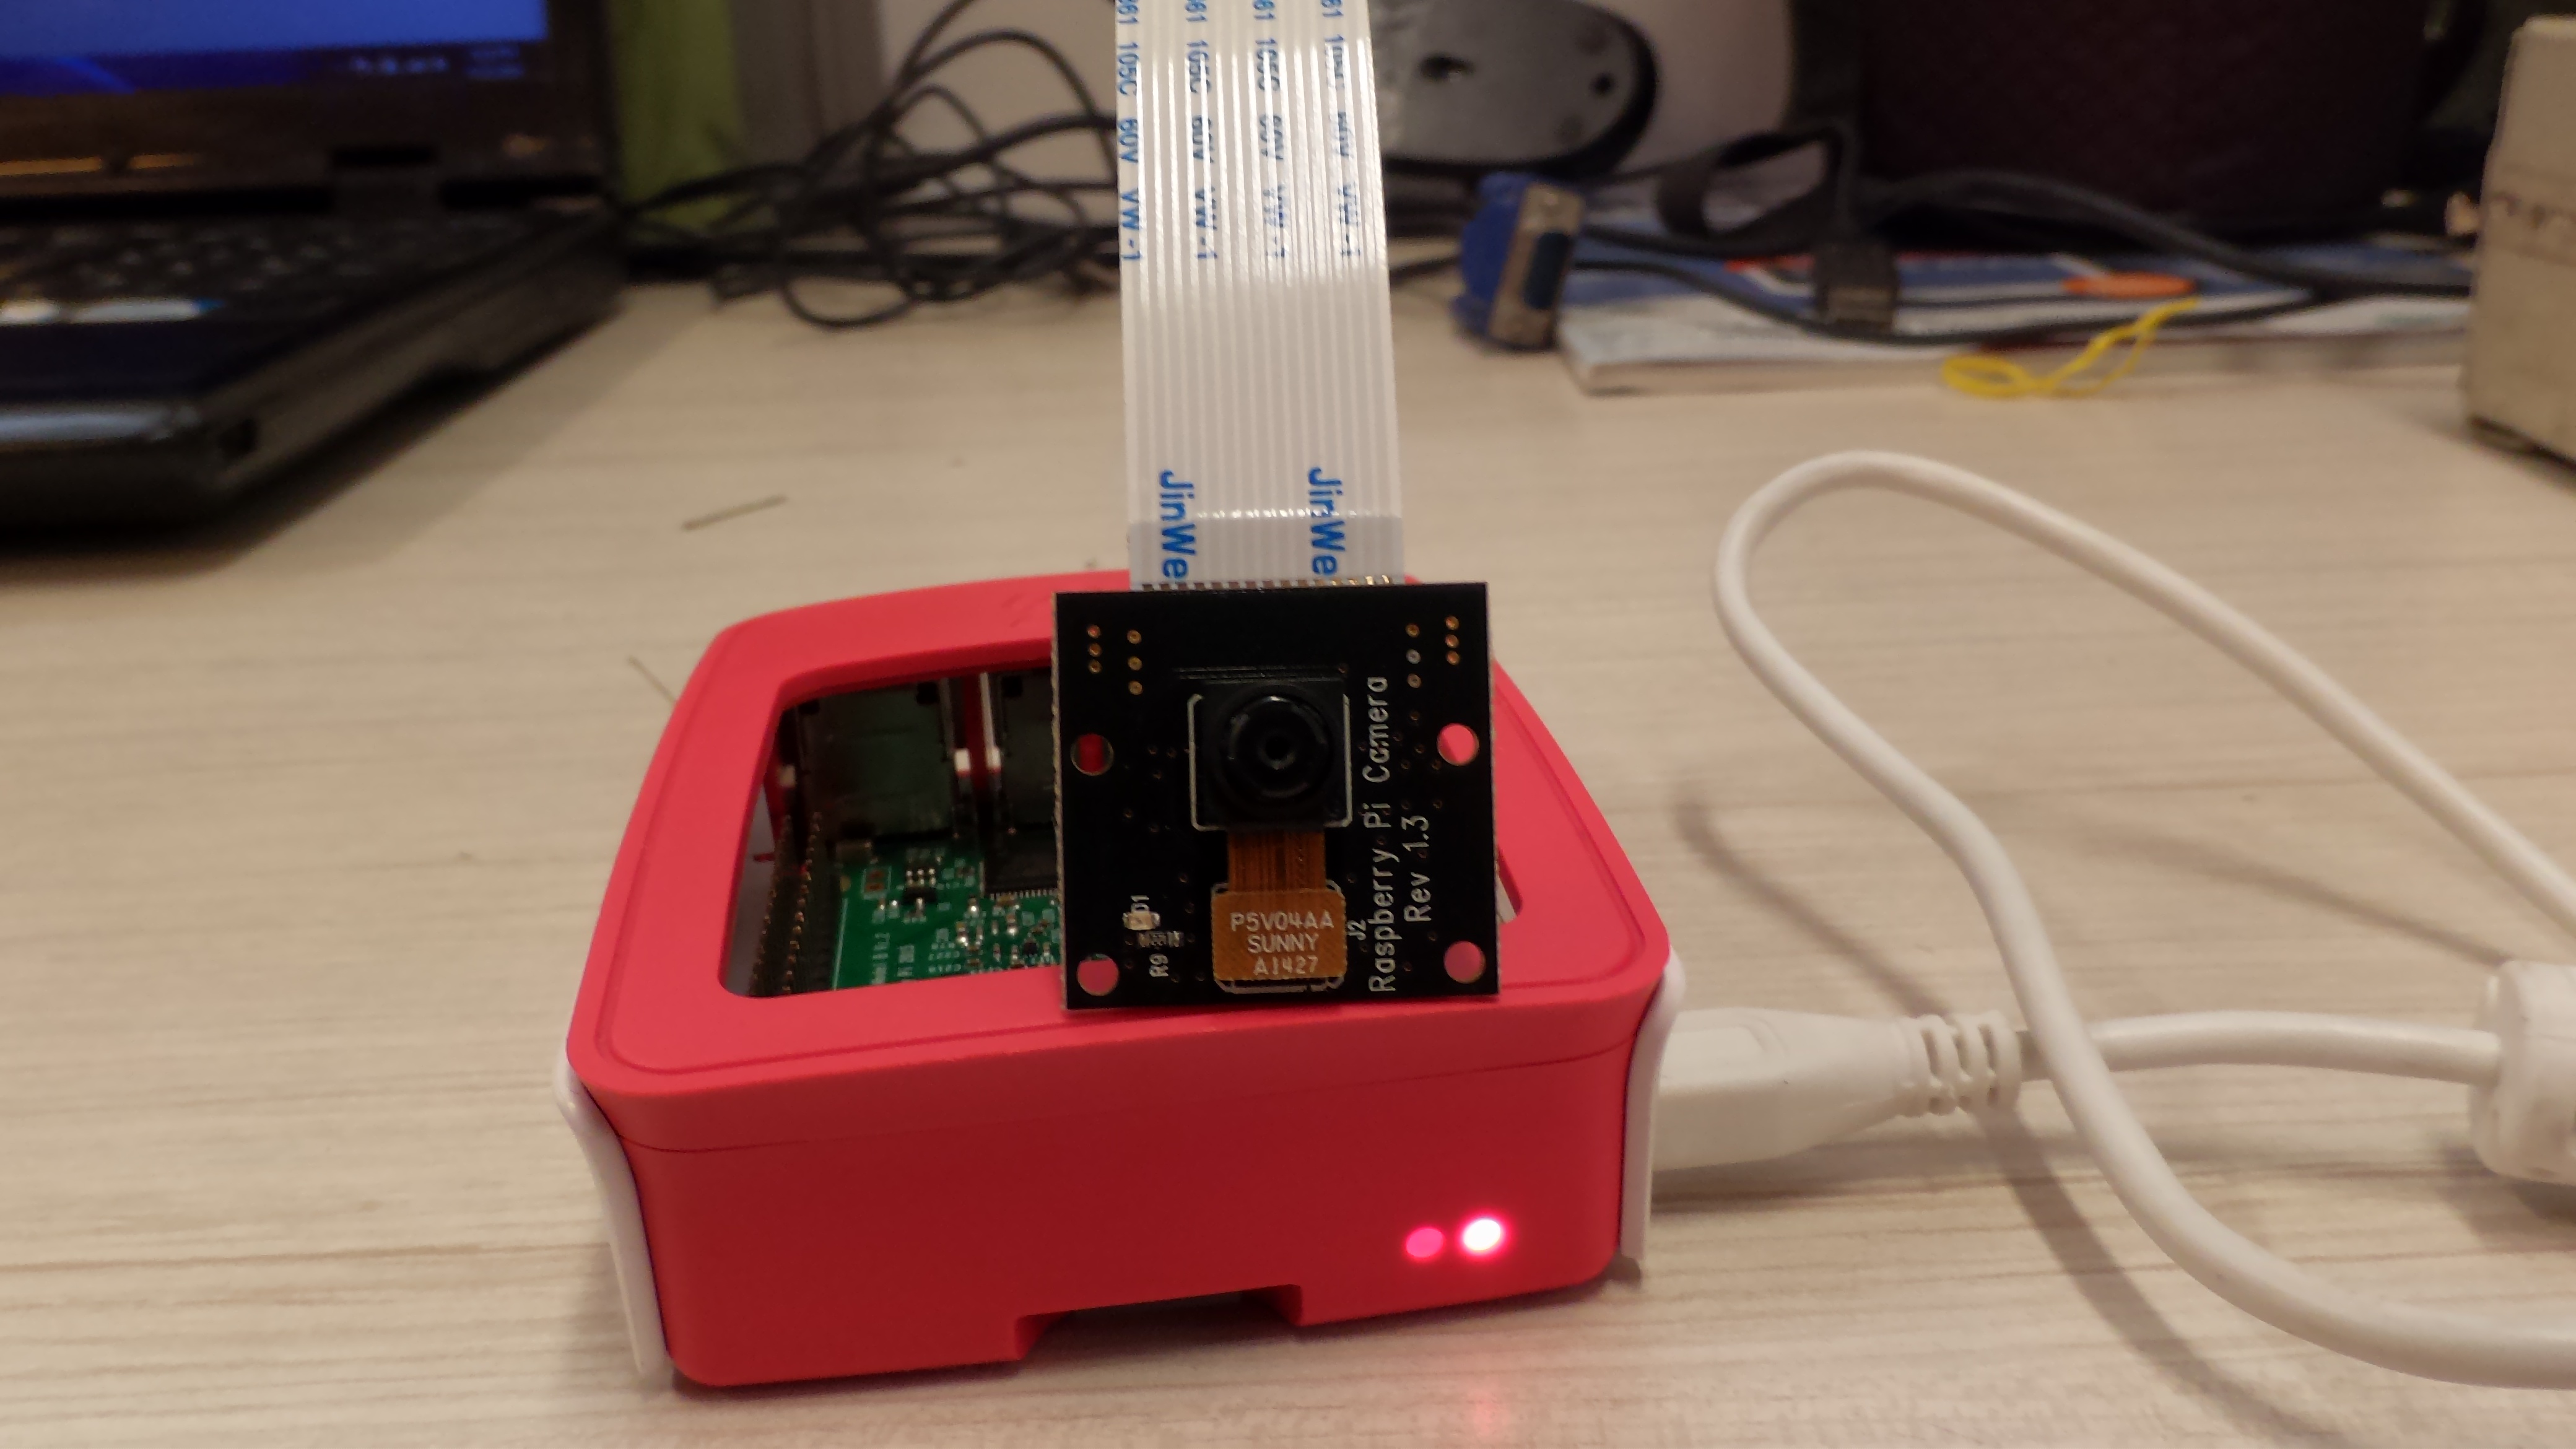
So we have installed all the necessary files. Now lets see if the camera is ready!!
1. Go to the File menu of the Python Environment opened
2. Select a new file. A blank environment will be opened.
3. Now type in the code for testing camera
(Note : Code is attached down below)
4.Save and Press F5
5. You will see the preview for a very few seconds and then a .png file will be saved in the Desktop
Code Explaination:
# The time and picamera files have been imported
import time
import picamera
# The parameters such as No of days the camera should be active, frames per hour and total no of frames
NO_OF_DAYS = 1
FRAMES_PER_HOUR = 60
FRAMES = FRAMES_PER_HOUR * 24 * NO_OF_DAYS
#Pi camera as the source
def capture_frame(frame):
with picamera.PiCamera() as cam:
time.sleep(2)
#The frame is captured and saved into the Desktop
cam.capture('/home/pi/Desktop/frame%03d.jpg' % frame)
# Capture the images
for frame in range(FRAMES):
# Note the time before the capture
start = time.time()
capture_frame(frame)
# Wait for the next capture. Note that we take into account the length of time it took to capture the image when calculating the delay
time.sleep(
int(60 * 60 / FRAMES_PER_HOUR) - (time.time() - start)
)
The Result!!!
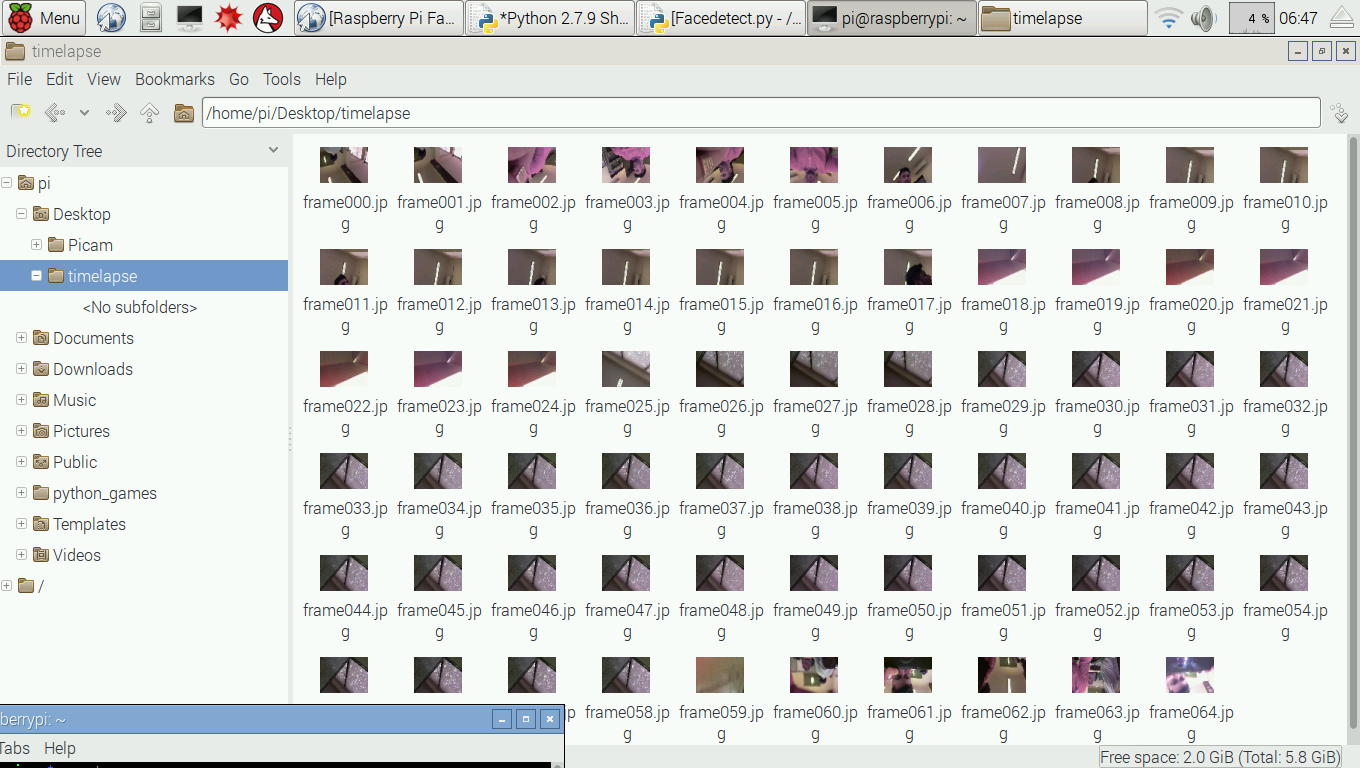
Awesome we have reached the last step and now follow the below step
Type below command in terminal
sudo idle &
1. Go to the File menu of the Python Environment opened
2. Select a new file. A blank environment will be opened.
3. Now type in the code for timelapse(Note : Code is attached down below)
4.Save and Press F5 (To Execute)
5. Then just see your destination folder. The photos will appear in a systematic order thus creating a Time Lapse.
6. Open a Image Viewer and see the photos one after the other and Enjoy !!:)
To Stop the execution in Python IDLE press Ctrl+F6
Now start enjoying the Nature with this simple time lapse set up with RPI
Have fun guys and Happy Inventing!!! See you next weekend with more exciting project:)