Ticket Invitation Designed in Powerpoint
18402 Views, 78 Favorites, 0 Comments
Ticket Invitation Designed in Powerpoint
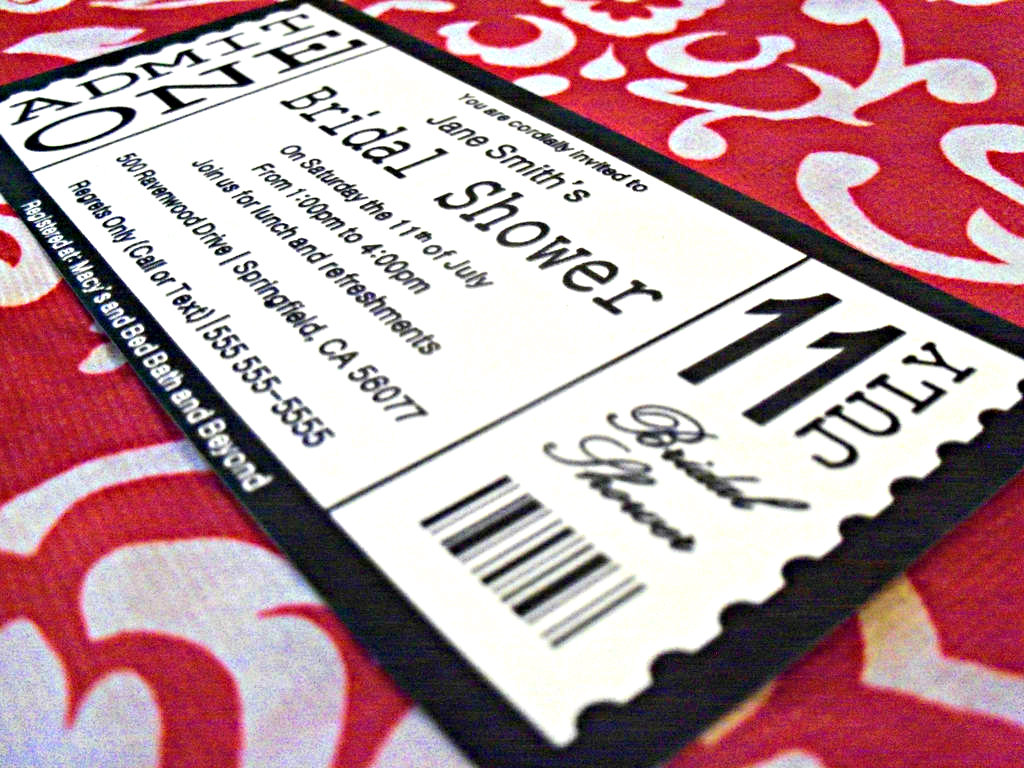
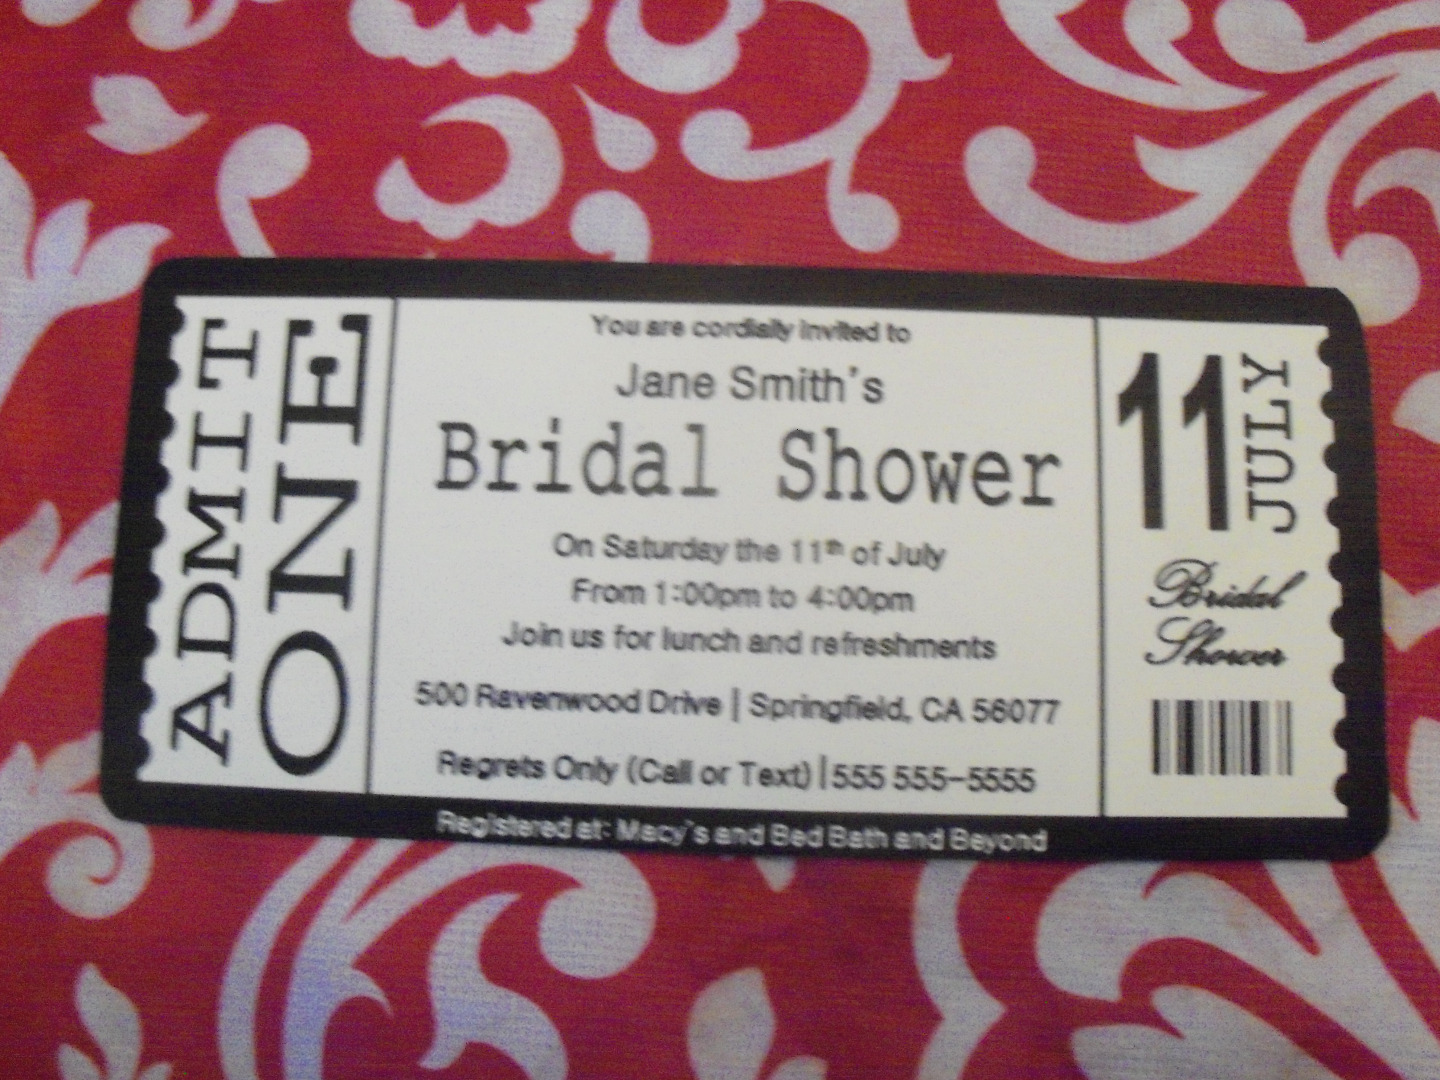
I really enjoy getting the chance to design different cards and graphics, and when planning my friend's bridal shower I was excited at the chance to create something really cool. Her wedding theme is theatre and I knew a ticket shaped invitation for the bridal shower would work perfectly. I had seen many examples of ticket shaped invitation and I was ready to make my own.
My one problem. I am not well versed in graphic design software.
While I can work my way around photoshop and illustrator, I do not have the experience with the software that I can design comfortably so I decided to use something I am more comfortable with. Microsoft Powerpoint.
Now if you are a budding graphic designer I would not recommend using powerpoint as a primary software for your graphic design, but if you are looking to get something done quickly without having to get and learn a new software, I would recommend trying powerpoint out.
Creating the Background
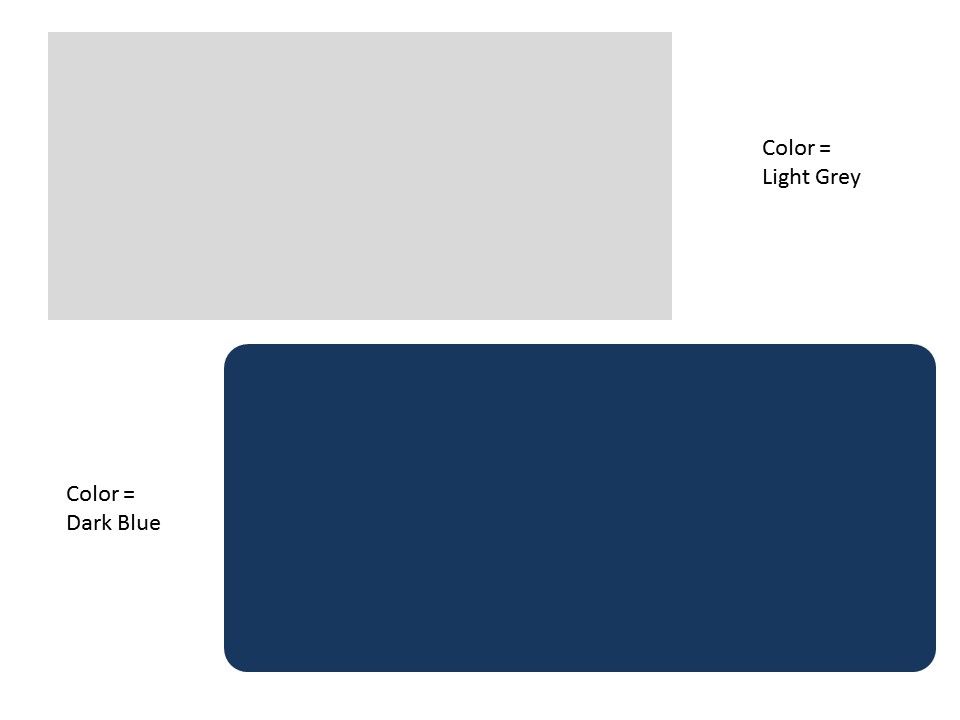

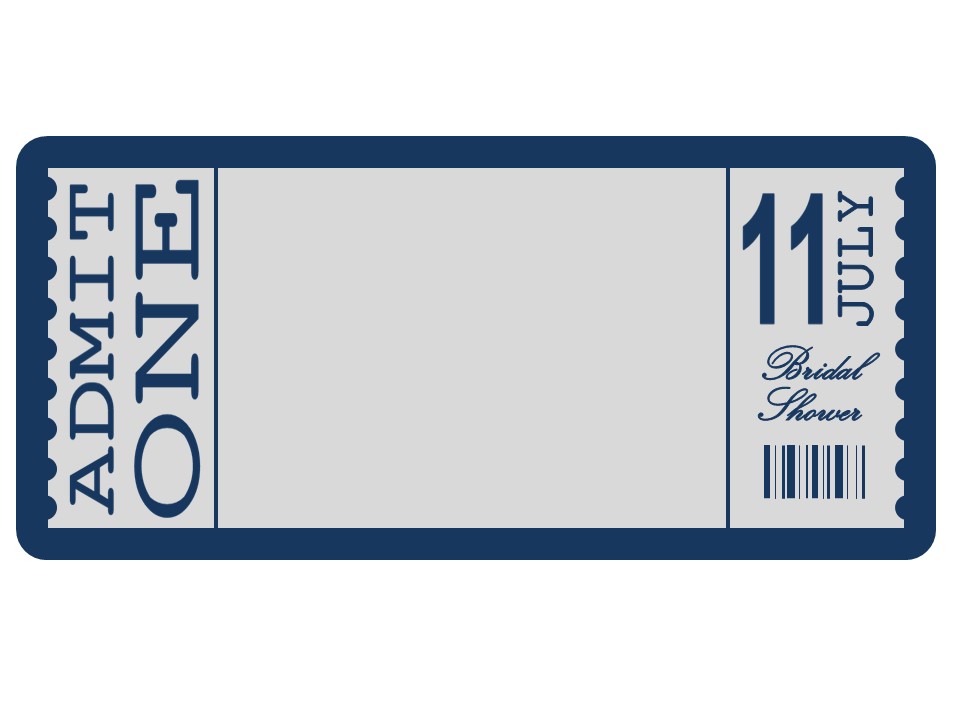
So to start a ticket shaped invitation you need to begin with a ticket shaped design. I started by drawing two rectangles on the page.
1. make rounded corner rectangle and place in the background - this can be a darker color since no text will be placed on it
2. make an Edged corner rectangle. This will be the actual ticket shape and is placed
This will give you the basic shape of a ticket
Adding the Details


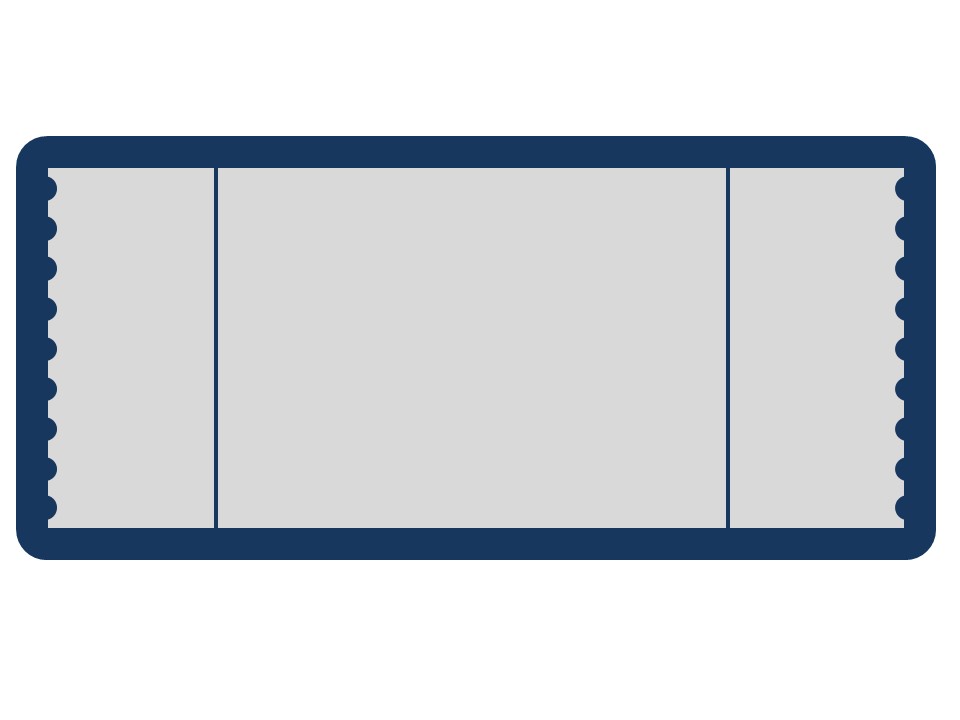
Now its time to add the details to make the rectangle shapes look more like a ticket.
1. Create the perforated edge of the ticket by making a series of small circles that are the same color as the background rectangle. Place the circles on the rectangle so half of the circle overlaps the smaller triangle and creates an edge. You will have to play with the size and spacing of the circles to get your ideal look.
2. Add lines on the ticket to create some added detail - some tickets have perforated sections that can be torn off so I wanted to create that look as well. I added lines to either side of the ticket, about a quarter of the way in to simulate this. You can also create dotted lines to give a more perforated feel
3. Add a bar code. - This is another optional detail that only adds some extra cool design feature to your invitation. I created this by copy and pasting a lot of lines side by side then changing the widths of the lines before grouping them and shrinking them down to fit on the ticket
Adding the Text
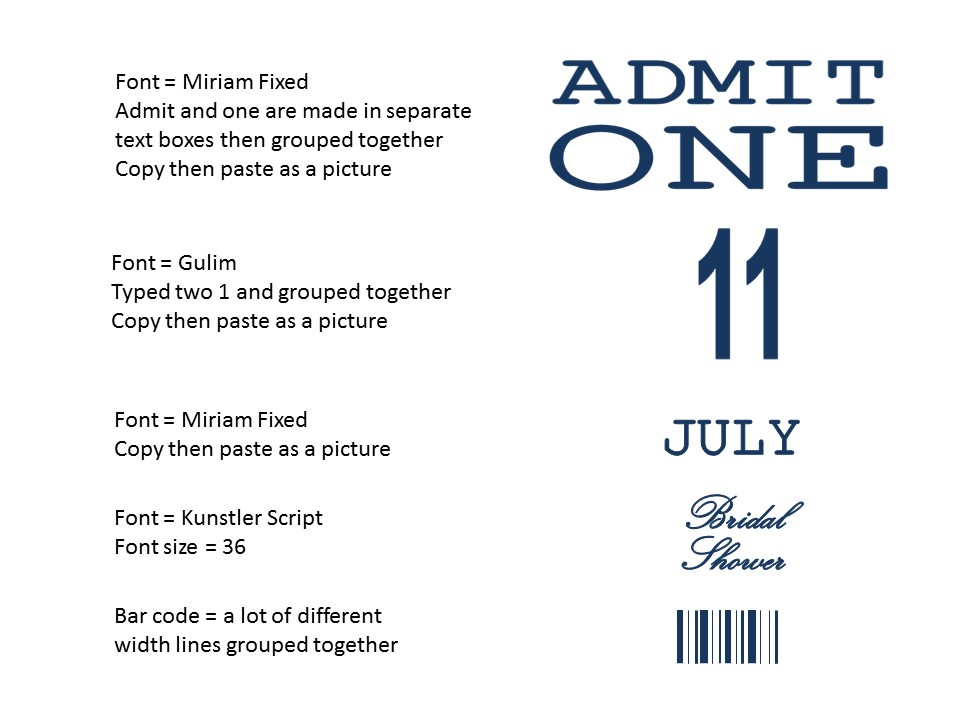
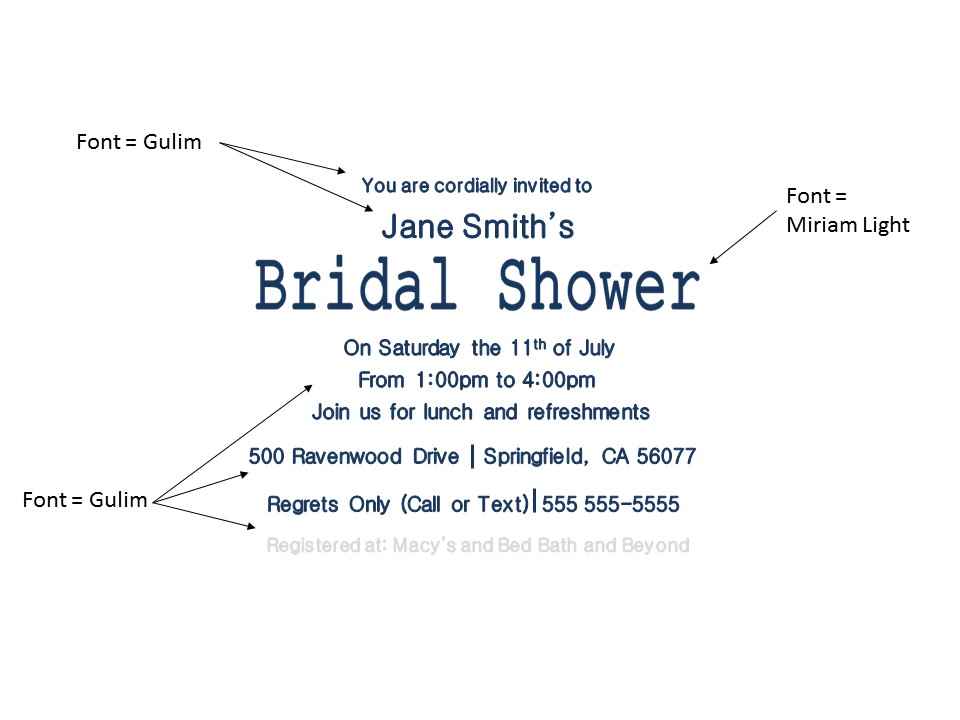
Once the ticket design is to satisfaction it is time to add the text. You may choose whatever fonts and format you desire. The placement of everything is really up to your personal preference. Here are some tips when putting text into the invitation
1. Use different fonts - using 2 or 3 complimentary fonts creates interest in the text. Having one font makes thinks look a little one noted. At the same time do not go overboard switching around fonts. Having unorganized fonts or lots of different fonts can make the invitation look messy
2. Copy the font then paste font as a picture to control size. - One downside with Powerpoint's text feature is that the size of the font, both length and width is strictly controlled. You can get around this by copying the text then right clicking on the page and choosing the paste as picture function. Then the text will be a picture and you can control both the height and width
3. Experiment with different ways to represent the font. - Change up the orientation, play with bold and italicized font. Try something different. While some things might not work, others might look great. Its all part of the create process.
Print and Cut Out
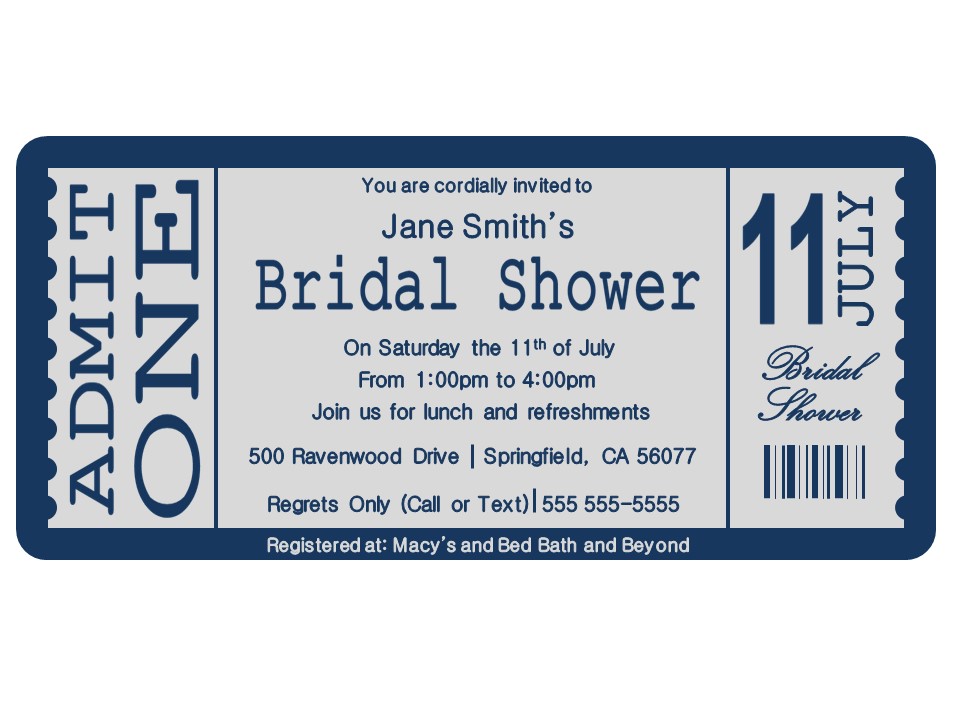
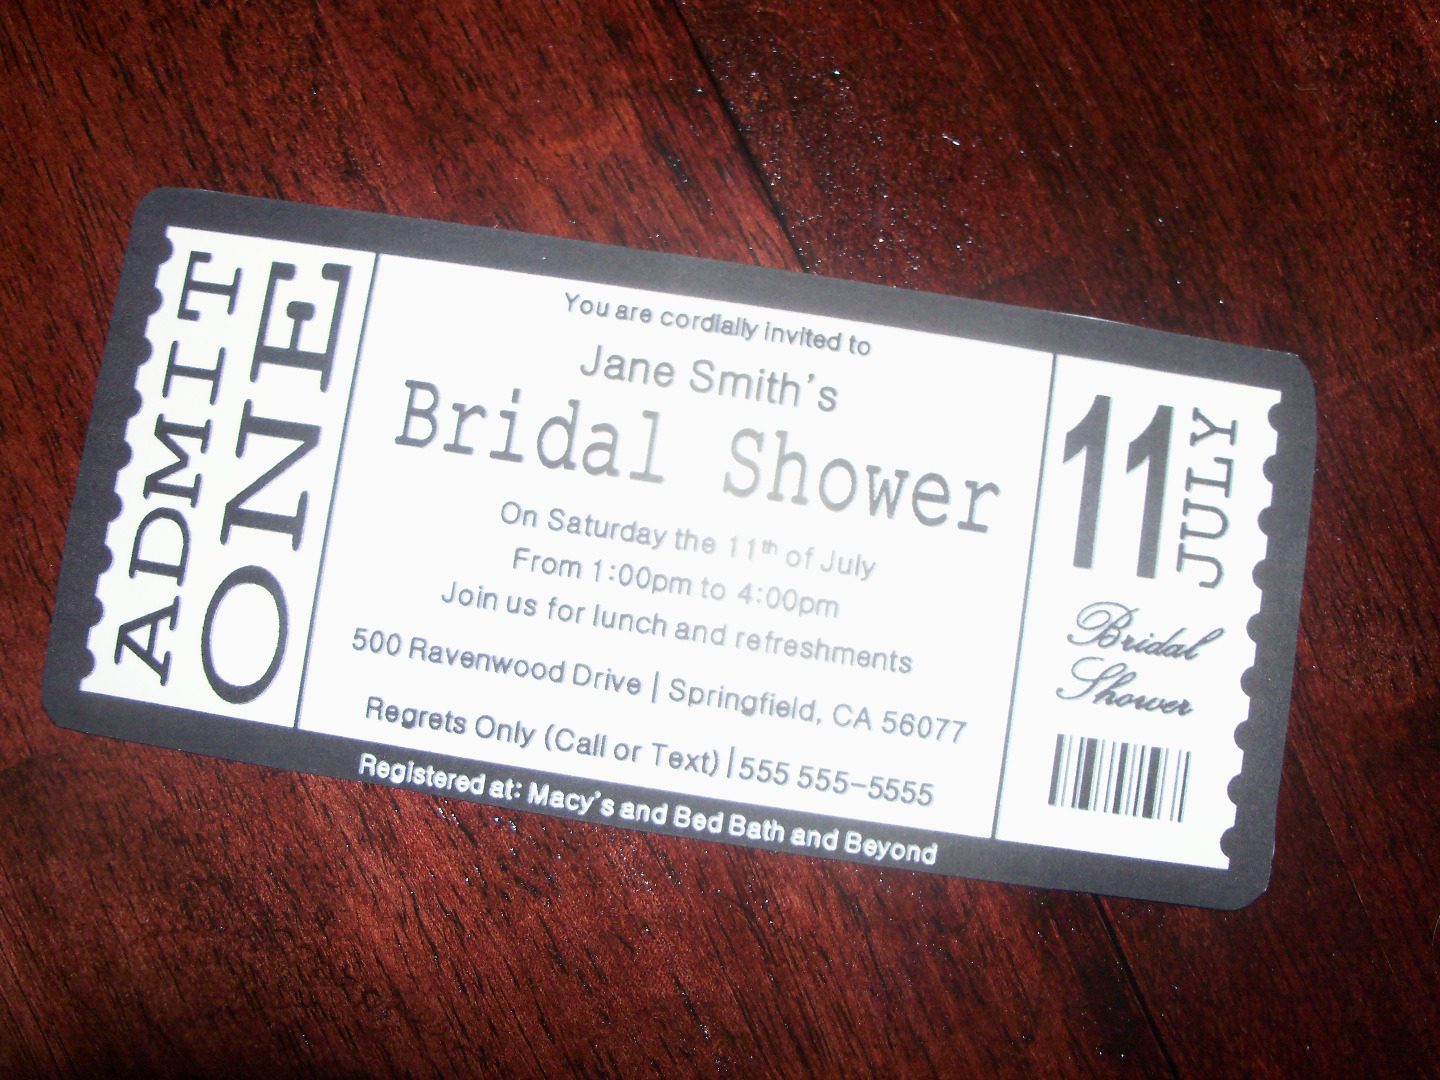
When you are satisfied with your invitation it is time to print it out. Before I print anything I grouped the invitation so that I could get an idea of the final size and rotate it around the page without much issue. Make sure the invitation is the size you want it to be before trying to print it out.
After it is printed and cut out, it is time to send out the invitations. The bridal shower was a hit and I got many compliments on the creative invitations. Of course you don't have to use them for a bridal shower. These invites can be used for any type of occasion.