Tic Tac Toe in Sketch Up
by JohnBarkerDesign in Living > Toys & Games
1506 Views, 0 Favorites, 0 Comments
Tic Tac Toe in Sketch Up
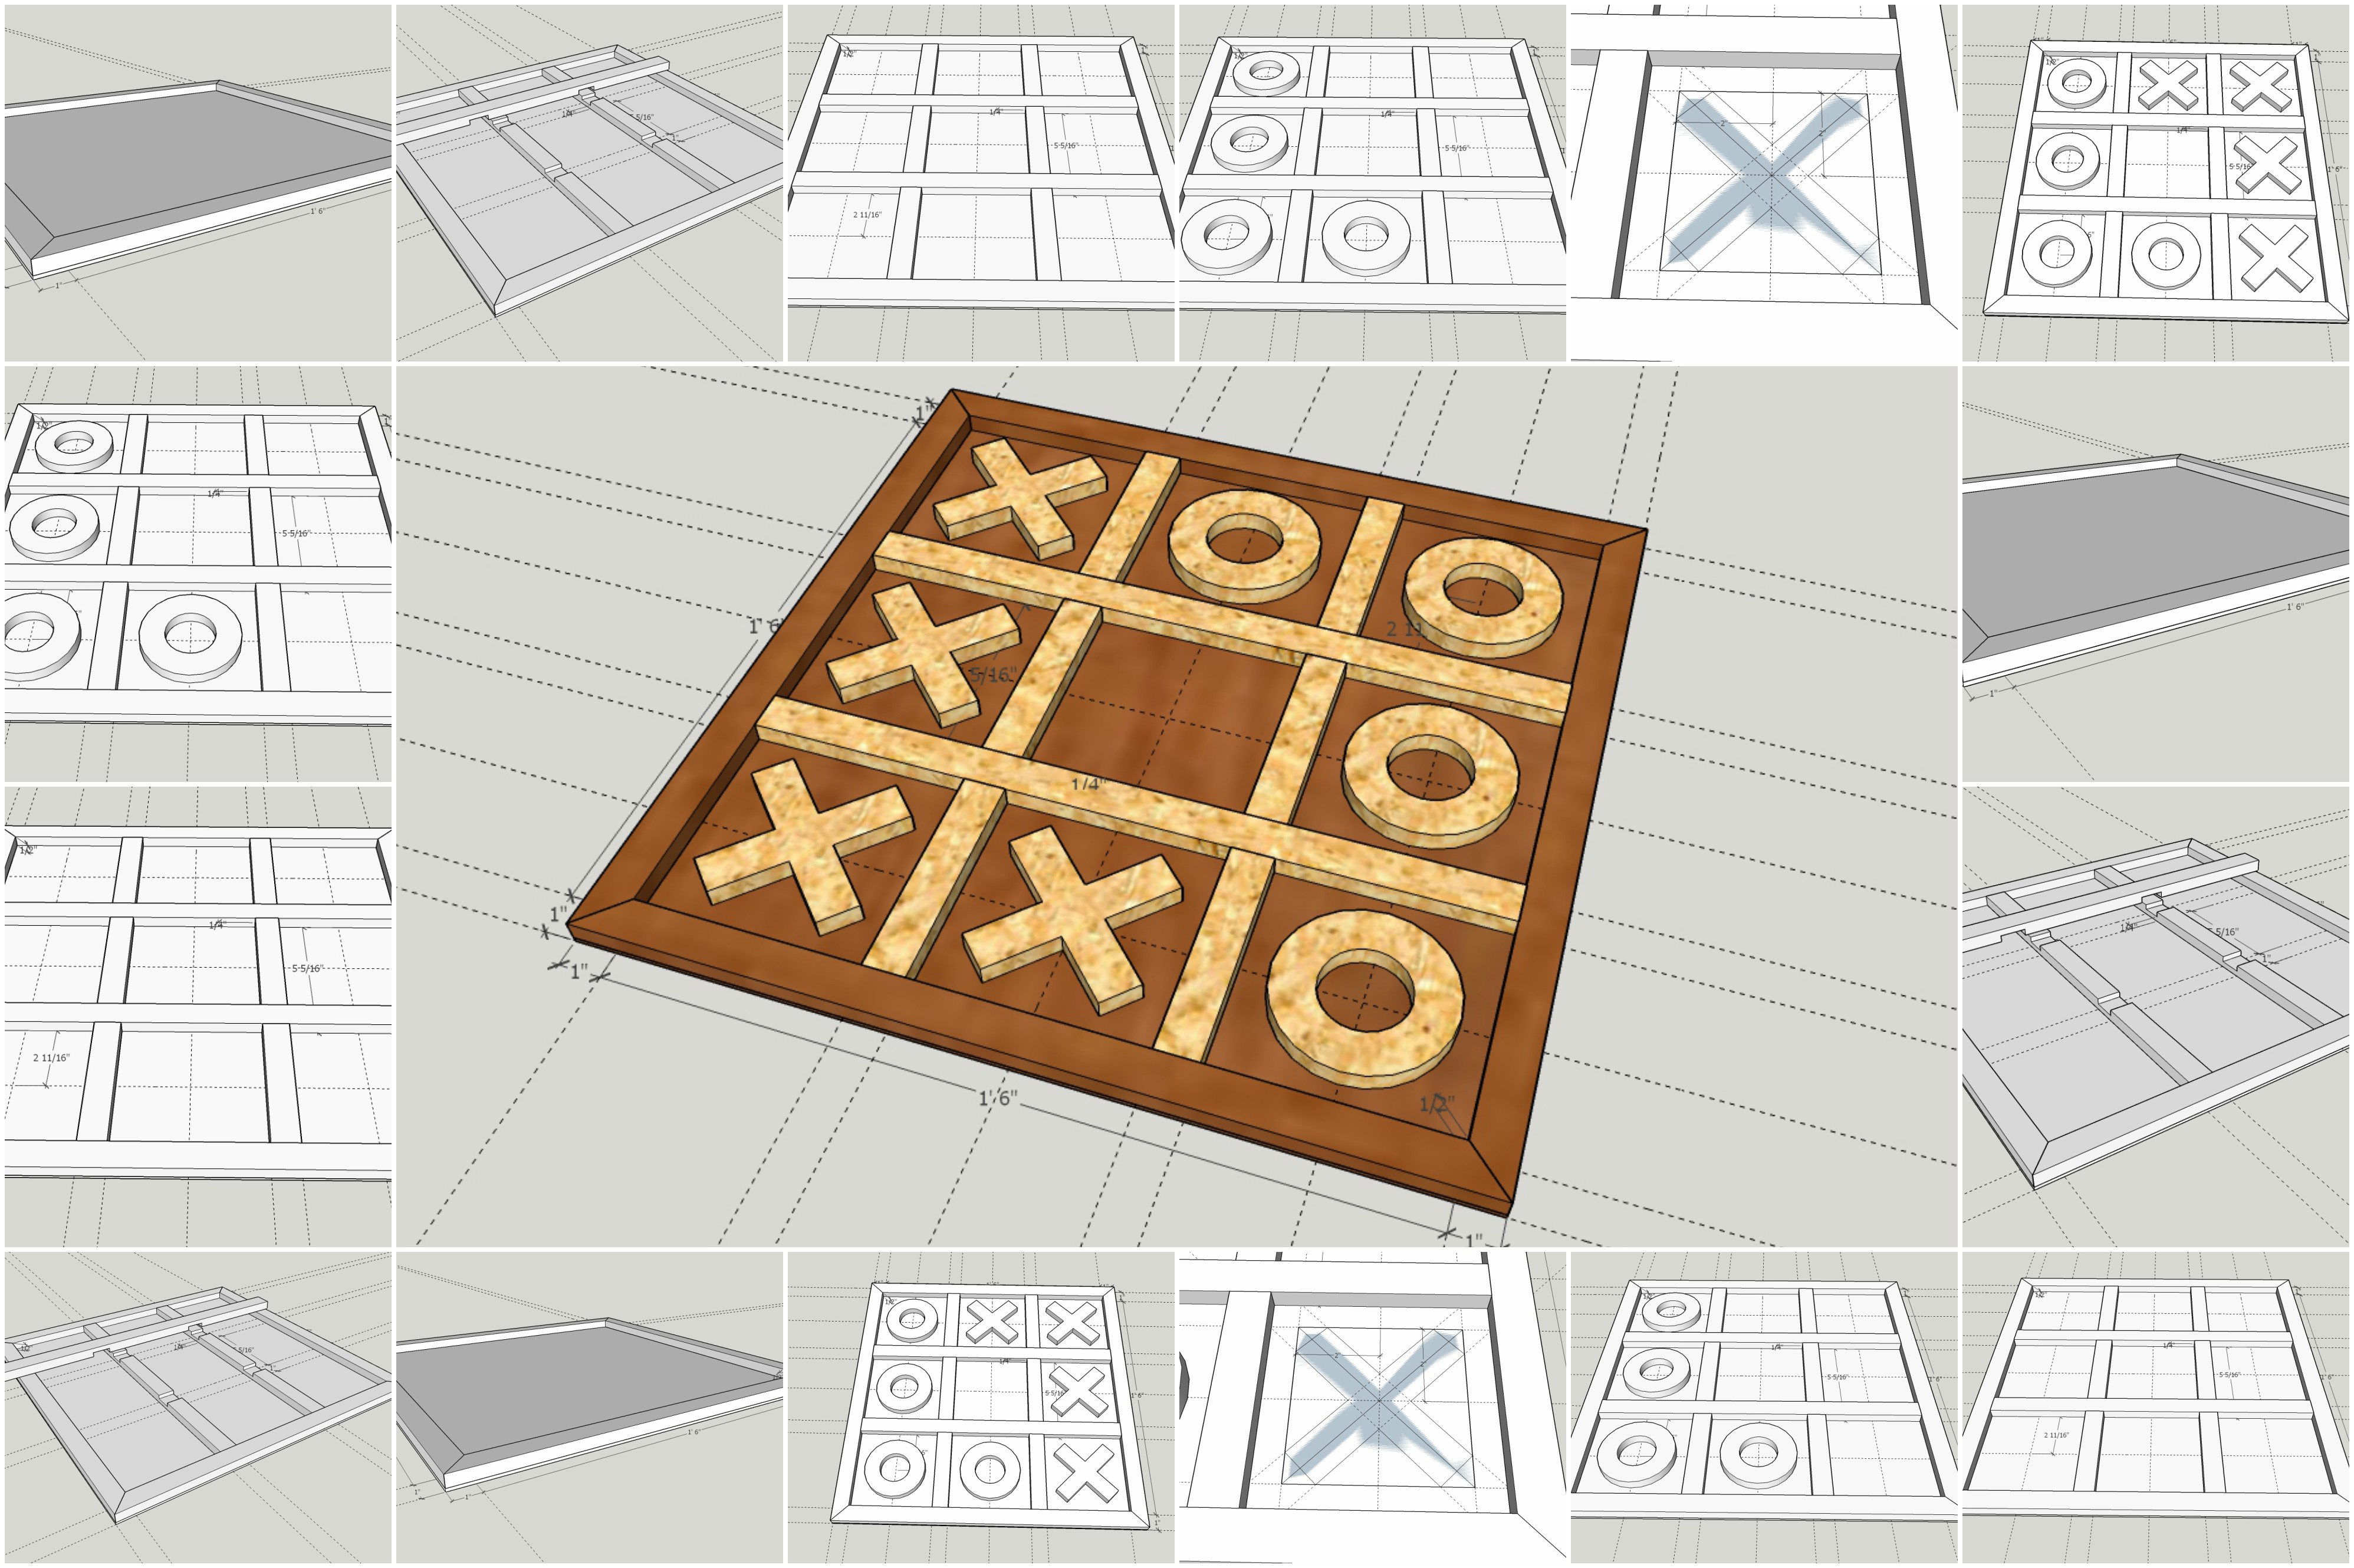
This Tic Tac Toe board was fun to design in Sketch Up. This is the time lapse video I made to show the process:
Create the Base
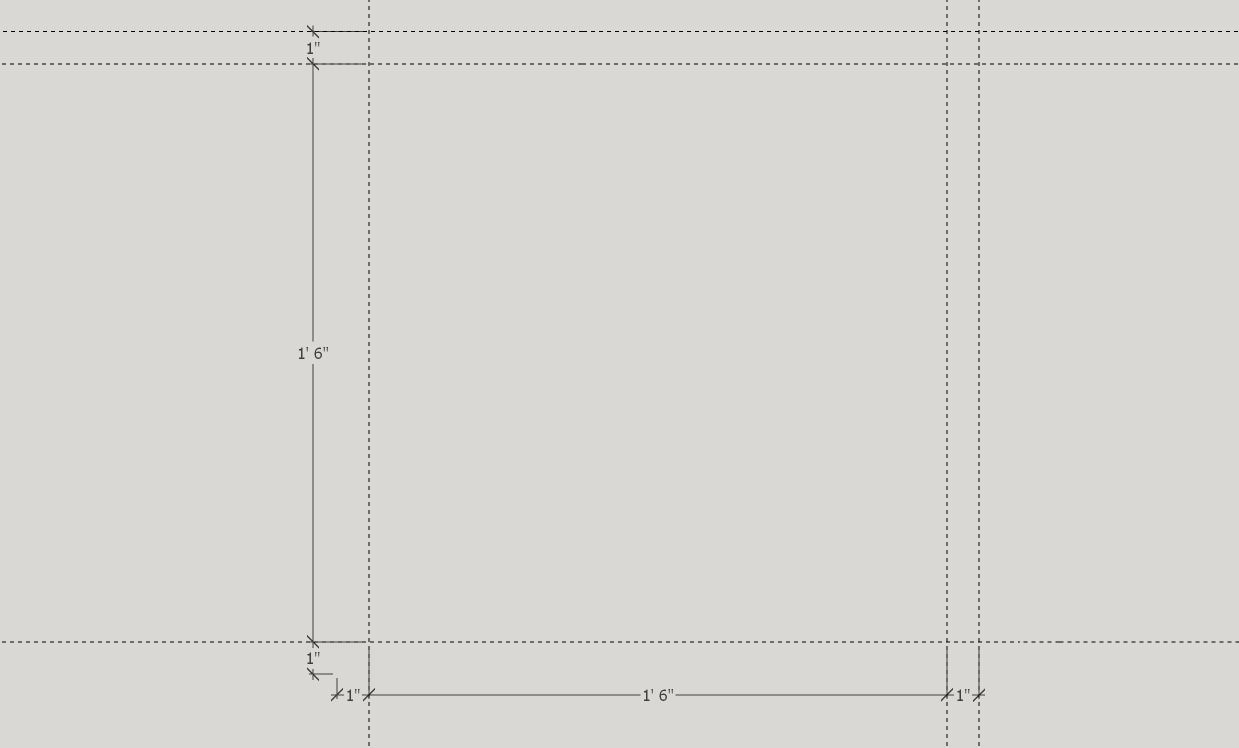
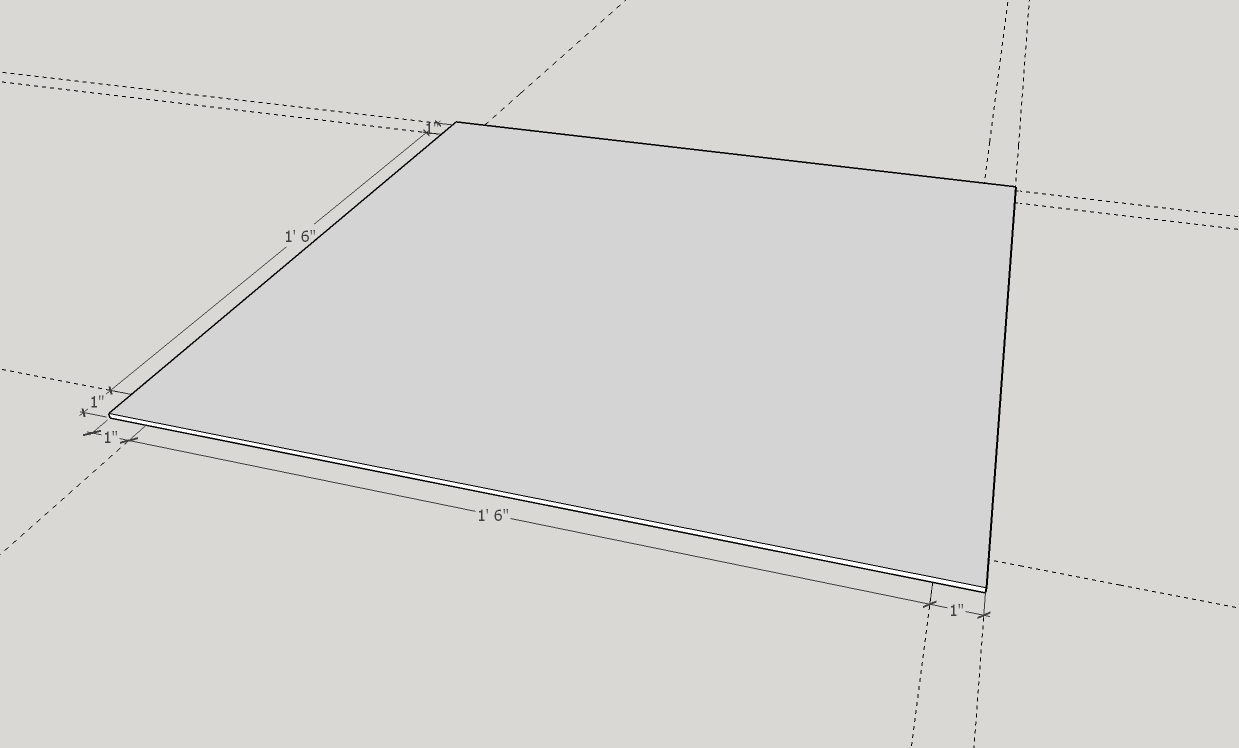
The base is approximately 20"x20", and is 1/8" thick. I chose 1/8" because you can find that thickness of MDF or even clear acrylic sheets in case you want a clear bottom.
Draw your ruler guidelines at 1", 19", and 20" from the both the x and y axis. This will create the outline for the rest of your board.
Draw a square that is 20" by 20" and use the Push/Pull tool to raise it by 1/8".
Create the Borders
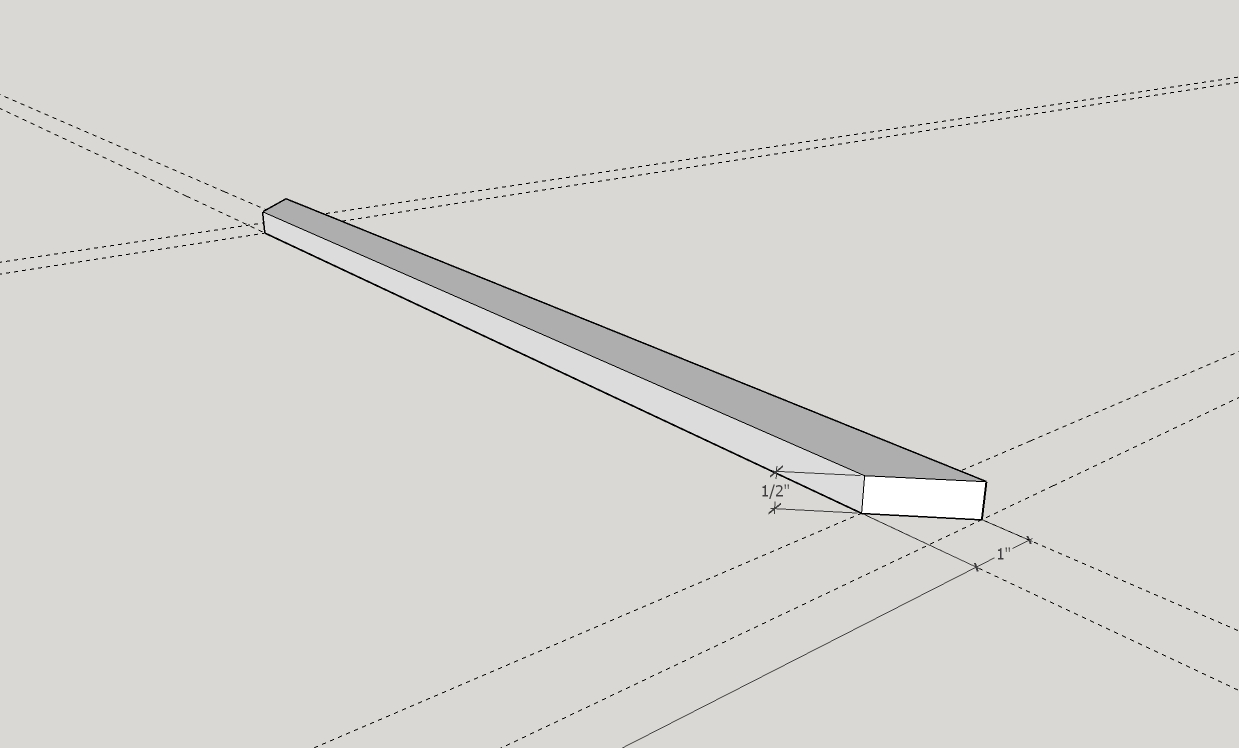
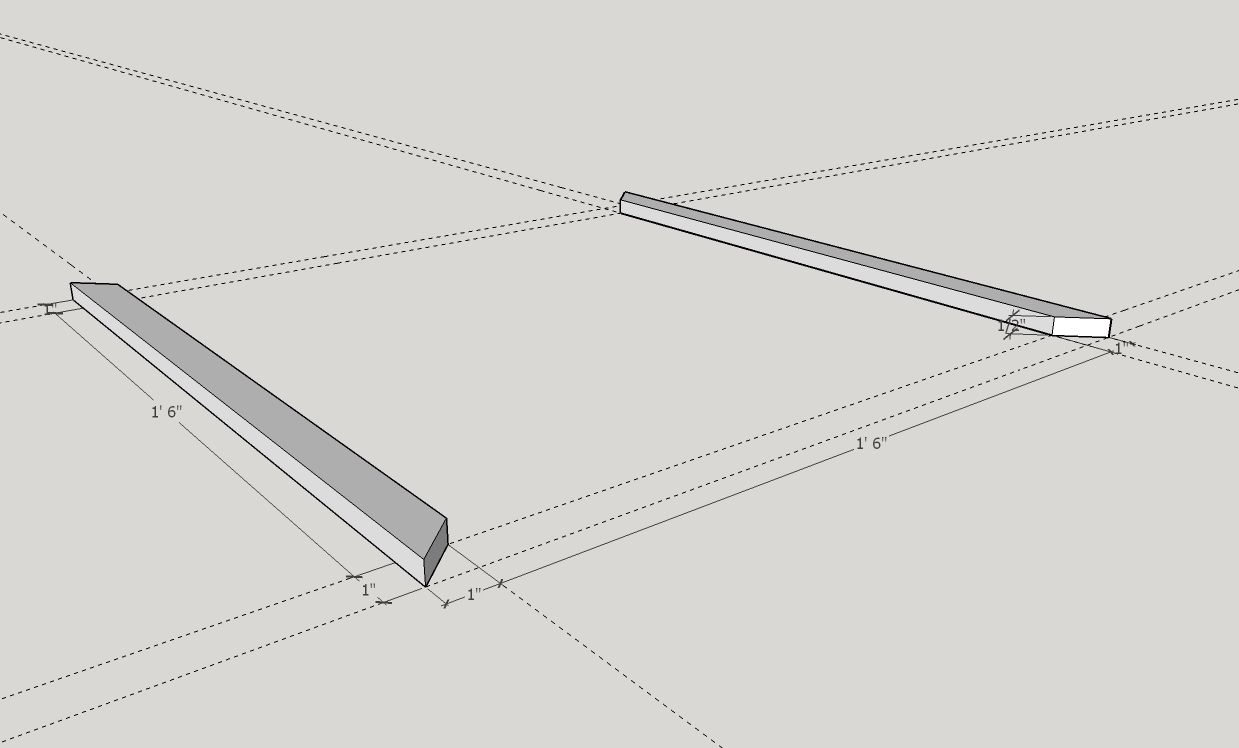
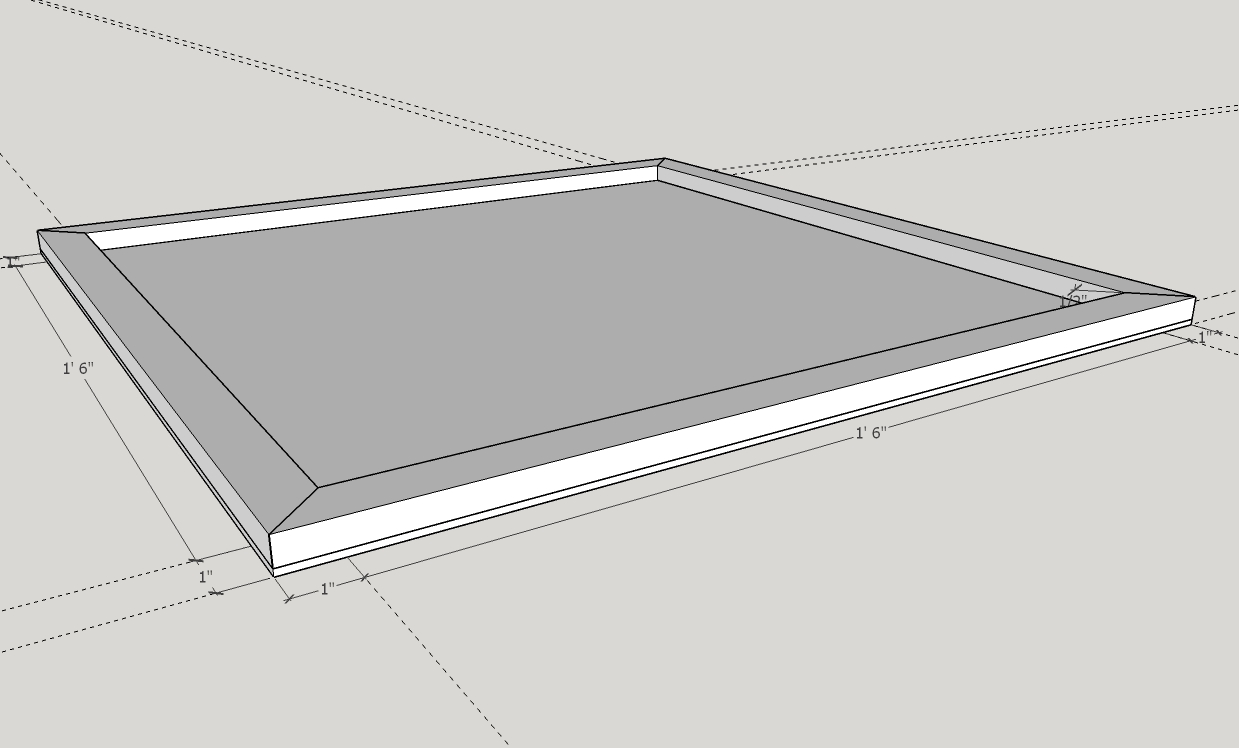
I made the borders 1" wide and 1/2" tall. If you draw one side as seen in the first image, and then create a component of that side, you can then copy it to the remaining four using the move tool in combination with "Ctrl" as you move it.
Once you have all four sides places, make them a group. Then you can move this group to sit flat on top of the base from the previous step.
Create the Cross Beams
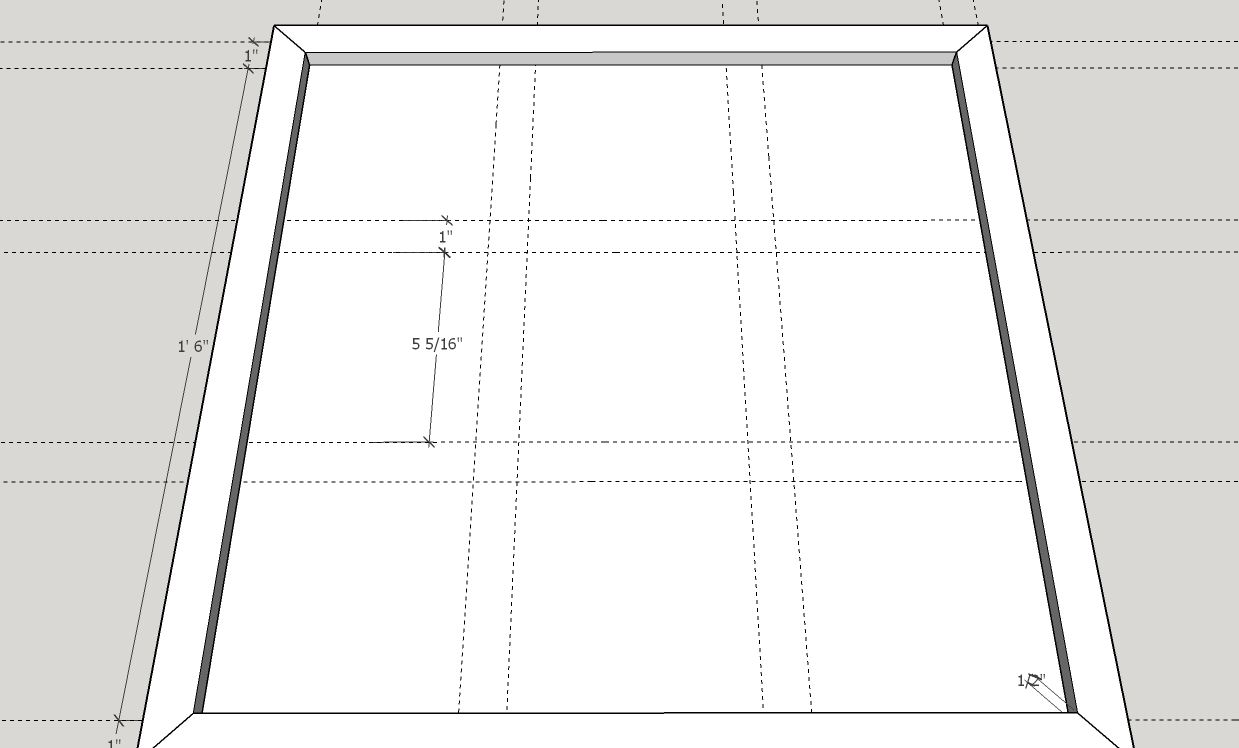
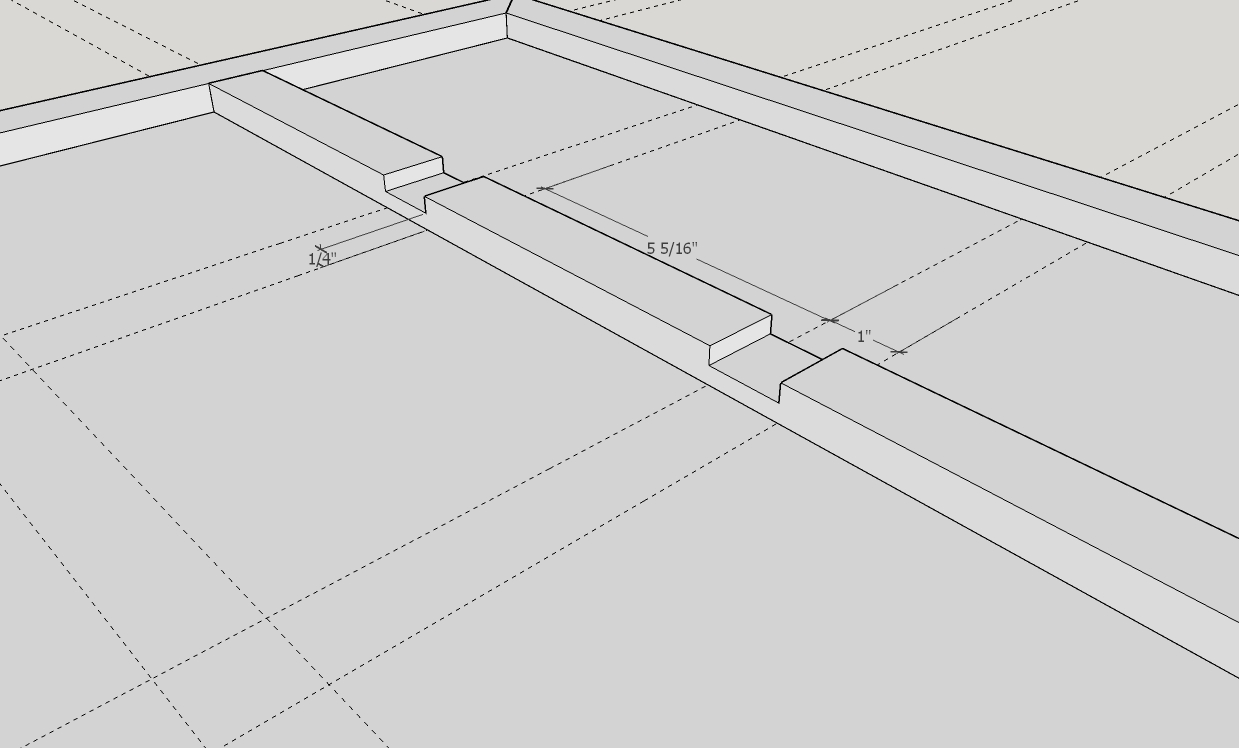
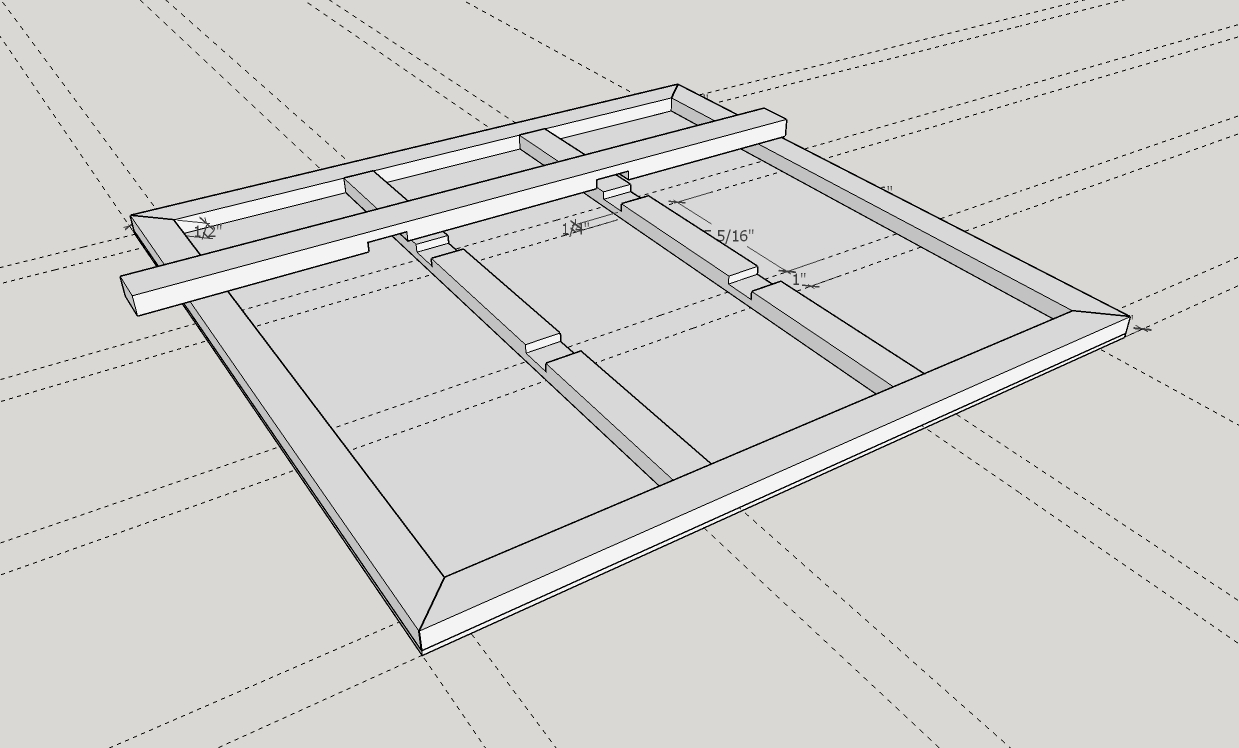
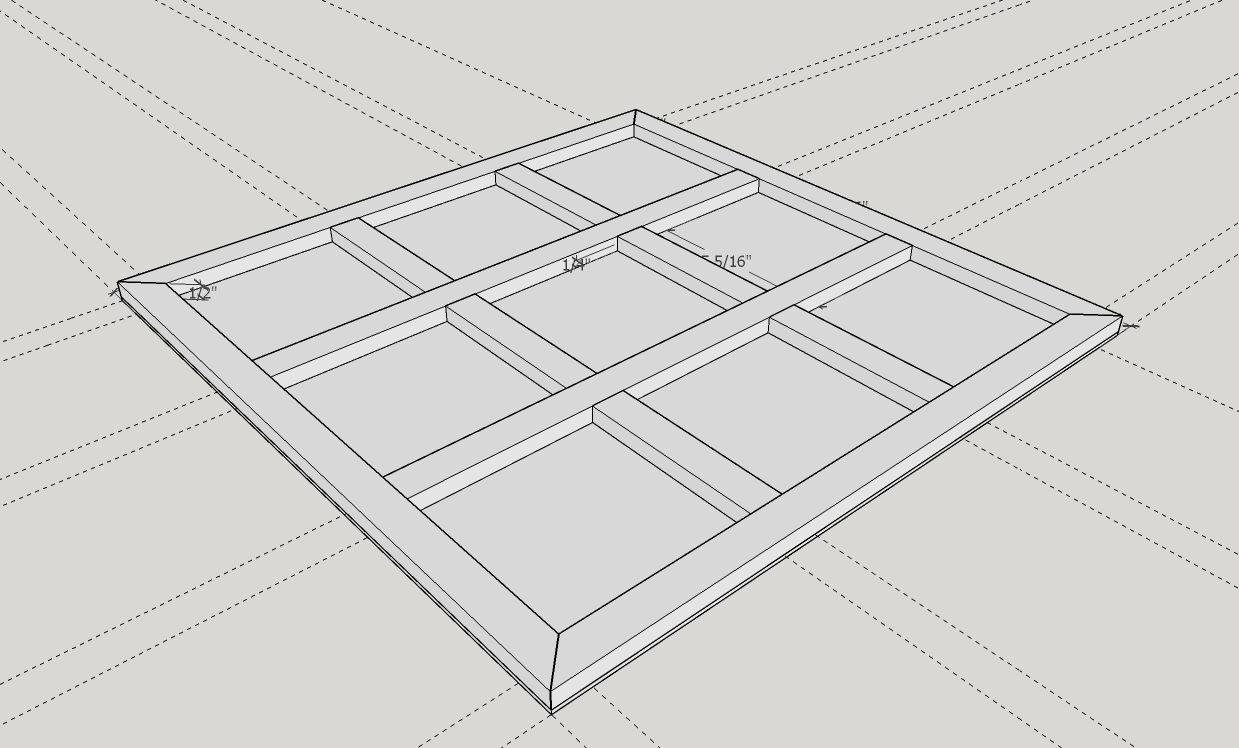
These cross beams can be somewhat tricky, but adding grid lines will help a lot.
As seen in the image, create your grid lines 16/3" away from the walls with another 1" grid line from those.
Draw a square along one of the beam lengths and use the Push/Pull tool to bring the outside and center segments up to 1/2". The two 1" sections of the cross beam should be 1/4" tall.
Create a component from this newly created beam, and then Move/Copy/Rotate it to the proper positions to fill the other 3 areas where the beams should go.
For a quick overview of this you can watch the video below and skip to 0:24:
Create the "Circles"
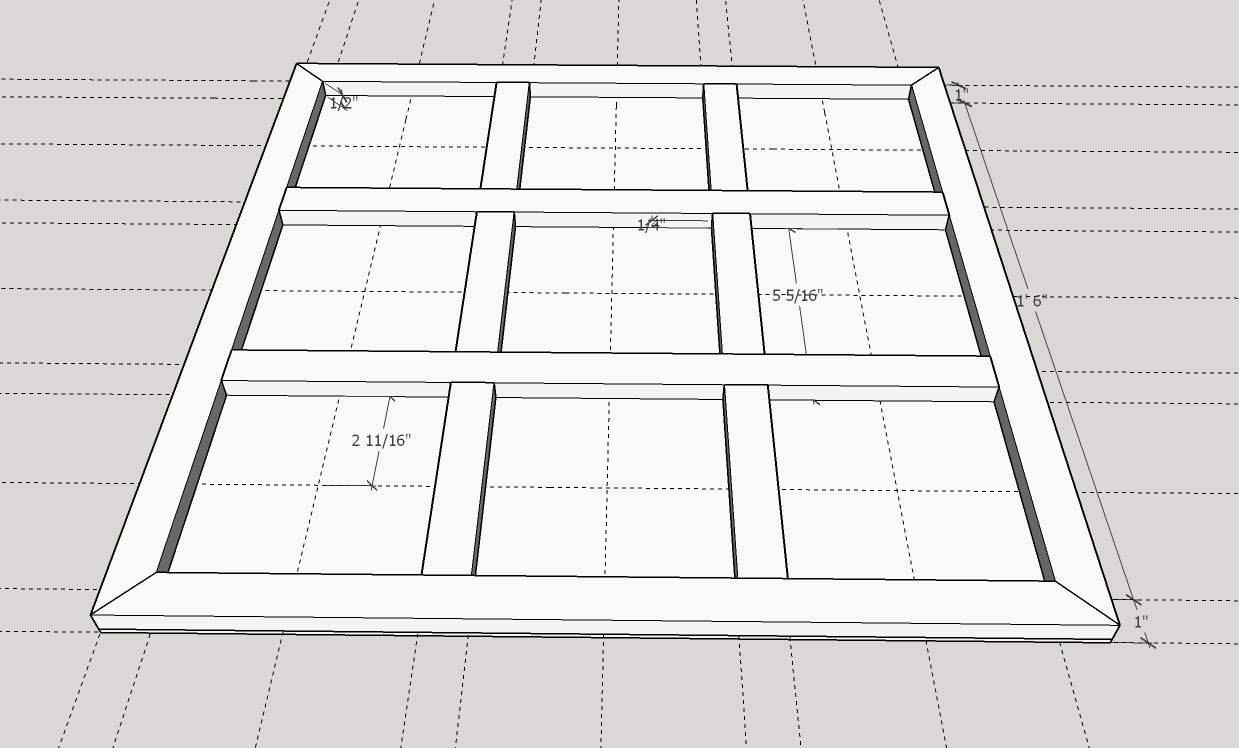
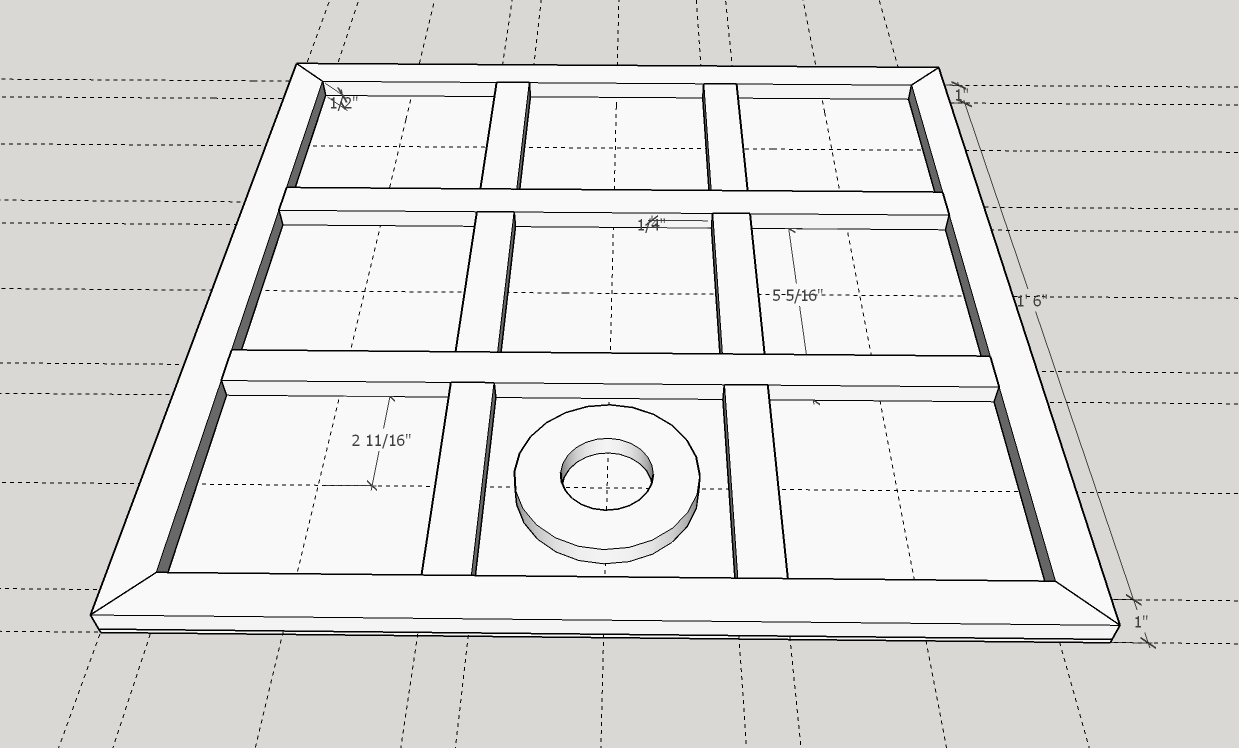
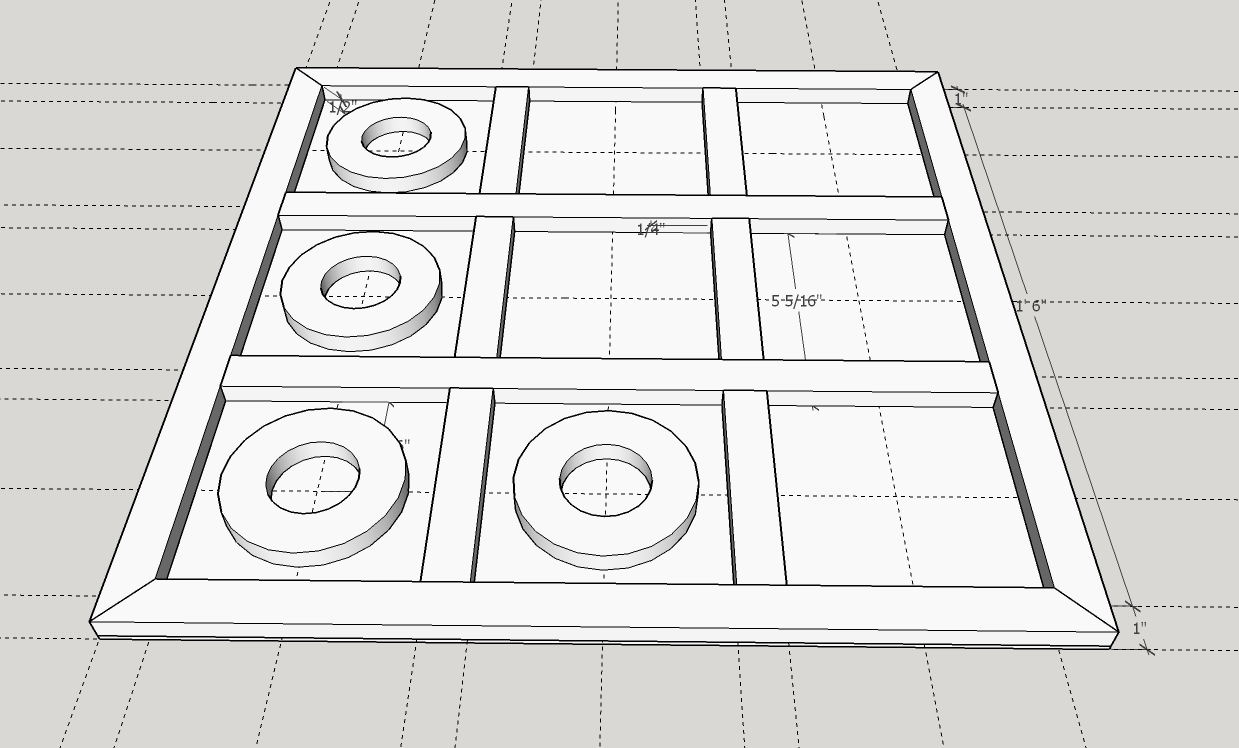
Add grid lines to the center of each "game square". Then from the center of this square create a circle that is 2" in diameter. Then offset this circle by 1" and delete the center circle it makes. You are then left with a ring.
Use the Push/Pull tool to raise the ring to a 1/2" height. Select the whole circle and make it a component.
Copy the newly created component to three other spaces on the board.
Created the Xs
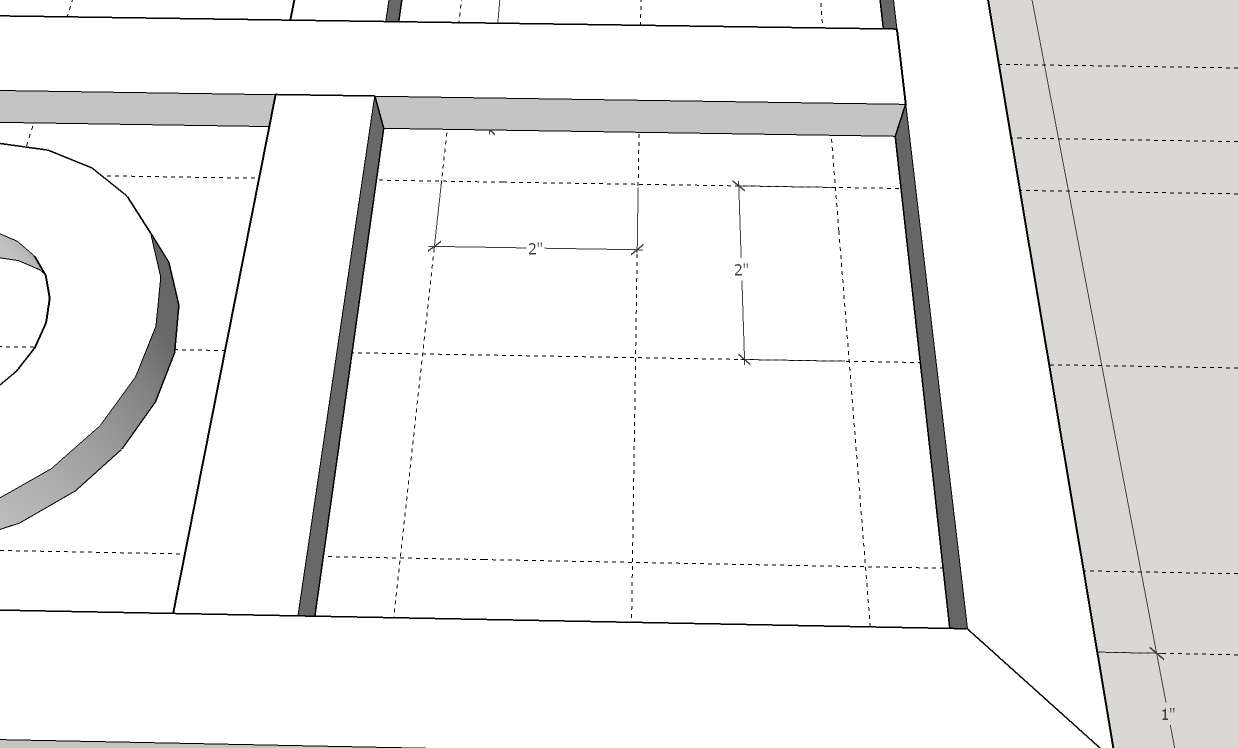
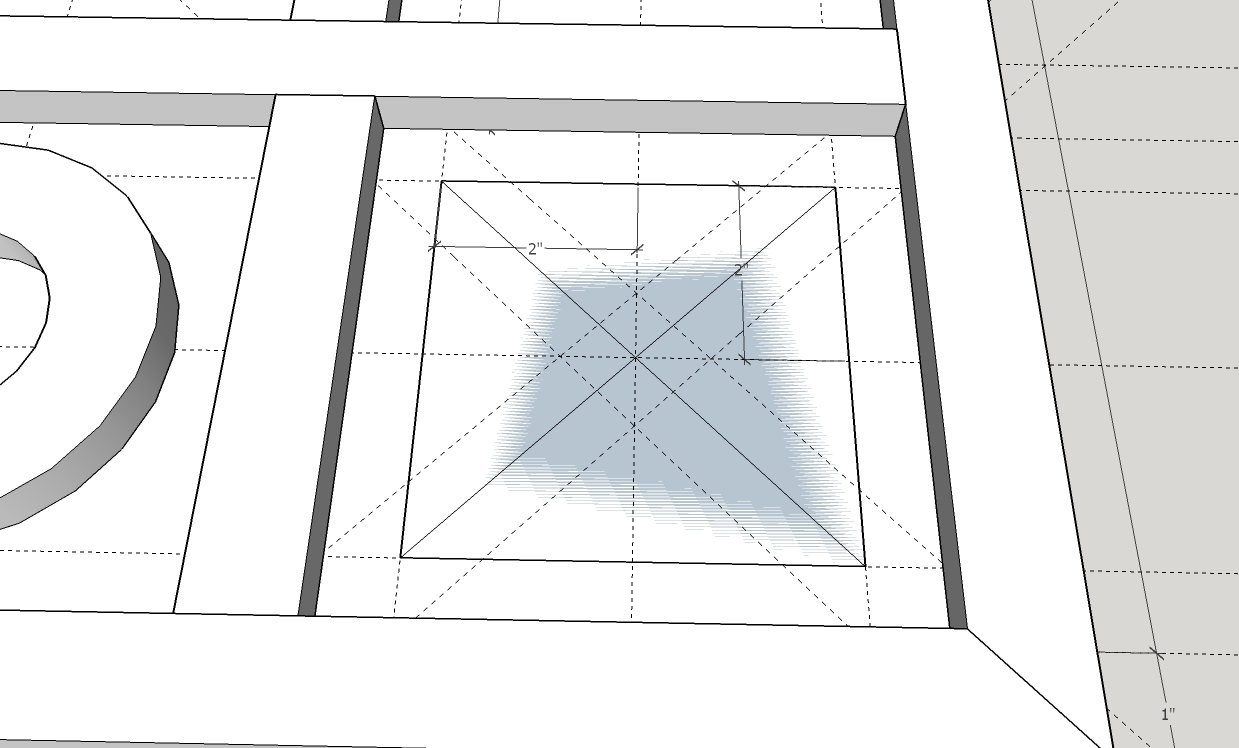
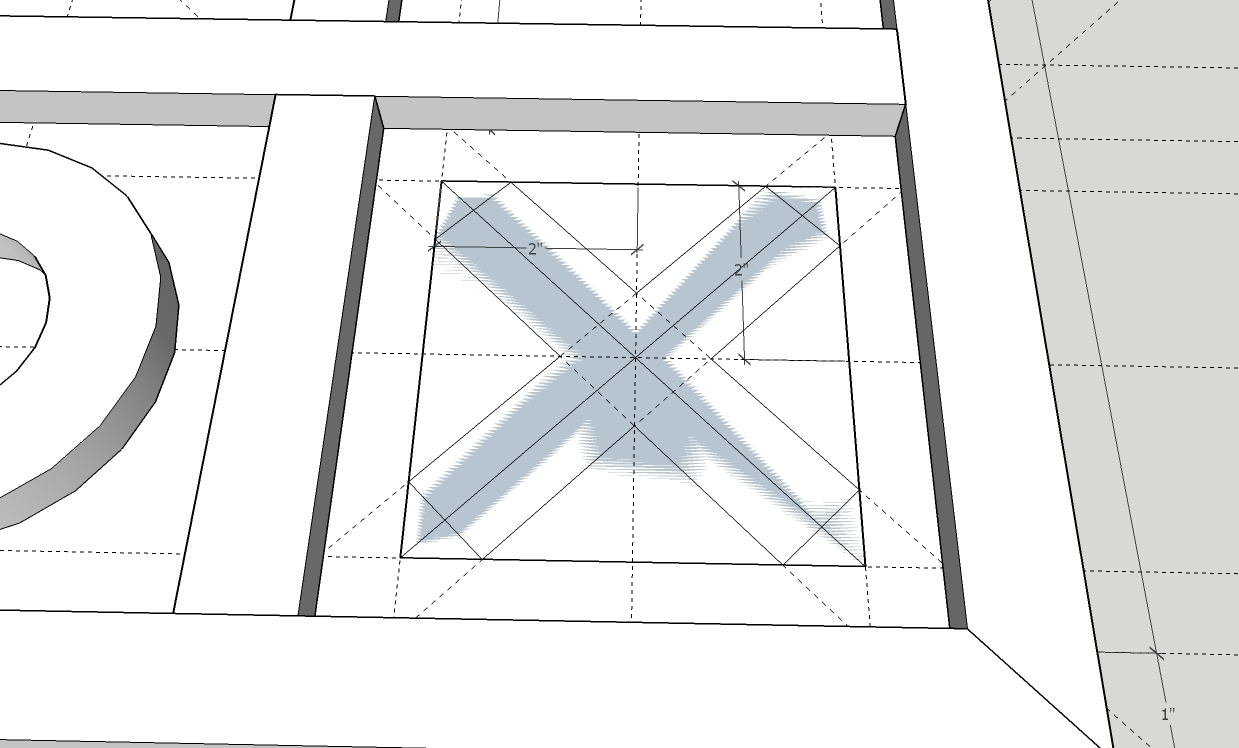
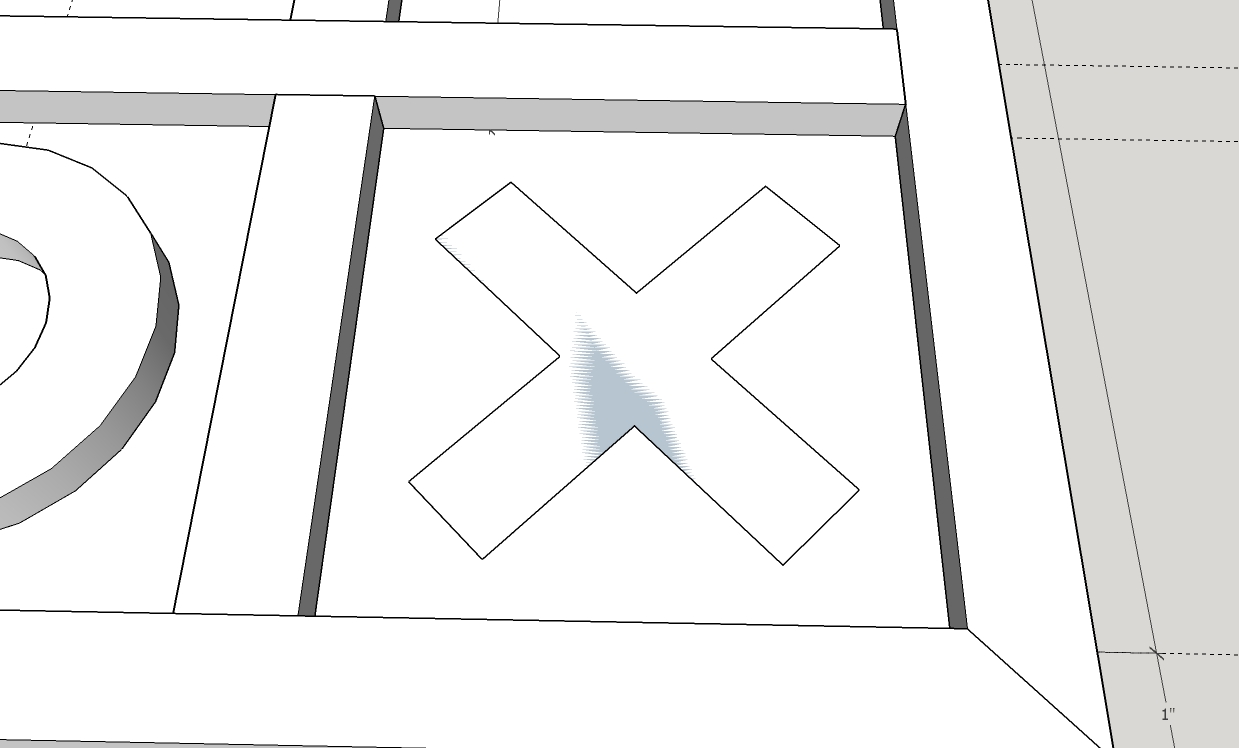
This one was a little tricky. There may be an easier way to do it, but this is how I made the Xs.
Create a square that is 2" by 2". Draw lines from opposite corners, and then create diagonal grid lines that are 1/2 away on each side of those center-set diagonal lines.
Draw the X as seen in the third image, and then erase the excess lines as seen in the fourth image.
Repeat the same process of using the Push/Pull, creating a component, and duplicating that component on three more spaces as you did in the previous step with the circles.
Finish the Game
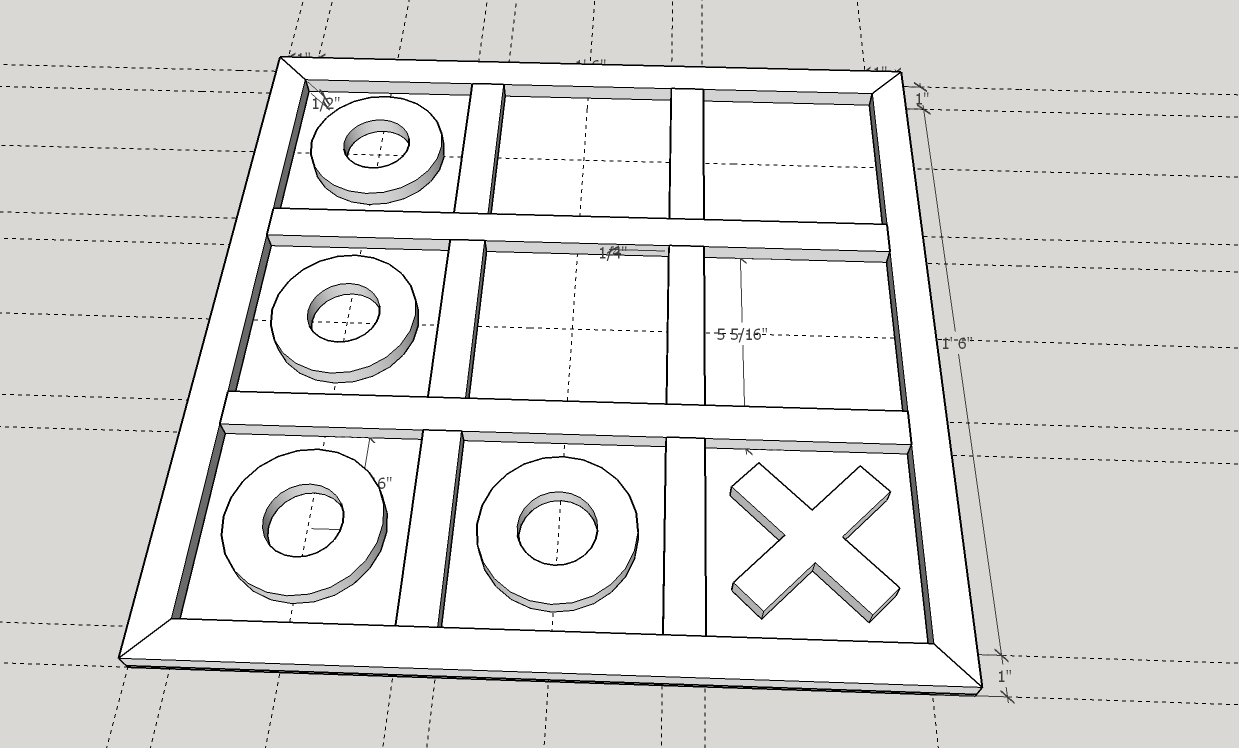
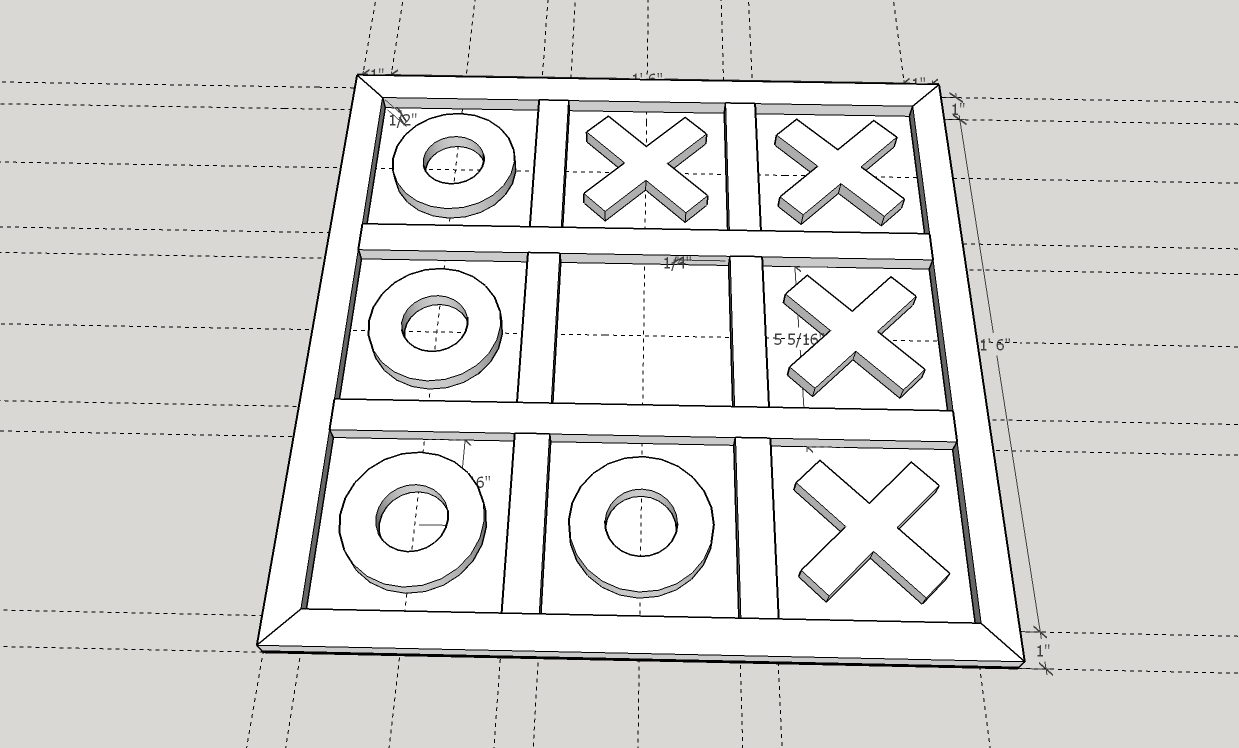
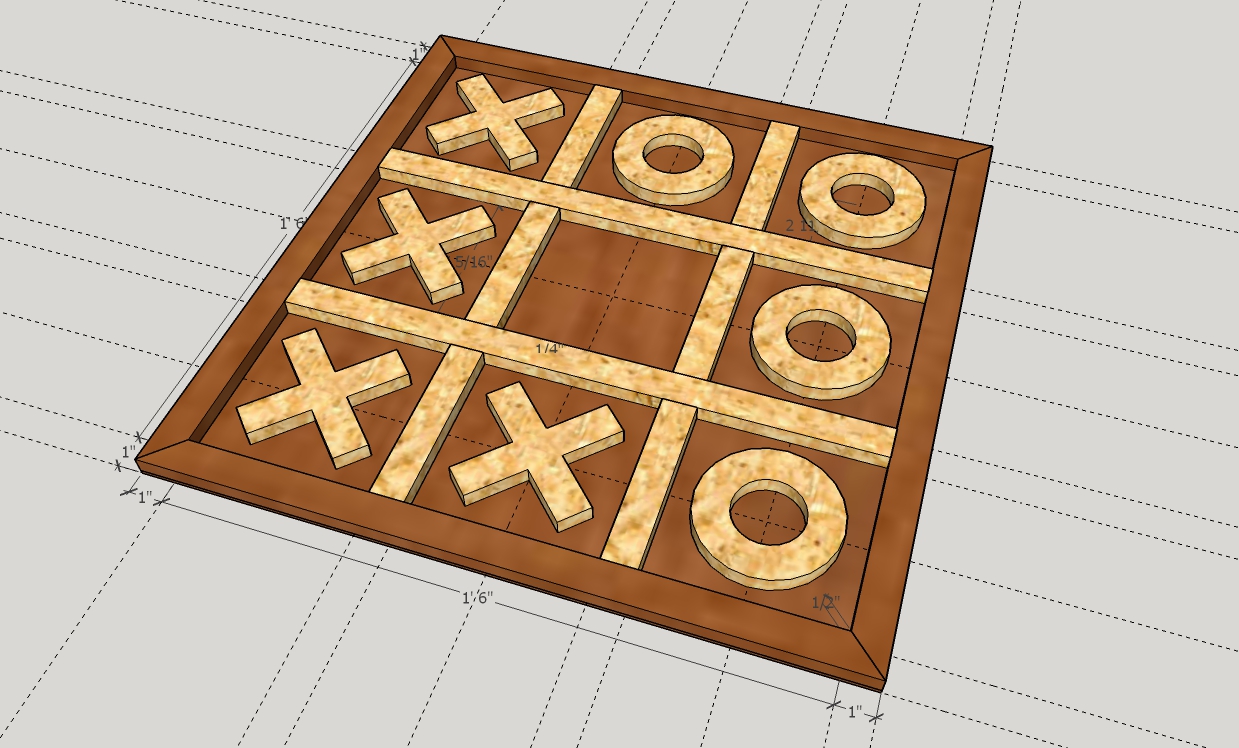
Once your game pieces are duplicated completely, you can then color the board as you please.
You may need to double click into certain groups to change individual components. You may note that the final image in this step does not match the colors in the YouTube video or other images you may see of my sketch up model. This is to show the different color selections you can do, and also because I modeled this board up twice to make the video and the tutorial.
I hope you enjoyed this Instructable, and if you ever want me to model up something you're interested in just comment or send me a message. Thanks again!