Thunderbolt Wall Piece
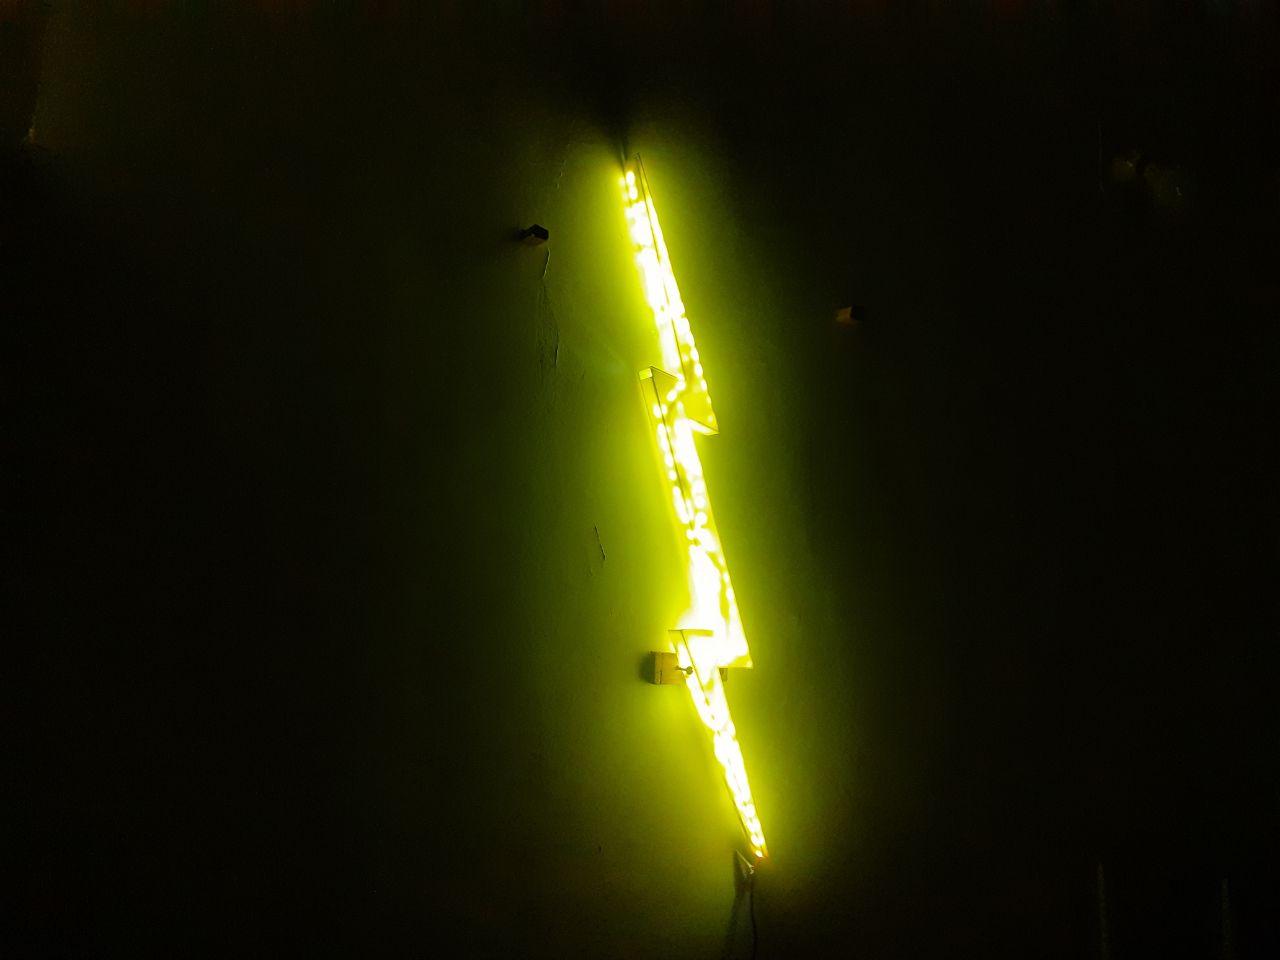
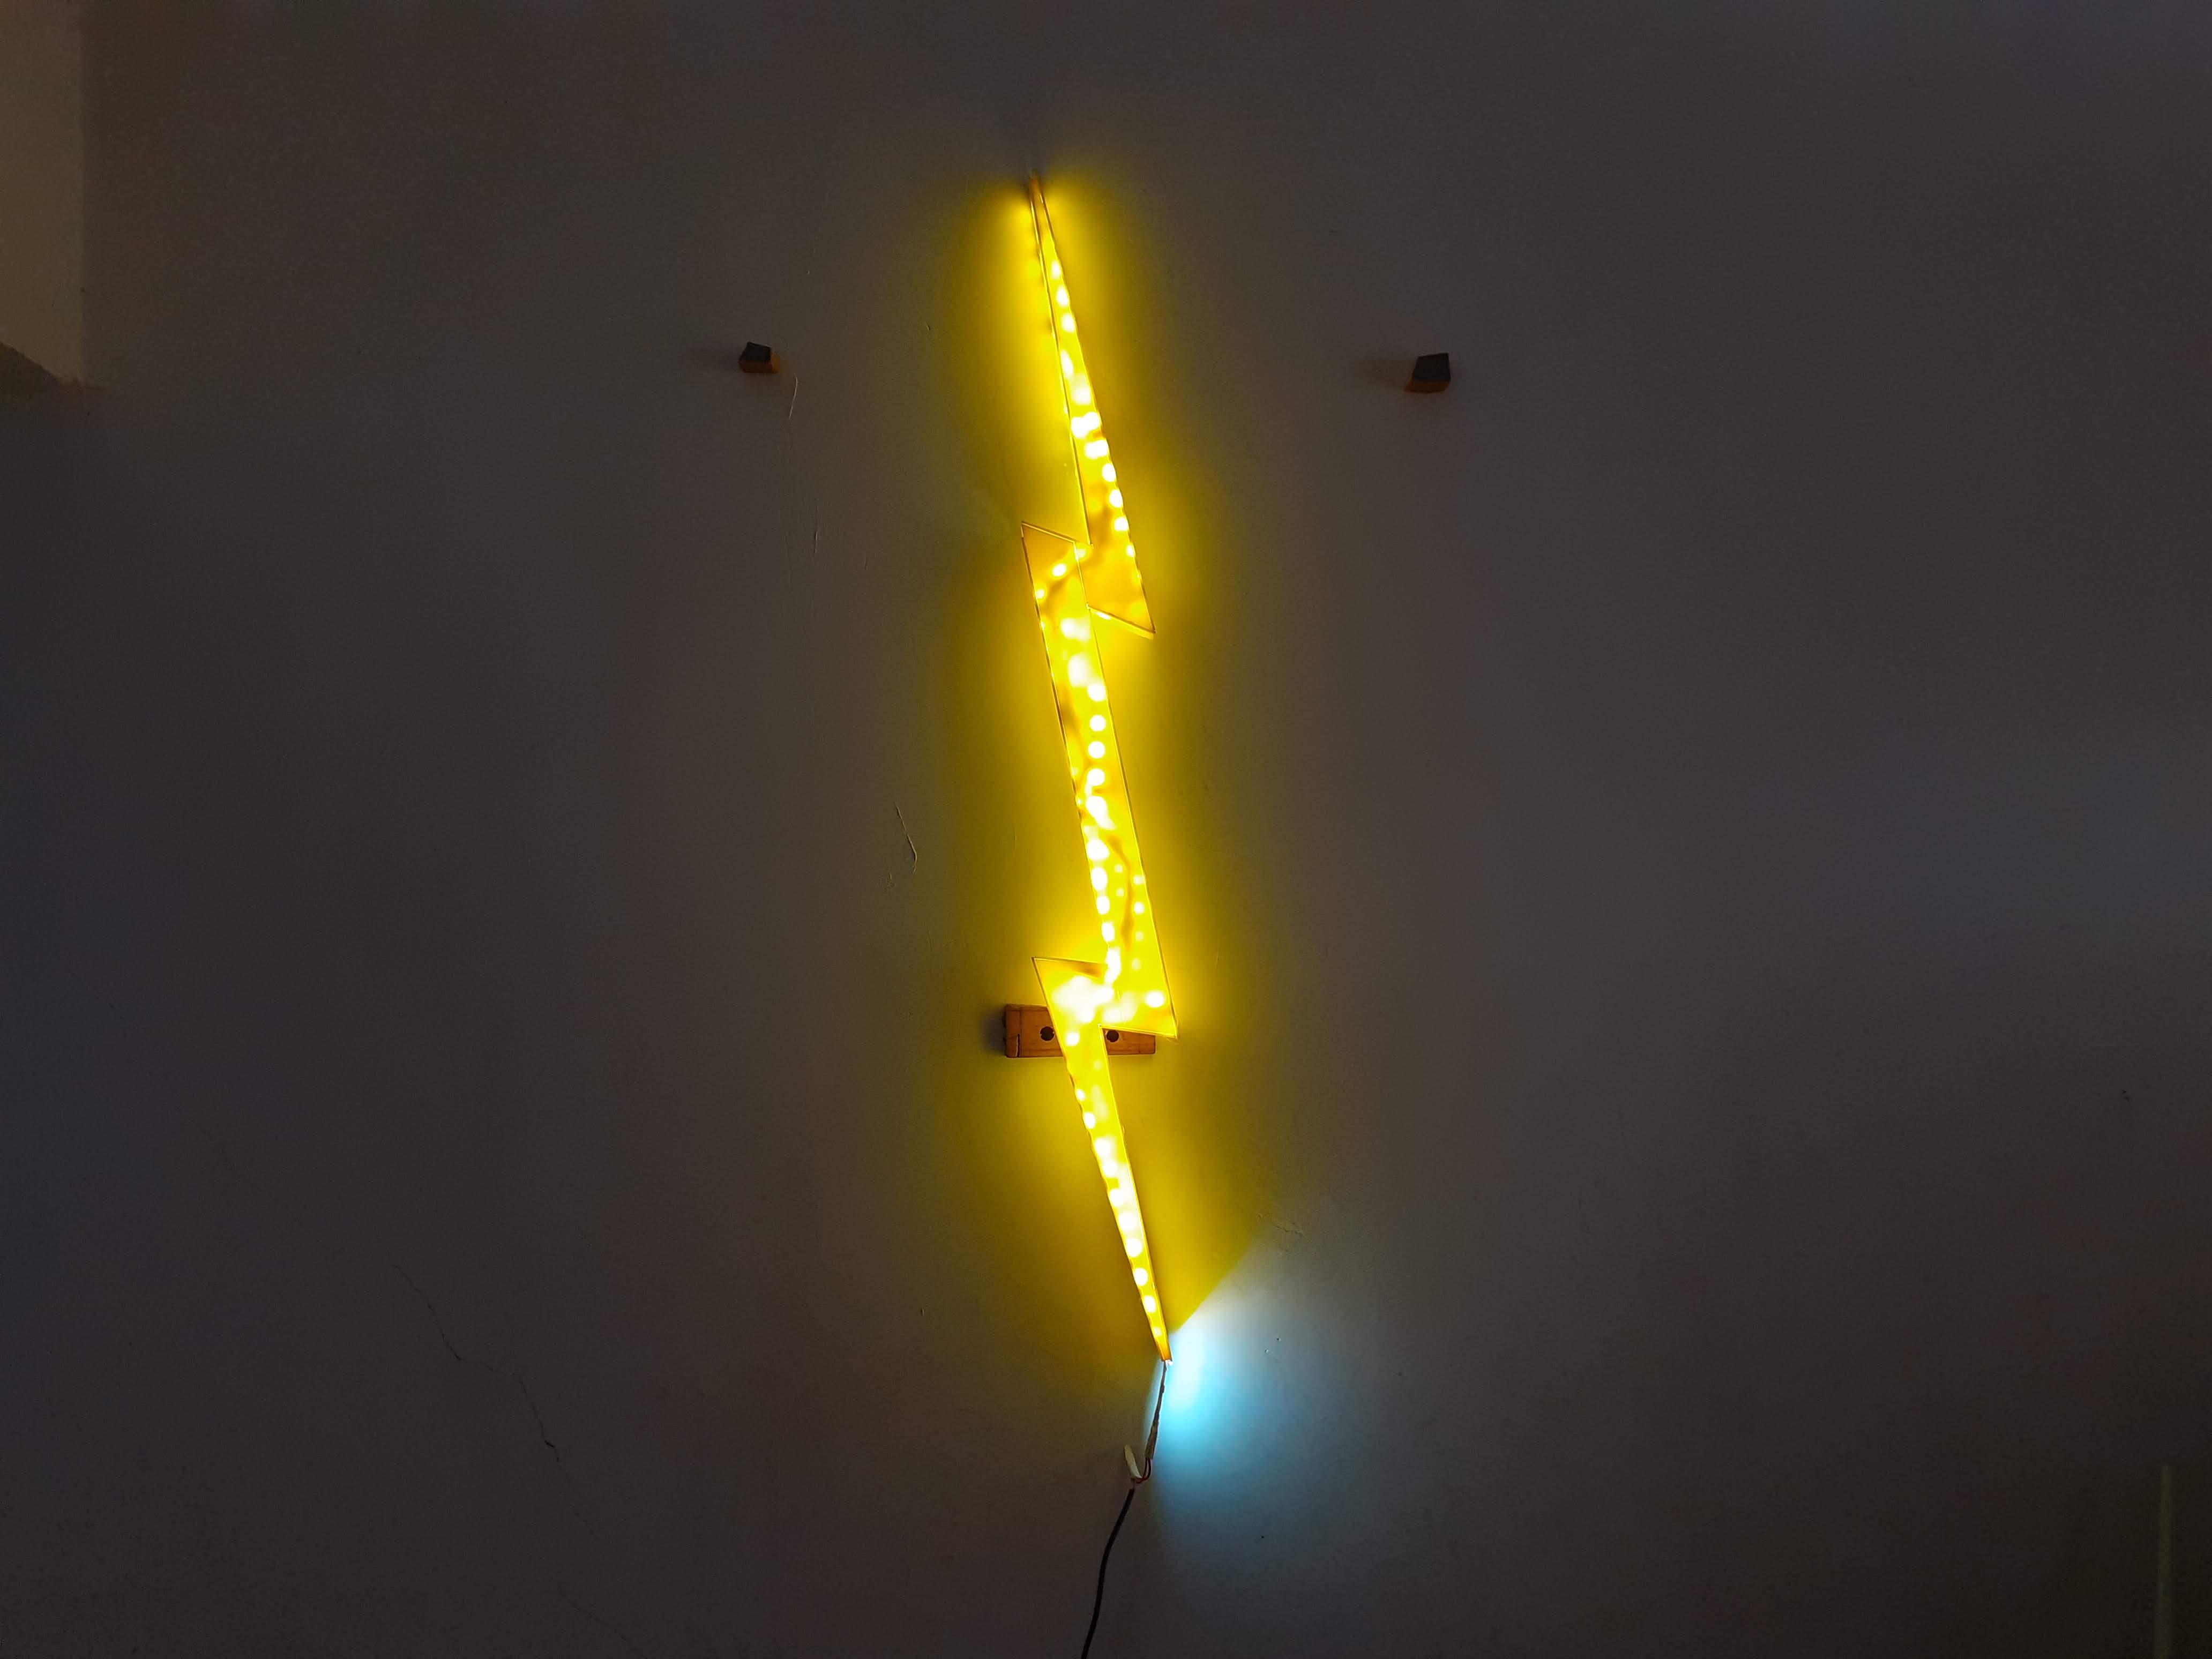
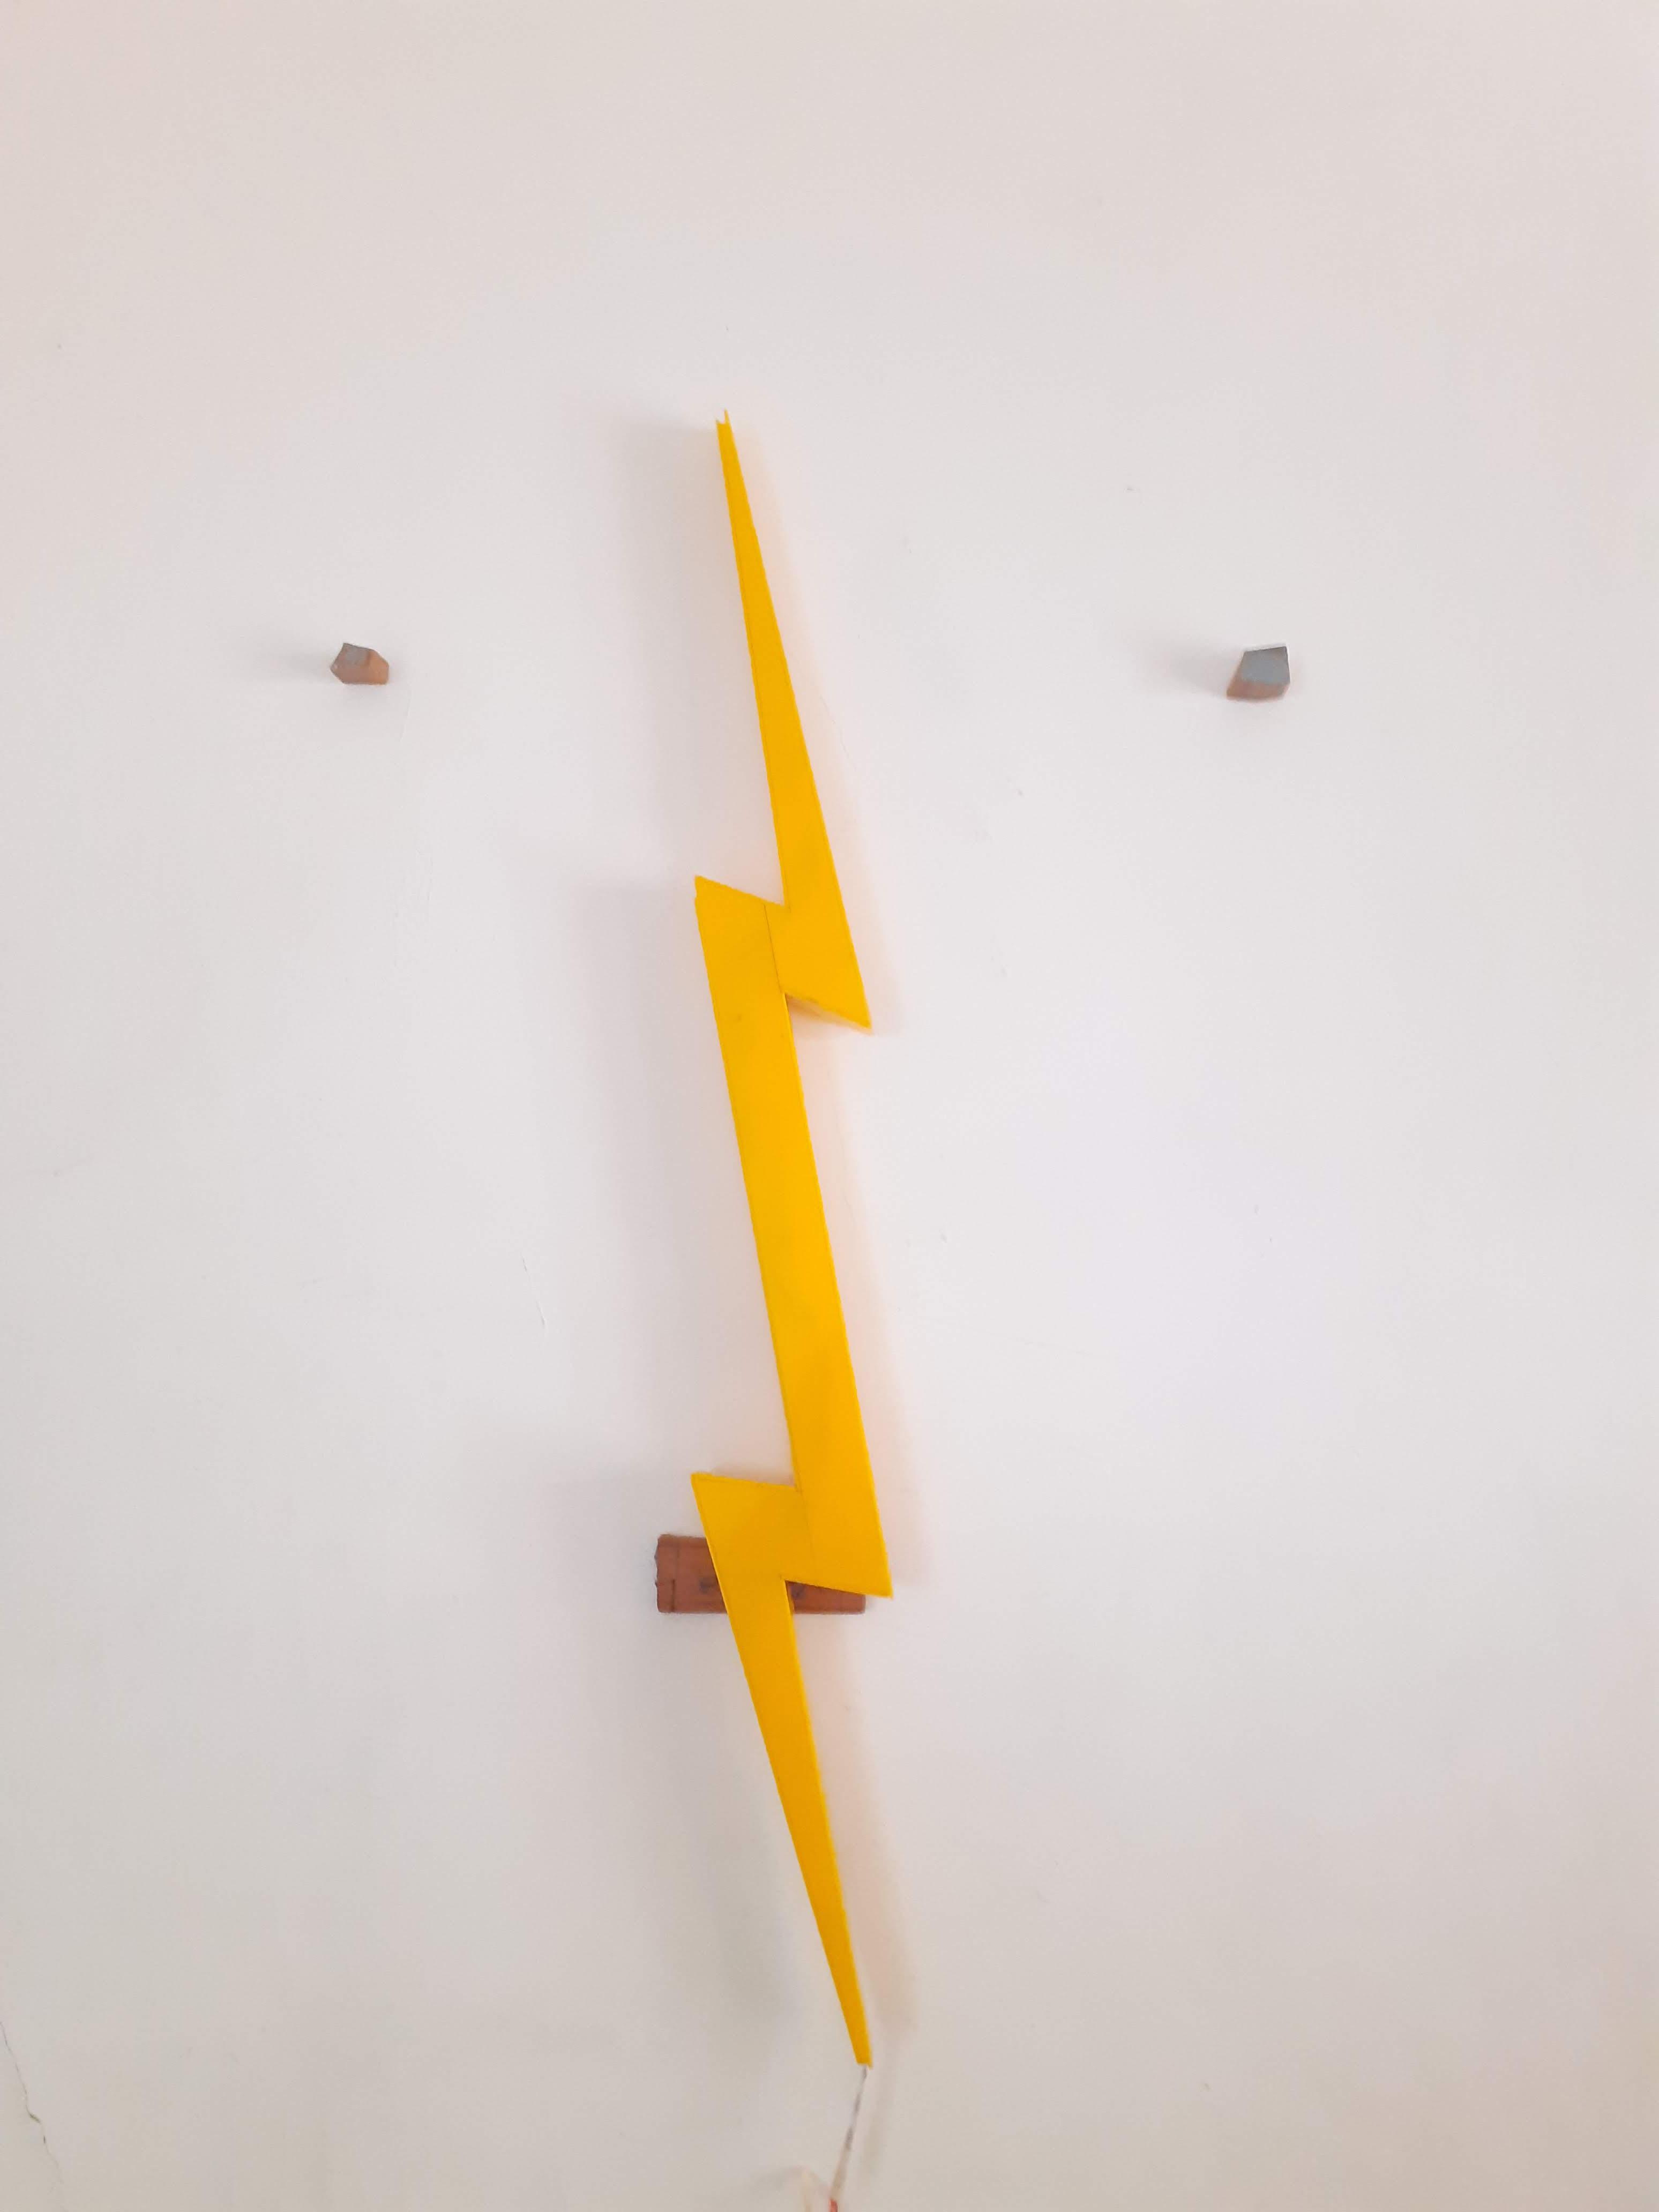
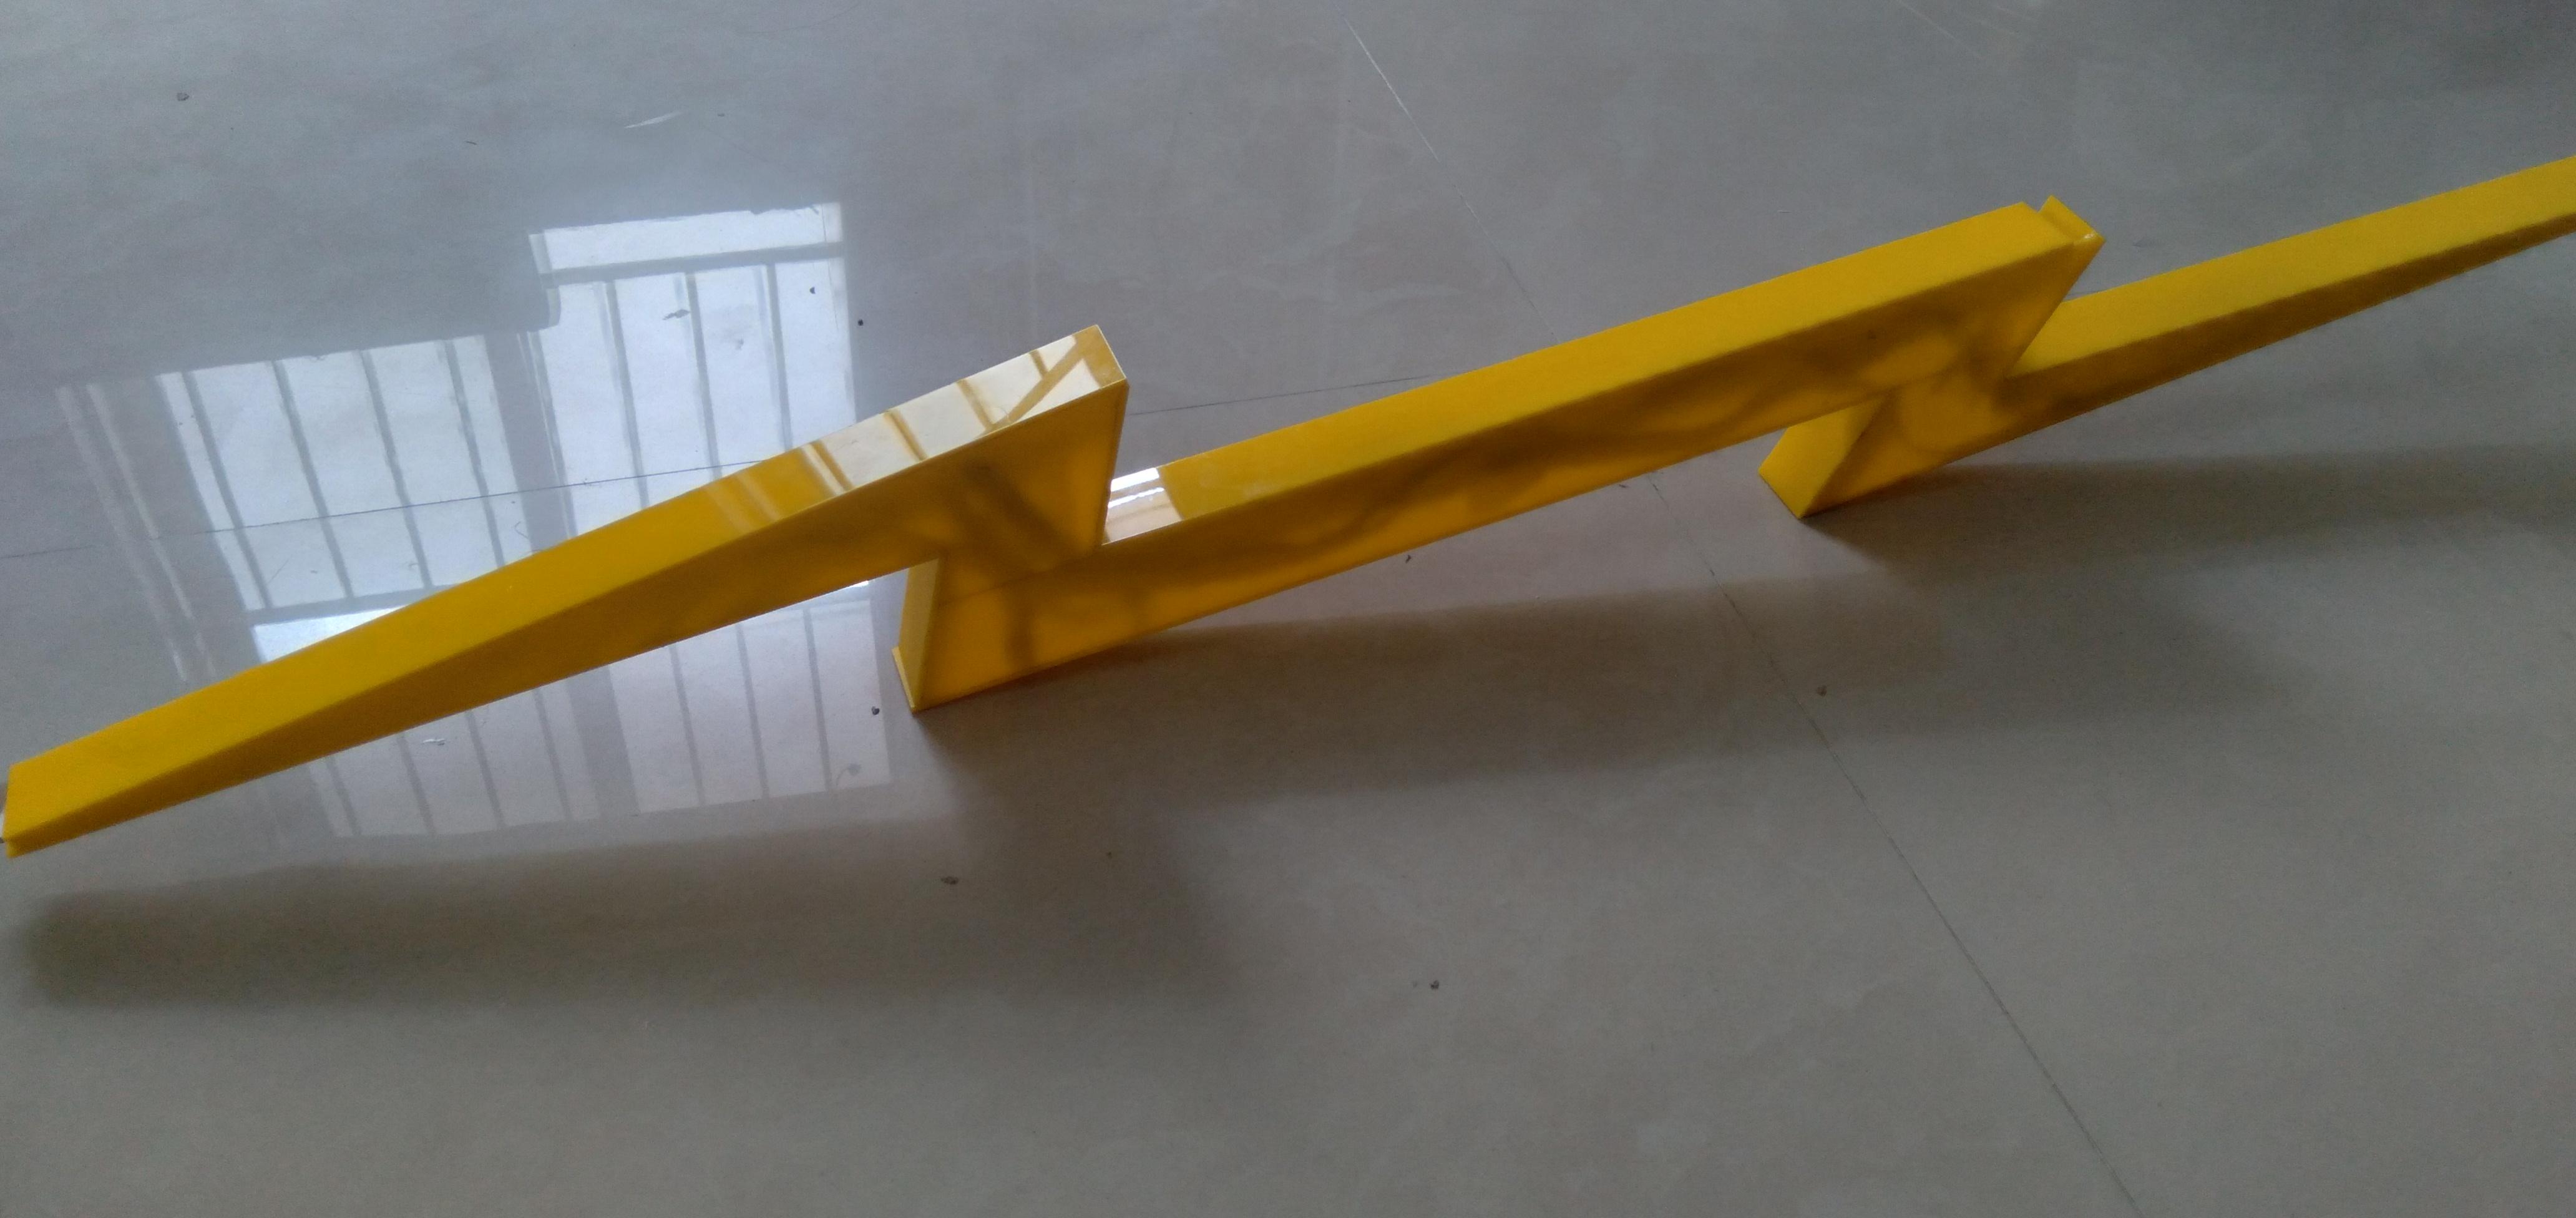
This project is inspired by the recent Marvel film Thor: Love and Thunder.
In this picture, marvel introduces a new weapon thunderbolt.
Which is owned by the god Zeus.
I want to make a lightning-wall piece of a thunderbolt.
Follow my step-by-step guide for making a Thunderbolt wall piece.
Supplies
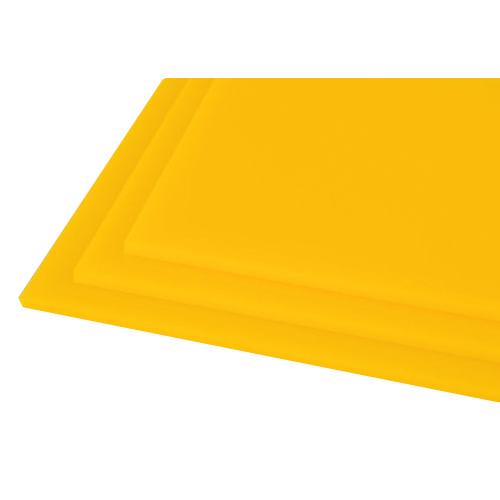
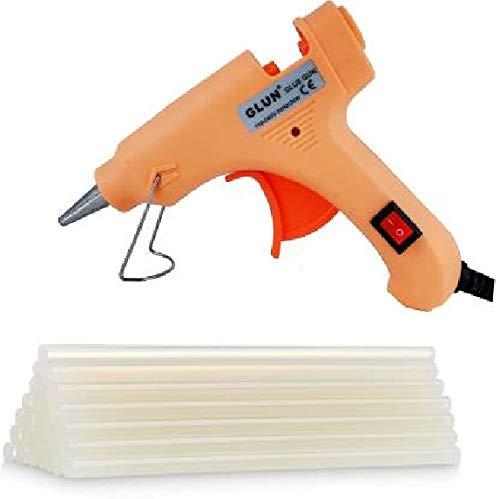
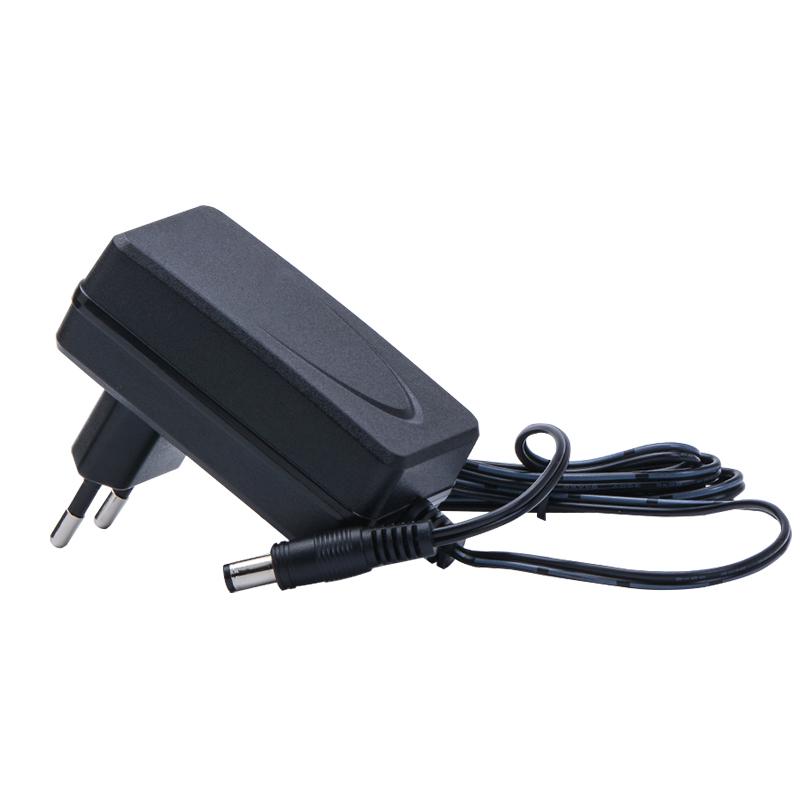
1> Yellow acrylic 2mm thickness
2> access to Computer
3>access to a laser cutter.
4> LED strip white 12v
5> 12v 2A Adapter
6> Electronics soldering iron
CAD Design
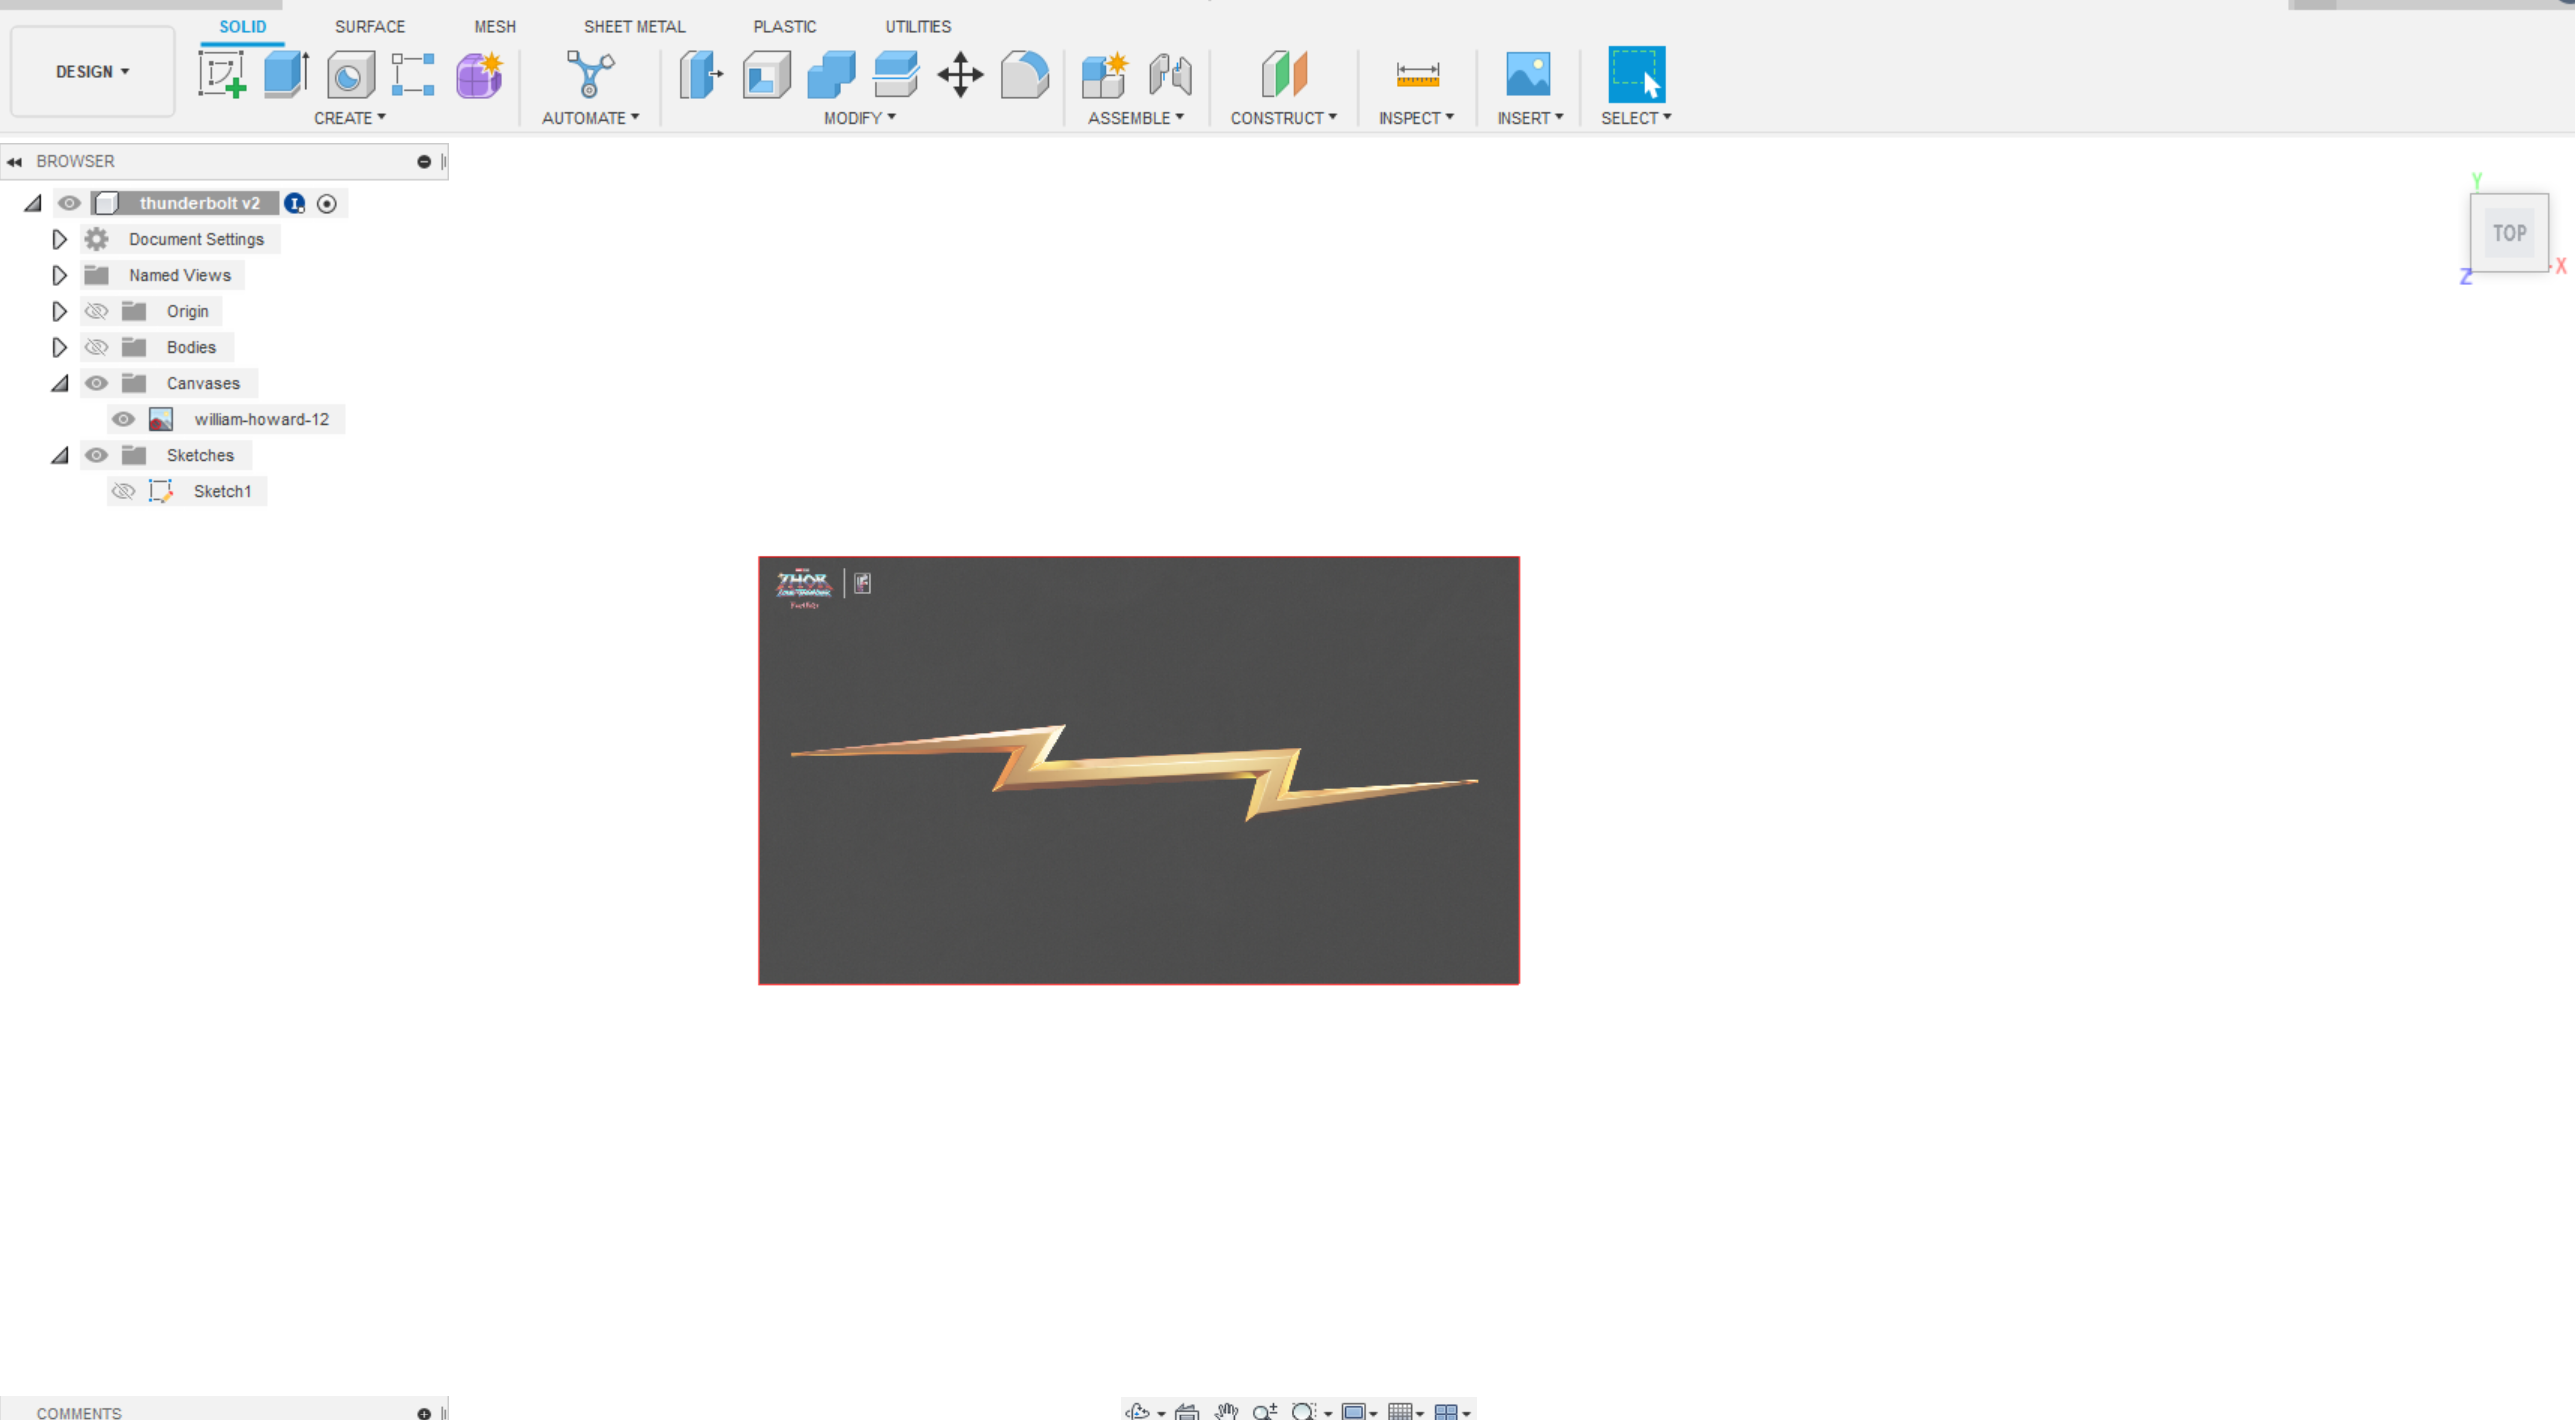
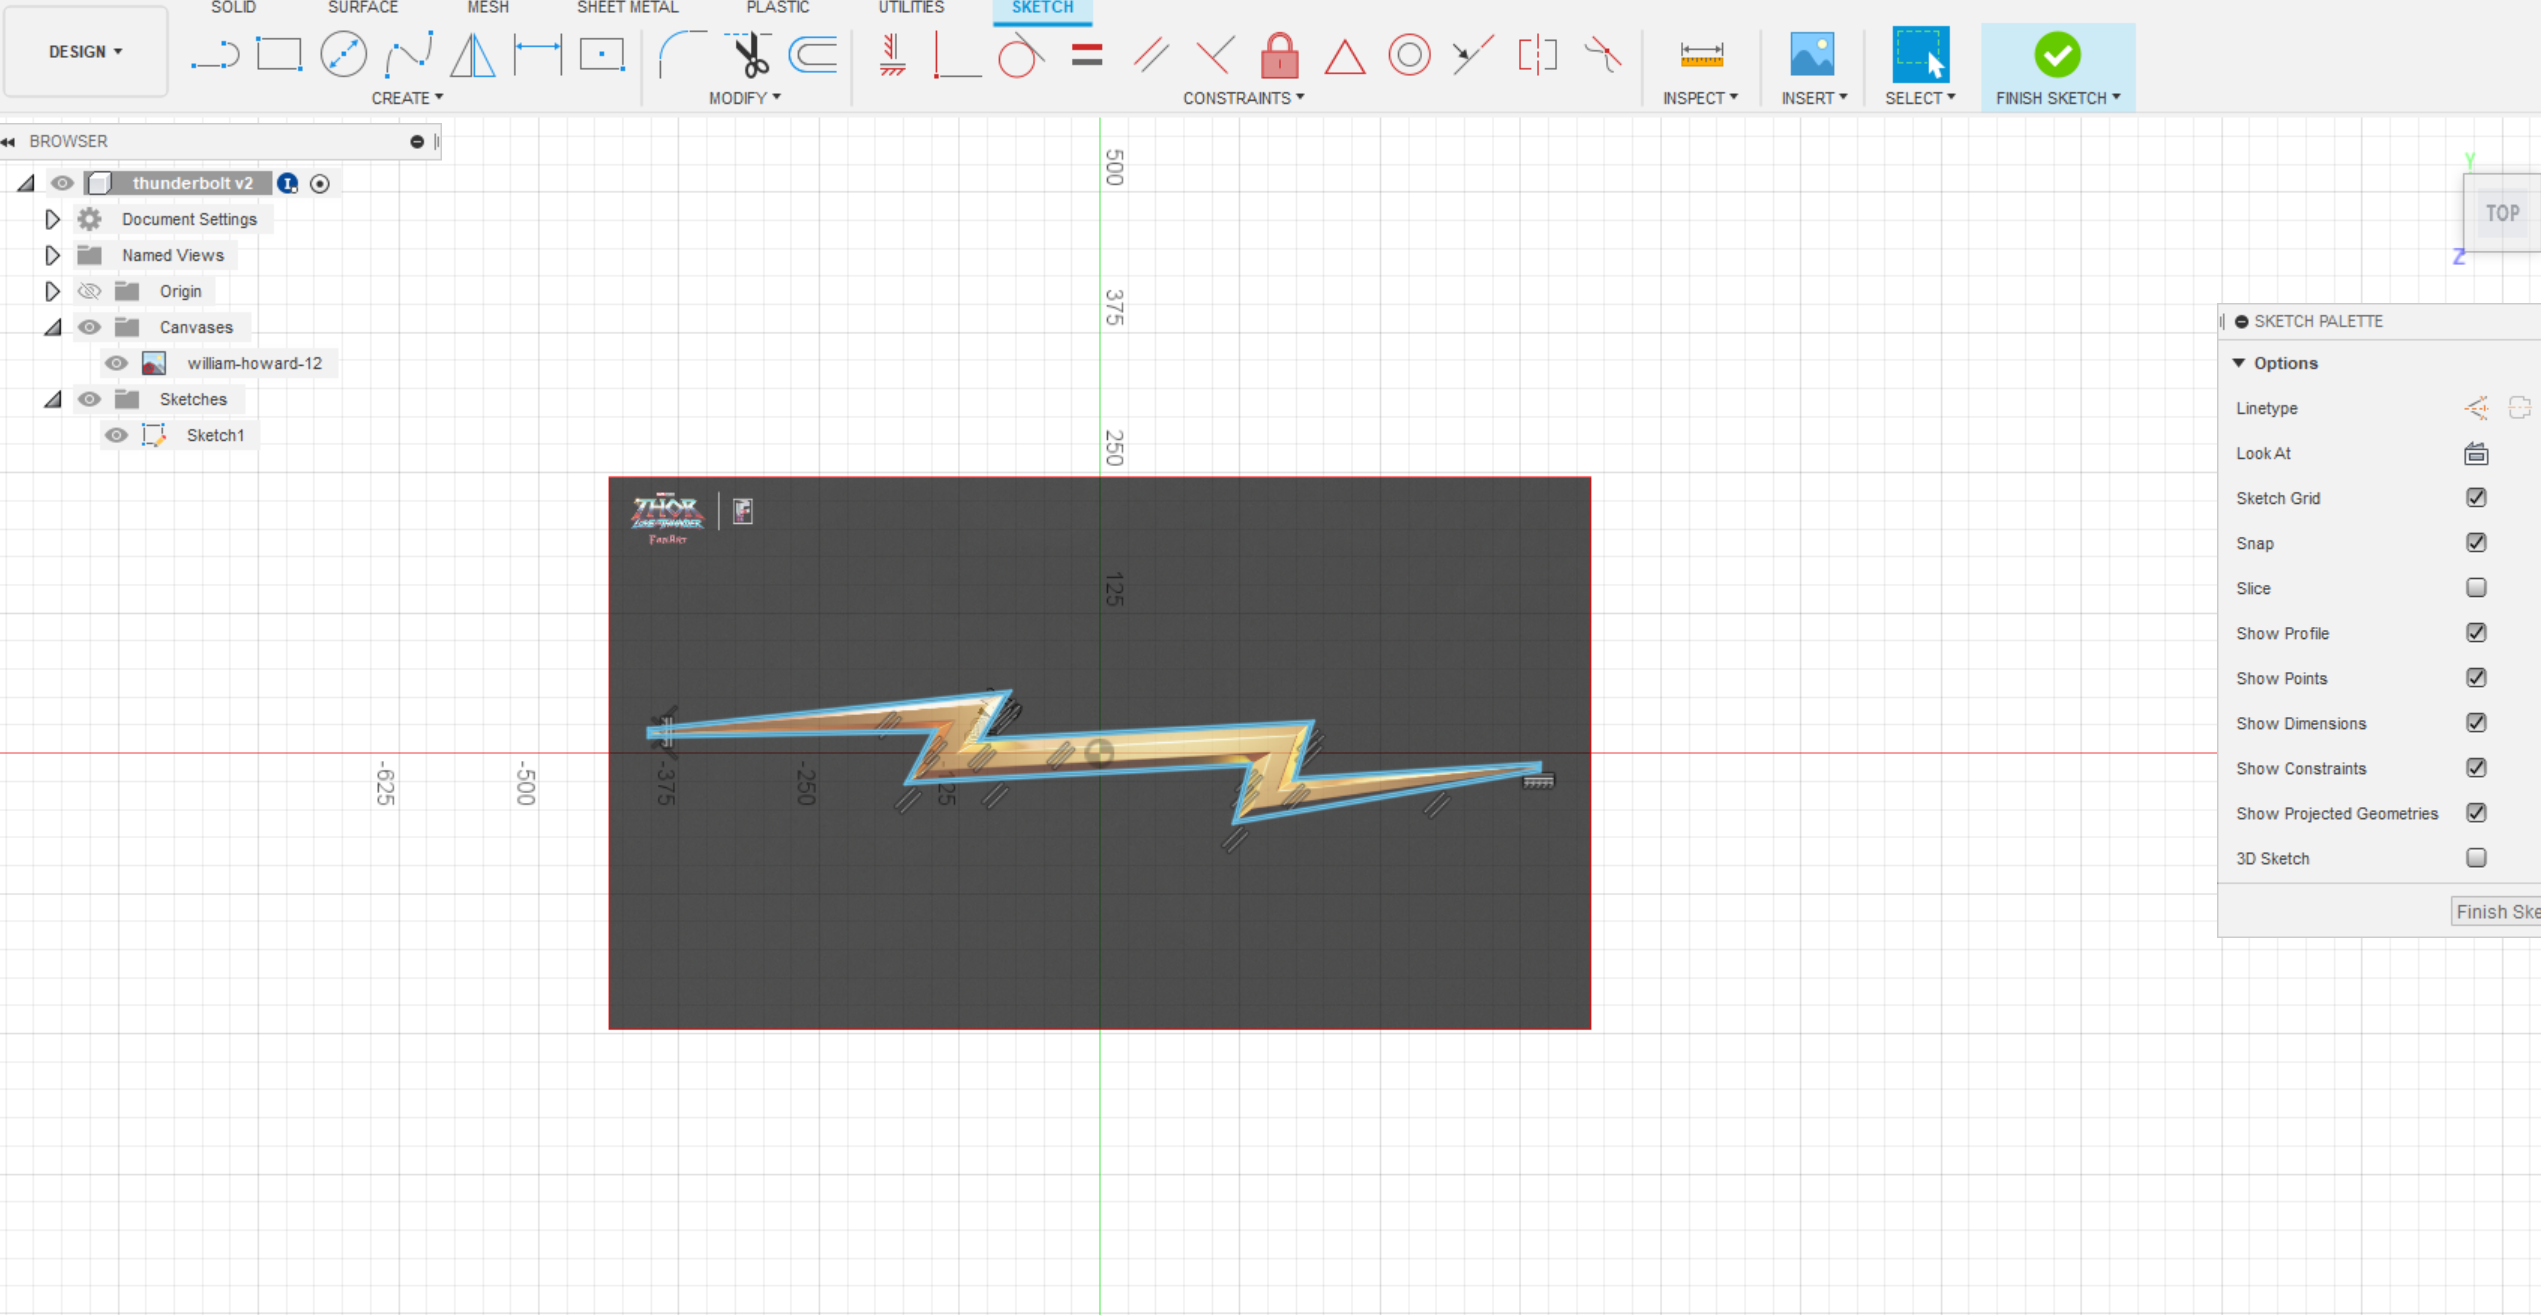
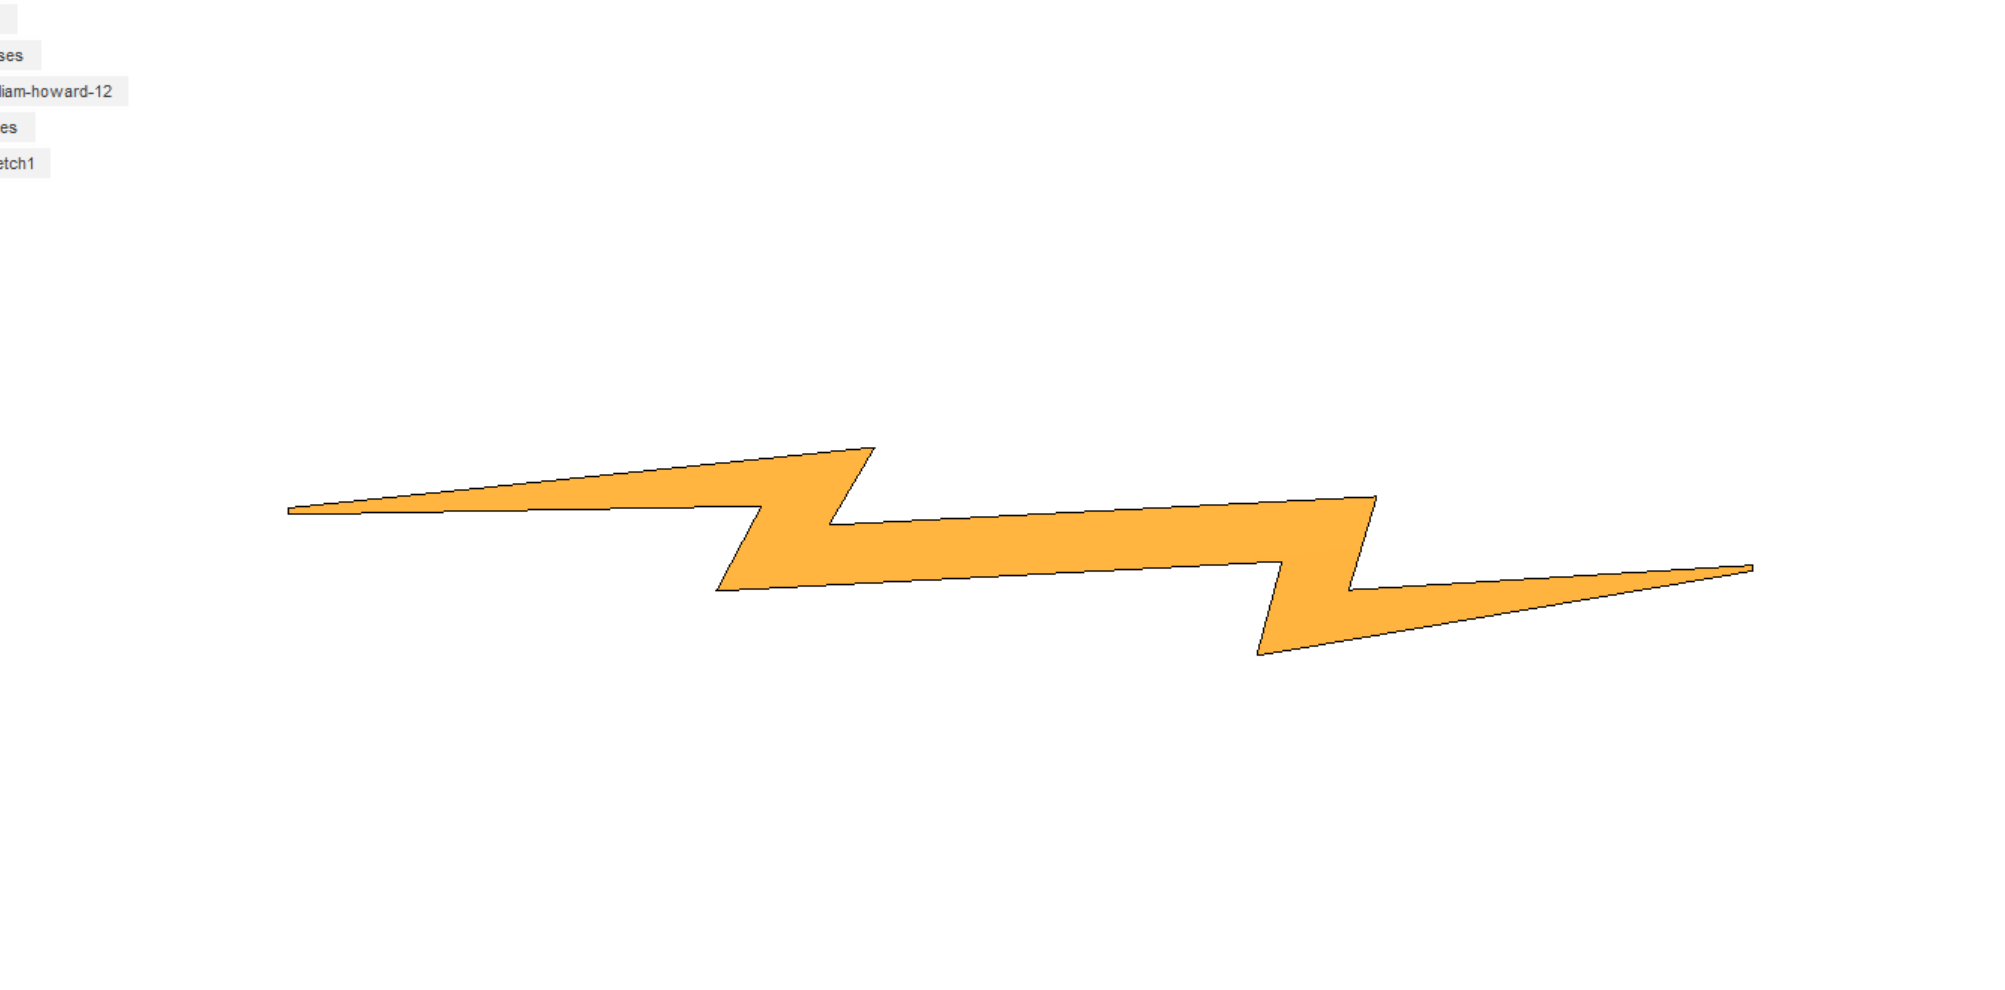
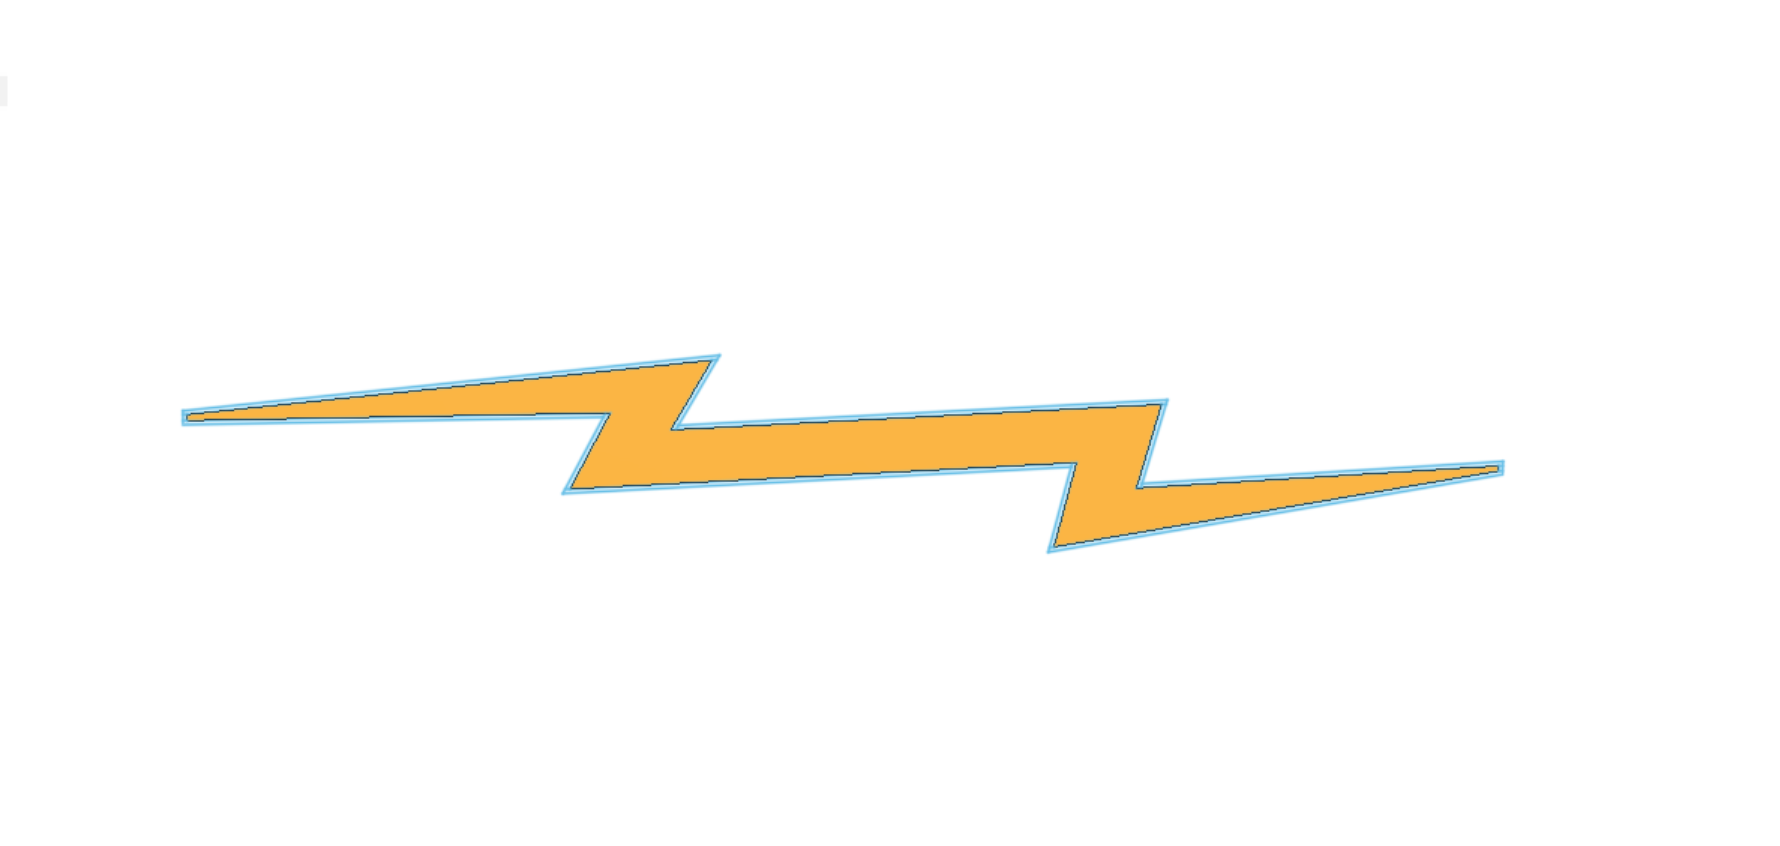
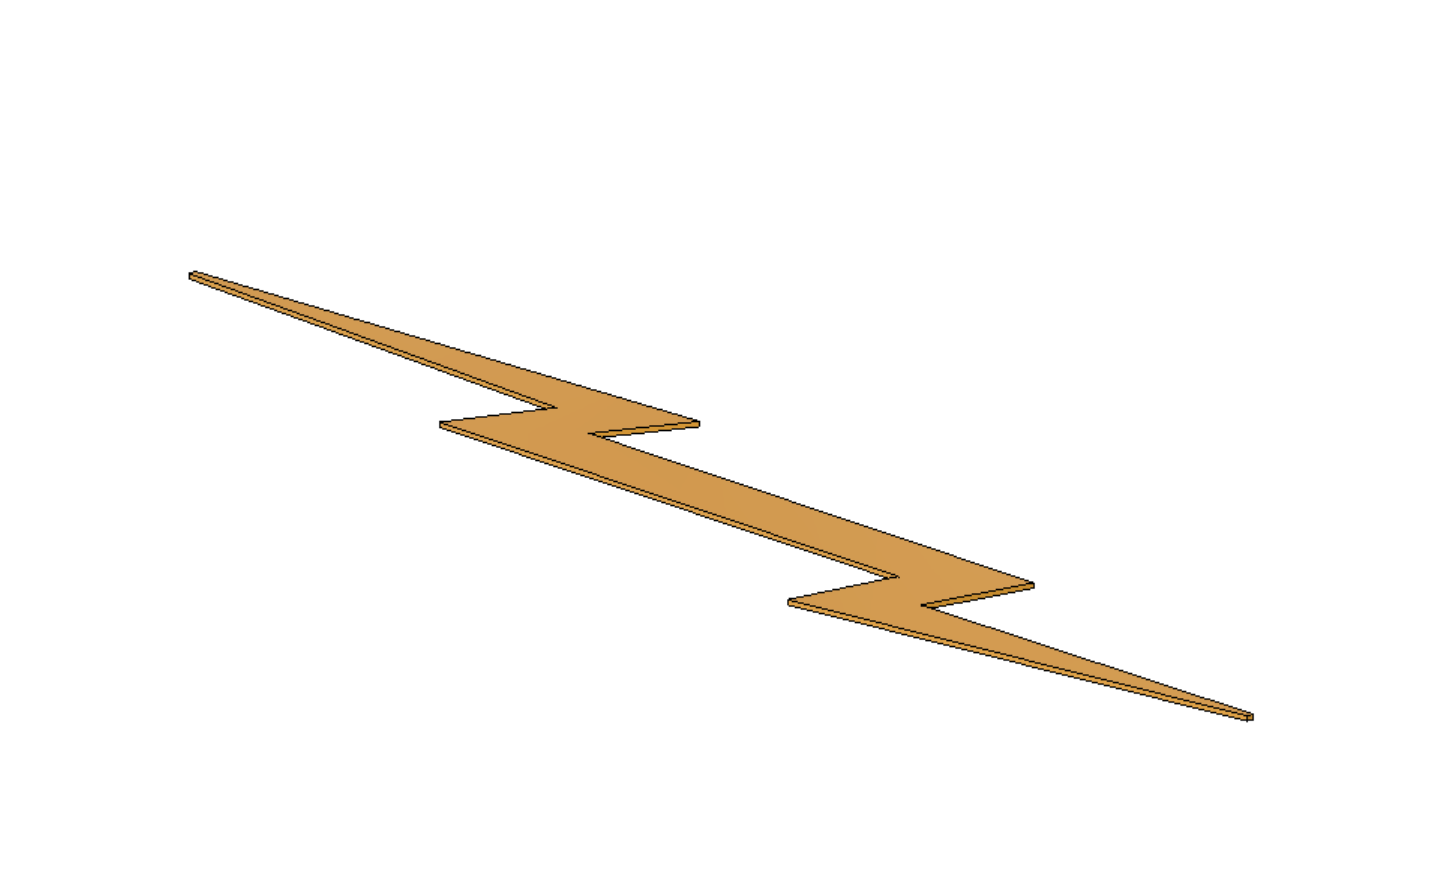
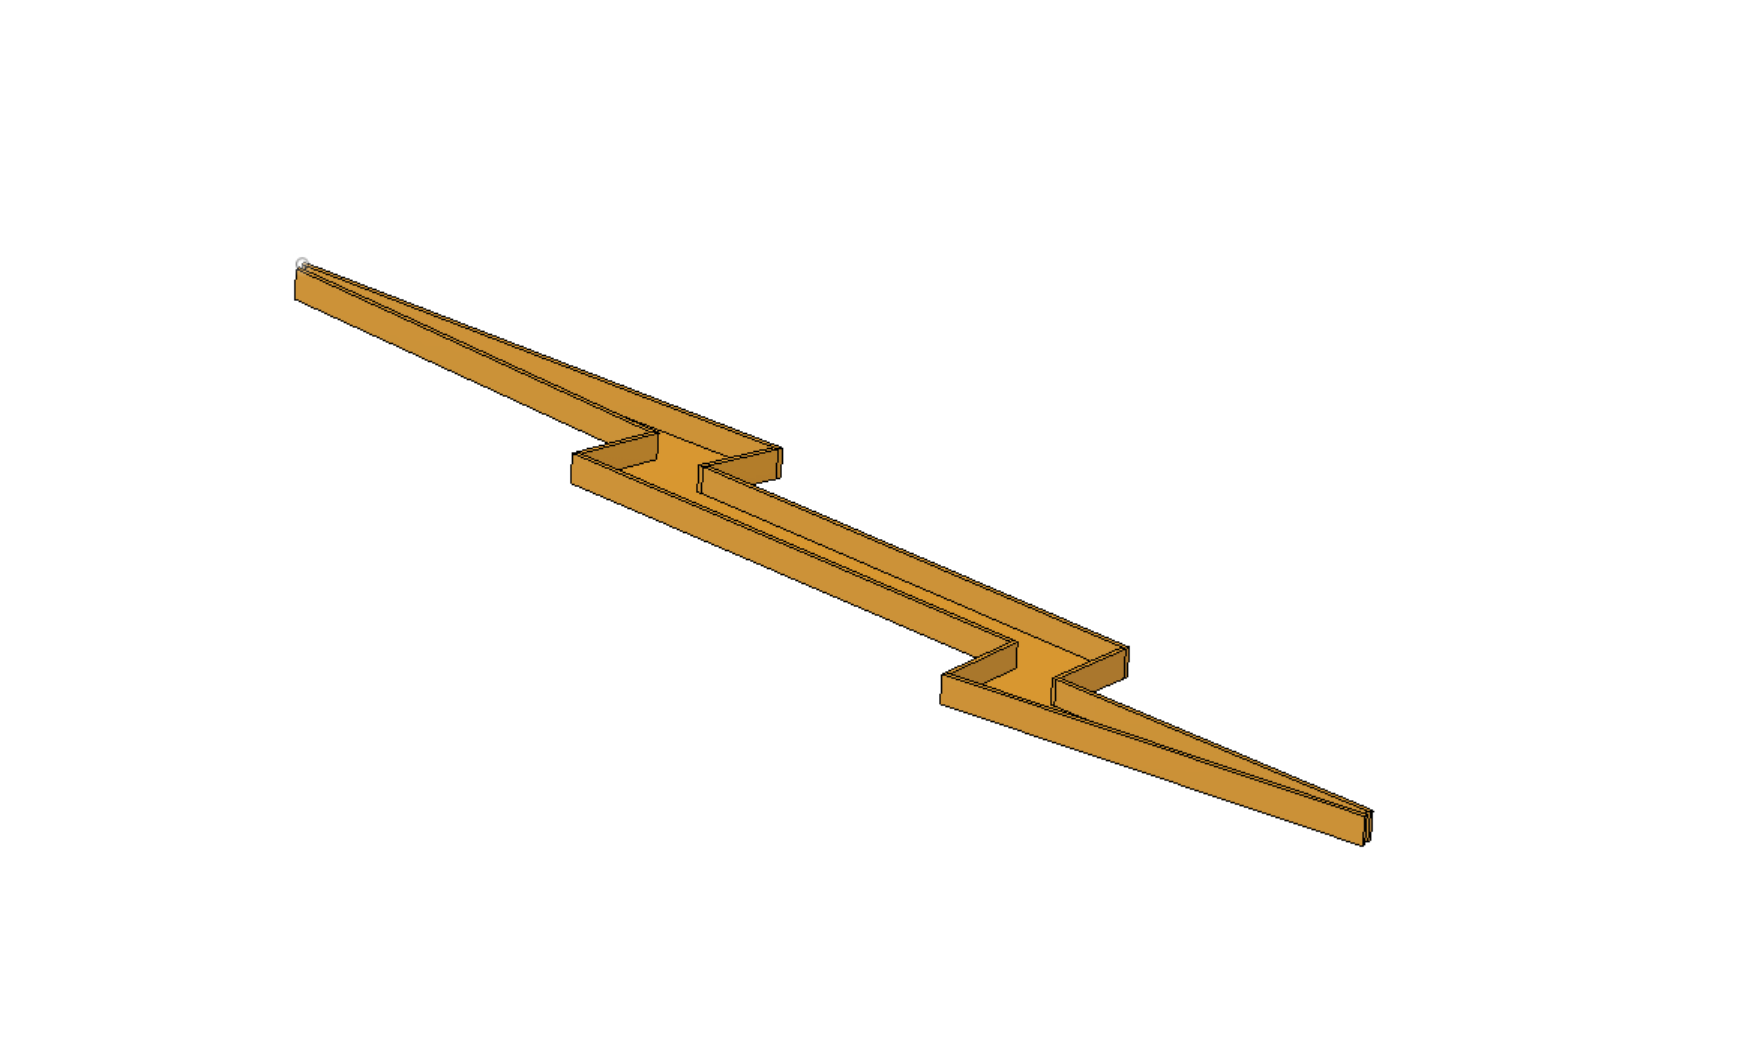
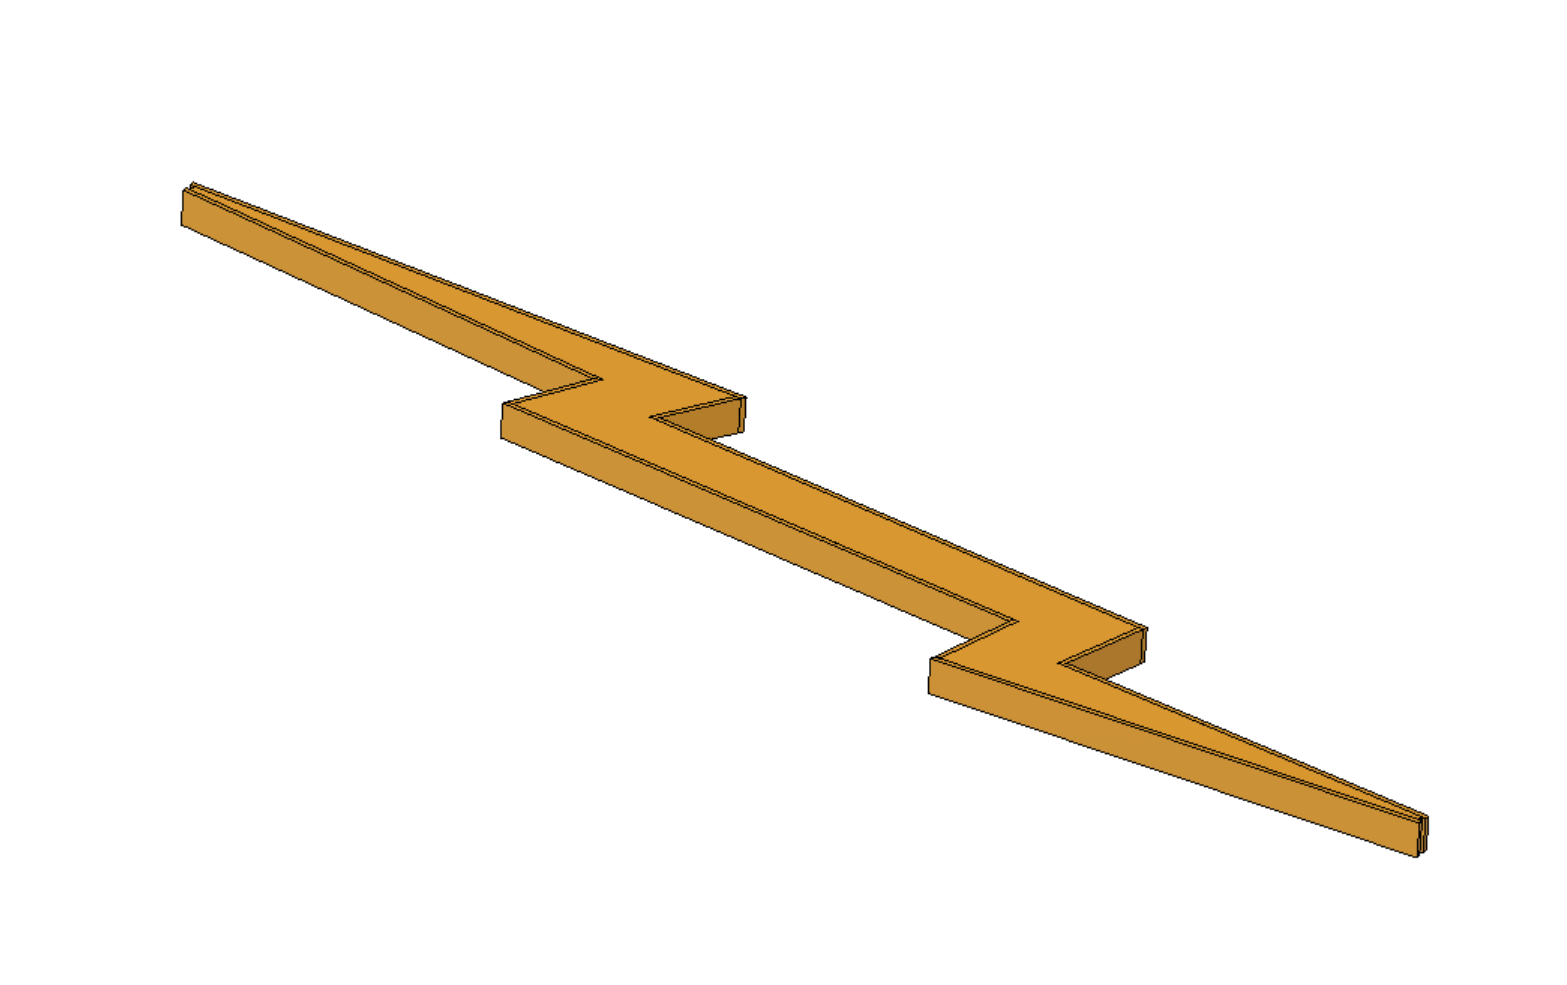
For CAD design Autodesk Fusion360 is best for beginners.
I started by downloading Thunderbolt images from google.
You can use your own image for design or take reference from my design.
Started sketching the outline of the sketch.
The image scale dimension Length is approx 800mm height is 30mm.
After drawing the outline from the image Hide image for the next design step.
Use an extrude tool to extrude the sketch 2mm in height.
Edit the same sketch & Use an offset tool to make the wall of that sketch.
Extrude the outer region and make a height of 30mm.
Copy and move body 1 (bottom part) and place it on top to complete the thunderbolt.
We make this Thunderbolt using 2 mm Acrylic so we cut the design in 3 parts to cut acrylic easier for a small laser cutting machine.
Lasercutting
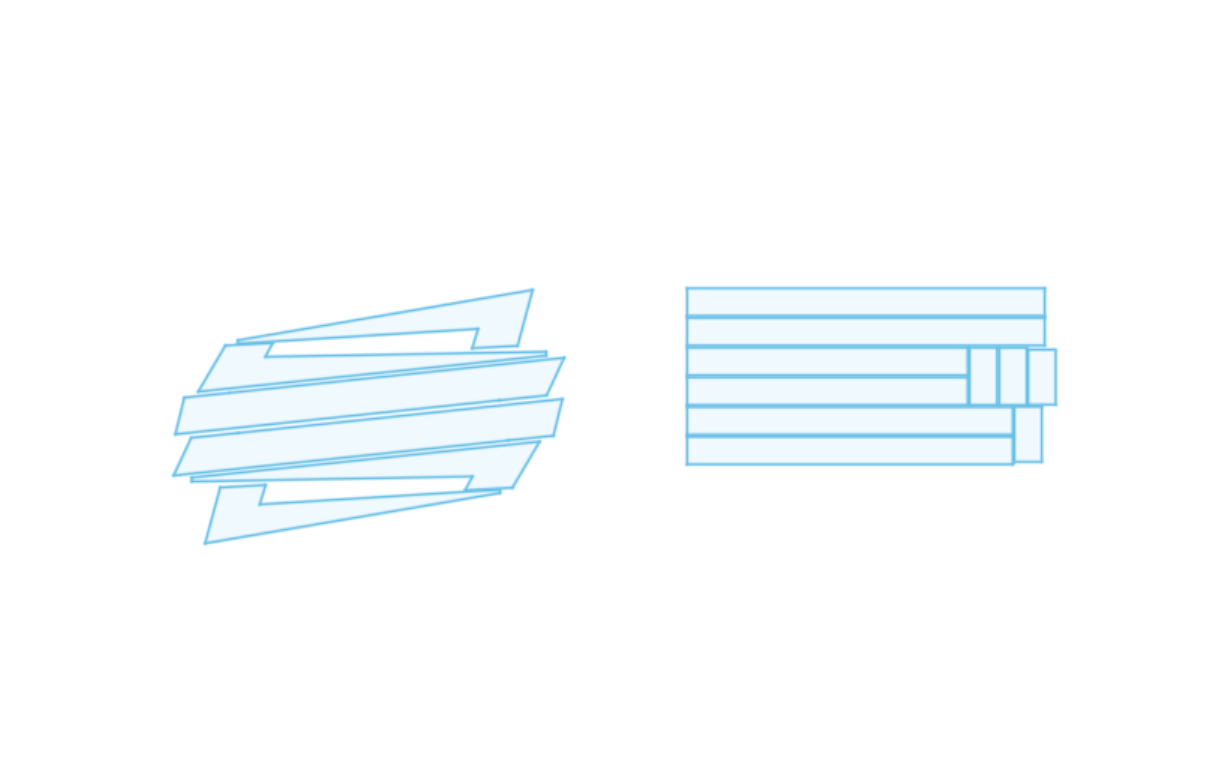
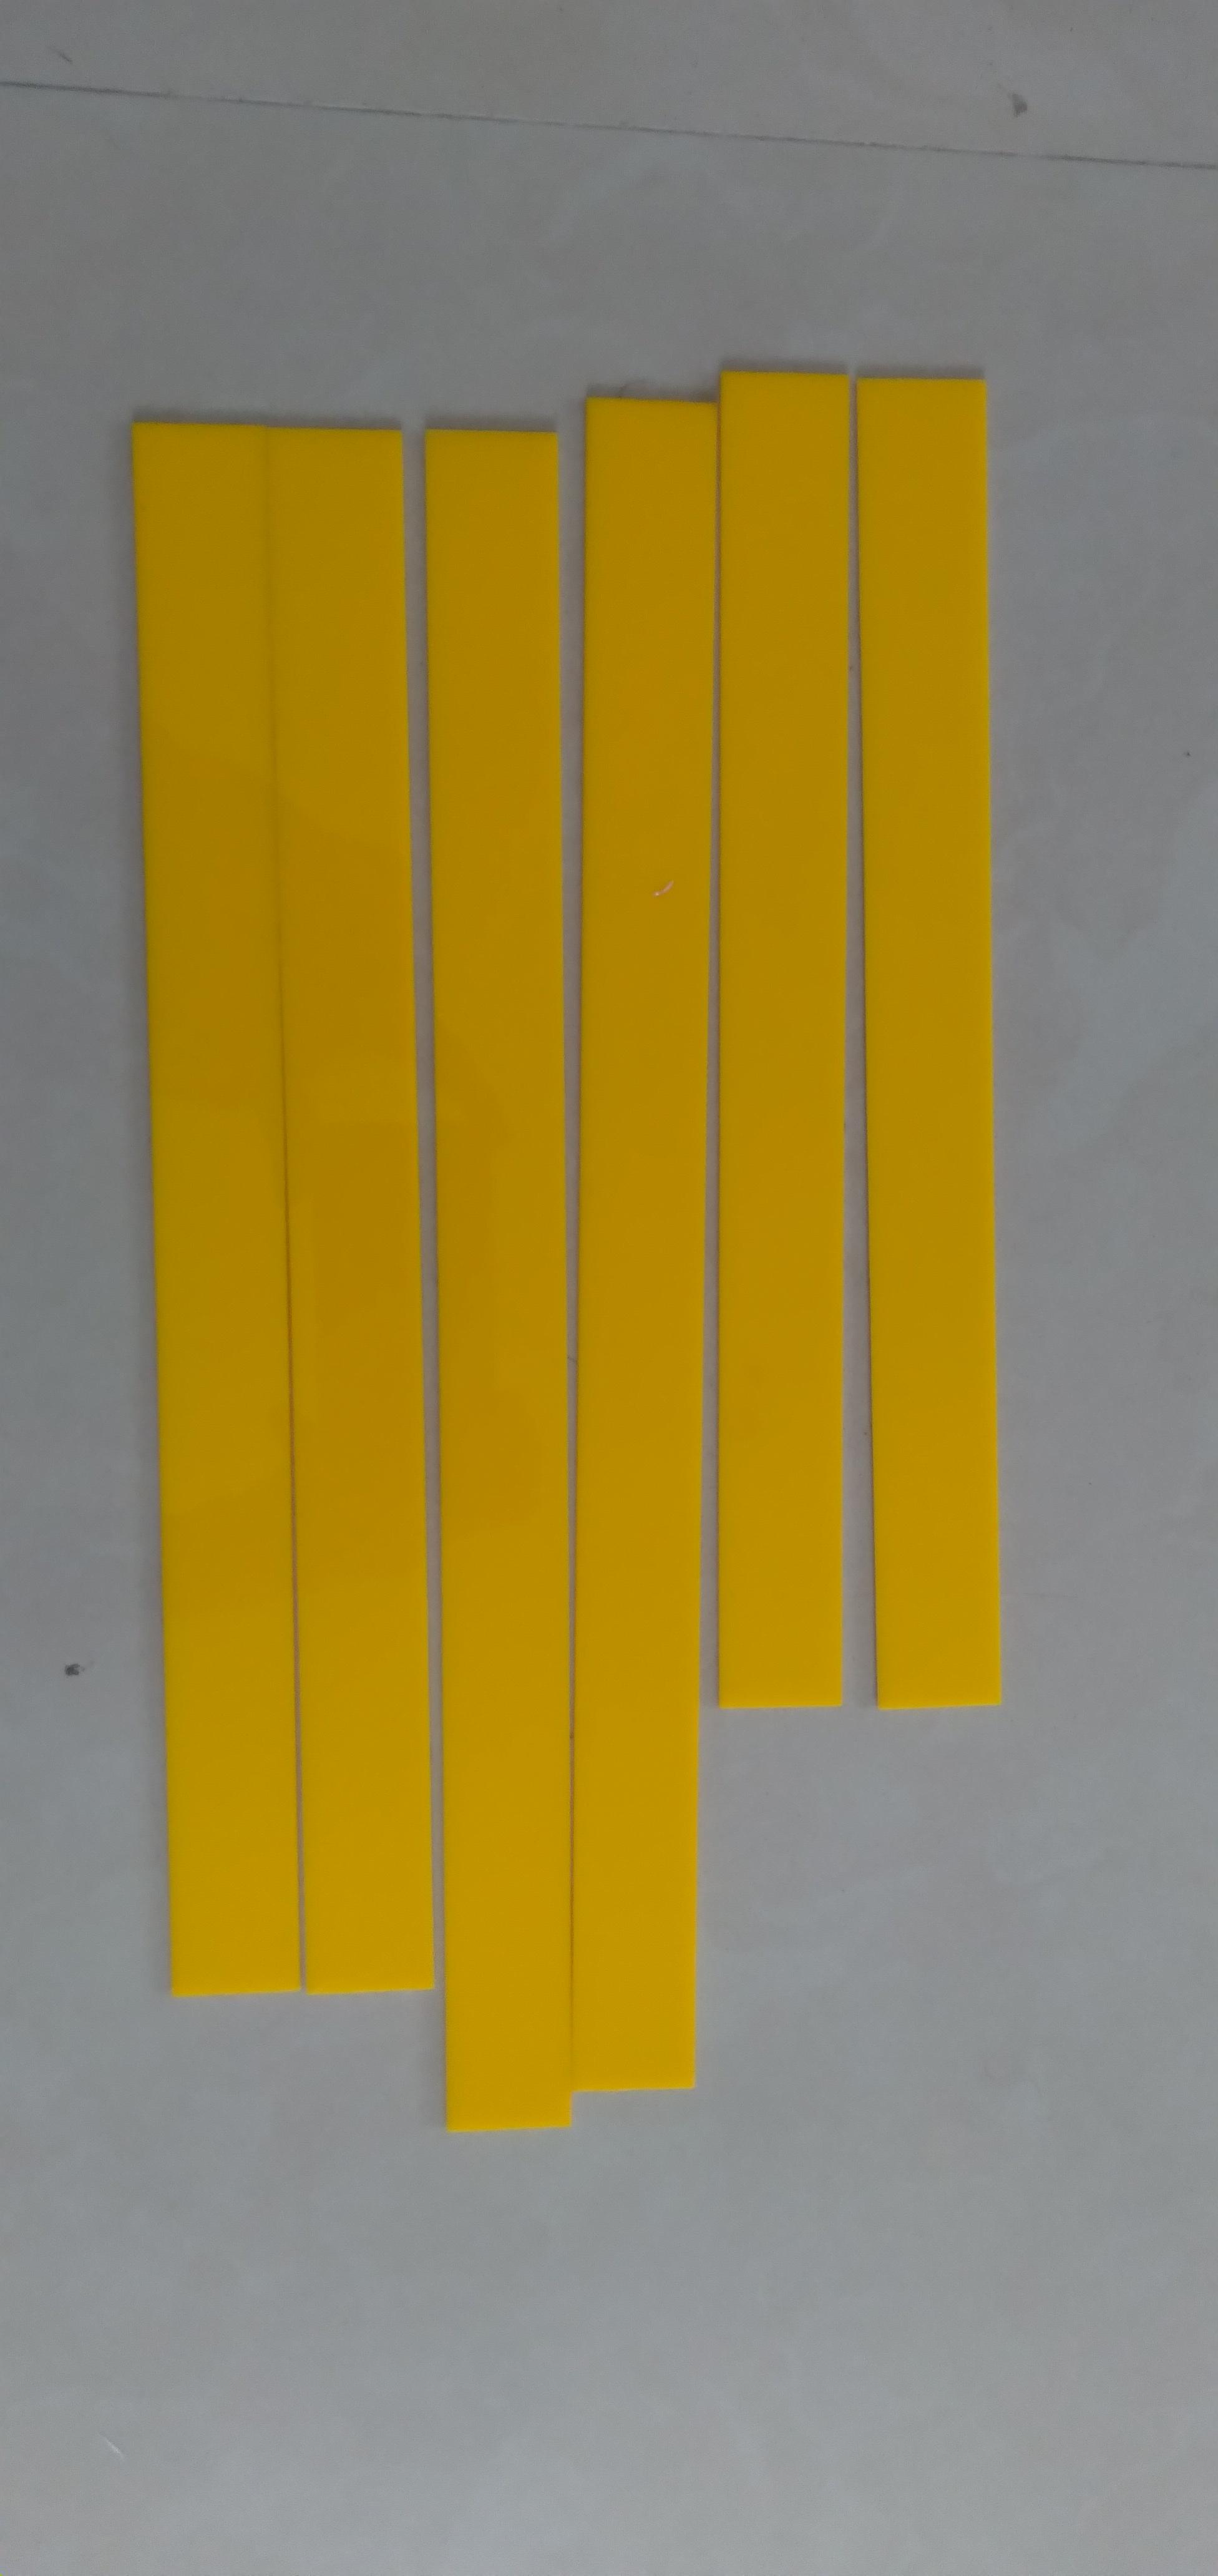
I use the yellow acrylic thickness of 2mm for laser cutting.
I use a 100W co2 laser cutter for laser cutting.
Set.DXF file export from Fusion360 in laser cutting software.
Laser Cut part all with safety precautions.
Downloads
Electronics & Assembly
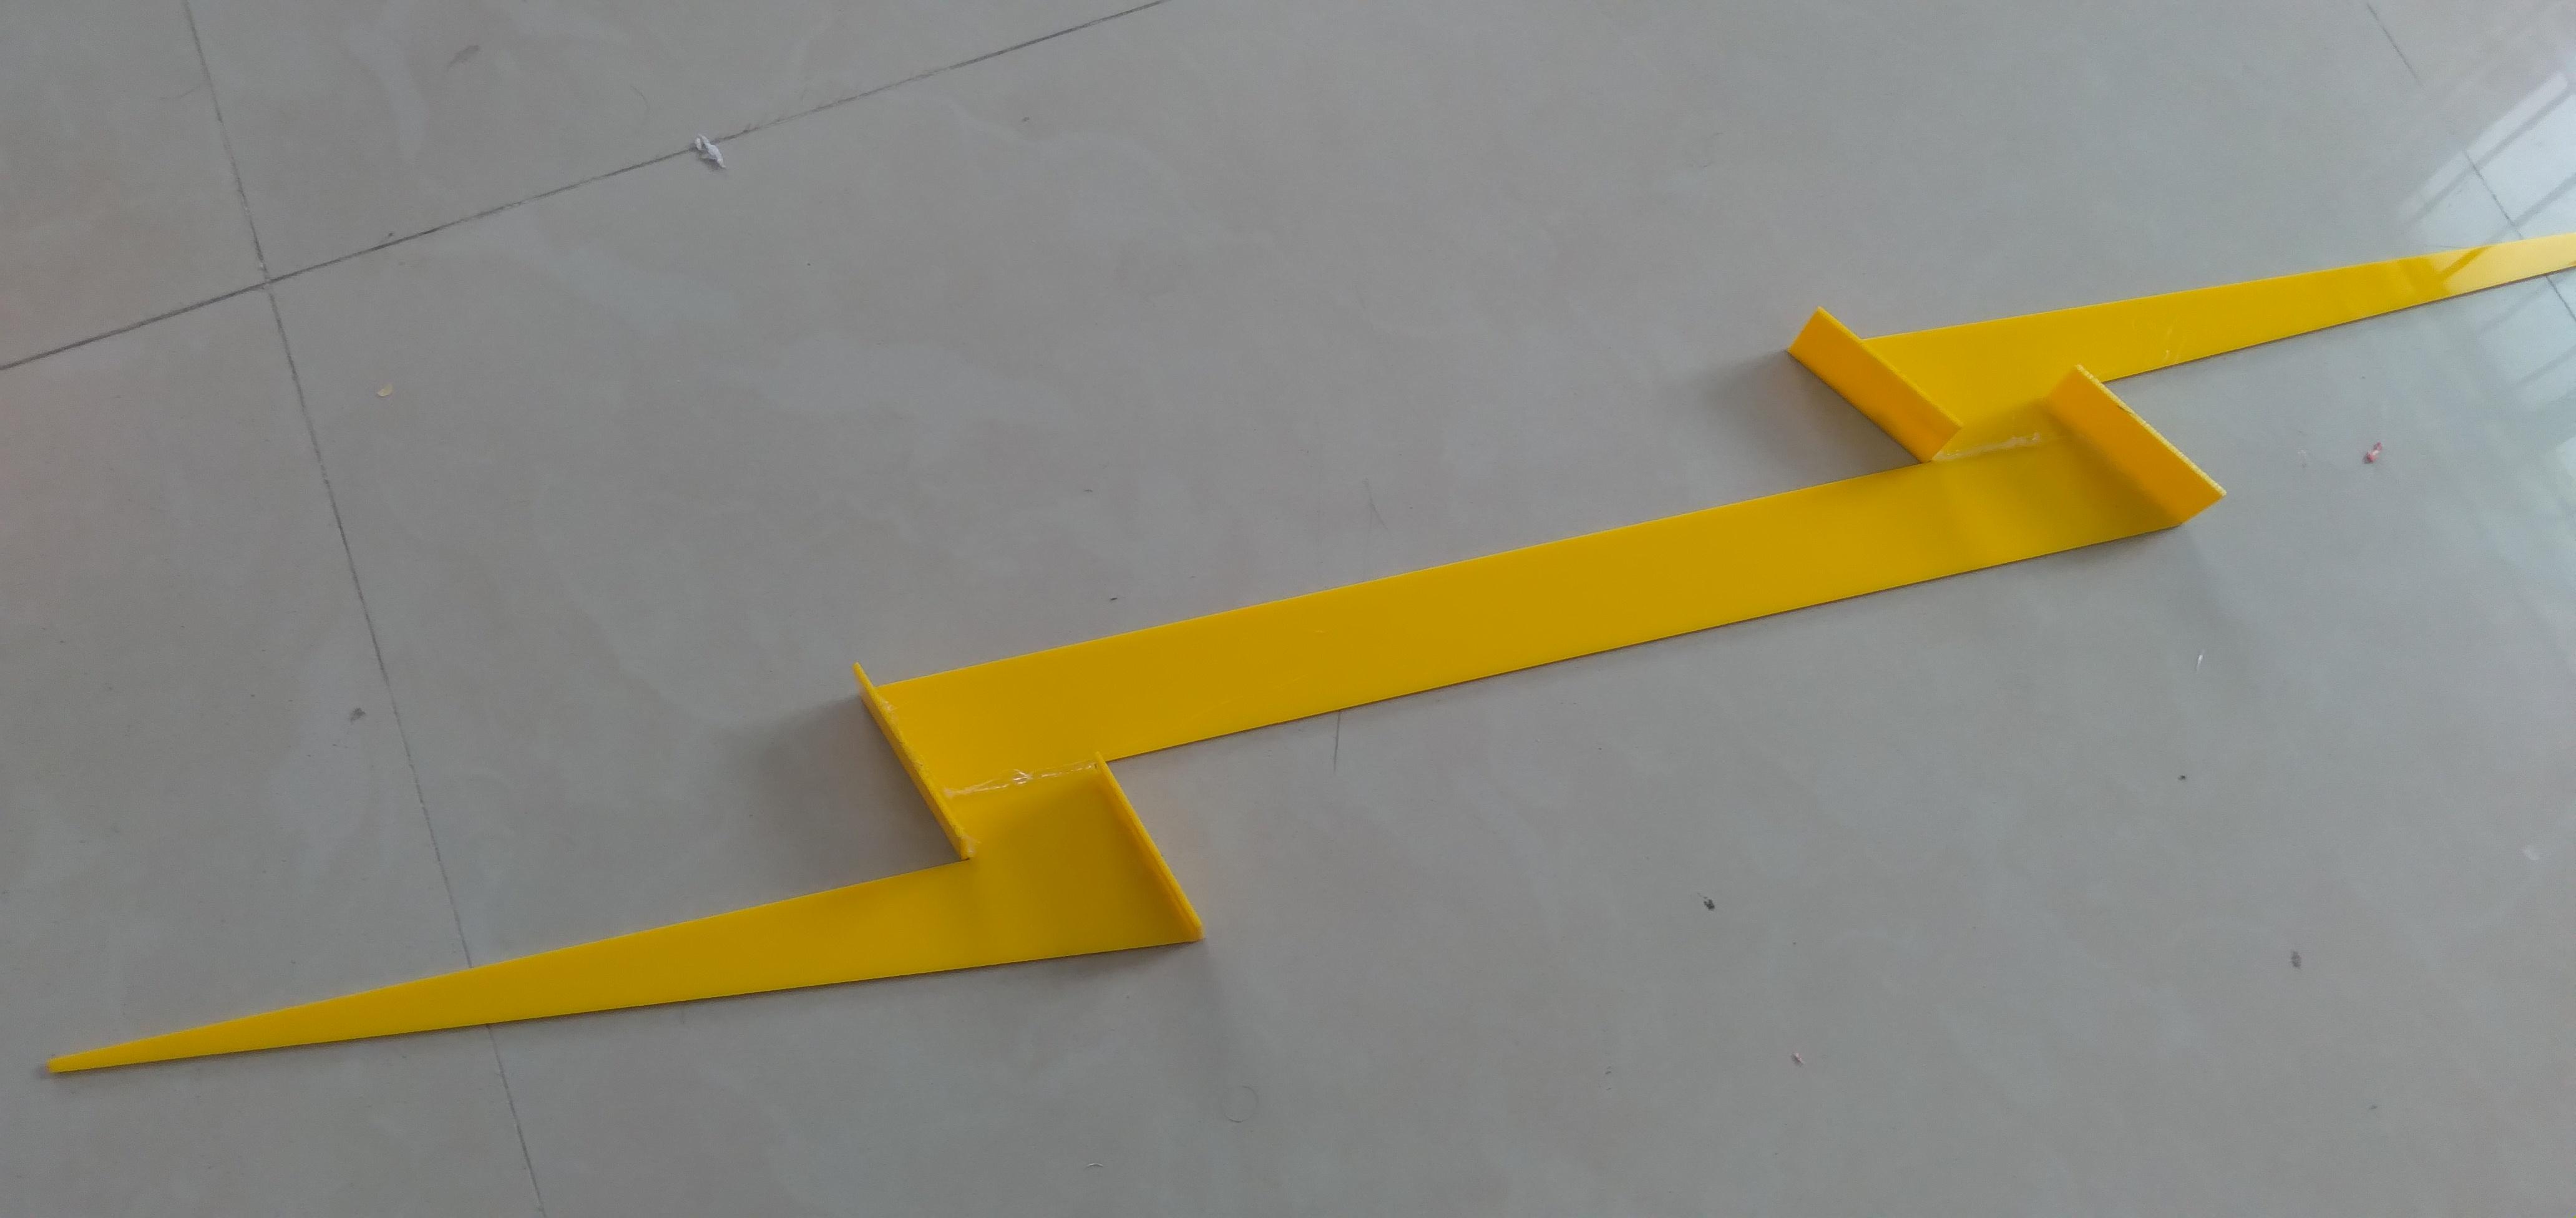
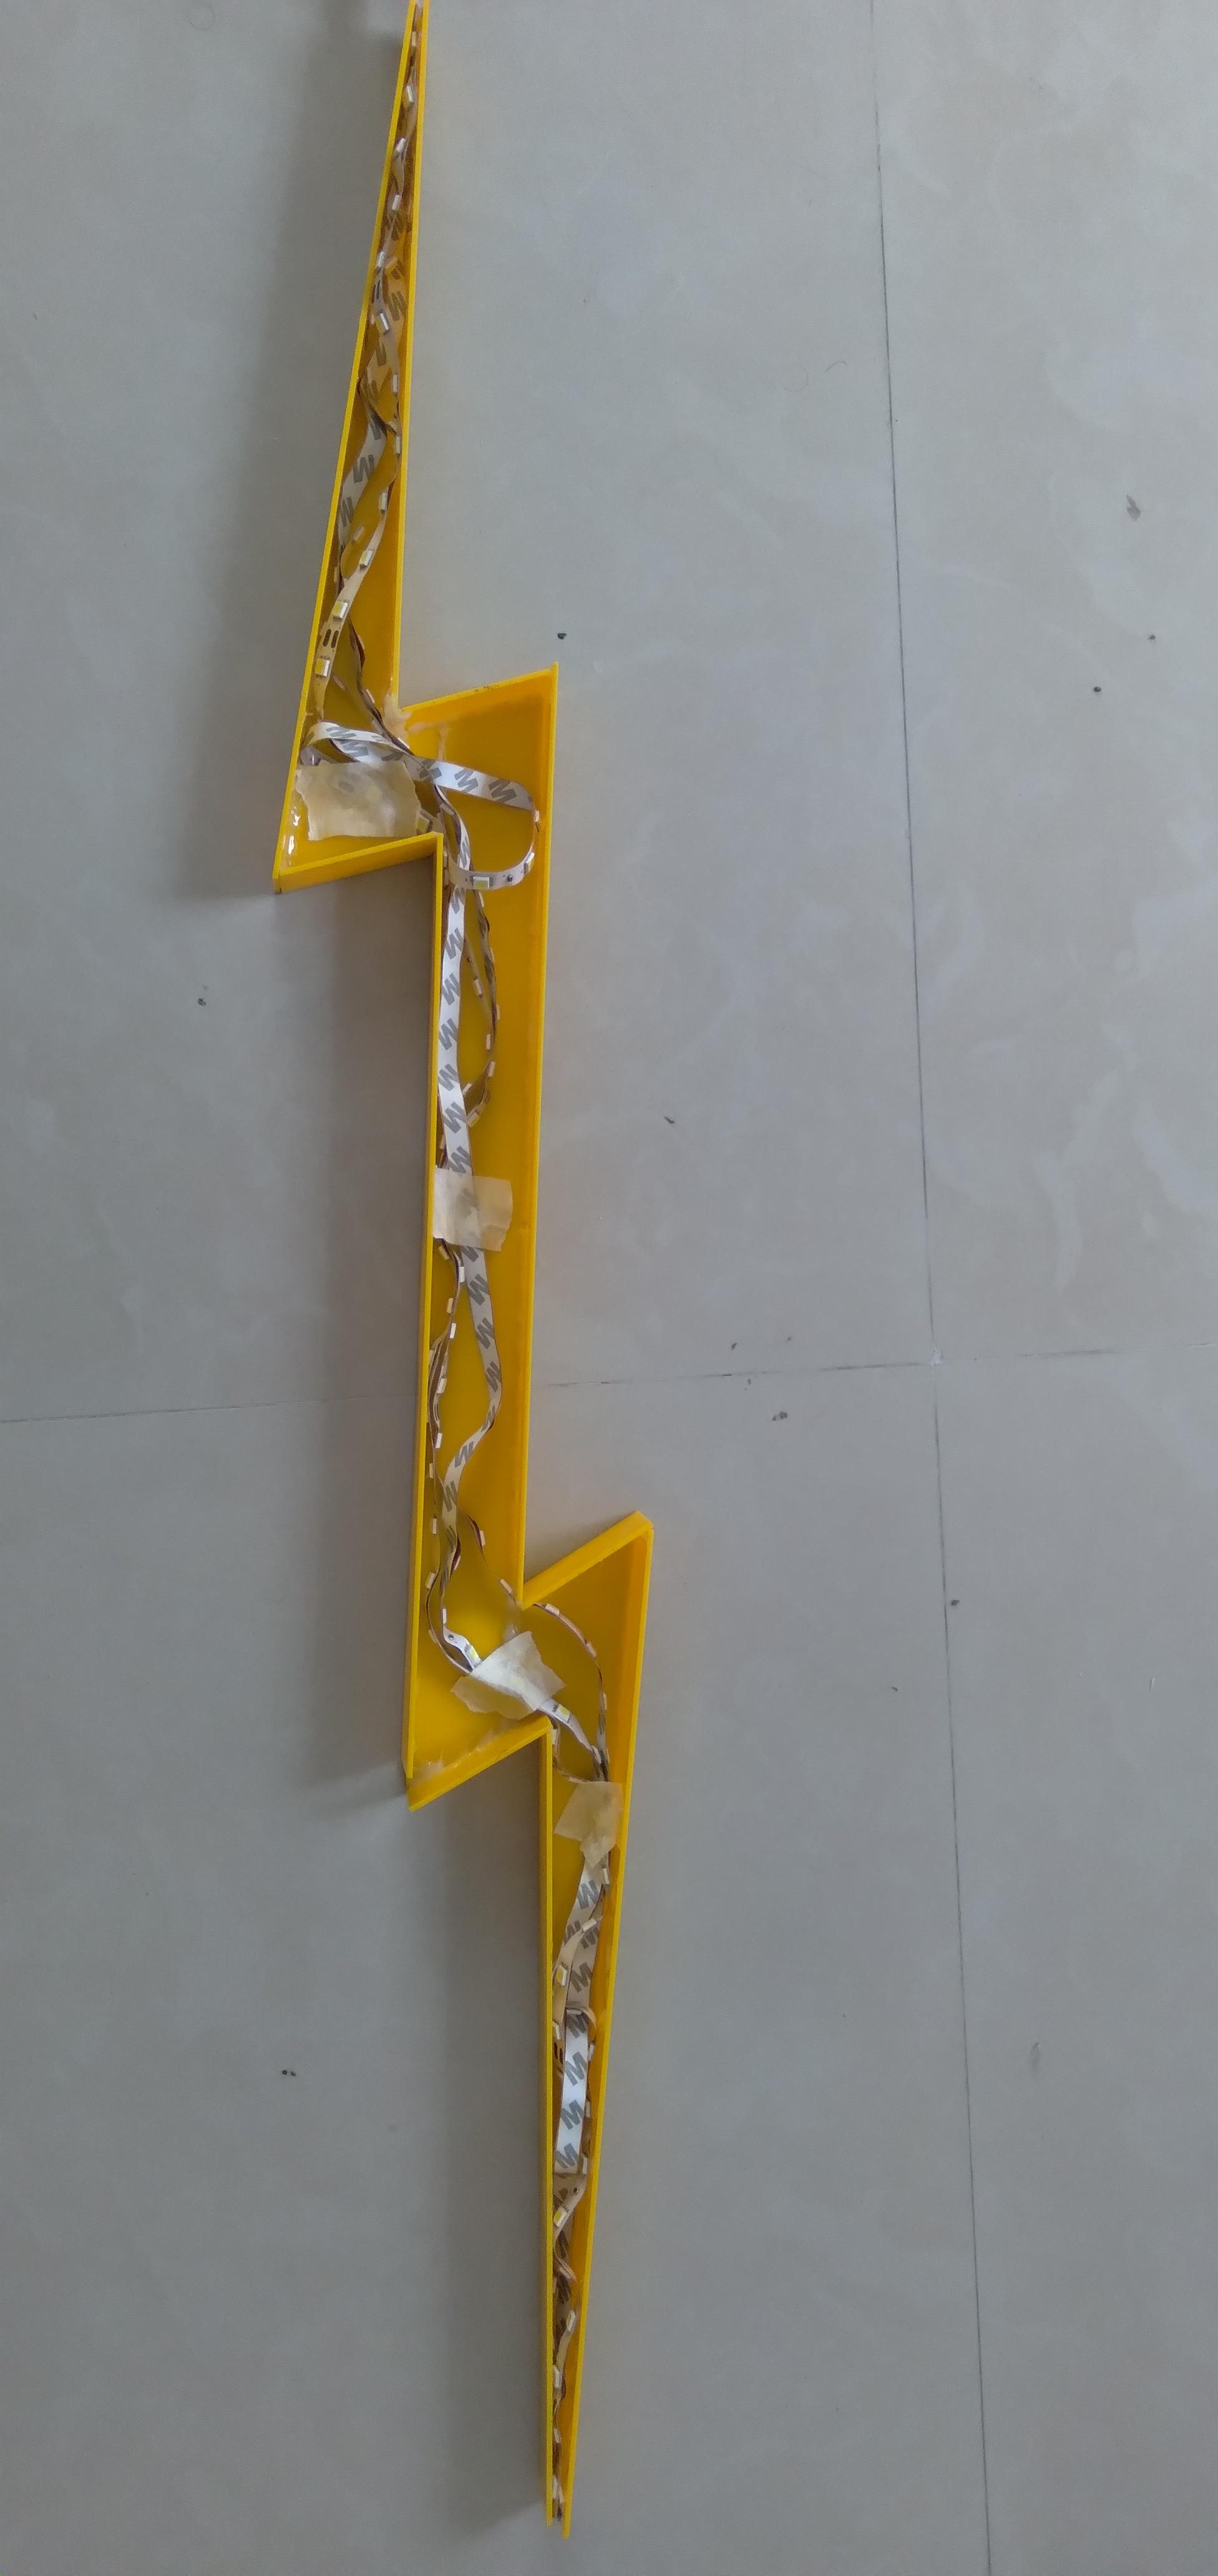
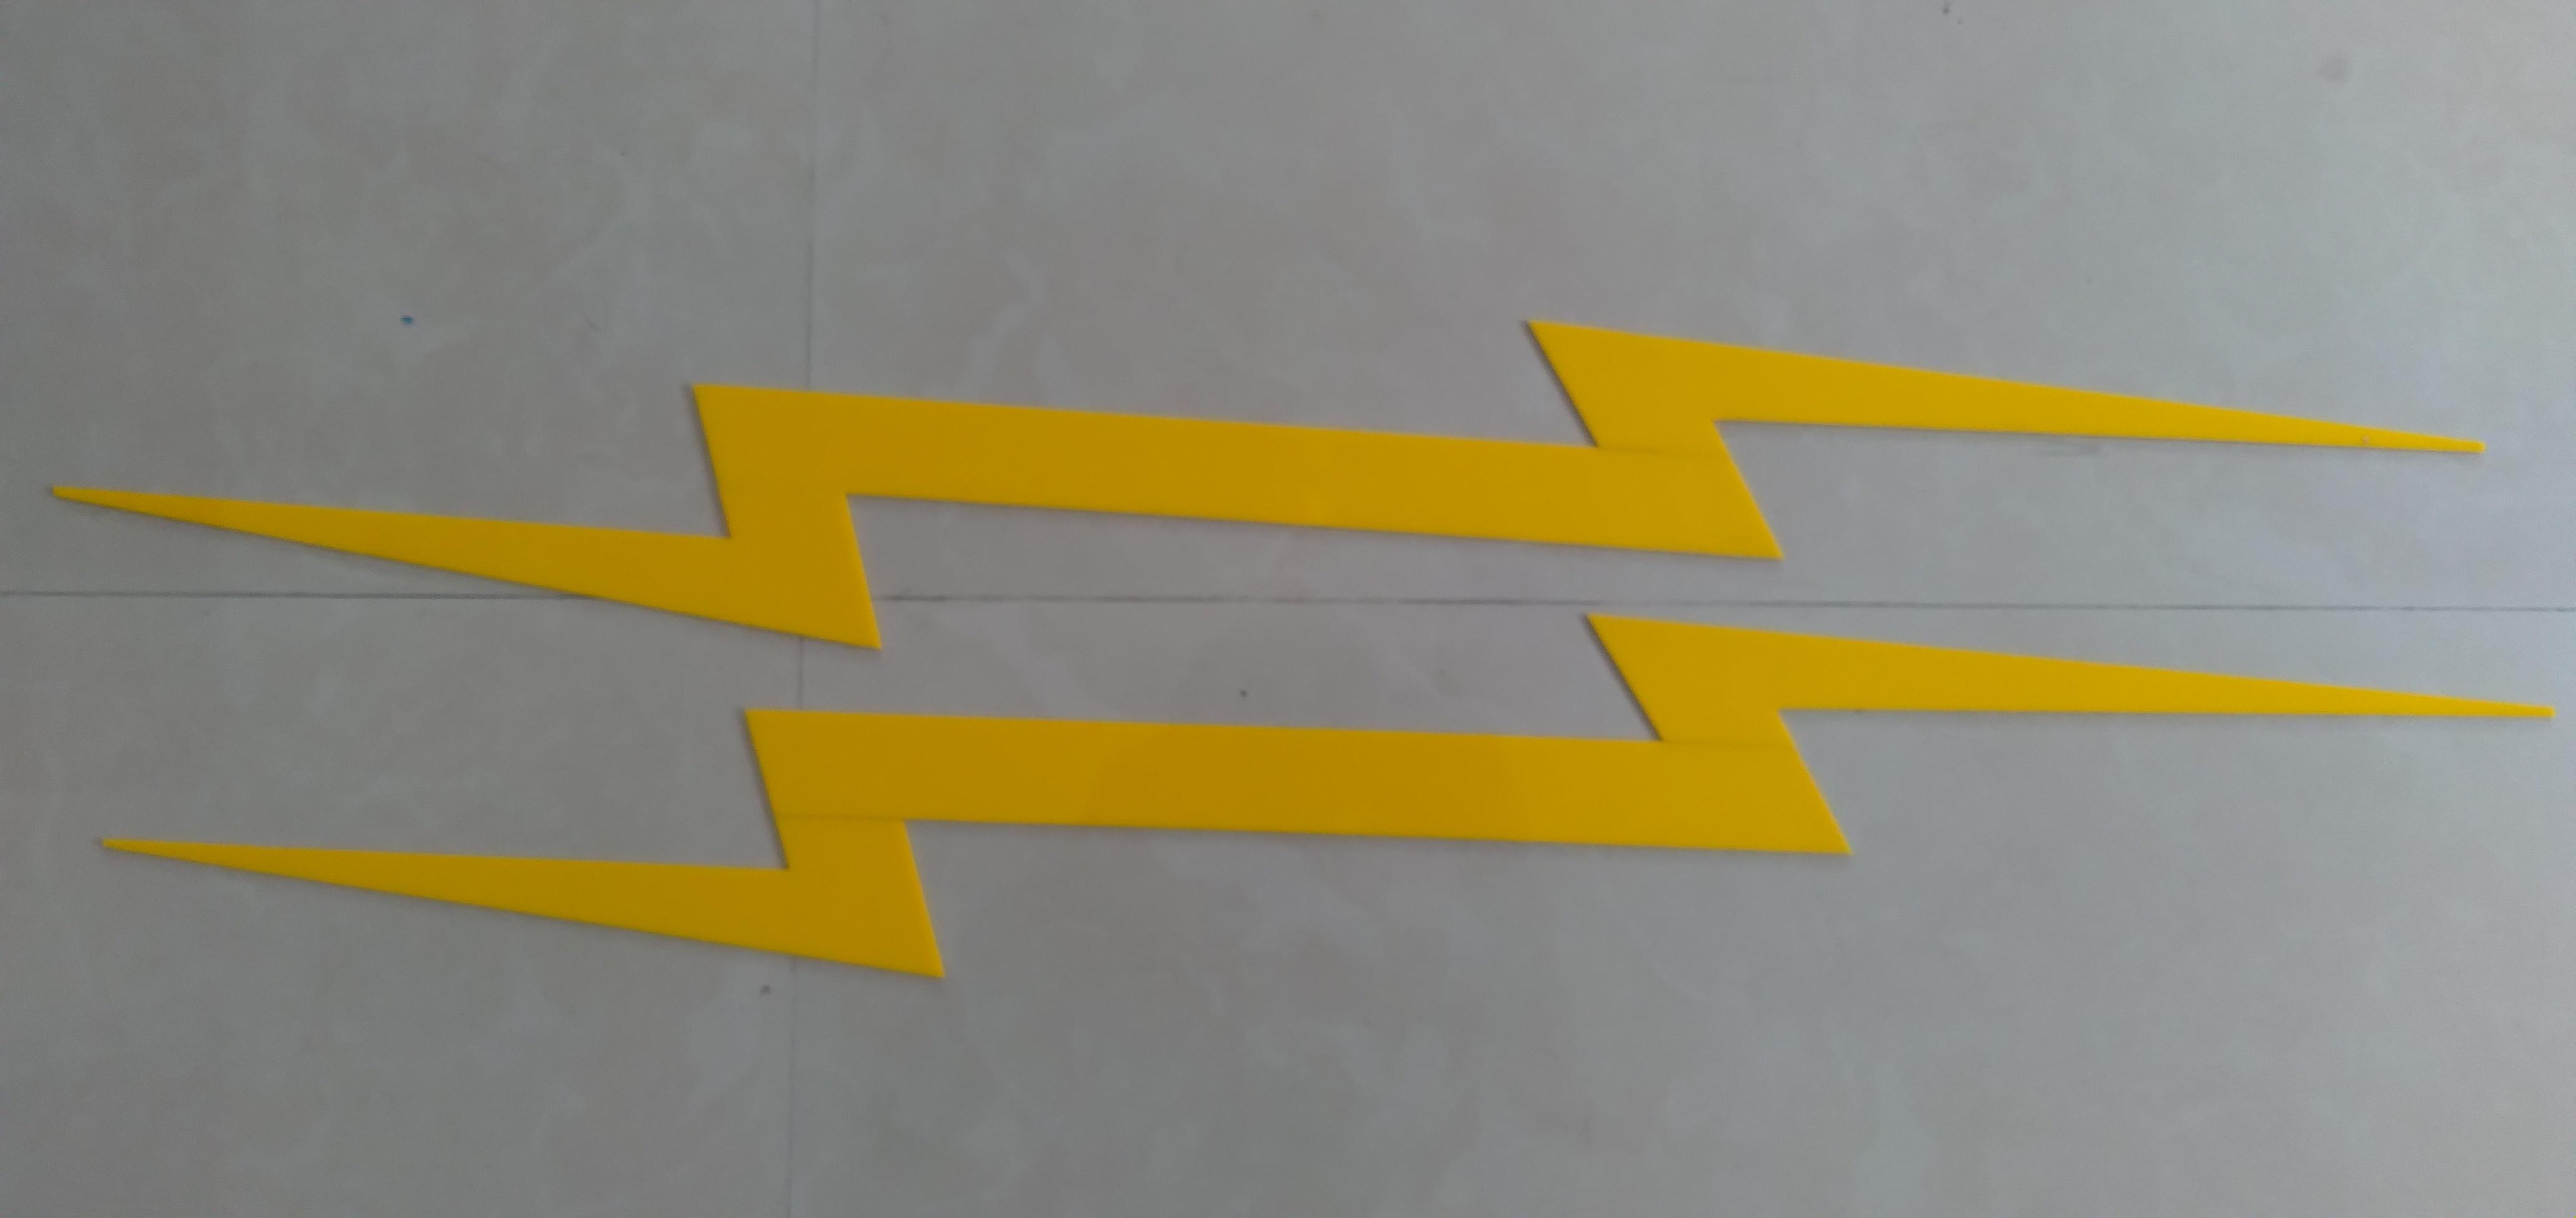
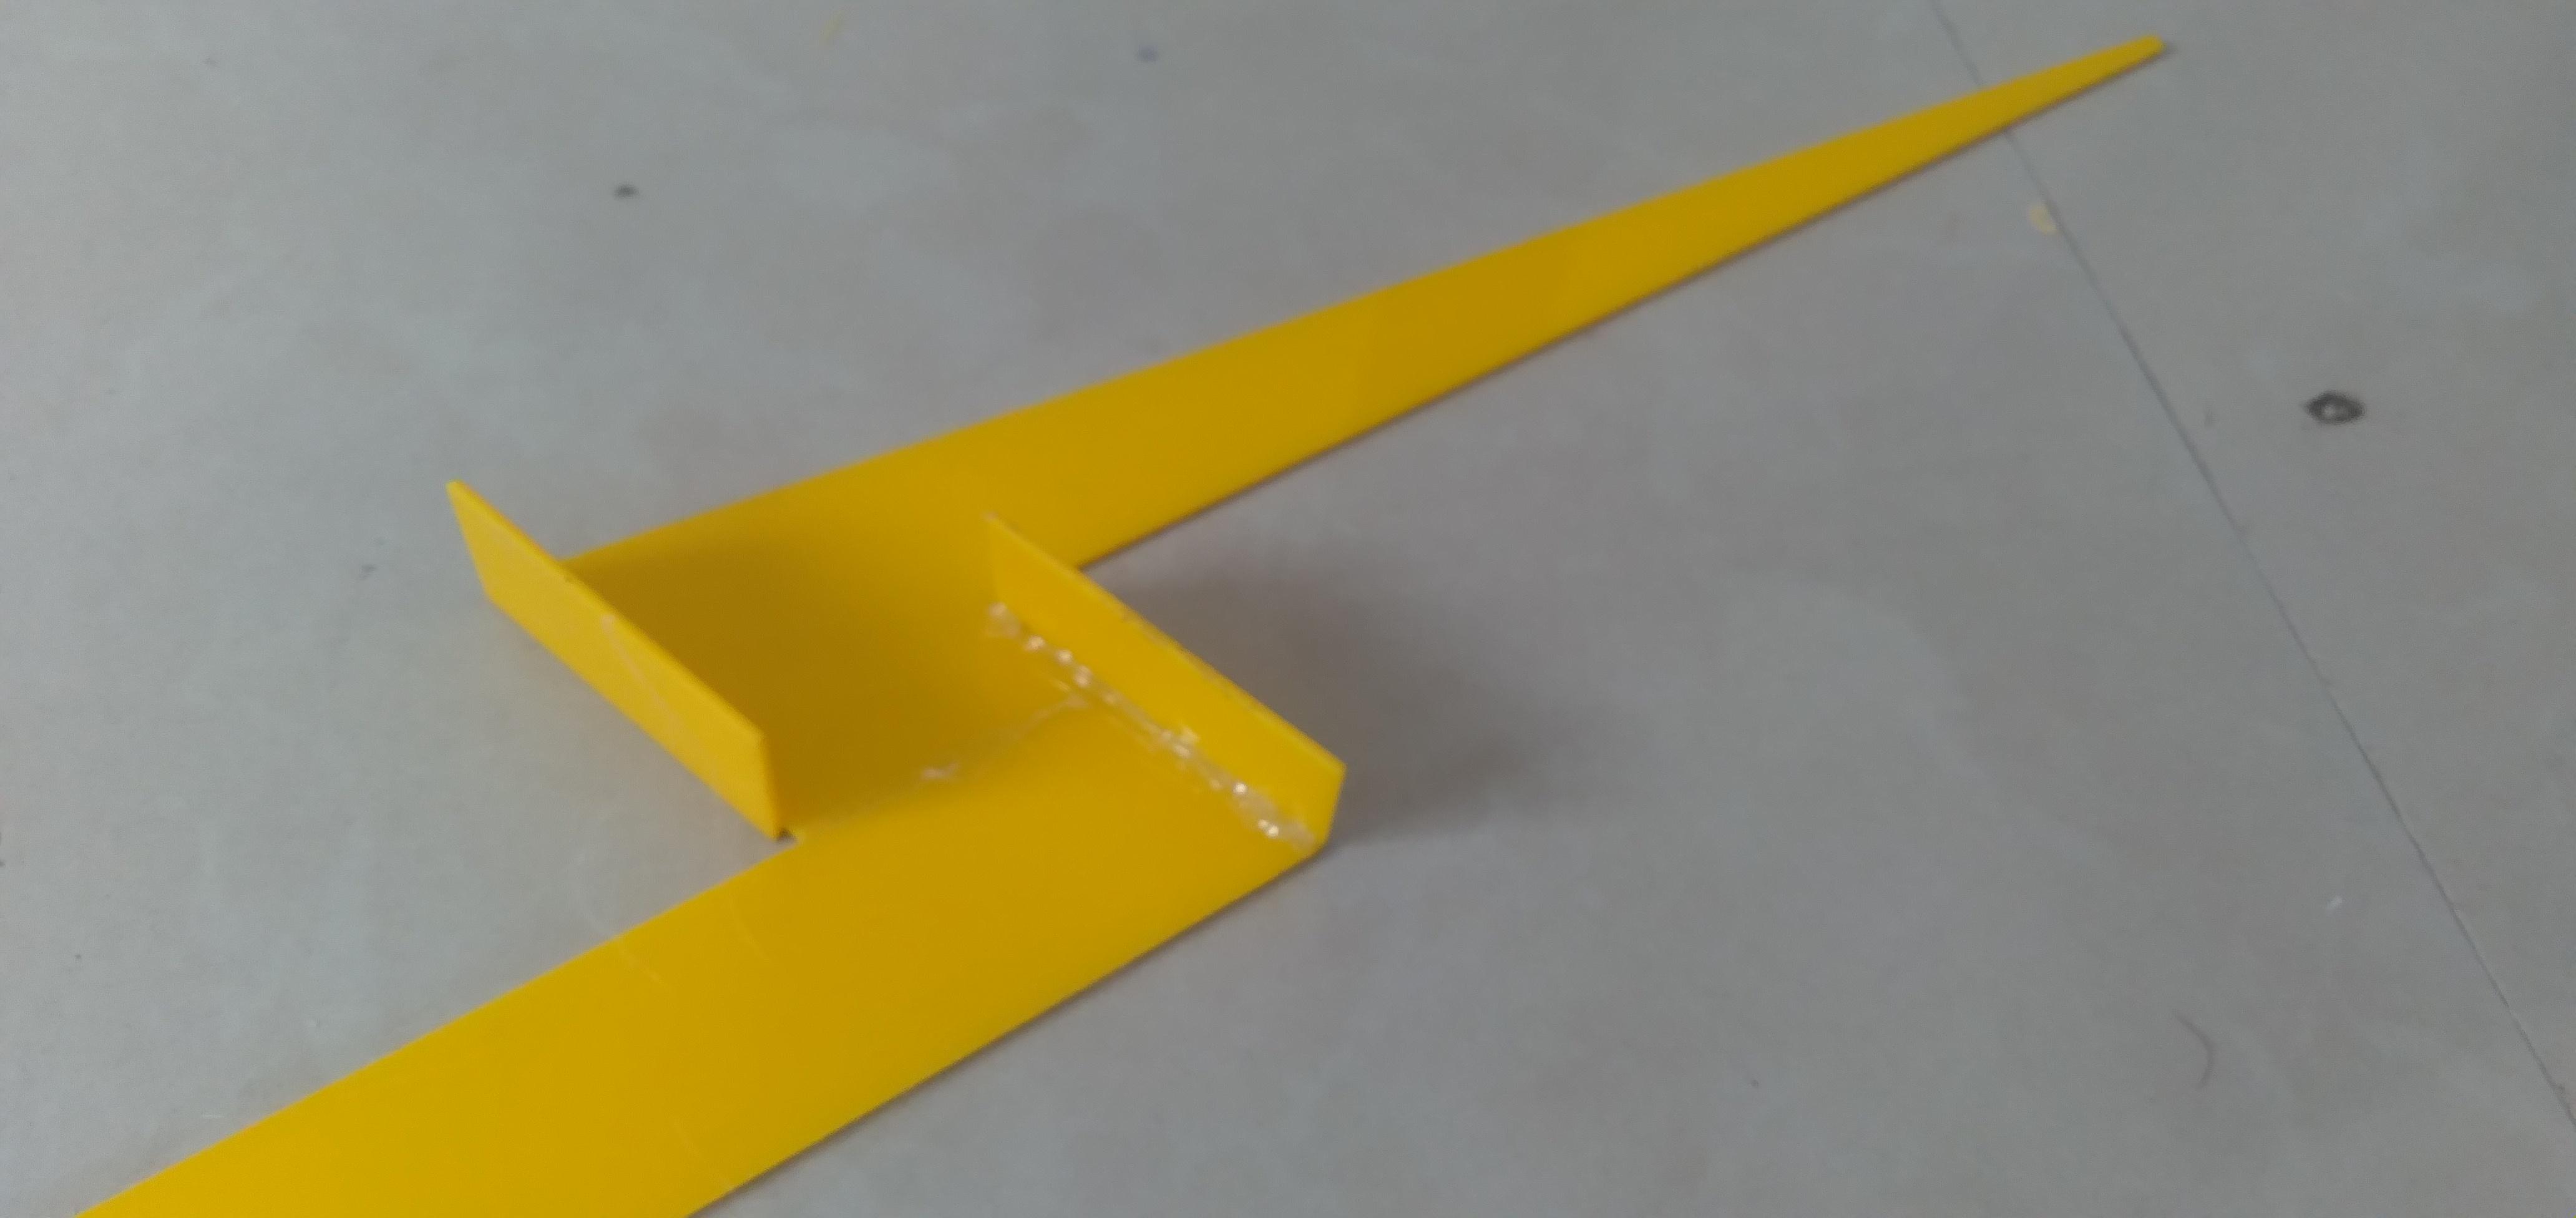
I use a white LED strip with a 12v 2 amp adapter to lighten up Thunderbolt.
Connect LED strip with Adapter using soldering and palace LED strip inside thunderbolt case.
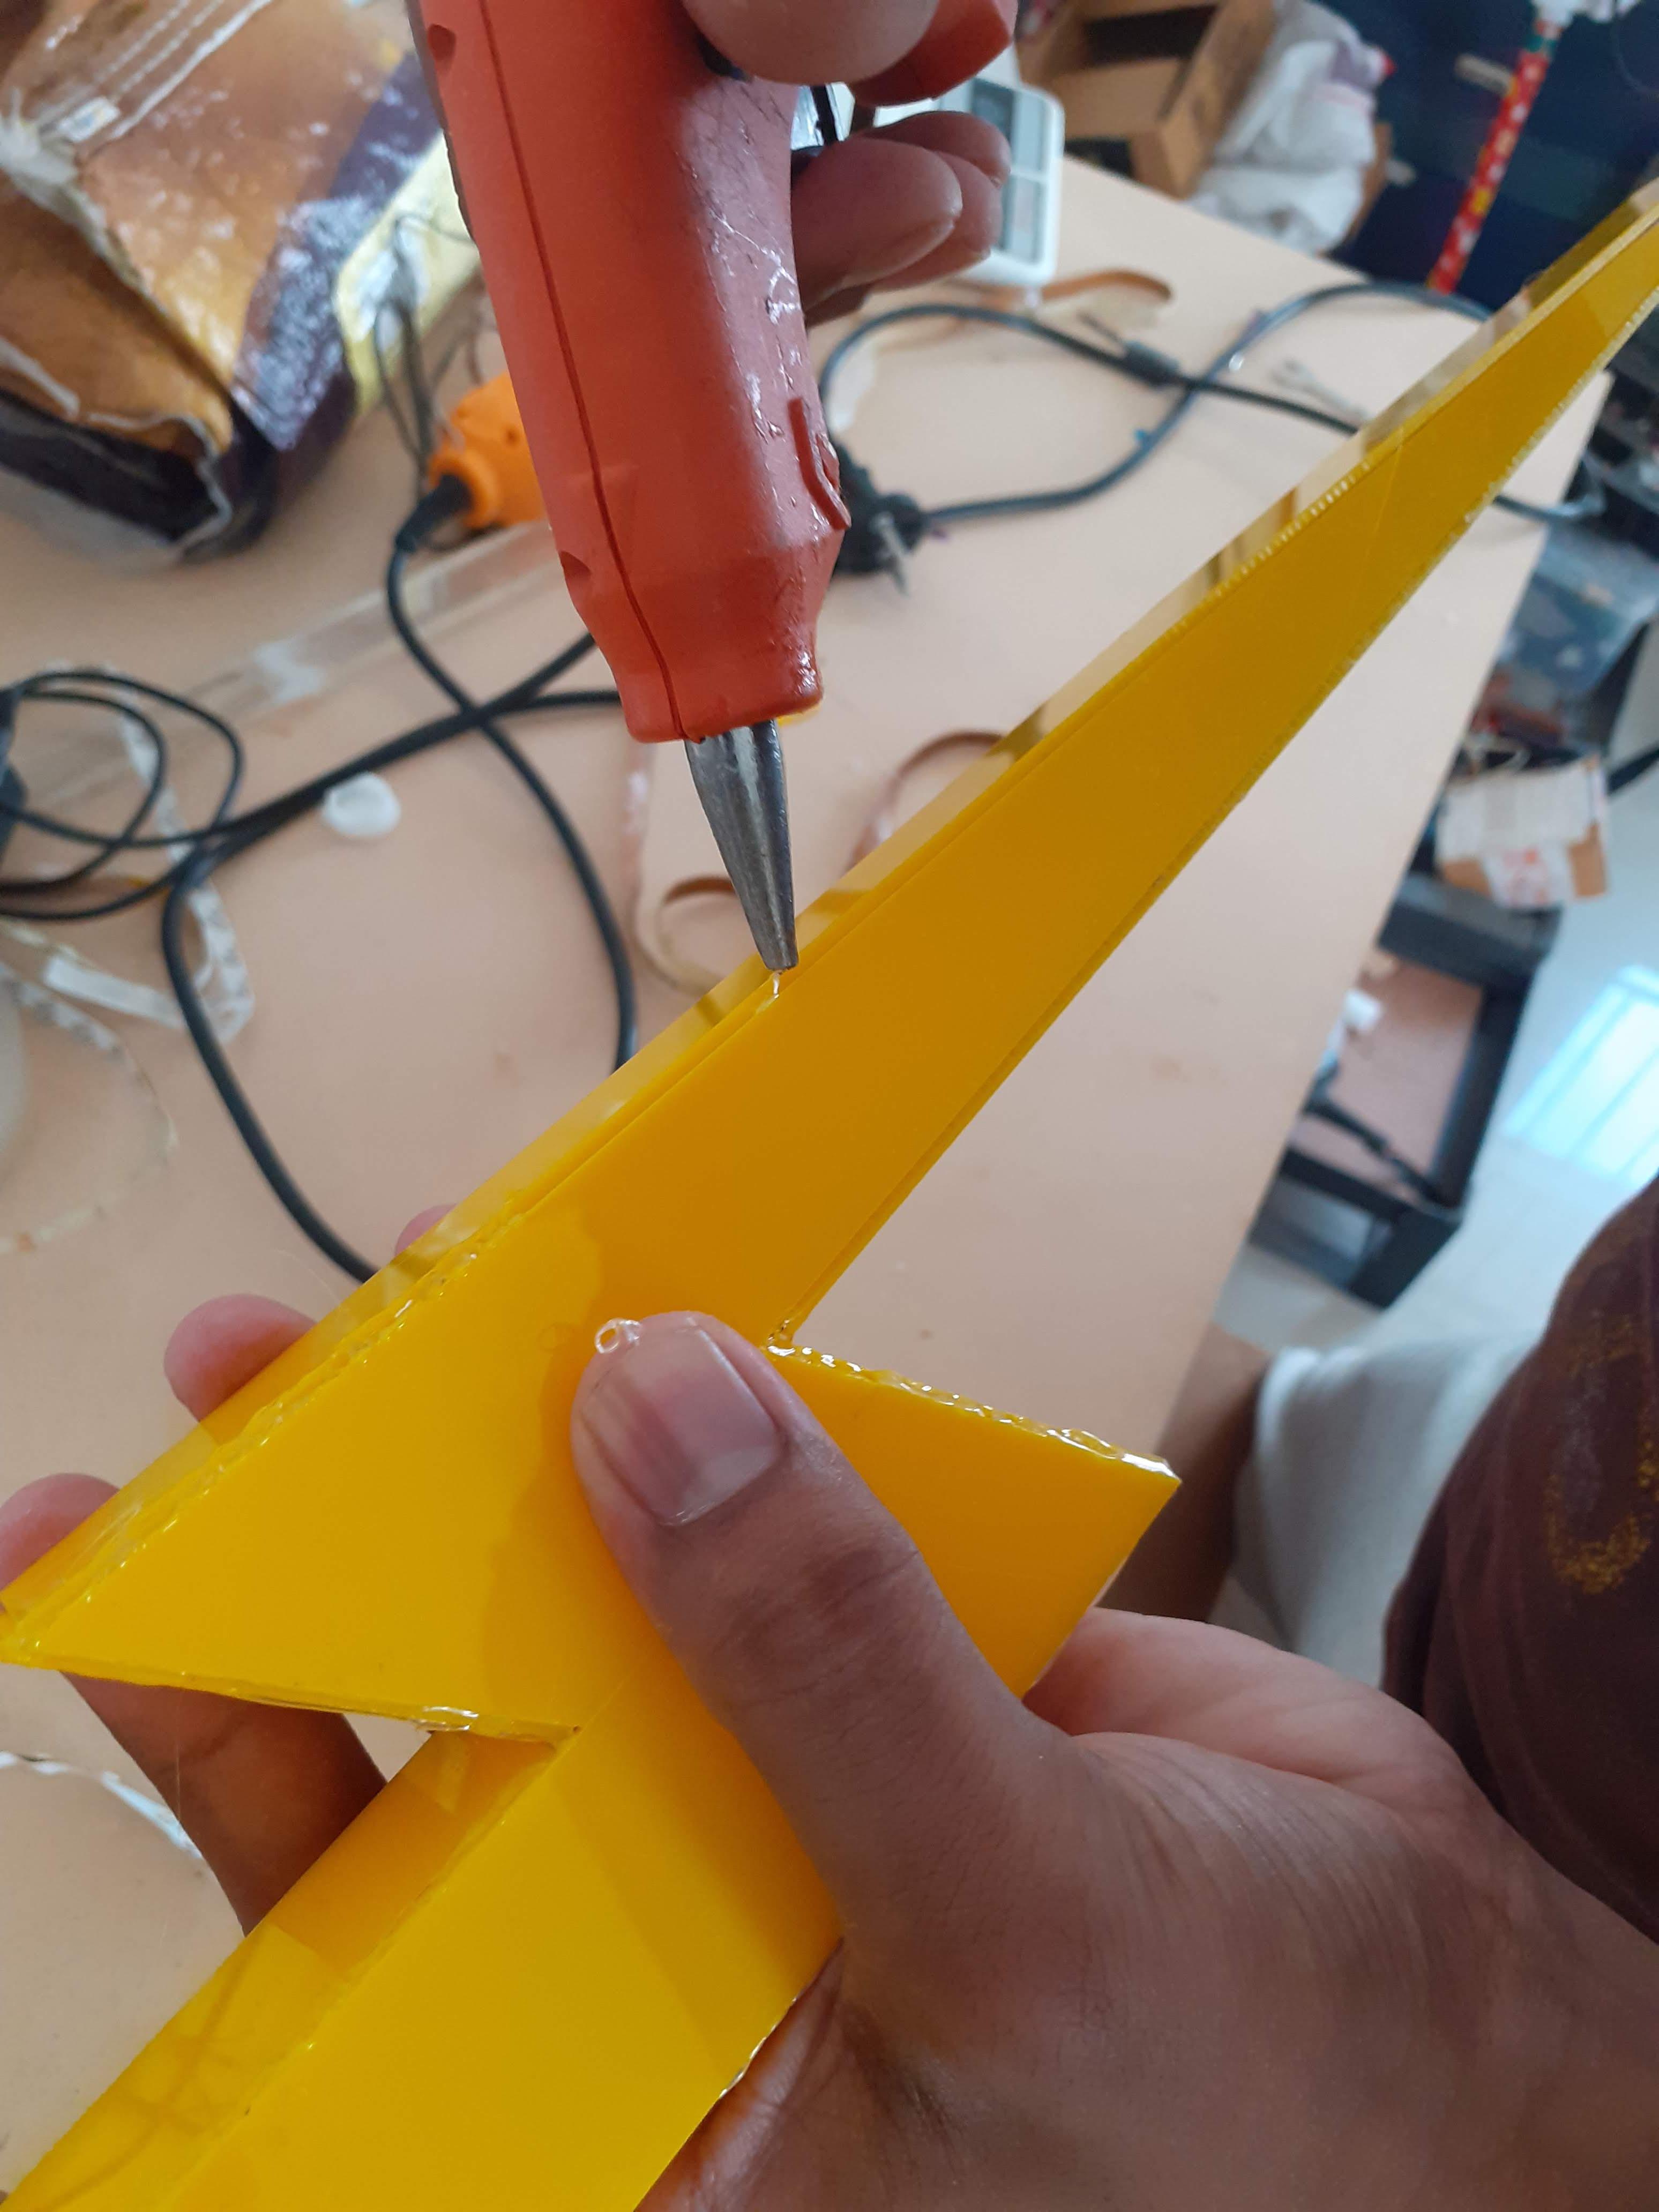
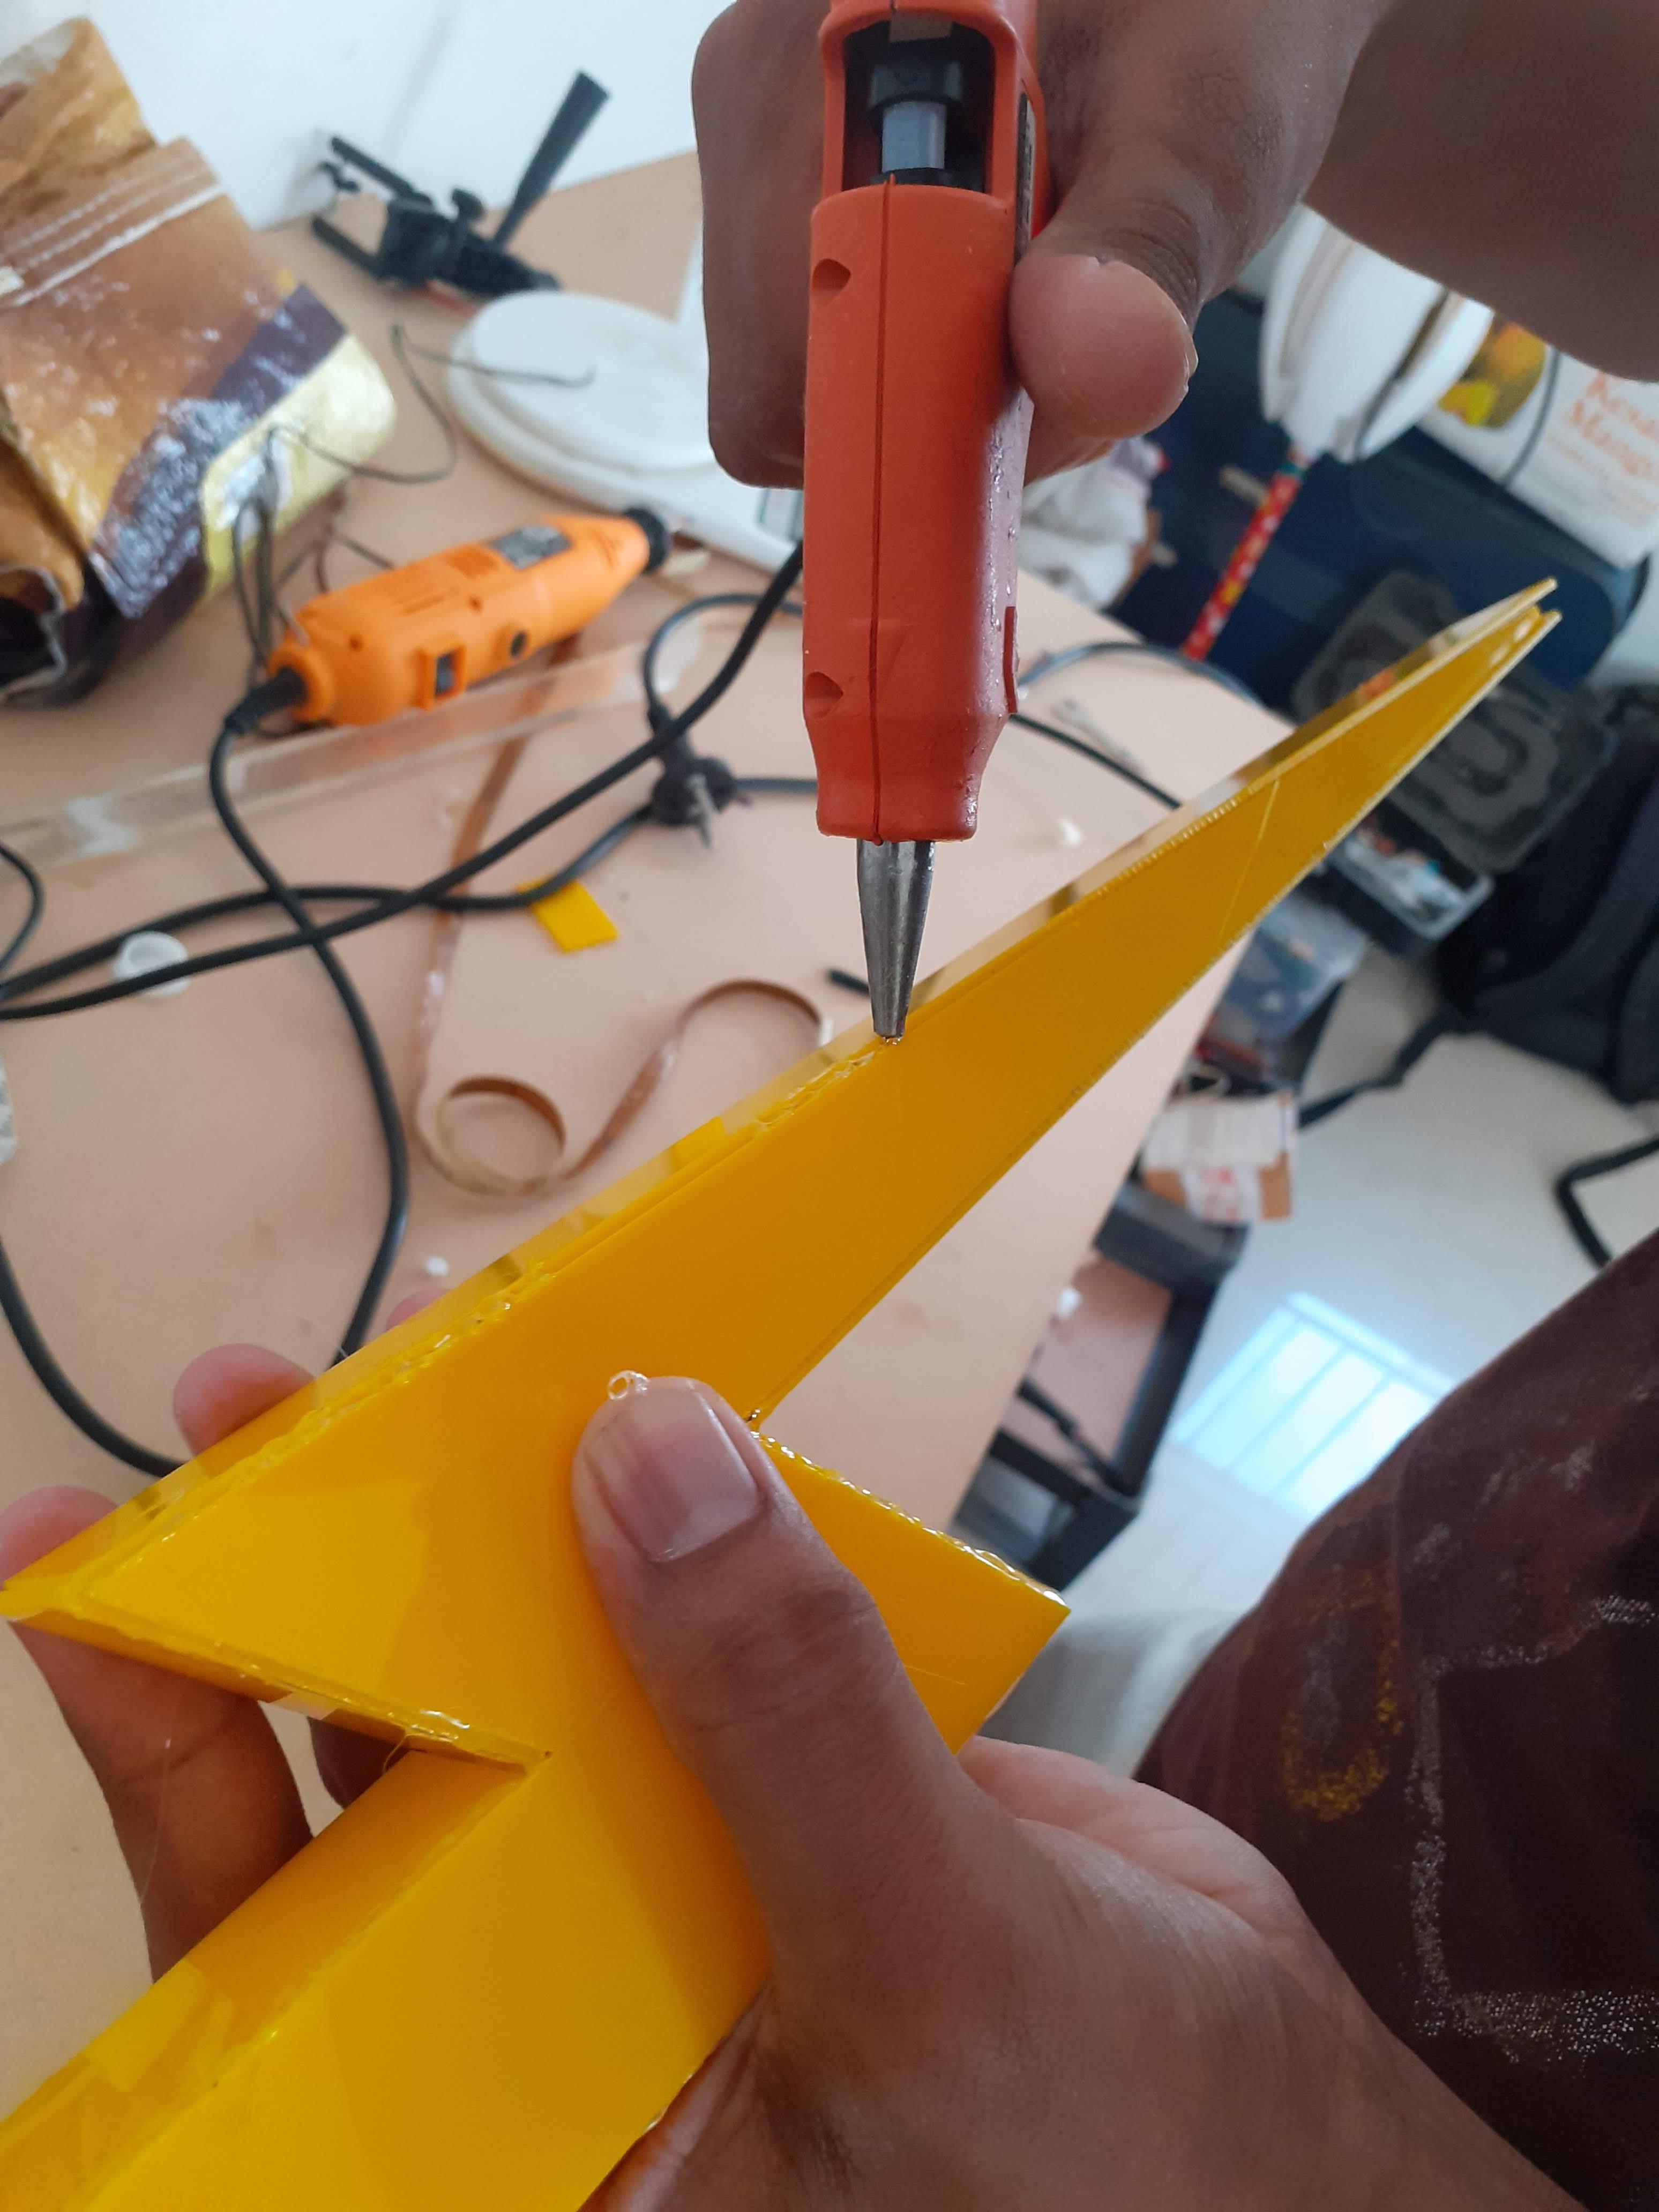
Join all parts with a Glue gun from Inside to join base parts and walls.
After Placing the LED strip inside close the open side of Thunderbolt with the remaining Acrylic parts.
Place on Wall & Testing
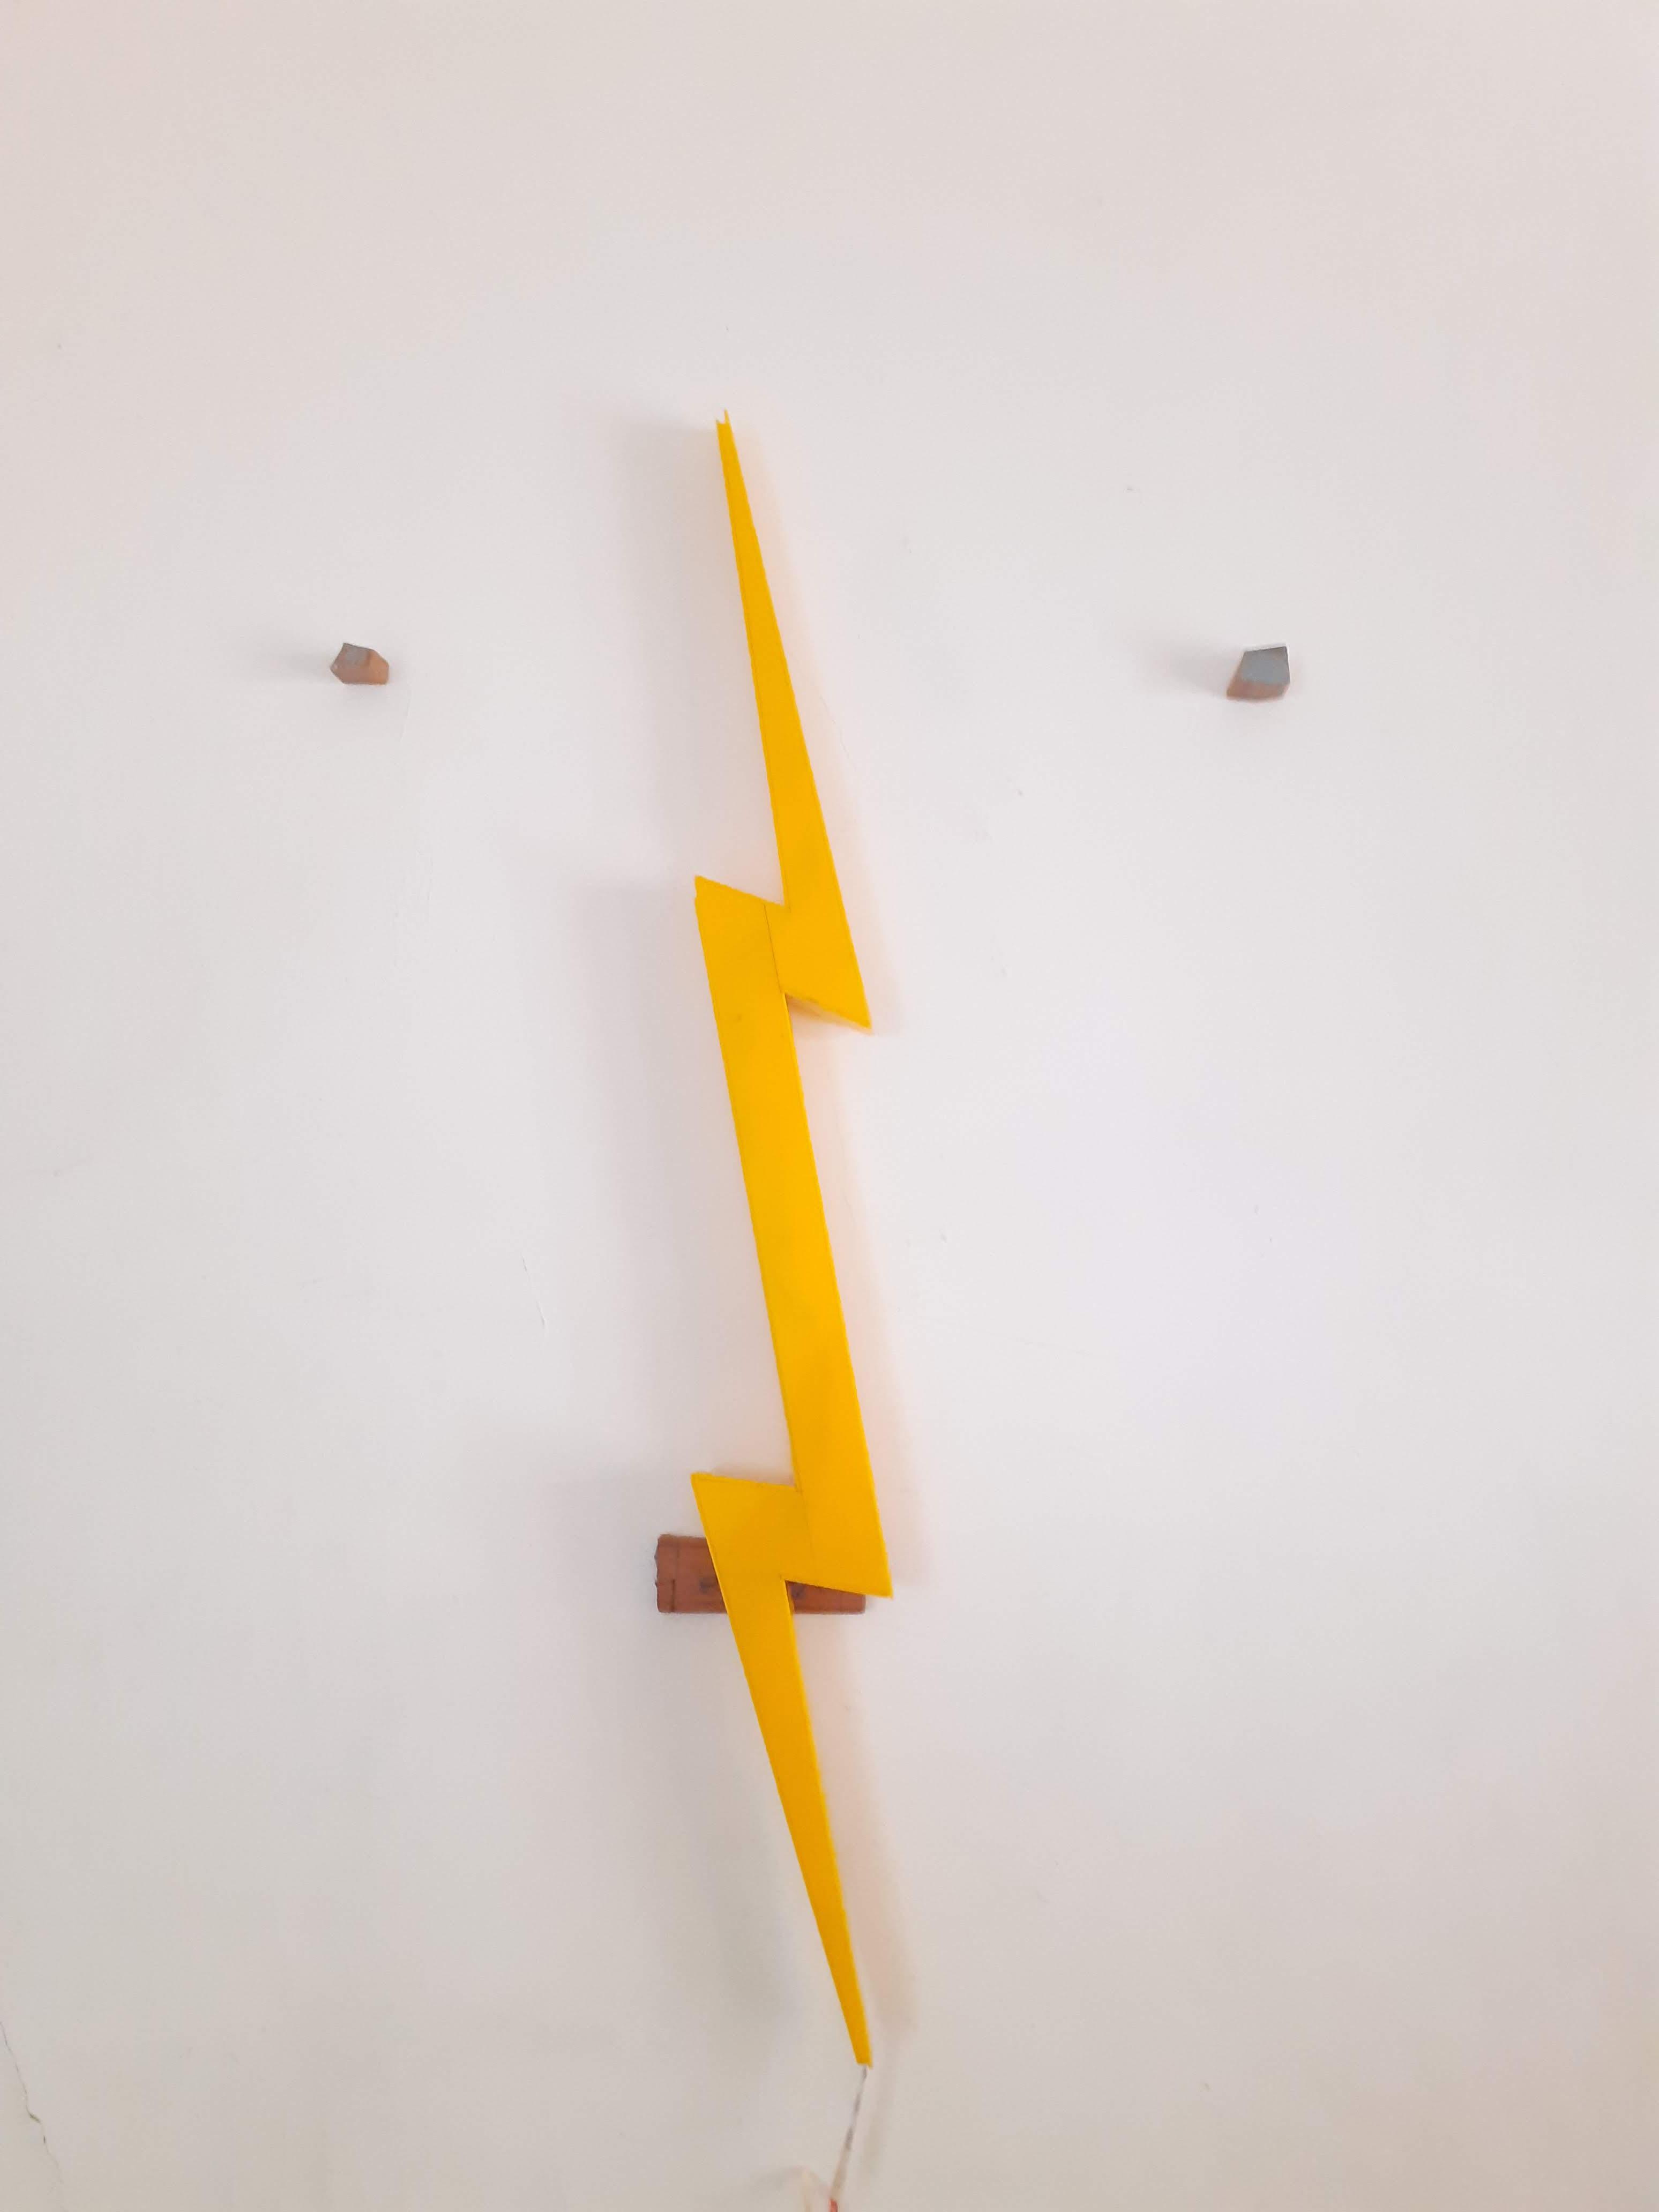
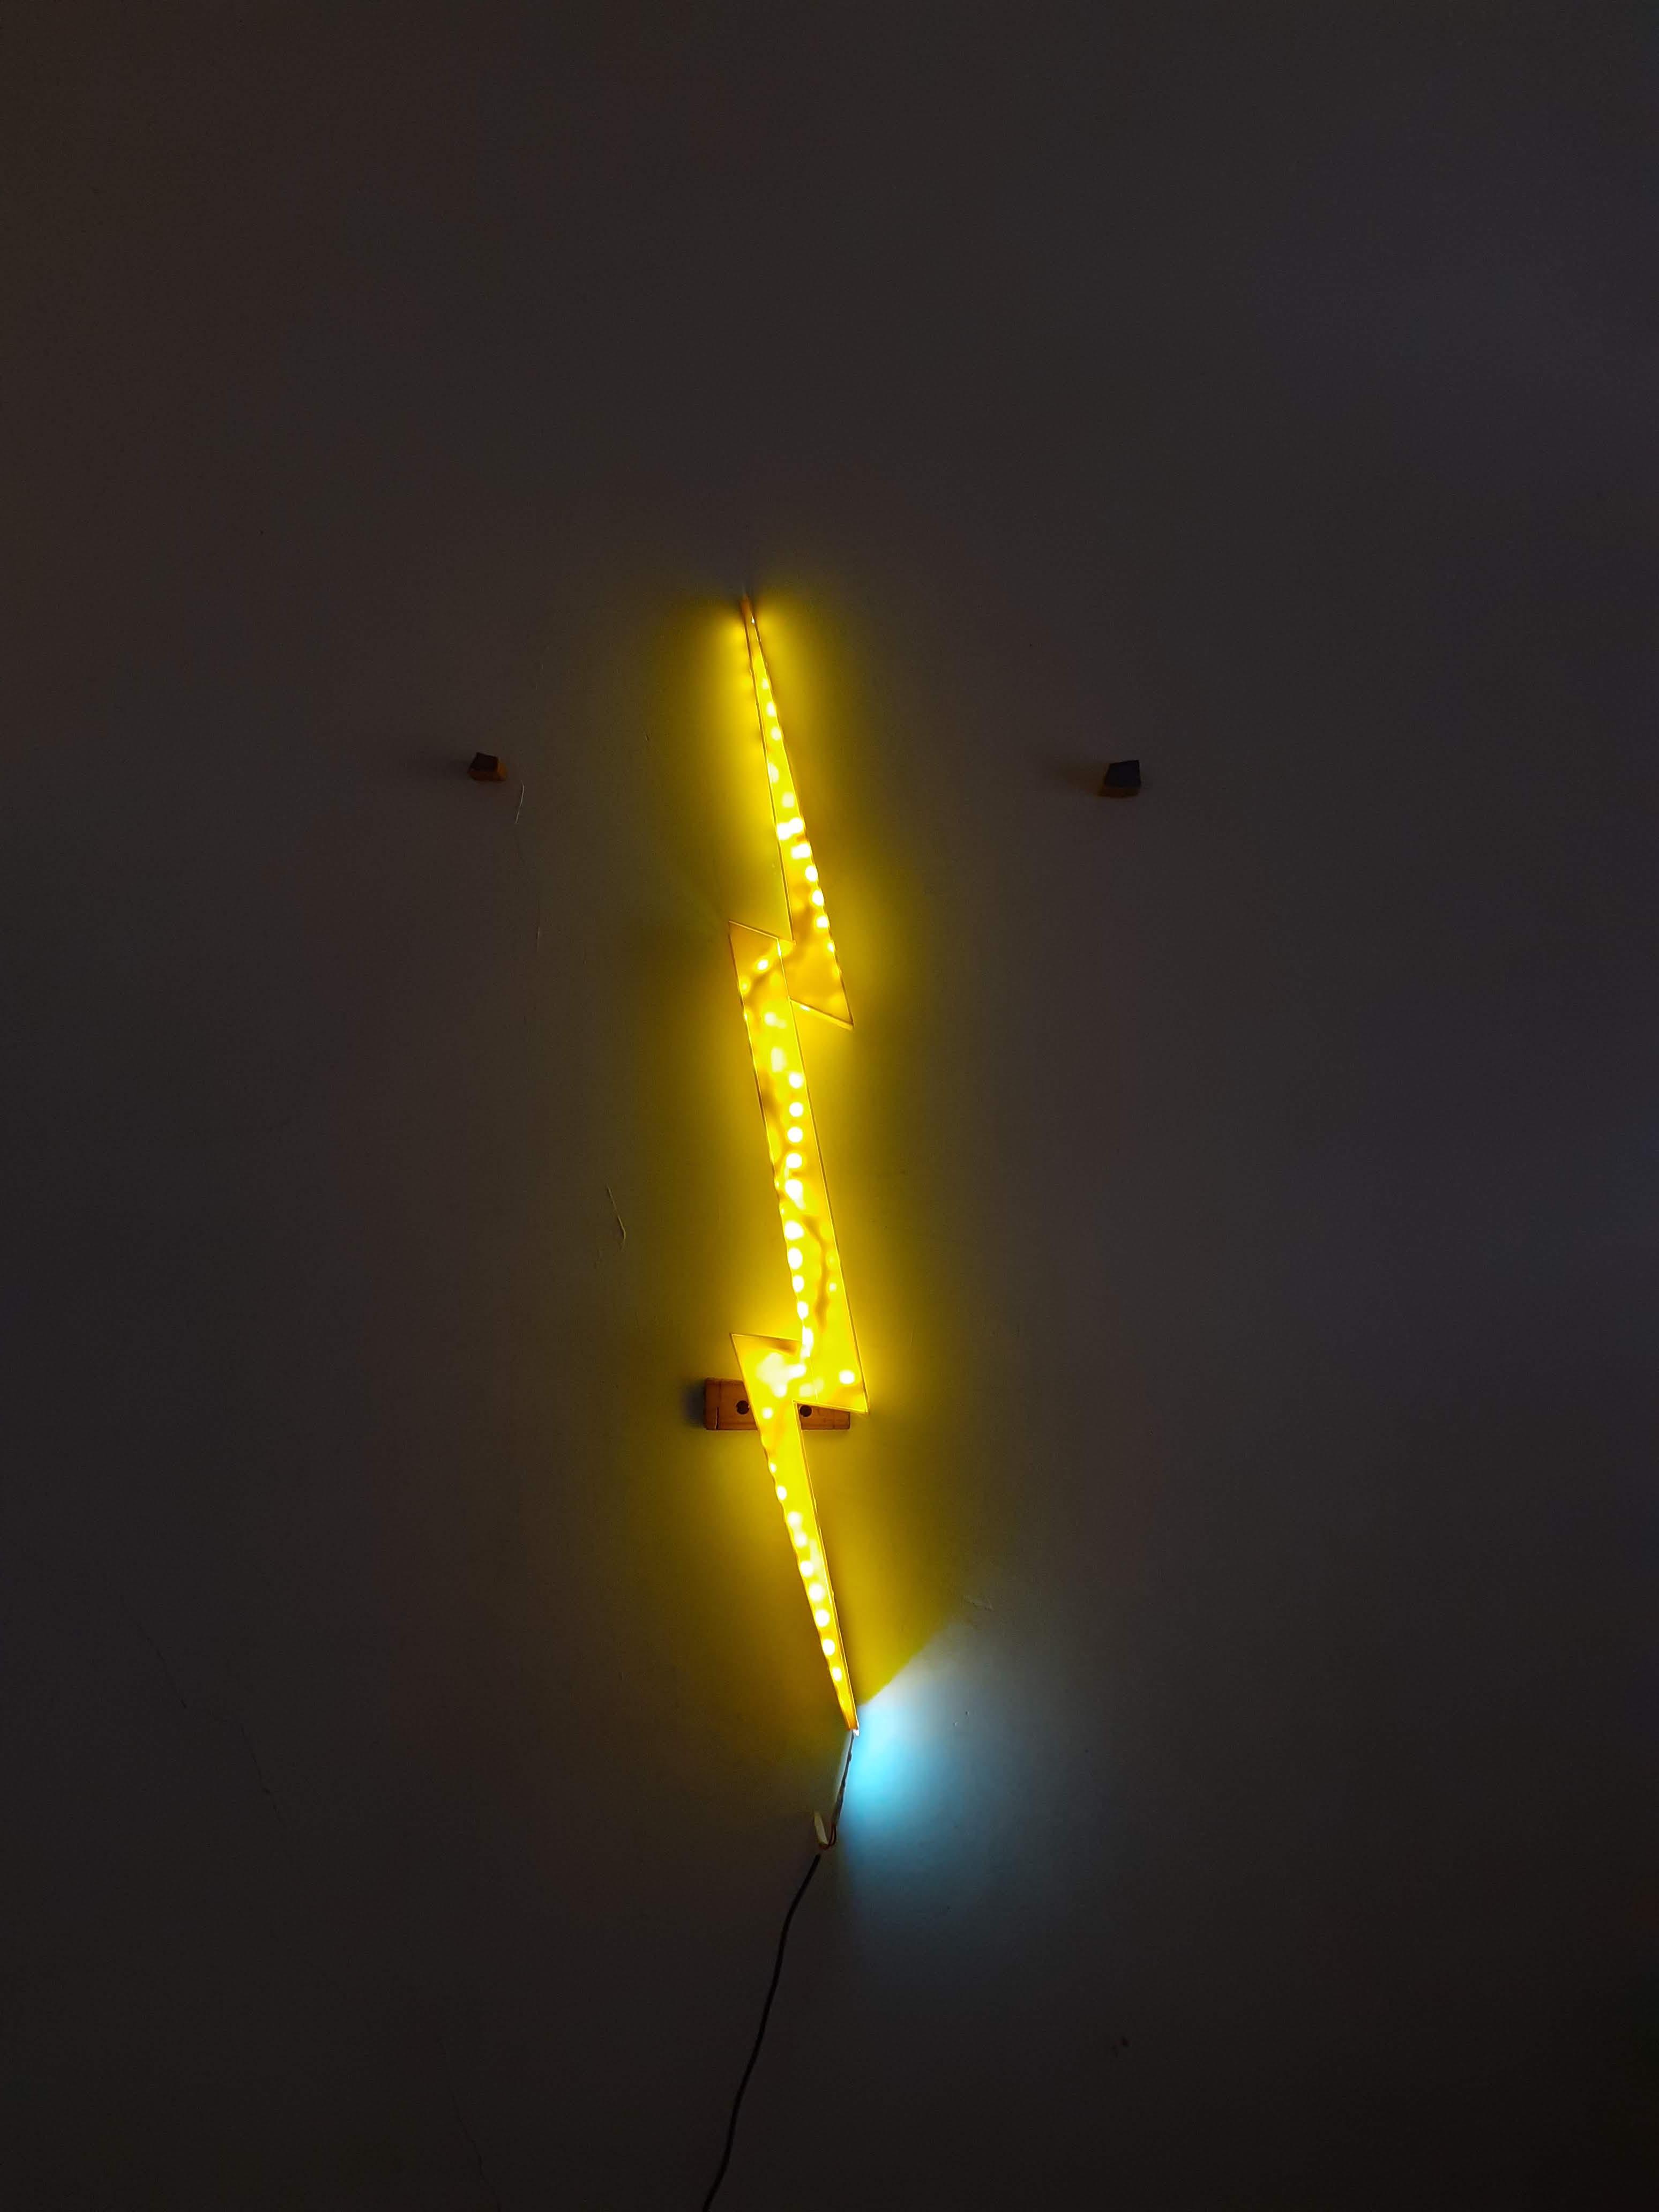
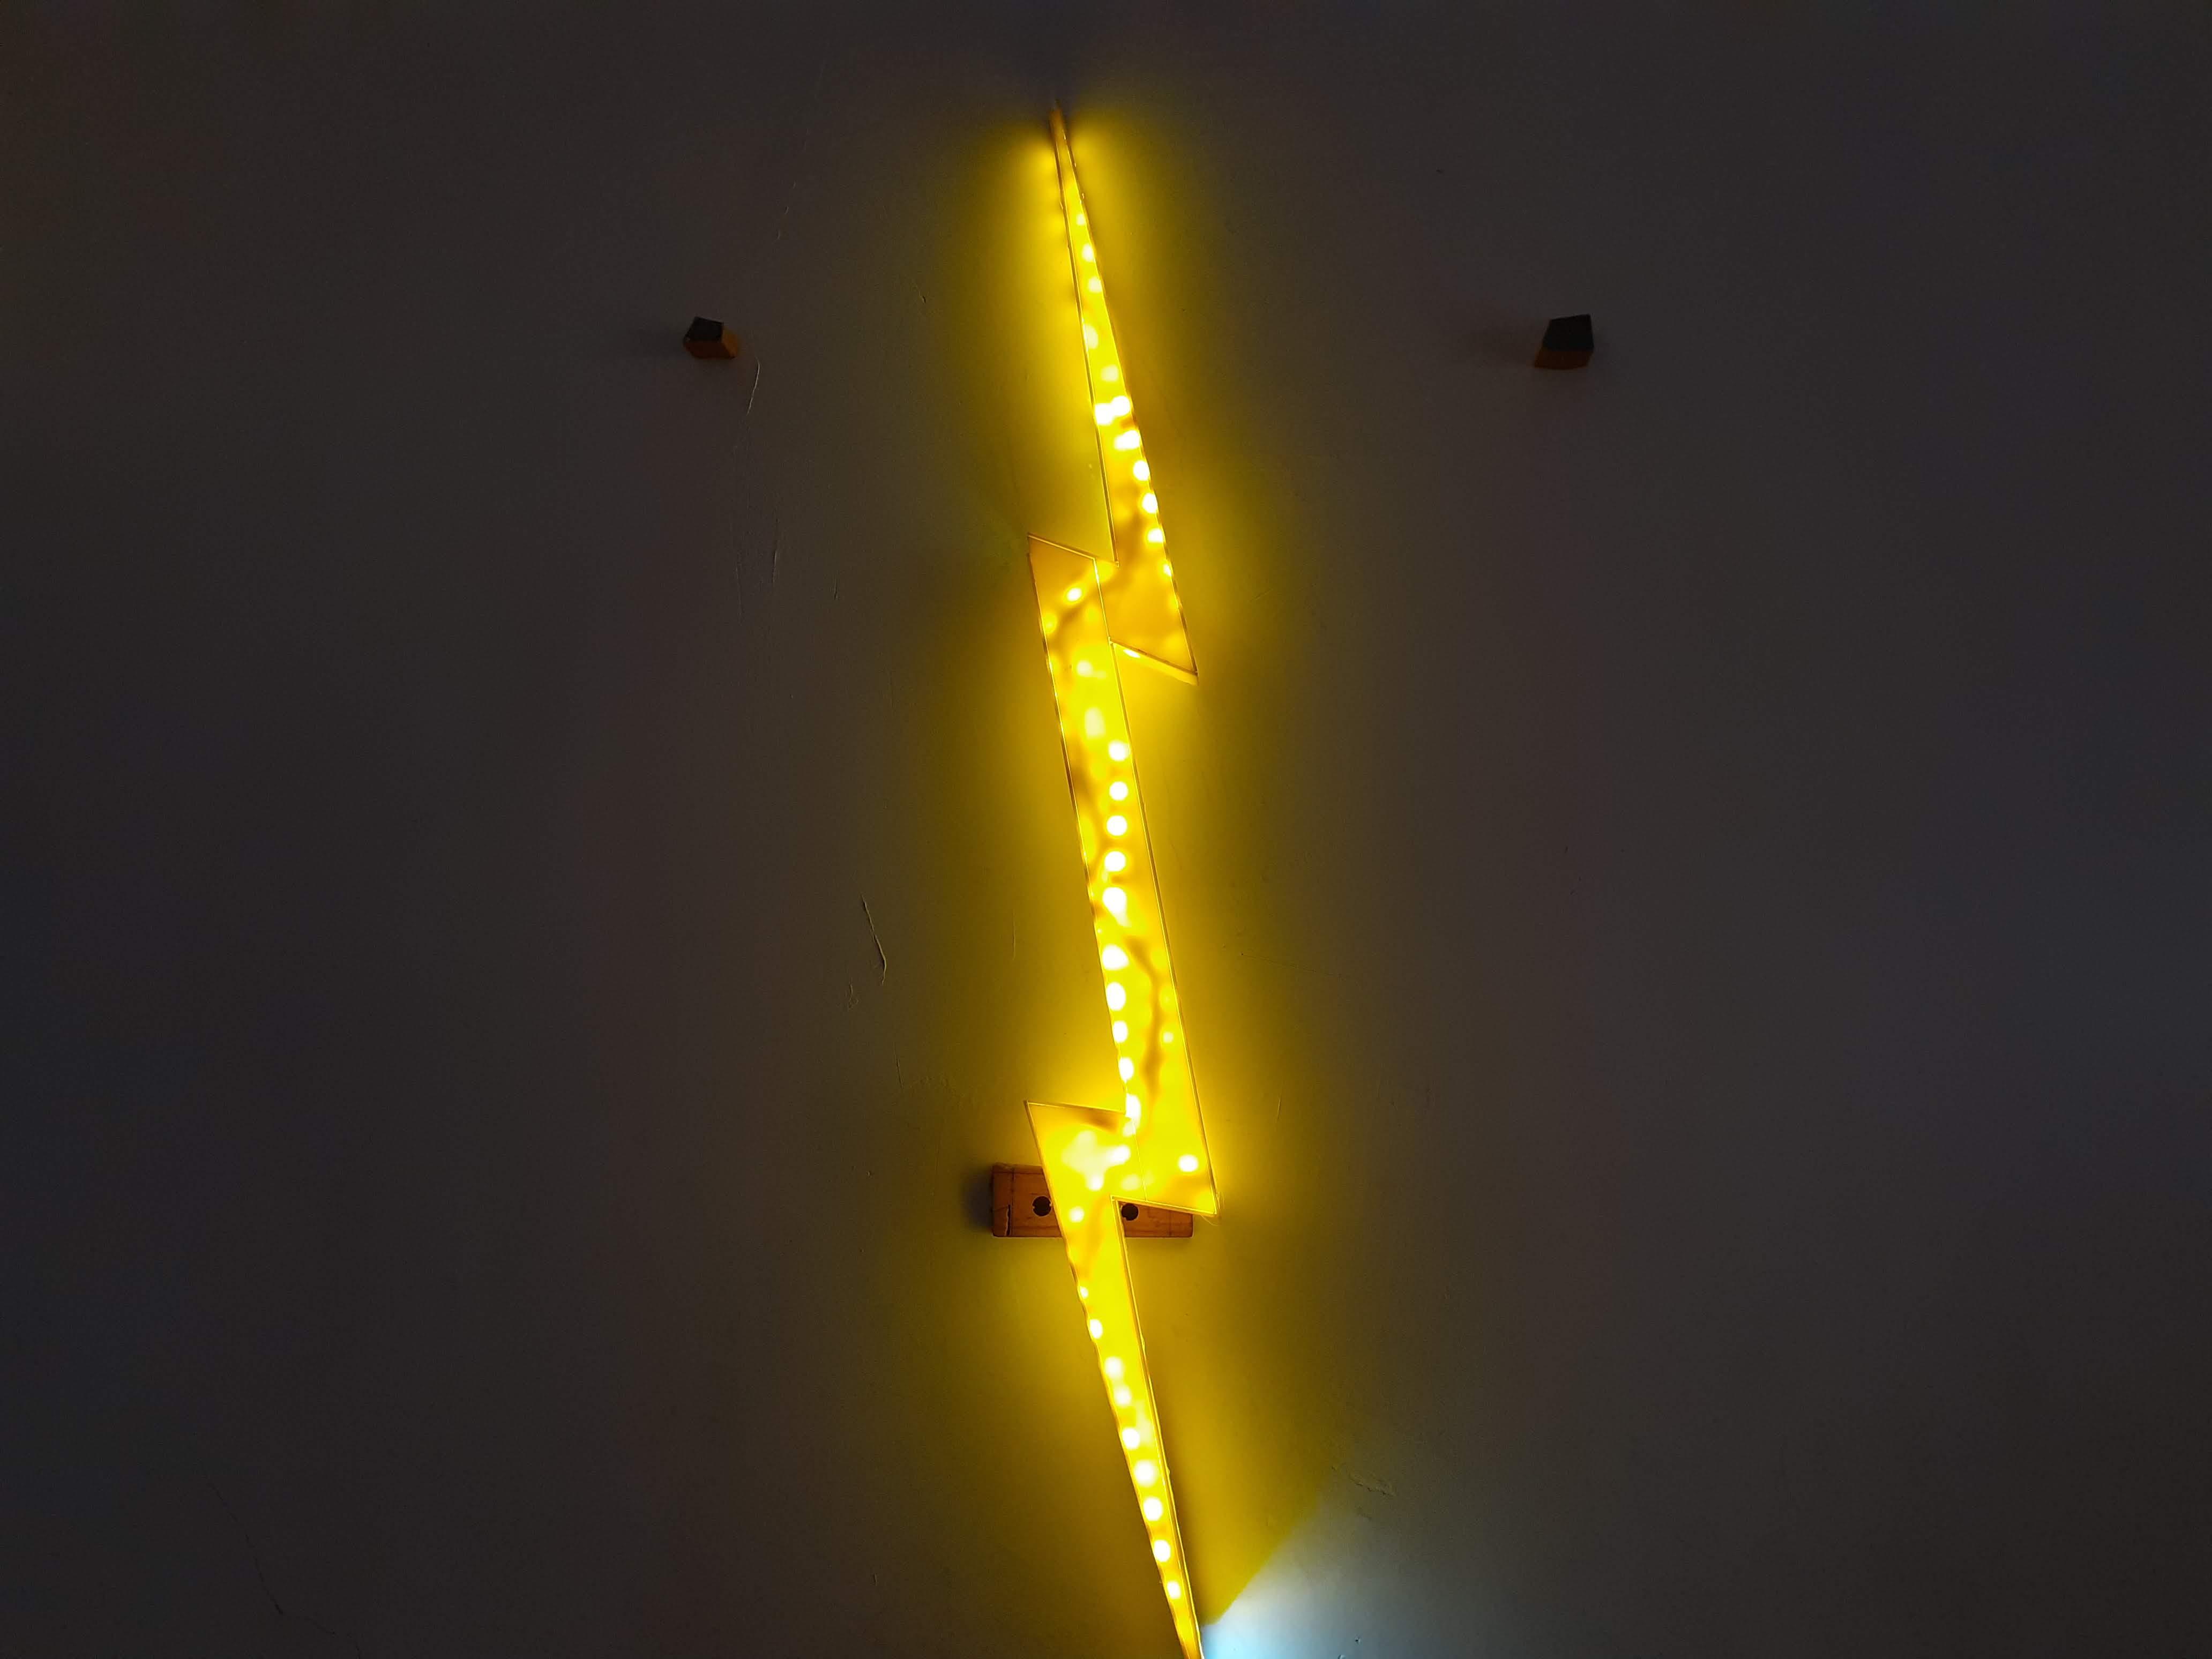
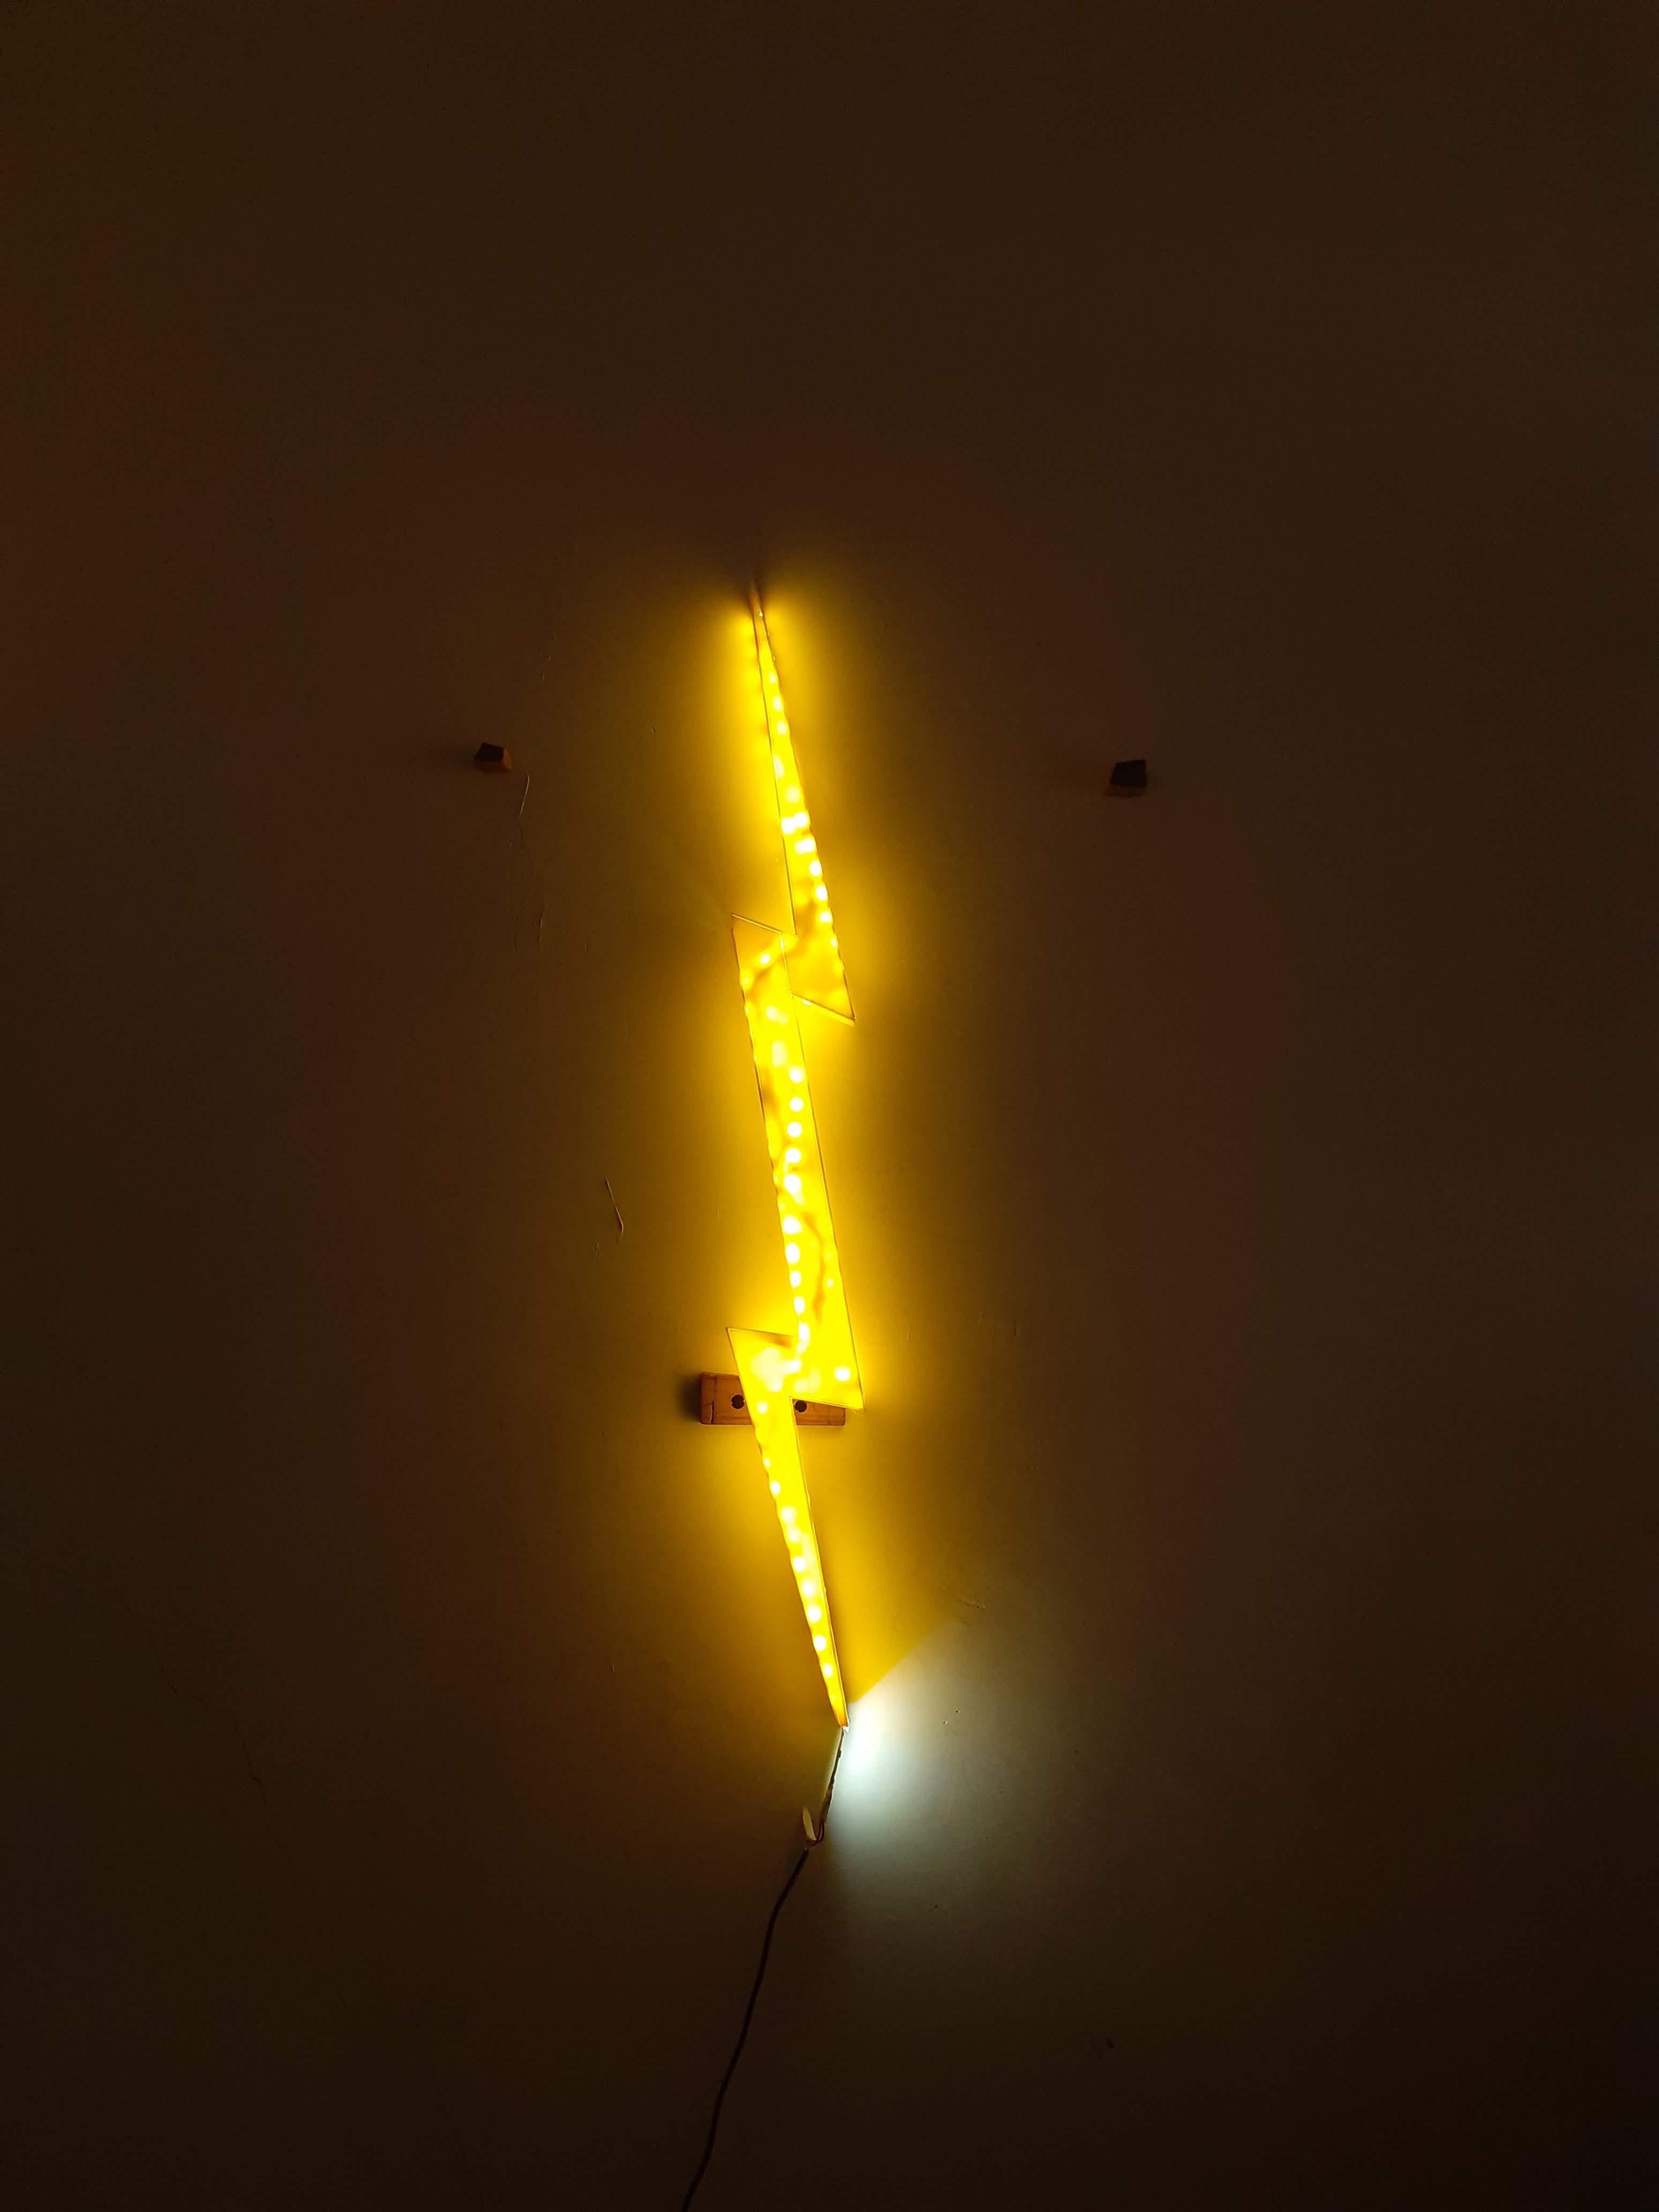
Use a double tap to stick Thunderbolt on Wall.
Plug the adapter in the socket and switch on the lights.
Cheers !! Your thunderbolt is light.