Throw Your Shoe...merang and Return!
4779 Views, 54 Favorites, 0 Comments
Throw Your Shoe...merang and Return!


A boomerang is a tool thrown consistently spinning on an axis and eventually returns back to you. While your everyday pair of shoes protect your feet, the shape of the soles also make great airfoil blades for this tri-blade, shoemerang. The cardboard material makes this boomerang design lightweight and stable enough to glide through the air back into your hand.
Downloads
Supplies

- 1-leg connector (blue) x 1
- 3-leg connector (green) x 2
- Corrugated cardboard sheets x 3
- Marker or pencil x 1
- Pair of scissors
- A shoe
To get Strawbees connectors and precut straws, you can purchase the STEAM School Kit (for up to 30 students) or STEAM Starter Kit (1 per student).
If you don't have Strawbees, replace the 1-leg and 3-leg connectors with brass brads and glue for securing the shoe blades.
Find a corrugated cardboard box and cut each box face into at least 3 sheets for the 3 shoe blades. Shoe sizes vary, affecting the size of the cardboard sheets. Each sheet needs extra space surrounding the shoe. Or if you can trace the shoe 3 times on the same sheet as long as there is enough space.
If you are right-handed, trace with your left shoe. If left-handed, use the right shoe. This affects the way the shoemerang is thrown.
Trace Shoe Blades

From a cardboard box cut out 3 cardboard sheets, place a shoe, trace, and cut out. If you are right-handed, trace with the left shoe. If left-handed, use the right shoe.
Fold the Edges

Fold up the toes enough to crease the cardboard. Then fold down the insides of each shoe with a visible crease.
Poke Holes in Heels

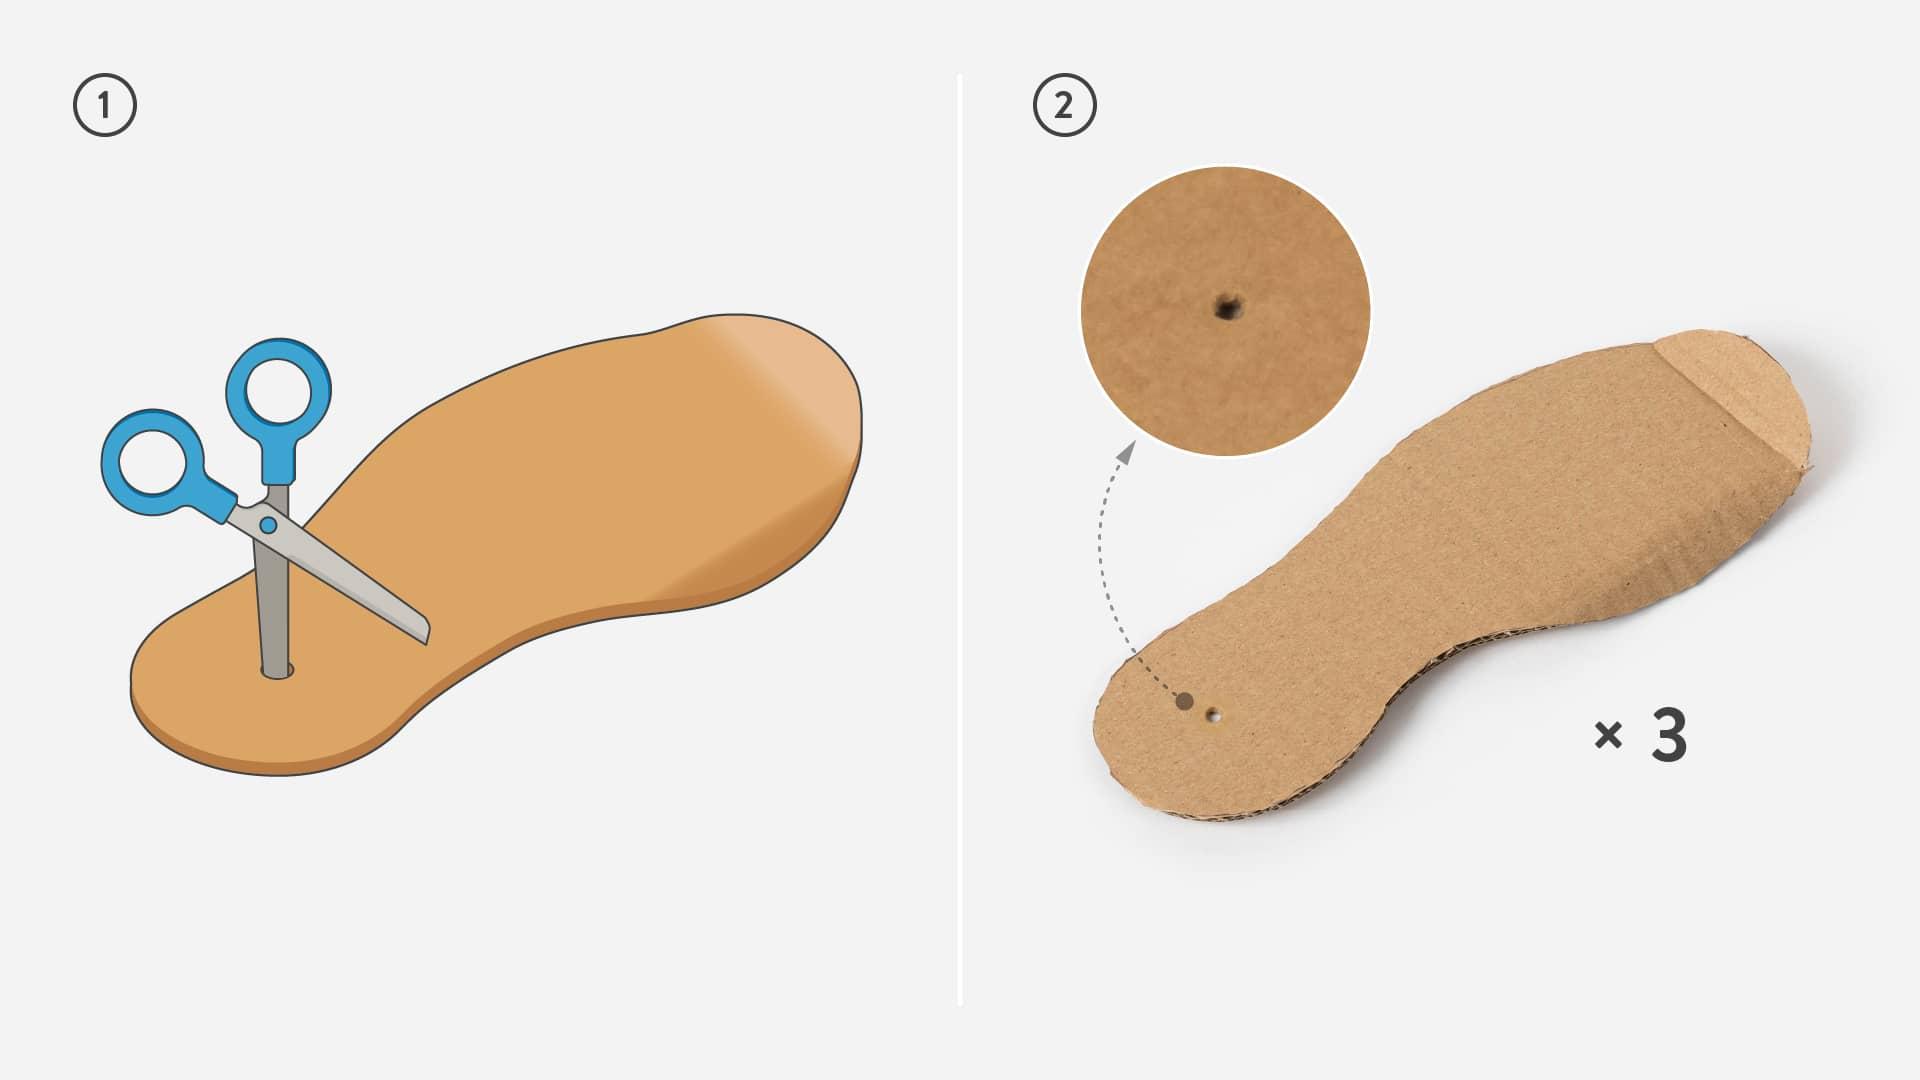
Poke a hole through the heels of all 3 shoe blades.
Combine Shoes and Arrange Into Tri-blade

Click a 1-leg connector into the hole of the 3-leg connector to make a joint. Insert the blue leg of the 1-leg connector through all 3 holes of the cardboard shoes. Then spread the shoe blades evenly.
If you are using glue or brass brads, glue the surface of the cardboard heels and layer each on top of one as the tri-blade arrangement. Apply pressure to the center with your hand or book to bind. Then skip to step 8.
Combine the Shoe Blades

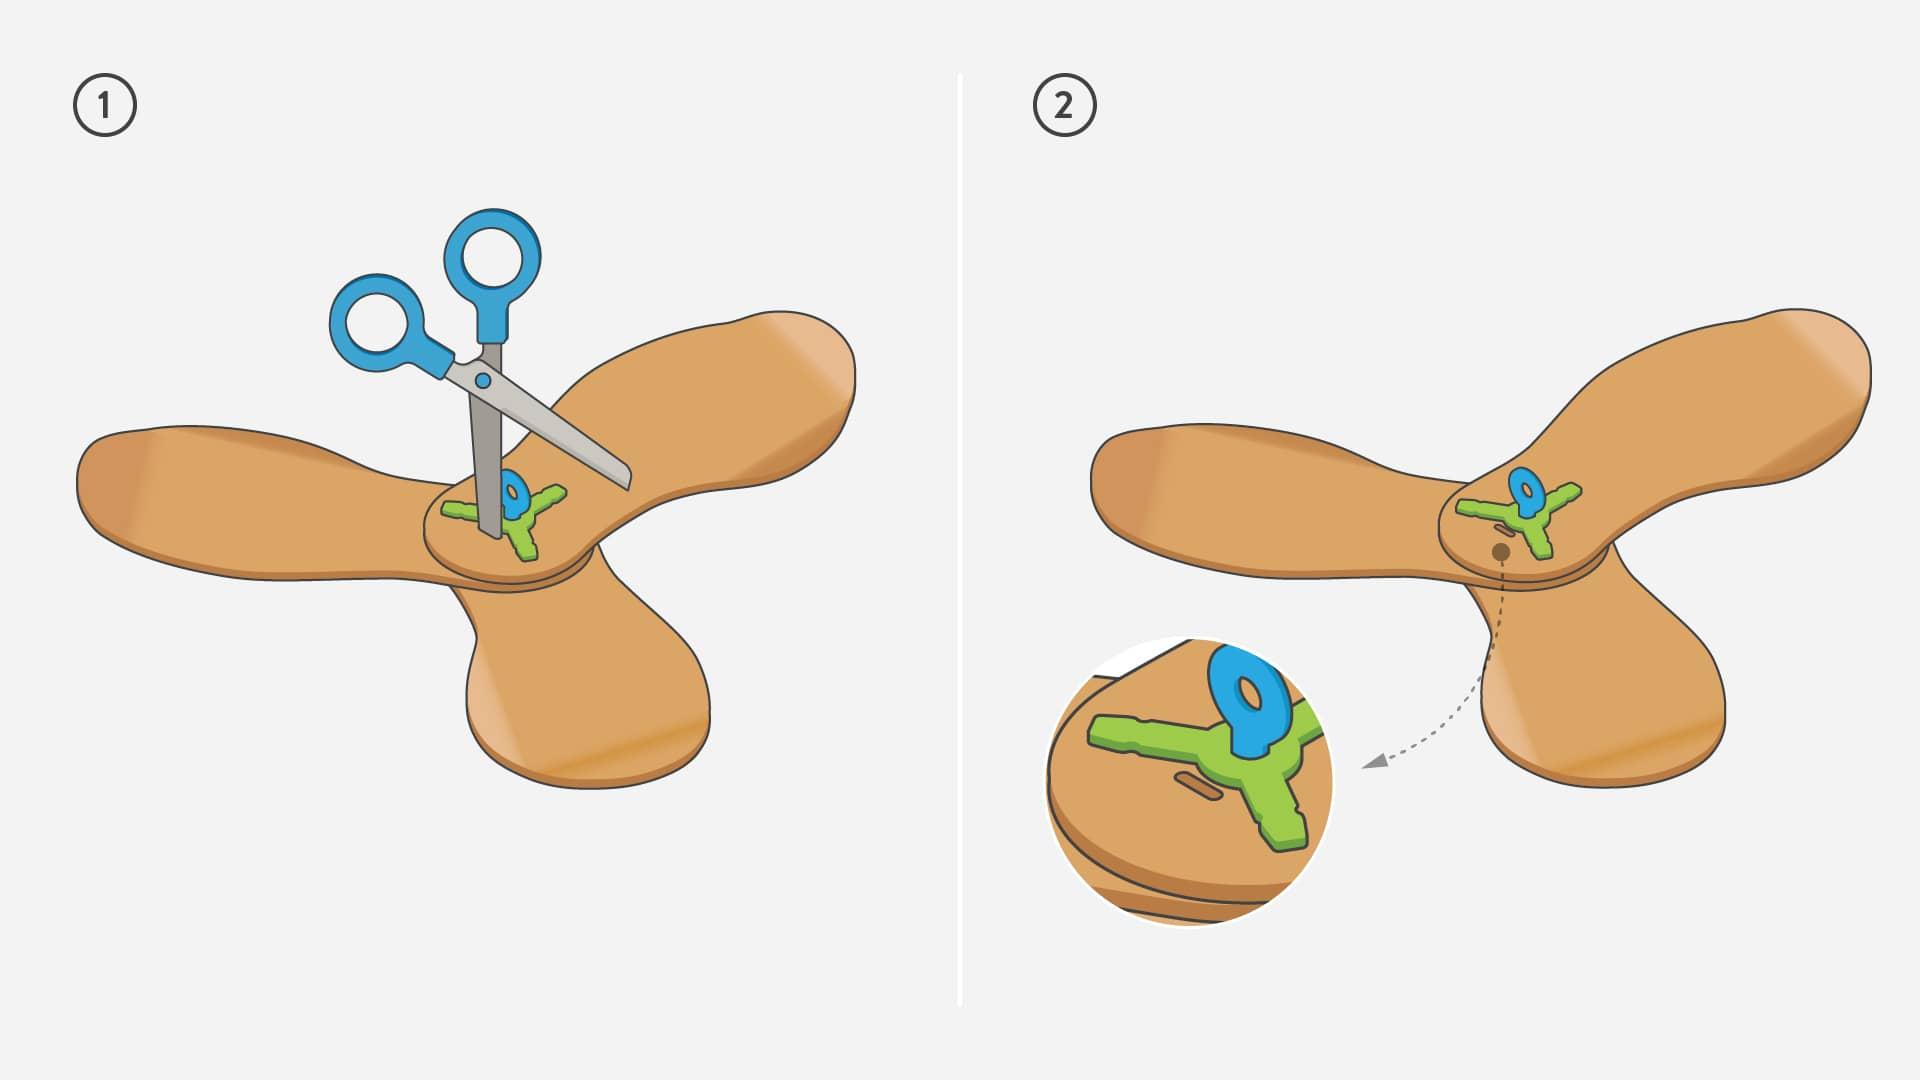
Poke a slot through all 3 pieces next to the joint.
Flip the Shoemerang Then Make the Back of Joint

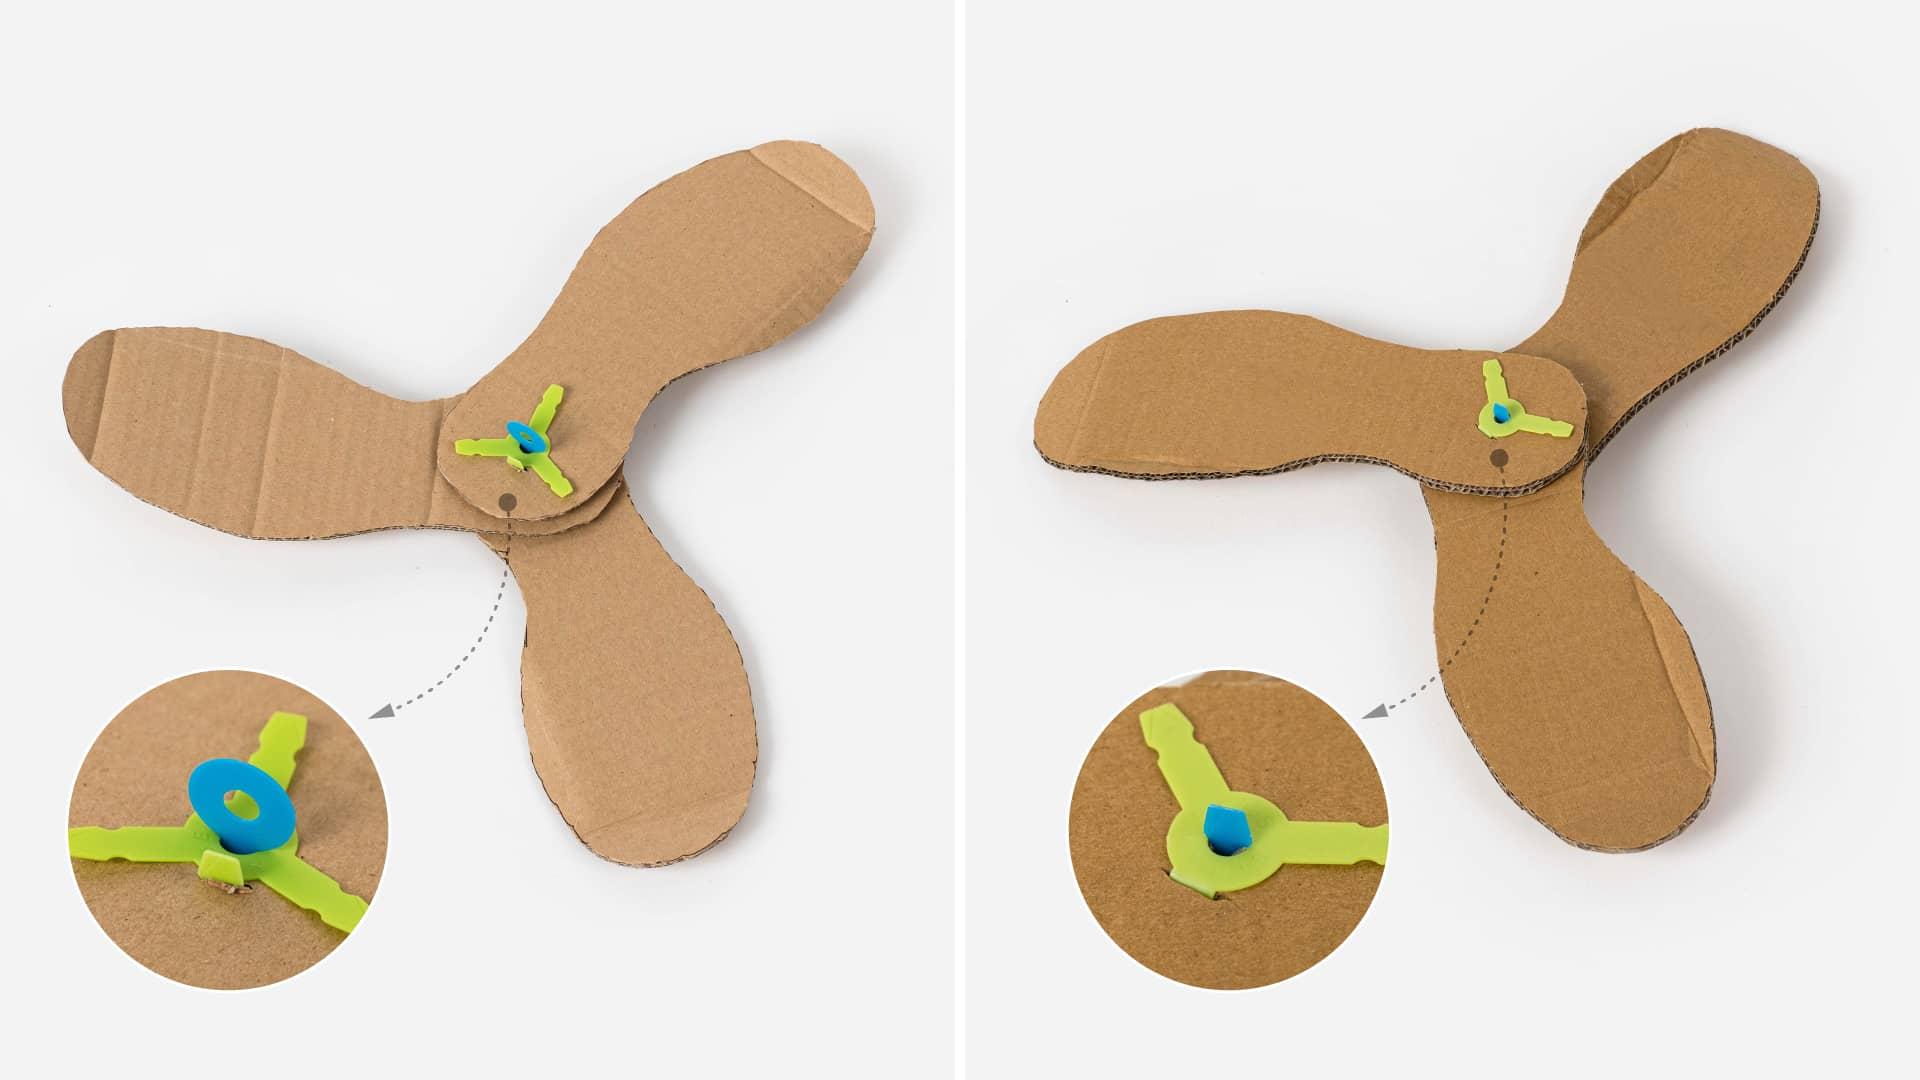
Flip the shoemerang over. Bend a leg on the second 3-leg connector. Slide the bended leg through the slot next to the joint. Click the connector to the joint.
Flip the Shoemerang Then Lock the Joint

Push as far along as you can to lock! If the cardboard shoe blades shift during flight, push the connectors in the locked joint closer together.
Throw the Shoemerang!

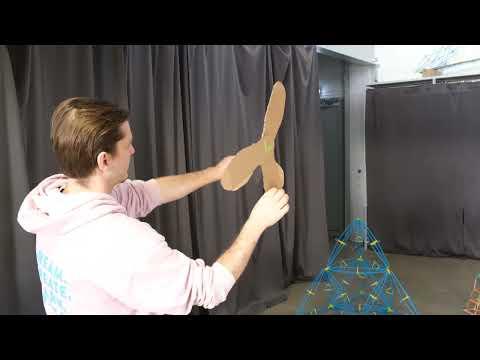
Here are some tips on how to throw the shoemerang. Enjoy!