Thread Stand for Sewing Machines
by musicalbee2003 in Craft > Sewing
32866 Views, 43 Favorites, 0 Comments
Thread Stand for Sewing Machines

After making two Lightbulb Aquariums, mom asked me to make her a thread stand, so here it is! This is my first Instructable, so please tell me what you think.
Gather Materials and Tools

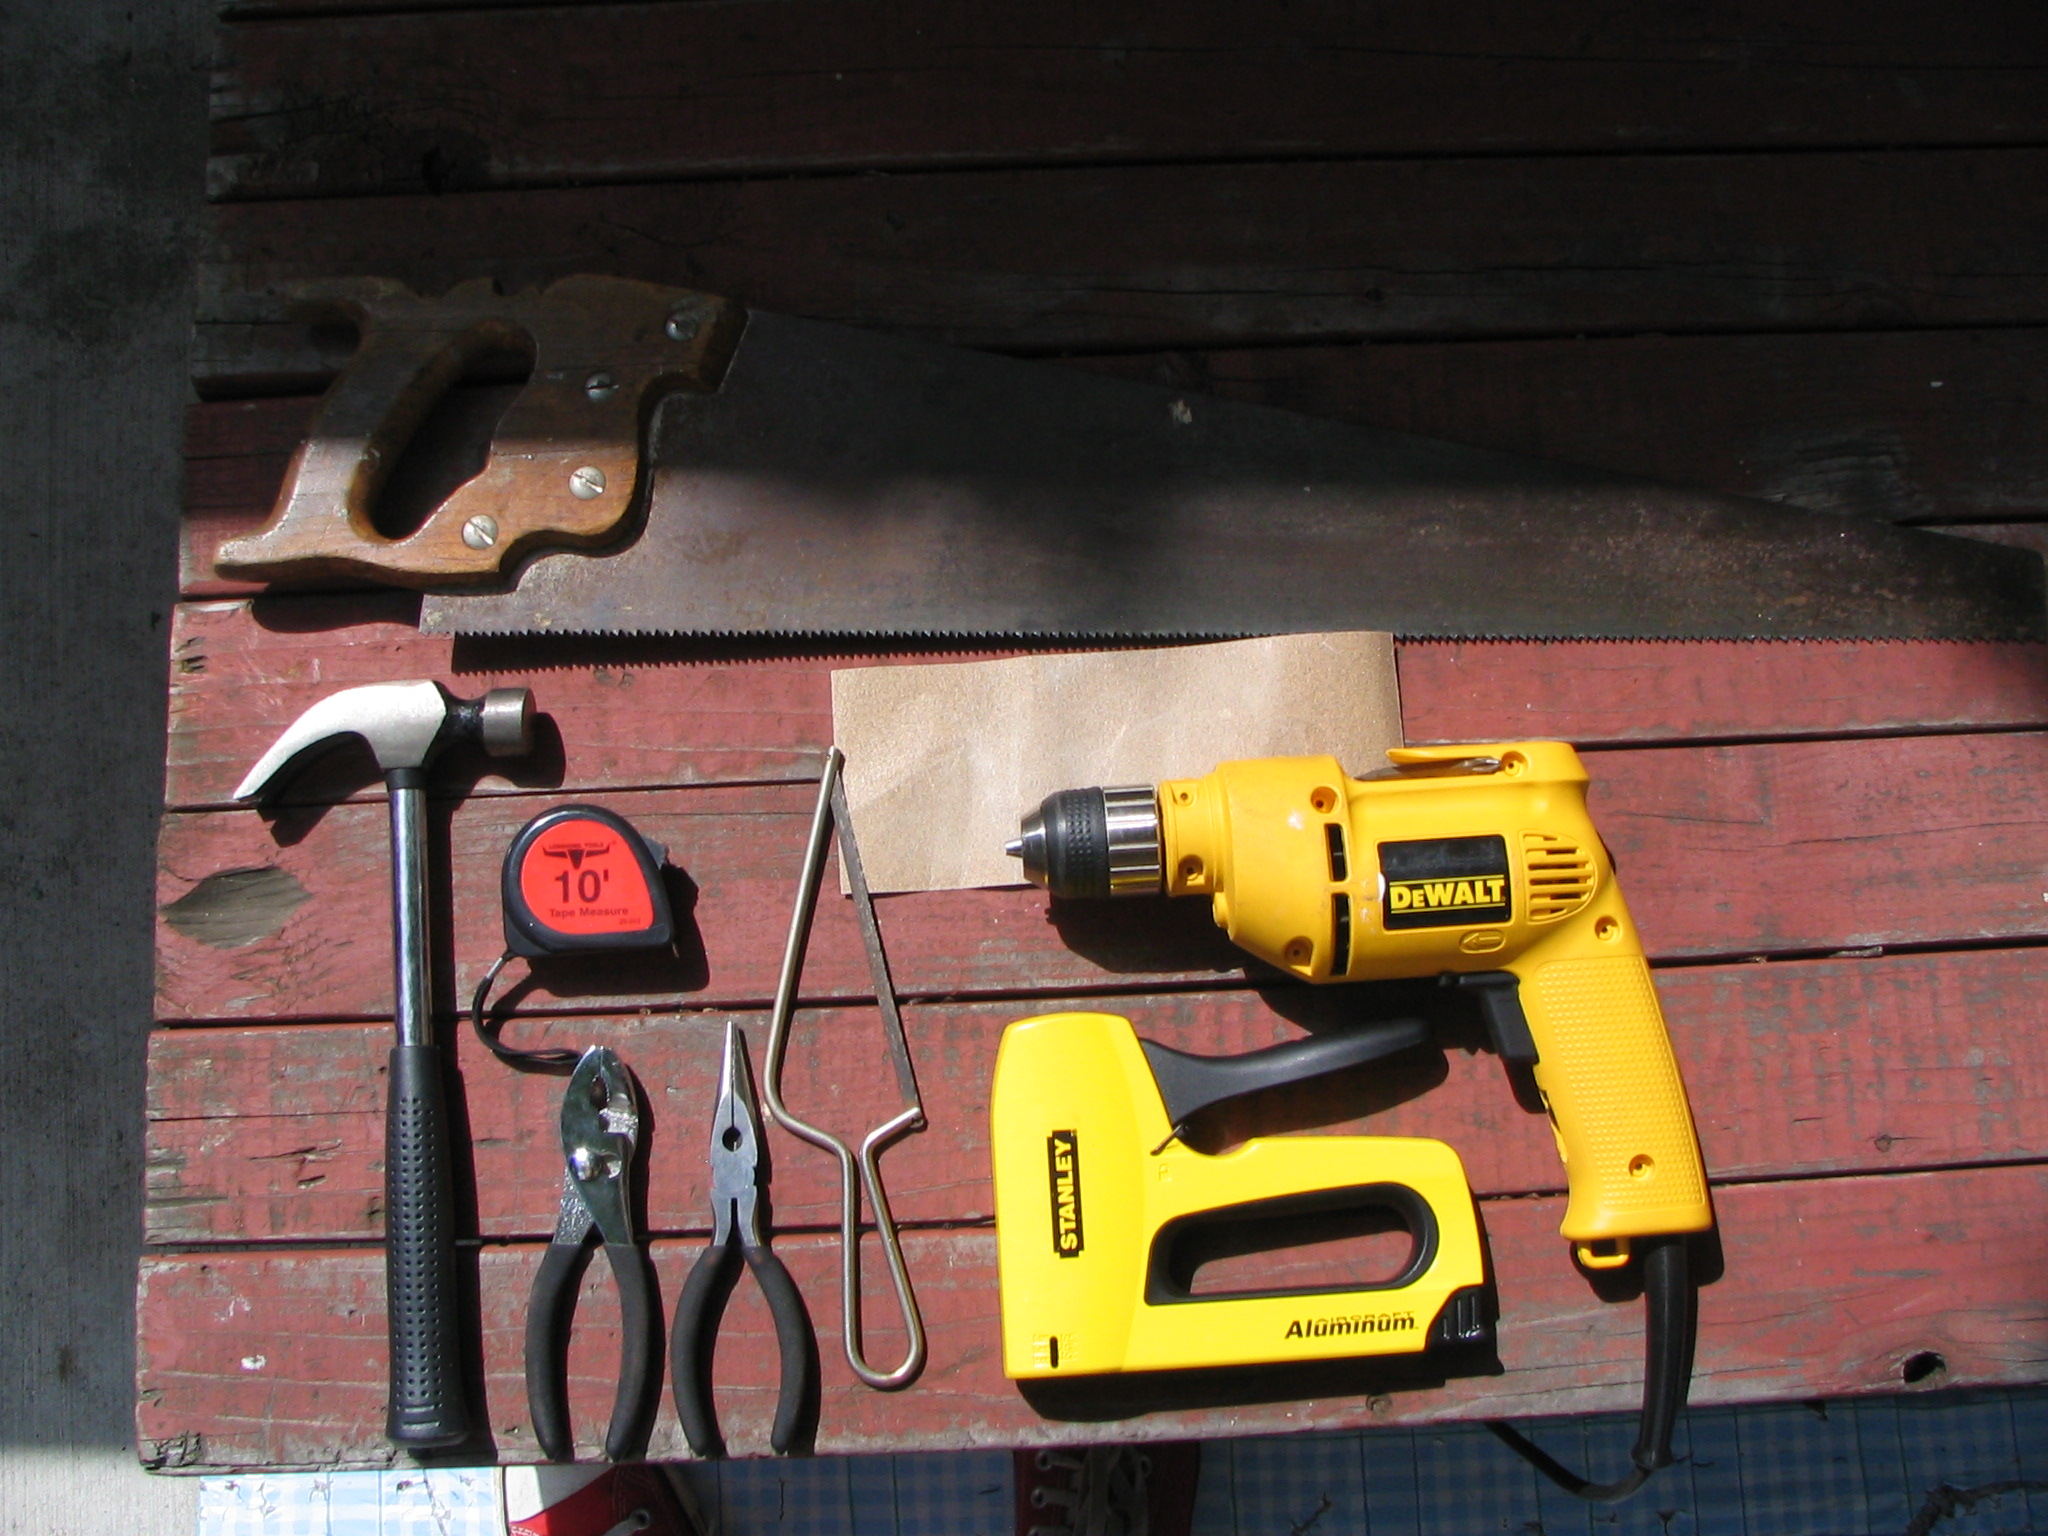
Materials
Wood (scrap from previouse project, about 4" square)
Wire clothes hanger
Bamboo skewer
Wood glue
Tools
Hammer
Pliers
Needle nose pliers
Measuring tape
Hacksaw
Sandpaper
Staple gun
Drill
Saw
Wood (scrap from previouse project, about 4" square)
Wire clothes hanger
Bamboo skewer
Wood glue
Tools
Hammer
Pliers
Needle nose pliers
Measuring tape
Hacksaw
Sandpaper
Staple gun
Drill
Saw
Cut Wood
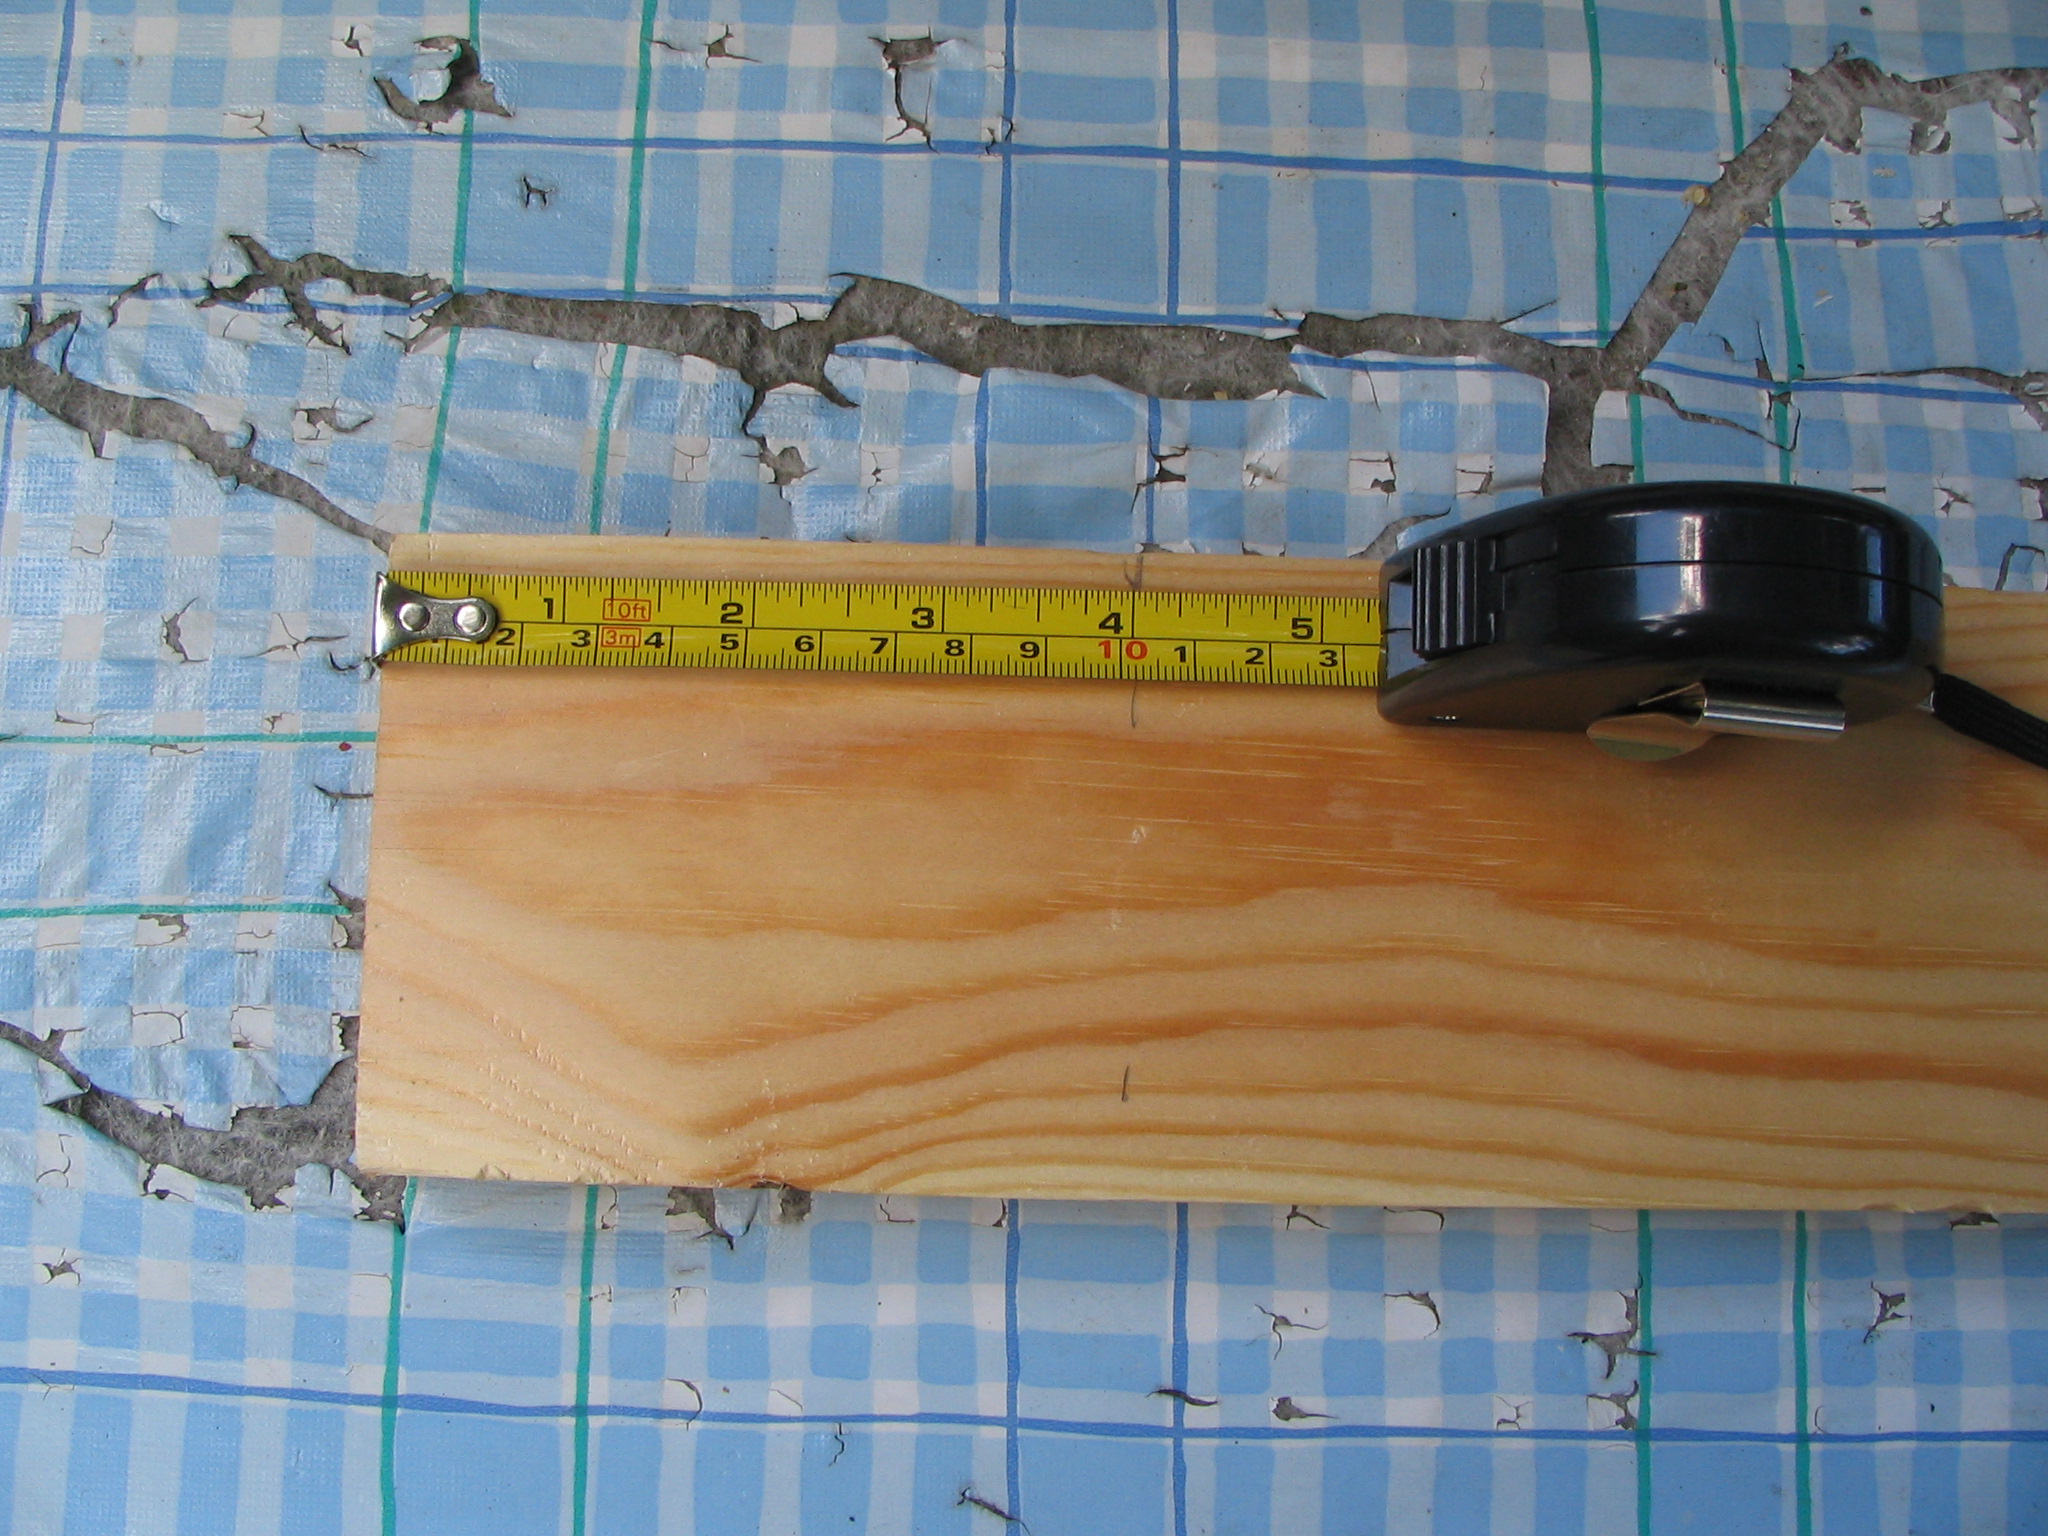
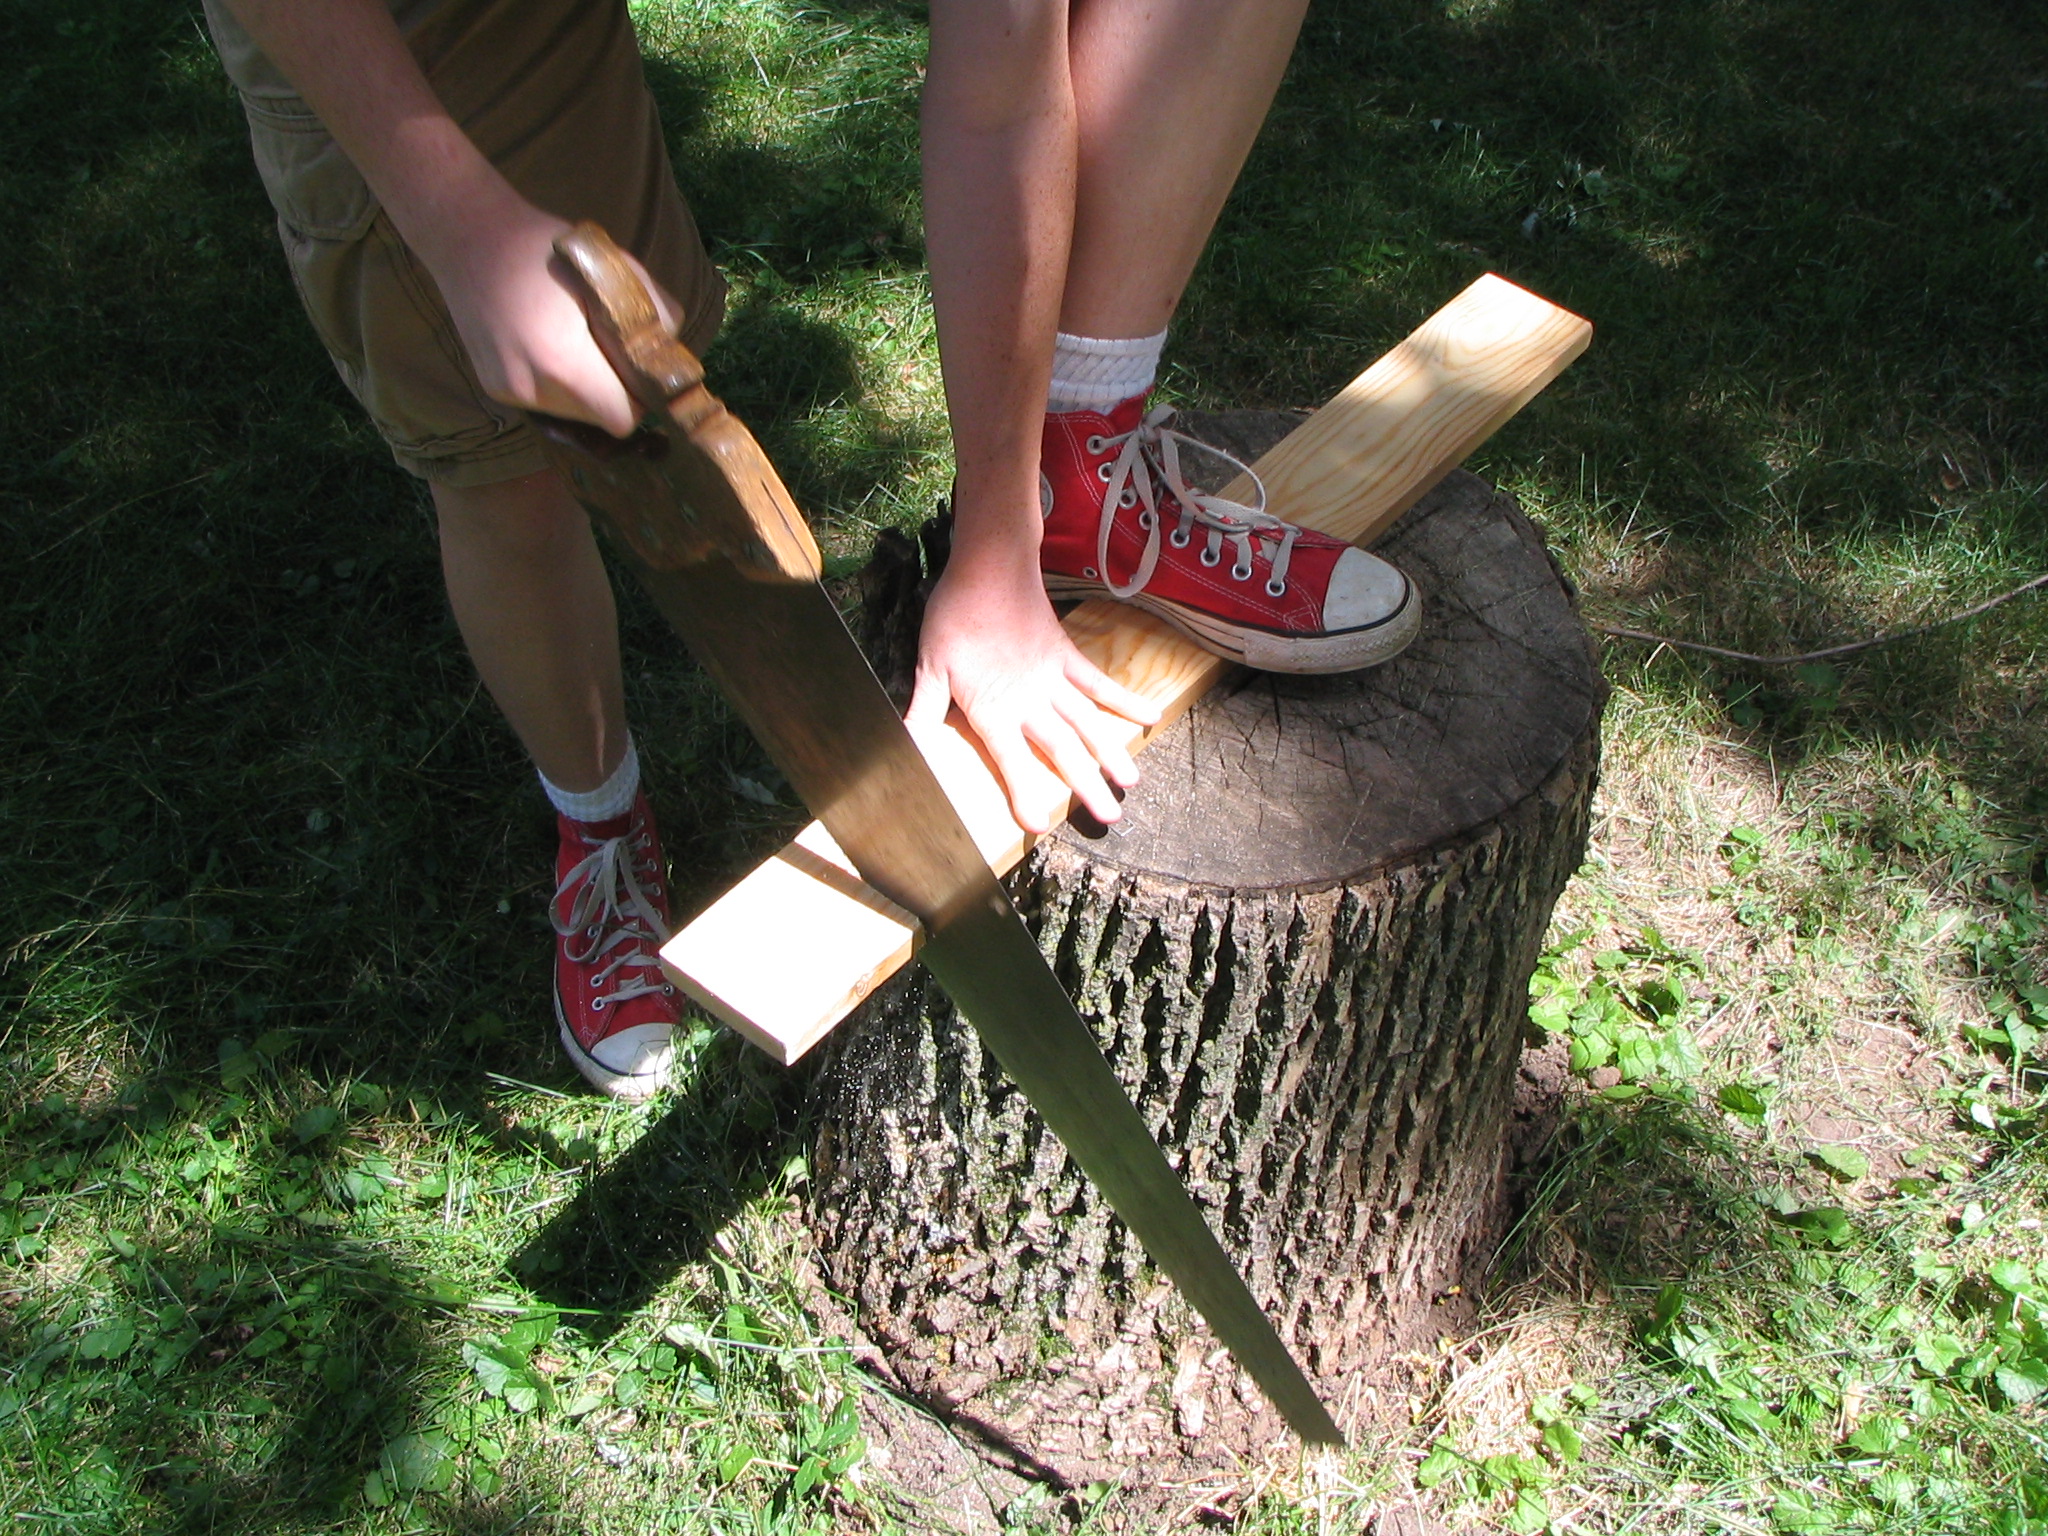
Cut off a square(ish) piece of wood, about 4 inches with the saw.
Sand
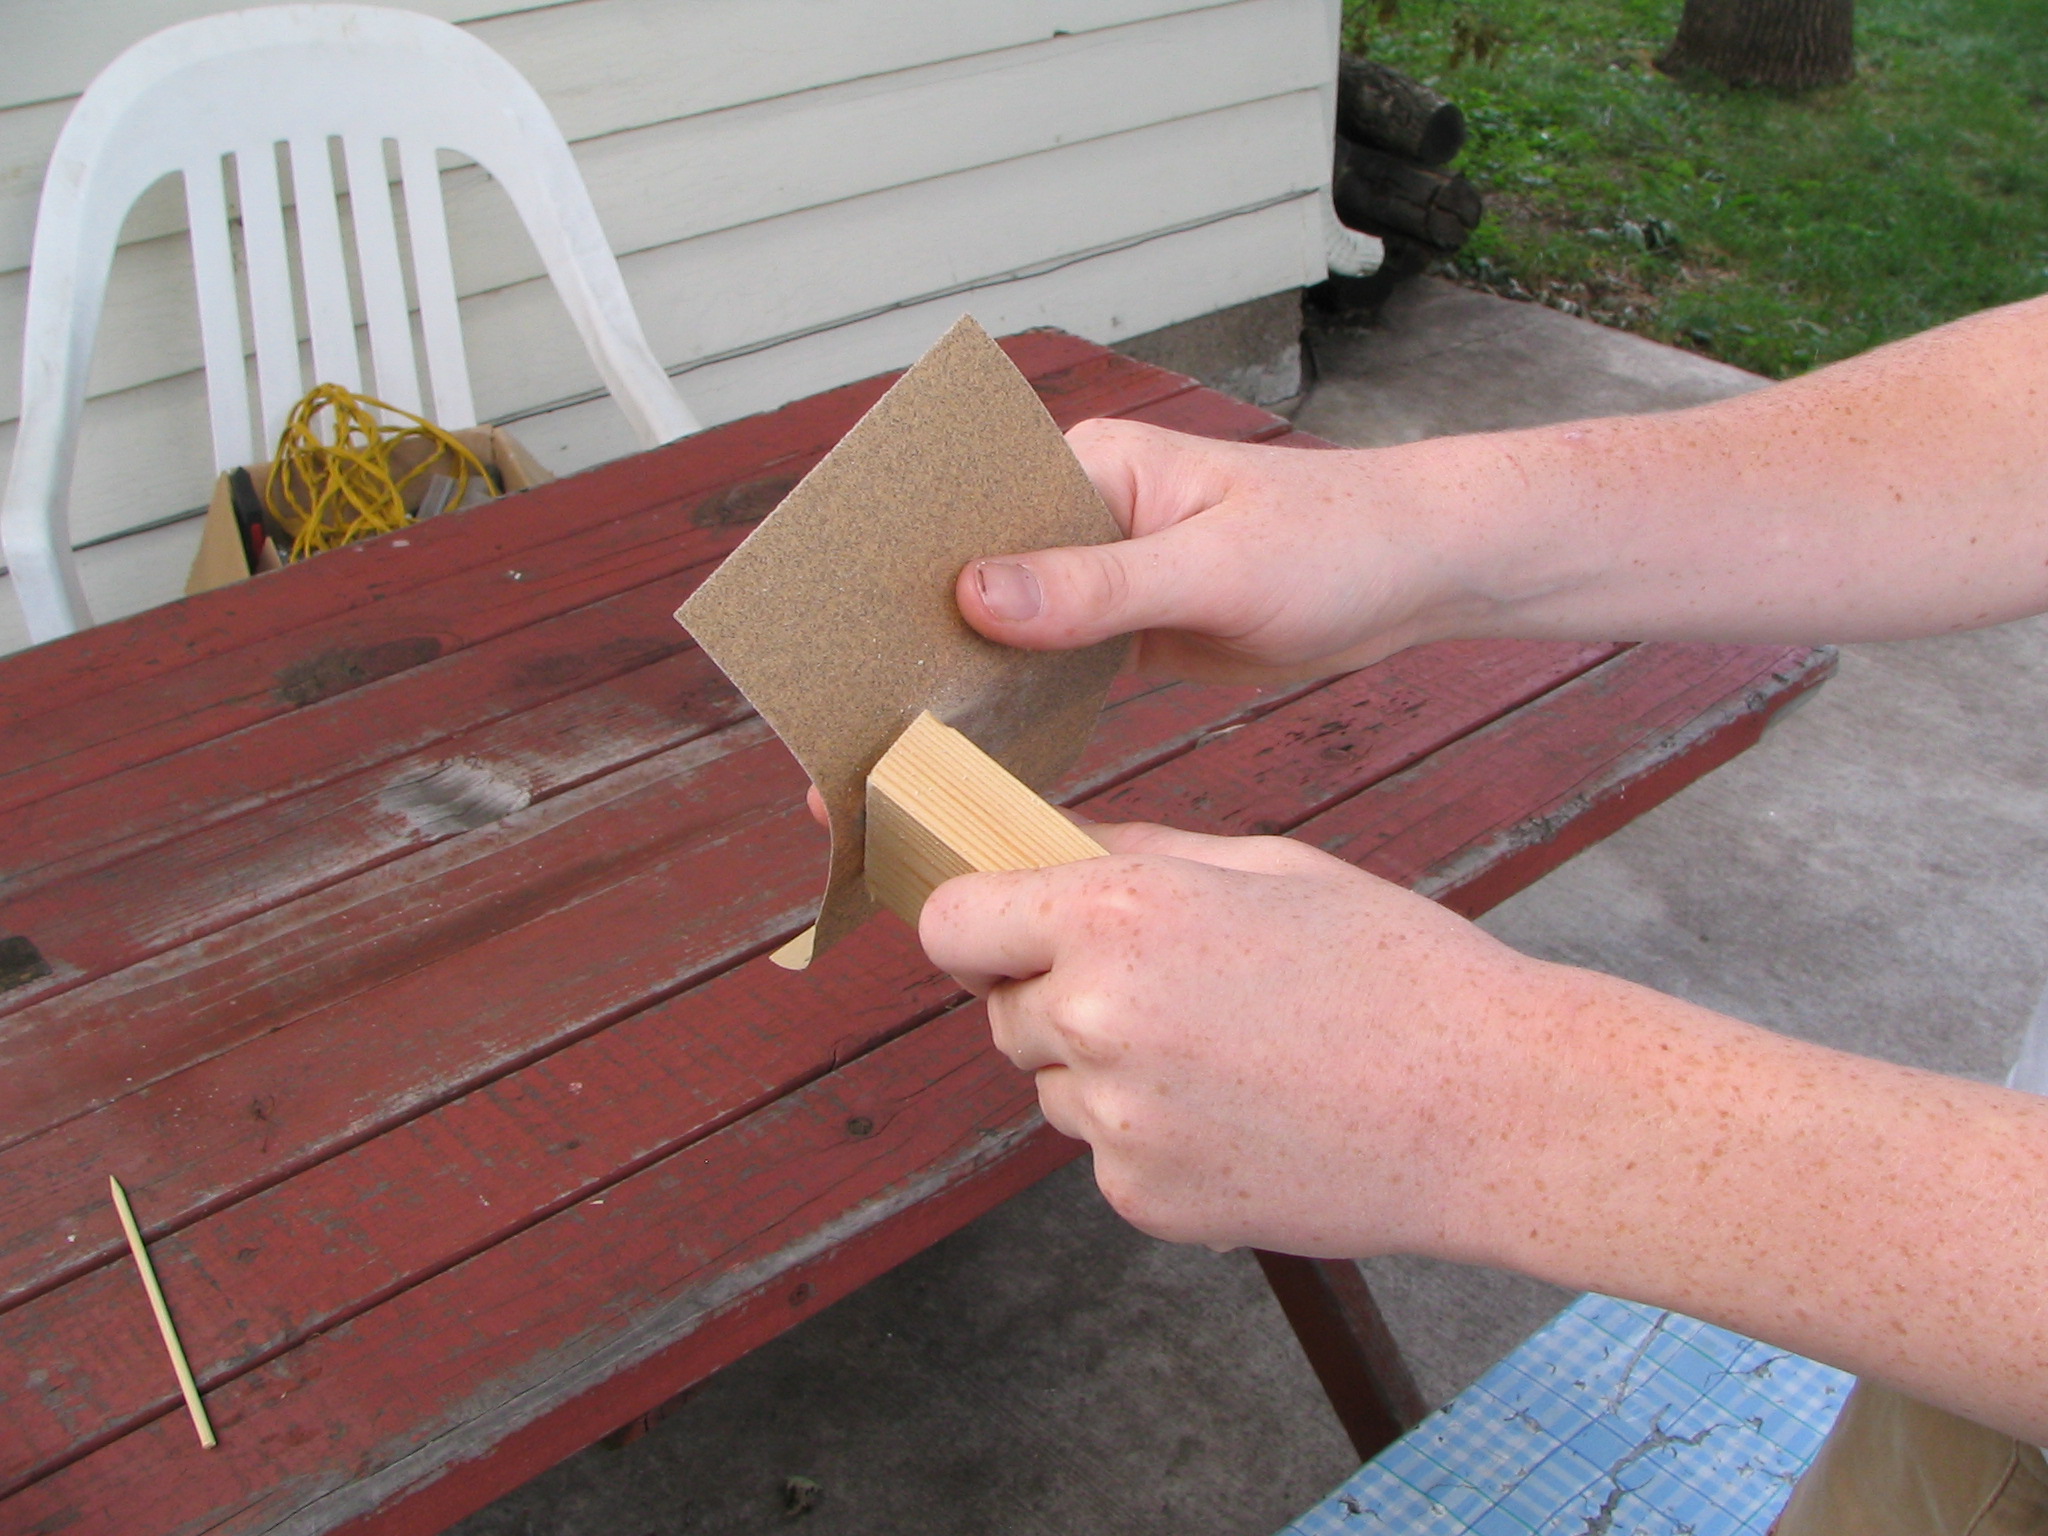

Just Round of the edges and corners
Find Center of Square
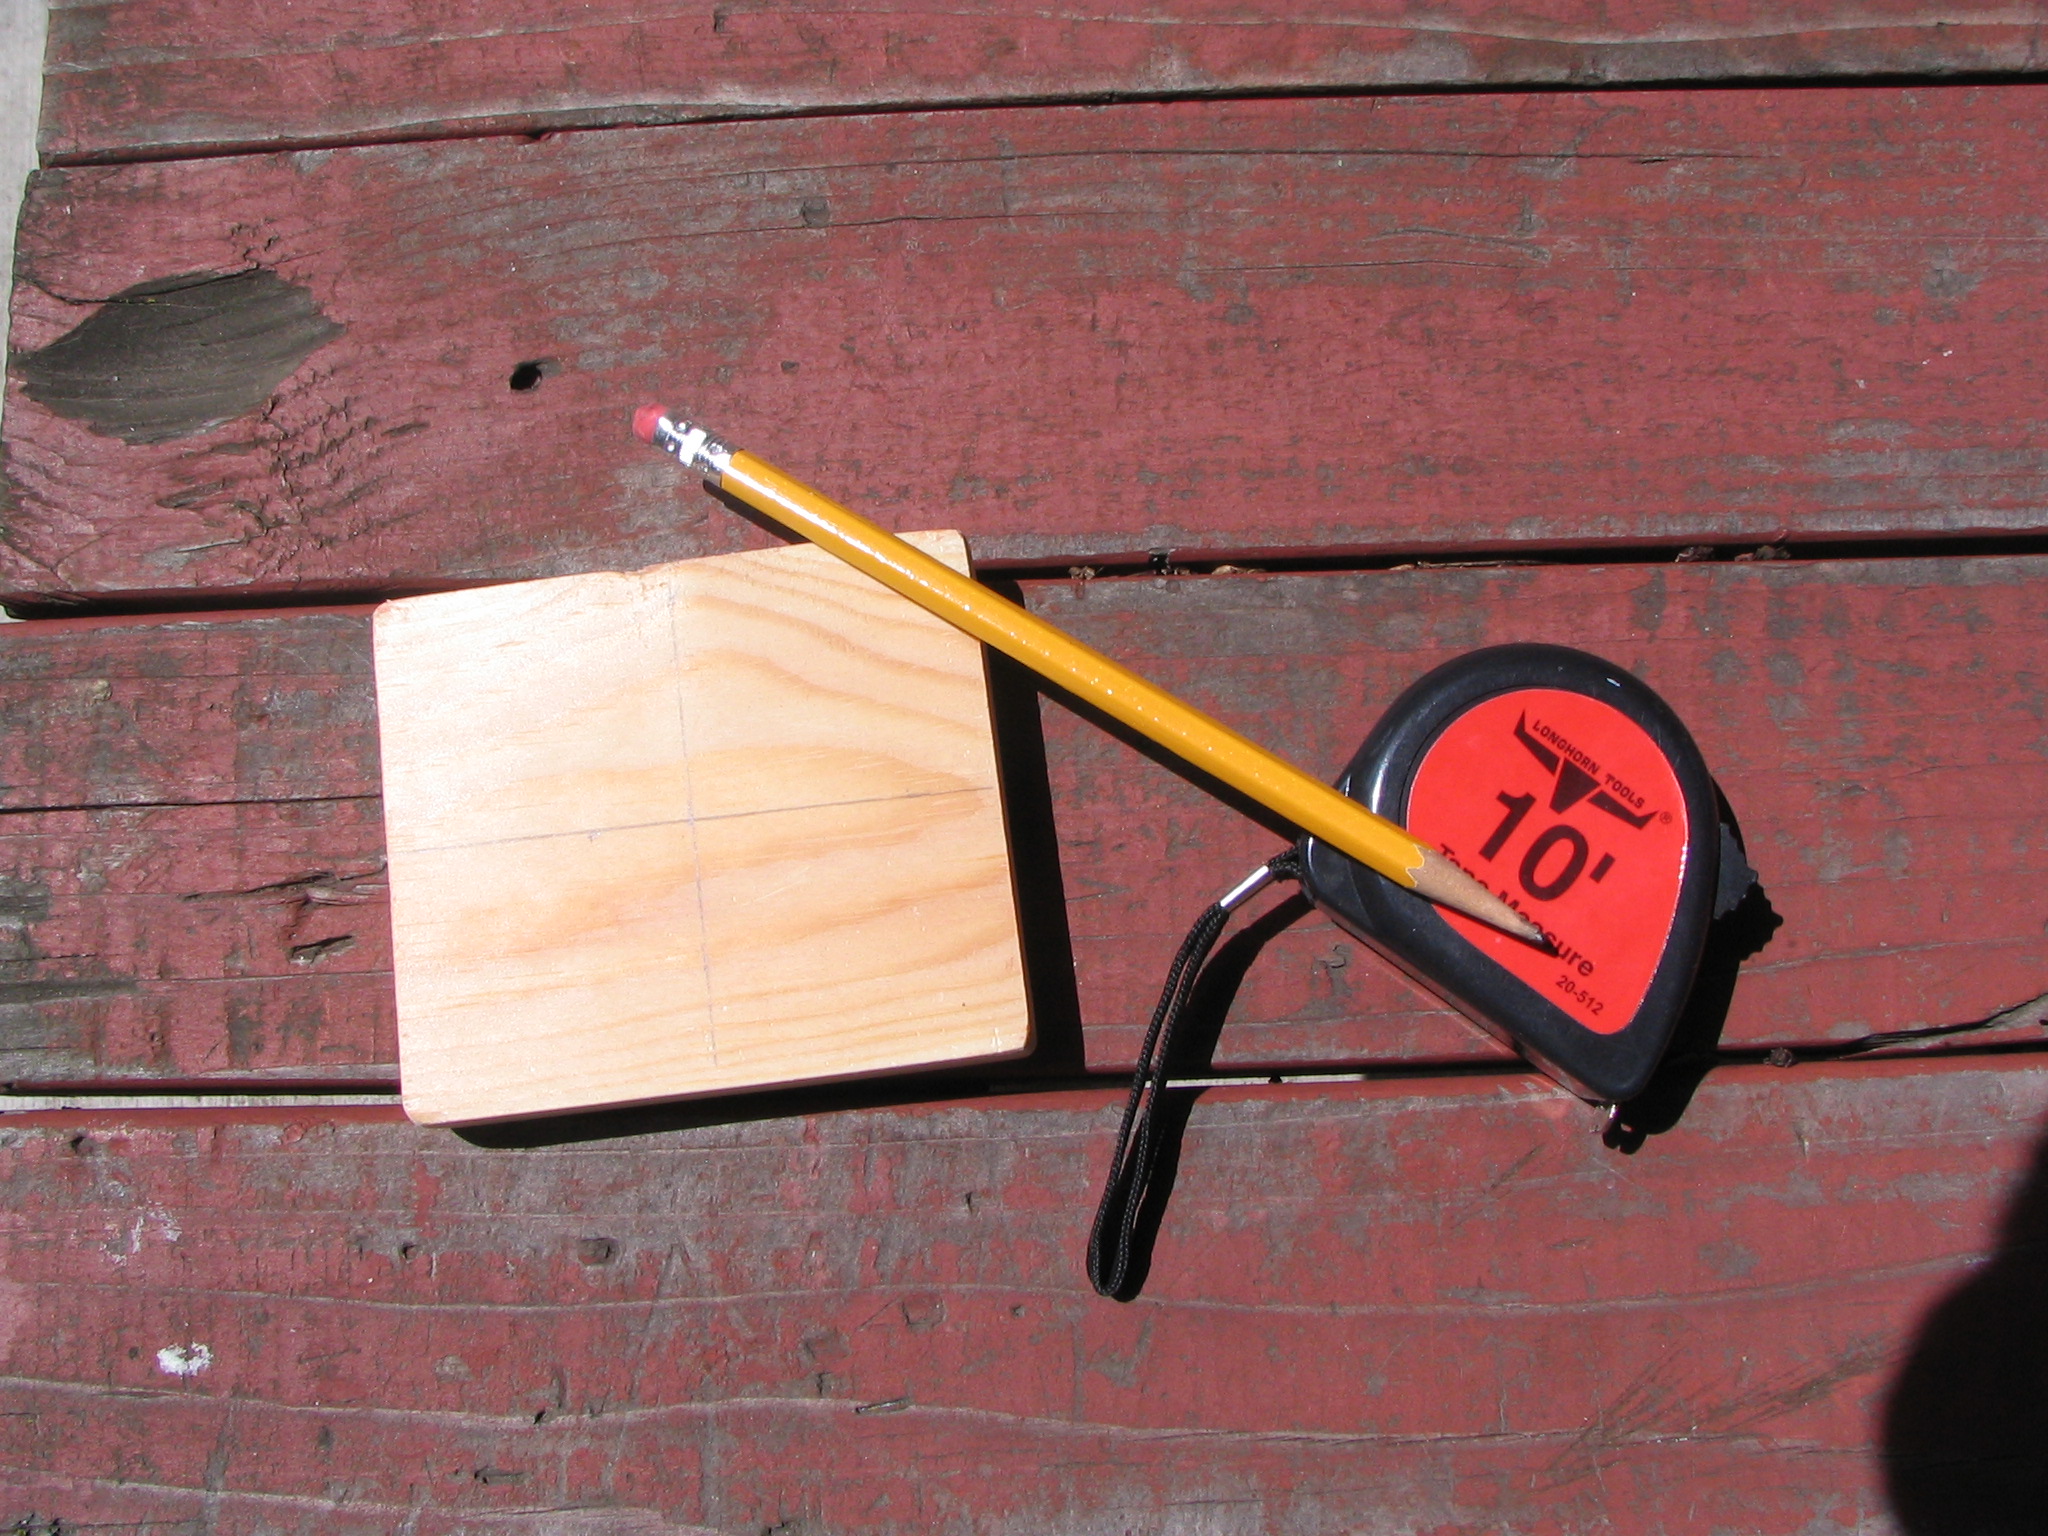
Flip the piece over, and find the center of the square by finding the midpoint of the length and width. (there should be an X. :P)
Drill
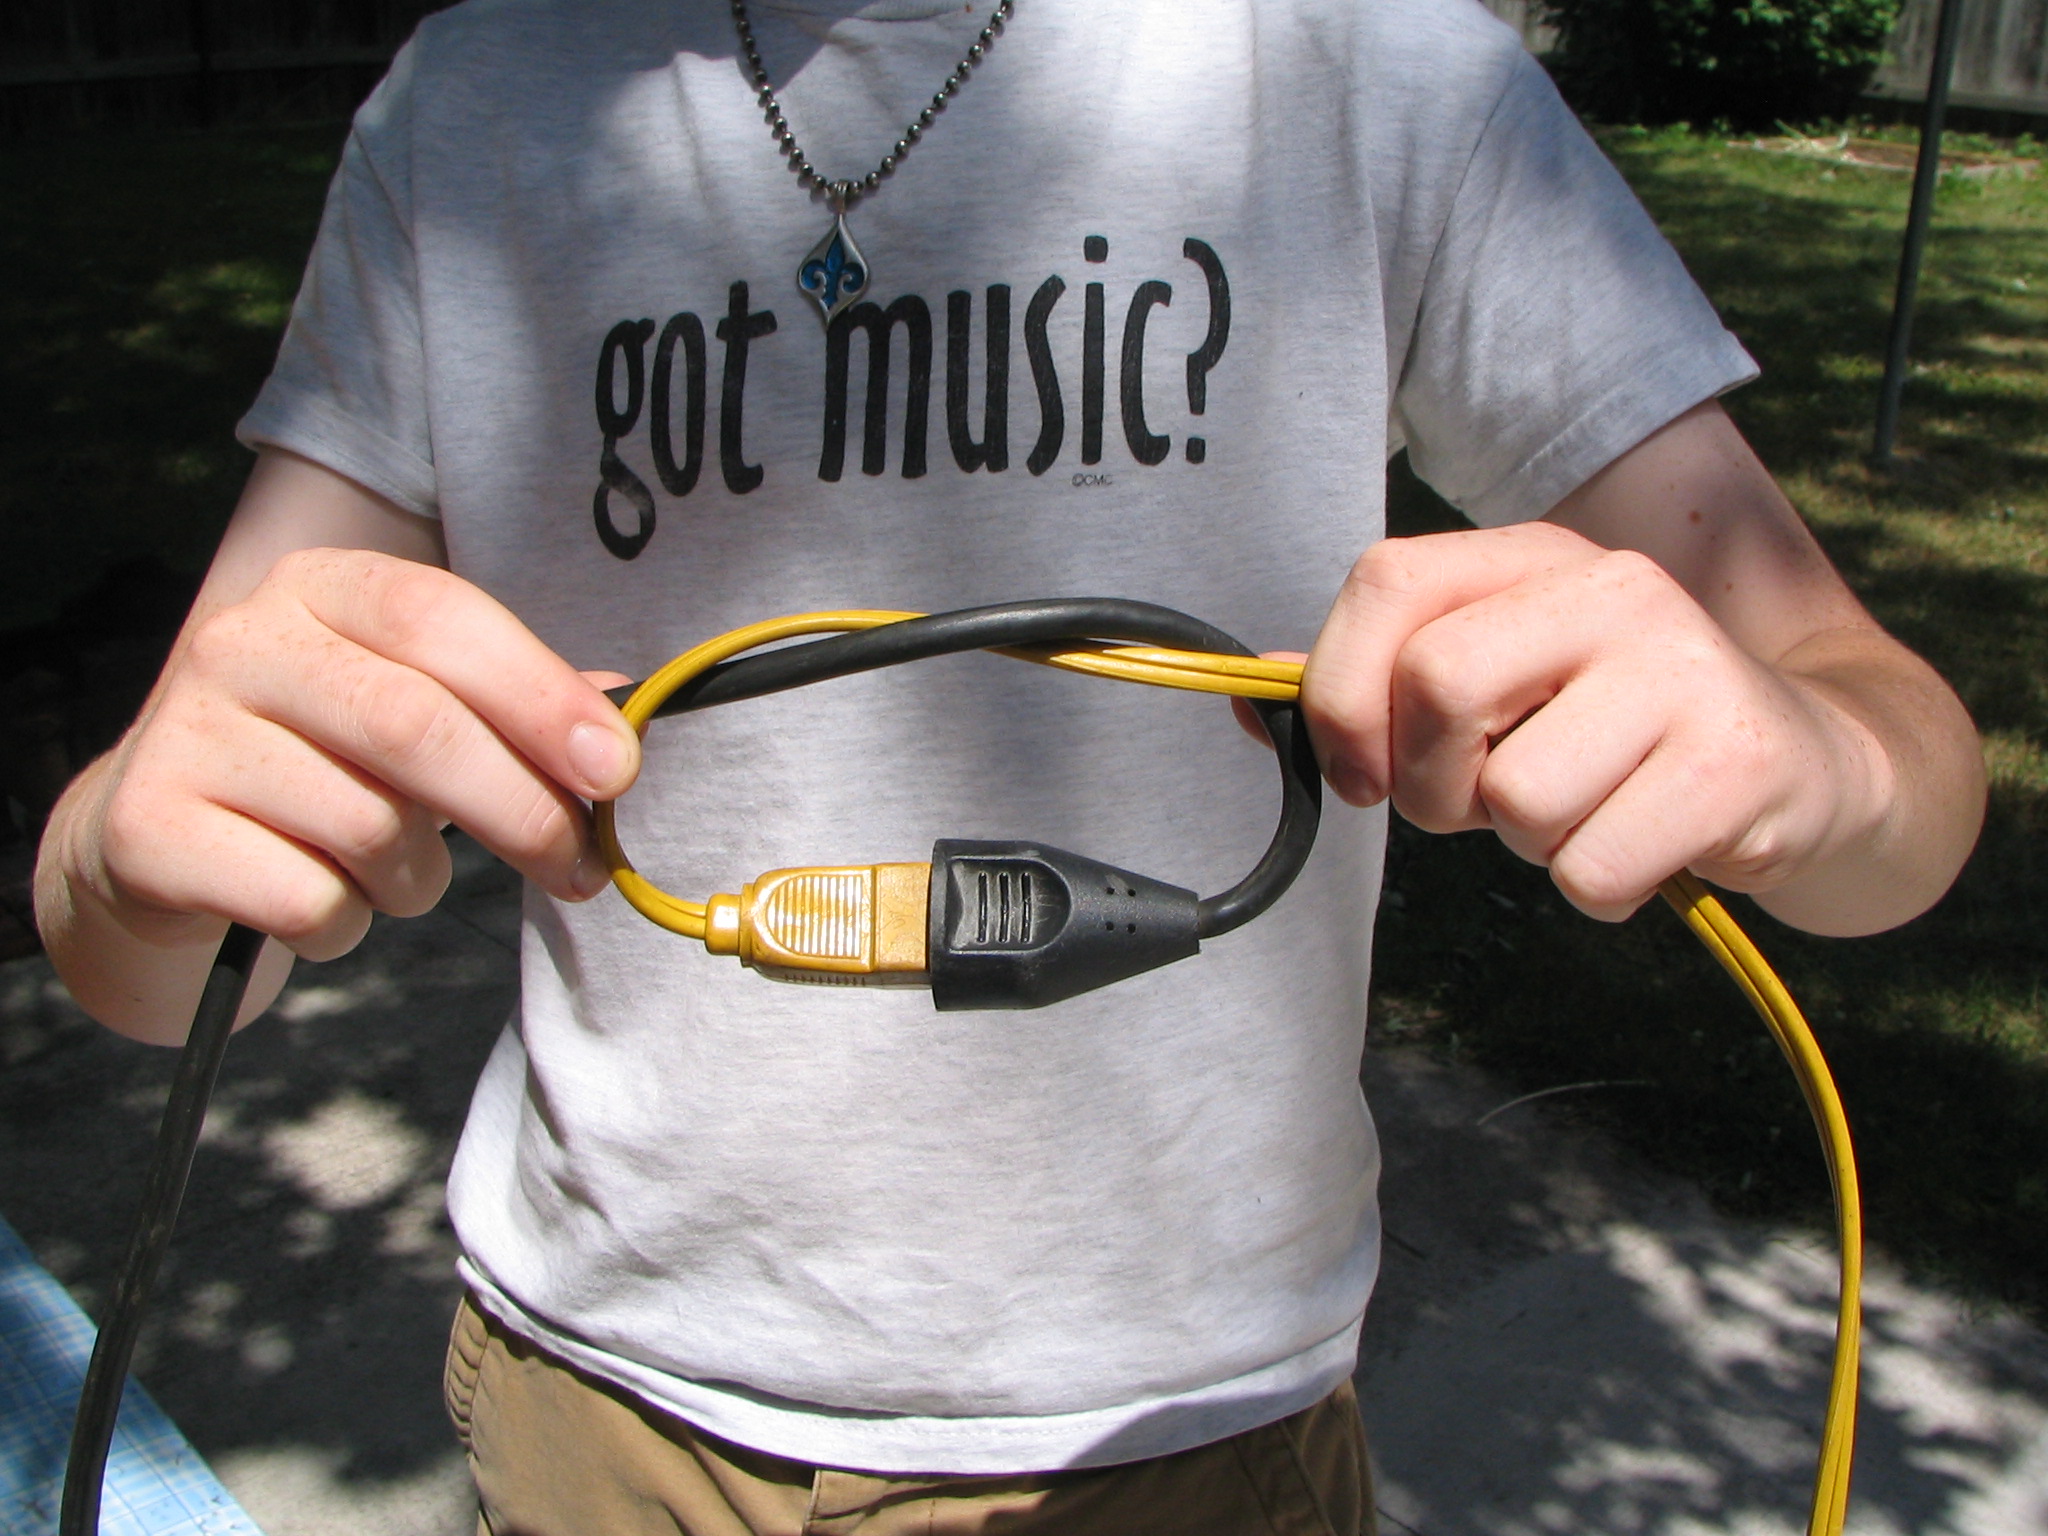
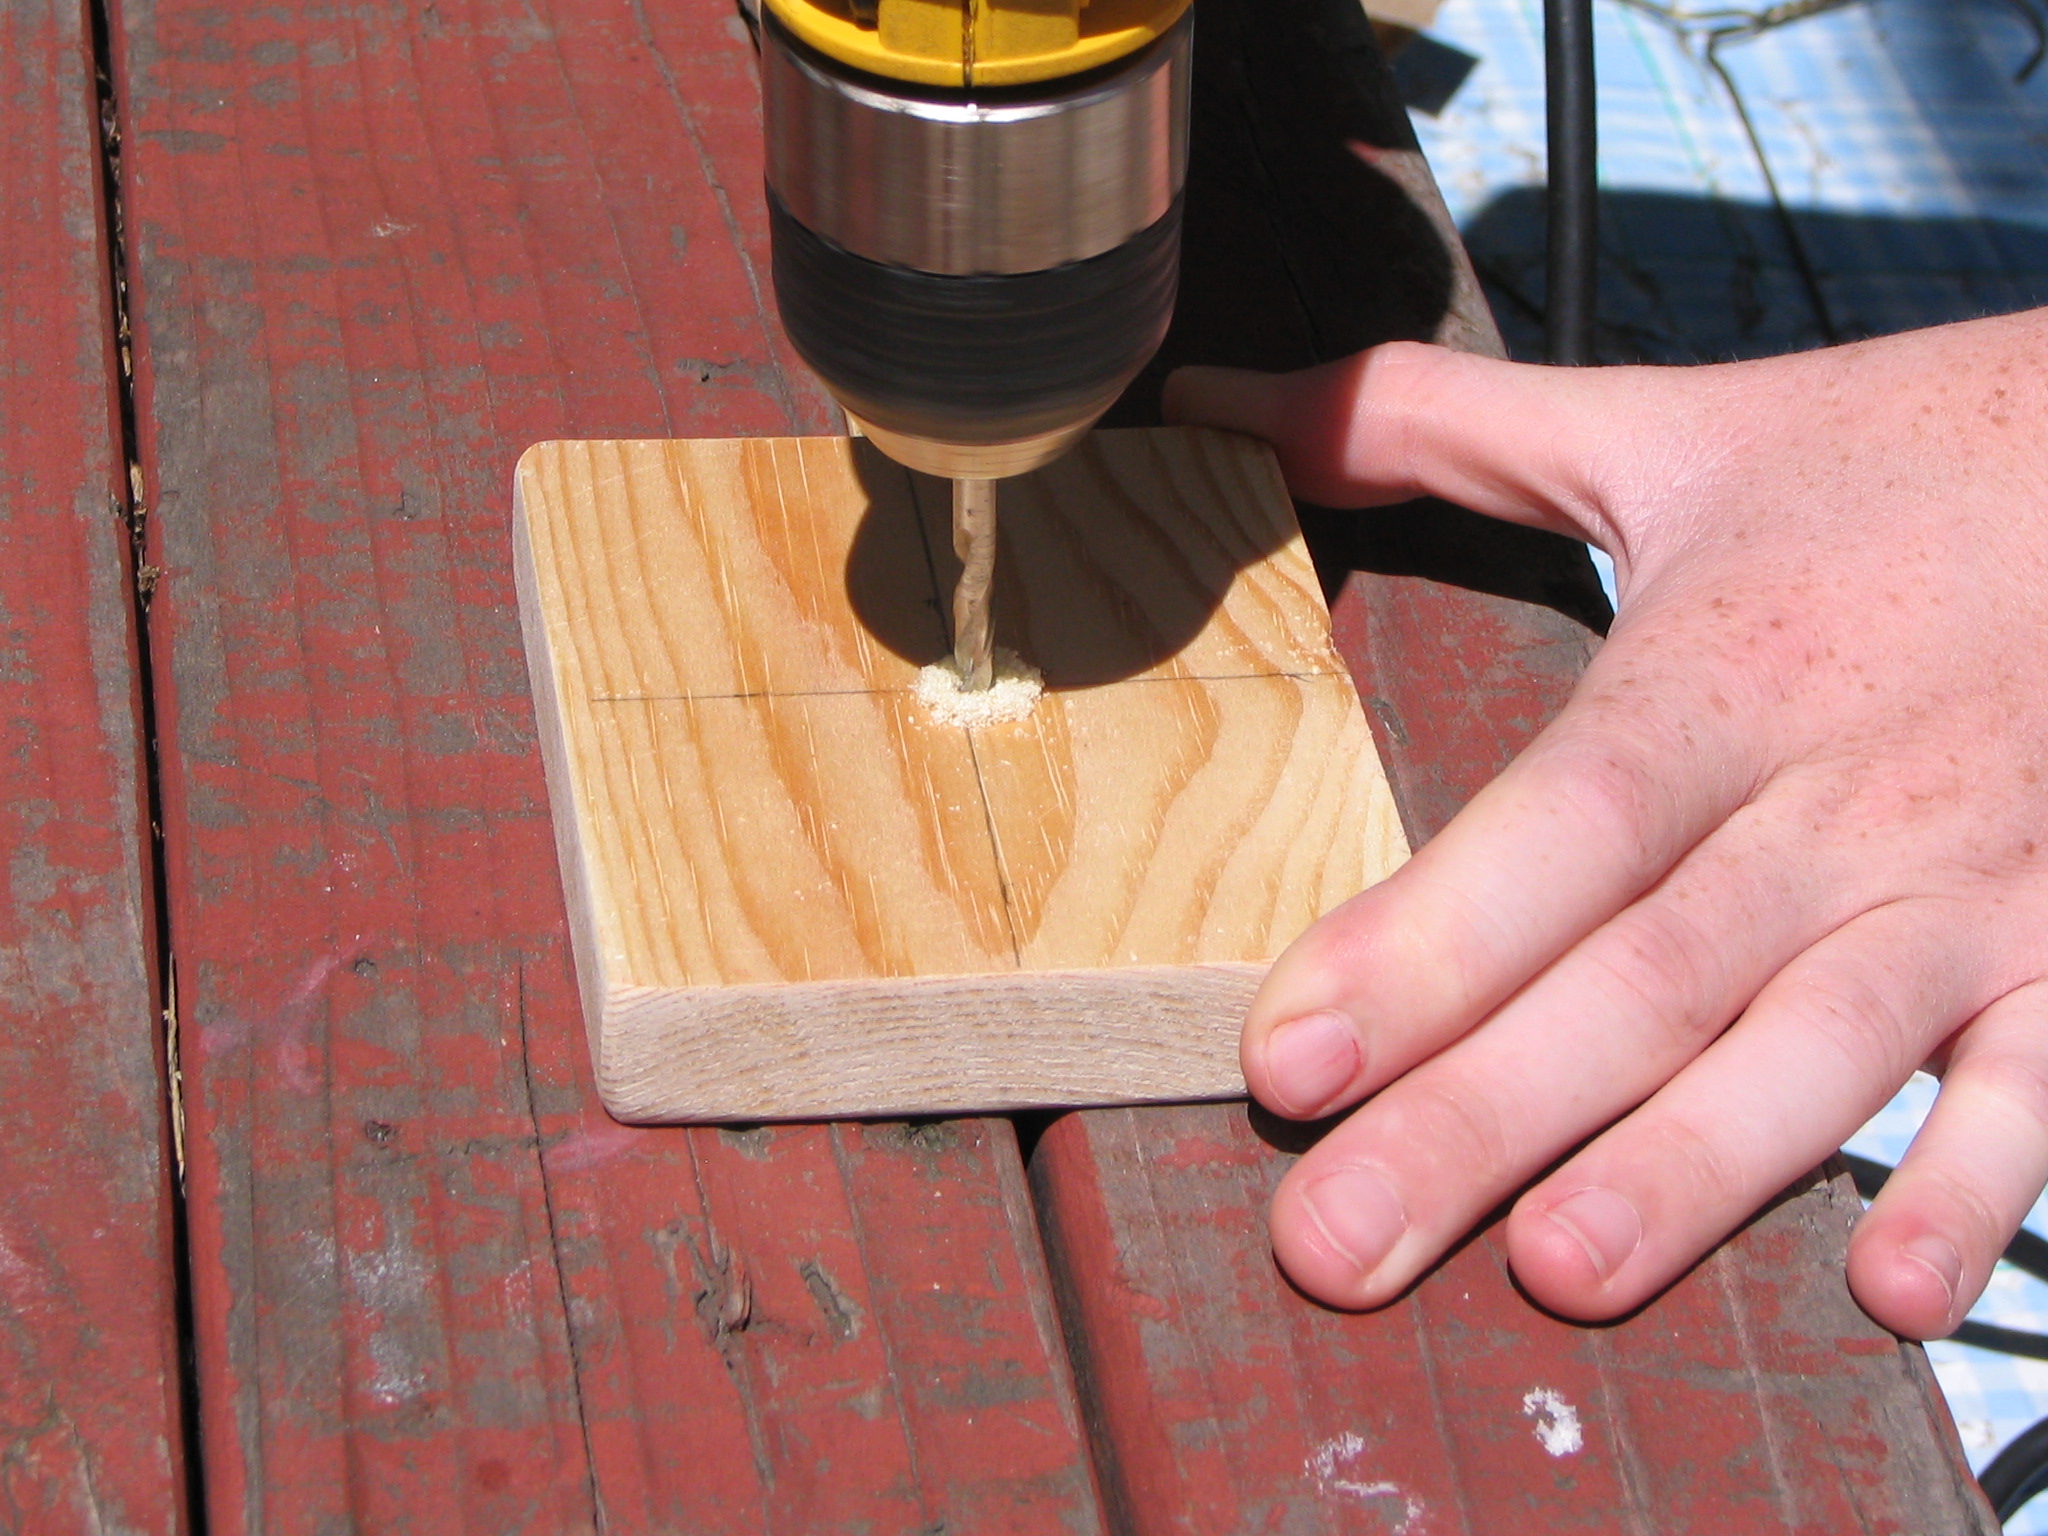
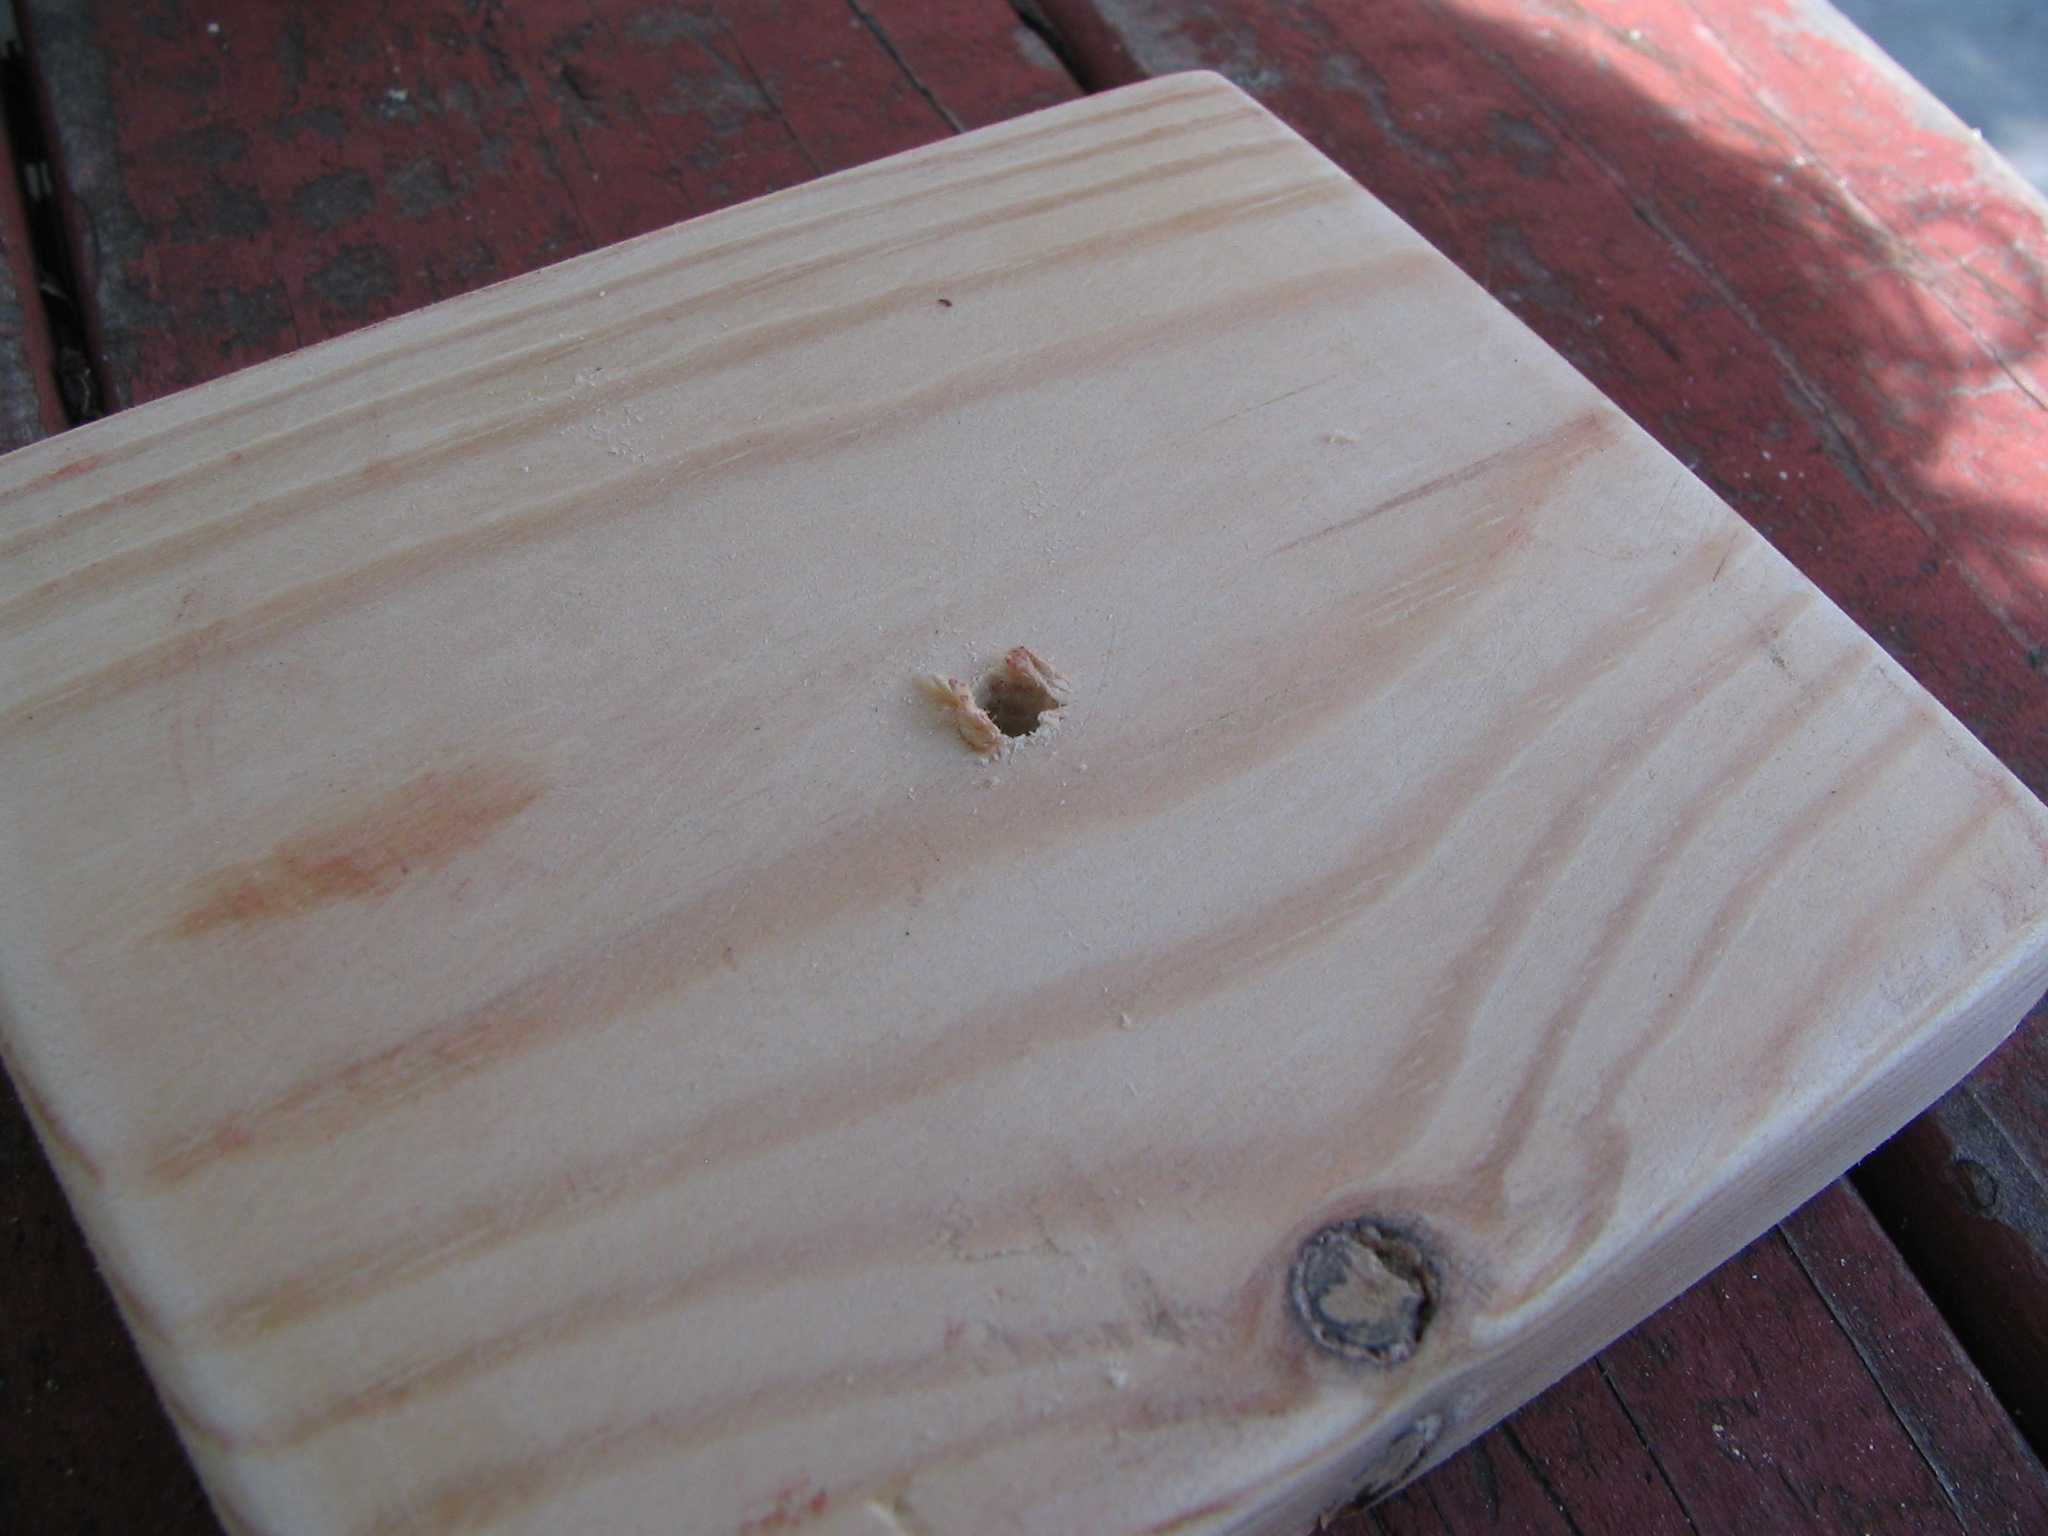
Find a drill bit that is the same size as your bamboo skewer. Put it in the drill, and plug it in. (I have included a picture of the "safe" way to use an extension cord. Just tie a square knot and DO NOT TIGHTEN!!!) Drill a hole in center of X (more or less)
Sand (again)
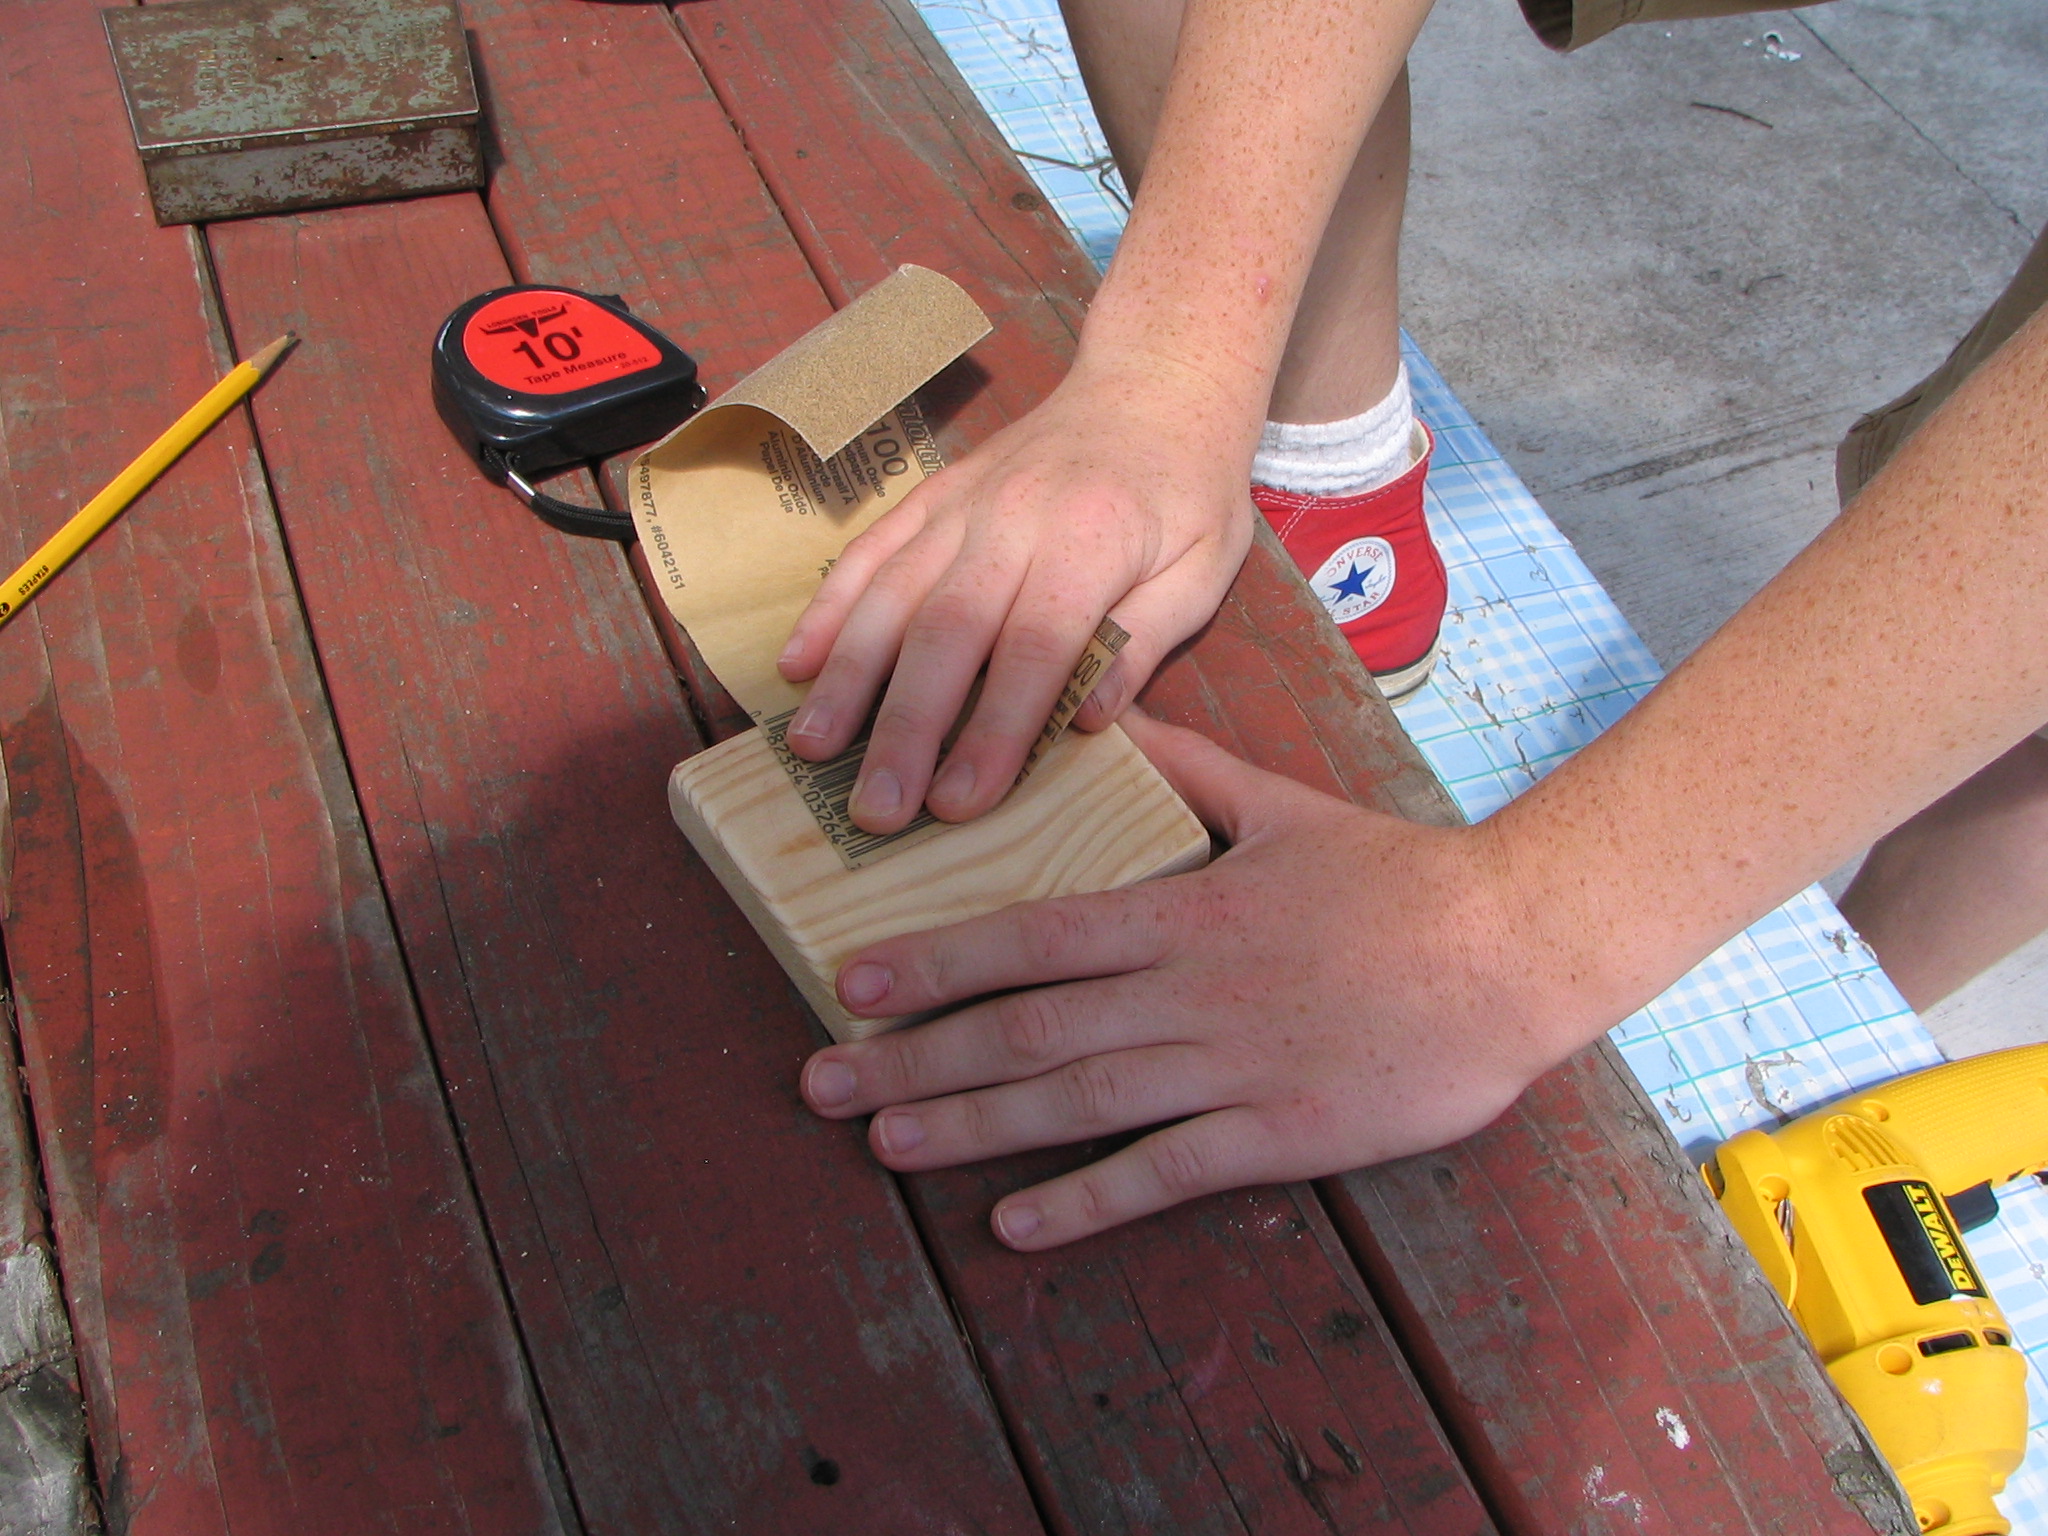
Just need to flip over the square again and sand down the junk around the hole.
Cut Skewer
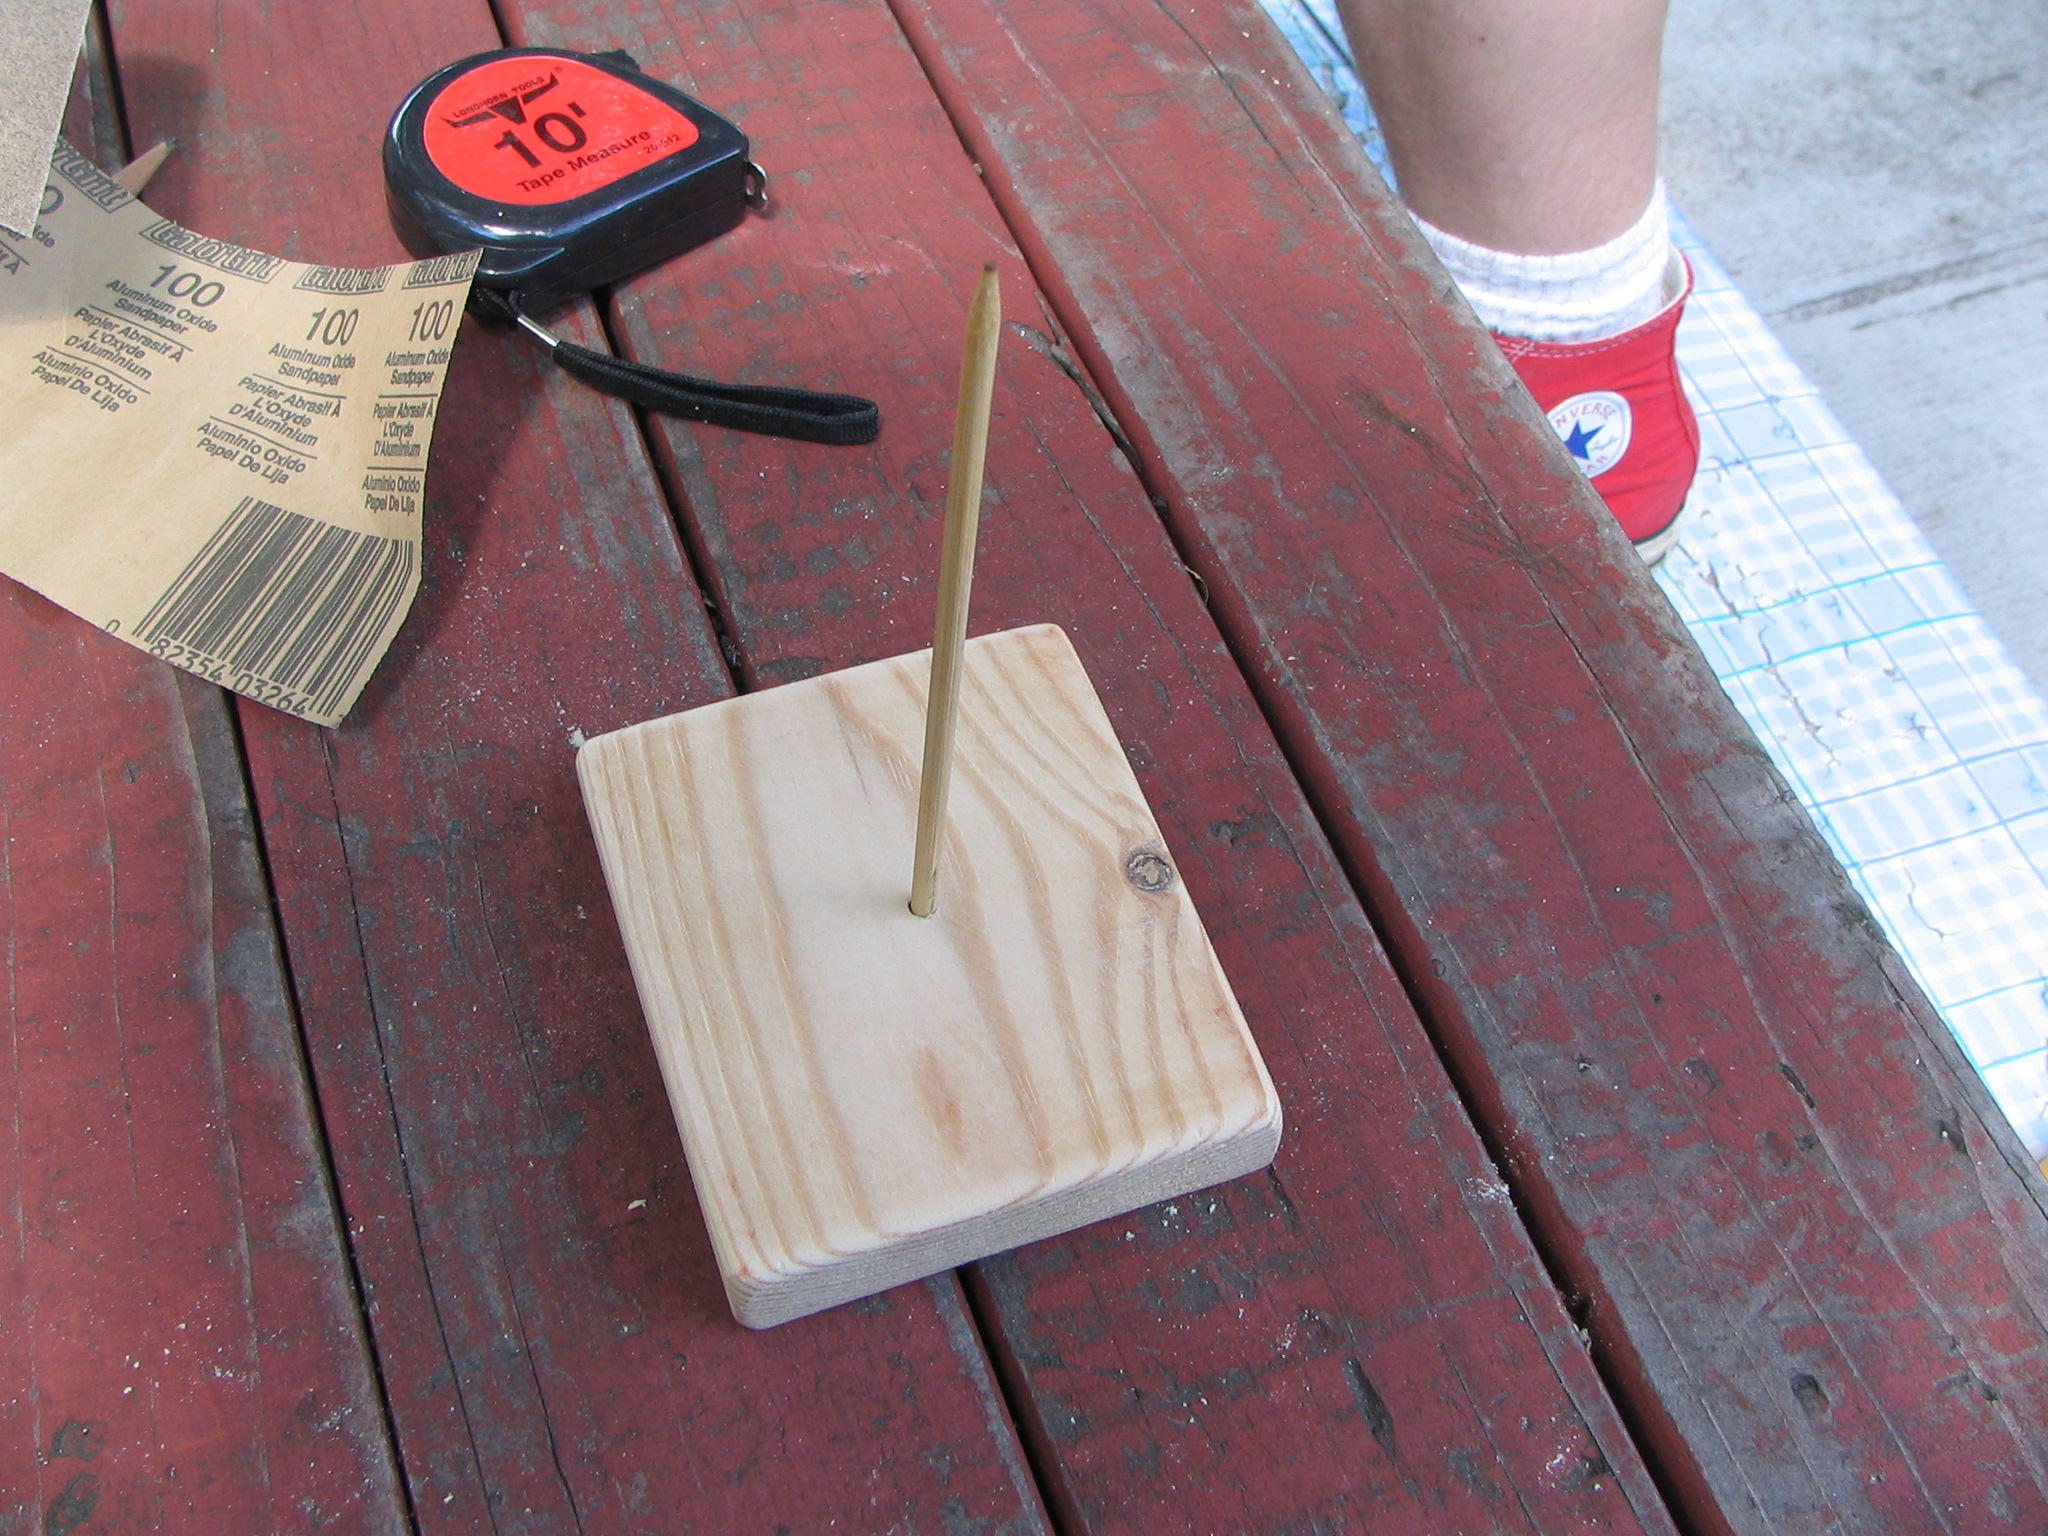
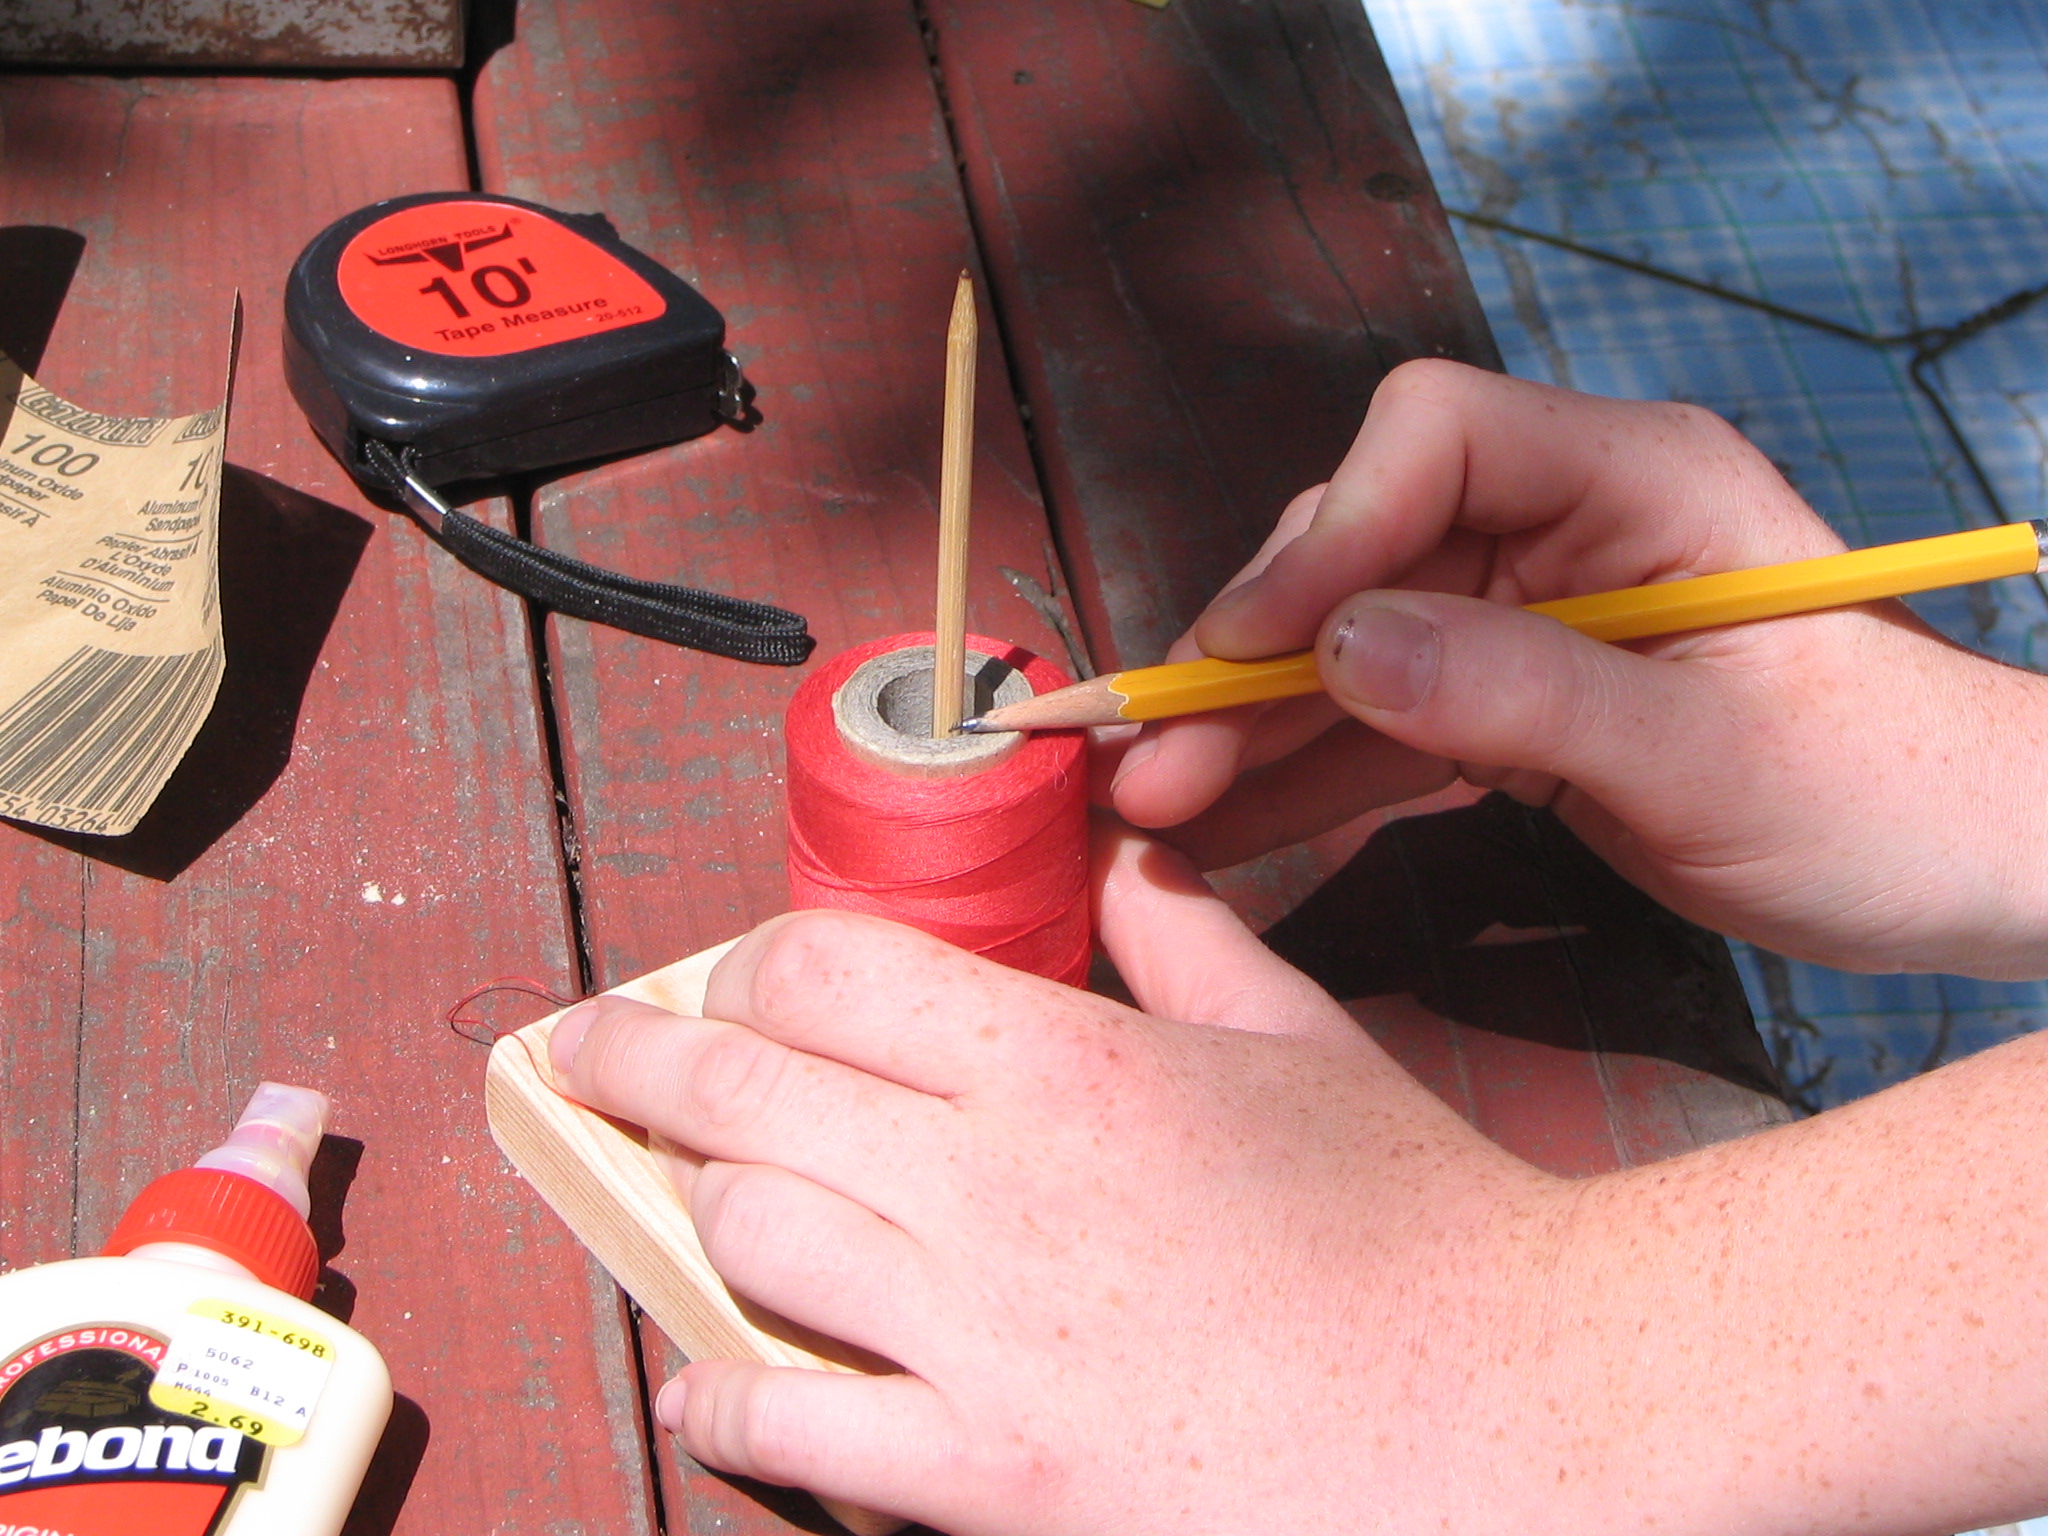

Make sure the skewer fits in hole. Put smallest spool of thread you will be using on the skewer and mark The height on the skewer. Then cut it at mark with needle nose pliers and sand.
Cut Coat Hanger
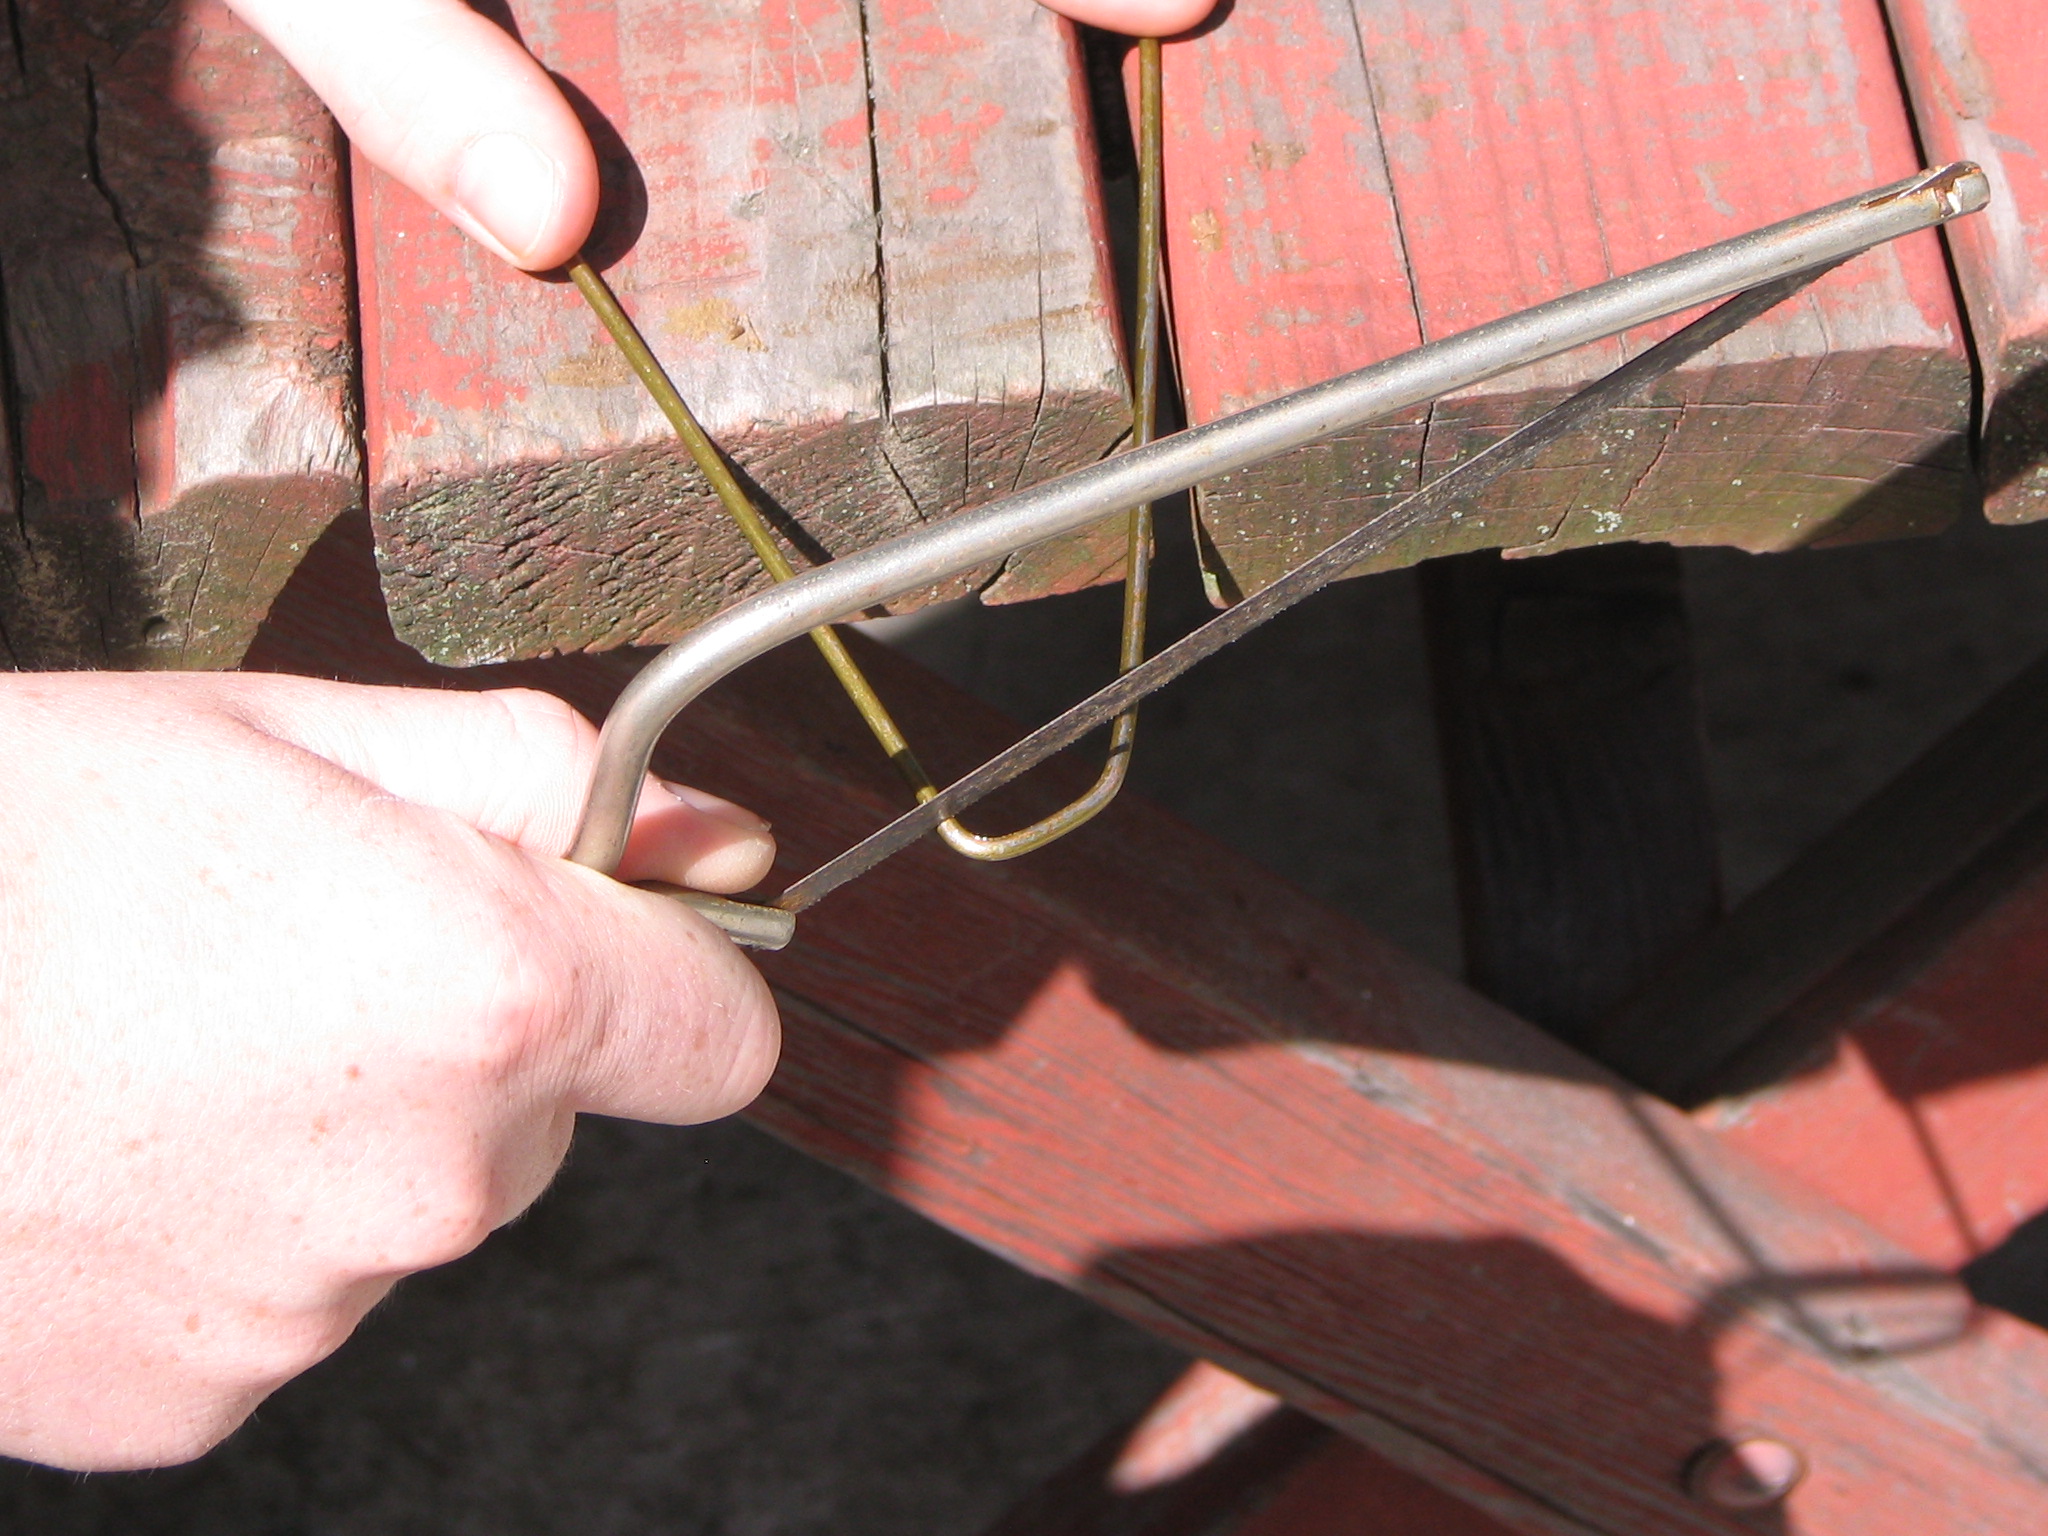

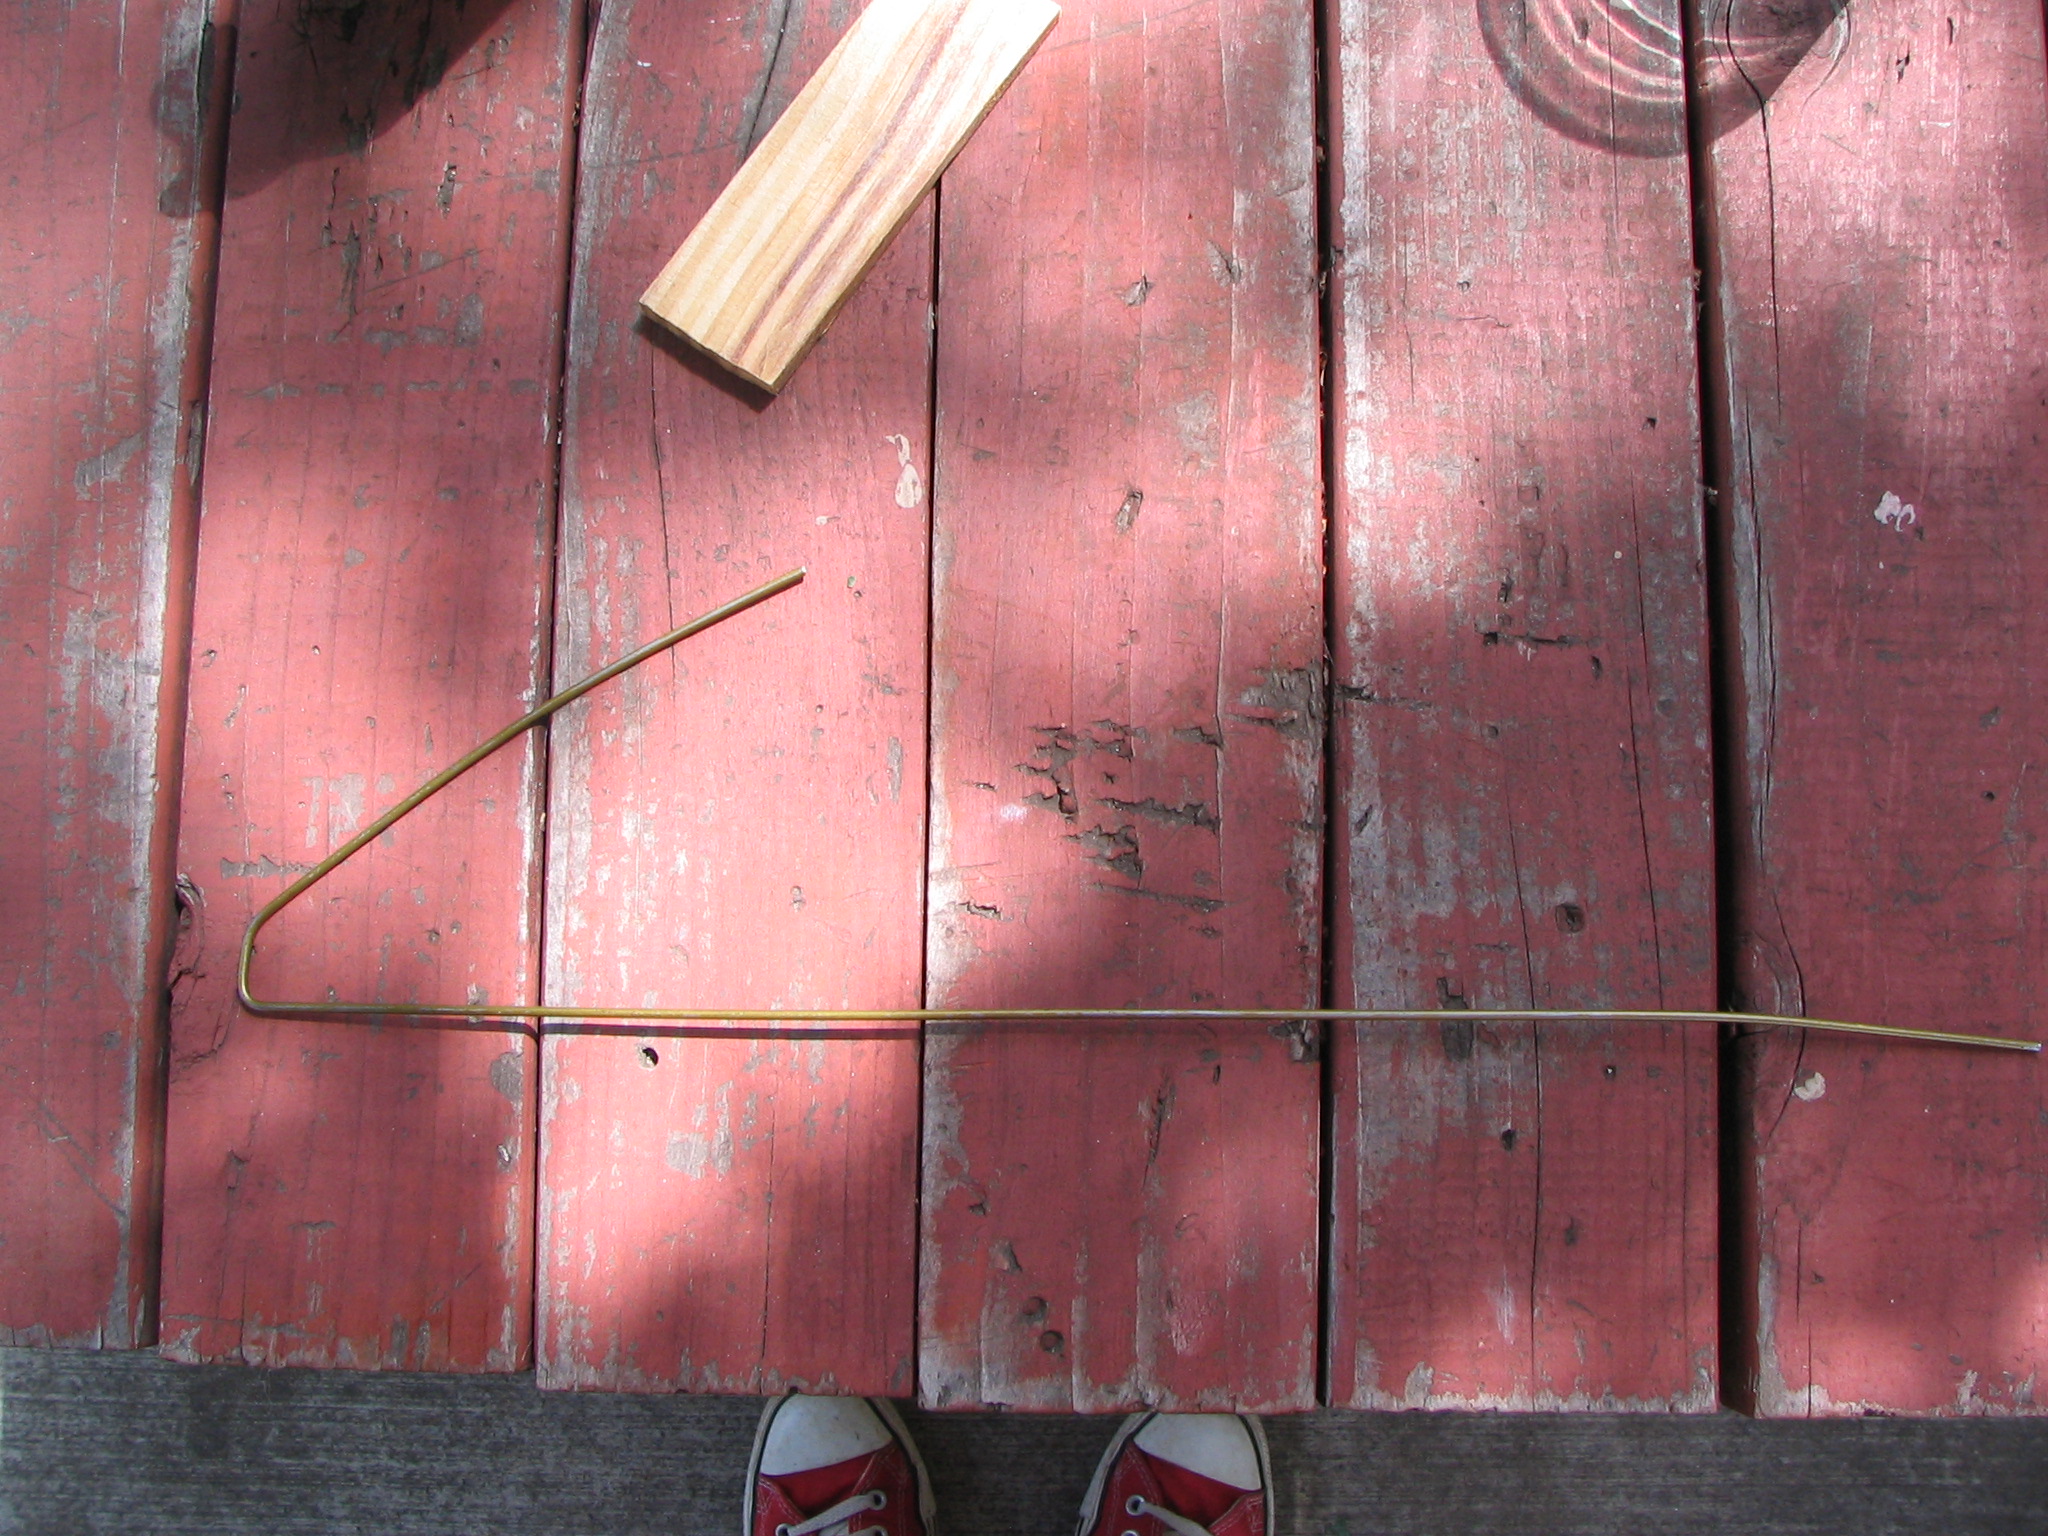
You want 16 inches from this, so make a cut at the corner, and another one closer to the hook on the opposite side.
Bend the Wire I
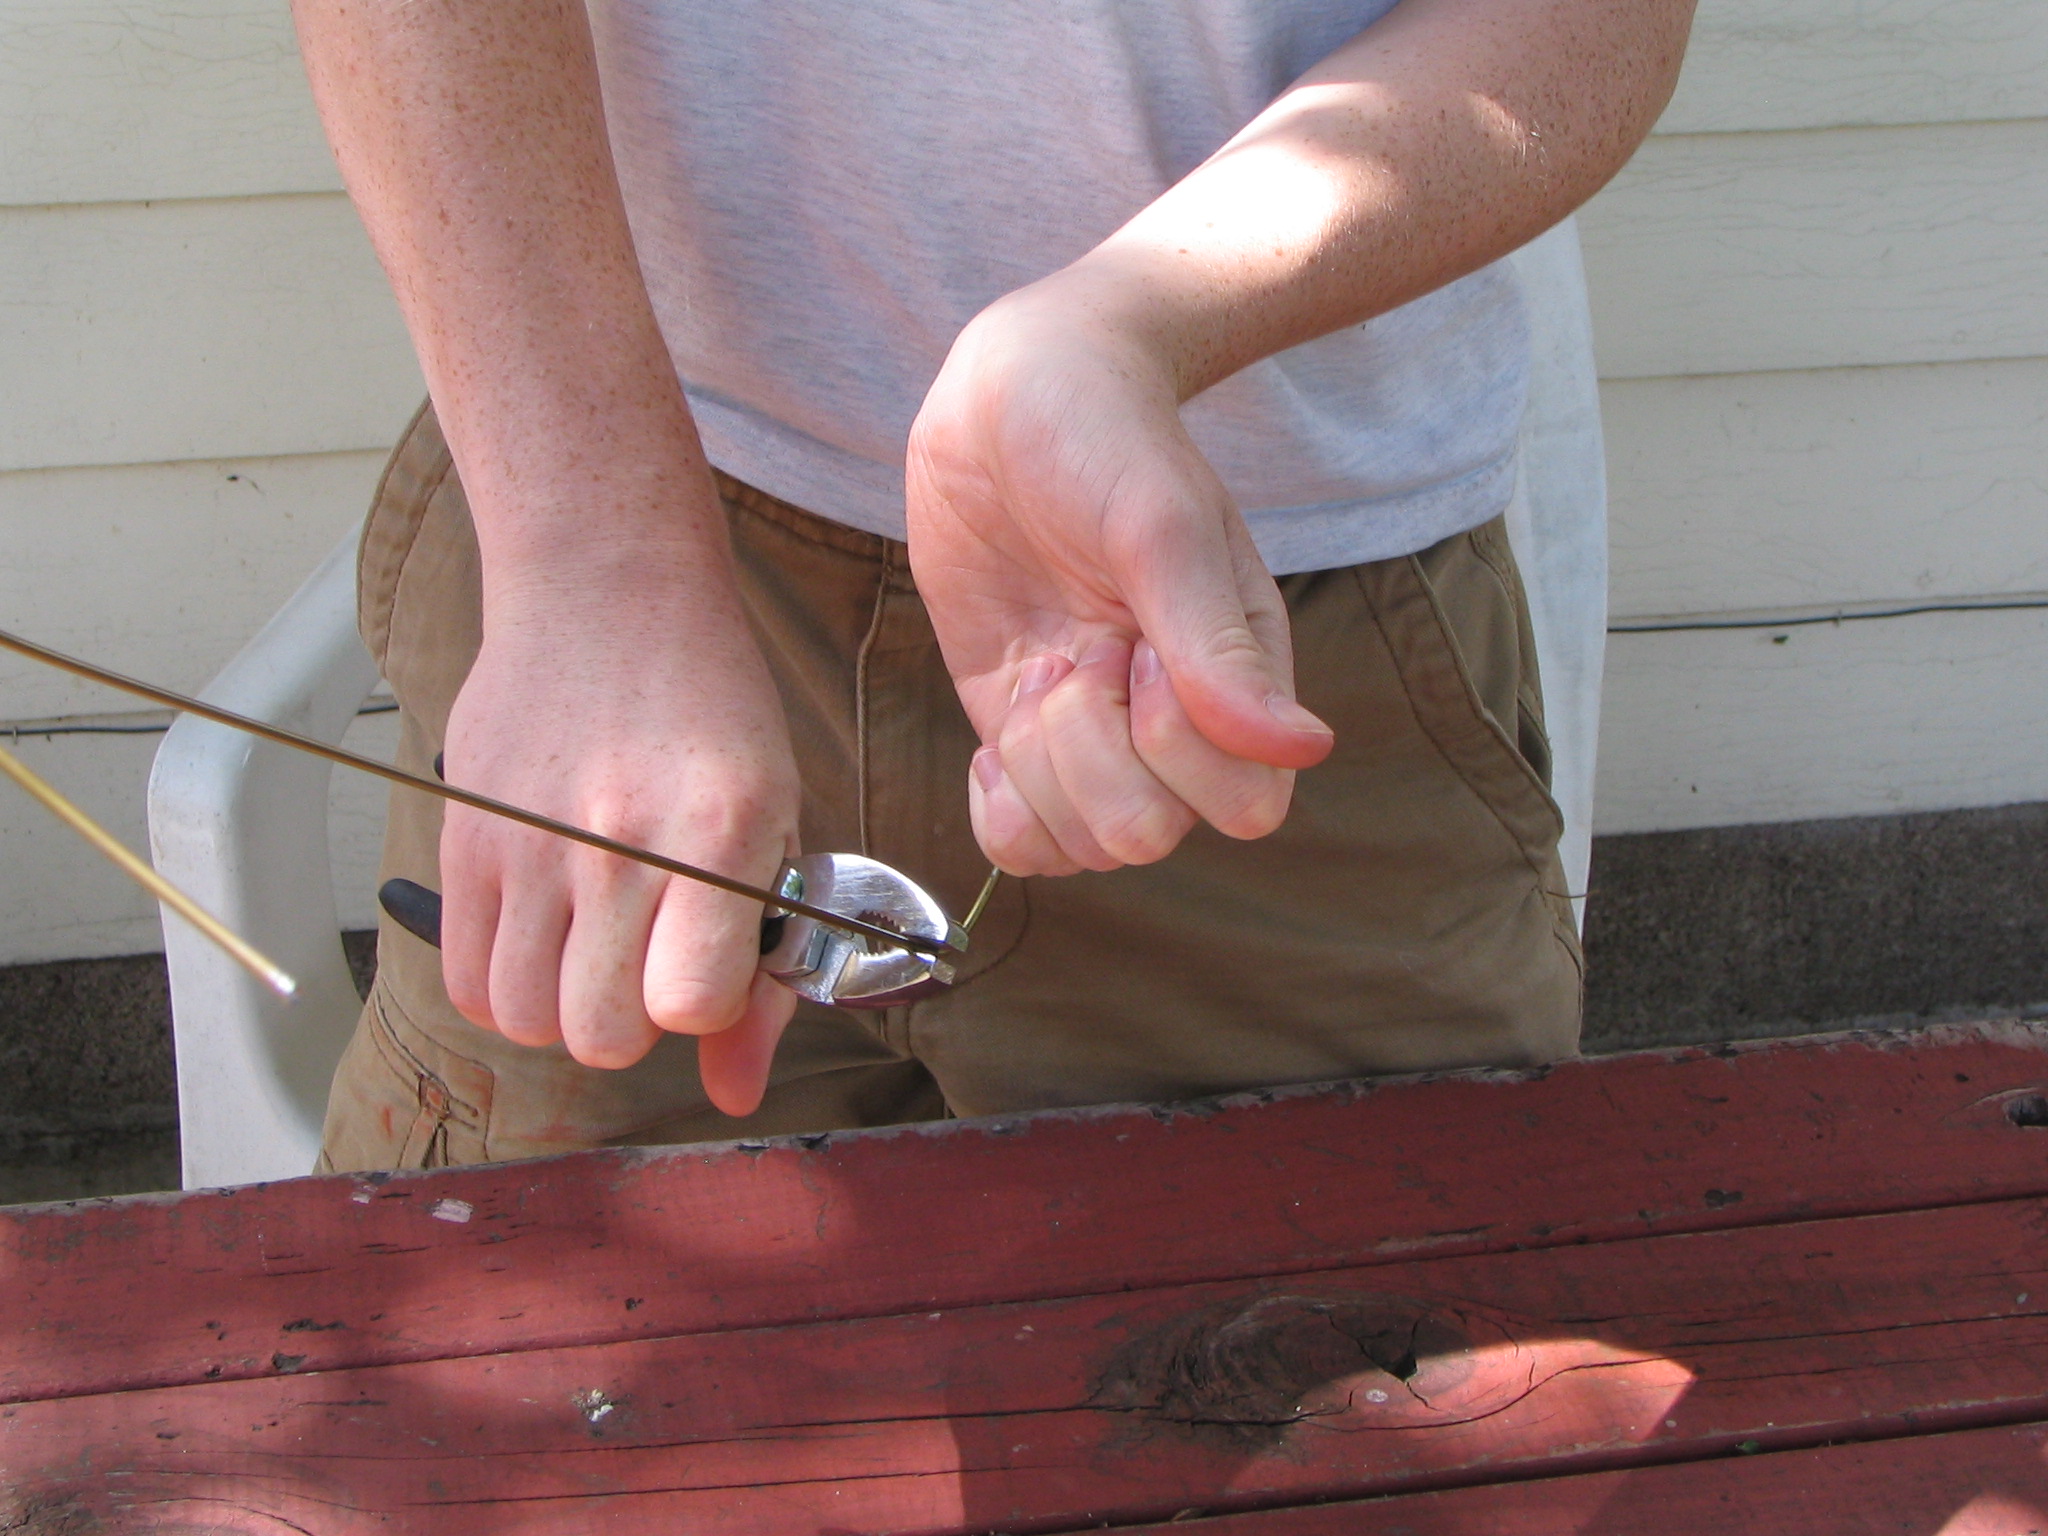

Bend the endthat isn't already bent (yeah, I know thats weird) at a 90 degree angle, bout 2 inches on the end. Then lay it flat on the table and bend up 90 degrees, 2" from initial bend.
Bend the Wire Part II
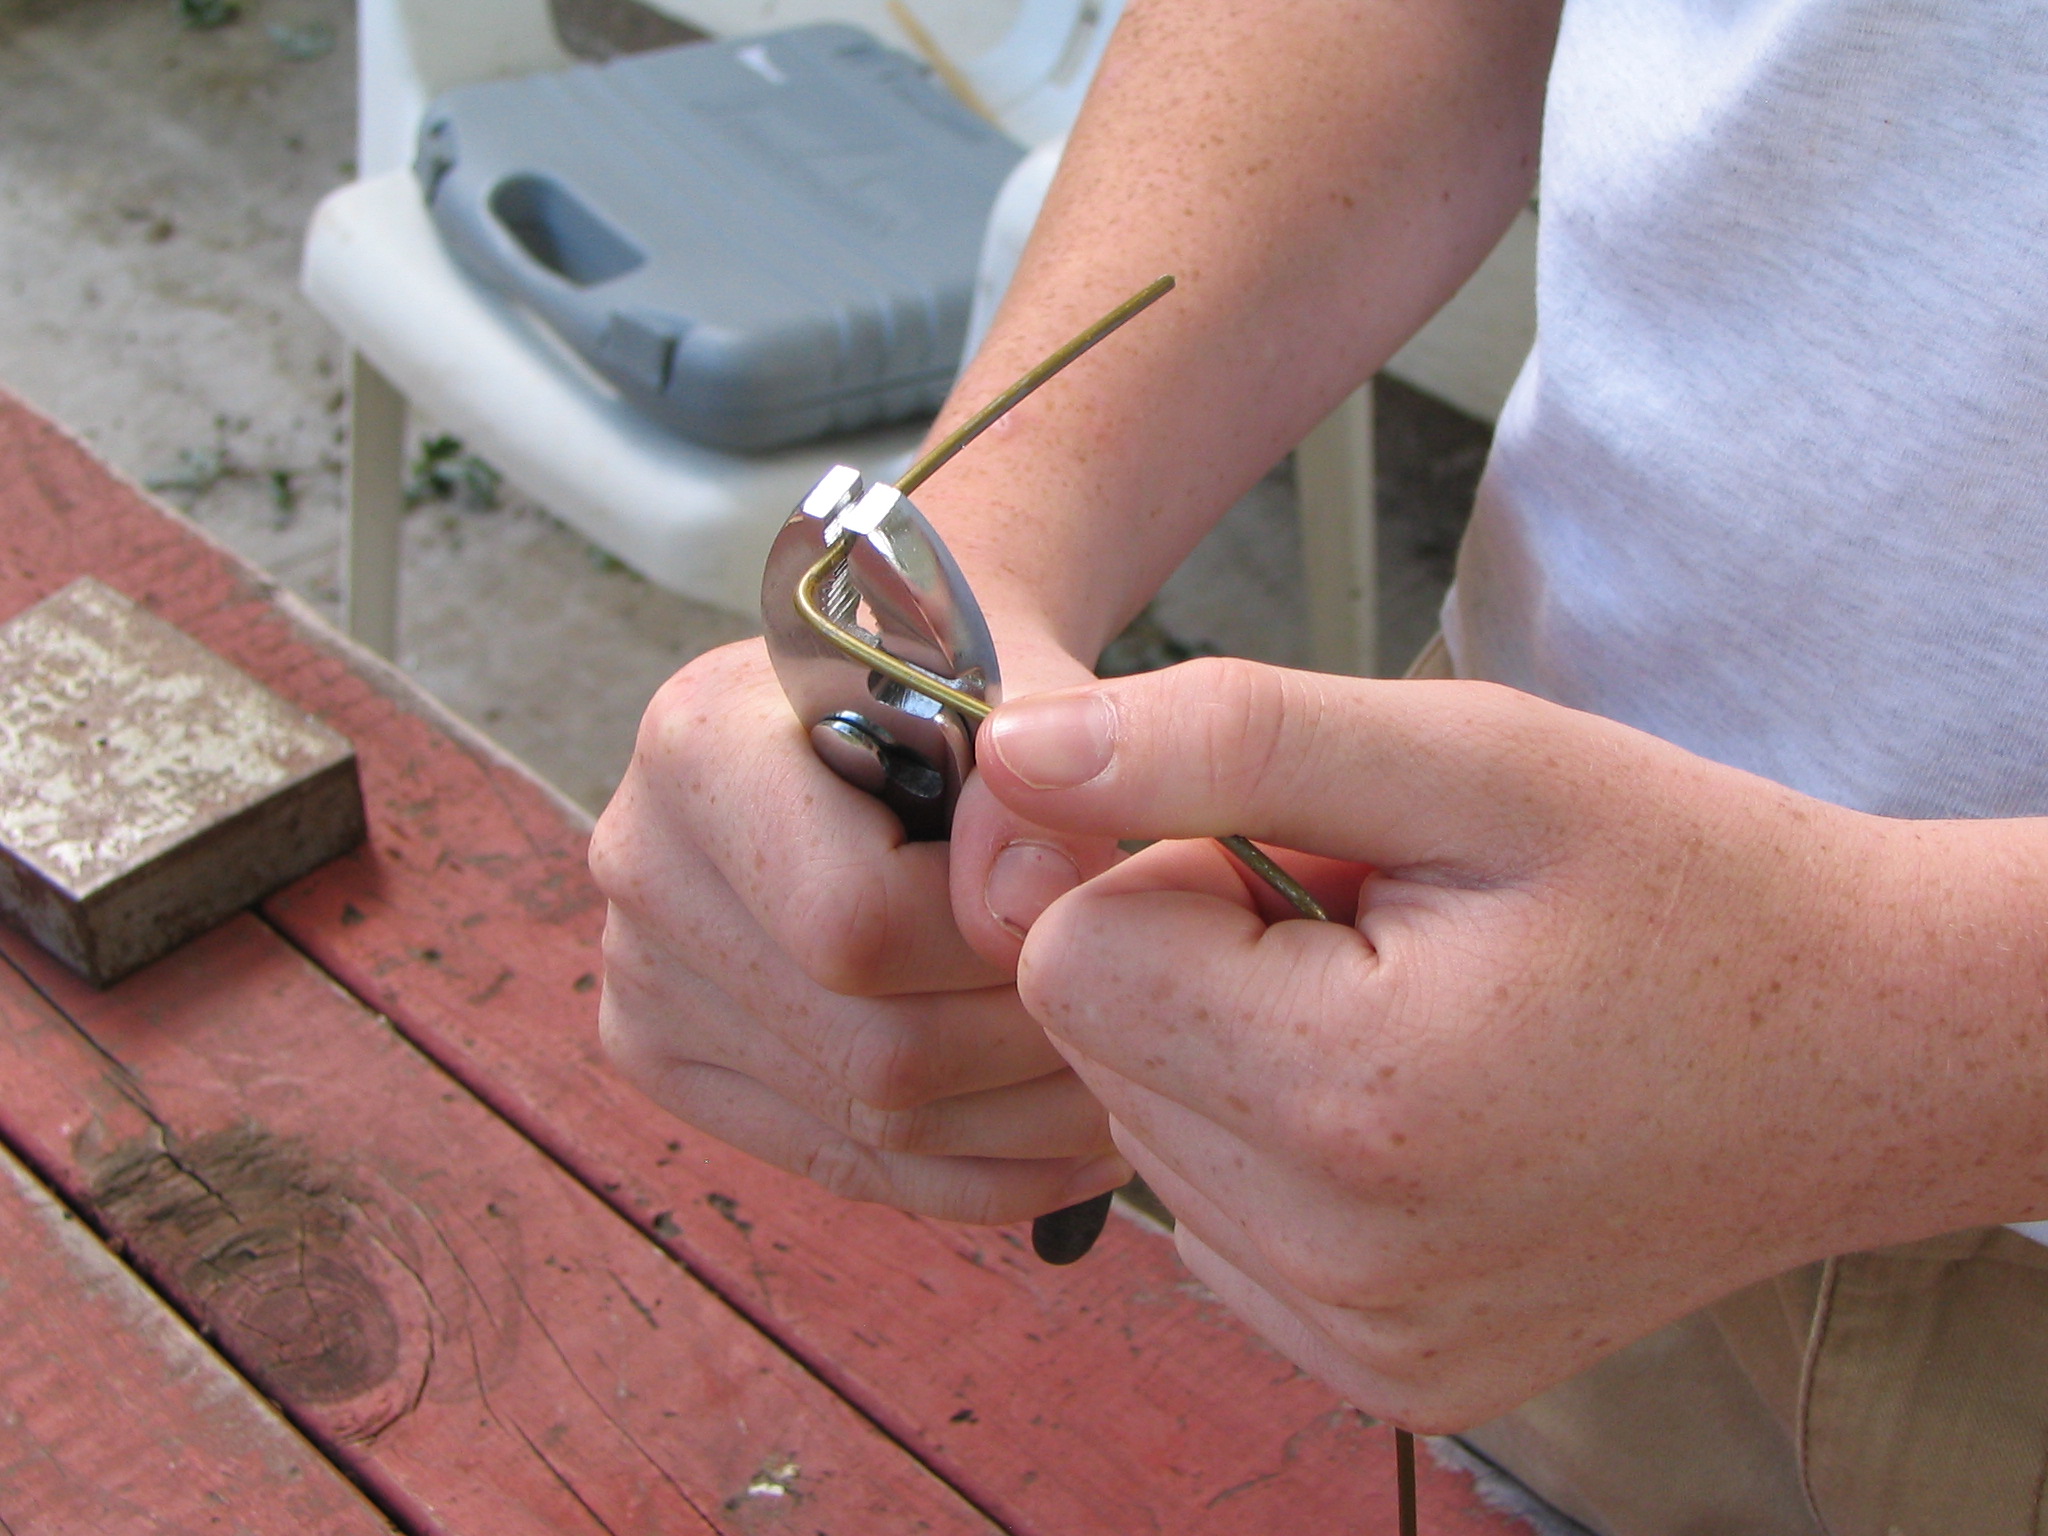


Go to the opposite end (the one that was bent before step 9) and with the L shaped part on the ground, make sure they're parallel to eachother. Bend the wire around in a loop, trim off excess, and bend end so it's not sharp.
*note, the loop doesn't have to be closed.
*note, the loop doesn't have to be closed.
Staple
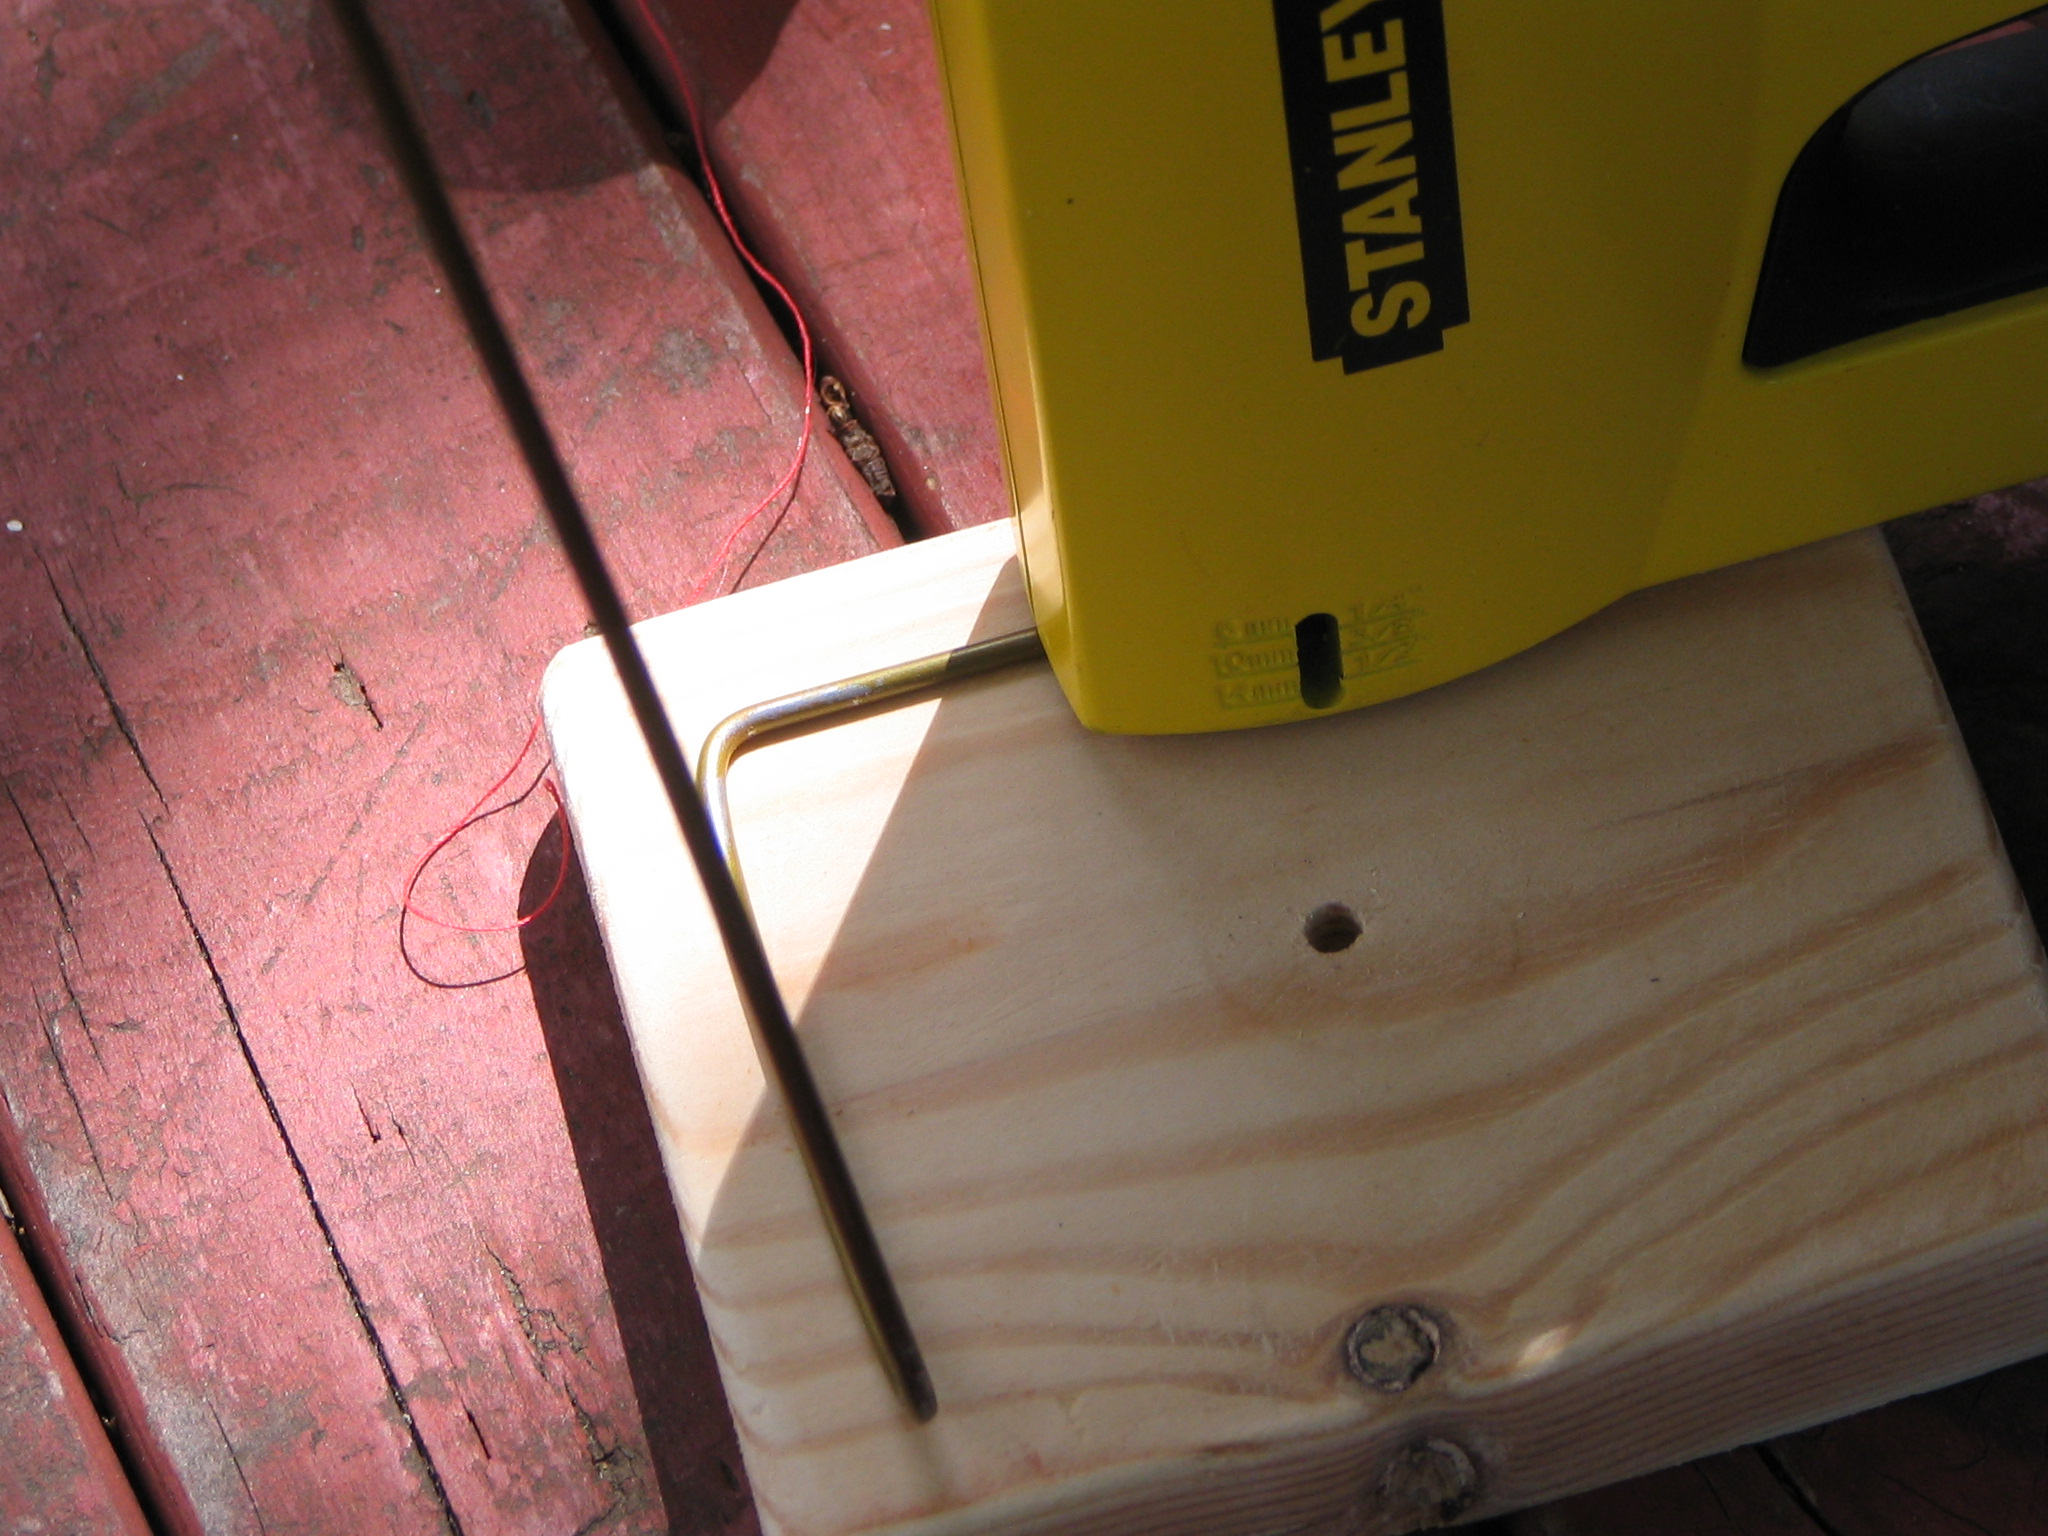
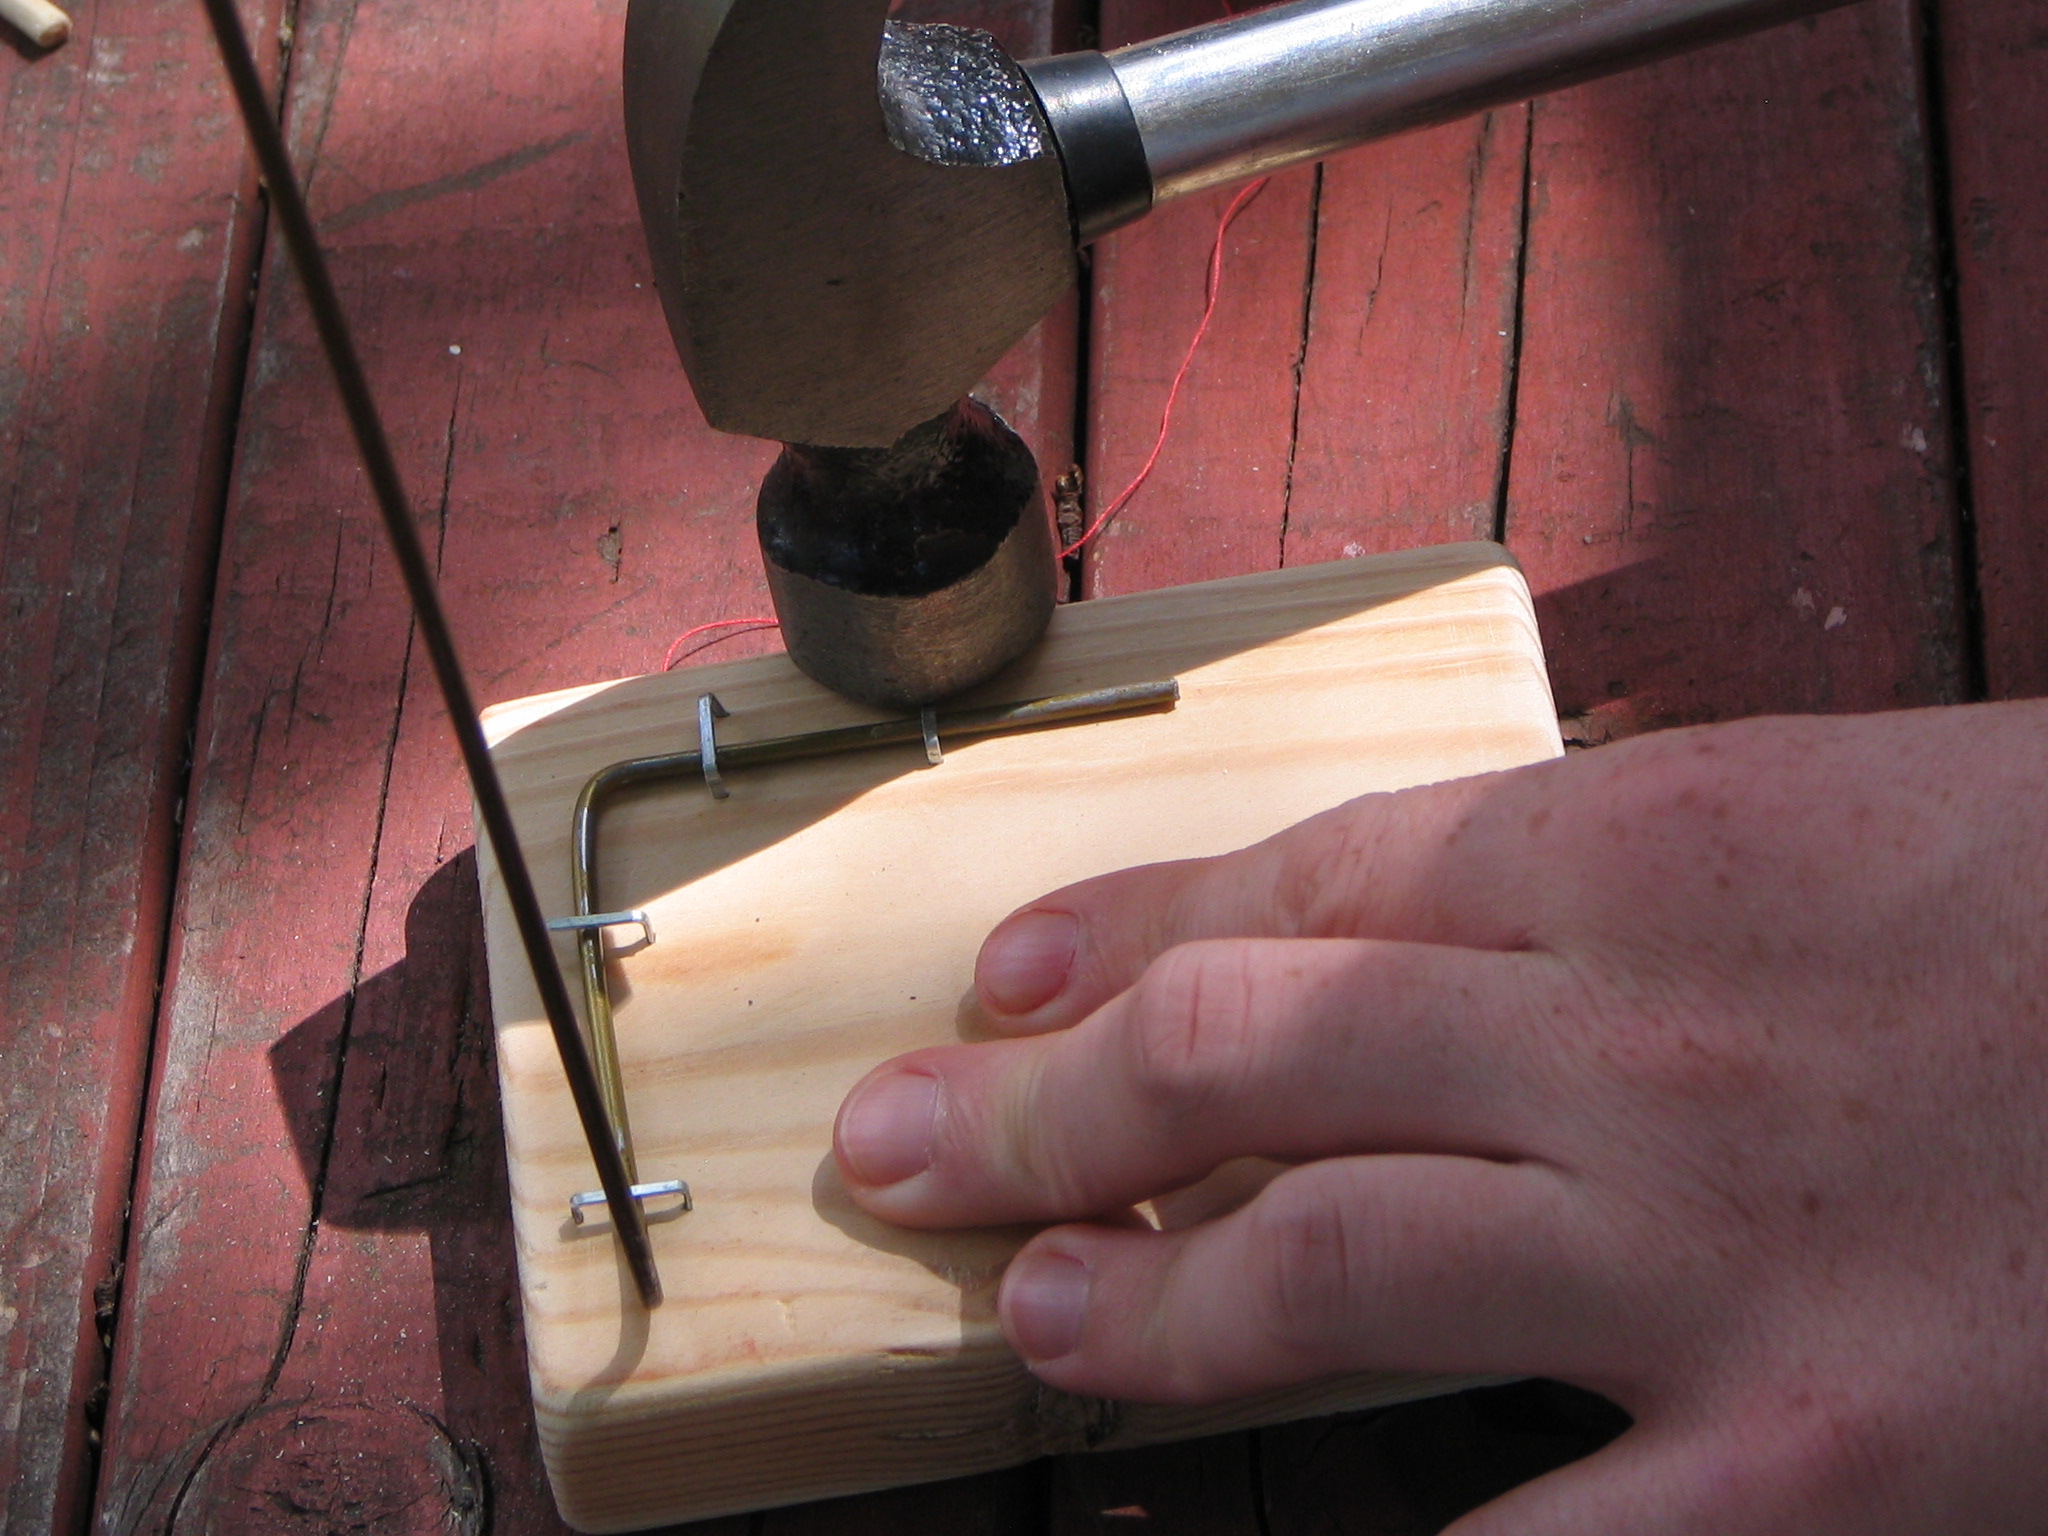
Staple the "L" shaped part of the wire to wood square. Hammer the staples so they are tight. I suggest 4 staples, 2 for each part of the "L."
Glue


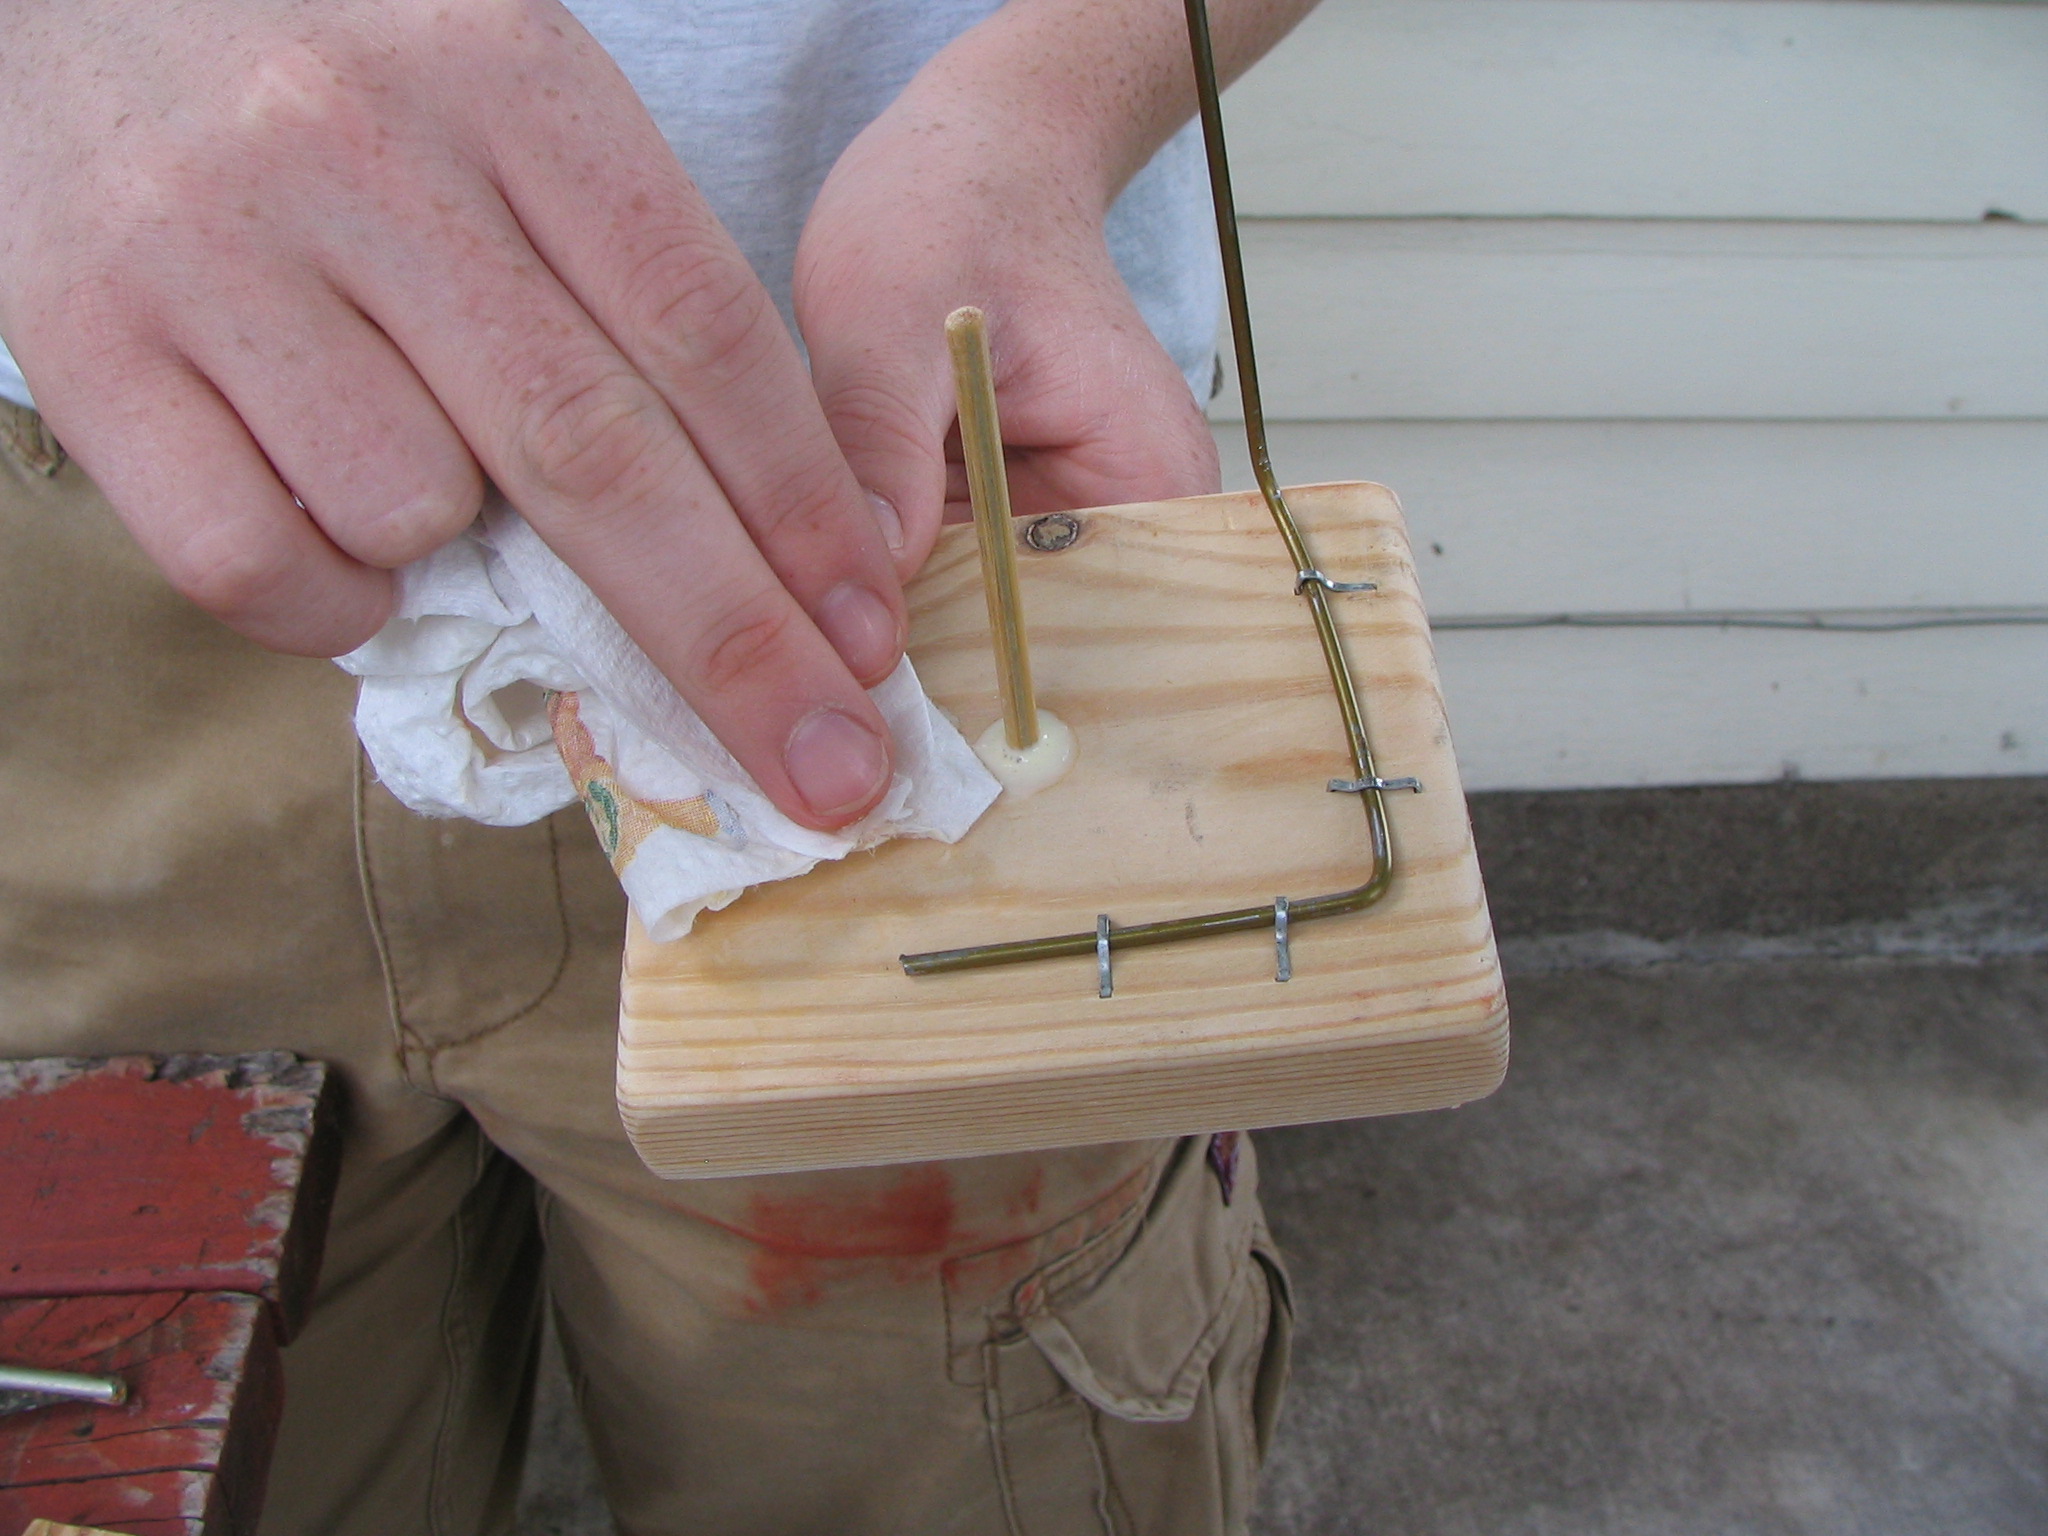
Put some glue in the hole and insert the skewer. Twist it around a little bit, to make sure it's coated with glue. Clean off any excess, and let sit for 24 hours. Do Not put a lot of glue in the hole. Do NOT tip it to take a picture of what not to do. Do, however, send little sister into house to grab paper towels clean up mess :).
Done!
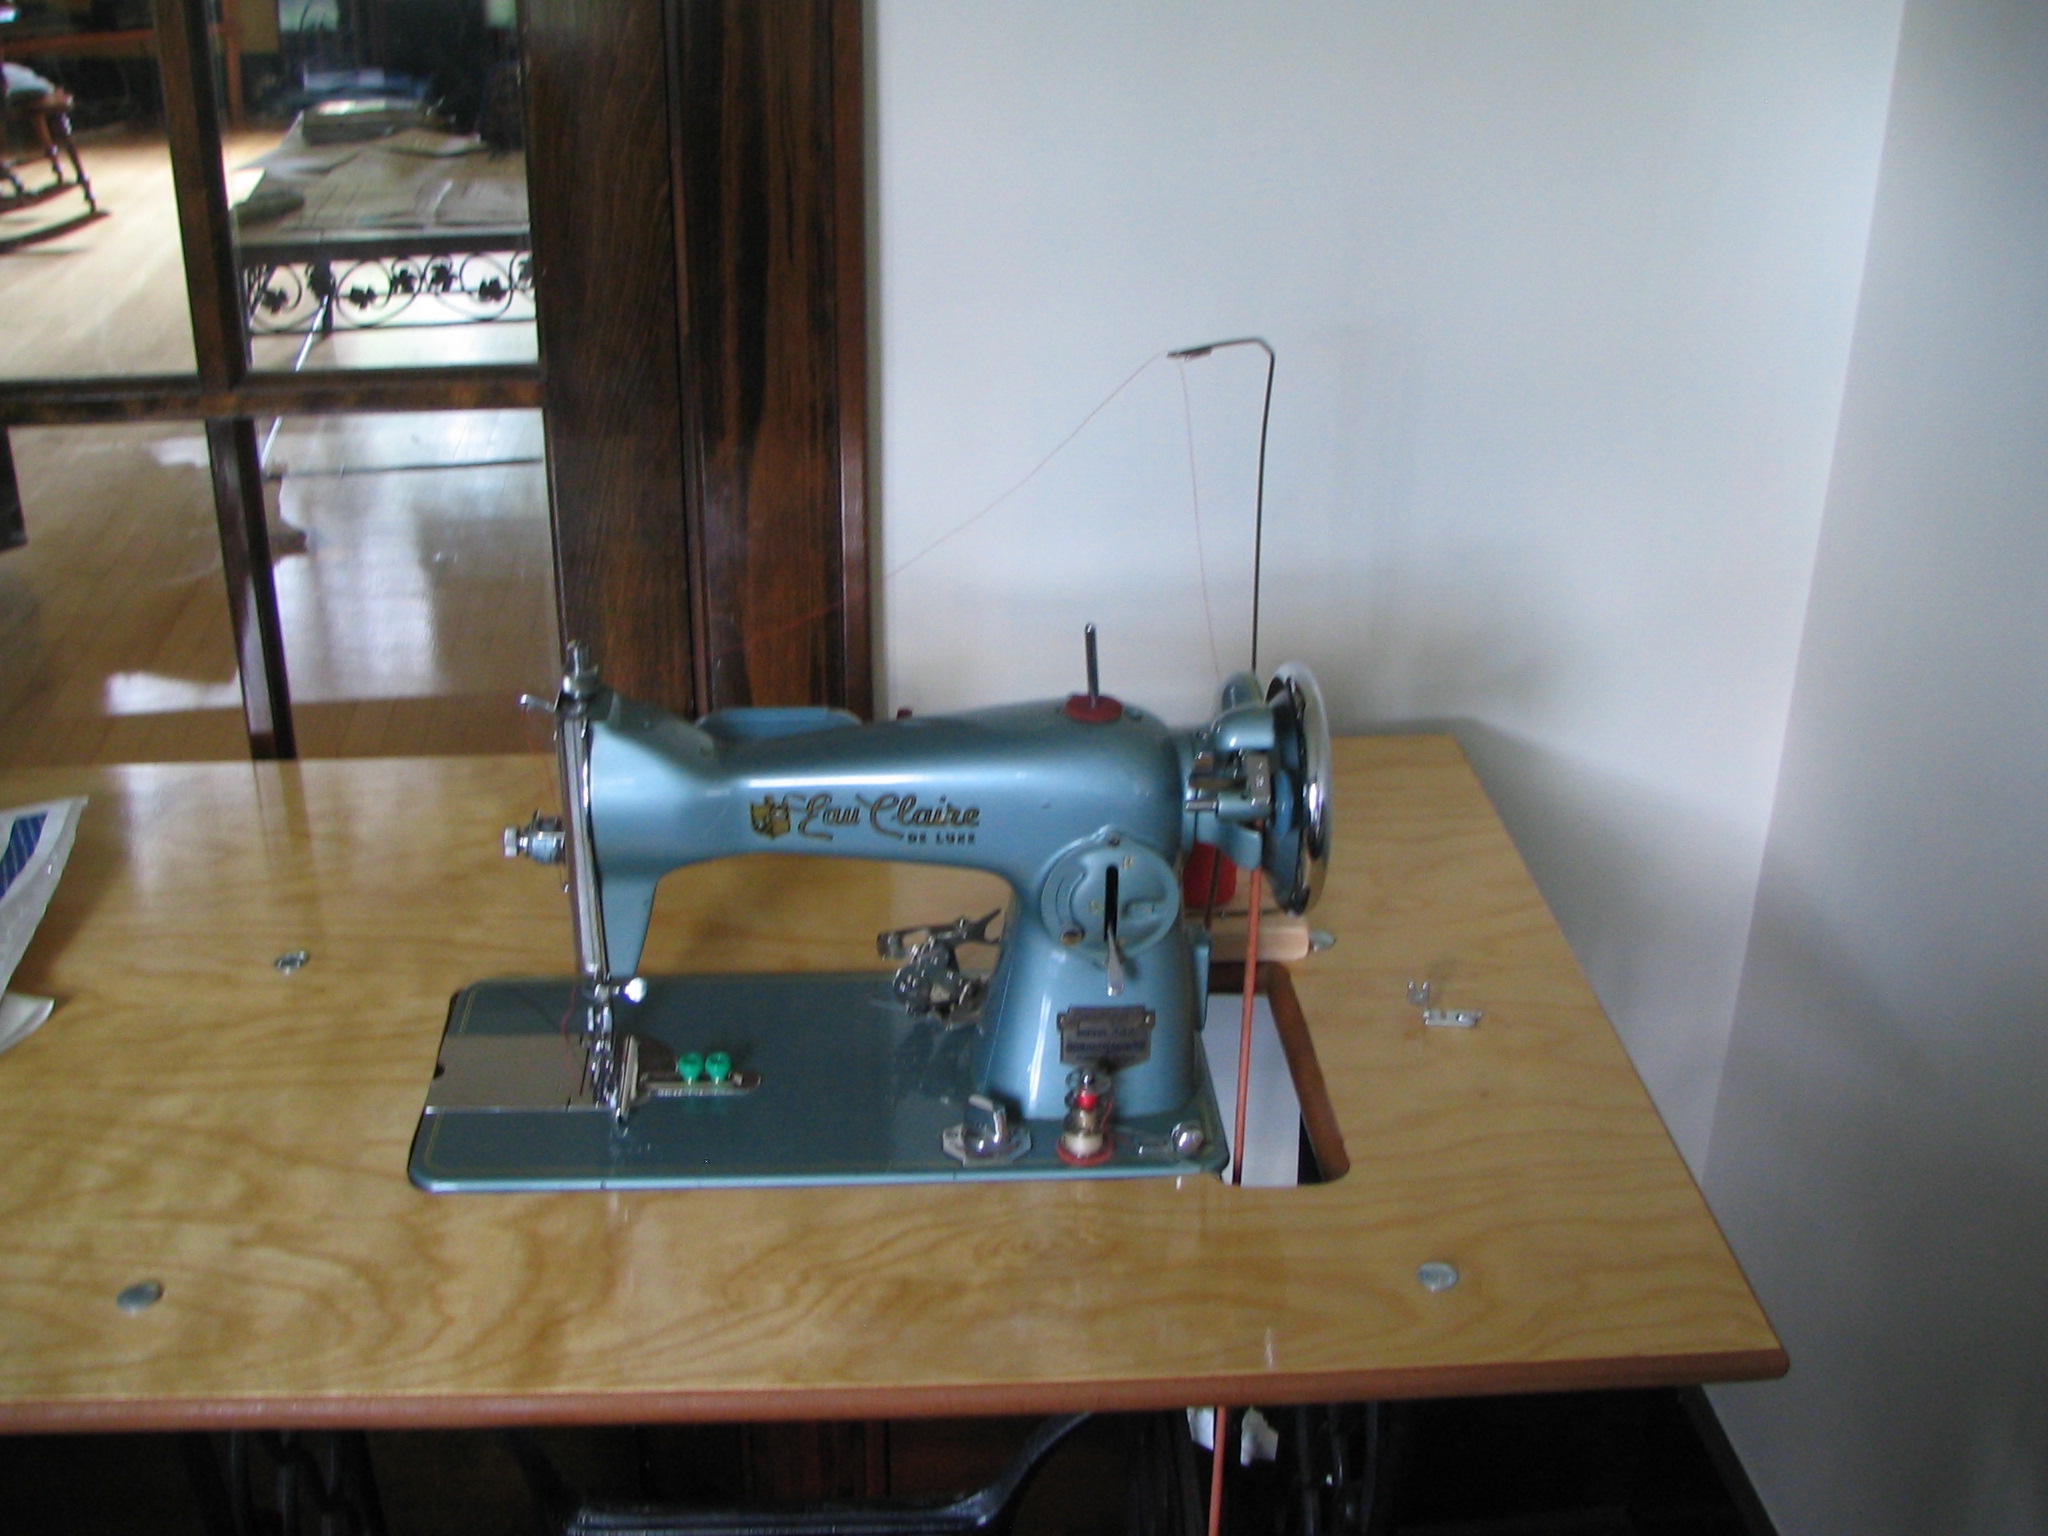

Set up the thread stand next to the machine. Put spool/cone on skewer, and thread through loop. Finish threading the machine from there!
Improvements
Things I would do next time...
Connect the wire to the side of the square.
Drill the hole halfway through the square.
Any other ideas would be great!
Hope you enjoyed my first instructable!
Connect the wire to the side of the square.
Drill the hole halfway through the square.
Any other ideas would be great!
Hope you enjoyed my first instructable!