Third Beginner Crochet Project: Increase/Decrease Square
by enuscher in Craft > Knitting & Crochet
14393 Views, 29 Favorites, 0 Comments
Third Beginner Crochet Project: Increase/Decrease Square

Welcome to my next tutorial where you learn how to increase and decrease your stitches (number of "v"s). This is a crucial skill to learn in order to make anything change its form and to do more than straight edges. The difference from the past squares is that you start and end in a corner, instead of straight sides, as shown in picture.
Materials
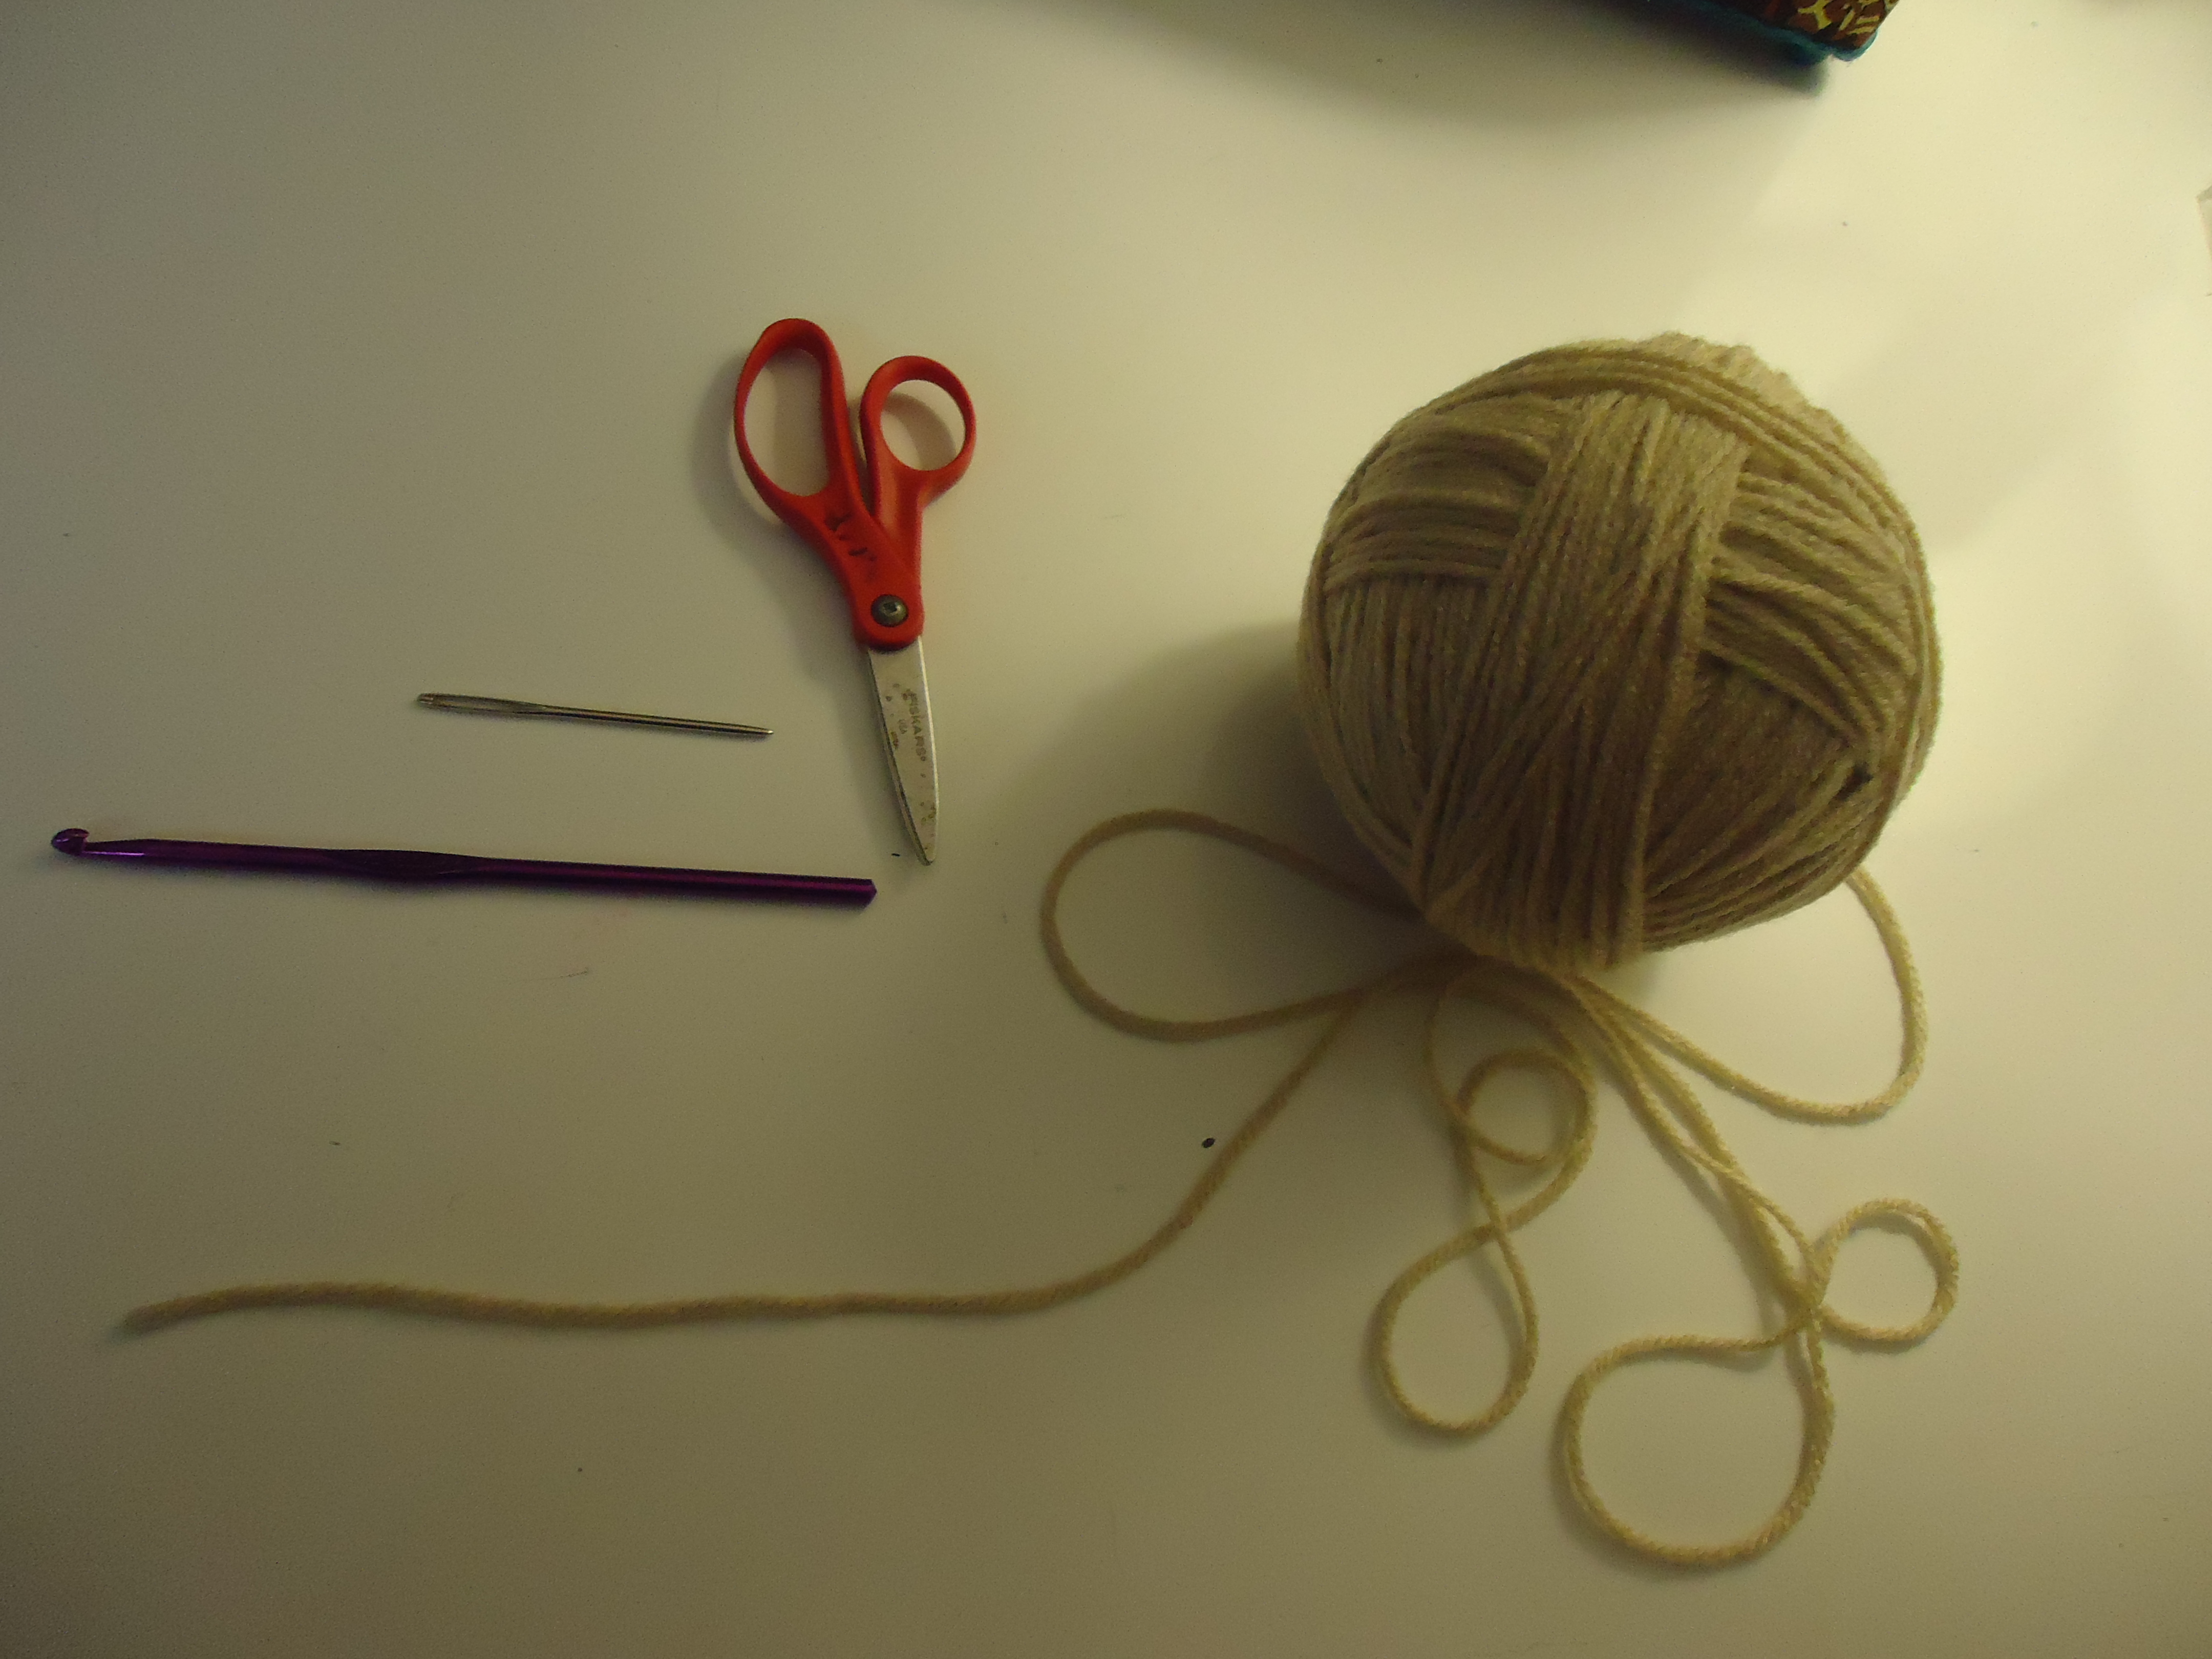
You'll need light-colored worsted weight yarn, scissors, darning/yarn needle, and size G-J crochet hook.
Starting Chain

Like before, create a starting chain. This time: 3 chain stitches. (Remember, wrap and pull through loop on hook)
First Increase 1

Perform one single crochet stitch in the second chain from the hook ( the middle "v" ). (Remember: insert hook, wrap yarn, pull through one loop, wrap yarn, pull through 2 loops)
First Increase 2
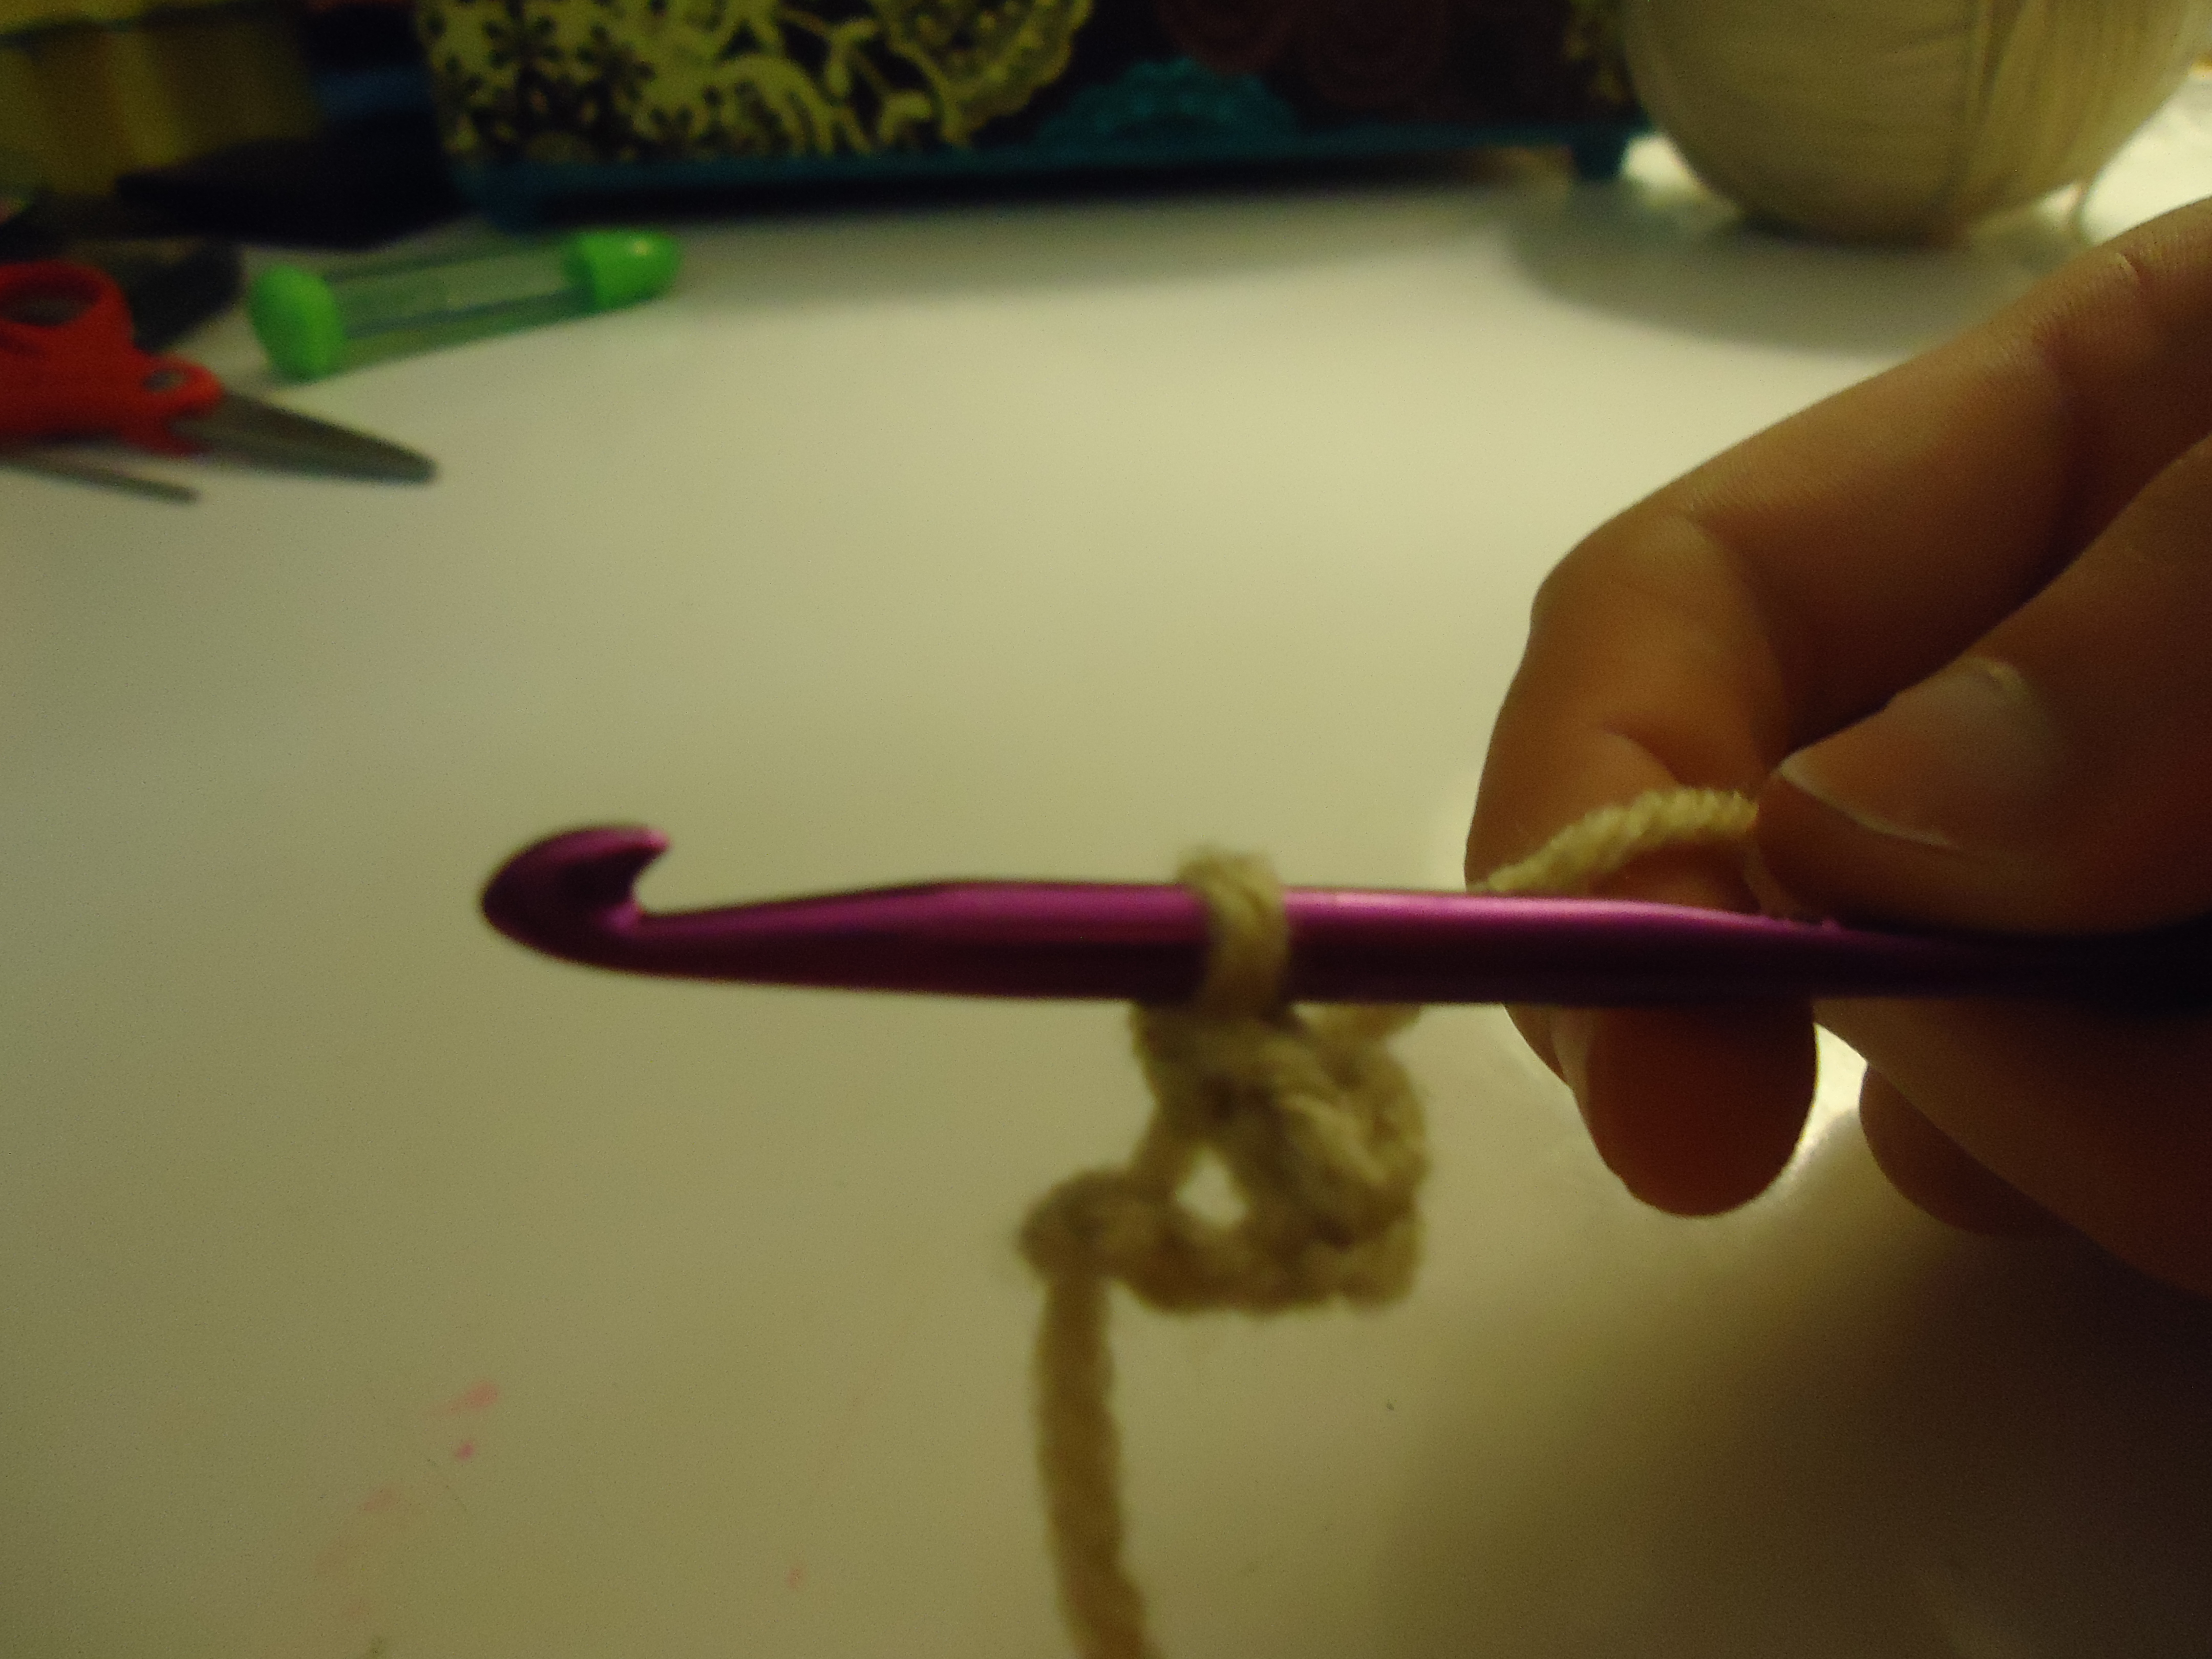
Now comes the increase part. Insert your hook into the SAME "v" that you worked your first single crochet. Perform a single crochet stitch in the same "v" that you did your first one. This will feel cramped and annoying until you get used to it. Make sure there is still one remaining "v" on your starting chain.
Finishing First Row
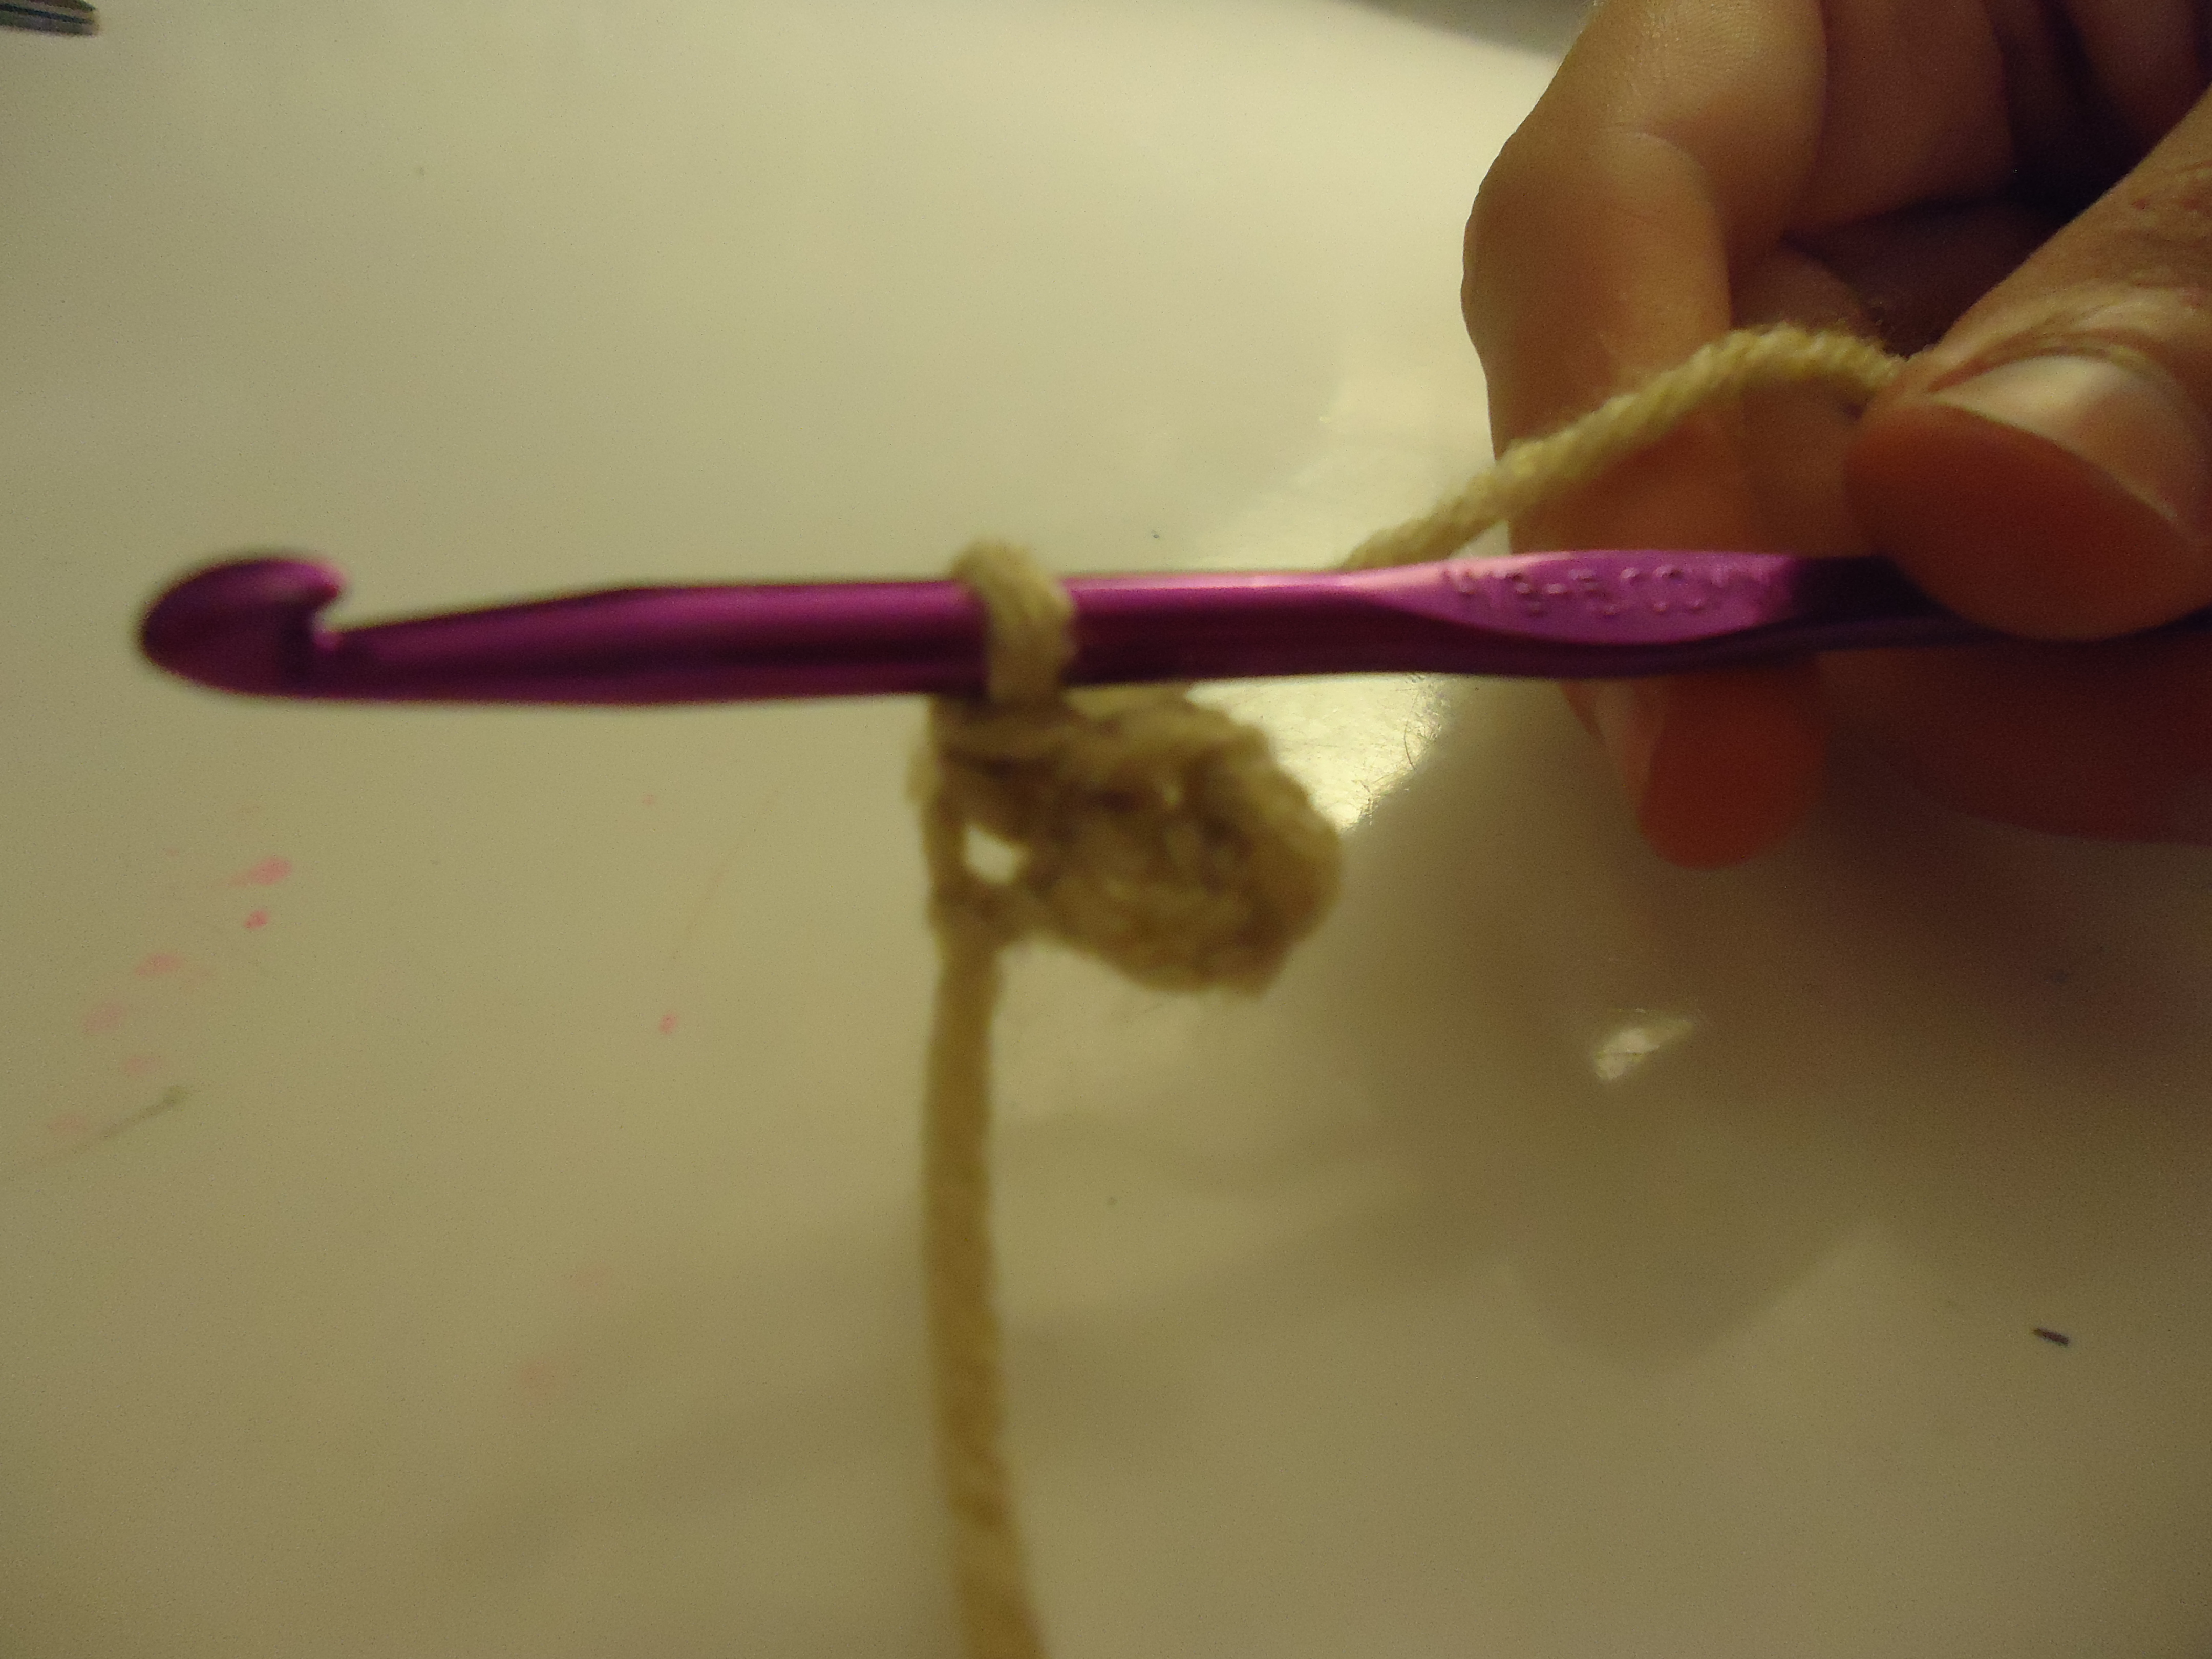
Single crochet only one stitch in that final "v" in your starting chain. If the increase was executed properly, there will be three "v"s in your row ( the first two from your increase, the third you just created).
Finishing First Row
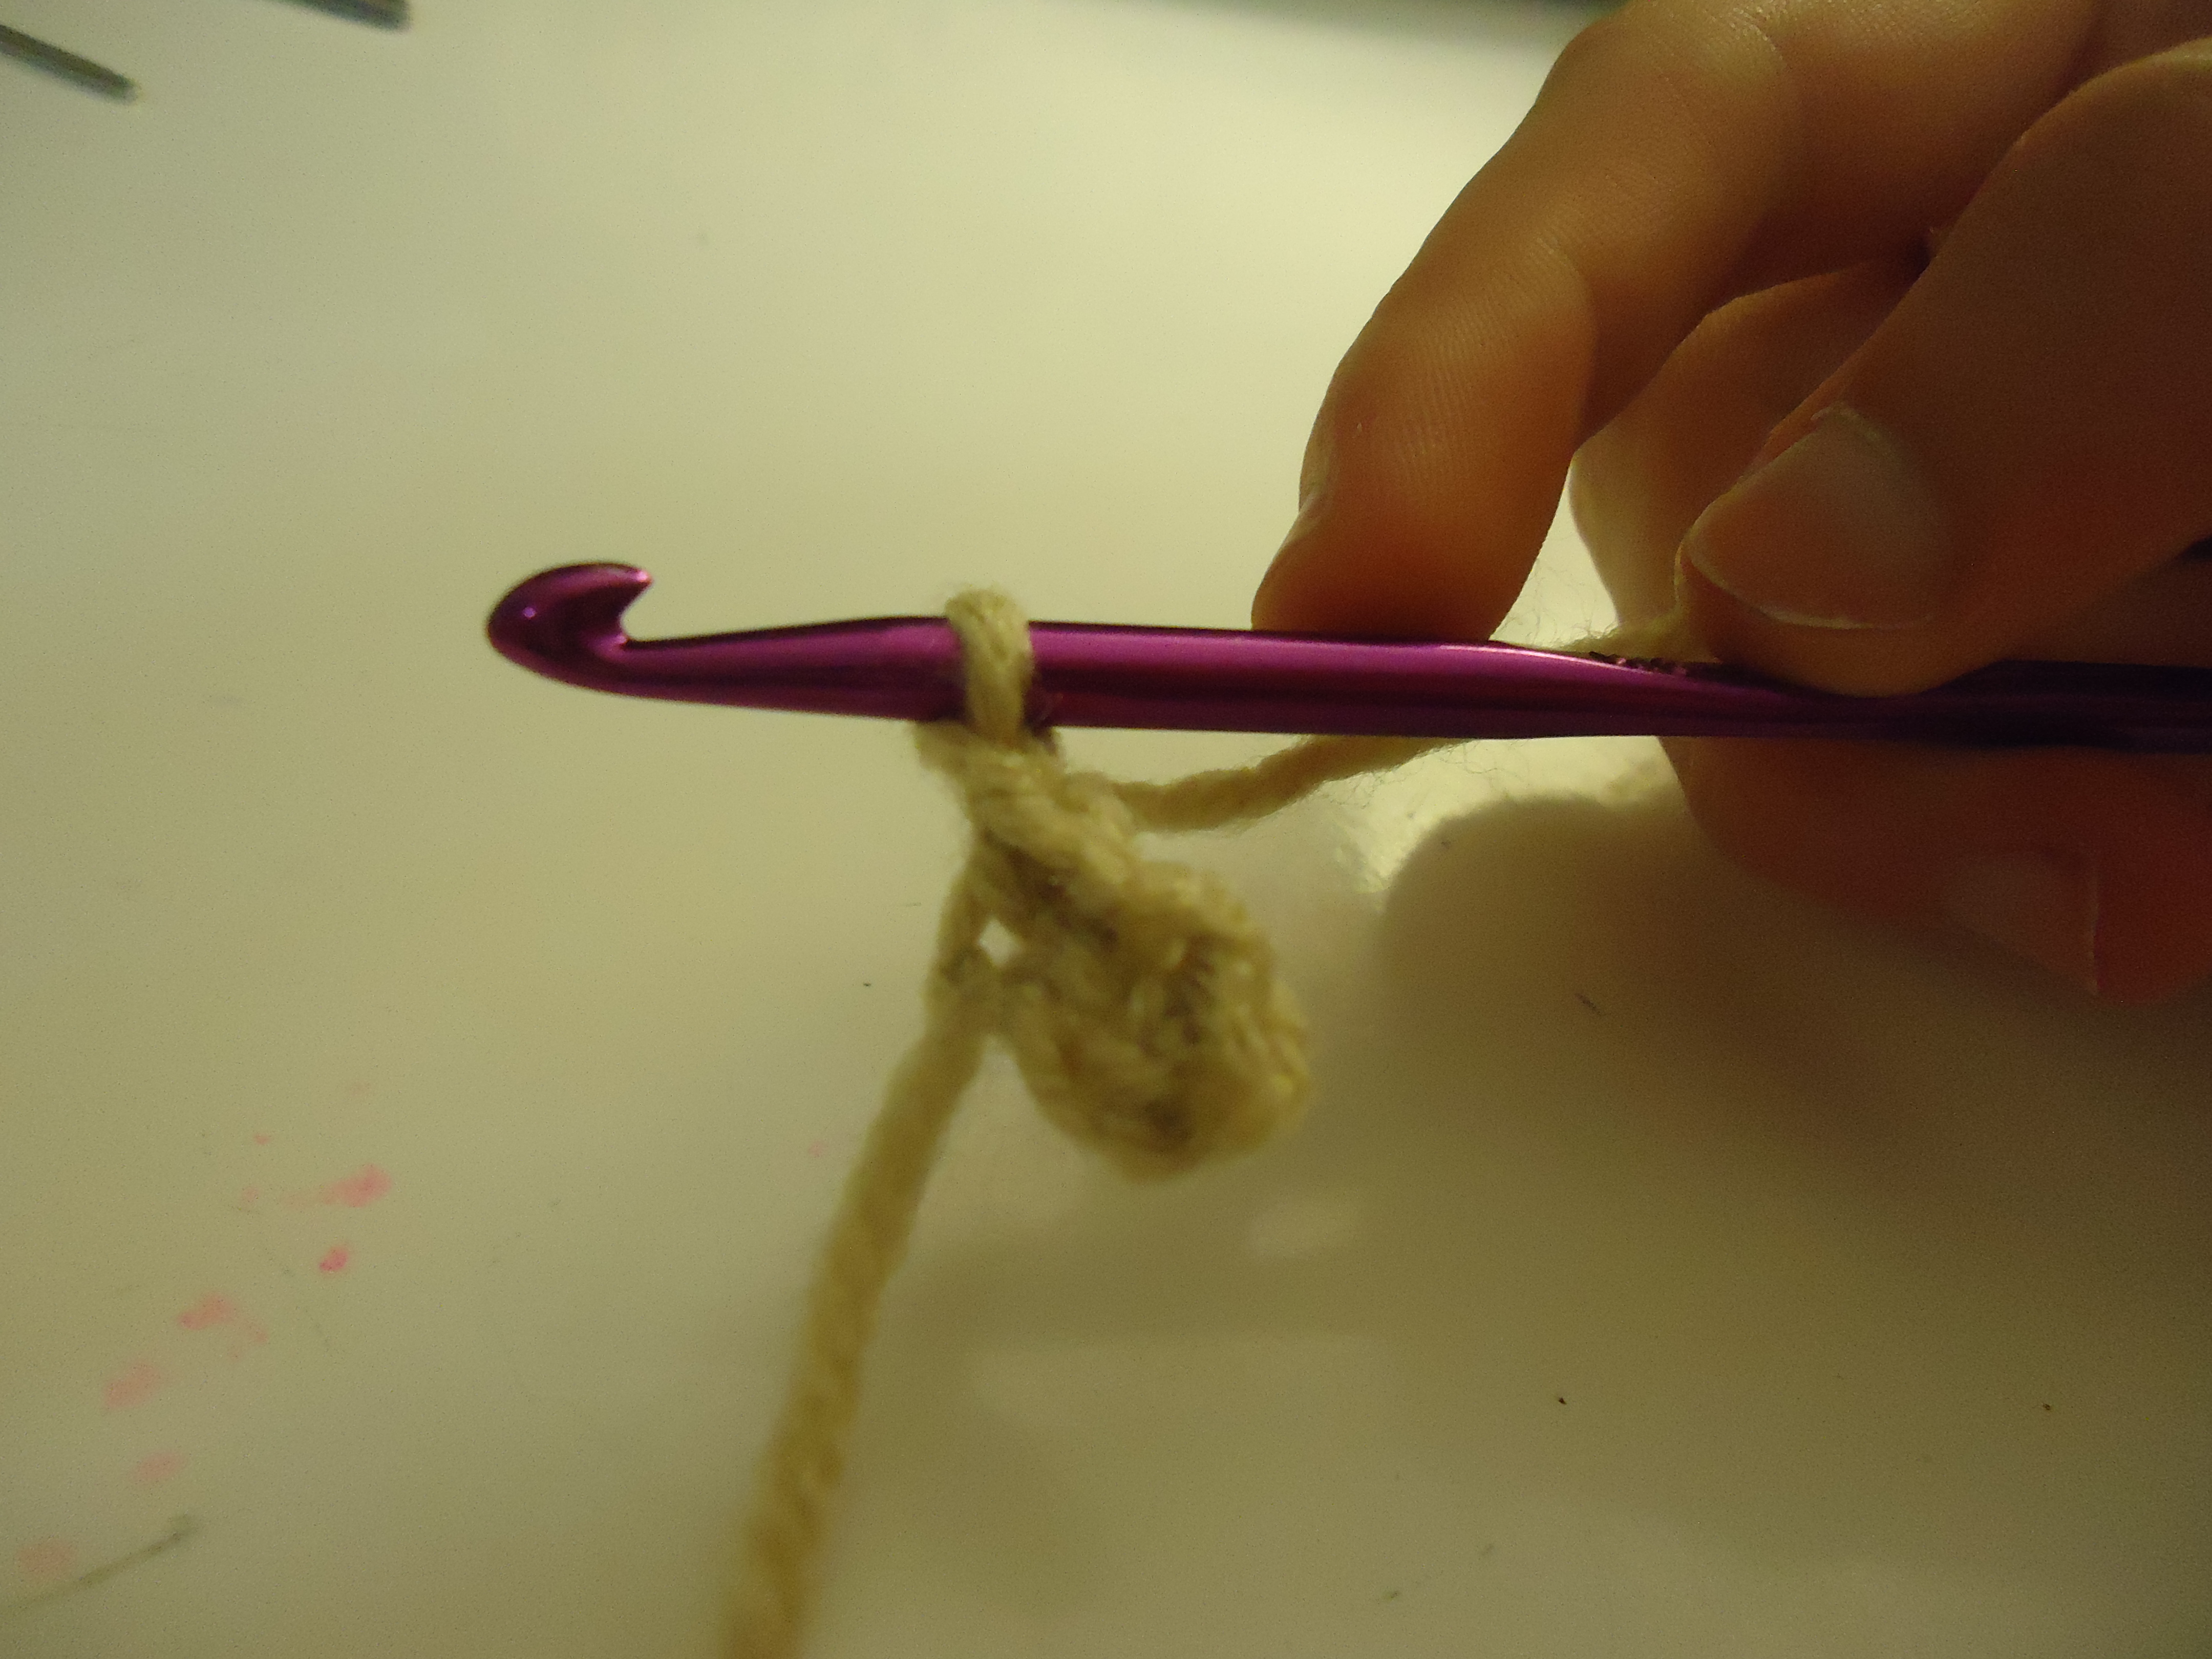
Chain one to finish your row, like we did for the single crochet square.
Second Row
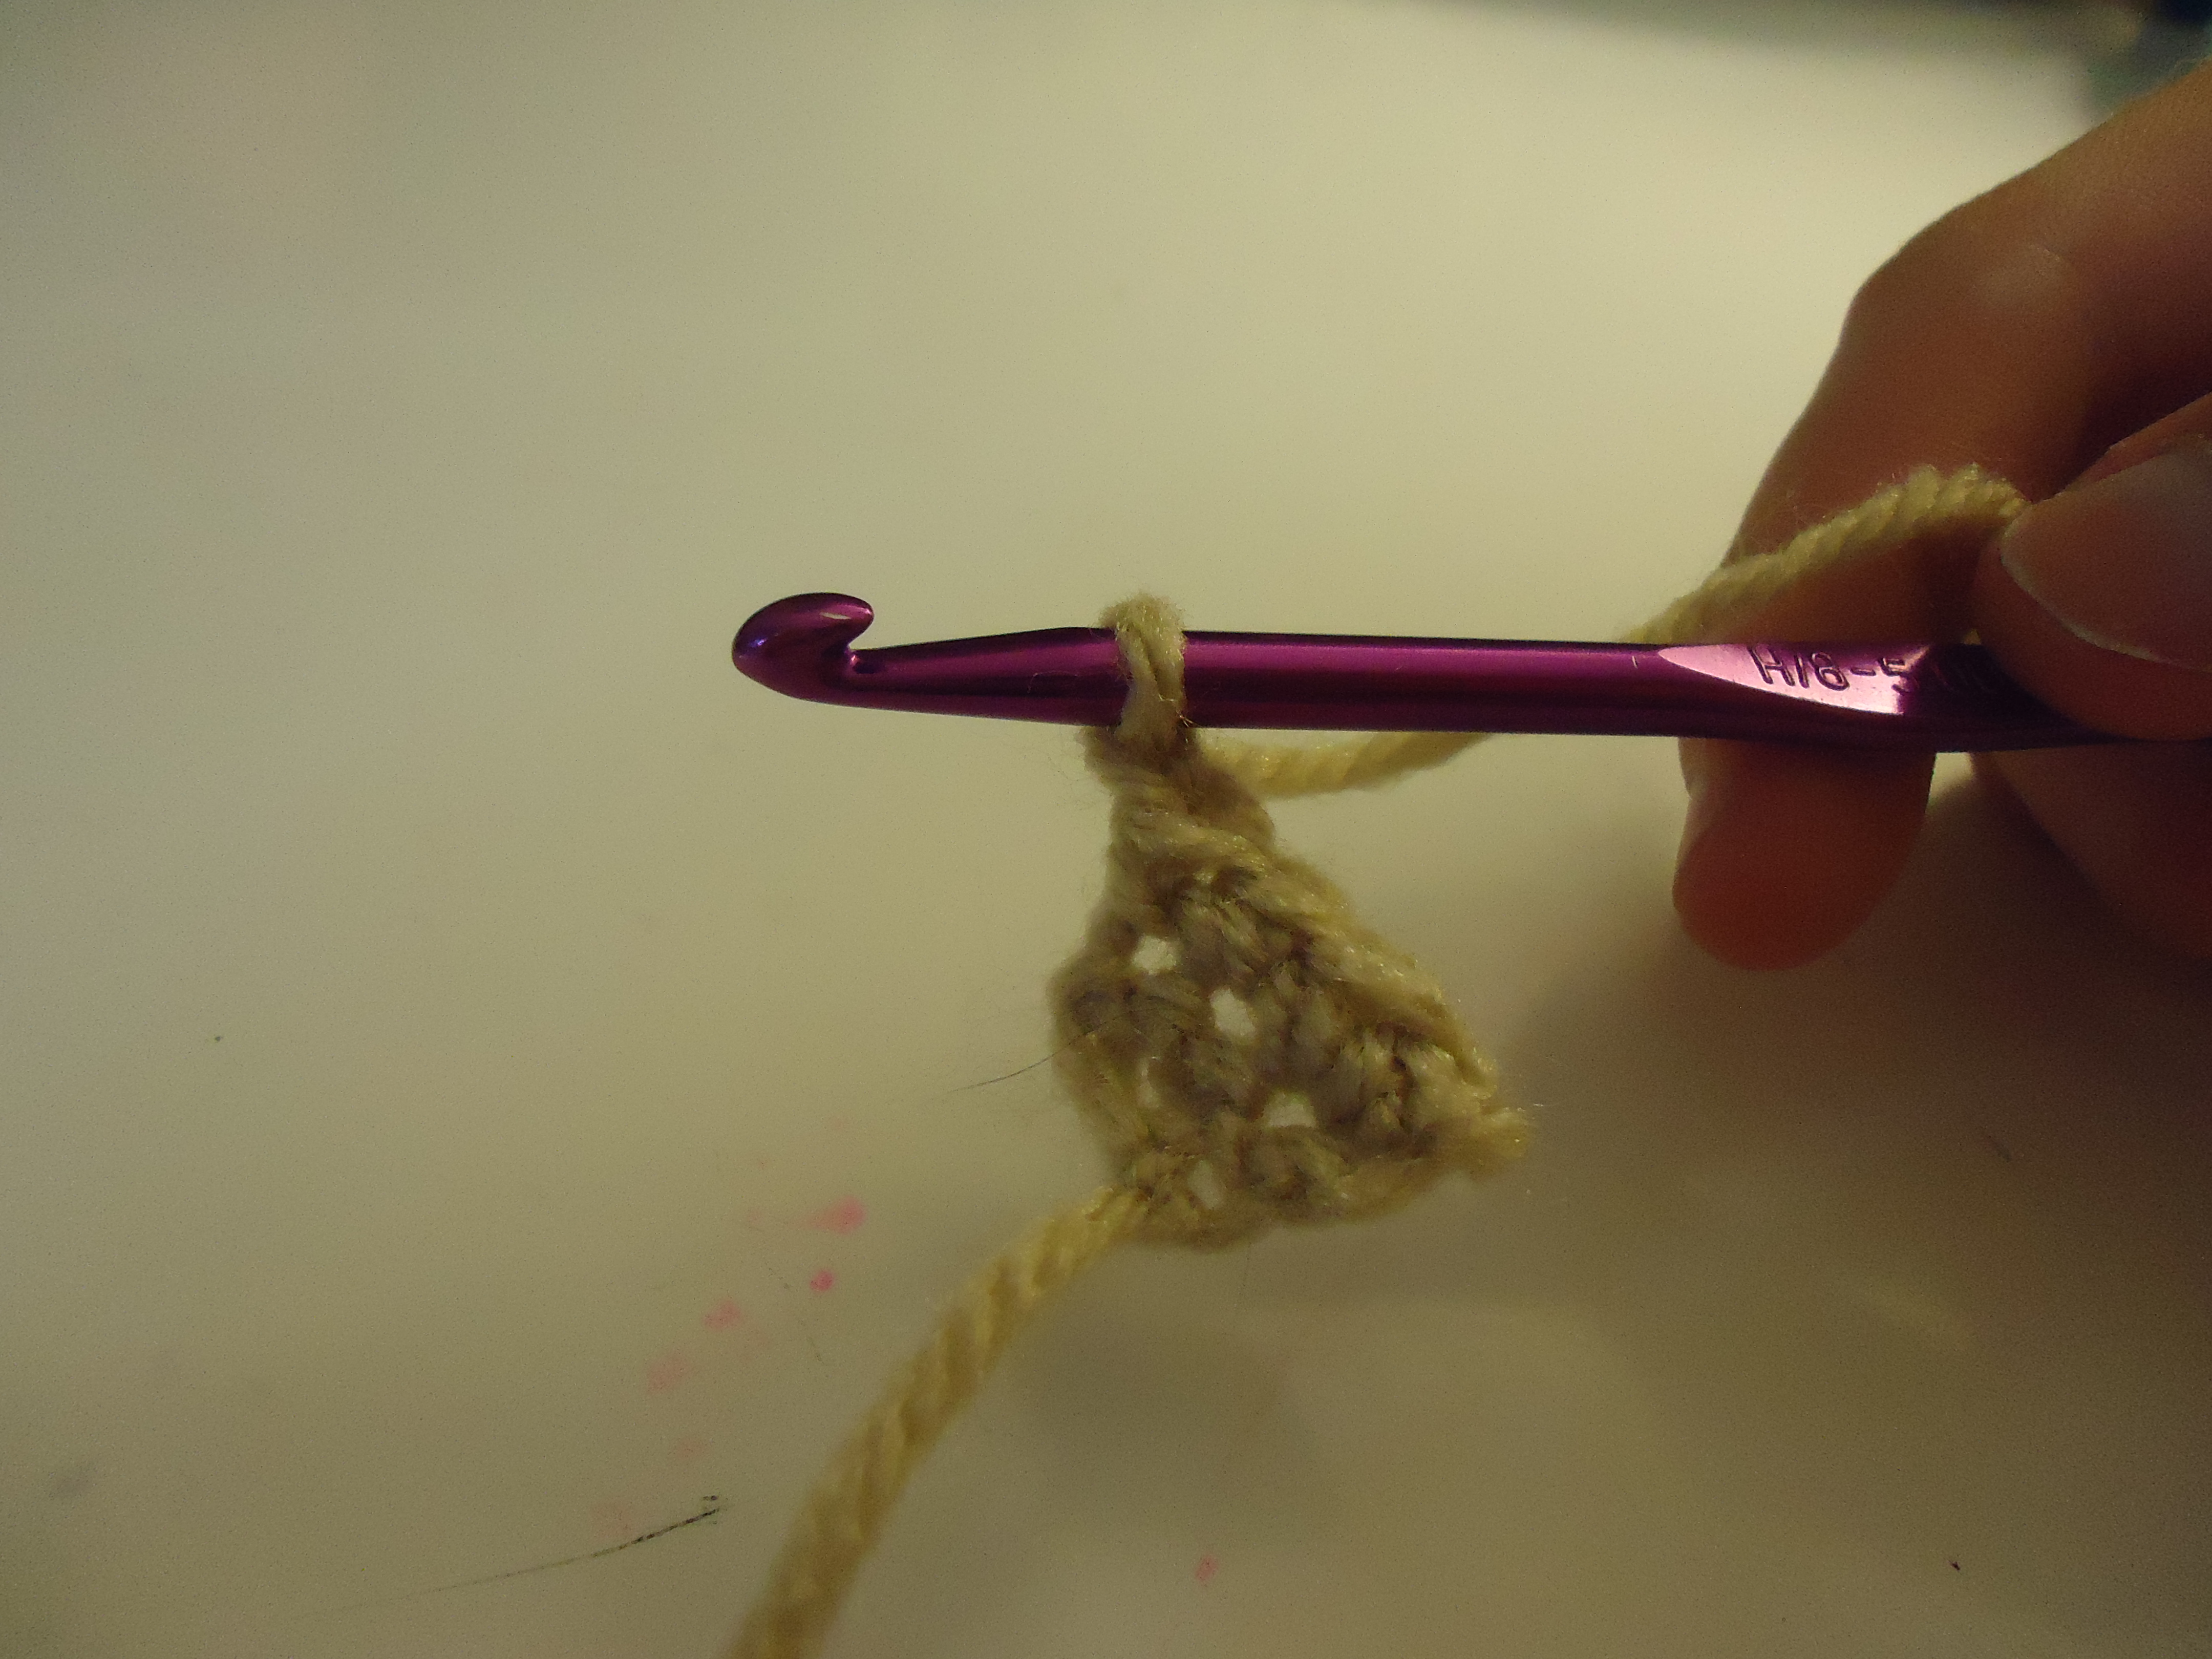
For the second row: Work an increase in the first stitch, then single crochet in the next 2 stitches. In the end, you should have 4 stitches/"v"s. Finish with a chain stitch.
Third Row
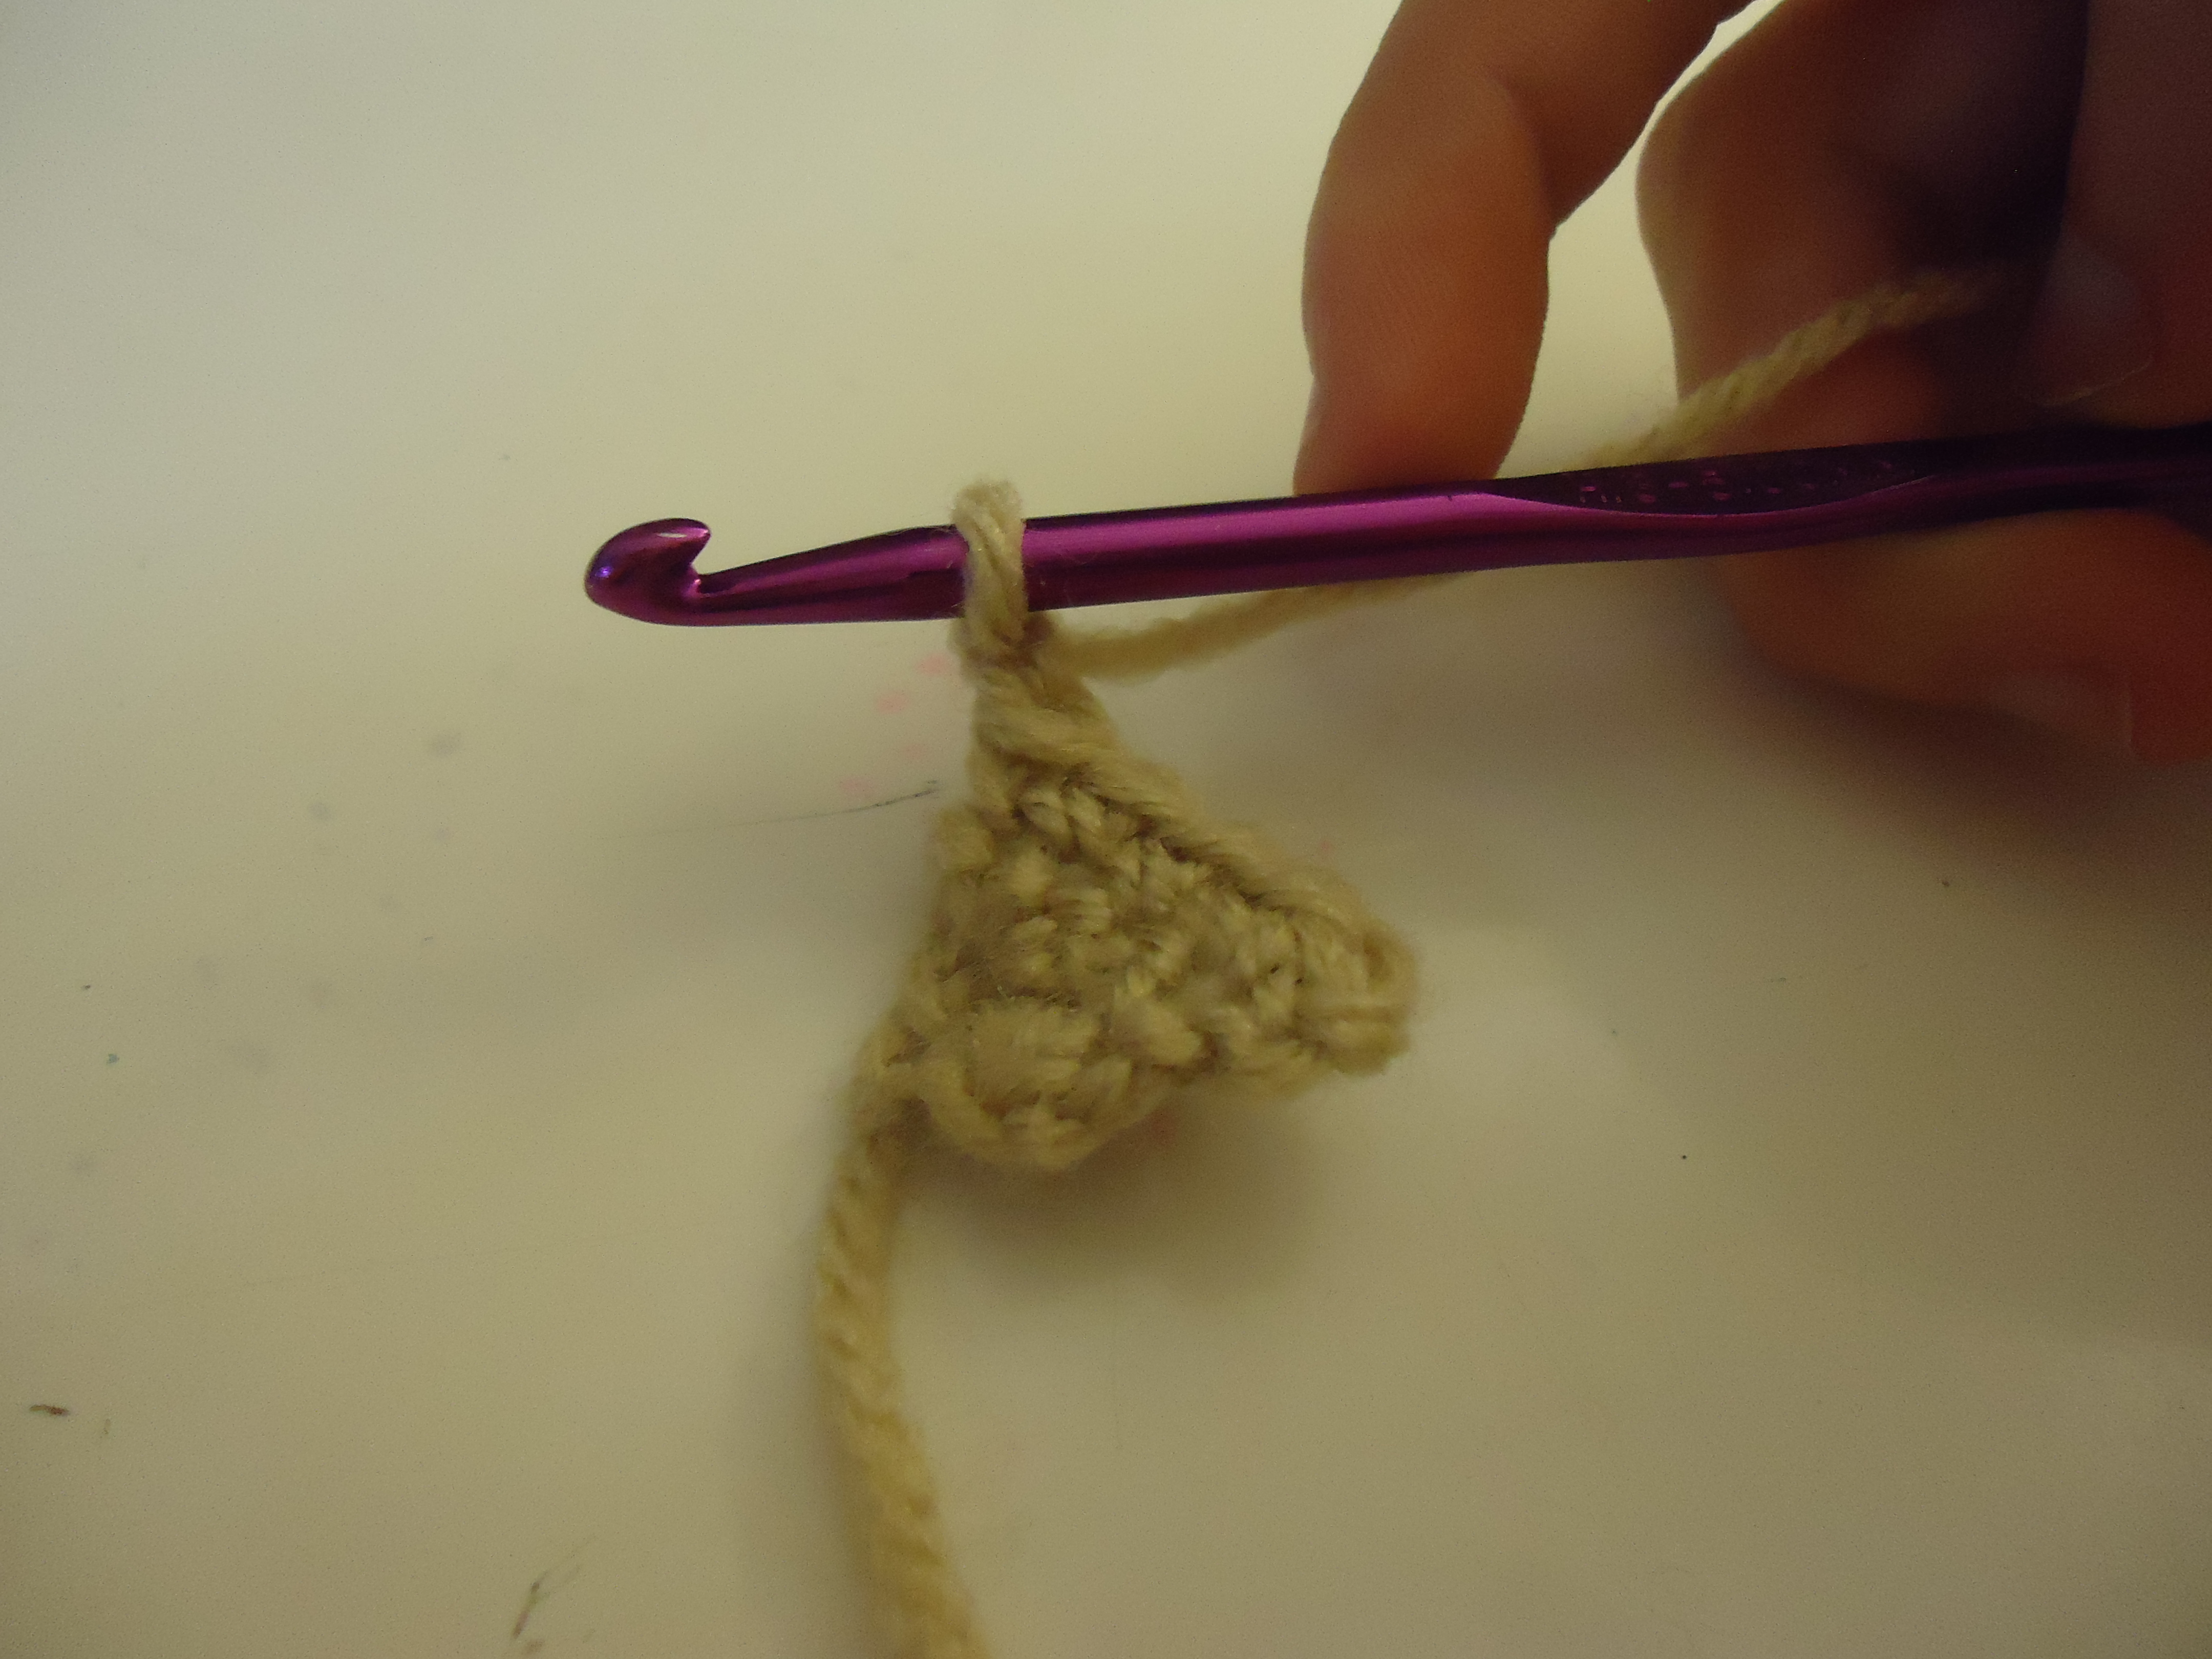
For the third row: Increase in the first stitch, single crochet the next three stitches, chain 1. There should now be 5 stitches. Sensing the pattern yet?? You're going to increase in the first stitch, and single crochet across the rest of the row. Each time, you should have one more stitch than you had in the previous row.
Continue This Pattern
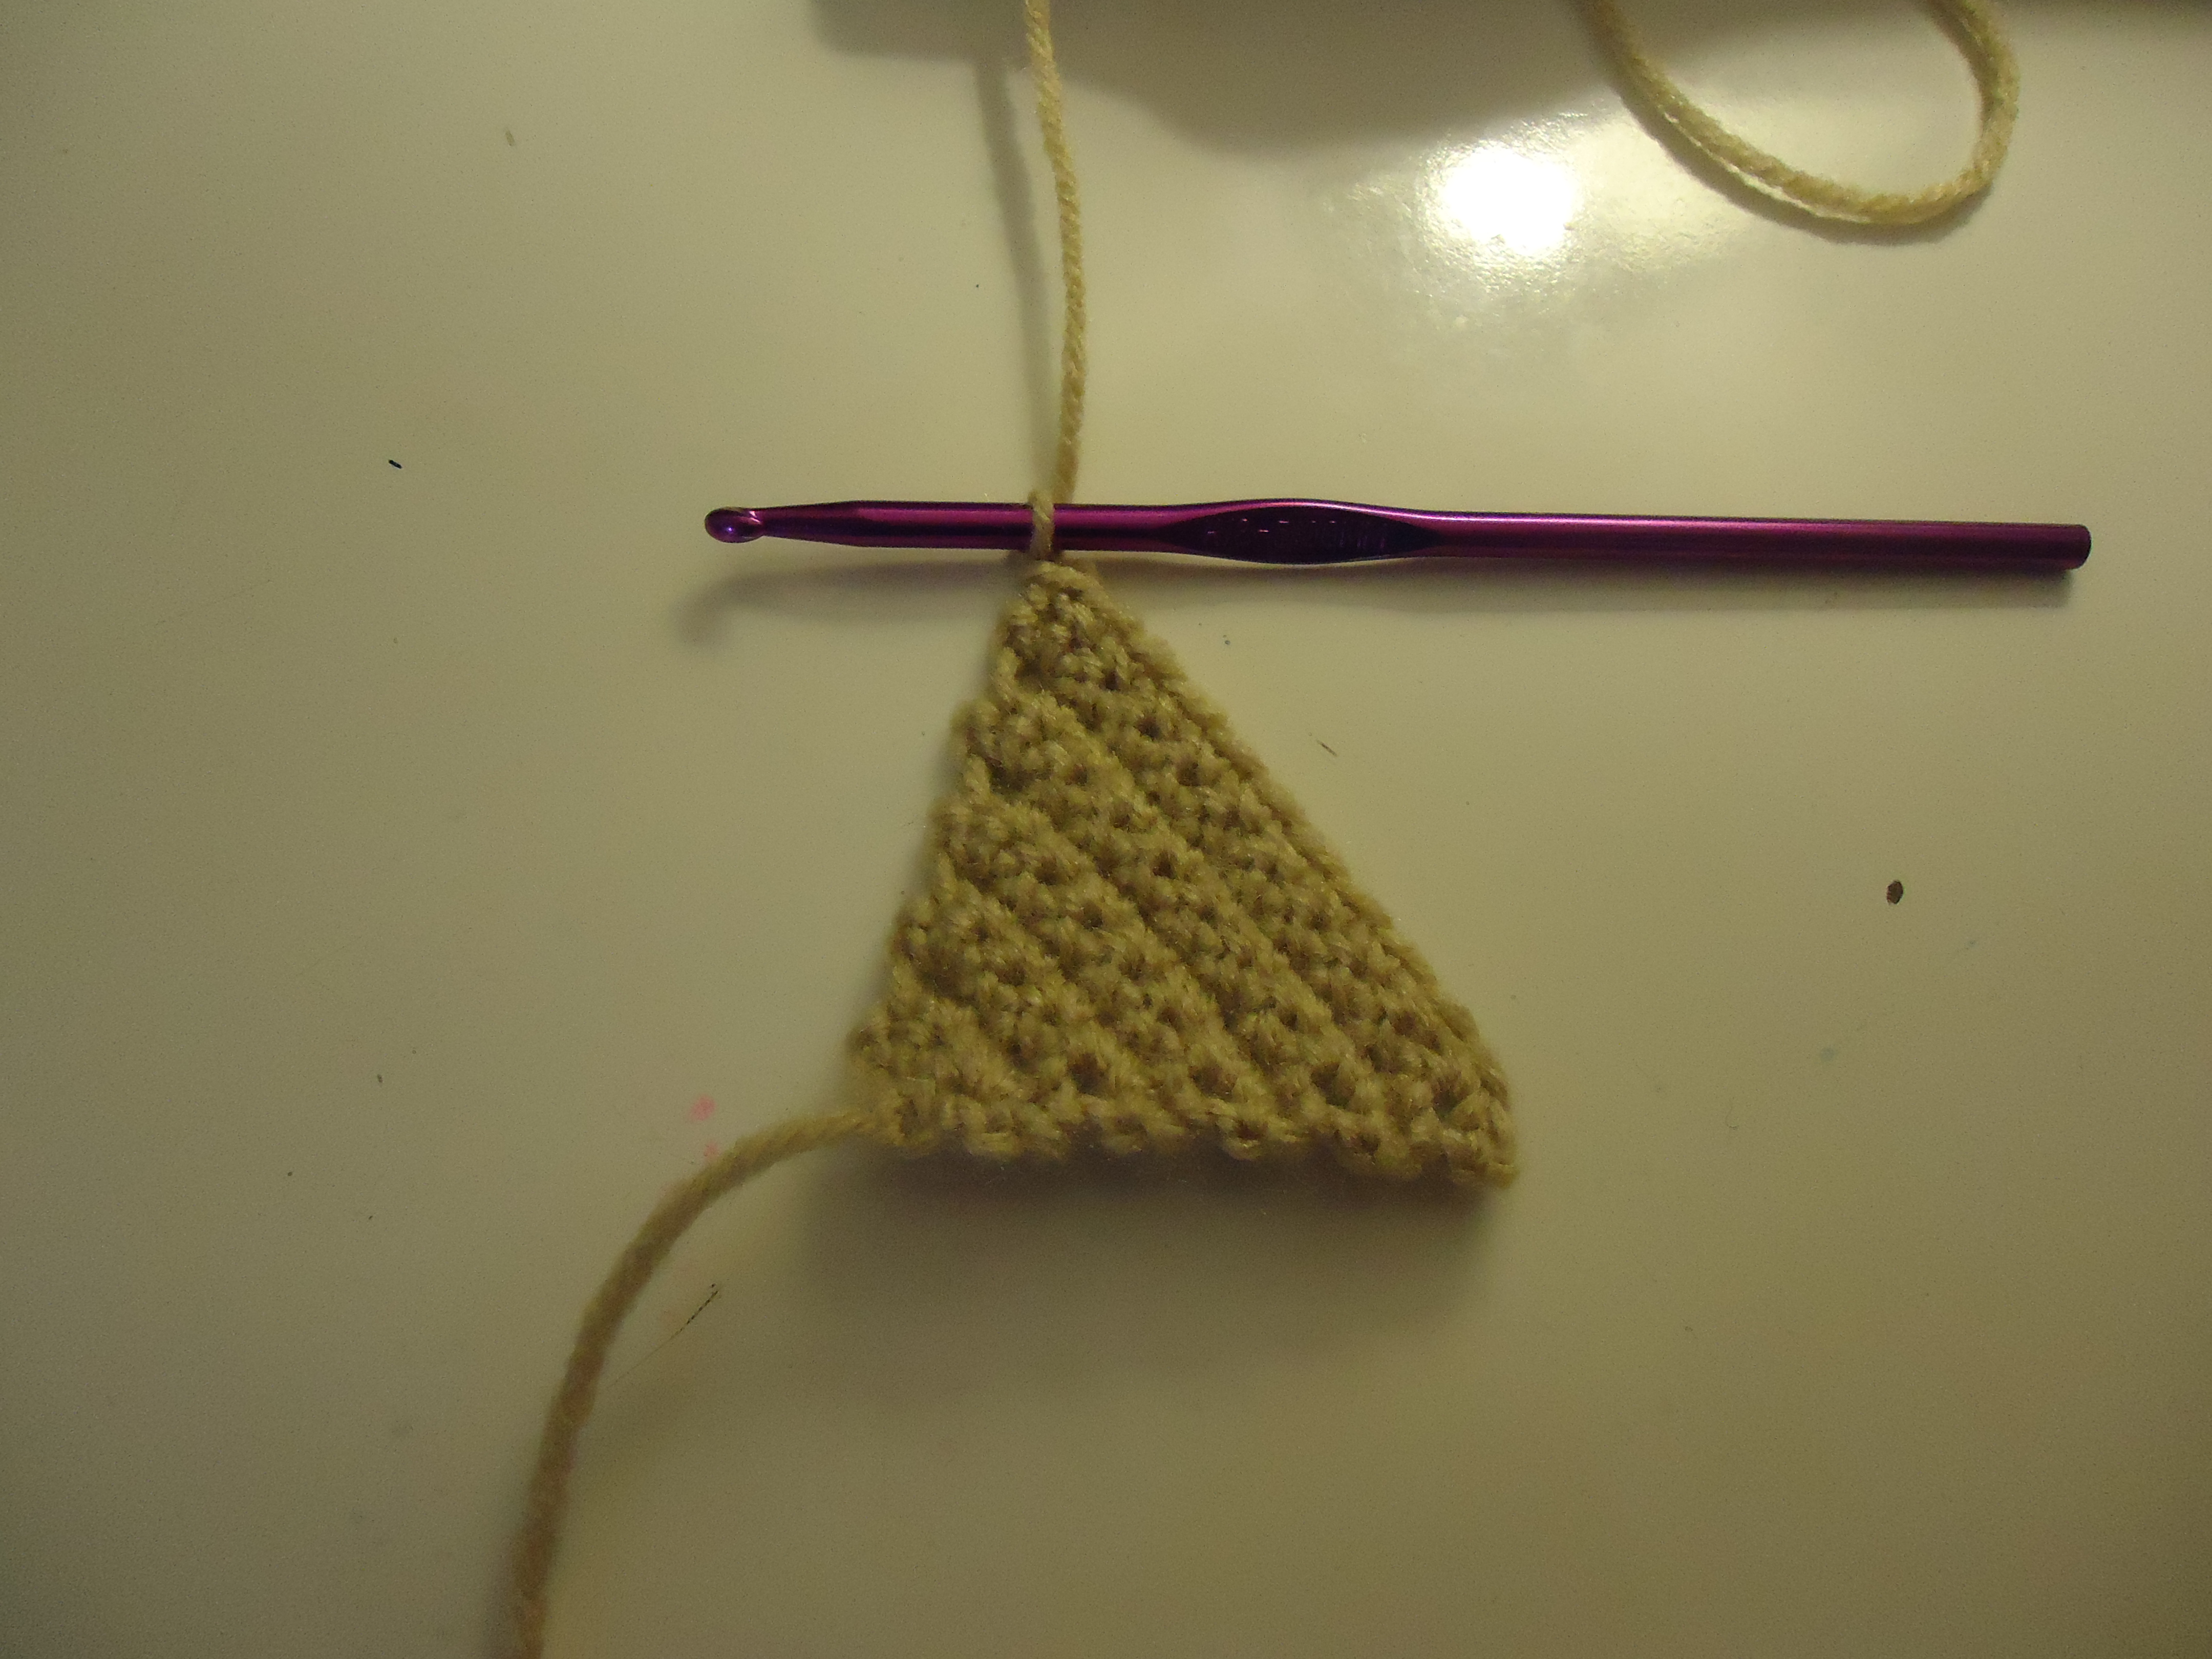
Continue the pattern I just described until you have 12 stitches across. It should be in a triangle shape.
Now.... a Decrease

We've reached the widest point of our square, time to shrink back down to a corner again. Insert your hook into the next stitch, wrap yarn, and pull through first stitch. (2 loops on hook)
Decrease

Again, insert hook into next stitch, wrap yarn, and pull through. This will create three loops on the hook.
Finish Decrease

This next step might take practice. Wrap yarn and pull through ALL 3 loops on the hook. There should only be one loop on the hook and one "v" in the row.
Finish Row
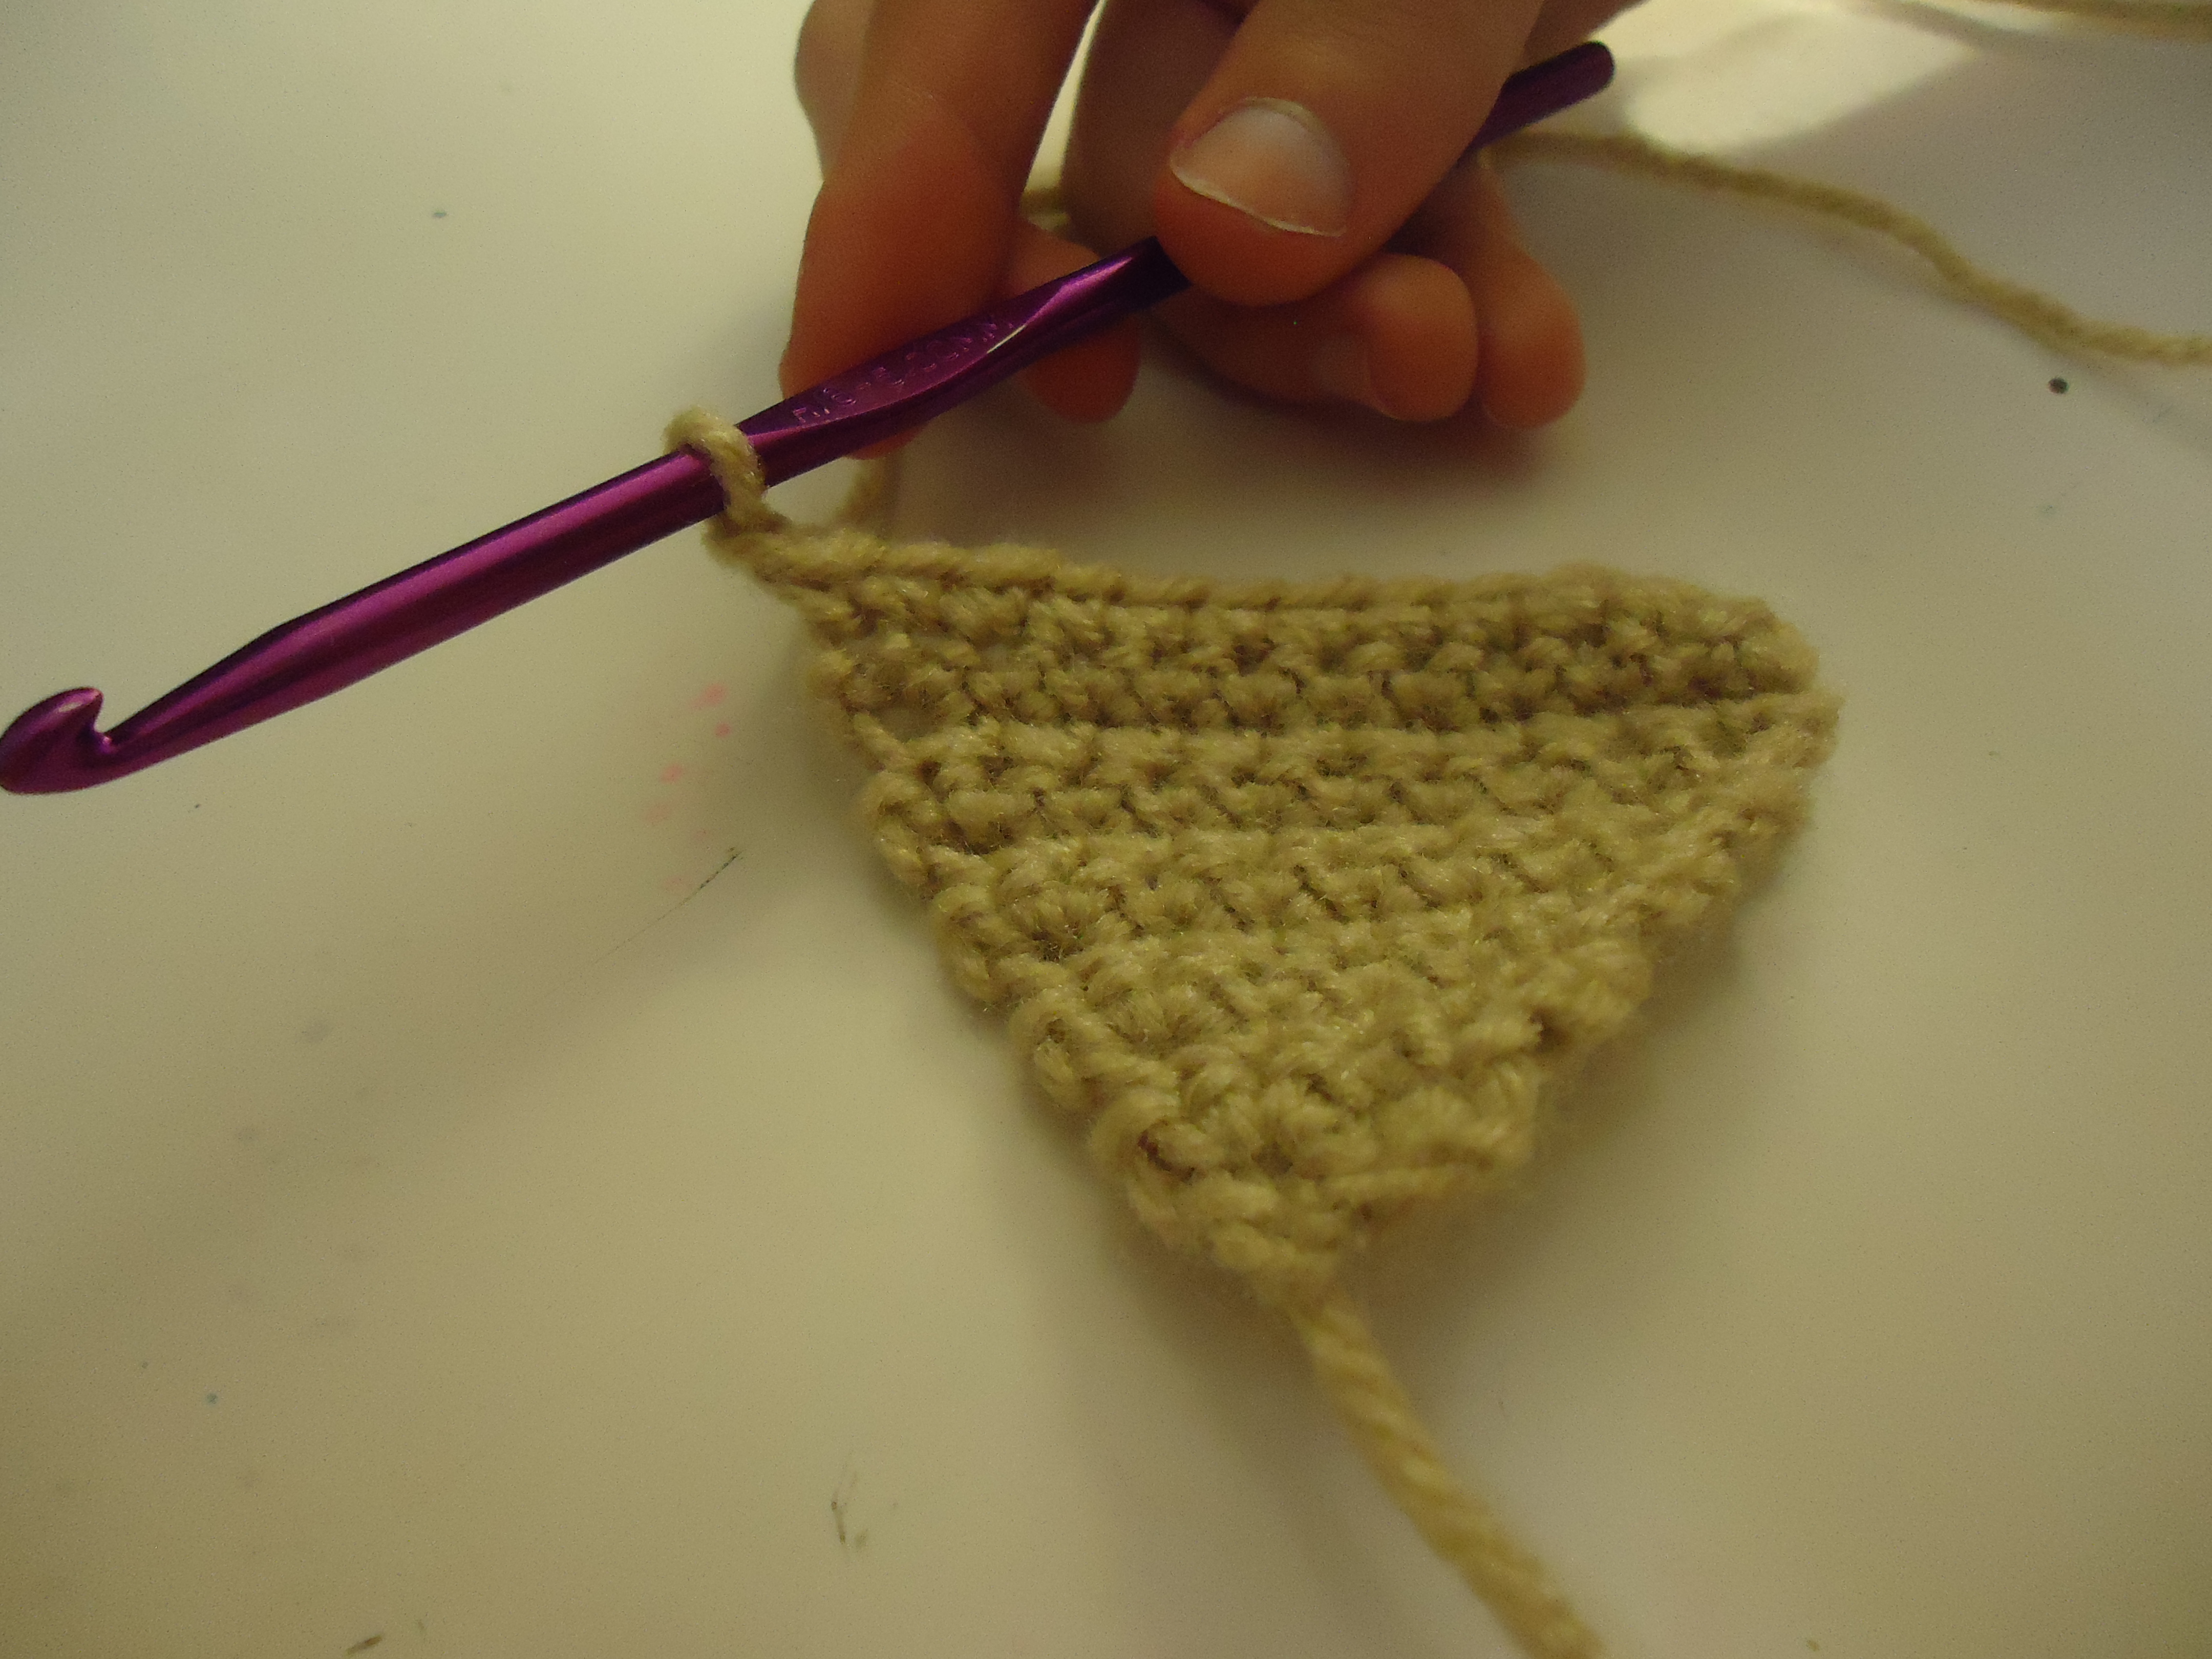
Next, single crochet across. End with a chain stitch. There should be 11 stitches in your row.
Next Row

Work one decrease, single crochet across, end with one chain stitch. Sensing the same pattern as before??
Continue the Pattern
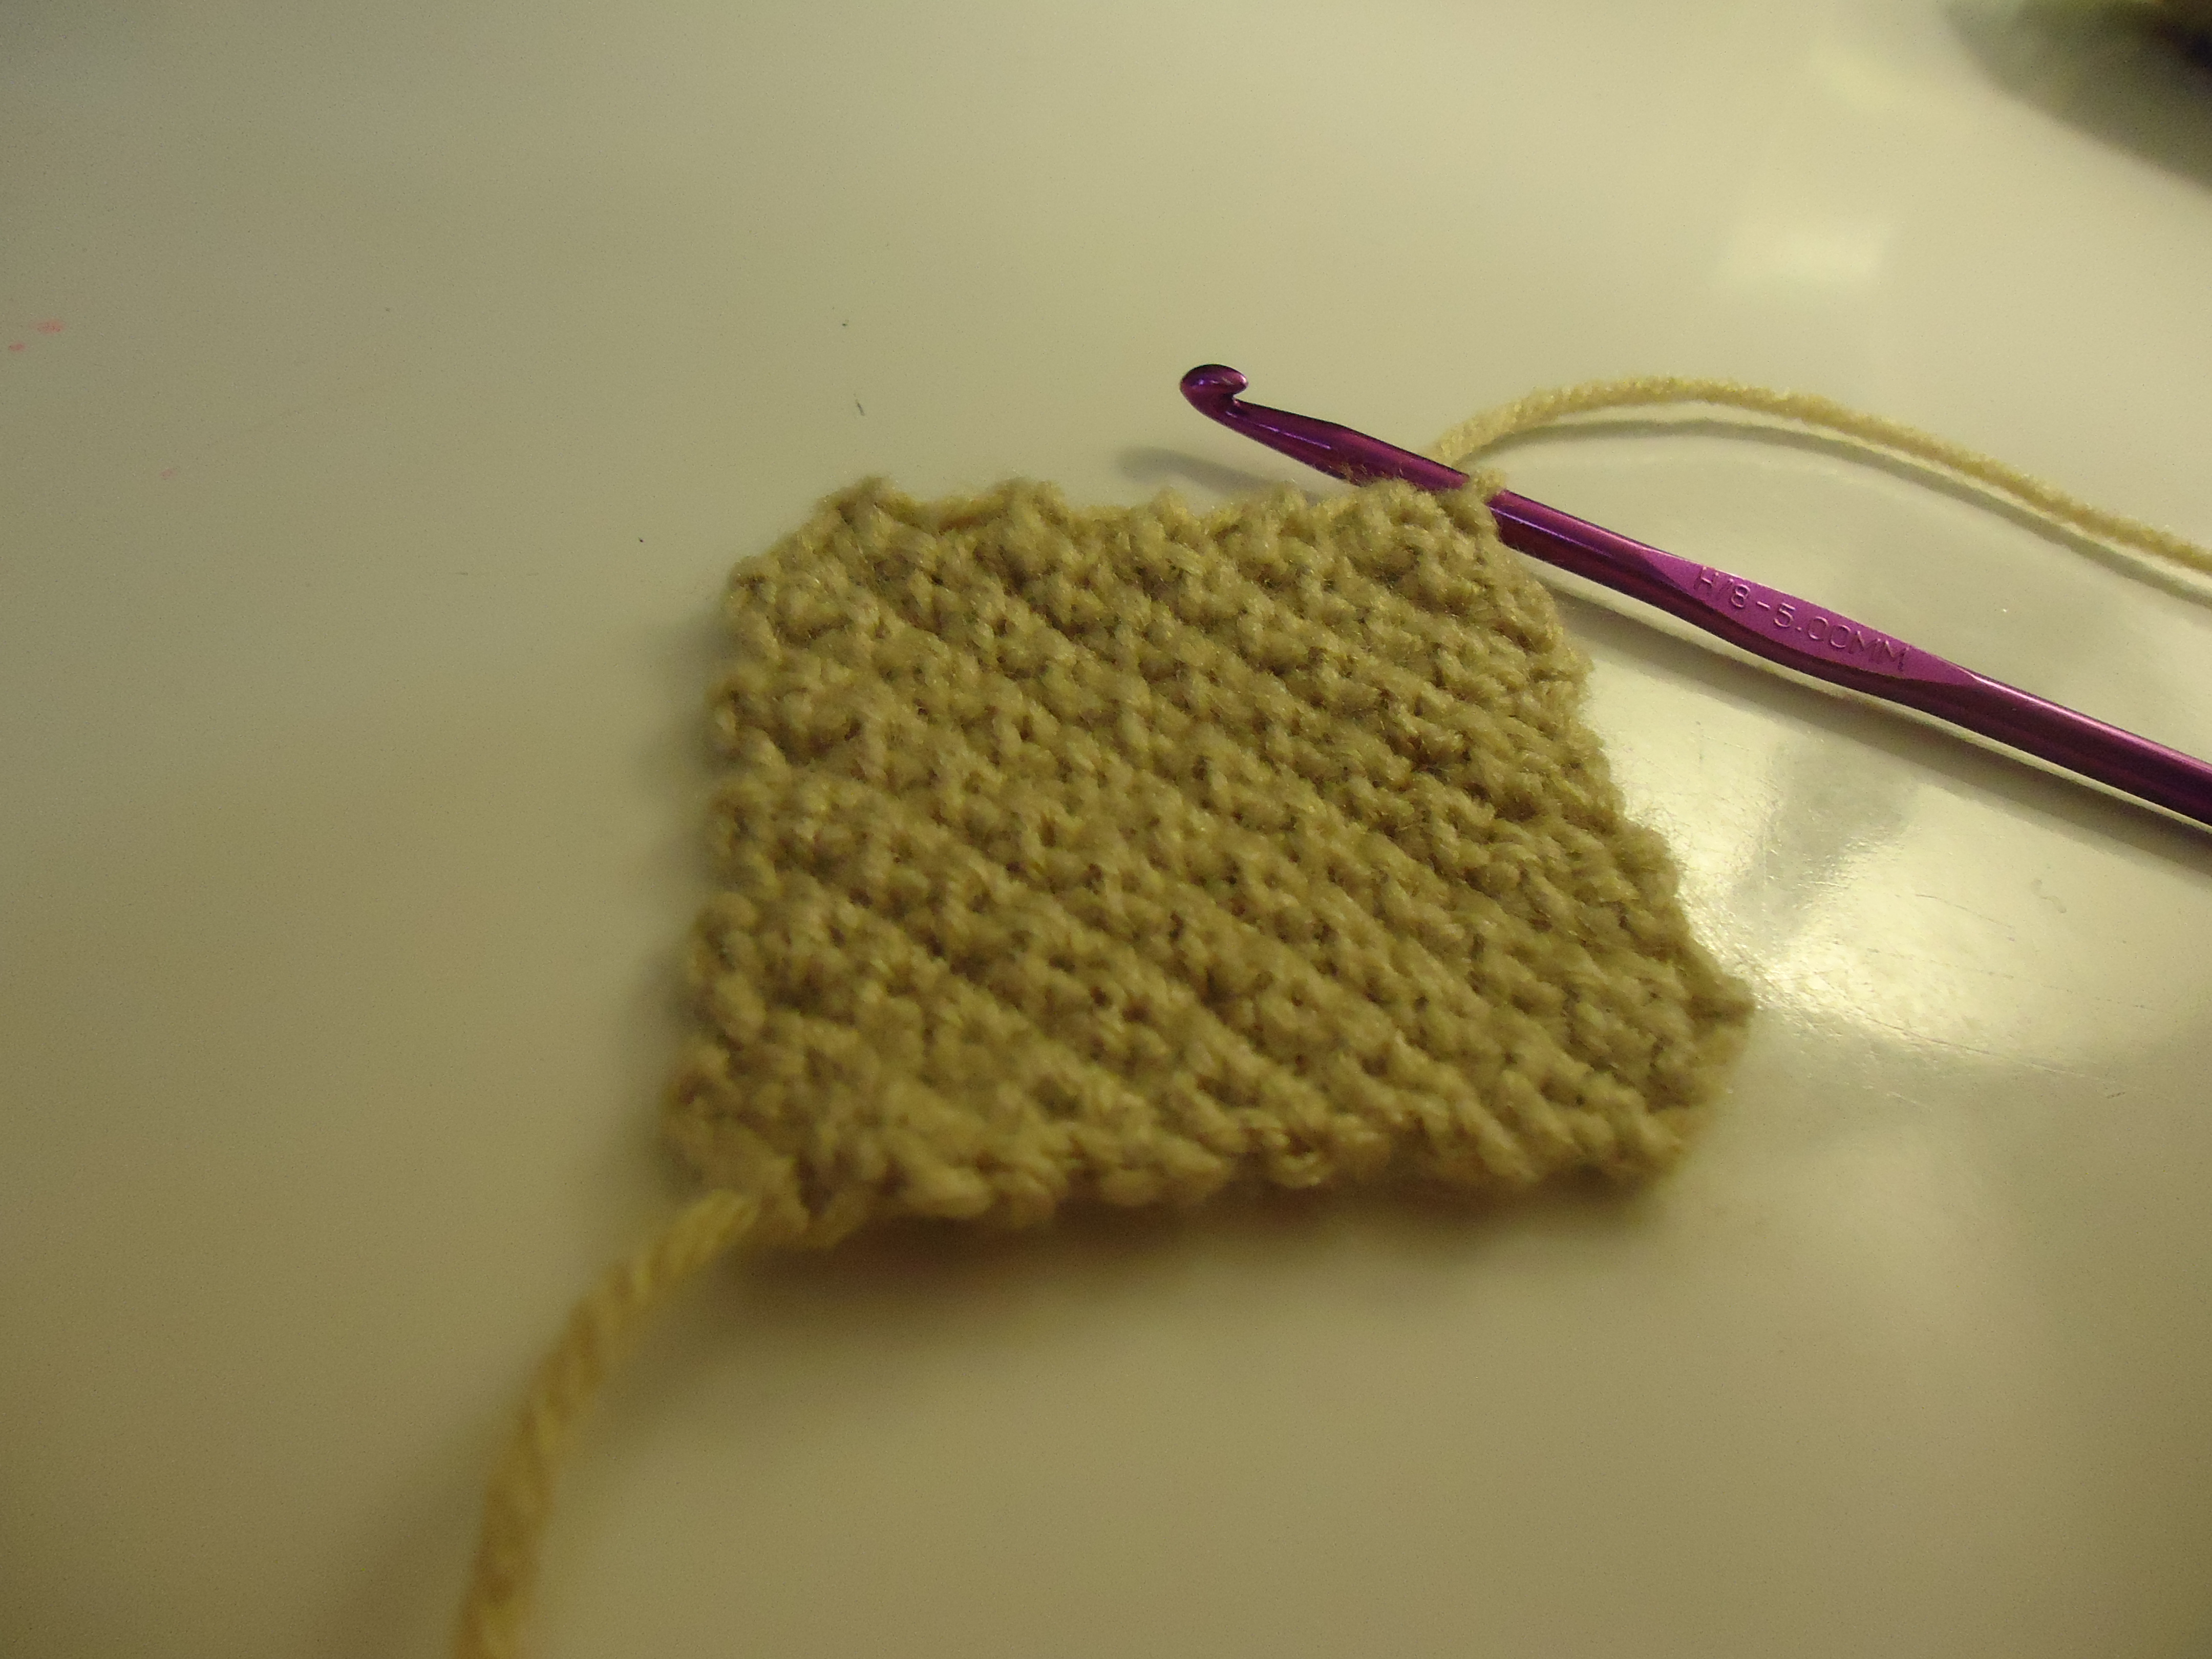
Work this pattern until you have two stitches remaining in your row.
Fasten Off
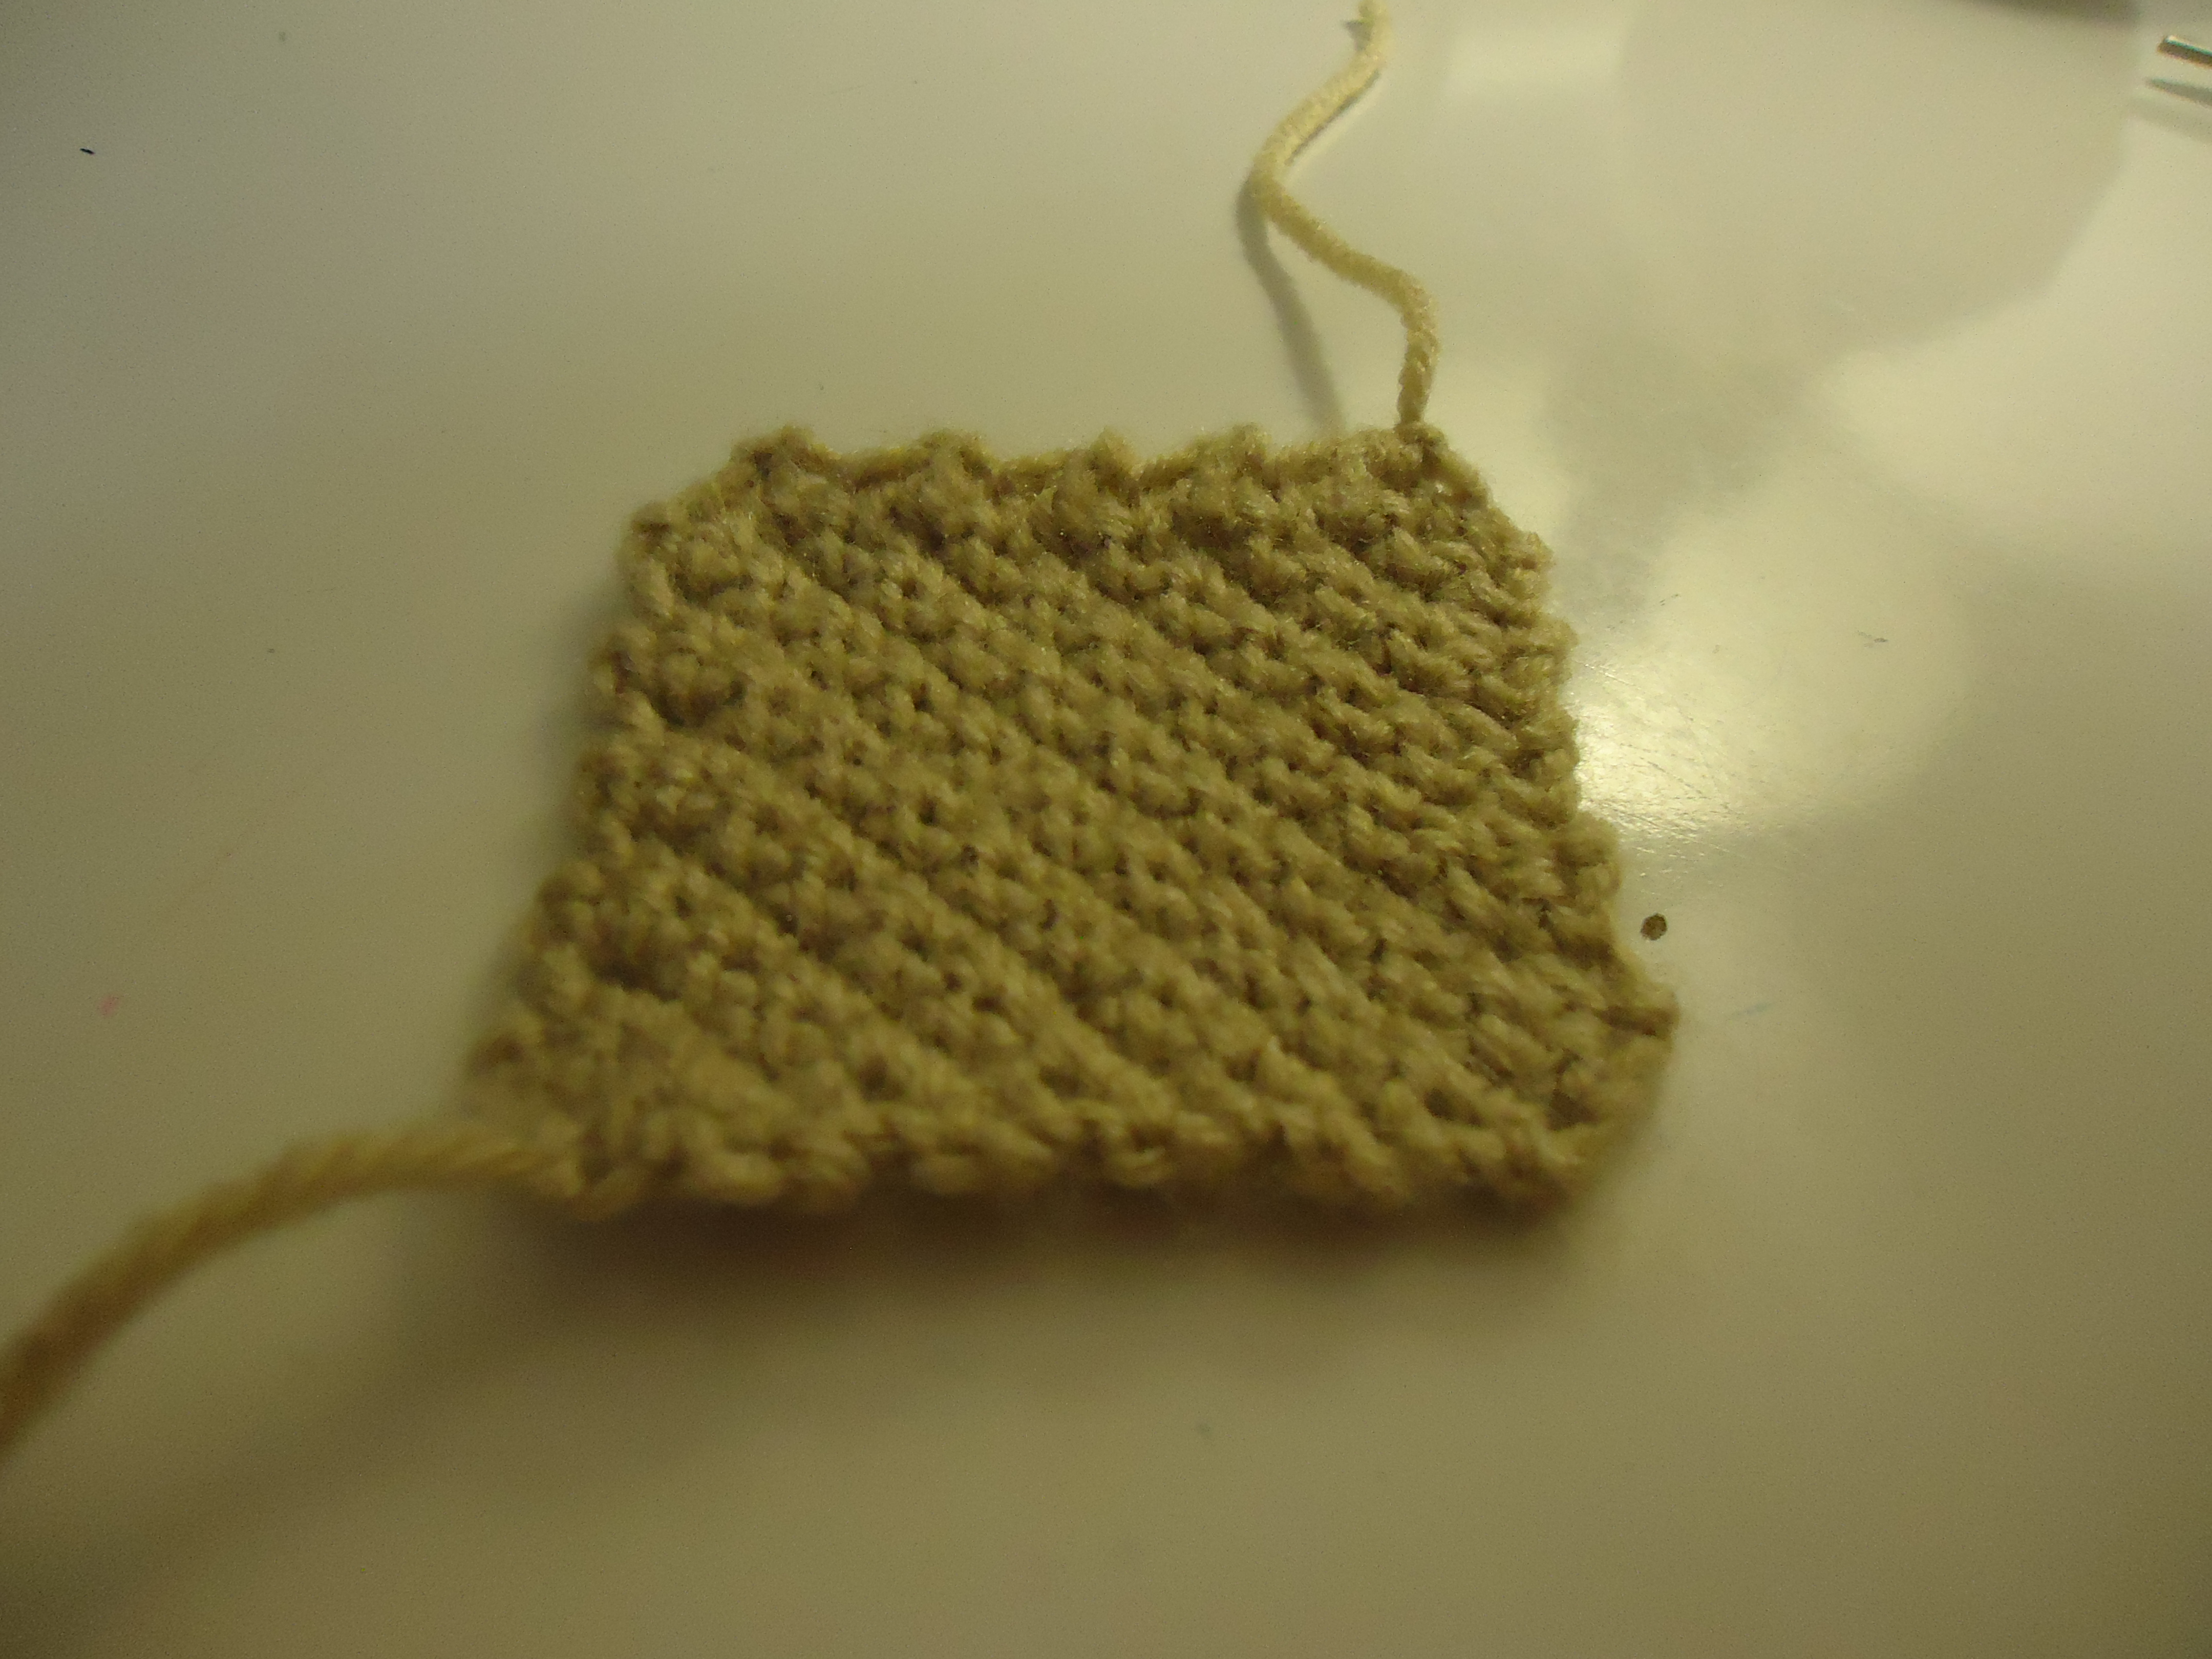
Fasten the final loop like you have before.
Finished Product

Sew in your tails and your third square completed! You may have to stretch it a bit to make a perfect square instead of a diamond.
My next tutorial is a granny square, you'll combine the skills you learned in this tutorial with the past two!
My next tutorial is a granny square, you'll combine the skills you learned in this tutorial with the past two!