Part 2. ThinkBioT Model With Google AutoML
by maritafitzgerald in Circuits > Raspberry Pi
485 Views, 1 Favorites, 0 Comments
Part 2. ThinkBioT Model With Google AutoML
ThinkBioT is designed to be "Plug and Play", with Edge TPU compatible TensorFlow Lite Models.
In this documentation we will cover creating spectrograms, formatting your data, and using Google AutoML.
The code in this tutorial will be written in bash so will be multi-platform compatible.
Dependencies
- However prior to beginning you will need to install Sox a command line audio program compatible with Windows, Mac and Linux devices.
- If you are on a Windows device the easiest way to run bash scripts is via Git so I would recommend and downloading and installing that as its useful in many ways,
- For editing code either use your favorite editor or install NotePad++ for windows or Atom for other operating systems.
**If you have an existing TensorFlow model or would like to try transfer learning with an existing model, please refer to the Google Coral Documentation.
Set Up a Google Cloud Storage Bucket
1. Login in your gmail account (or create one if you do not have a Google account)
2. Go to the project selector page and make a new project for you model and spectrogram files. You will need to enable billing to progress further.
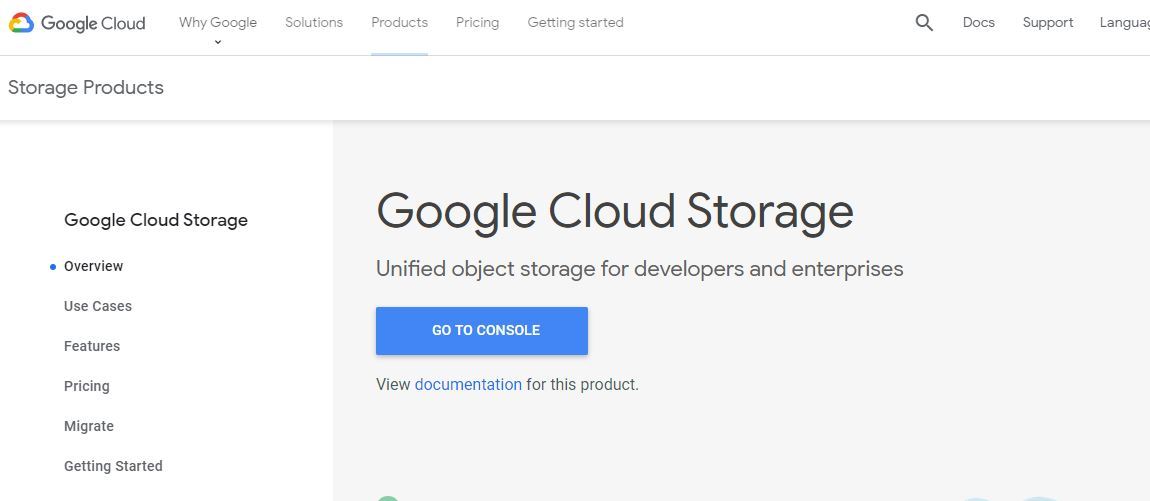
3. Visit https://cloud.google.com/storage/ and press the create bucket button at the top of the page.
4. Enter your desired bucket name and create the bucket accepting default settings.
Format Your Data and Create Dataset Csv
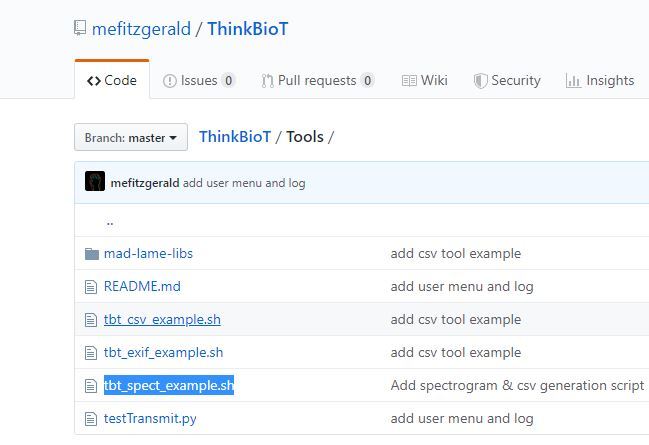

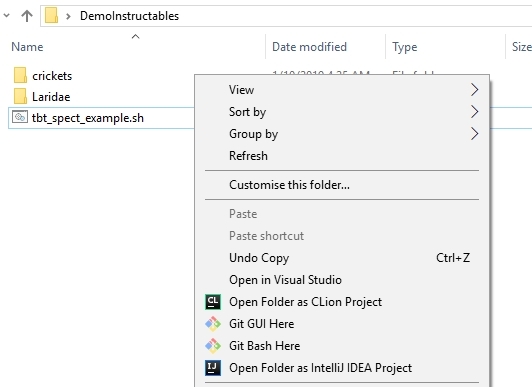
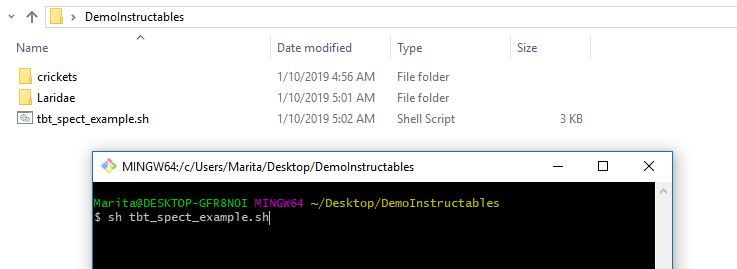
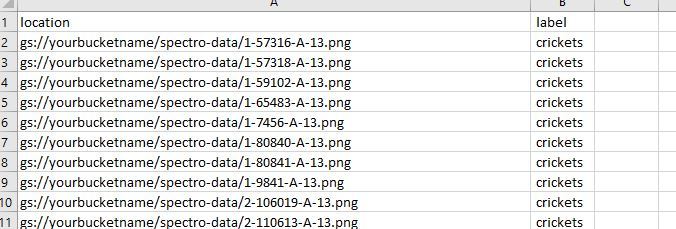
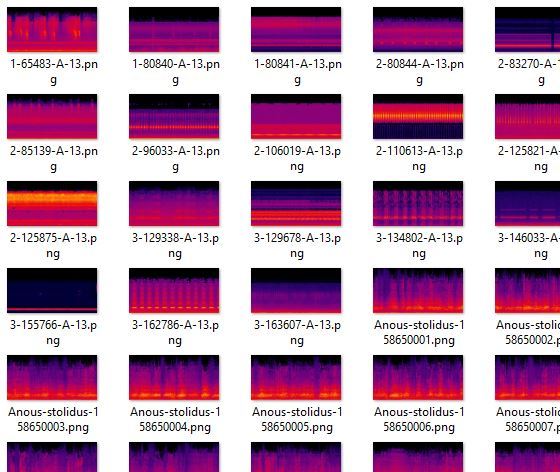
I have designed a helpful script to create your dataset.csv file needed to create your model. The dataset file links the images in your bucket to their labels in the dataset..
1. Download the ThinkBioT repository from GitHub and
2. Copy the tbt_spect_example.sh file from the Tools directory into a new folder on your desktop.
3. Add the audio files you would like to use in your model, putting them in folders that have their label (ie what you would like them sorted into. For example, if you wanted to identify dogs or cats , you could have a folder dog, with bark sounds OR folder named cat with cat sounds etcetc.
4. Open the tbt_spect_example.sh with Notepad++ and replace "yourbucknamename" in line 54 with the name of your Google Storage Bucket. For example, if your bucket was called myModelBucket the line would be changed to
bucket="gs://myModelBucket/spectro-data/"
5. Run the code by typing the following in your Bash terminal, the code will run and create your labels csv file and a directory called spectro-data on your desk top with the resultant spectrograms.
sh tbt_spect_example.sh
Upload Your Spectrograms to Your Bucket
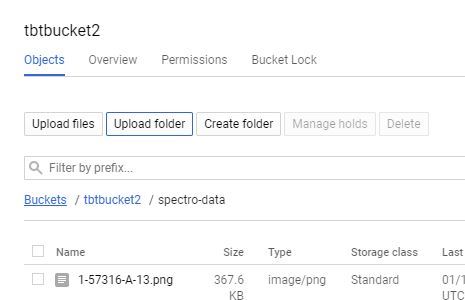
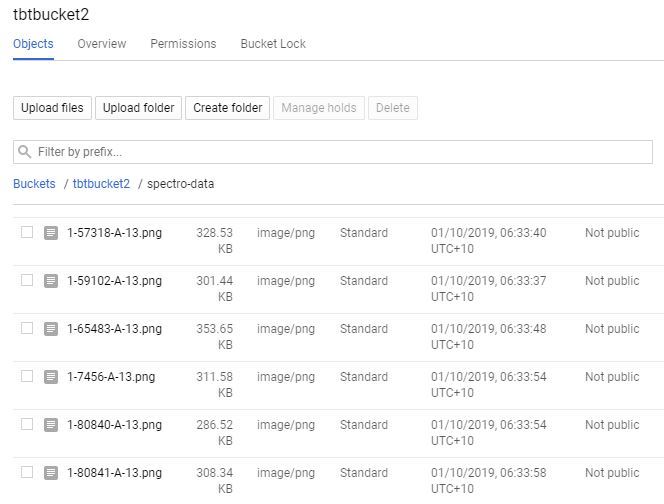
There are a few ways to upload to Google Storage, the easiest is to do a direct folder up load;
1. Click on your bucket name in your Google Storage page.
2. Select the "UPLOAD FOLDER" button and choose your "spectro-data/" directory created in the last step.
OR
2. If you have a large amount of files you ca manually create the "spectro-data/" directory by selecting "CREATE FOLDER", then navigate into the folder and select "UPLOAD FILES". This can be a great option for large data sets as you can upload the spectrograms in sections, even using multiple computers to increase the upload speed.
OR
2. If you are an advanced user you can also upload via Google Cloud Shell;
gsutil cp spectro-data/* gs://your-bucket-name/spectro-data/
You should now have a bucket full of pretty pretty spectrograms!
Upload Your Dataset Csv
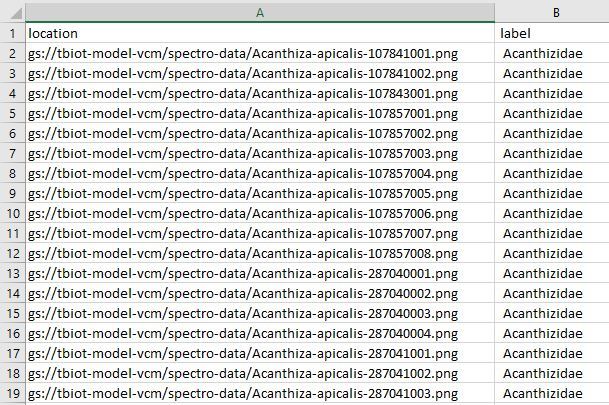
Now we need to upload the model-labels.csv file to your "spectro-data/" directory in Google Storage, it essentially the same as the last step, you are just uploading a single file instead of many.
1. Click on your bucket name in your Google Storage page.
2. Select the "UPLOAD FILE button and choose your model-labels.csv file you created earlier.
Create Dataset

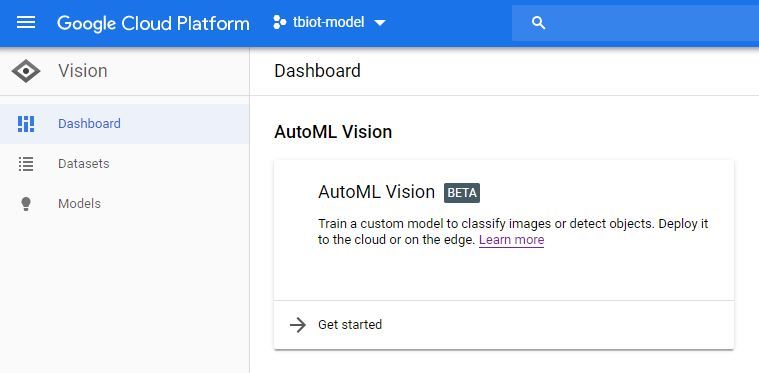
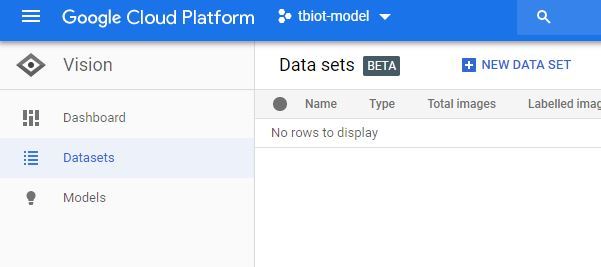
1. Firstly you will need to find the AutoML VIsion API, it can be a little tricky! The easiest way is to search "automl vision" in the search bar of your Google Cloud storage (pictured).
2. Once you click on the API link you will need to enable the API.
3. Now you will be in the AutoML Vision Dashboard (pictured) click o the new dataset button and select Single label and the 'Select a CSV file' option. You will then include the link to your model-labels.csv file in your storage bucket. If you have followed this tutorial it will be as per below
gs://yourBucketName/spectro-data/model-labelsBal.csv
4. Then press continue to create your dataset. It may take some time to create.
Create Your AutoML Model
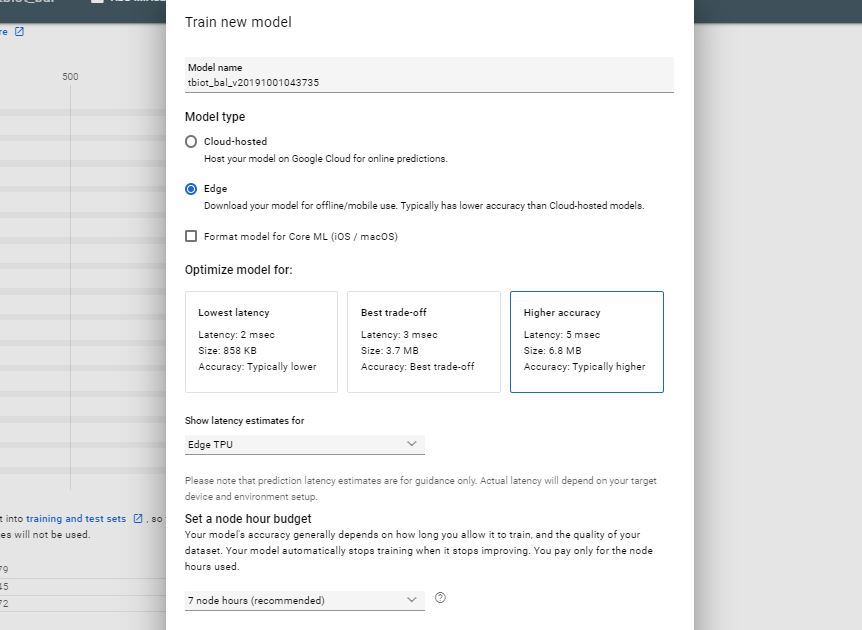
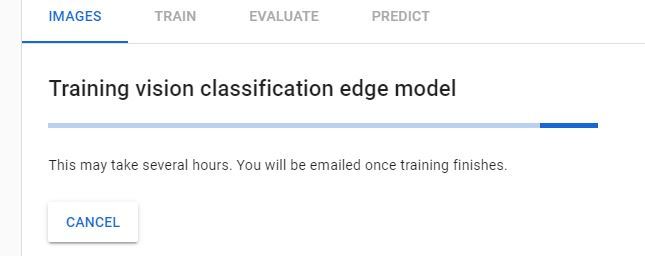
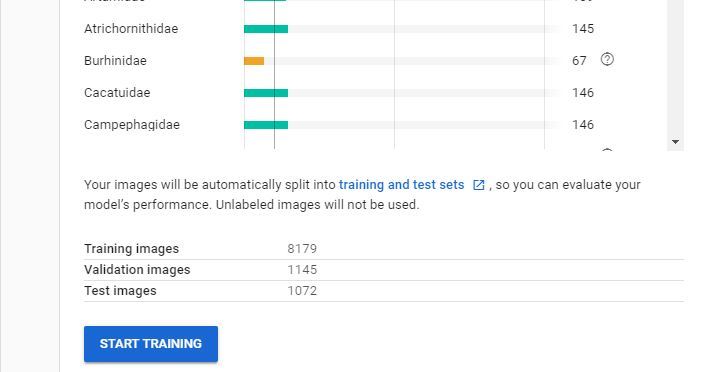

Once you have received your email letting you know your dataset has been created you are ready to create your new model.
- Press the TRAIN button
- Select model type : Edge and Model latency estimates : Edge TPU and leave the other options as default initially, tough you may like to experiment with then later.
- Now your model will train, it will take some time and you will receive an email when it is ready to download.
Note: If you train button is unavailable you may have issues with your dataset. If you have less than 10 of each class(label) the system will not let you Train a Model so you may have to add extra images. It is worth having a look at the Google AutoML Video if you need clarification.
Test Your Model
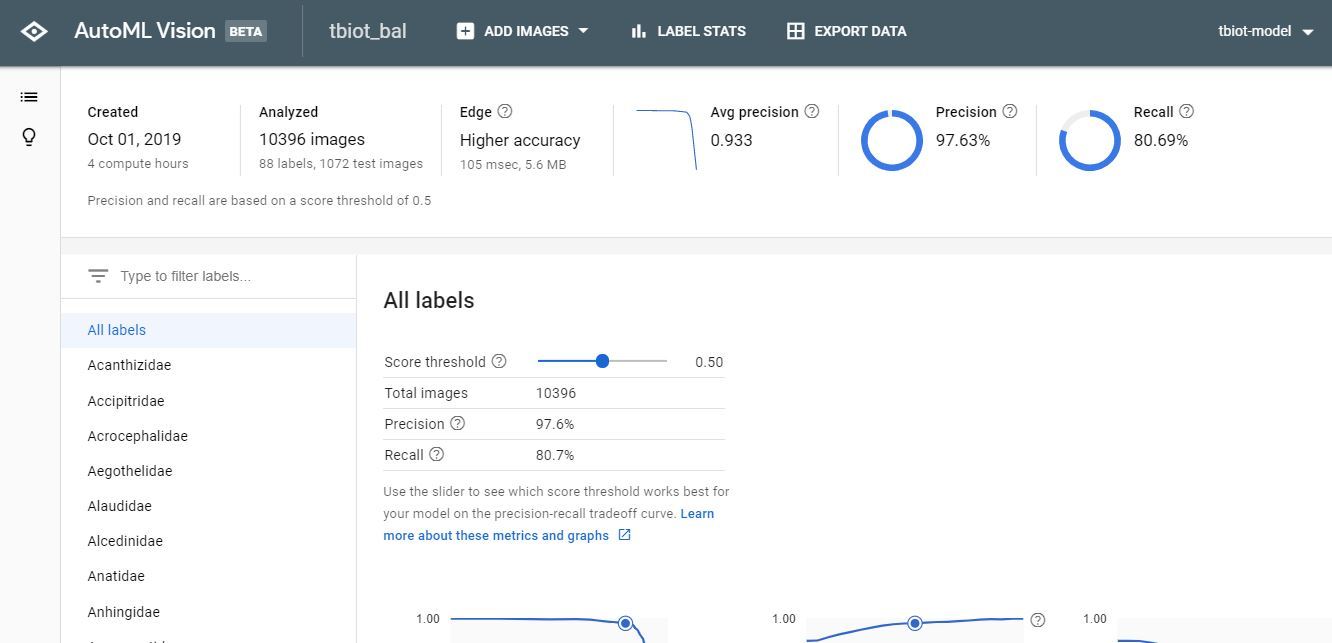
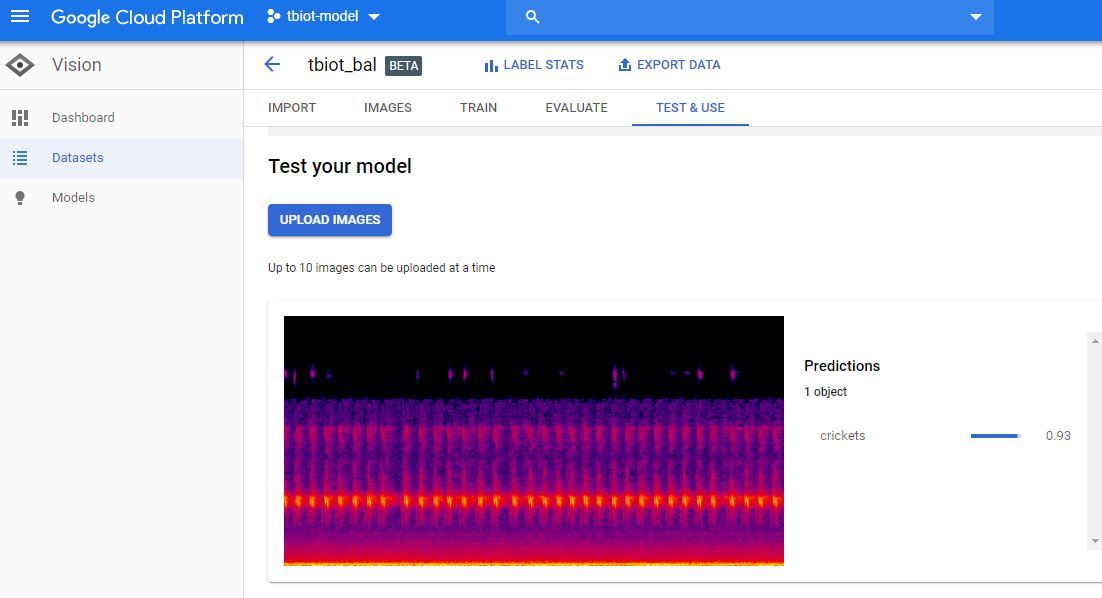
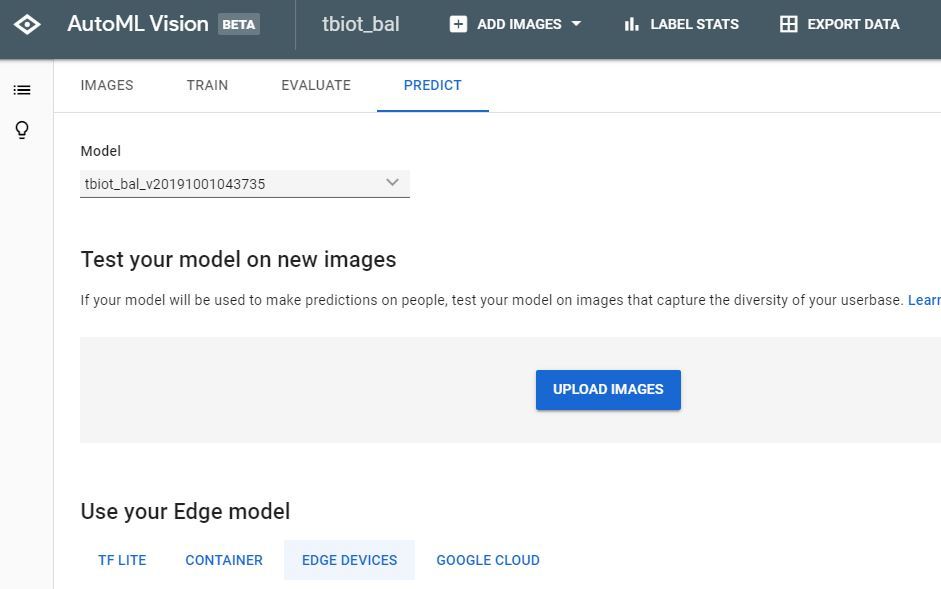
Once you receive your model completion email click on the link to return to the AutoML Vision API.
1. Now you will be able to view your results and the confusion matrix for your model.
2. The next step is to test your Model, go to 'TEST & USE' or 'PREDICT' strangely there seem to be 2 user GUI's, both of which I have pictured, but the options both have the same functionality.
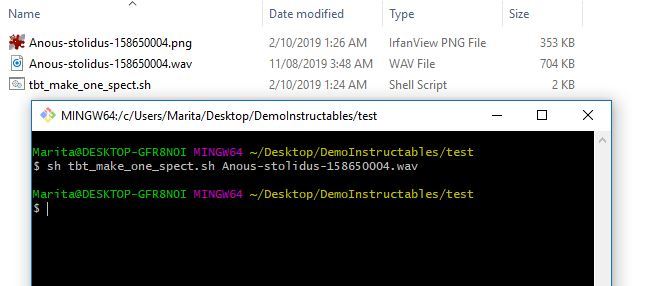
3. Now you can upload a test spectrogram. To make a single spectrogram you can use the tbt_make_one_spect.sh program from the ThinkBioT Github. Simply drop it in a folder with the wav that you want to convert into a spectrogram open a Git Bash window (or terminal) and use the code below, substituting your filename.
sh tbt_make_one_spect.sh yourWavName.wav
4. Now simply upload the spectrogram and check your result!
Install Your Model Into ThinkBioT
.png)
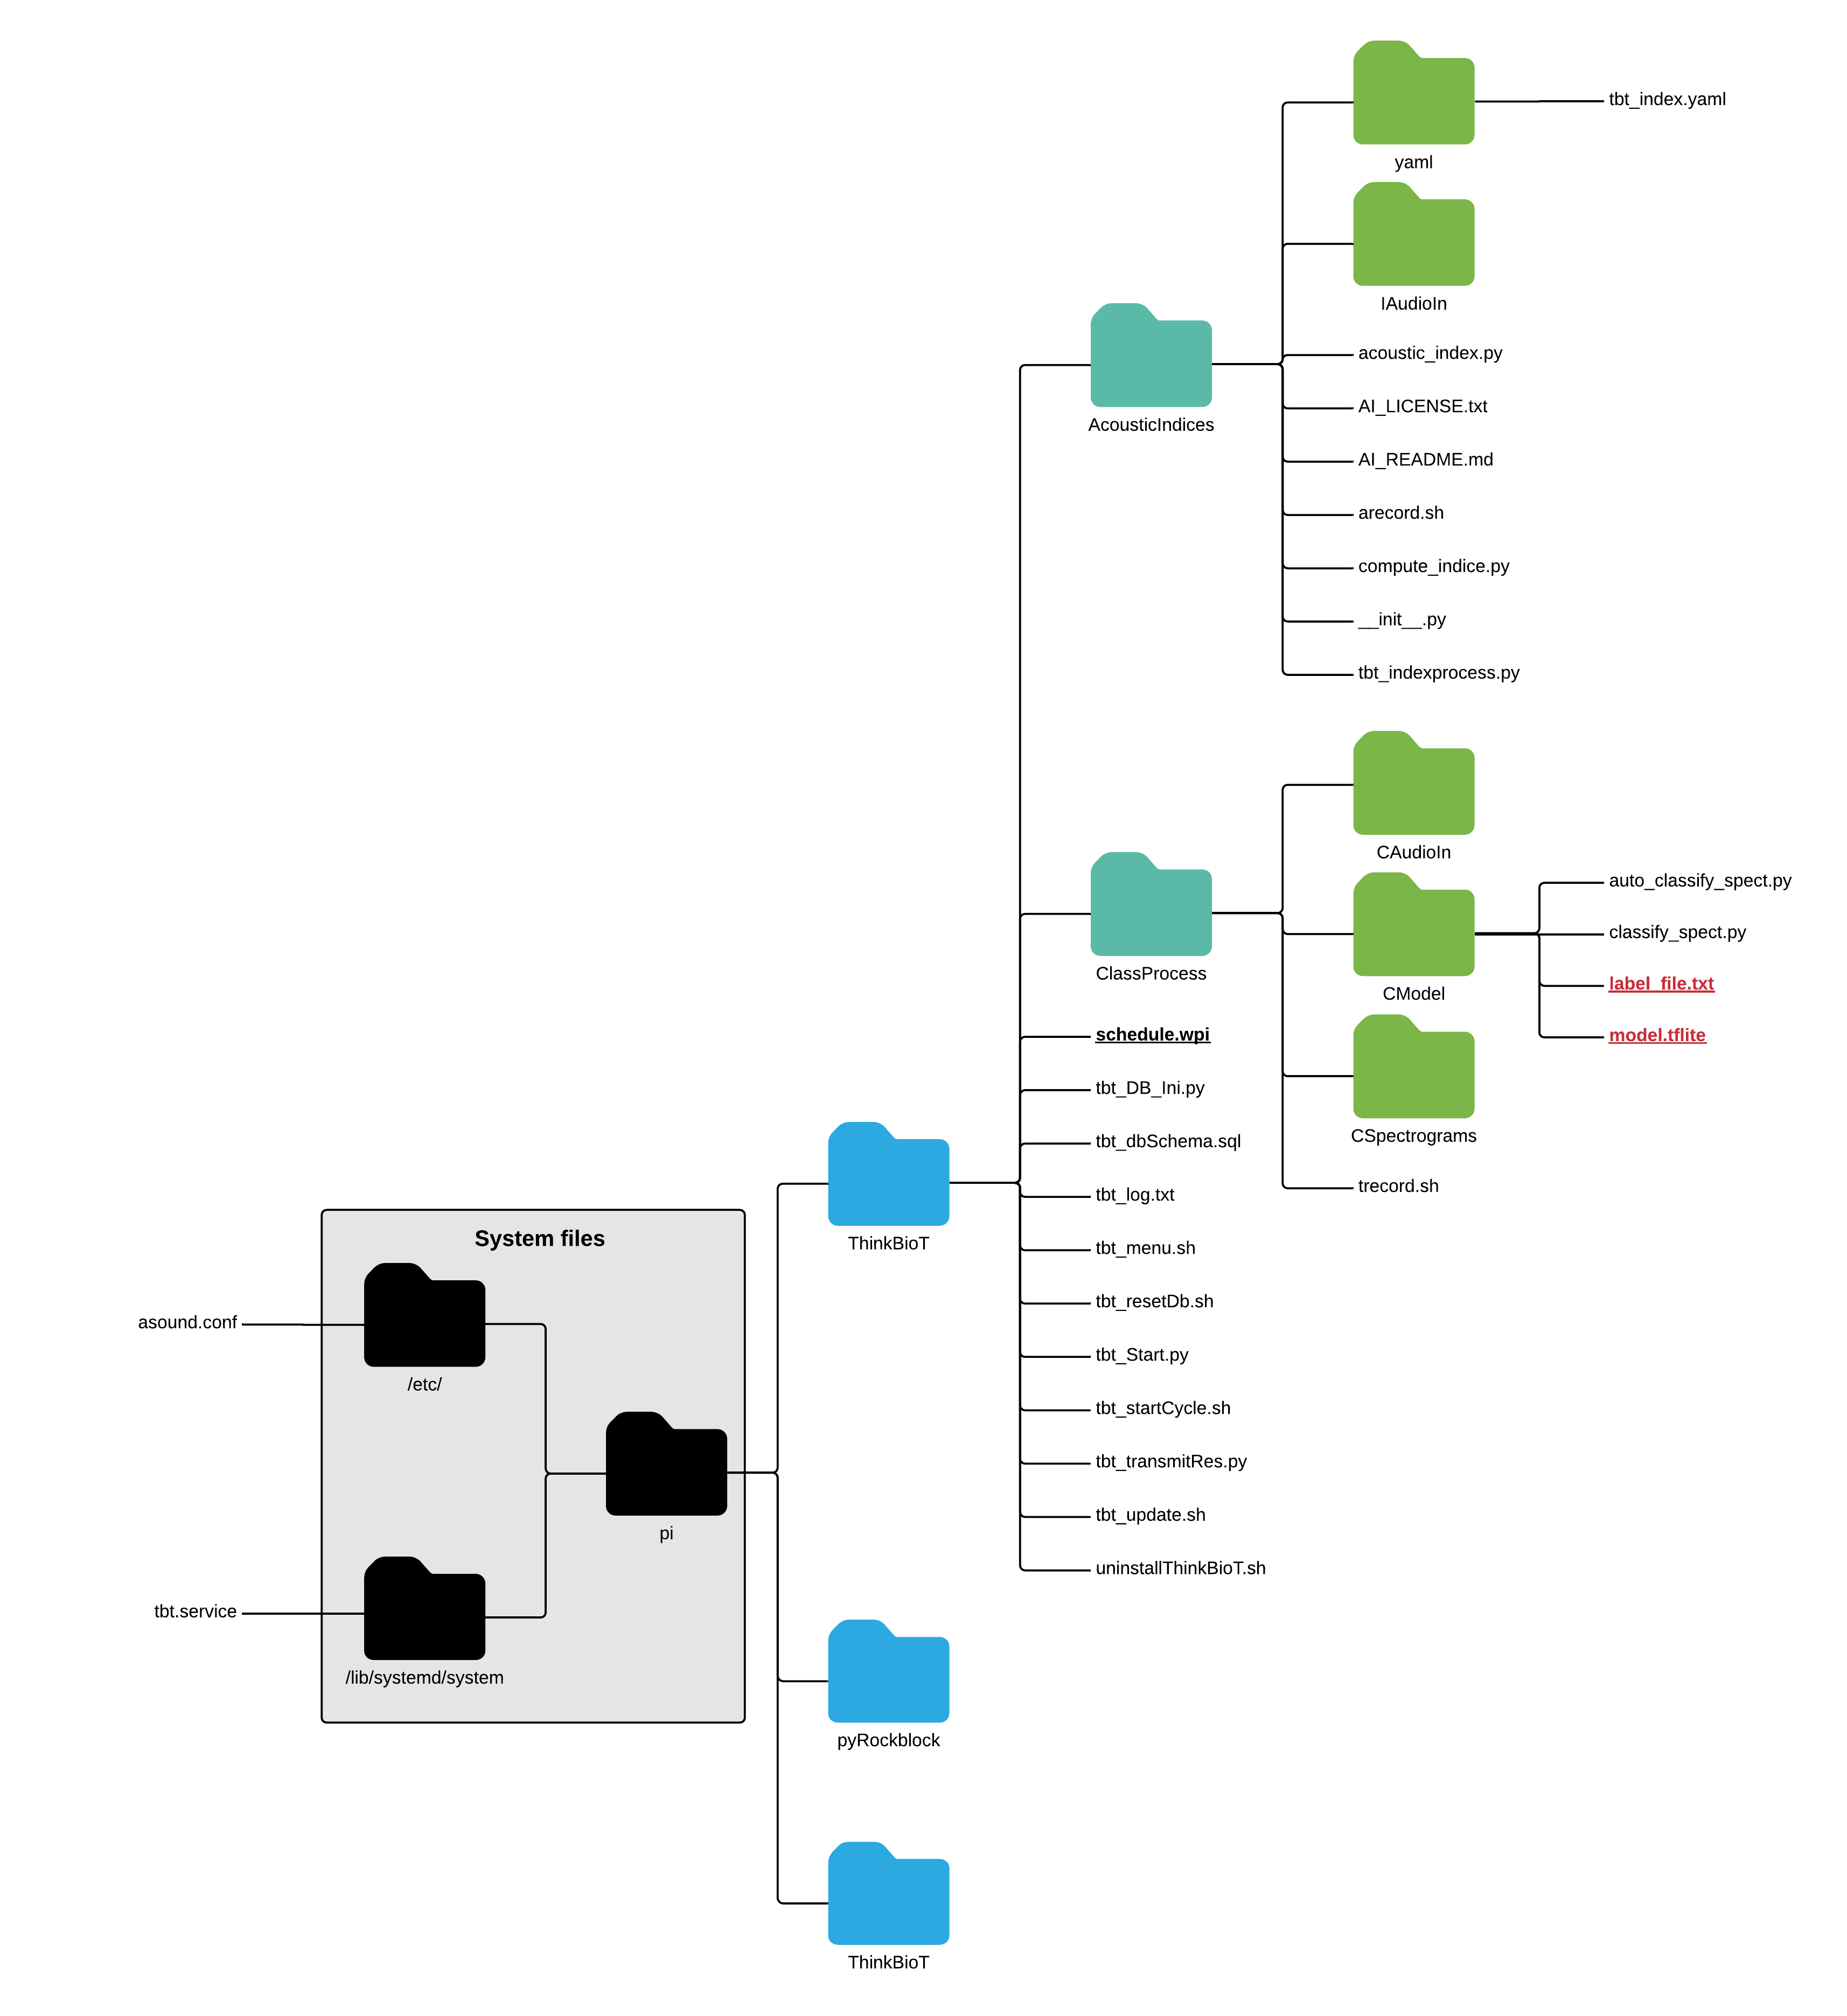
To use your new shiny model simply drop the model and the txt file into CModel folder;
pi > ThinkBioT > ClassProcess > CModel
Now you are ready to use ThinkBioT :)
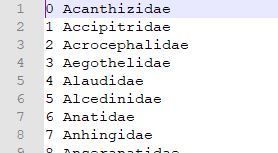
**NB** If you are using your model outside the ThinkBioT framework you will need to edit your label document as add umbers to the start of each line as the latest tflite interpreters built-in "readlabels" function assumes they are there. I have written a custom function in the ThinkBioT framework classify_spect.py as a work around which you are welcome to use in your own code :)
def ReadLabelFile(file_path):
    counter = 0
    with open(file_path, 'r', encoding='utf-8') as f:
        lines = f.readlines()
    ret = {}
    for line in lines:
        ret[int(counter)] = line.strip()
        counter = counter + 1
    return ret