ThingSpeak-IFTTT-ESP32-Predictive-Machine-Monitoring
by Manish_Jugran in Circuits > Wireless
2629 Views, 0 Favorites, 0 Comments
ThingSpeak-IFTTT-ESP32-Predictive-Machine-Monitoring
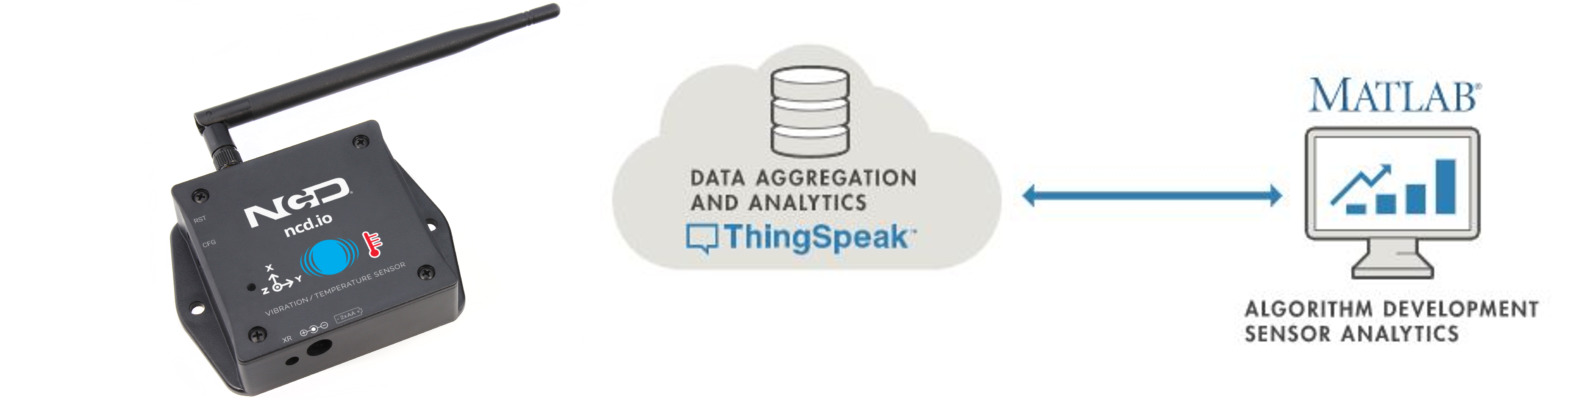
In this project, we will measure vibration and temperature using NCD vibration and temperature sensor, ESP32, and ThingSpeak.We will also send different temperature and vibration readings to Google Sheet Using ThingSpeak and IFTTT for analyzing vibration sensor data.
The rising of new technology i.e, the Internet of Things, heavy industry has started adopting sensor-based data collection to solve its biggest challenges, principal among them process downtime in the form of shutdowns and process delays. Machine monitoring also called predictive maintenance or condition monitoring is the practice of monitoring electrical equipment through sensors in order to accumulate diagnostic data. To achieve this, data acquisition systems and data loggers are used to monitor all kinds of equipment, such as boilers, motors, and engines. Following condition are measured:
- Temperature and Humidity Data Monitoring
- Current and Voltage Monitoring
- Vibration Monitoring: In this article, we will read Temperature, vibration and publish the data on ThingSpeak. ThingSpeak and IFTTT support graphs, UI, notifications, and emails. These features make it ideal for predictive maintenance analysis. We will also get the data in google sheets which will make predictive maintenance analysis more easier.
Hardware and Software Required
Hardware Required:
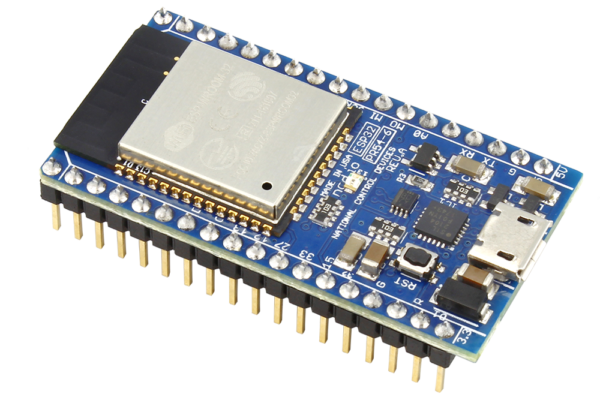
- ESP-32: The ESP32 makes it easy to use the Arduino IDE and the Arduino Wire Language for IoT applications. This ESp32 IoT Module combines Wi-Fi, Bluetooth, and Bluetooth BLE for a variety of diverse applications. This module comes fully-equipped with 2 CPU cores that can be controlled and powered individually, and with an adjustable clock frequency of 80 MHz to 240 MHz. This ESP32 IoT WiFi BLE Module with Integrated USB is designed to fit in all ncd.io IoT products.
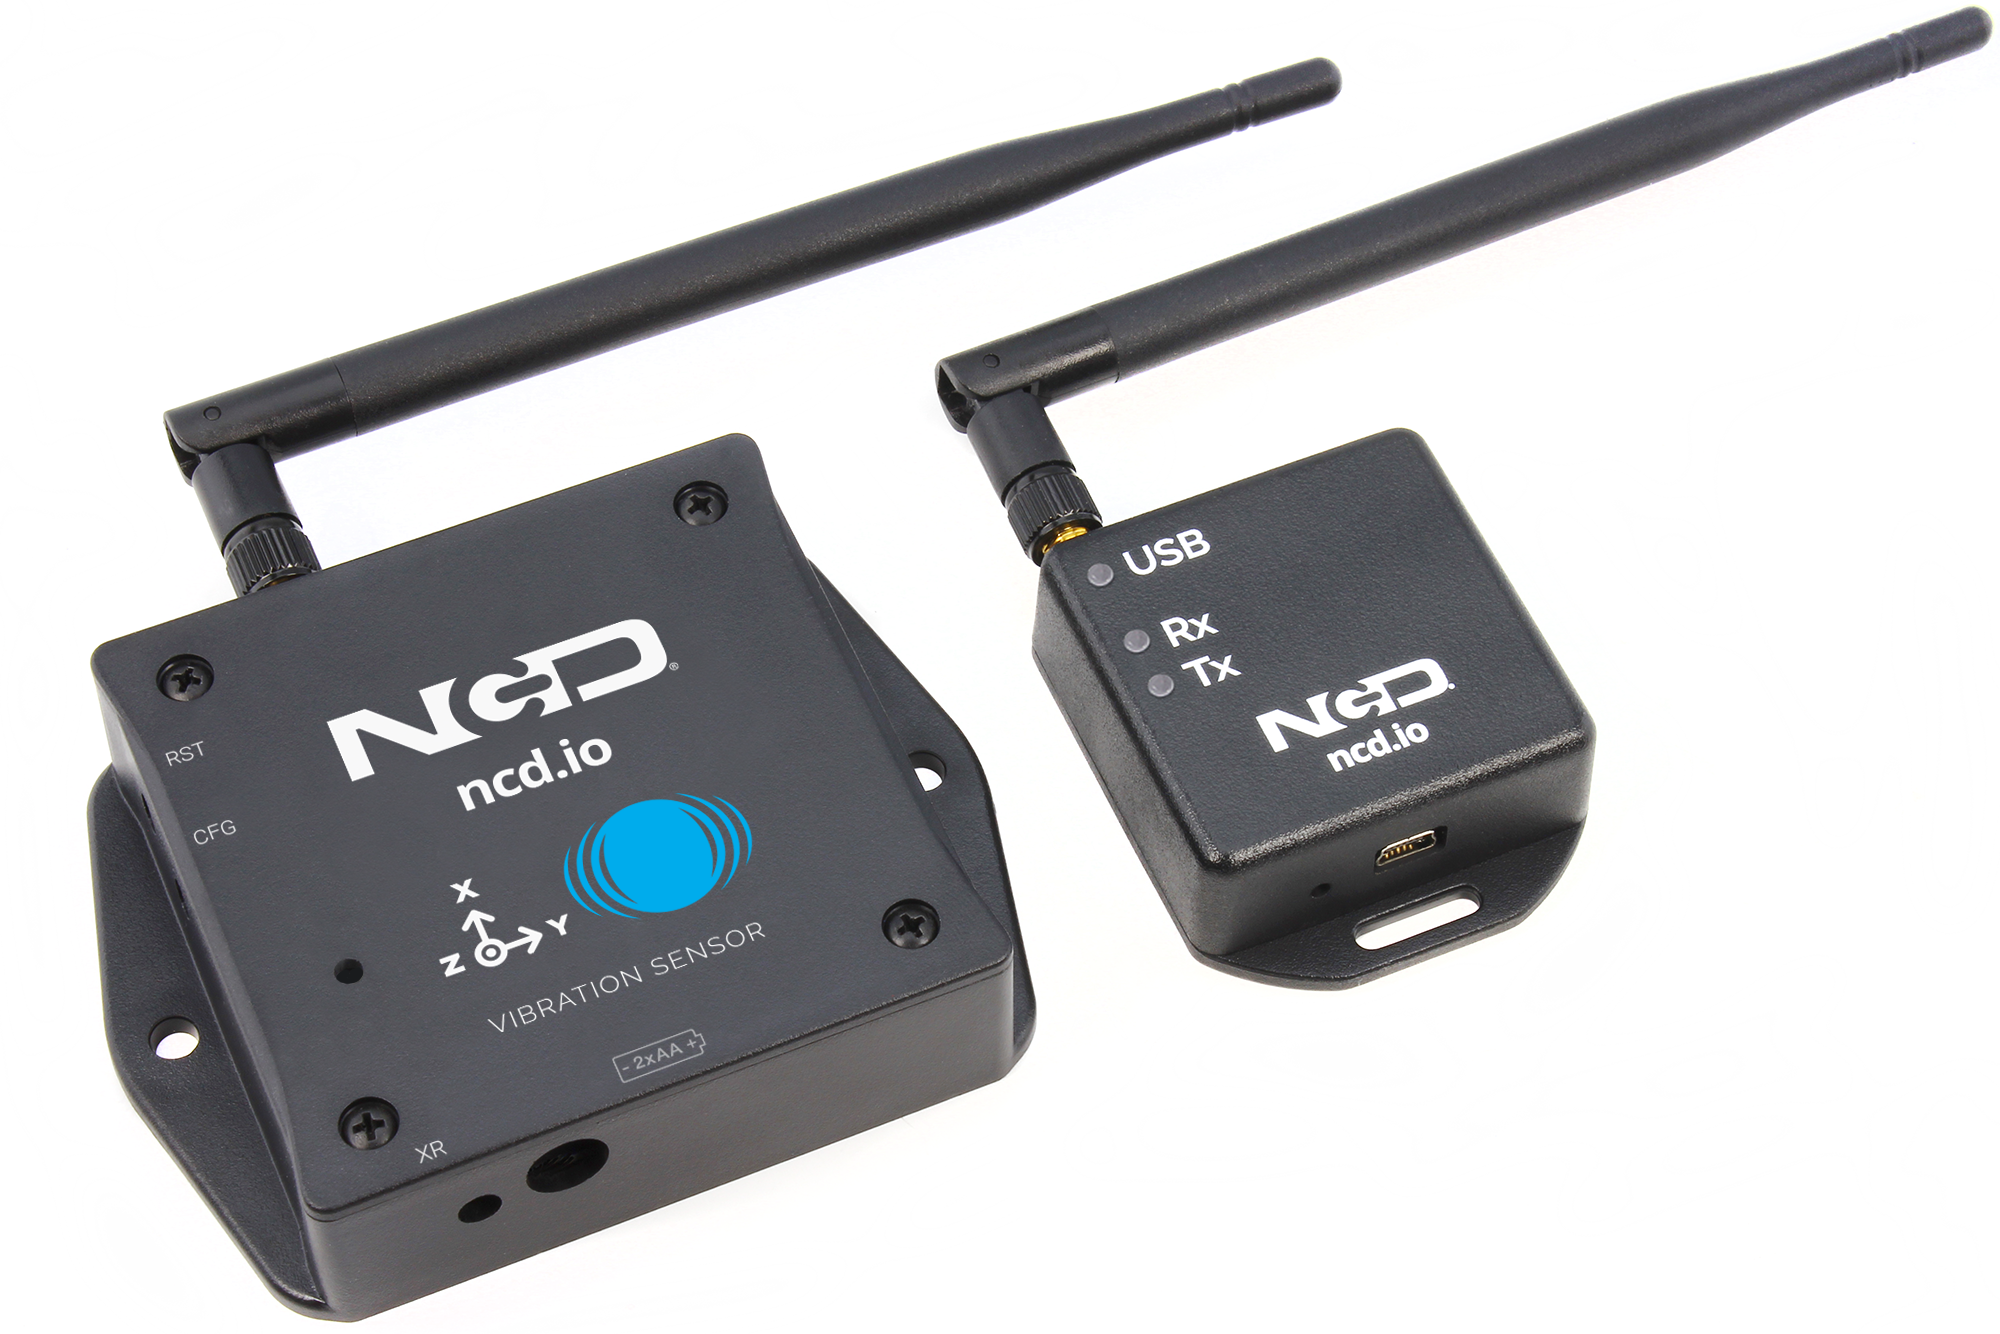
- IoT Long Range Wireless Vibration And Temperature Sensor: IoT Long Range Wireless Vibration And Temperature Sensor are battery operated and wireless, meaning that current or communication wires need not be pulled to get it up and operating. It tracks the vibration information of your machine constantly and captures and operating hours at full resolution together with other temperature parameters. In this, we are using NCD’s Long Range IoT Industrial wireless vibration and temperature sensor, boasting up to a 2 Mile range using a wireless mesh networking architecture.
- Long-Range Wireless Mesh Modem with USB Interface
Software Used:
Library Used:
- PubSubClient Library
- Wire.h
Steps to Send Data to Labview Vibration and Temperature Platform Using IoT Long Range Wireless Vibration and Temperature Sensor and Long Range Wireless Mesh Modem With USB Interface-
- First, we need a Labview utility application which is ncd.io Wireless Vibration and Temperature Sensor.exe file on which data can be viewed.
- This Labview software will work with ncd.io wireless Vibration Temperature sensor only
- To use this UI, you will need to install following drivers Install run time engine from here 64bit
- 32 bit
- Install NI Visa Driver
- Install LabVIEW Run-Time Engine and NI-Serial Runtime
- Getting started guide for this product.
Uploading the Code to ESP32 Using Arduino IDE:
As esp32 is an important part to publish your vibration and temperature data to ThingSpeak.
- Download and include the PubSubClient Library and Wire.h Library.
- Download and include WiFiMulti.h and HardwareSerial.h Library.
<p>#include<Wire.h><br>#include<PubSubClient>
#include<WiFiMulti.h>
#include<WiFi.h>
#include<HardwareSerial.h></p>
- You must assign your unique API key provided by ThingSpeak, SSID (WiFi Name) and Password of the available network.
const char* ssid     = "Yourssid"; // Your SSID (Name of your WiFi)<br>const char* password = "Wifipass"; //Your Wifi password<br>const char* host = "api.thingspeak.com";
String api_key = "APIKEY"; // Your API Key provied by thingspeak
- Define the variable on which the data will store as a string and send it to ThingSpeak.
int value;<br>int Temp;<br>int Rms_x;

int Rms_y;

int Rms_z;<br>
- Code to publish data to ThingSpeak:
<p>String data_to_send = api_key;    <br>data_to_send += "&field1=";
data_to_send += String(Rms_x);
data_to_send += "&field2=";
data_to_send += String(Temp);
data_to_send += "&field3=";
data_to_send += String(Rms_y);
data_to_send += "&field4=";
data_to_send += String(Rms_z);
data_to_send += "\r\n\r\n";<br>client.print("POST /update HTTP/1.1\n");
client.print("Host: api.thingspeak.com\n");
client.print("Connection: close\n");
client.print("X-THINGSPEAKAPIKEY: " + api_key + "\n");
client.print("Content-Type: application/x-www-form-urlencoded\n");
client.print("Content-Length: ");
client.print(data_to_send.length());
client.print("\n\n");
client.print(data_to_send);</p>- Compile and upload the Esp32-Thingspeak.ino
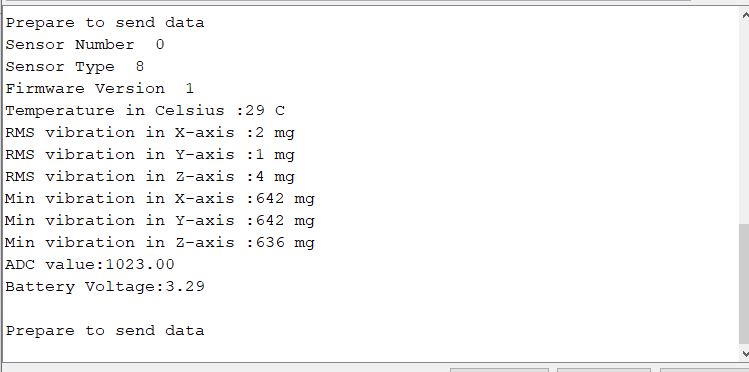
- To verify the connectivity of the device and the data sent, open the serial monitor. If no response is seen, try unplugging your ESP32 and then plugging it again. Make sure the baud rate of the Serial monitor is set to the same one specified in your code 115200.
Downloads
Serial Monitor Output:
Making the ThingSpeak Work:

- Create the account on ThigSpeak.
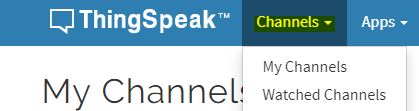
- Create a new channel, by clicking on Channels
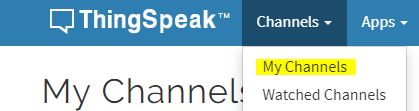
- .Click on My Channels.
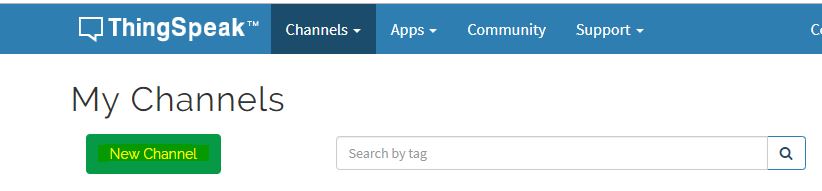
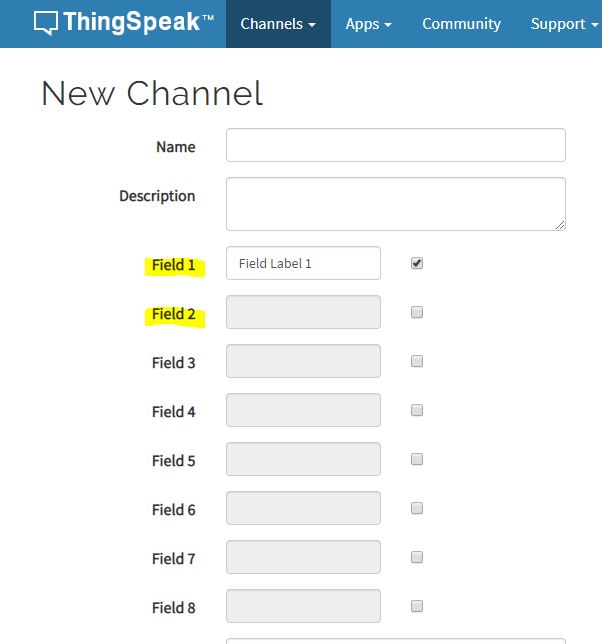
- Click New Channel.
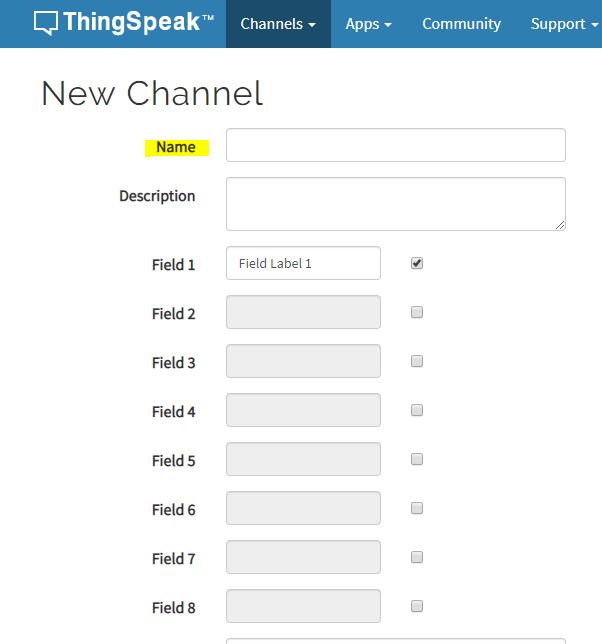
- Inside New Channel, name the channel.
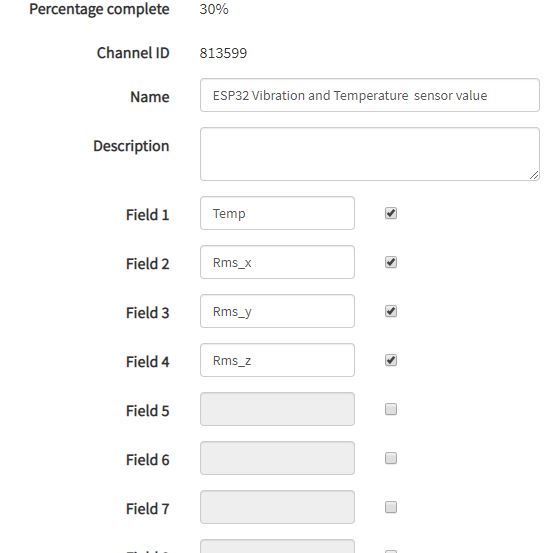
- Name the Field inside the Channel, Field is the variable in which the data is published.
- Now save the Channel
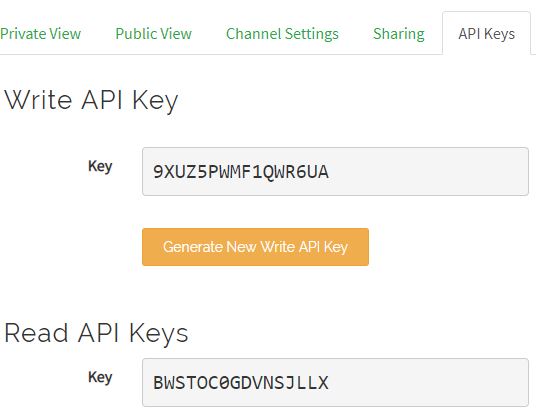
- .Now you can find your API keys on the dashboard.
- Go to the tap on the homepage and find your ‘Write API Key’ which must be updated before uploading the code to ESP32.
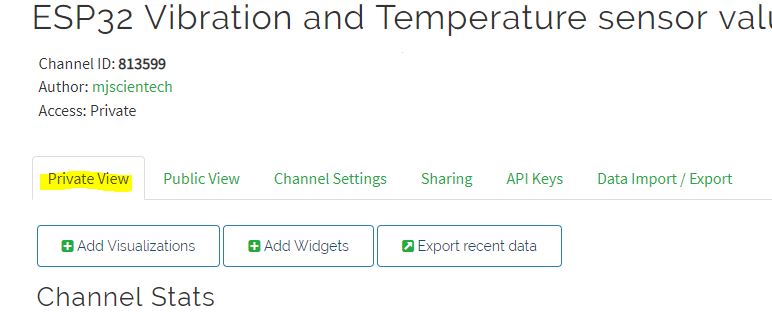
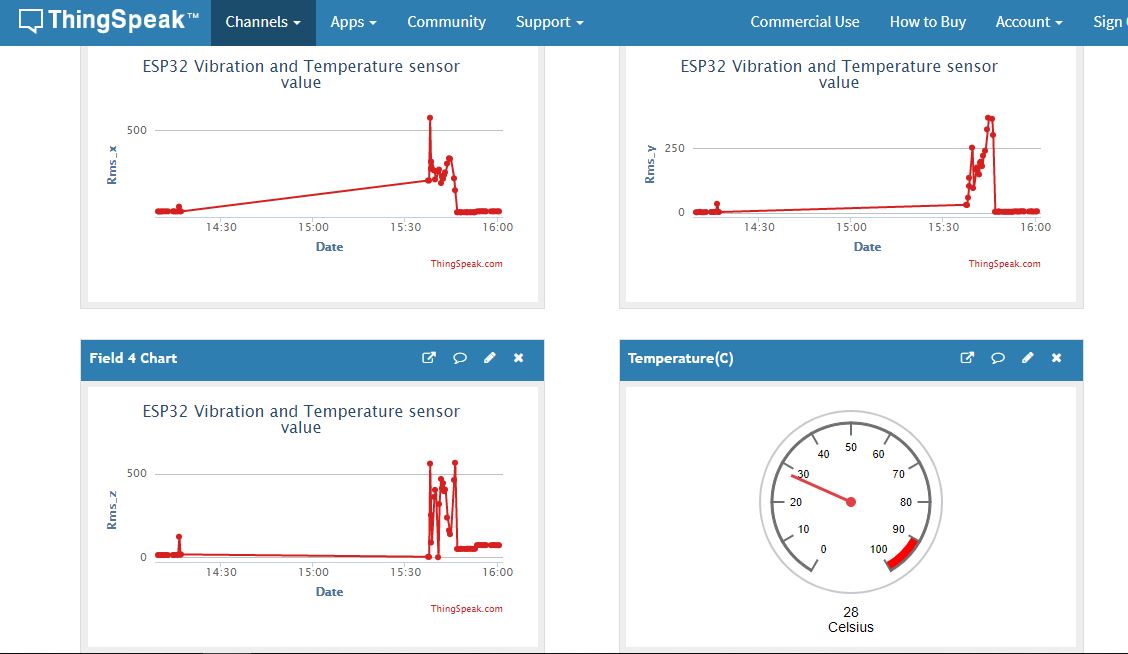
- Once Channel is created you would be able to view your temperature and vibration data in private view with Fields you created inside the Channel.
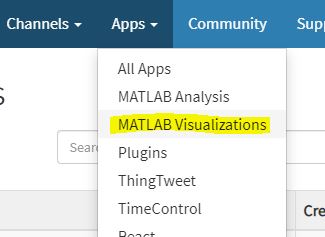
- To plot a graph between different vibration data, you can use MATLAB Visualization.
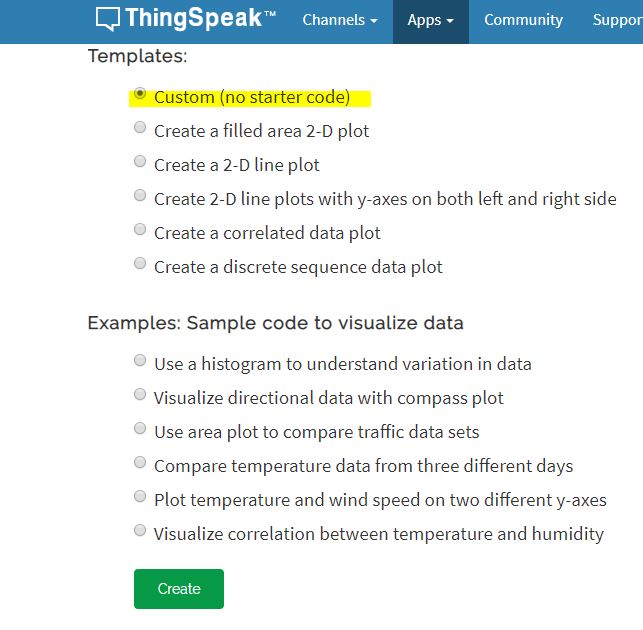
- For this go to App, Click on MATLAB Visualization.
- Inside it select Custom, in this, we have select create 2-D line plots with y-axes on both left and right sides. Now click create.MATLAB code will be autogenerated as you create visualization but you have to edit field id, read channel id, can check the following figure.
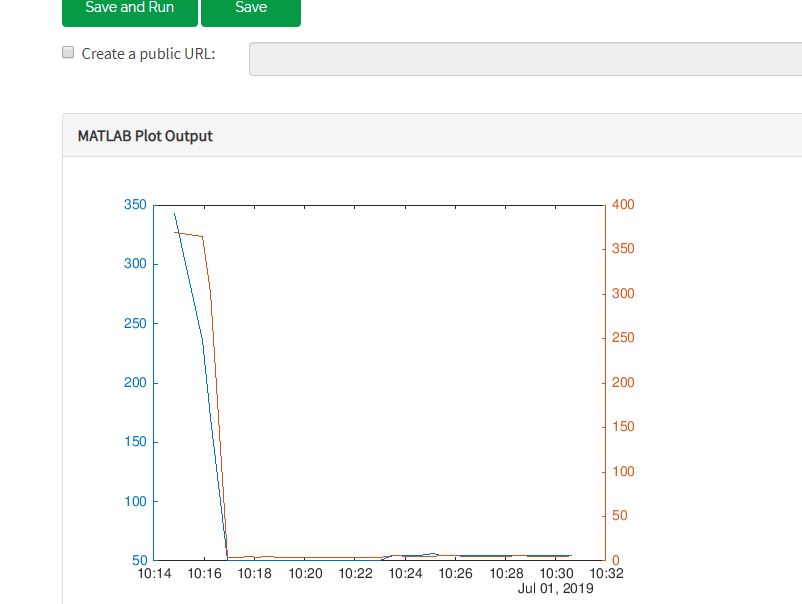
- Then save and run the code.
- You would see the plot.
Output:
Create an IFTTT Applet

IFTTT is a web service that lets you create applets that act in response to another action. You can use the IFTTT Webhooks service to create web requests to trigger an action. The incoming action is an HTTP request to the webserver, and the outgoing action is an email message.
- First, create an IFTTT account.
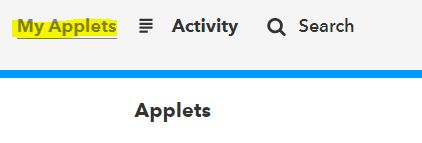
- Create an applet. Select My Applets.
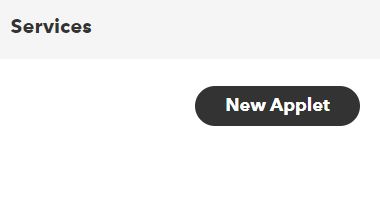
- Click the New Applet button.
- Select the input action. Click the word this.
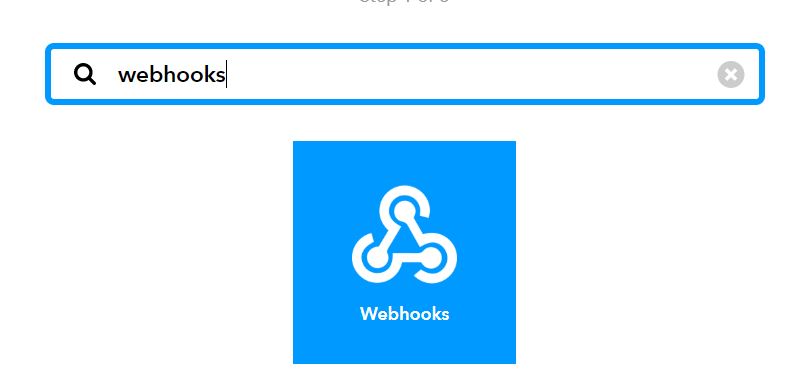
- Click the Webhooks service. Enter Webhooks in the search field. Select the Webhooks.
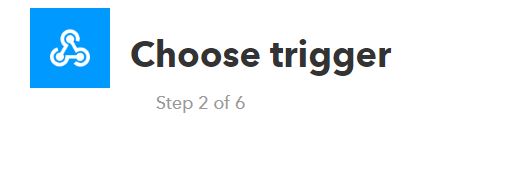
- Choose a trigger.
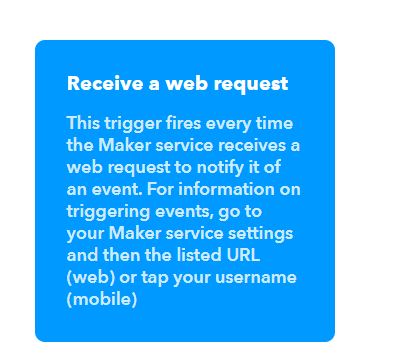
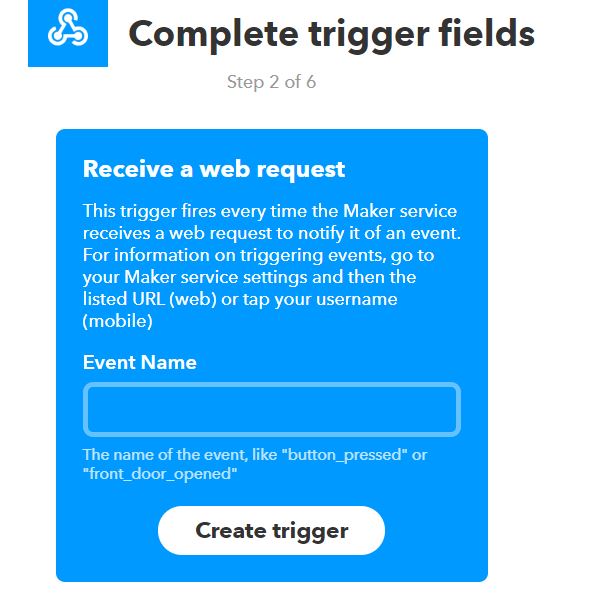
- Complete the trigger fields. After you select Webhooks as the trigger, click the Receive a web request box to continue. Enter an event name.
- Create trigger.
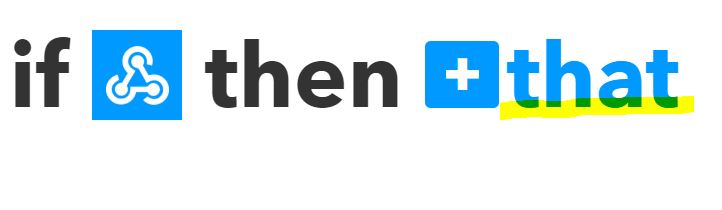
- Now the trigger is created, for resulting action click That.
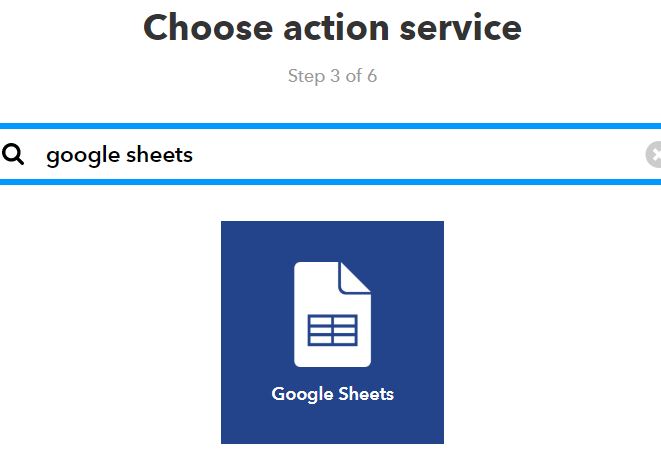
- Enter “Google Sheets” in the search bar, and select the “Google Sheets” box.
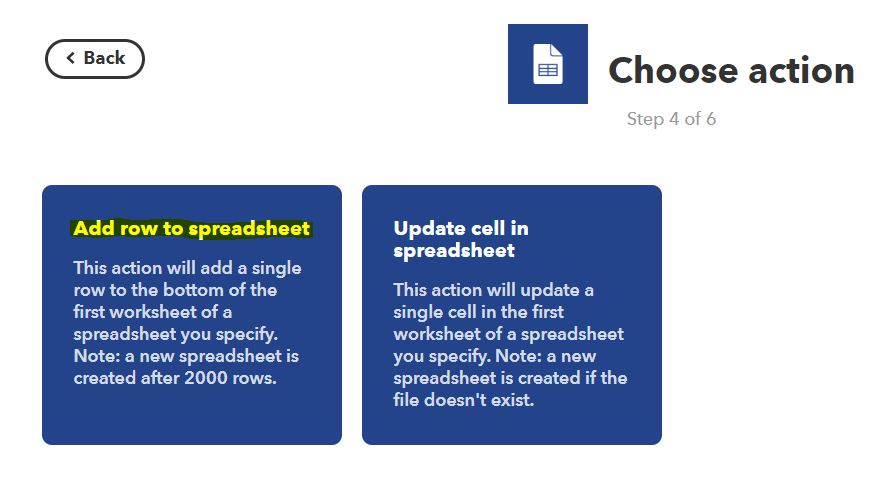
- If you have not connected to Google Sheet, then connect it first. Now choose action. Select add a row to a spreadsheet.
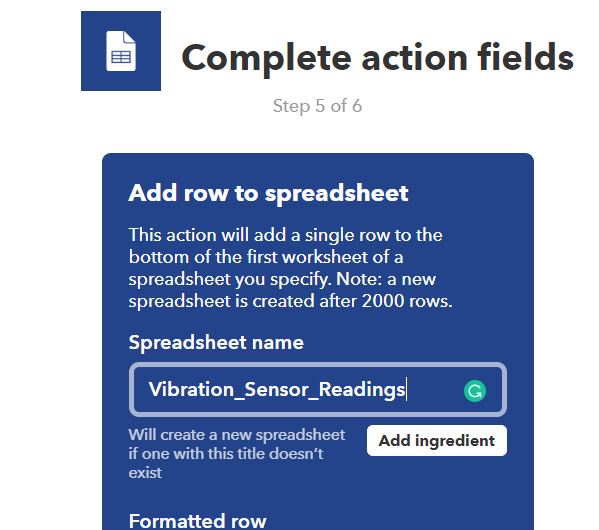
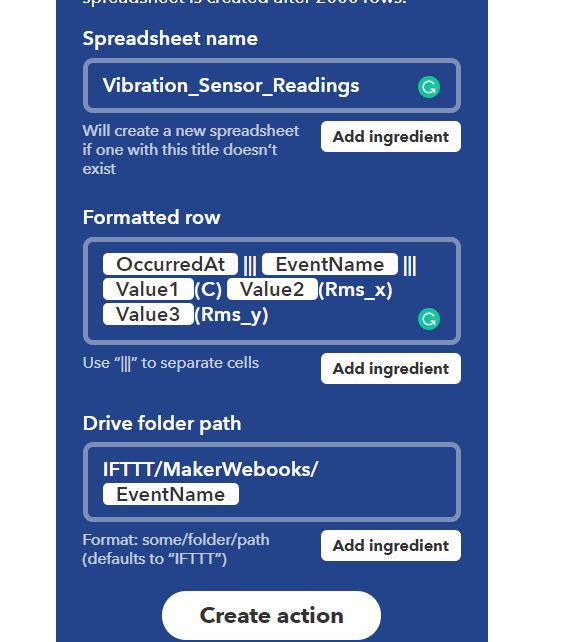
- Then, complete the action fields.
- Your applet should be created after you press the Finish
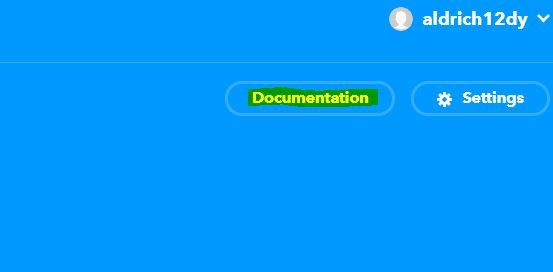
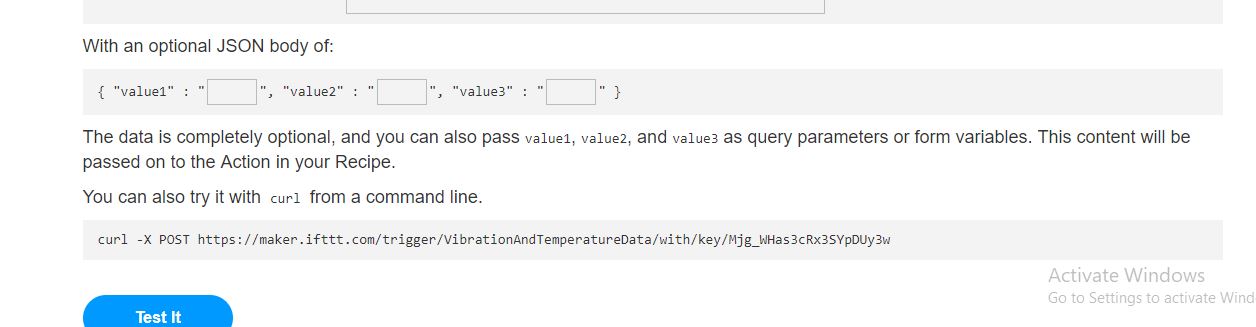
- Retrieve your Webhooks trigger information. Select My Applets, Services and search for Webhooks. Click Webhooks and Documentation button. You see your key and the format for sending a request. Enter the event name. The event name for this example is VibrationAndTempData.You can test the service using the test button or by pasting the URL into your browser.
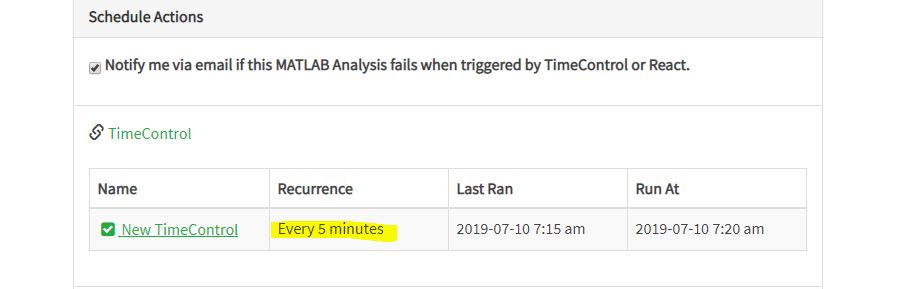
Create a MATLAB Analysis

You can use the result of your analysis to trigger web requests, such as writing a trigger to IFTTT.
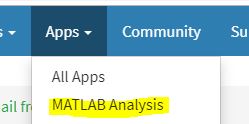
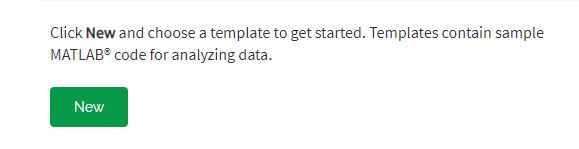
- Click Apps, MATLAB Analysis and select New.
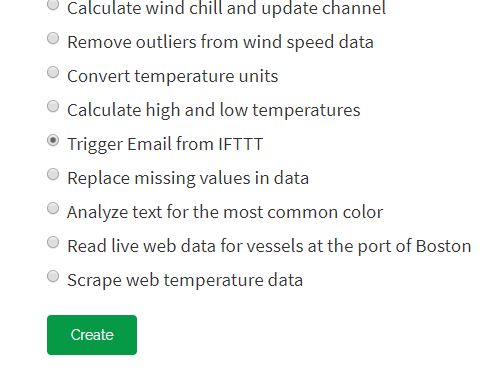
- Make Trigger data from IFTTT 5 to Google Sheet code. You can take help from Trigger Email from IFTTT in the Examples section.
- Name your analysis and modify the code.
- Save your MATLAB Analysis.
Create a Time Control to Run Your Analysis
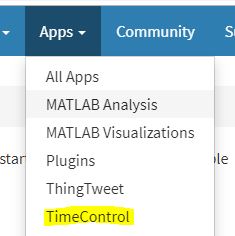
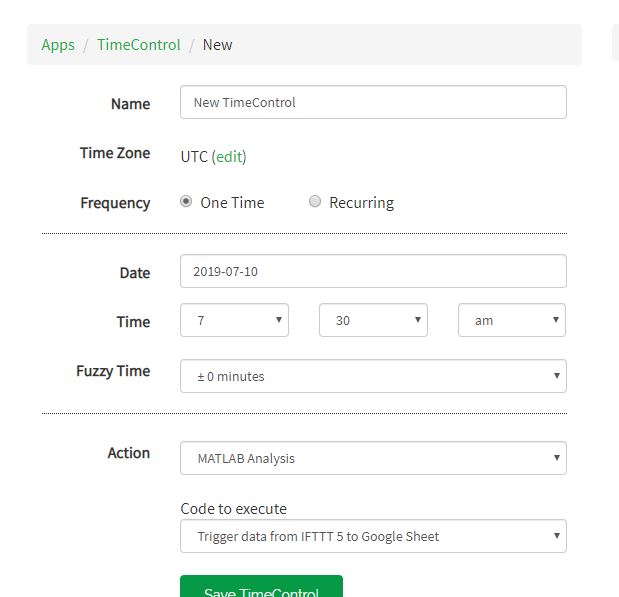
Evaluate your ThingSpeak channel data and trigger other events.
- Click Apps, TimeControl, and then click New TimeControl.
- Save your TimeControl.
OUTPUT
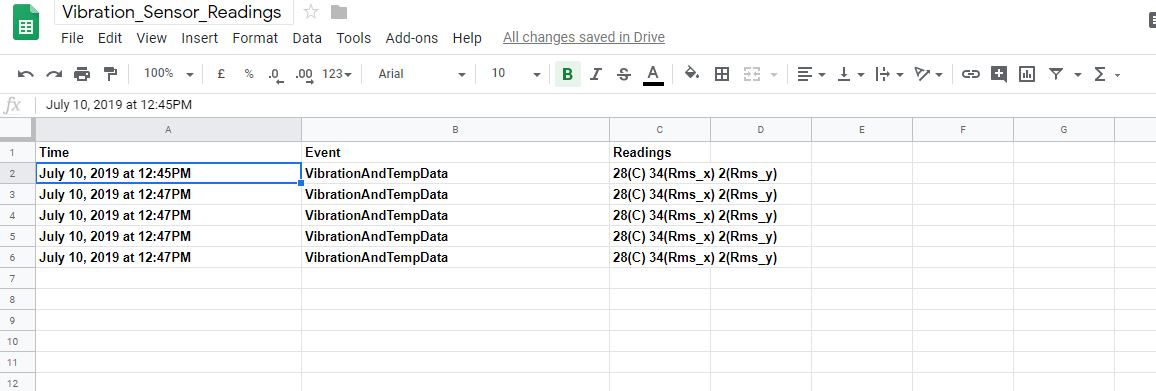
- At last, data is retrieved in Google Sheet.