The Creation of a Sticker Critter and the Transmogrification of Its Soul Into a Multi-purpose Digital File (aka Cutting, Scanning and Live-tracing Into a Vector File) - I Made It at TechShop San Jose
by controlledwrinkles in Craft > Paper
1323 Views, 4 Favorites, 0 Comments
The Creation of a Sticker Critter and the Transmogrification of Its Soul Into a Multi-purpose Digital File (aka Cutting, Scanning and Live-tracing Into a Vector File) - I Made It at TechShop San Jose
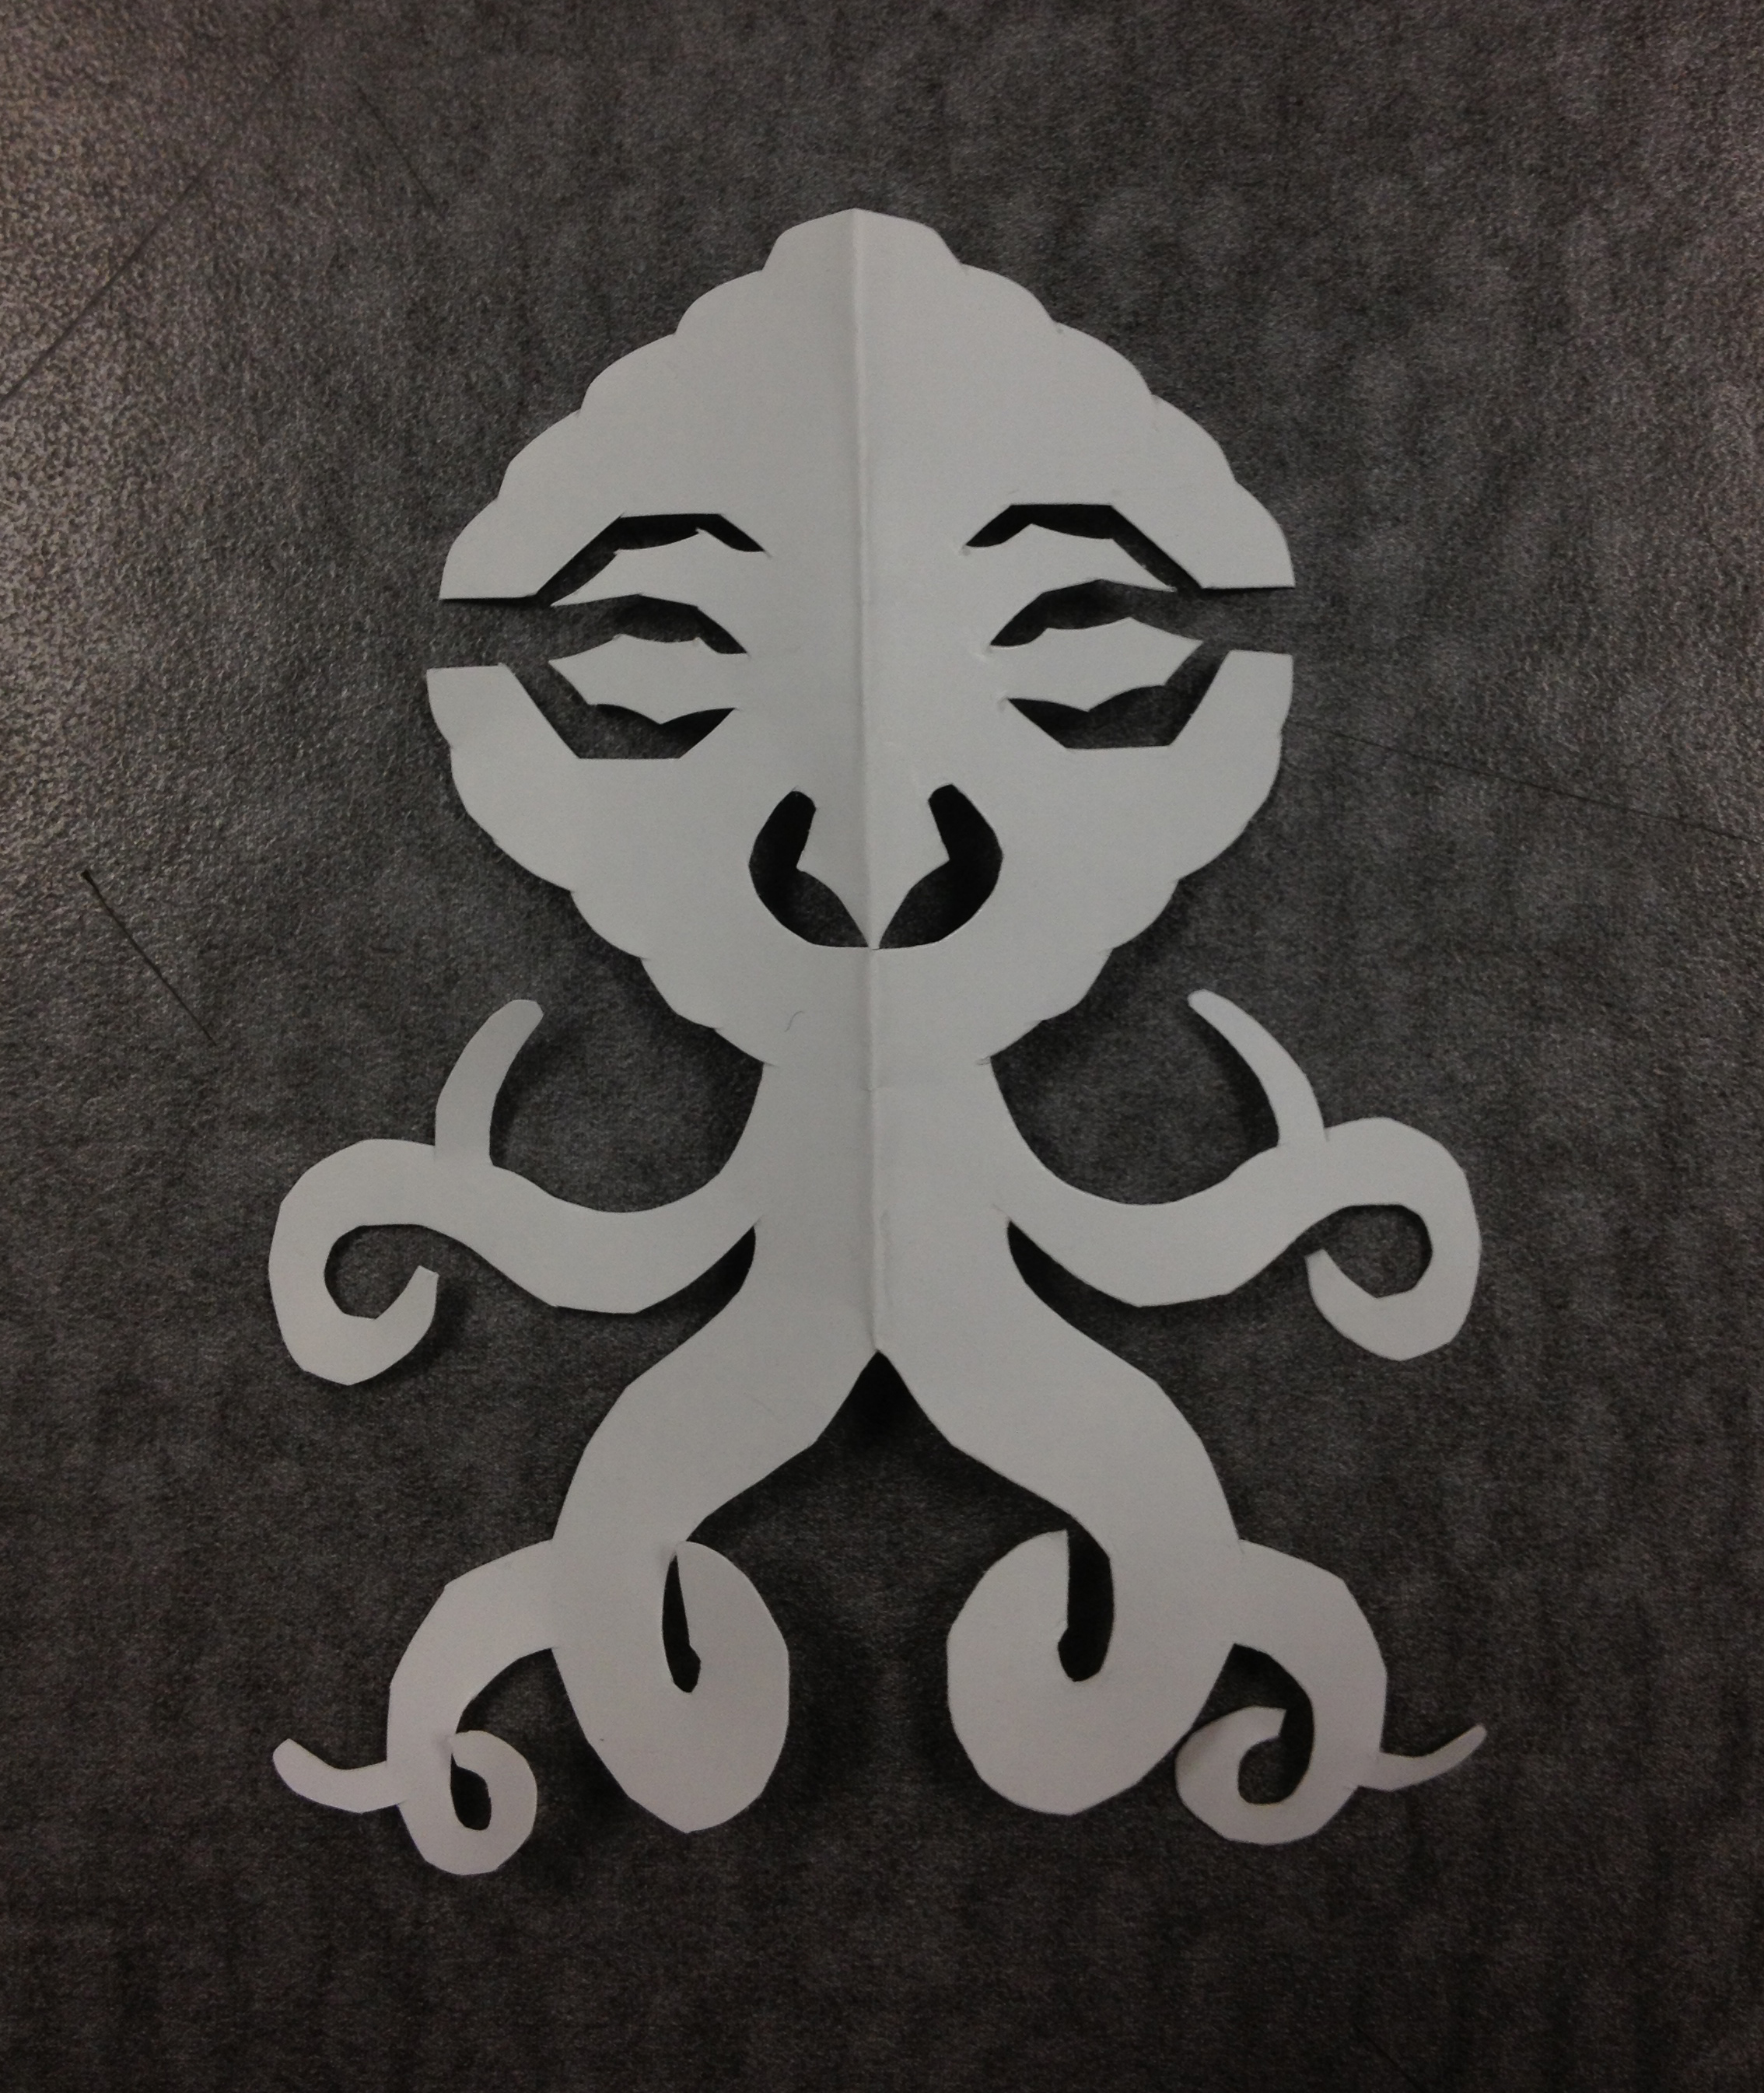
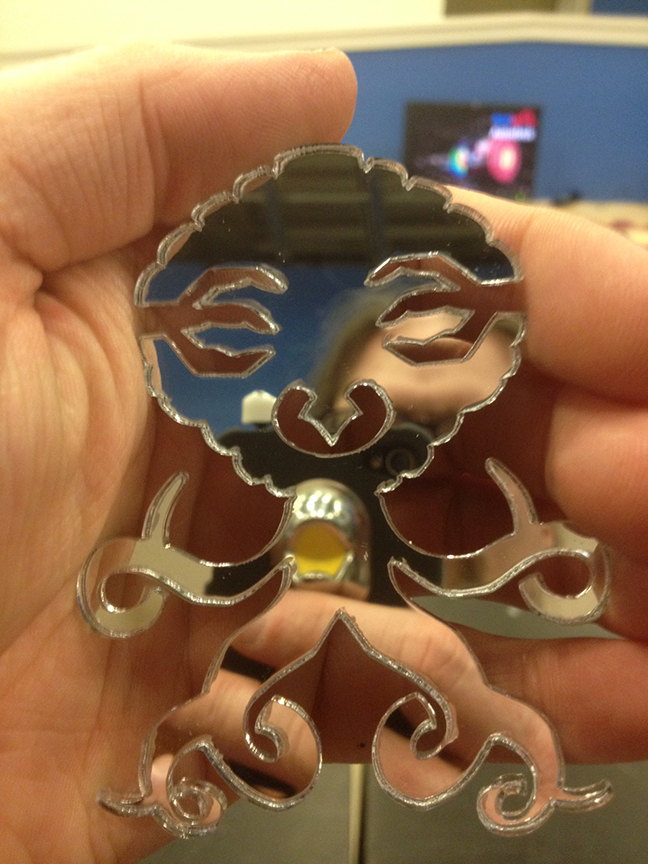
I discovered a while ago that I can't draw well enough to satisfy my own expectations, but I have always been really good with my hands. I work at a FedEx Office, and noticed that when we relabel a package, the system only prints on half of the label, so I began tearing off the bottoms of the labels and saving them. An immediate use became apparent; when a customer brings in a reused box with old labels on it, we can use the saved half to cover up the old labels so that it didn't get re-shipped to them. But we found that even with covering up old labels, we still had a plethora of label halves to spare.
I thought, hmm, what to do with these label halves? Then it came to me, I could fold them in half and cut monsters, aliens, skulls, robots and any number of fascinating critters from them. So I got to it.
This Instructable will show you my process of hand cutting, as well as the method I use to convert the critters into digital vector files for use at San Jose TechShop on any of their CNC machines; be it Epiolog 60W Laser Cutters, ShopBots, CNC Embroidery Machines, Tormach, FlowJet, or Long Arm Quilter.
Materials and Tool Required
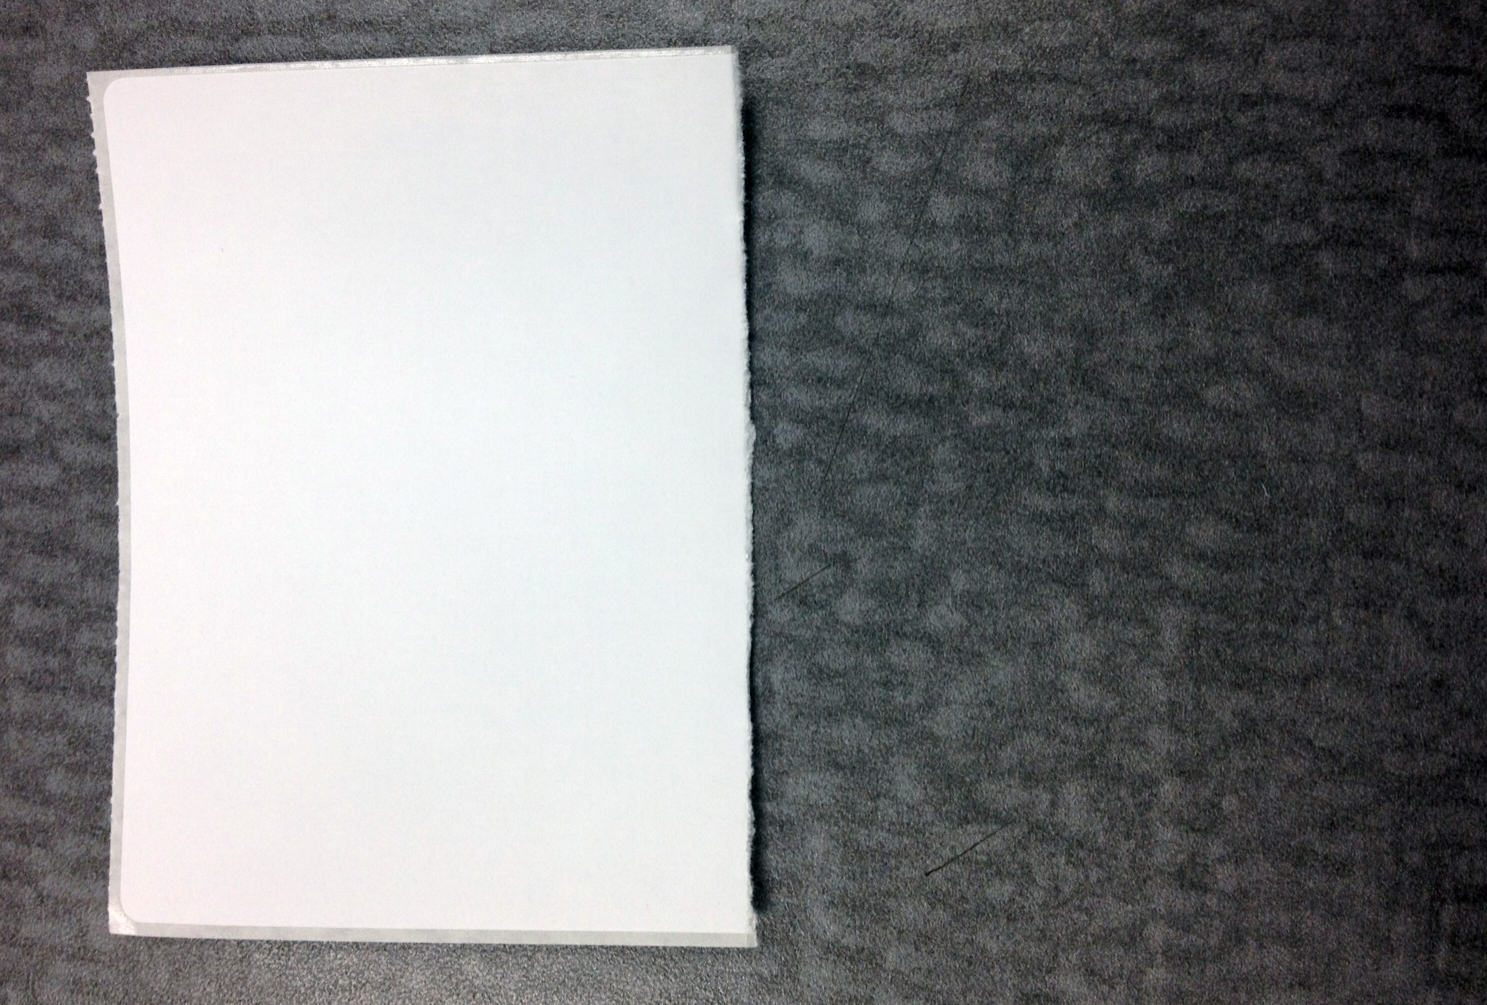
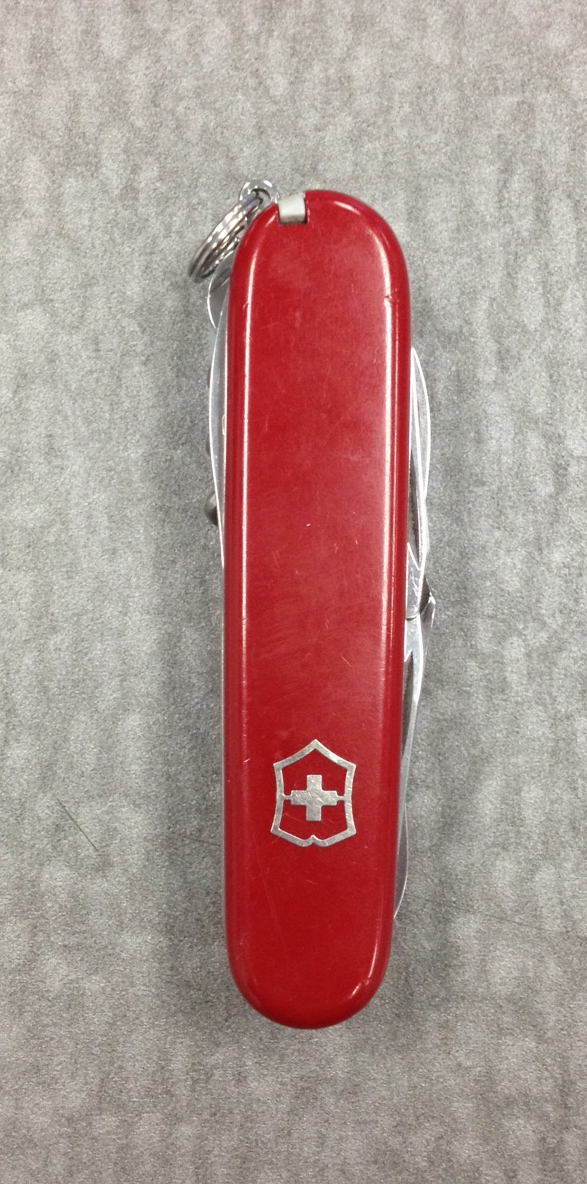

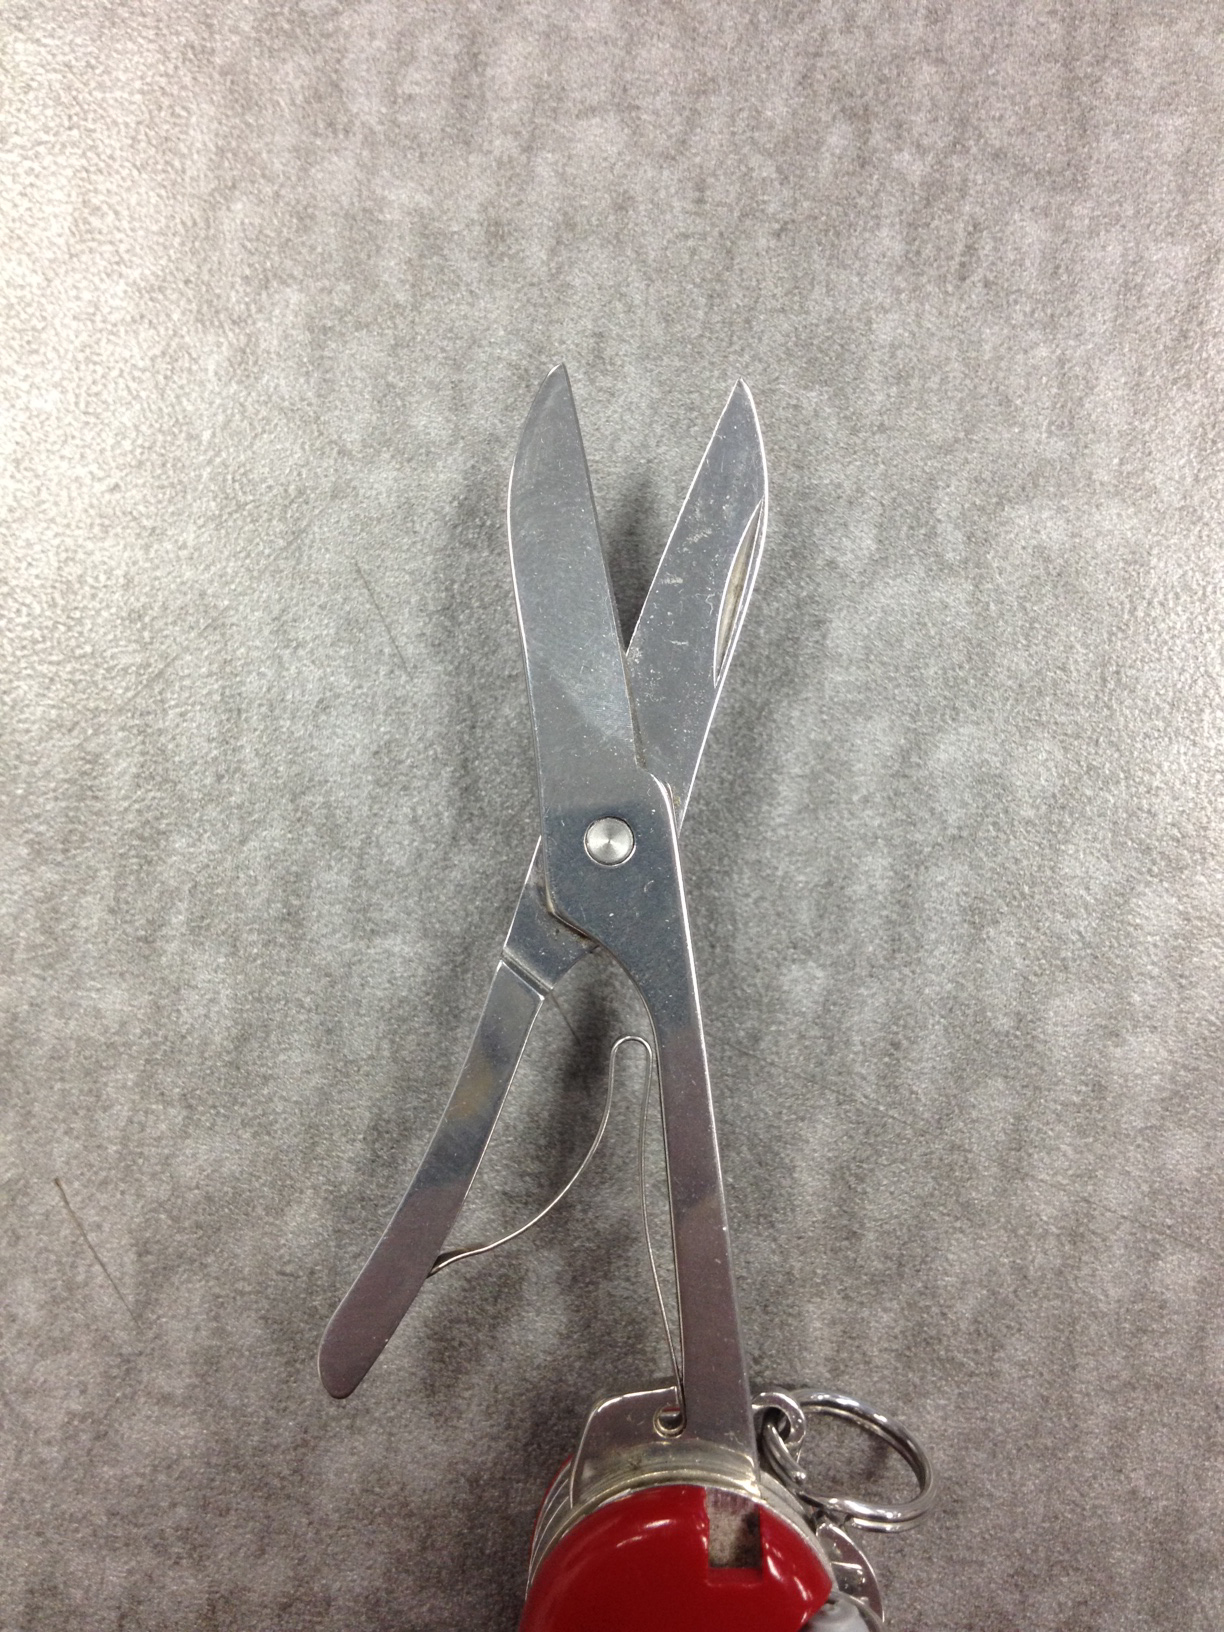
The things I use to create the Critters are:
To convert into vectors for use on CNC equipment, I use:
- Reclaimed thermal label from FedEx Office
- The scissors on a Swiss Army Knife
- Hands with fingers and opposable thumbs...It would be really really hard to do this with your feet, not impossible mind you, but darned difficult
To convert into vectors for use on CNC equipment, I use:
- A Canon 5051 to scan to PDF, but any scanner will do
- A piece of black vinyl to put behind the critter during scanning
- Adobe Photoshop CS3-6 Depending on where I do the image manipulation
- Adobe Illustrator CS3-6, again depending on whether I clean up the image at home, work or TechShop.
- A flash drive to store all my original scans, basic vector files and cleaned up or manipulated files.
The Creation Process
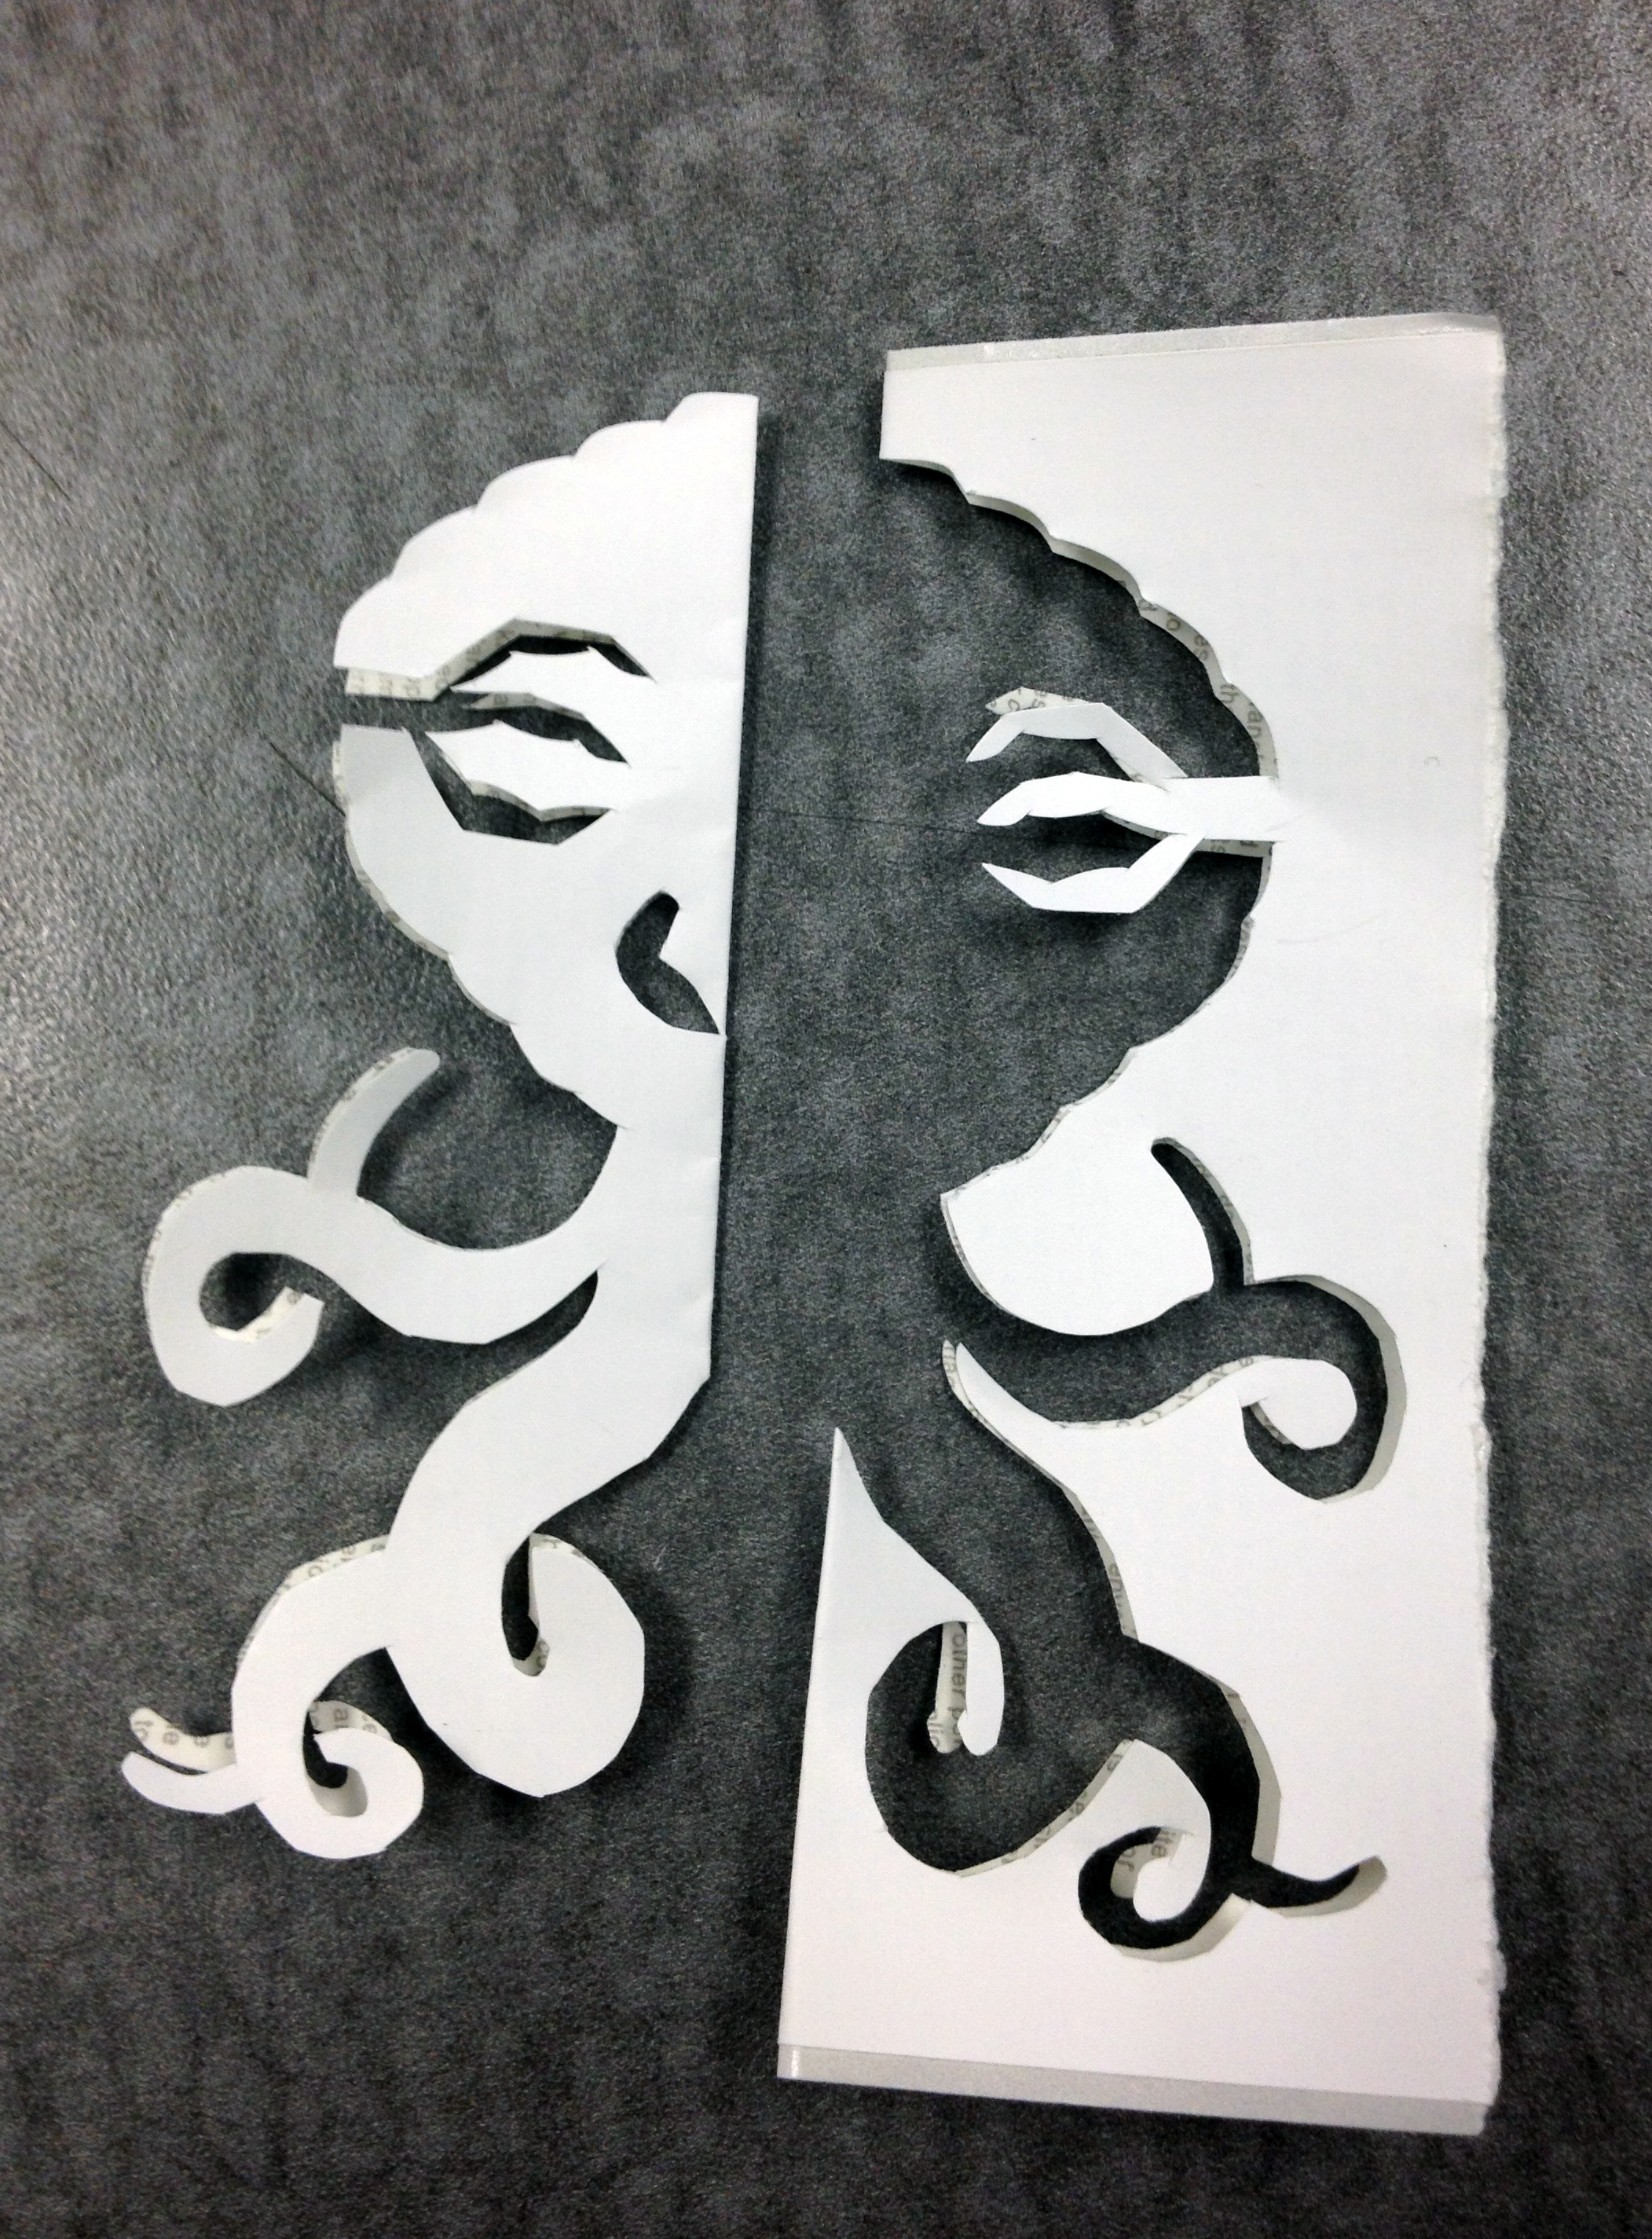
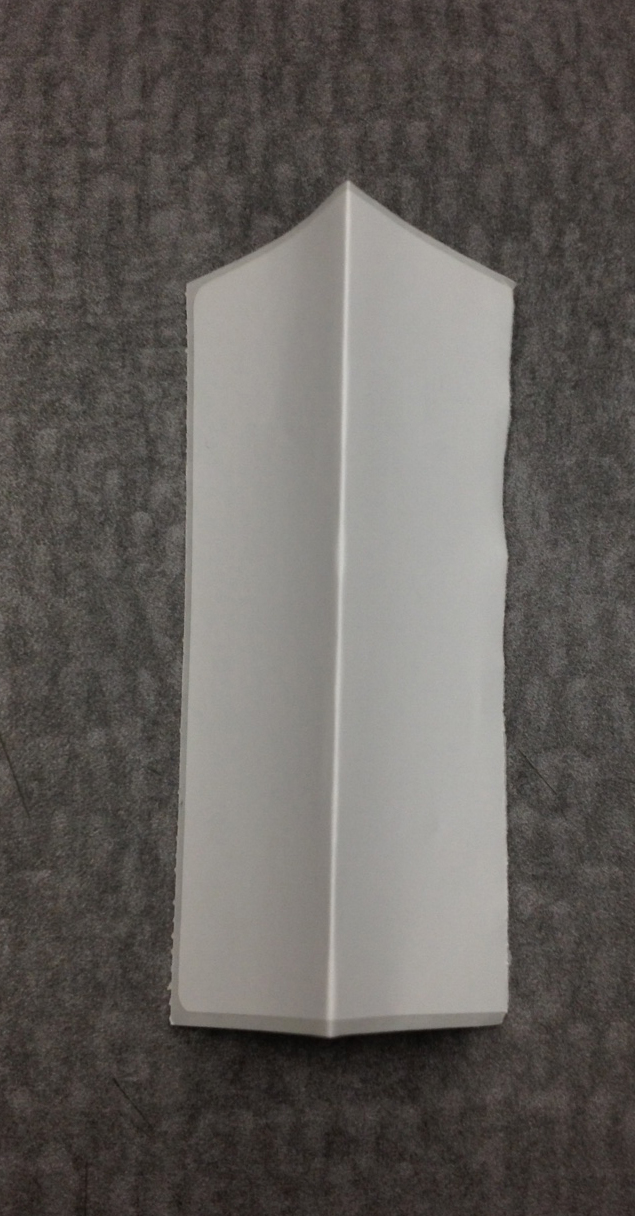
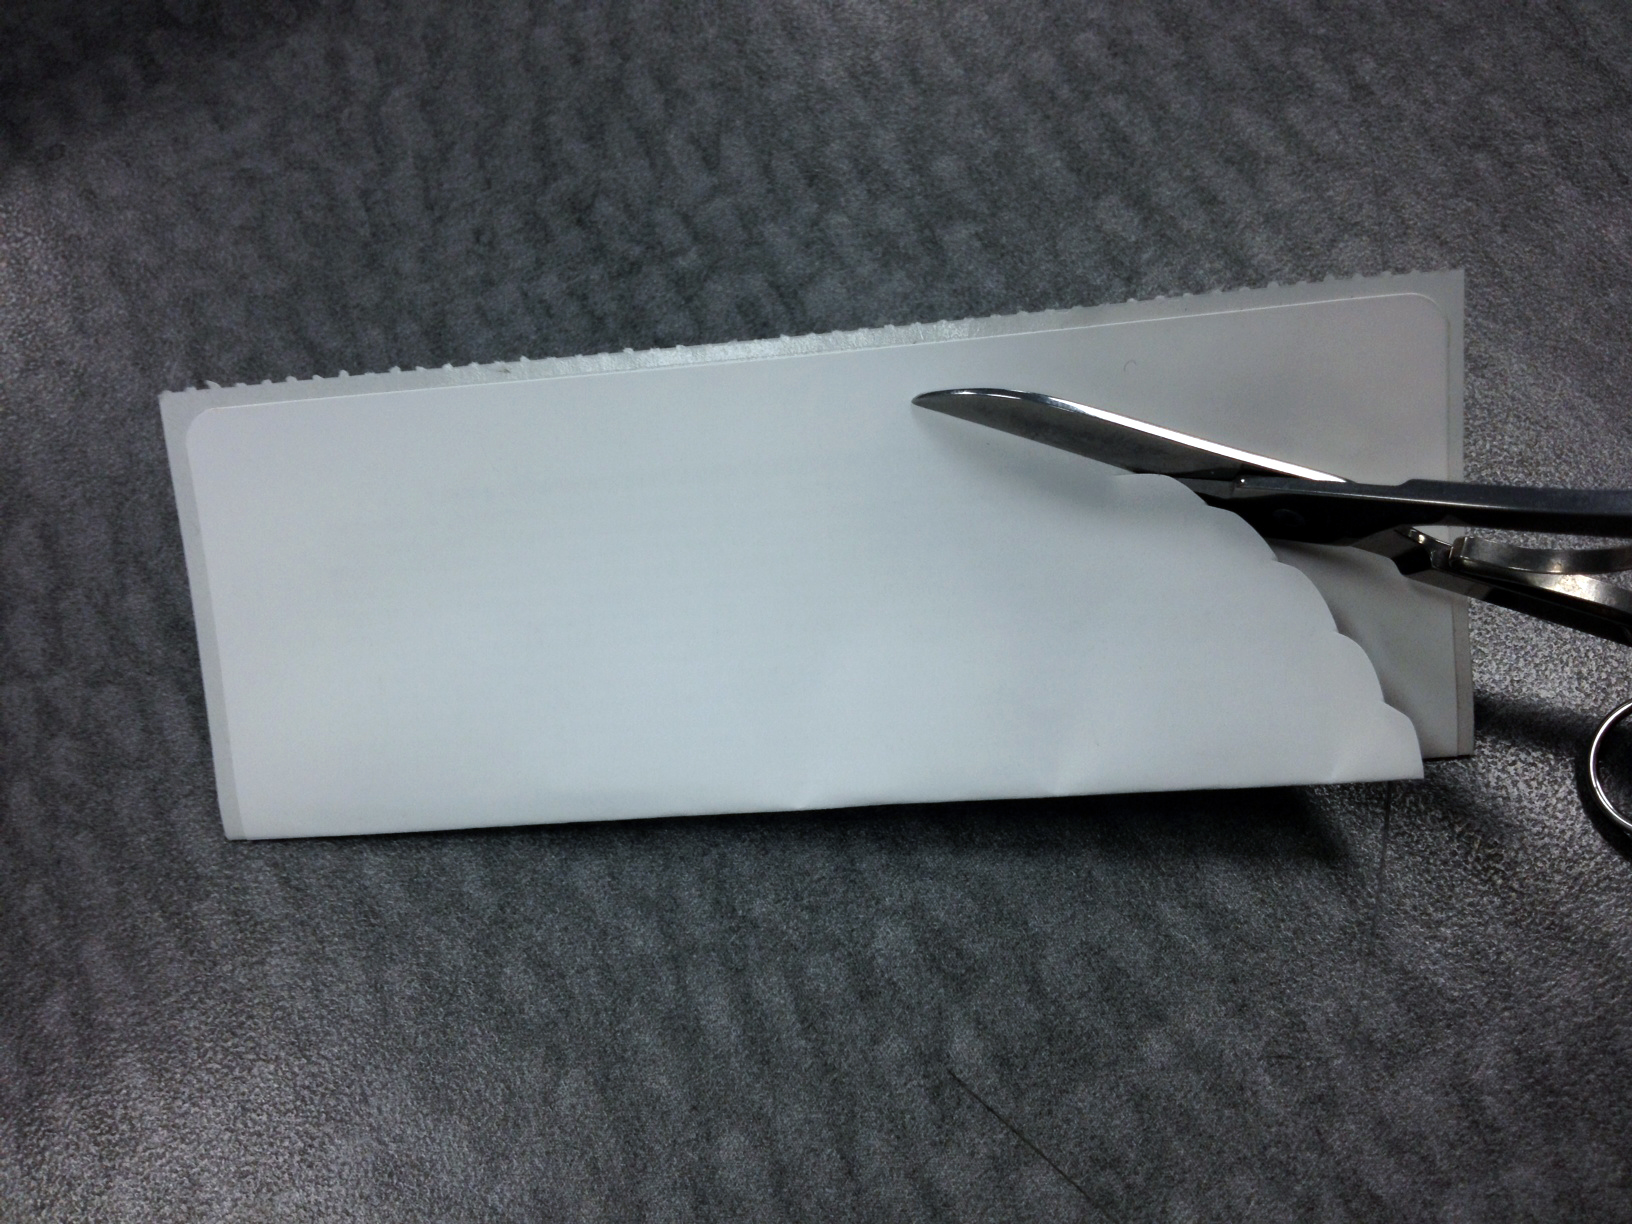
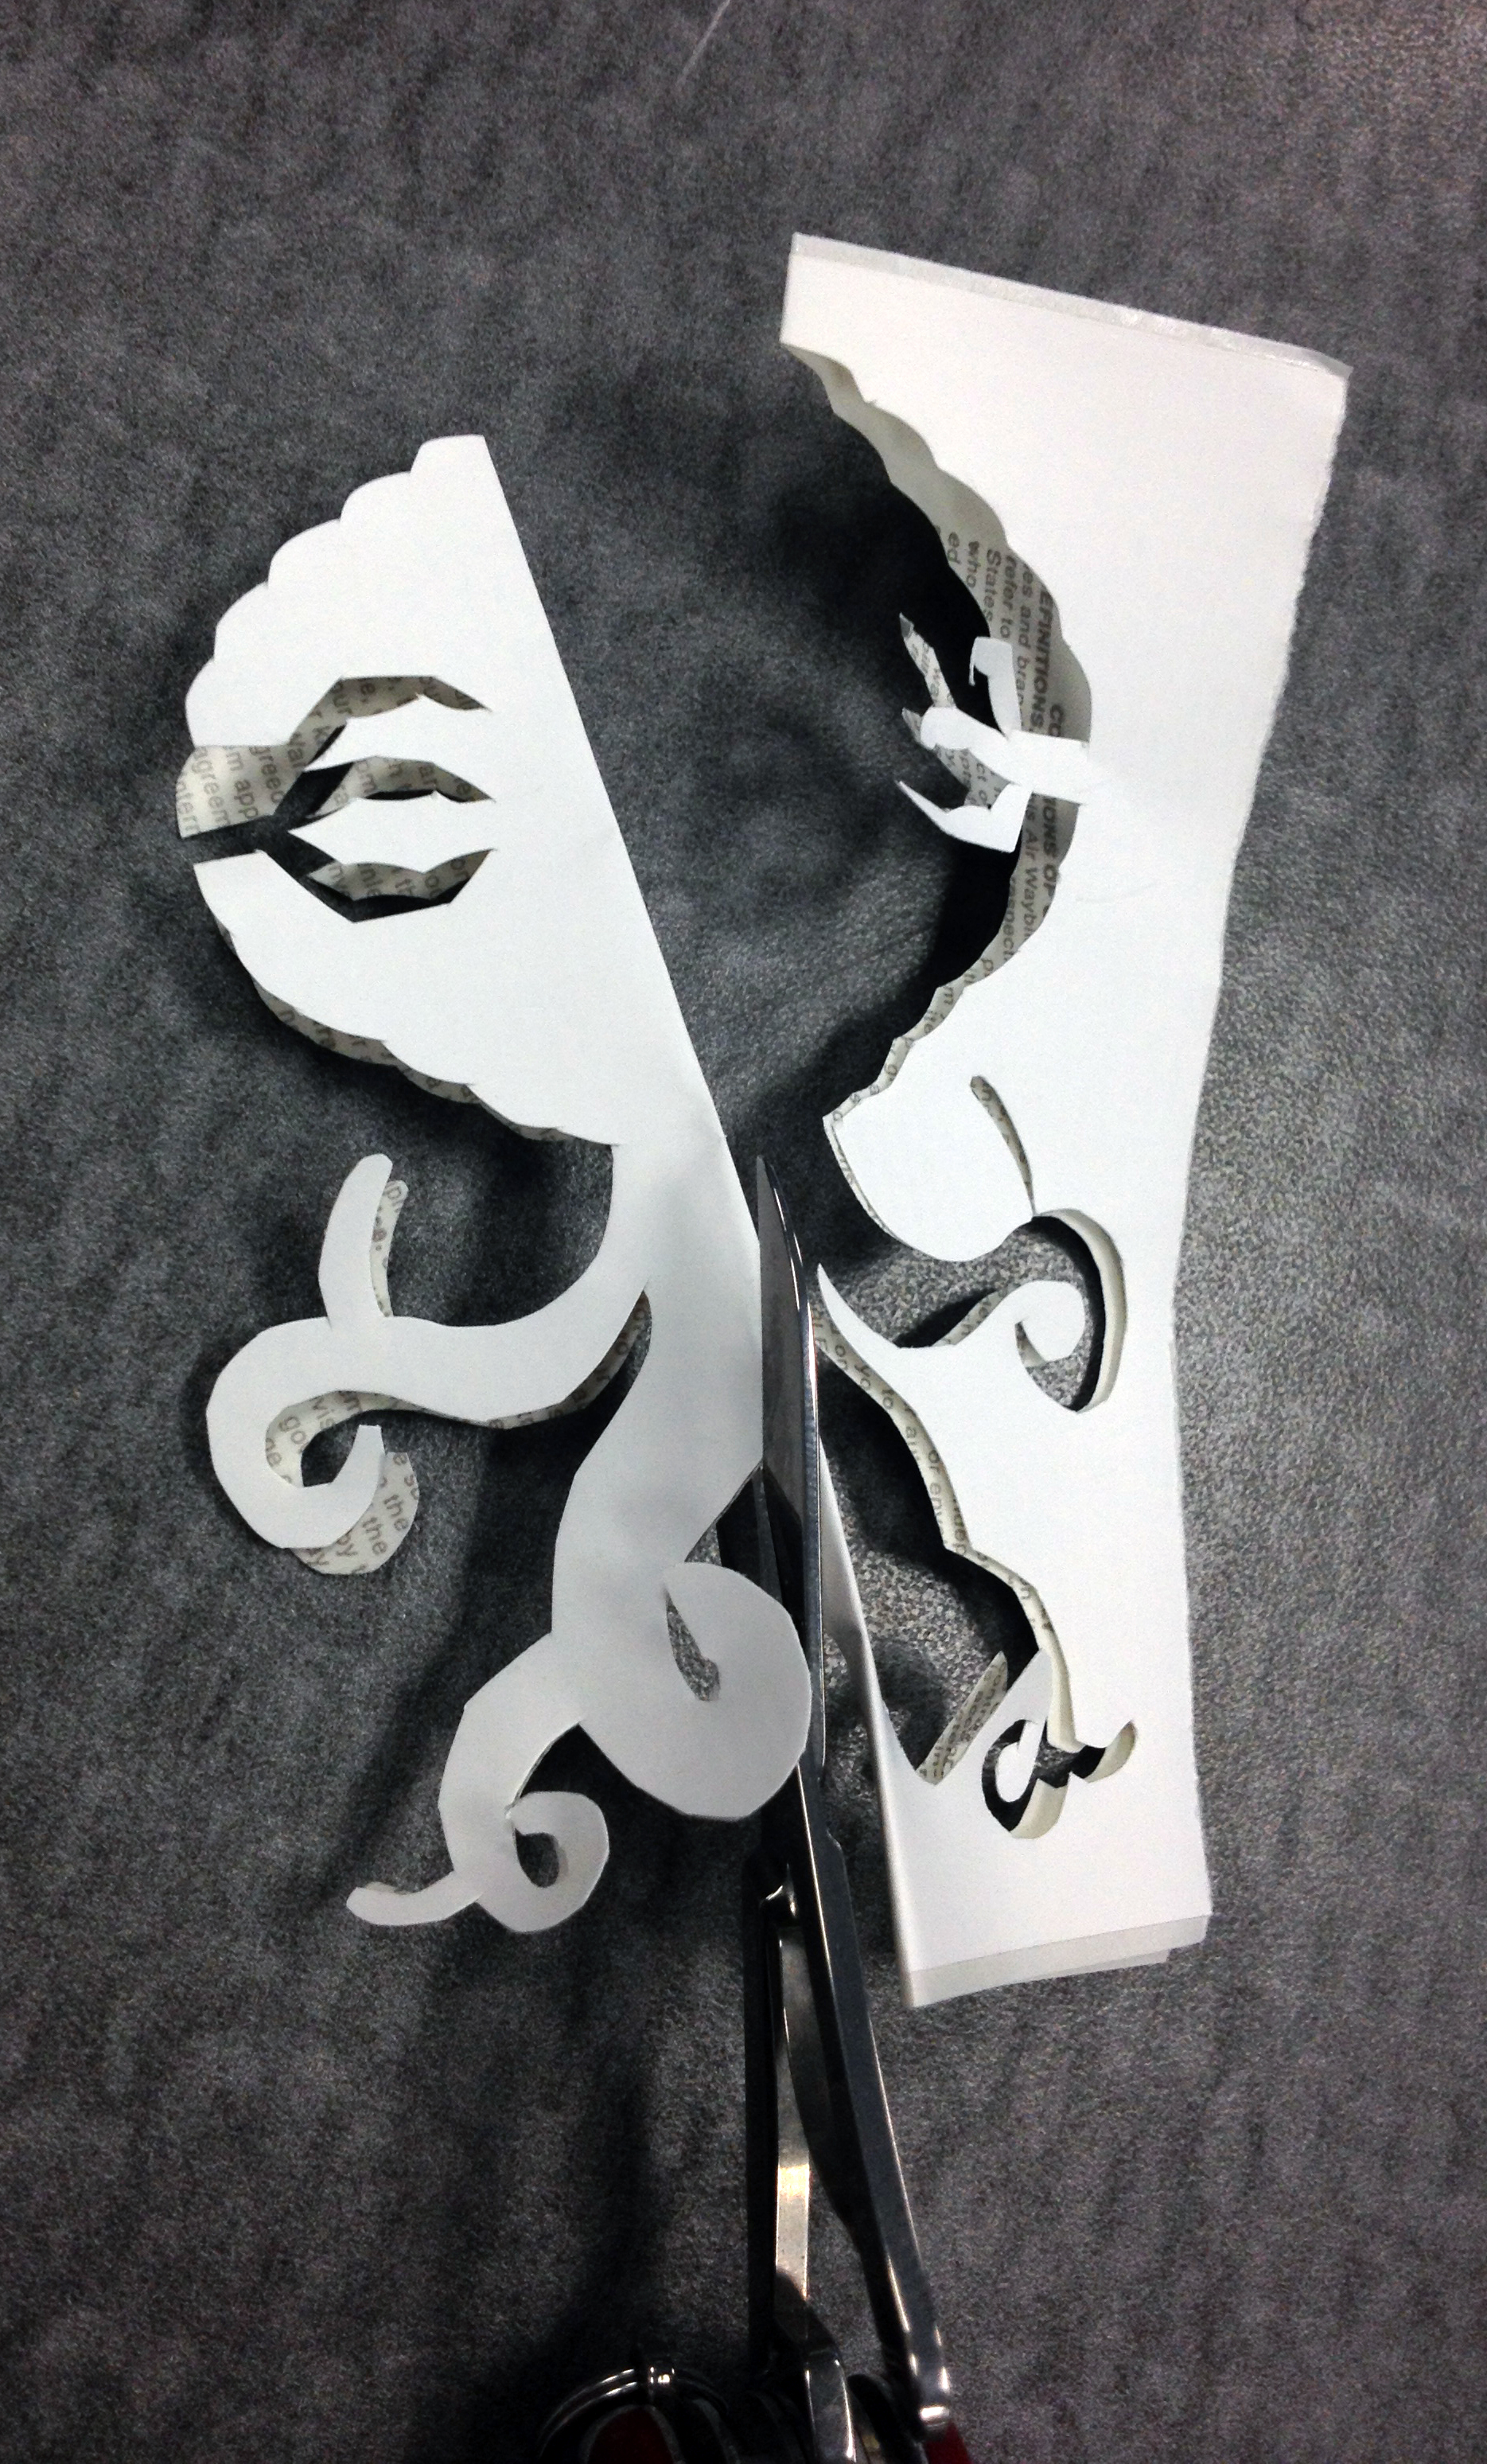
I start by folding the label in half, whether I fold it portrait or landscape is determined by what sort of creature I have in mind, most skulls, demons, rodents, and aliens are cut from a label bisected with a fold lengthwise, whereas monsters, cephalapods, yetis, and all many of other fuzzy things are oft cut from a label bisected with a fold width-wise.
The reason I fold it, is because I like the bilateral symmetry that results from cutting it that way.
I have a general idea of what I am going to get when I start, but I don't sketch a design and cut along a line, i just wing it, trying to do the outside cut in one fell swoop, these are basically designed along the same principles as a stencil with no parts that aren't attached to the main body of the sticker.
I have tried a plethora of tiny scissors, but the scissors on a Swiss Army Knife have the smallest turning radius, are the sharpest, and seem to work the best. The fact that they have a spring in them that opens them, is a plus, and yes, I have gone through at least one scissor spring in my snippet of a sticker cutter career.
Capturing the Critter's Soul in a Digital Device
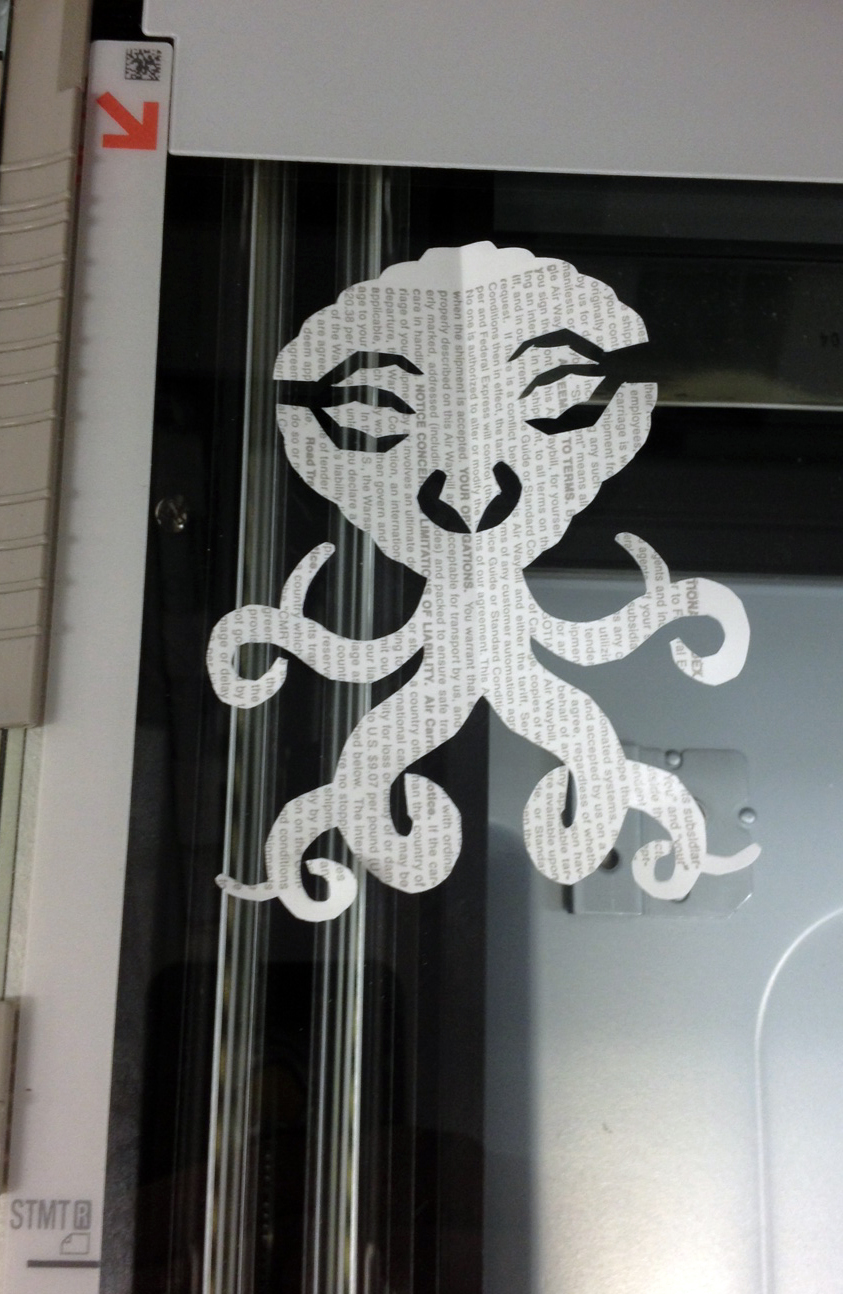
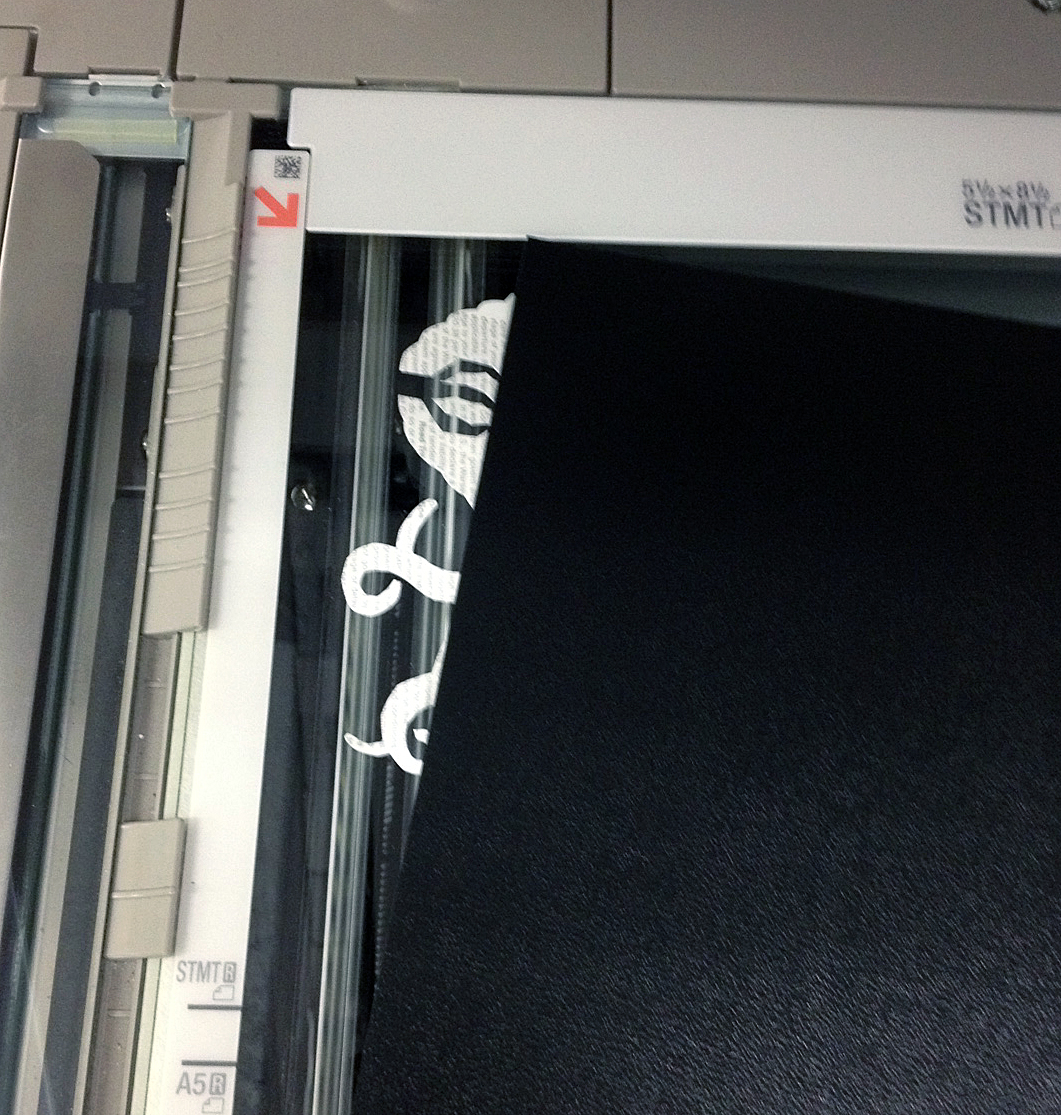
When I am on the road, I tend to just take a picture of a created Critter on a black background, but if I am at work, I scan them using a Canon Imagerunner Advance 5051, I scan then at 600 DPI in BW mode and save them as PDFs.
I place them face down, mostly because the bright light of the scanner tends to stun them and they don't wiggle so much, but someone else pointed out that their front doesn't have the FedEx T&C printed on it and I would therefore get a cleaner scan, whatever. I'll let them believe what they want, they just haven't ever seen a Critter wiggle.
I then put a black vinyl background behind them to make them more comfortable, or as someone said, "You'll get a better contrast with that behind them than the white backing of the document feeder".
They obviously don't care about the feelings of their Critters.
The Light Side and the Dark Side of a Critter Soul
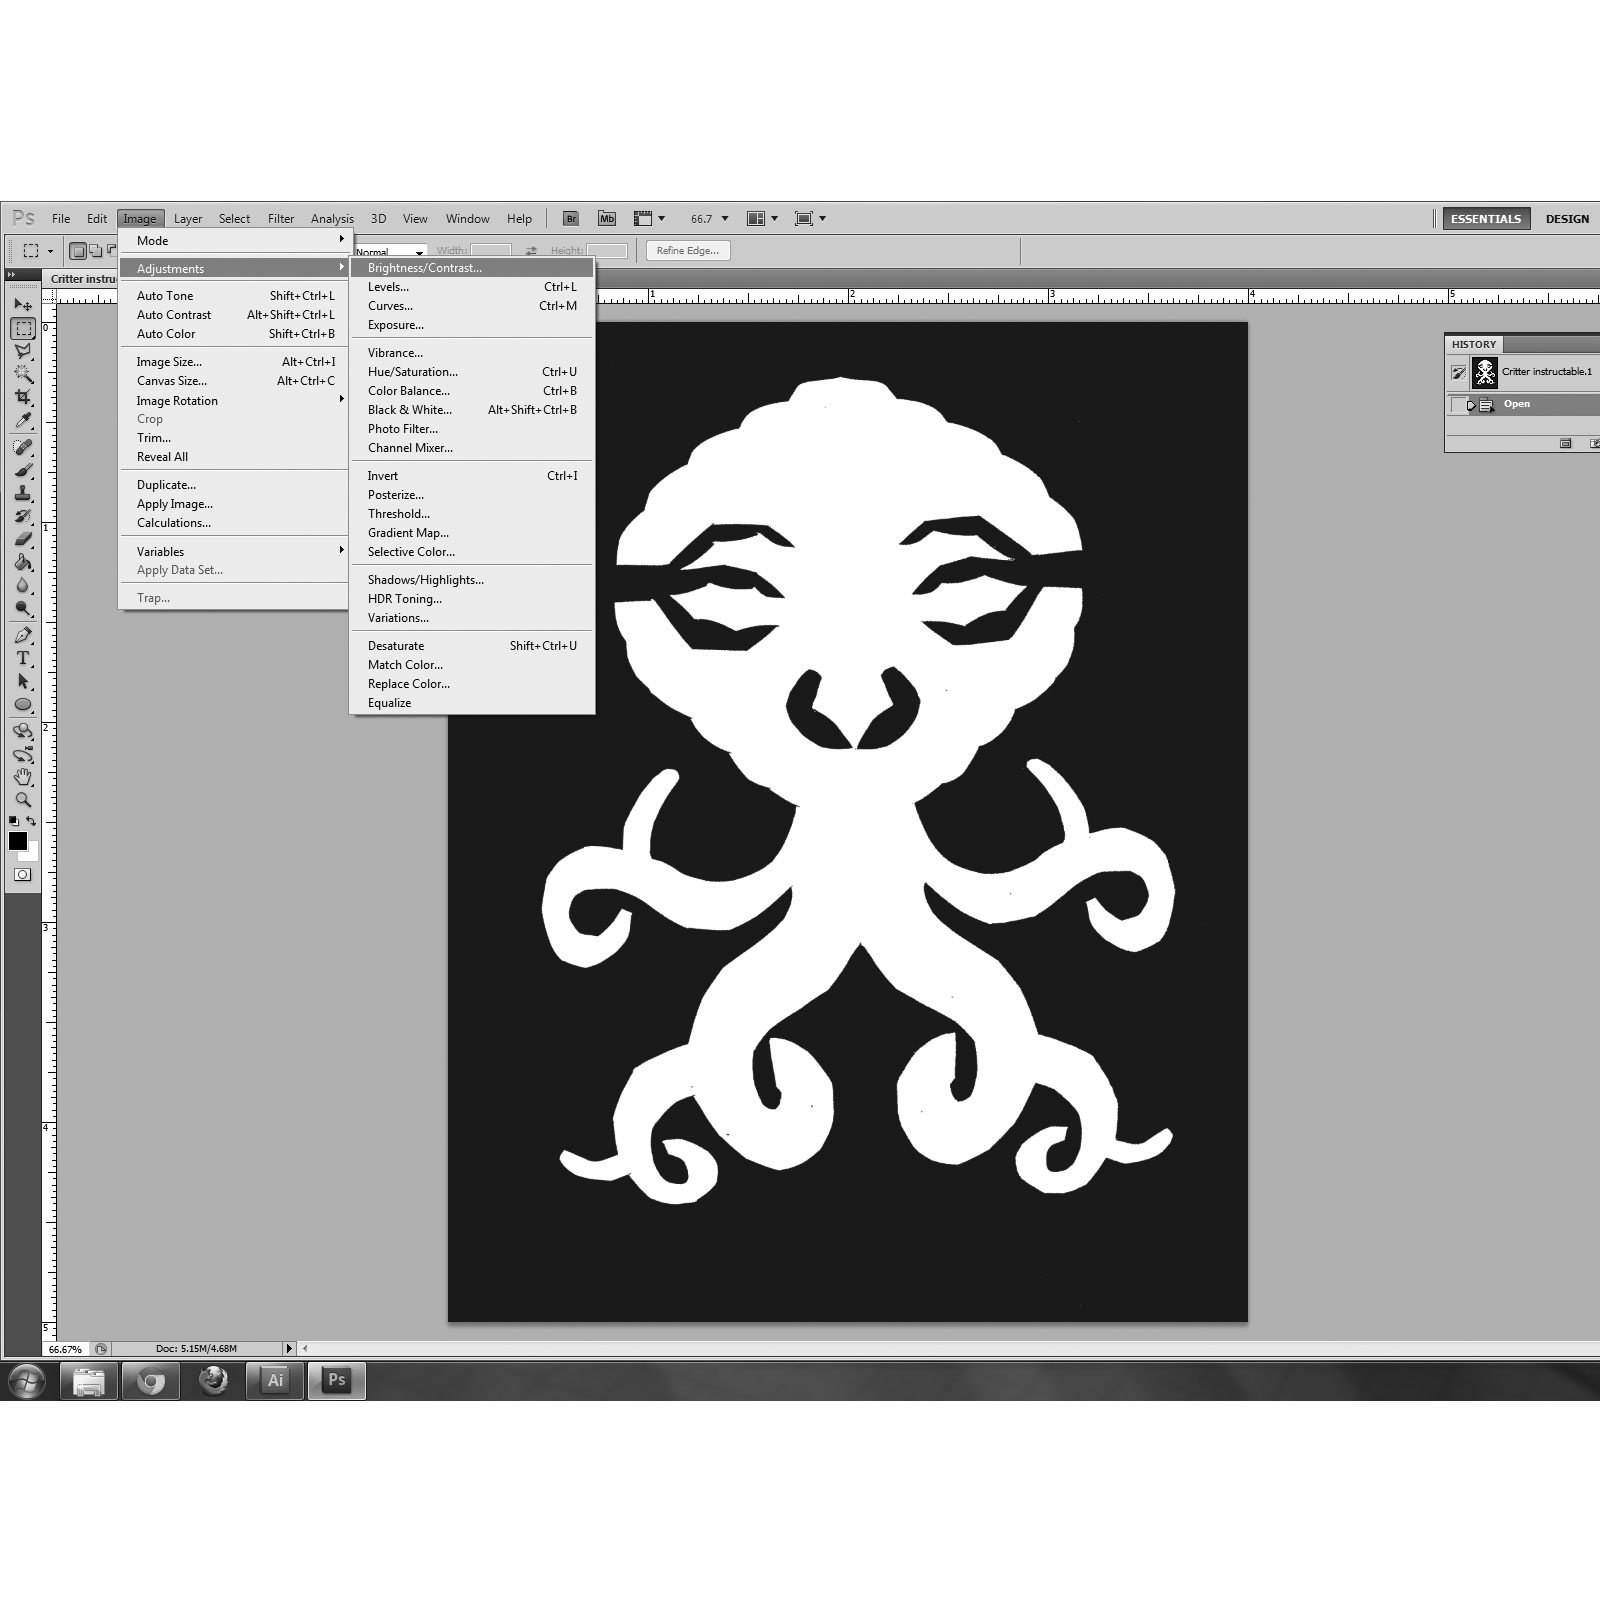
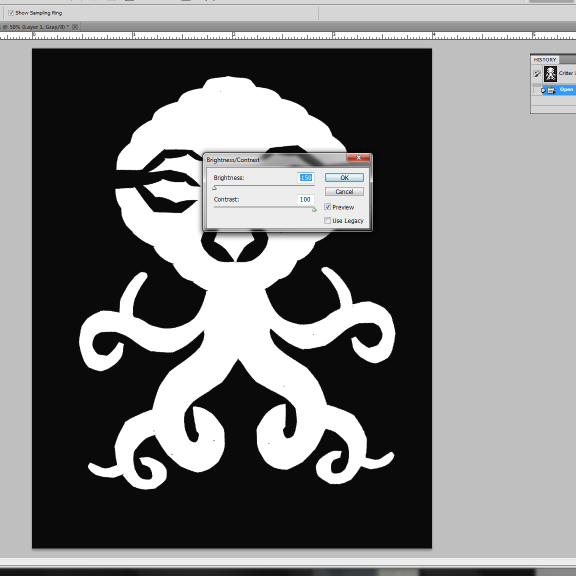
After scanning the Critter and capturing a piece of it's soul, I then try to enhance the Light and the Dark parts.
I do this in Adobe Photoshop by adjusting the contrast of the image, I make it as dark as it will go, and slide the contrast all the way to the right. This helps with the Live Trace we are about to do in Adobe Illustrator.
I then save the file as a PDF (for no particular reason)
I do this in Adobe Photoshop by adjusting the contrast of the image, I make it as dark as it will go, and slide the contrast all the way to the right. This helps with the Live Trace we are about to do in Adobe Illustrator.
I then save the file as a PDF (for no particular reason)
Prepping Your Soul Fragment
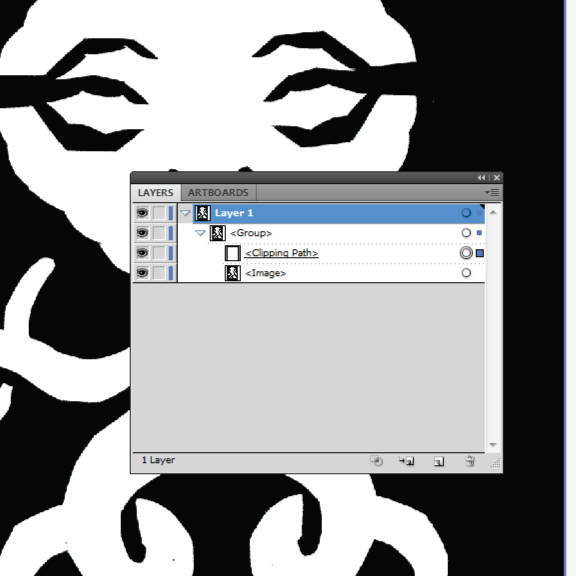
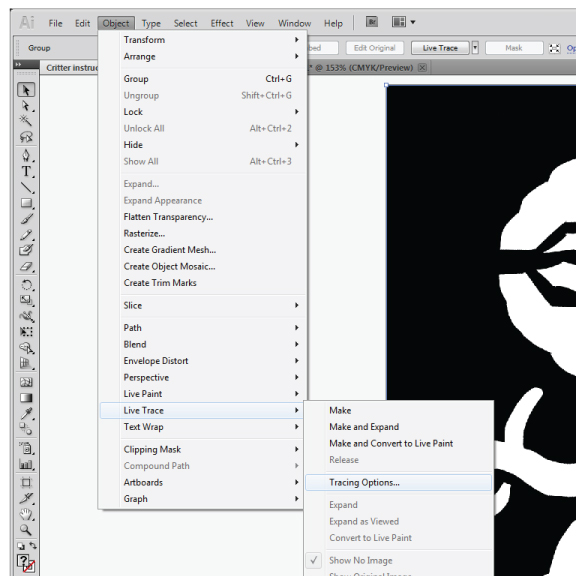
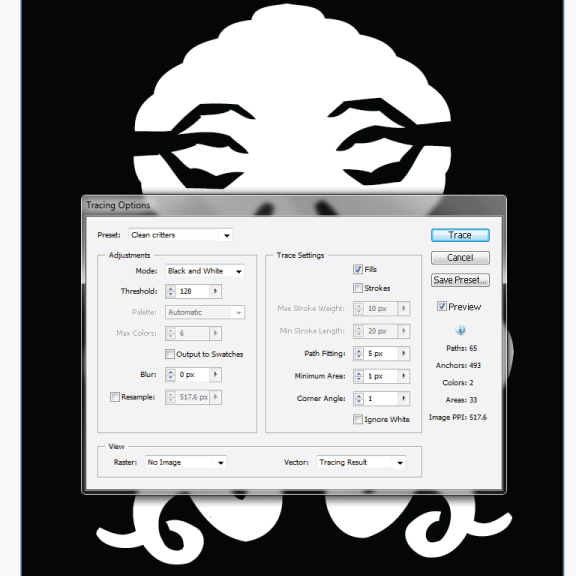
This is a fairly easy process.
I start up Adobe Illustrator, then open the high contrast PDF I created in step 4.
I start up Adobe Illustrator, then open the high contrast PDF I created in step 4.
- I first remove the clipping path by going to Layers, selecting the clipping path, and deleting it.
- Next I go to Object/ Live Trace/Tracing Options...
- In the Tracing Options window, I scroll to my custom preset: Clean critters (see above for settings) and click on Trace
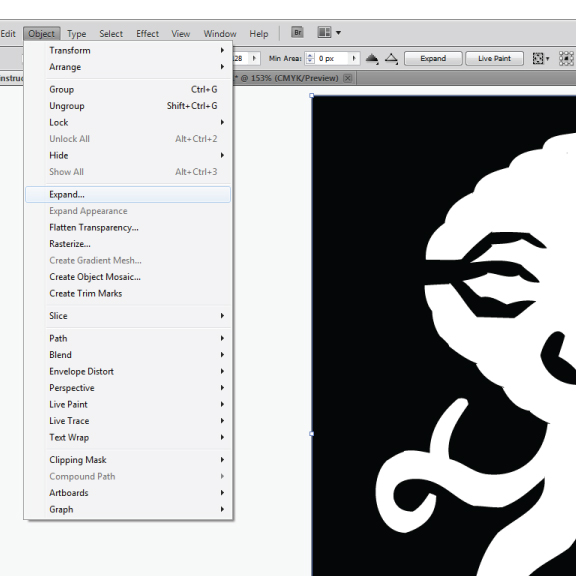
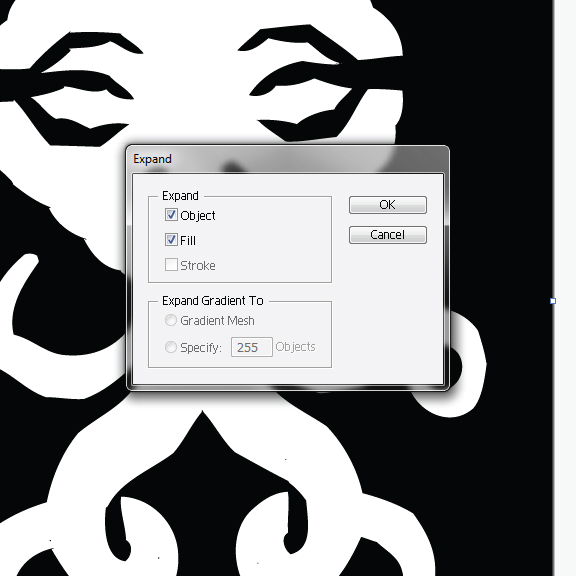
- I then select all, got to Object/Expand... leave it at the default and click OK.
- I then hit the letter (a) on the keyboard, this gives me the Direct Selection Tool, I then click anywhere inside the Critter.
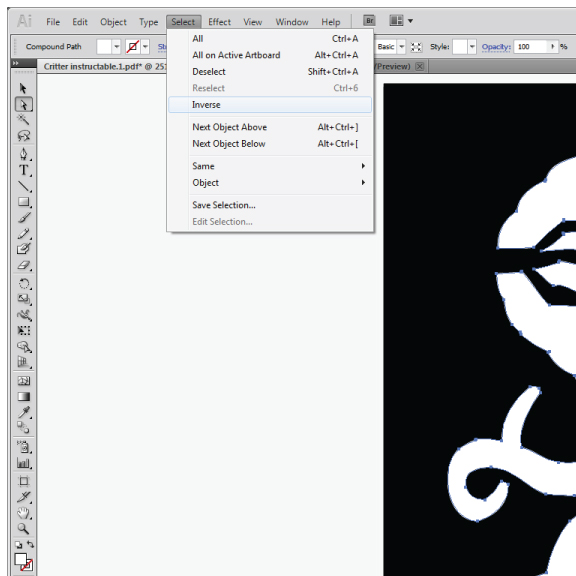
- I then go to Select/Inverse. This selects everything but the Critter, which then gets deleted.
- You may notice that your Critter has vanished, don't worry, it is still there, it is just shy.
Cleaning the Soul Fragment
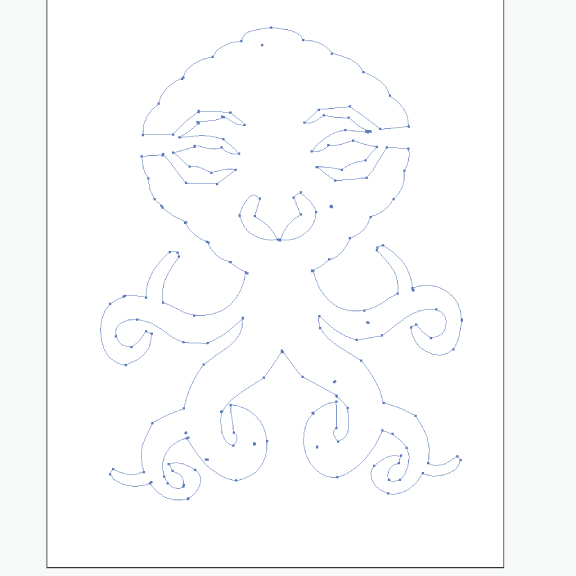
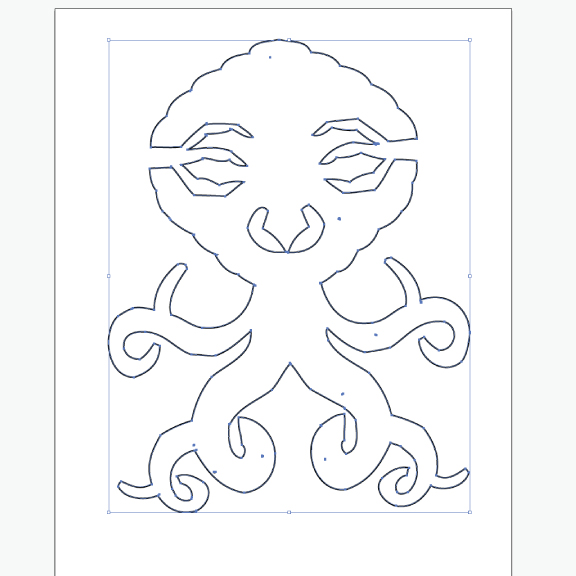
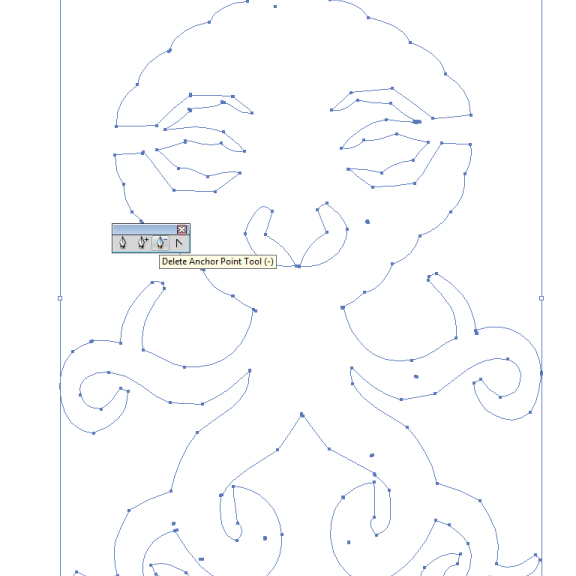
Now that you have nothing but the bare bones of the Critter soul, in a manner of speaking, you now must polish and fine tune it so that it can be used on any of the myriad wonderful tools available at TechShop. You can use it the way it is, but you may run into strange digital artifacts that make your equipment behave in unnatural ways.
This is the method that I use, it has been passed down, generation to generation, always to the tallest child in an honorable fashion, in a darkened room, with a cat on your lap, and caterpillars whispering mystic chants in your ear.
This is the method that I use, it has been passed down, generation to generation, always to the tallest child in an honorable fashion, in a darkened room, with a cat on your lap, and caterpillars whispering mystic chants in your ear.
- In Adobe Illustrator, within the file from Step 5, I type (Ctrl a) this selects all, You will now see a ghostly outline of your critter.
- I then type the letter (d) This gives me the Default Fill and Stroke, now you can see infinitely into the nooks of your Critter's soul.
- You may, at this time notice tiny blemishes or dots within your soul fragment, to rid yourself of these, type the (-) key, this gives you the power to individually delete the anchor points of the blemishes, once you delete one point, you can then hit the (Delete) key to remove the entire blemish.
- I then type (Ctrl r) this turns on the Rulers, not that the soul fragment recognizes any form of sovereign power, but the Rulers are solely there to pull alignment guidelines from.
- Click in the left hand Ruler, hold down the button, and drag a guideline to a midpoint of your soul fragment.
- Select View/Guides/Lock Guides
- Type the letter (v), this is the Selection Tool, type (Ctrl u) to turn on the Smart Guides (sometimes this will turn them off, hover your pointer over a line to see if any ghostly green lines or labels appear, if they do smart guides are on, if not then type (Ctrl u) again.
- Select an anchor point that is on the center vertical meridian of your soul fragment, I chose the one at the apex of the lower tentacles, use the arrow keys to move your image so that this anchor is aligned with the guideline.
- Type the letter (r), this is the rotate tool, click on the anchor point from the last step, then click and hold anywhere within the body of your soul fragment, drag left or right, rotating around the selected anchor point till your soul fragment is level and evenly aligned.
Refining Your Soul Fragment
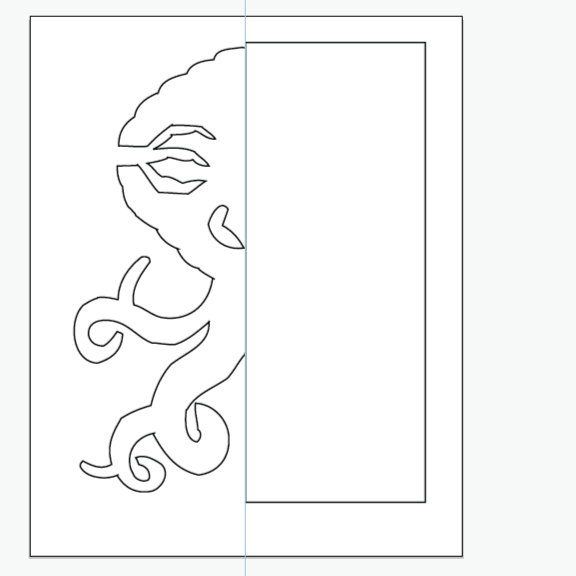
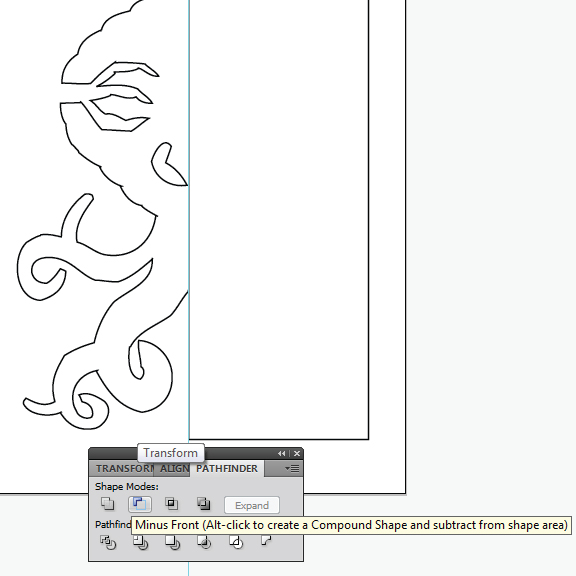
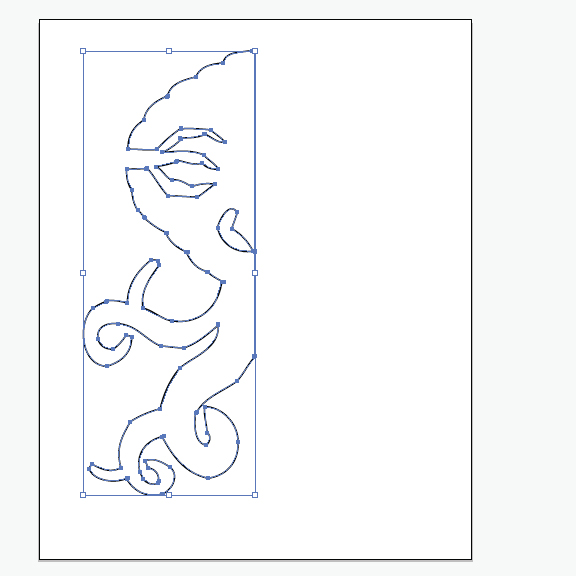
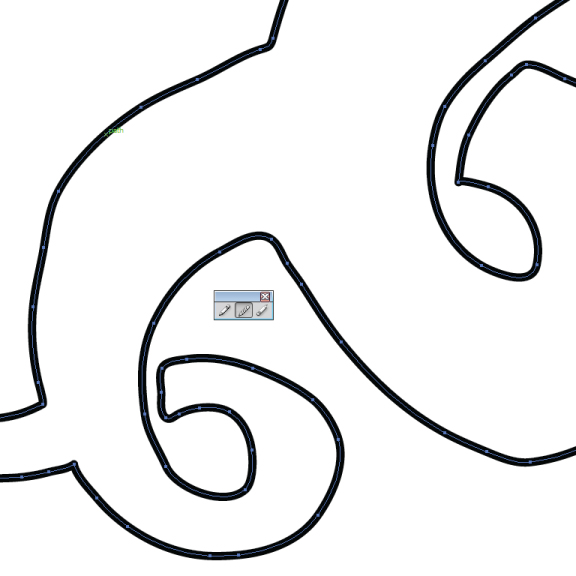
We are almost done, only a few more steps to go.
- Type (m) this is the Rectangle Tool, click and drag to create a rectangle that has one edge aligned with the vertical meridian of the soul fragment, and is taller and wider than one half of your image (see image)
- Type (Shift+Ctrl+F9) to bring up the Pathfinder Tool, select all by typing (Ctrl a), then click on the second from the left of the top row of the pathfinder tool, this is the Minus Front function, this will remove half of your soul fragment.
- Now, type (Z) this is the Zoom Tool, select an area to zoom into, select all (Ctrl a), and using the Pencil Tool (n); holding the (Alt) key will give you the Smooth Tool, and the Anchor Point Deletion Tool (-) clean up and tweak your soul fragment, you can pan to a different area, by holding the Space Bar and clicking and dragging. Pay special attention to the parts where the tentacles appear to loop under themselves, I like to make sure that the end going under aligns with the part on the other side.
Re-establishing the Symmetry and Balance of Your Soul Fragment
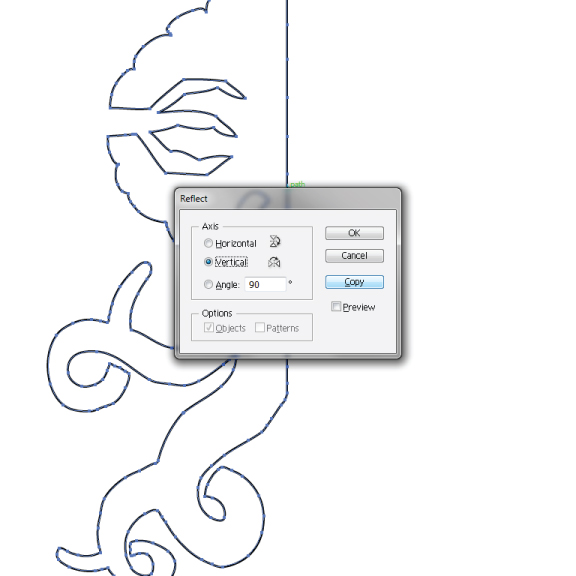
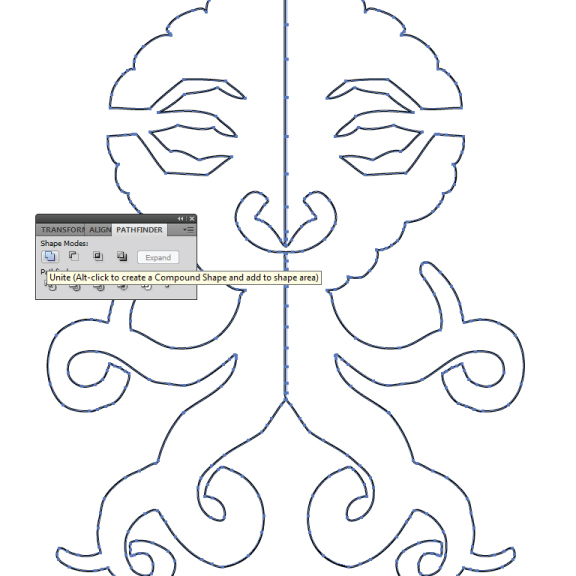

Now that we have tweaked, manipulated and cleaned up our soul fragment, we can now give it balance and a little more self confidence.
- Type (Ctrl 0) to Fit Artboard in Window.
- Type (O) to activate the Reflect Tool.
- While holding down the (Alt) key, click on the meridian where we removed half of your soul fragment back in the last step.
- When the window pops up, click on (Copy).
- To ensure we get a clean seam, move the new half one step towards the previous half using the arrow keys.
- Select all again (Ctrl a) and in the Pathfinder Pallet (Shift+Ctrl+F9) select the top left icon (Unite).
- Type (Shift X) to Swap Fill and Stroke, (Shift+Ctrl+A) to Deselect, and we are finally done.
Now That You Have a Symmetrical Balanced Critter Soul, Here One Thing I Have Used Them For
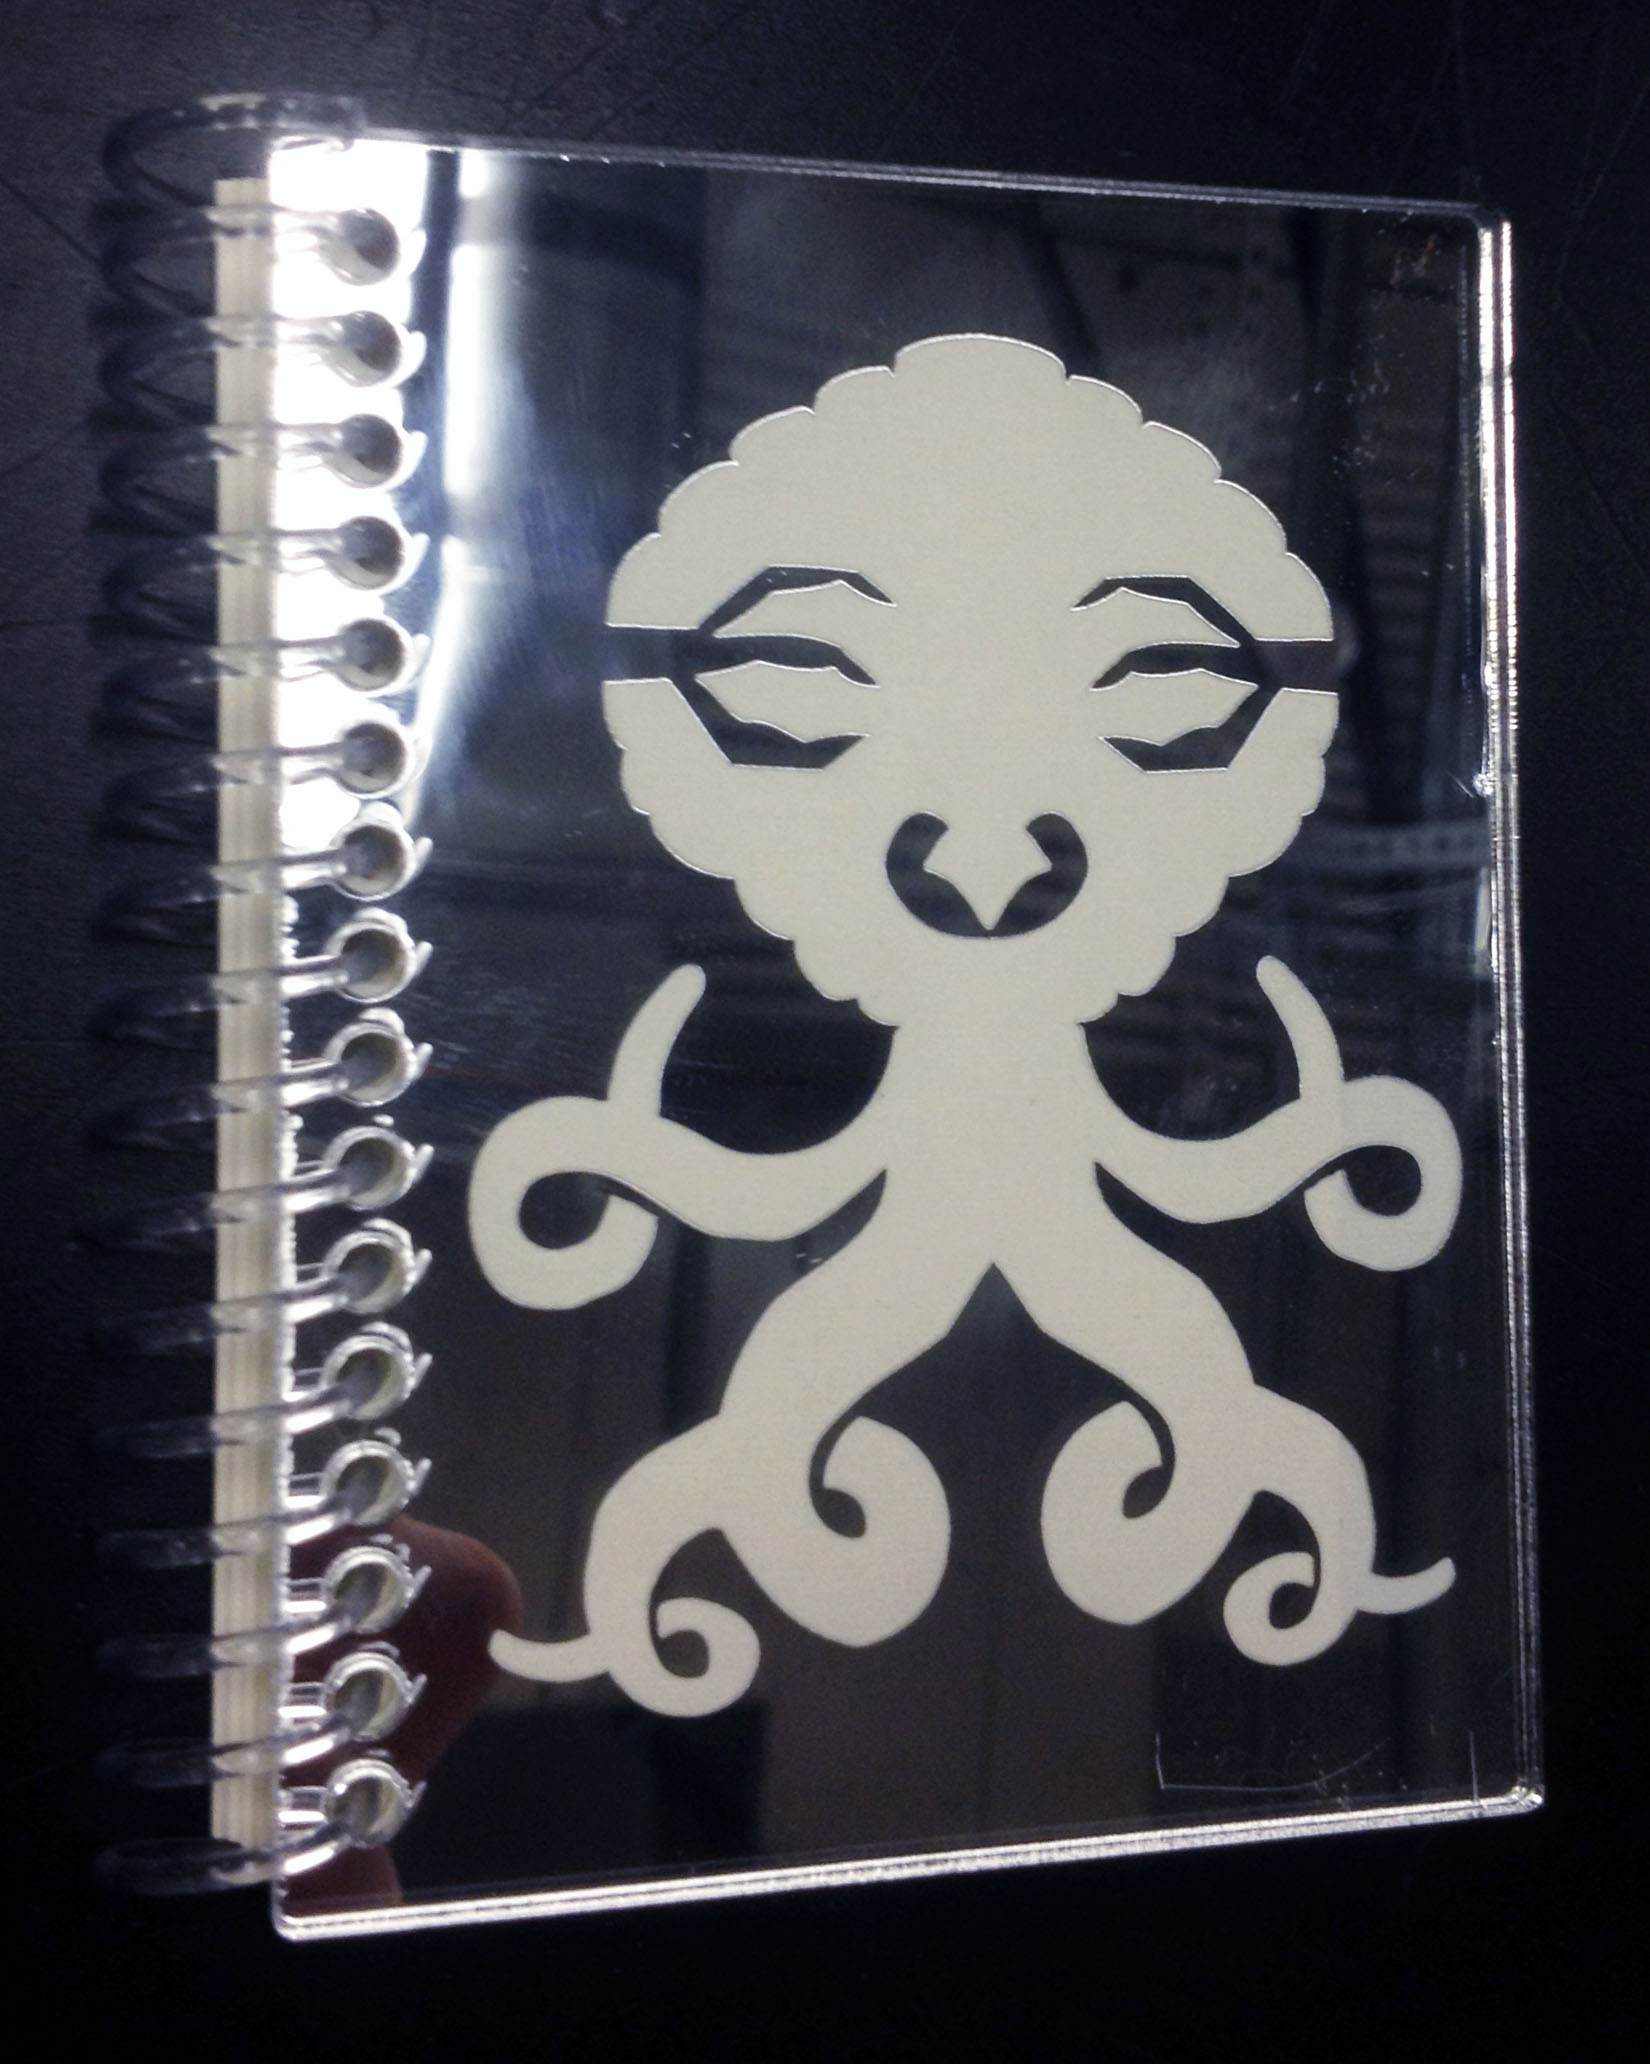

Since I work at a Fed Ex Office, I have access to a coil binding punch, and lots of scrap paper.
Making laser etched and cut book covers was just a logical step for processing Critters into.
I also make little fun things to give to friends and strangers.
I have made skulls to hang in a local Philz during Halloween.
I was contracted by The San Jose Museum of Art's to make some simple skulls and butterflies into a scratch art stencils for their Día de Los Muertos (The Day of the Dead) Community Day events in 2011.
There are a plethora of Sticker Critters to peruse over at Facebook, if you use any of the designs, please let me know and post an image on the Sticker Critter's Facebook page.
This is the sixth of six (there will be more) Instructables to be posted as part of the San Jose TechShop's 1st Quarter 2013 Resident Artist Program