The Weekly Agenda
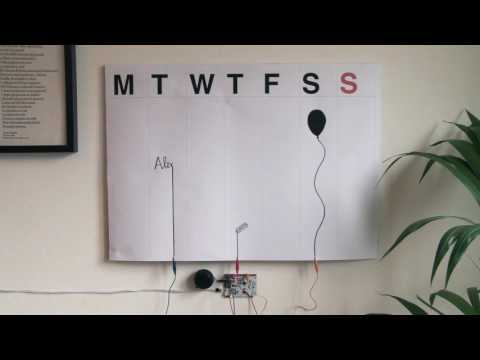
Did you ever want to make an interactive agenda that could play your recorded messages? Look no further! In this tutorial, we’ll explain how to make a customisable calendar using a bit of Electric Paint and the Touch Board.
This project was created in collaboration with Giulia Galli .
To Begin You Will Need
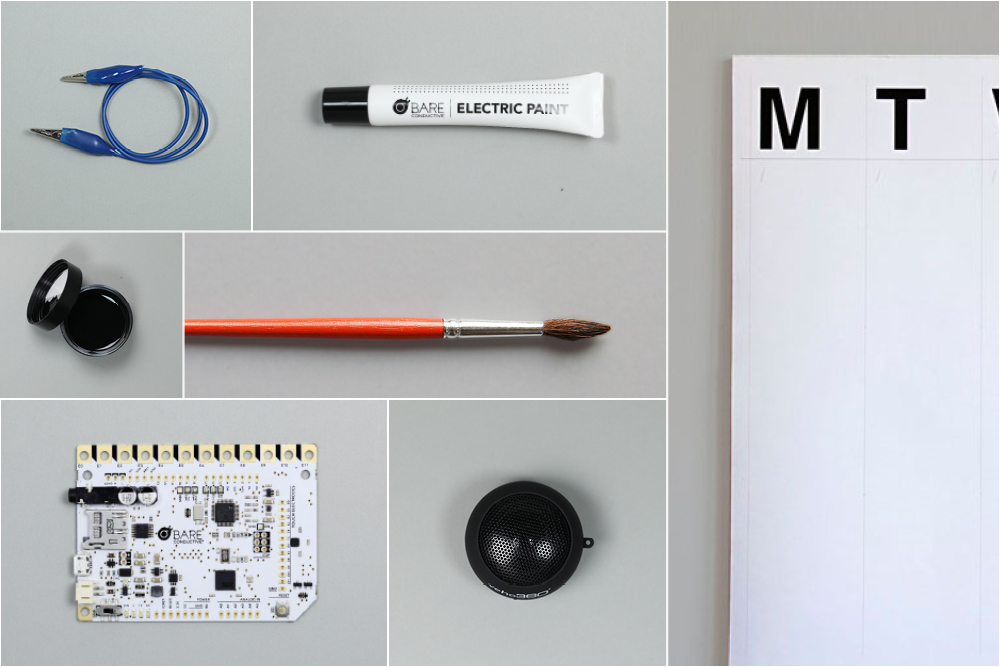
1x Touch Board
1x Electric Paint 50ml
1x Electric Paint 10ml
or
1x Touch Board Starter Kit
–
1x speaker
1x calendar
crocodile clips
brush
recording device (like a smartphone)
Draw Your Message
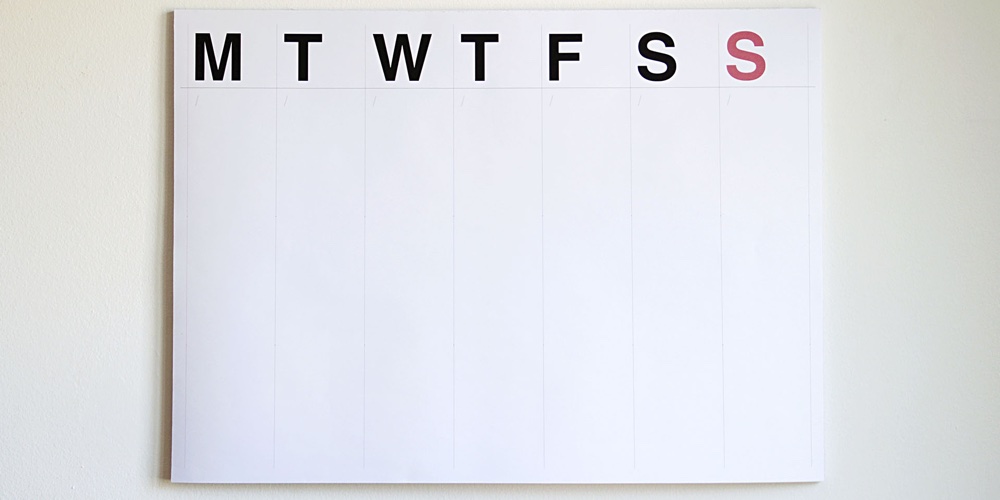
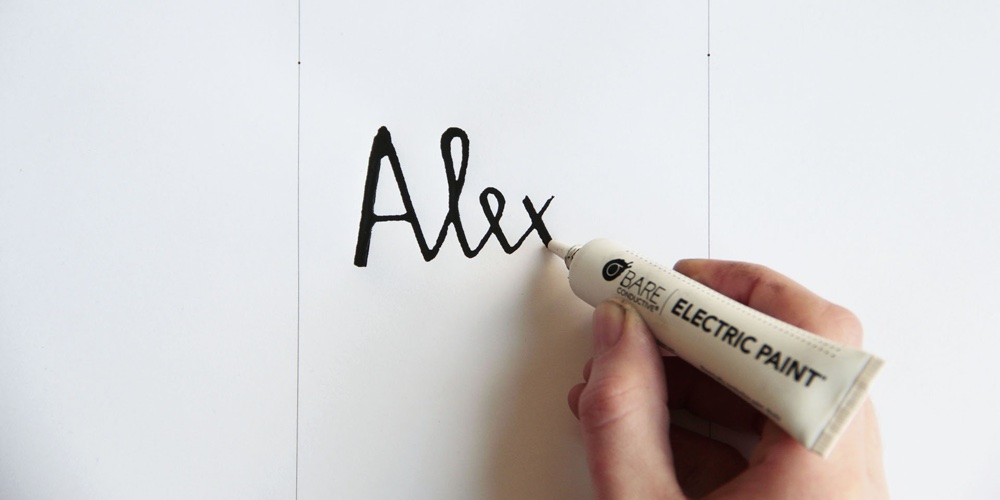
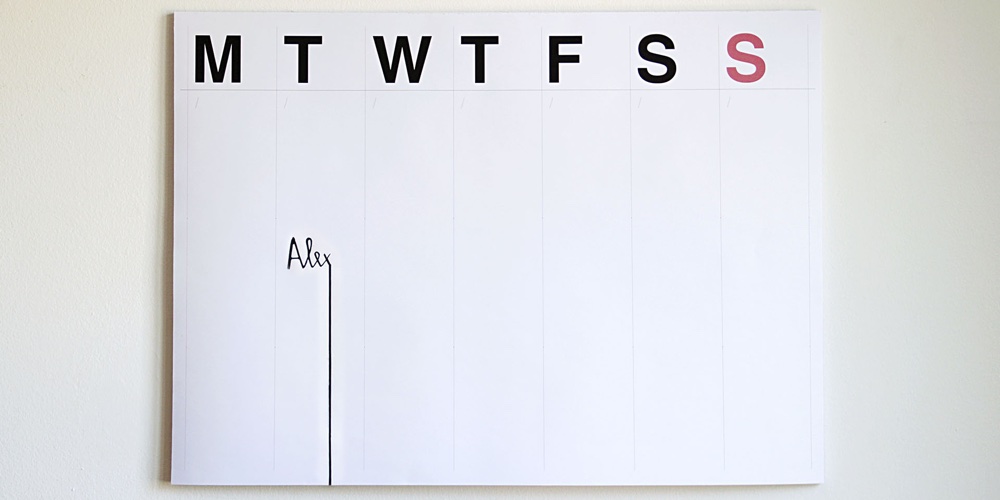
First, hang your calendar on the wall. Use Electric Paint to draw a name, balloon or anything else you want to draw that will play your message when touched.
Draw a path to the bottom of the calendar to connect your painting to the Touch Board. You can draw up to 12 messages as there are 12 electrodes on the Touch Board.
Record and Load Sounds
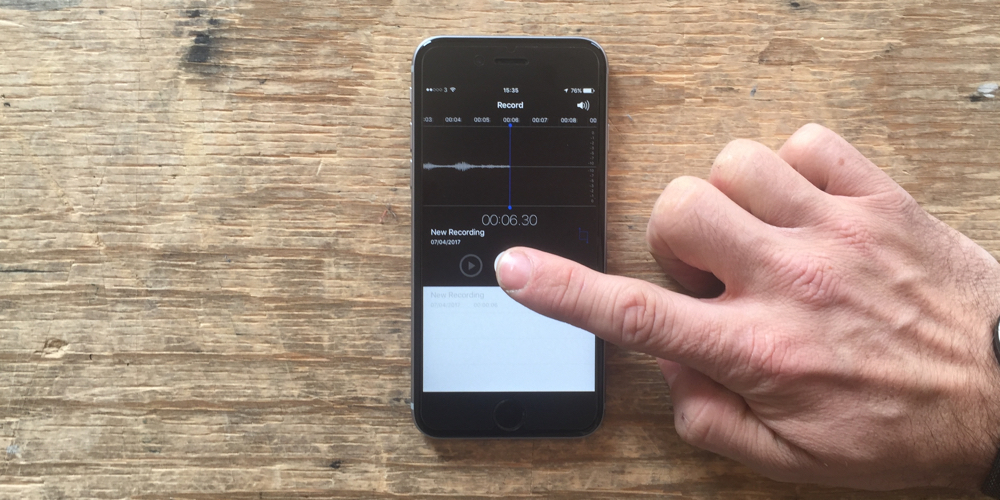
While you are waiting for the paint to dry, record your message, for example with your phone, and upload it onto your computer. Make sure that your recording is MP3, if it isn’t you can use various tools, such as this one here , to convert your audio file to MP3.
You can search for sounds online, or record your own. You can also use this free online tool to crop your MP3s to the desired length.
If you haven’t changed the MP3 files on your Touch Board before, have a look at this tutorial here .
Connect the Touch Board
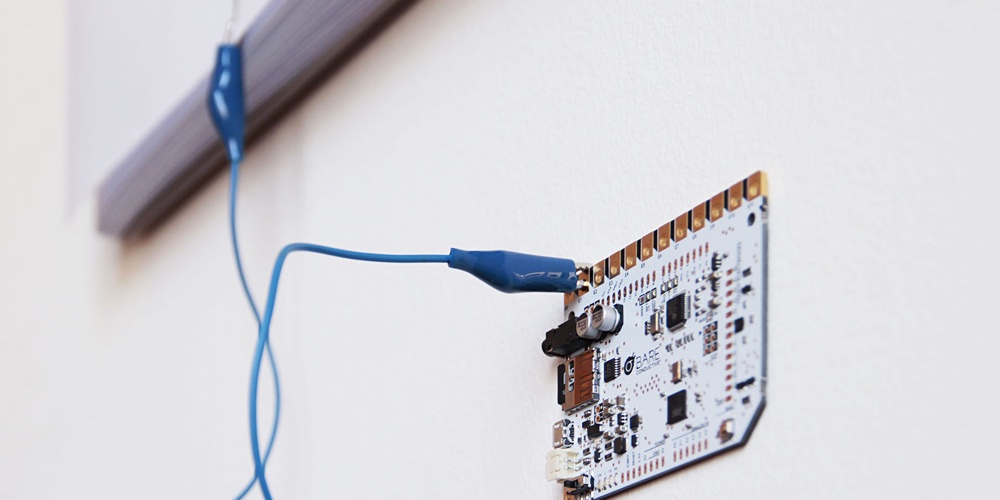
Place the Touch Board somewhere close to your calendar. You can attach it to a wall with double sided tape. Use the crocodile clips to connect to your Touch Board.
Attach one end of the clip to the Touch Board’s electrode and the other end to the path of Electric Paint on the calendar. Make sure you are using the corresponding electrode for the message that you drew earlier.
Connect Audio and Power
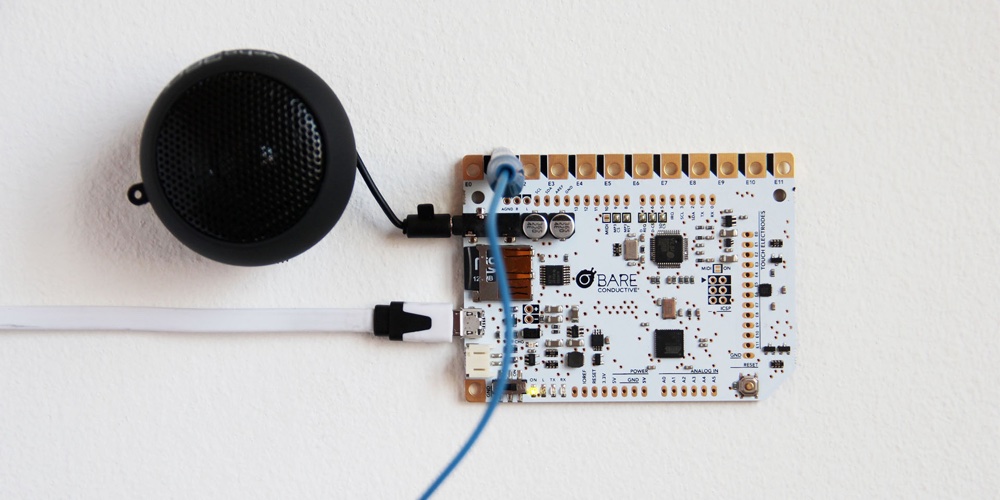
Securely place your speakers close to your Touch Board and plug your speakers into your Touch Board’s audio jack. Additionally, plug the Micro USB cable into the Touch Board to provide it with power.
Your Weekly Agenda Is Ready
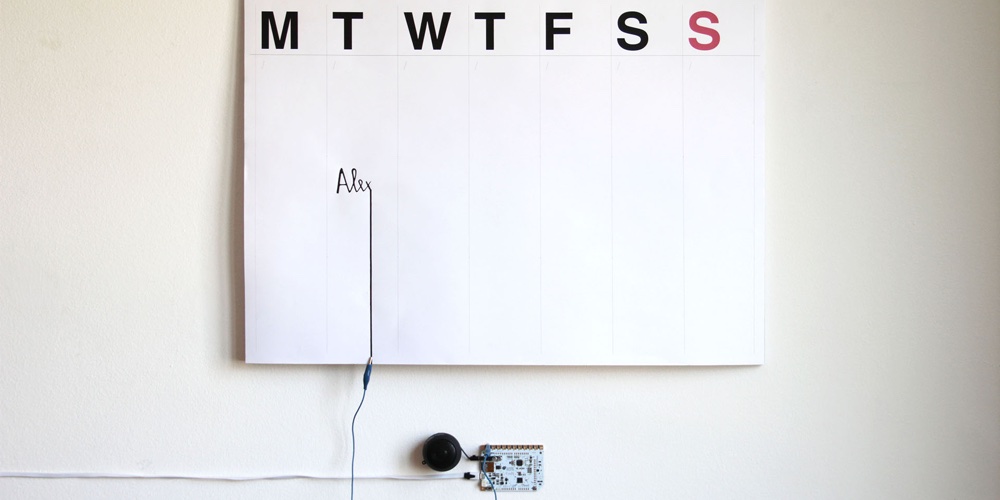
Your weekly agenda is ready to go! Turn on your Touch Board and touch your messages on the calendar. Have fun experimenting with a different audio message, and start from scratch each week!
If you come up with some crazy designs or new innovations we would love to hear from you! Simply send us your images or videos on Instagram or Twitter or email us at info@bareconductive.com.