The ULTIMATE RetroPie 4.1 Raspberry Pi Setup Tutorial
by TechWizYouTube in Circuits > Raspberry Pi
32786 Views, 213 Favorites, 0 Comments
The ULTIMATE RetroPie 4.1 Raspberry Pi Setup Tutorial
 IN.png)
In this Instructable, you are going to learn how to install RetroPie 4.1 on the Raspberry Pi, to upgrade RetroPie to the latest version, to find your IP address lightning fast and how to setup and enable Retropie Manager for simple Rom Management.
Other Resources:
TechWizTime YouTube Channel
Private Internet Access VPN Provider
Amazon Affiliate Link
TechWizTime Website
Raspberry Pi 3 Kits on Amazon
Raspberry Pi 3 Accessories on Amazon
Raspberry Pi Books on Amazon
Samsung MicroSD Cards on Amazon
Gamepads & Controllers for Raspberry Pi on Amazon
Let’s get started!
What You’ll Need
)
- Latest RetroPie image for Raspberry Pi
- Etcher
- Raspberry Pi 1, 2 or 3
- 8GB+ MicroSD Card
Download the Image
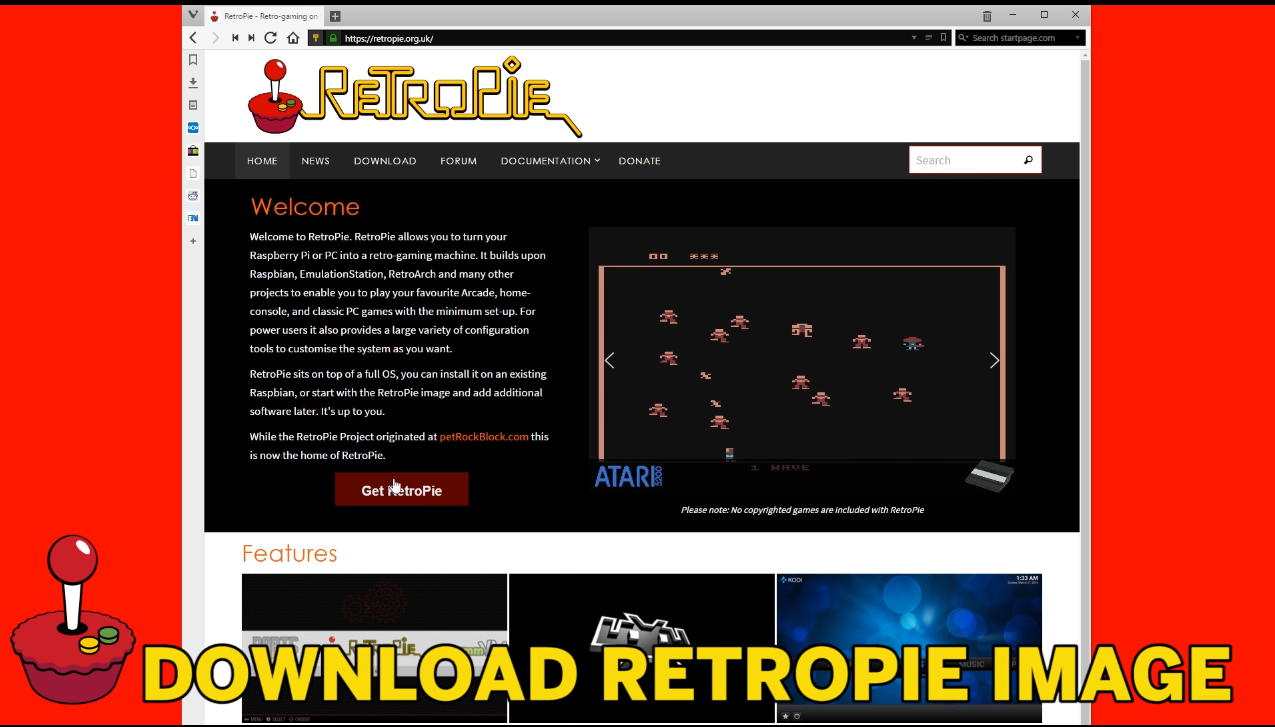
Go to http://retropie.org.uk/.
Click on the red button that says “Get RetroPie”
Click on the red button that matches your Raspberry Pi installation (0/1 or 2/3) to start the download.
Write the Image
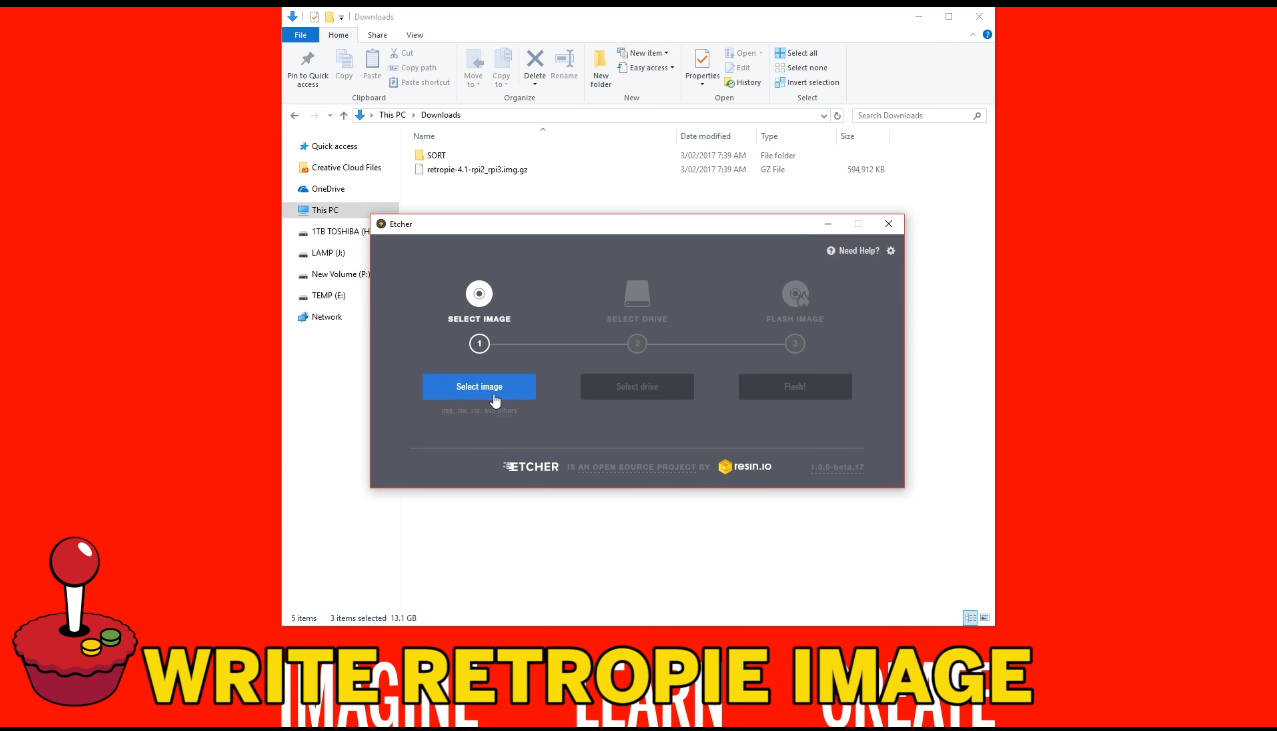
Open up Etcher and Click “Select Image”.
Select the RetroPie Image we just downloaded.
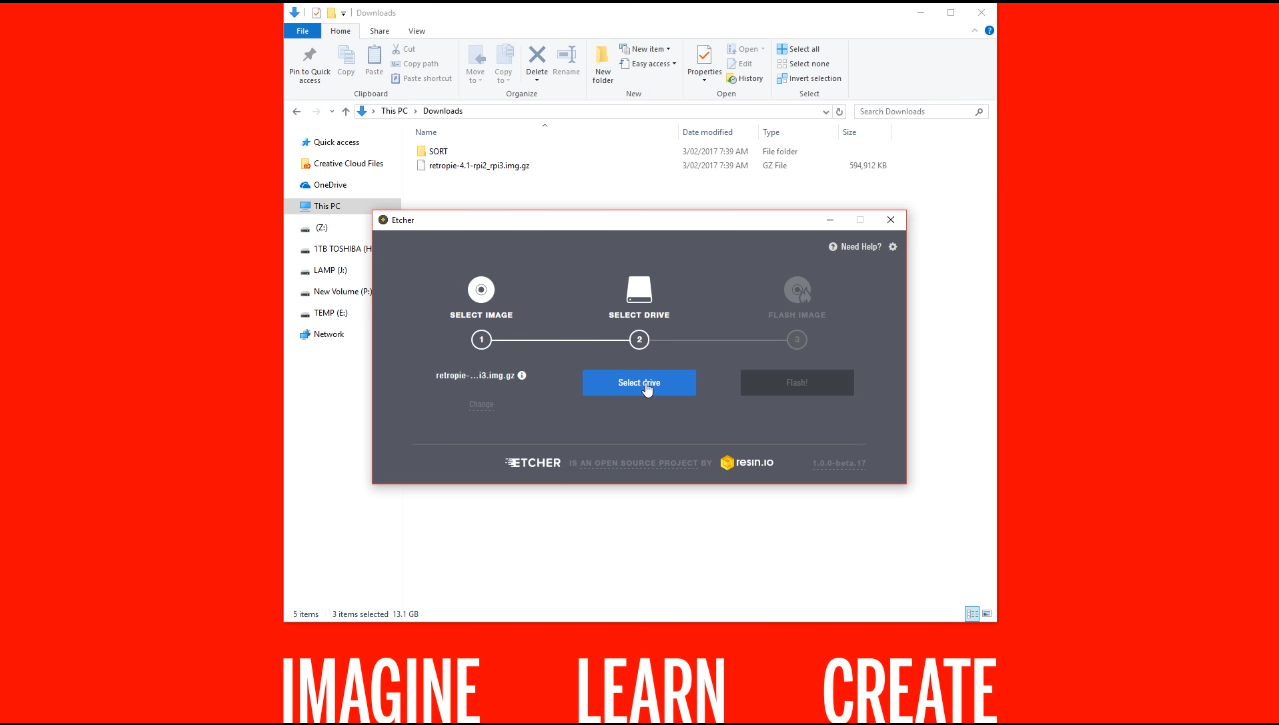
Click on “Select Drive” to select the Drive you want your image to be copied to.
NOTE: Remember to select the correct one, as you may overwrite a Hard Drive or a Pendrive with important information.
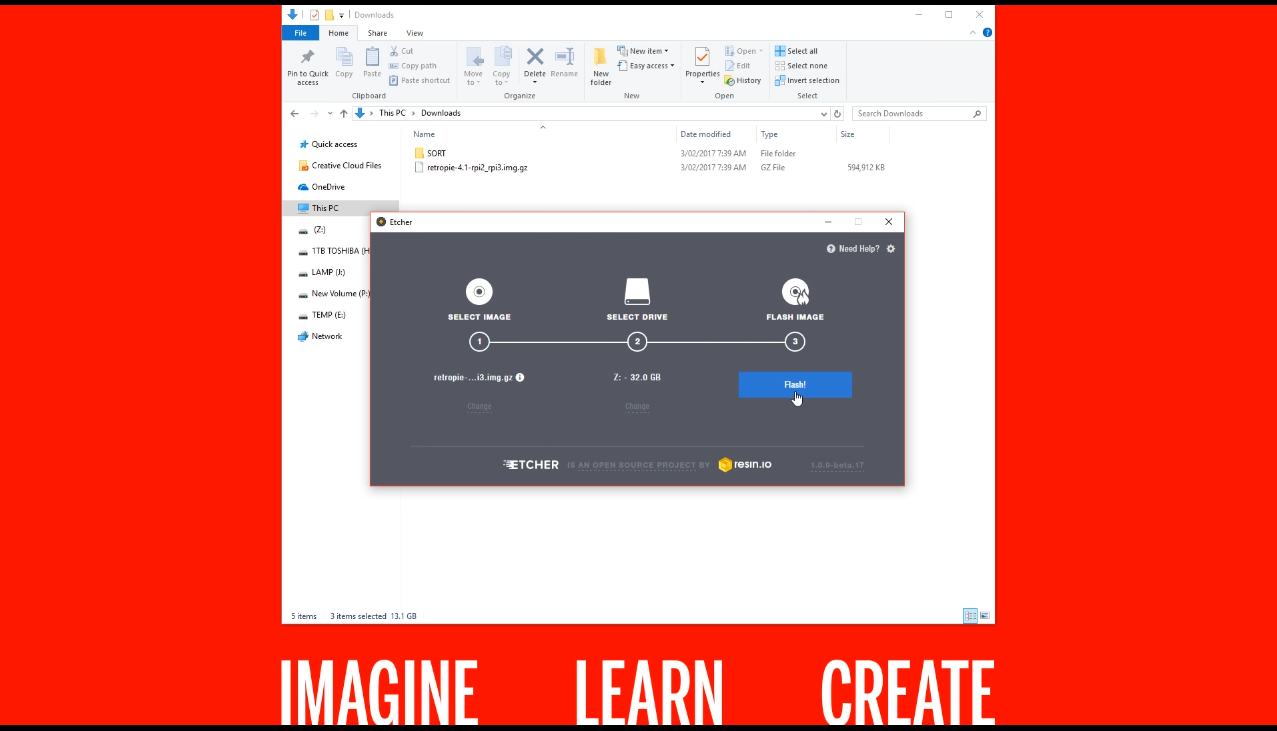
Click on “Flash” and wait for it to copy the image to your SD Card.
After it is done, it’ll automatically unmount the SD Card so you can take it from your Computer to continue the process on your Raspberry Pi.
First Run of RetroPie

Once you’ve booted into RetroPie, the system will automatically rezise itself and then reboot once.
The “Emulation Station” Screen will appear once the booting is done.
Configuring Your Controller
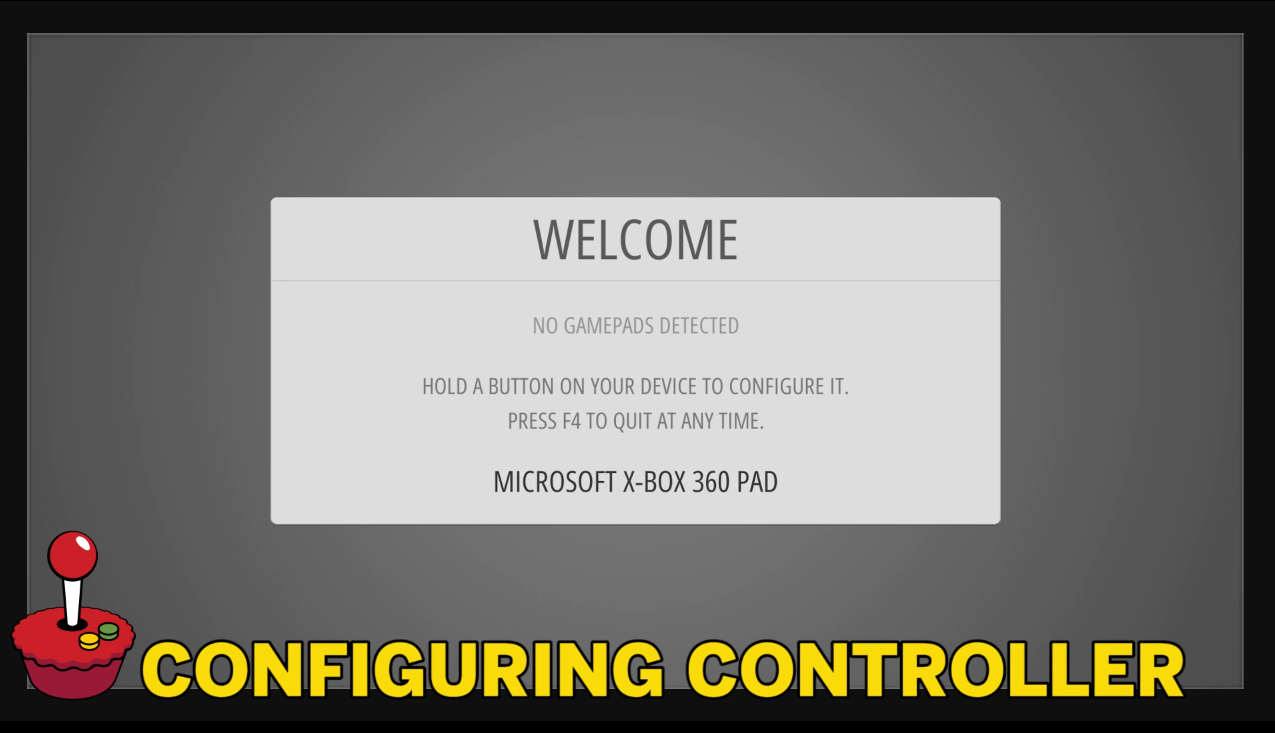
Once the “Welcome” screen appears, press and hold any button on your gamepad so it can recognize it.
NOTE: This particular configuration is meant for a Xbox 360, PS3 or PS4 controller.
Press each button you’re asked for in the “Configuring” screen. Hit “OK” once you’re done.
Updating RetroPie
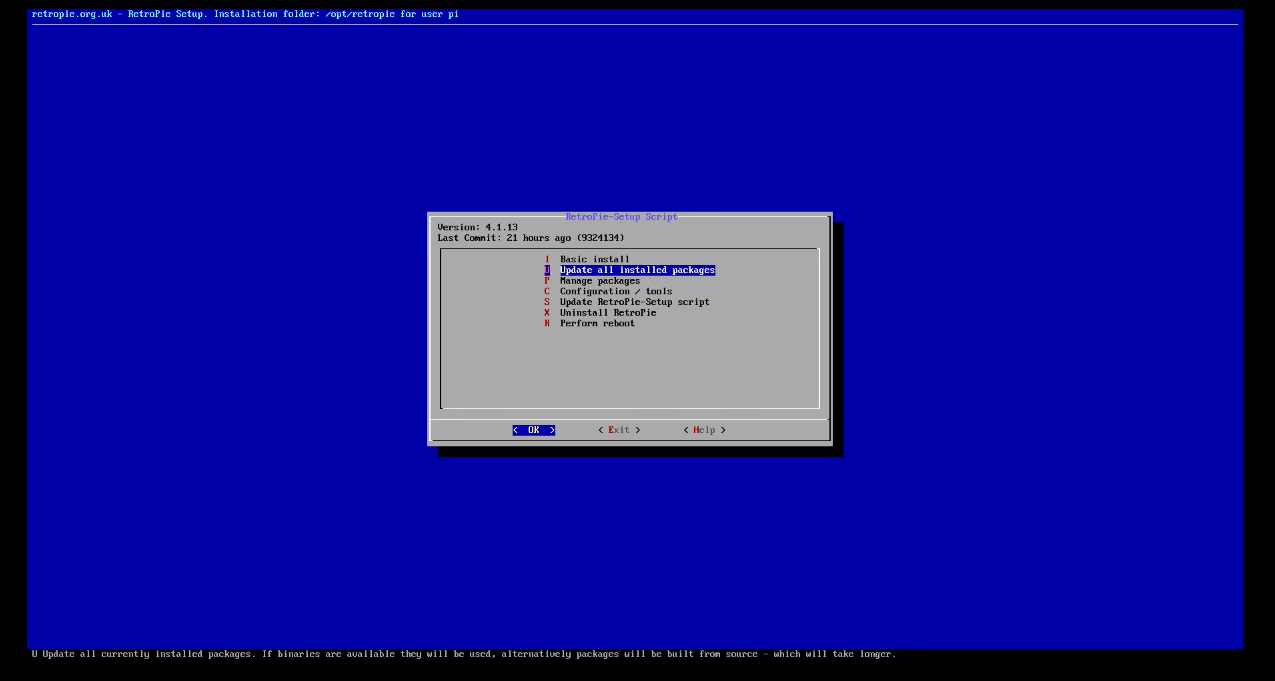
Get inside the “Configuration” menu.
Scroll down to “RETROPIE SETUP”.
Scroll down and select “Update all installed packages”.
Choose “Yes” when it asks if you are sure you want to update.
Hit “Ok” once it finishes.
Scroll all the way down to the bottom and select “Perform reboot”.
Choose “Yes” when it asks if you are sure you want to reboot.
Install RetroPie Manager
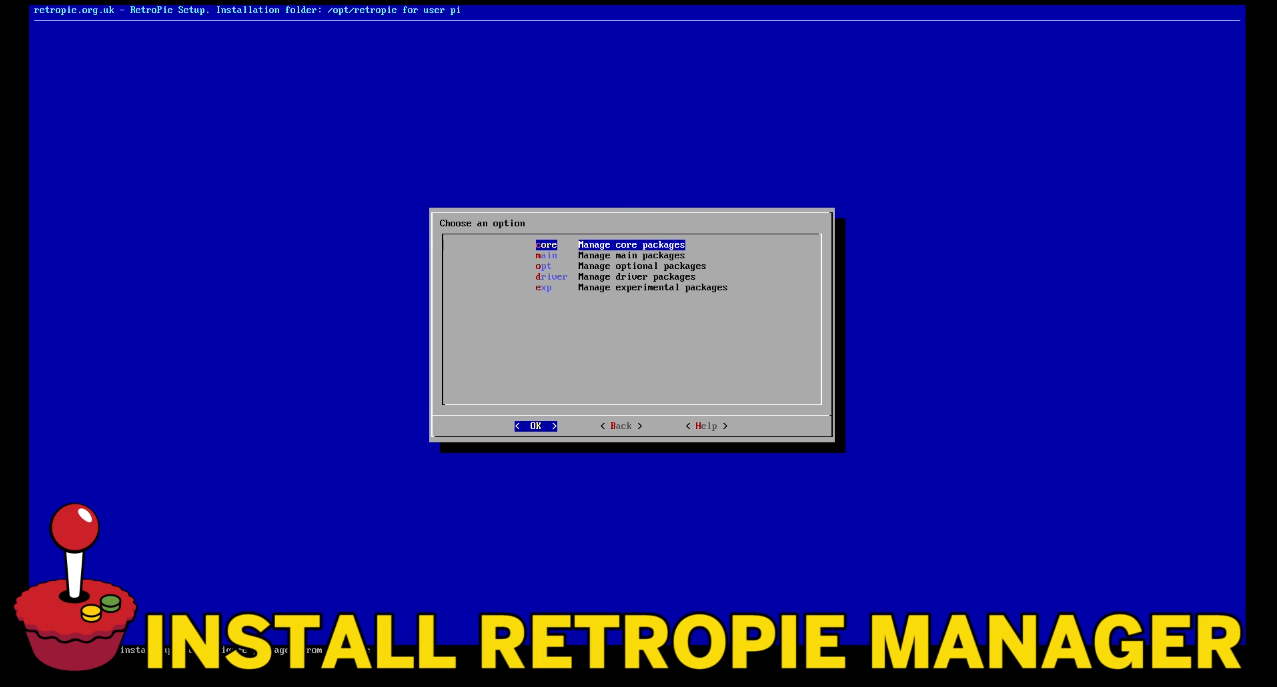
Get inside the “Configuration” menu.
Scroll down to “RETROPIE SETUP”.
Scroll down and select “Manage Packages”.
Scroll down and select “Manage experimental packages”.
Scroll down and select “retropie-manager”.
Choose “Install”.
Once it finished installing go down to “Configuration / Options”.
Go down and select “Enable RetroPie-Manager on Boot”.
NOTE: You can also start the Manager manually by selecting “Start RetroPie-Manager now”.
Find Your Raspberry Pi’s IP Address
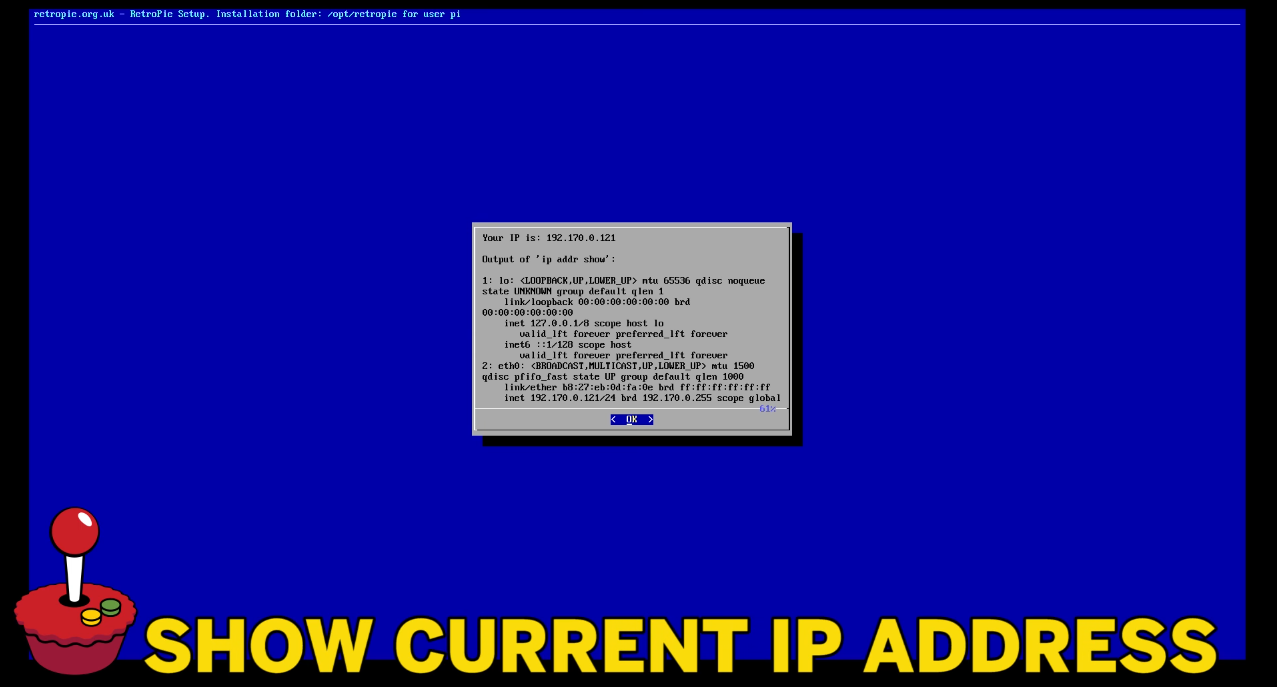
Get inside the “Configuration” menu.
Scroll down to “Show IP”.
This will display your Raspberry Pi's IP Address.
Make sure you write it down as we’re gonna need it soon.
Access RetroPie Manager From a Web Browser
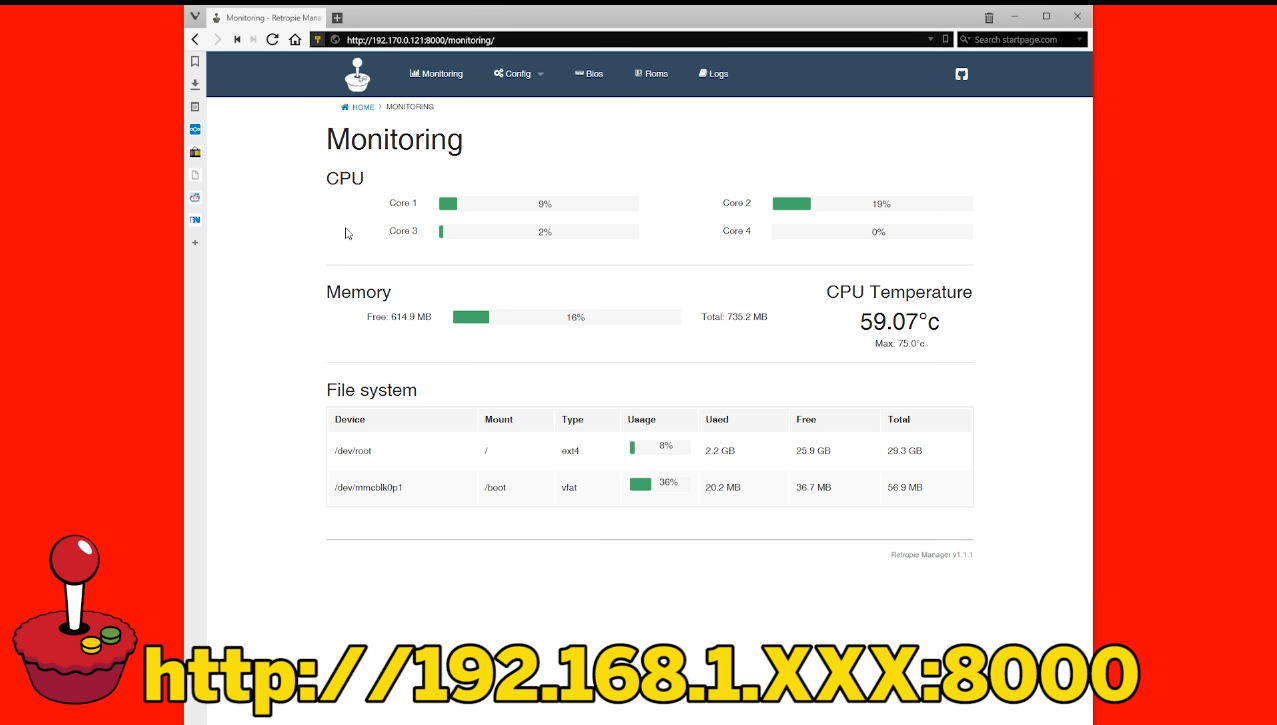
Open up any Web Browser.
Type your Raspberry Pi’s IP Address followed by “:8000”.
You can also type in retropie.local:8000 in most instances.
Copying a ROM to RetroPie
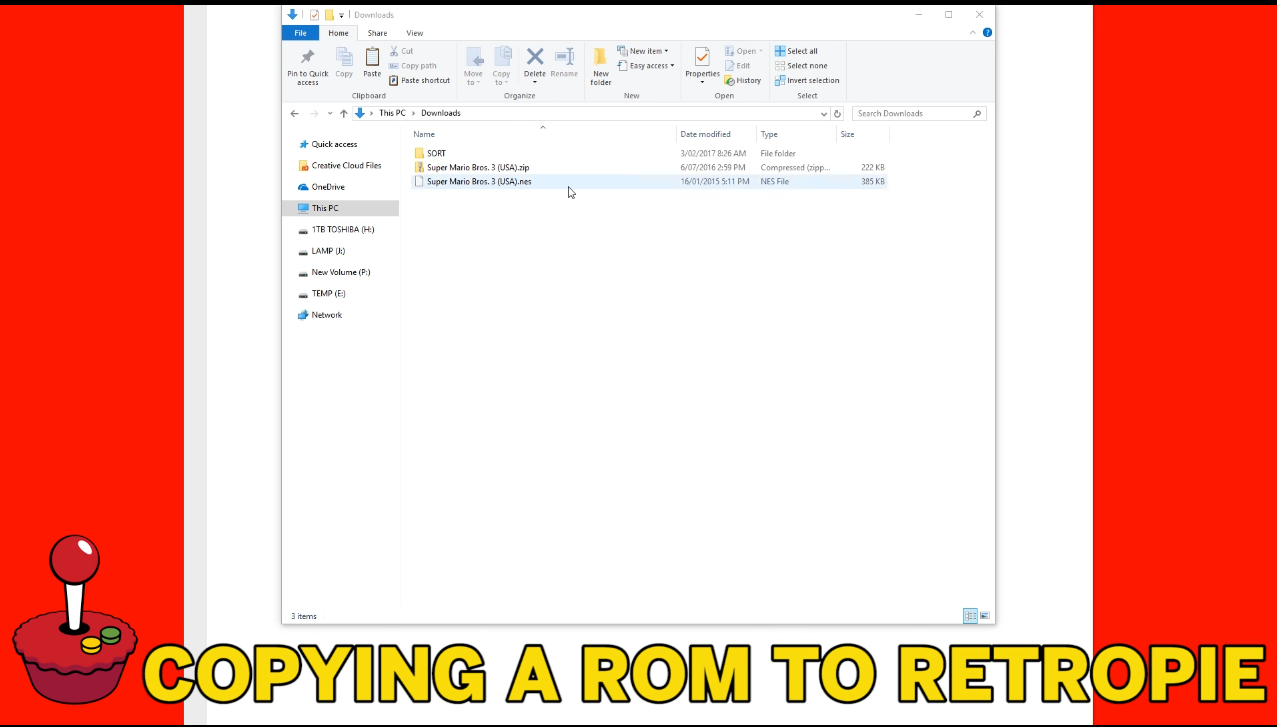
On your RetroPie Manager session click on “Roms”.
Choose the system that the ROM belongs to. IE: Nintendo Entertainment System.
Drag and drop the “.zip” file or ROM on to the Web Page.
To make the ROM appear in RetroPie you need to restart “Emulation Station”
You can do that by pressing “Start” on your controller, scroll down to “Quit” and then hit “RESTART EMULATIONSTATION”.
Once “Emulation Station” is rebooted, you will see the system you uploaded the ROM to on screen. When you select the system, you will be able to see the ROM you just uploaded.
Congratulations, you’ve just installed RetroPie 4.1 on the Raspberry Pi, upgraded it to the latest version, found your IP Address, Installed and enabled Retropie Manager for simple Rom Management and copied your first ROM into RetroPie!
If you enjoyed this Instructable, consider checking out my TechWizTime YouTube Channel.
And for a good source of Raspberry Pi products, check out my Raspberry Pi Amazon List.