"The Ring" Inspired TV Halloween Prop/Costume - Using a Real Retro TV!
by itspedrolopez in Craft > Costumes & Cosplay
4241 Views, 4 Favorites, 0 Comments
"The Ring" Inspired TV Halloween Prop/Costume - Using a Real Retro TV!


Seven days... (only true "The Ring" fans will get it)
Halloween is almost here and I could not be more excited for it! I've always wanted to go crazy and do a prop/costume from scratch but I've never had the time or the patience until this year. Recently, I did a rewatch of "The Ring" and I realised how much I've always loved this film... specially this scene:

So I thought to myself, I want to be her and come out from the TV exactly as it's shown... so let me start building the TV set :)
Warning: I've never done any other craft projects before... so I went crazy, this means some techniques are not professionally done and some things are not even finished or polished properly but I am really happy with how it turned out. I also built it literally in my living room... so no right tools or anything, I literally used anything I could find and so can you! Let's start...
Supplies
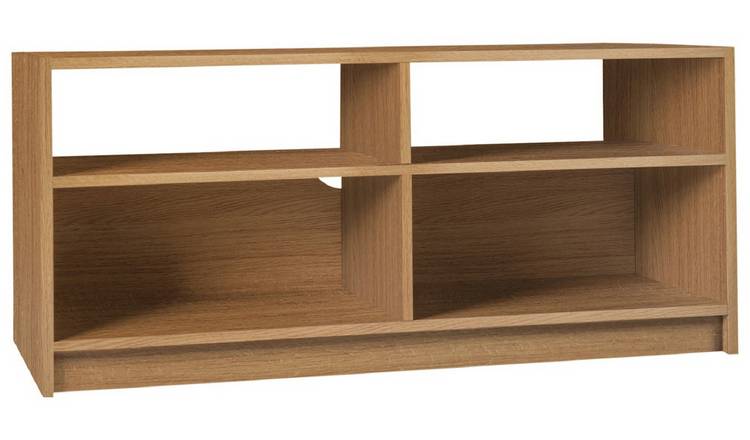
- TV cabinet stand - I actually used a shoe stand, but anything works as long as it can support the TV. You can buy really cheap second hand one too. Just be sure that the size is good to hold the TV. Example image:
- Black paint - you can use it in spray or liquid version. I used something that is not intended for wood, but worked. I specifically used this:

- 2 Dolly Trolley On Wheels - now... you can ignore this, and instead of buying an actual dolly trolley, you could just buy some wheels and attach them to the TV stand. Whatever is easier for you!

- Retro TV - the one I managed to get was from from a secondhand app, but feel free to use one from a family member or from a garage sale! There's always someone wanting to get rid of one. This is the one I got.

- Hot Glue Gun + glue bars for it
- Hard as nails glue
- plastic decorator sheet
- Hand Saw (or anything that can cut through the material of the TV).

- Nails and screws
For scene decoration purposes (these are all optional materials, whatever you feel like using, is good!) - this is what I've used:
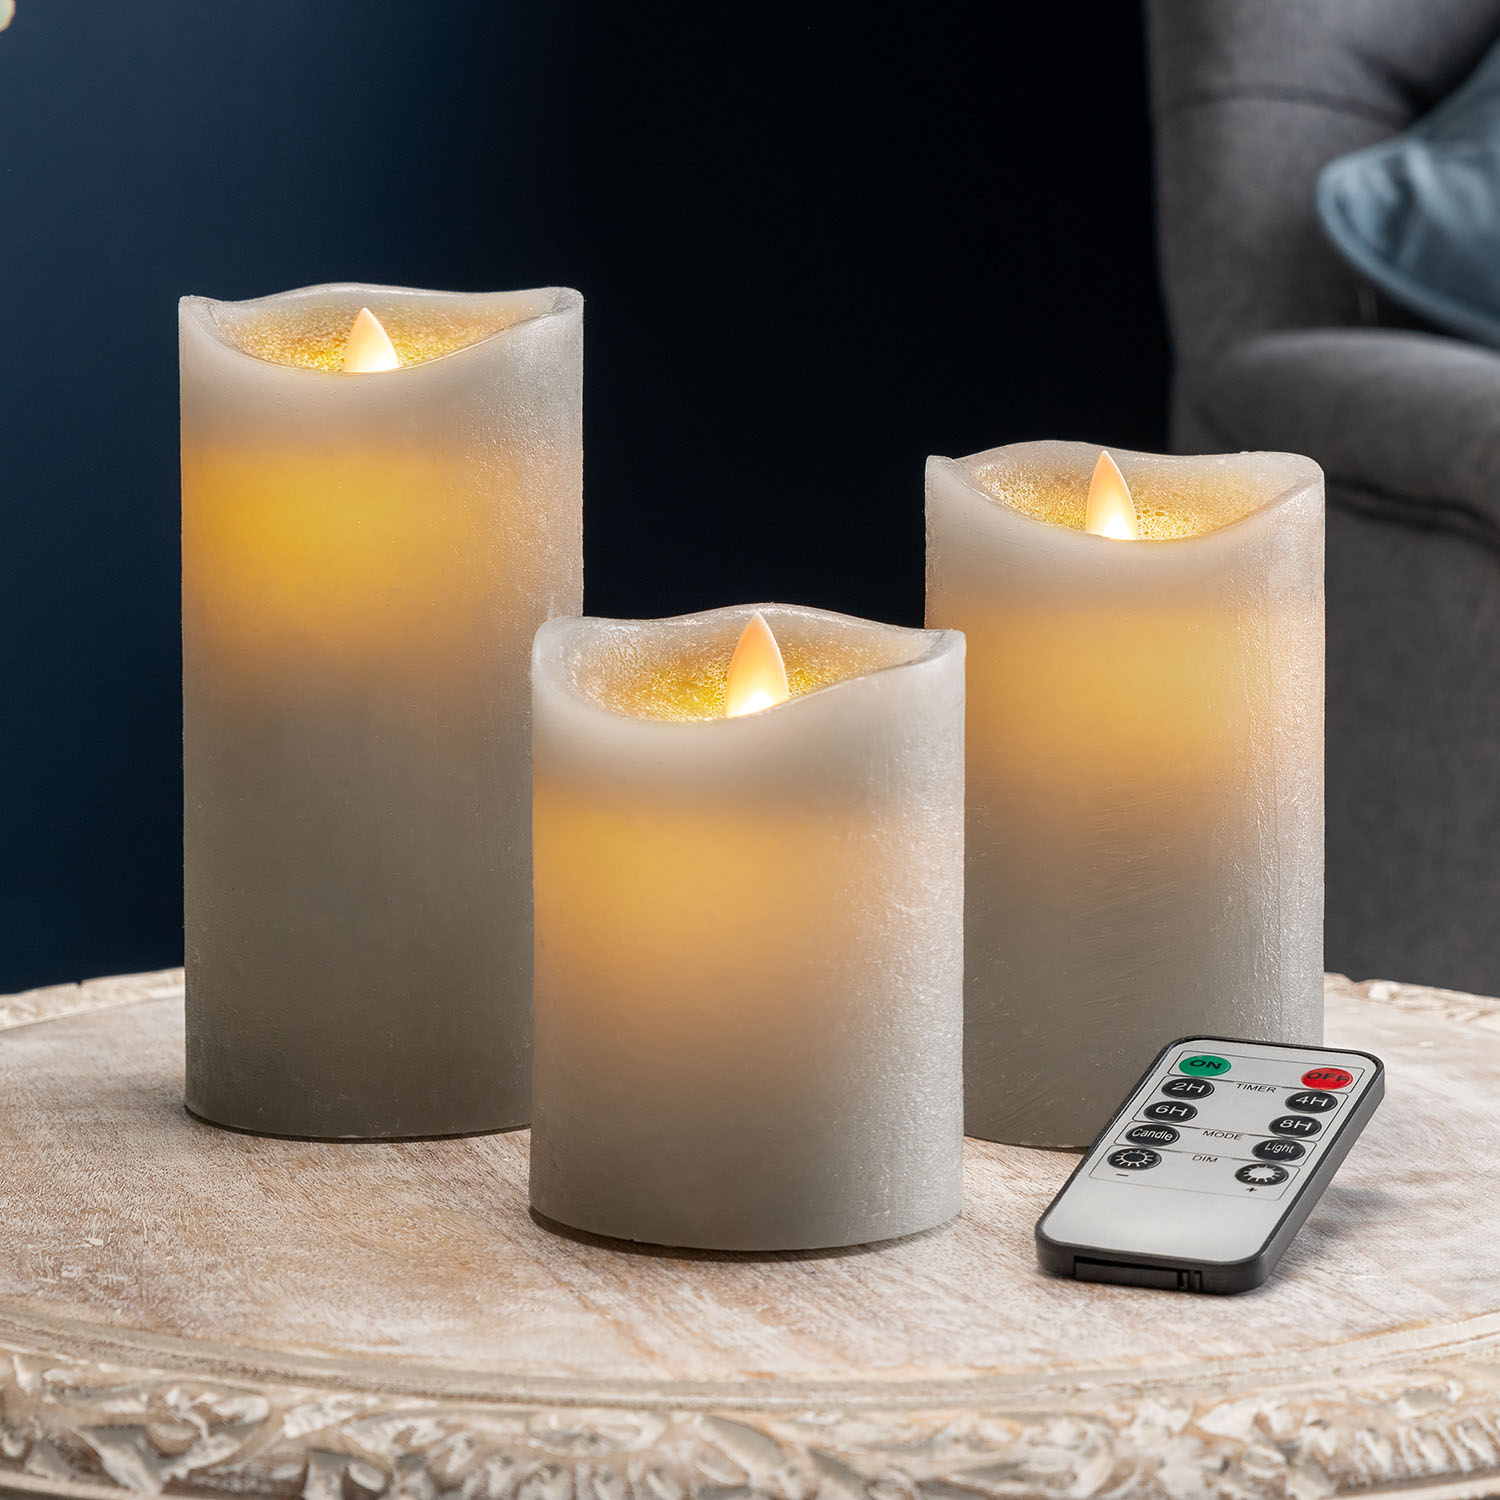
- LED Remote control Candles + real candle
- Old books/magazines/notebooks
- Old projector (just decoration purposes) and because I did not have a VHS tape video player like in the film!
Let's Open the TV


.jpg)

Safety Warning: Before starting, ensure you have protective gear for your eyes and body. This step involves potential hazards. If you have proficiency in painting and modeling, or access to a 3D printer, consider creating a DIY TV frame as an alternative to opening a real TV.
- Begin by acquiring a second-hand retro TV, preferably one that is large and thick for ample space beneath it when used as a costume prop.
- Locate and remove all the screws from the TV cover to access the interior. Note that you may not be able to completely separate the TV cover until all cables and connections have been cut. I used basic scissors for this step, ensuring the TV is completely disconnected from any power source.
- After cutting all the cables and unscrewing all components, carefully separate the back cover of the TV from the main frame.
- Next, unscrew the glass screen from the frame. Be extremely cautious during this step as the screen is fragile and can break upon contact with the ground. Use a cushion or a stable surface to support the glass, then proceed with unscrewing the glass gently until you have the frame and the back of the TV without the glass inside (basically an empty tv!).
- Dispose the glass TV using the appropriate methods following your local law - or reuse it for other projects...
- If there is any dirt from past years inside the cover, clean it!
Paint Your TV Stand (optional)
I sprayed paint my tv stand with black spray but it's honestly up to you :) use the plastic decorator sheet to not spray unwanted things in your house!
Attach the TV Cover to the TV Stand

After you've painted the tv stand, simply attach with nails your TV front frame cover to the stand. Do not join the back of the TV to the front just yet.
Cut the Bits You Do Not Need


On this step, we will be cutting the bottom part of the cover that we do not need.
You can see some holes in one of the images, this is because I was impatient and tried to cut the plastic with a drill and it did NOT work - so i went to buy a last minute hand saw and it worked a treat.
After cutting with the hand saw, please polish the plastic to get rid of any rough edges.
Attach the Wheels to Tv Stand


This step will vary depending if you are just attaching individual wheels to your stand or a whole dolly trolley like I did.
I used hard as nails to glue the TV stand on top of the dolly trolley and waited 24 hours for it to dry.
Then, i just spray painted it black to hide it.
Screw Back Cover to Front Frame

Screw back the back cover of the tv to the front frame and see how it looks!
Add Support to the Back Cover Using Wood Pillars


This will depend on the thickness of your TV cover, in my case, is a really thick TV so I added two wood supports with some nails and hard as nails glue to the dolly trolley. This will make the TV case firm and also easy to move if you are crawling like Samara Morgan! :P You can also put spray paint over the hard as nails glue to camouflage it.
Create the TV Static Iconic Look


To make it look more realistic I decided to create a TV static look - by printing this into A4 photo papers.
First, measure the TV screen and then print as many A4 photo papers needed ( i needed 6) until you have enough to cover the whole frame. Put them together with tape. I also put a layer of plastic decorator sheet on top of it, to make the effect of the printing disappear and make it look a bit more real.
Once done, put it inside the TV - you can glue it, or use double side tape - whatever works!
TOP TIP: I've you had a projector and you are not planning to move this prop - then you could project inside the cursed tape from the film... just saying!
Decorate It, Make It Spooky!


Now that your TV is done and ready to go... it's time to decorate.
Add books, notebooks, newspapers, images from the film, candles - whatever makes you happy! If you are planning to move this prop, you can use glue to be sure they stay on place :)
I used remote control candles in mine with different colours and it looks so so cool! and safe for kids so they don't burn themselves when they get curious about it :)
I've attached some close ups of my decorations.
TOP TIP: If using fake candles, you can use some real wax and melt it on the outside cover of these fake candles, it will give them a more realistic look!
Have Fun and Thanks for Reading My Project


P.S: Attached the vid mid process where I tried to see if I fitted inside the TV frame :P // at that point, there was no wheels, and no back support so the TV was a bit wobbly.
UPDATE on attachments *** - Enjoy a little snippet of a prank made with the TV!
Thanks for being interested in my project! I know some of the steps may look vague or the tools used could have been more professional, but i am a real beginner at this - but I can tell you I really loved making this project and while it was hard at times because I did not have certain tools or a proper space to make it - I still made it work and I am really happy with the result.
Please feel free to ask me any questions you have, I will be more than happy to answer them :)
And remember, Happy Halloween!!!! 🎃🎃🎃🎃🎃