The PrintrBot Simple and CURA/Flash and Get the Software/Then Go, Go, GO!
by dfunct in Workshop > 3D Printing
5058 Views, 10 Favorites, 0 Comments
The PrintrBot Simple and CURA/Flash and Get the Software/Then Go, Go, GO!
Hello...
- Okay! Turn on your computer...
- Plug in your PrintrBot Simple.
- Make sure all your settings and options are the way you choose them to be.
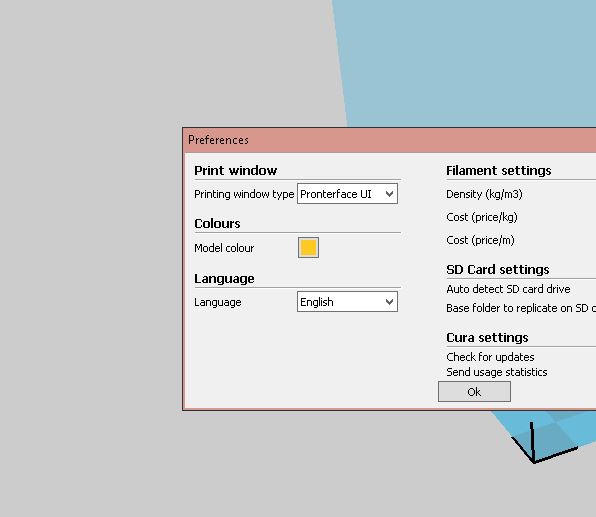
- Remember to use Pronterface UI under preferences before printing in 3D using CURA (latest version).
- If you need to flash your board to the latest firmware, please do this before attempting this example.
- Flash and get ready!
- So, by now the computer has started and the PrintrBot Simple is plugged in and working via USB and power source.
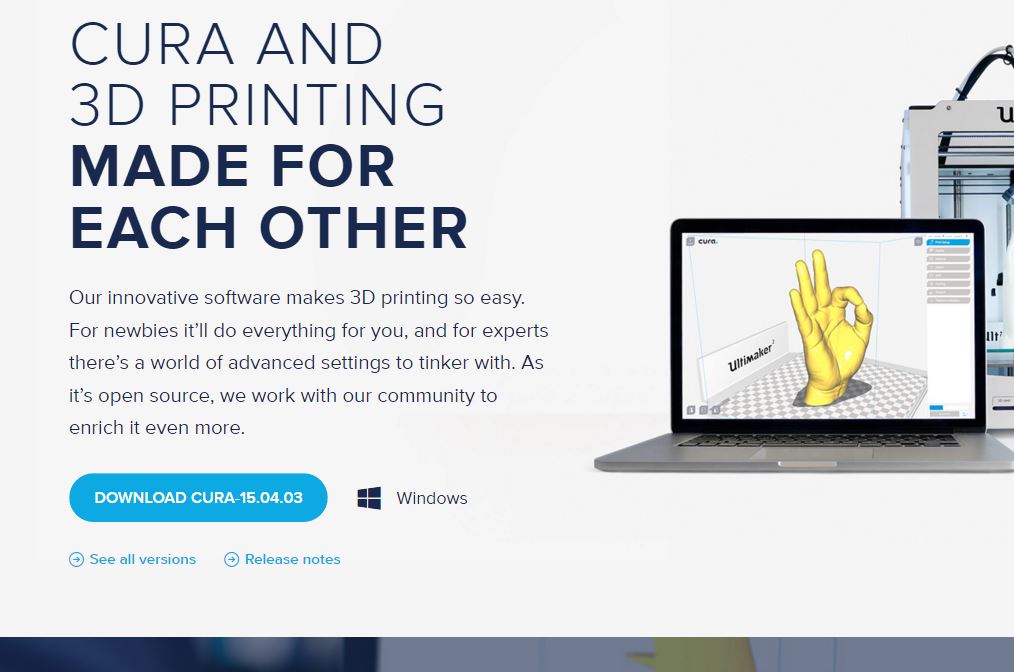
- Now...we need to download CURA.
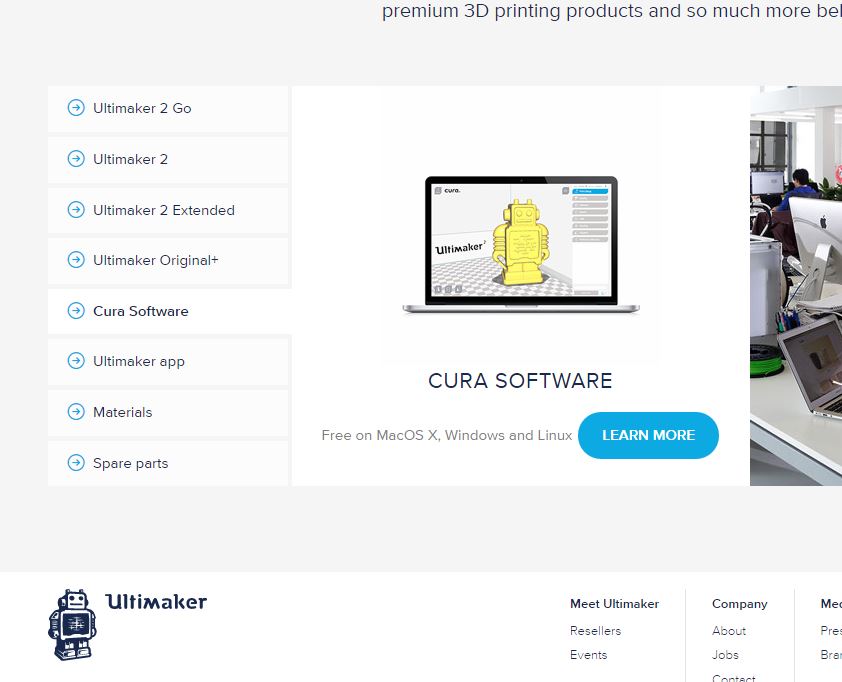
- Go to www.UltiMaker.com and look for the software CURA download link.
- Download the CURA (latest version) software.
- Once downloaded...Run it!
- Once ran, please open your software with your computer while your PrintrBot Simple is plugged into the outlet and the computer via USB...
Sincerely,
Seth
RE: After Everything Is Connected and Set Up/Get on In!


Hello Again,
- Okay...we need to get an .stl file for the PrintrBot and CURA 3D print.
- Go to www.thingiverse.com.
- Look over the page. Get familiar with its easy interface.
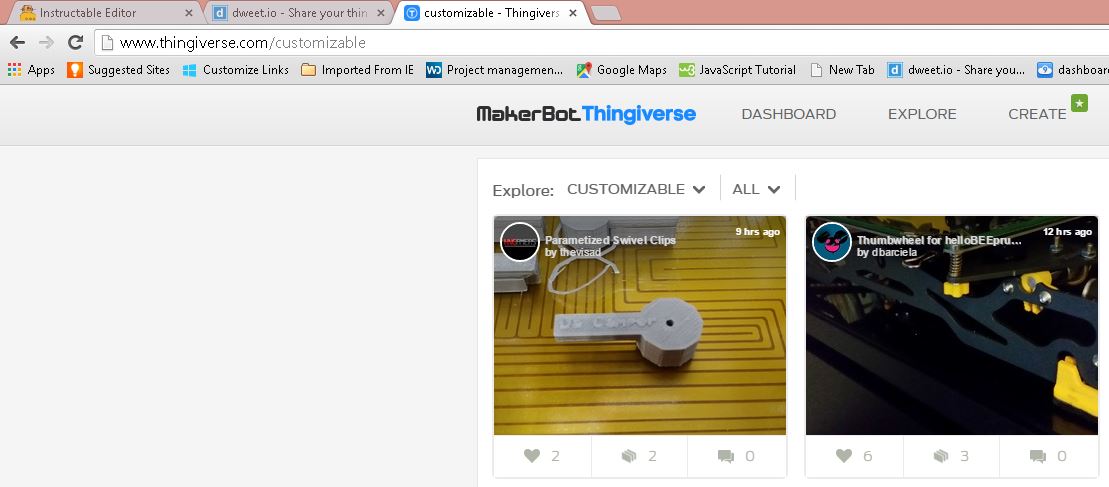
- Go over to their option "Explore."
- Click on it and go to "Customizable Things."
- Click on that link for customizable things.
- Now...
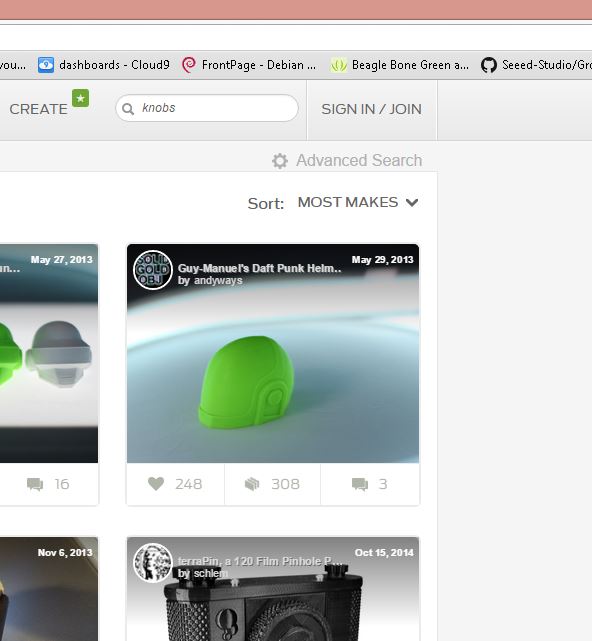
- Go to the search bar.
- Type in "knobs."
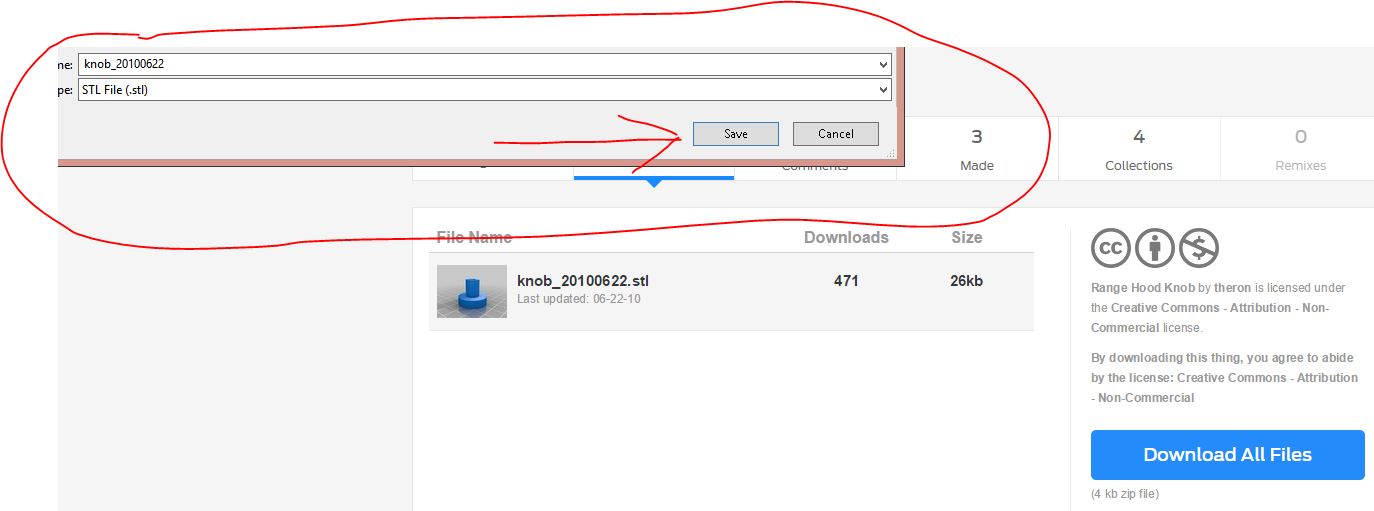
- Scroll down the screen to find your specific knob. We have chosen a black range knob.
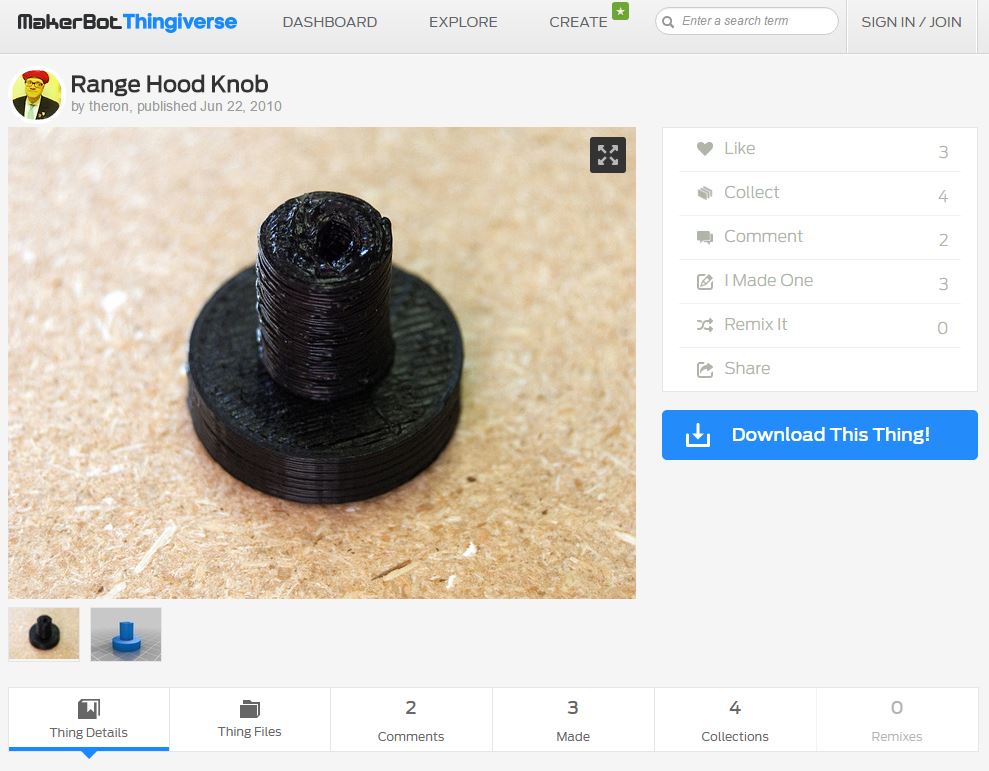
- Click on the knob to open the specific window screen for our download link for that knob.
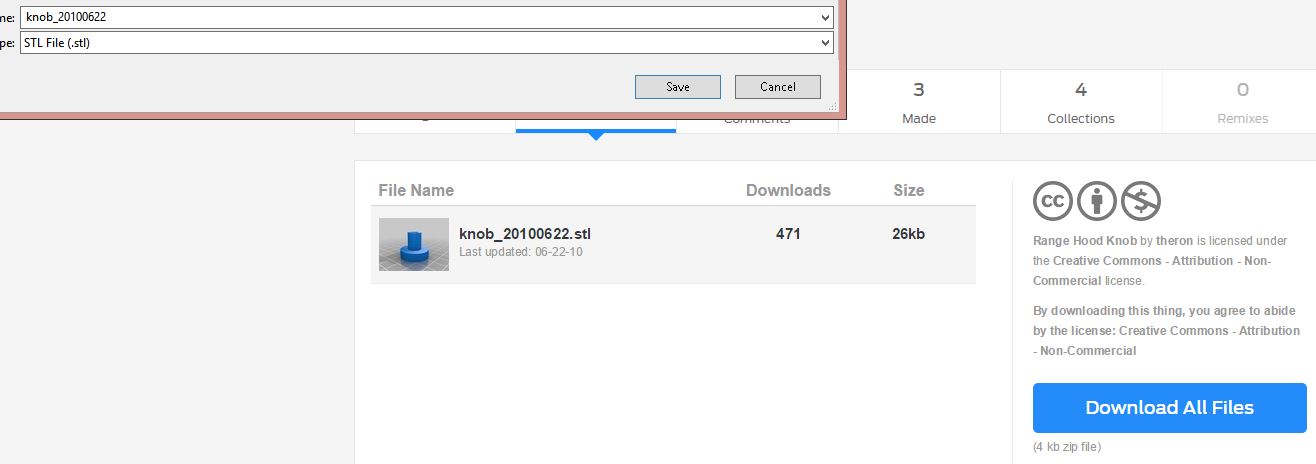
- Download your knob in a .stl file format.
- Get that .stil file of the knob.
Sincerely,
Seth
RE: After the Knob Has Downloaded and We Need to Set Up CURA for Our Print/Seth
Hello Everyone,
- The first pages of set up information are what people already know but it is needed in some circumstances.
- Now...
- We need to upload our downloaded file from ThingiVerse.com to our CURA software.
- Upload that "sucker!"
- Now...we need to set up some additional steps.
- Oh...
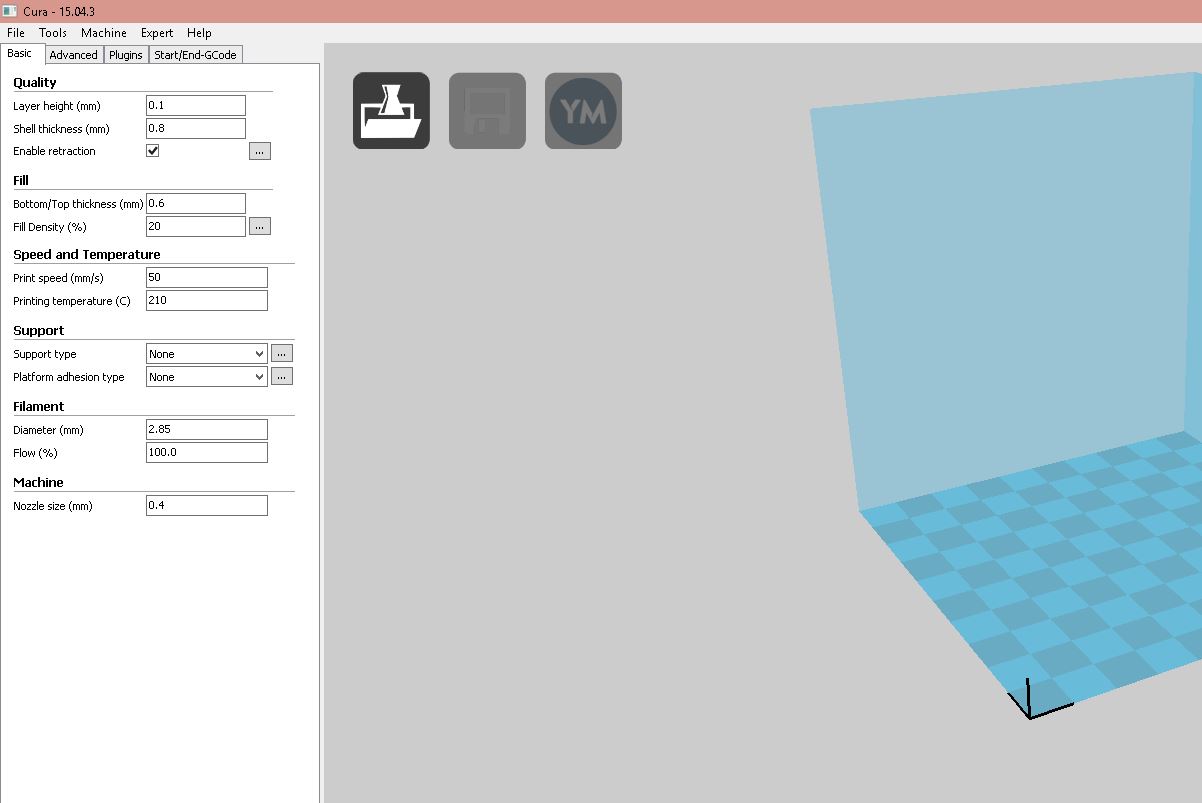
- If you have not used CURA before...
- Here...
- Go to "file" and then to "load model file..."
- Click on "load model file..."
- Search through your computer to find your downloaded .stl file of the knob.
- Click it...
- Actually, double click the .stl file to upload it to CURA.
- If you have not used CURA before...
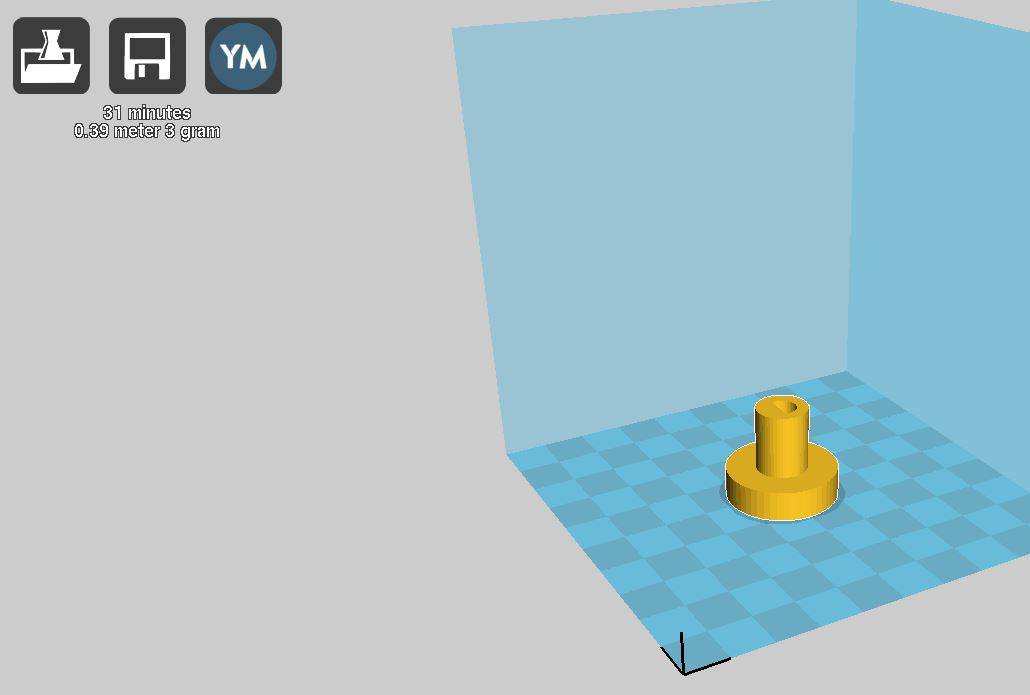
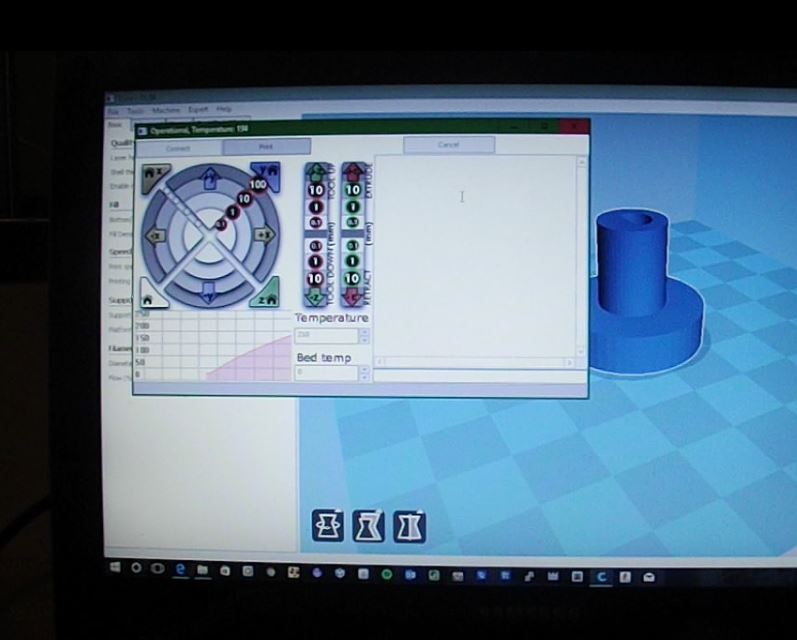
- Once uploaded to CURA, go to "file" and click on "print."
- This should bring up your Printer Screen, i.e. it hovers over the CURA software.
- Now...
Sincerely,
Seth
RE: Now...We Are Ready to Have Our Items Print...
Hello Again,
Here it goes...
- Once you click print, do not abandon your machine while it is printing.
- It should take a couple of minutes. Probably, the whole entire amount of time will only add up to about 15 minutes of printing time for this specific print.
- So, kick back and watch your machine in action.
Sincerely,
Seth