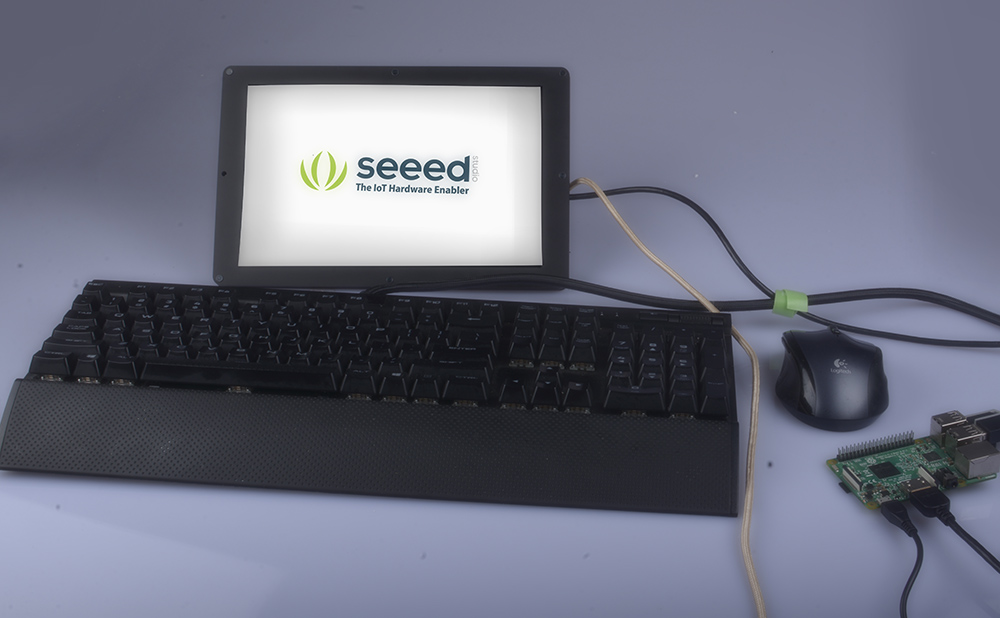
The Most Friendly Step-By-Step Tutorial of How to Build Your First RasPi-PC
by Seeed Studio in Circuits > Raspberry Pi
953 Views, 2 Favorites, 0 Comments
The Most Friendly Step-By-Step Tutorial of How to Build Your First RasPi-PC

Word count:700 words
Reading time: 20 minutes
Audience: Novice who wants to take one's first step
Preface
The Raspberry Pi is now a well known initial development board which can be used for IOT(Internet of things), Robert control, Pilotless driving, Voice assistant, Identify Recognization and such staffs. But the command line is unfriendly for Desktop dwellers, hum? Today we are going to build a Ras-Pi PC step by step which may make you feel kind. It is simple and explicit which can even be implemented by a pupil and will be the first step of your developer's journey
1. Prepare the Materials:
· Raspberry Pi 2B/3B/3A+/3B+/Zero/Zero W/Zero WH(Do not have one yet? Get one now!)
· 8GB or bigger micro memory card(8GB class 4 is recommended)&Card reader
· 10.1 inch 1200x1920 HDMI IPS LCD Display&Hdmi Cable
·Mouse&Keyboard -just ones handy for you
· An adapter of 5V&over2A
· USB Micro power supply
· A laptop or another computer to program the memory card
2.Prepare the System Images and Tools
1)choose one image
Here are many kinds of images for Raspberry-Pi over the world, you need to choose one with a visual desktop. In today's project, the official image of Rasbian is recommended.
2)Download your image and then unzip the file.img.
3)Burn it to your SD card. Here arer many tools can complete this work. And Win32diskimager is recommended. Here is a terse tutorial:
· Plug in the USB thumbdrive or SD or microSD card to your computer. It should be detected and appear as a drive in Windows.
· Open Win32 Disk Imager, choose the.img or image file you want to write as Image File and choose the USB or SD drive as Device and press Write.

· The write may take a while. Once it is done, remove the USB thumb drive or SD card and insert it into your Raspberry Pi.
3.Configure the screen
Now you have already burned your SD Card, and to make sure that the 10.1-inch screen can work well on your device, we need to modify some files.
When you plug your Card into your computer, you can find a partition called boot. Then find config.txt in it.

Add the corresponding initialization parameter configuration code of the screen at the bottom of the configuration file(Notpad++ will be a good tool for developers, I suggest you to have one):

force_trubo=1
gpu_freq=300
core_freq=400
hdmi_pixel_freq_limit=400000000
hdmi_drive=2
hdmi_mode=87disable_overscan=1
# 10.1 inch
hdmi_timings=1200 0 100 24 52 1920 0 65 4 25 0 0 0 60 0 169000000 0
max_framebuffer_width=1920
max_framebuffer_height=1920
display_rotate=3
framebuffer_width=1920
framebuffer_height=1200
Finally, plug all your staff: 10.1 inch Screen(HDMI), Mouse and keyboard, Power up your PI.
Congratulation! your first Ras-PC is finished.
Enjoy!
Subsequent Work
To make your Ras-PC more productive and friendly, here is a list of application you may need. You can use :
sudo apt-get install (package name)
to install them. If the package is not found, run following command first.
sudo apt-get update
sudo apt- get upgrade
In this progress you may need username and password, and here is the default client of Raspberry Pi:
username:pi
password:Raspberry
Sometimes you may need to add the source linksLet's take Chrome-the most popular explorer over the world, for example:
run following command first
echo "deb http://dl.google.com/linux/chrome/deb/ stable main" | sudo tee /etc/apt/sources.list.d/google-chrome.list
then run
sudo apt-get update
finally, run
sudo dpkg -i google-chrome-stable_current_amd64.deb
or
sudo apt-get -y install google-chrome-beta
List of Productivity Applications
Synapse | Kate | Geany | AutoKey | LibreOffice | Chrome | Pidgin | Skype | Google Hangouts
List of Music, Photos, and Video Applications
VLC | digiKam and Shotwell | GIMP | Clementine | Spotify
List Utility Applications
Dropbox | Deluge | CrashPlan | PeaZip | Wine | VirtualBox | Terminator
And to become an advanced developer, there are different types of sensors to build your IOT networks, and to make the port more friendly you may need Grove Base Hat for Raspberry Pi .
List of IOT Kits
-
GrovePi+→Get One Now
-
5 Inch HDMI Display with USB TouchScreen→Get One Now
-
Grove-Relay→Get One Now
-
Grove-Temp&Humi Sensor→Get One Now
-
Grove-Ultrasonic Ranger→Get One Now
-
Grove LED Bar v2.0→Get One Now
-
Grove-Rotary Angle Sensor(P)→Get One Now
-
Grove-Buzzer→Get One Now
-
Grove-Sound Sensor→Get One Now
-
Grove-Light Sensor v1.2→Get One Now
-
Grove-Button→Get One Now
-
Grove-LCD RGB Backlight→Get One Now
-
HDMI Cable→Get One Now
-
Micro USB Cable-48cm→Get One Now