The Magic Hand Crank

This Christmas I made an automaton to decorate my house, there are five reindeer and a Santa on his sleigh. I put a hand crank and an electric motor on it. I used a DC geared motor so the hand crank cannot be used. So I started thinking about how to solve the problem and be able to use both, the idea that came up brought several advantages and now I can even control the automaton remotely and control any thing else that uses a stepper motor and possibly control very heavy things with a simple hand crank.
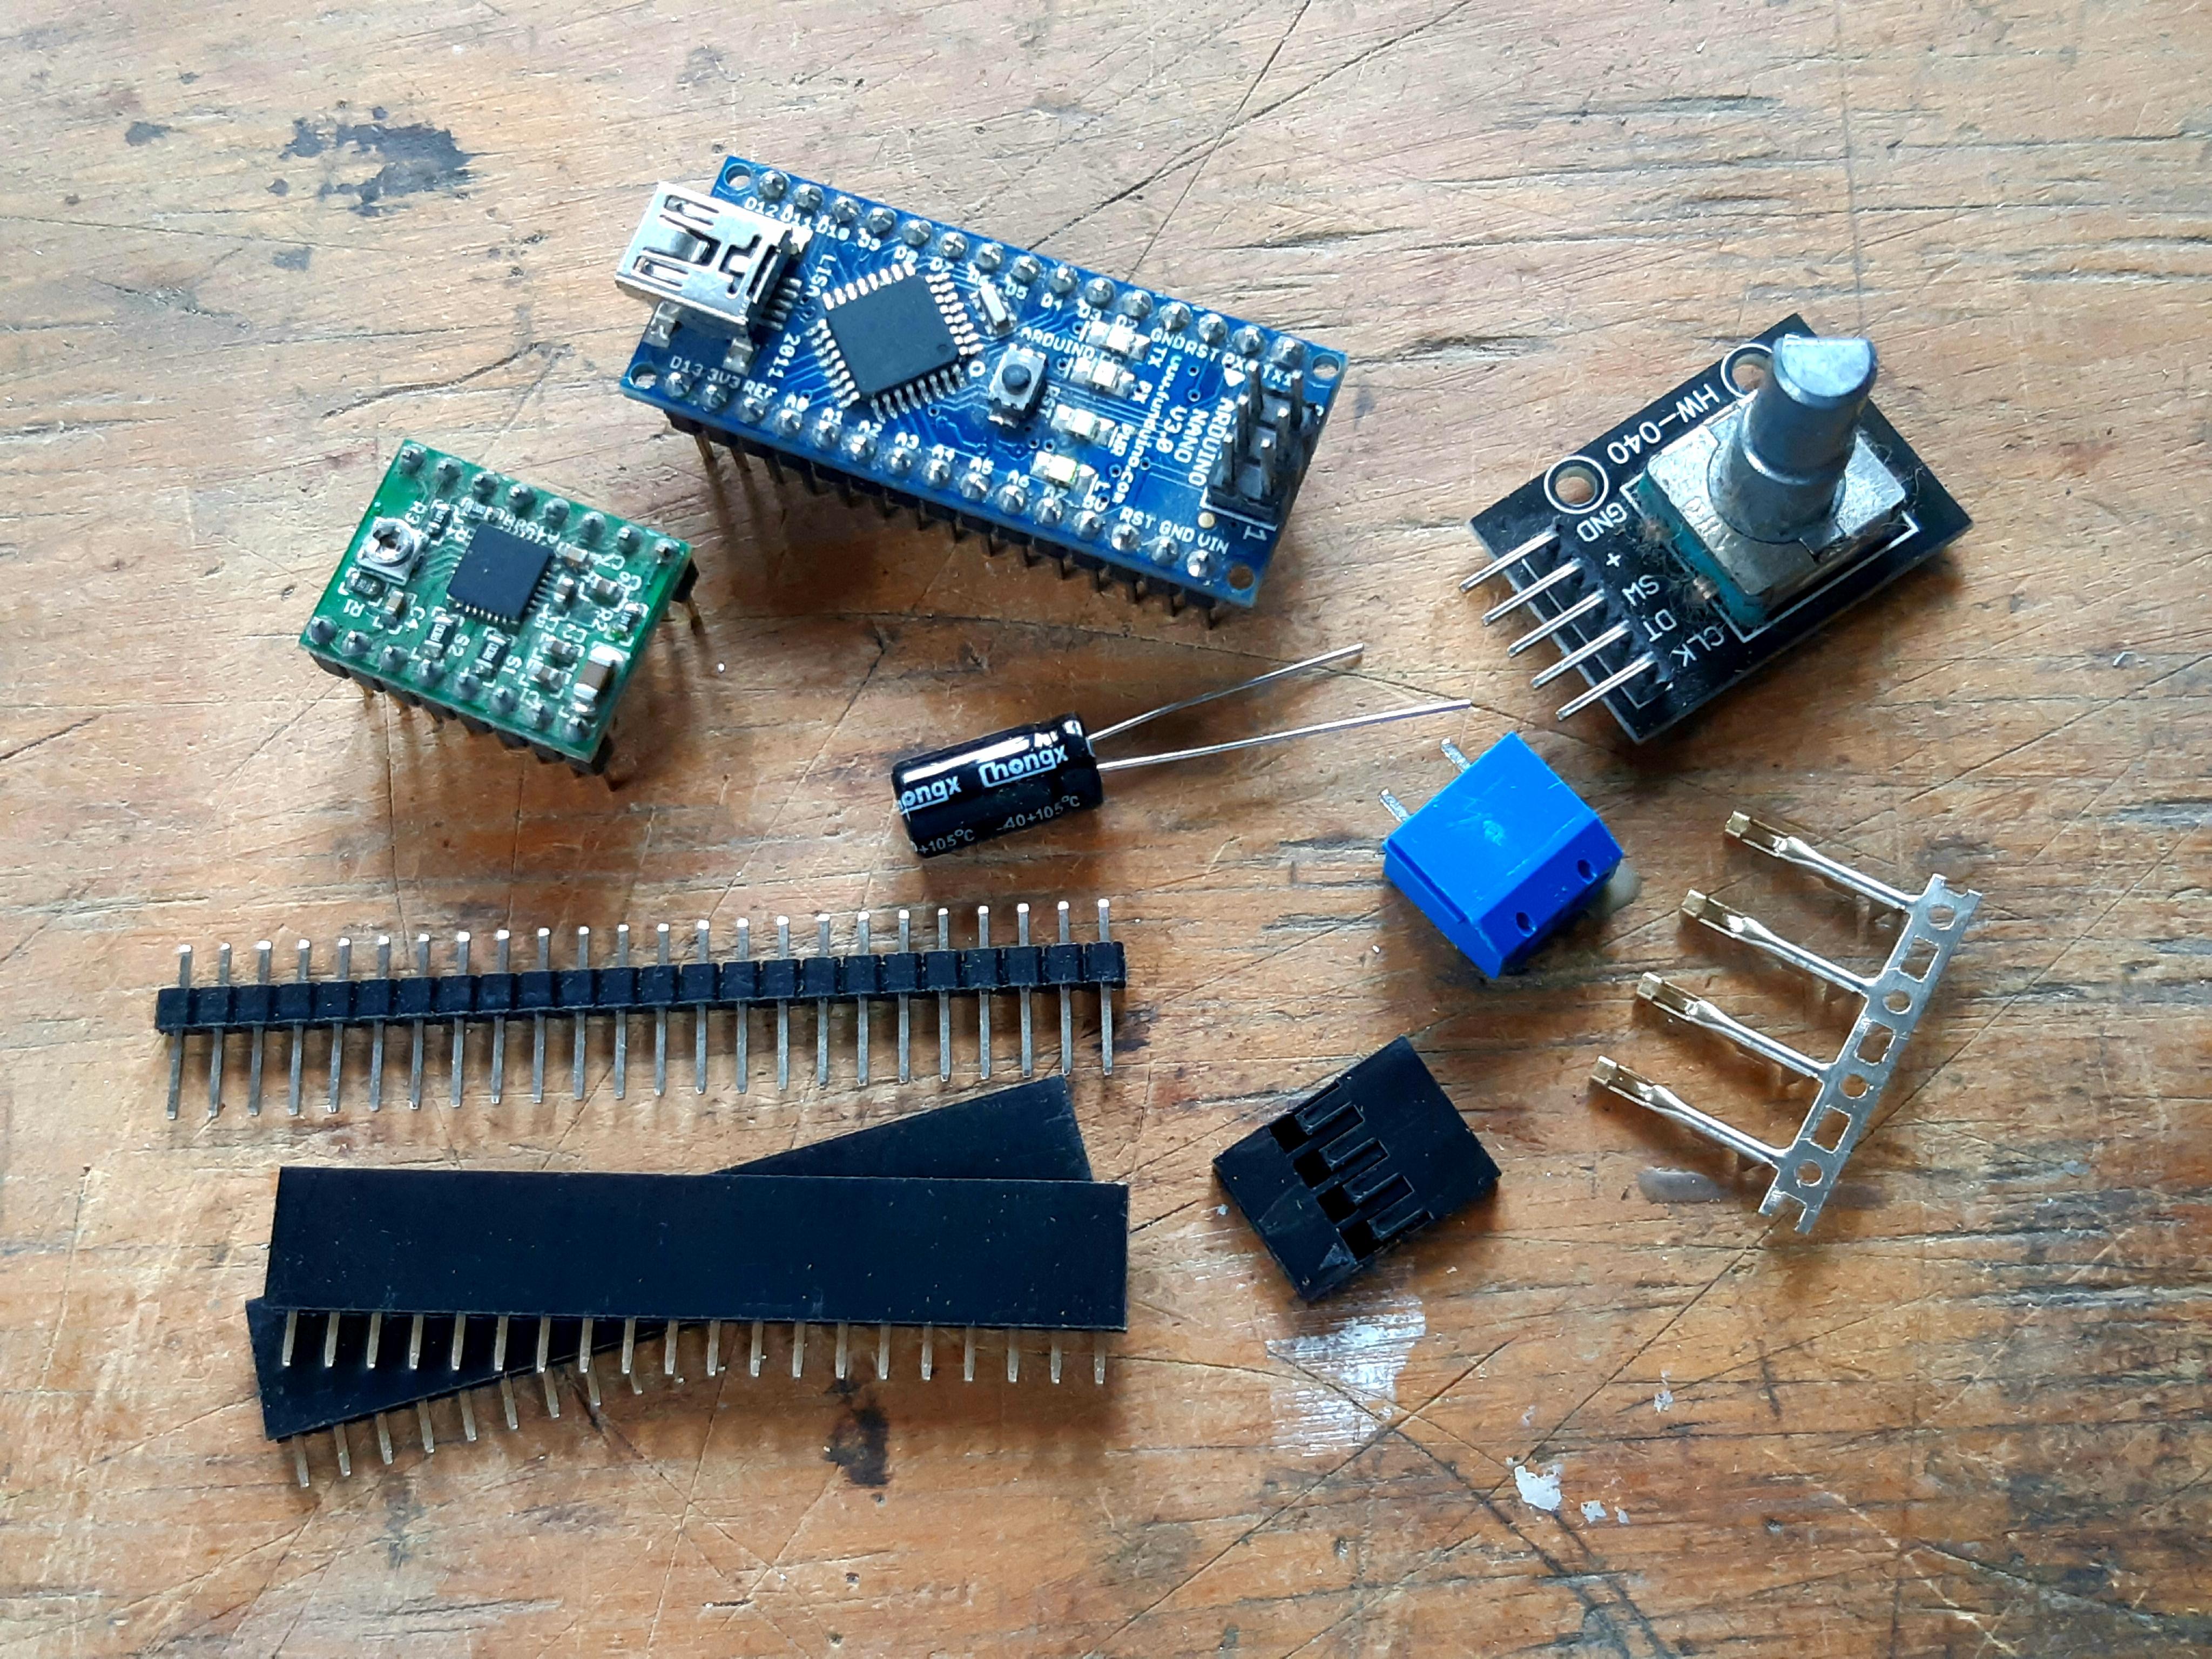
The logical choice to do this is to use a small and cheap microcontroller like the arduino nano, a stepper motor Nema 11, a simple stepper driver like the A4988 and a rotary encoder, in this case I chose the KY-040 as it comes mounted on a board. which includes two resistors.
Supplies
- Arduino nano
- A4988 stepper driver
- KY-040 rotary encoder
- 100 µF electrolytic capacitor
- 2 pin screw terminal block
- 5 pin Dupont terminal
- some male and female pin header
The Board
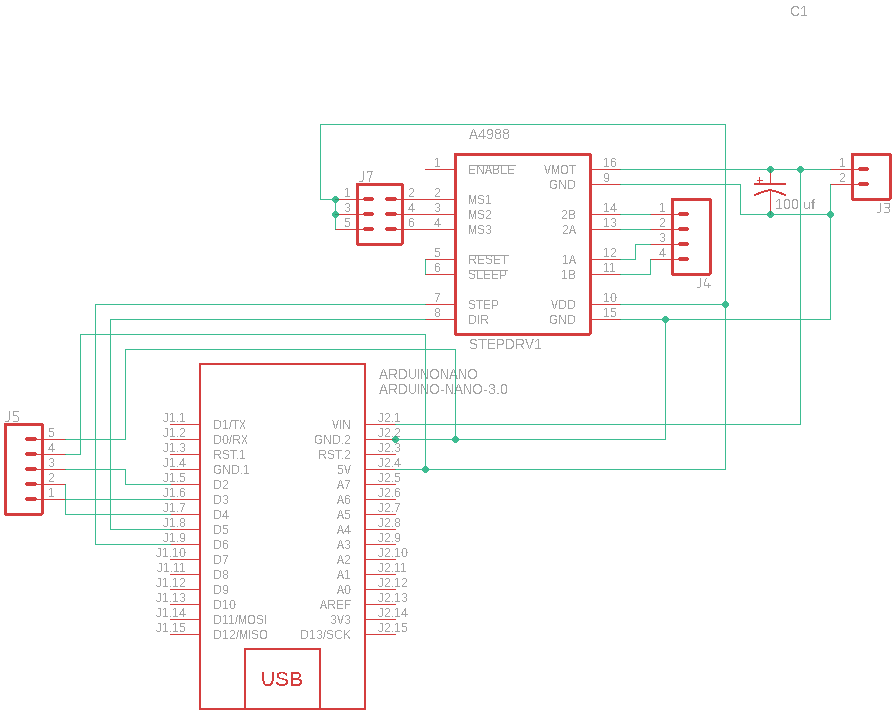
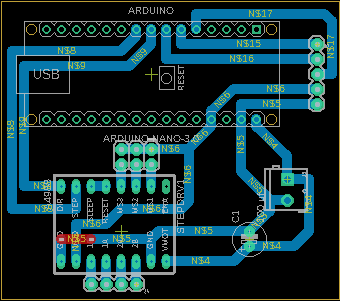
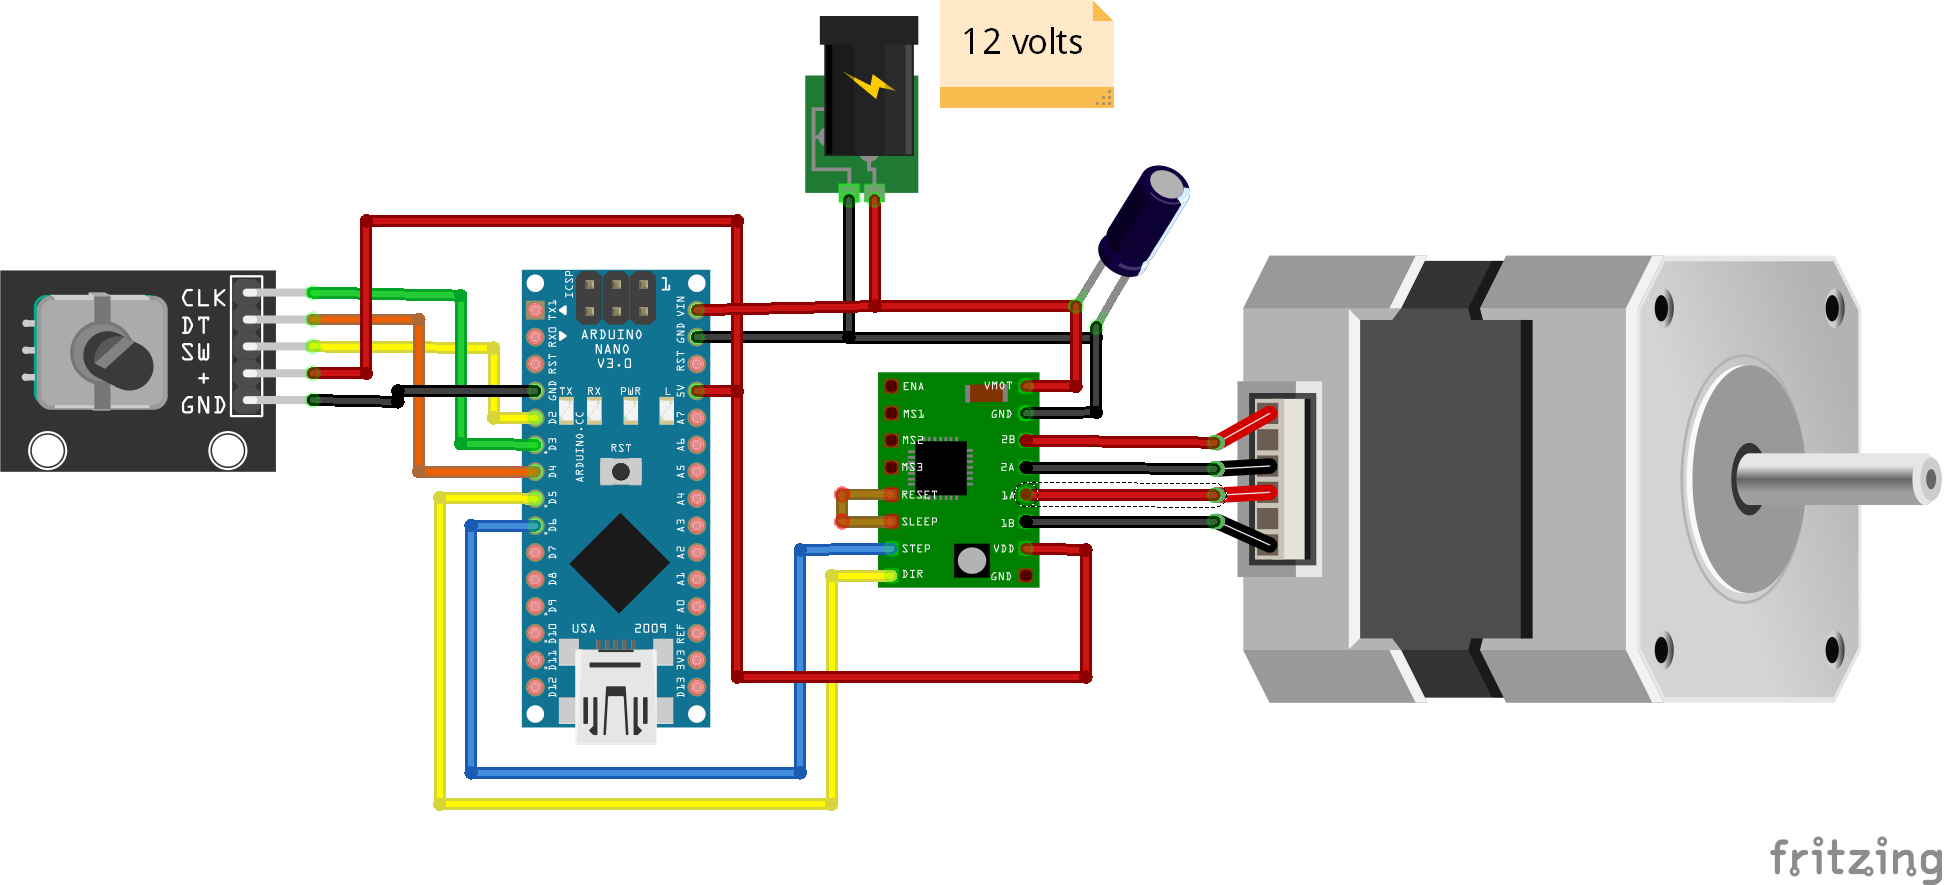
This is one of my first jobs with eagle so I apologize for any mistakes I may have made. You can build the circuit on a breadboard a perfboard or make your own board with the gerber files from my github Gerber files
Building It Up
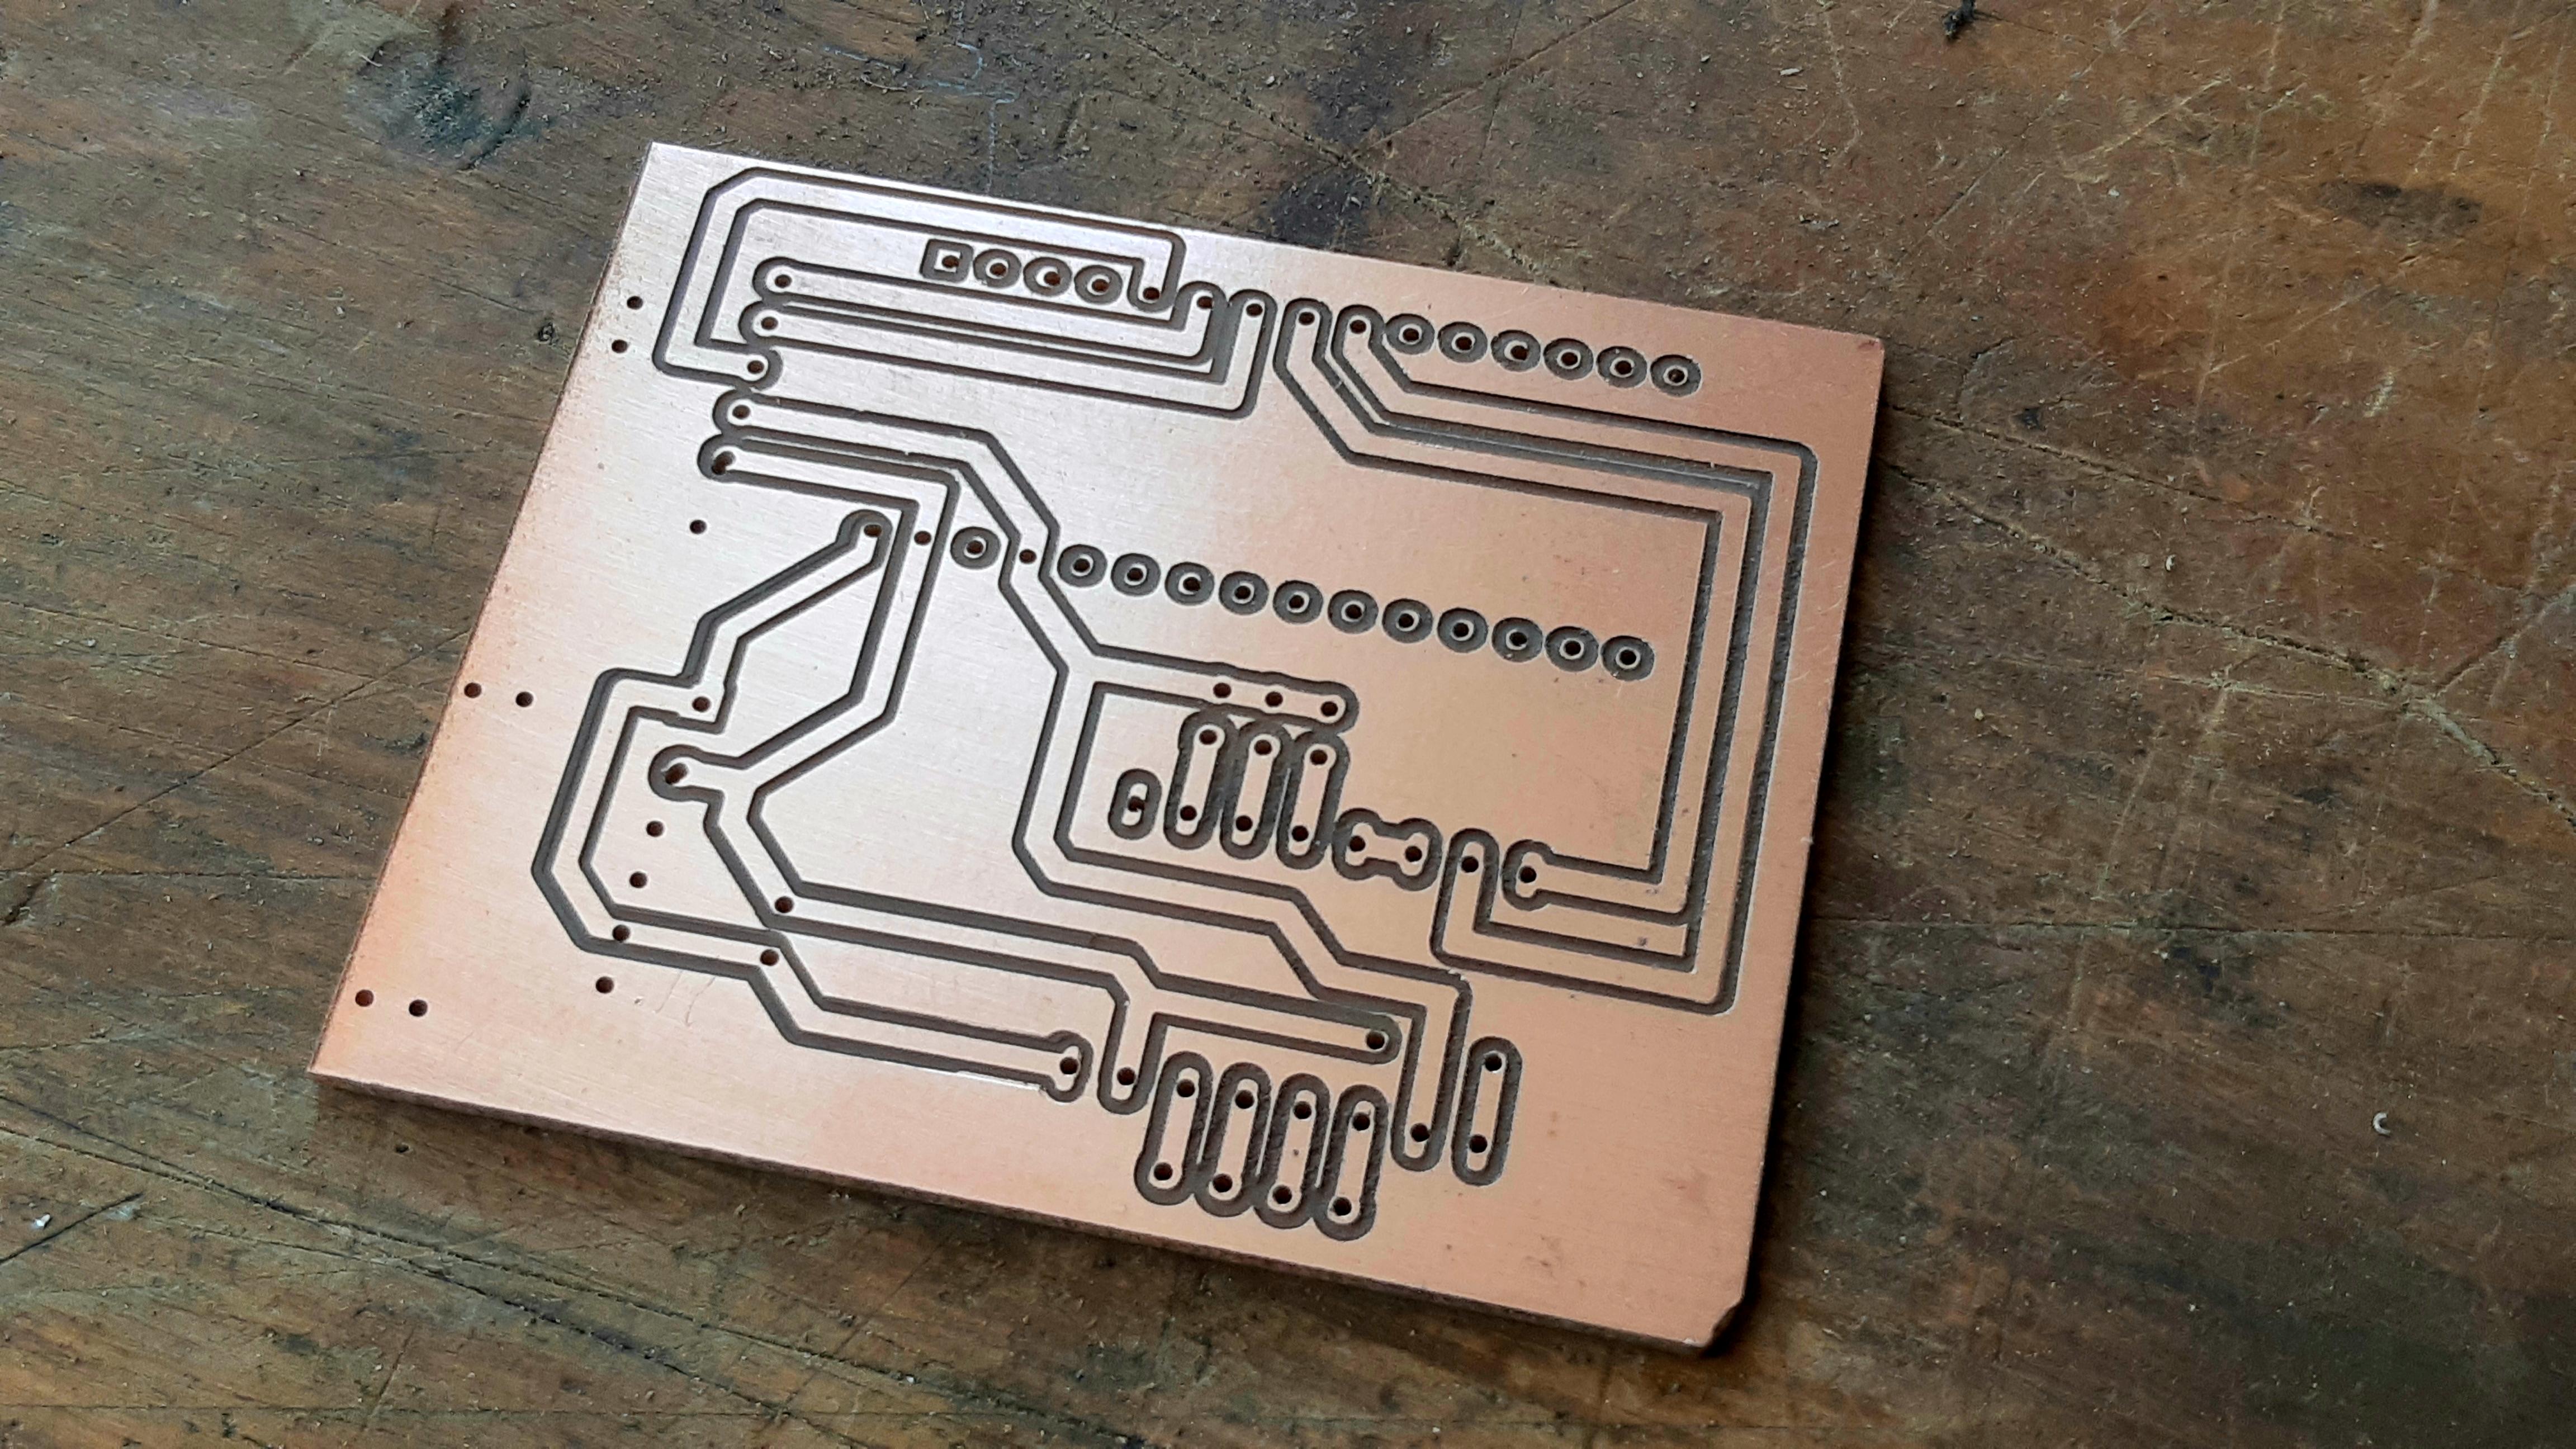
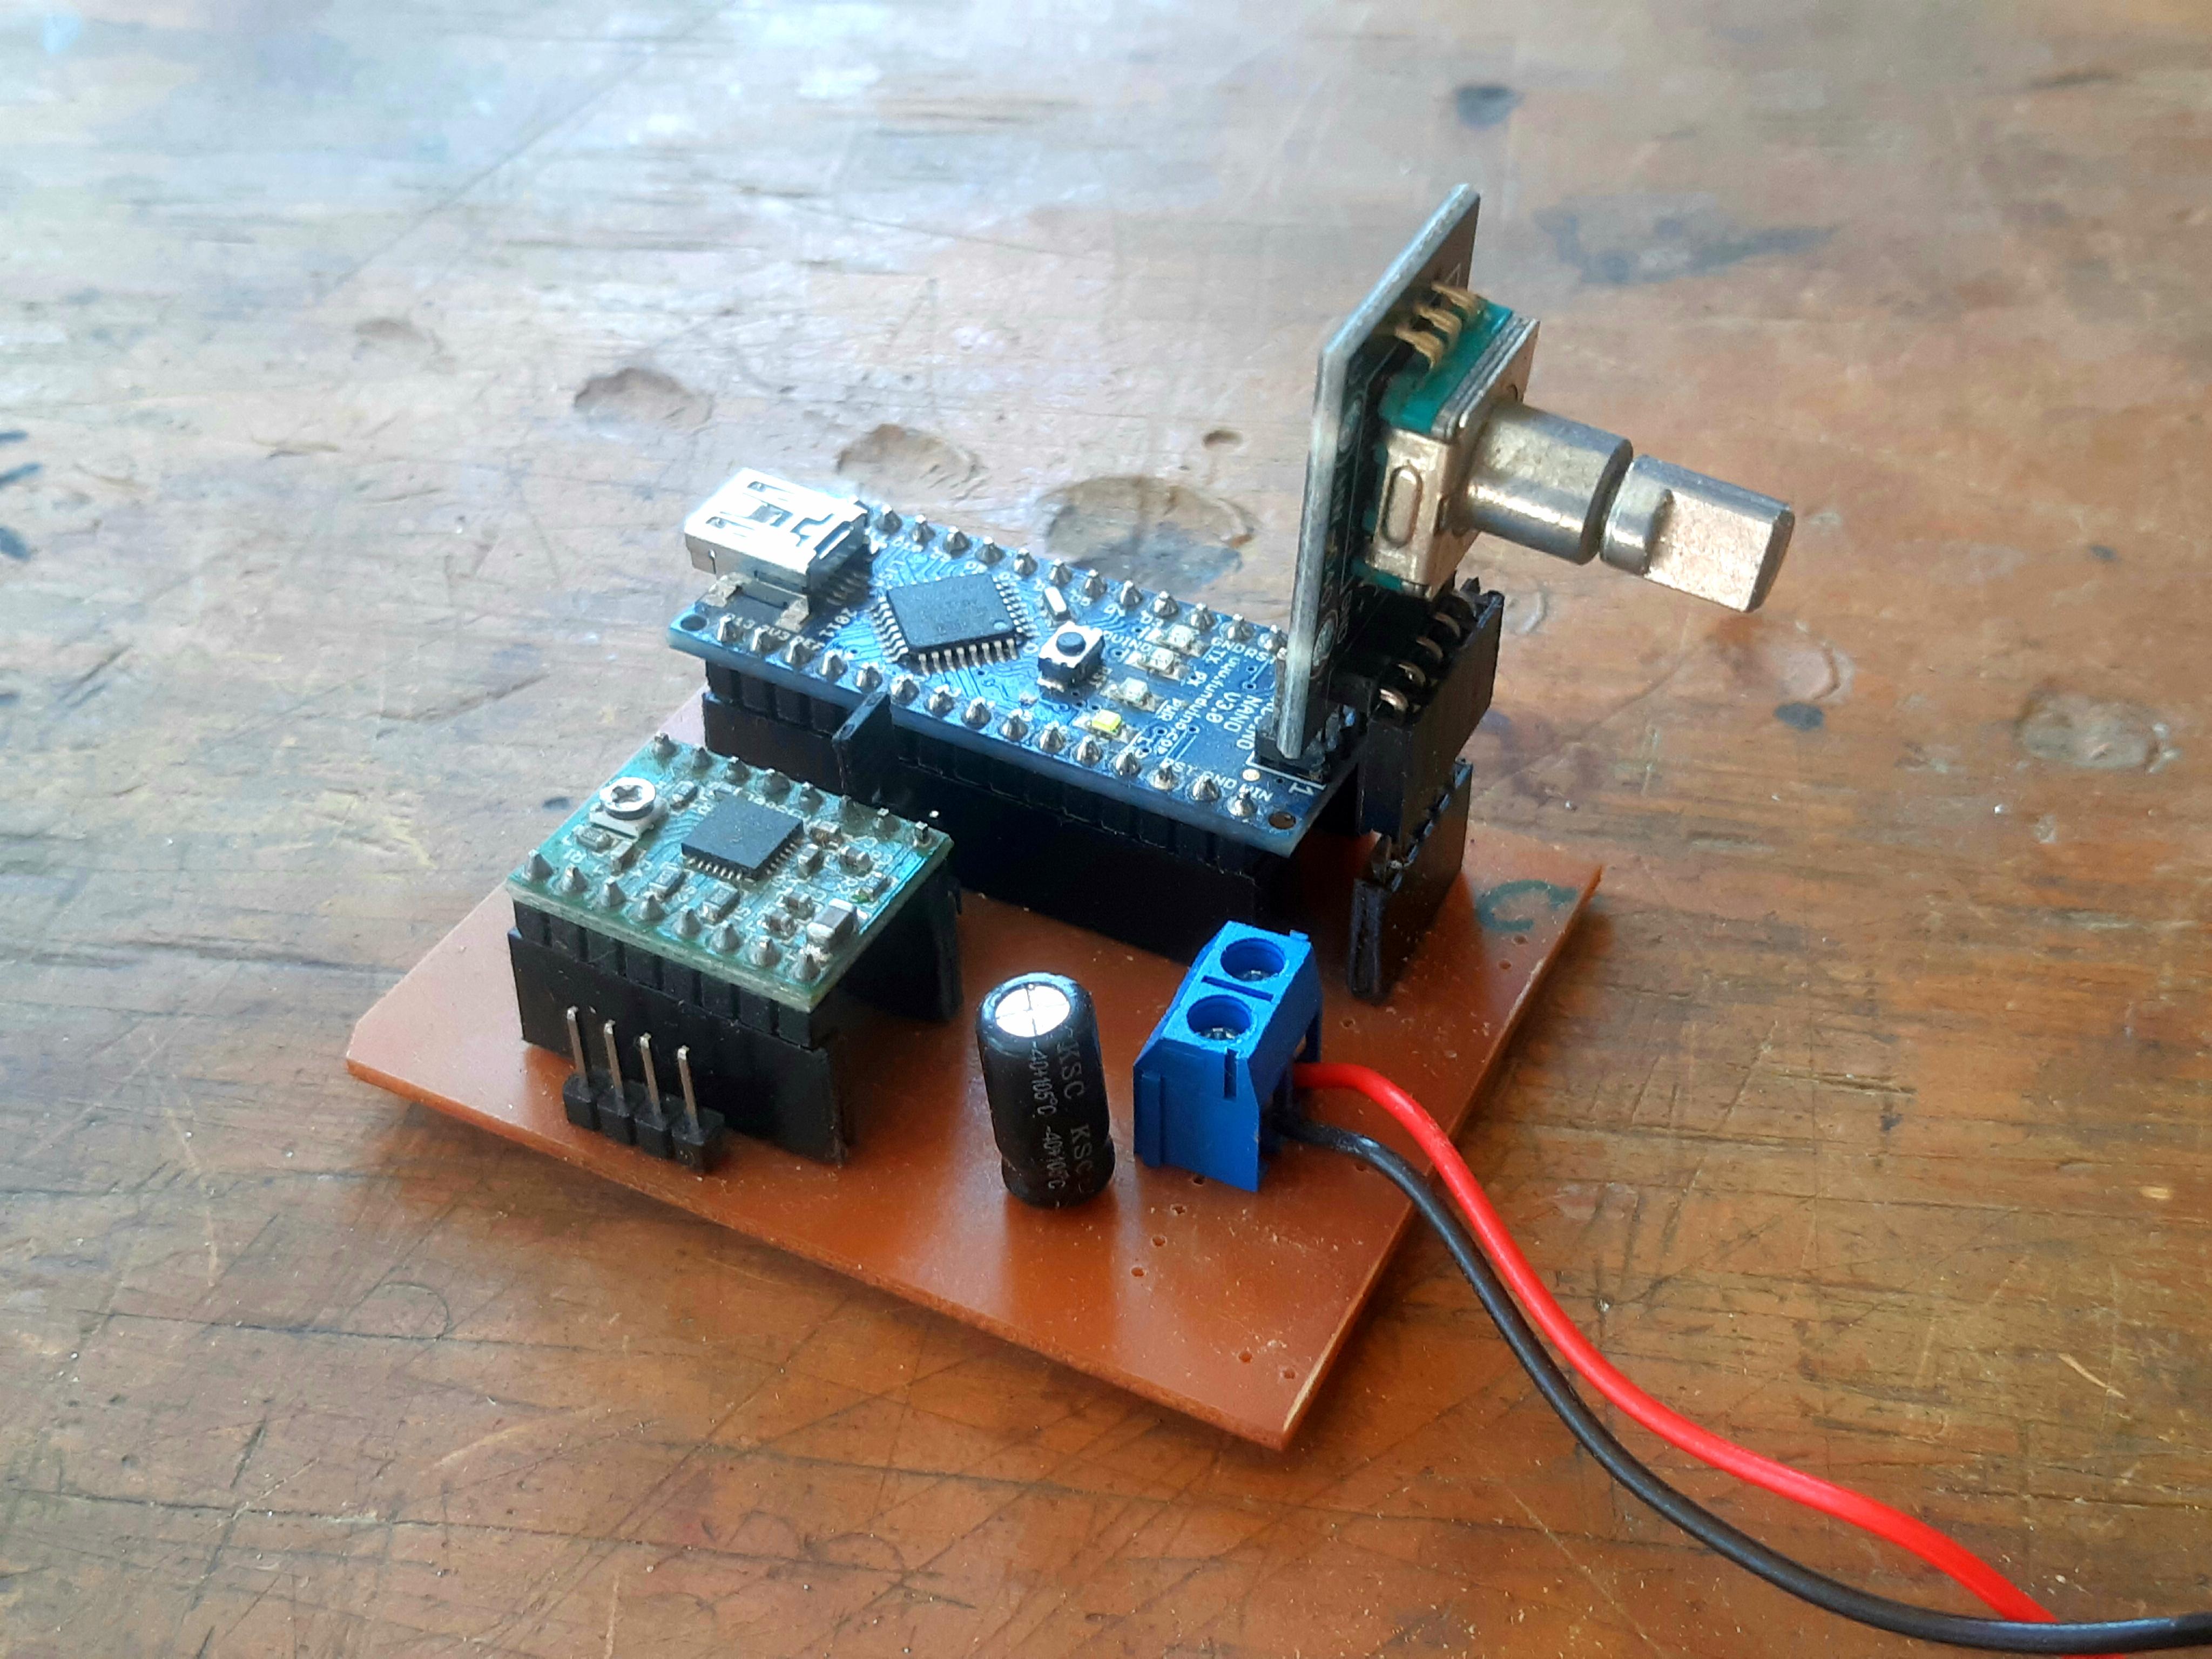
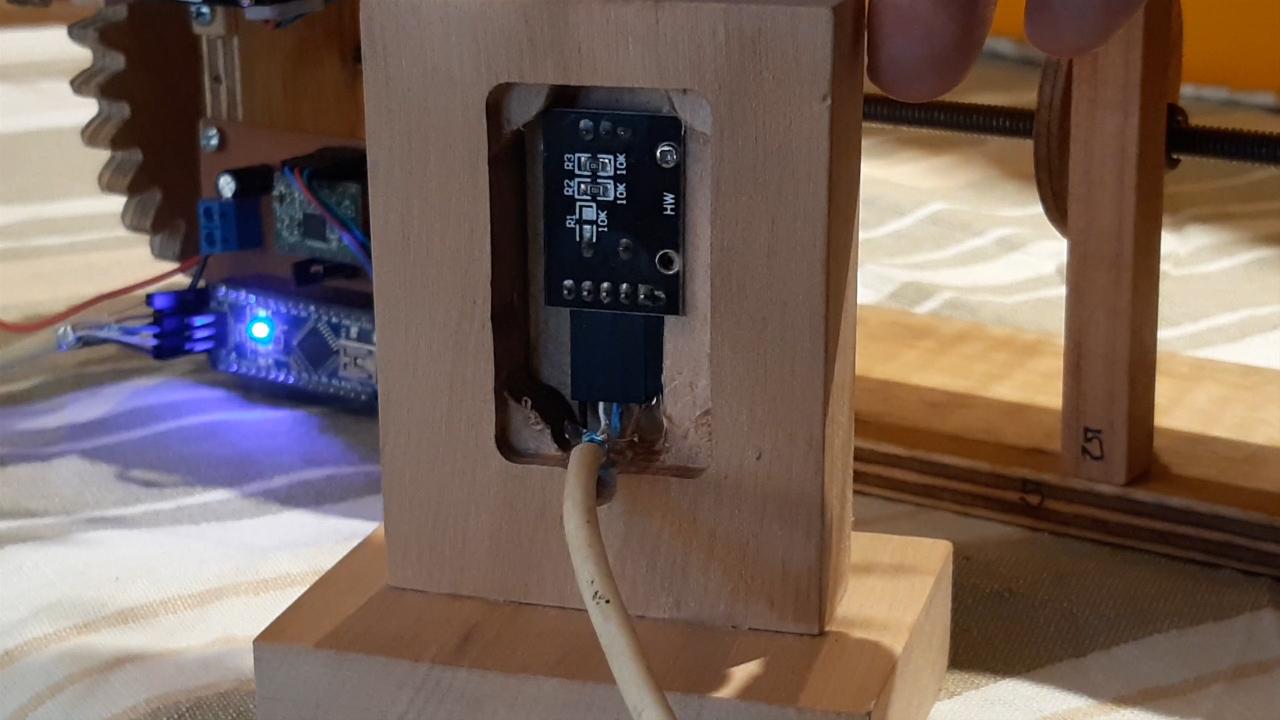
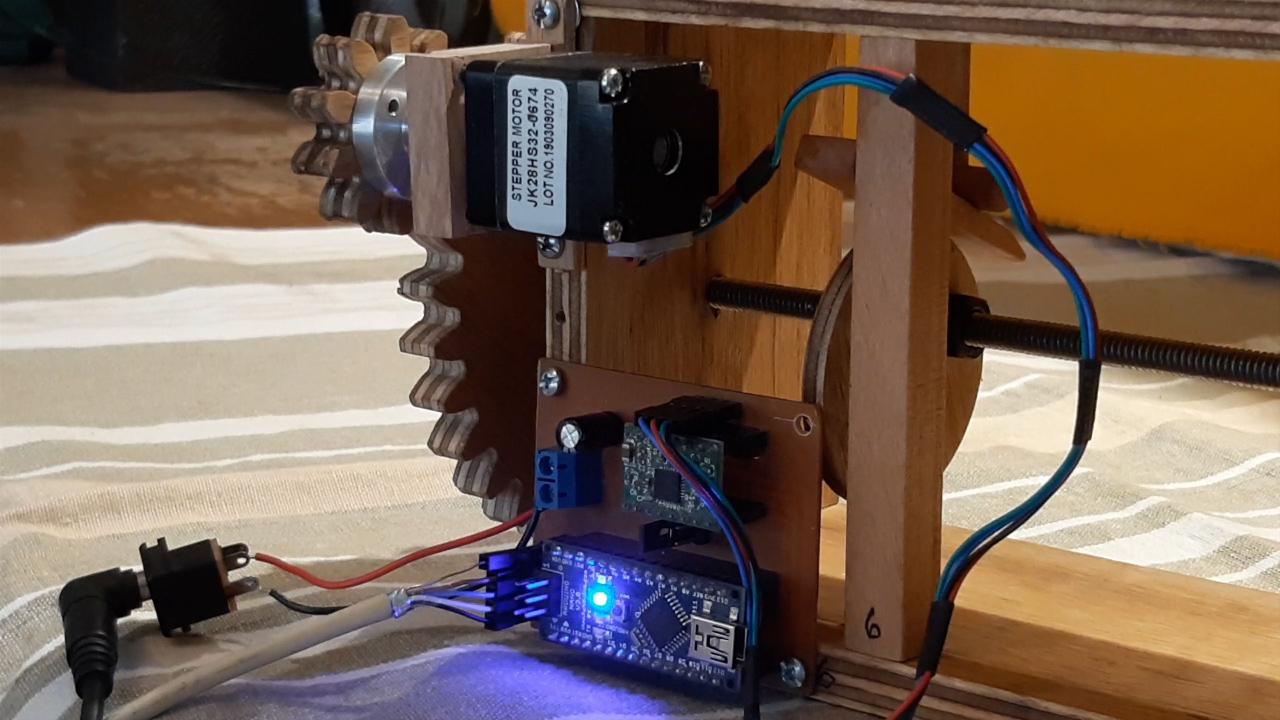
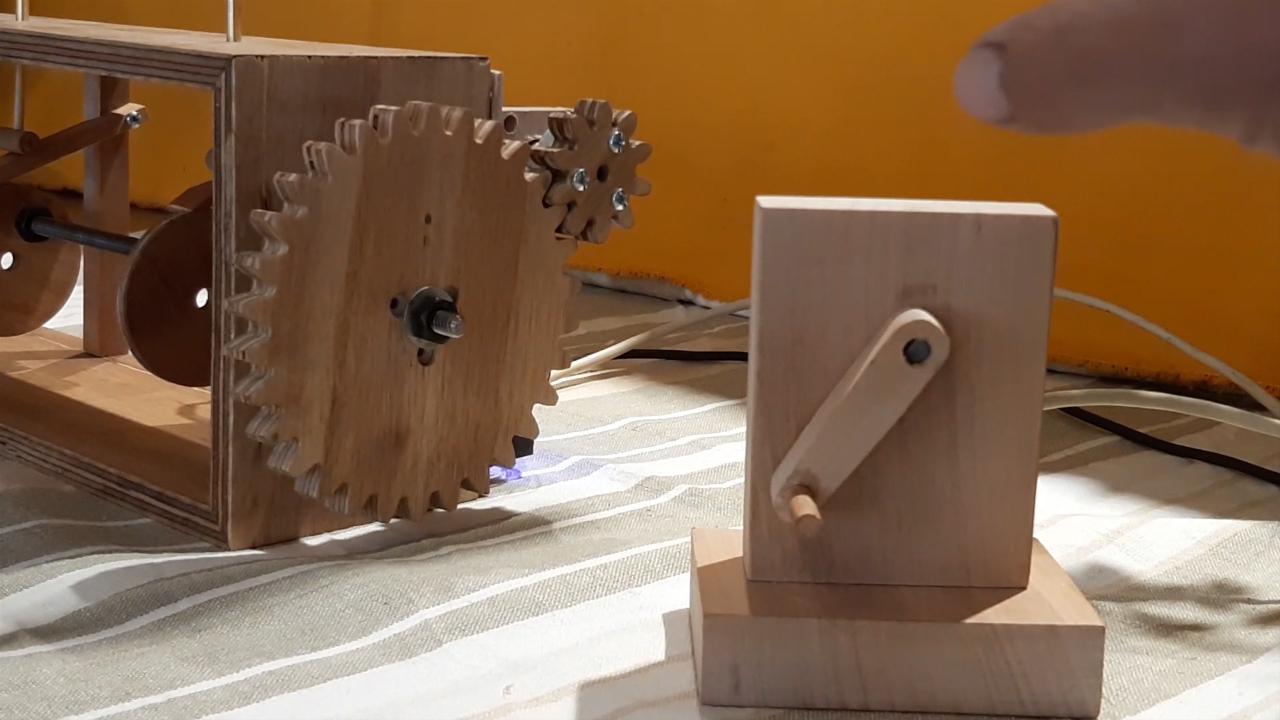
I have a CNC router that I built myself so I made my own board. The arduino and the driver are mounted on pin headers, also the rotary encoder to test it, then I use that pin header to plug in a cable and mount the rotary encoder on a wooden base and also the hand crank.
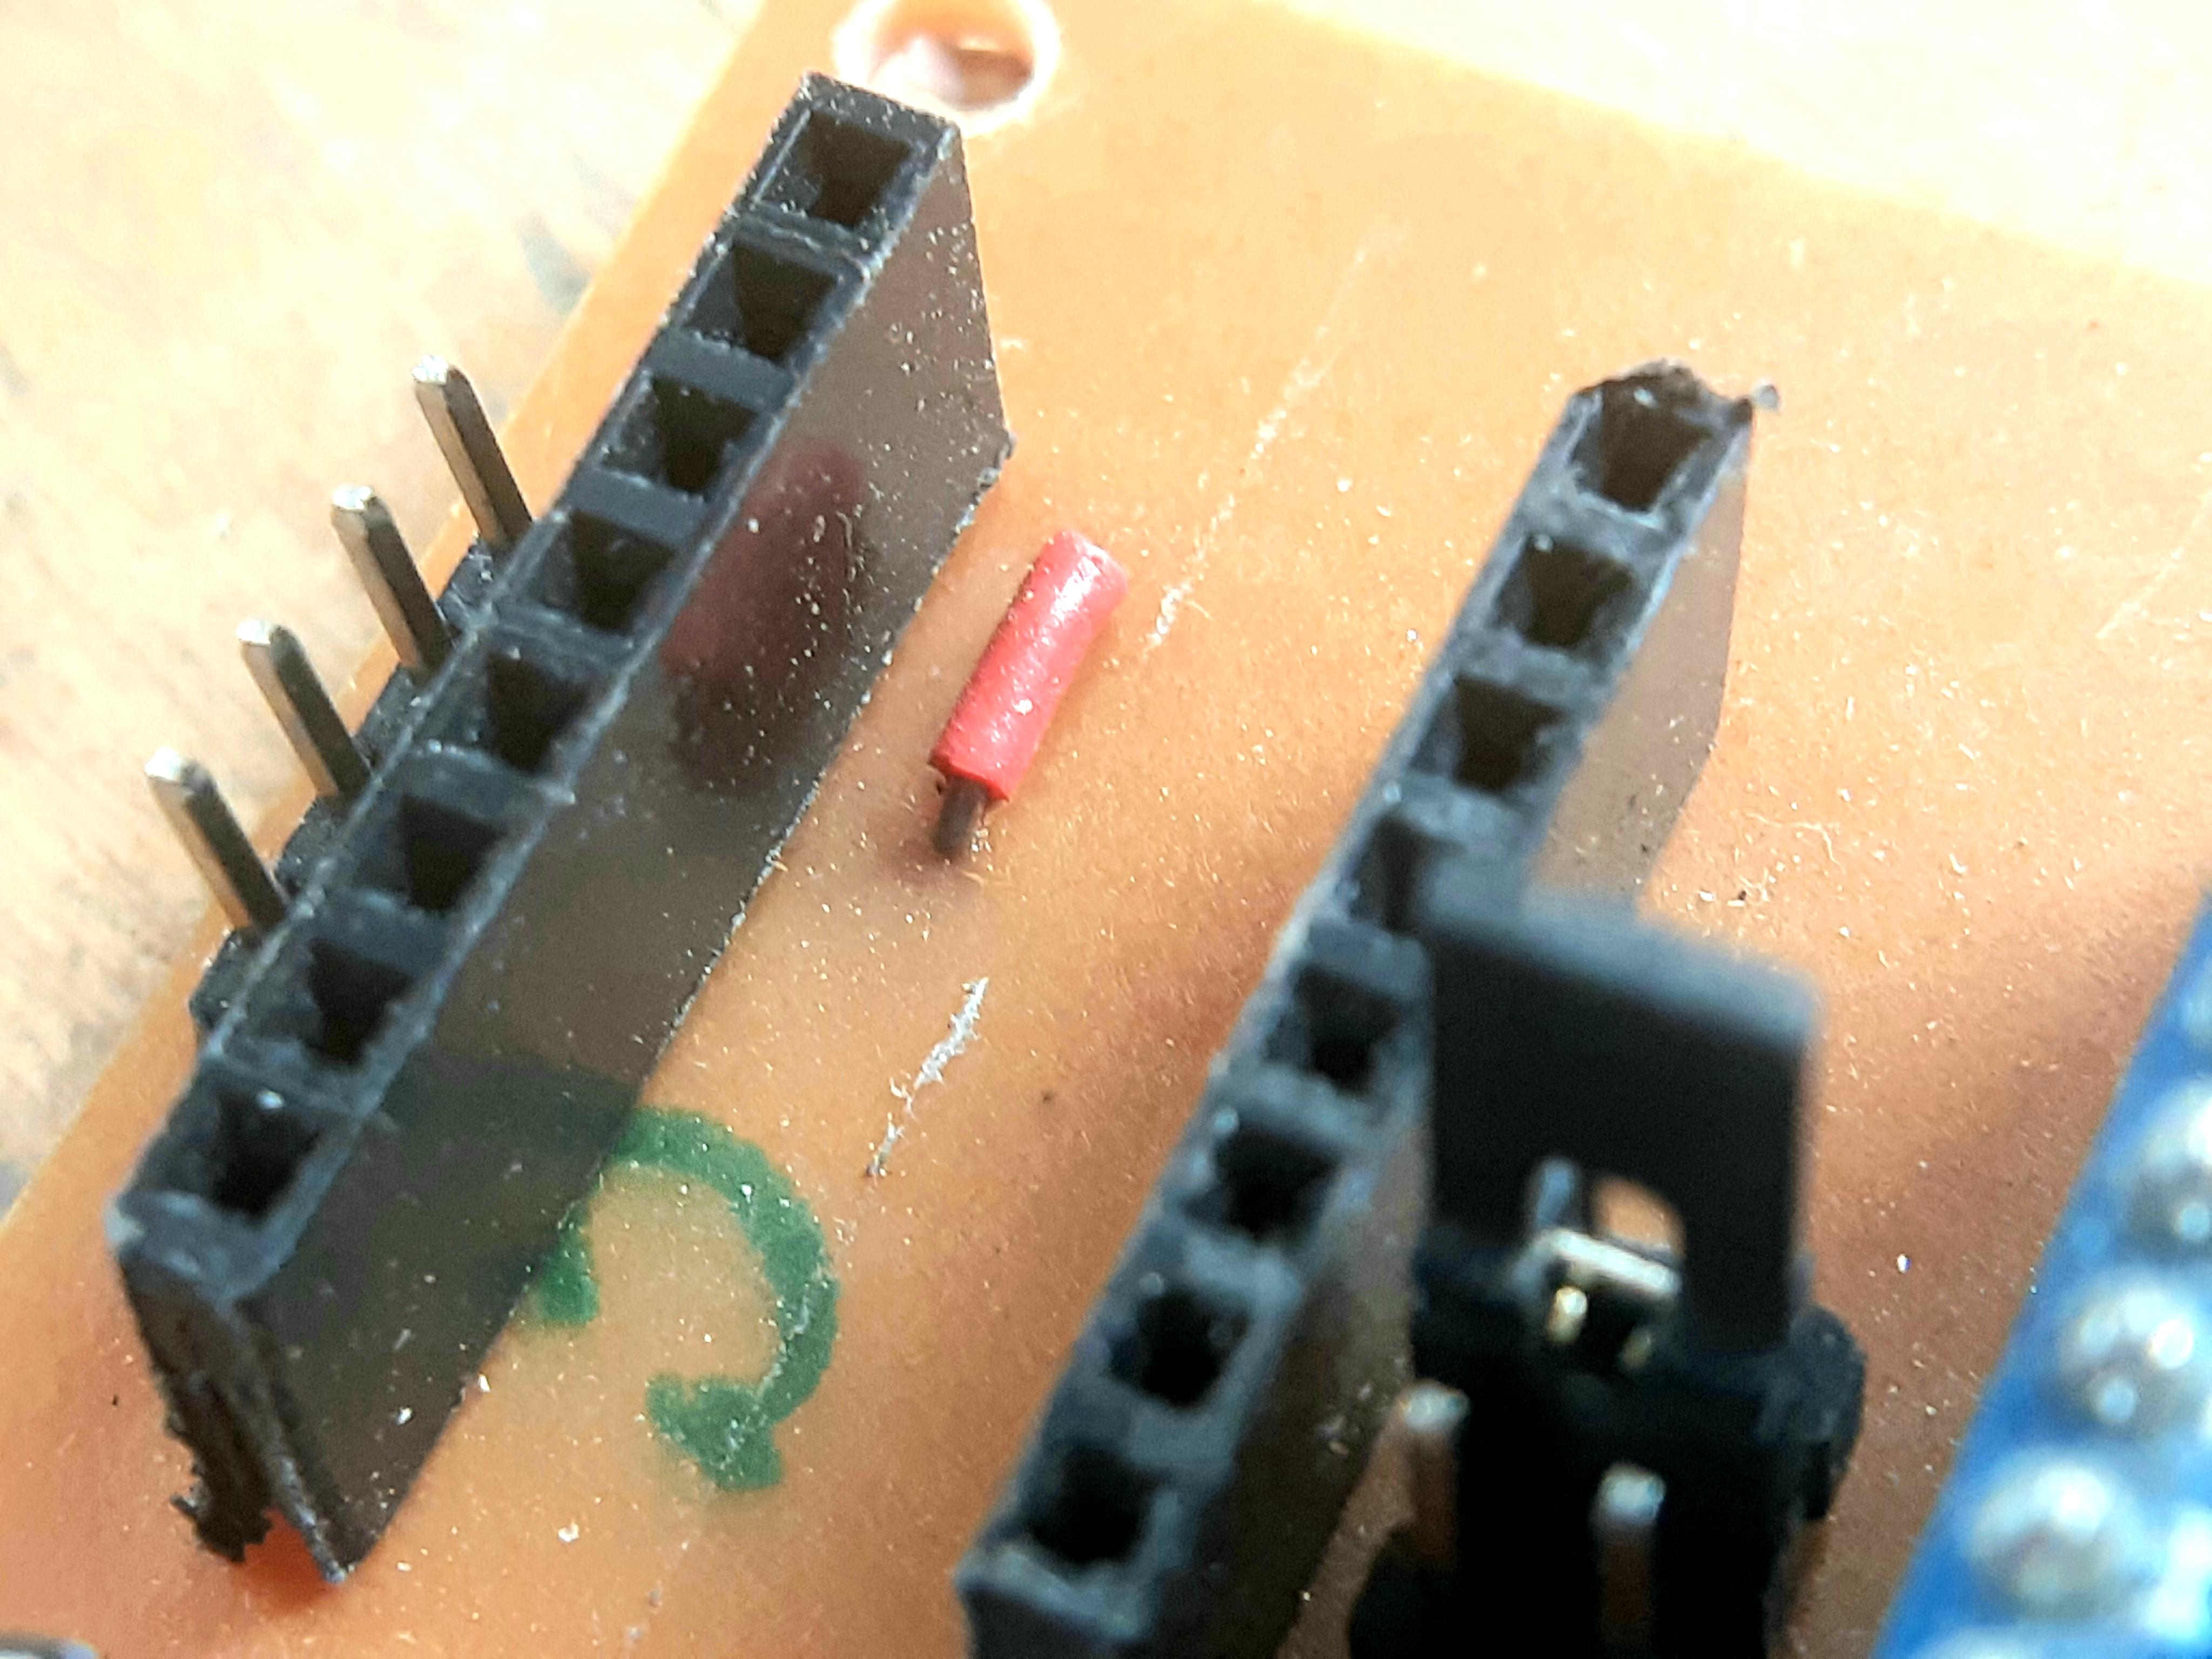
The circuit board is mounted on the back of the automaton next to the nema 11 stepper motor. I used a single layer board so the only connection that goes through the upper side is made with this red wire.
The Code
The code is very simple, the first thing you have to do is download and install the AccelStepper library from here: AccelStepper .
Well, there are some variables that need to be changed to accommodate the turning of the hand crank with the turning of the motor or automaton. Commonly a stepper motor has a step angle of 1.8 degrees which gives 200 steps per revolution. Then you have to consider the number of detents that the rotary encoder has, some have 20 detents and the one I used has 30, in other words, it is the number of clicks you feel when turning it. Now, if you want the motor to turn one revolution for each turn of the crank you have to divide the number of steps of the motor by the number of detents of the rotary encoder.
In my case 200/30 = 6,66
To have a more fluid movement it is better to set the driver to a quarter step, that leaves the calculation like this:
200/30*4 = 26.66
But this is totally theoretical, these cheap rotary encoders are not accurate at all, they skip many steps so you have to try until you find a number of steps for the setPos variable that suits you, in my case is 40.
if (rotationdirection)
        { setPos = setPos + 40;}//change this to match a full turn of the hand crank to a full turn of the motor
        if (!rotationdirection)
        { setPos = setPos + 40;}// a negative number will follow the direction of the hand crank
        Serial.println(setPos);<br>
You must have also noticed that no matter which way the crank is turned, the setPos variable increases, this is also due to the lack of precision of the encoder since it sometimes detects pulses in the opposite direction, in this way any pulse that delivers them will increase setPos. If you want the motor to rotate in the opposite direction you must use negative values.
In this line of code it is determined how fast the motor responds to the turn of the crank. If the motor does not turn and emits a series of clicks, this speed must be modified until the motor responds to a suitable speed.
{
      stepper.setSpeed(1000);   //change this if the motor has problems to move
      stepper.runSpeedToPosition();
      setPos = 0;
    }<br>
Another thing that must be modified is the variable setSpeed() that controls the constant speed of the motor, which is this line of code.
  {if (flag == 1)//constant speed activation
  {stepper.setSpeed(250);//change this to a constant speed that accommodate to your project
  stepper.runSpeed();<br>
If you use some gear reduction all these numbers change the values must be multiplied by the gear ratio.
If this is the first time that you use an arduino microcontroller, here you will find the instructions to download the arduino IDE and an introduction on how to use it. Arduino IDE
Here are also the instructions on how to download libraries for Arduino. Arduino libraries
I guess that's it, if you notice any bug or improvement then leave me a message and if you build it too.