The Koi Pond (Prototype 1)
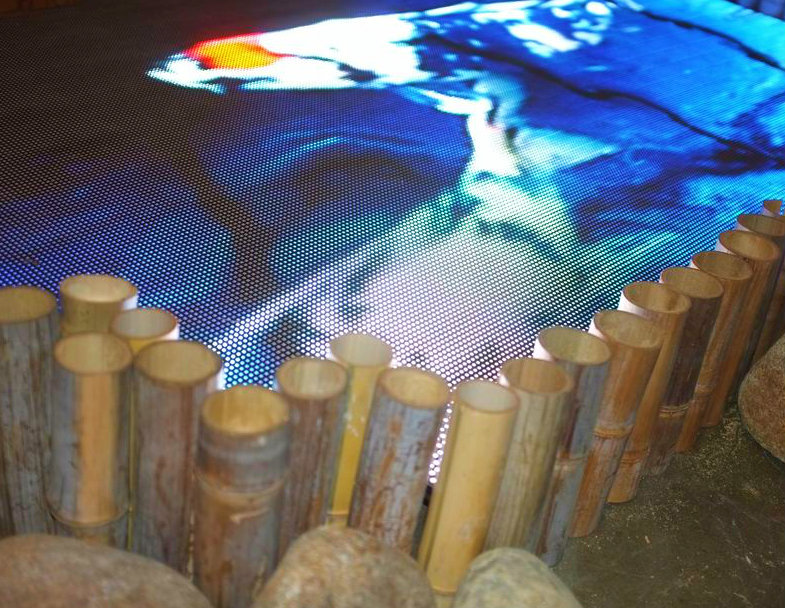
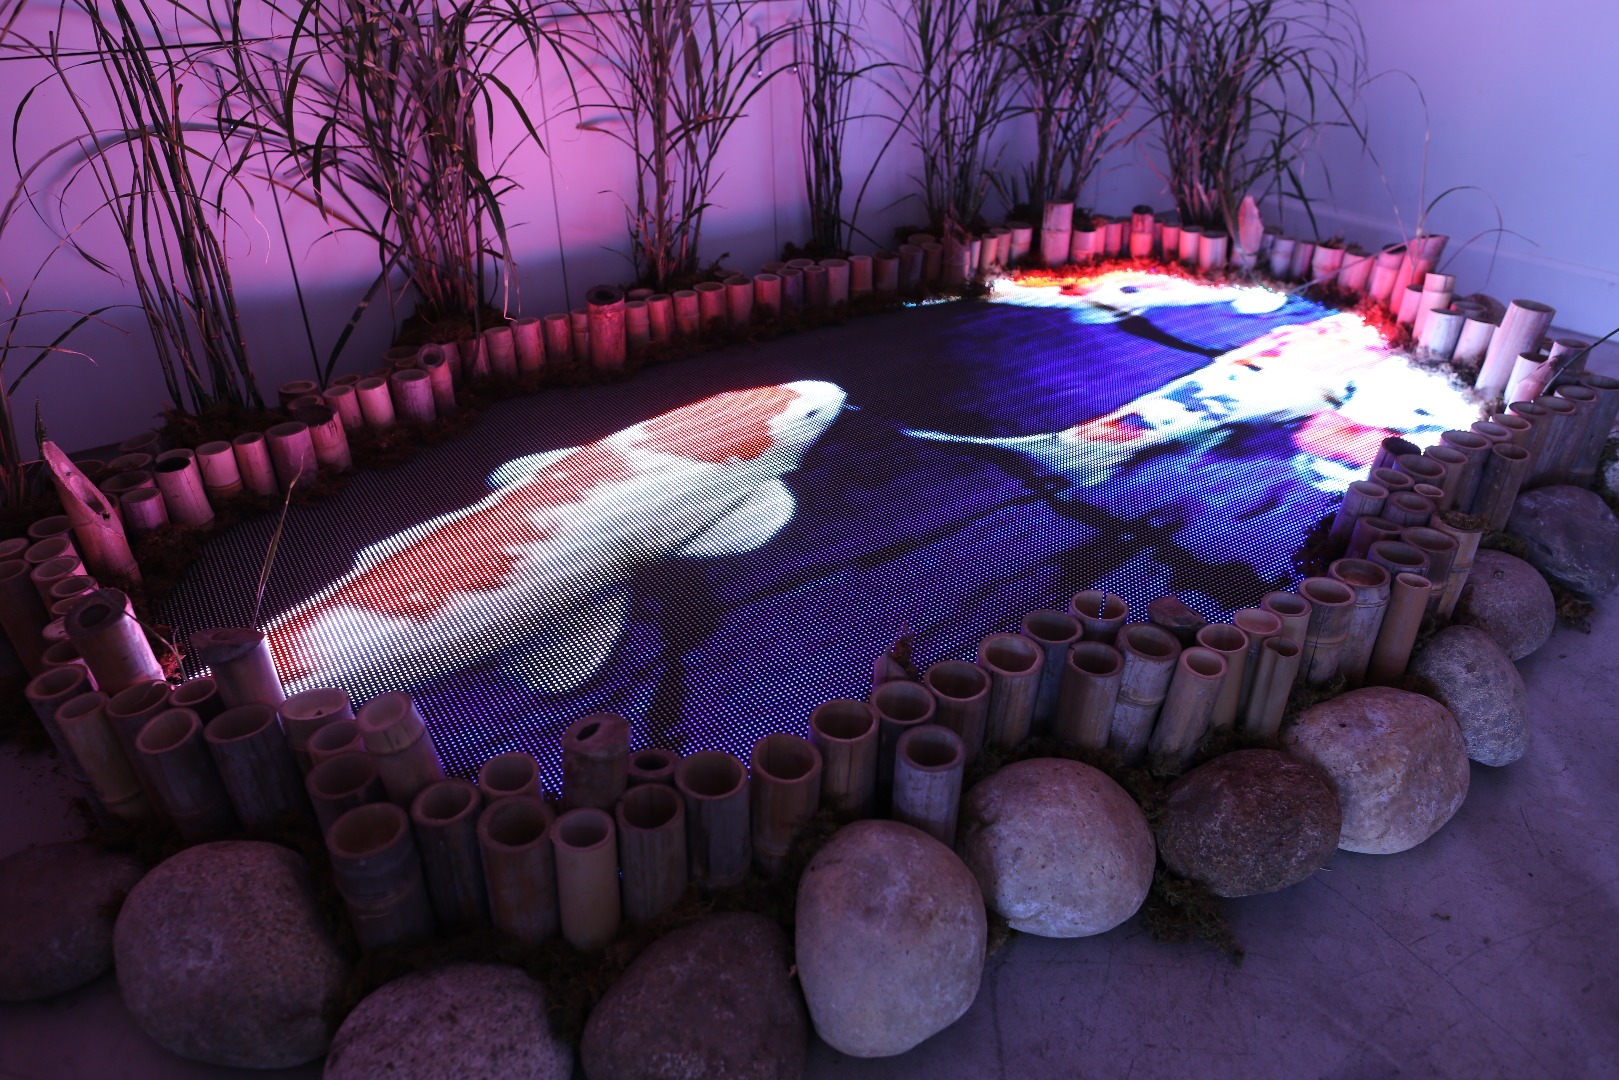
For most of my life I've been enthralled with light and lighting, but just recently I've started exploring more video-based techniques involving both projection and large numbers of distributed LED fixtures. In many of my projection mapping endeavors I've experimented with the idea of the projection surface being a small amount of a much larger area or wall; basically projecting onto many small isolated apertures. This created an interesting illusion in a dark room of these surfaces appearing almost like holes in the wall where you're peering through to the other side. This effect is the basis of my idea for The Koi Pond; a stylized LED gazing pool for the enjoyment of Koi fish.
This prototype is step one of a much larger project; a proof-of-concept to discover and wring out technology and installation limitations before commencing a large-scale immersive environment for the Burning Man Festival. What I envision for the much larger piece is about 5x more surface area for the LED array, and a different shape allowing a wooden handmade bridge to cross over the installation, making it more similar to the beautiful Koi ponds and gardens of Japan.
Designing and CAD Work
The first step to even attempting to make this piece was to come up with a design and identify the hardware to be used. From previous projects I had experience with tight pitch LED panels, much as are used on Jumbotron displays or billboards, and I figured these would probably give the best resolution as well as be the easiest things to install and wire up. From previous projects I'd learned that as the LED numbers increase into the thousands handling data and power becomes a real pain, so I figured I'd let someone else's technology take care of that instead of reinventing the wheel.
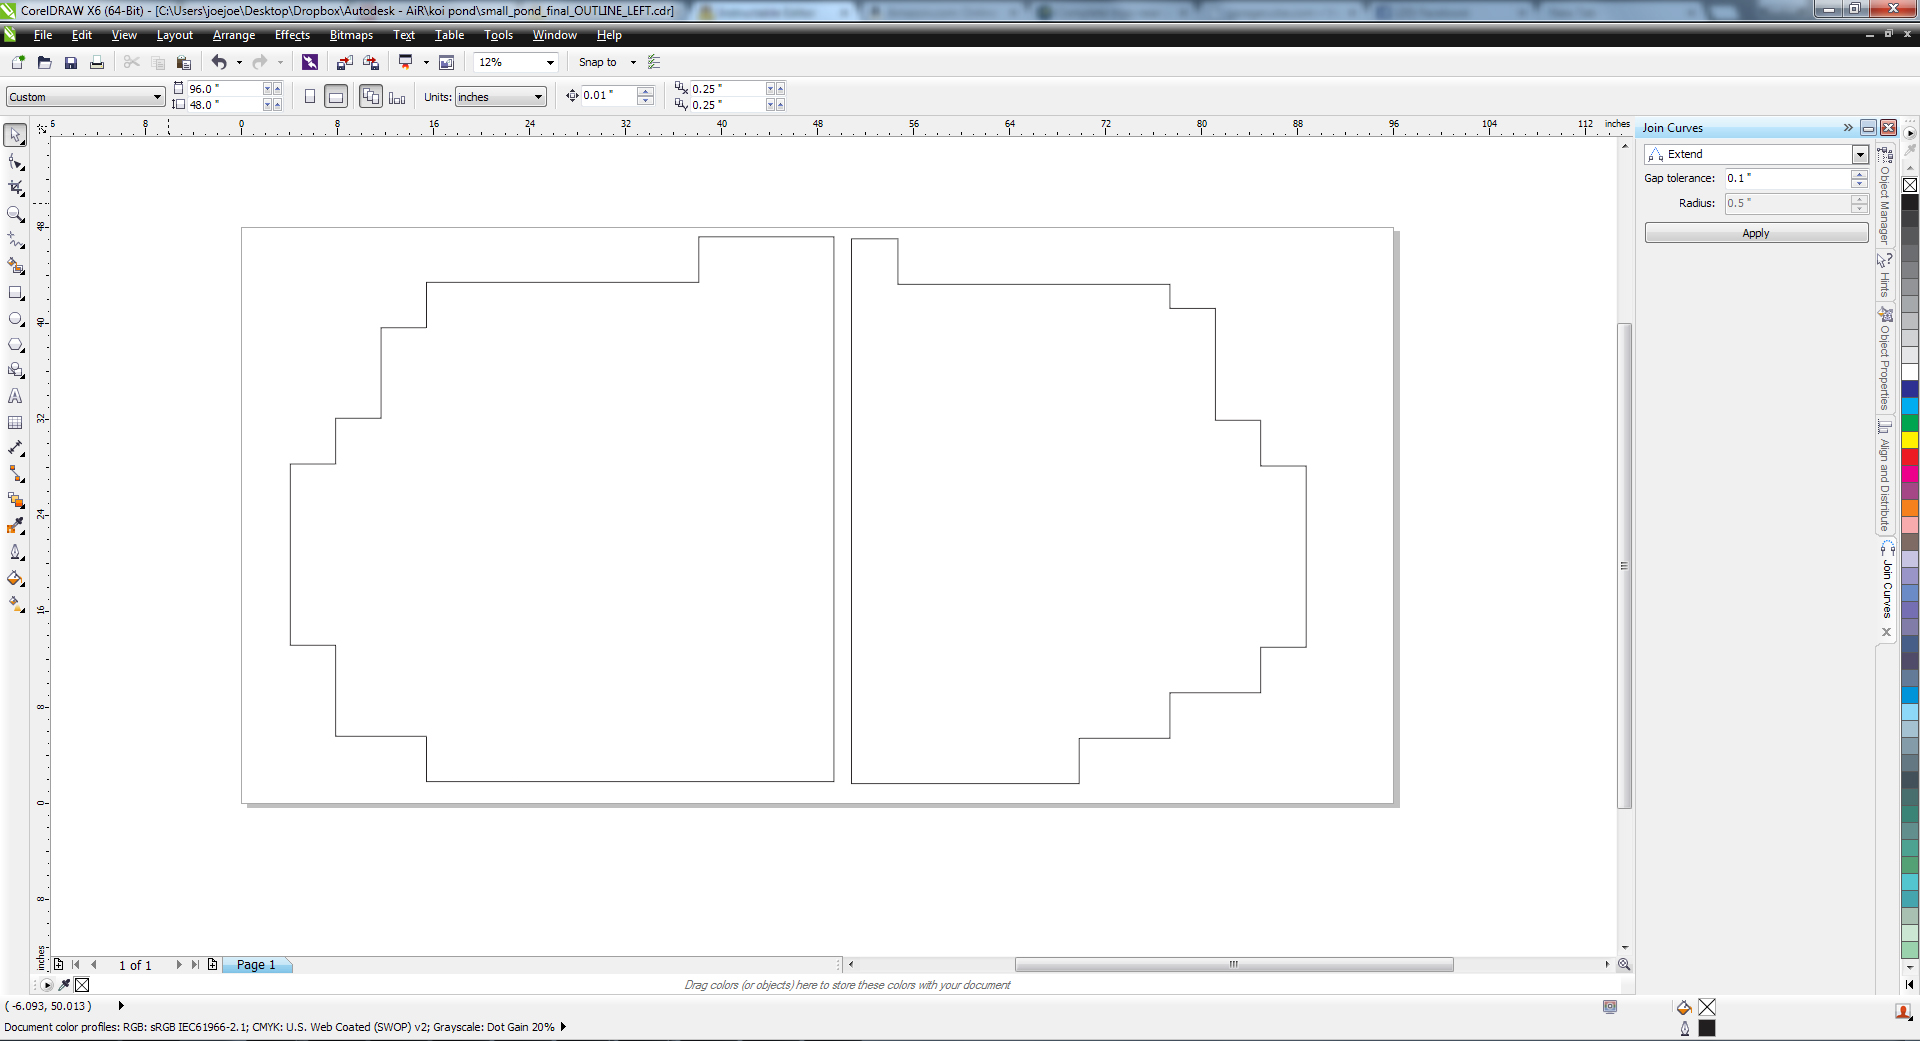
With a standard panel size figured out, I knew that I wanted to start with an overall design based on a rectangle for some amount of wiring ease, but then modify the panel layout to create more of a flattened oval to get away from it just looking like a rectangular display. By rotating panels on the edge I could make more of an ovular shape, at the expense of making the mapping a bit more difficult later. This was a problem I was willing to face.
So I took to CorelDraw, made a box the size of the LED panel, and started stacking them together until I came up with the above shape. Pleasing, and it could be split into two 4'x4' sections which would facilitate cutting it on the Metabeam.
Making a Proper Bracket for the LED Panels
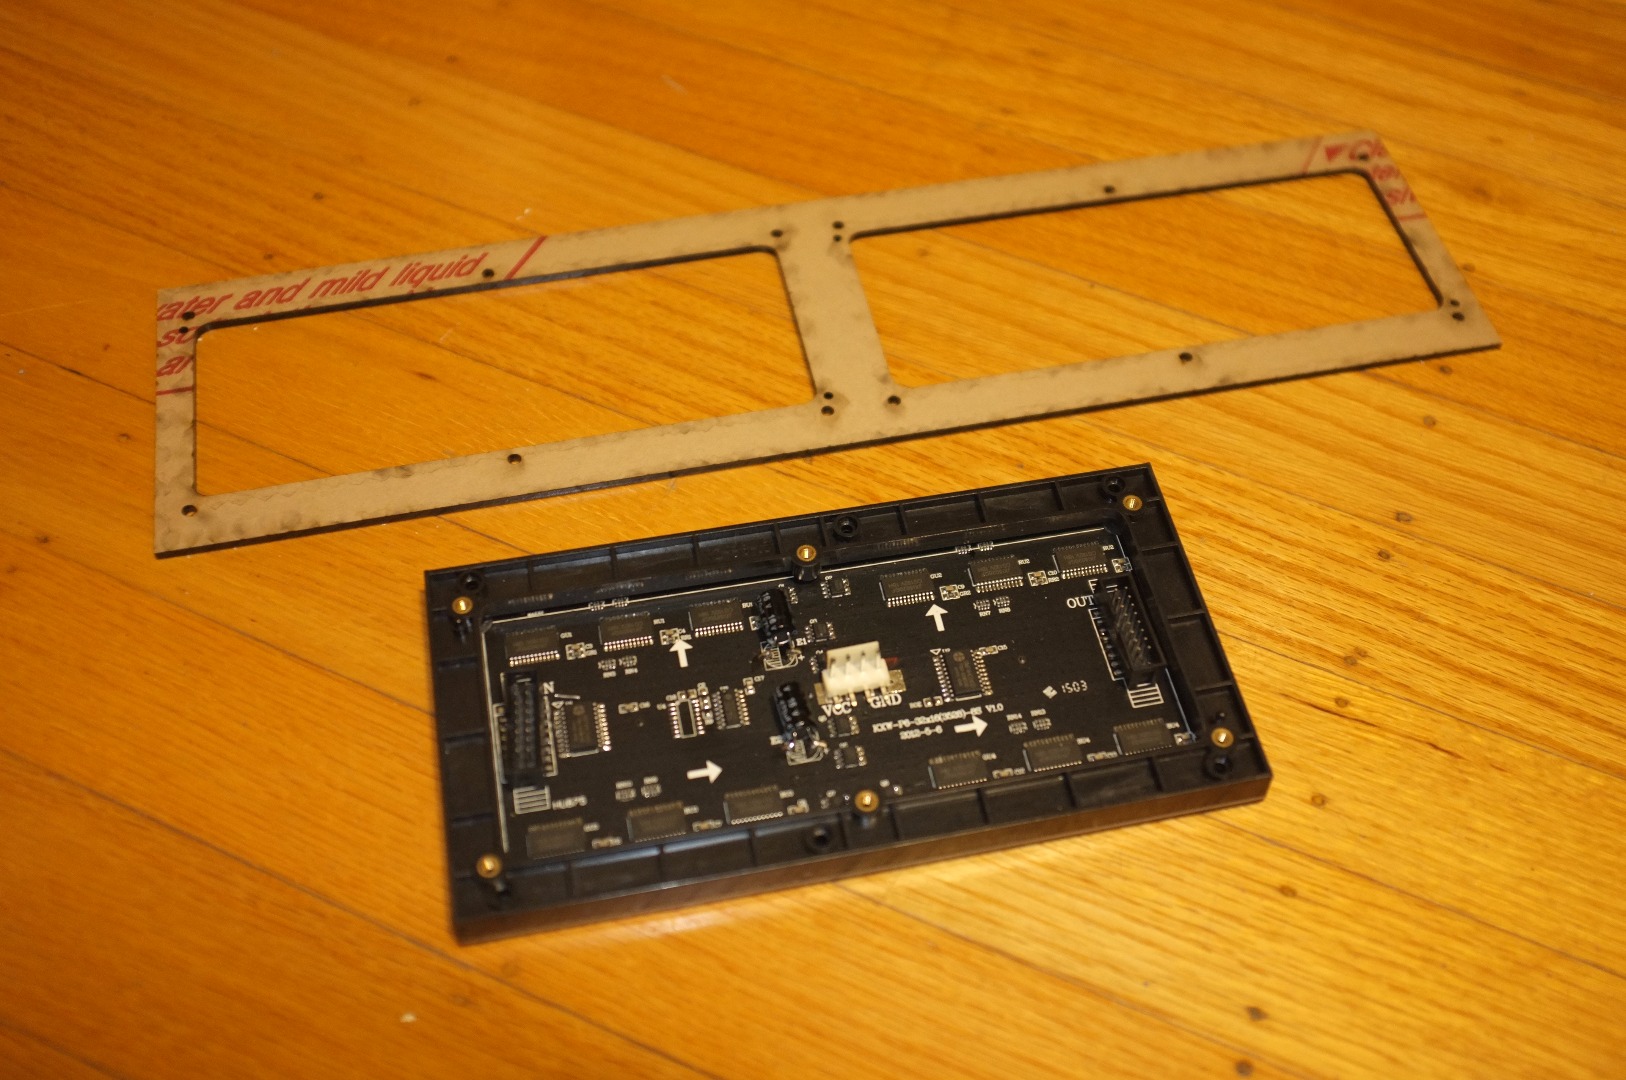
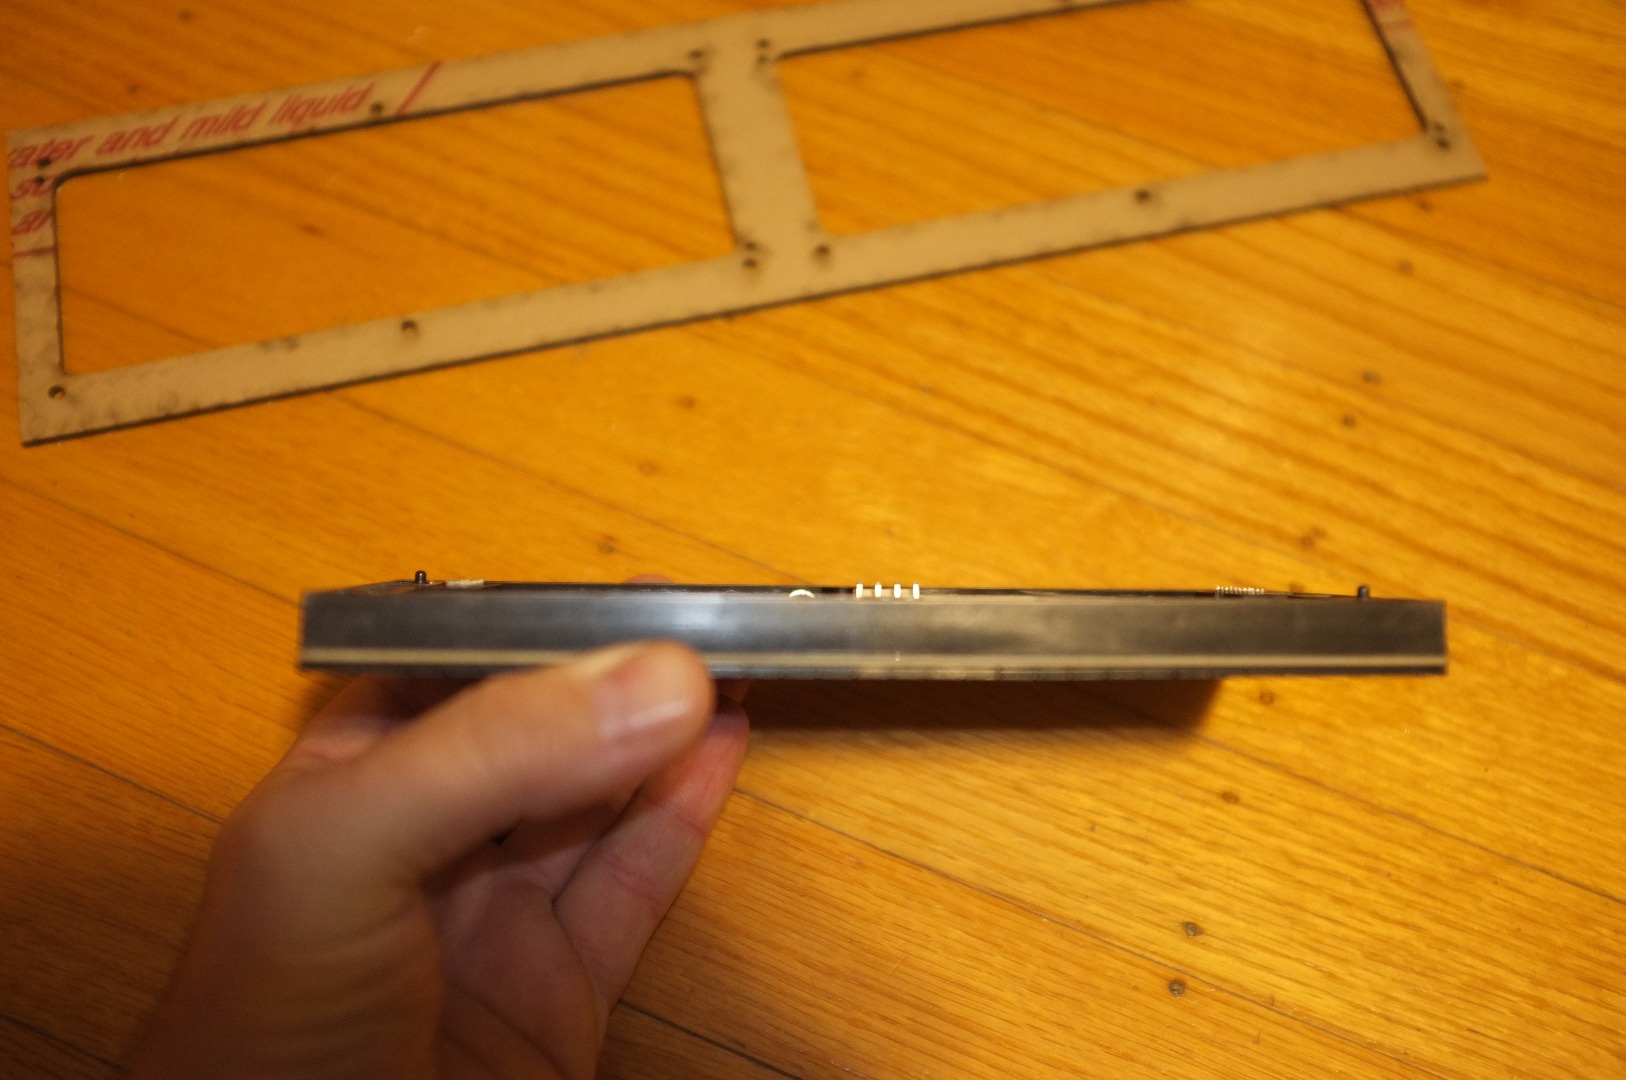
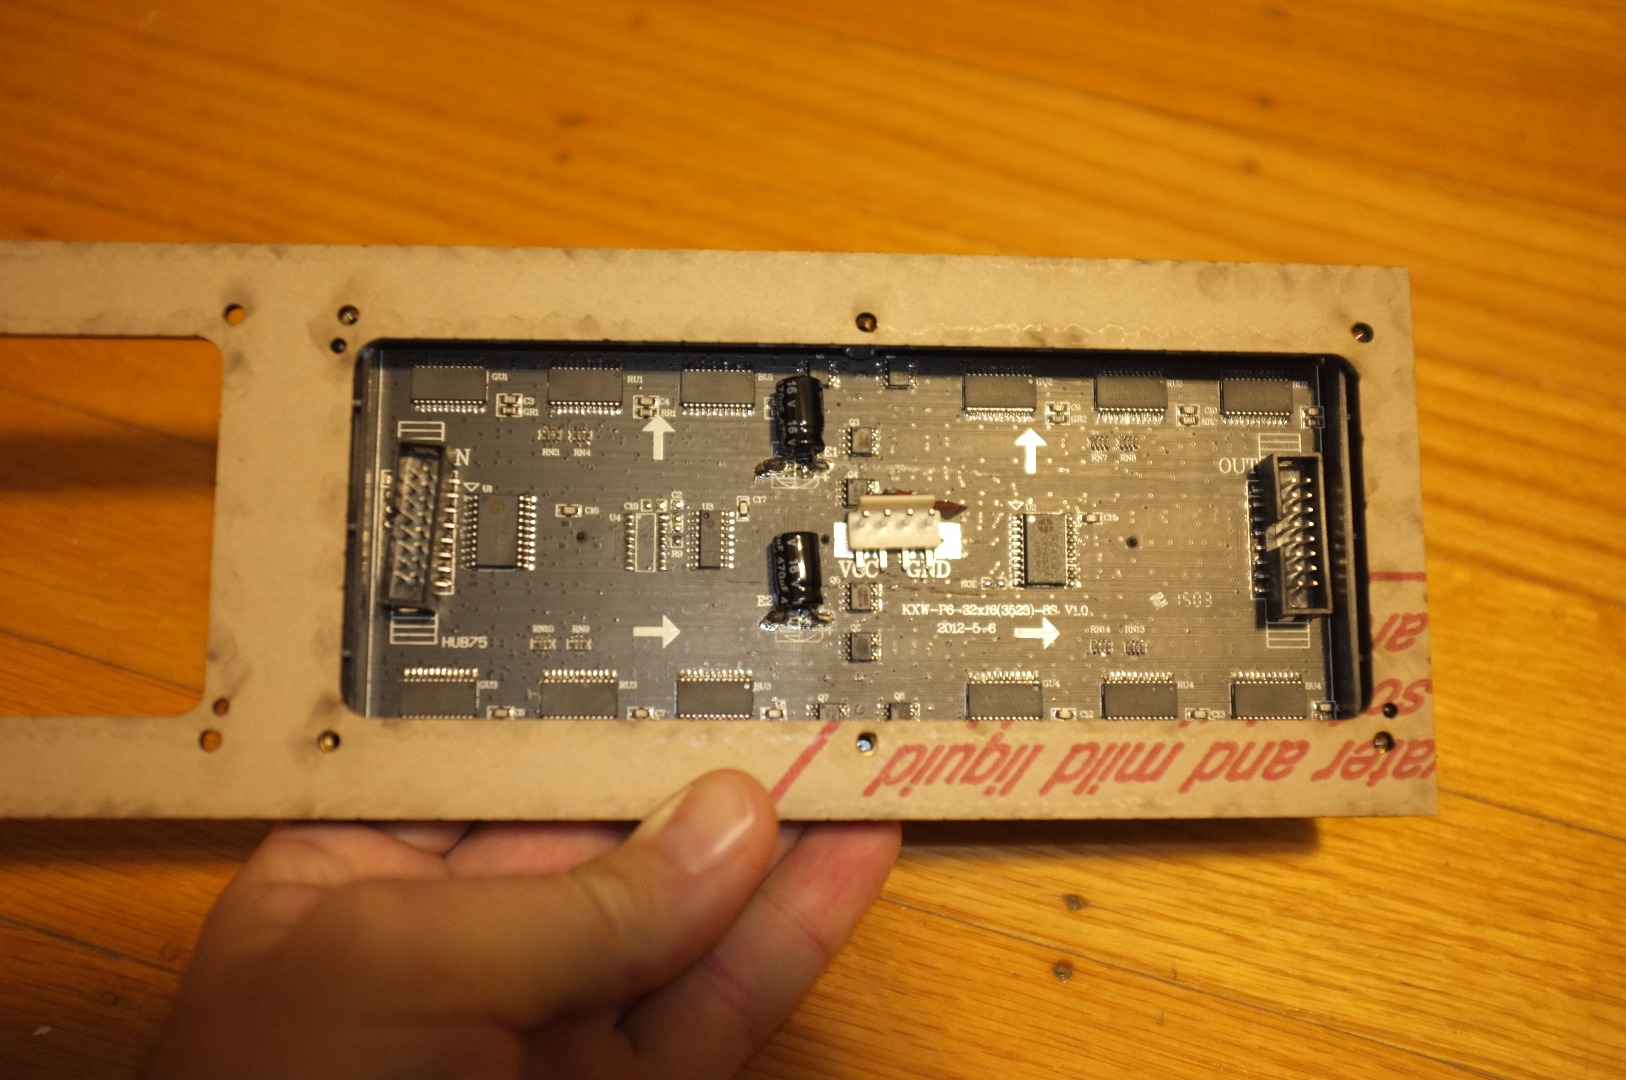
The P6 LED panels (meaning 6mm pitch between LEDs) conveniently have six nuts molded into the plastic for fastening. Unfortunately they use M3 metric screws, so step one was order around 1000 of those.
They have have two nubs that are used to orient the panel, which turns out to be pretty convenient to have them just click into place.
For this step, I fired up CorelDraw and did a layout, measuring an actual panel with my calipers. Test pieces were cut on the Epilog lasers to make sure the panels fit, and that they abutted properly.
This actually took a few times, as over a long row of panels any slop will add up and you'll end up with a display that bows in one direction or the other. Also, you won't find out until you put in 50 or so tiny screws and tighten them down, which is a huge bummer.
Make a Test Grid and Play Around With Mapping
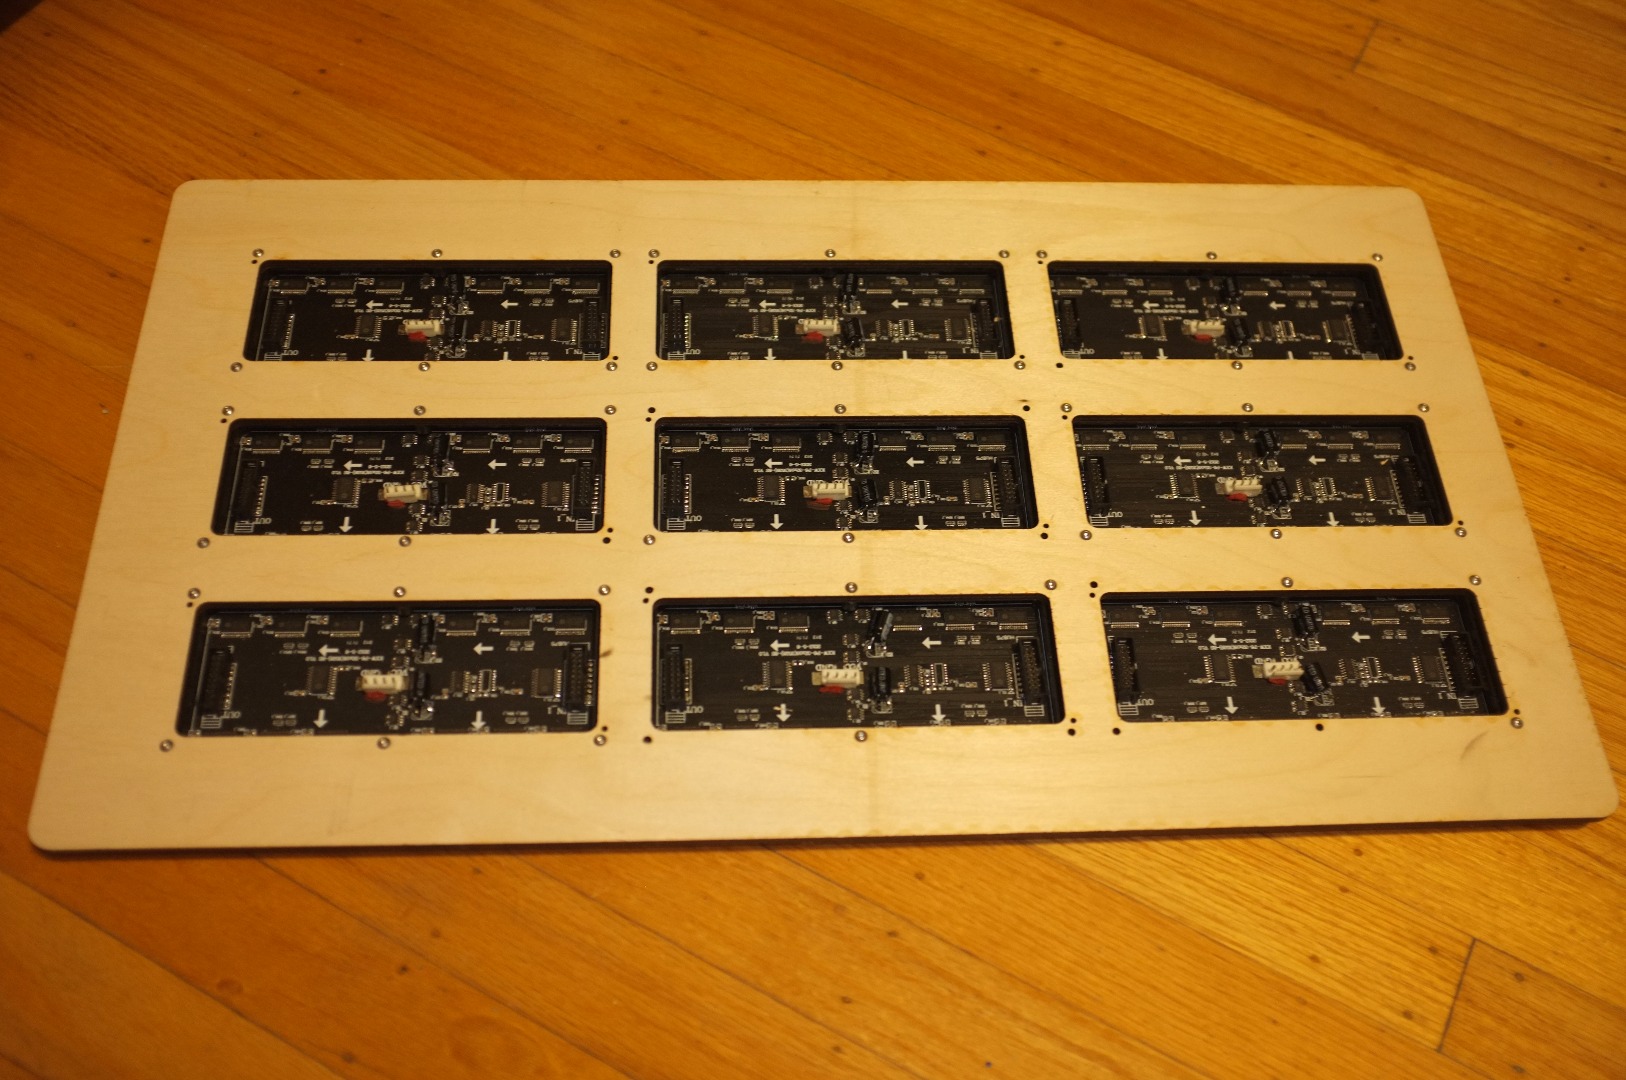
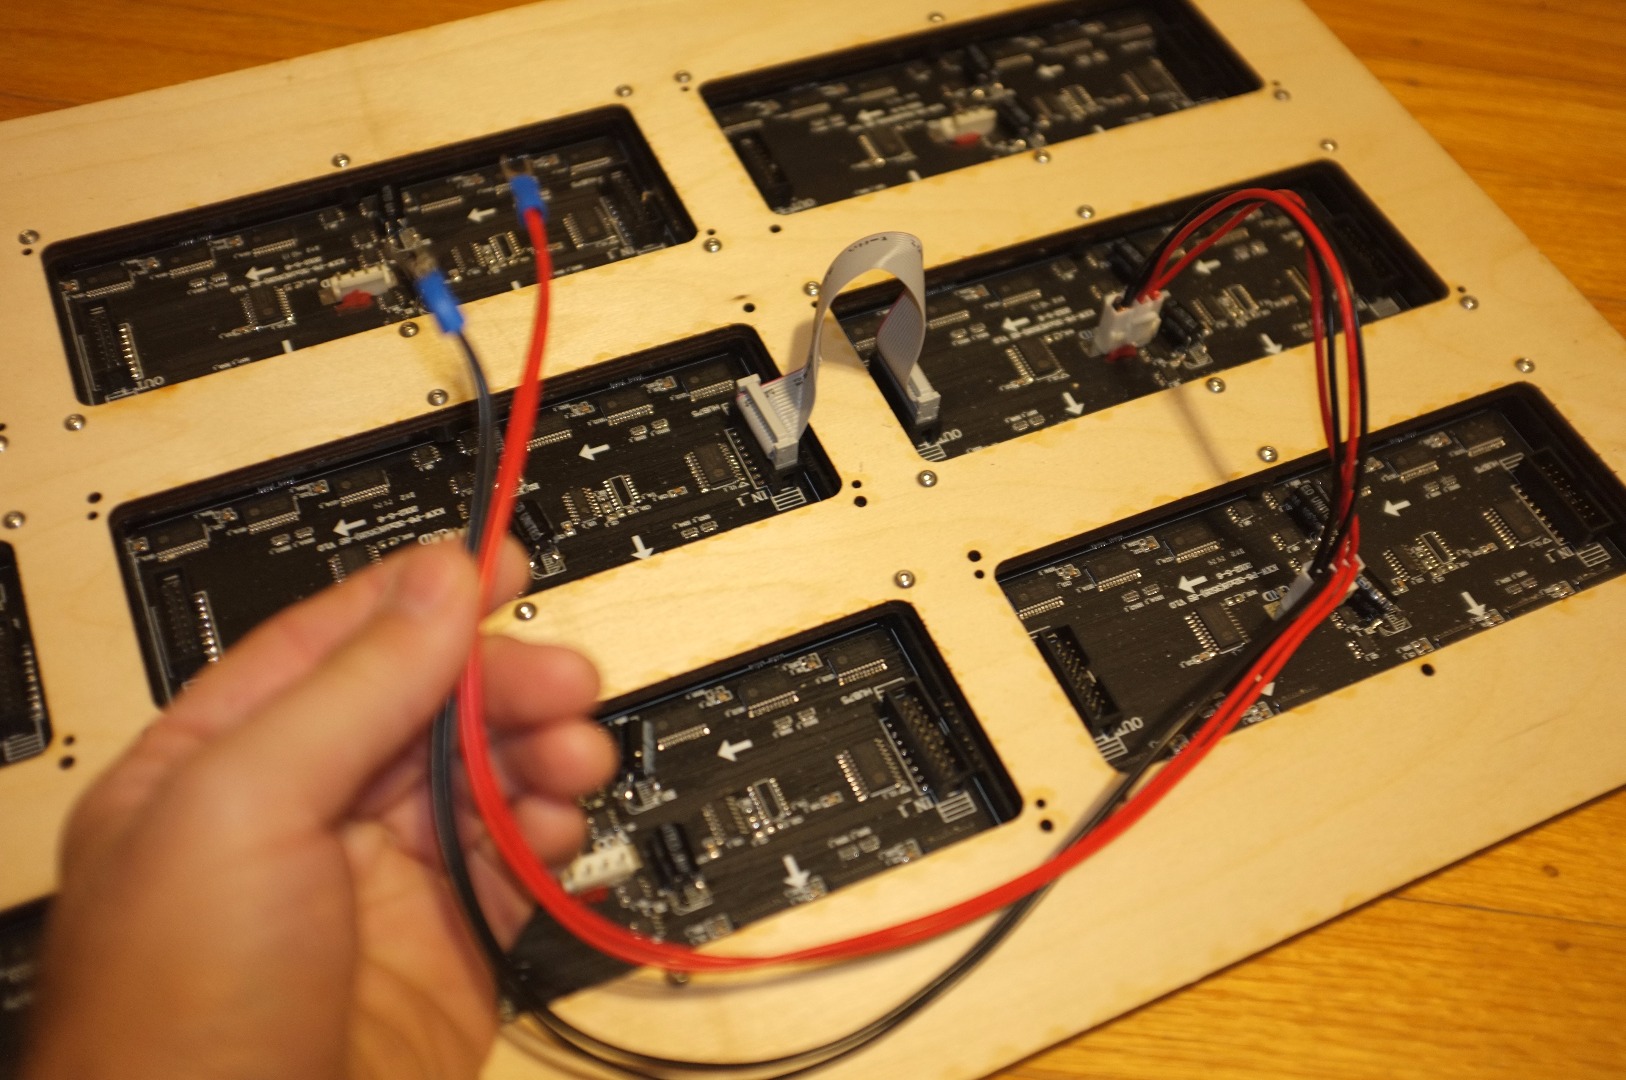
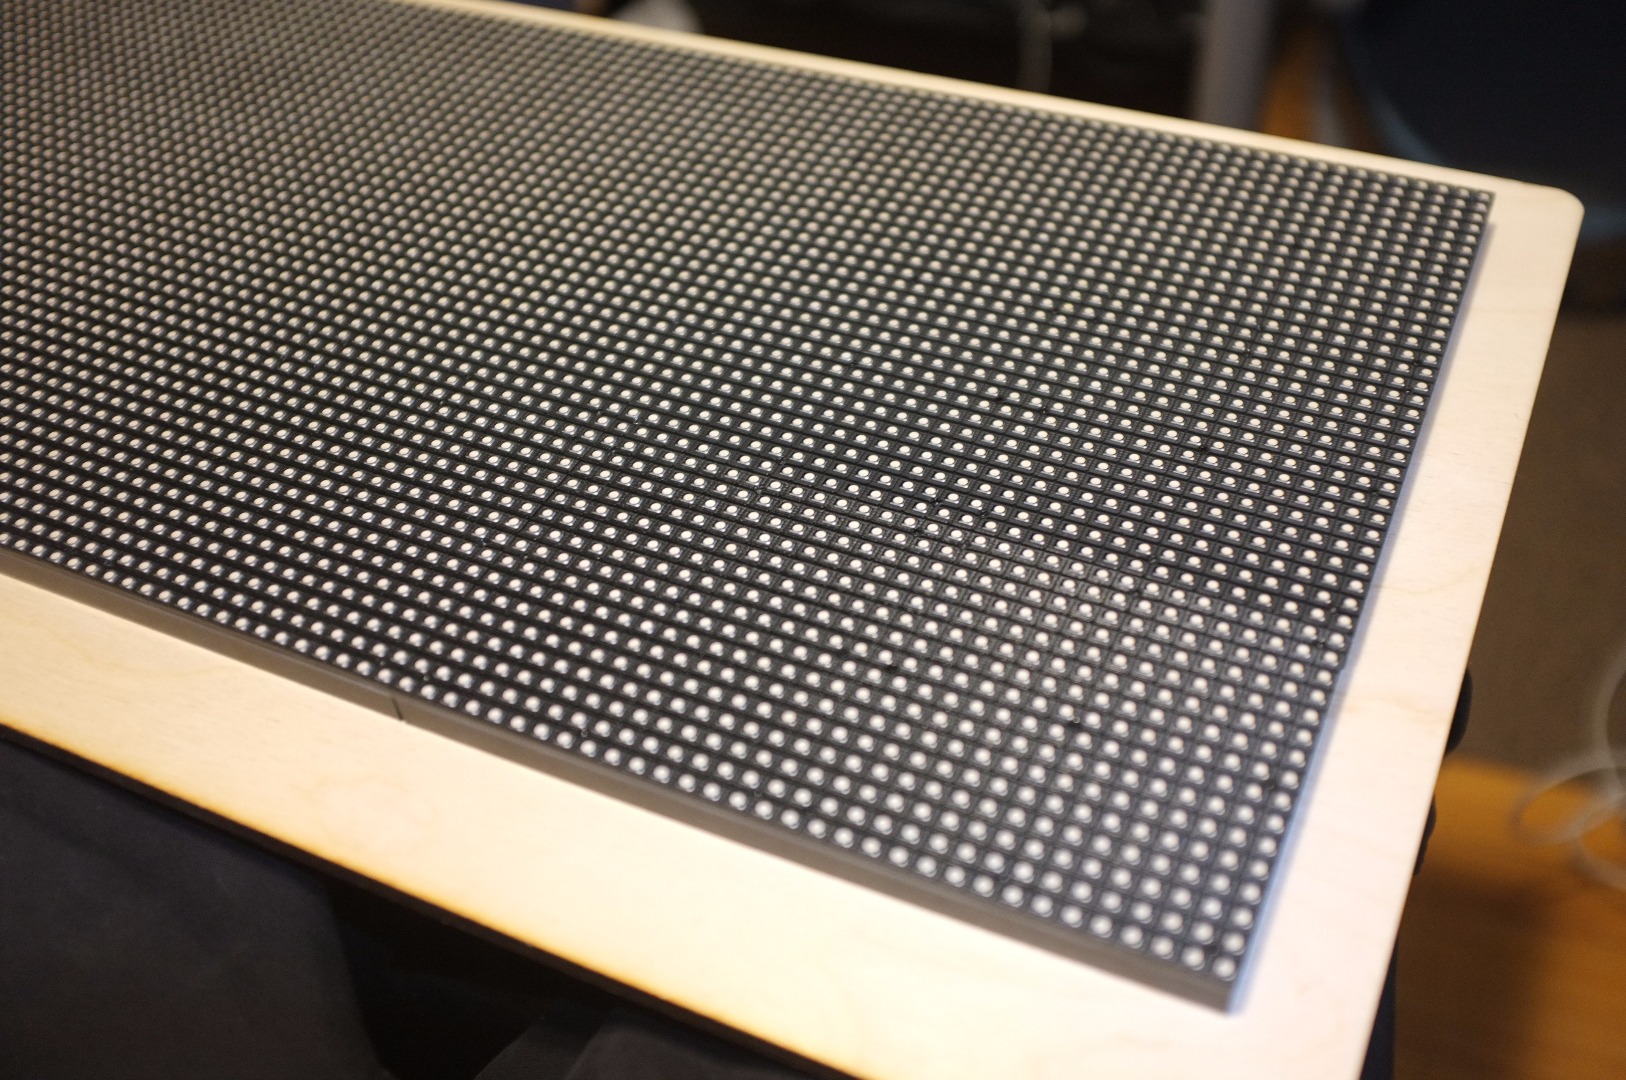
These billboard-type of LED panels are driven by a system that basically takes a DVI input and splits data out data to a number of "receiver cards" that actually drive the panels themselves. This means that when you make an irregular shape, the panels aren't in a nice straight line like the DVI card expects, so you have to get creative and remap your video to make it display properly. By making this little test grid I was able to verify that I could in fact remap the video on the fly using Modul8 and MadMapper, two pieces of software that are mainly used for VJing and projection mapping.
Pictured in the second shot are what the power and data wiring for these types of panels look like. I wired and powered up this grid and played around with swapping ribbon cable arrangement around and trying to fix it in MadMapper to make sure this was going to work.
Everything physically looked good so far too- they fit together into a nice flat grid where you couldn't even see the demarcation of the individual panels.
Alright! We Can Mount a Few Panels... How About 113 of Them?
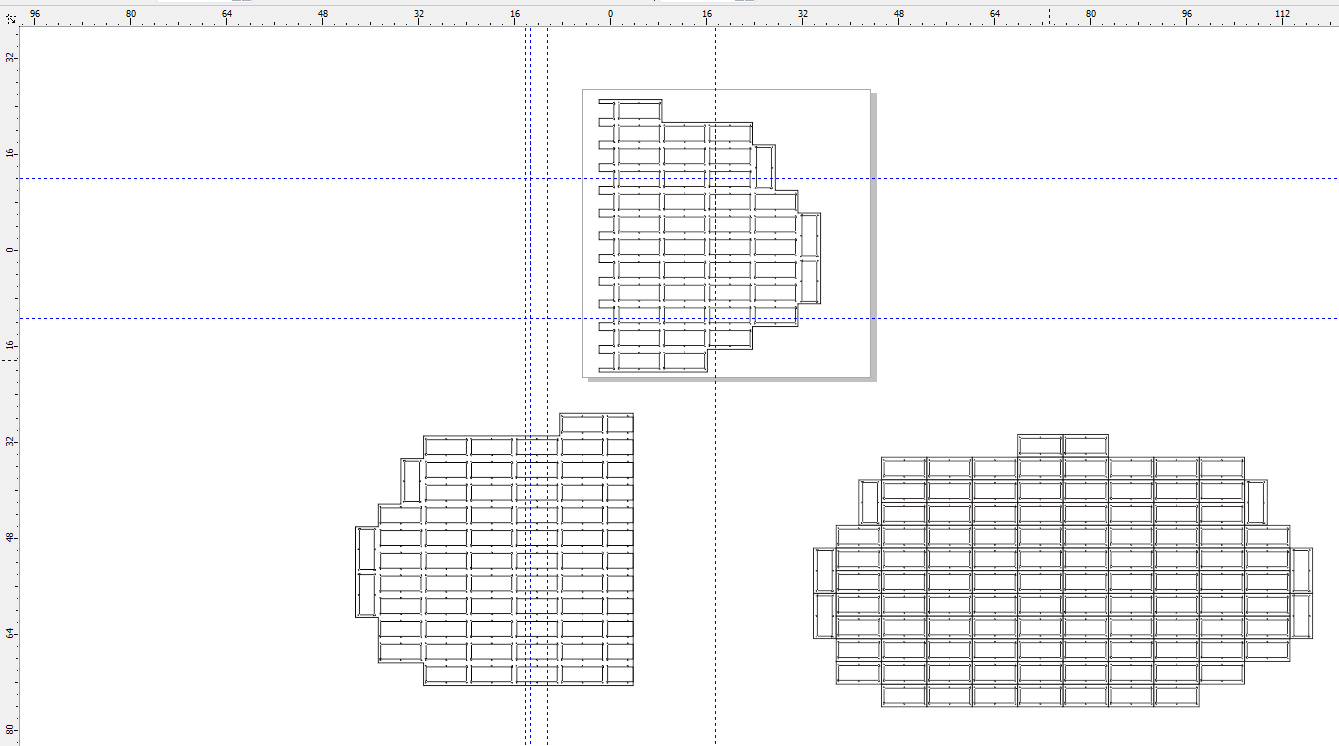
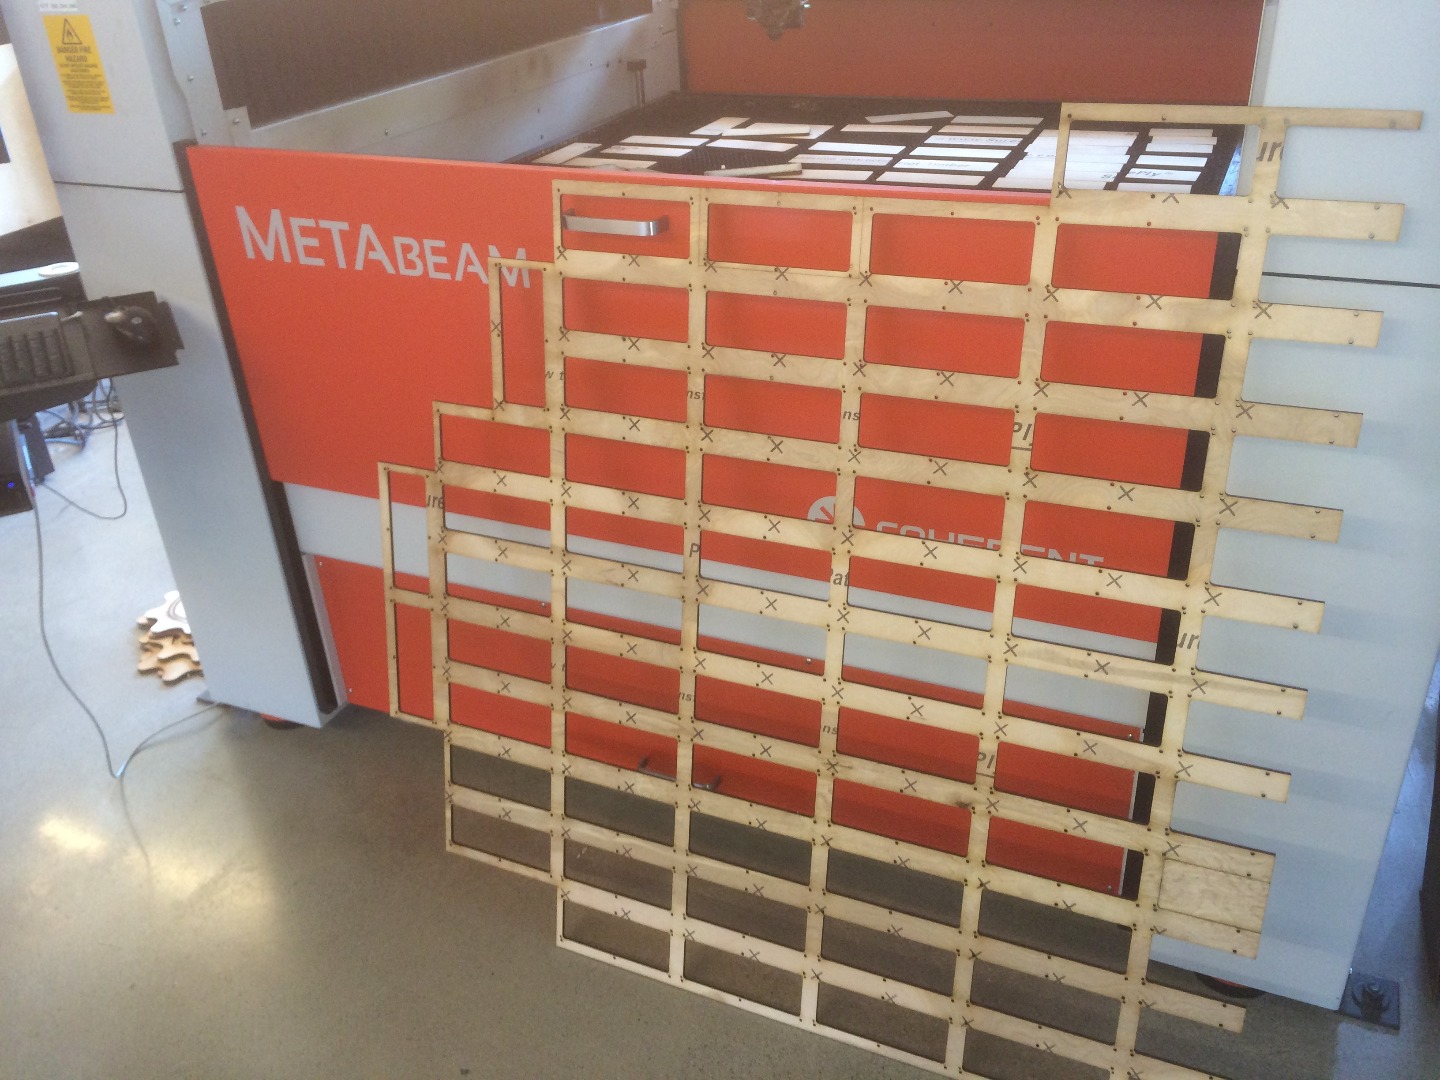
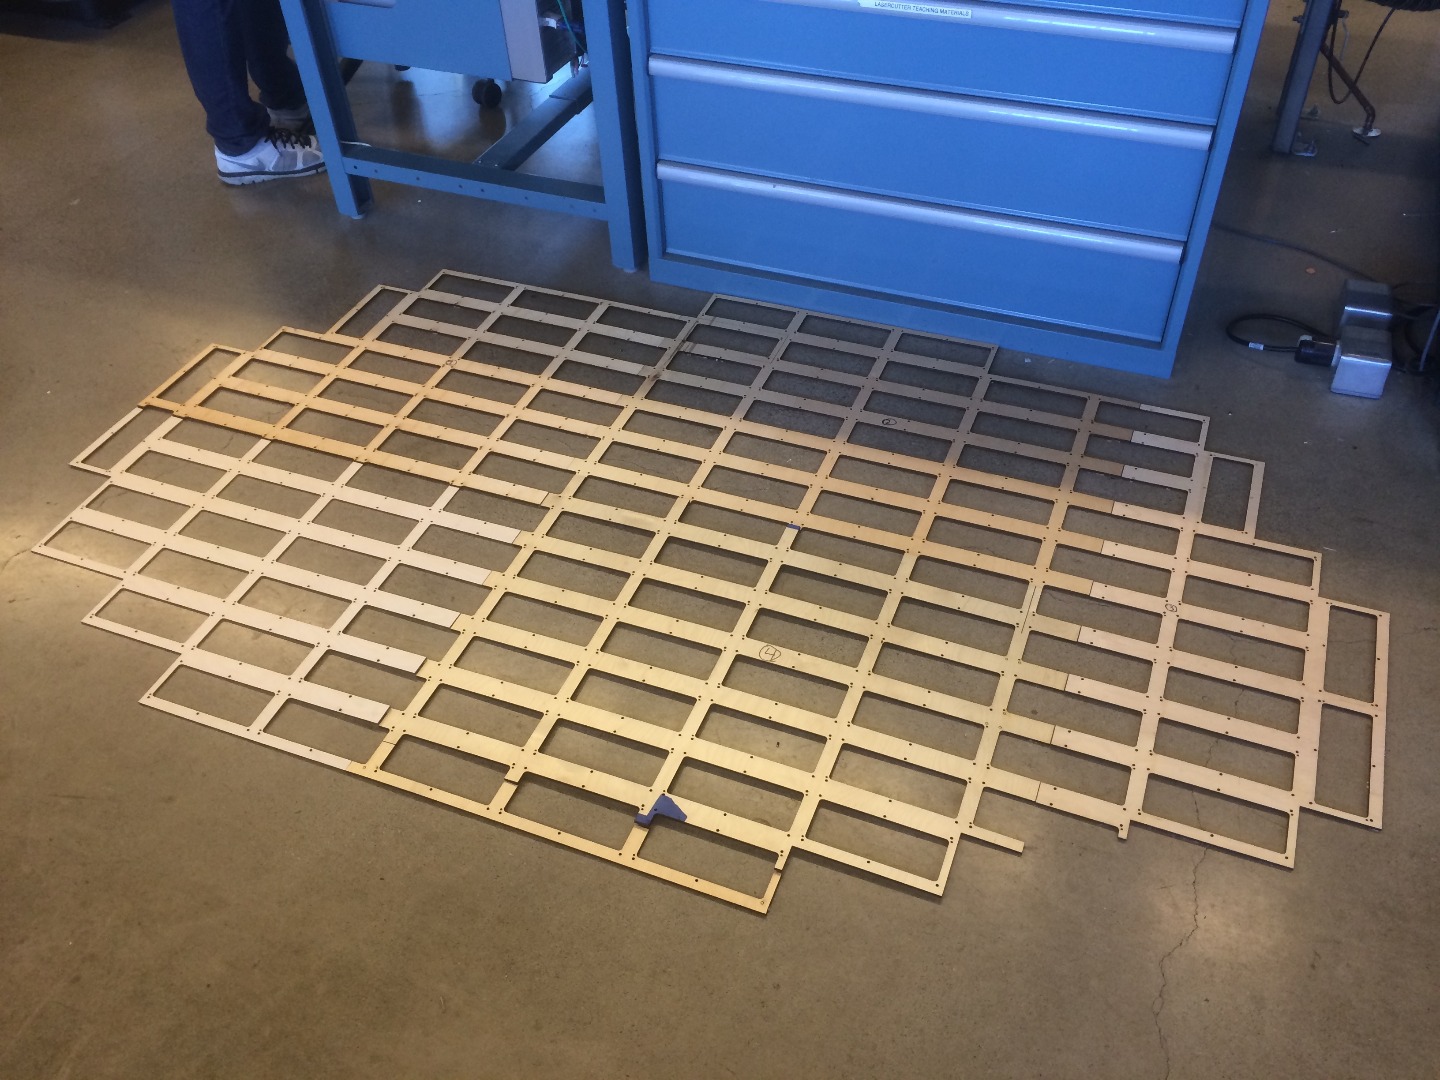
The next task was to duplicate my panel bracket 113 times into the pond shape from a few steps ago and cut it out!
The MetaBeam made quick work of the SurePly, basically a very flat thin plywood, placing all of the holes in exactly the correct places for a nice flat mounting.
Attaching Lots and Lots of LED Panels
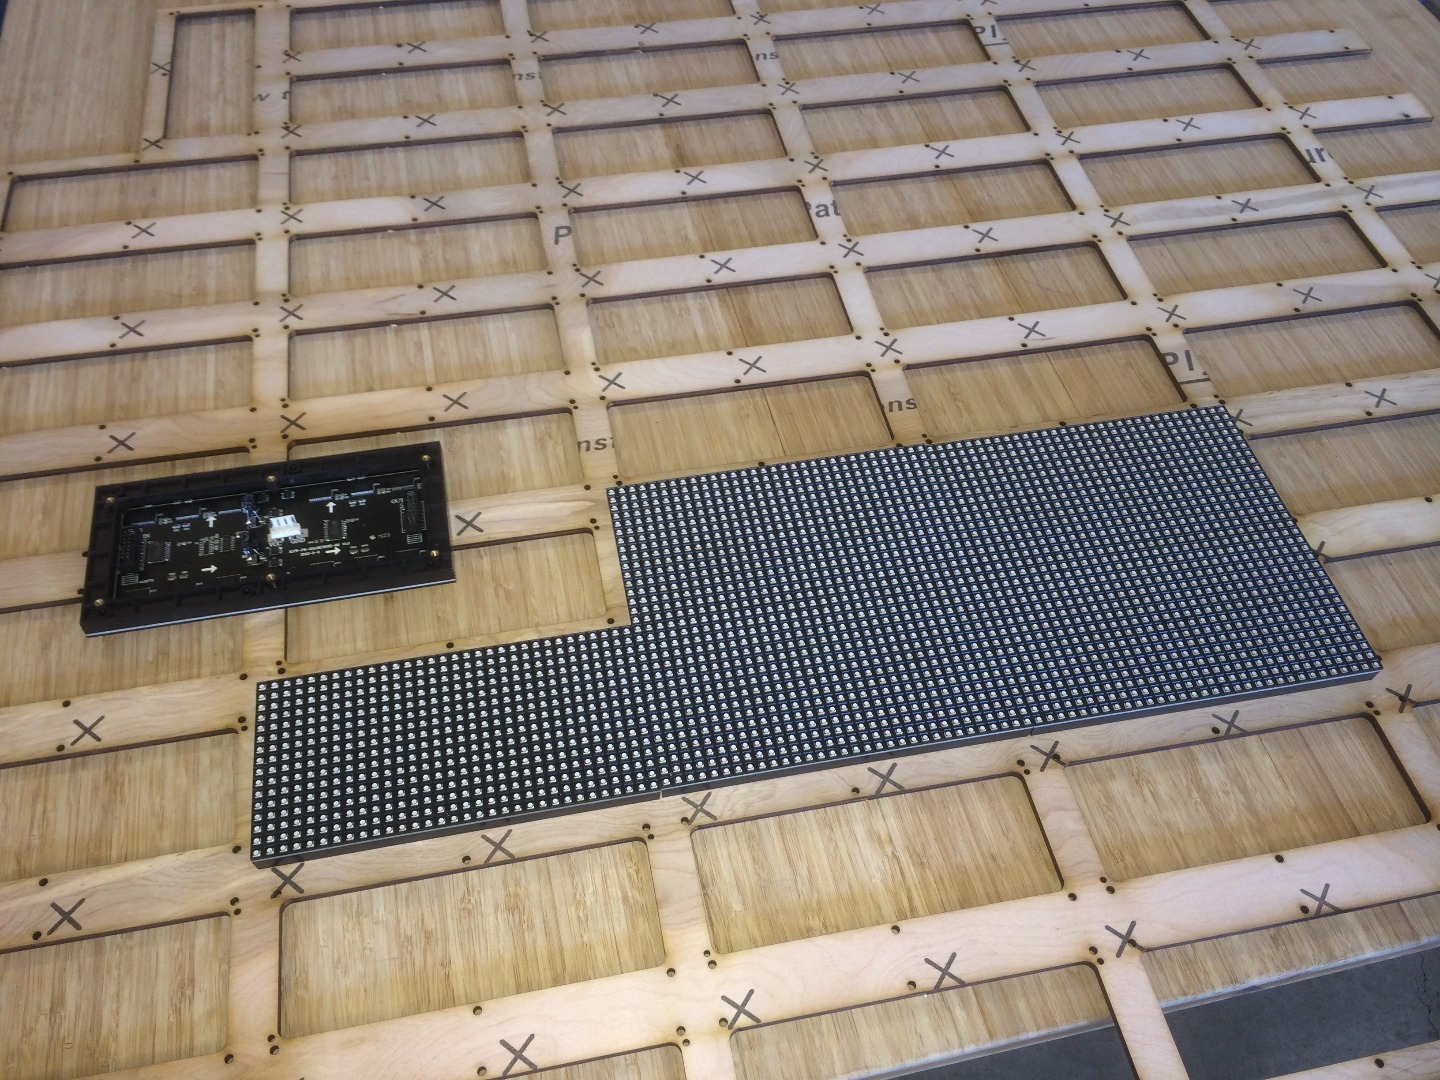
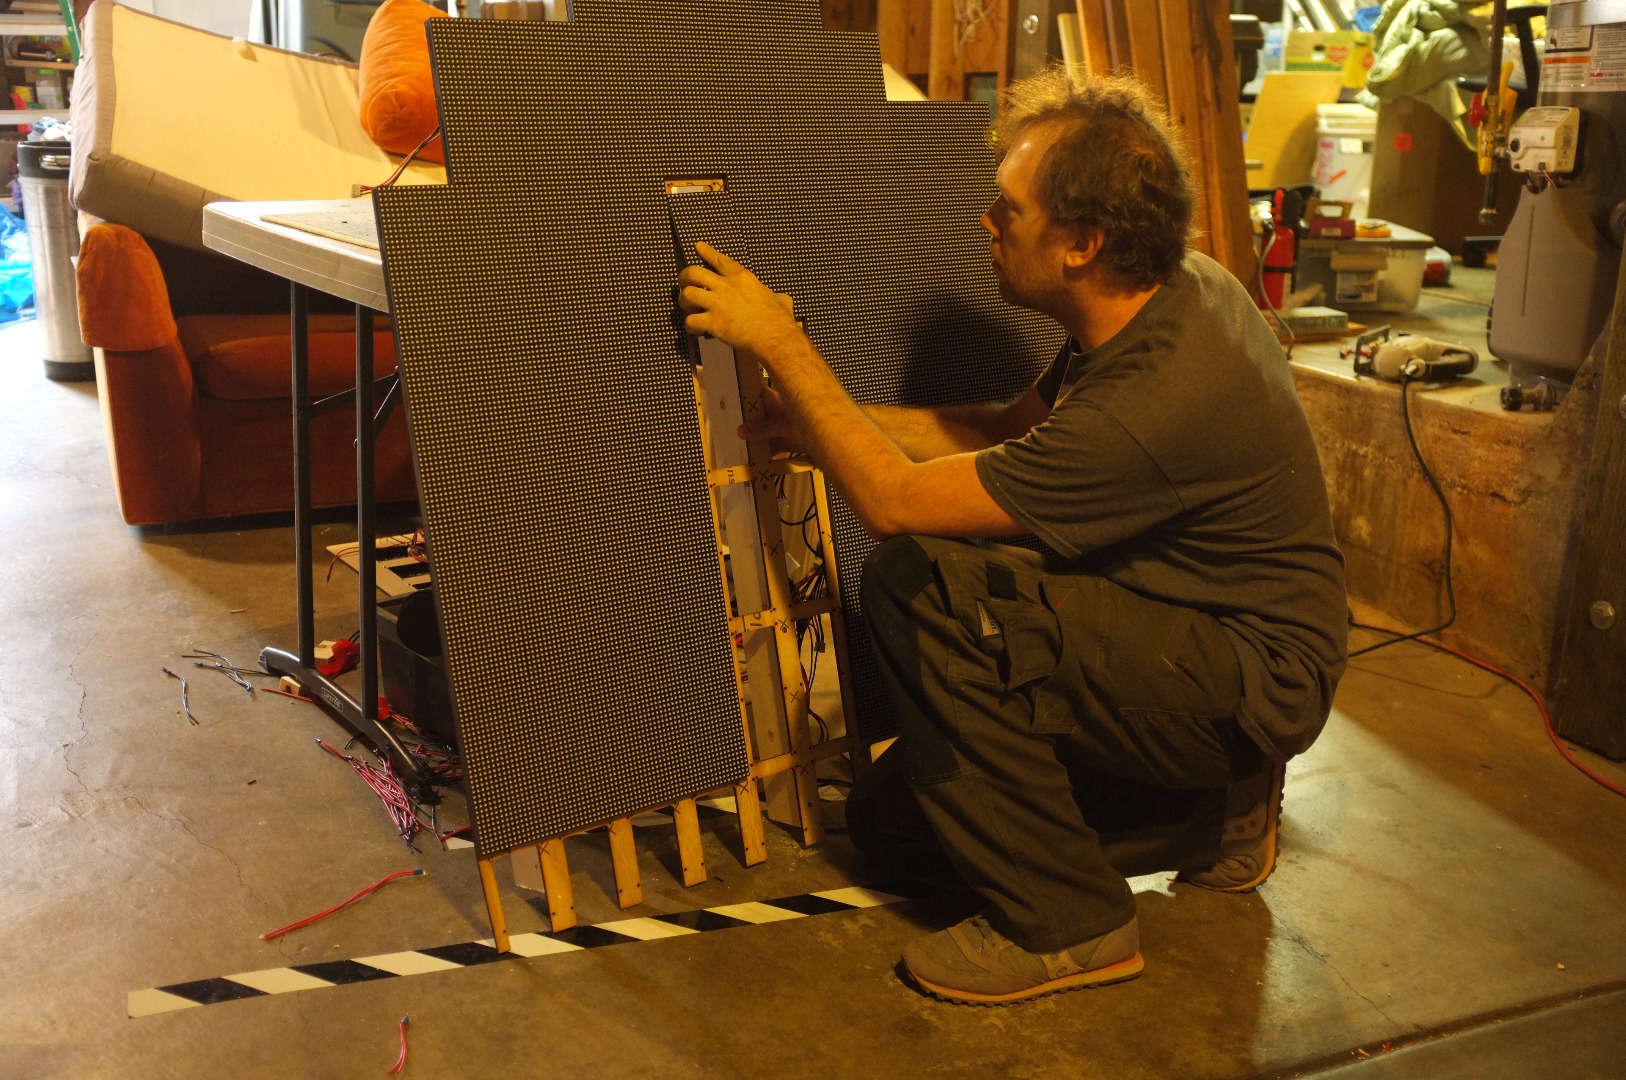

Uff... this step took forever. The nubs are only so good at holding a panel in place, so a lot of this step was holding an LED panel from one side and turning screws on the other side. This meant lots of rotation of a fairly flimsy structure which was precarious at best. A few of the thin fingers where the left and right panels meet were cracked or broken during this phase.
Once the individual panels were screwed down, however, the whole panel was quite rigid albeit heavy. I flipped each side face down onto a blanket on a table and started making connections.
Note from that previous picture that the panels have a definite IN and OUT marked on the silkscreen. It's important to land and screw them down in the right direction :)
Power and Data Jumpers
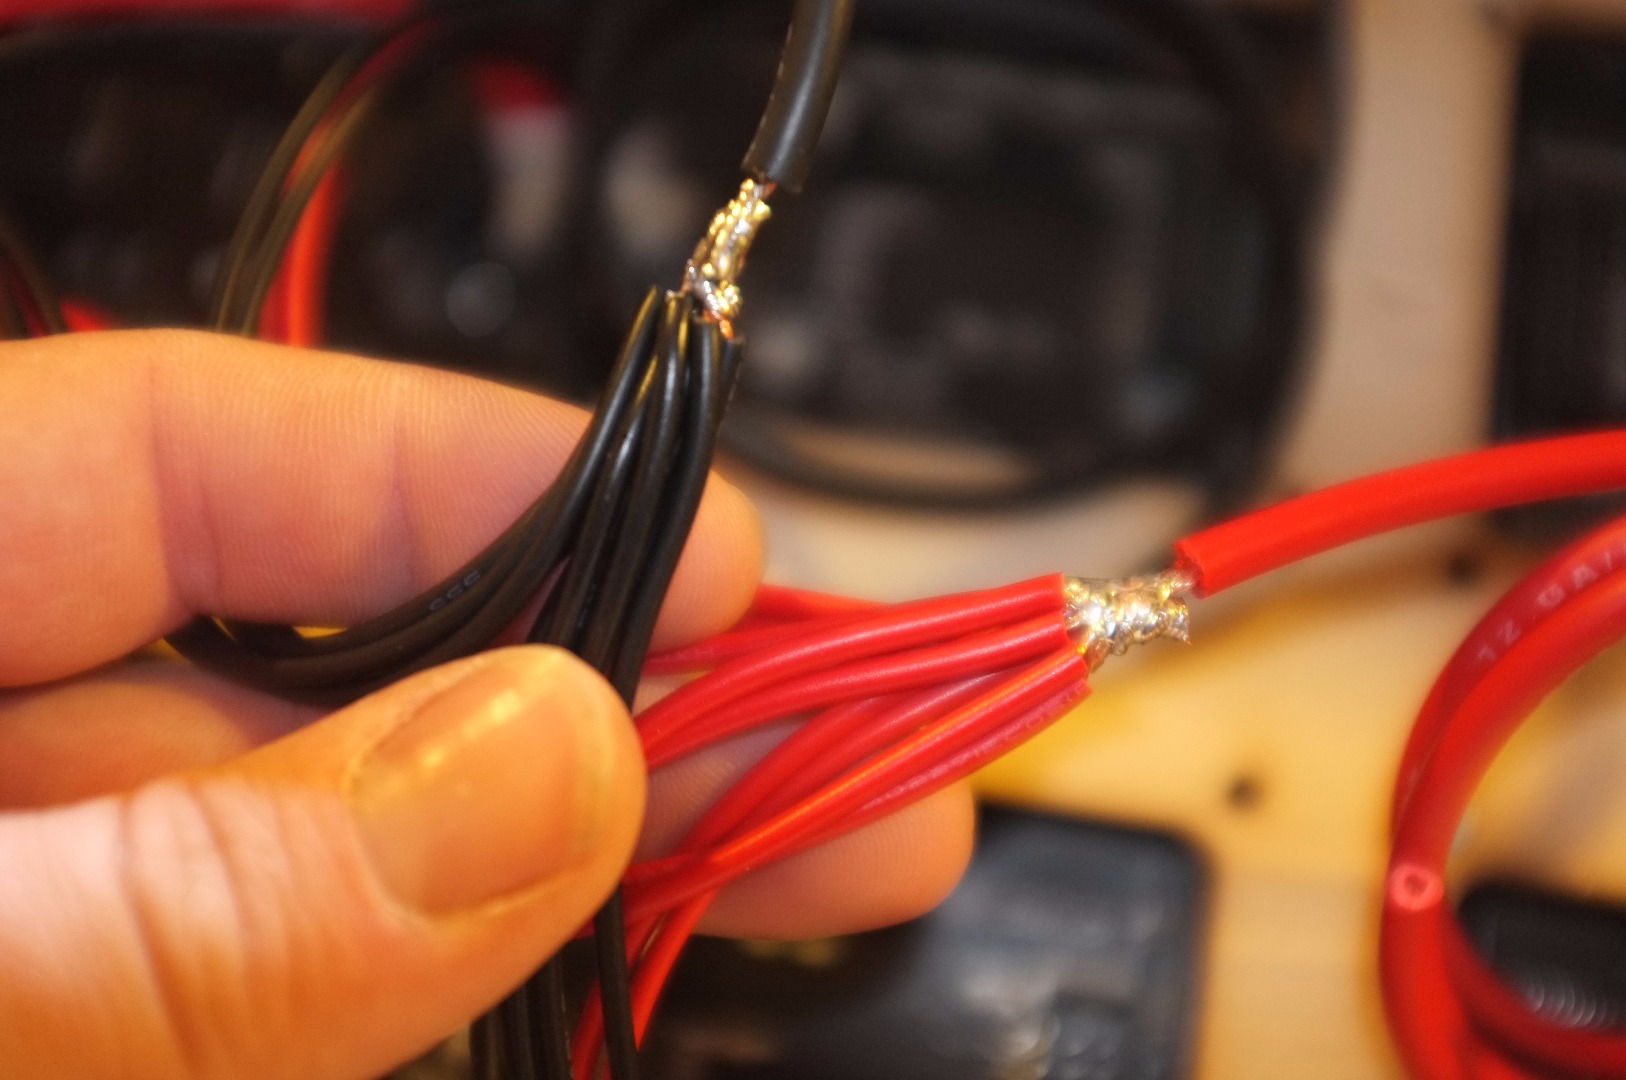
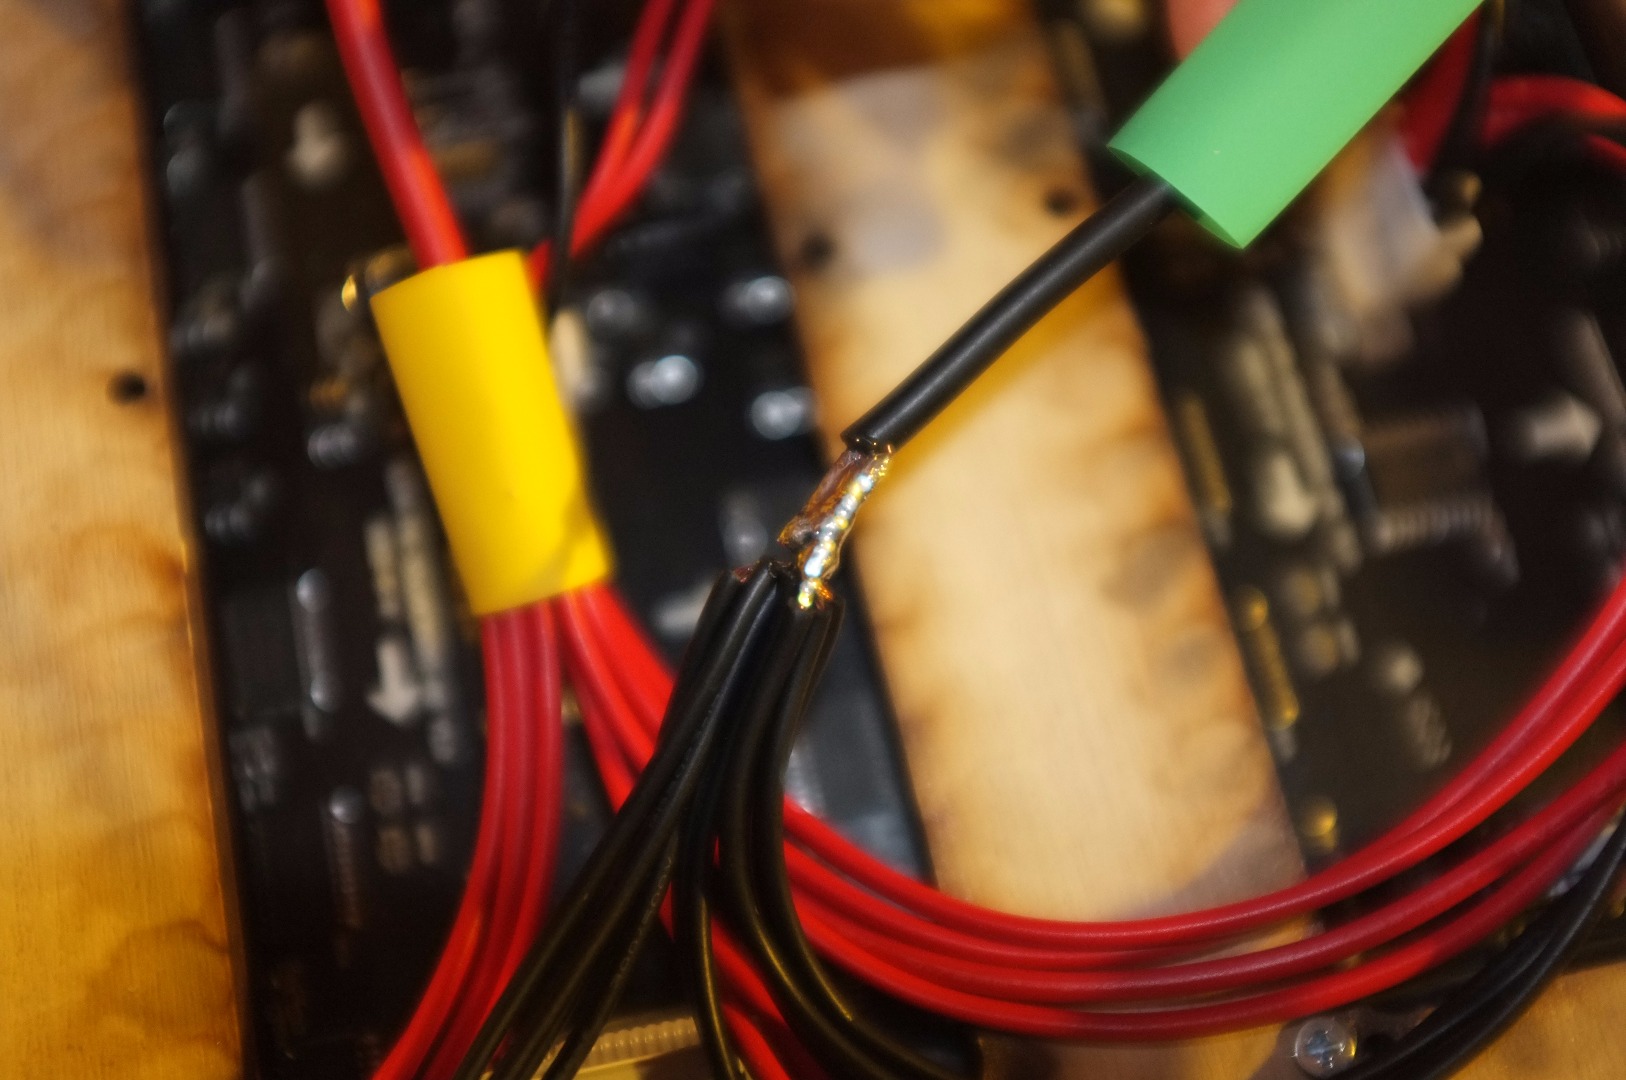
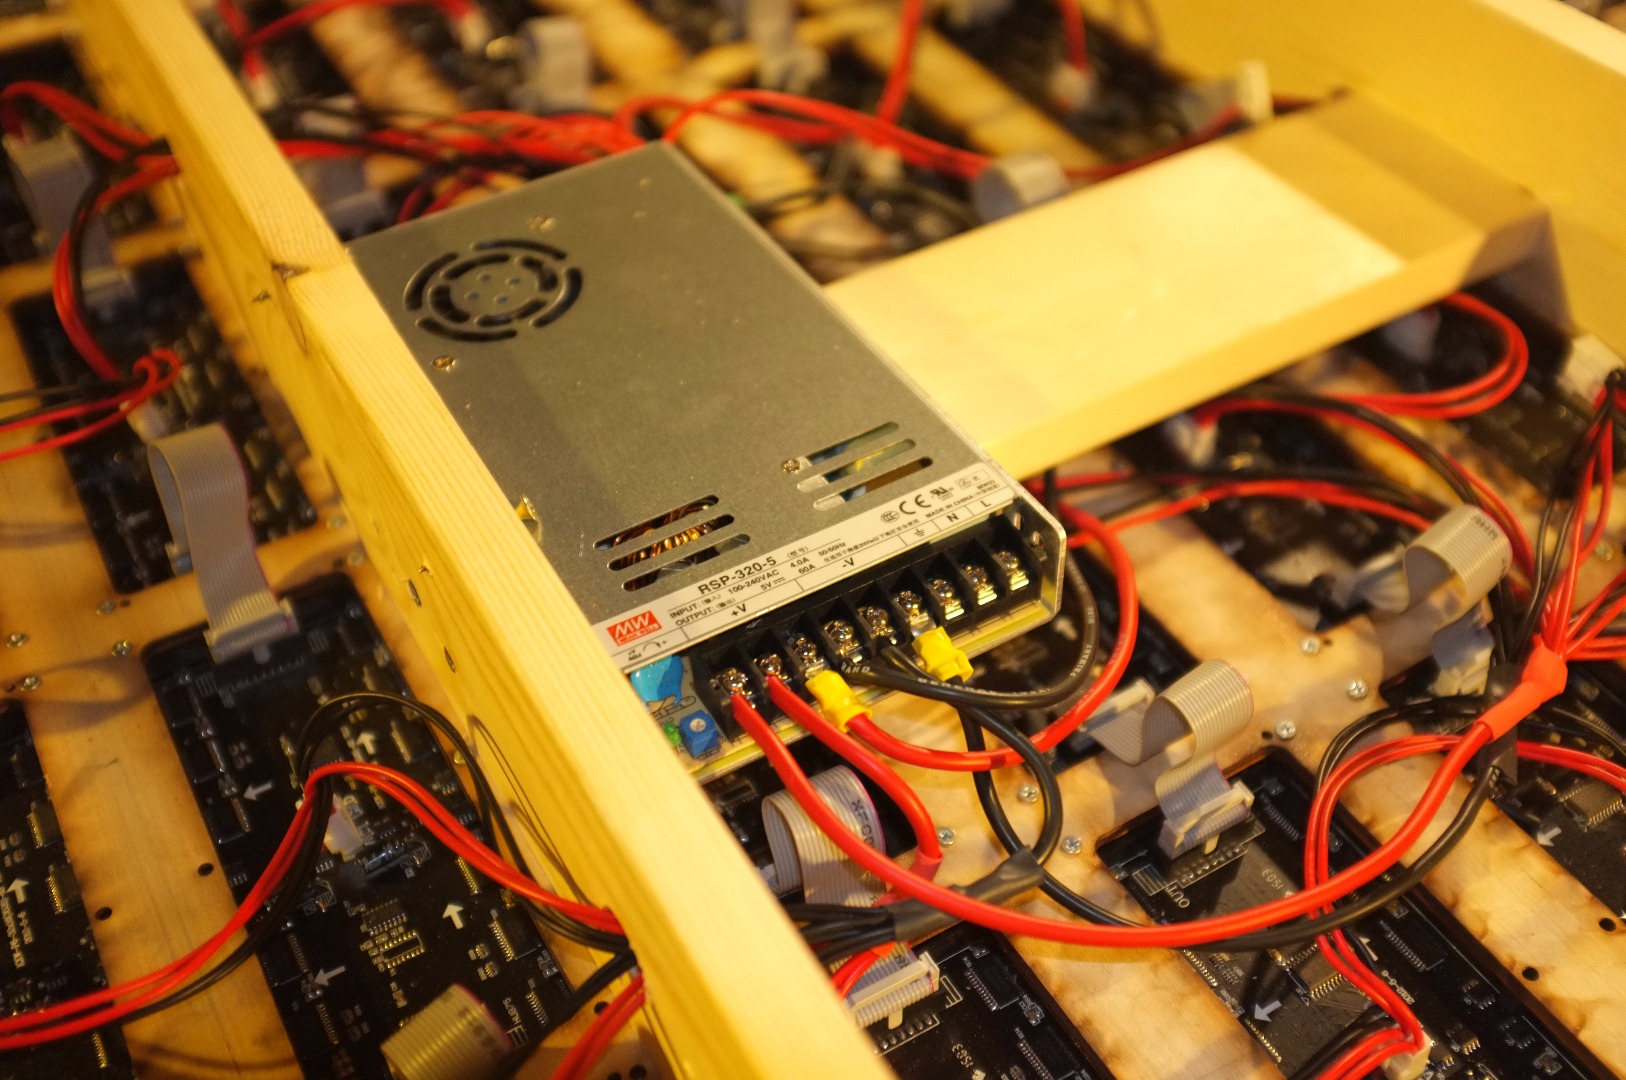
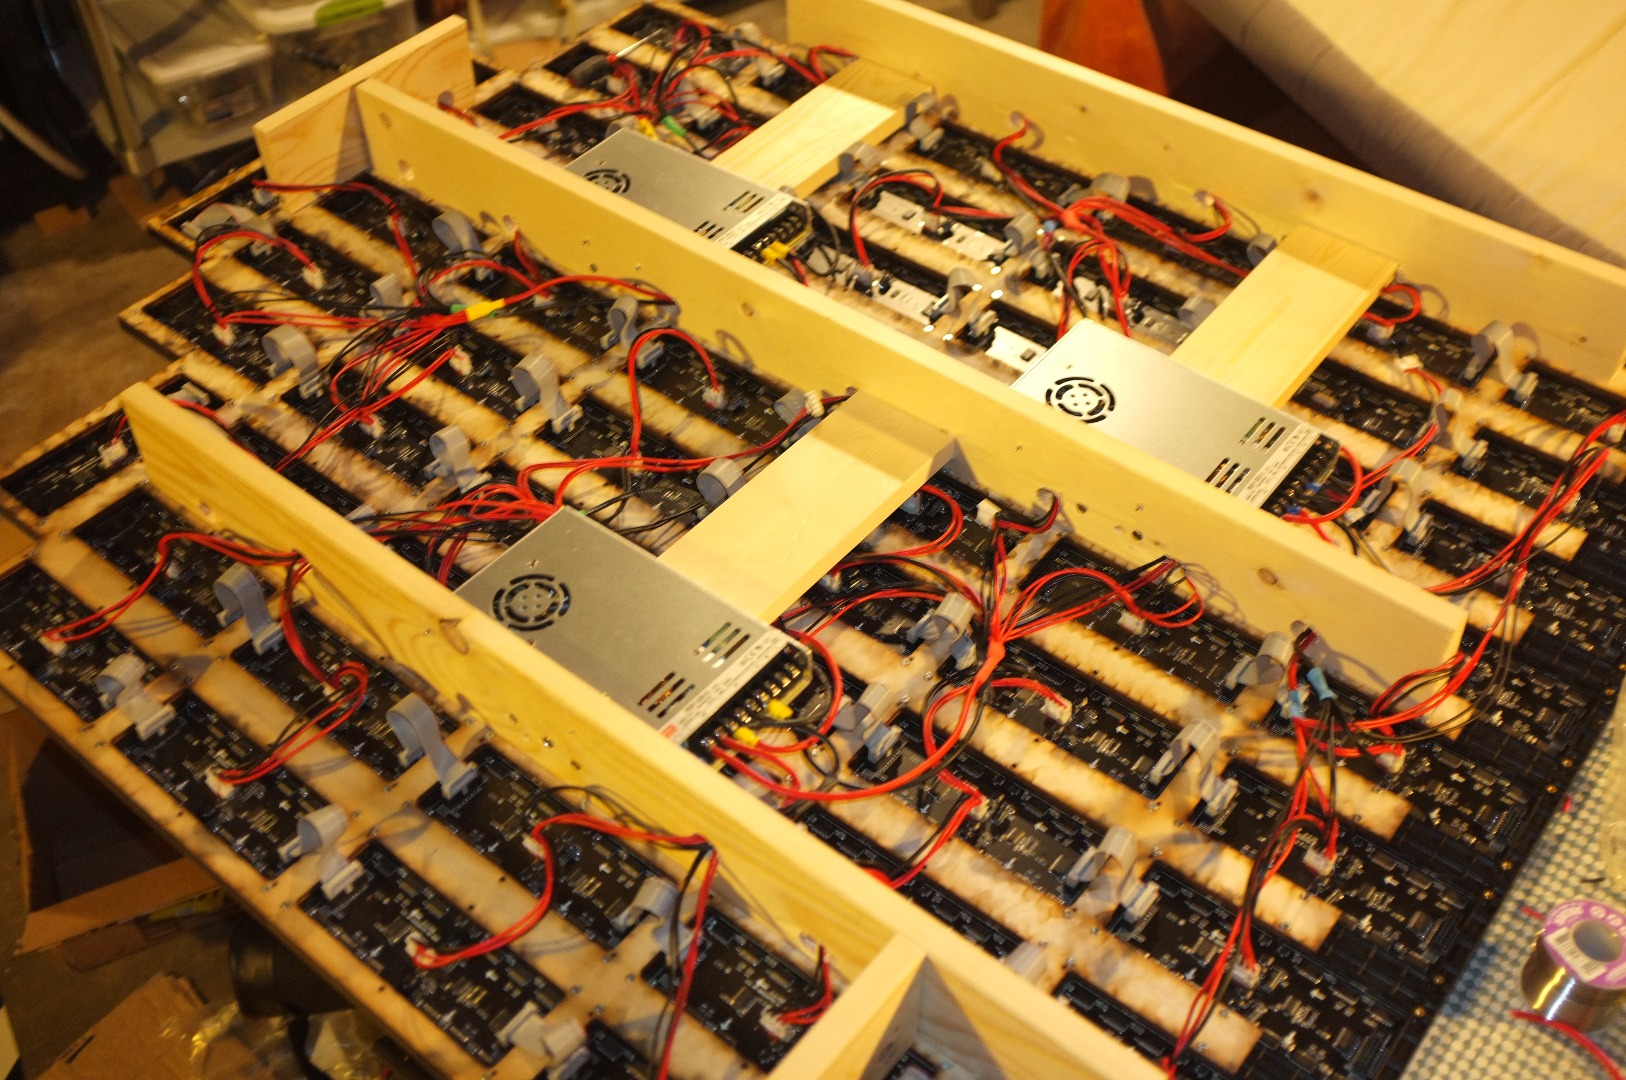
Step one of bringing this display to life was to wire up data and power to each of the 113 panels. The factory was kind enough to include power pigtails that could handle two panels at a time, but that still left lots and lots of wires to deal with. In order to cut down on the amount of dangling wire, I decided to cut and solder groups of five or six of these together and bring larger 10AWG wire back to the power supplies. This would prove to be much easier than landing everything on terminal blocks, building jumpers, and then still being left with inches and inches of extra wire to deal with.
After soldering the groups of thinner panel wires to the thicker distribution wires, I covered the solder joints in two layers of shrink tube to protect from shorts. Then I screwed down some 1x4s and installed beefy 5VDC power supplies onto the back of the piece and tied down the distribution wires.
By computing the power load of the panels at the expected utilization and brightness, I figured out that 5 of these 320W power supplies would be more than adequate, and have no problem running in on a standard 20A circuit.
While I was back here, I went ahead and put on the small ribbon cable jumpers that would carry data from board to board. The head of each run was a bit trickier, so I held off on that until further in the process.
Hub/receiver Card Conections
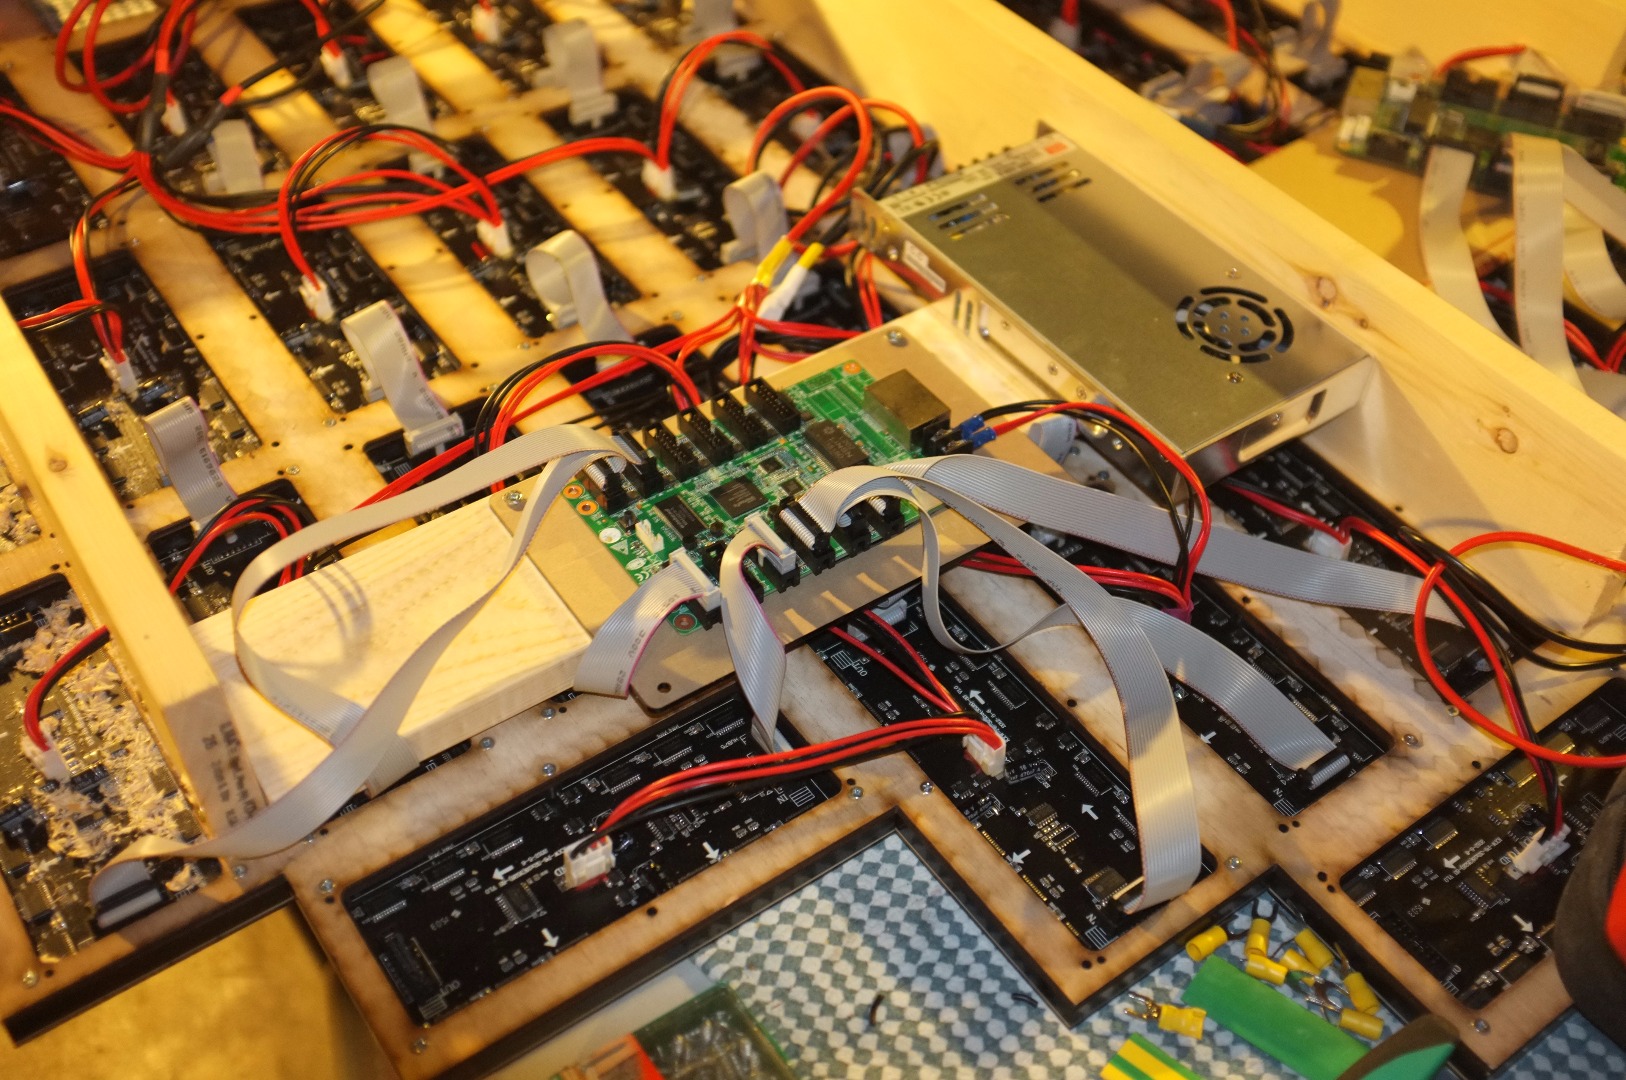
Now that we had each panel powered up and presumably talking to each other, it was time to get some pixel data flowing and test it out. I used some longer 16pos ribbon cables to wire the head of each horizontal run back to the hub card and to jumper some of the odd orientation panels together.
On a side note, making these cables is pretty straightforward and *way* cheaper than buying them premade.
Configuring the Sender and Receiver Cards Using the Most Horrible Software Ever
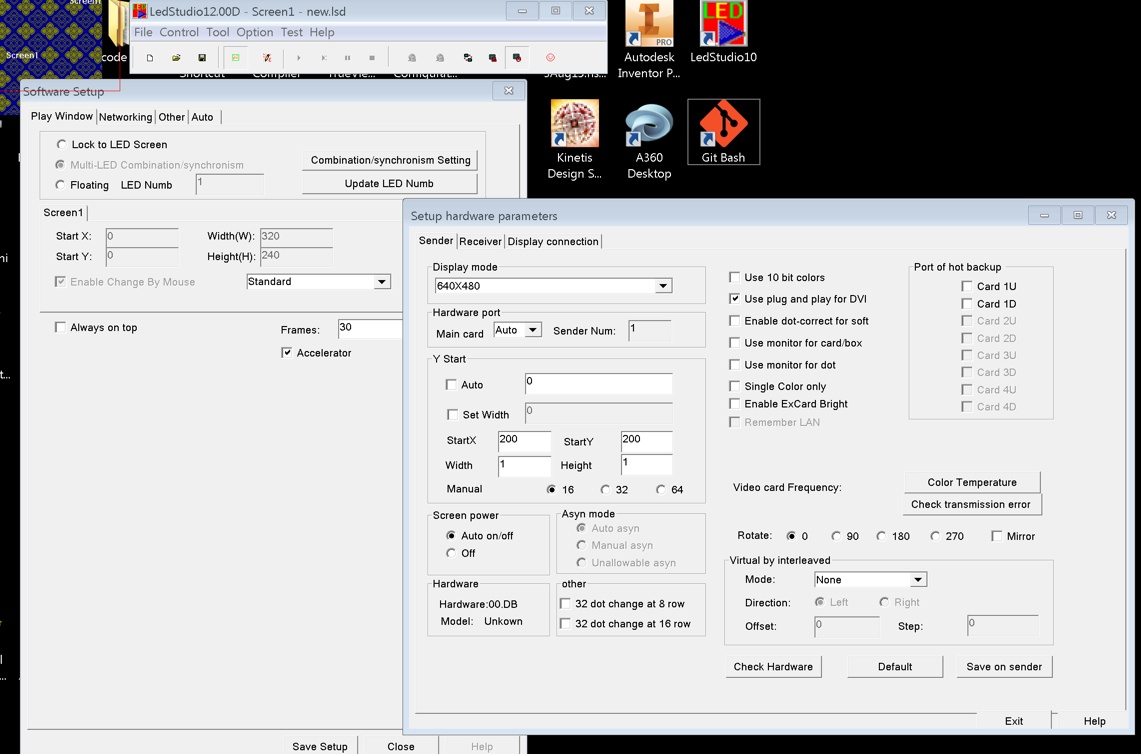
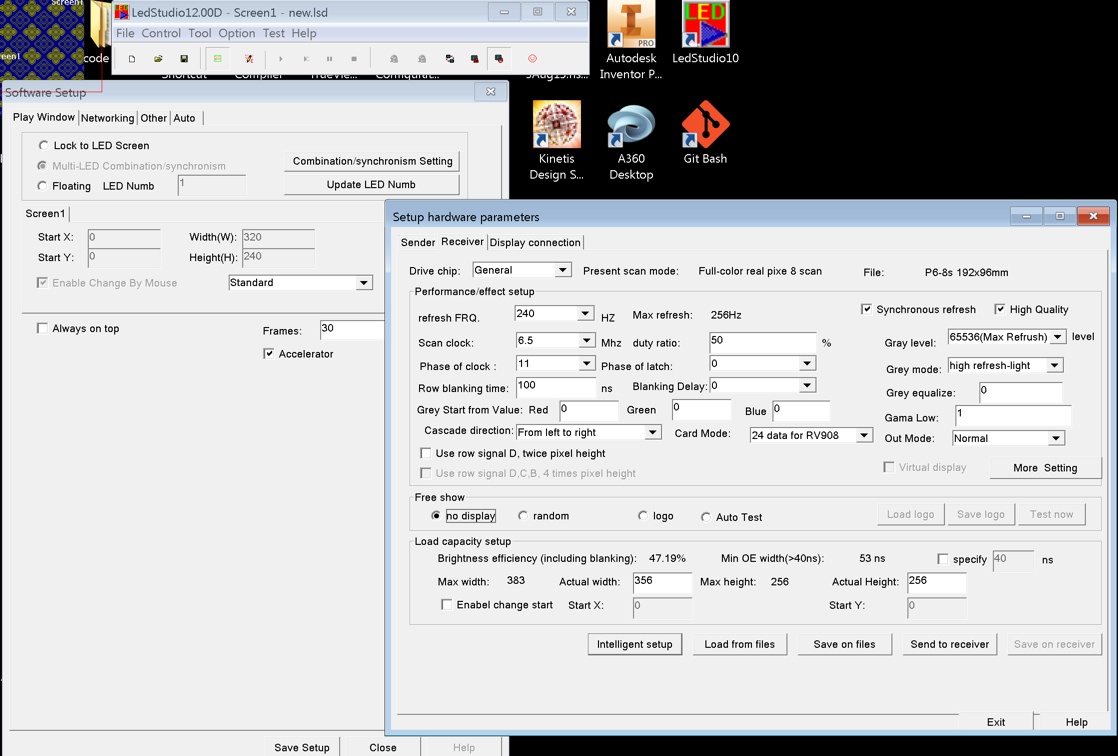
Meet LEDStudio, one of the most horrible pieces of software ever written. Well, at least this version is in English making it slightly easier for me to use than previous versions.
Using this software and a USB connection to the transmit card, you basically push a configuration to the sender letting it know how many receiver cards are in the line which tells it how to divvy up the DVI signal. It supports a bunch of different resolutions, and you can pick an area of the image to scrape and send to your screen.
It also has a VERY important setup screen that lets you configure the hub cards for the type of LED screen panel they'll be talking to. This includes all sorts of tech details such as refresh rate, scan mode, and lots of other stuff you don't want to try and figure out for yourself. Here's where it comes in *really* handy to have an .RCG file from your panel manufacturer which, upon loading, will fill all these values in for you so everything will work nicely without destroying your hardware.
Finally We Can Light It Up!
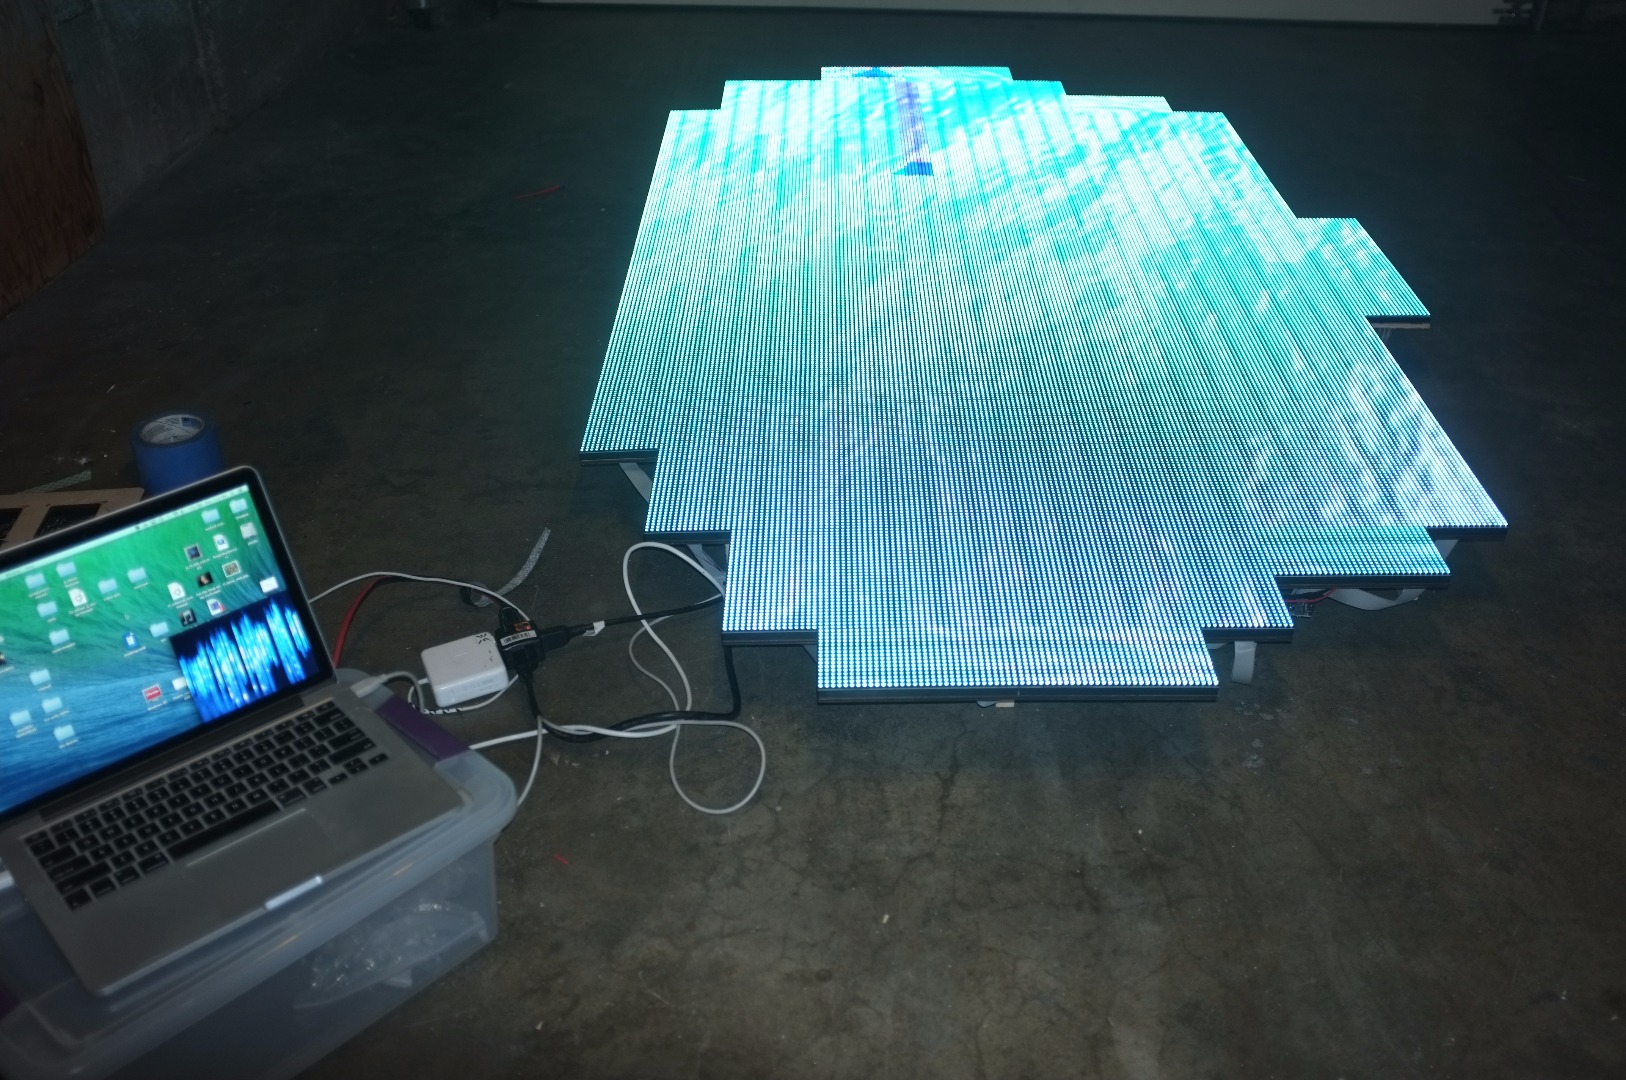
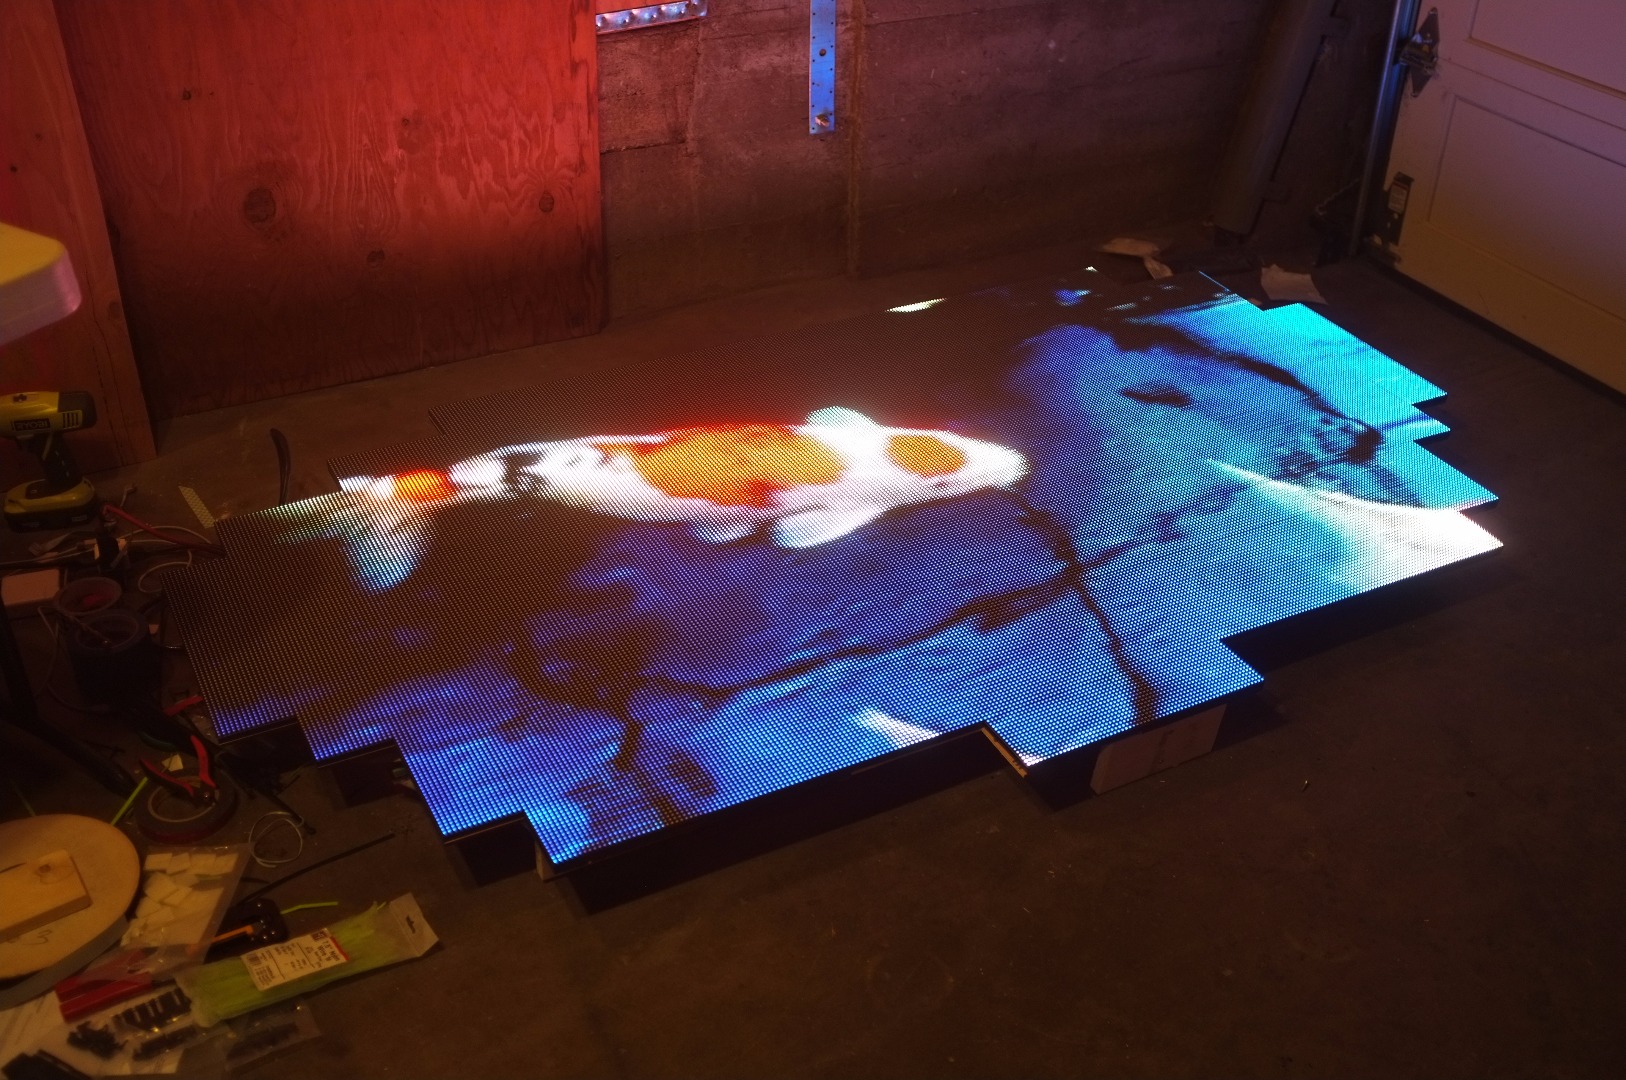
Now that the cards are (hopefully) configured properly, you've finished all the DC wiring and tested for shorts with your handy continuity tester, and you have a nice MiniDisplayport to DVI cable connected to the sender card (I'm talking to it from a Mac Mini which will later be embedded in the piece), it's time to power this contraption up and see what happens.
Voila! We have a mostly accurate representation of a default Mac background image!
Now it's time to find those Molex connectors you forgot to attach (totally black panels), find which ribbon cables from the factory were bad (half of the display is out, alternating lines are out or display solid colors, glitchy rainbow sparkle party), or which panels have dead pixels (RGBW test time).
Mapping the Display
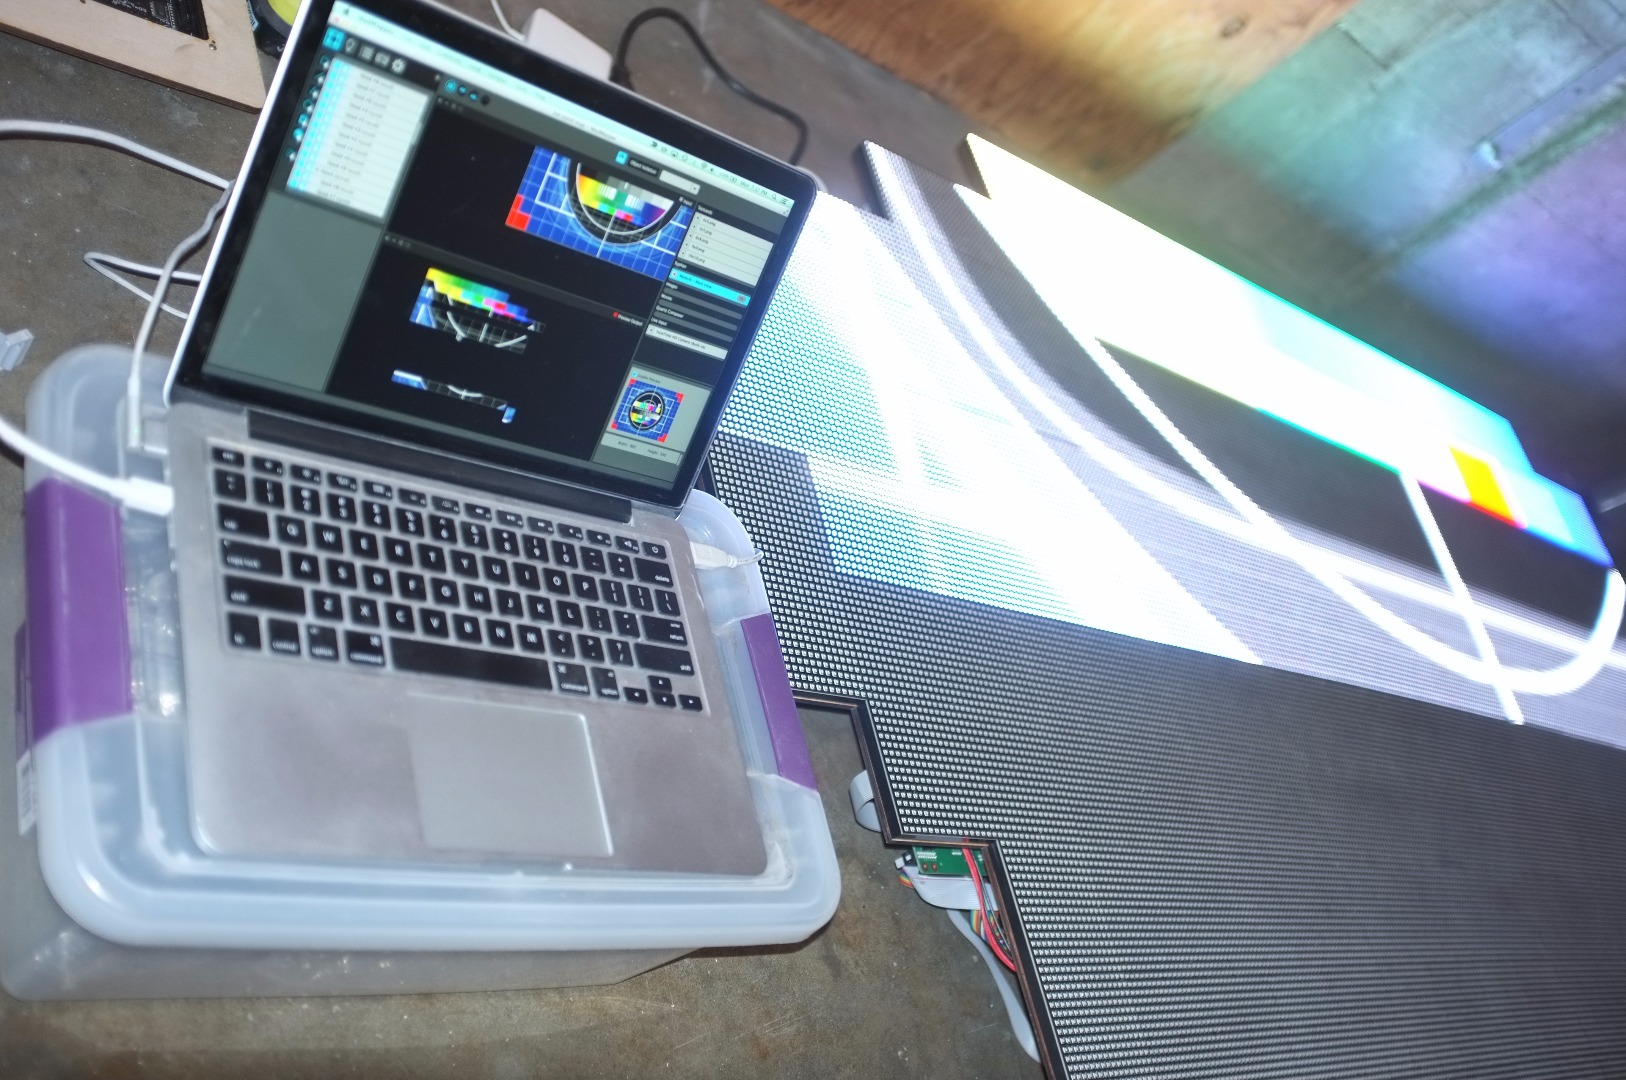
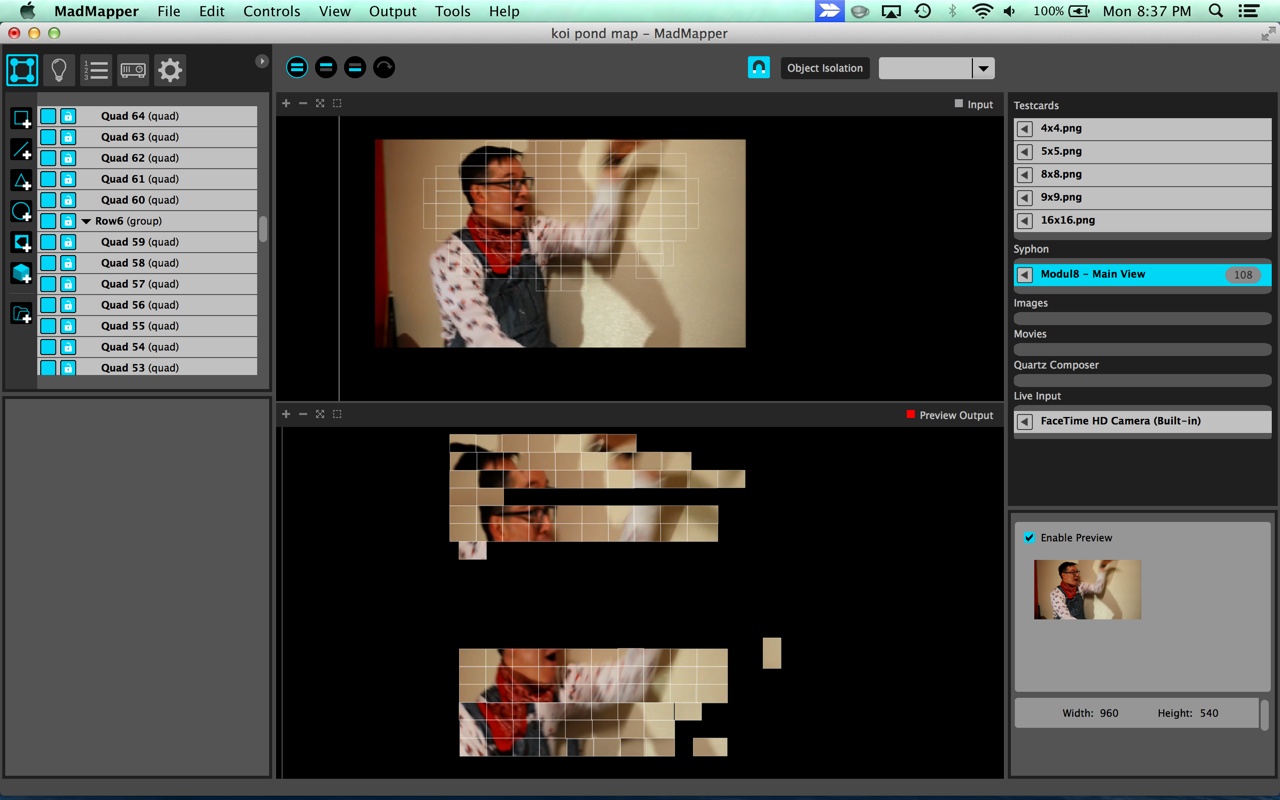
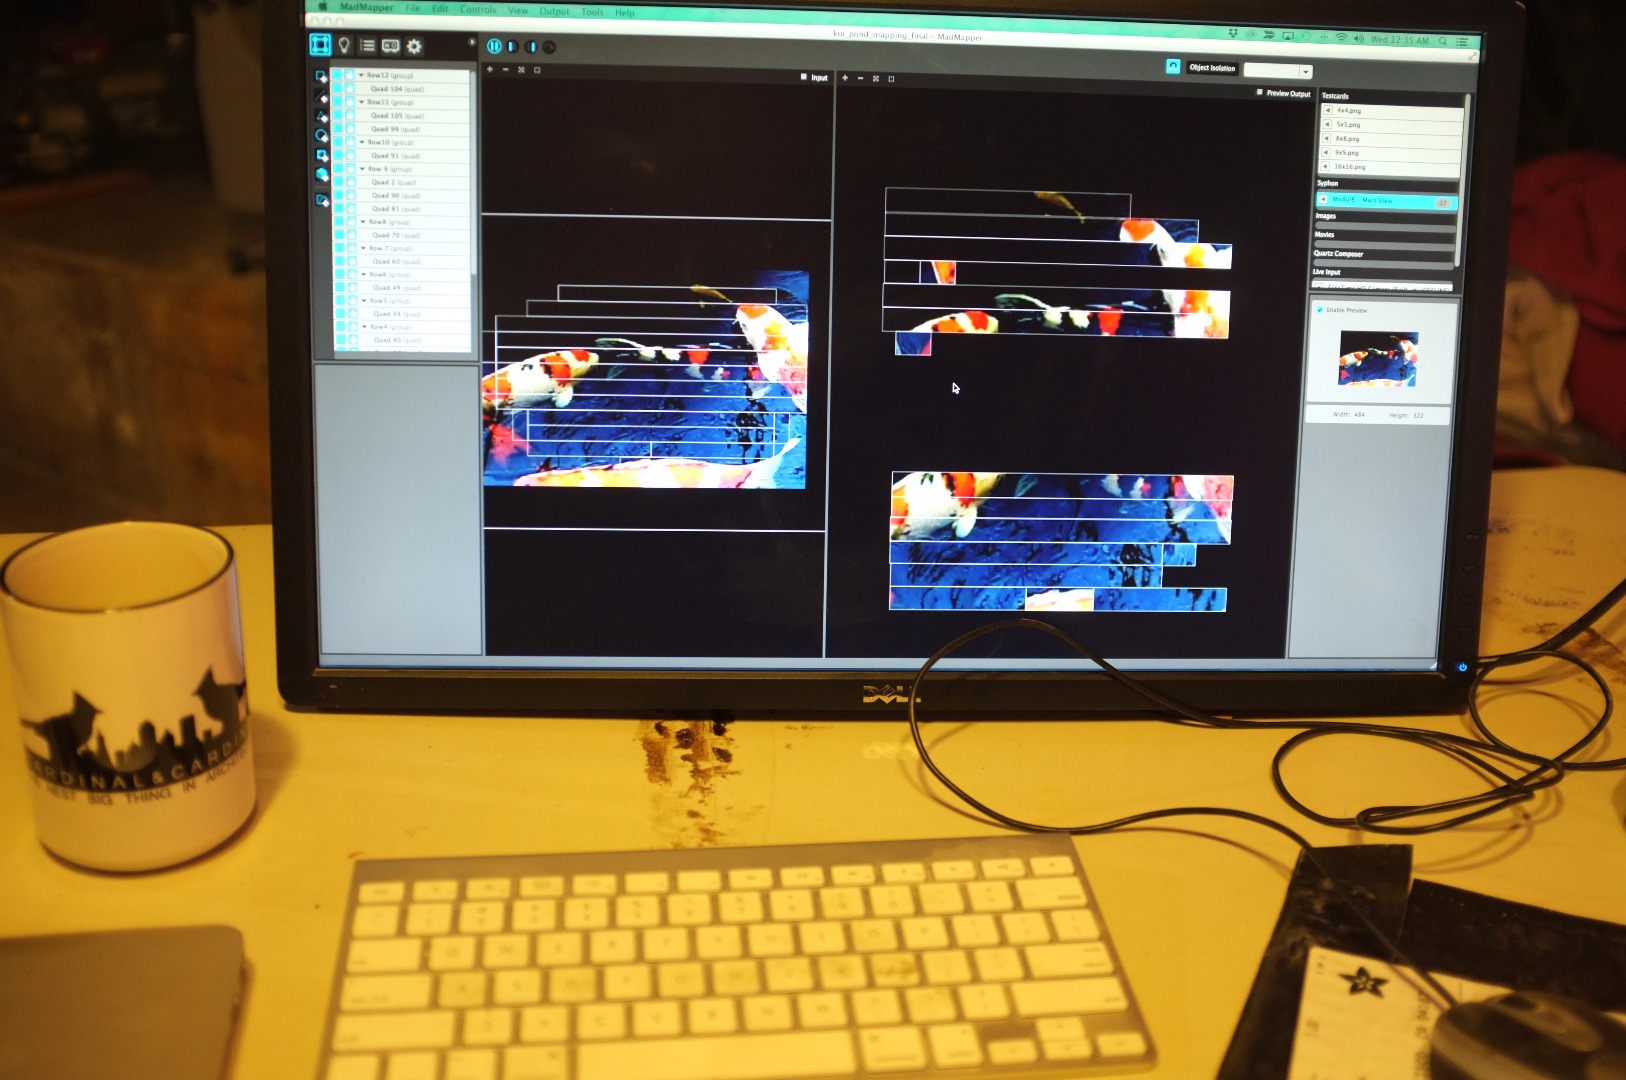
After physically making sure that the display is 100%, it was time to dive into MadMapper and get this thing mapped up. Due to wiring restrictions, I wasn't able to load my hub cards in order, and I've also got all those random rotated panels and jumpered panels hanging around that need to get the right data for their physical location.
I'm not going to go in-depth on how to map this, but the jist of it is:
- Put on a test image. I used the Modul8 test image as well as the MadMapper black and white box grids
- Create a quad that is 32x16, which is the pixel size of each of these LED panels
- Move the quad around until you see your target panel light up
- Lock it into this position in the map (the magnet tool will help snap it to the quad next to it)
- For the weird vertical panels, you'll need to rotate the mapped quad until it reads properly
So the left display (the input) should end up looking exactly like the pond, which is does, and the right display looks like horizontal strips with some crazy outlier quads. Since the transmit cards are made for mostly working with square panels, and depending on how you set the resolutions and screen sizes in LEDStudio, you'll have weird gaps and such in the video that MadMapper sends kind of like in the Output window of the second picture. Don't worry about it; it will look correct on the actual LED display.
One mistake that I made at first was to make individual quads for each and every LED panel. Though MadMapper can handle this, I found registration to be quite an issue and it was much easier to just make long quads for the whole contiguous row. Since the DVI sender card is just stripping off parts of a video signal, the less MadMapper has to touch it the better. In the second picture you can see my revised map with these longer row quads.
Horray! A perfected mapped image!
Shooting the Koi Footage
For testing, I had a 1.5 minute stock footage video of a Koi pond which, while nice, wasn't totally what I was after. Plus it wasn't looped, so it was very apparent when it rewound to the beginning and you were kind of just watching the same thing over and over again. Certainly I could do better... right?
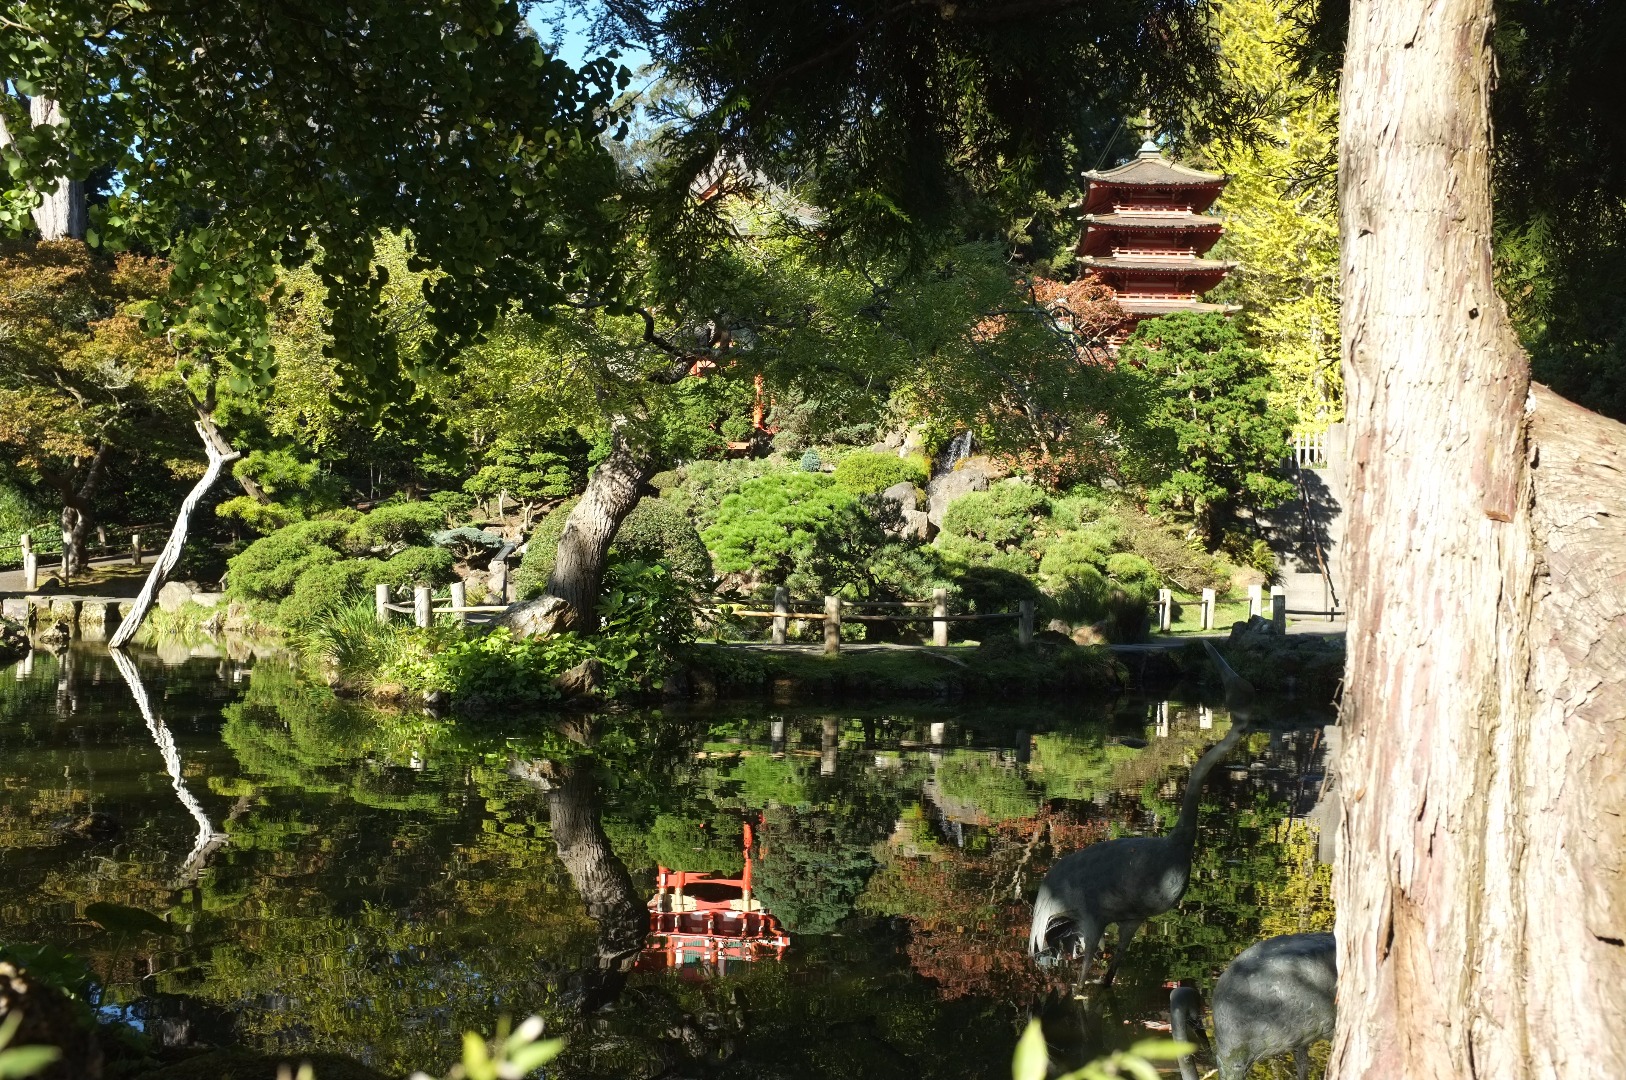
Early on a Saturday morning I headed out on a scouting mission to the Japanese Gardens in Golden Gate Park to see if there was any way that I could shoot there. Unfortunately, while the grounds and the fish are lovely, there really isn't a good location to set up for a vertical shot down in to the water, which is the perspective I needed for the pond. The bridge offered a nice angle, but is the highest traffic spot in the whole garden and I was sure I wouldn't be able to do a lengthy shot there.
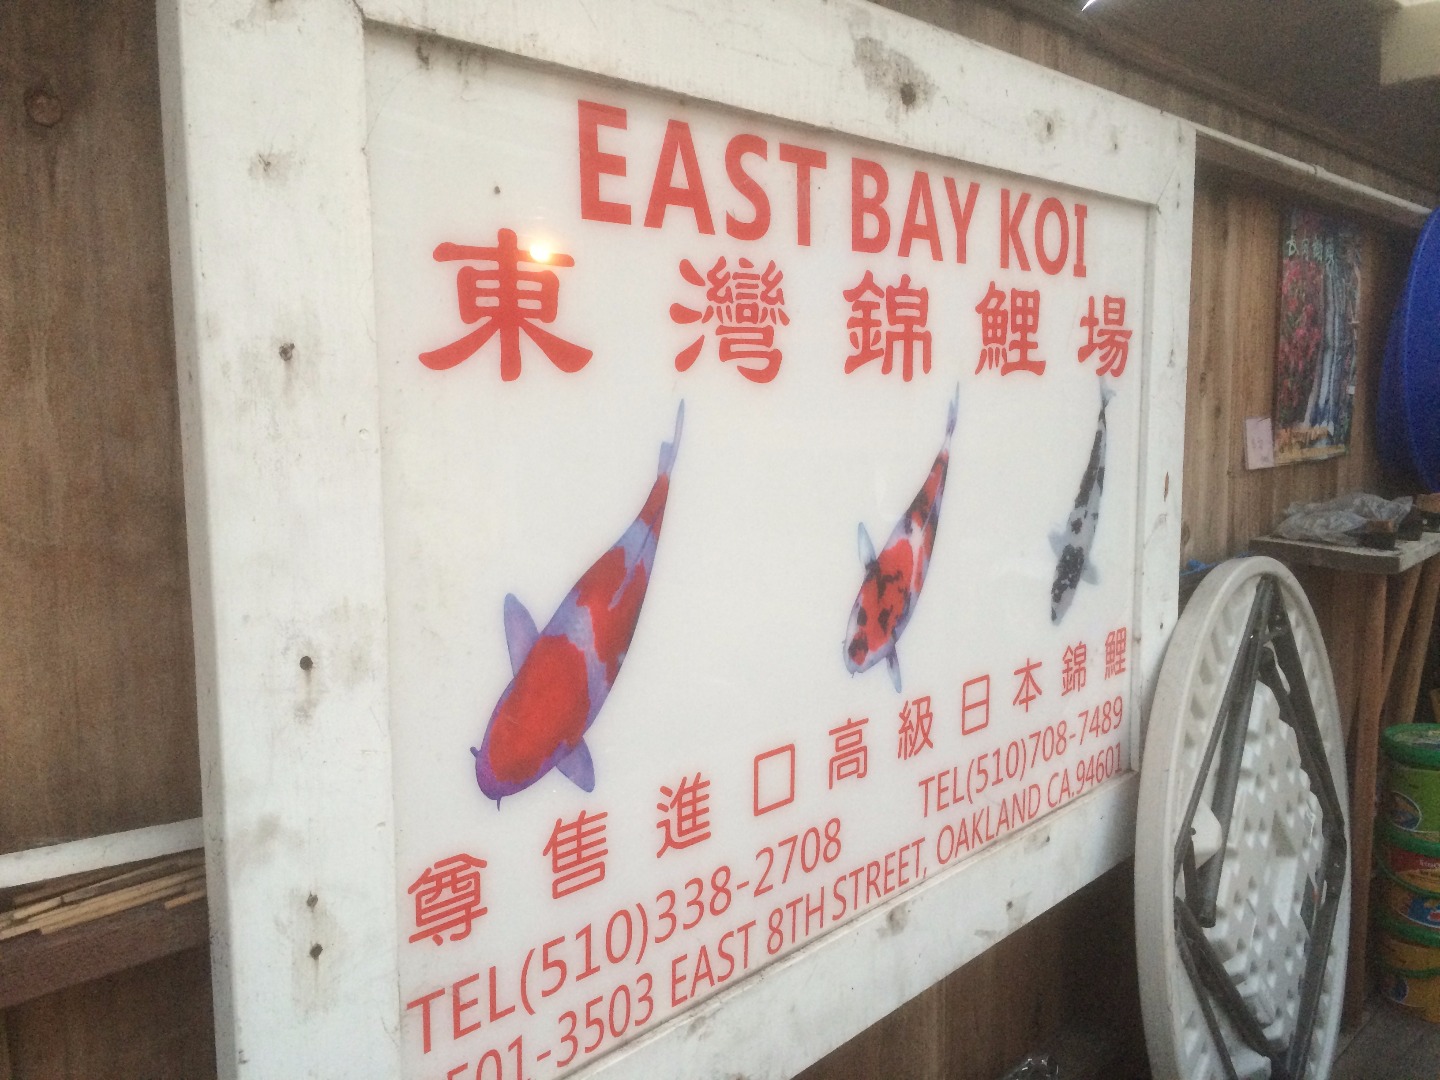
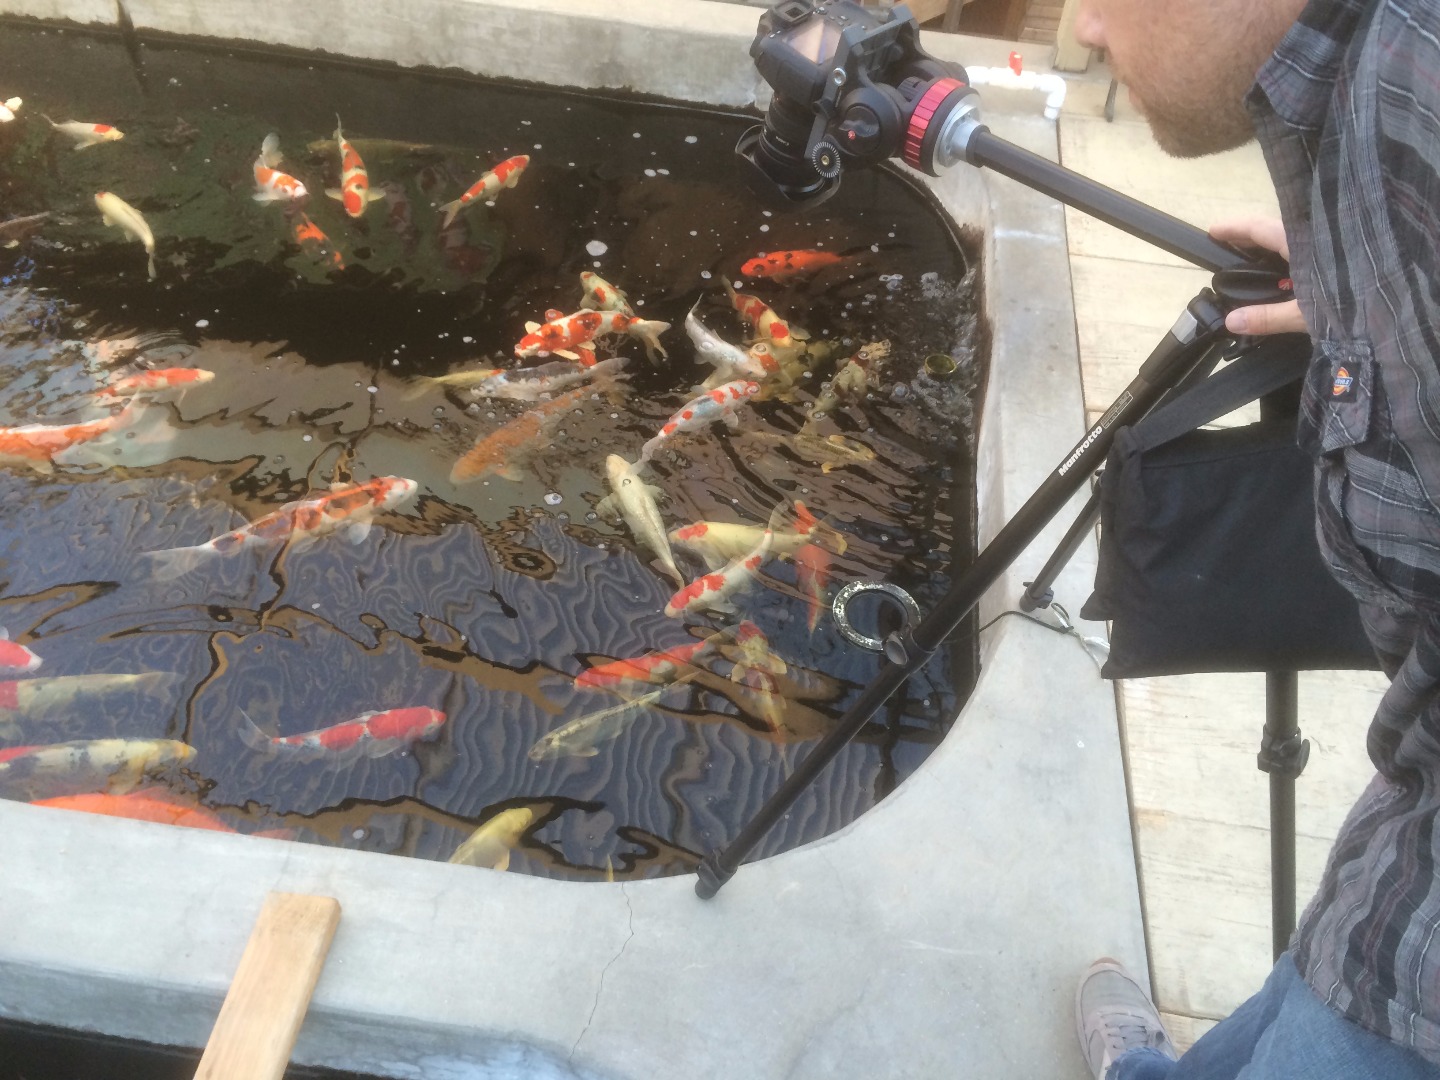
After some web searching and grabbing the trusty Canon 6D kit from Pier 9, I next headed over to Fruitvale to East Bay Koi, which is a totally awesome shop with multiple ponds of absolutely stunning Koi. Seriously, I never do this, but they are http://eastbaykoi.com/ and totally check them out, or like them on Facebook. Andy, who runs the shop, very graciously let me spend a few hours there running around with a crazy camera and tripod rig filming his fish offering to grab me extra 2x4s, change the lighting, etc. And the man seriously knows his fish. Spending the afternoon there was a total pleasure.
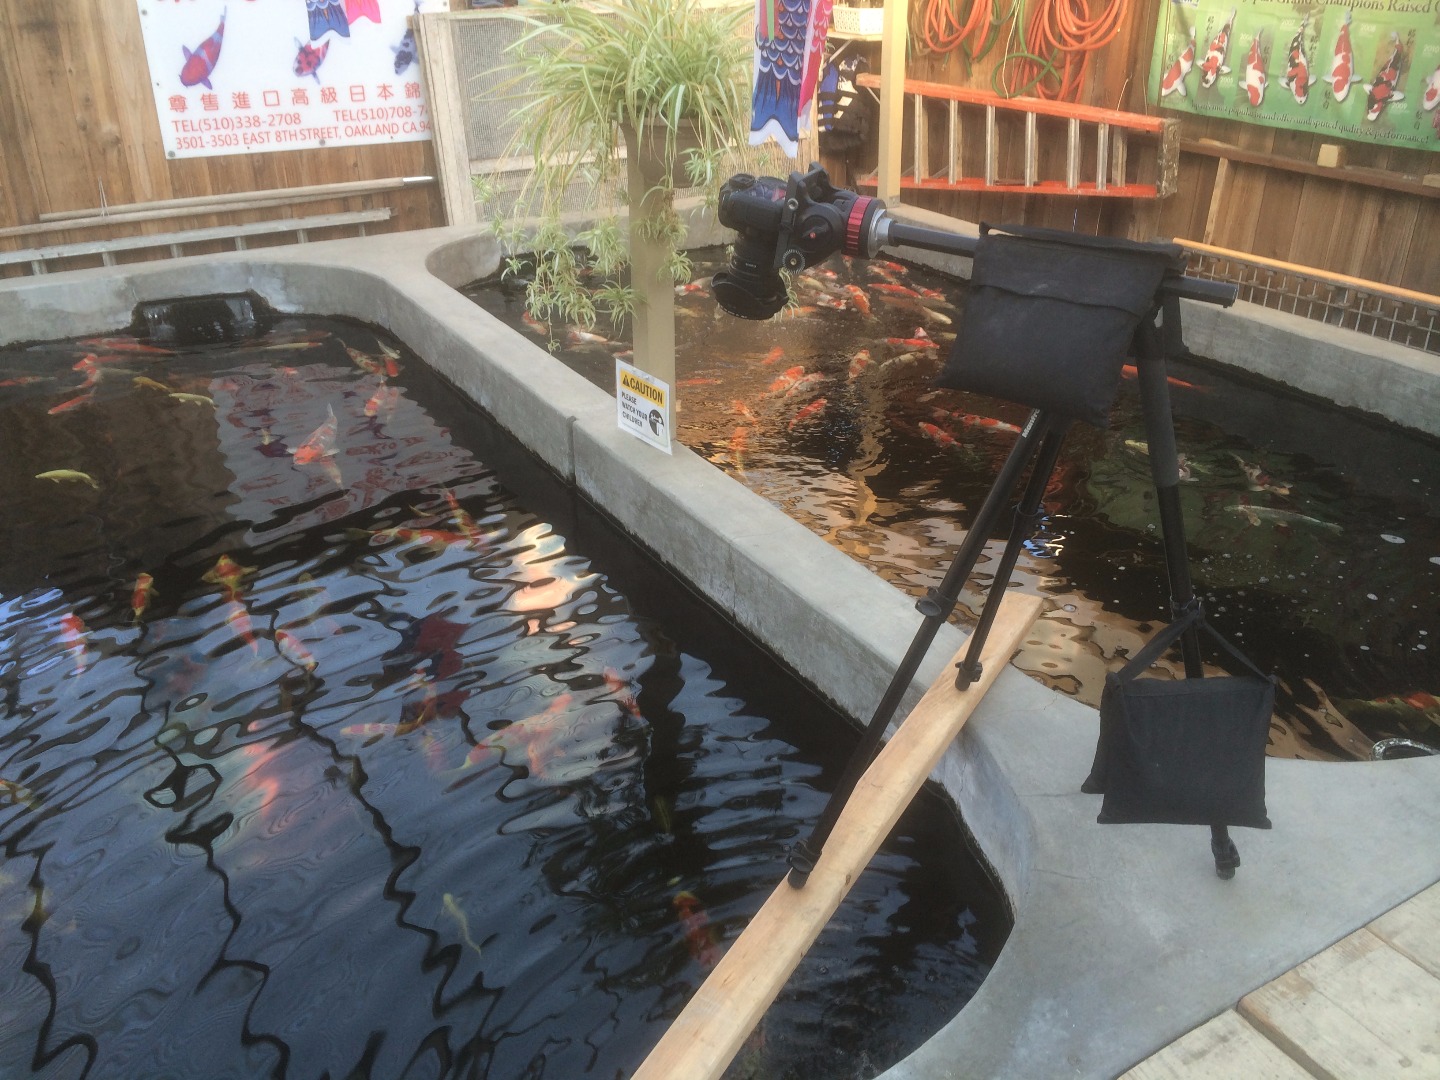
With a 16mm wide angle lens and a circular polarizer I was able to get some beautiful footage of the various ponds, trying to capture different sized and colored fish to see what would look the best on the finished piece. Lighting is key here, and unfortunately it was pretty bright out that day- no clouds to break up the direct sun on the greenhouse style roof. Because of this it was pretty apparent in all of my earlier videos, but as the sun began to set I got some footage that I was sure would be usable.
Koi move a lot faster than you'd think, so I went ahead and shot at 60fps, figuring it would give me really smooth playback at 30fps later, or whatever slow down I wanted to add.
These pictures show my crazy setup in order to shoot straight down, allowing the video to look natural when played back on the flat display. Nothing quite like two sandbags standing between a $2k camera setup and a watery demise.
Editing Down the Video
Equipped with around 15 gigabytes of fish videos, I headed back to the Pier to return the equipment and back to my garage for some play tests. Playing video on LED screens, or LED displays of any kind (strips, pucks, etc) is kind of a black art. You basically are always going to want more contrast, more saturation, and less shades of gray. Luckily this is super easy to do on-the-fly in Modul8, so I just loaded all the videos in and played around till I found one that I liked.
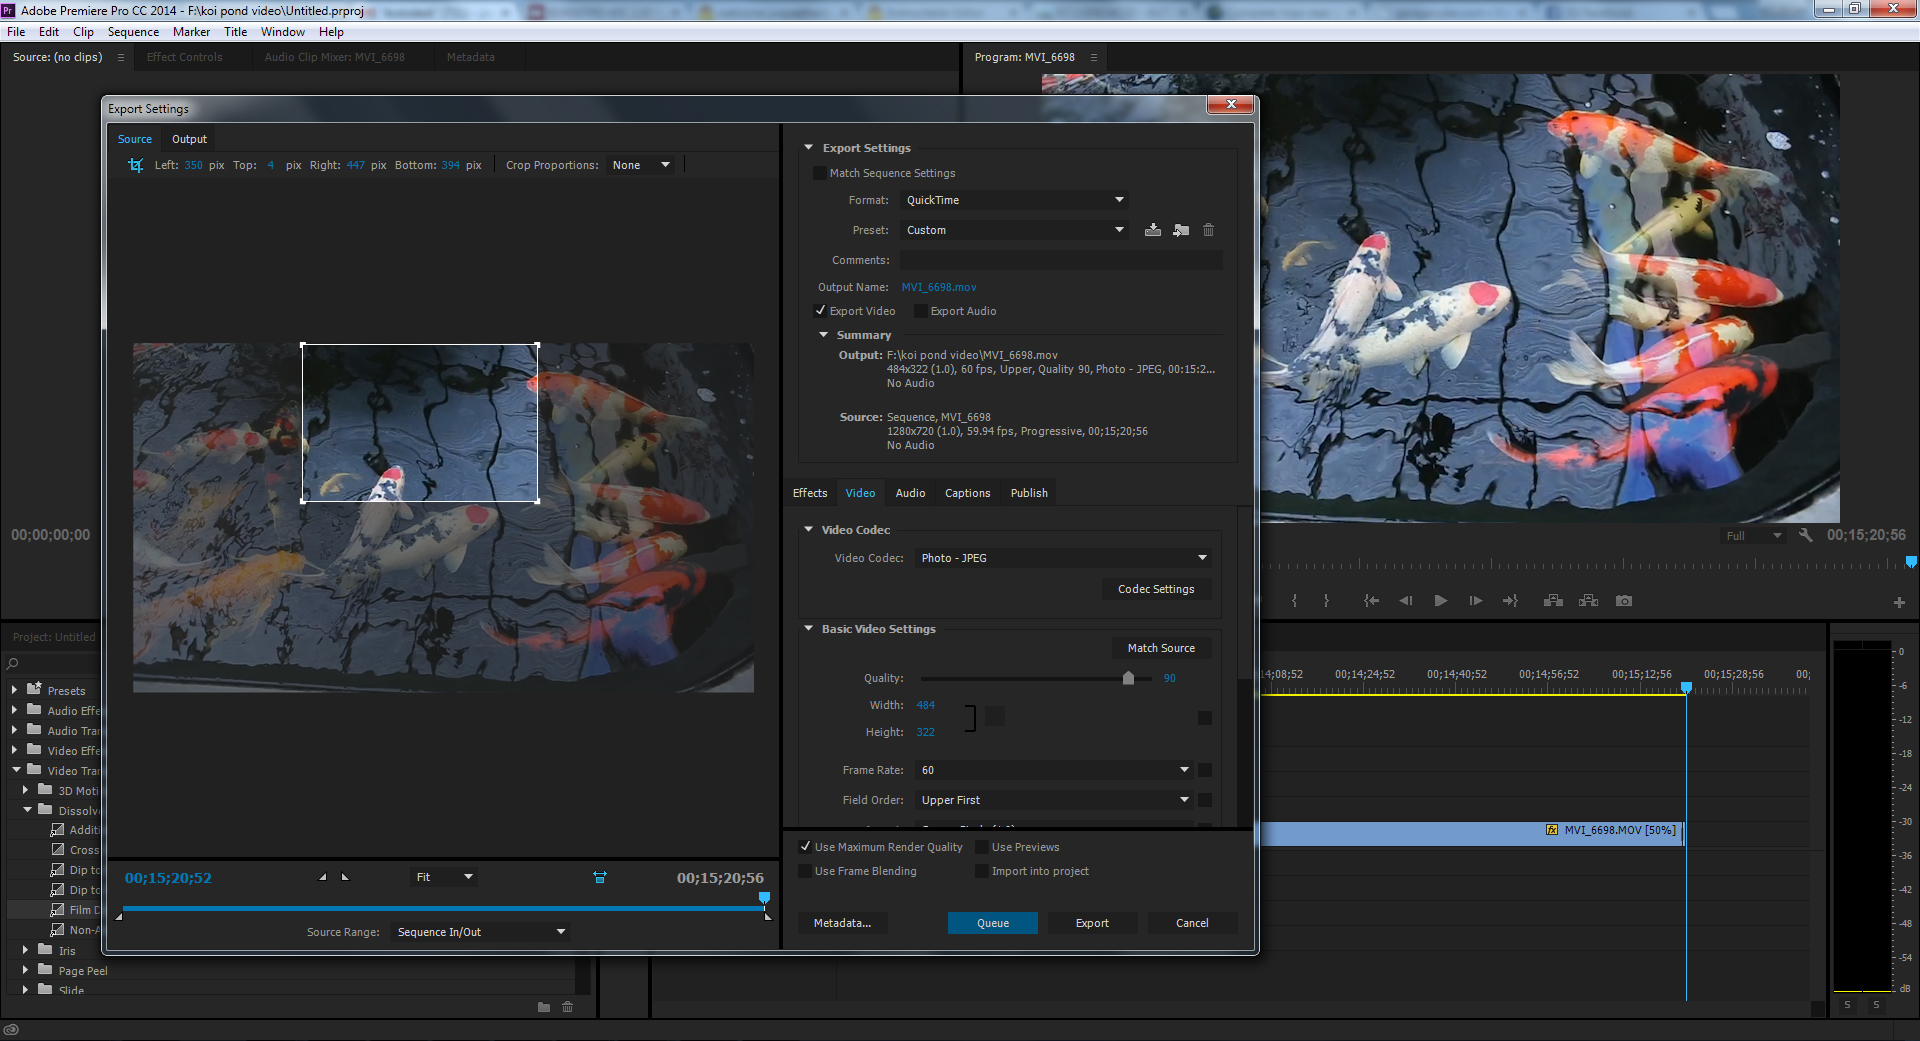
The other kind of tricky part here is that I wanted a 1:1 mapping of LEDs to pixels so that the playback on the pond would be super sharp, which meant from my 1280 recording I'd only be using around 500x300ish pixels so I would have to crop pretty tight. You can see in the picture how much of the frame I actually ended up using. Since I had a circular polarizer, I basically was granted one section of the frame that was free from reflection. While I like the water ripple and reflection, it was pretty distracting on the pond display, so I picked the part of the frame with the least amount of ceiling reflection.
After finding a nice section of video which was long, had awesome fish shots and good water ripples and reflection, and had enough space with no fish in it so that I could loop it, I brought it into Adobe Premiere and added the loop points. Then I rendered out only the 484x322 that I needed for the pond display as PhotoJPEG; a smaller file would mean that Modul8 would be able to play it back smoother, and that is the preferred codec for this VJ software.
Surrounding the Pond: the Rock Technique
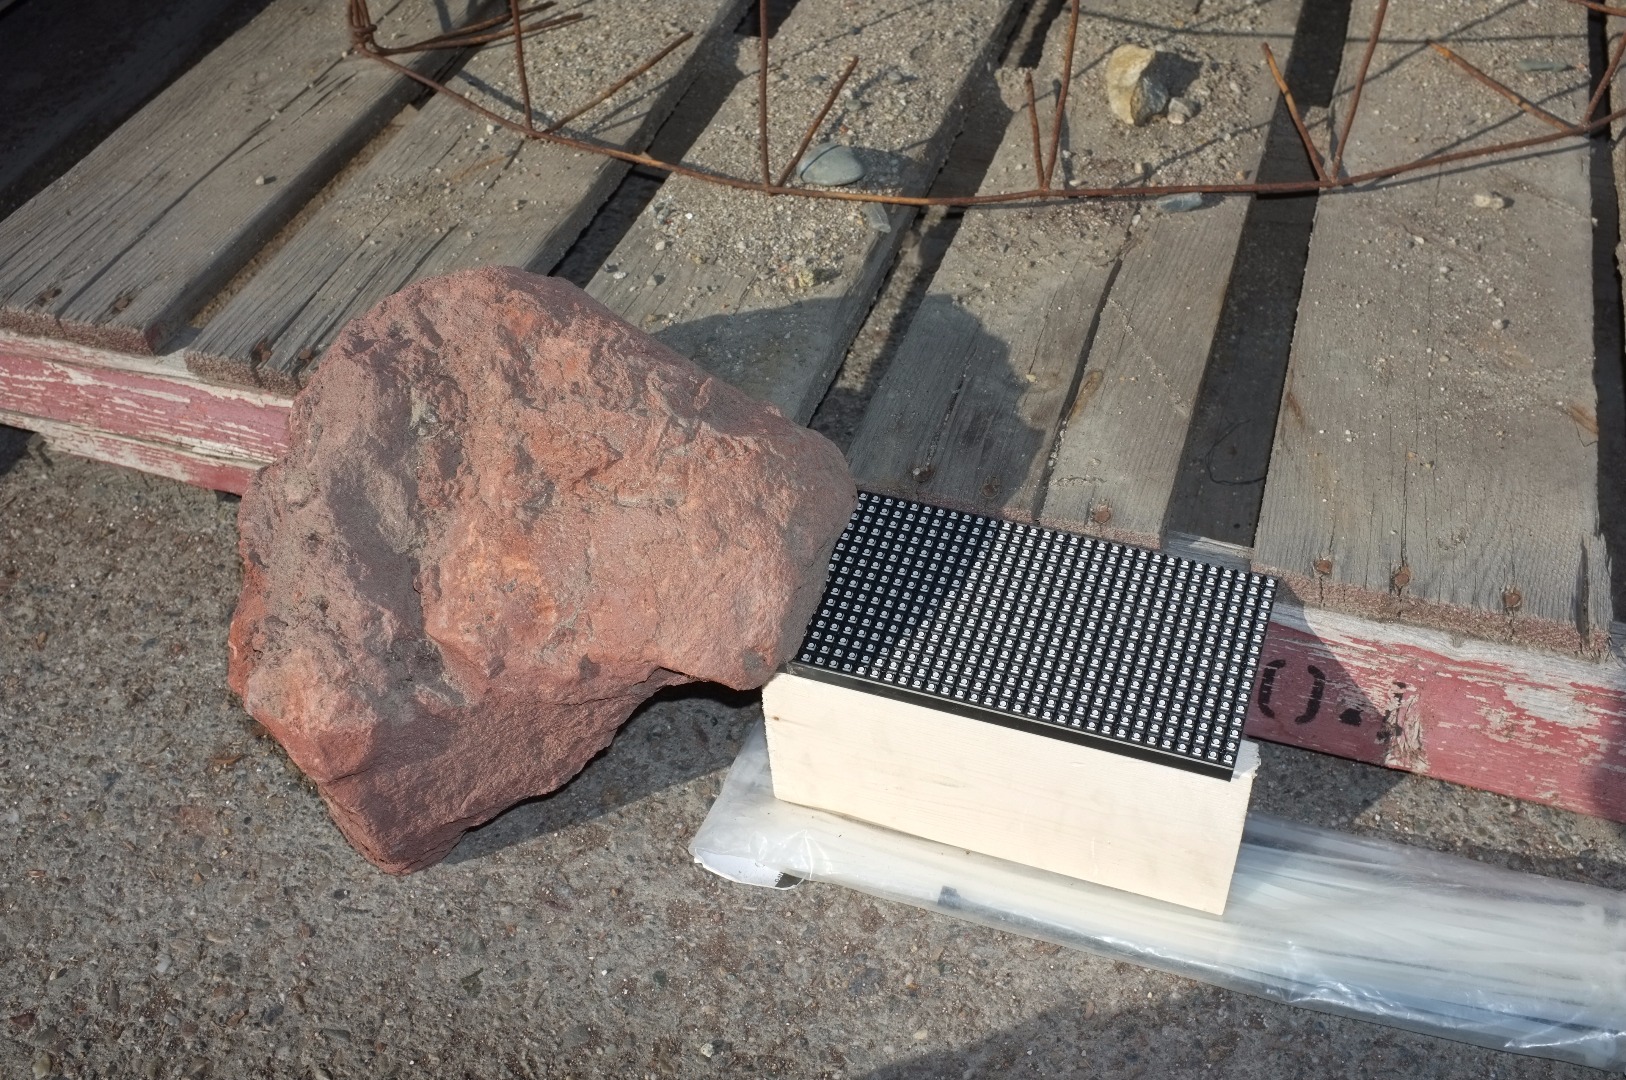
Now, aesthetically it was important to me to not see the jagged edges of the LED display; I wanted it to feel more organic to add to the illusion that you were peering into a portal of some sort. My first idea was to use rocks around the outside to effectively build up a wall that overhangs the LED panels.
Unfortunately, rocks are pretty freakin' heavy. Like it would be hundreds and hundreds of pounds worth of heavy, plus they still wouldn't fit together perfectly and there would be gaps where you'd still see the edges of the panels. I tried a lightweight rock called Featherrock which looks promising for its machineability, but unfortunately it was razor sharp, like shards of glass, which was a total non-started.
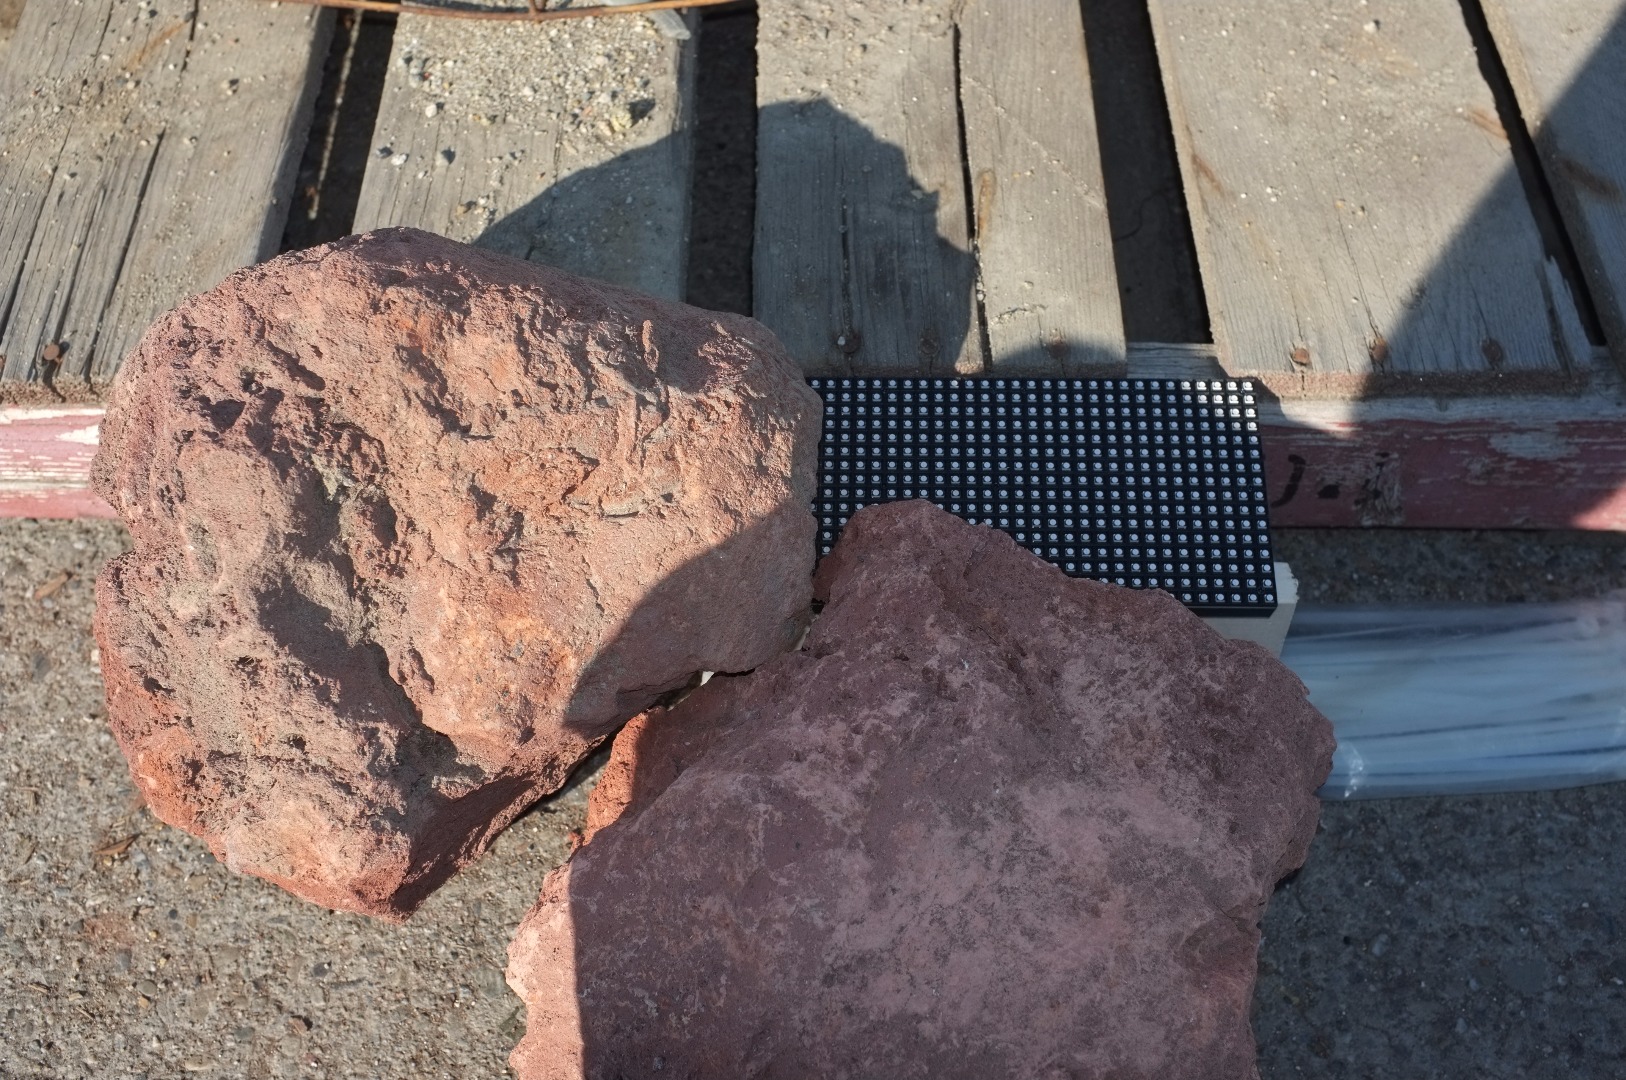
Pictured above is an example of lava rock, and how you can somewhat cover the edges of the panels, but it is still kind of gap-ridden.
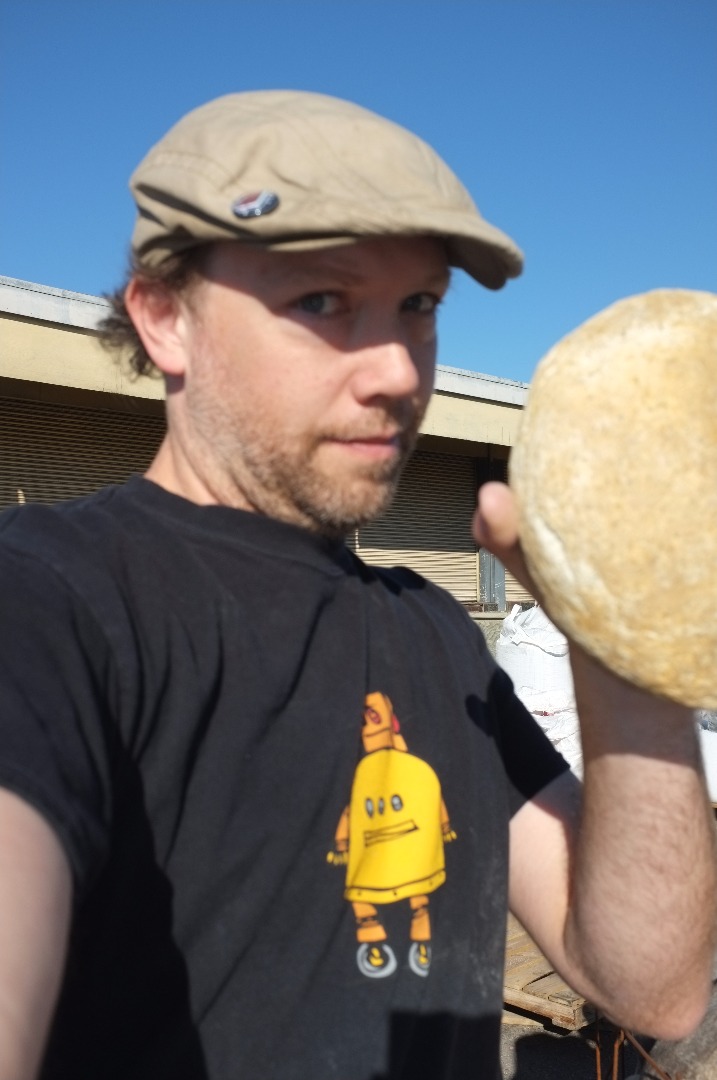
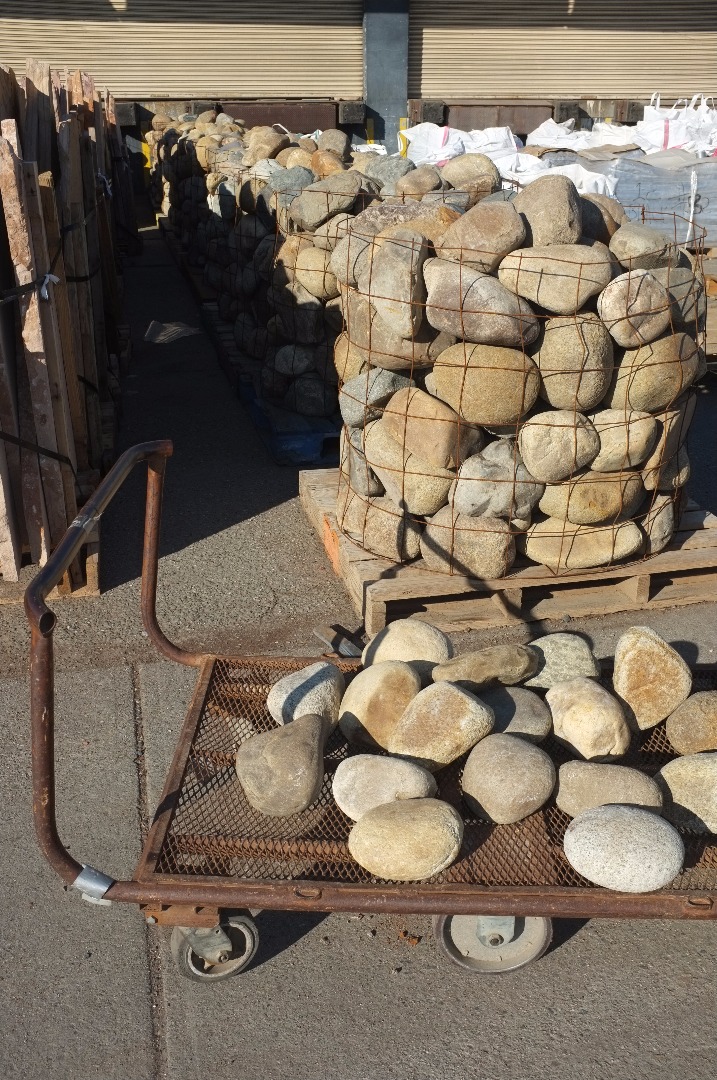
Anyway, I gave up on the rock surround, but took a nice selfie with a rock and left with 180 pounds of these lovely smooth small boulders that I would somehow integrate into the project.
Surrounding the Pond, Take 2: Bamboo
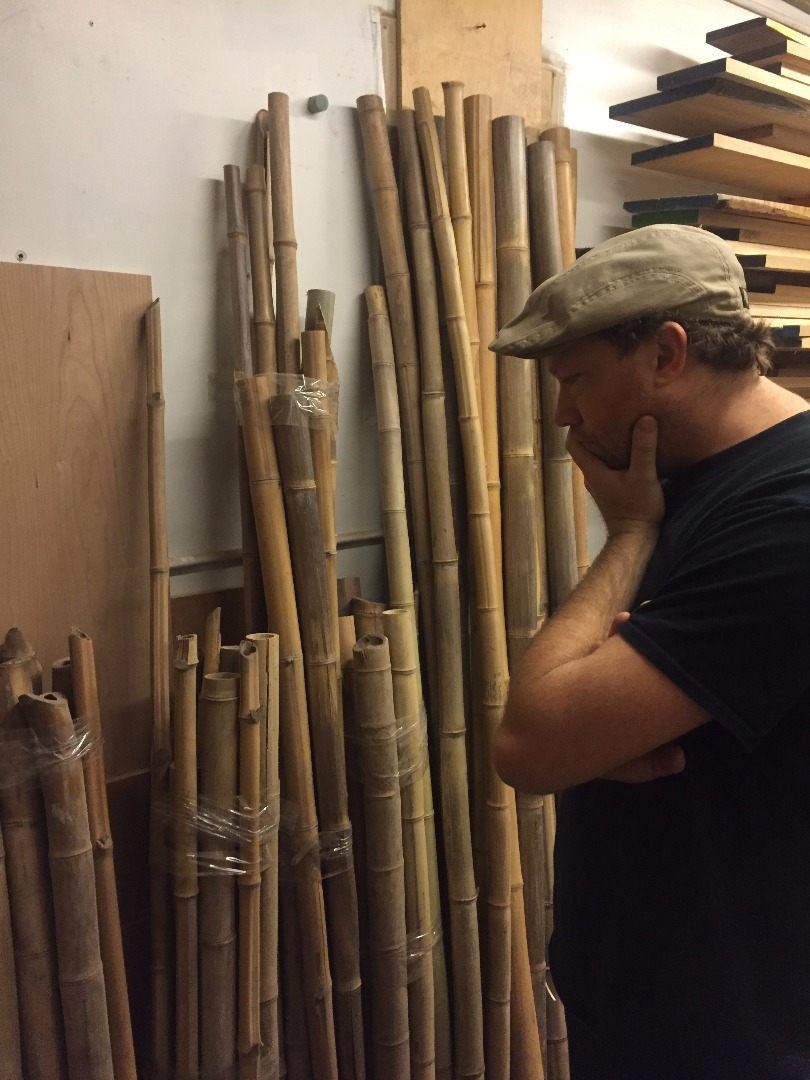
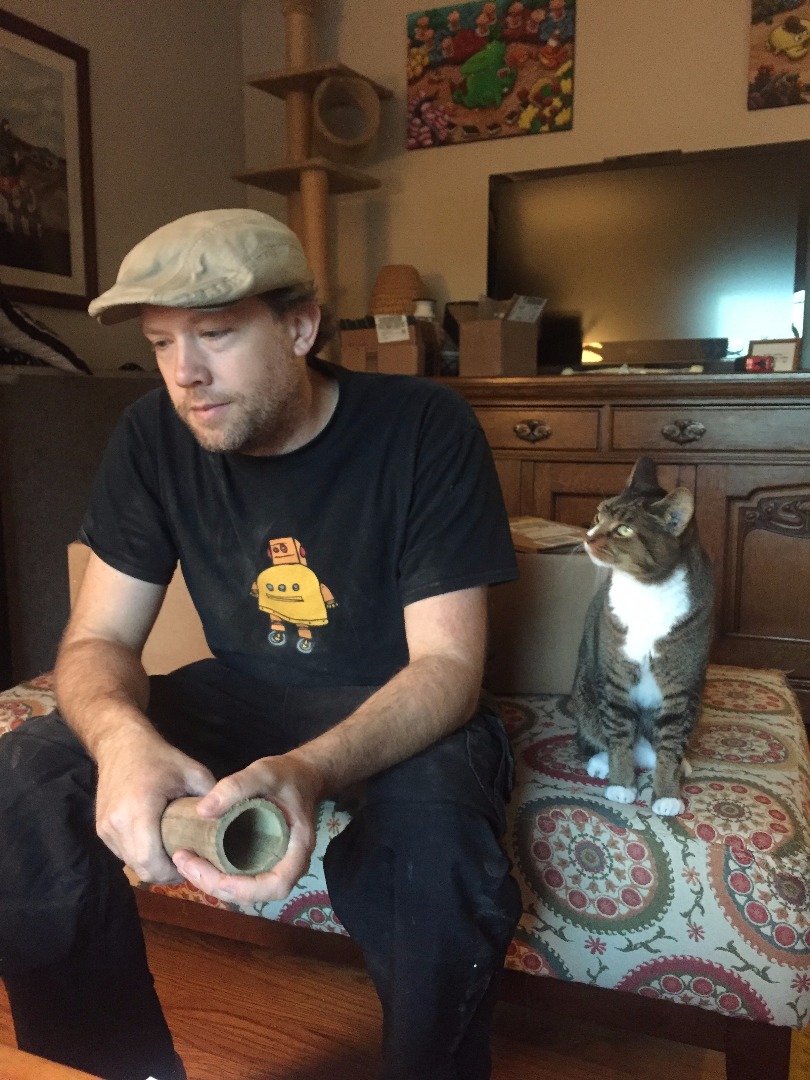
After realizing how heavy and non-ideal the rock solution would be, my very smart wife suggested we should try surrounding the pond with bamboo. In addition to being a key element in Japanese gardens which is appropriate for this piece, it is light, (supposedly) plentiful, and easy to work with. So I spent the first half of this day digging through rocks and the second half trying to locate a source for 3" diameter poles of this invasive plant which grows like weeds all over the Bay Area.
For some reason this invasive plant which grows like weeds all over the Bay Area is actually really hard to find, and really expensive when you do find it. The ever-observant Sherry Wong somehow managed to find a Craigslist ad for a fabricator in my neighborhood who was selling off a stash of leftovers from a job, so we headed down there to see what he had.
Here's pictures of two different contemplations and reflections on bamboo.
Building a Bamboo Fence
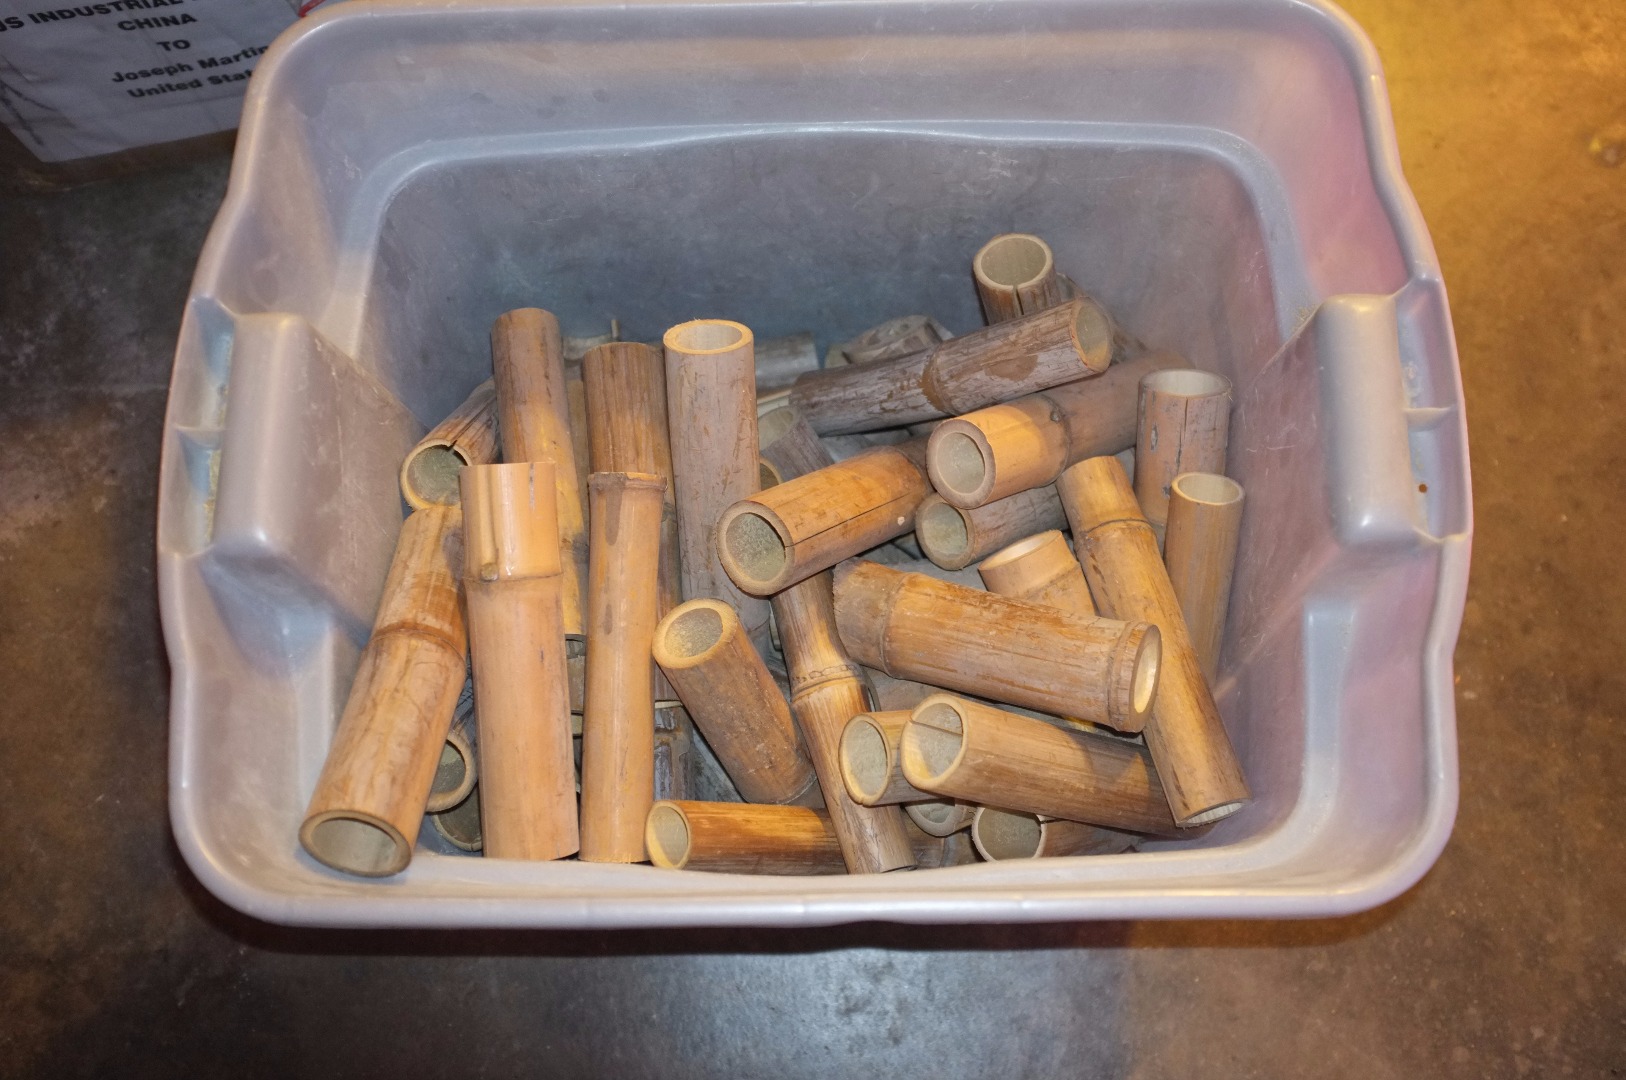
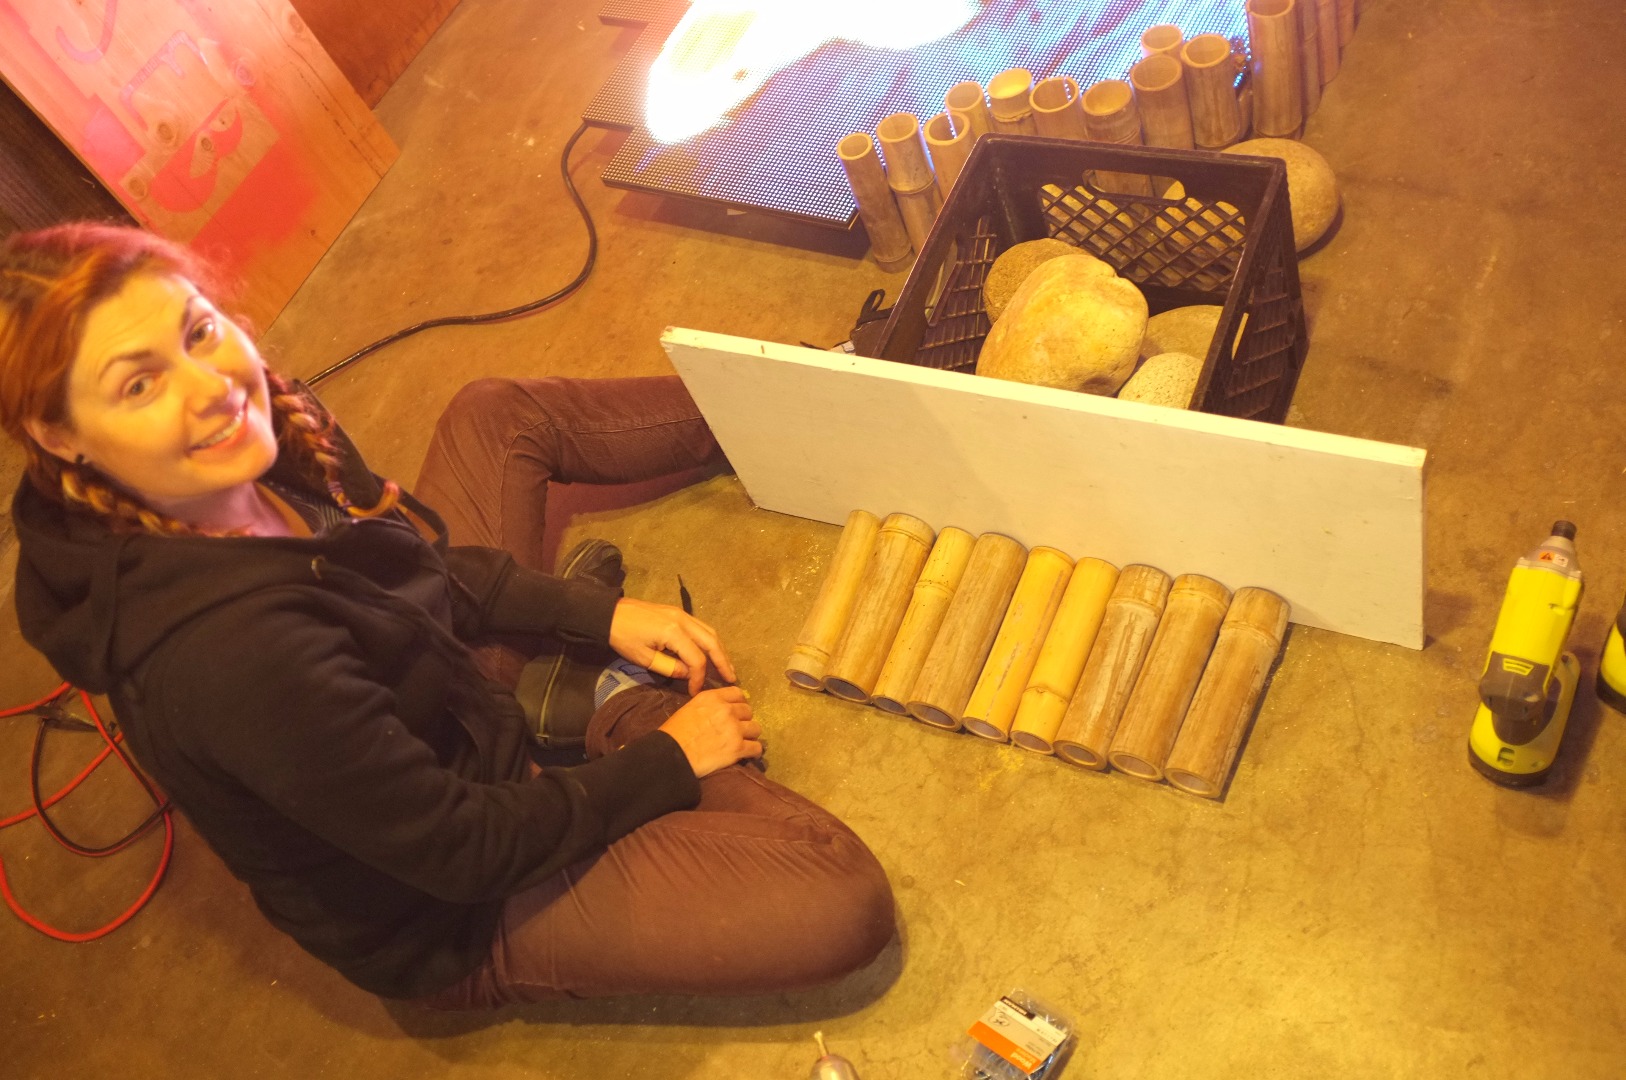
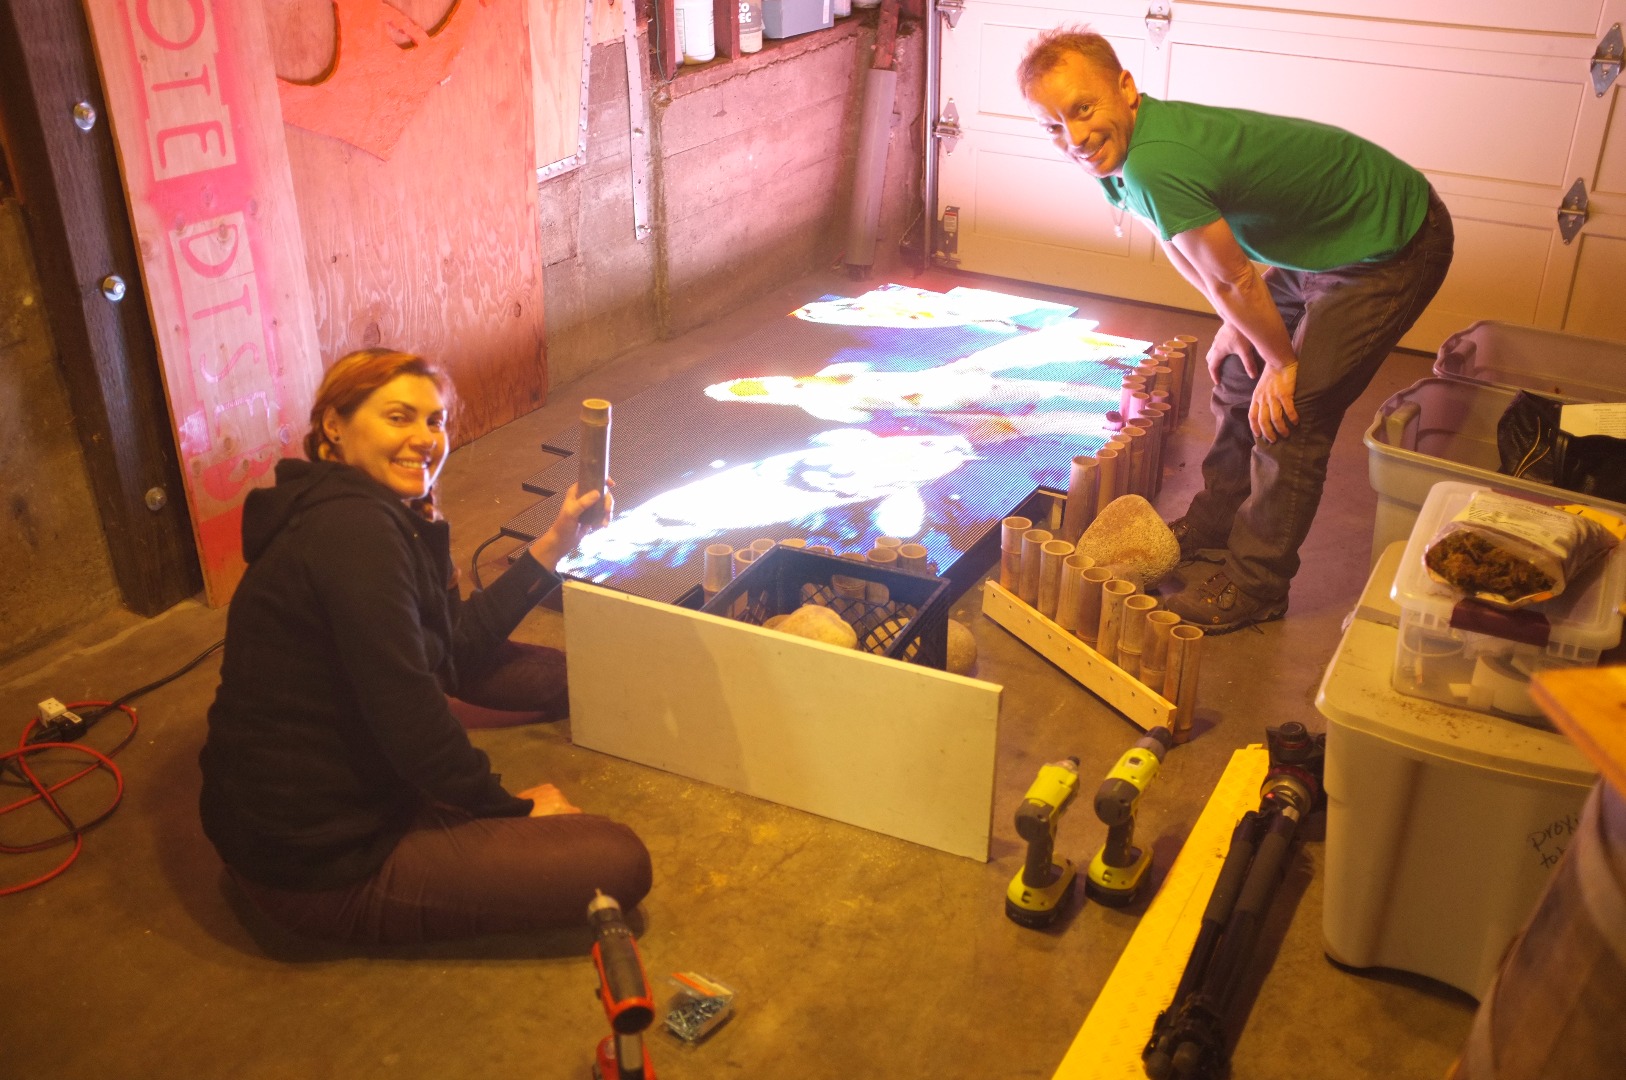
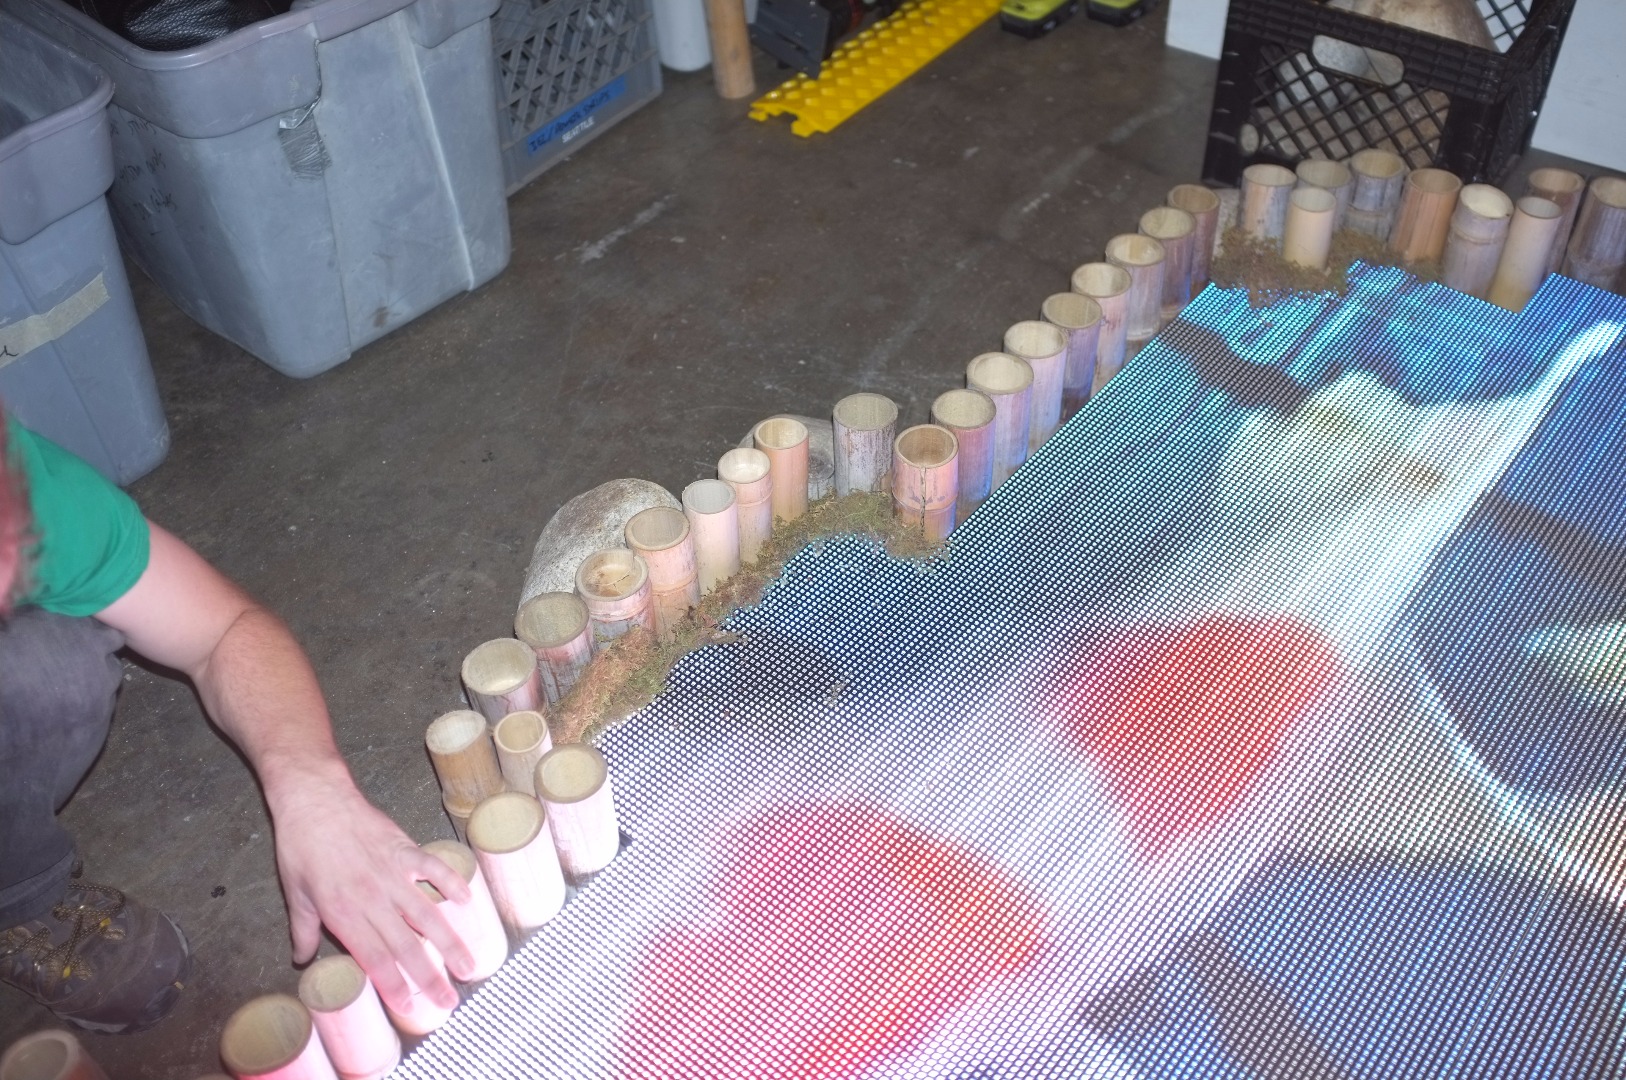
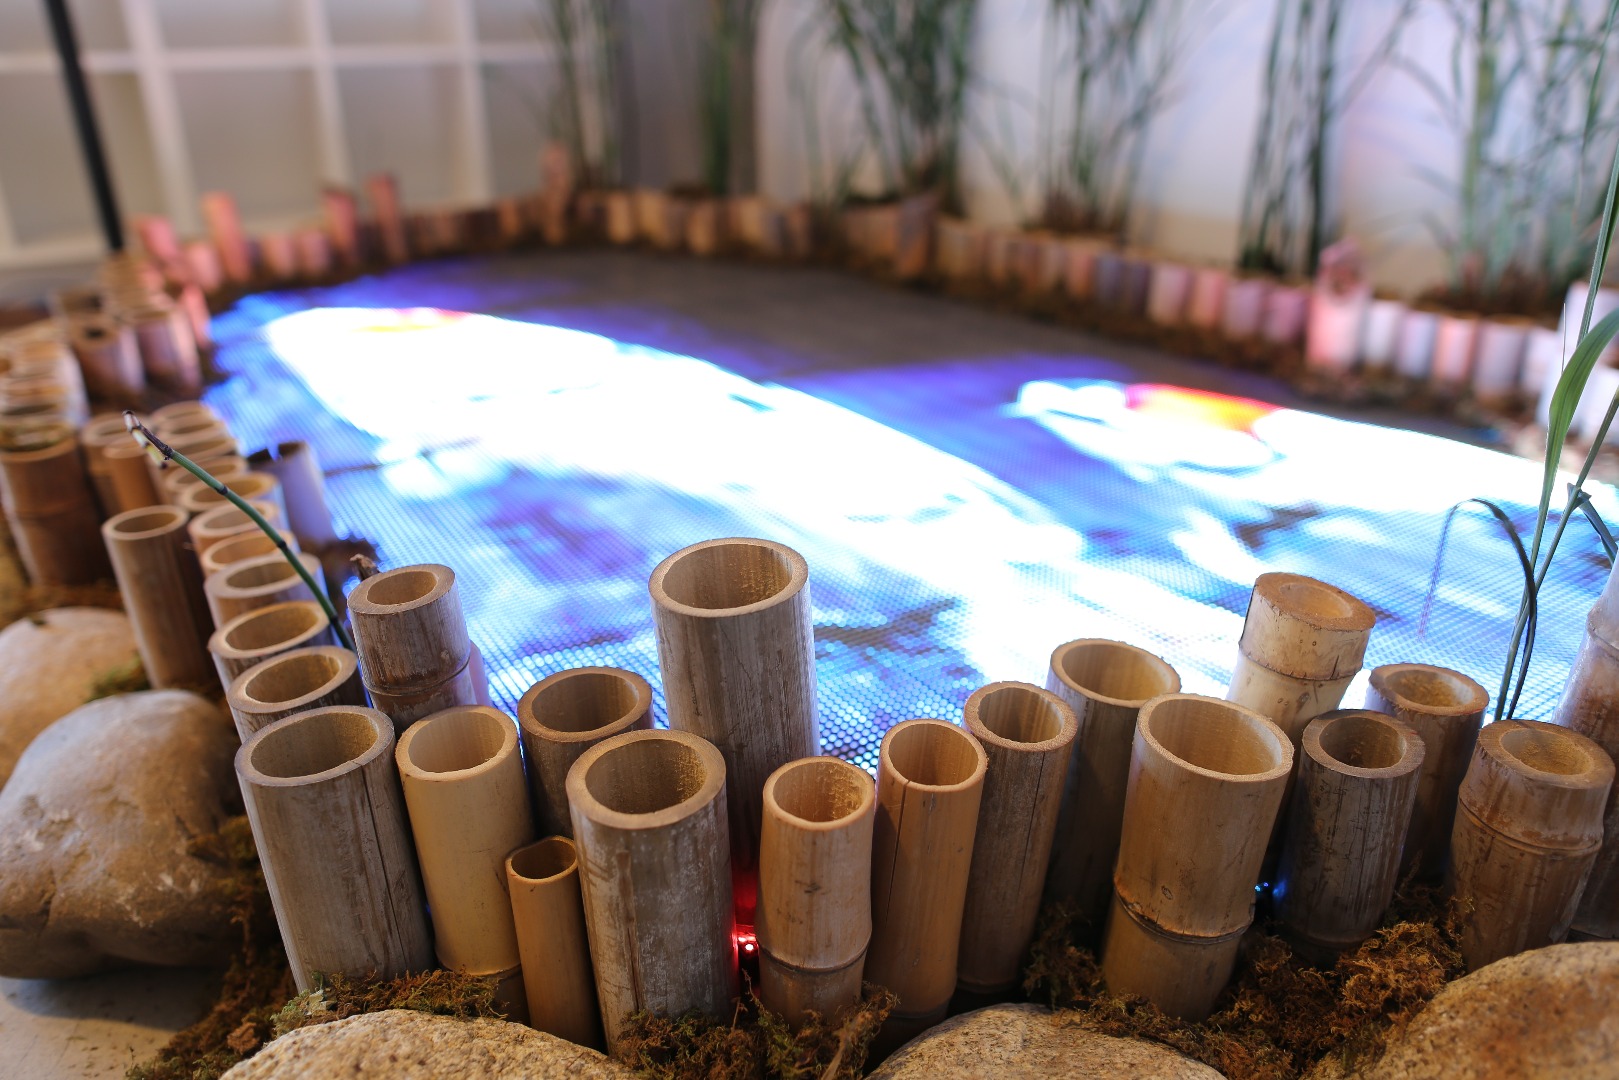
With around 70 feet of bamboo in tow from the Craigslist score, we set apart chopping it into 8" pieces to build a fence around the piece. Erin made a jig to line the pieces up to allow us a flat bottom surface, and Galen pre-drilled holes to avoid splitting the bamboo and attached a furring strip along the length to make a pre-assembled fence section to nestle up against the side of the pond. A few well placed boulders will easily hold this assembly in place.
To fill gaps we experimented with packing them with moss, which with a little TLC looks great. This is something that has to be done at each installation, but it isn't terribly time consuming.
Surrounding the Pond: the Future!
For the much larger pond that I envision in the future, I think the solution will be to make fiberglass and foam rocks. This will allow the exact shapes and sizes to cover up the jagged edged of the screen, as well as be lightweight and sturdy. There's also a huge amount of information (including some awesome instructables) on how to make Hypertufa rocks, so that may also be a direction worth investigating.
Finishing Up the Piece: Cable Dress Down
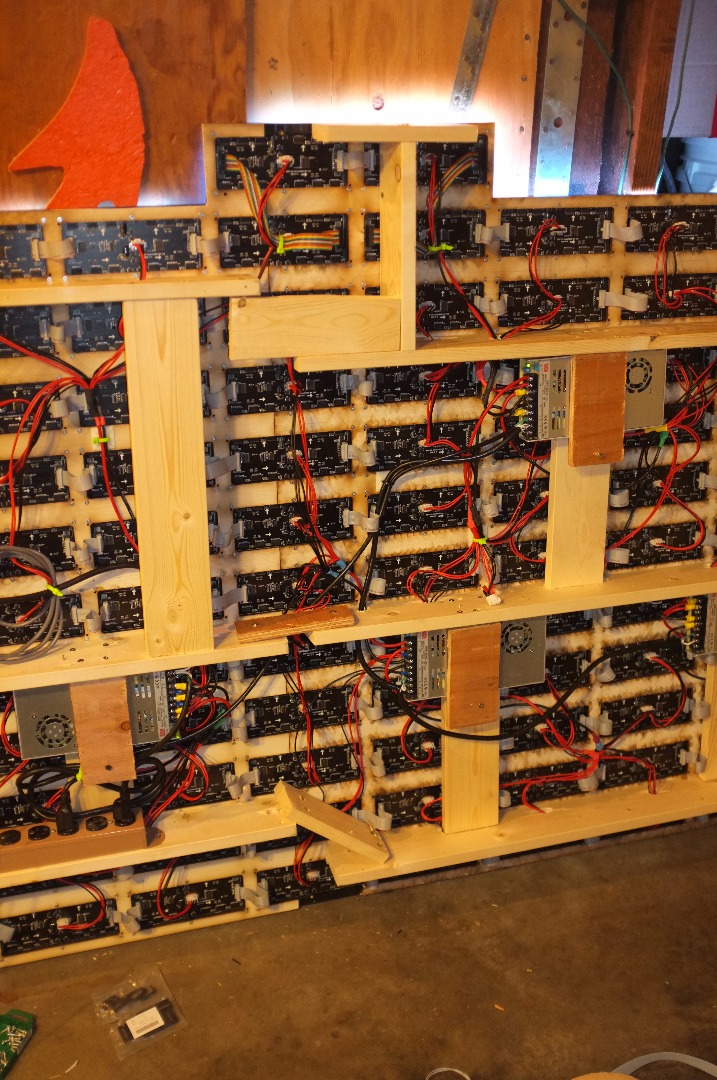
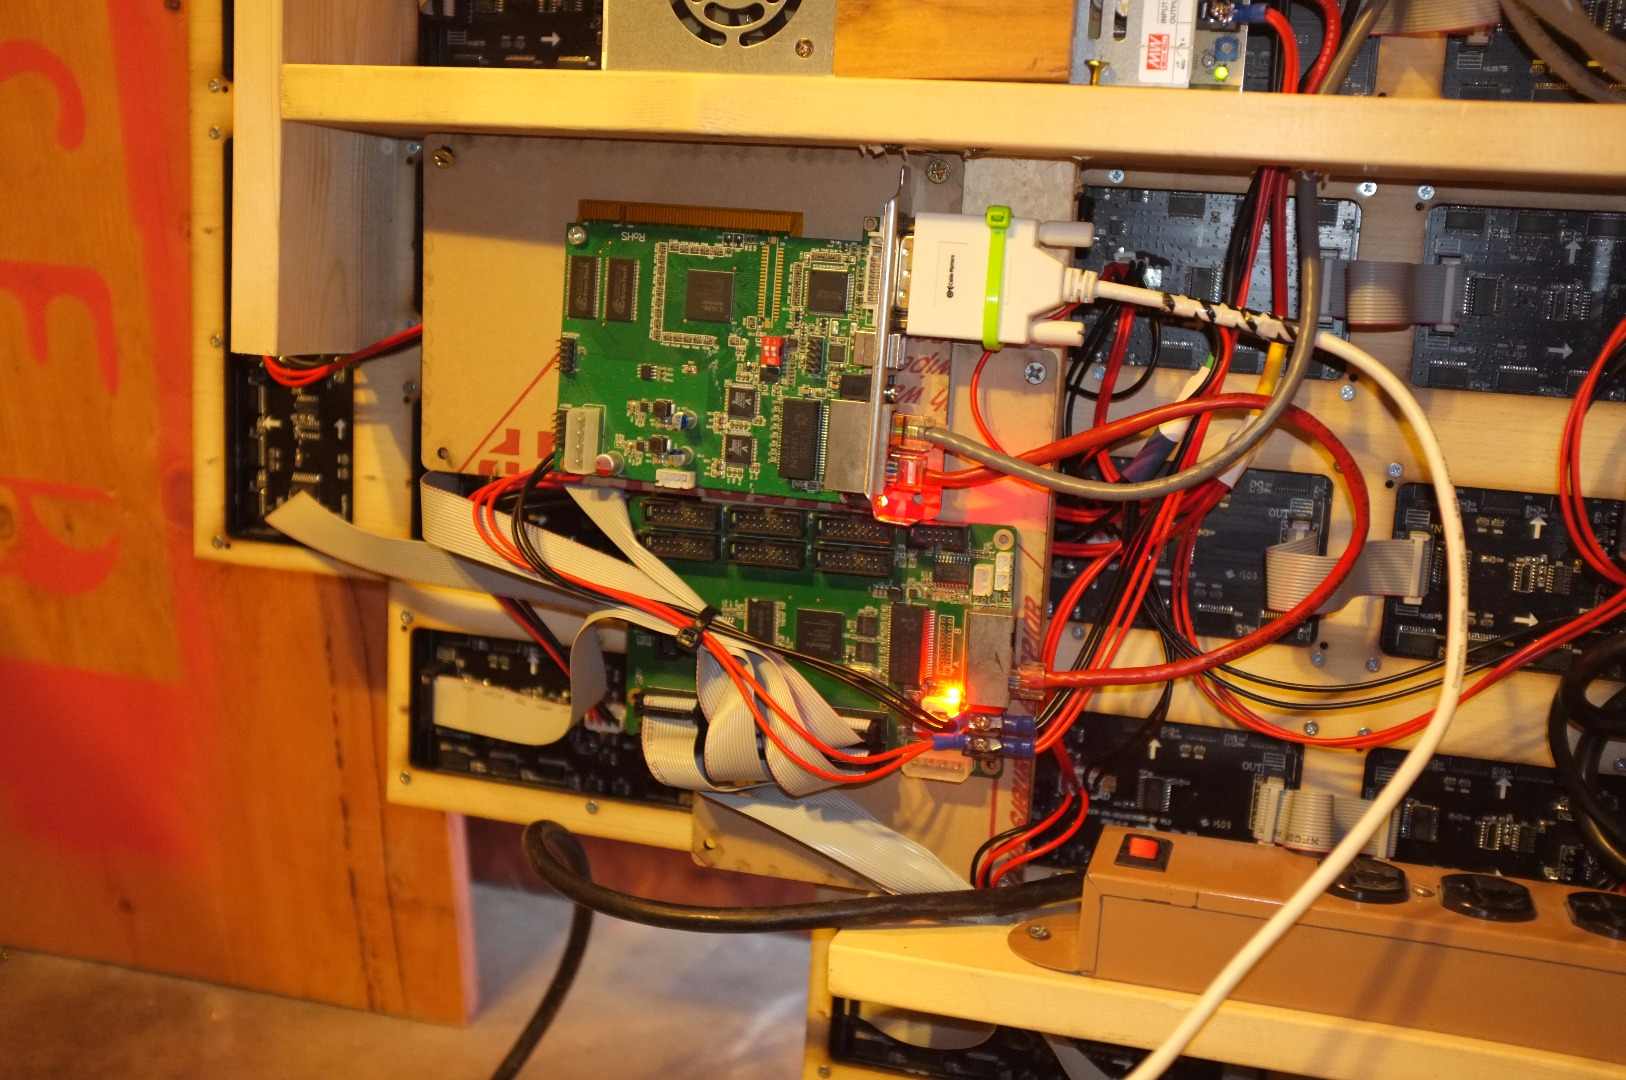
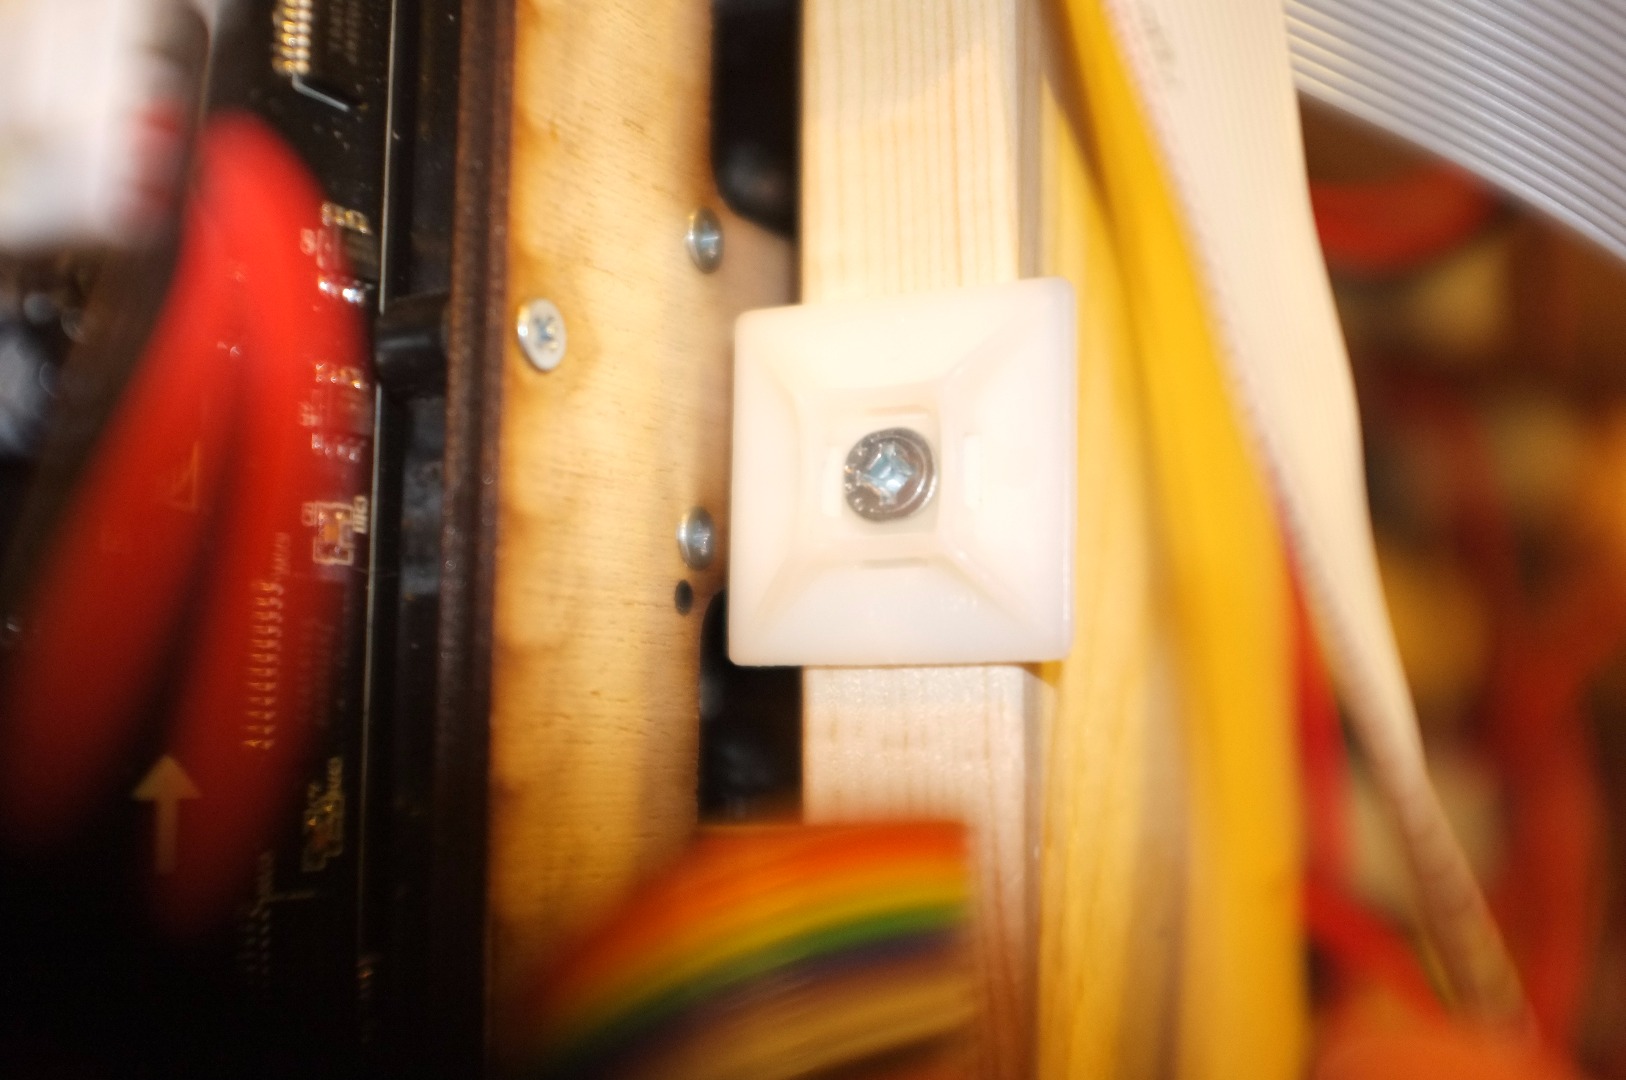
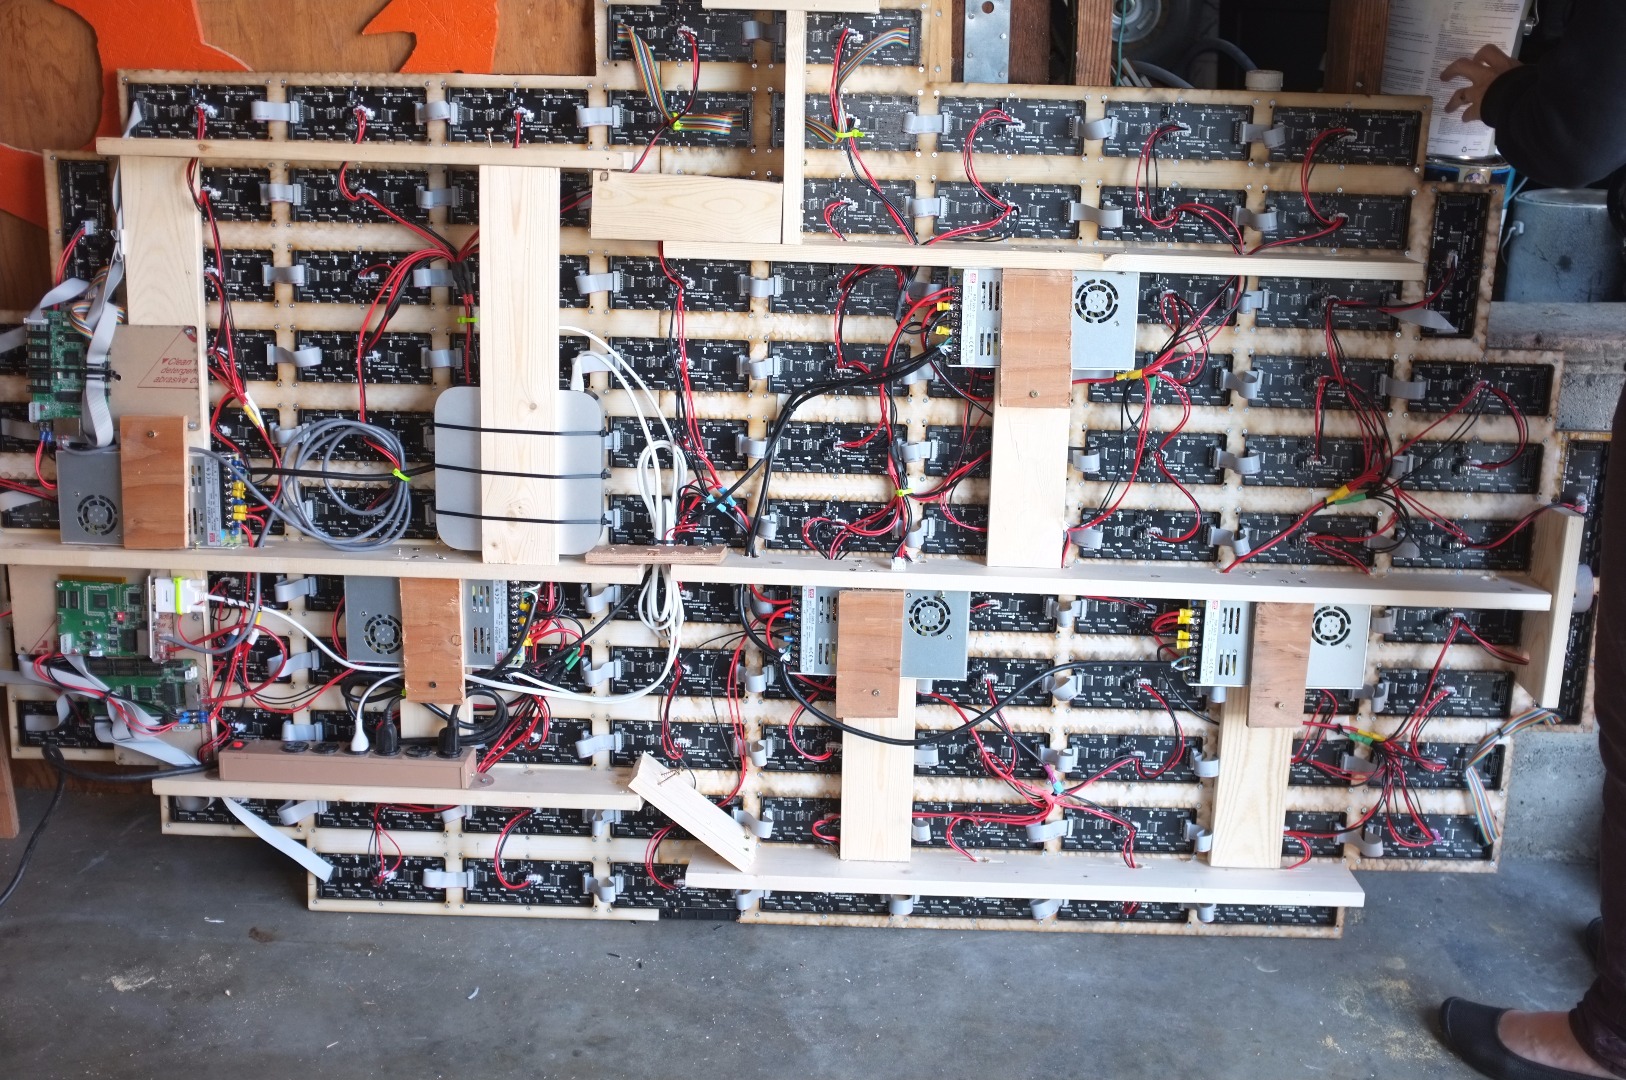
With all of the aesthetics figured out, the final step before loading out the piece for its first show was to make sure it was solid for transportation, and that the gallery staff wouldn't have to do anything more than plug it in.
For the first, I installed extra bracing and dressed down all the cables. Eventually I would like to have a solid bottom piece in the same projection of the top grid, but for now I settled for securing all of the cables.
Aside: The third picture shows one of my favorite things in the world for cable management- an adhesive pyramid for attaching zip ties. This particular brand even has a screw hole to make sure it never comes loose in hot weather or if it gets tugged.
Finishing Up the Piece: Automation
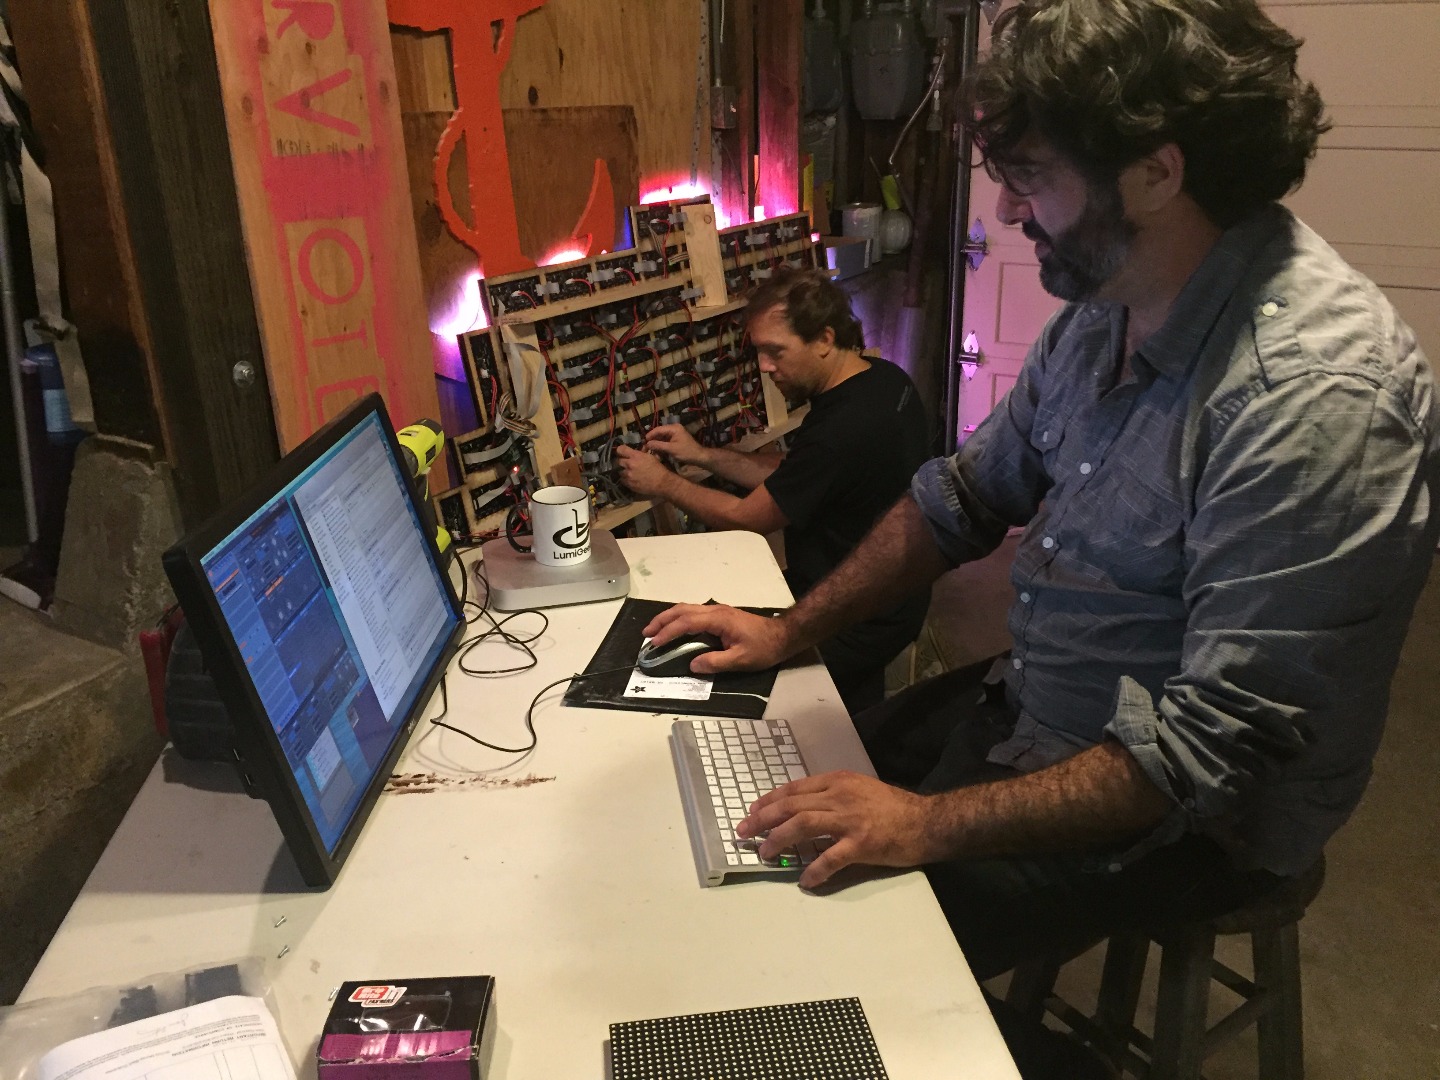
The second part of preparing the piece for the show was to make it would automatically start up properly when plugged in. For this I enlisted my friend John "Parts" Taylor who is a whiz at this type of stuff. A few clicks and Automator scripts later and he had the Mac Mini all set to launch all of the necessary software on boot. Few things to look for if you do this yourself:
- Things that automatically foreground themselves. Windows is notorious for this, but it happens on the Mac too. Keyboard missing or low battery warnings, wireless network detections, automatic updates, you really don't want any of this stuff popping up in your video frame or confusing a launch script
- Turn on remote management so you can get to it headless
- While this system uses a DVI interface and isn't actually headless, if you *are* doing an installation that uses a headless display make sure that doesn't screw up your software. We've had some Max/MSP patches that use video that get wonky without a display. They make little DVI dongles that fake displays of certain resolutions that you can use if you ever have this issue
- Turn on the "automatically boot after power loss" function (in OS X)
- Make sure power saving settings are disabled, or at least don't ruin whatever you're trying to do
And Finally...
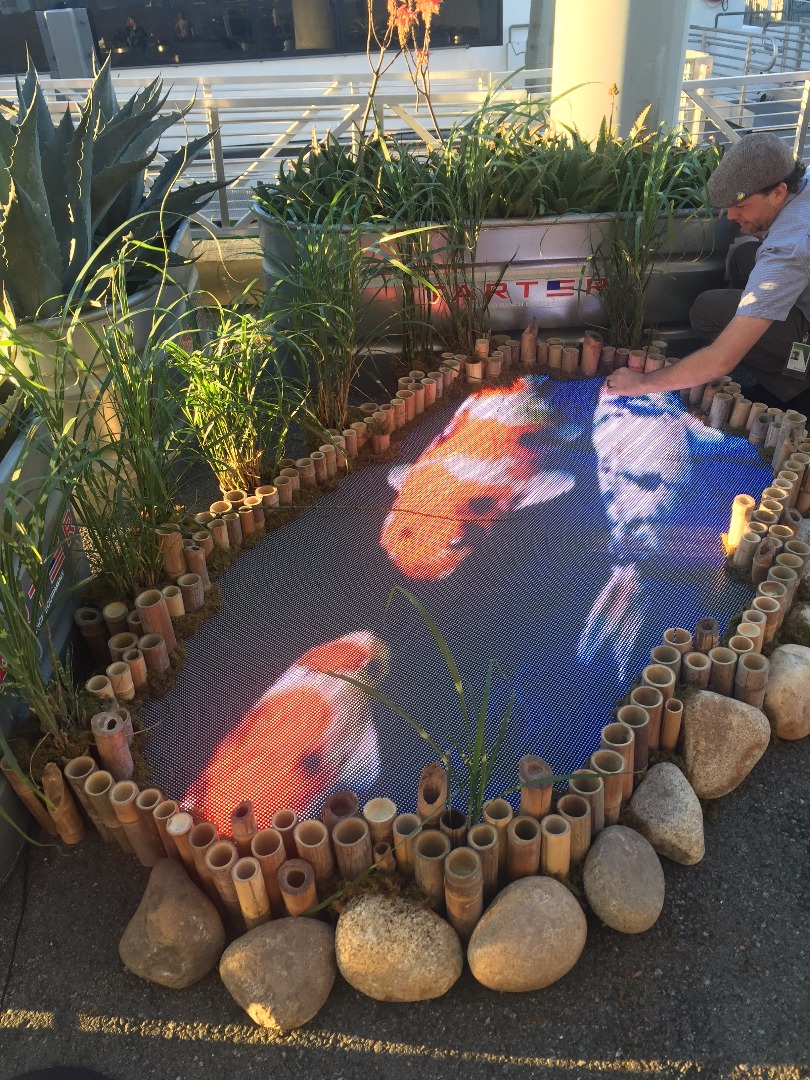
)
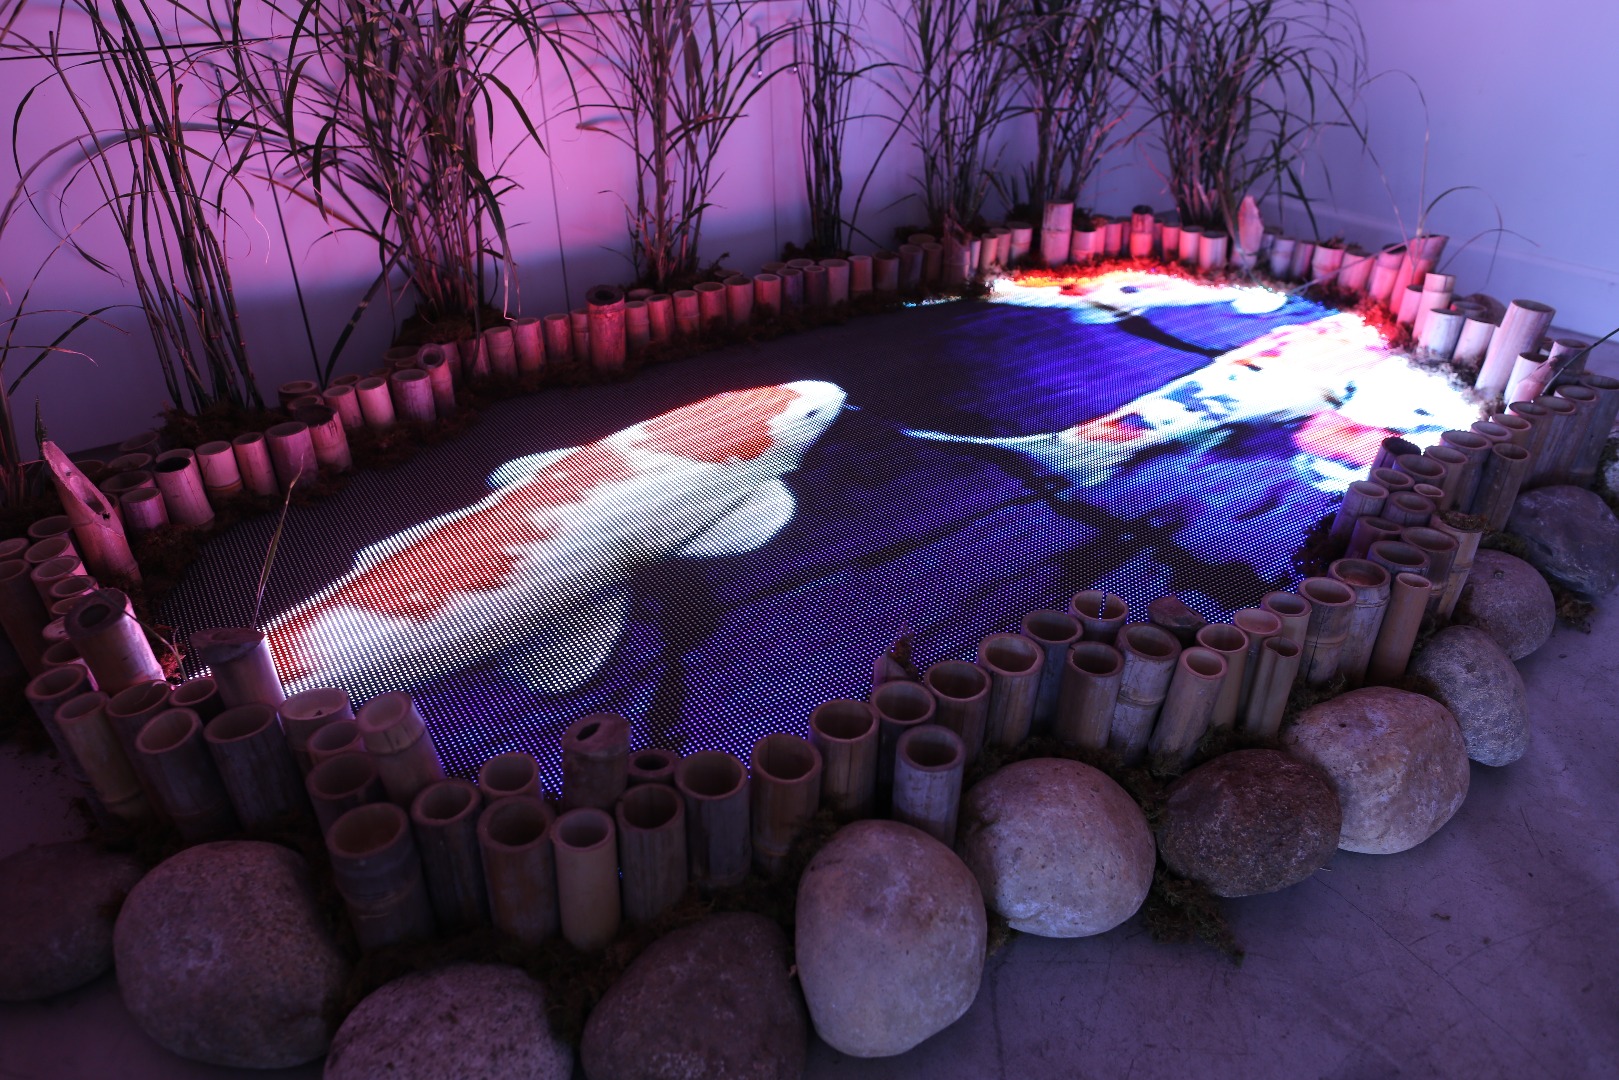
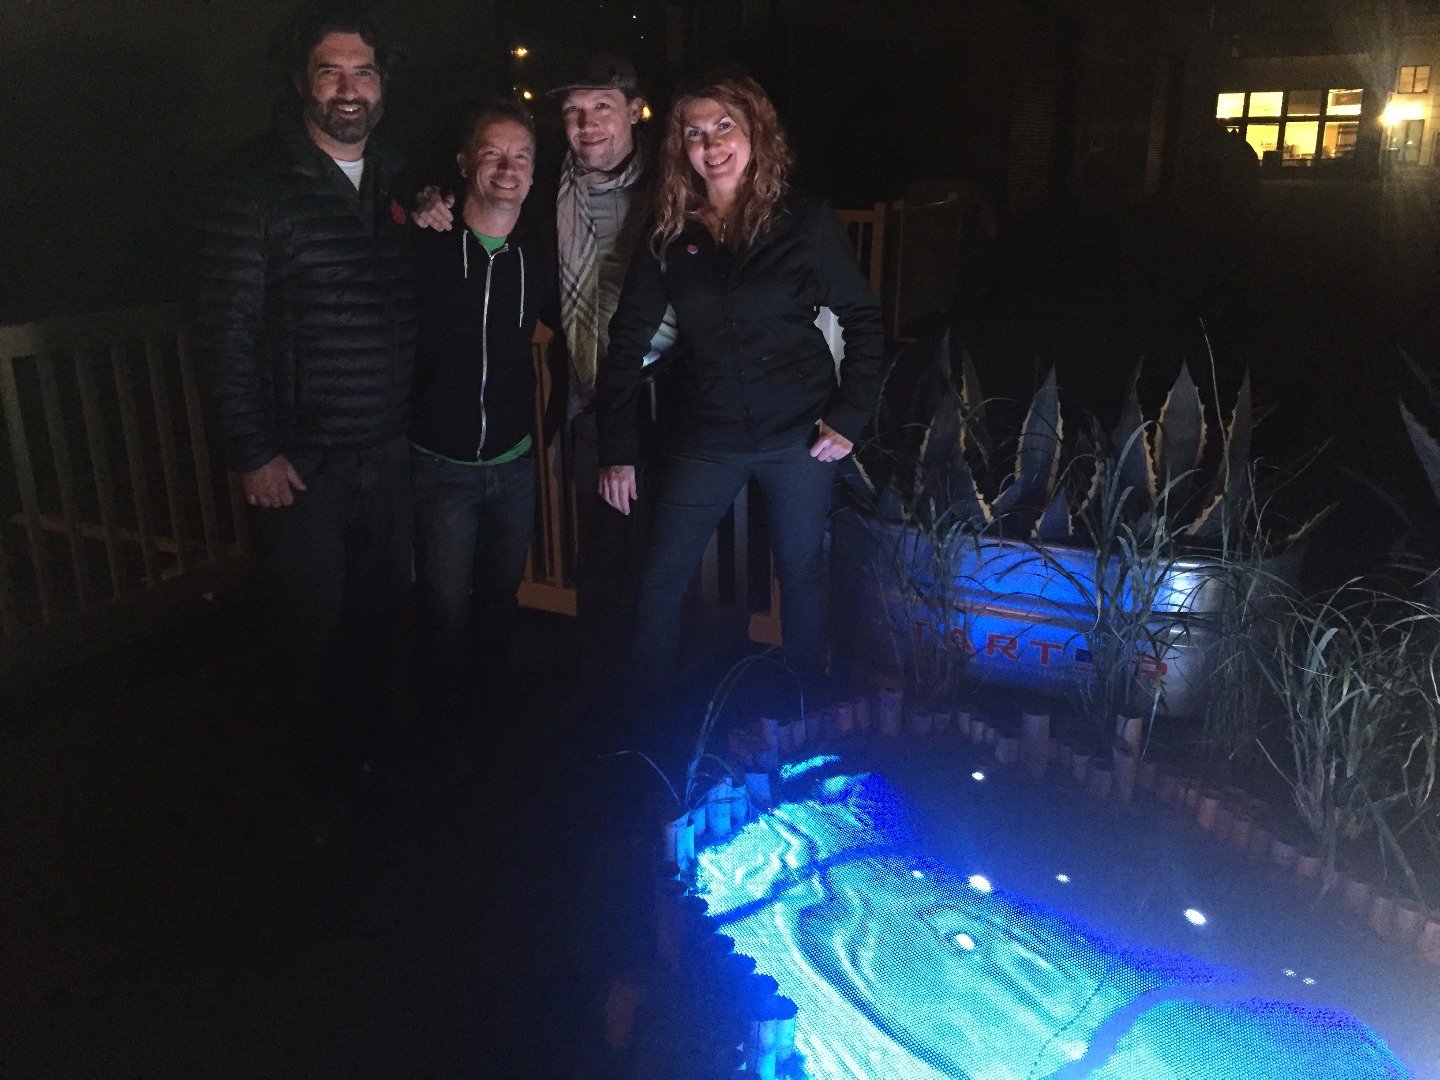
A few plants and rocks later, and we've got a gorgeous Koi Pond video installation!
I could just stare at this for hours.
Special thanks to my wife Erin, and friends Galen and Parts for all of their help and advice, and of course to the Pier 9 AiR staff and crew for their support!