The Flower Clock: Made in Fusion 360
by alamtania in Design > Software
2232 Views, 9 Favorites, 0 Comments
The Flower Clock: Made in Fusion 360
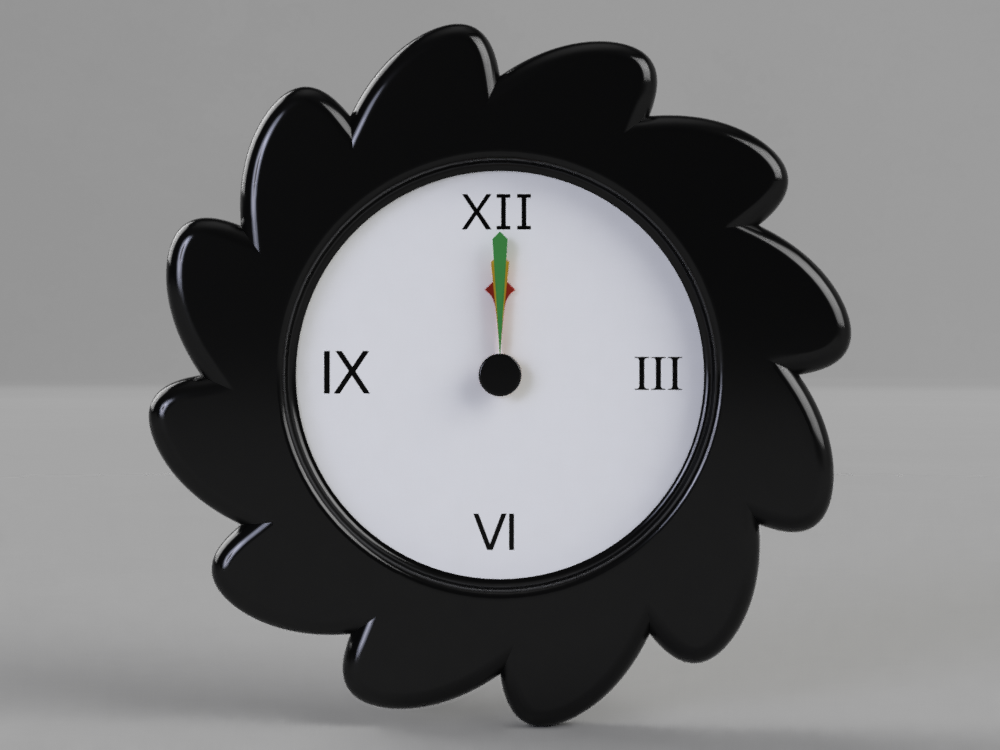
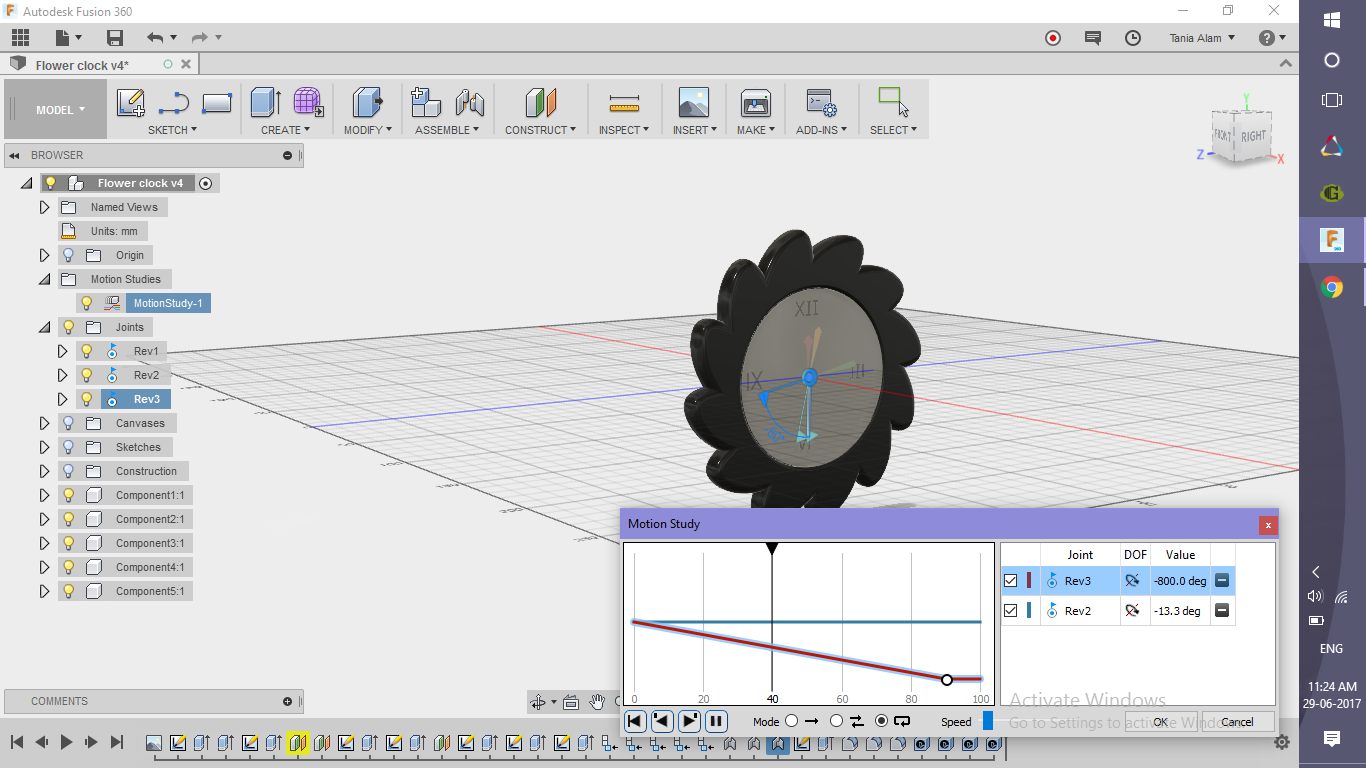
When you like flowers and you are also very punctual, you get this kind of ideas. This clock is only for show but it will actually go "TIK-TOK". To get the feeling you can watch the video file attached at the end of this section. This is a rendered video of the motion study for 5 minutes revolution of the minute and second hands. I've skipped the hour hand as it'll hardly show any rotation in 5 minutes.
Make the Clock Body
.png)
.png)
.png)
.png)
.png)
.png)

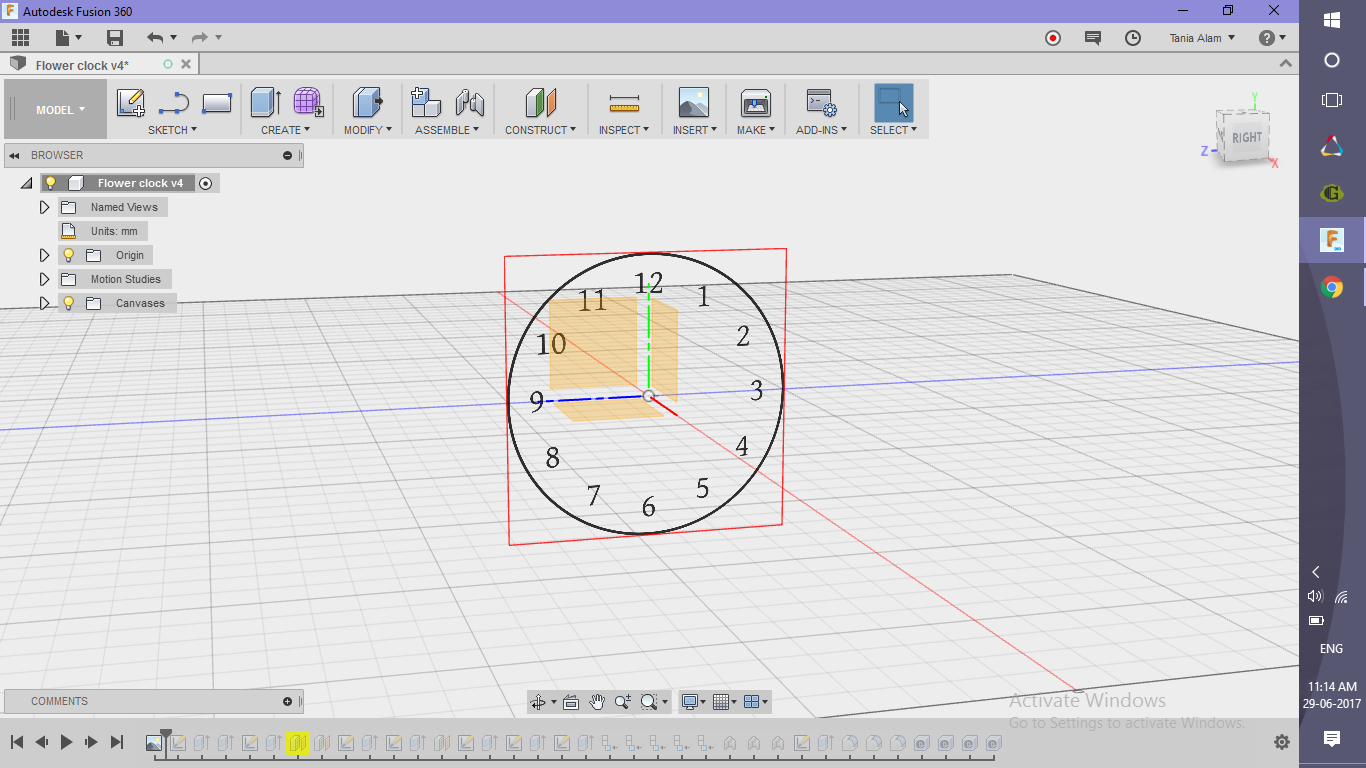
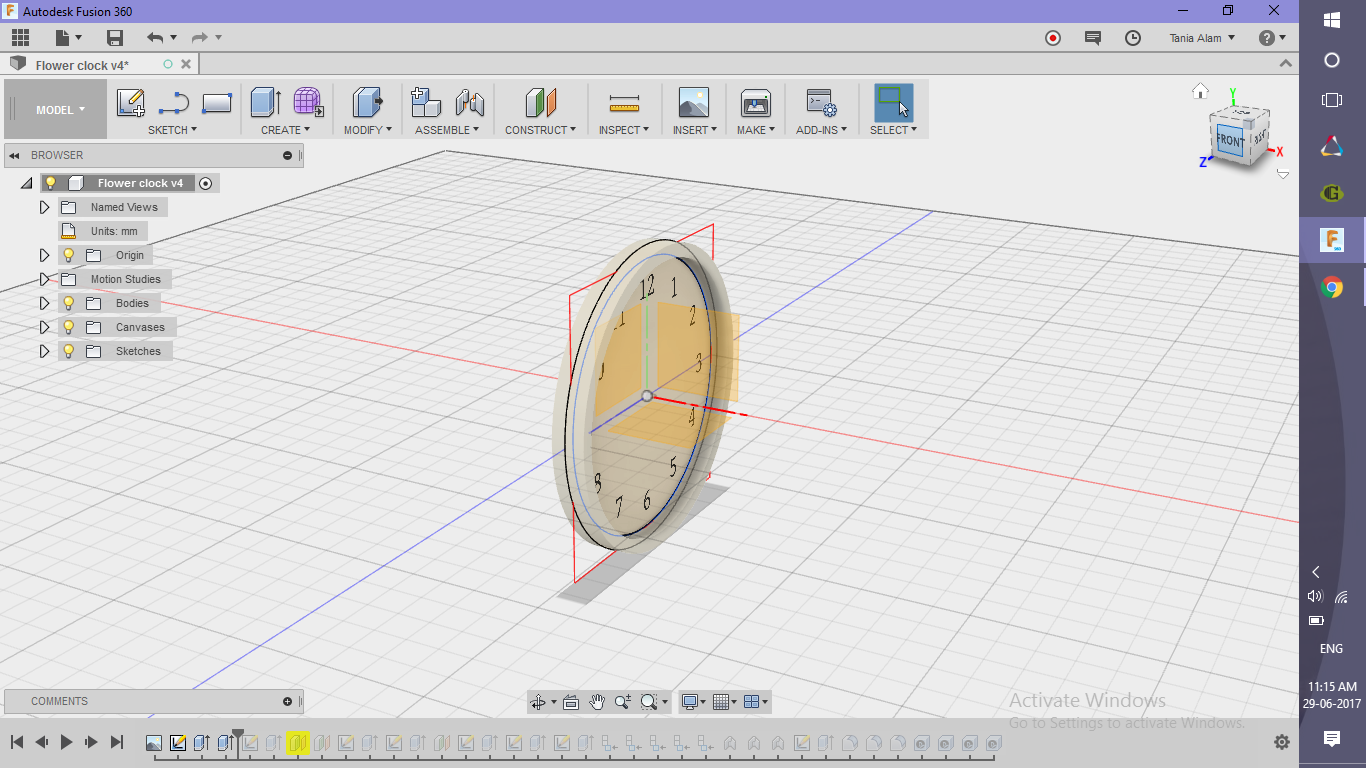
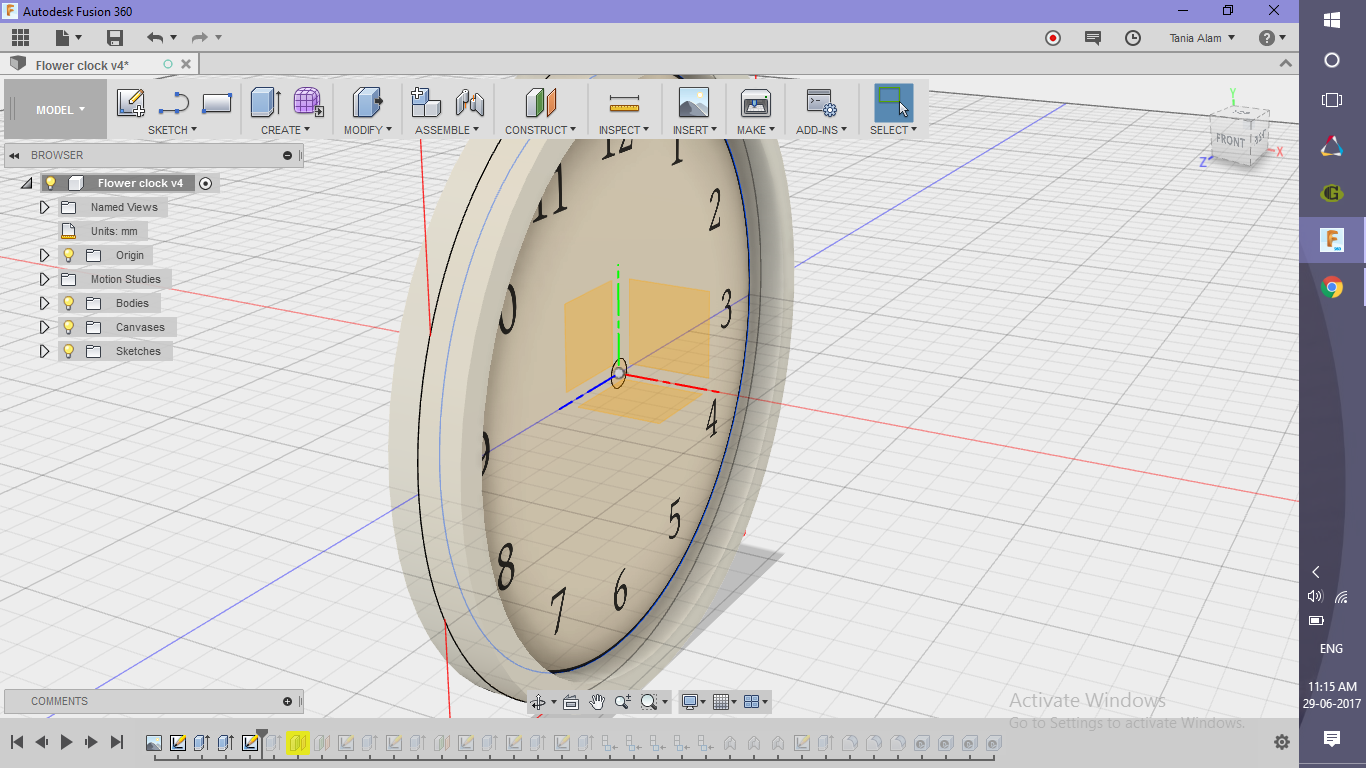
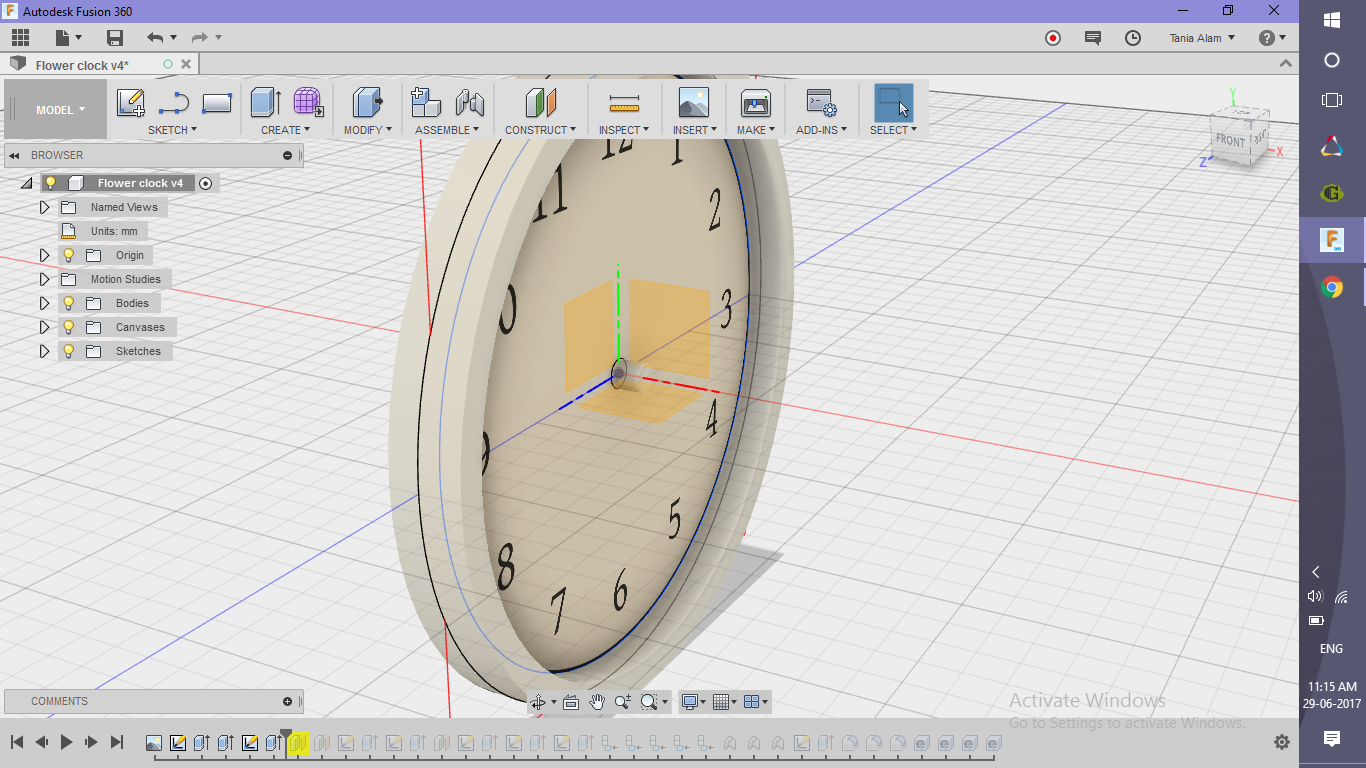
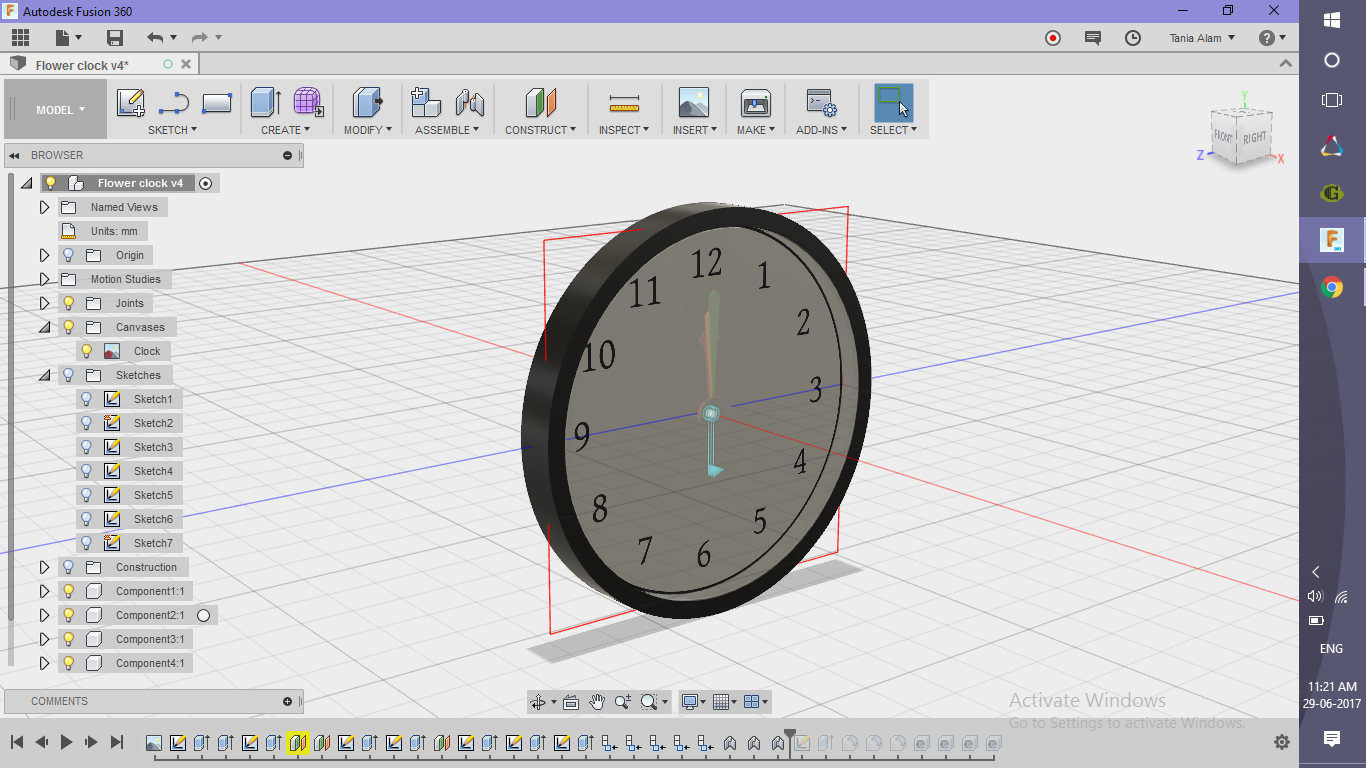
- Attach the given picture of the clock to the vertical plane
- Calibrate it to a suitable size
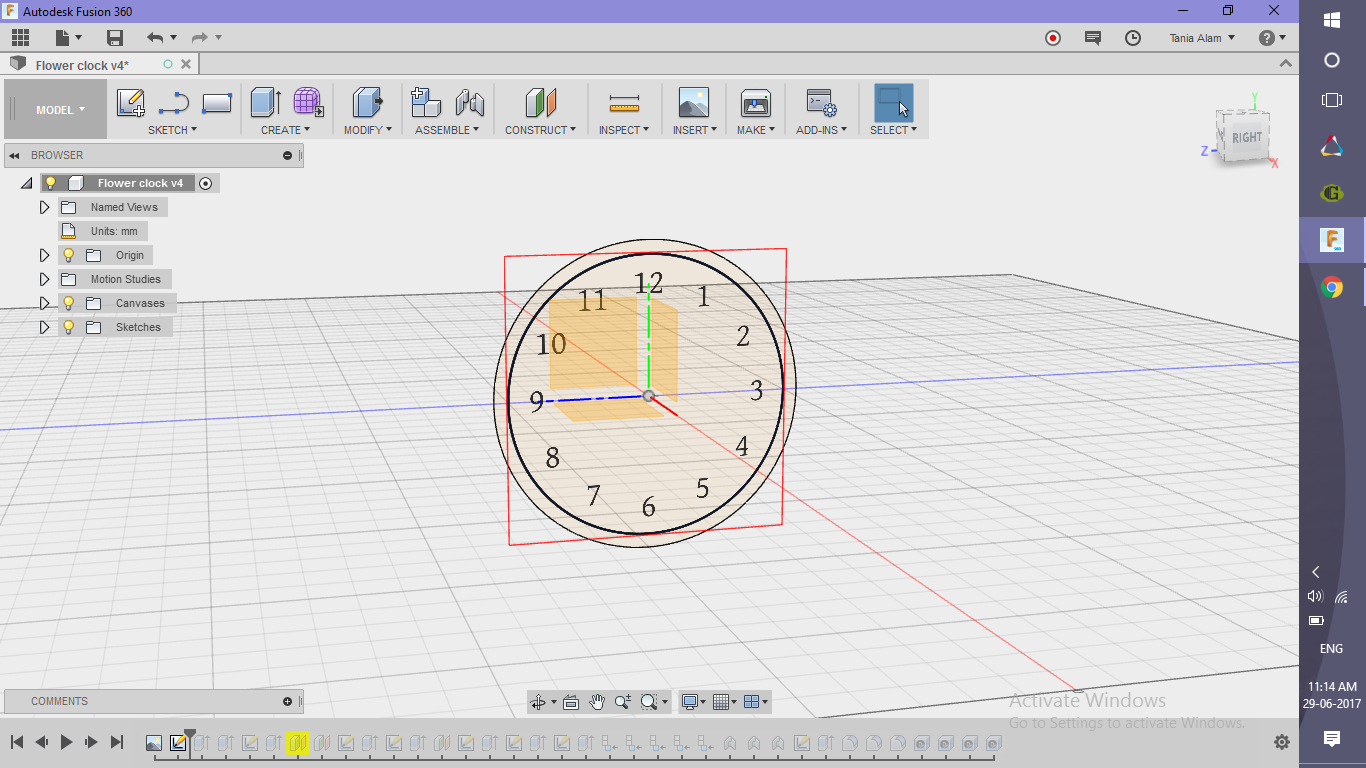
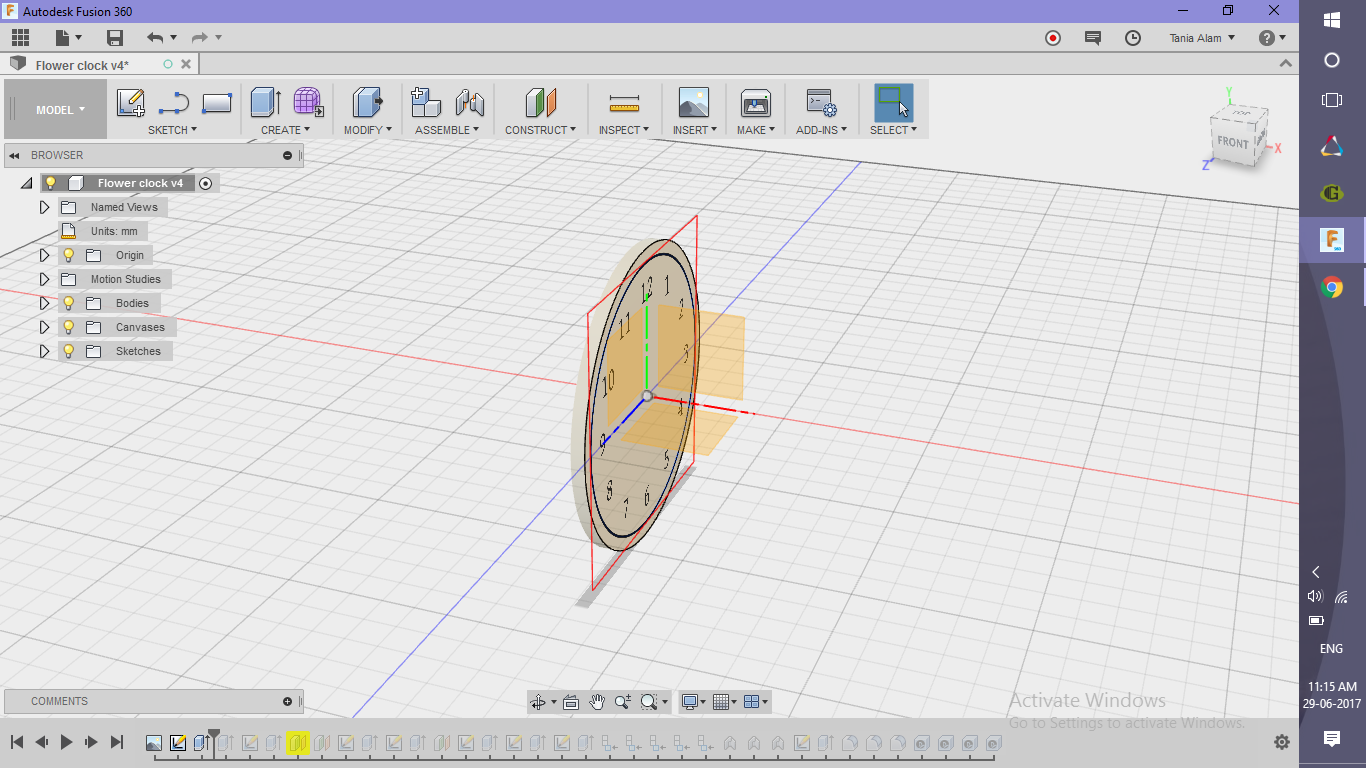
- Sketch two circles and extrude them to make the clock body
Make the Clock Hands
.png)
.png)
.png)
.png)
.png)
.png)
.png)
.png)
.png)
.png)
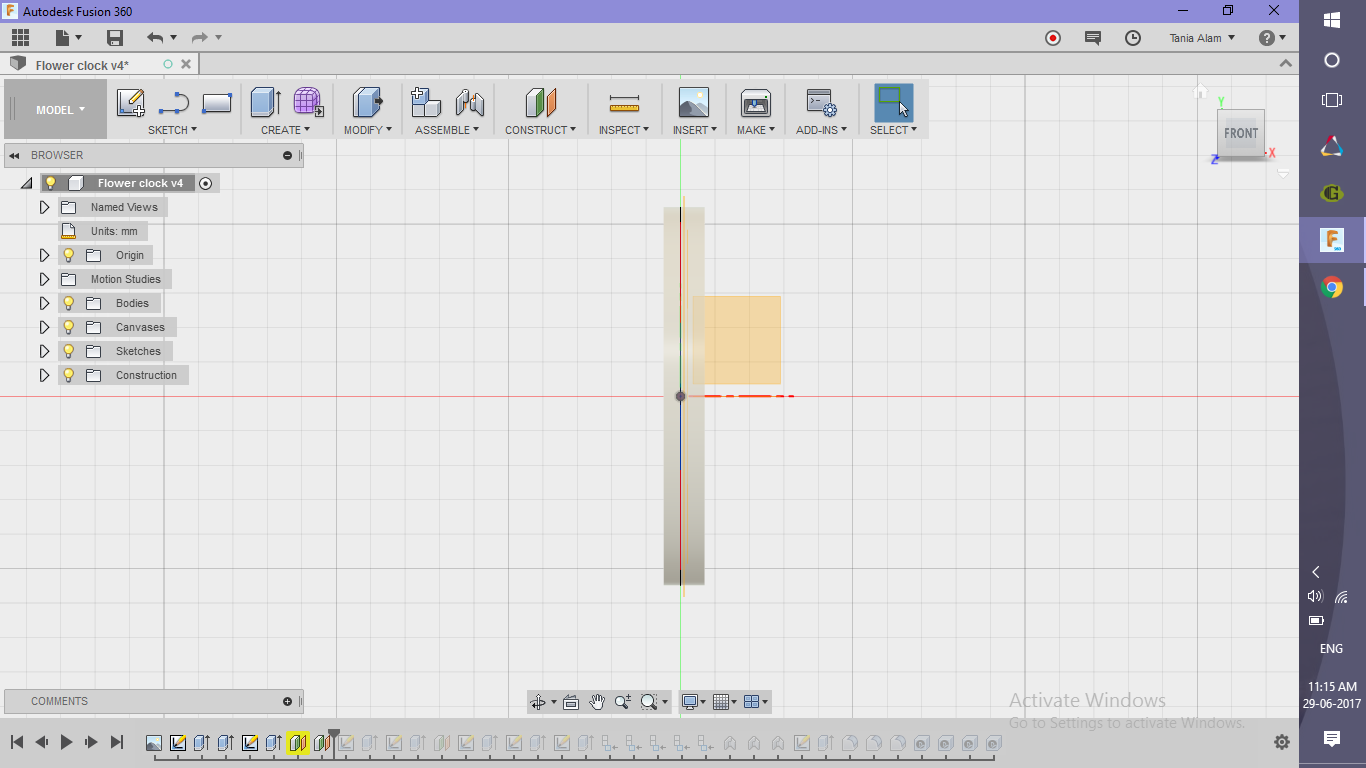
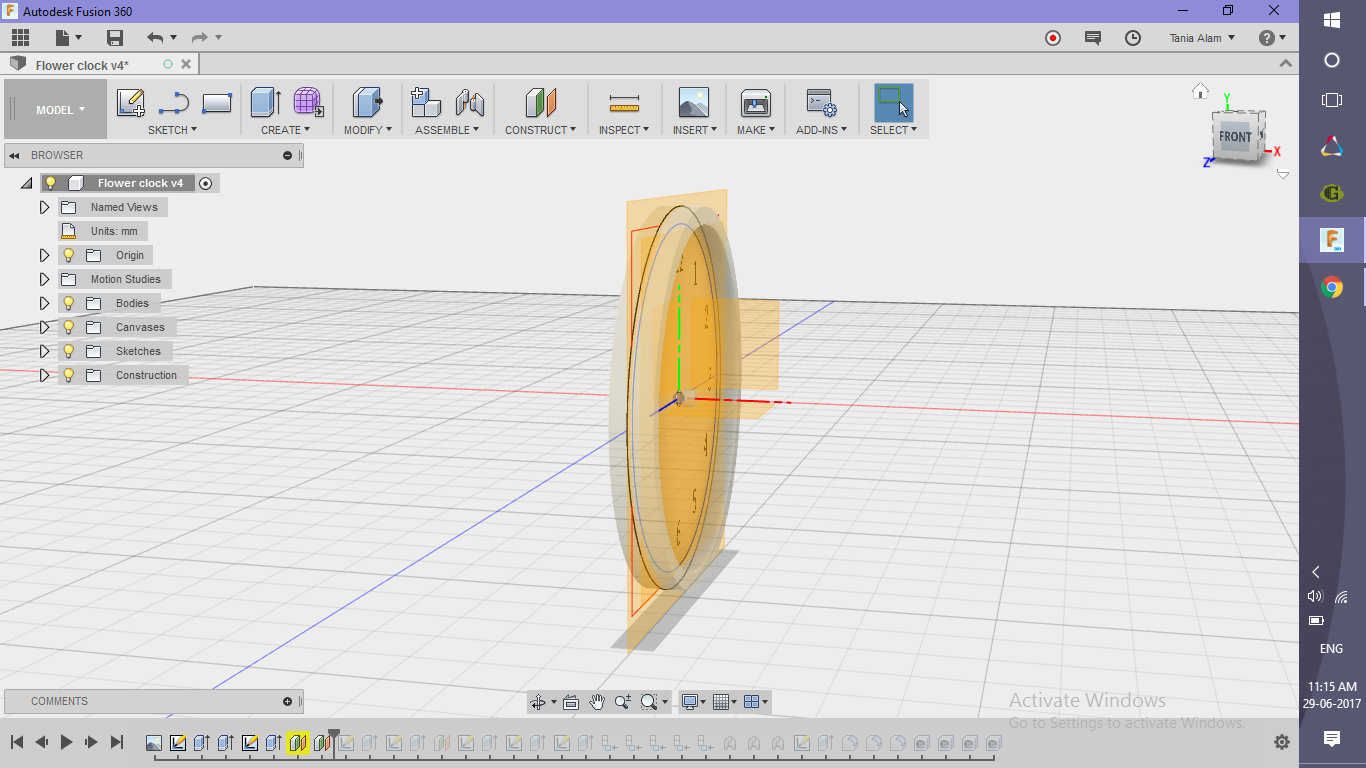
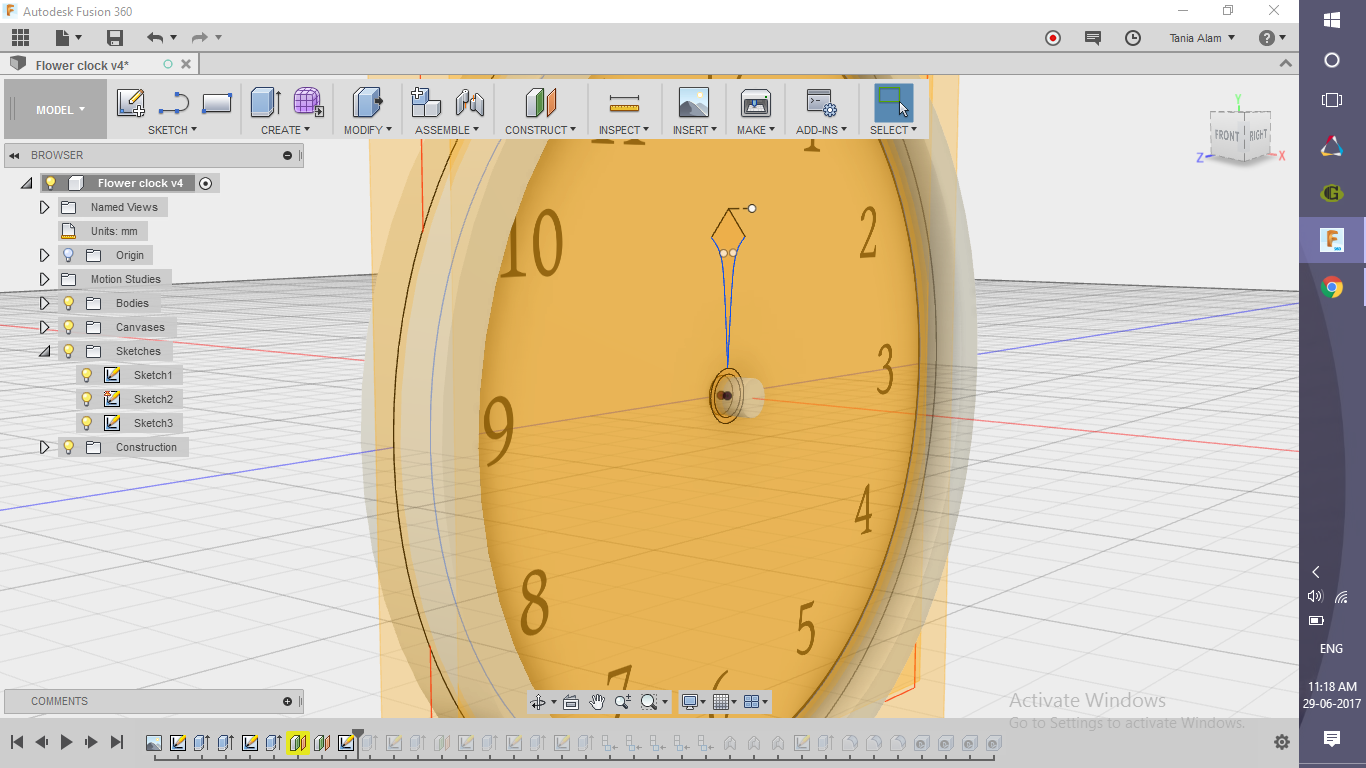
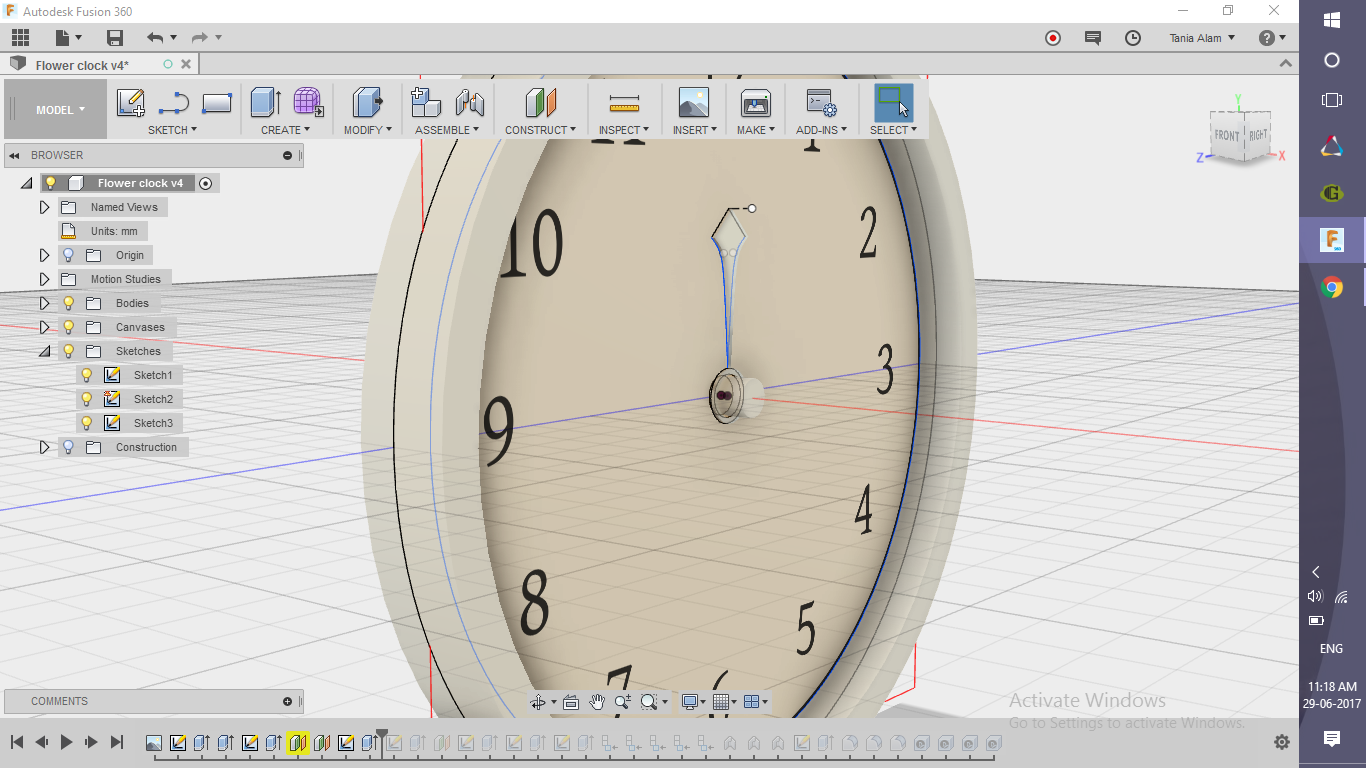
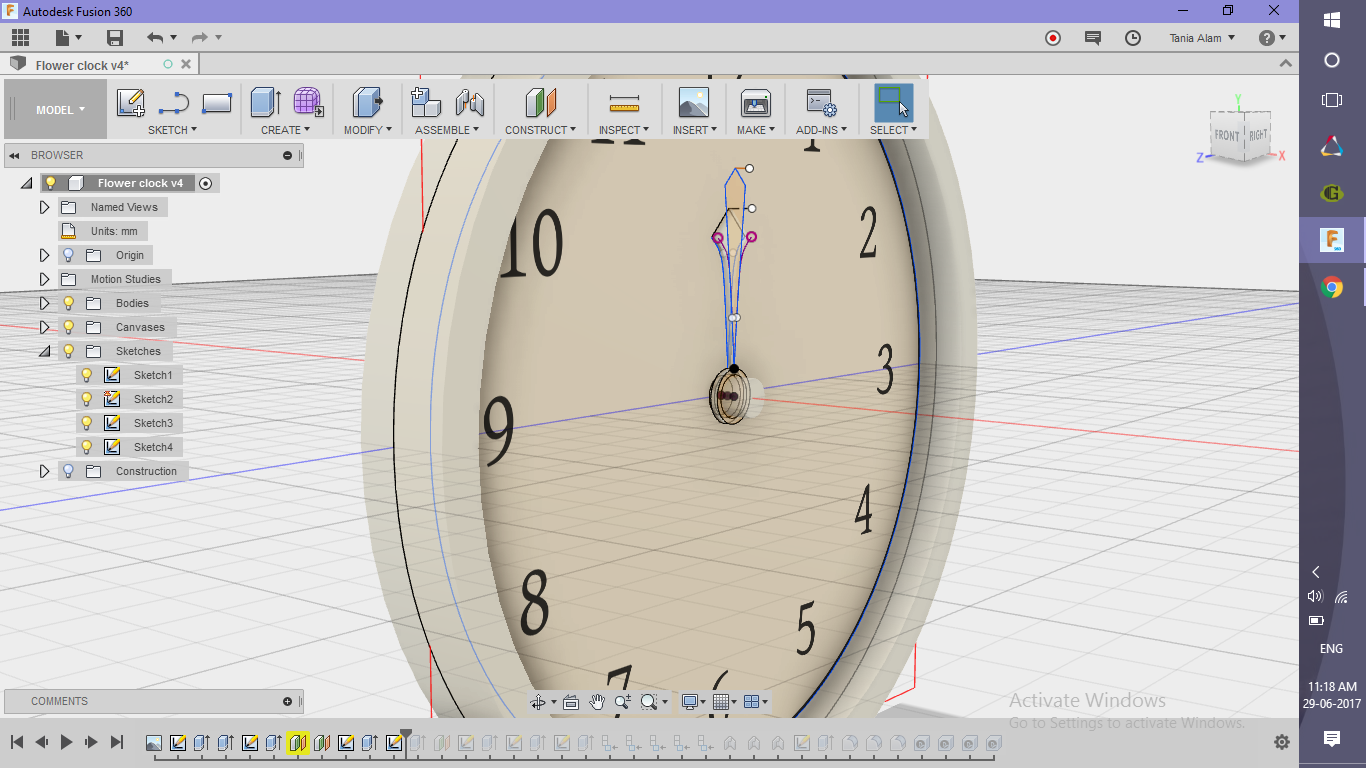
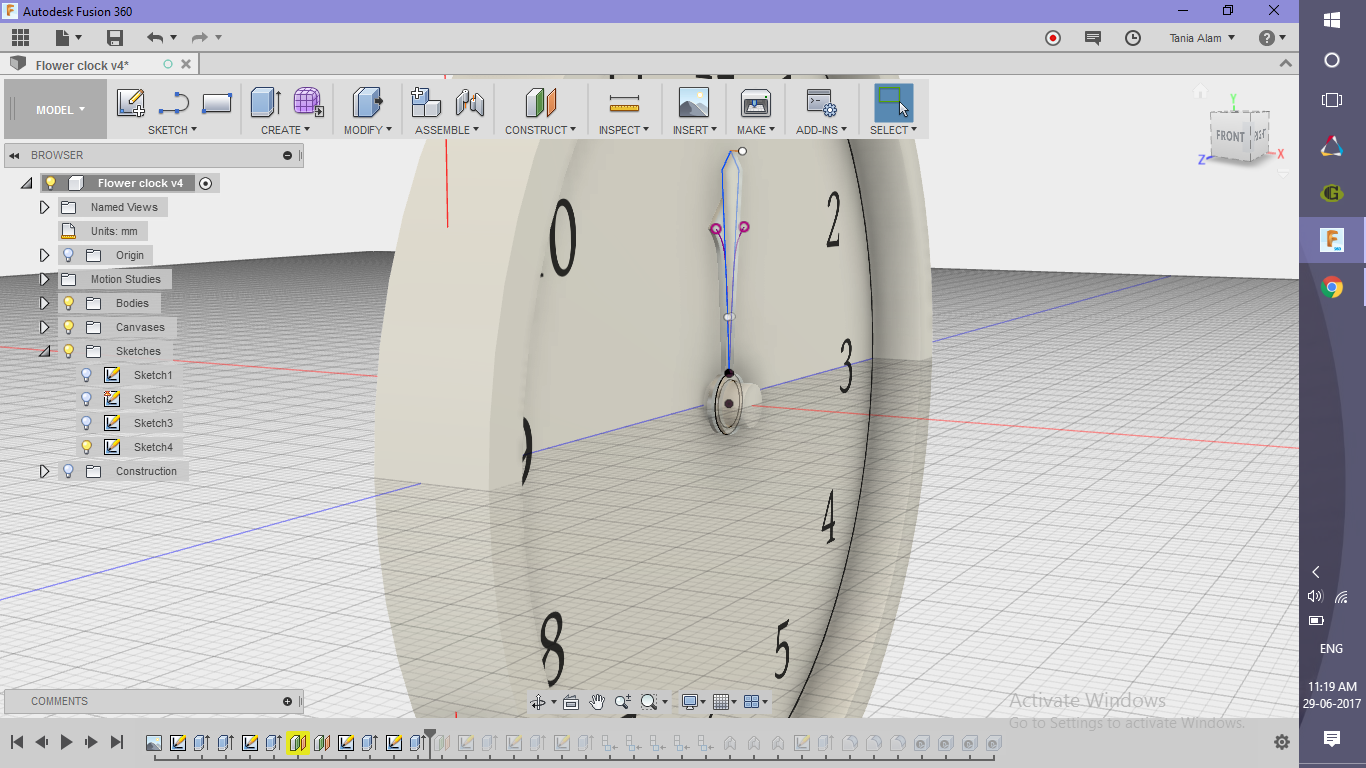
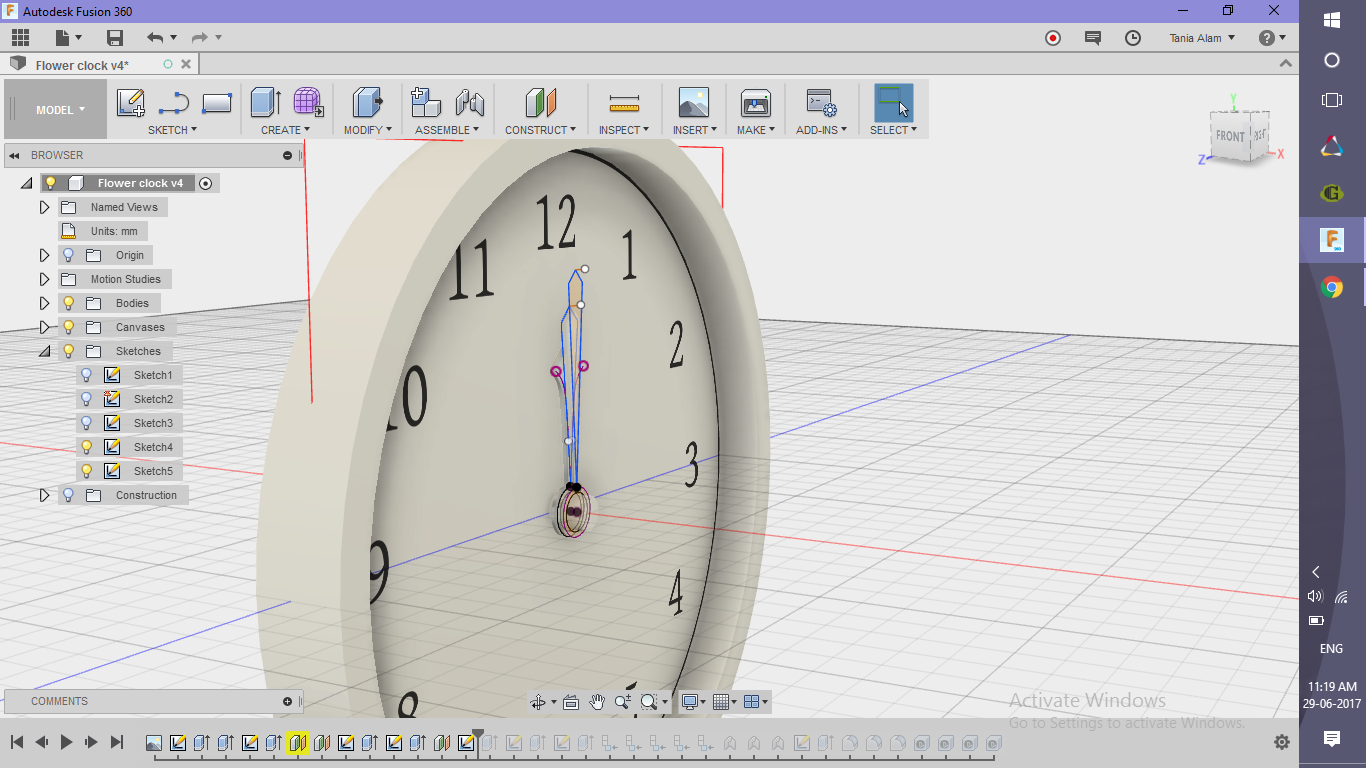
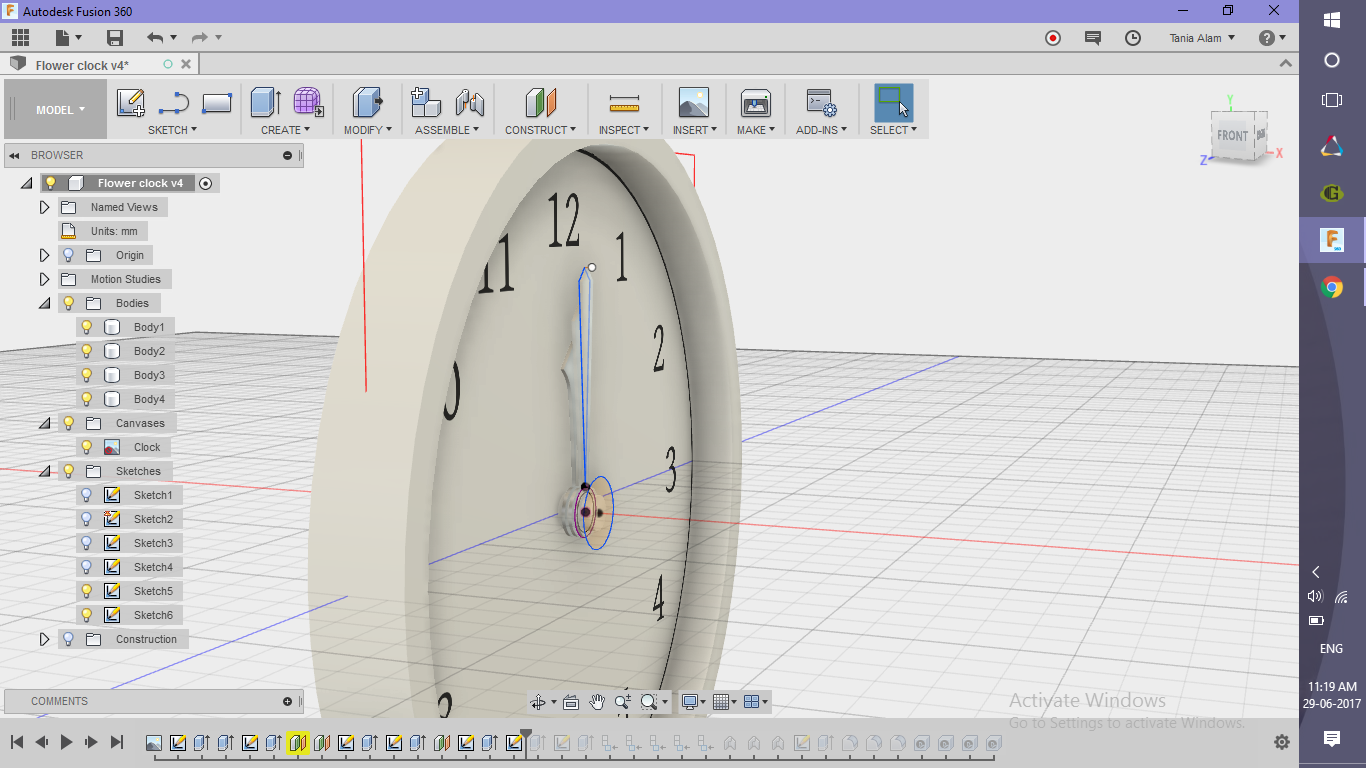
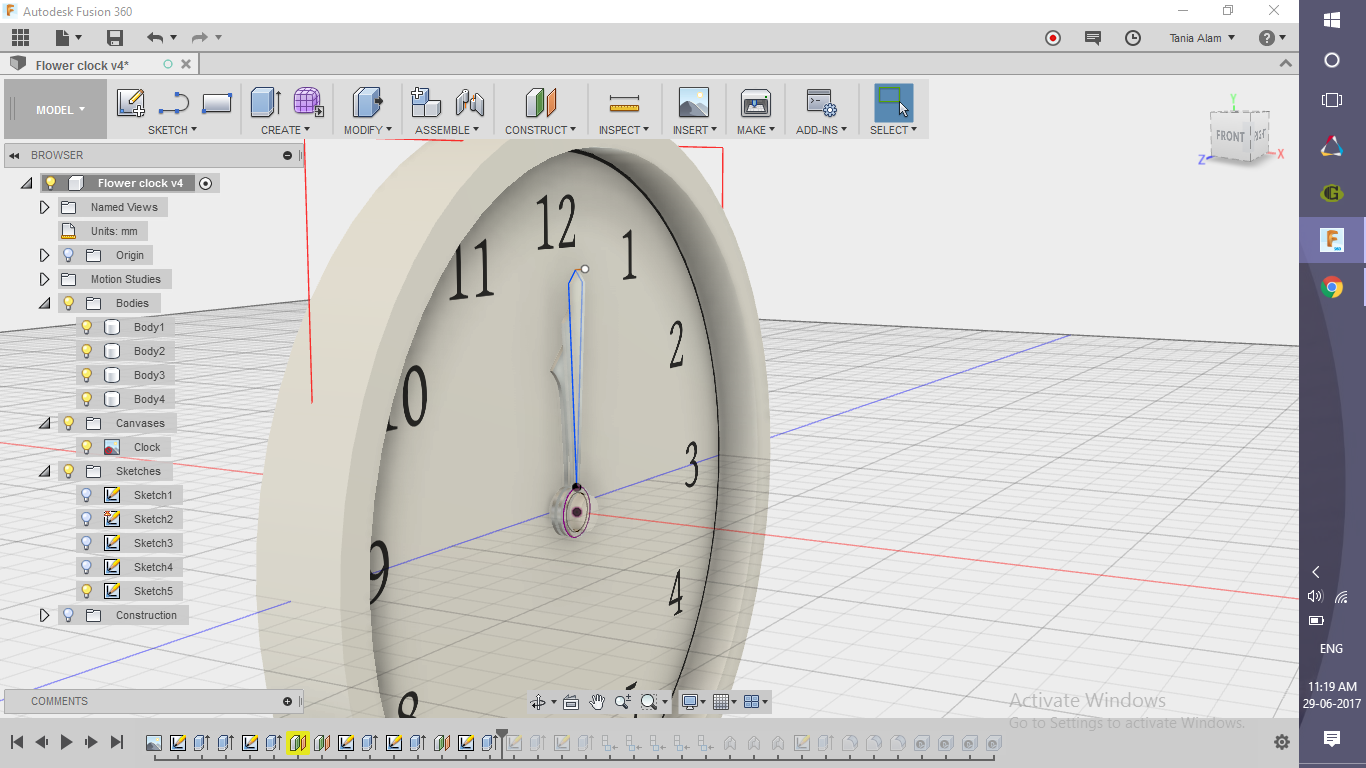
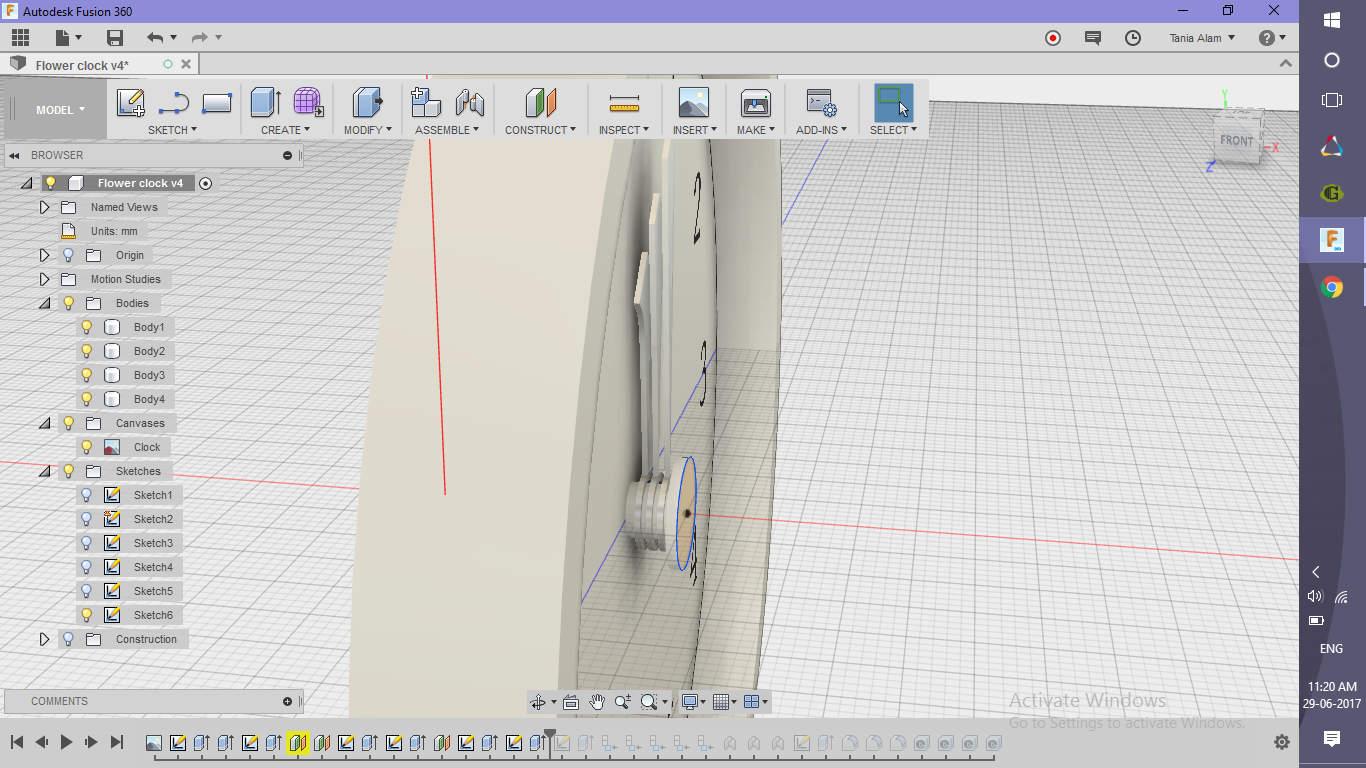
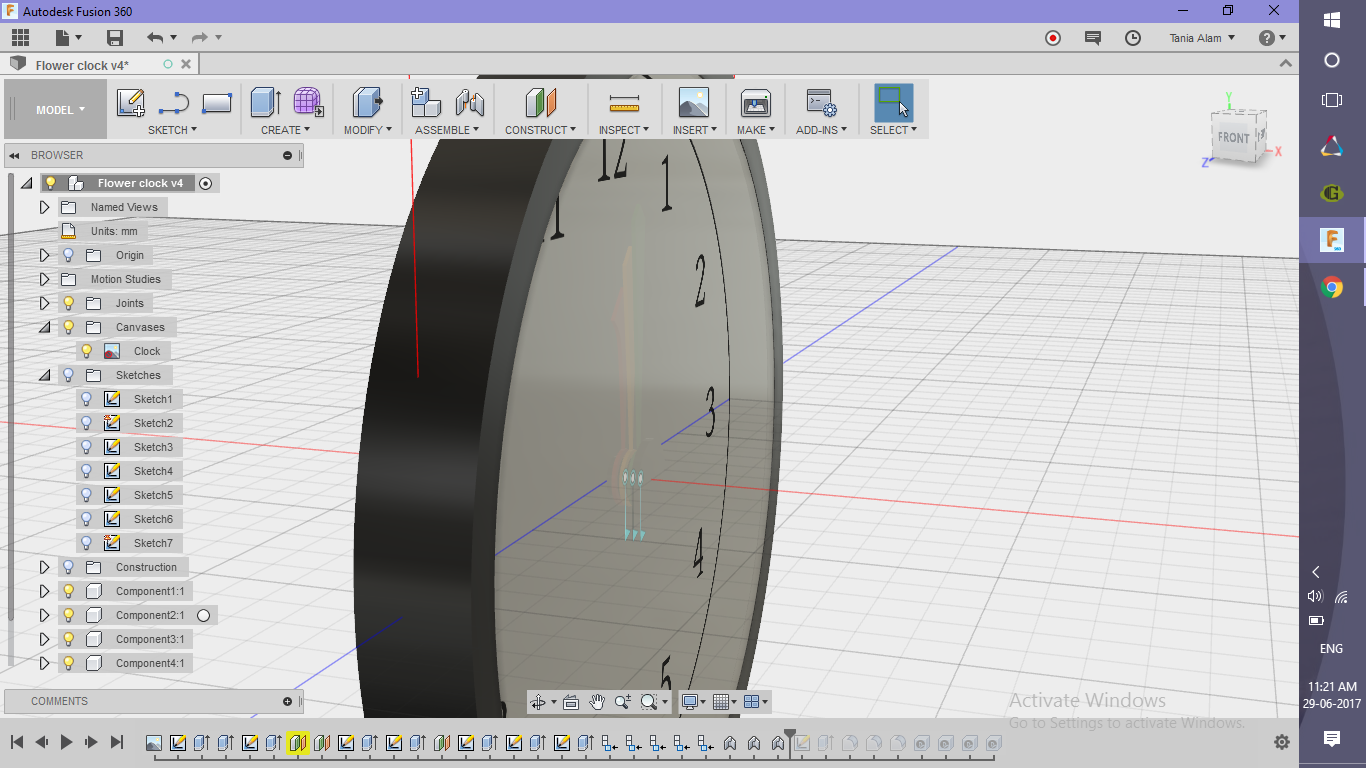
- Create 3 construction planes using "Offset Plane" command (offset= 1mm)
- Sketch the profiles of the hour, minute and second hands on each plane and extrude them (0.5 mm)
Make the Front Glass
.png)
.png)
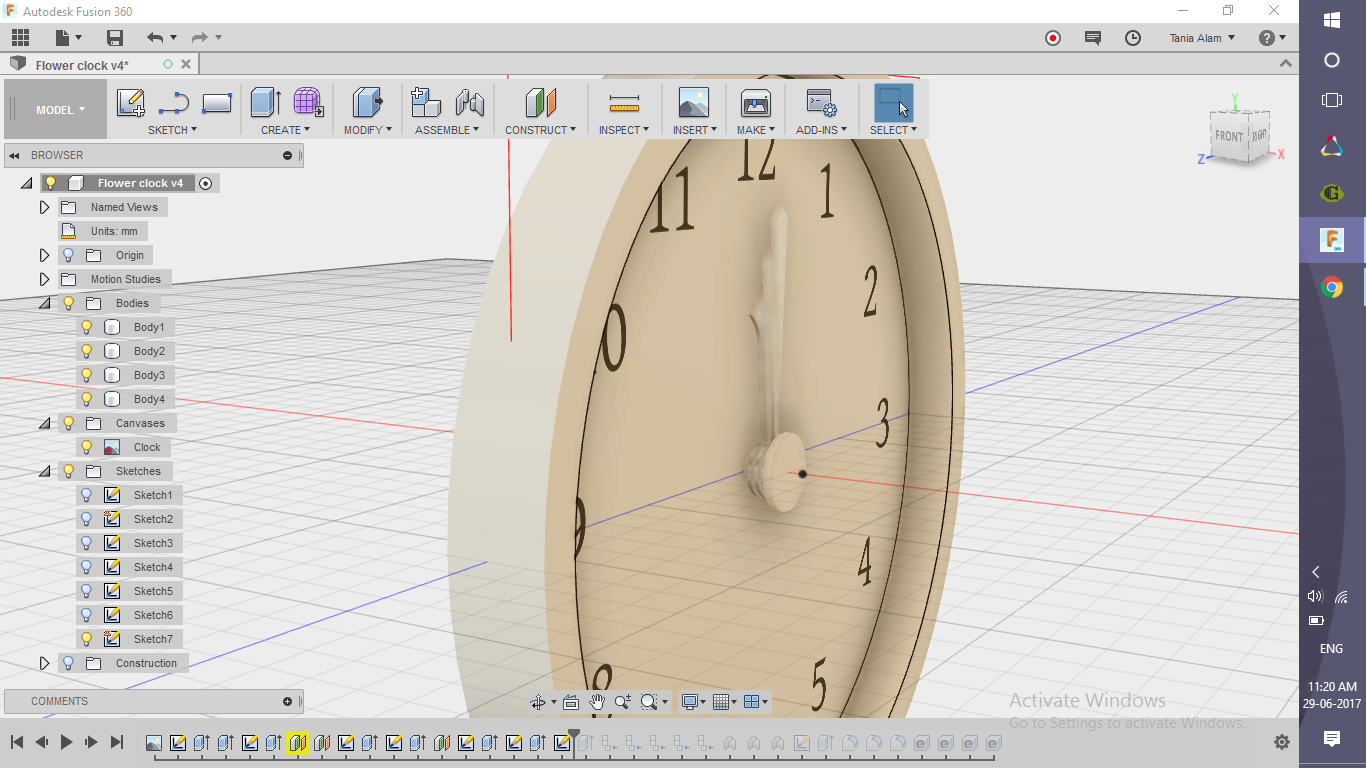
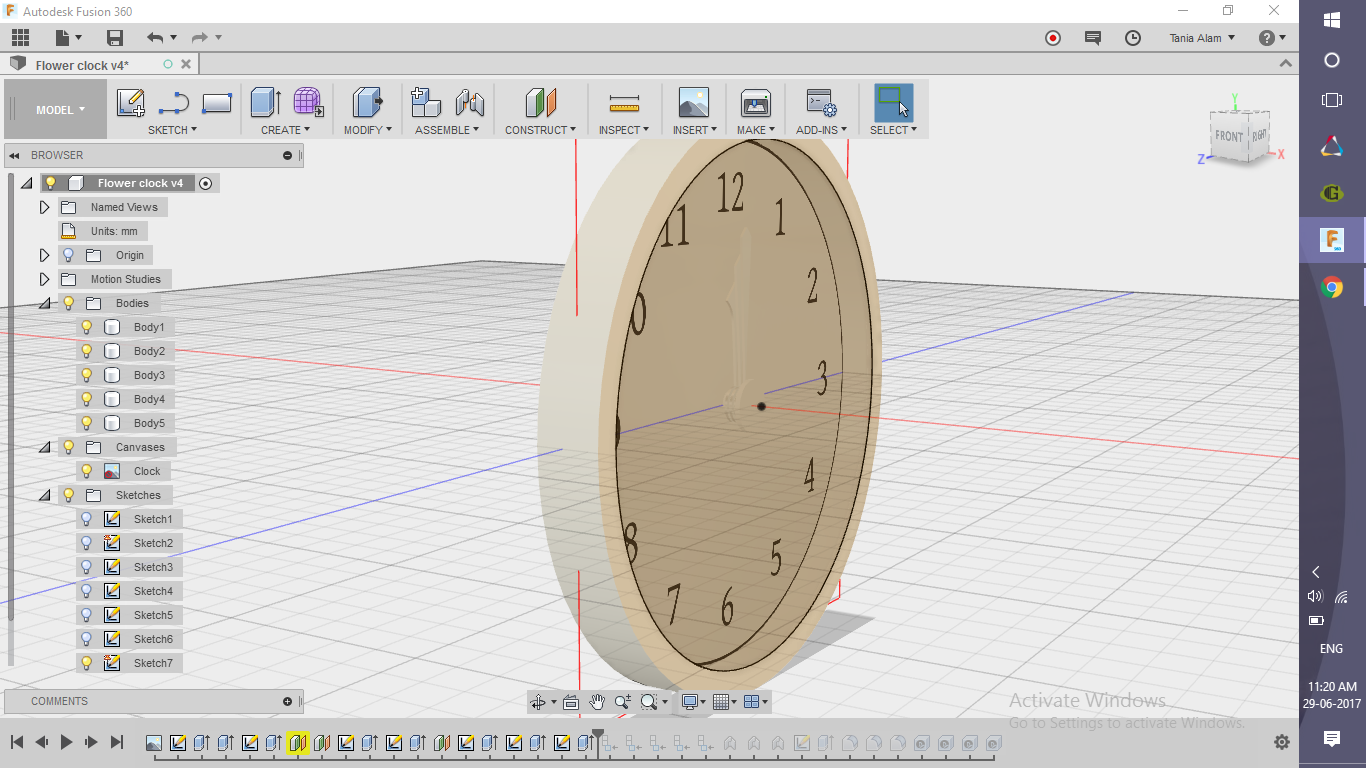
- Create a sketch of a circle on the front plane
- Extrude it to some distance (1.5 to 2 mm)
Give It the Appearance of a Flower
.png)
.png)
.png)
.png)
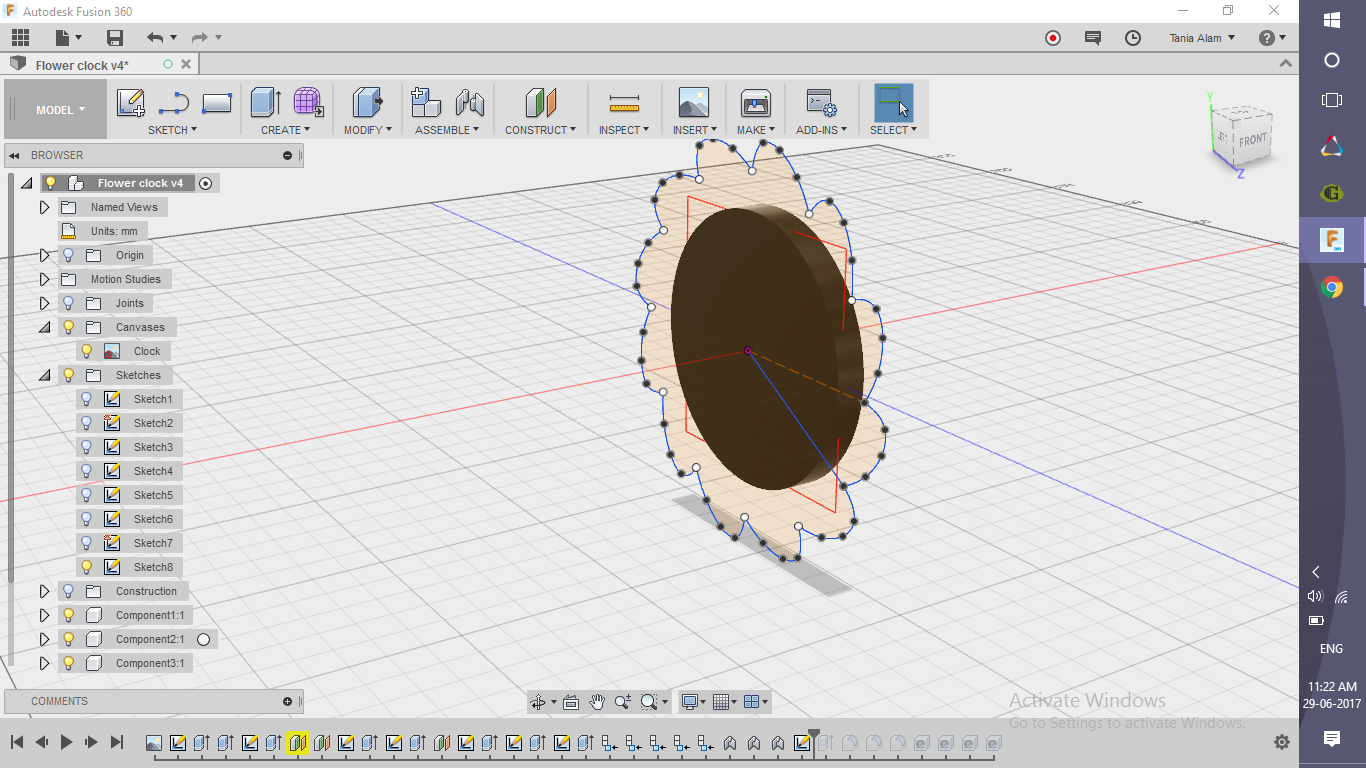
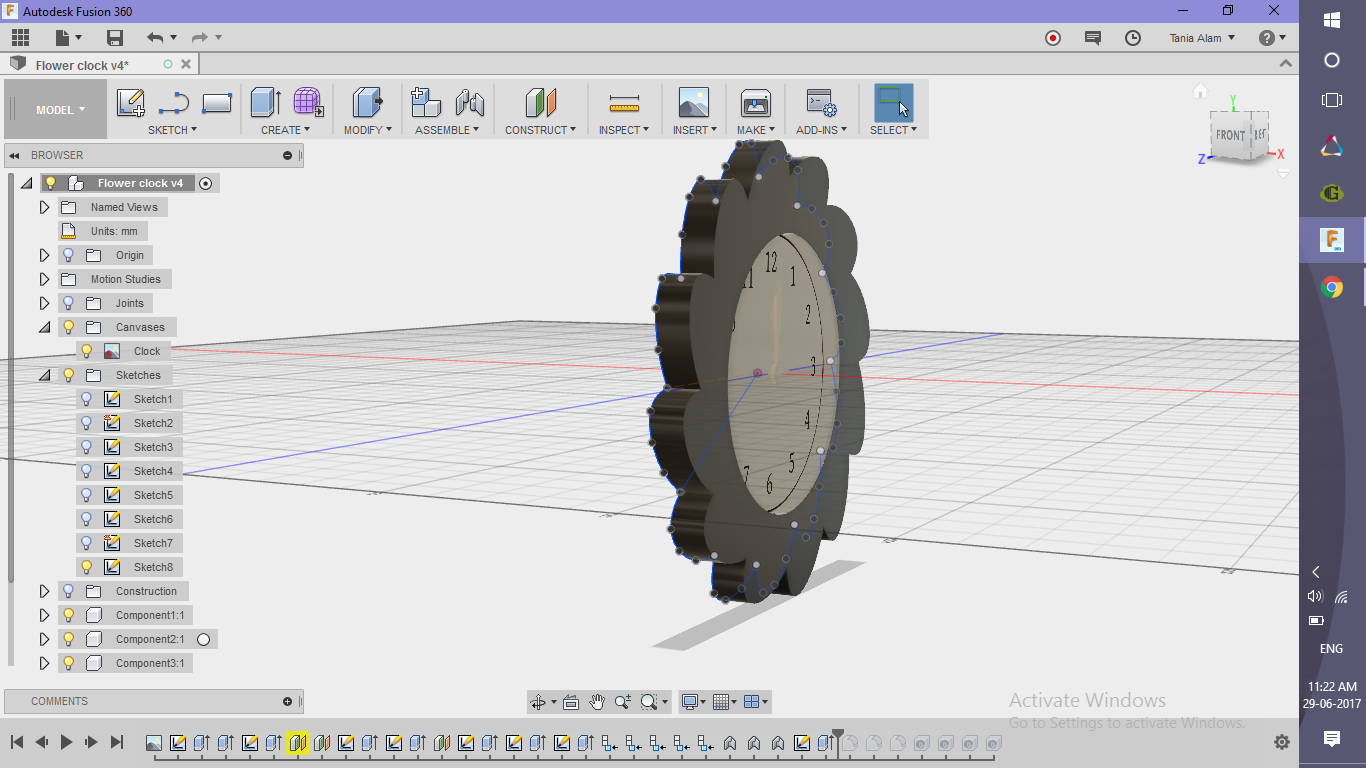
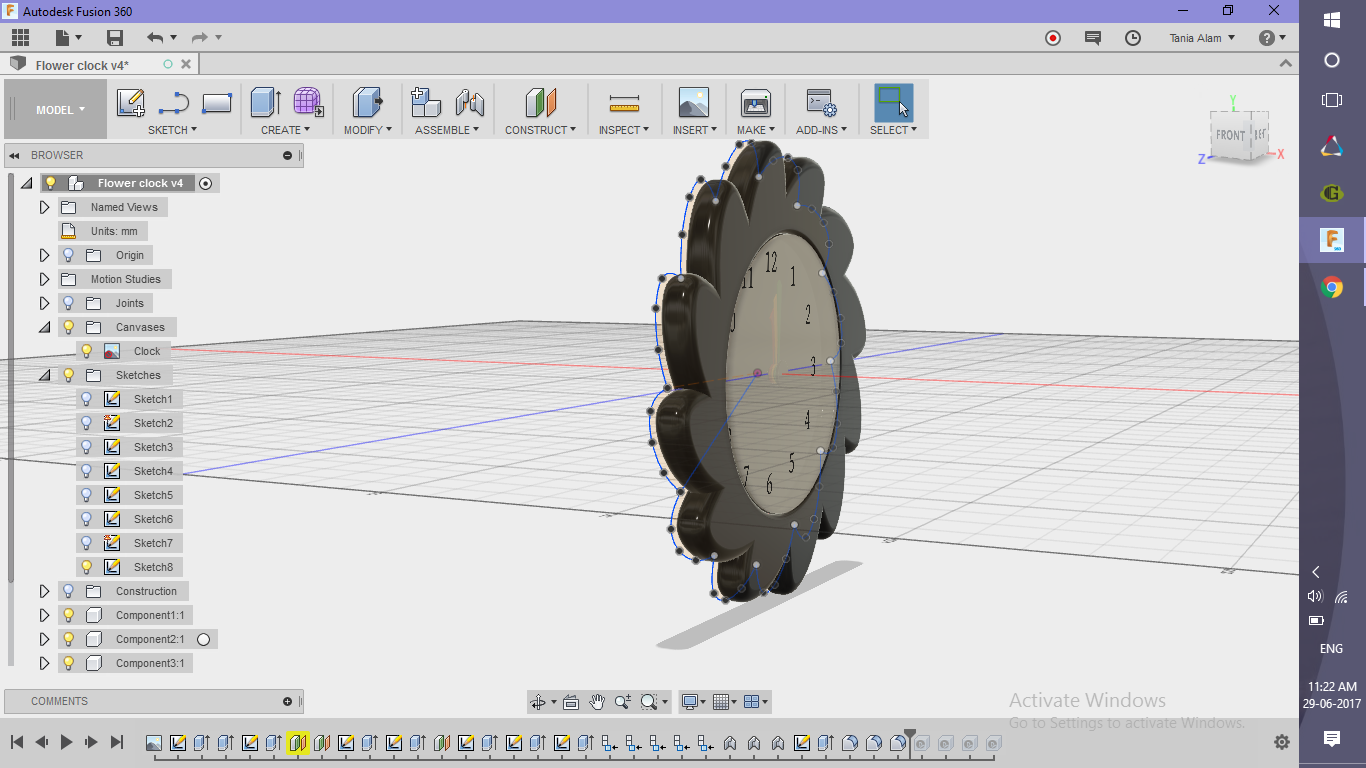
- Create a sketch on the back side of the clock
- Use line, spline, circular pattern commands
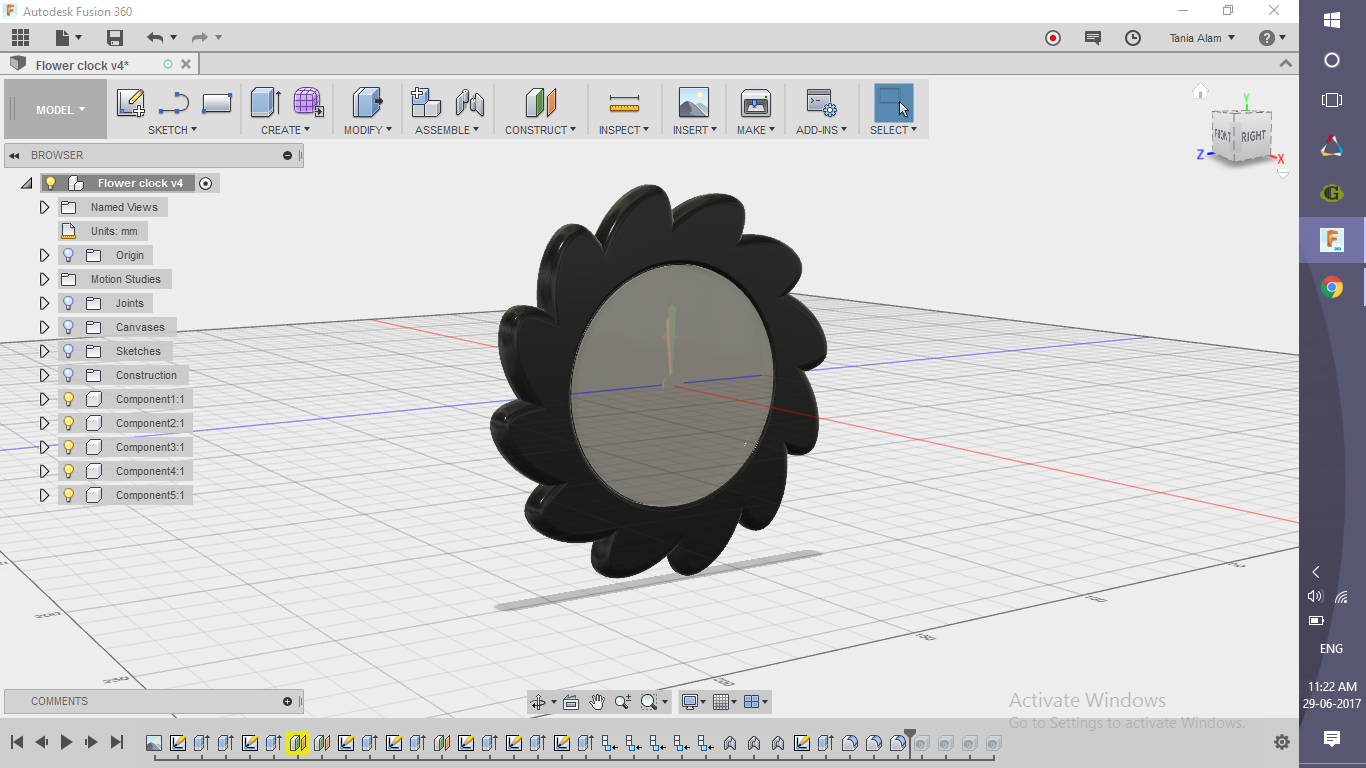
- Extrude it
- Add fillets to the outermost side
Add the Numbers
.png)


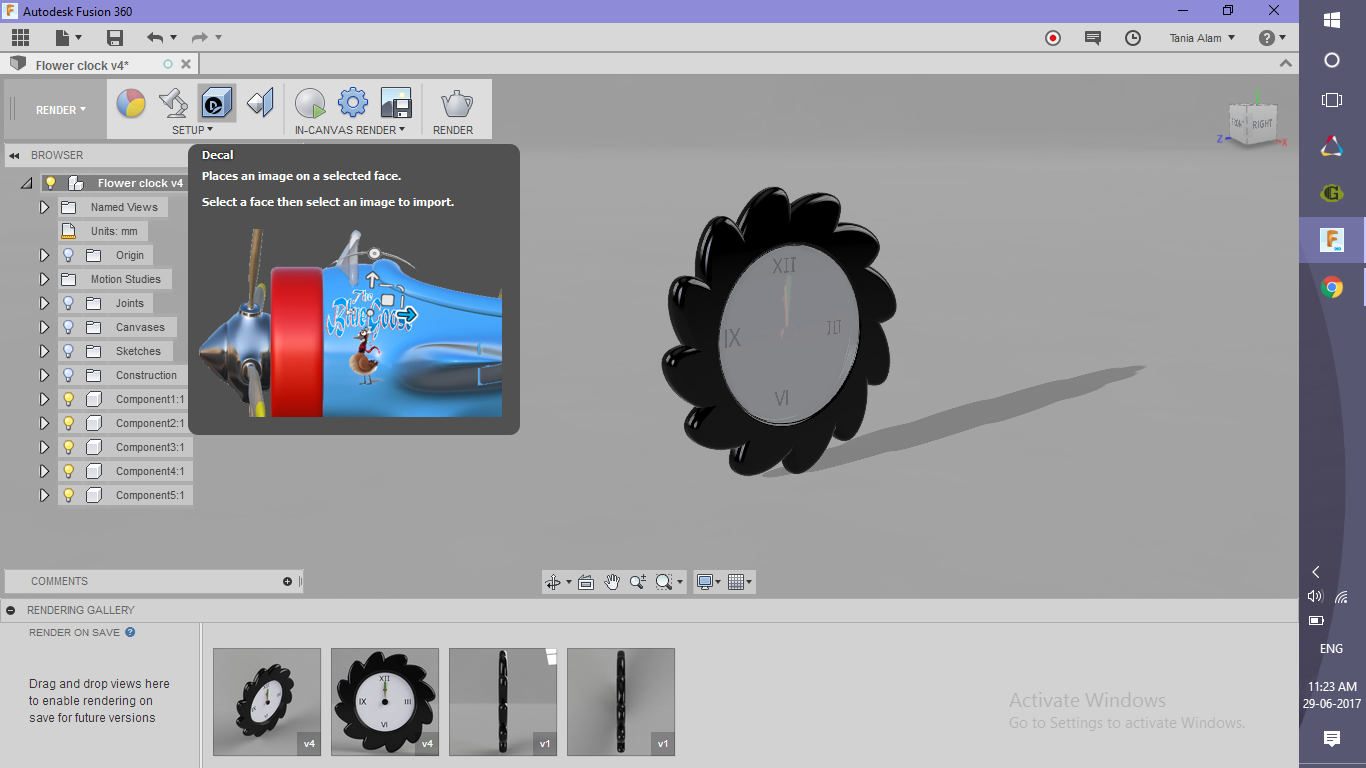
Turn off the visibility of the canvas and add some numbers on the plane as decals to give it the appearance of a clock. I've used only Roman III, VI, IX and XII and I've attached those images for you to use. You can use 3, 6, 9 and 12. Also, if you wish you can add all those numbers from 1 to 12.
Make It Work (optional)
.png)
.png)
.png)
.png)
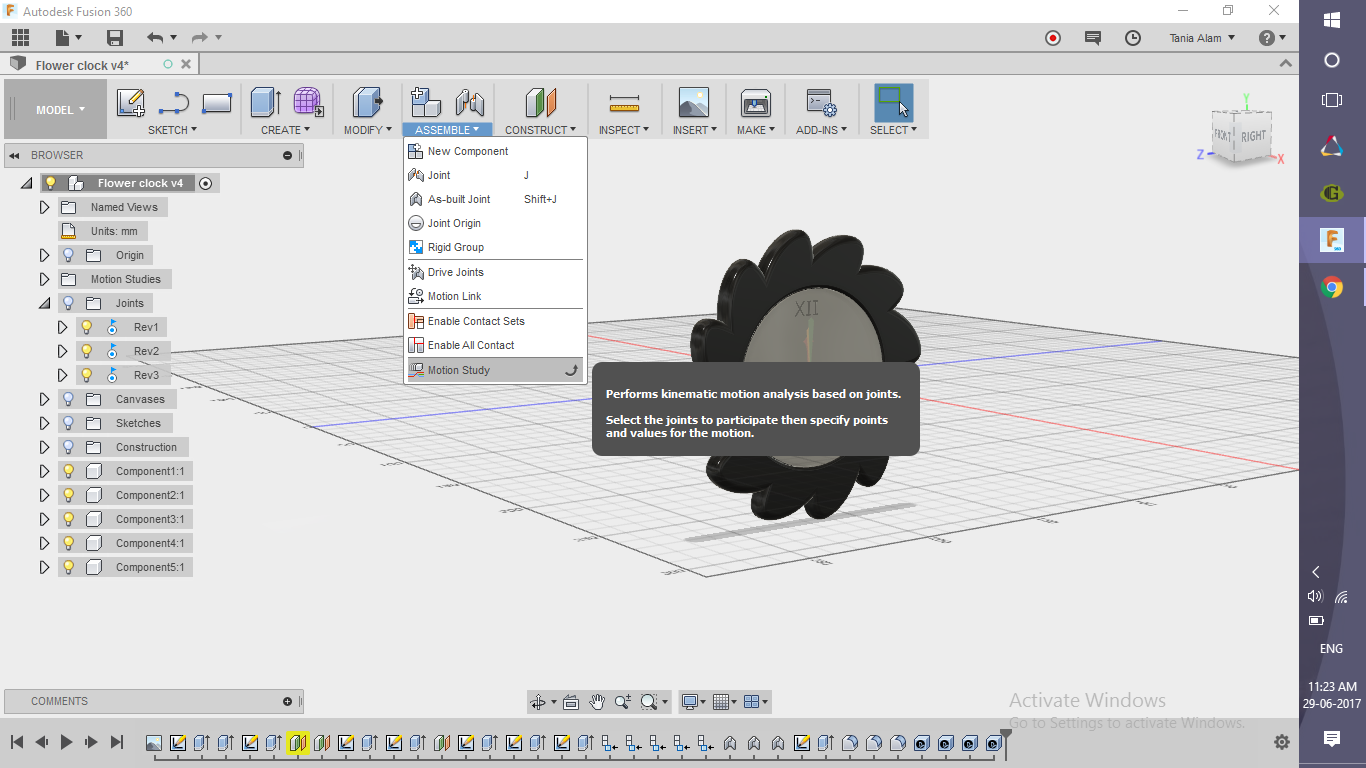
- Add three revolute joints between the clock and each hand
- Create a motion study using the minute and second hand
Get the Renderings
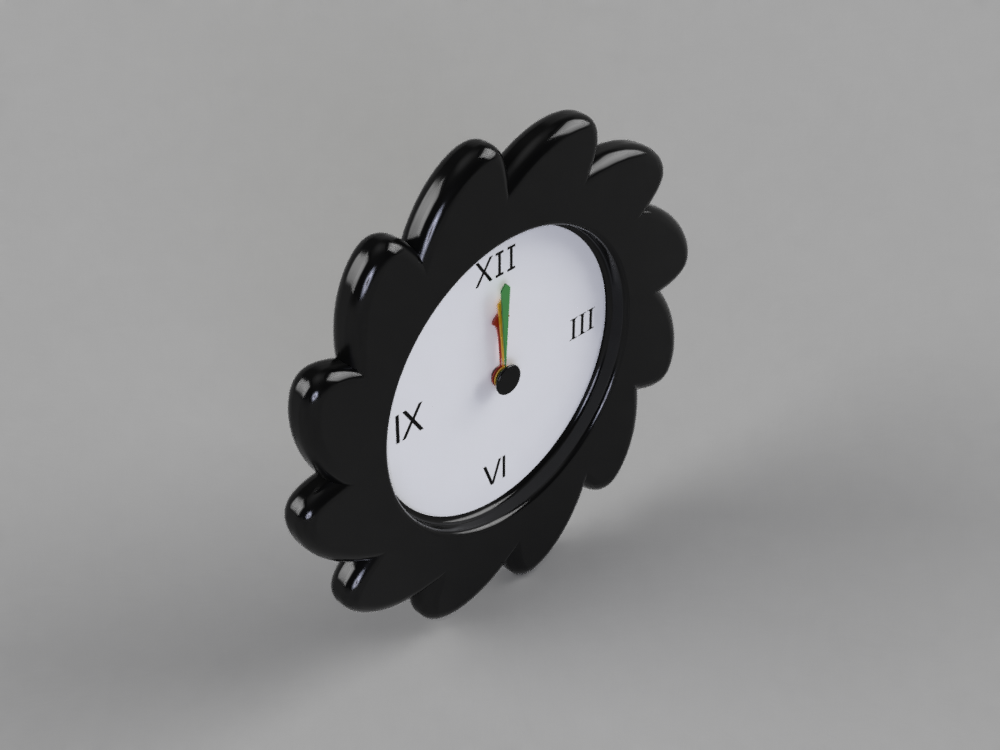
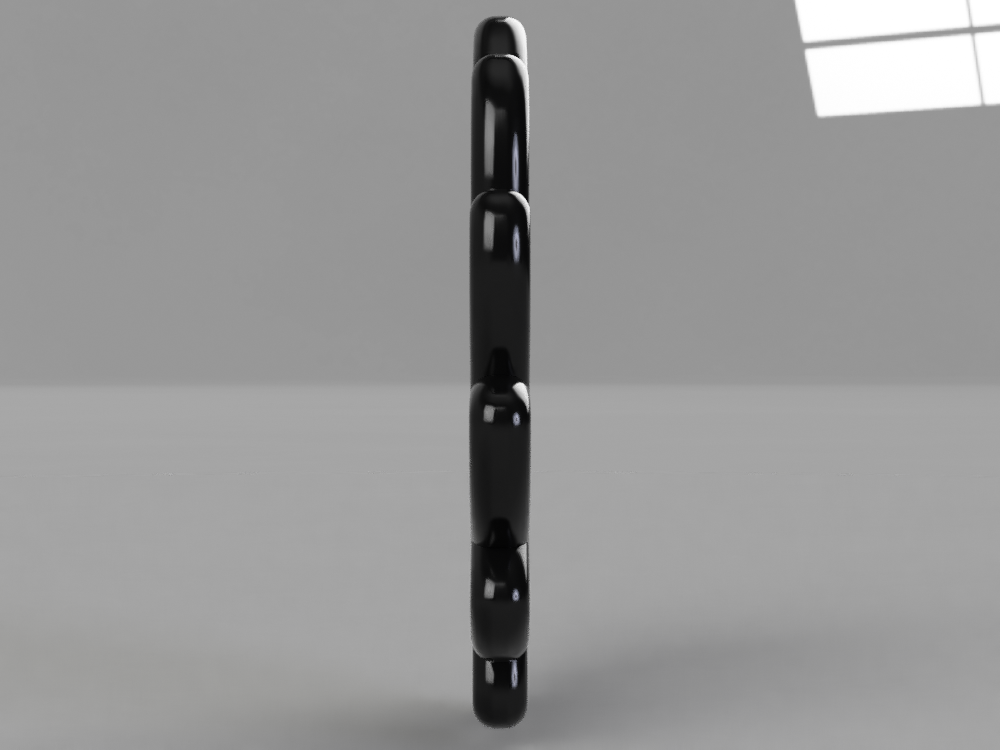
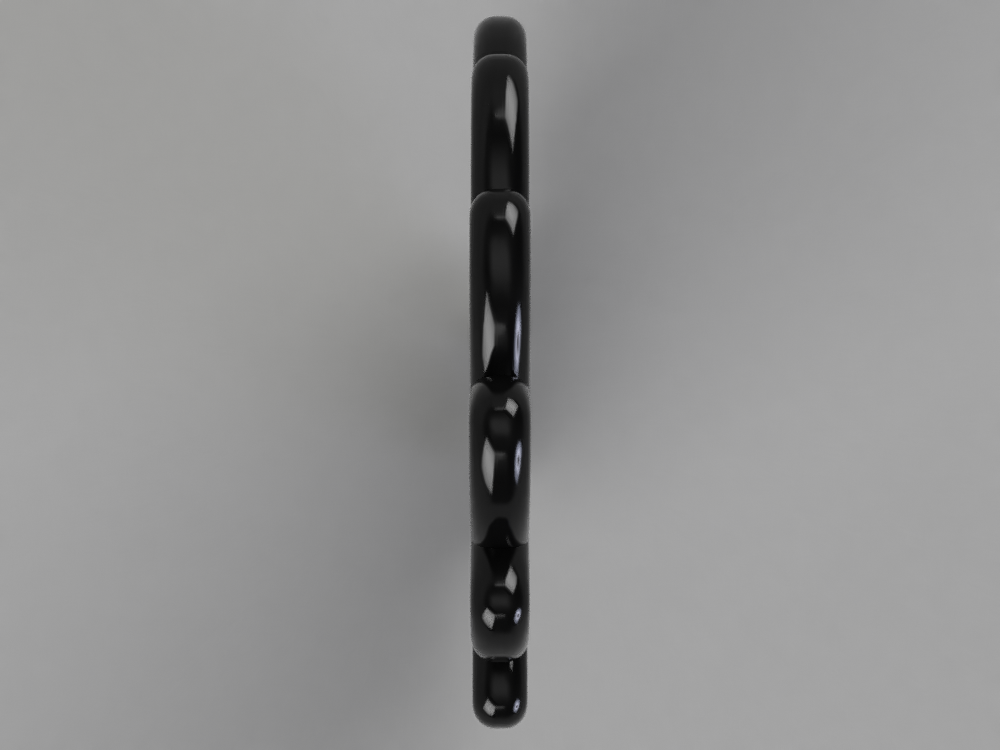
Once you save the file, rendering will start automatically. If you have created the motion study, choose a view and render it as the motion study.
Please share your rendering here using the "I Made It" button. I'm eager to see those!