The First Usage of Intel Edison
by Bay Yolal in Circuits > Arduino
5297 Views, 19 Favorites, 0 Comments
The First Usage of Intel Edison
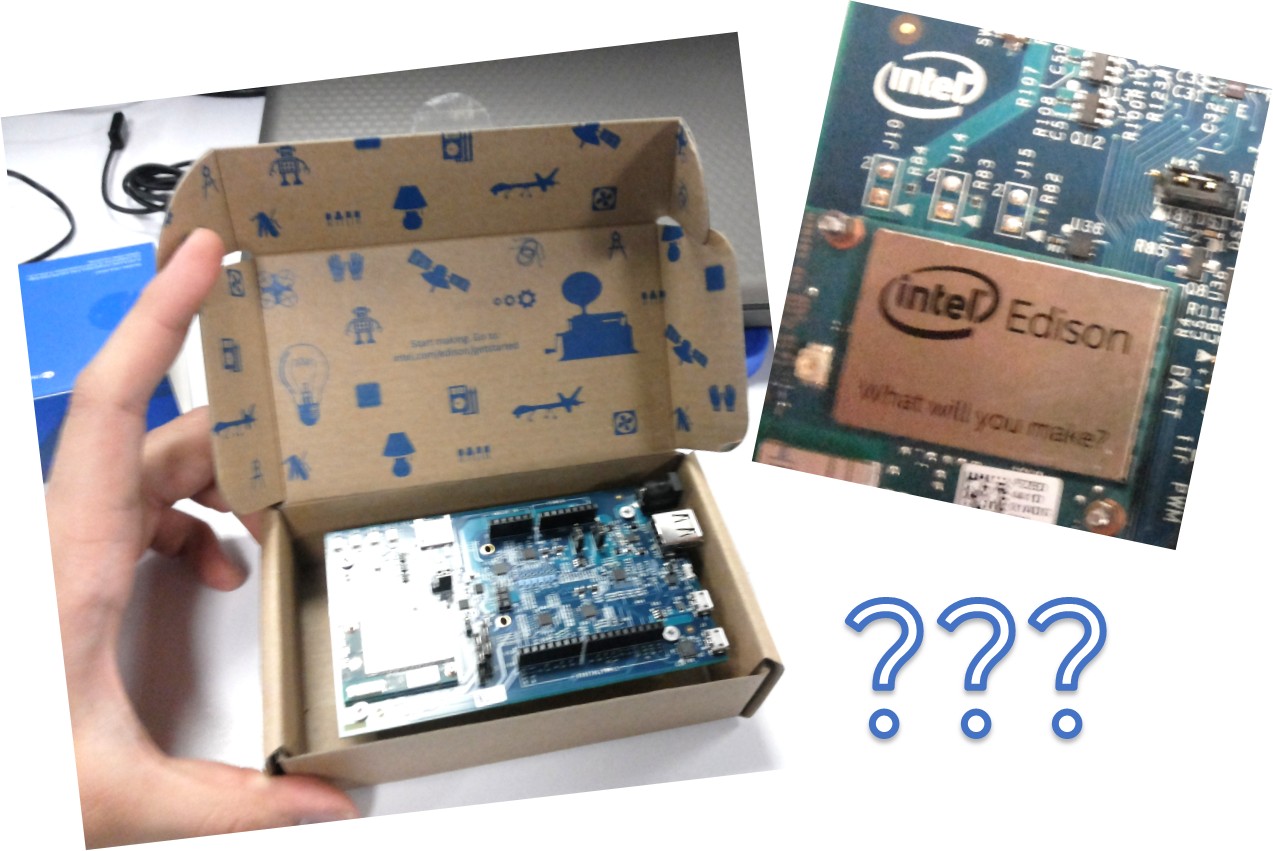
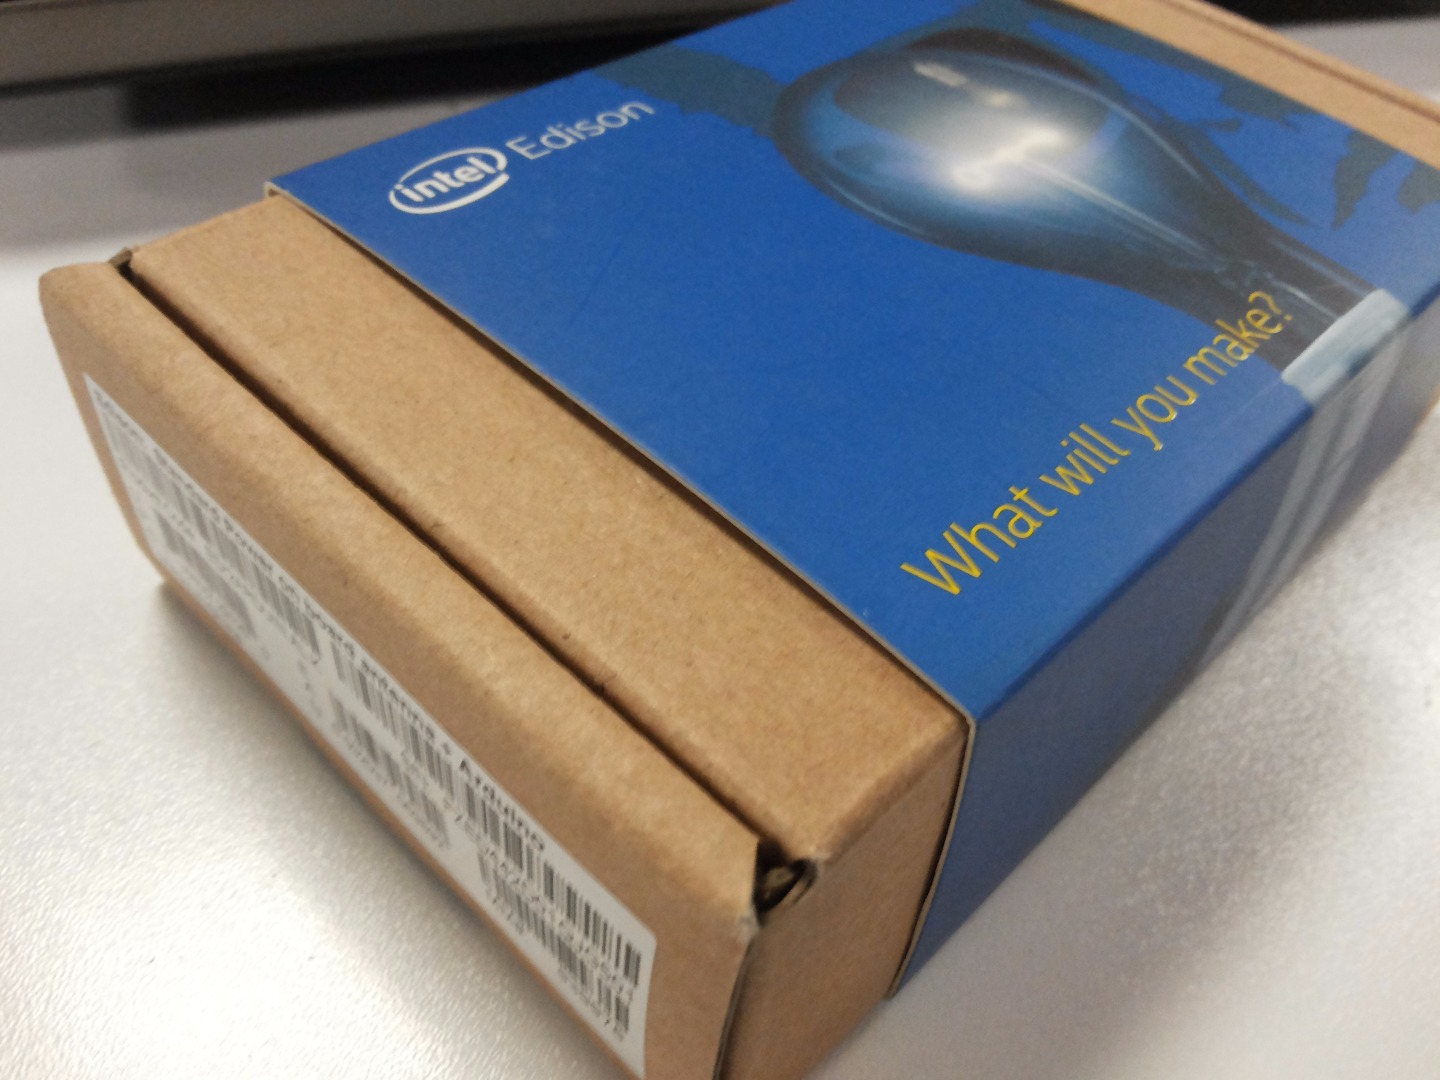
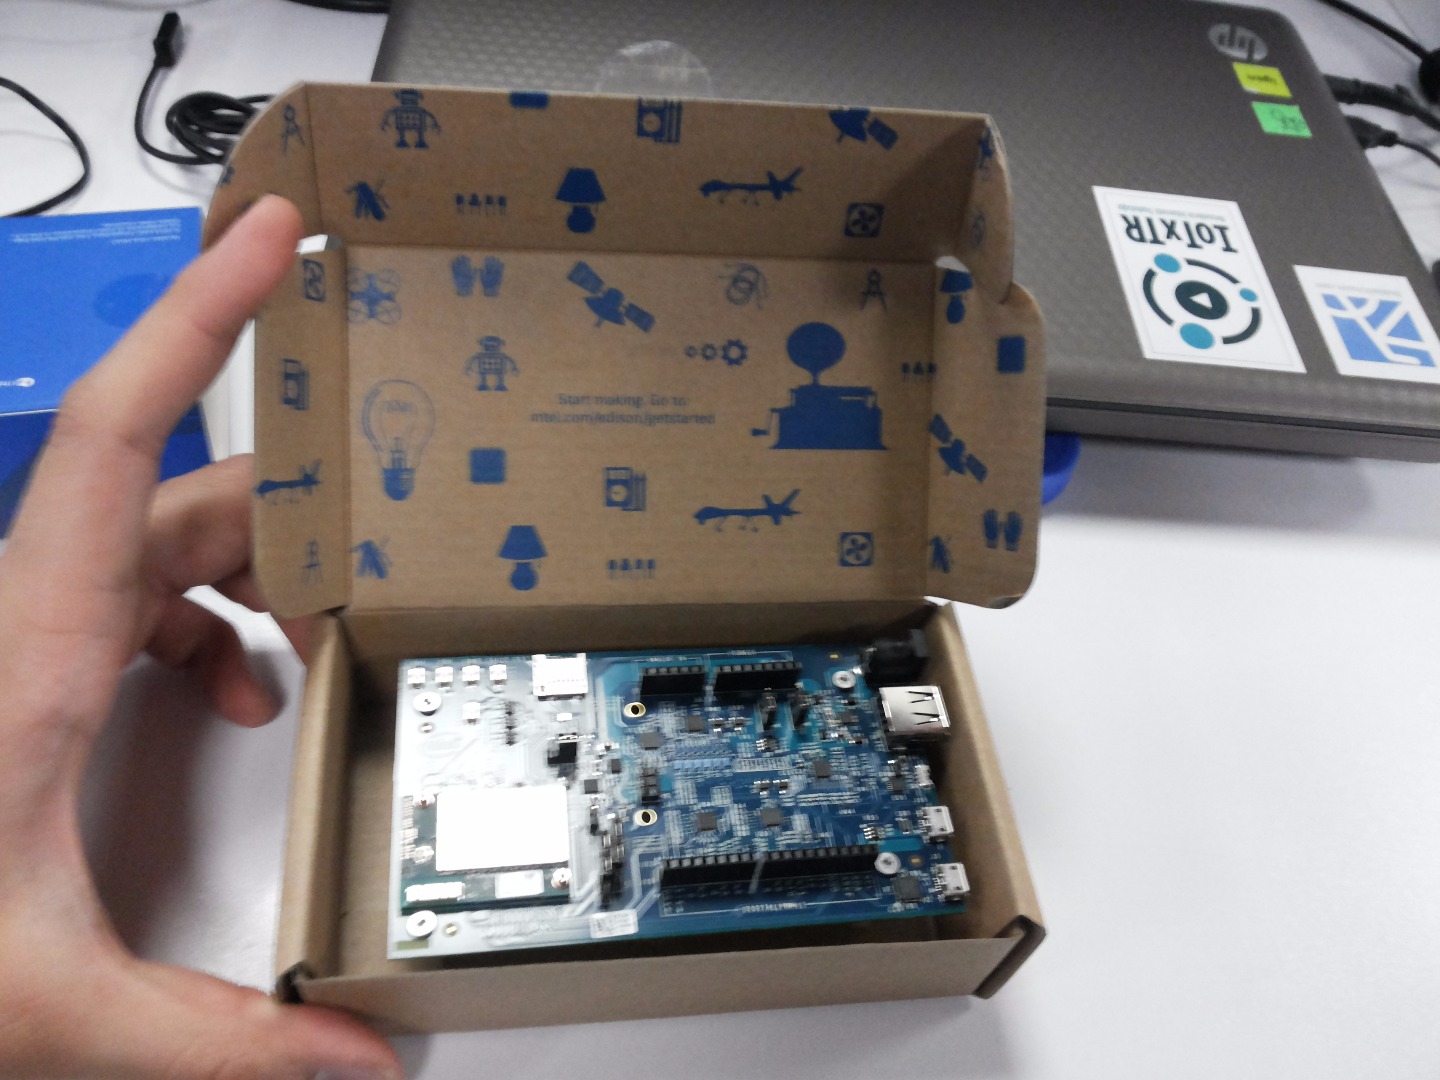
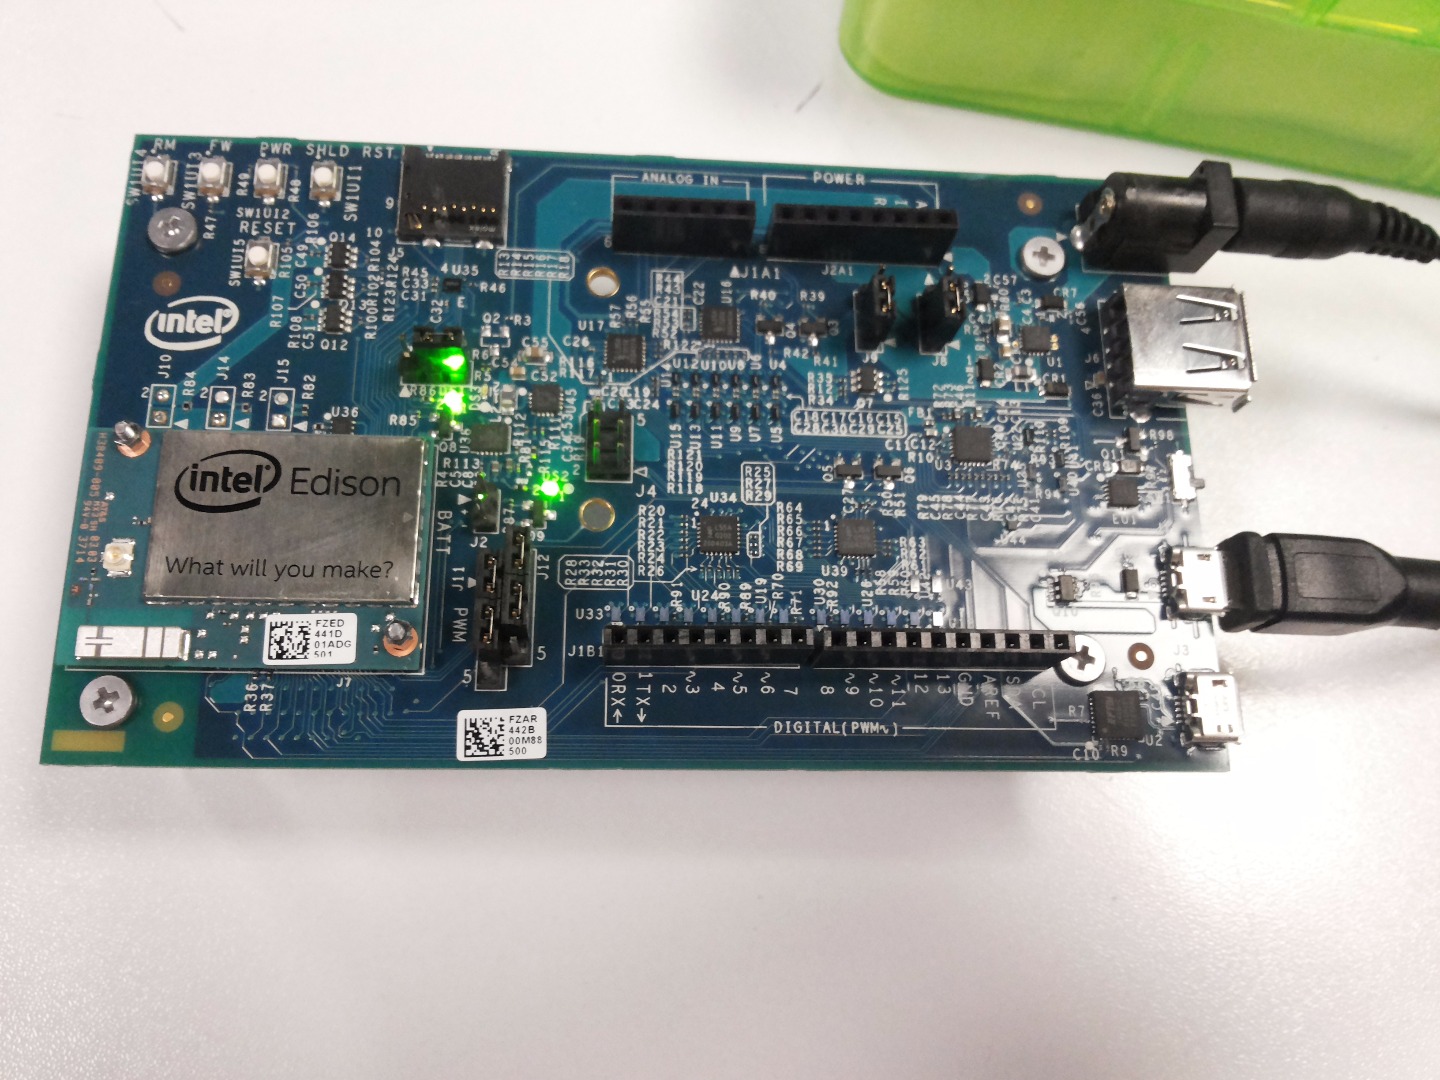
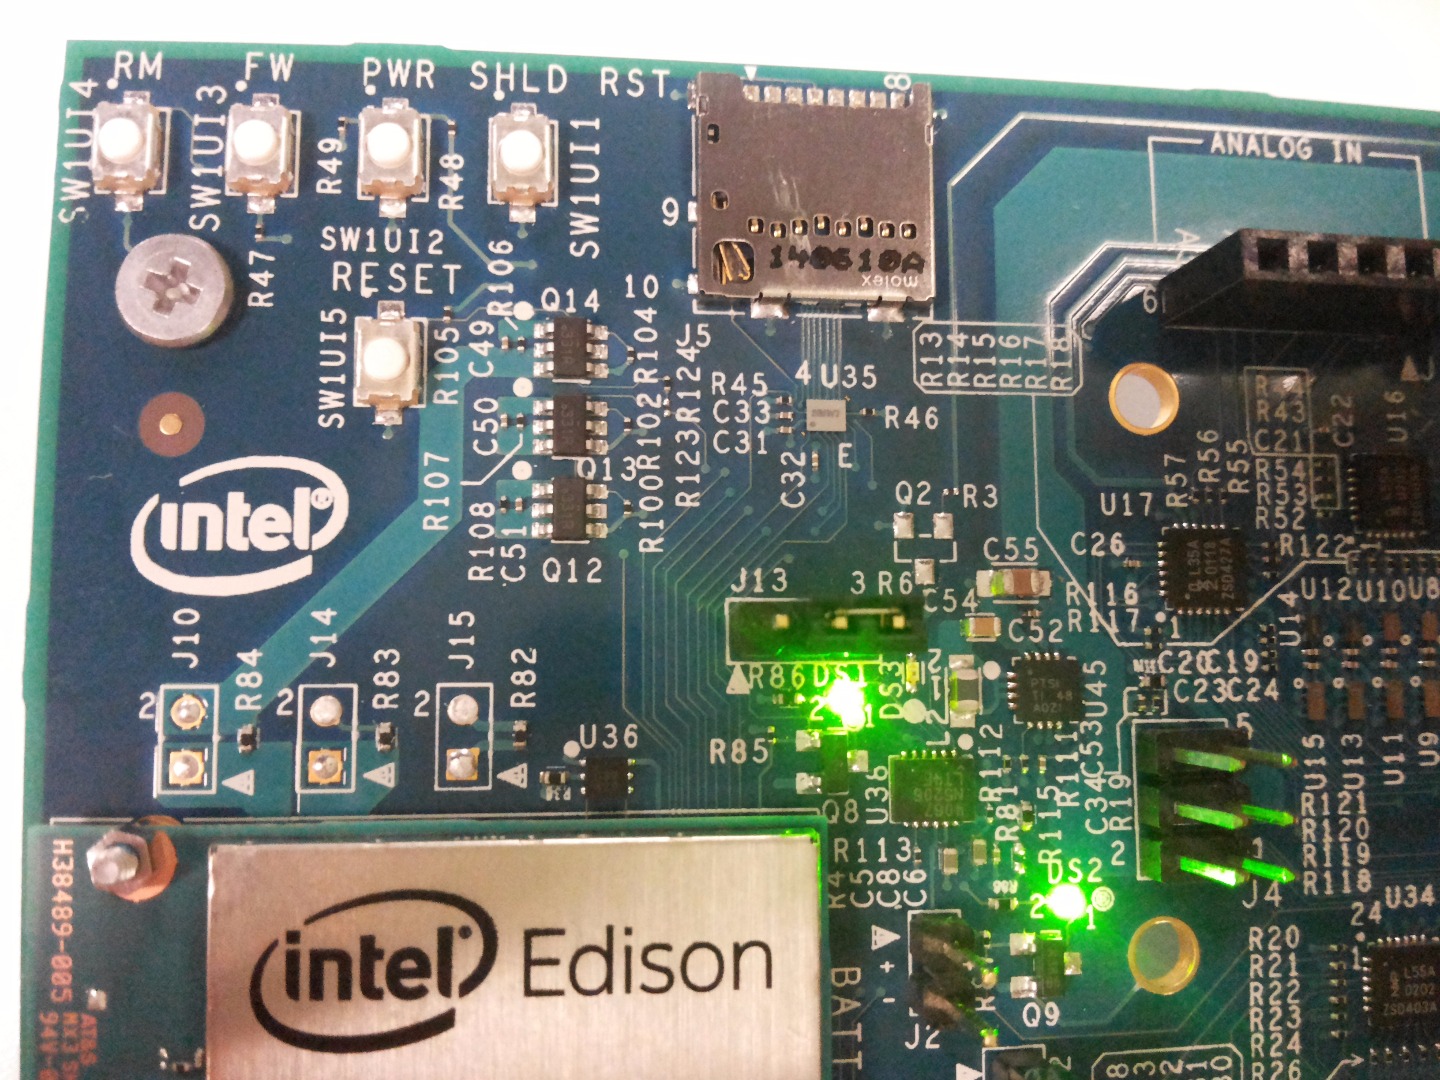
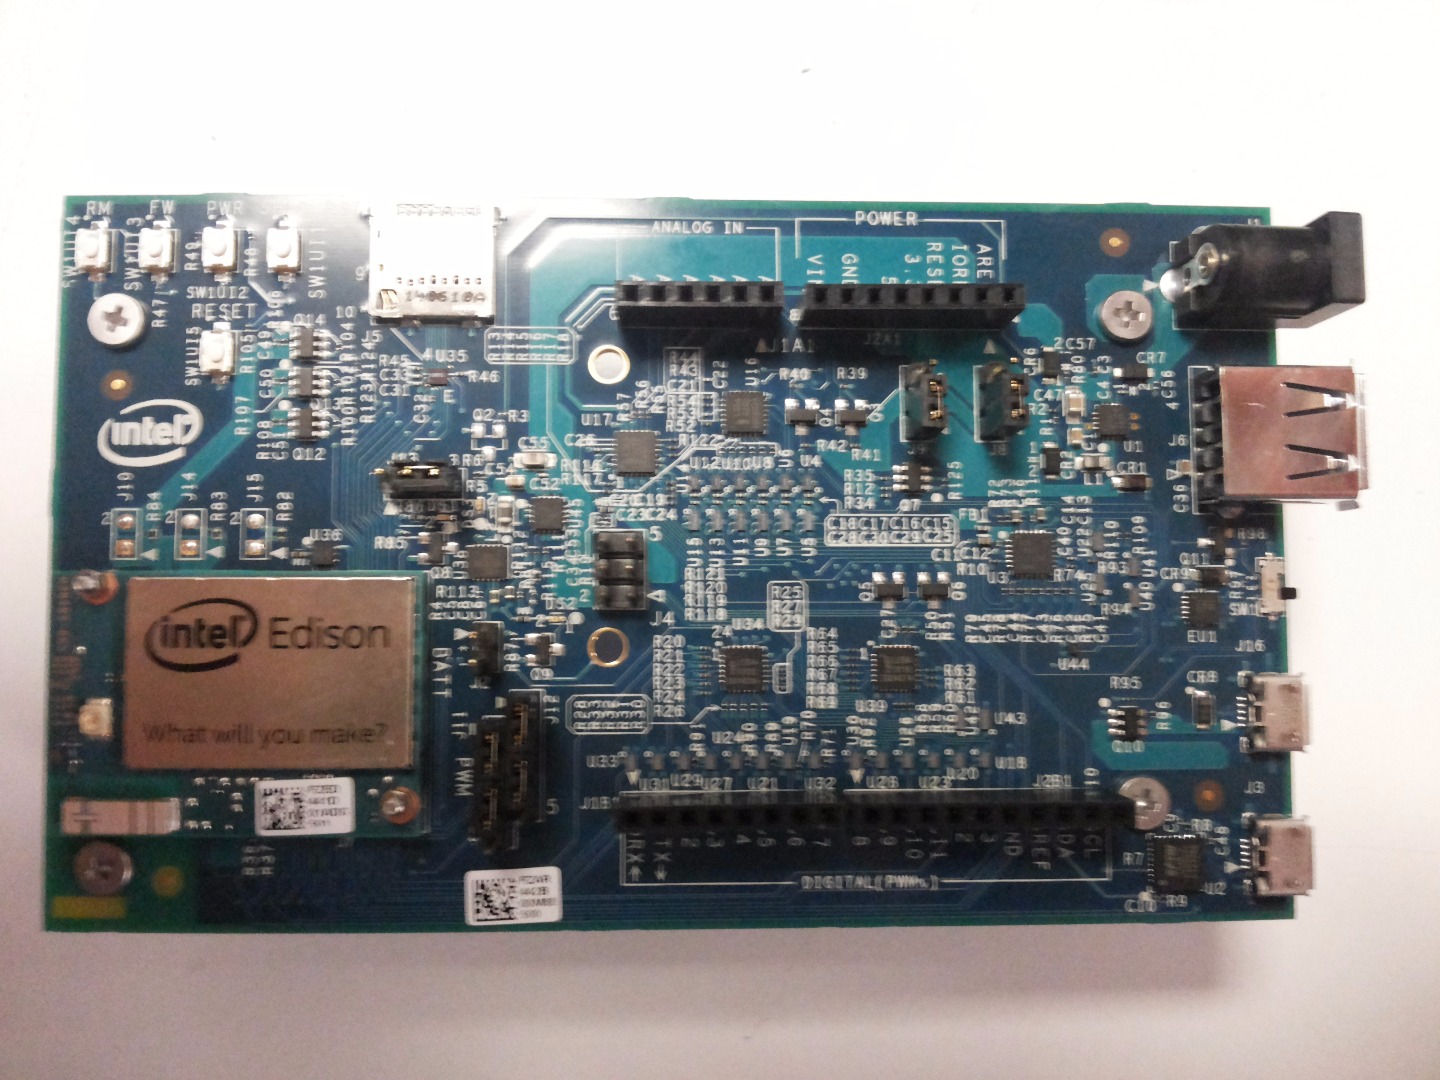
Today, I am going to show you how to use Intel Edison for the first time! Raspberry Pi and Arduino boards are still so popular in today's world, Intel Edison and its development board are also very interesting.
I found a chance to examine what is really Intel Edison board is, and how could it used for, now I learnt that there is Linux in; somewhere in the board with Wi-Fi enabled system. On one way, you can use this board as Arduino with its shields, these are suitable easily. On the other hand, you can connect your board via Wi-Fi to be get appear on the internet. Also, you can see Instructable's homepage, there is Intel IoT page which contains interesting projects made with Intel Edison board by the maker community.
** Special thanks for Turkish IoT community. Because they gave me a chance to use Intel Edison for free. **
The Need List:
1. Intel Edison
2. Intel Edison's Development Board
5. Your computer (Windows, Linux/Ubuntu, Mac)
Frequently Asking Questions:
1. How to attach Intel Edison to the development board ?
2. How to use mini breakout board with Intel Edison ?
3. Product Brief of Intel Edison - Mini Datasheet
4. The hardware guide of Intel Edison
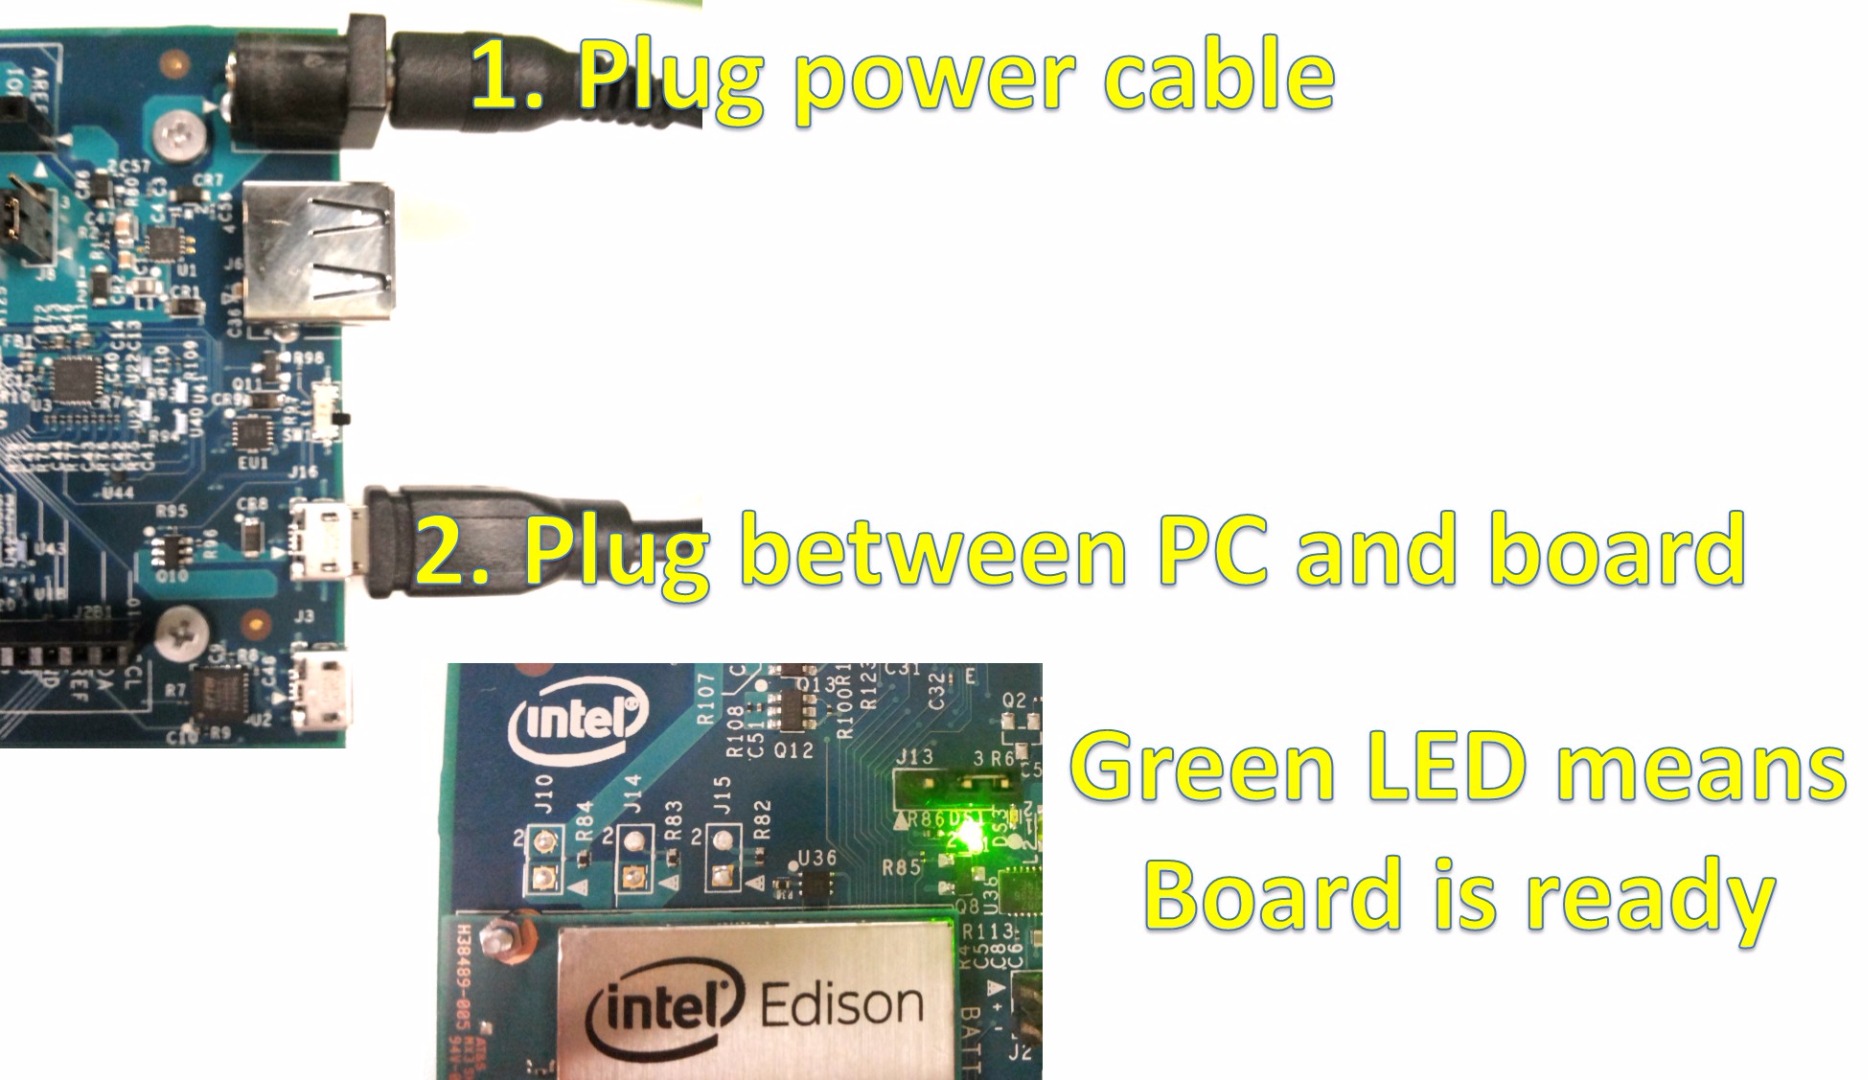
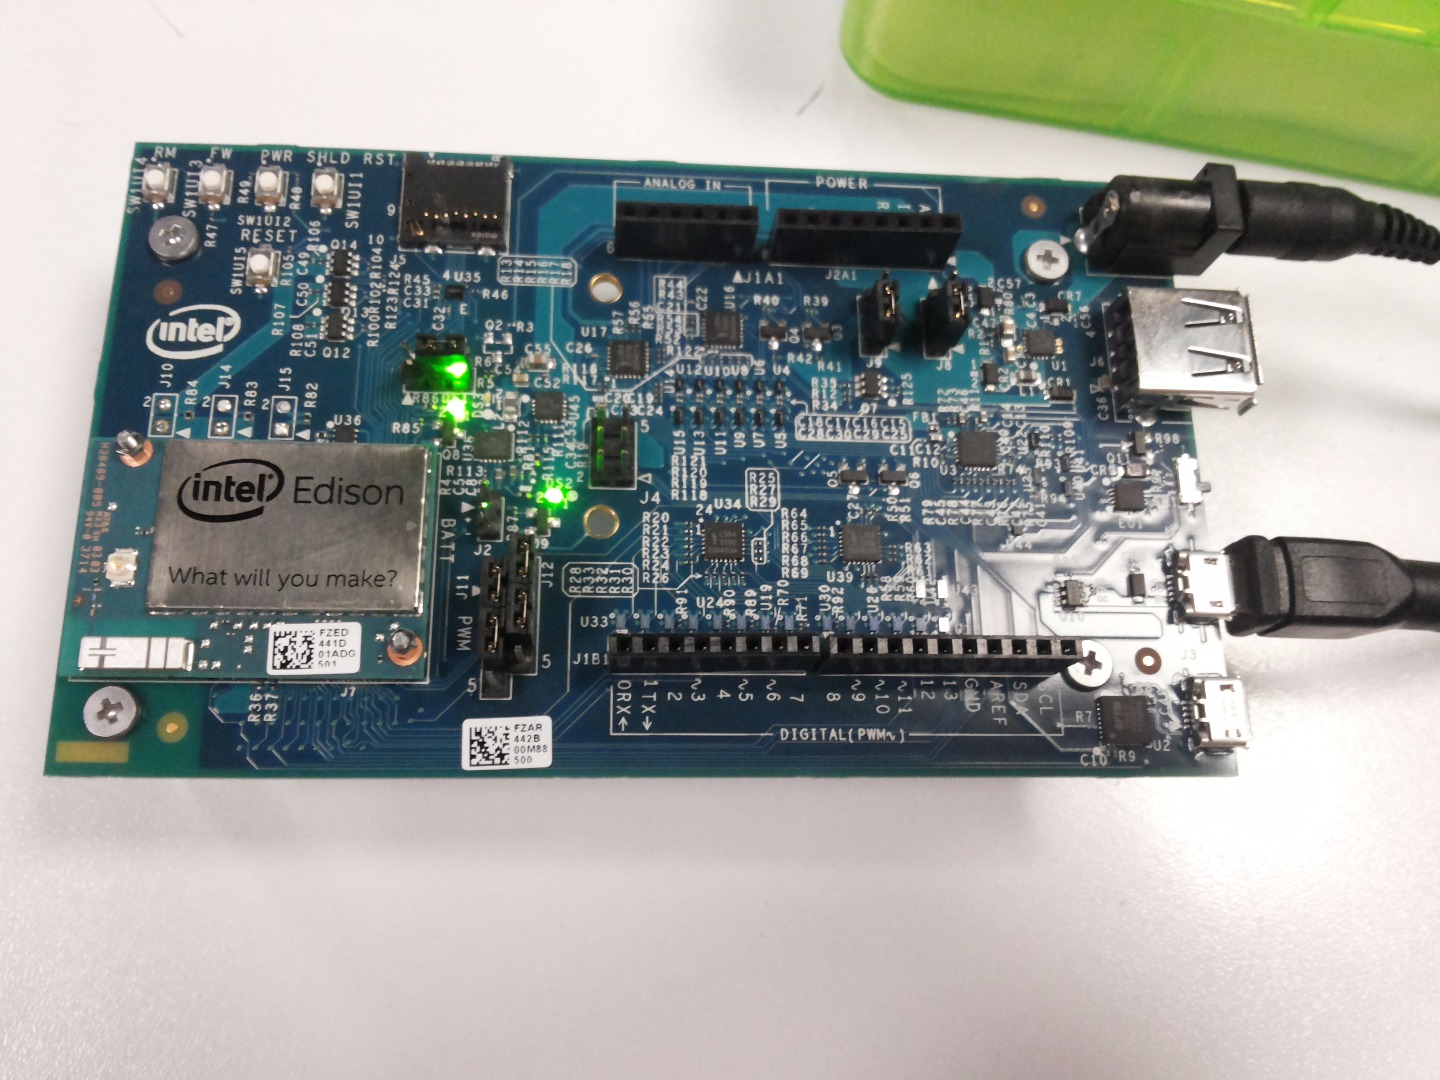
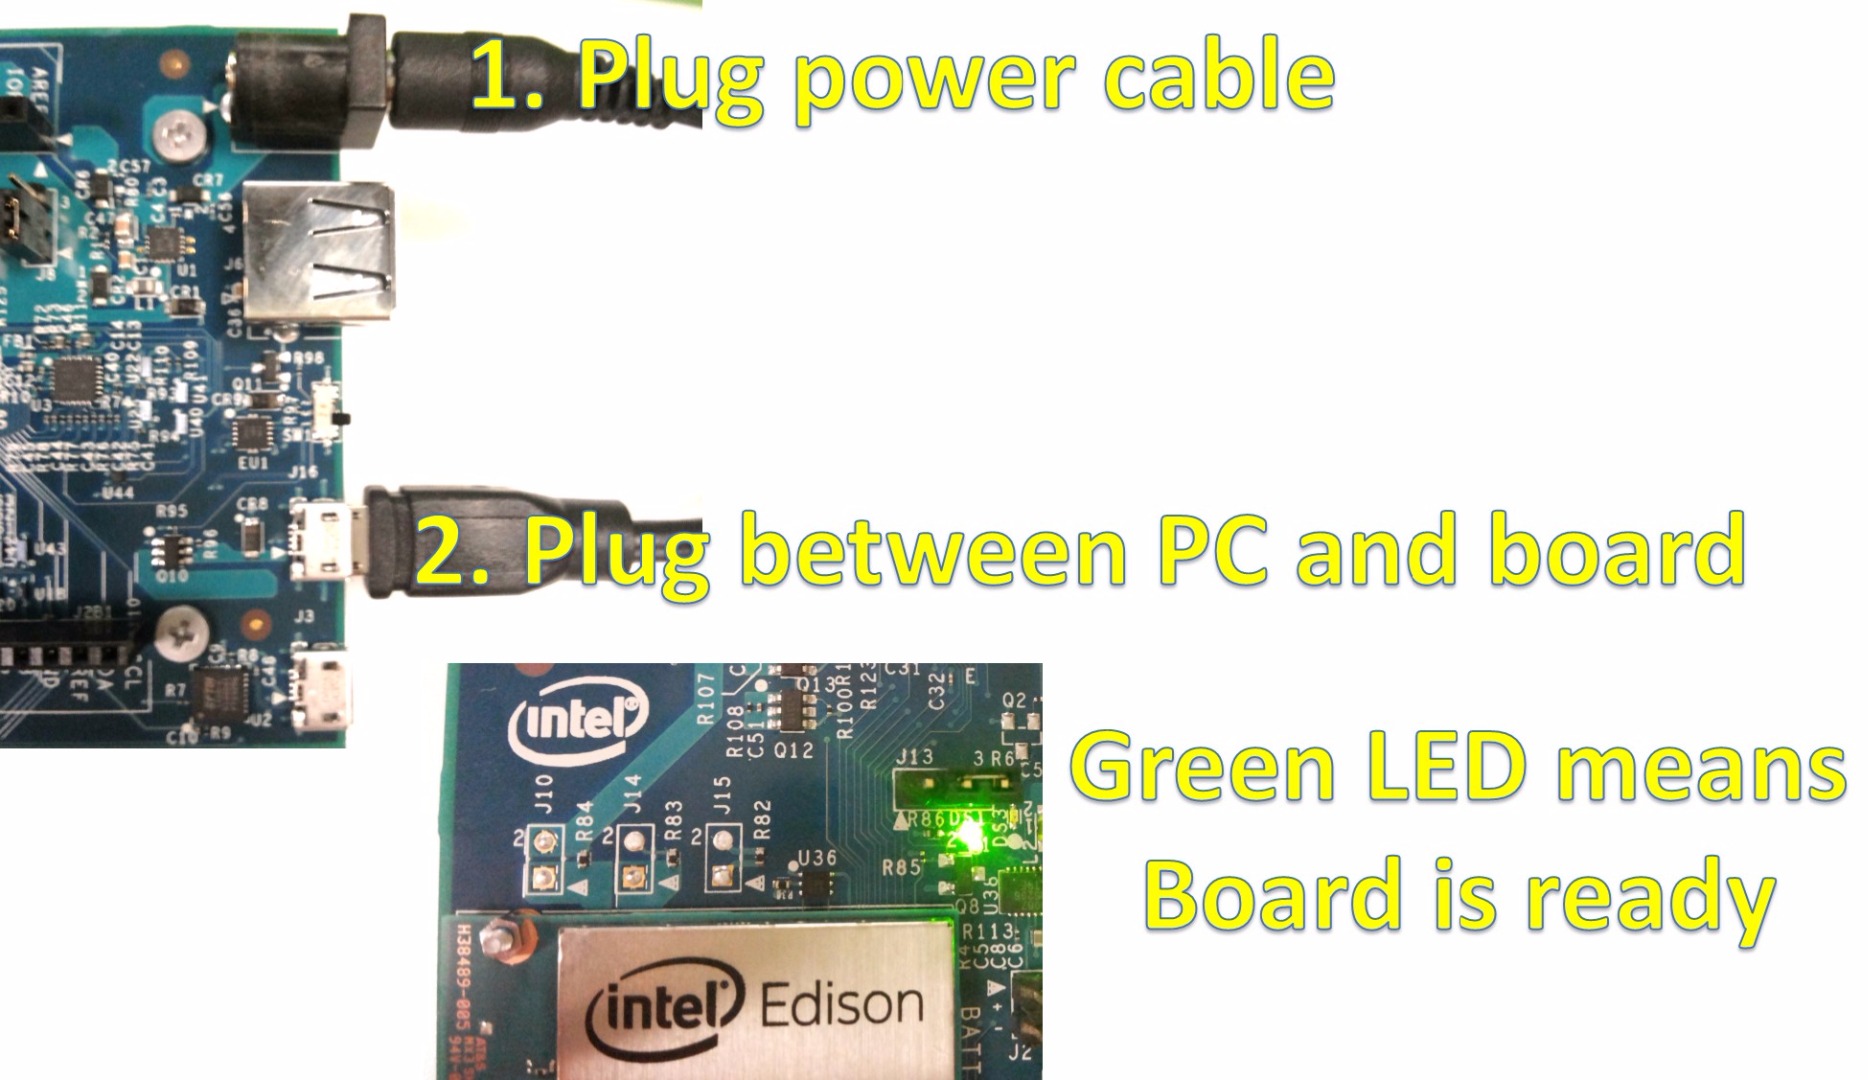
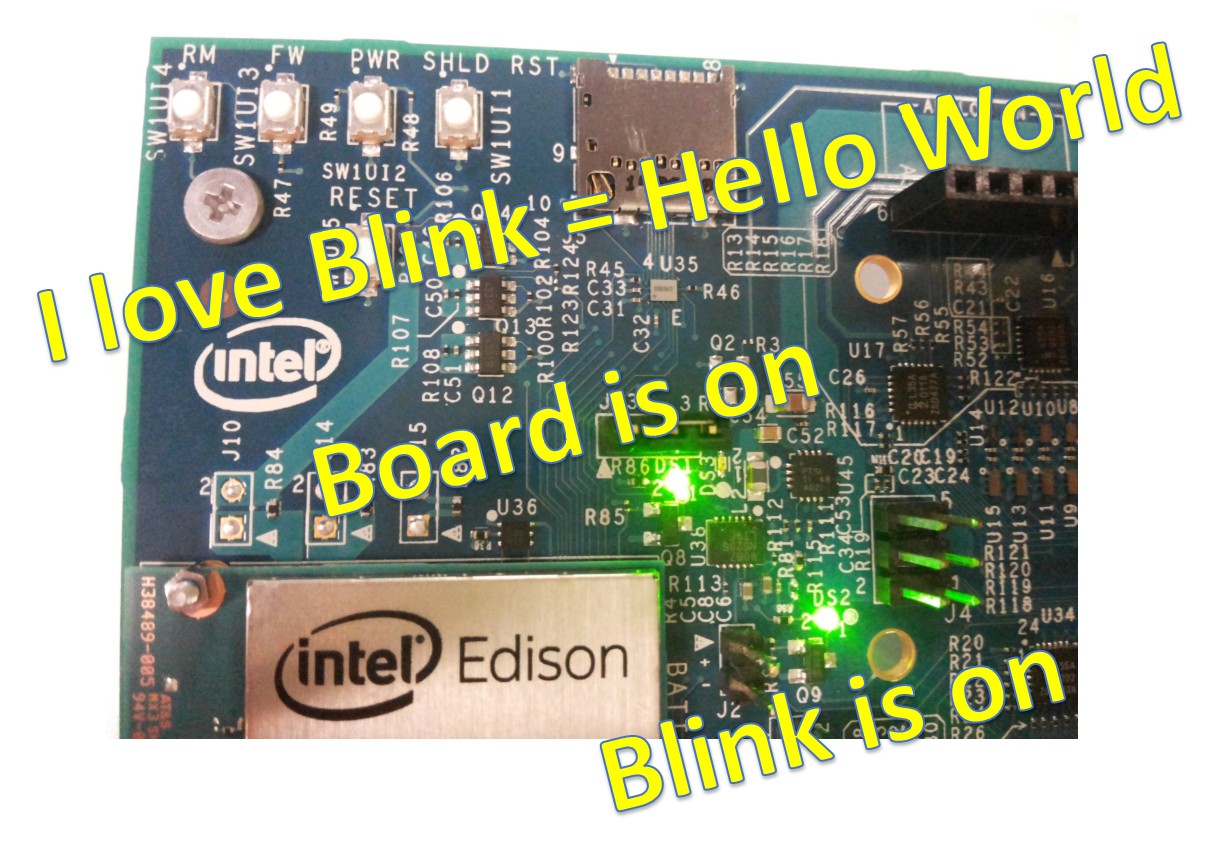
** Note: First plug power cable, then plug micro usb cable for making connection to the computer. This order is for good usage of the board. When you plug power cable, you can see green led is on. **
First Things First
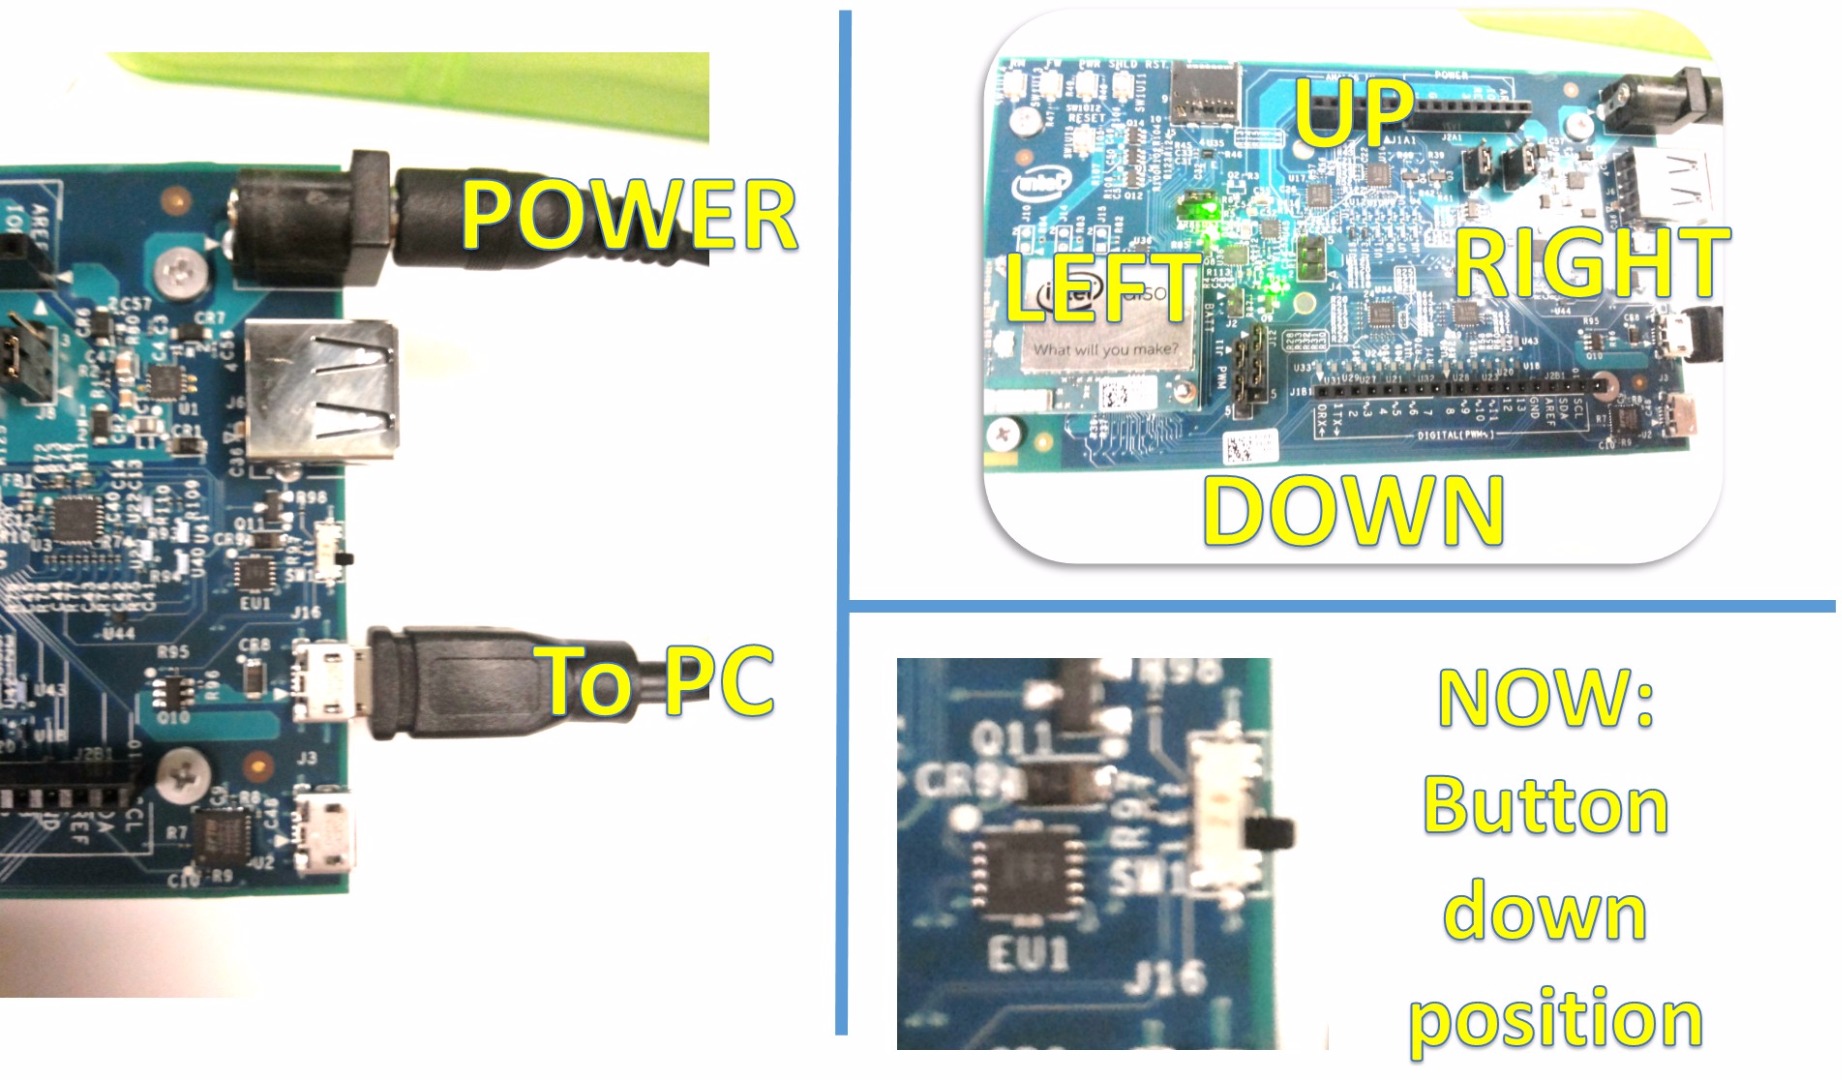
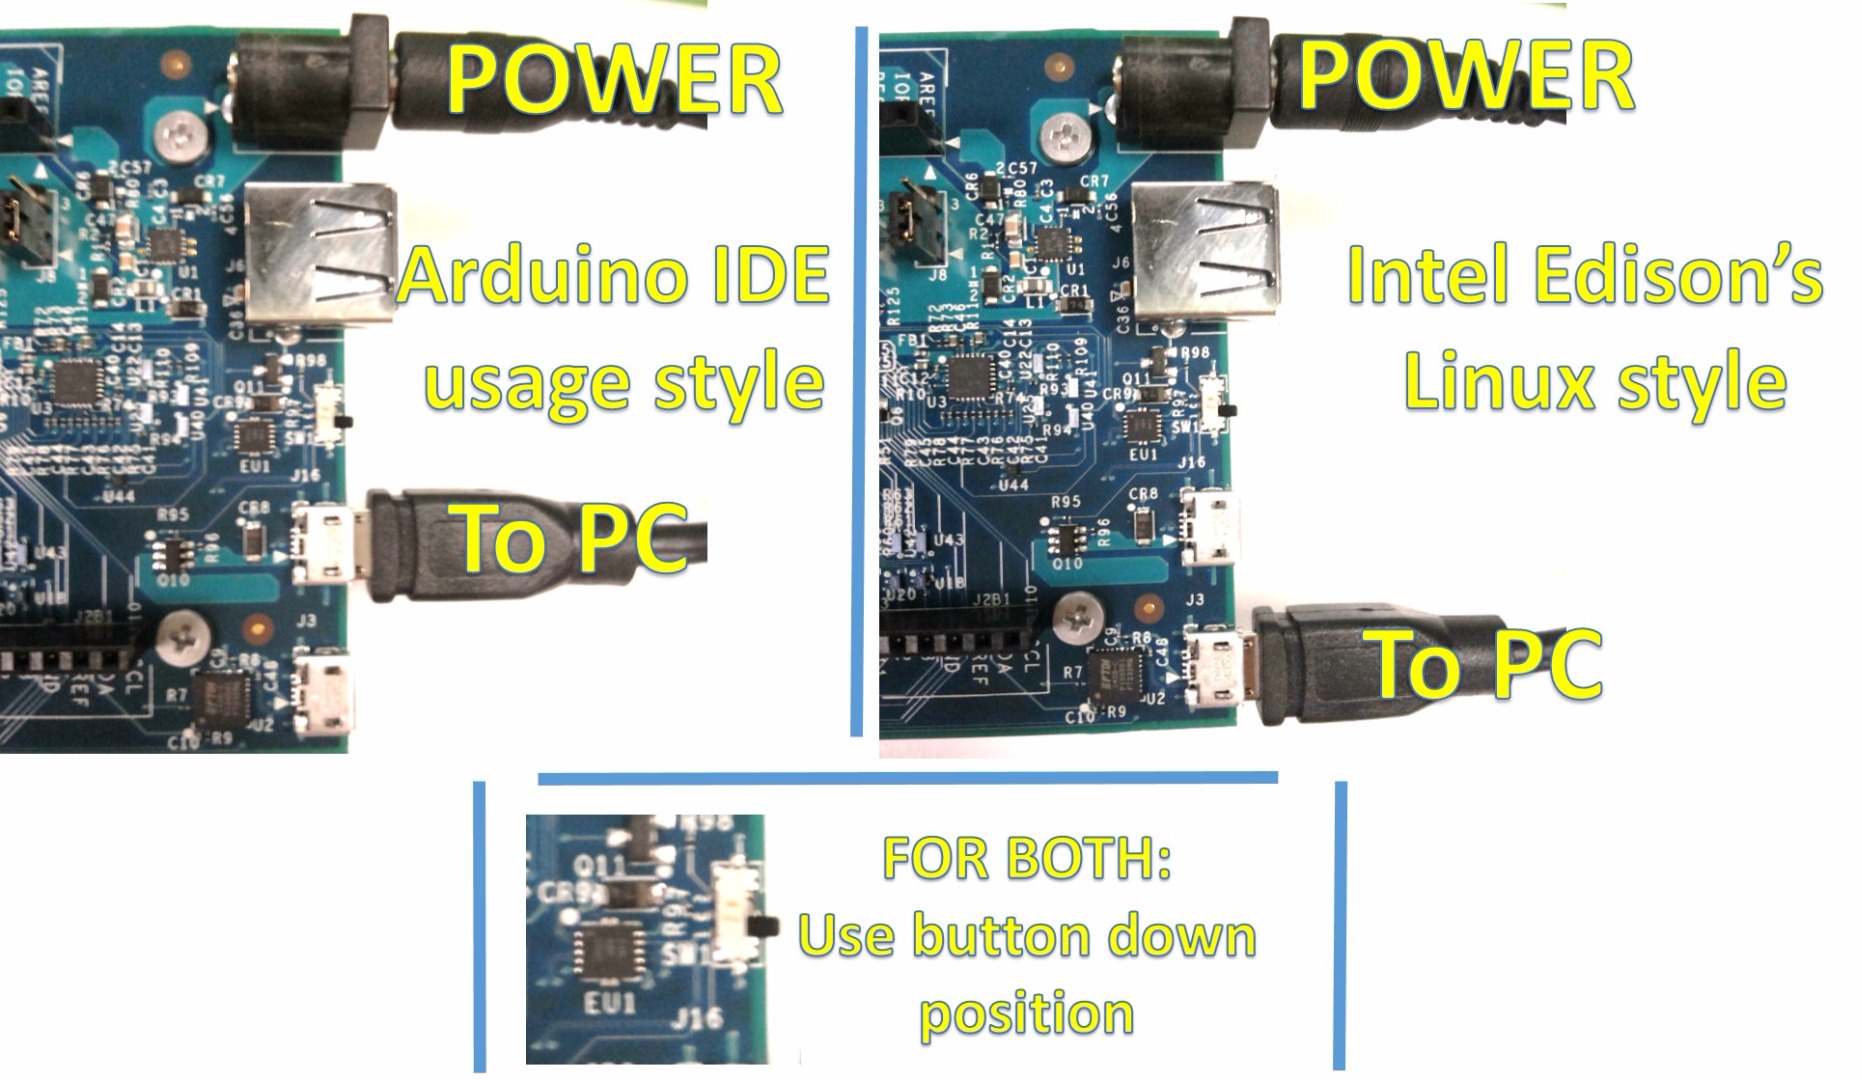
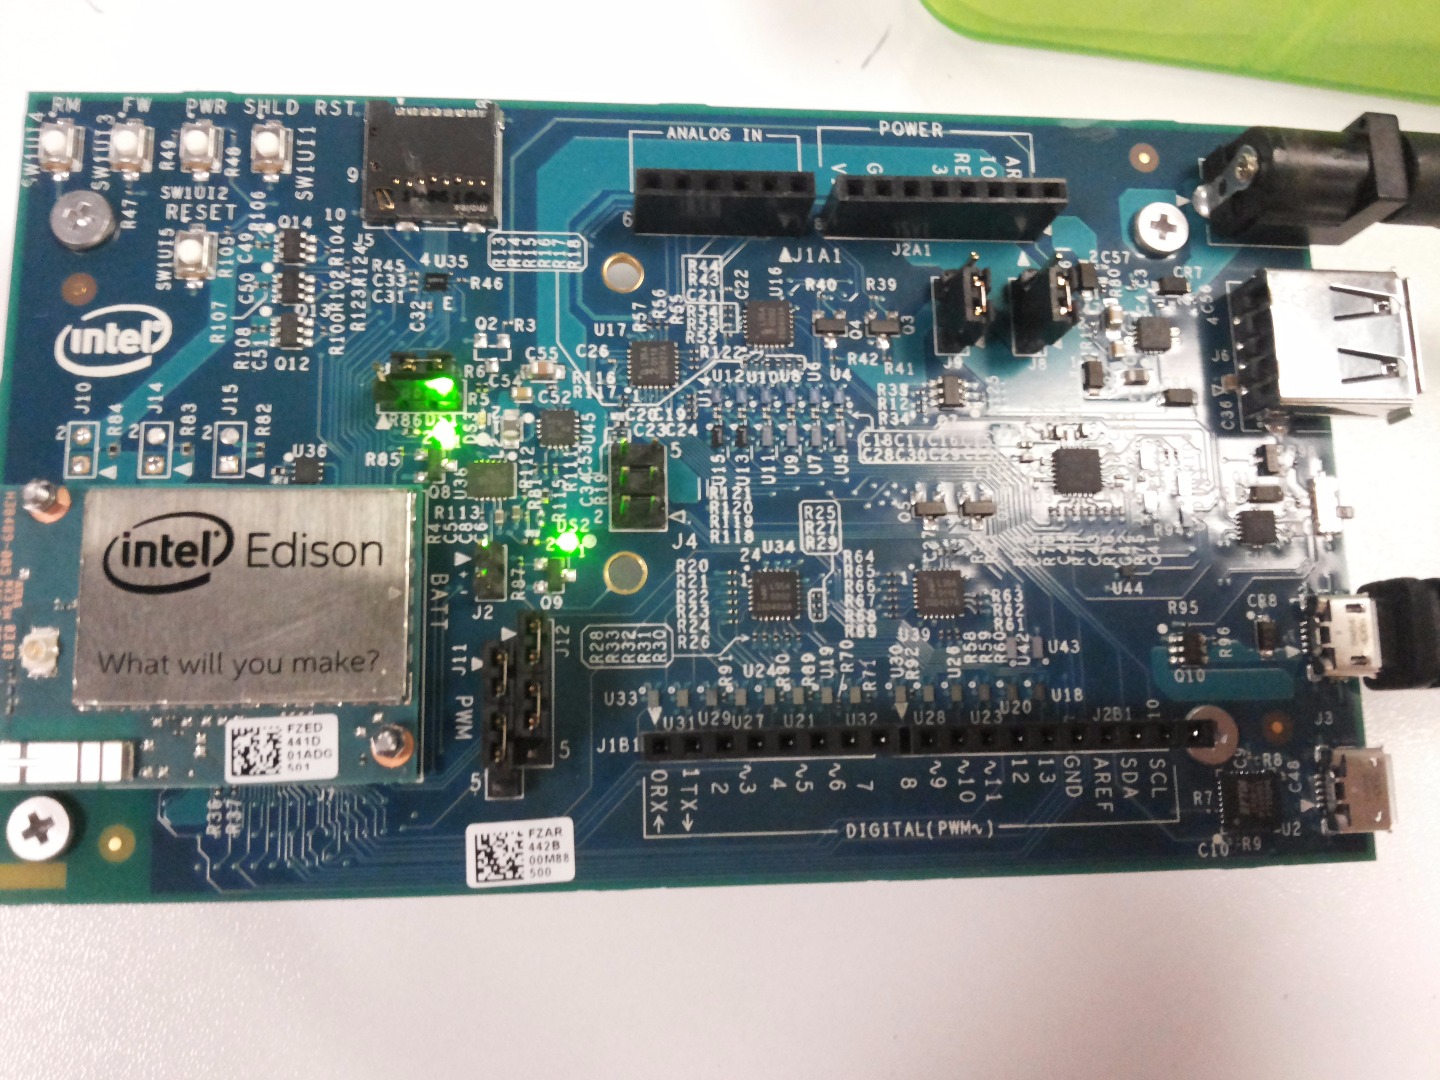
If you want to use Intel Edison seems like Arduino to upload a code from Arduino IDE to the board, you need to switch down. What am I mean by down, please check the picture I attached it here in top. For peripheral usage, switch to top.
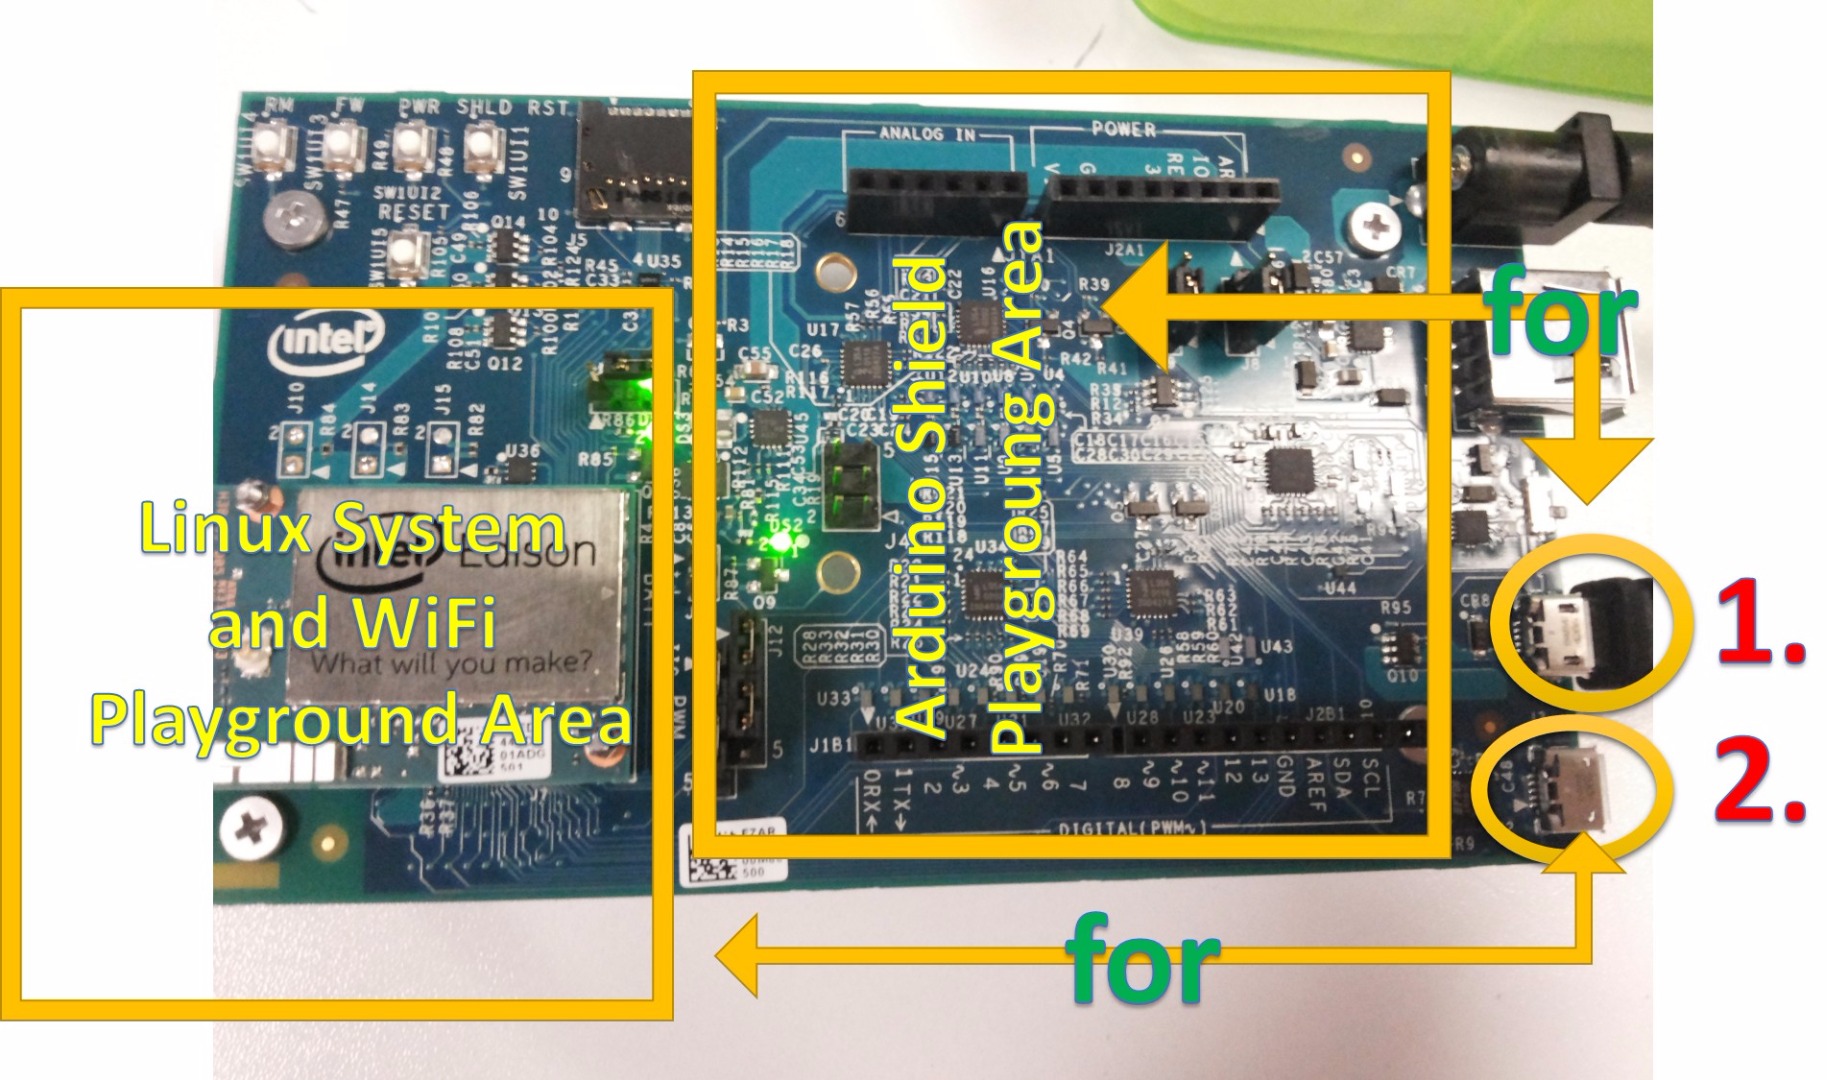
If you want to use Intel Edison to access directly to the Edison unit where Linux is operating, switch down and use second micro usb pin (with micro usb to normal usb (USB type A) to your computer)
There Are Buttons to Use for What?
** I quote begins here **
There is a good answer for this question: https://communities.intel.com/docs/DOC-23454 **
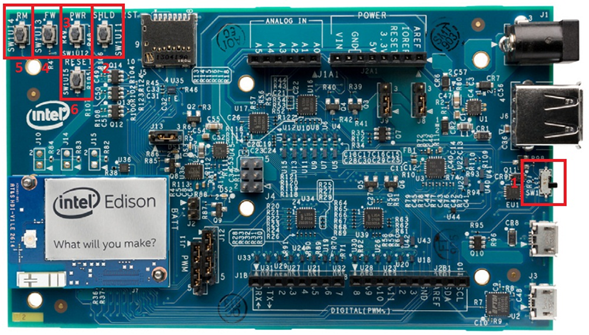
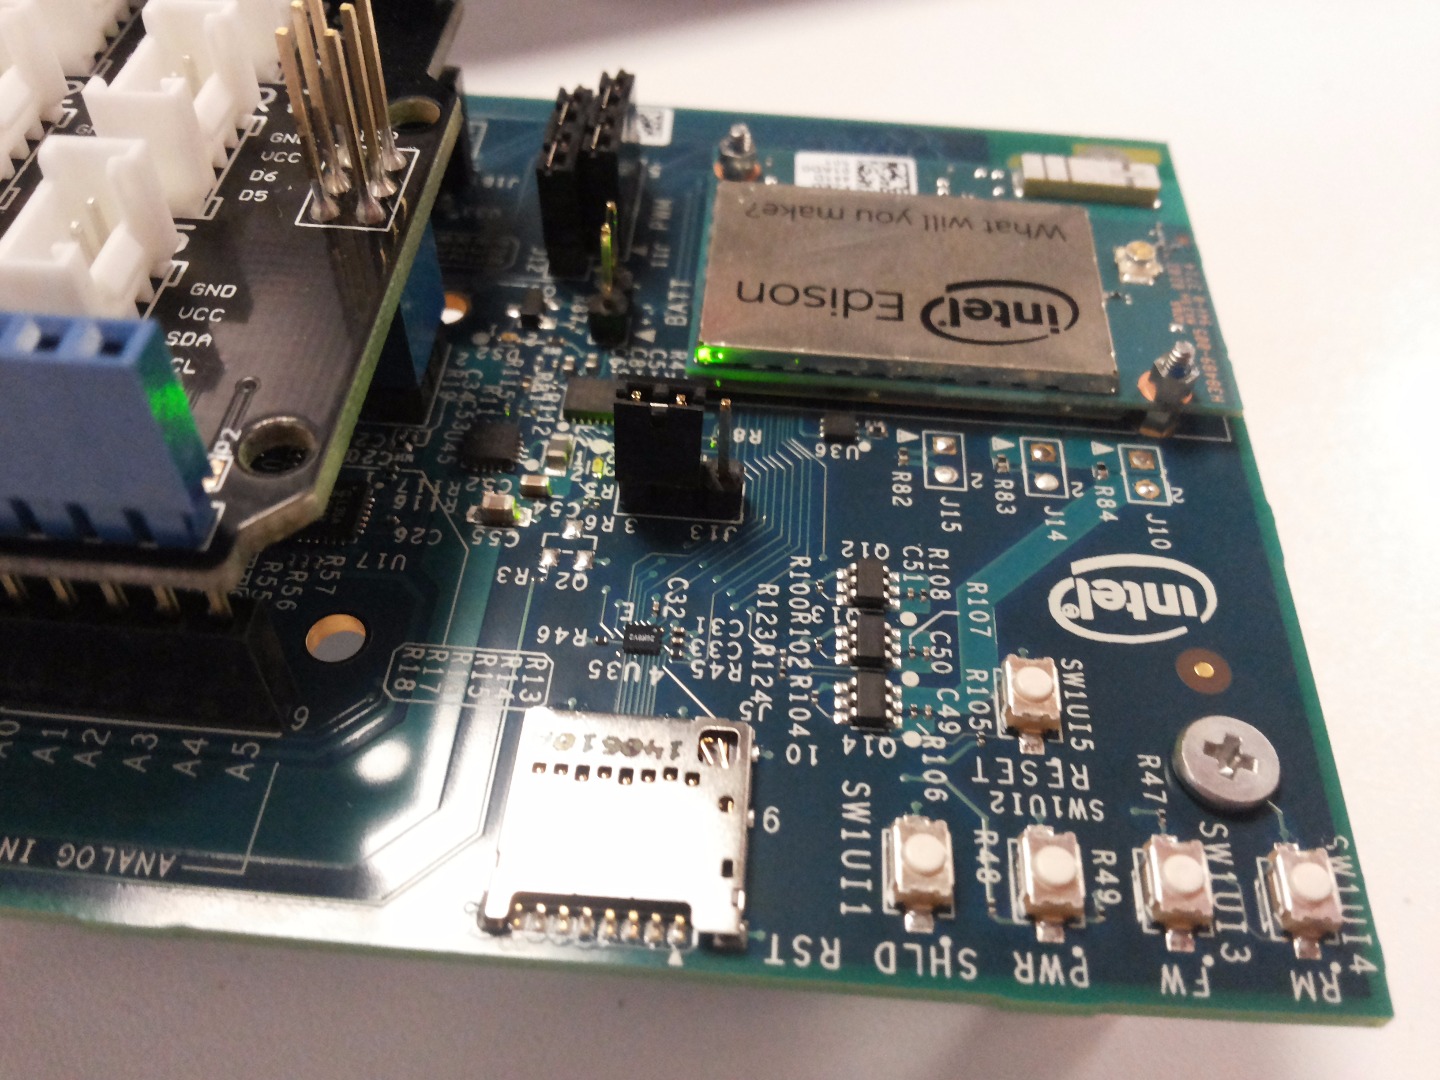
Shield Reset button (SW1UI1): The shield reset button will reset the sketch stored in the Intel® Edison. Its functionality is the same as the reset button on the Arduino UNO boards. It won’t affect the state of the Intel® Edison.
Power button (SW1UI2): The power button is used to change the power mode of the Intel® Edison. It is configured by software. Pressing and holding the power button will cause the Intel® Edison to power down leaving the IO configuration in its current state. Pressing the button momentarily when the Intel® Edison is powered down will cause the Intel® Edison to reboot. If the Intel® Edison is running, then a momentary press will cause the Intel® Edison to go into the low power sleep mode. Pressing the button momentarily when the Intel® Edison is asleep, will bring the Intel® Edison into full power mode. Pressing and holding the power button for more than 2 seconds but less than 7 seconds will turn the Intel® Edison AP mode on.
FM button (SW1UI3): The FM button, also called as FWR_RCVR, is used to recover an Intel® Edison that has a corrupted software image. Powering off the Intel® Edison, then pressing the FM button and then applying power will cause the Intel® Edison to go to firmware recovery mode. Two recovery modes are available depending on the state of the RM button when the power is applied.
RM button (SW1UI4): The RM button, also called as RCVR_MODE, is used to recover an Intel® Edison that has a corrupted software image. During boot, the state of the RM button will cause the Intel® Edison enter into two different recovery modes. During boot, when the FM button is pressed (high state) and the RM button isn’t pressed (high state), the processor attempts to load the firmware from flash from the location specified in the UMIP header. During boot, if the FM in pressed (high state) and the RM button is pressed (low state), the processor attempts to download from USB Type B port, regardless of the UMIP header.
Reset button (SW1UI5): The reset button is the master reset. Pressing and holding this button for 8 seconds will reset the Intel® Edison setting all the IO pins to high impedance state with no pull-ups. Pressing and holding this button for 4 seconds will restart the Intel® Edison.
** I quote, ends here. **
Download Intel Edison Board's Software to PC
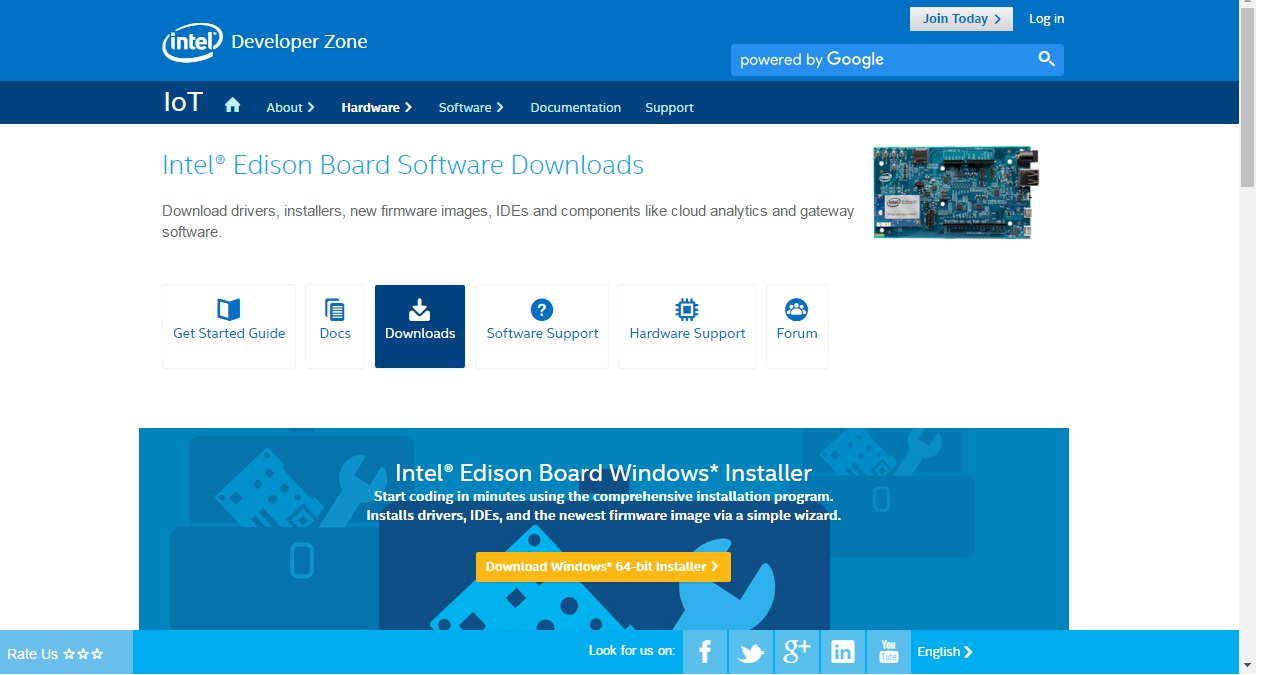
Go to this address then click on orange colored download button to get the recent software of Intel Edison board for your computer. Also you can use attached files from this step.
Attached drivers for download:
For Linux users: l_iot_dev_kit_2015.0.019.tar.gz
For Mac users: m_iot_dev_kit_2015.0.026.tar.gz
For Windows users: w_iot_2015.0.031.rar
Note: If Java 8 JRE needs to get updated, first update it, then setup Intel Edison software after. Or, if you think you have Java JRE loaded before, just click on NEXT to setup Intel Edison setup.
While you setup, you can select Component Name's 1. and 4. option to use for Arduino type only. Or, if you like waiting and want everything, select all to install everything.
Let's Take a Look at Linux World in Intel Edison
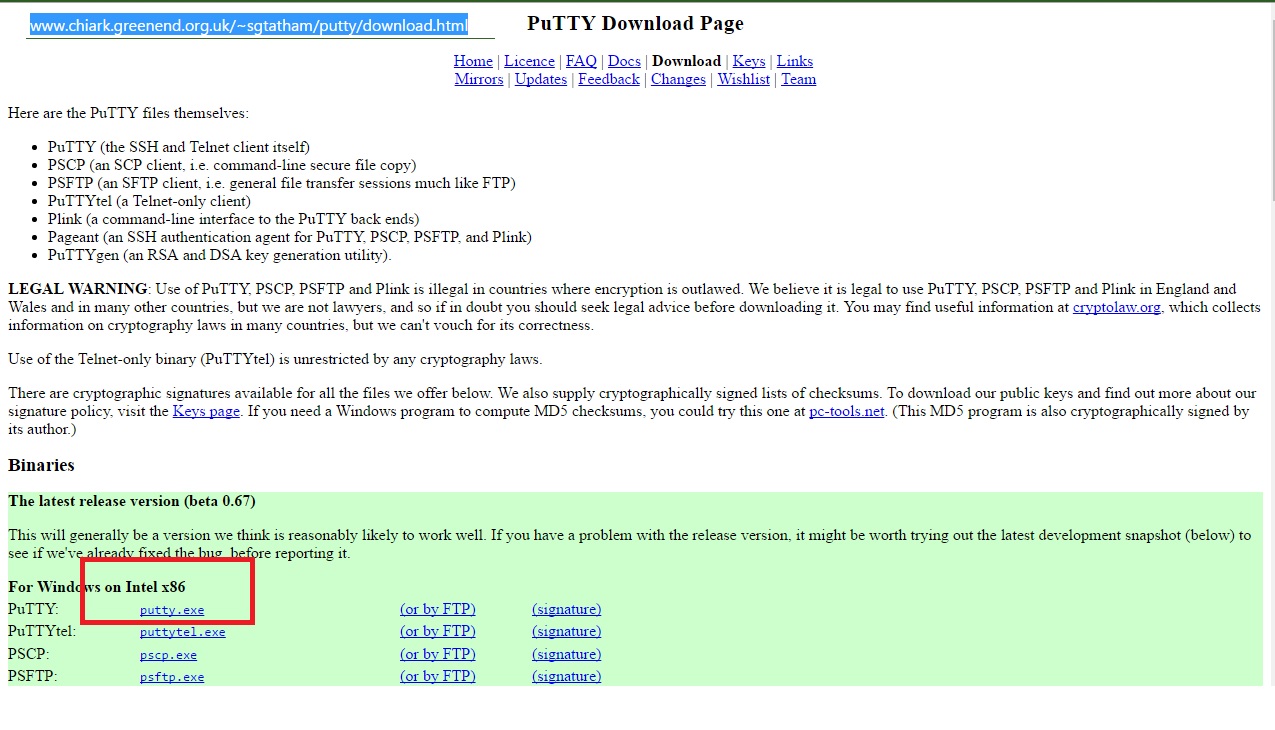
Search on Google to download Putty. (For Windows x64 users can use x32 version of Putty, it is working)
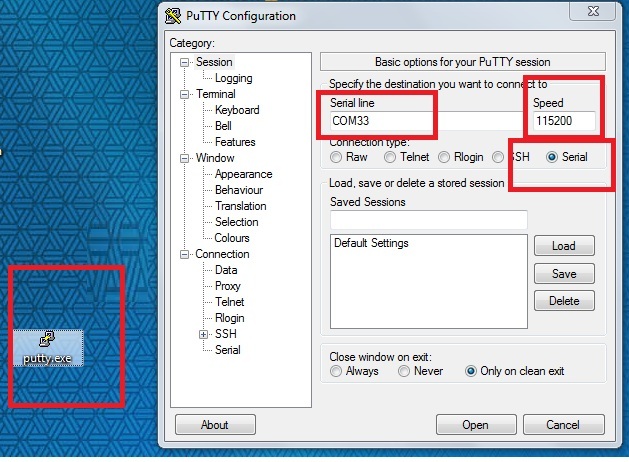
On Putty program, we need to configure it before use. Plug in Intel Edison board in Arduino IDE usage method (that I mentioned two steps ago) with second micro usb is attached to your compter via micro to usb type A cable, there has to be COM port number on your device setting that you can find it easily, this let your computer to talk with Intel Edison board.
Choose Serial >> input Speed as 115200 >> input Serial line as COMxx (change xx with your COM number)
NOTE: When you changed your micro usb ports, when you disconnect, keep it in mind that COM numbers are changed after every each disconnectin from your computer and Intel Edison board.
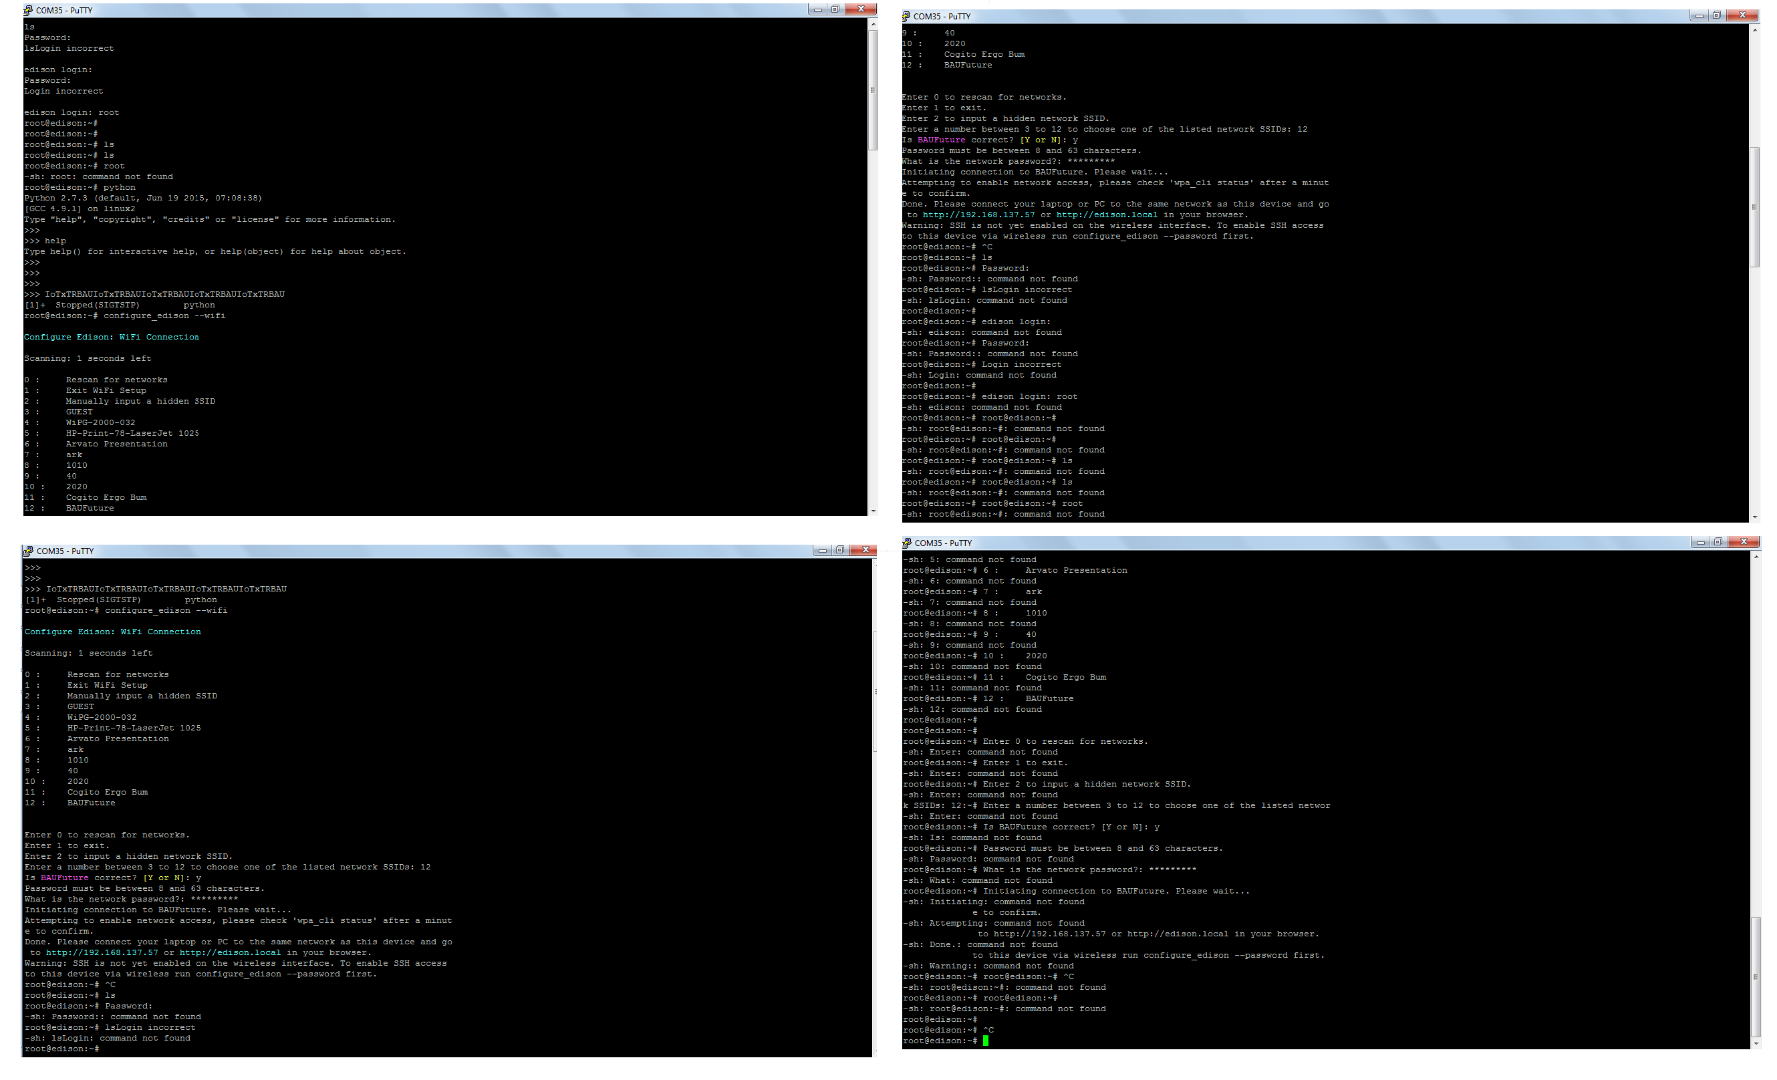
On Putty: when username is wanted, type "root" then enter, when password is wanted, just press enter to skip.
On Putty, type LS as lowcase "ls" for listing.
On Putty: type "configure_edison --wifi" to connect Wi-Fi.
Putty lets you to connect compilers like Python and other kind of scripts. (See the picture)
Intel Edison's Arduino Playground Area
Use first micro usb port to connect with usb cable from your computer. Download Arduino IDE's recent version (Arduino IDE v1.6.8 is very well)
NOTE: Before go on to this step, you need to finish all your Java JRE update, Intel Edison setup, and Arduino IDE download at once, then proceed.
On Arduino IDE: (You may can't do this with IDE v1.6.5, gives compile error, update it)
File >> Preferences >> Editor font 24 (If you use projector and want to enlarge the text in editor)
Tools >> Board = Intel Edison >> Port = COMxx (Learn your COM port number on device settings)
File >> Example >> Basics >> Blink (Now you can see your board is blinking very well.)
The Usage With Grove Sensor Kit
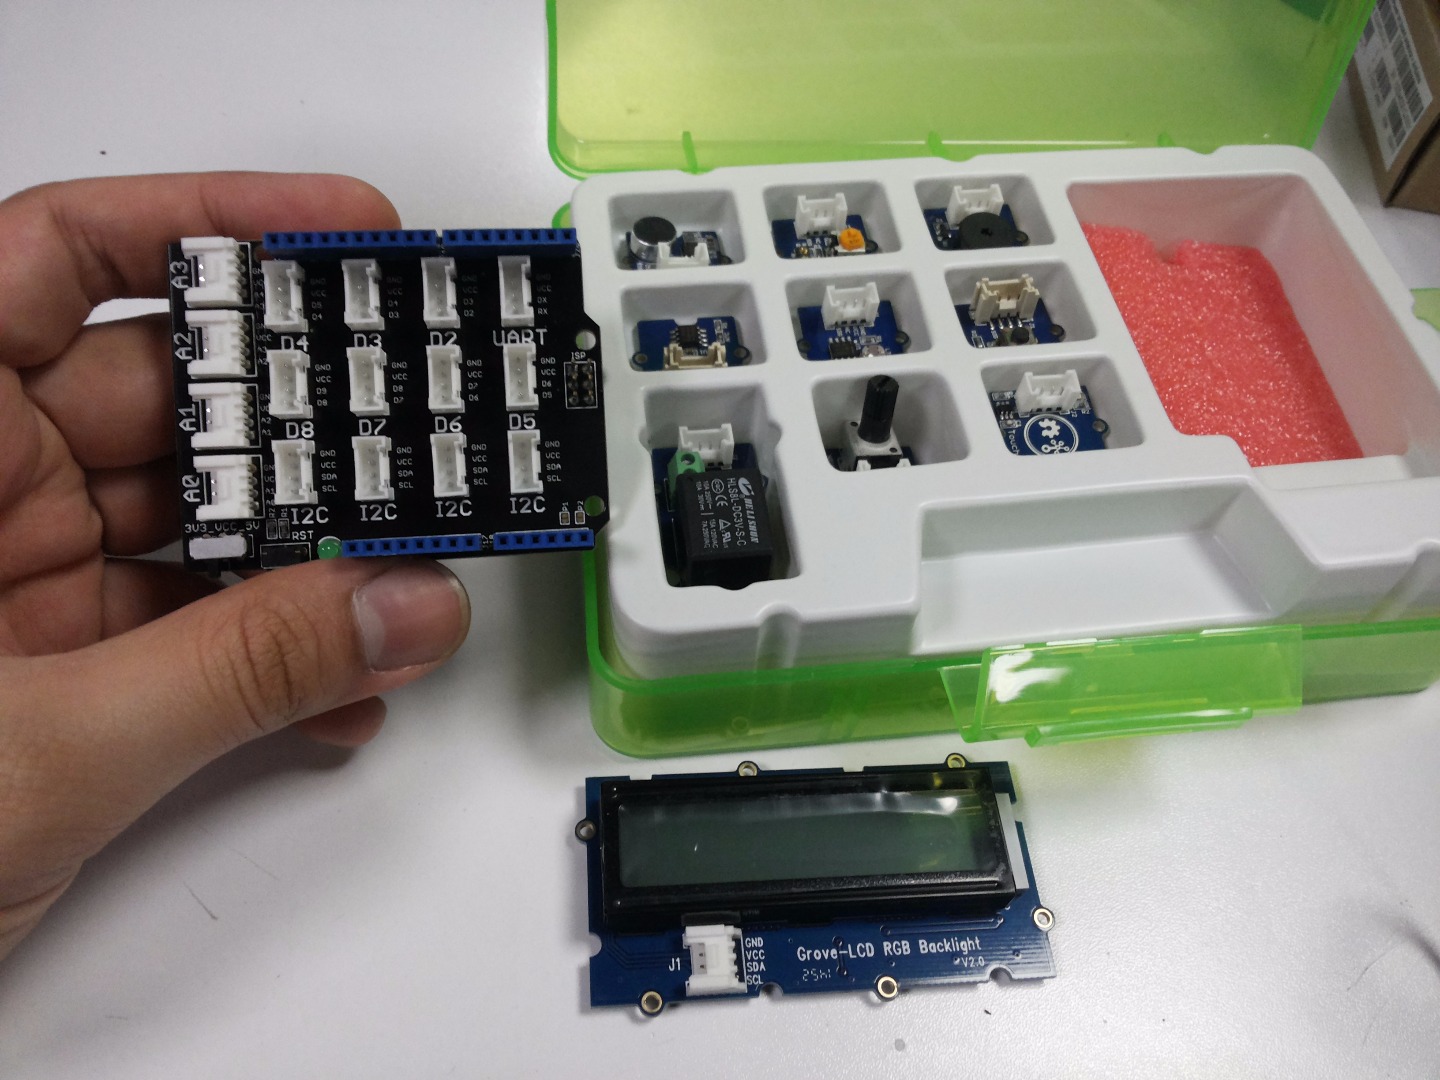
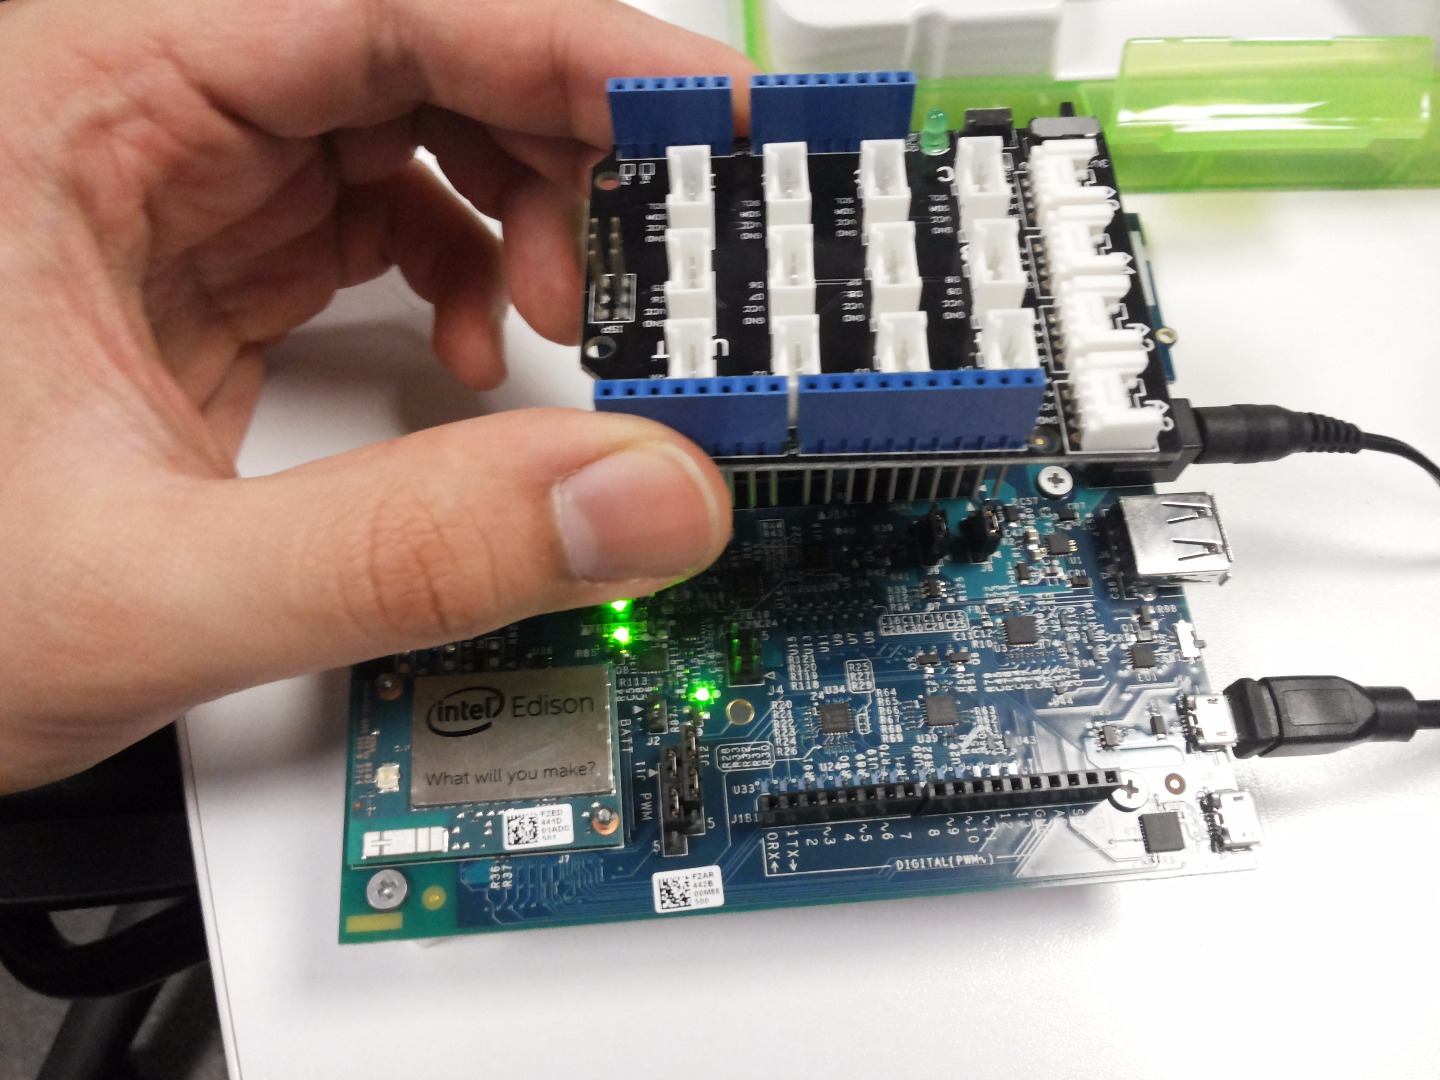
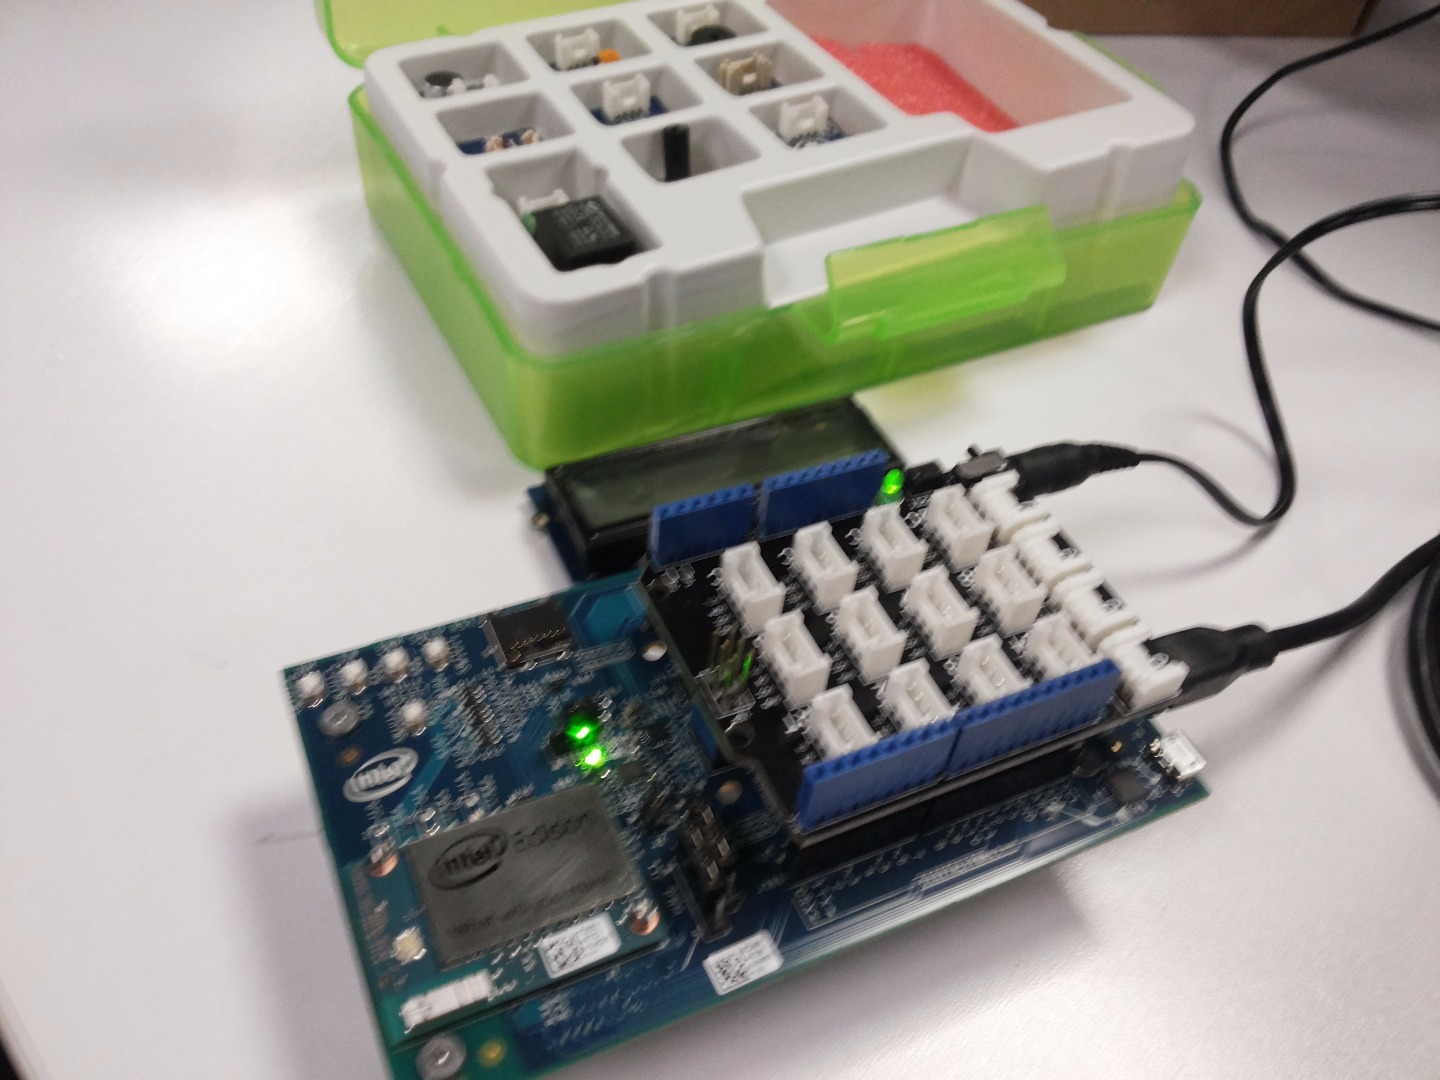
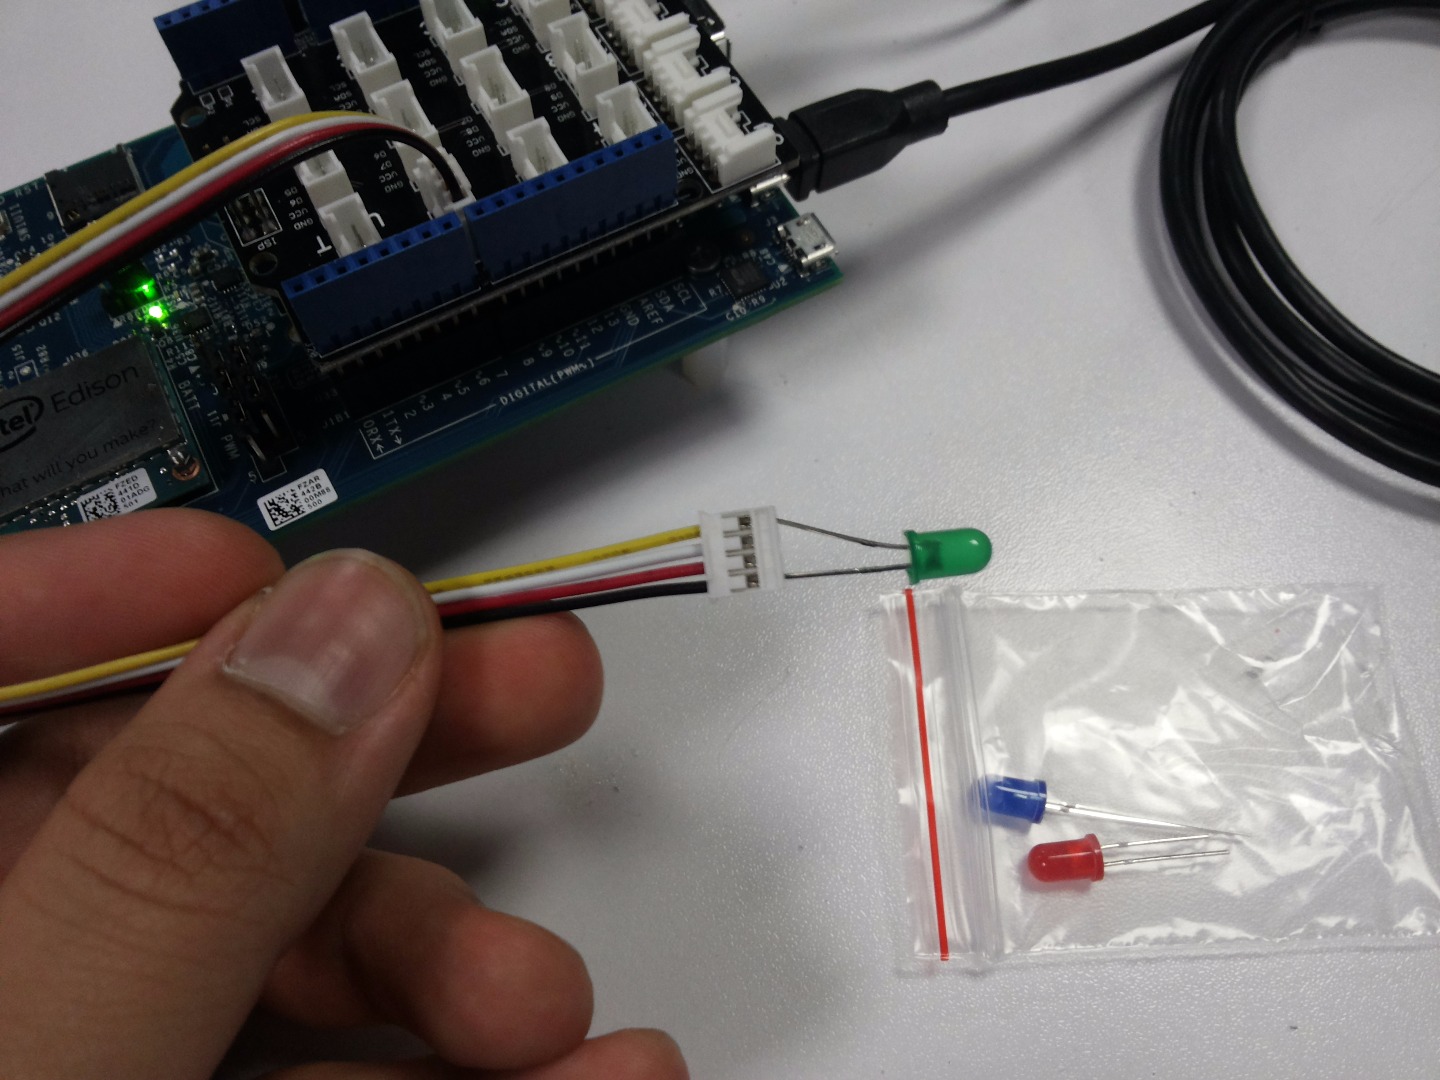
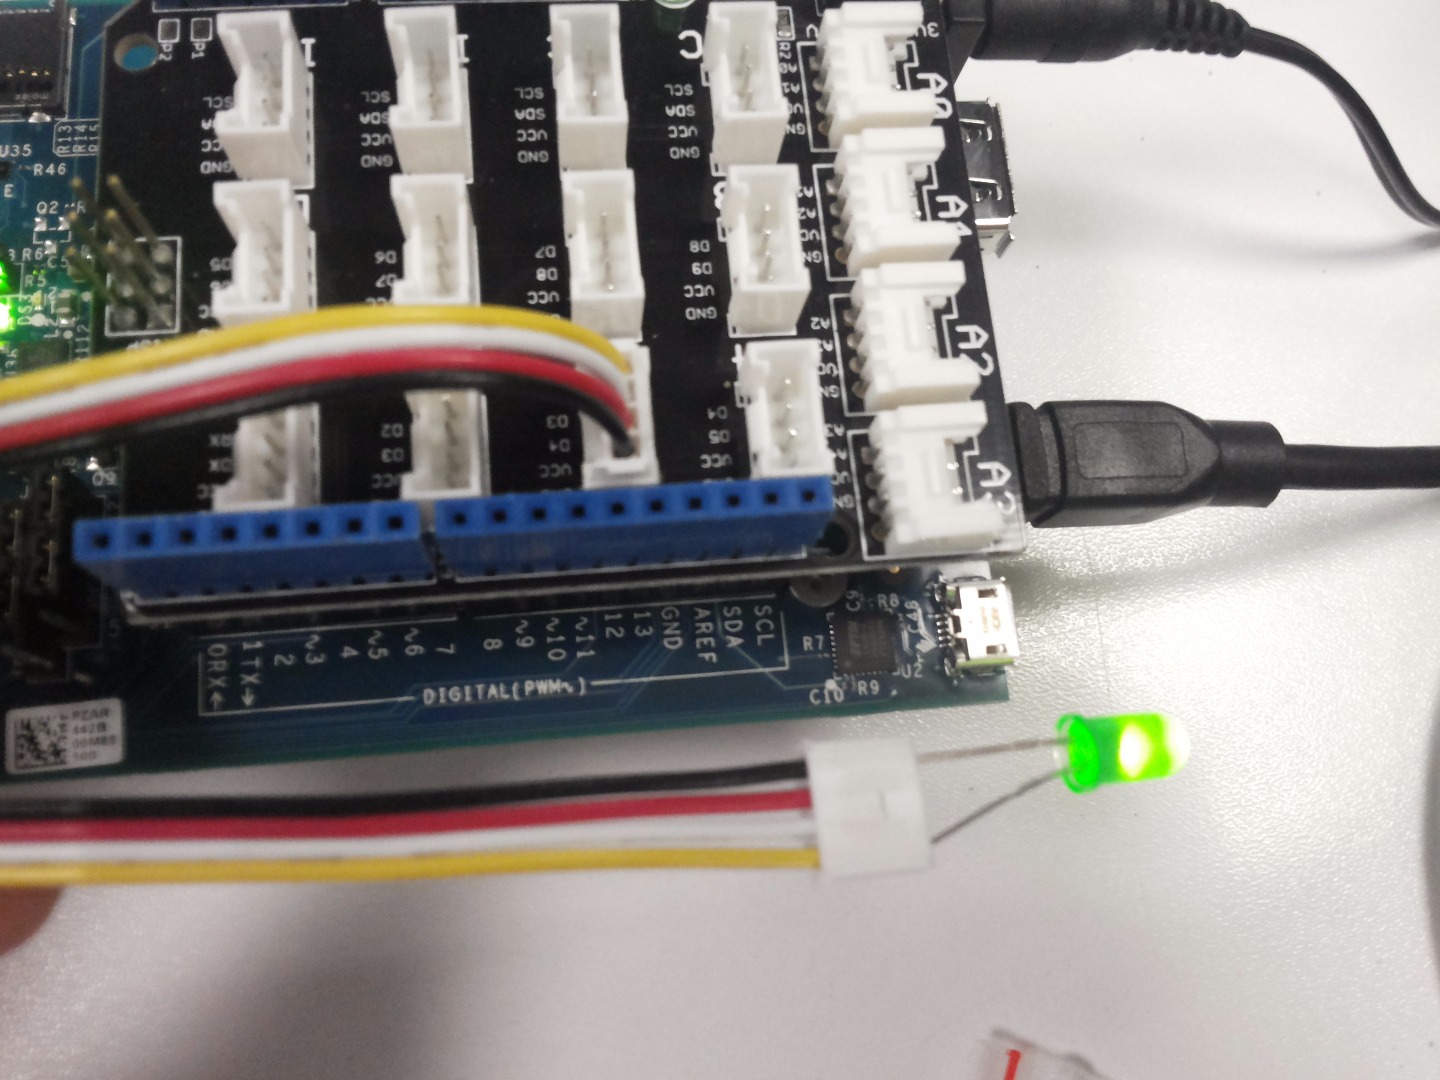
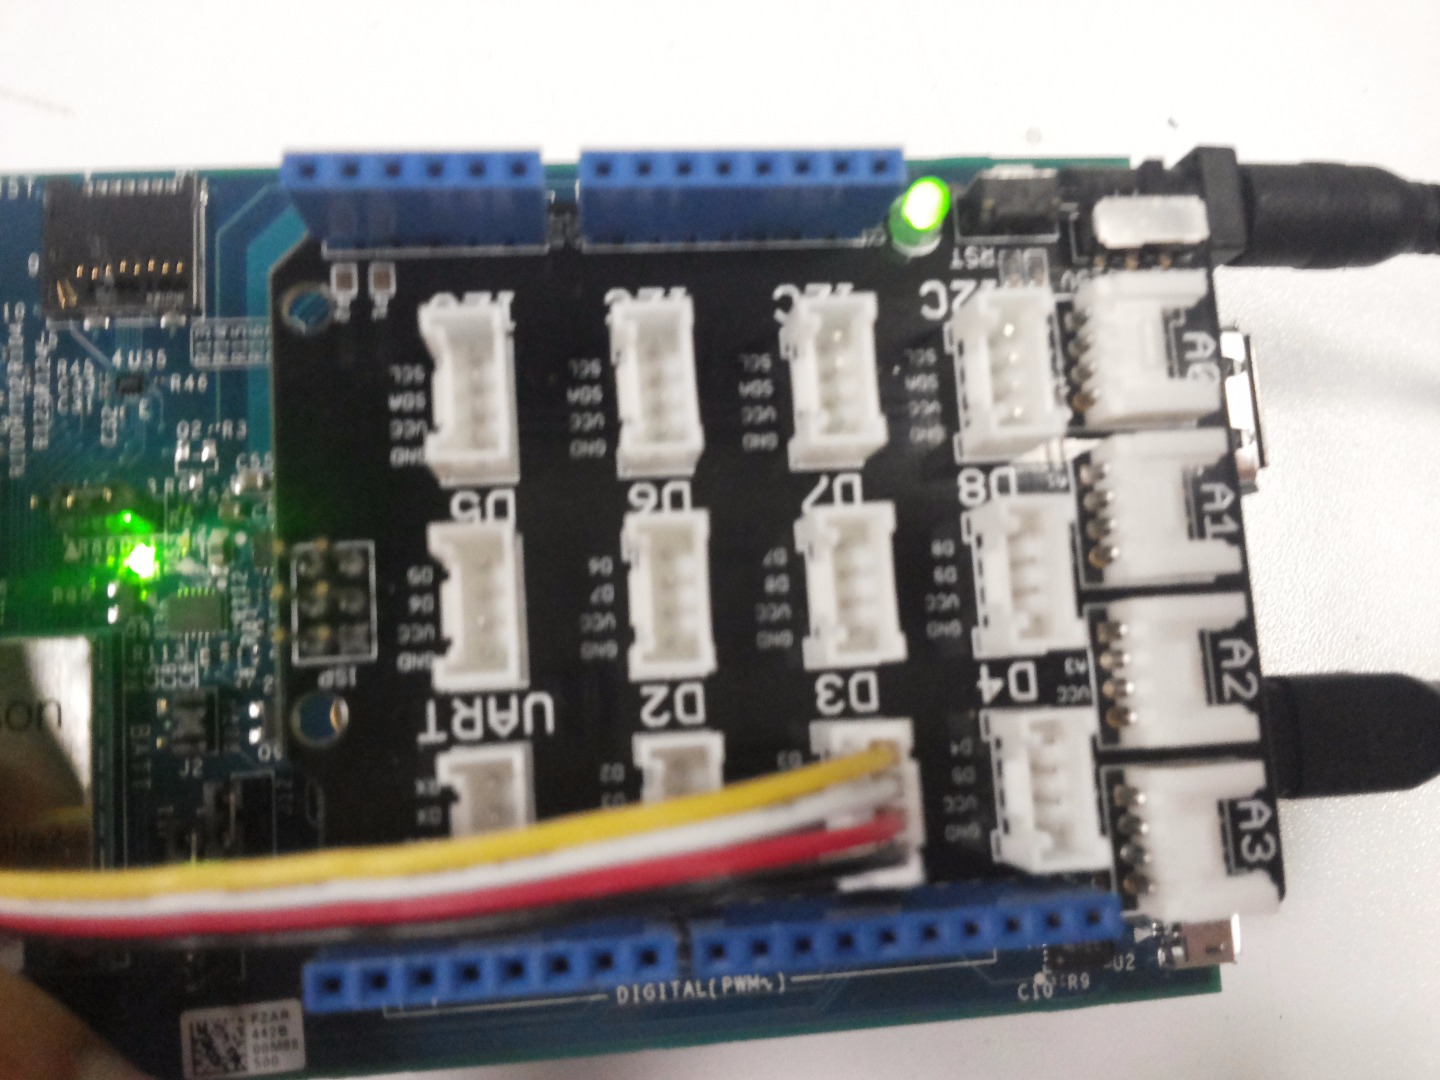
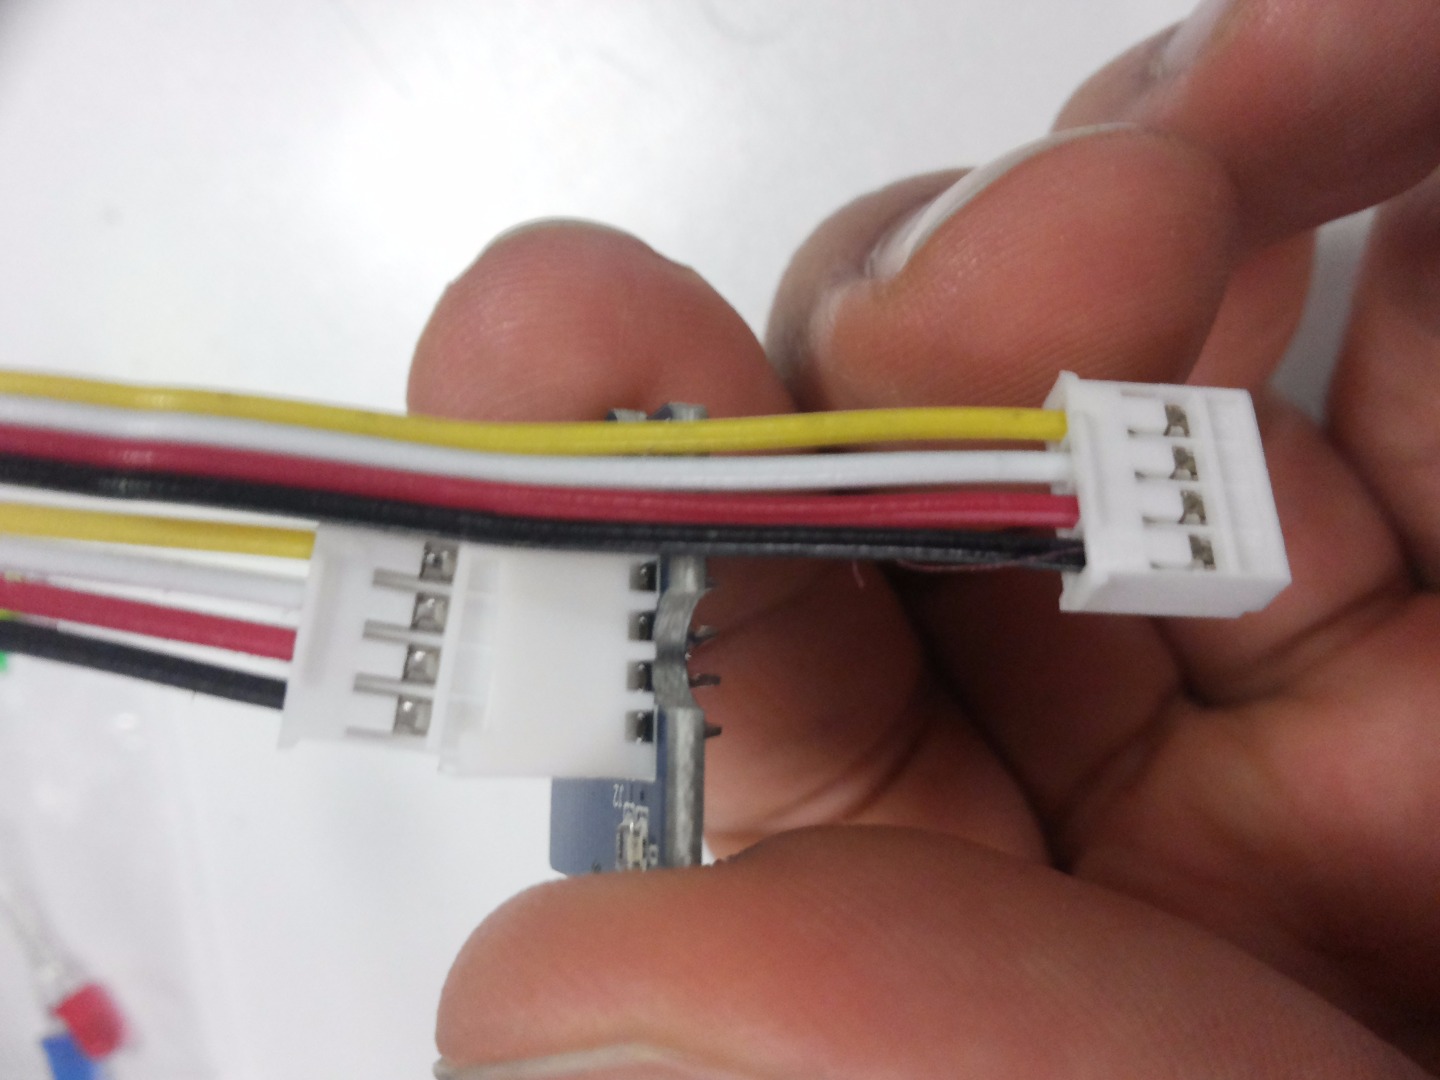
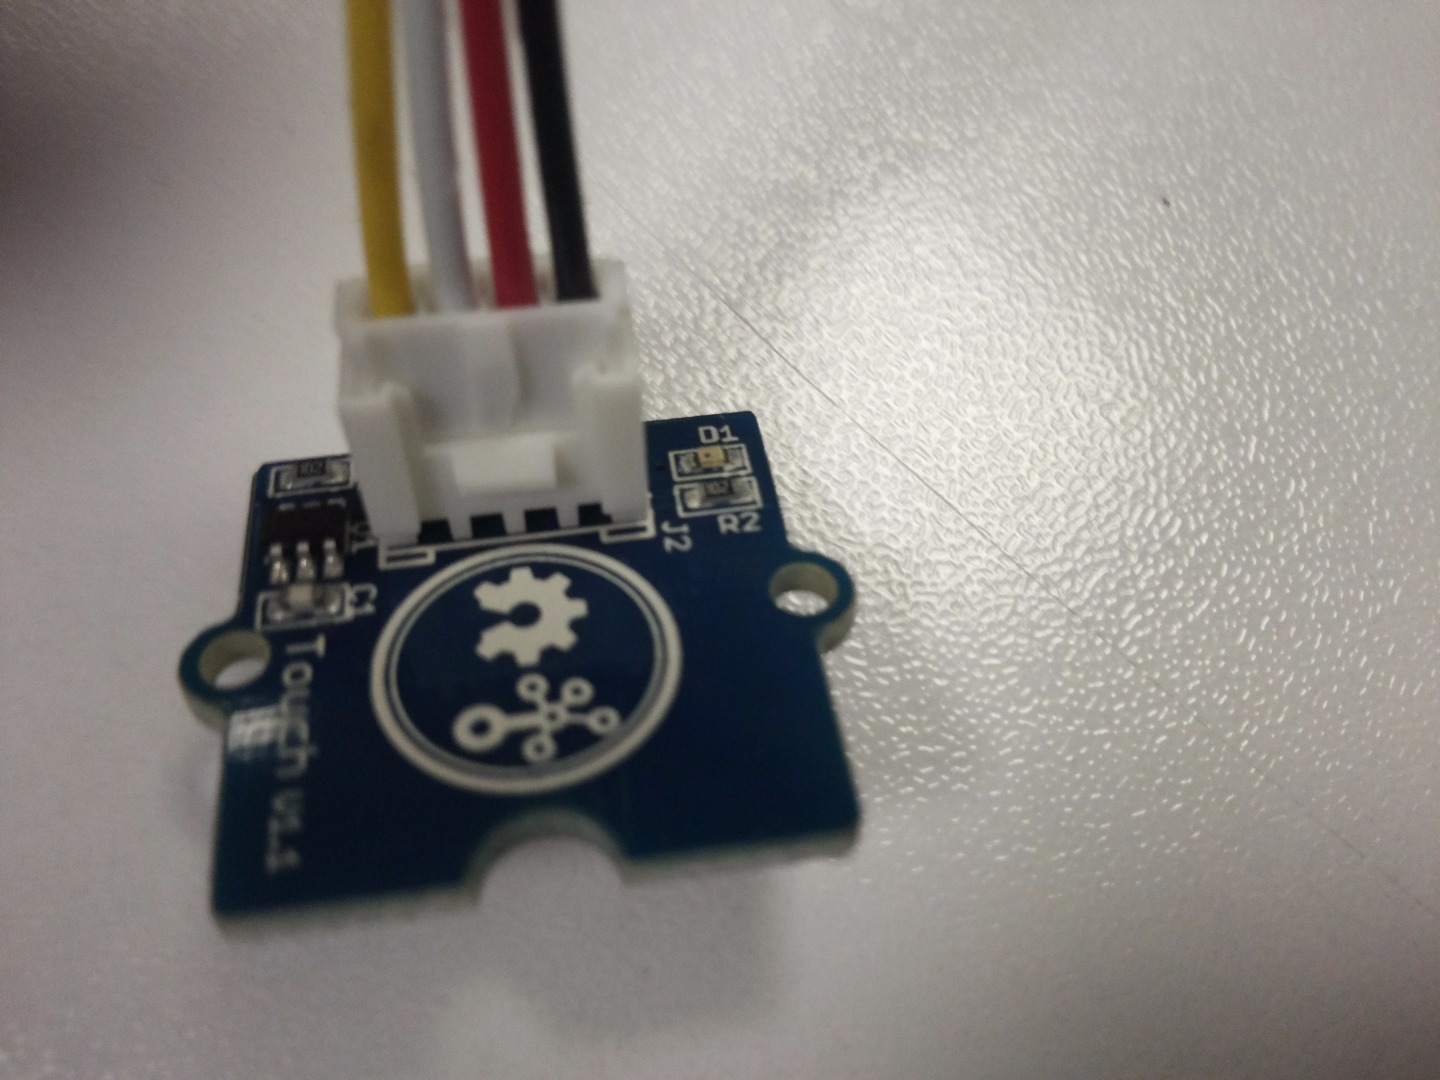
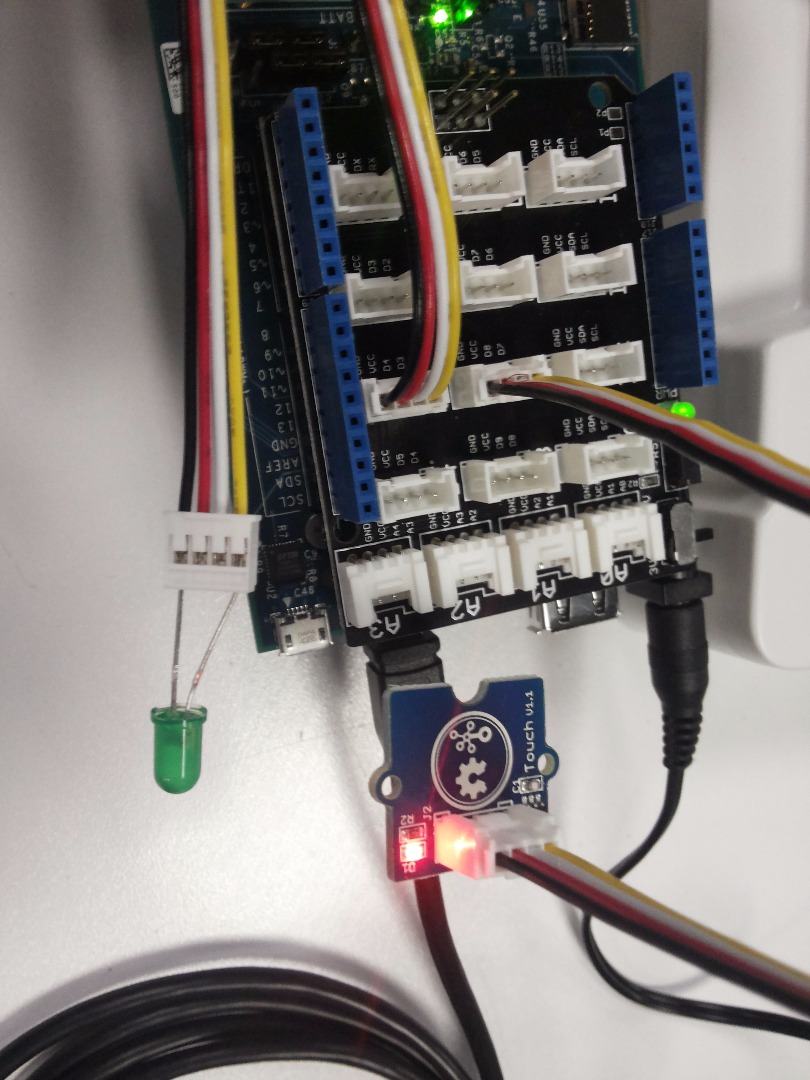
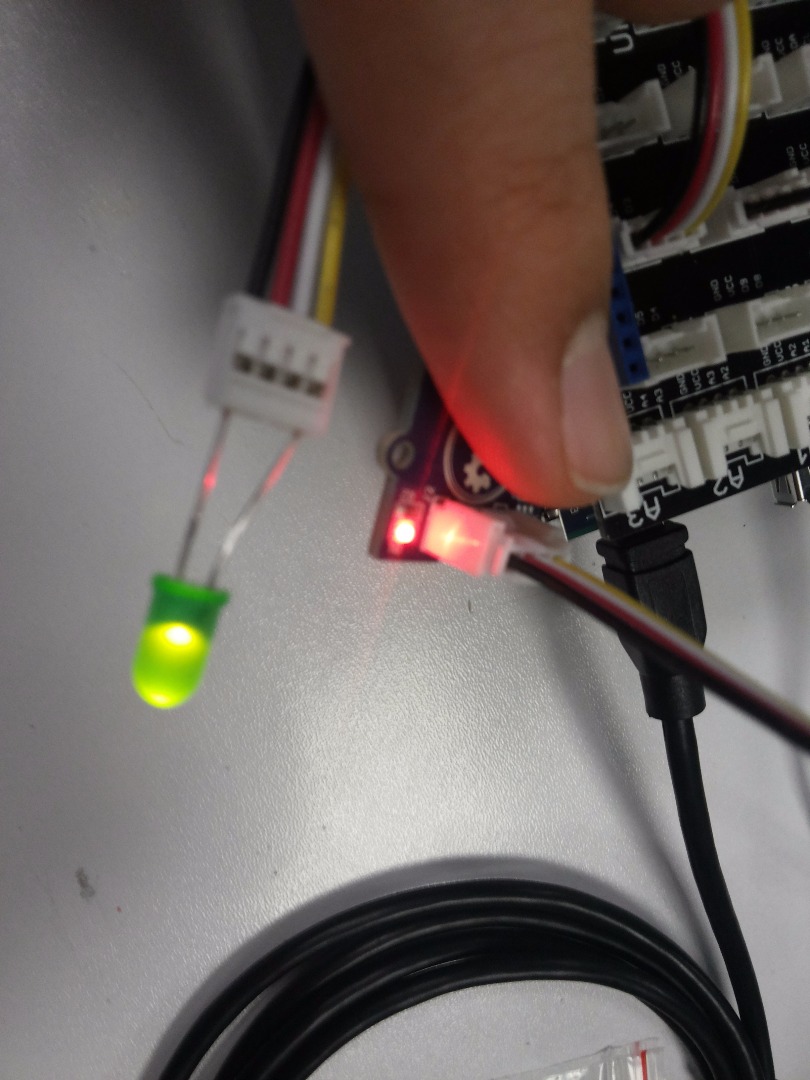
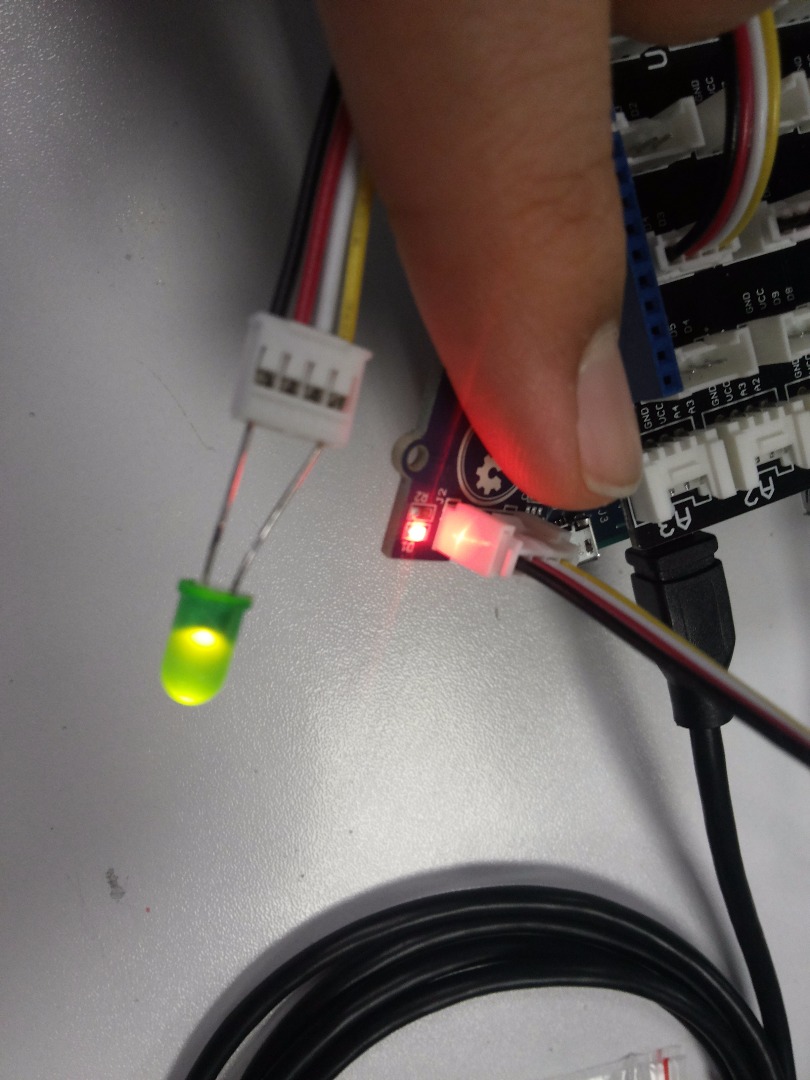
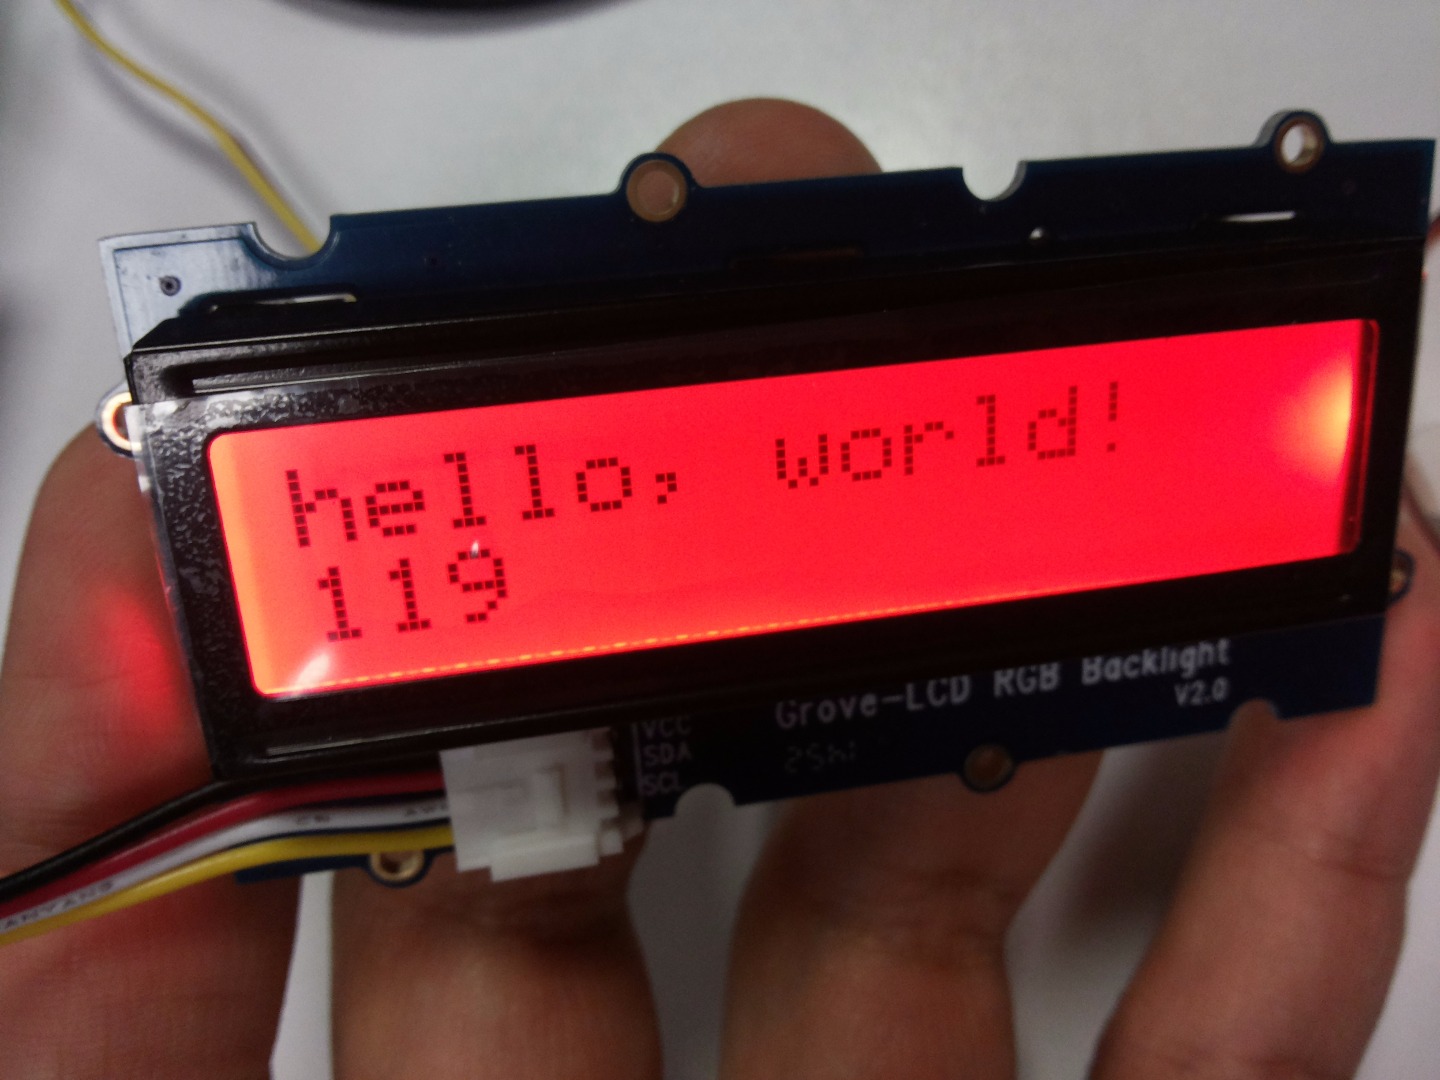
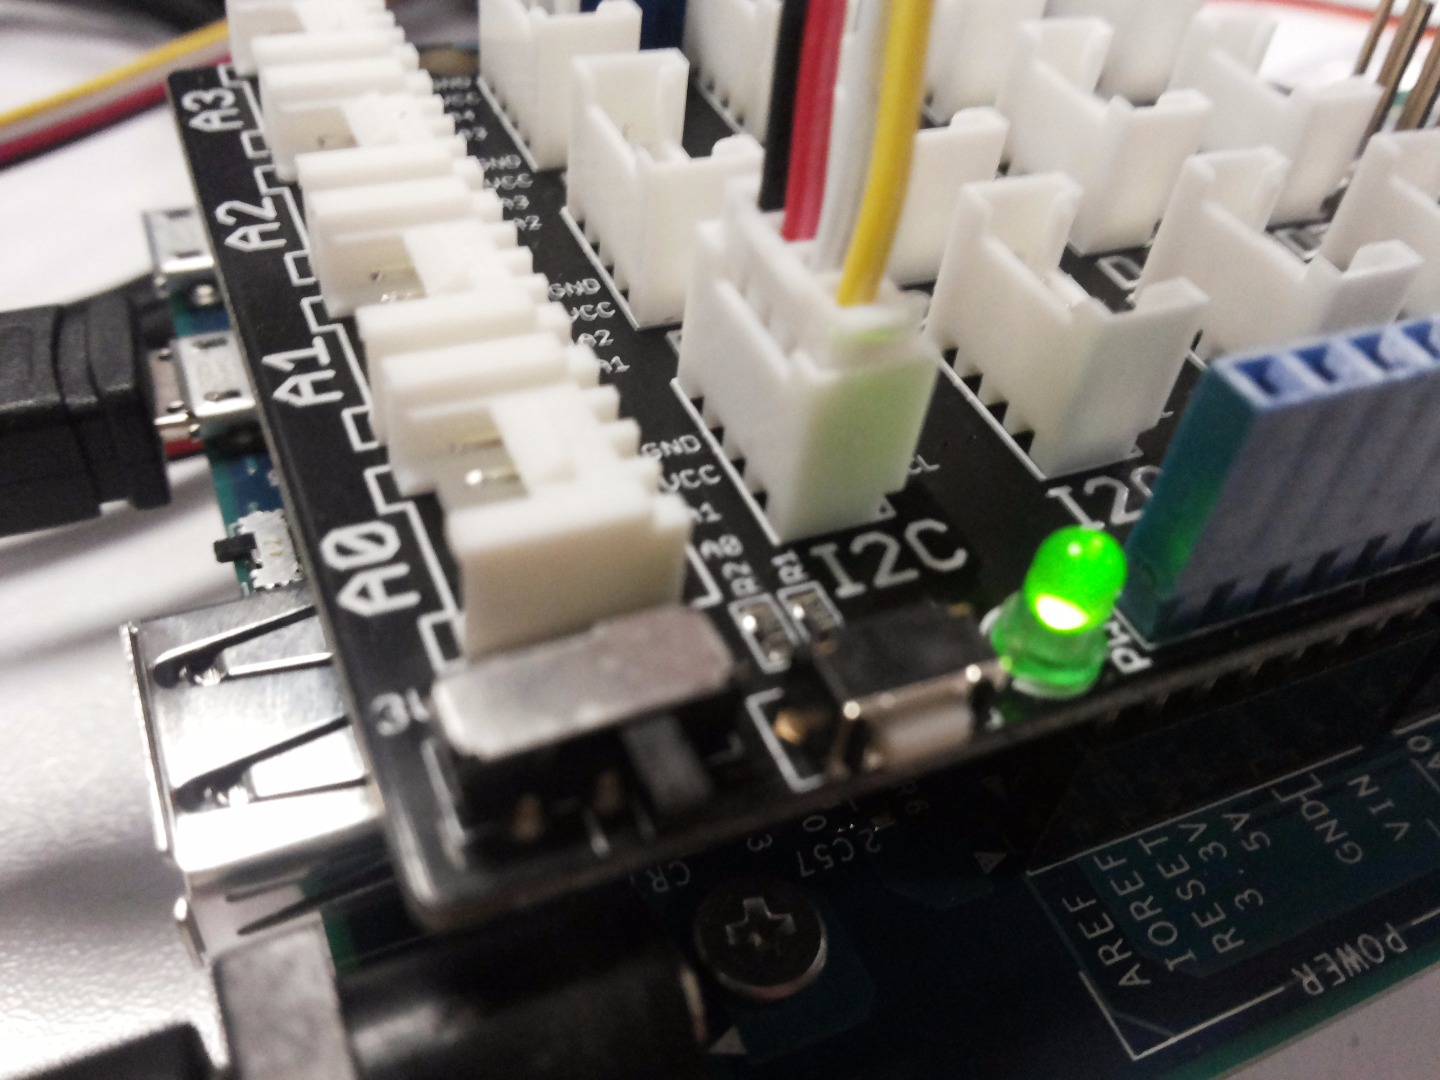
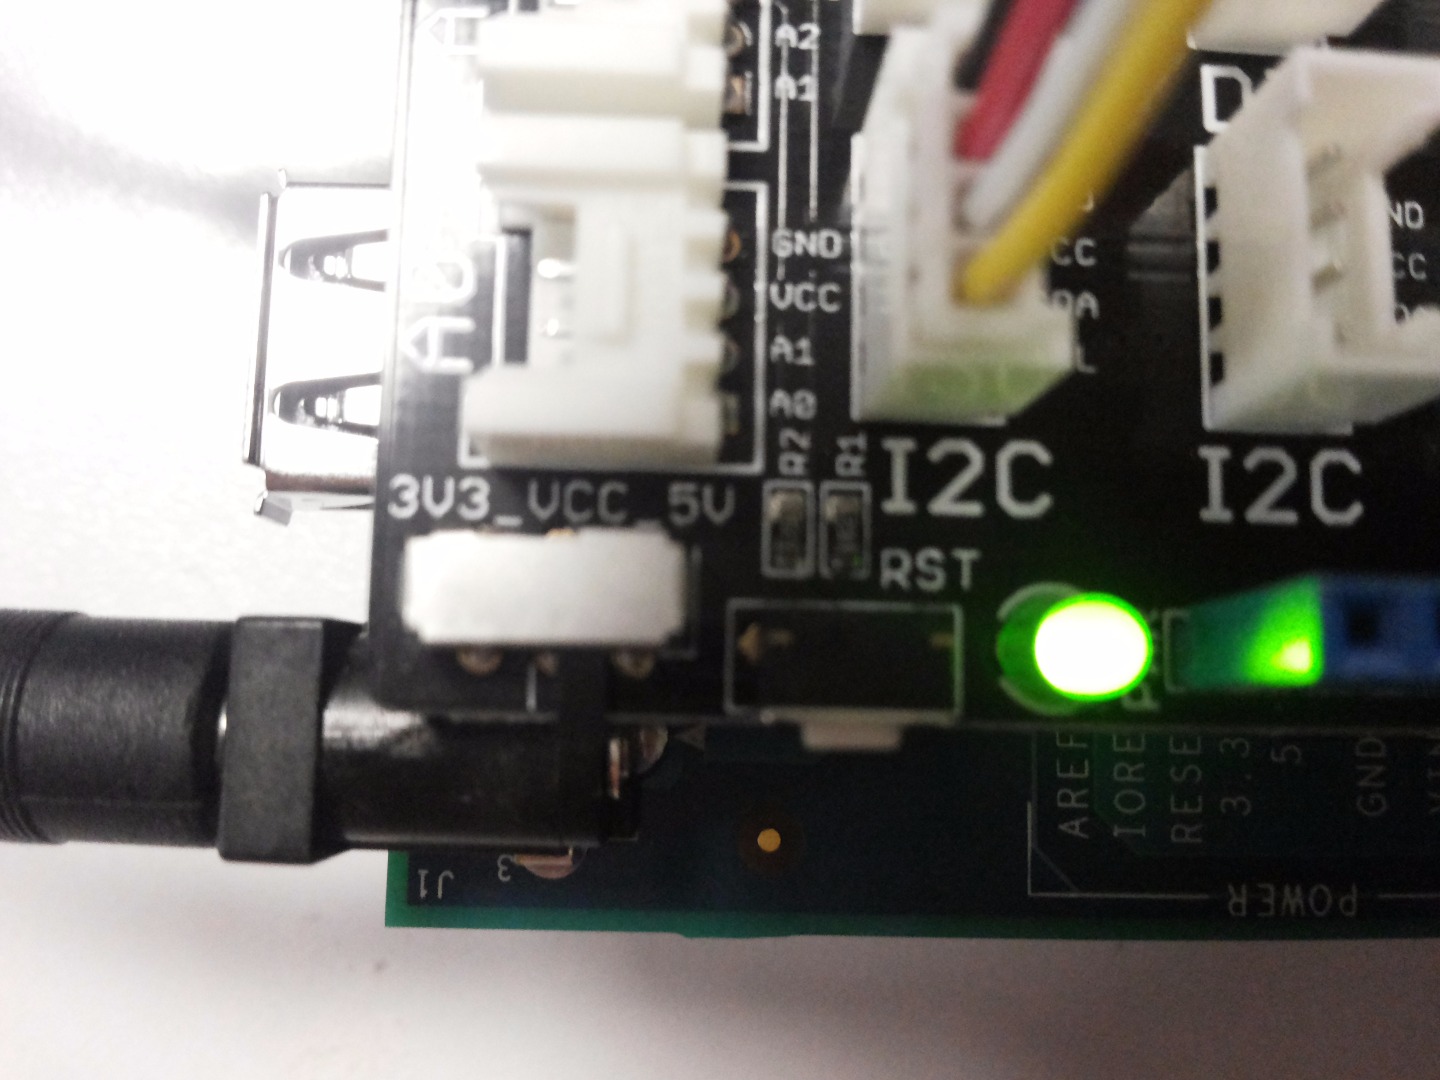
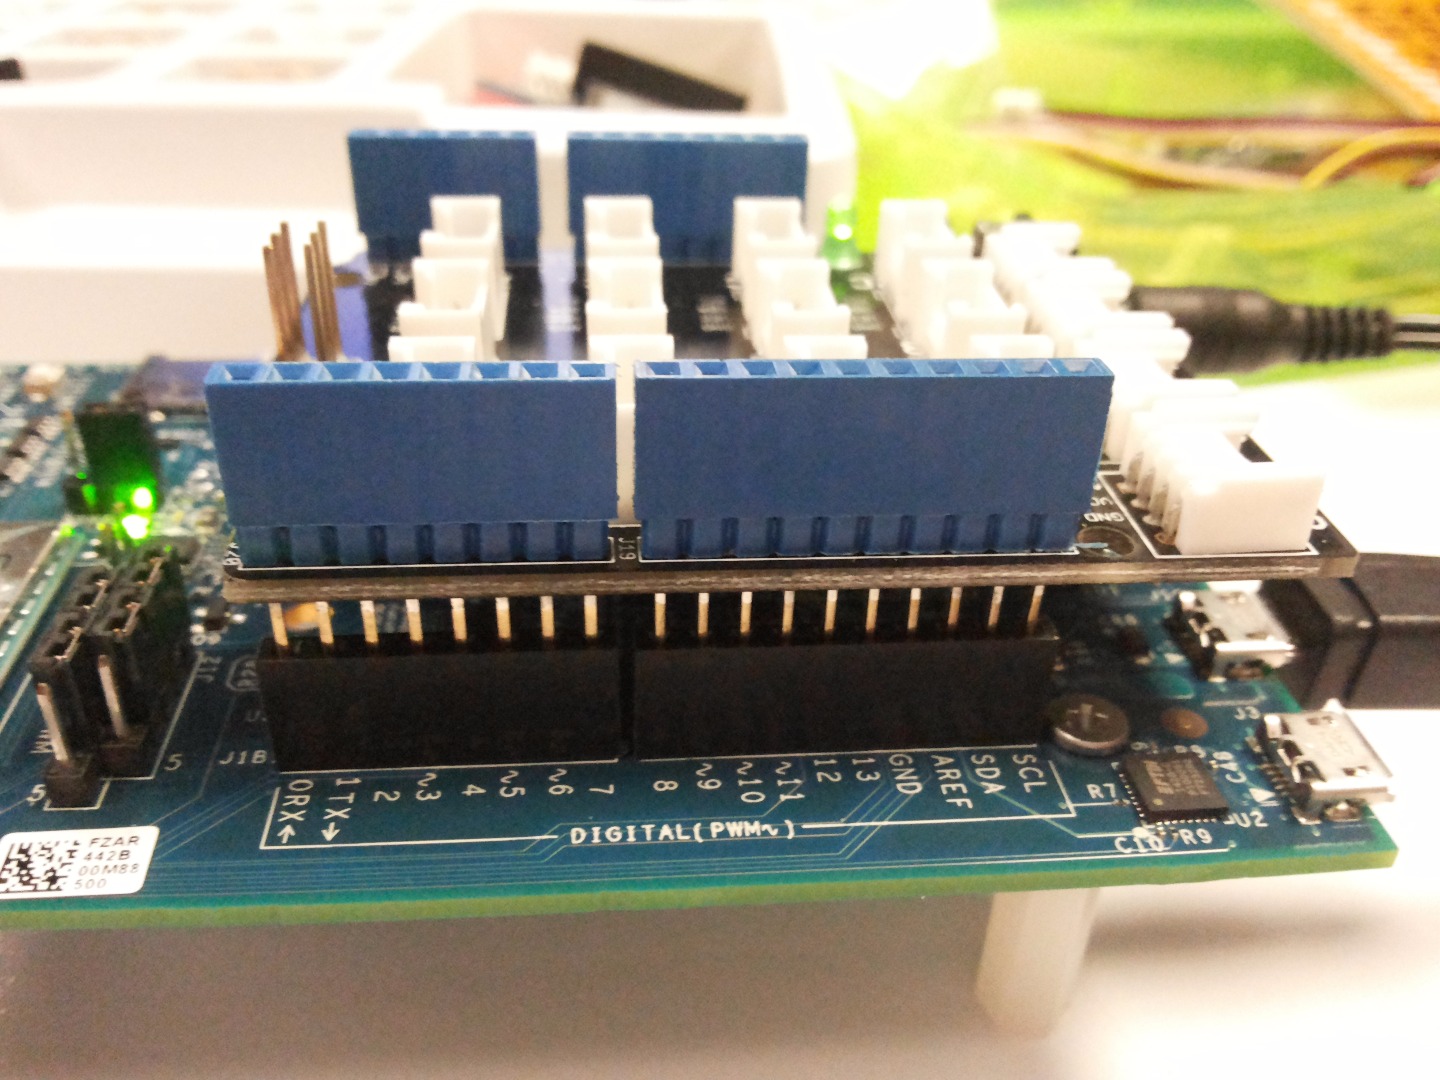
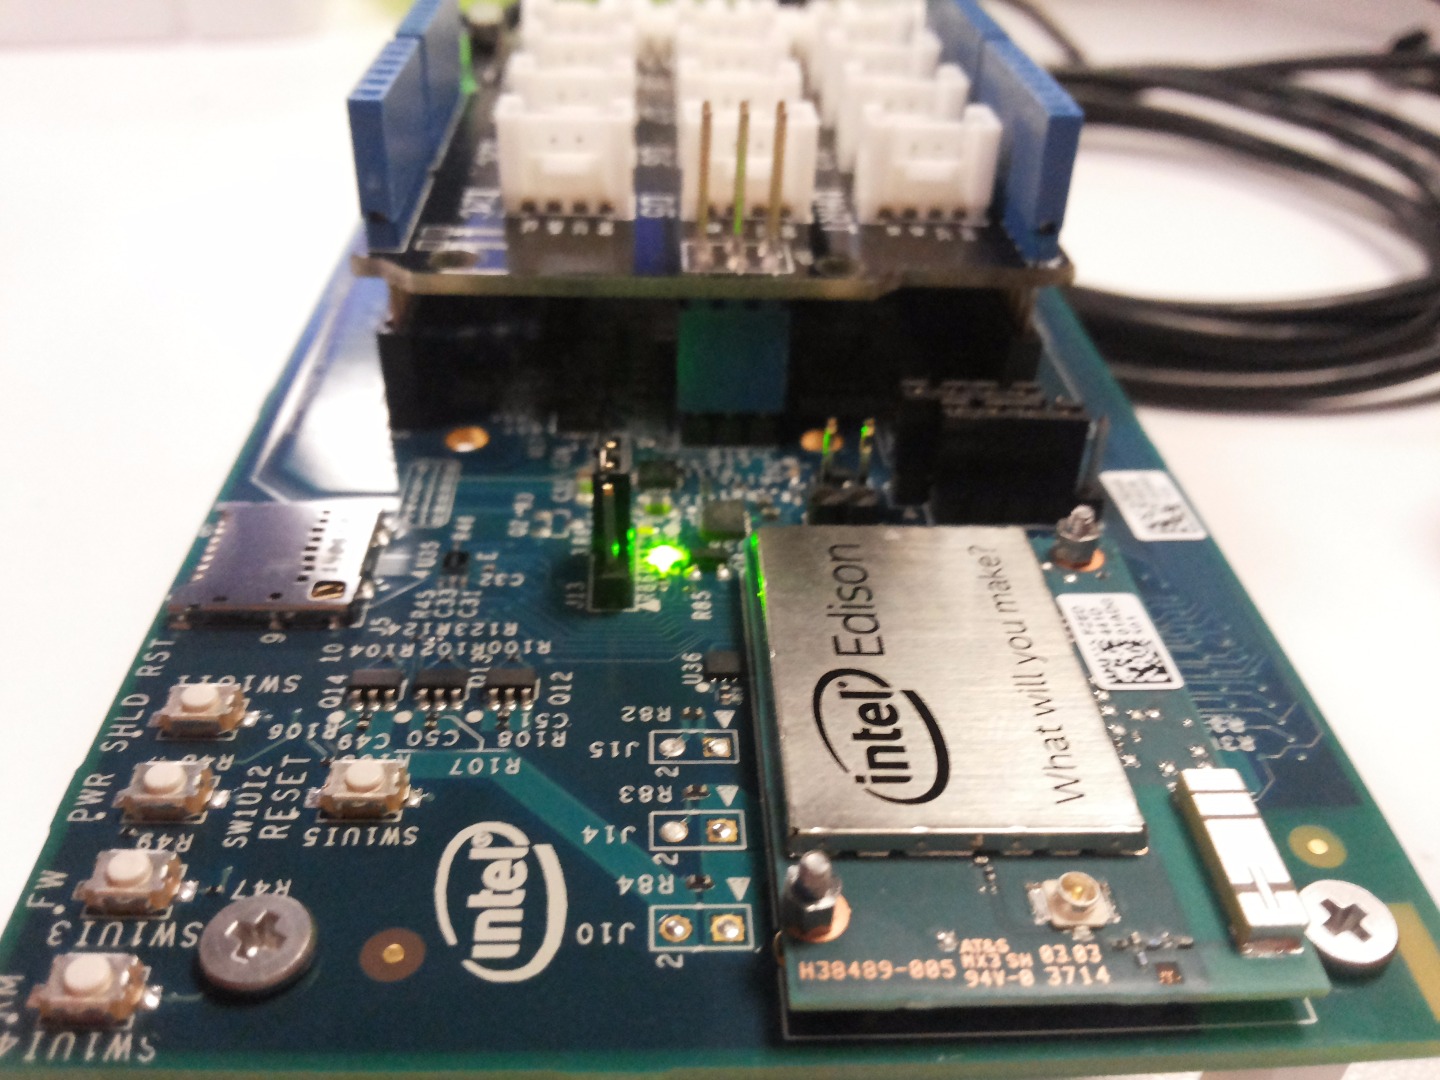
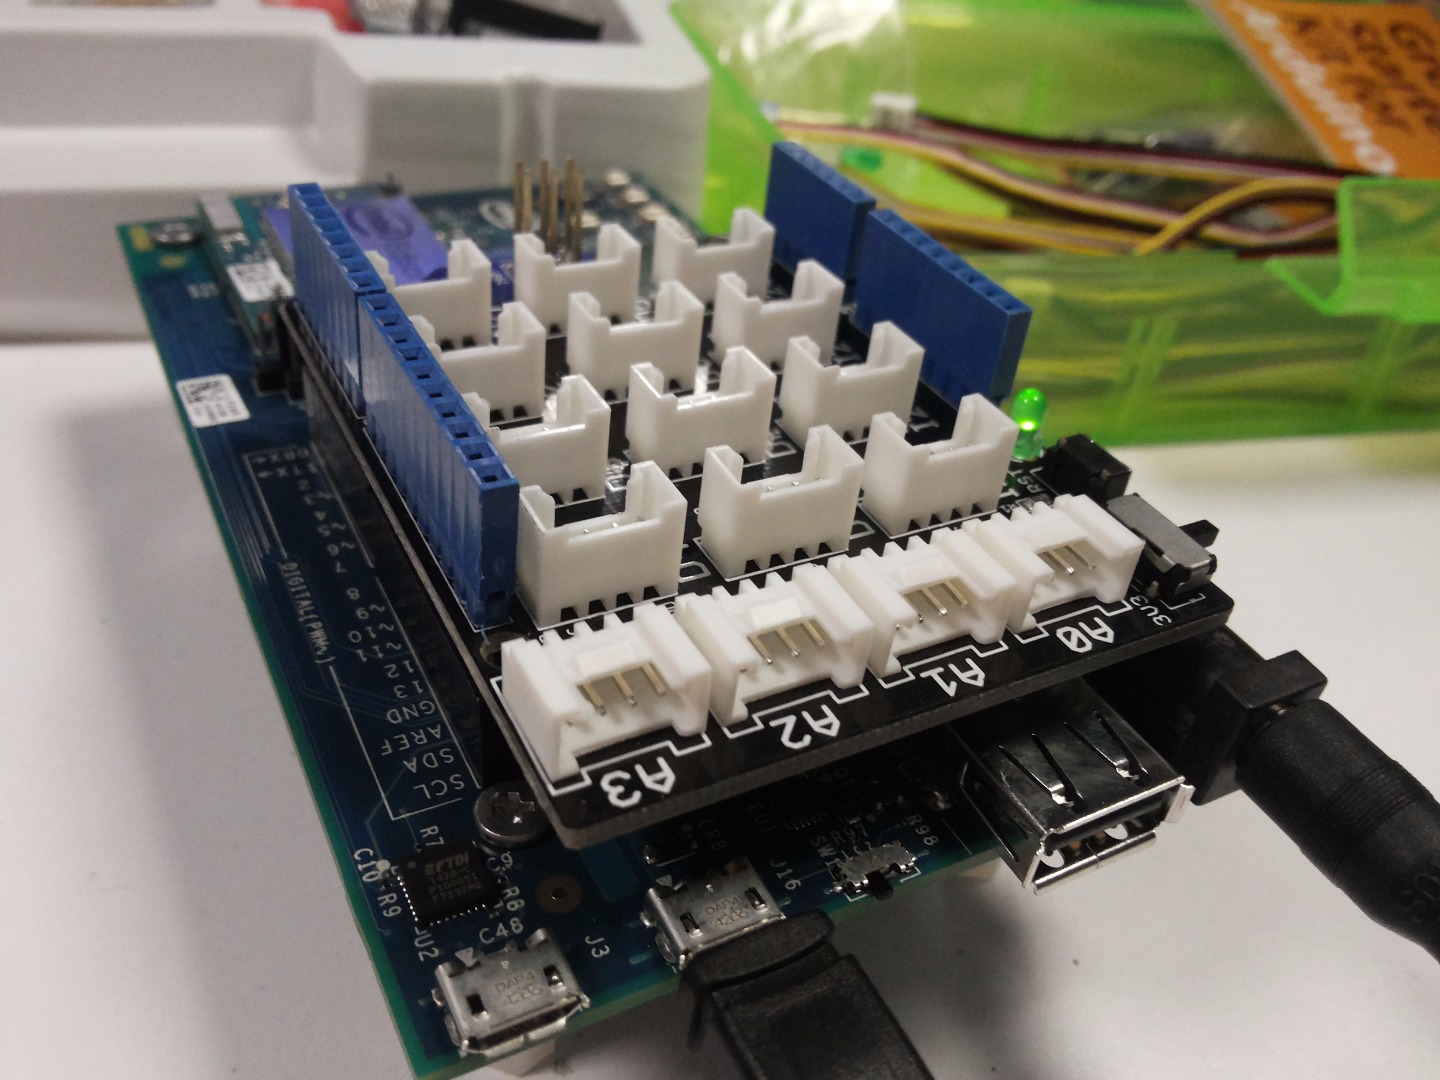
If you have some sensors that's okey to use with Intel Edison. Use Arduino Playground area to attach your sensors with cables seems like as Arduino board. That's Intel Edison's design to do.
I had a chance to use Grove Sensor Kit to done every thing easy and very quick. You can find some sketchbook to code Intel Edison as seem like Arduino board.
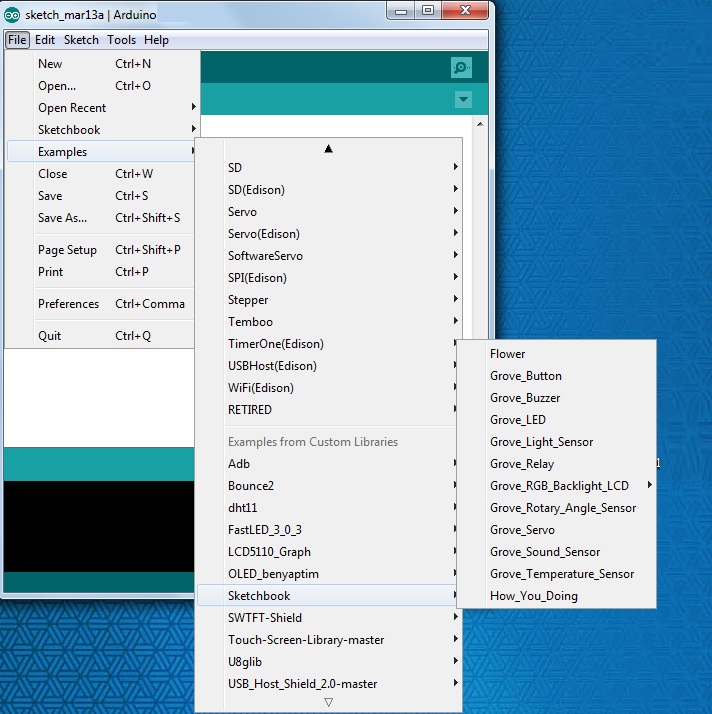
Download the sketchbook.rar file to your computer then extract it to C:\Users\xxx\Documents\Arduino\libraries folder in Windows.
You can try these codes easily to open them from Arduino IDE. (See the picture)
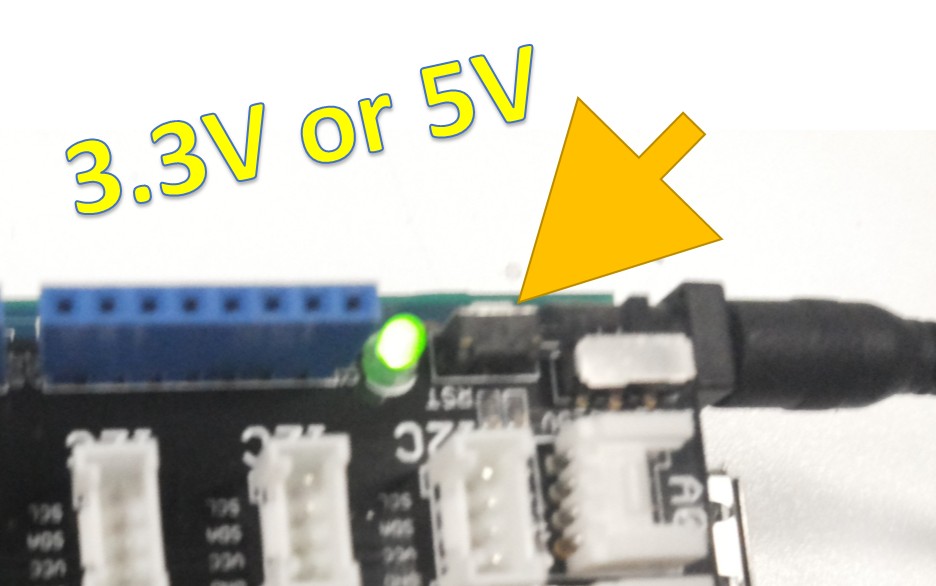
NOTE: On Grove Shield, there is a switch on the shield for changing 3.3V or 5V to give an electrical energy voltage level to your sensors to work with.
Downloads
Some Bugs
1. When you upload a blink code to Intel Edison from Arduino IDE, when you disconnect micro usb cable, with only power cable is attached and board is running, there is no more working code on Intel Edison. This shouldn't be happened like that, I think.
2. When you press reset button, the board hard resets itself, not soft reset is done. I guess, soft reset is needed.
3. If you create an empty file in Arduino IDE's libraries (Yes, there are a lot of libraries, they both have file.c and file.h files included), Arduino IDE gives you compiler error. You need to delete your libraries which doesn't have .c and .h files inclueded. If you have file.ino files in Arduino library folder, you will face compiler error. This shouldn't be done like that, I think.
Connect to Intel Edison Over Air Without Cables
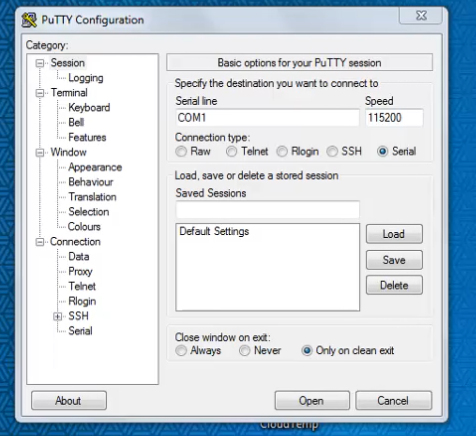
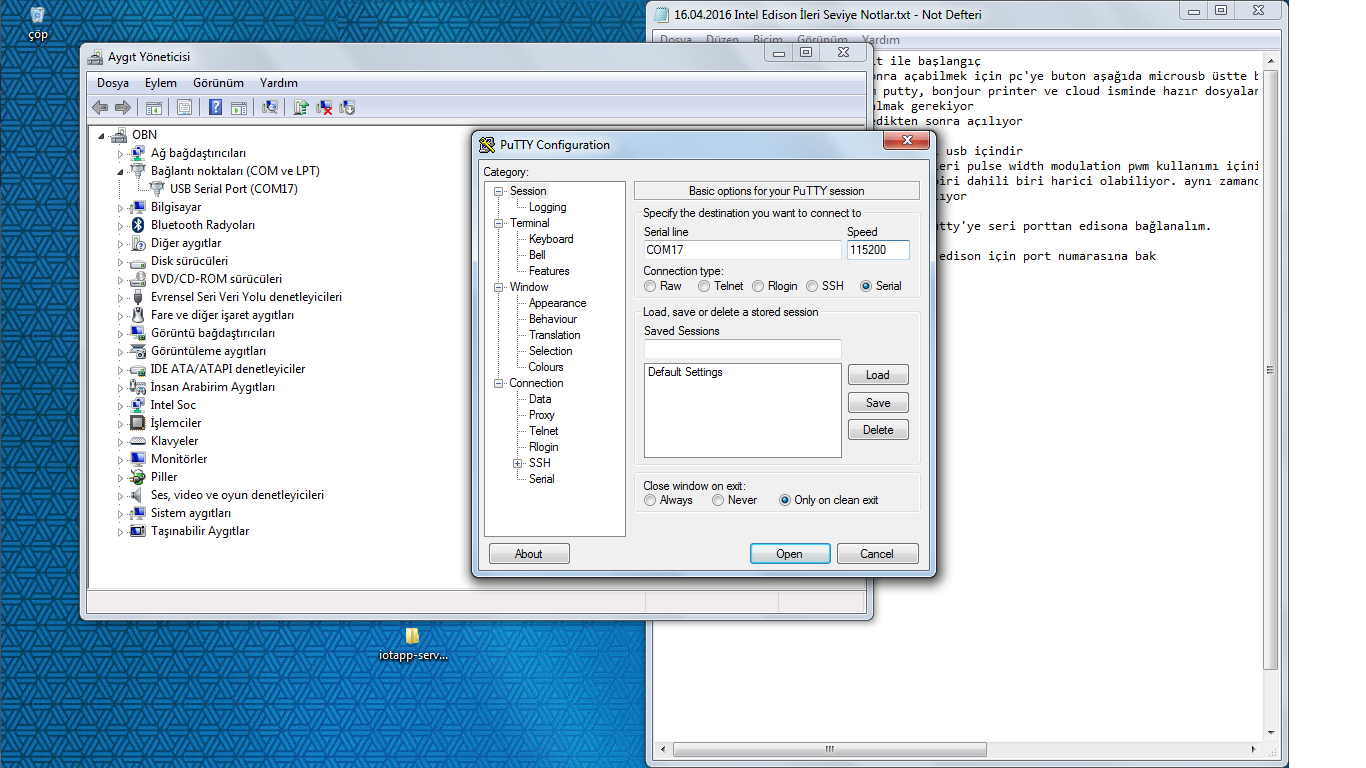

Open Putty >> Click on Serial >> Baud Rate = 115200 >> Write your Com port name as COM = >> Click on Open
[%name] Login: root

Password: **leave blank hit enter**
Now you can see root@[%name] is ready Type this:
configure_edison --setup
Now, give an SSID and password. Don't forget these because when we want to connect to Intel Edison board, we need to use these informations.
Intel Edison XDK Developing Platform


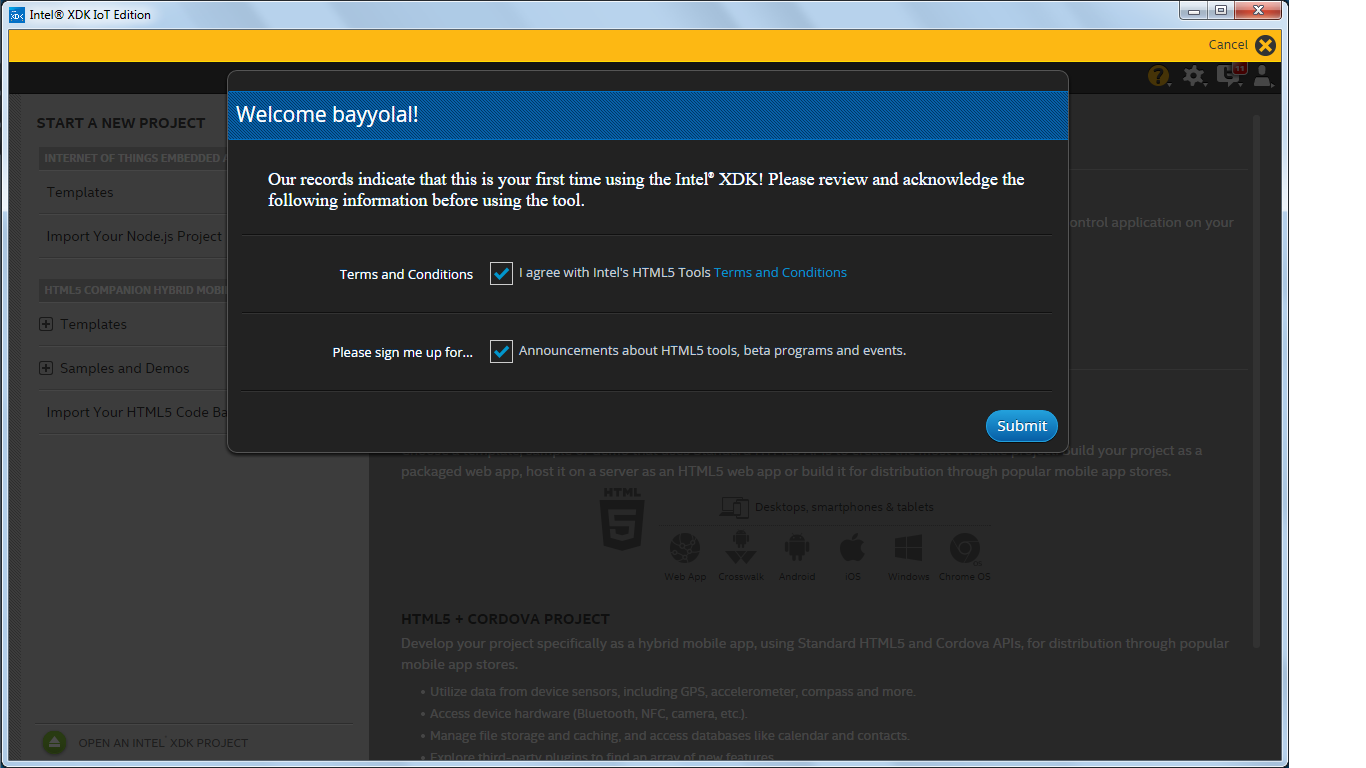
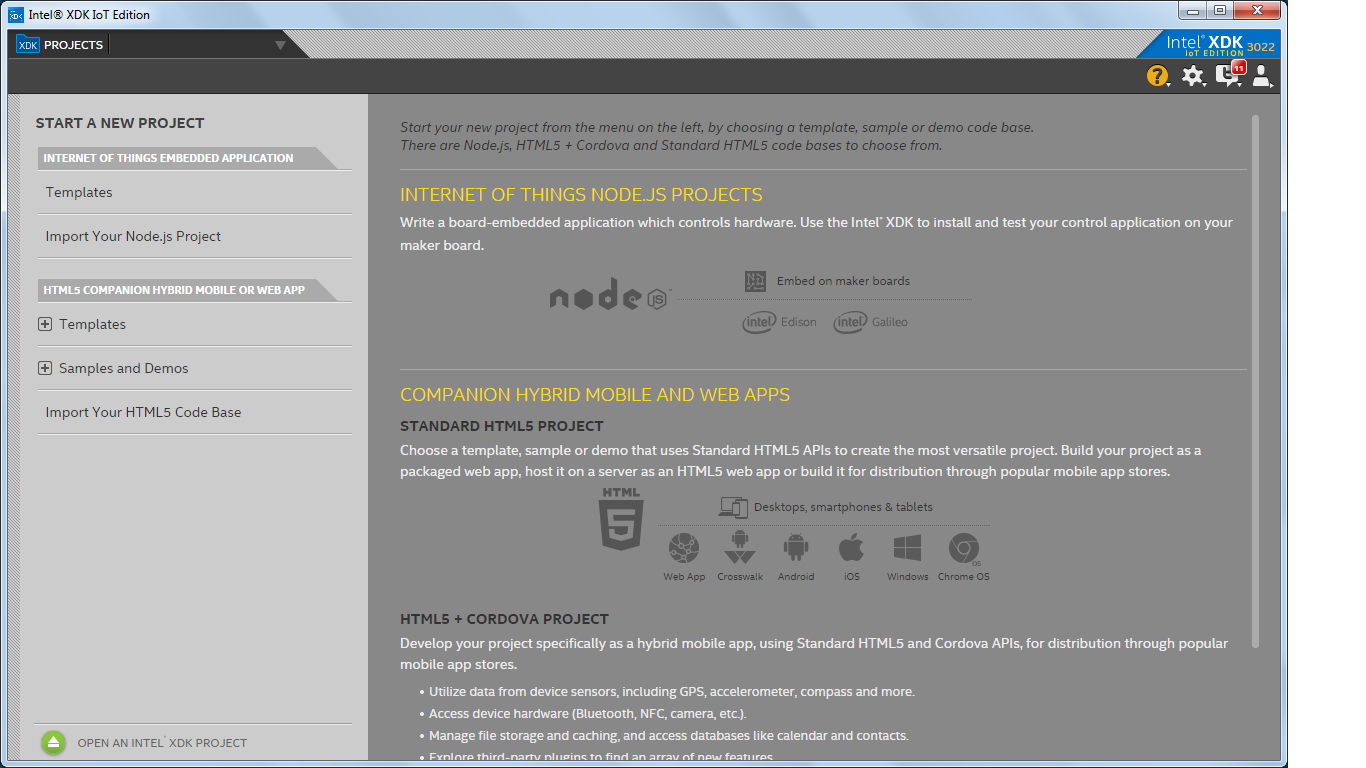
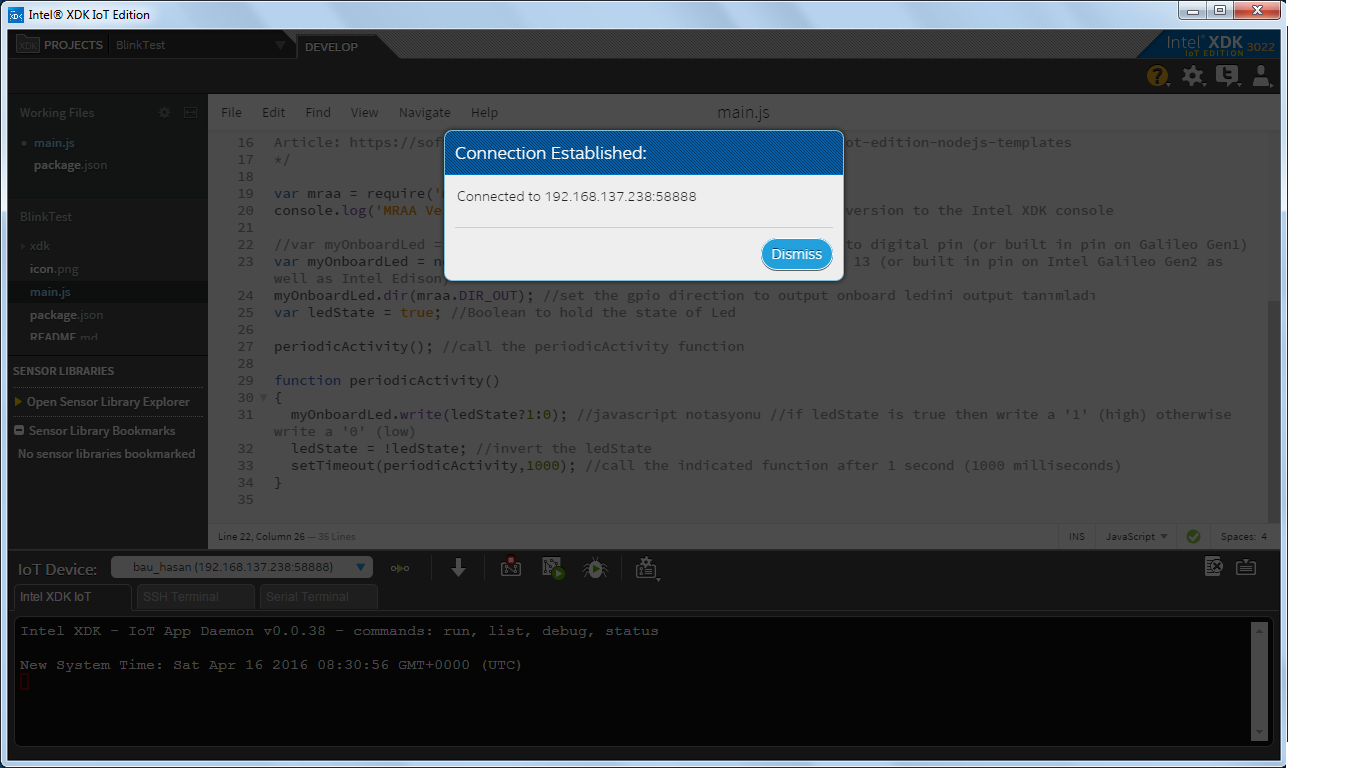
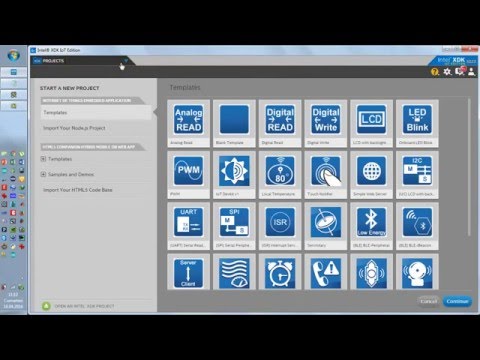
Now, if you did the last step, you can disconnect the cable both from your PC and your board. This is not needed now.
If you didn't download the Intel drivers, download below and install:
For Windows: http://downloadmirror.intel.com/24909/eng/IntelEd...
For MacOS https://downloadmirror.intel.com/25871/eng/m_iot_... (Only select drivers to load)
For Linux: https://downloadmirror.intel.com/25871/eng/m_iot_... (Only select drivers to load)
Now, download XDK IDE: https://software.intel.com/en-us/iot/software/ide...
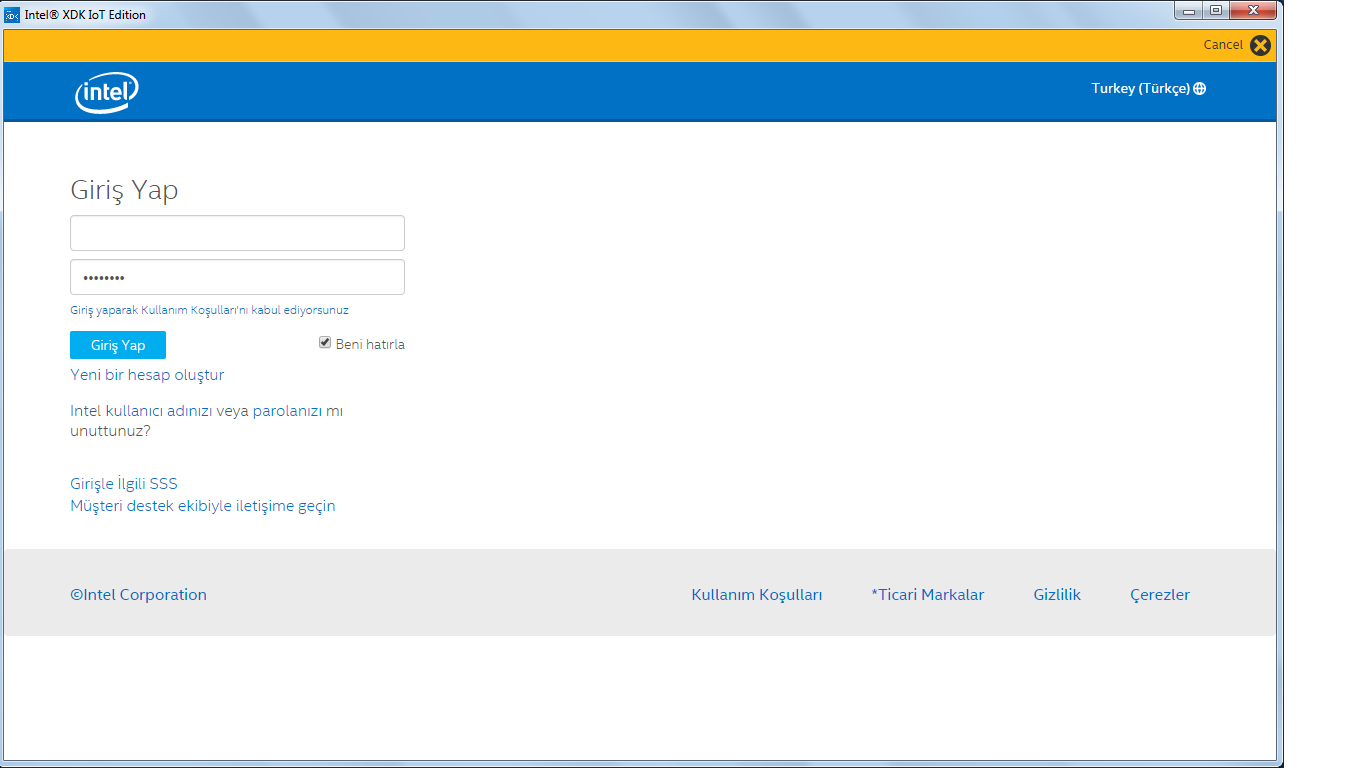
After installation, you need to sign up to create a new account.
If there is "initializing" page and still no luck to process, plug in your Intel Edison board to your pc via usb cable then try it again. It may offer some firmware update, you should do it to update your Intel Edison board.
.
That's all !
BONUS: Reading This Instructable
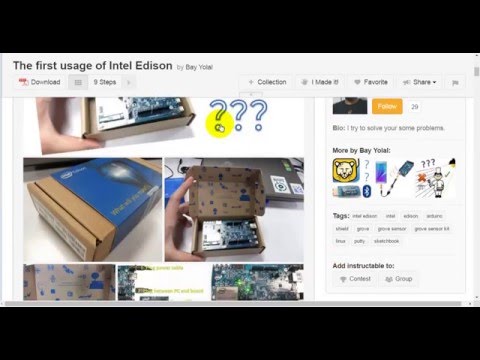
NOTE: This instructable's step is aimed for visually impaired people to hear the sentences to learn what's going on here. Watch the video, it explains all steps.