The First Usage of 0.96" I2C OLED Display With Arduino UNO
by Bay Yolal in Circuits > Arduino
42788 Views, 45 Favorites, 0 Comments
The First Usage of 0.96" I2C OLED Display With Arduino UNO
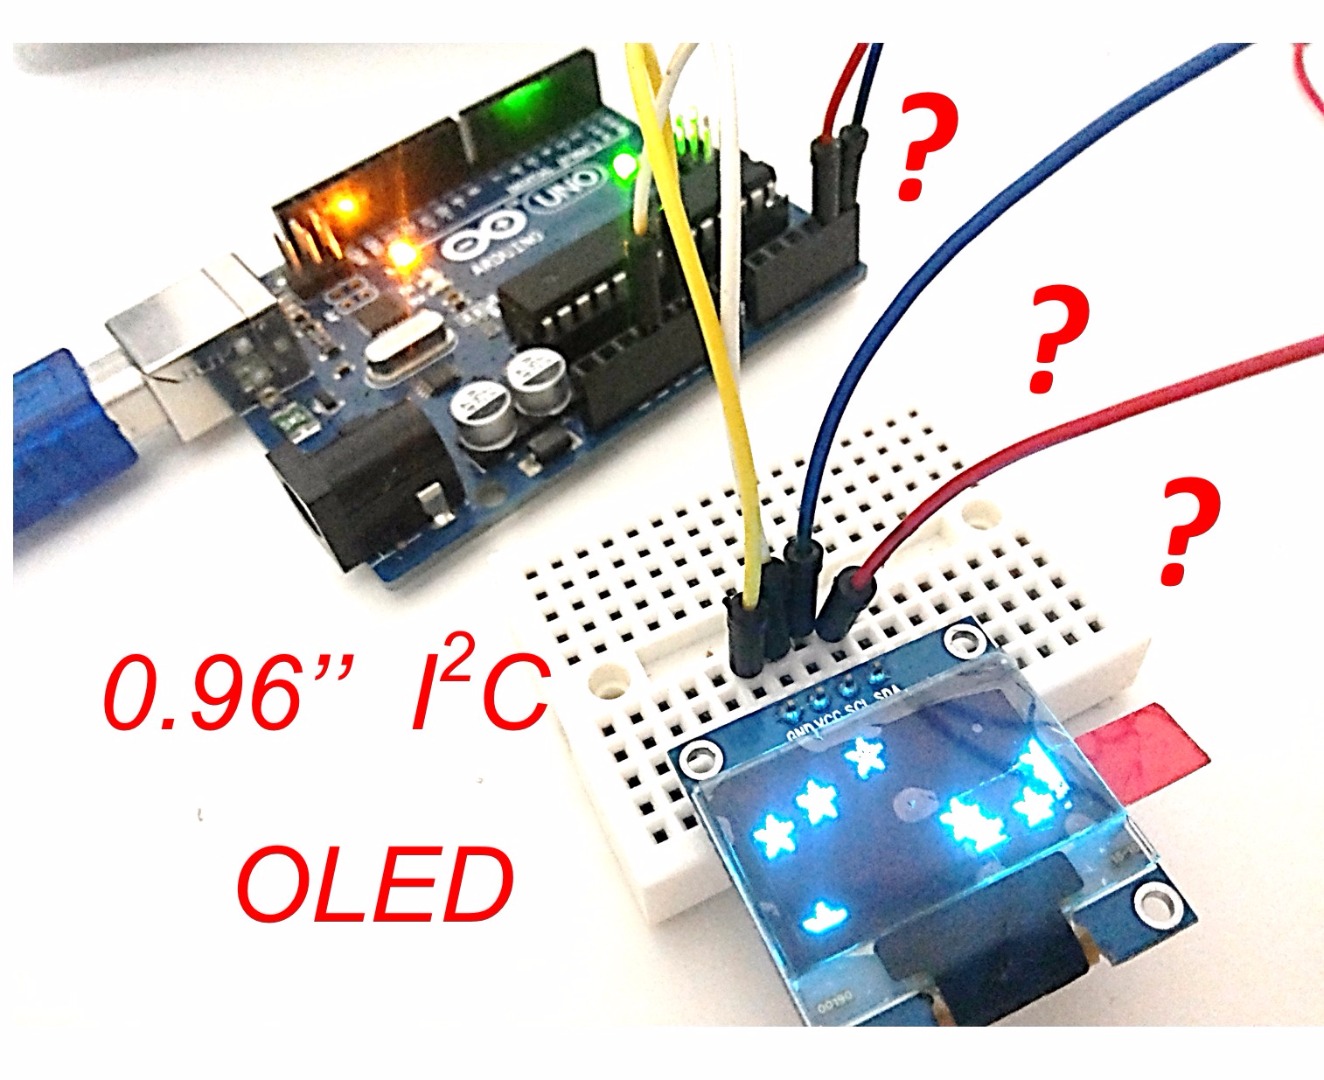
Today, I am going to show you how to use 0.96" I2C OLED display with Arduino UNO board. There are a lot of different type of OLED displays. I have got 4-pinned OLED display with me. This displays can be with SPI pins instead of I2C. These versions can be seen on Adafruit's website
The Need List:
1. Arduino UNO (With USB A to B cable)
2. 0.96" I2C OLED display (4-pinned)
3. Tiny Breadboard or male-female tiny cables
4. Your computer (Arduino IDE loaded)
The Code
Download the file below, then copy the codes to paste on Arduino IDE.
Downloads
The Necessary Libraries
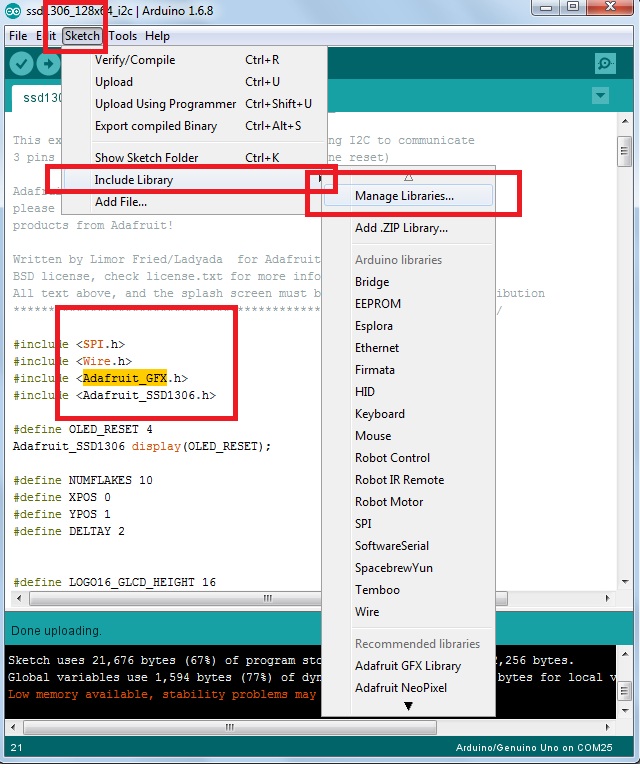
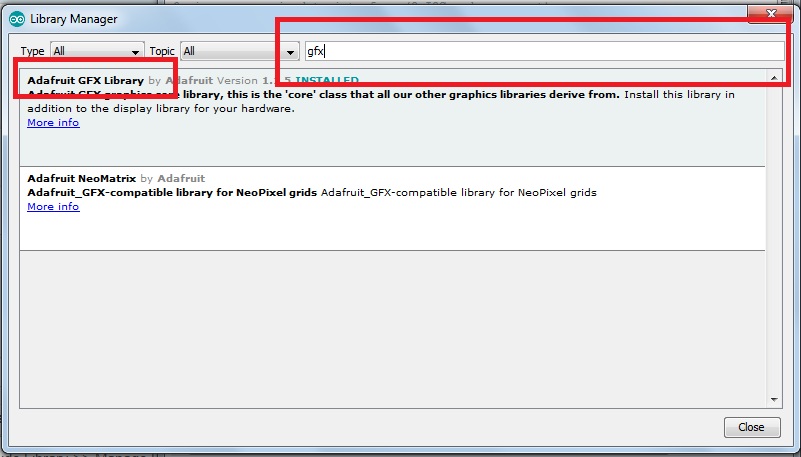
On Arduino IDE >> Sketch >> Include Library >> Manage Libraries >> search for Adafruit_SSD1306 then install, and search for Adafruit_GFX then install.
Also check Adafruit's Github page for more
The Connections
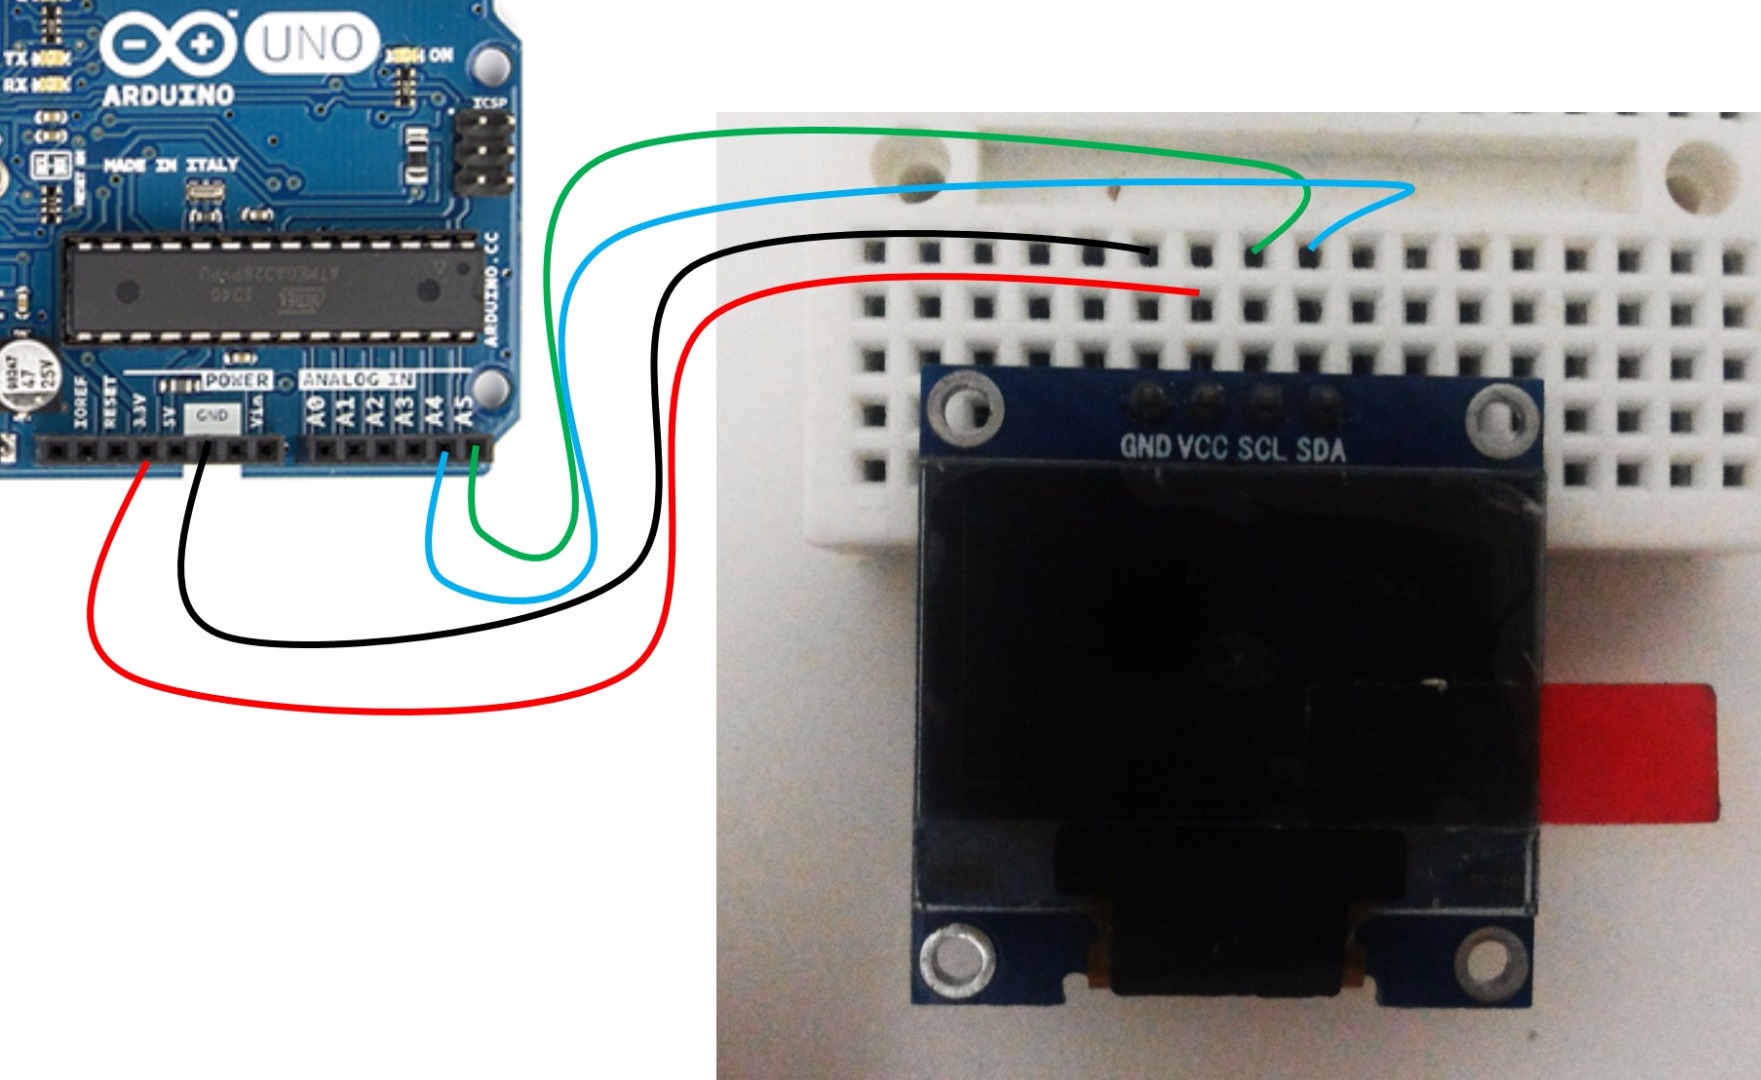
Arduino 3.3V - VCC OLED
Arduino GND - GND OLED
Arduino Analog In A5 - SCL OLED
Arduino Analog In A4 - SDA OLED
The Modifications
When we loaded Adafruit library we need to modify it.
Go to the folder where Arduino libraries are loaded,
C:\Users\<em>**your pc name**</em>\Documents\Arduino\libraries\Adafruit_SSD1306
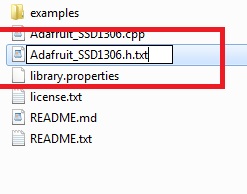
On this folder, find Adafruit_SSD1306.h file, click on it or press F2 to rename, rename it as Adafruit_SSD1306.h.txt then find this sentences in the middle of the codes, seems like:
<p>//#define SSD1306_128_64<br>   #define SSD1306_128_32
//#define SSD1306_96_16</p>
Comment the 32, and uncomment the 64 as
<p>     #define SSD1306_128_64<br>//   #define SSD1306_128_32
//   #define SSD1306_96_16</p>
CTRL + S to save this text. Go to the library folder and find Adafruit_SSD1306.h.txt to rename as Adafruit_SSD1306.h then return to Arduino IDE.
Downloads
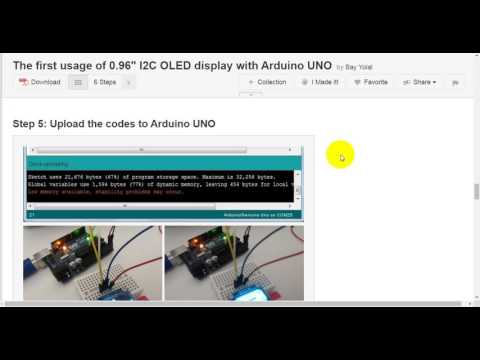
Upload the Codes to Arduino UNO
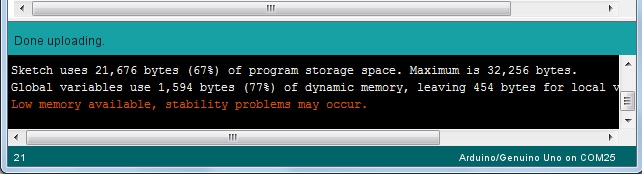

On Arduino IDE (I used v1.6.8 for this instructables, learn how to update/download Arduino IDE) click on upload button to upload the codes from your computer to your Arduino UNO via USB cable type A to type B.
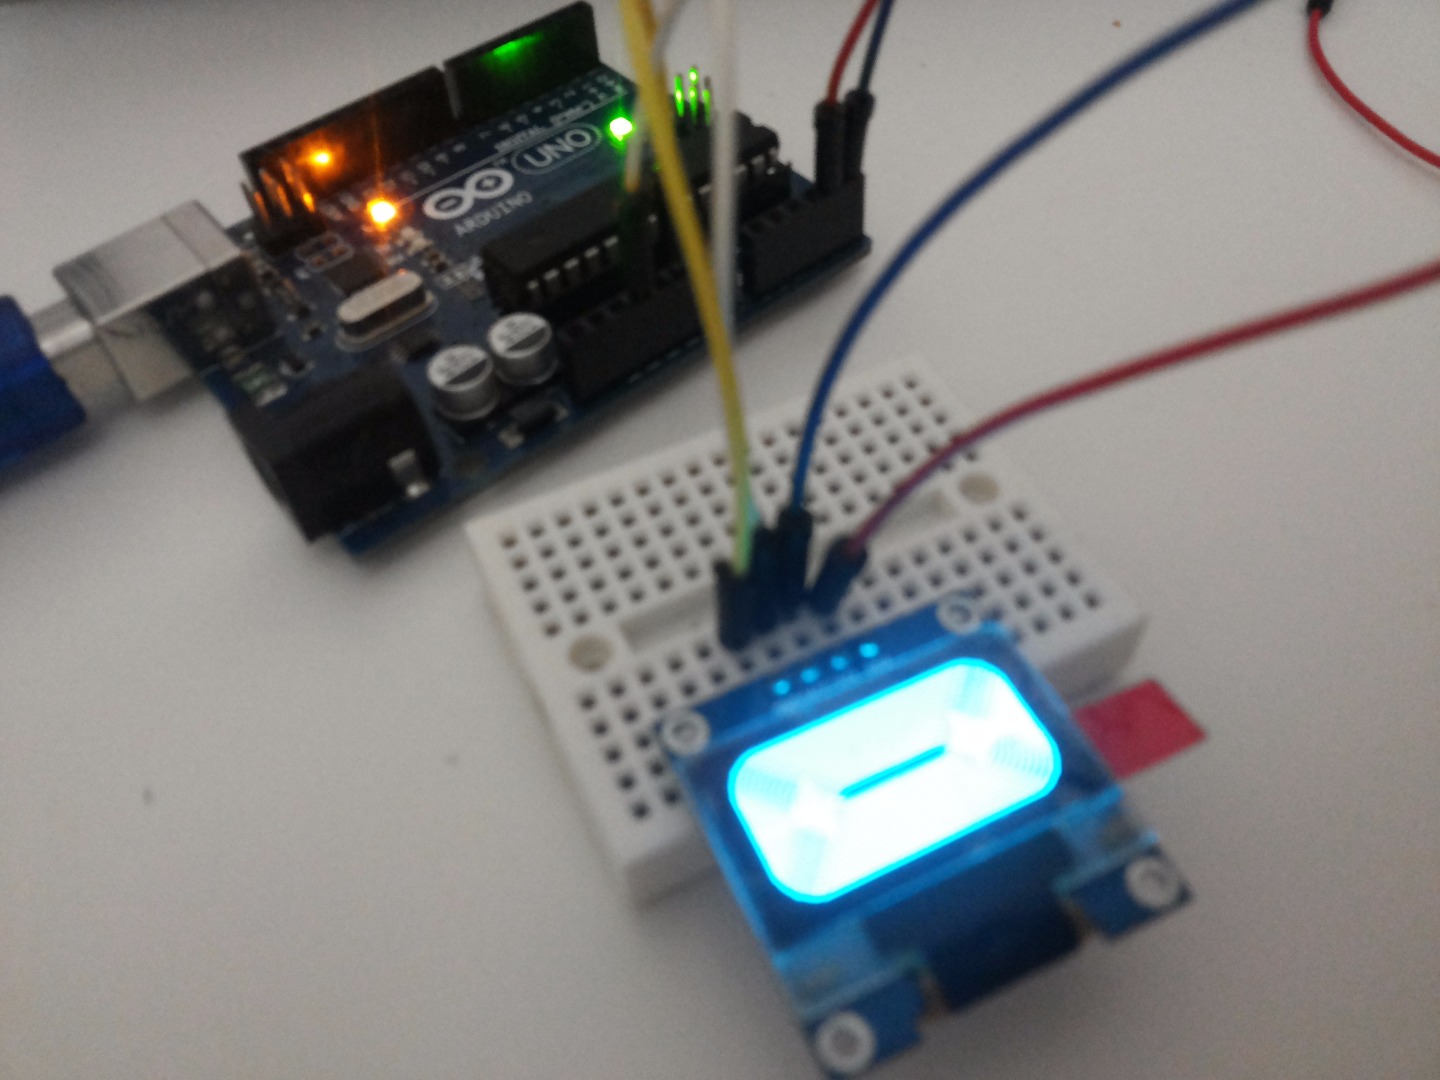
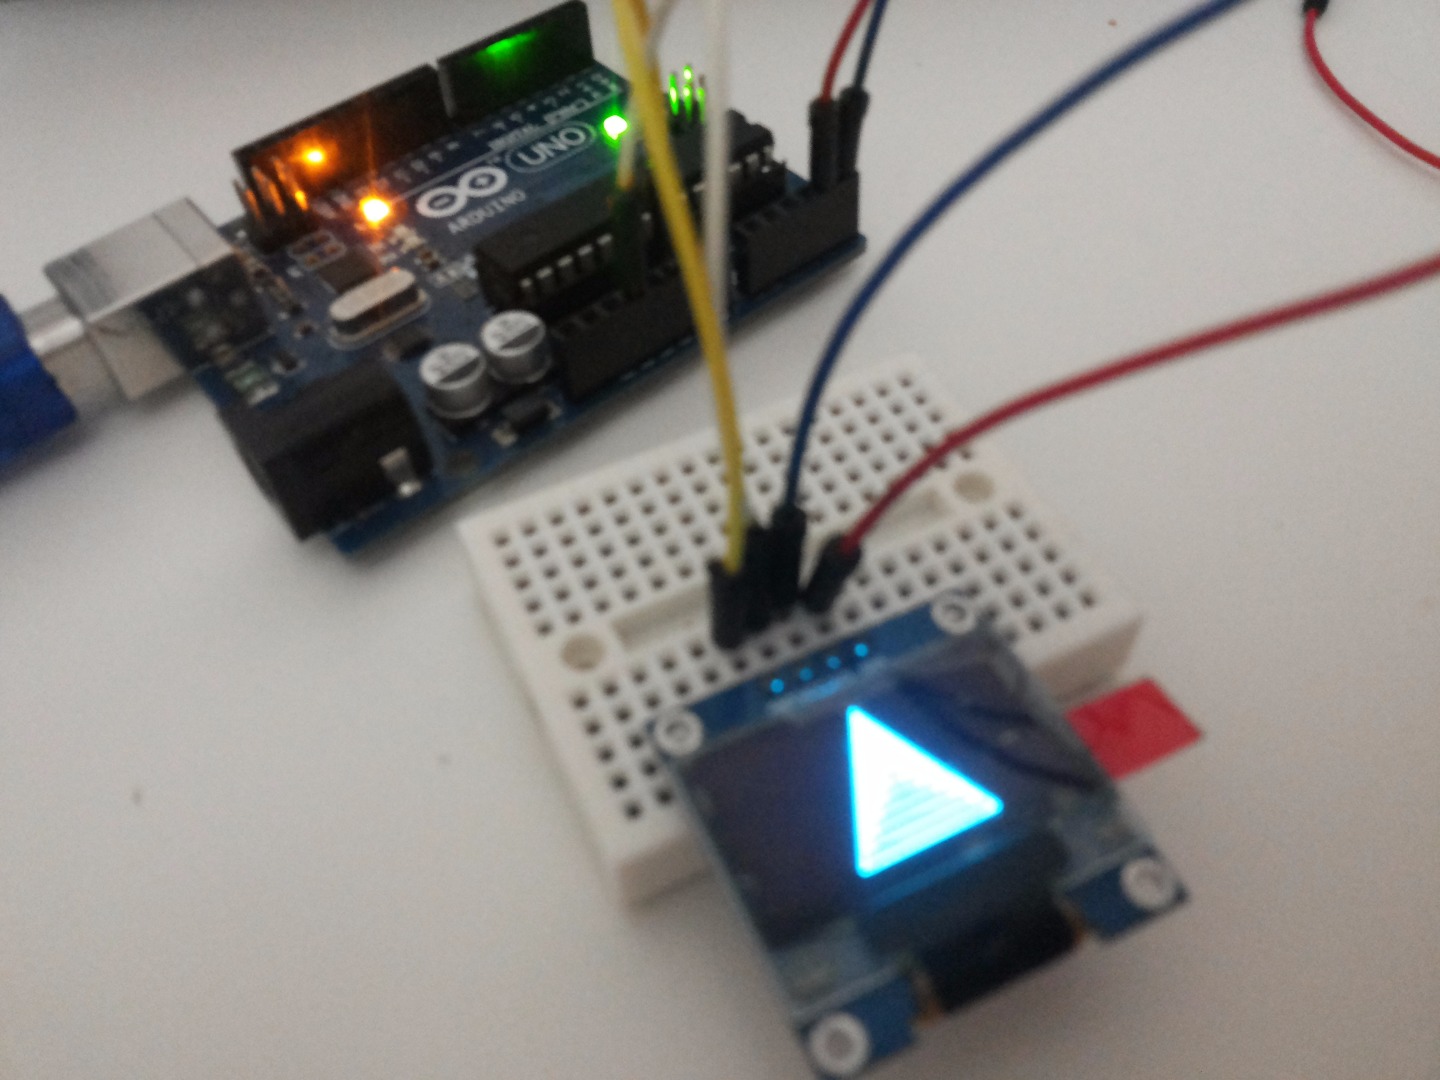
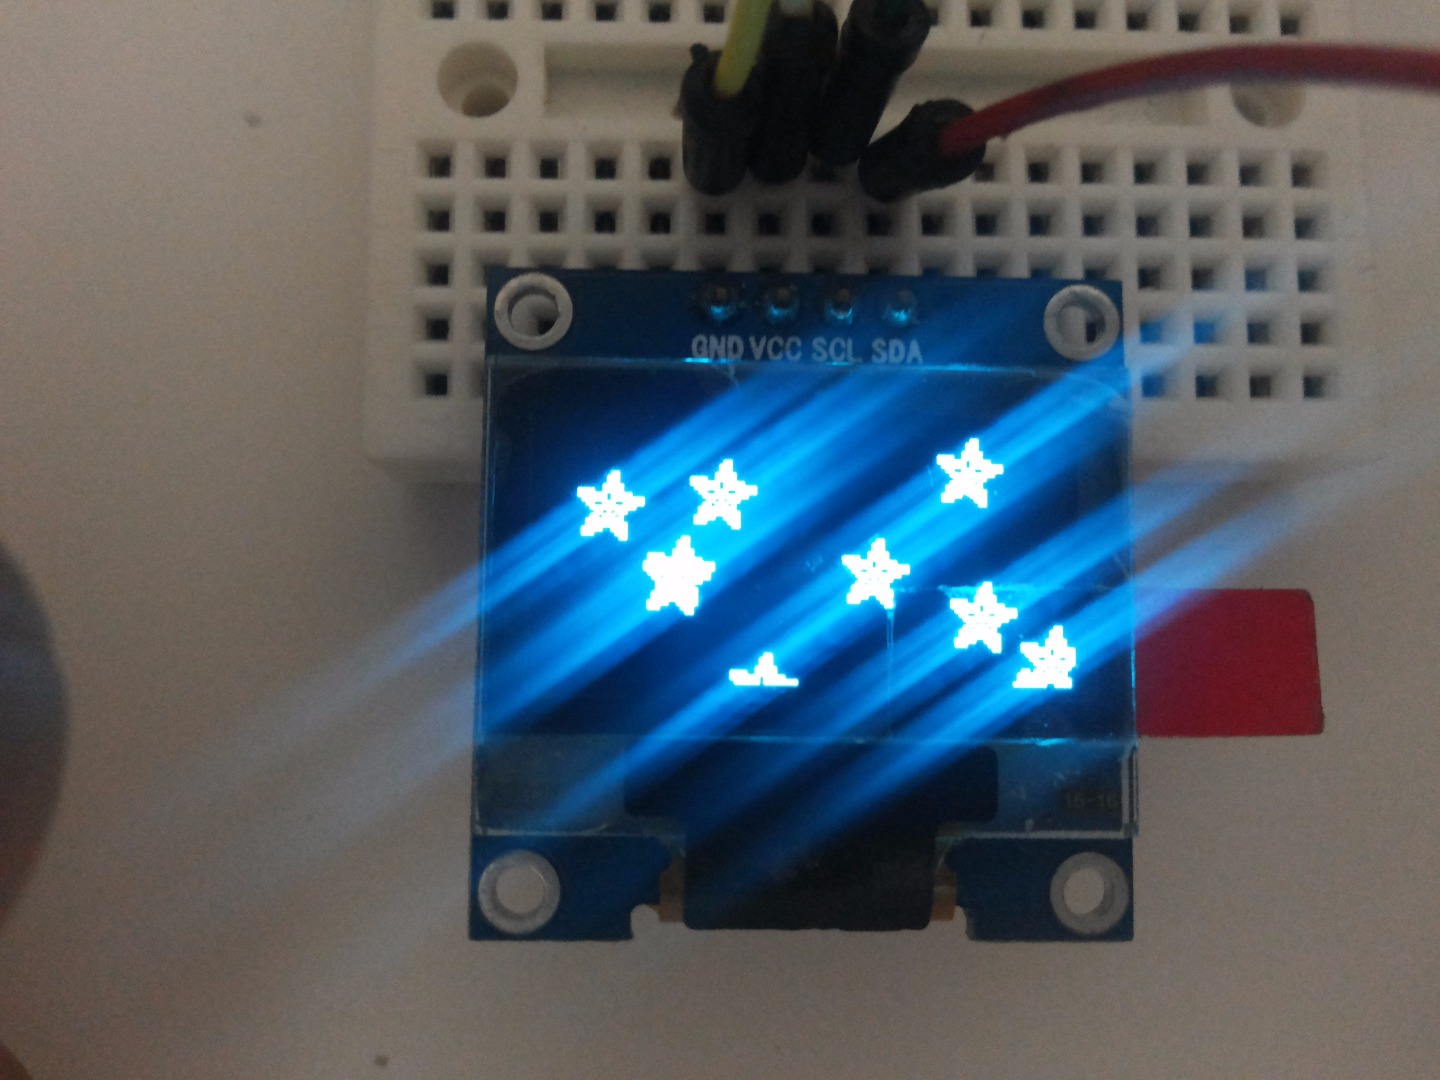
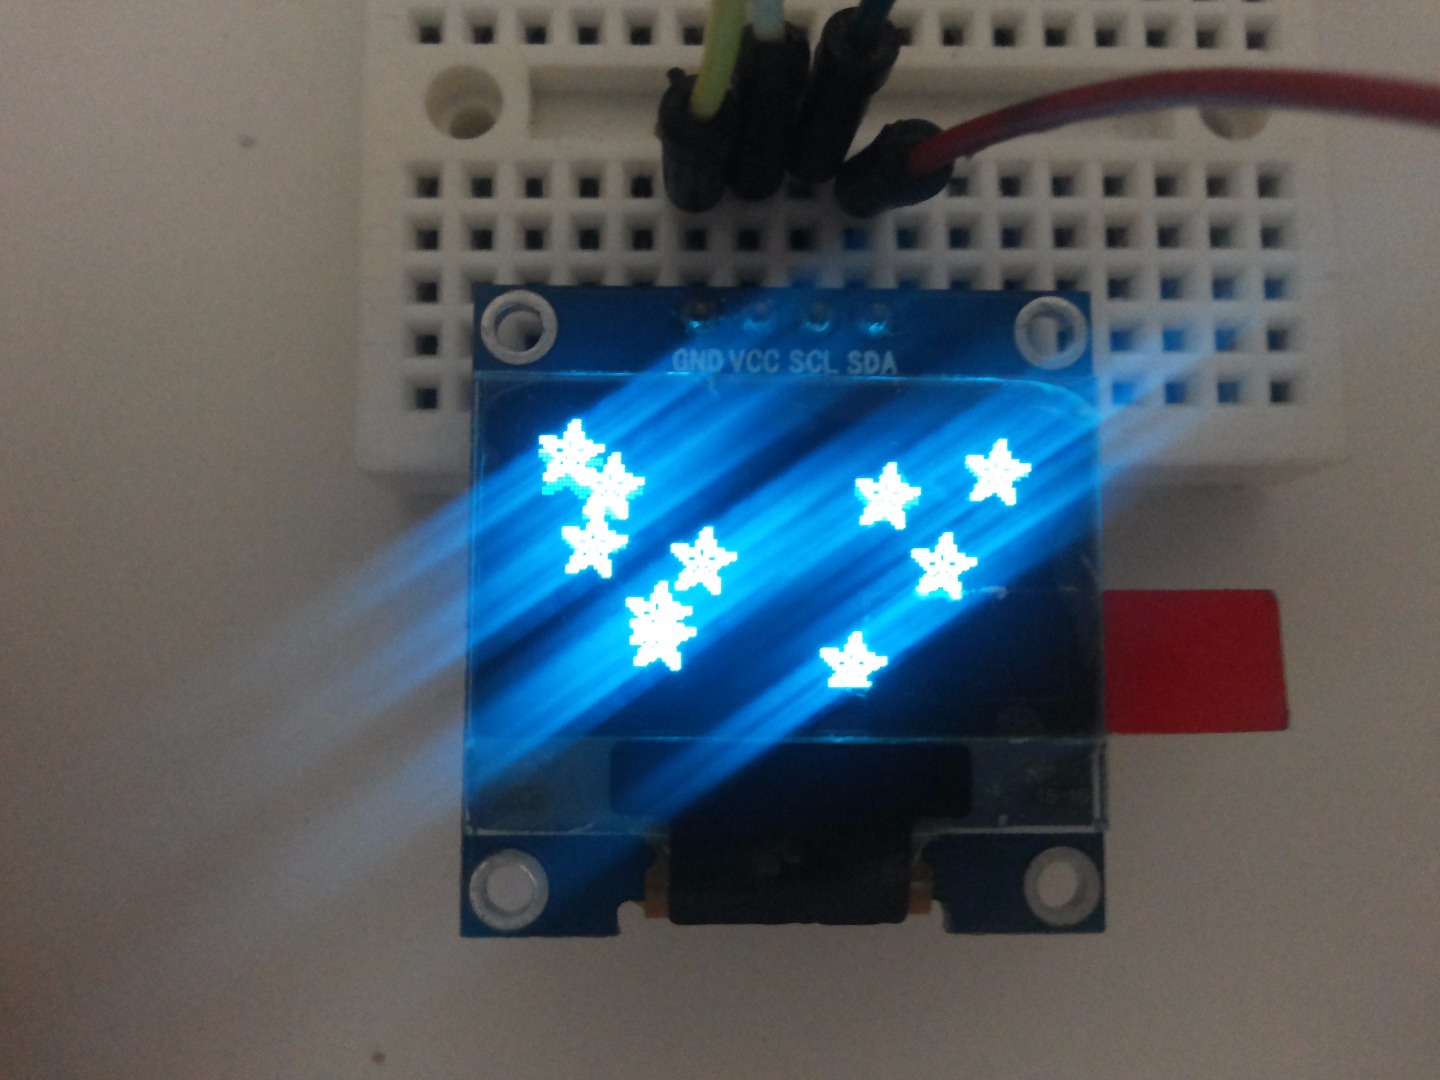
After the upload, click on reset button on Arduino board, then check your OLED display for the joy :D
BONUS PROJECT: Reading Temperature and Humidity Values to Put These on OLED Display
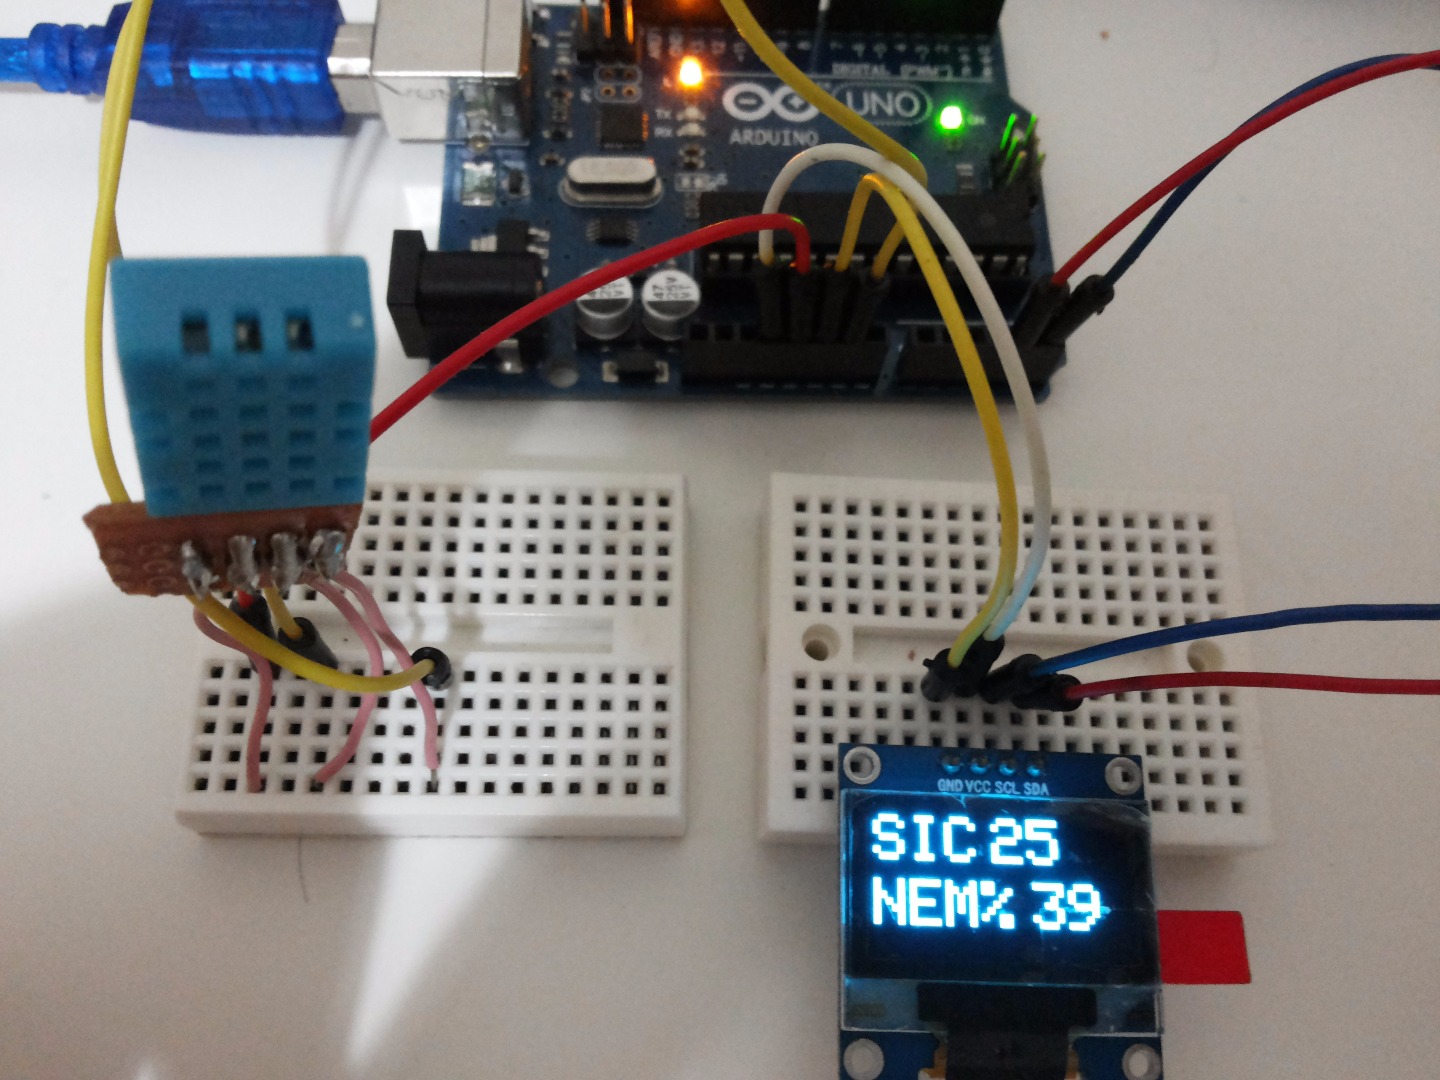
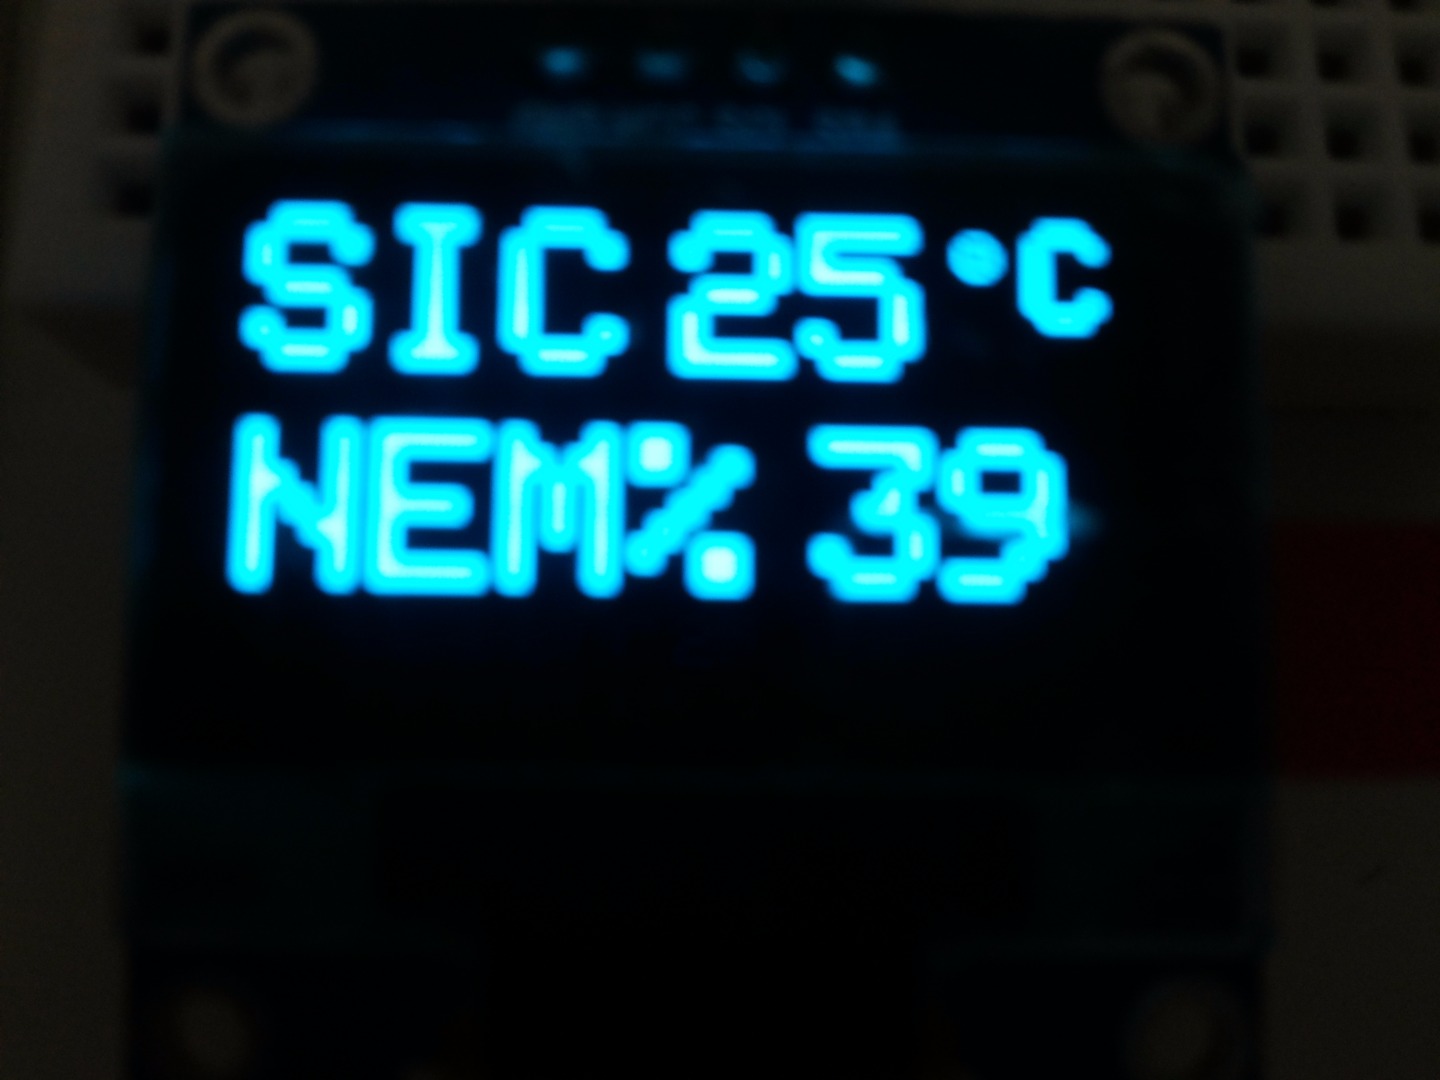
Let's see what the temperature and the humidity ratio are on our OLED display. I modified the codes. On below, you can get code.txt file as codes are written on there by Bay Yolal.
The connections are like this:
Arduino 3.3V - VCC OLED
Arduino GND - GND OLED
Arduino Analog In A5 - SCL OLED
Arduino Analog In A4 - SDA OLED
Arduino 5V - VCC DHT11
Arduino GND - GND DHT11
Arduino pin 2 - Data DHT11
.
Note: code.txt is the original code included. code_°C.txt file is for displaying the centigrade degree symbol.
.
That's all !
BONUS: Reading This Instructable
NOTE: This instructable's step is aimed for visually impaired people to hear the sentences to learn what's going on here. Watch the video, it explains all steps.