The Double Helix -Glass Bead DNA Model V2.0
by ChrysN in Workshop > Science
53372 Views, 153 Favorites, 0 Comments
The Double Helix -Glass Bead DNA Model V2.0


Here is my second glass bead DNA double helix model. In this model I used wire instead of thread and I also added more space between the base pairs.
Here is a link to my first model.
Here is a link to my first model.
Materials:


-Five different colours of seed beads (I used glass beads).
-Scissors for cutting the wire.
- one colour makes up the sugar-phosphate backbone.
- four colours for the bases, pair up the colours so that they always appear together. (eg red-blue, green-yellow).
-Scissors for cutting the wire.
The First Bead


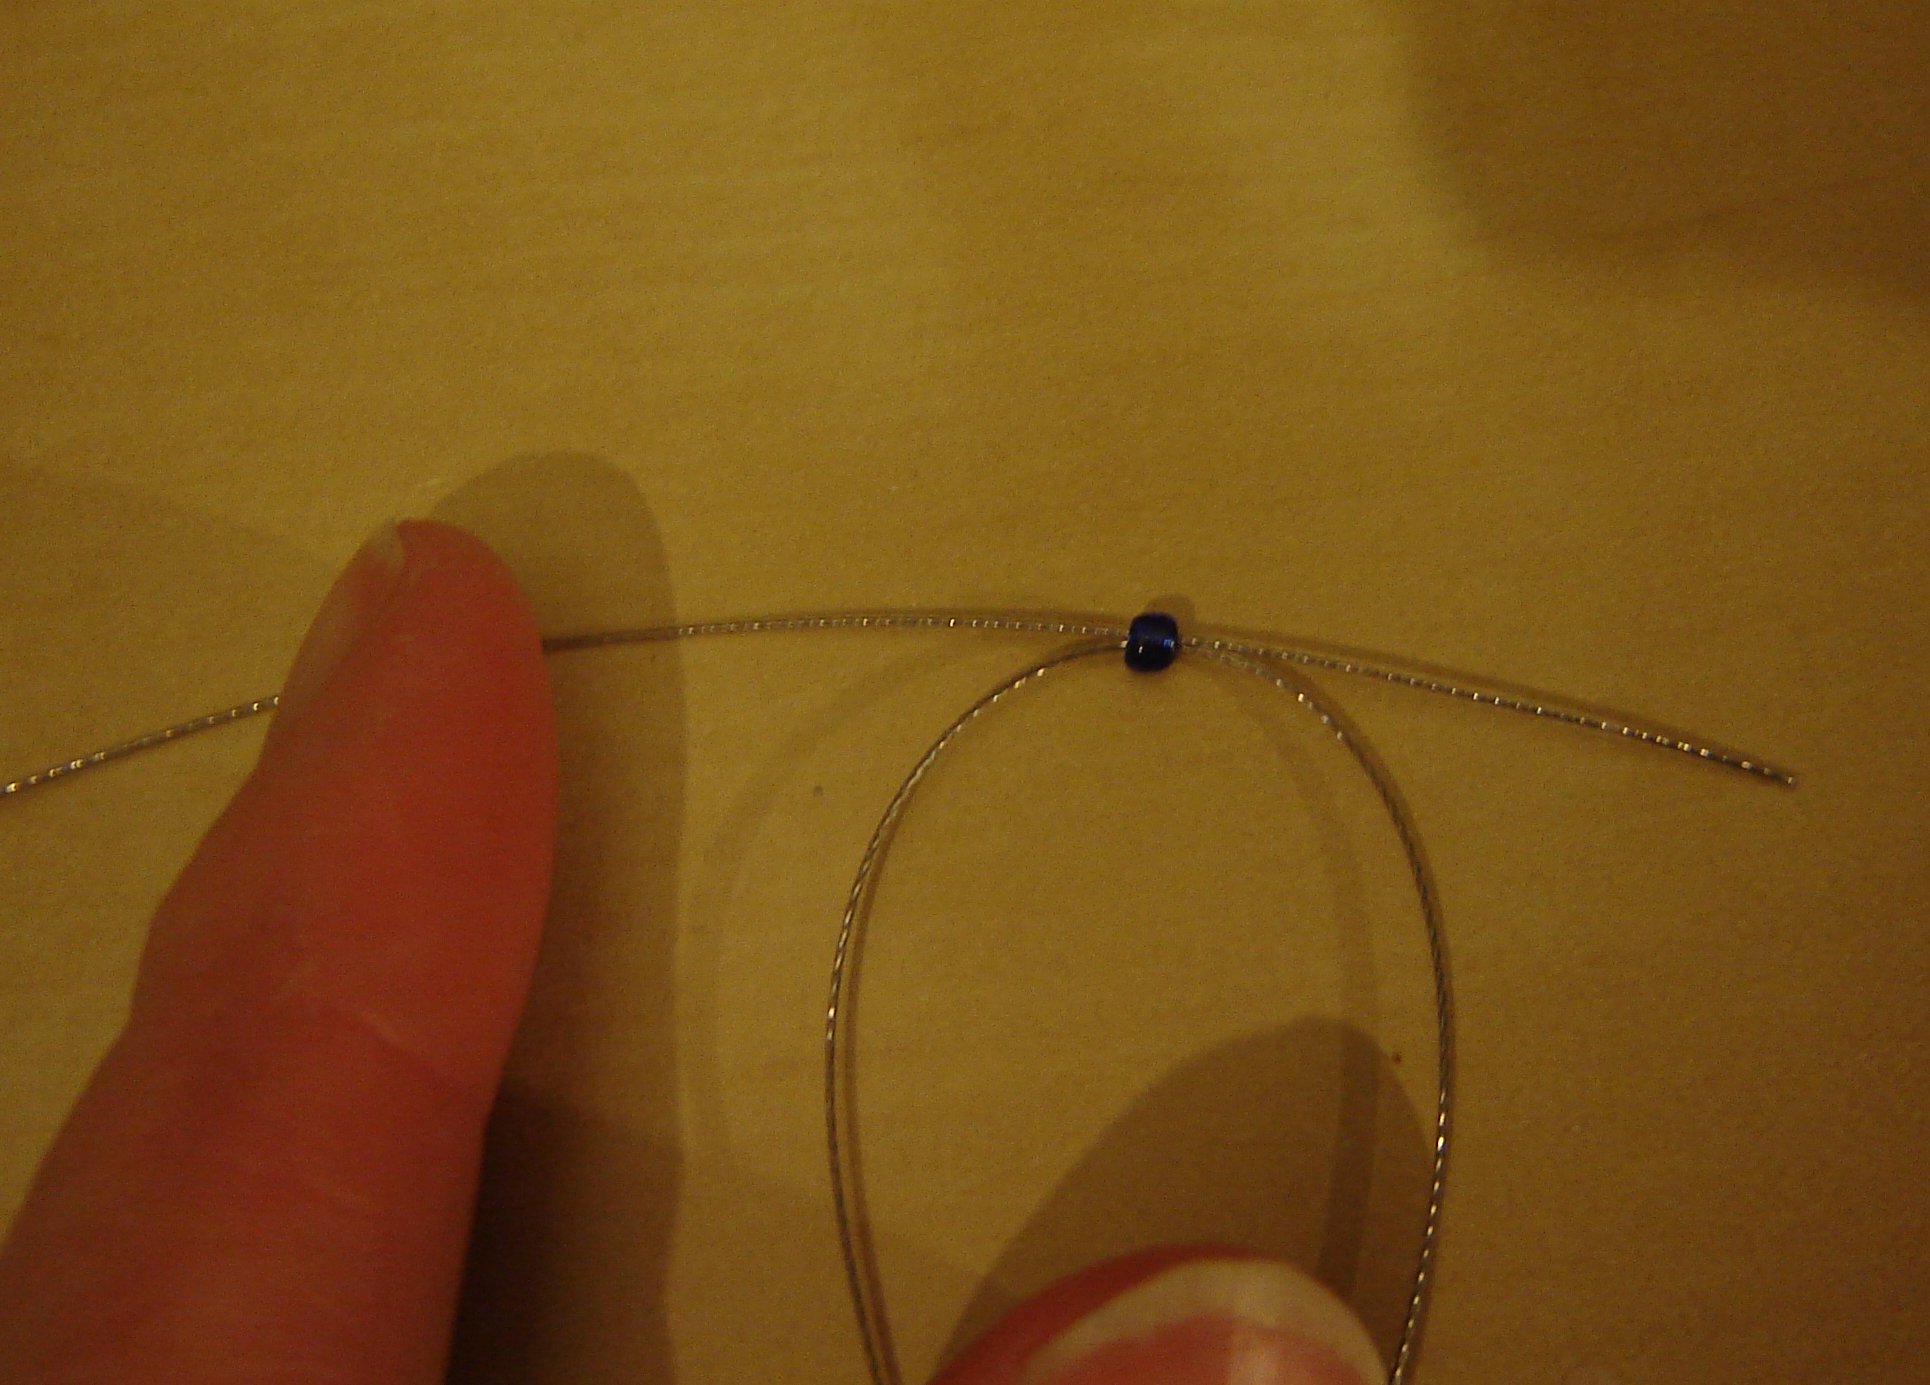
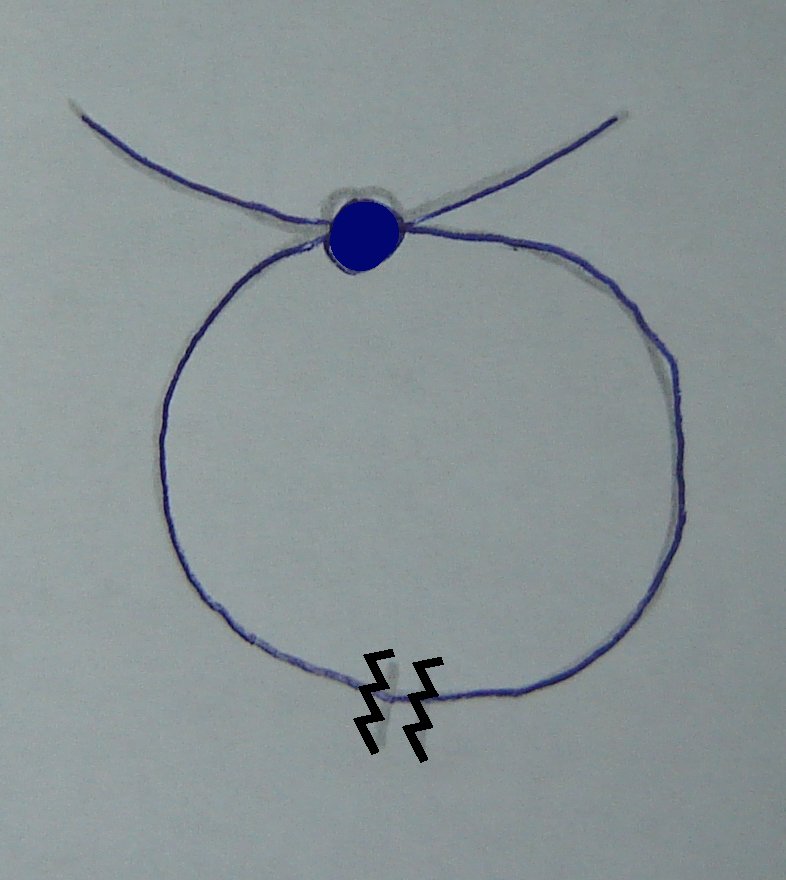
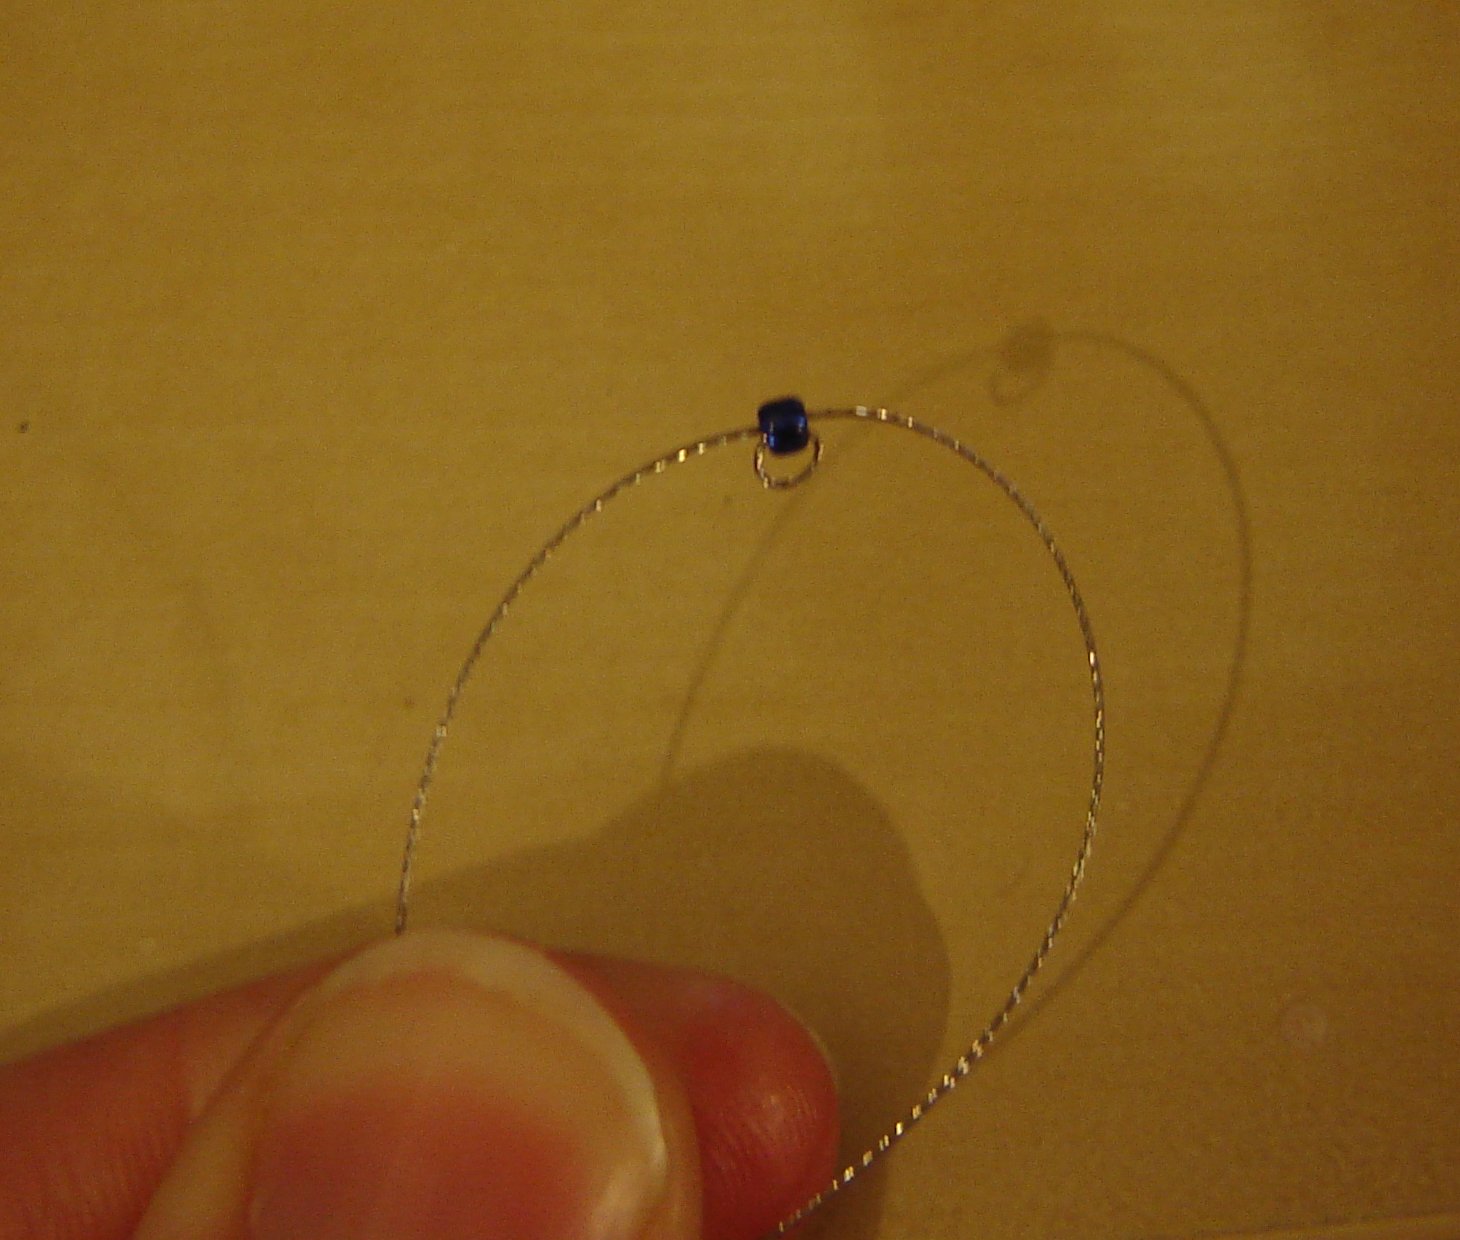
- The first bead will be the colour of the sugar-phosphate backbone.
- Thread one end of the wire through the first bead, pull it through until it is in the middle of the thread. (see images below)
- Take the other end of the wire and thread it through the bead in the opposite direction.
- Pull ends tight.
The First Row


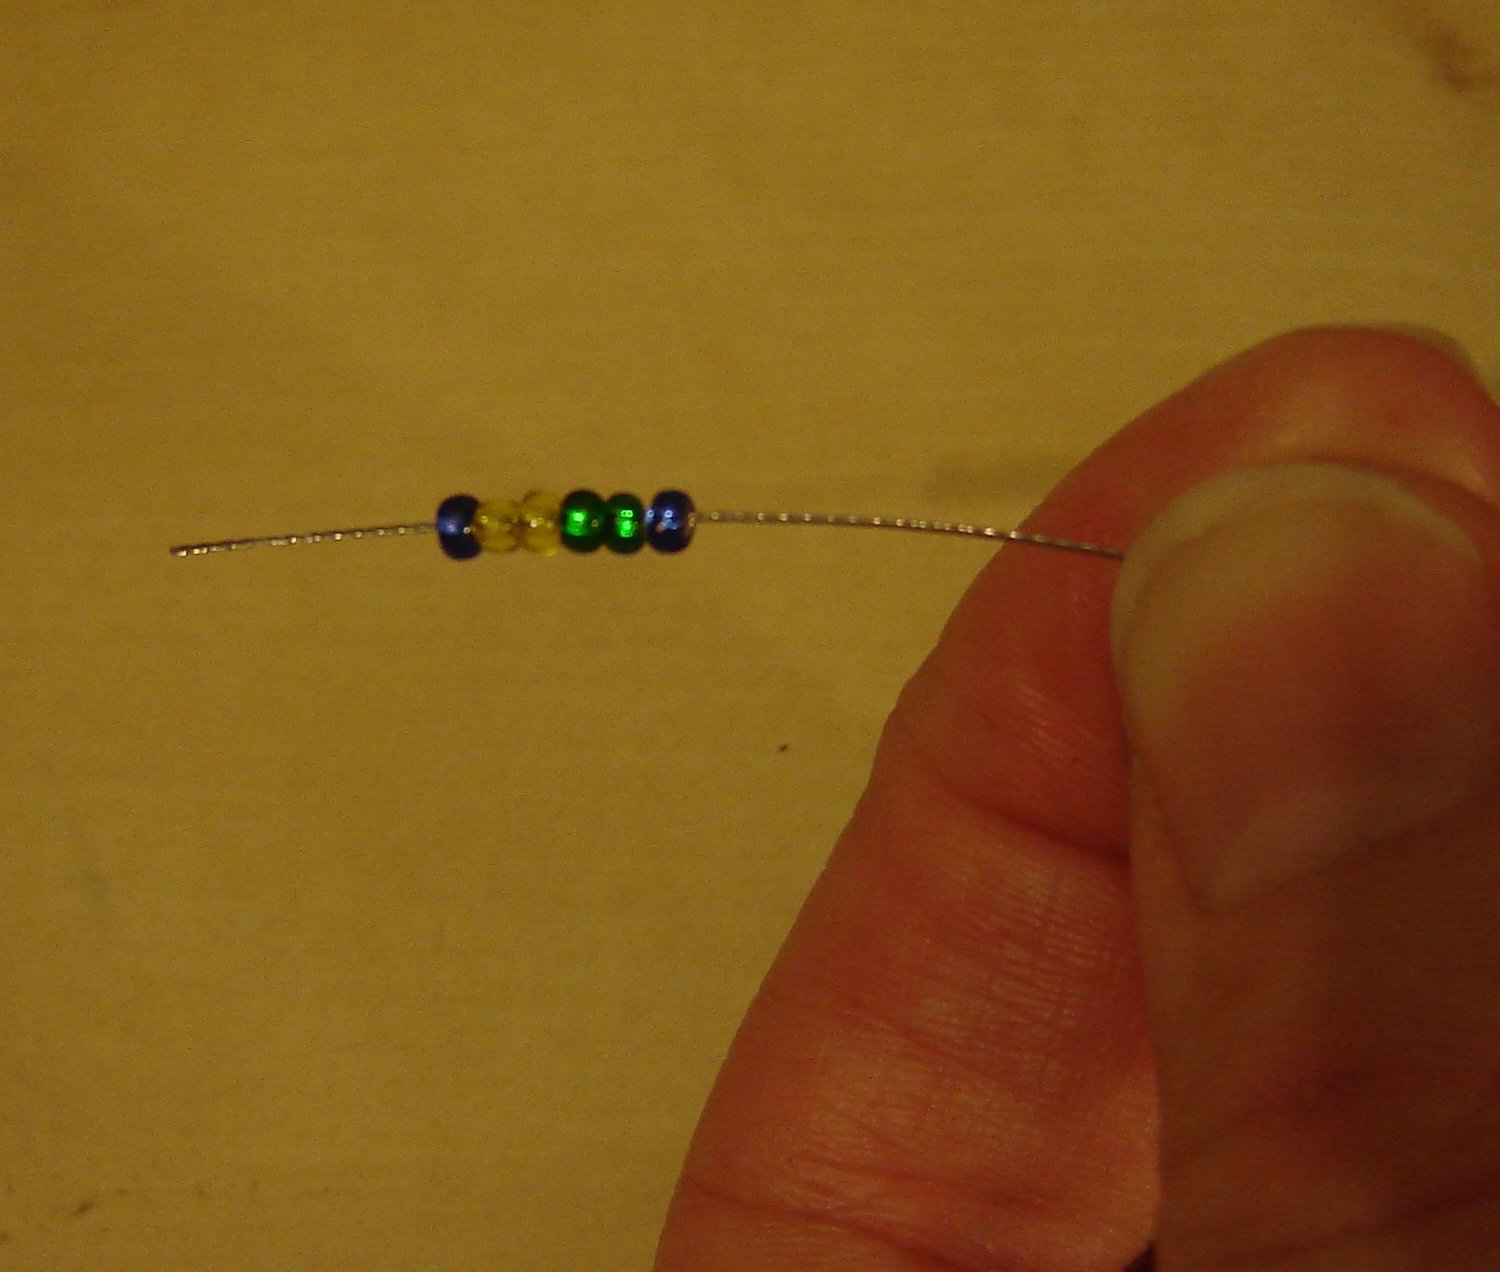


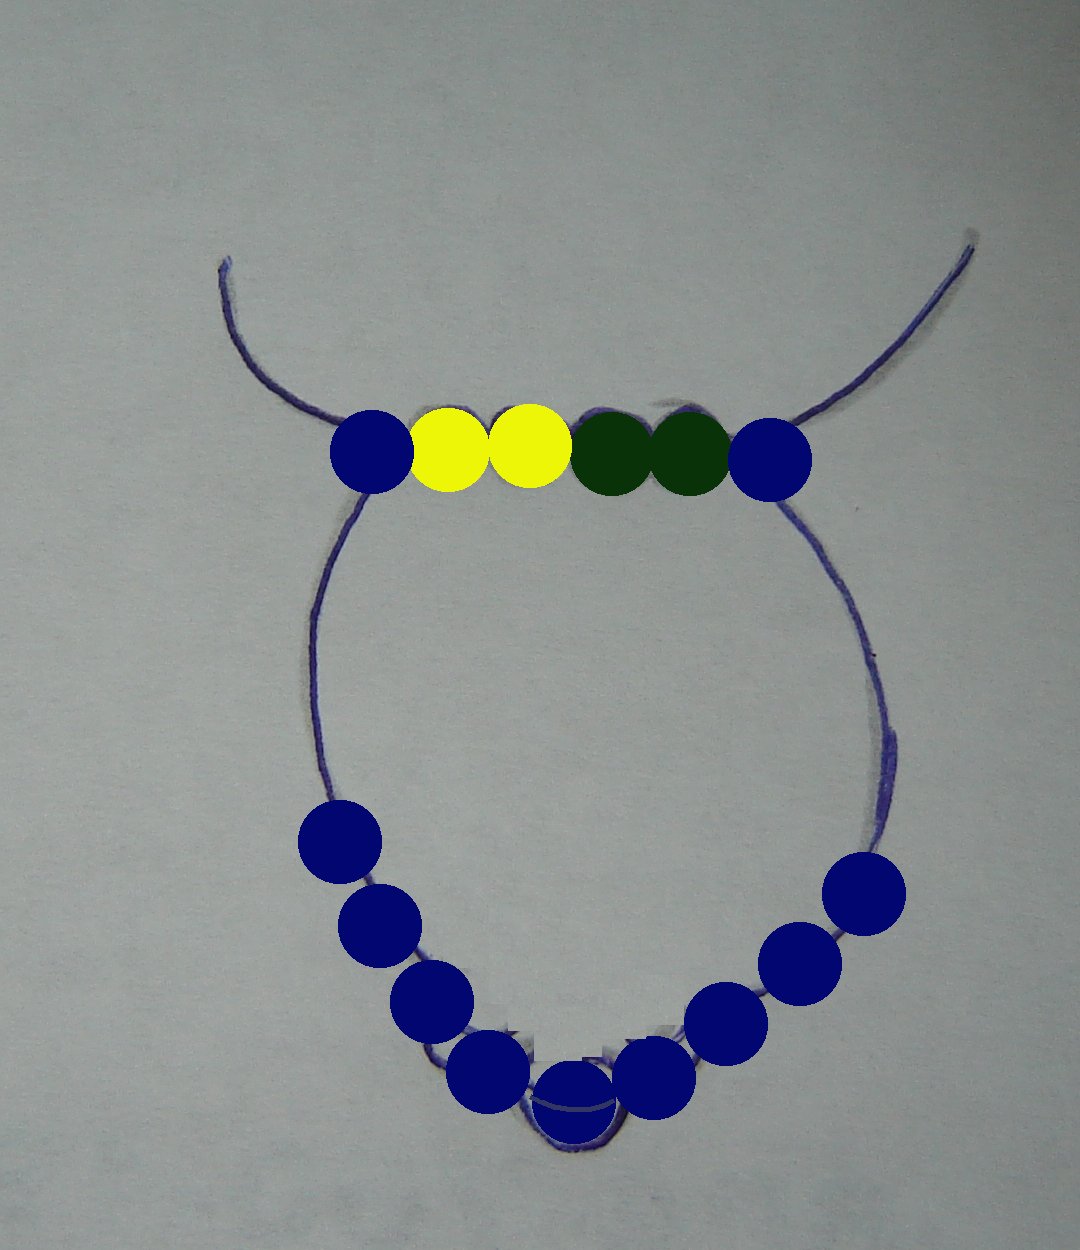
- Thread four beads (the same colour as the first bead) through each of the two wire ends (these are end spacers.)
- Pull these through to the first bead.
- The first row consists of 6 beads, the outer two are the same as in the previous step, which will be the sugar-phosphate backbone (dark blue), the middle beads are the base pairs; two beads of each colour in this case two yellow and two green beads. (See my colour pattern in step 5)
- Thread one end of the wire through the six beads, pull it through to you meet up with spacer beads. (see images below)
- Take the other end of the wire and thread it through the beads in the opposite direction.
- Pull ends tight.
The Second Row


- Thread two beads (the colour of the sugar-phosphate backbone) through each of the two wire ends, these are the spacers between the base pairs.
- Pull these through to the previous row.
- The second row consists of 6 beads, the outer two are the same as the sugar-phosphate backbone (dark blue), the middle beads are the base pairs; two beads of each colour in this case two red and two light blue beads. (See my pattern in step 5)
- Thread one end of the wire through the six beads, pull it through to meet up with the spacer beads. (see images below)
- Take the other end of the wire and thread it through the beads in the opposite direction.
- Pull ends tight.
Continuing On......

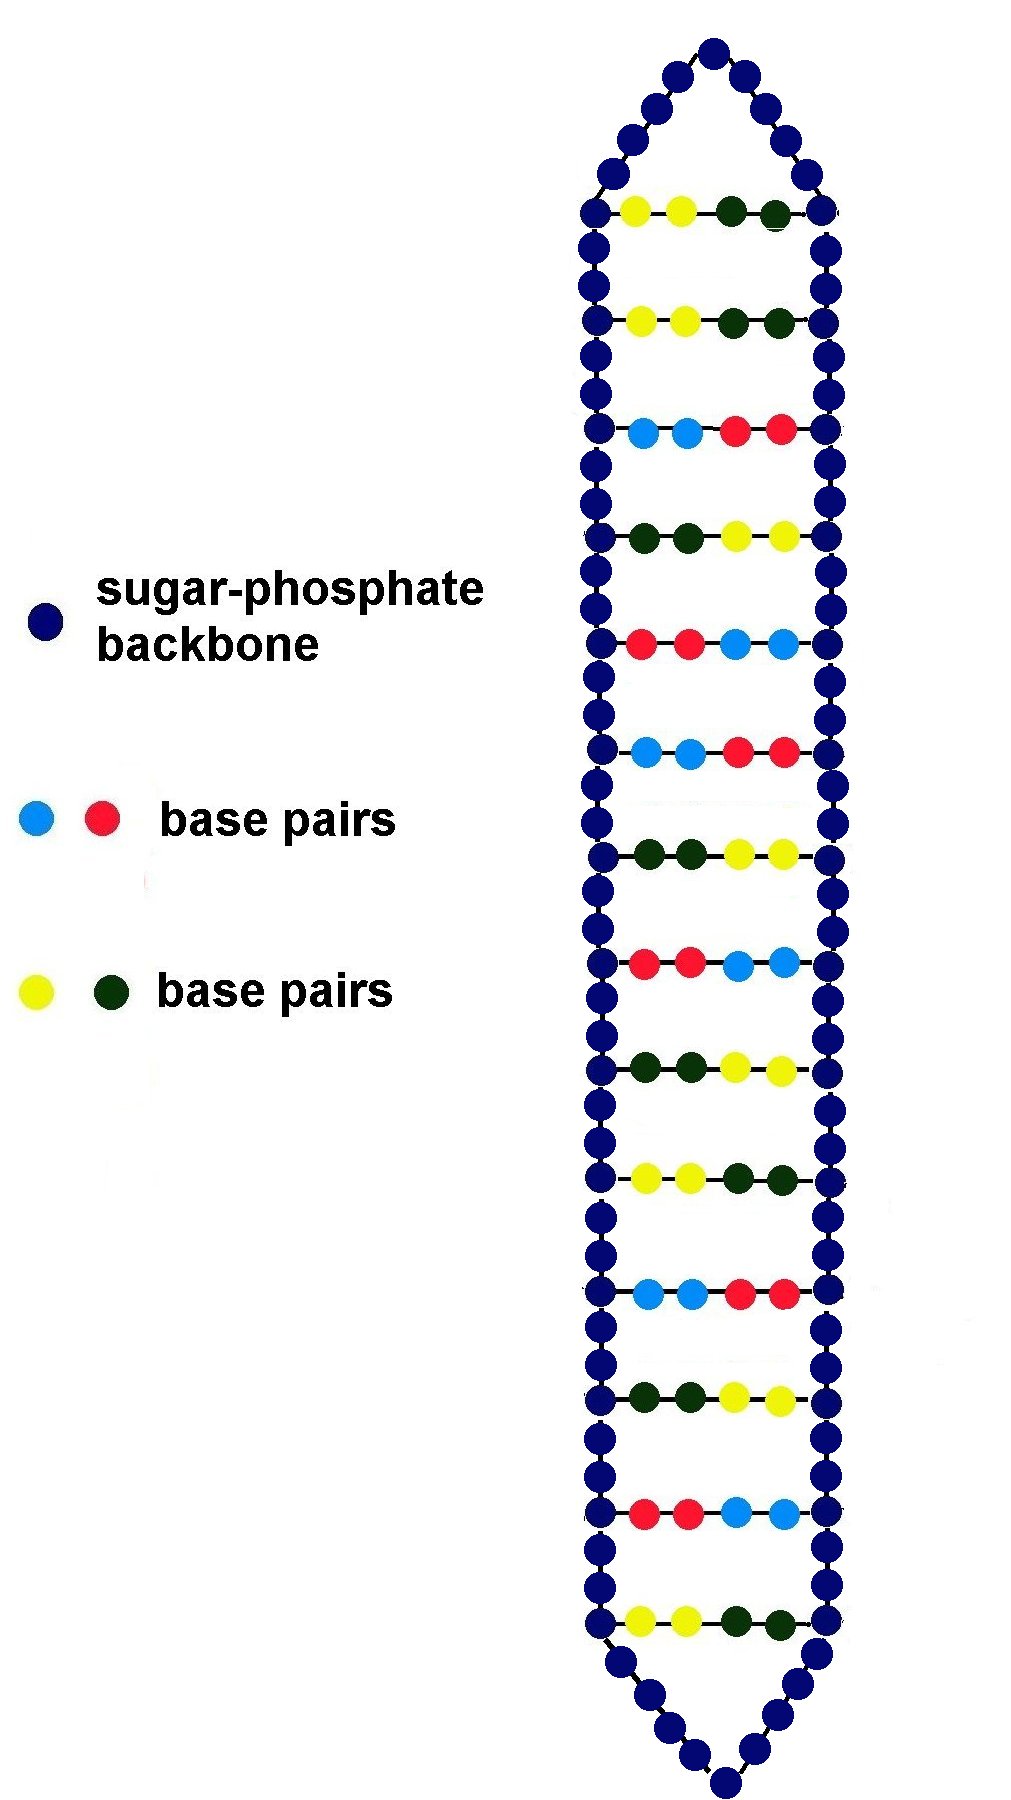
Continue adding more rows of beads using the pattern below, with two bead spacers between the base pairs for a total of 14 rows (14bp). You can make it longer if you would like.
The colour pattern is just a suggestion, feel free to play around with the colours, just make sure you keep your base pair colours together.
You can have fun with this by assigning the colours a specific nucleotide (eg. red=Guanine, blue=Cytosine, yellow=Adenine, green=Thymine). Make your favorite amino acids, use TTAGGG repeats and call it a telomere, or copy a gene sequence (although the average human gene is 3000bp this is probably not a good idea).
Finishing Up
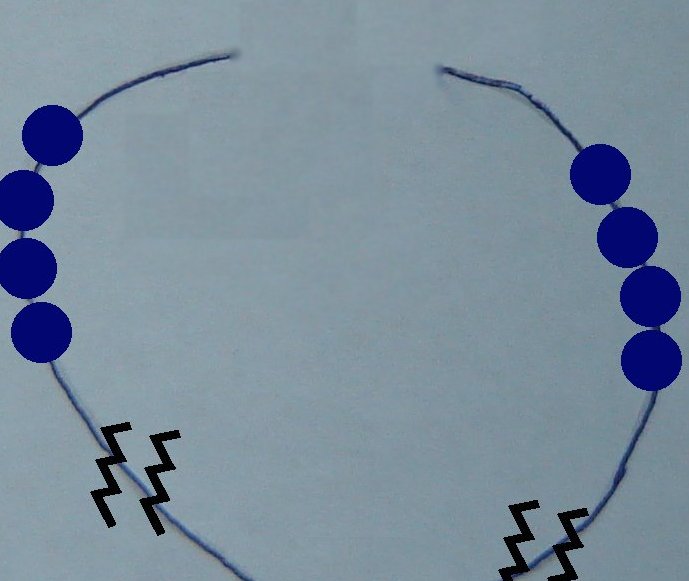


- Thread four beads (dark blue) through each of the two wire ends.
- Pull these through to the previous row.
- Thread one end of the wire through the last bead (again,dark blue), pull it through to meet up with spacer beads.
- Take the other end of the wire and thread it through the bead in the opposite direction.
- Take one of the wires and loop around and thread through the bead again, pull tight, this is to finish it off
- Tie a knot close to the bead, then make a loop for hanging and tie another knot and cut off the excess wires.
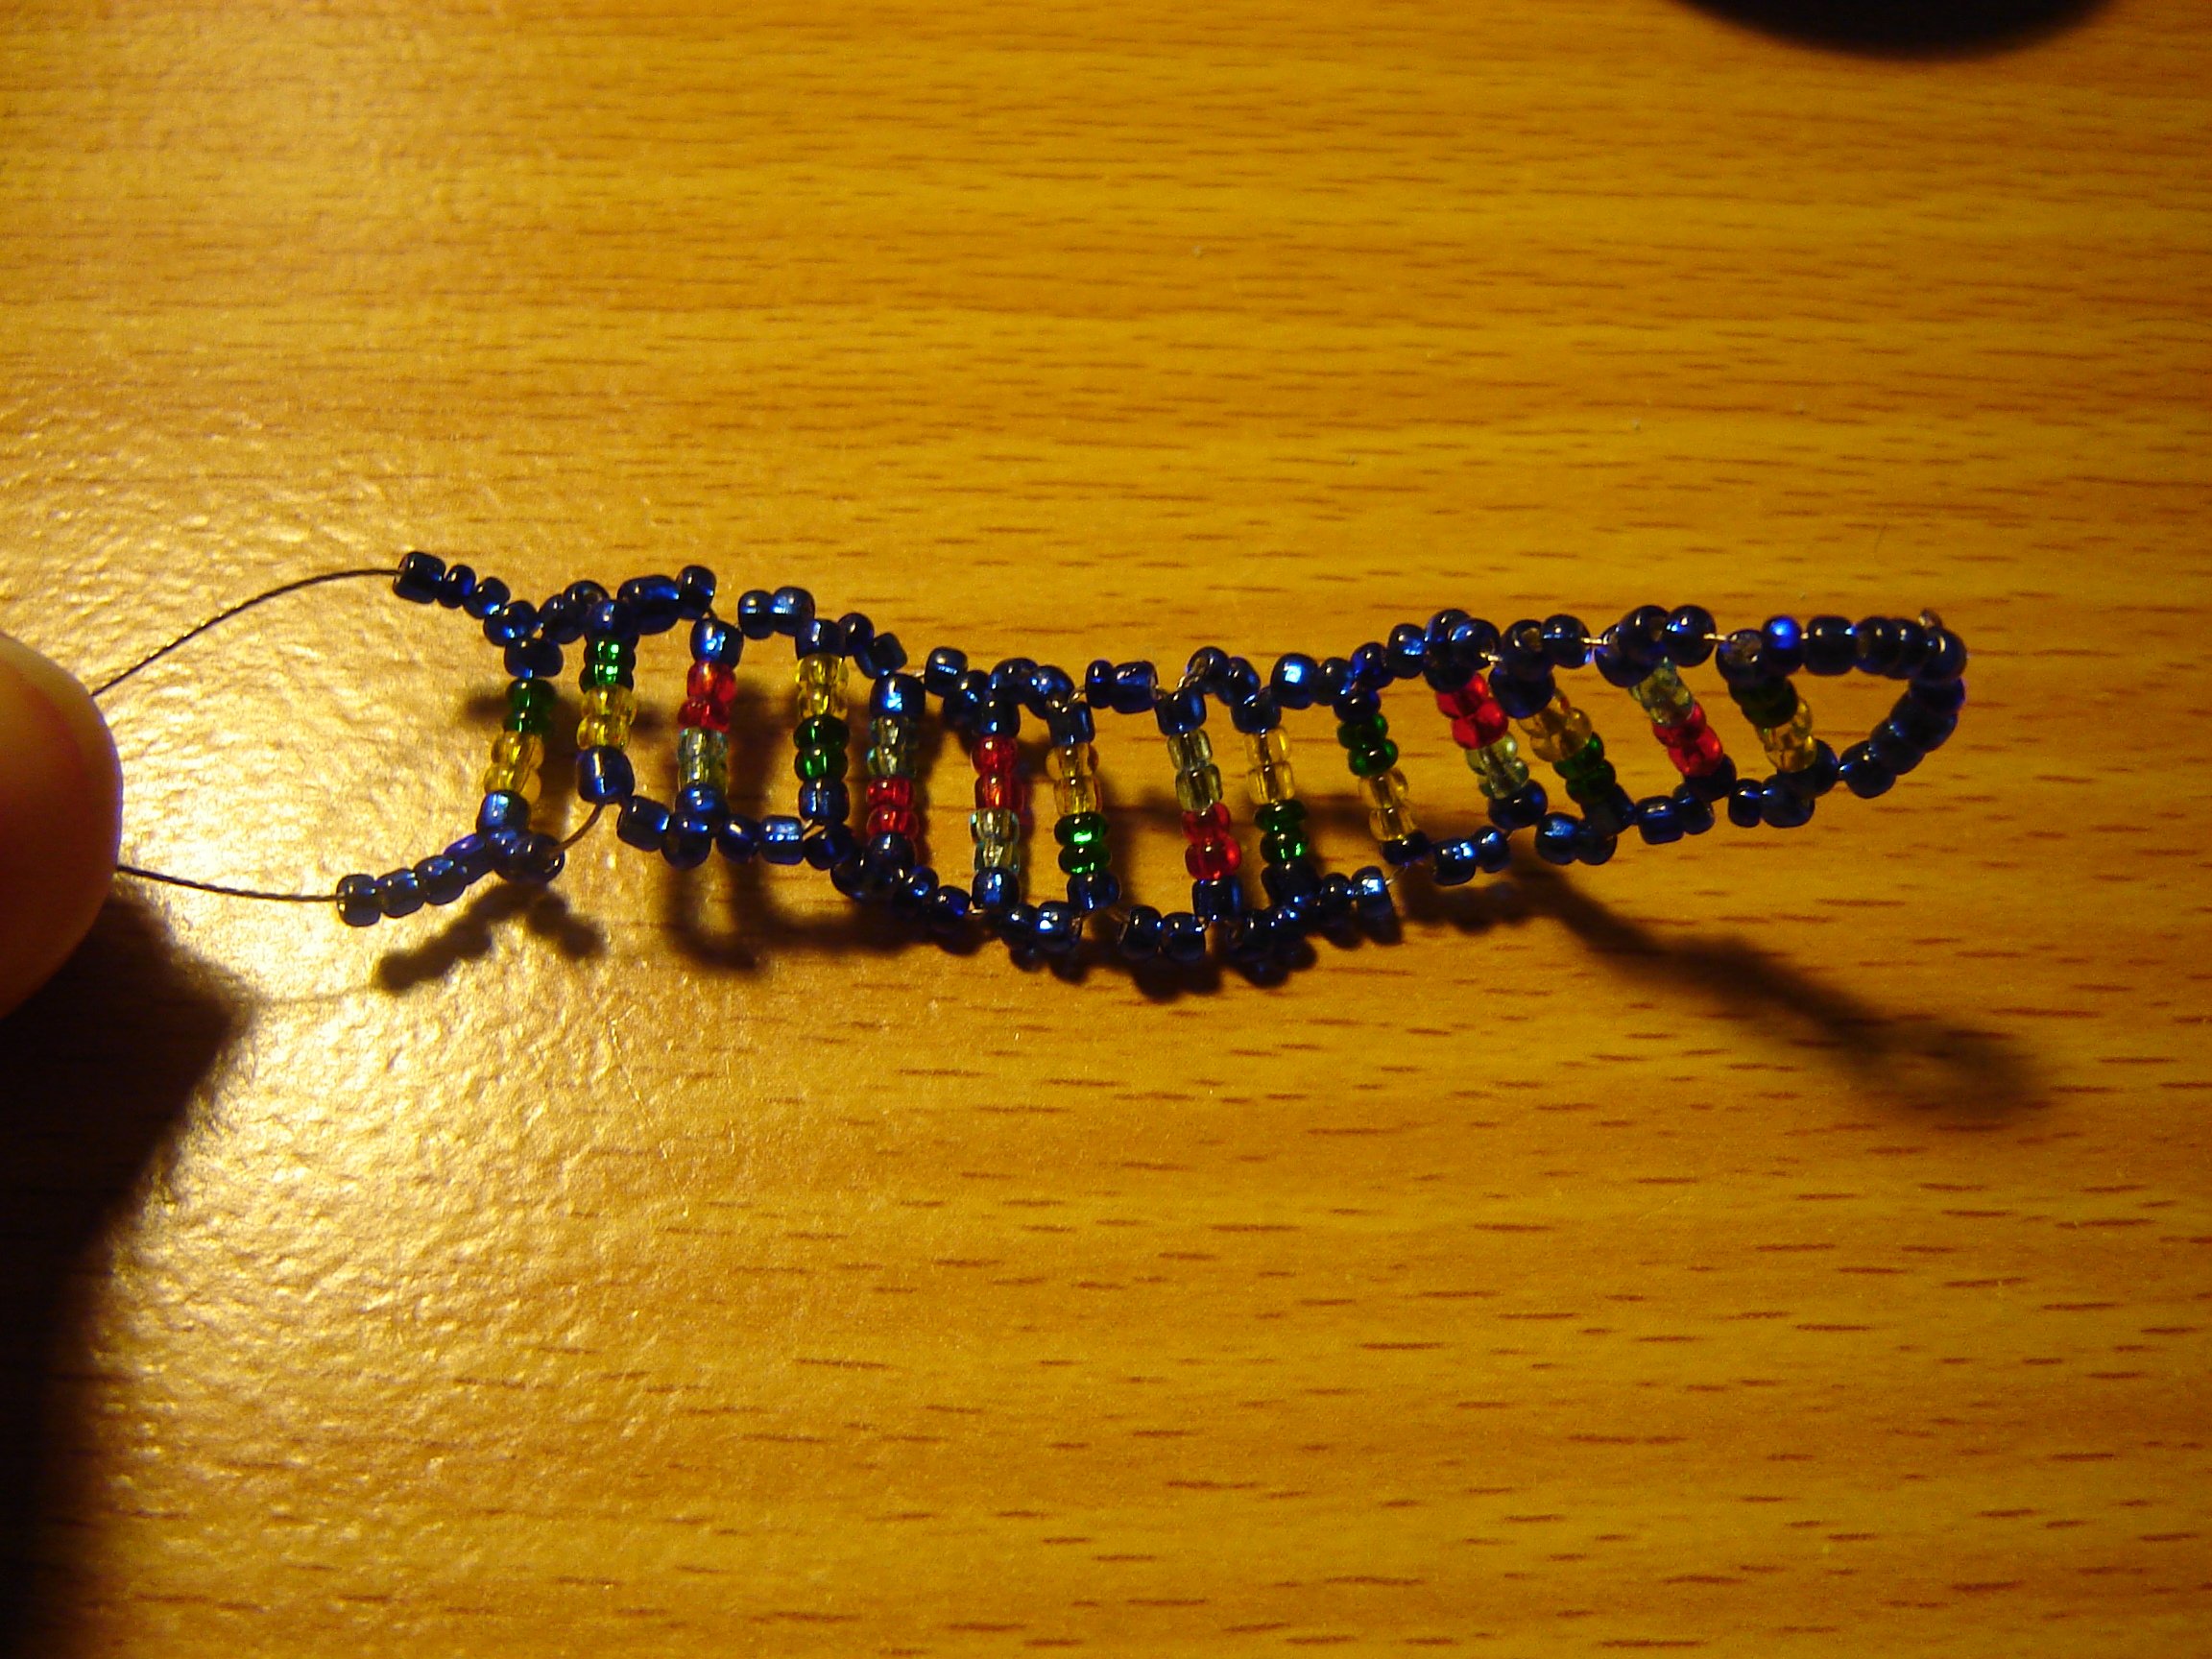
- Holding either end of the DNA, bend and twist to form a helix shape. (sorry I don't have pictures of this, both hands were busy bending and twisting).