The Do's and Don'ts of Taking Pretty Pet Pics!
by Th3b00k13 in Design > Photography
278 Views, 1 Favorites, 0 Comments
The Do's and Don'ts of Taking Pretty Pet Pics!
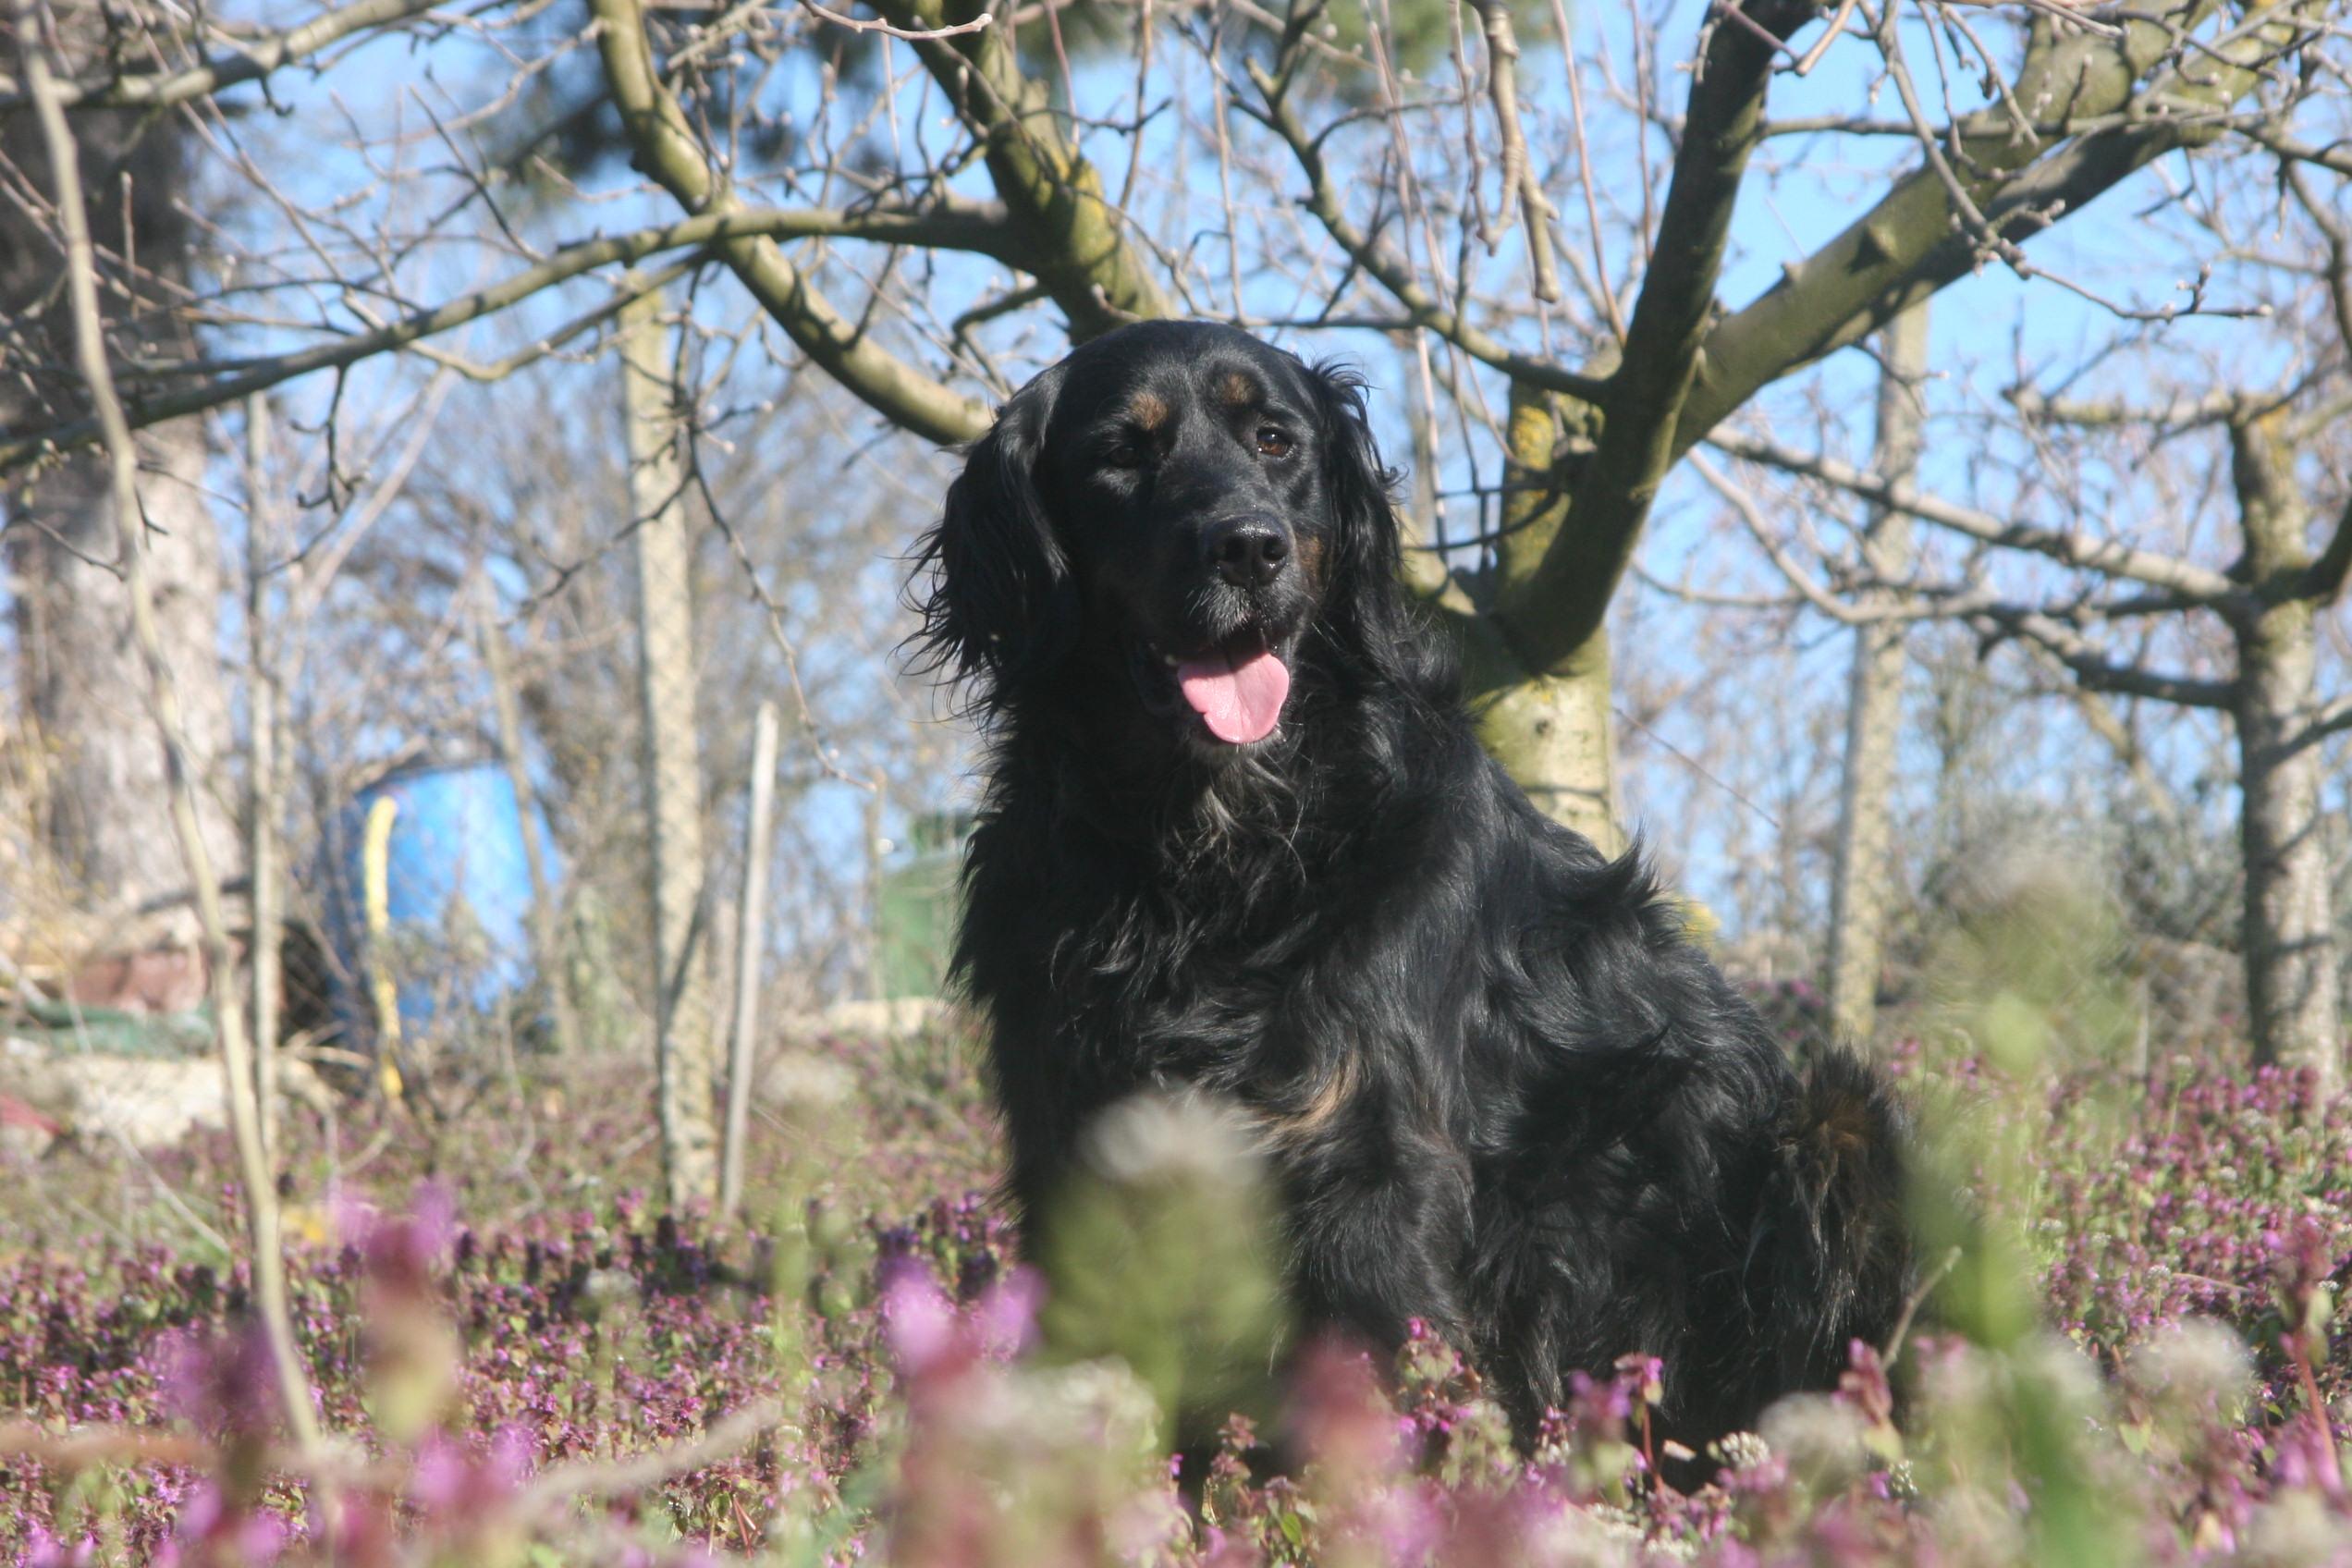
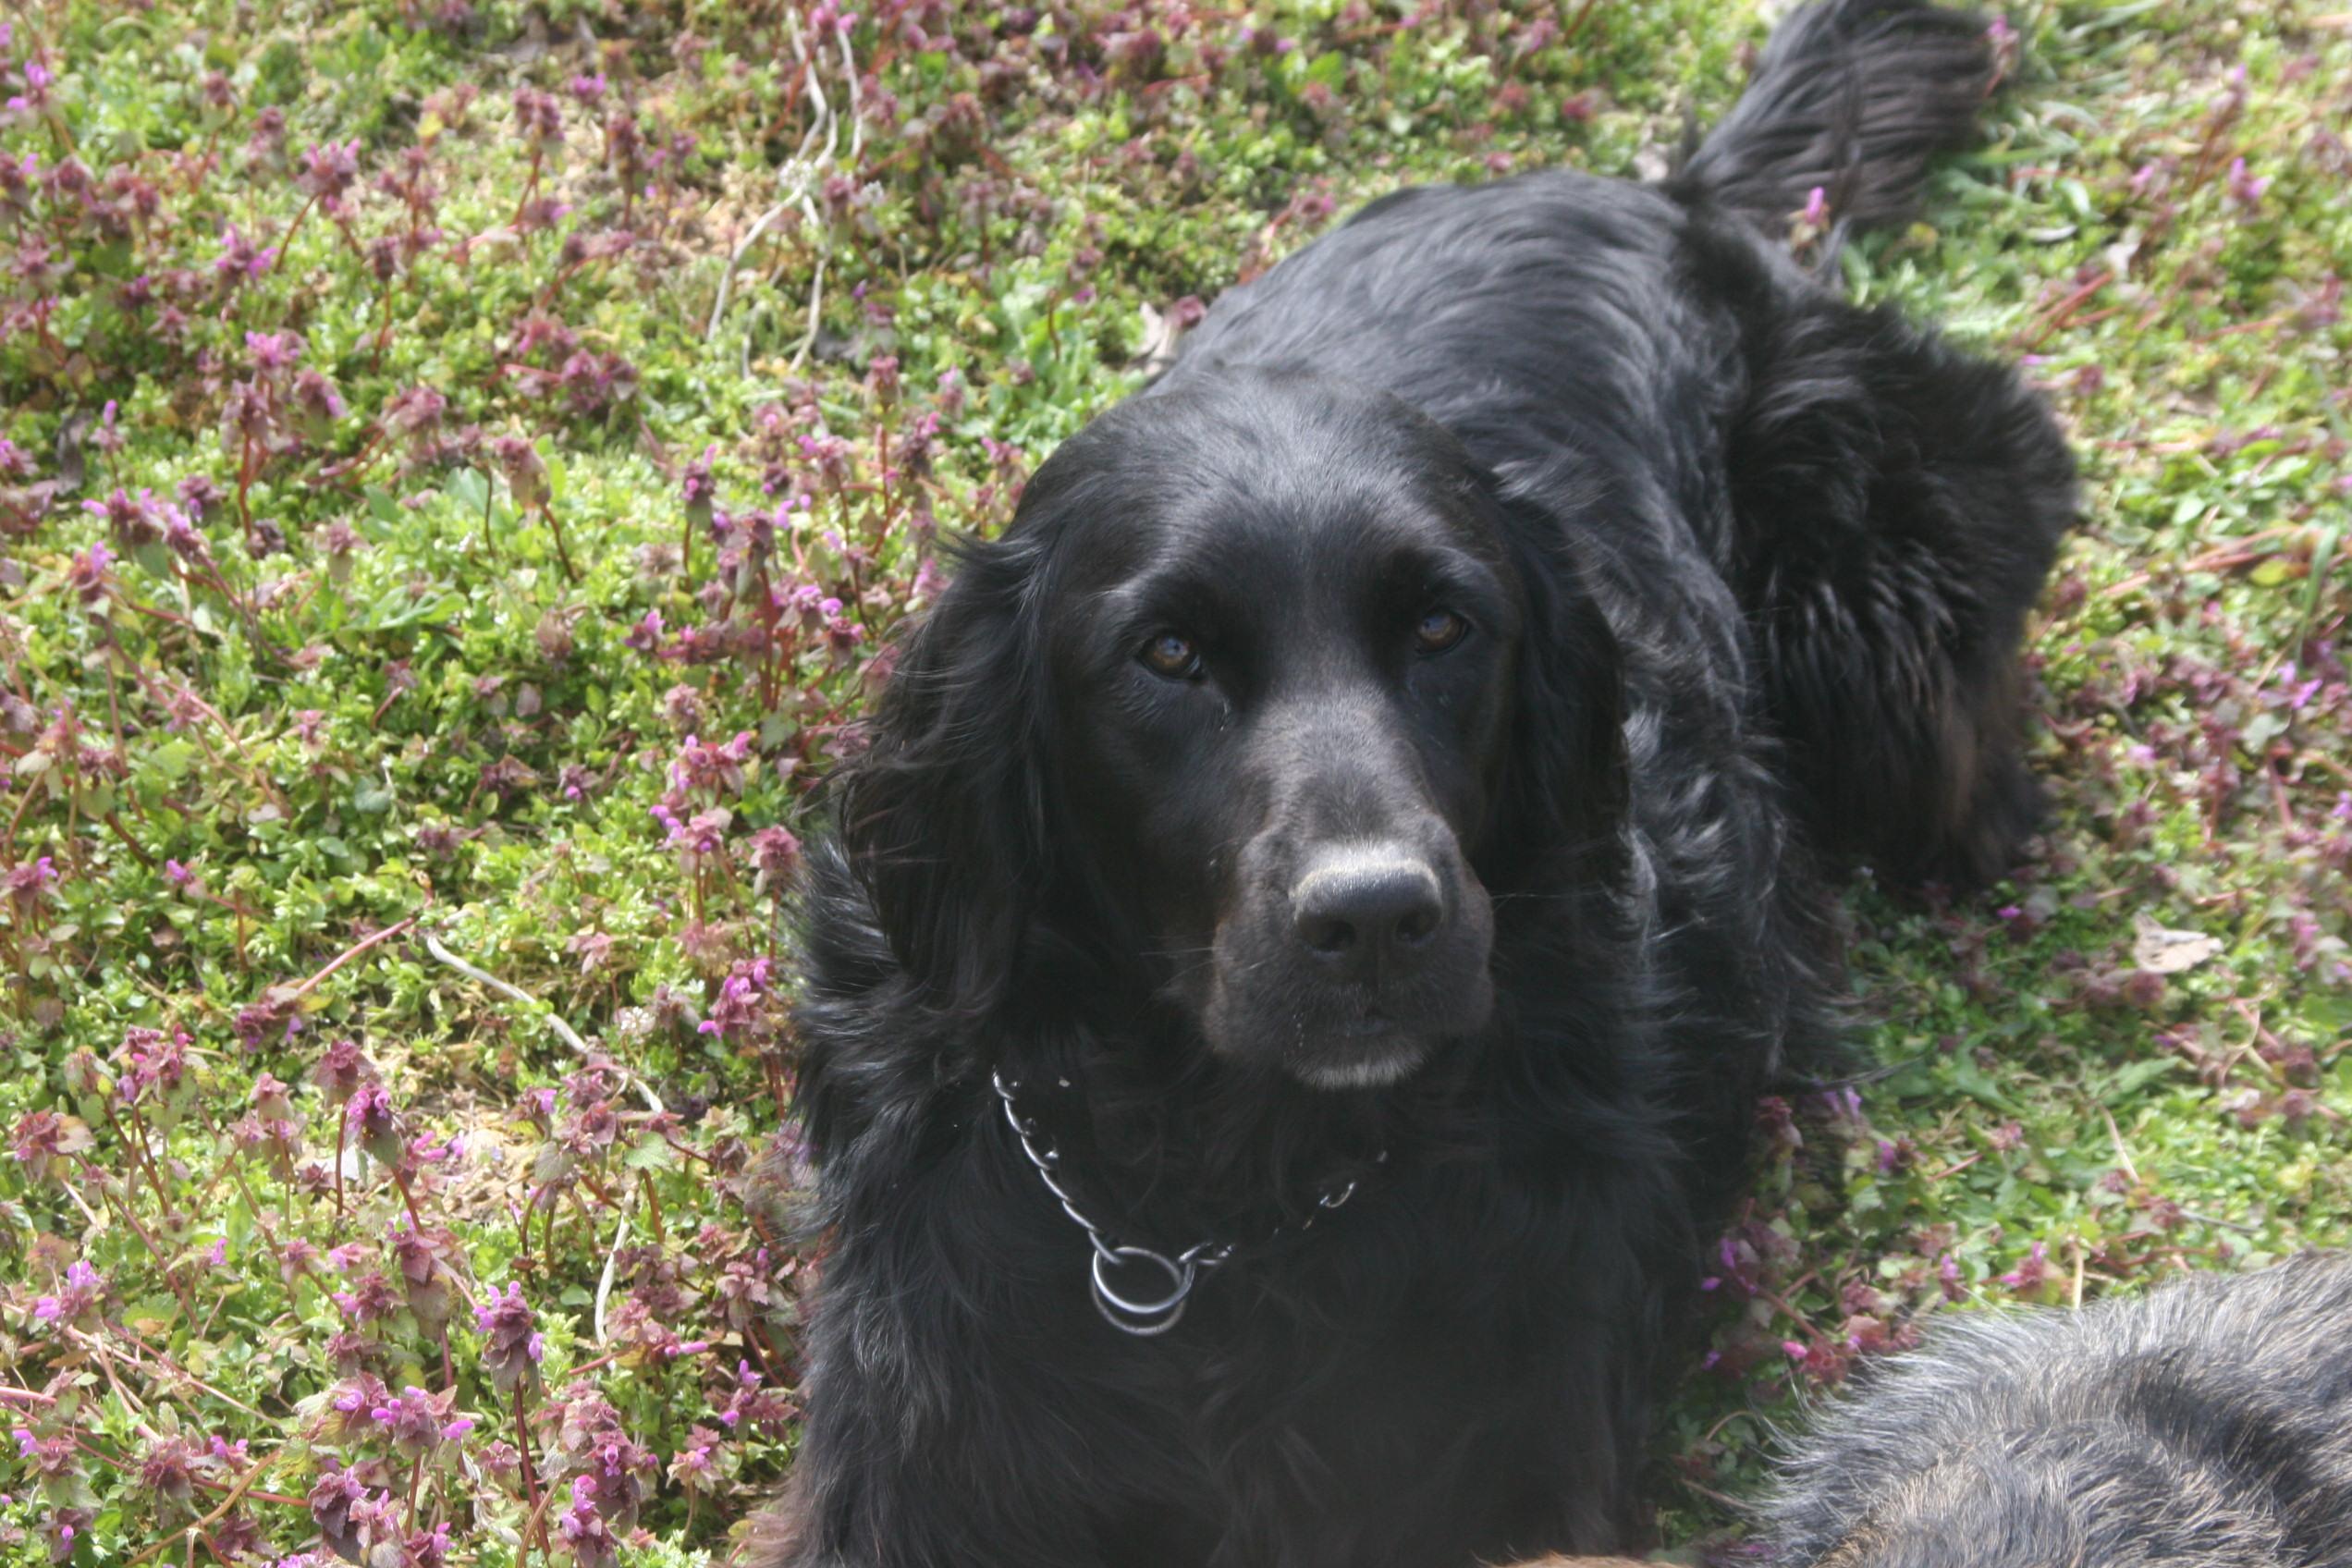
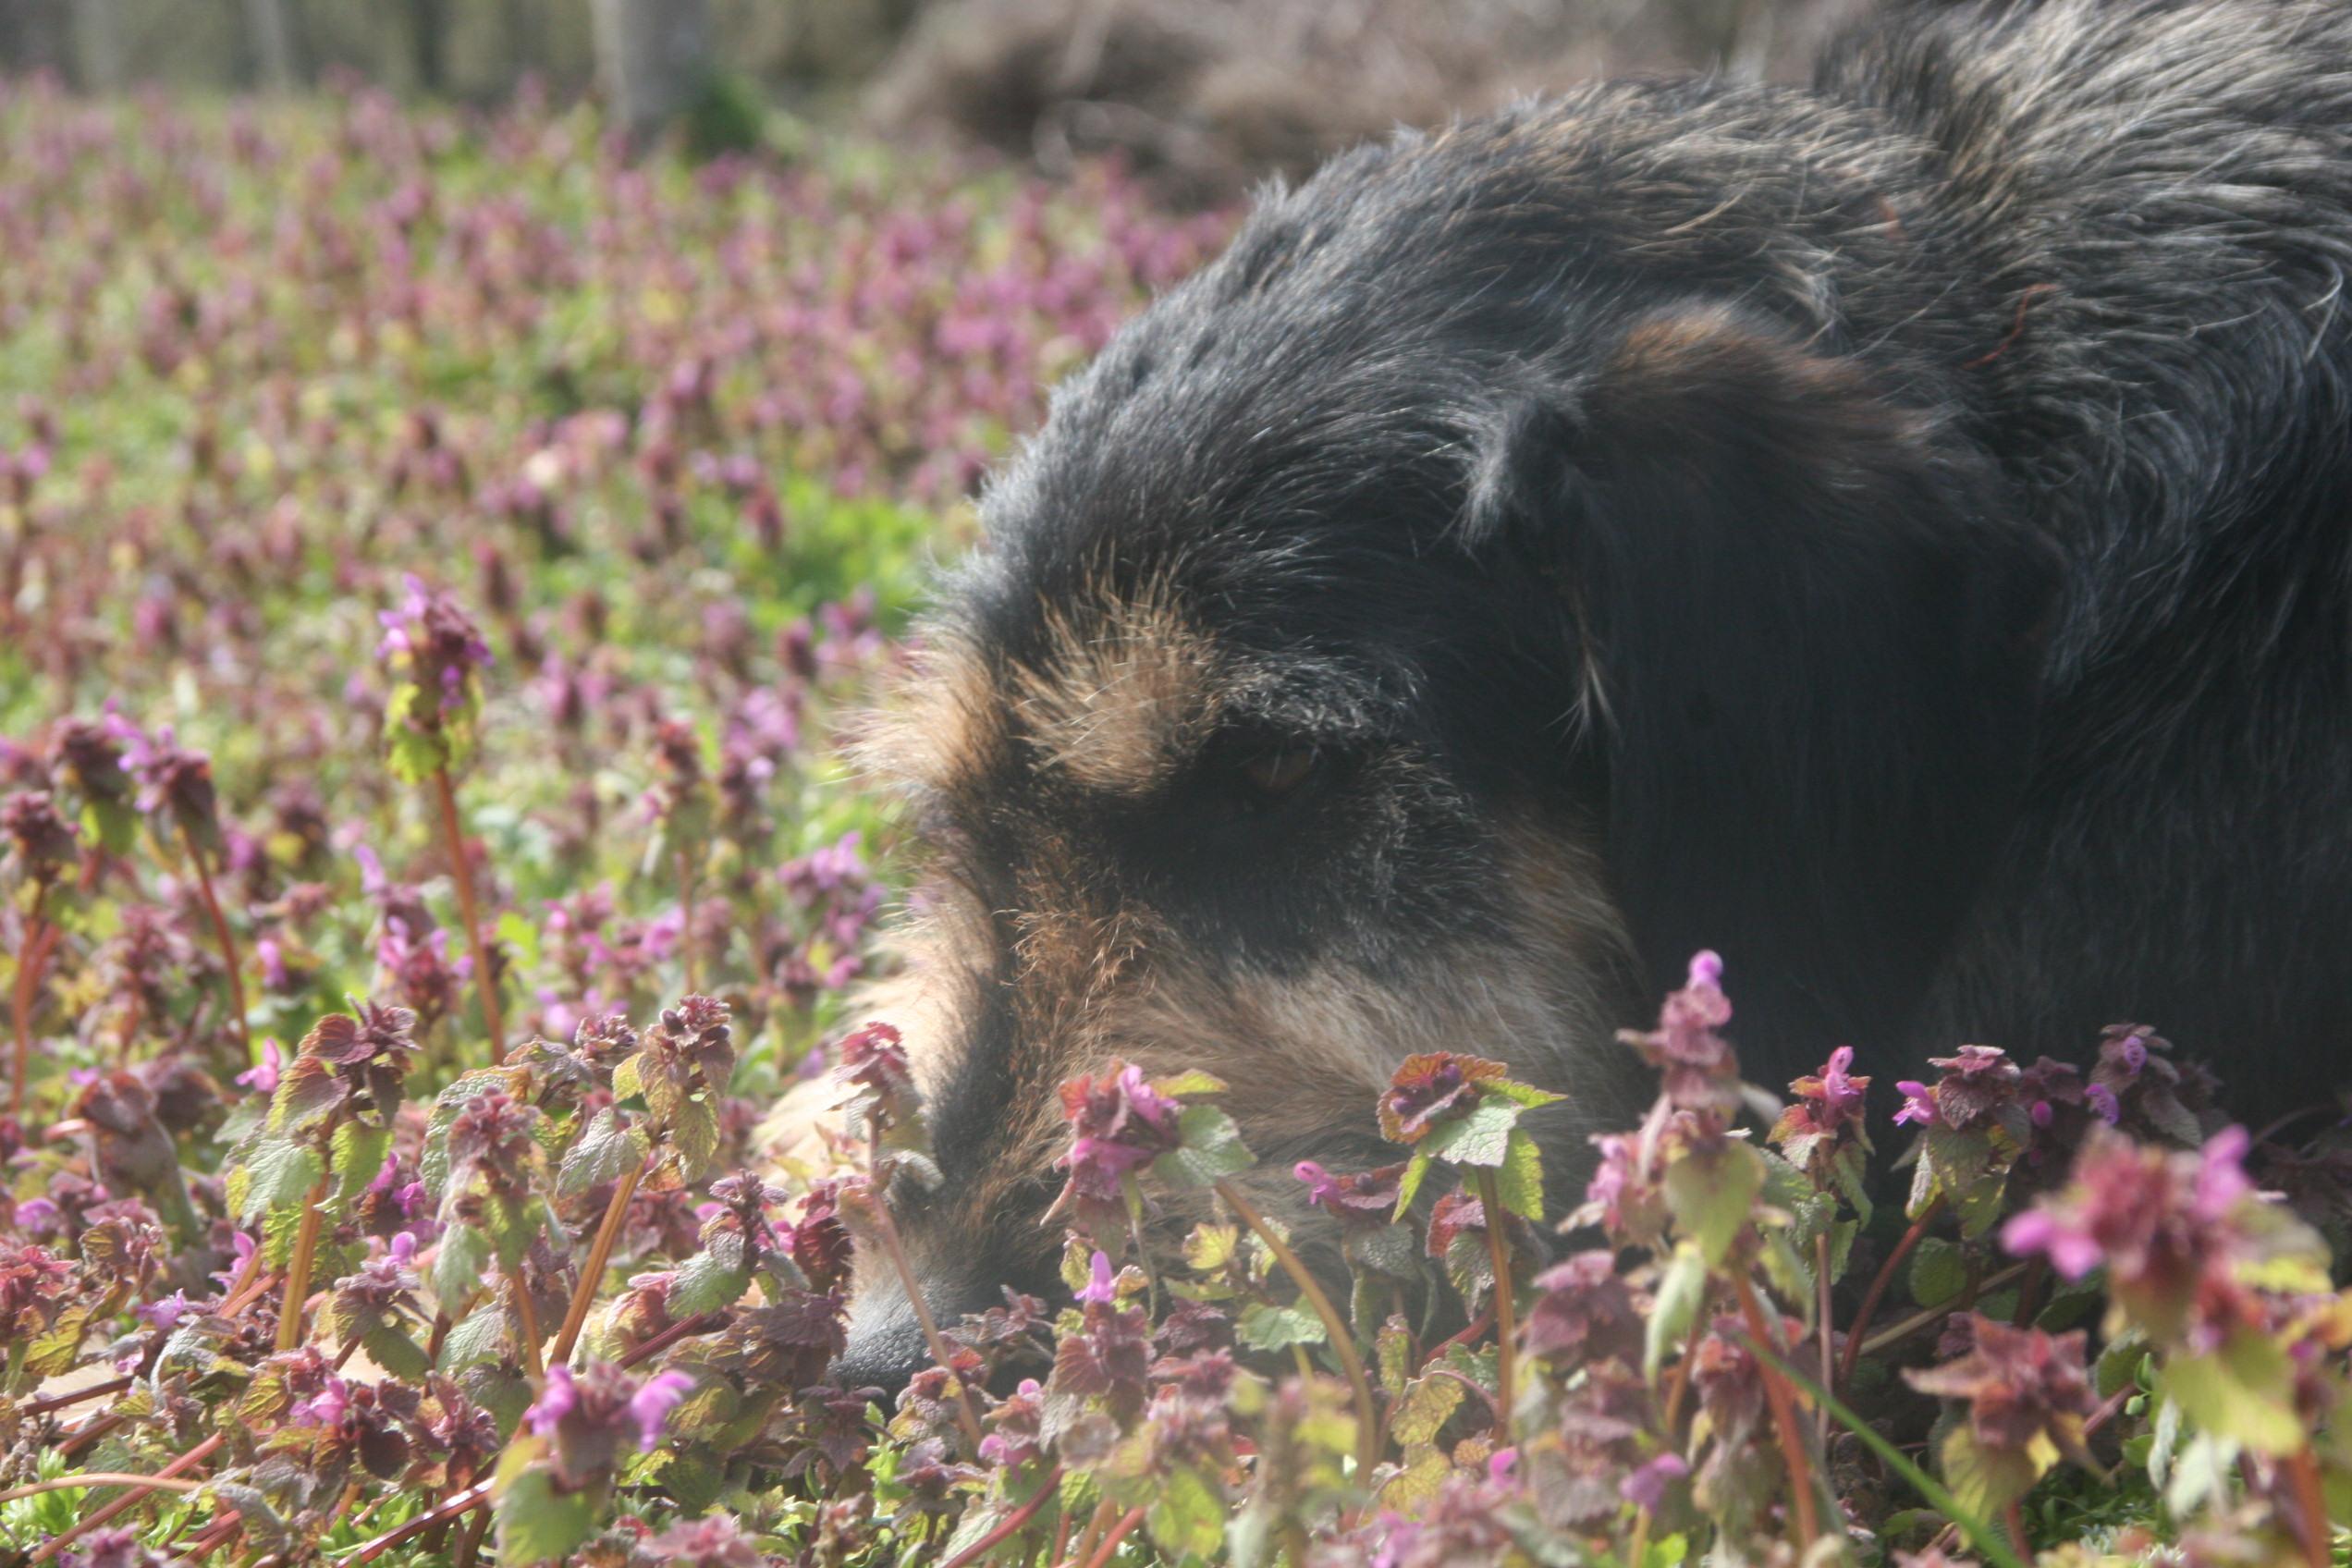
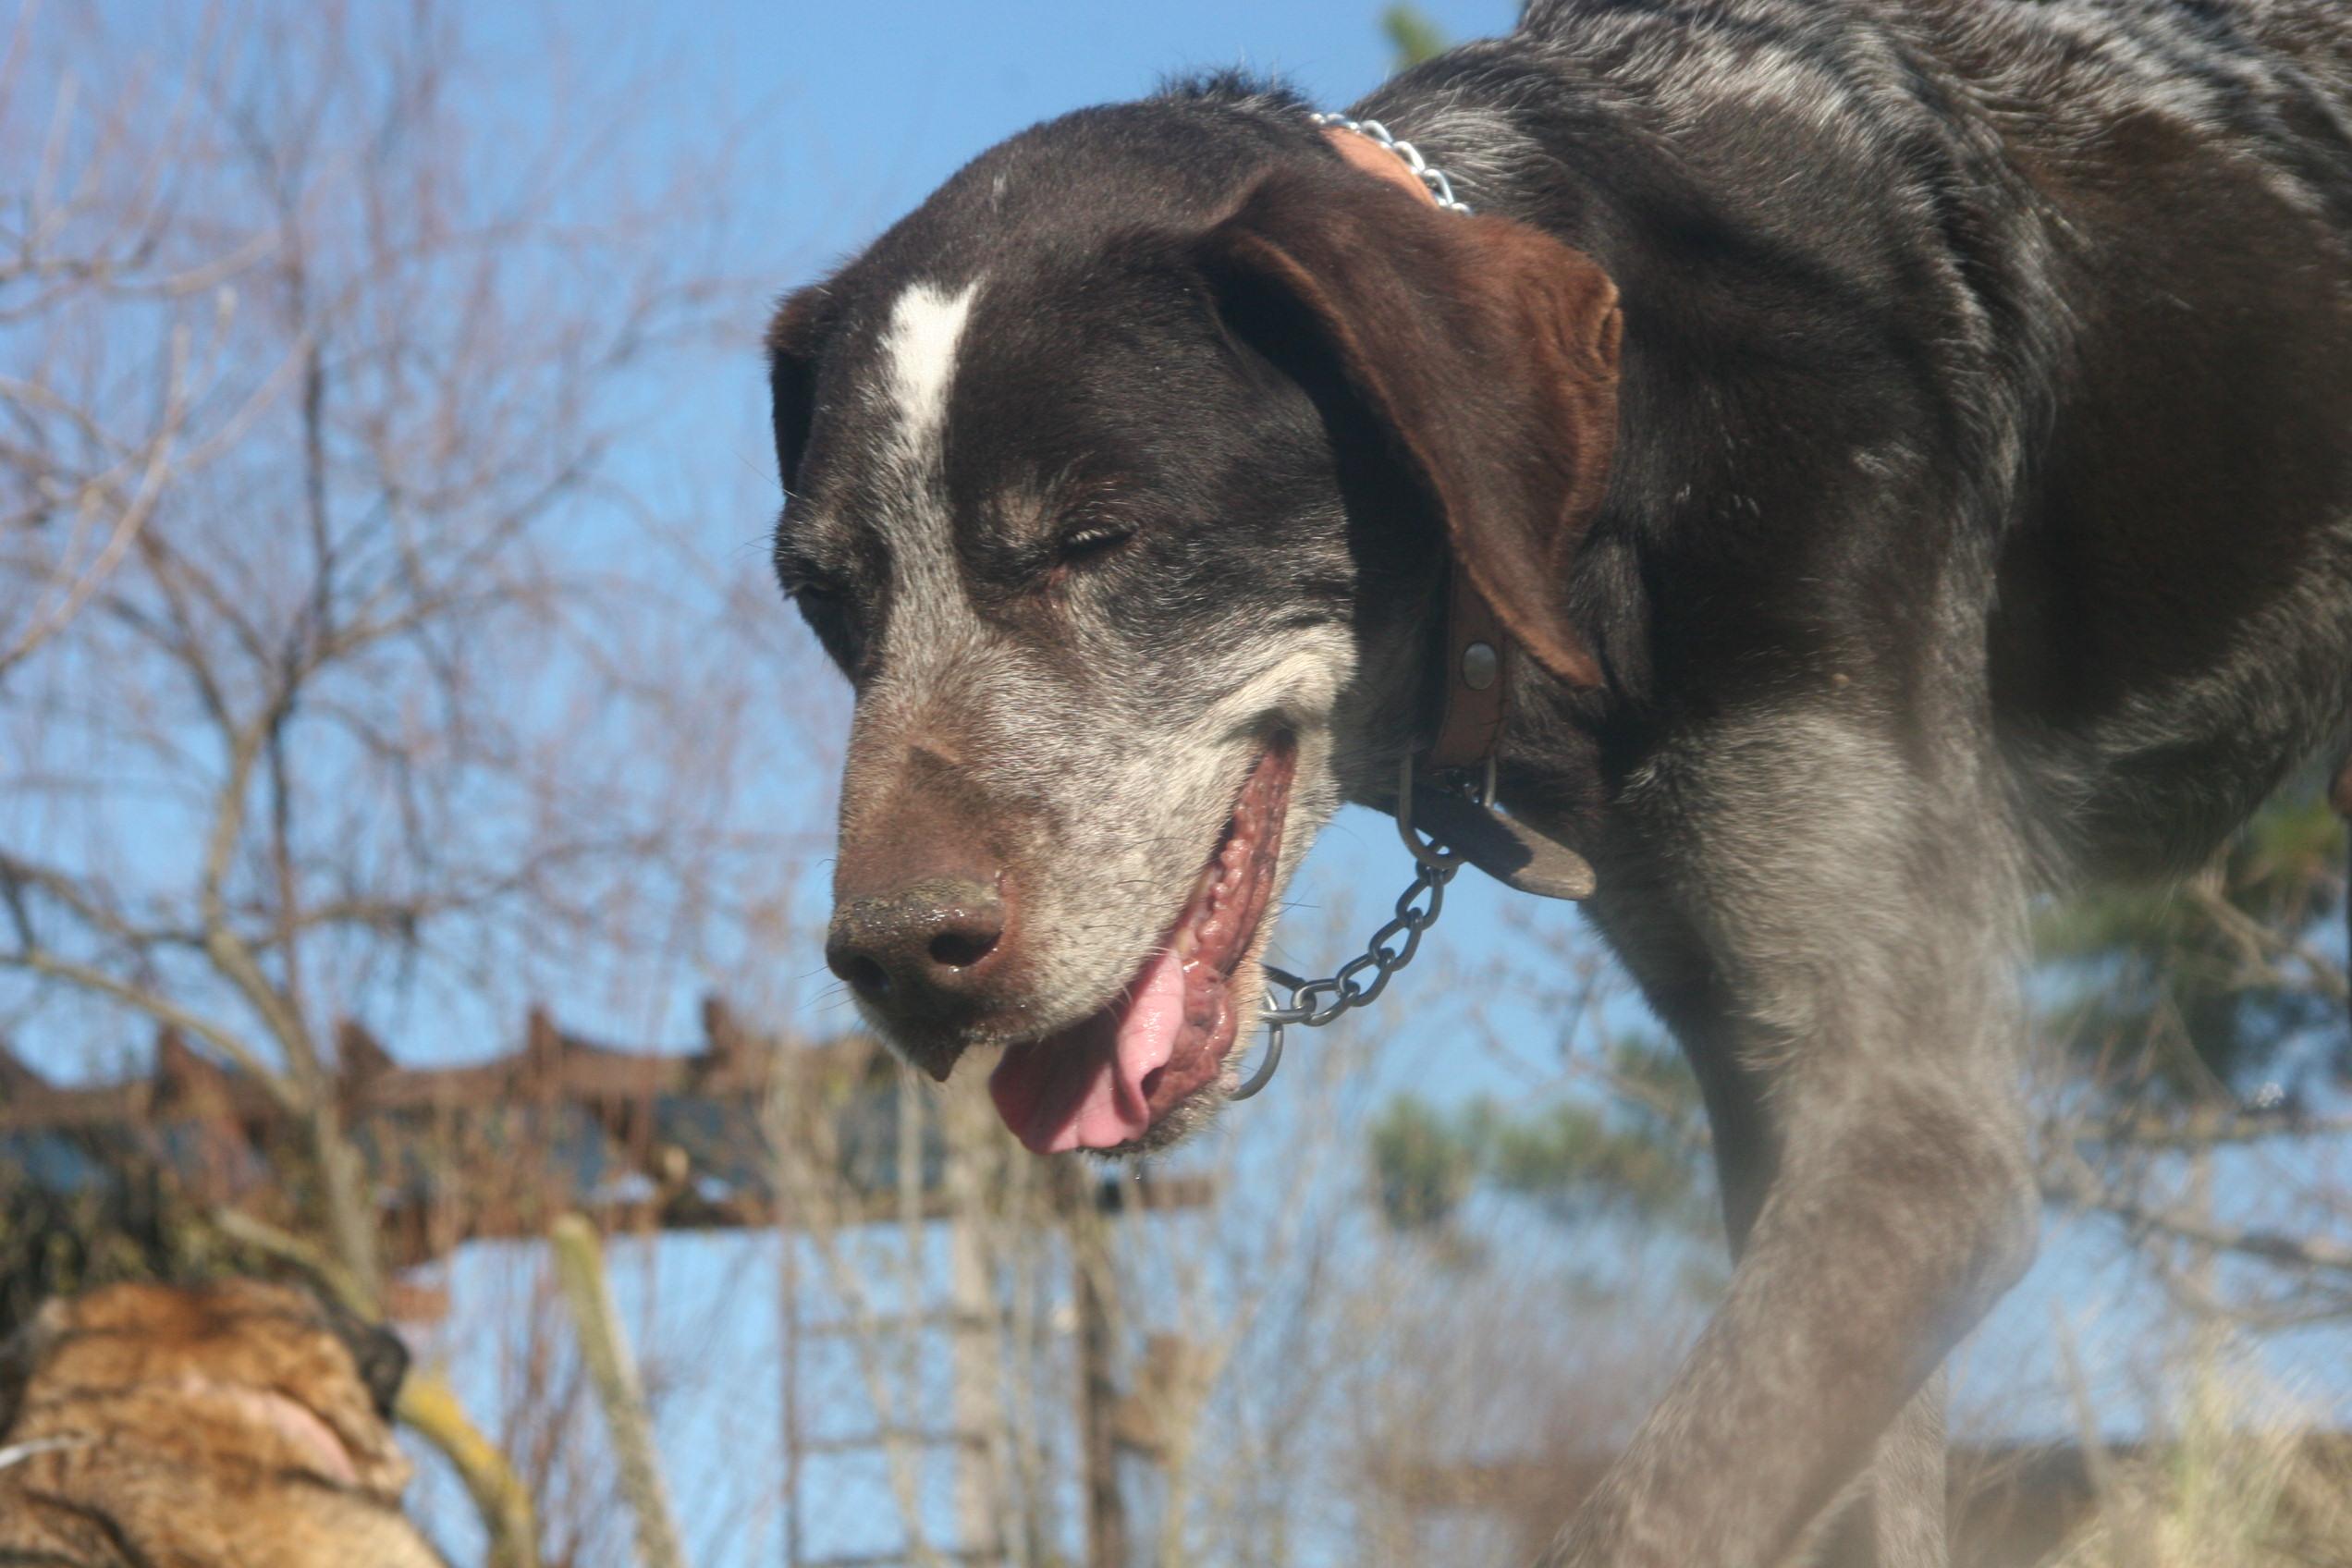
Hey! So above you'll see a bunch of photo's of some of my dogs, they're pretty, right? The photo's I mean, I know the dogs are :) Read on and I'll tell you the do's and don'ts of taking the prettiest pet pics!
Supplies
Now, I'm not a mind reader when I say this, but right now you're thinking that those photo's took a lot of time, energy and high-end equipment, or even equipment at all but the truth is, all you need is the knowledge of what to do and what not to do, a camera, a sun in the sky and ,most importantly, your pet.
GET DOWN LOW!
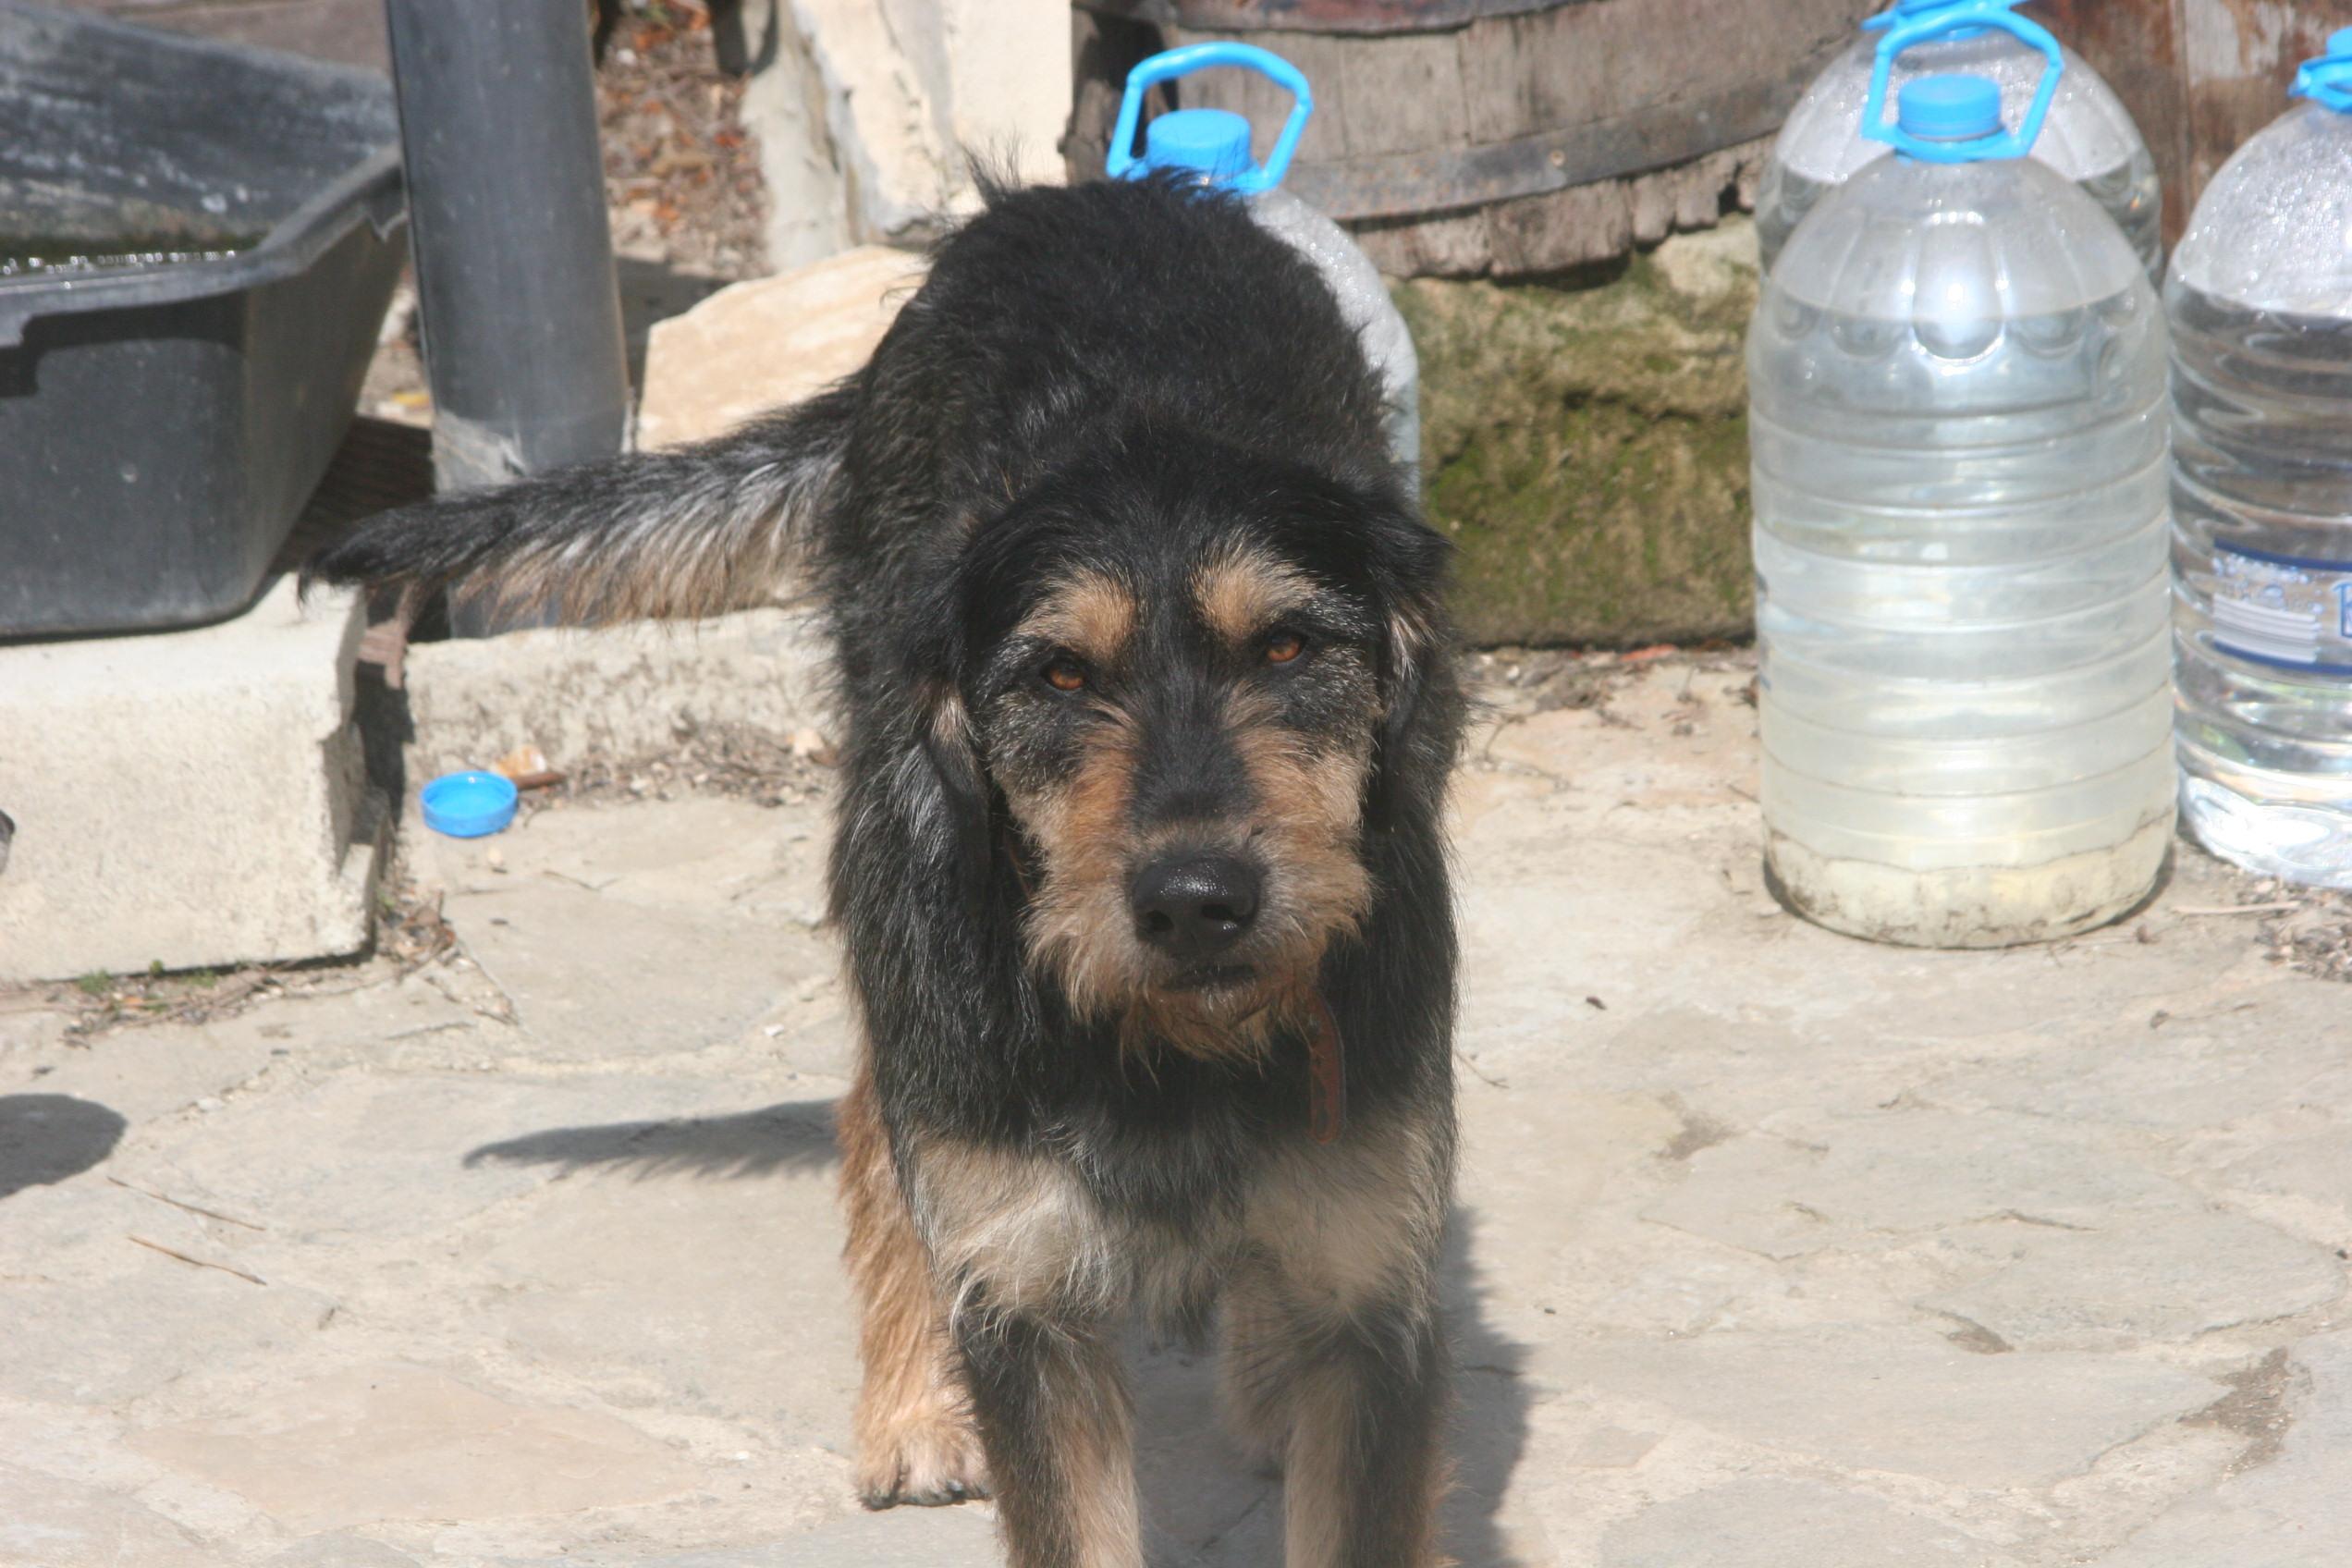
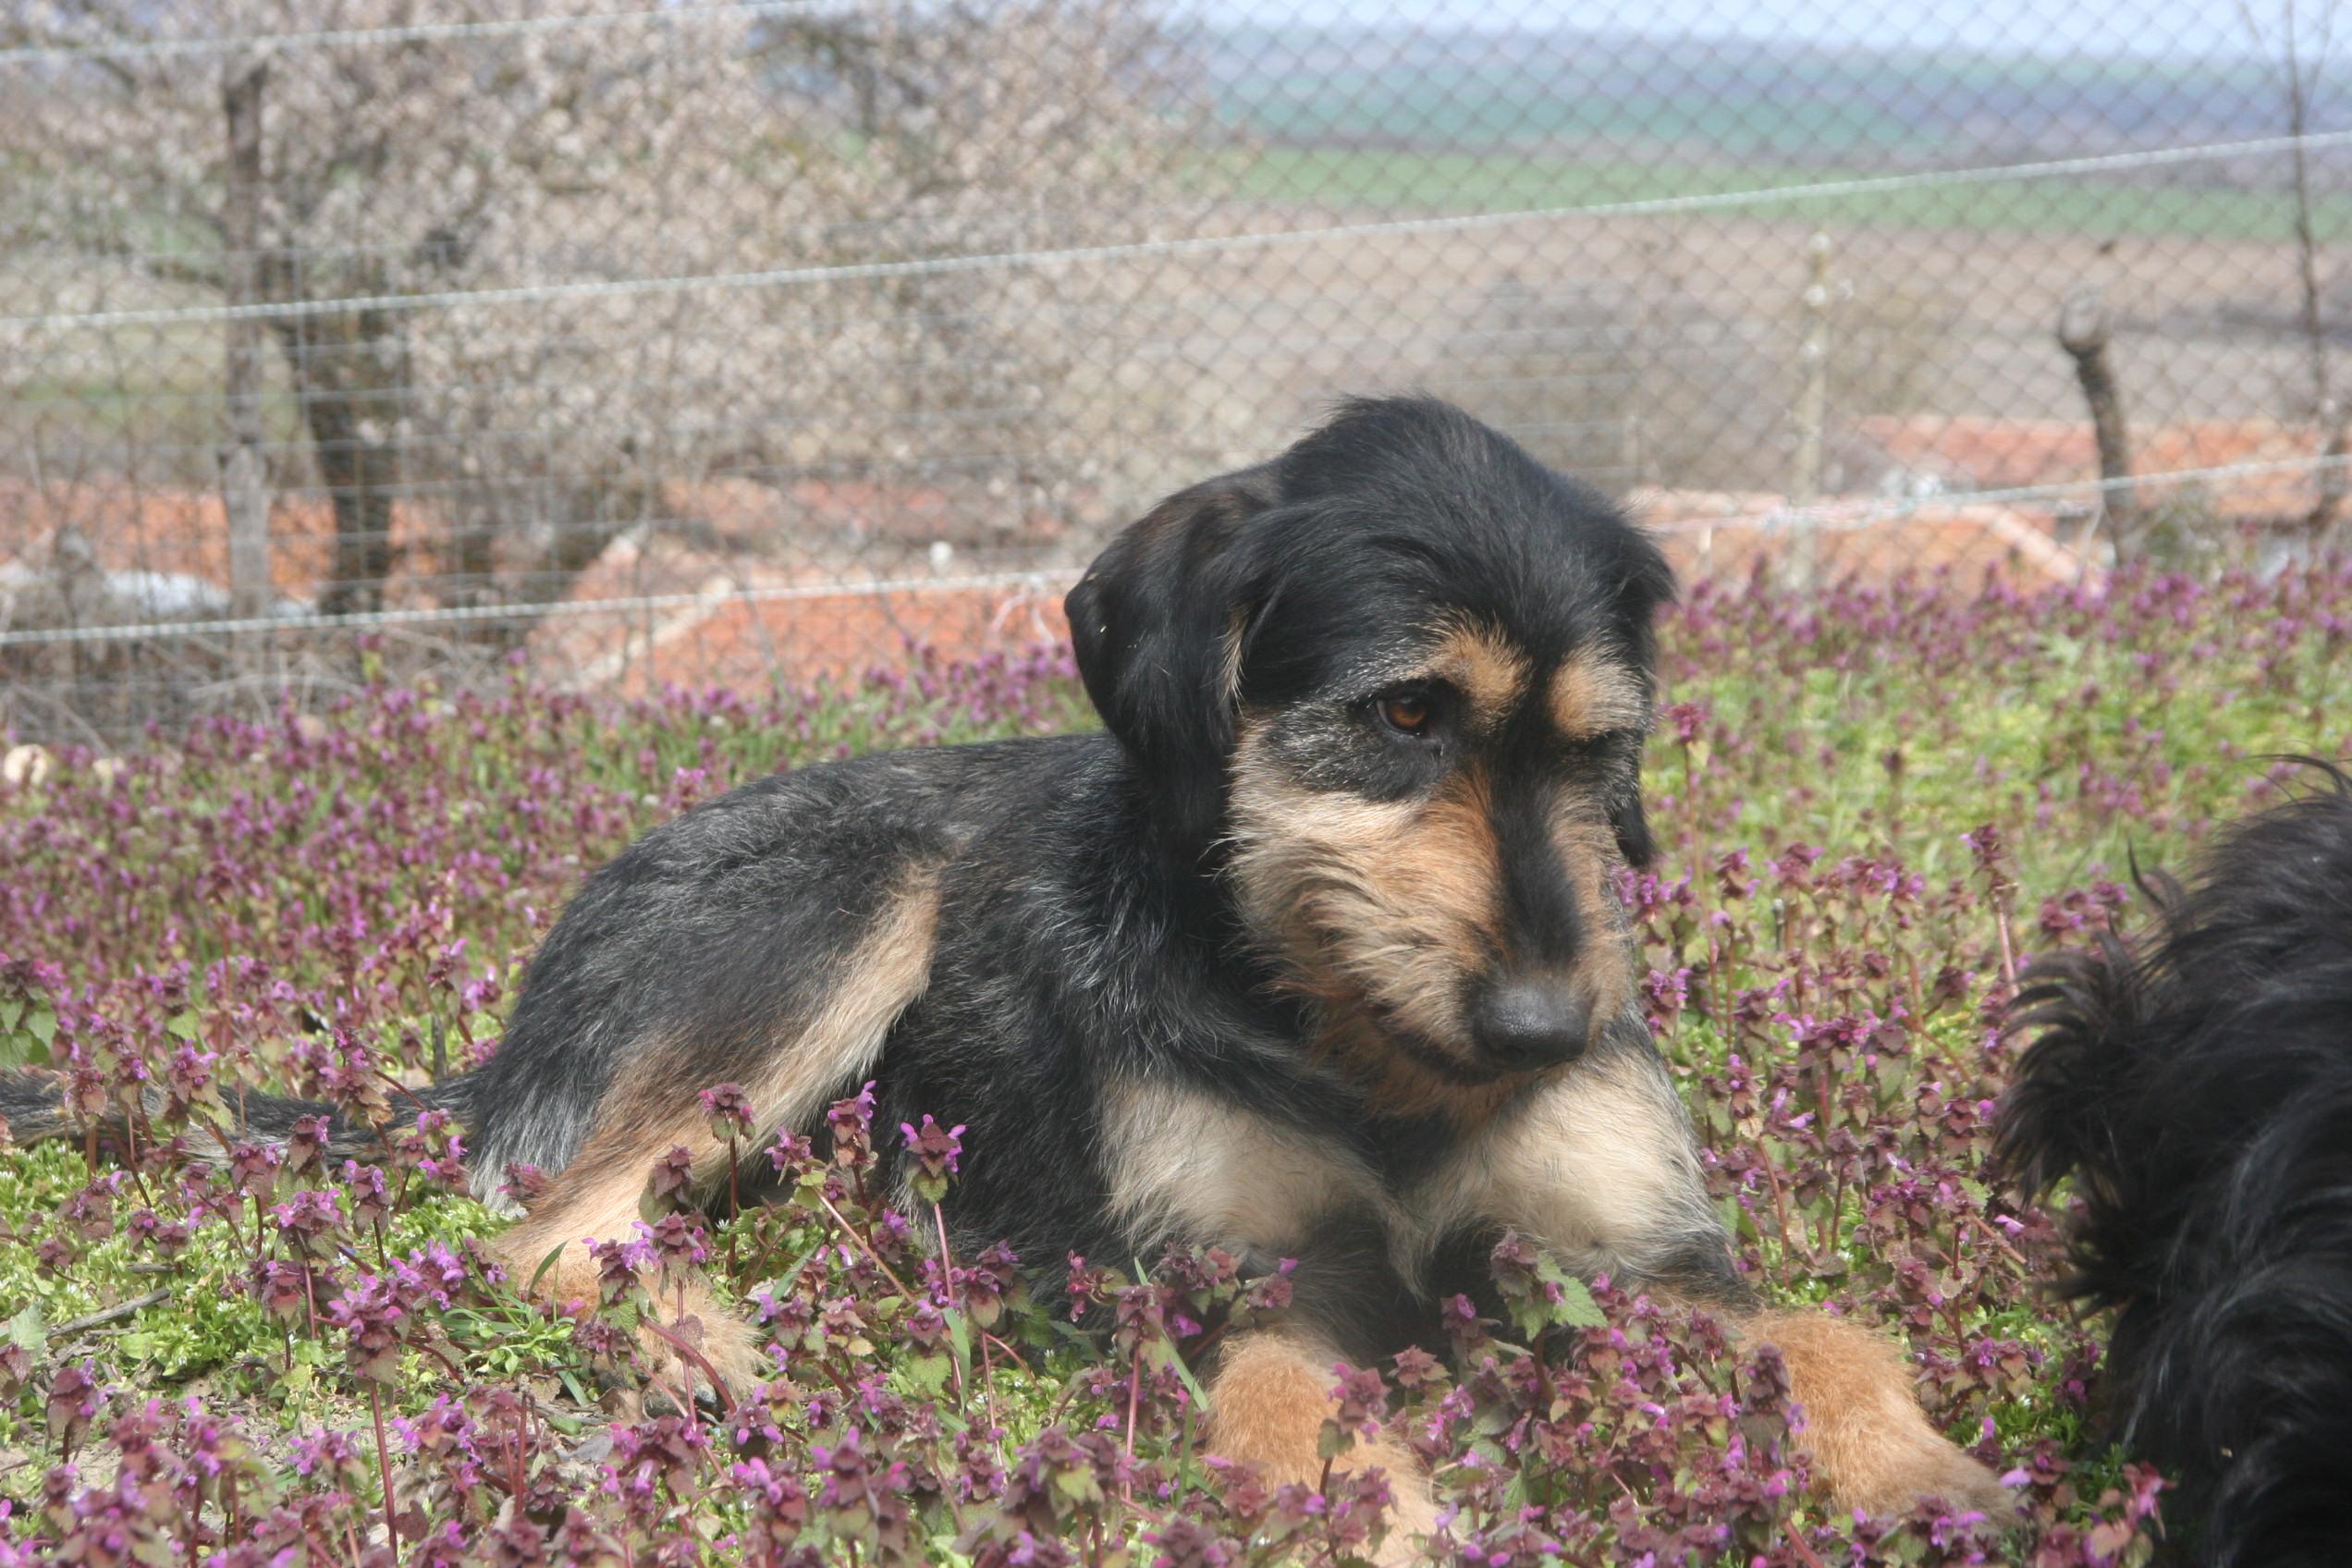
In the photo's above, the first one was taking from stood up and in the second, from kneeling. You may not see too much of a difference, and I don't expect you too, they're miniscule but in other cases they can be much more noticeable. I'm not saying that the photo's taken from stood up are terrible, far from it, in this instructable I'm trying to give you my tips on the getting the best results so when I say you should get down low it is because the picture will come out ten times better. Rather than getting an angled down view, where you have to make the dog look up in order to get their face, you'll get a much more detailed and natural perspective, making the photo seem more comfortable.
How to get low? I find that lying down is the easiest way, using your elbows to ground your arms and keep the camera steady.
I know the second photo isn't necessarily a good example of how the photo's will come out better, (he looks like he's been told a Dad joke, doesn't he?) but I hope you get what I mean nonetheless ;)
PERFECT FOREGROUND
.JPG)
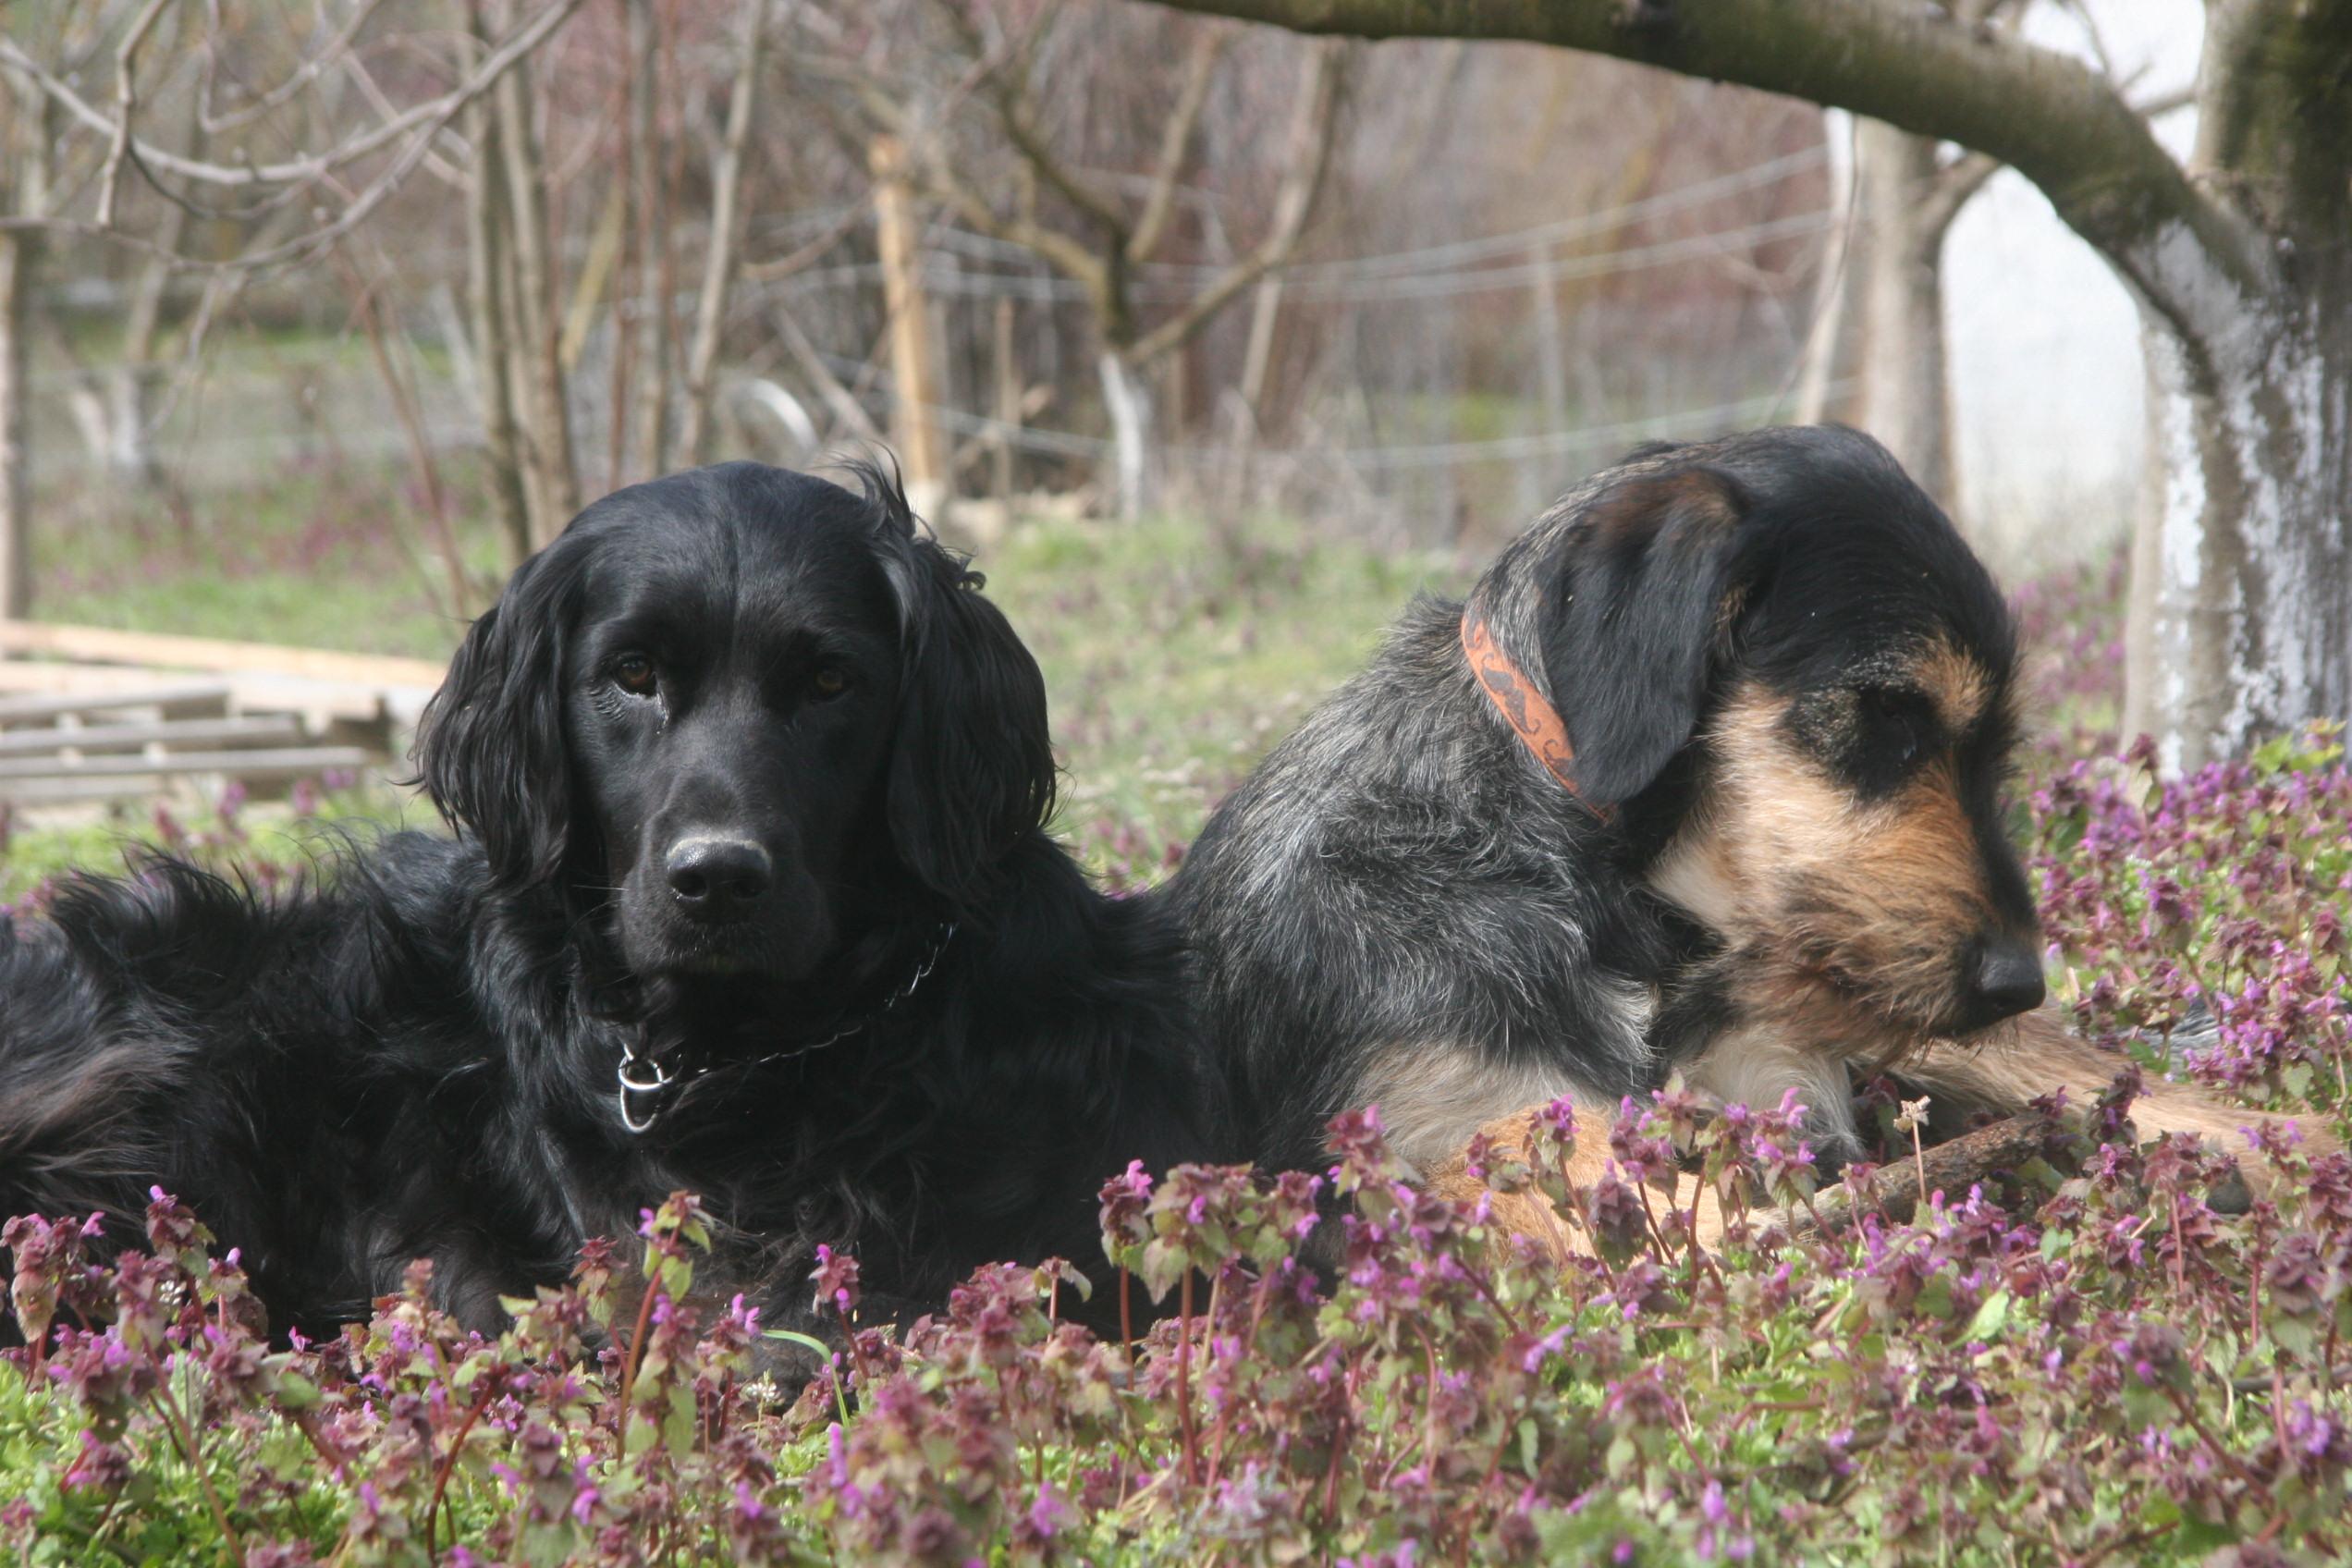
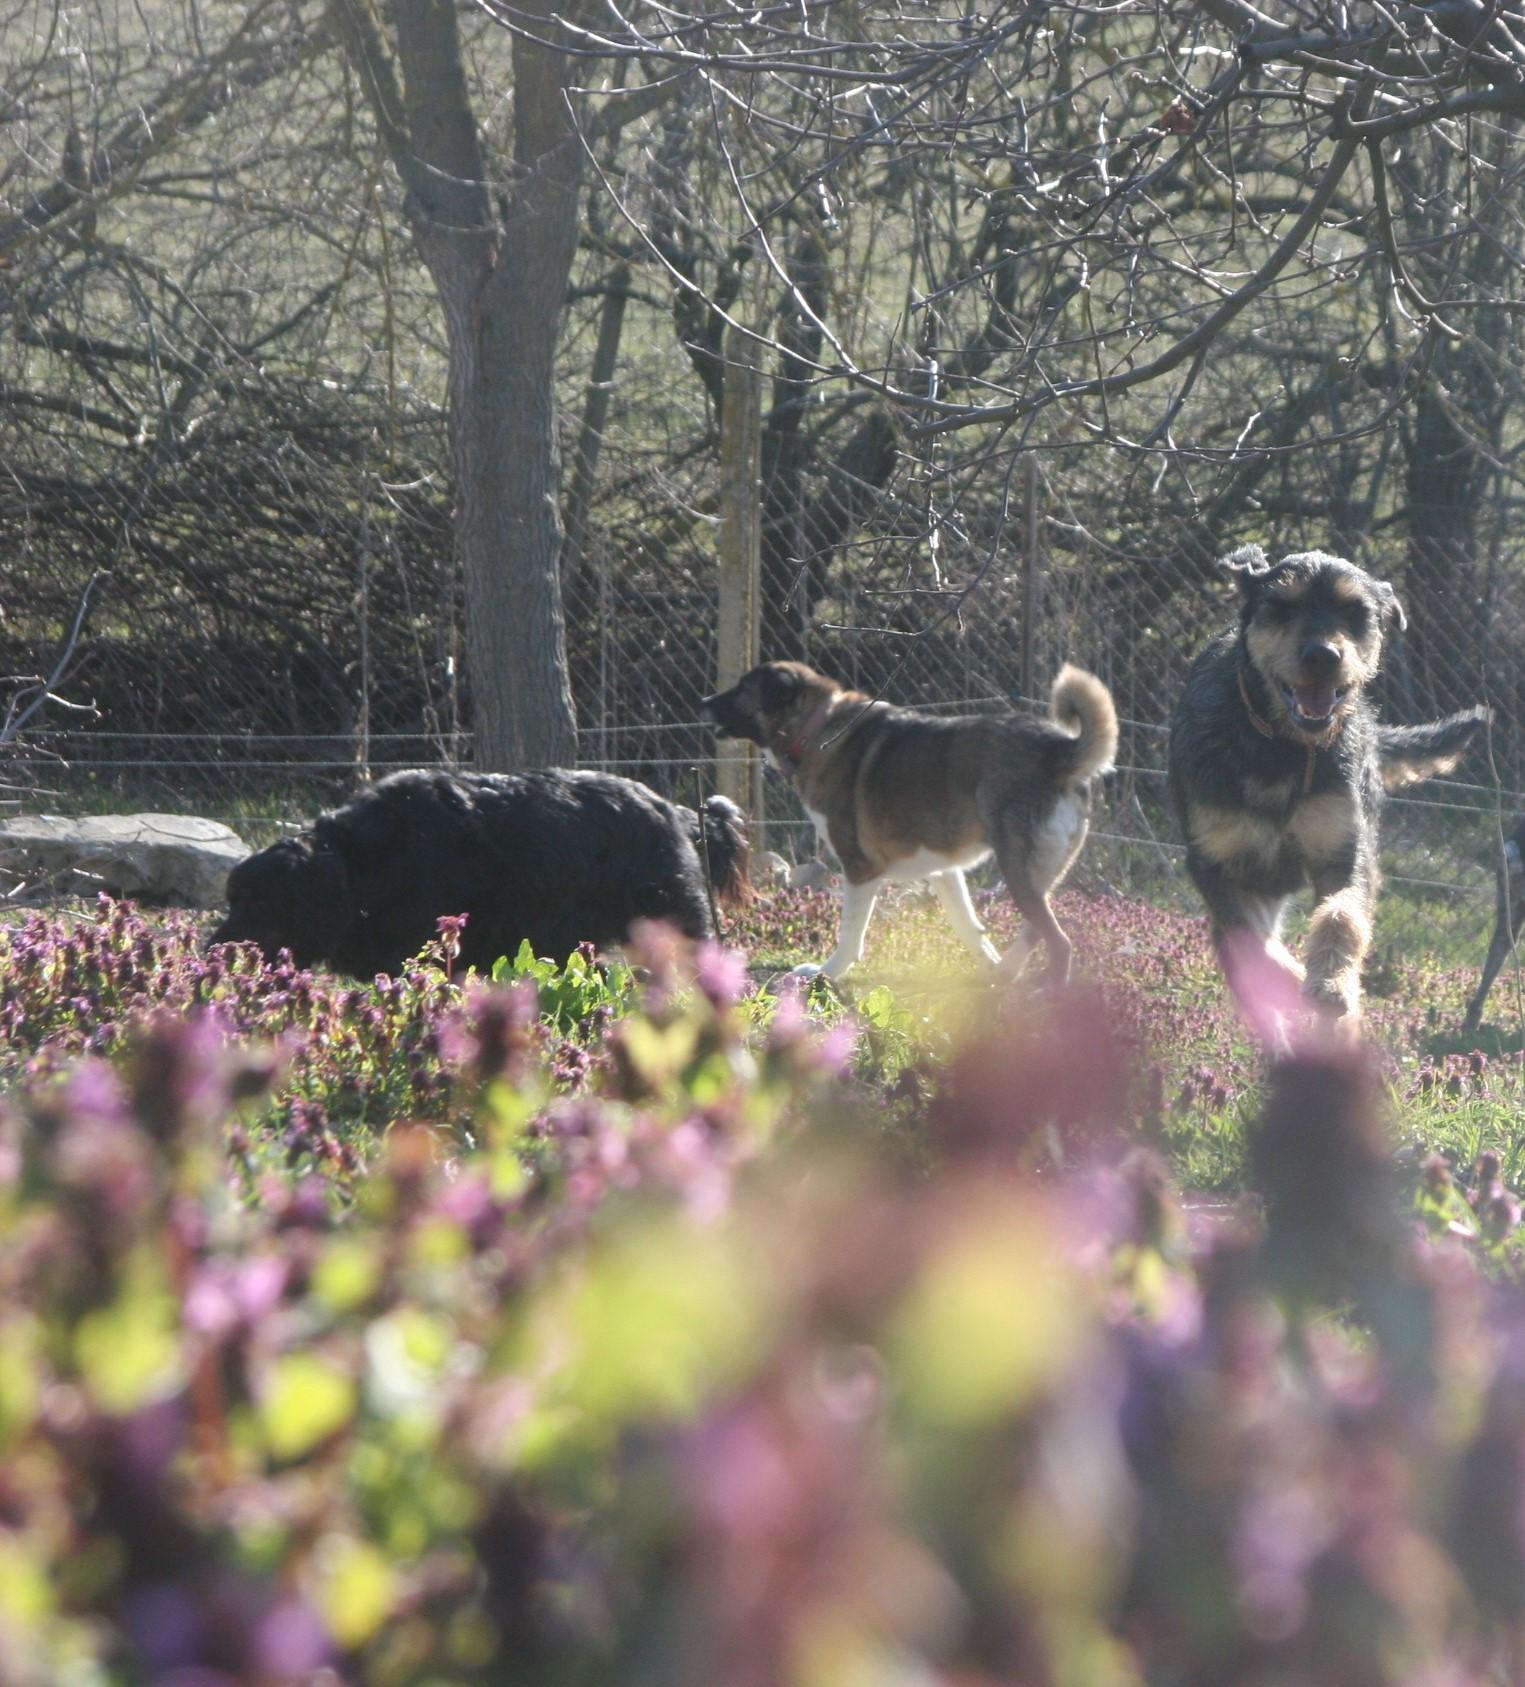
One word: foreground. The lead-up to the photo/ the ground before the subject of the photo. Too little doesn't have too much of an impact on the quality of the photo, too much ,though, makes the photo seem drawn out and distracts the viewer from the actual subject. Foreground is always a lovely touch in the photo as it gives the illusion that the photo was taken naturally, without setting up nor preparation which makes it relaxed and pleasant to look at. So, how do you get the right amount of foreground? Start by getting a good distance away, zooming out completely and then slowly zooming in until you are comfortable with where it is.
On the first picture, I was too far away and didn't zoom in on it, on the second I was much more comfortable with the distance away from the camera.
BLURRED AROUND THE EDGE
.JPG)
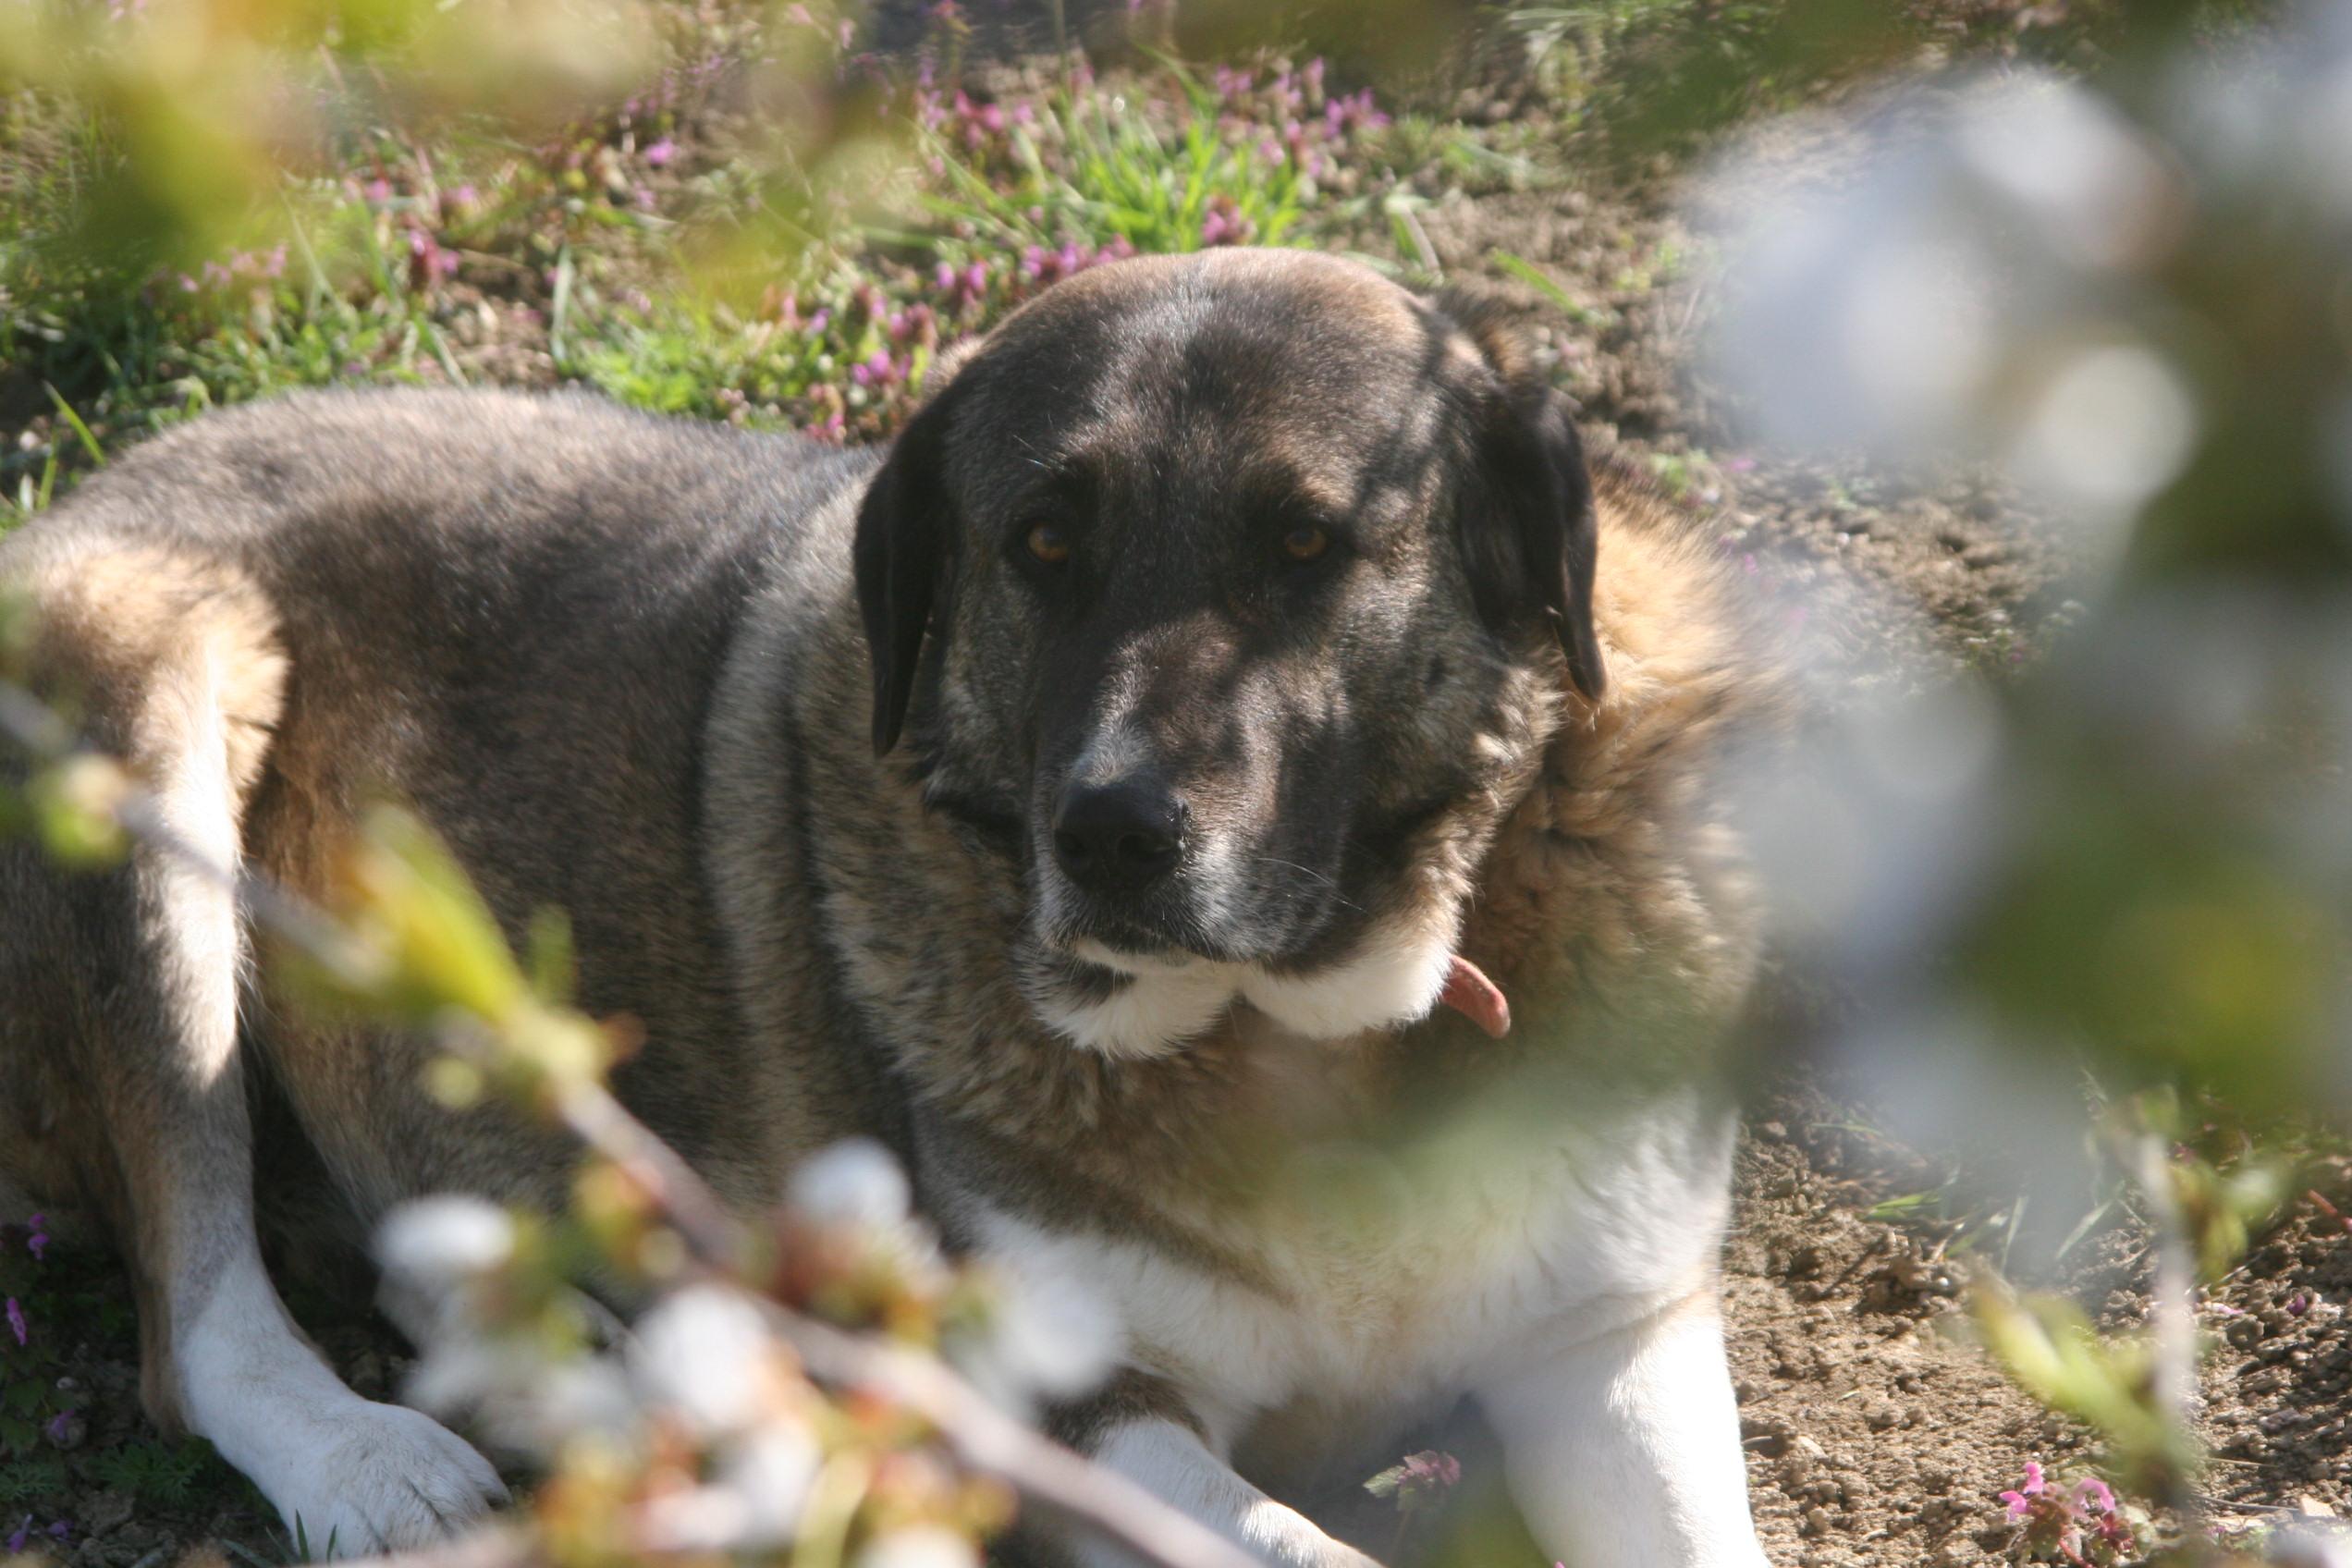
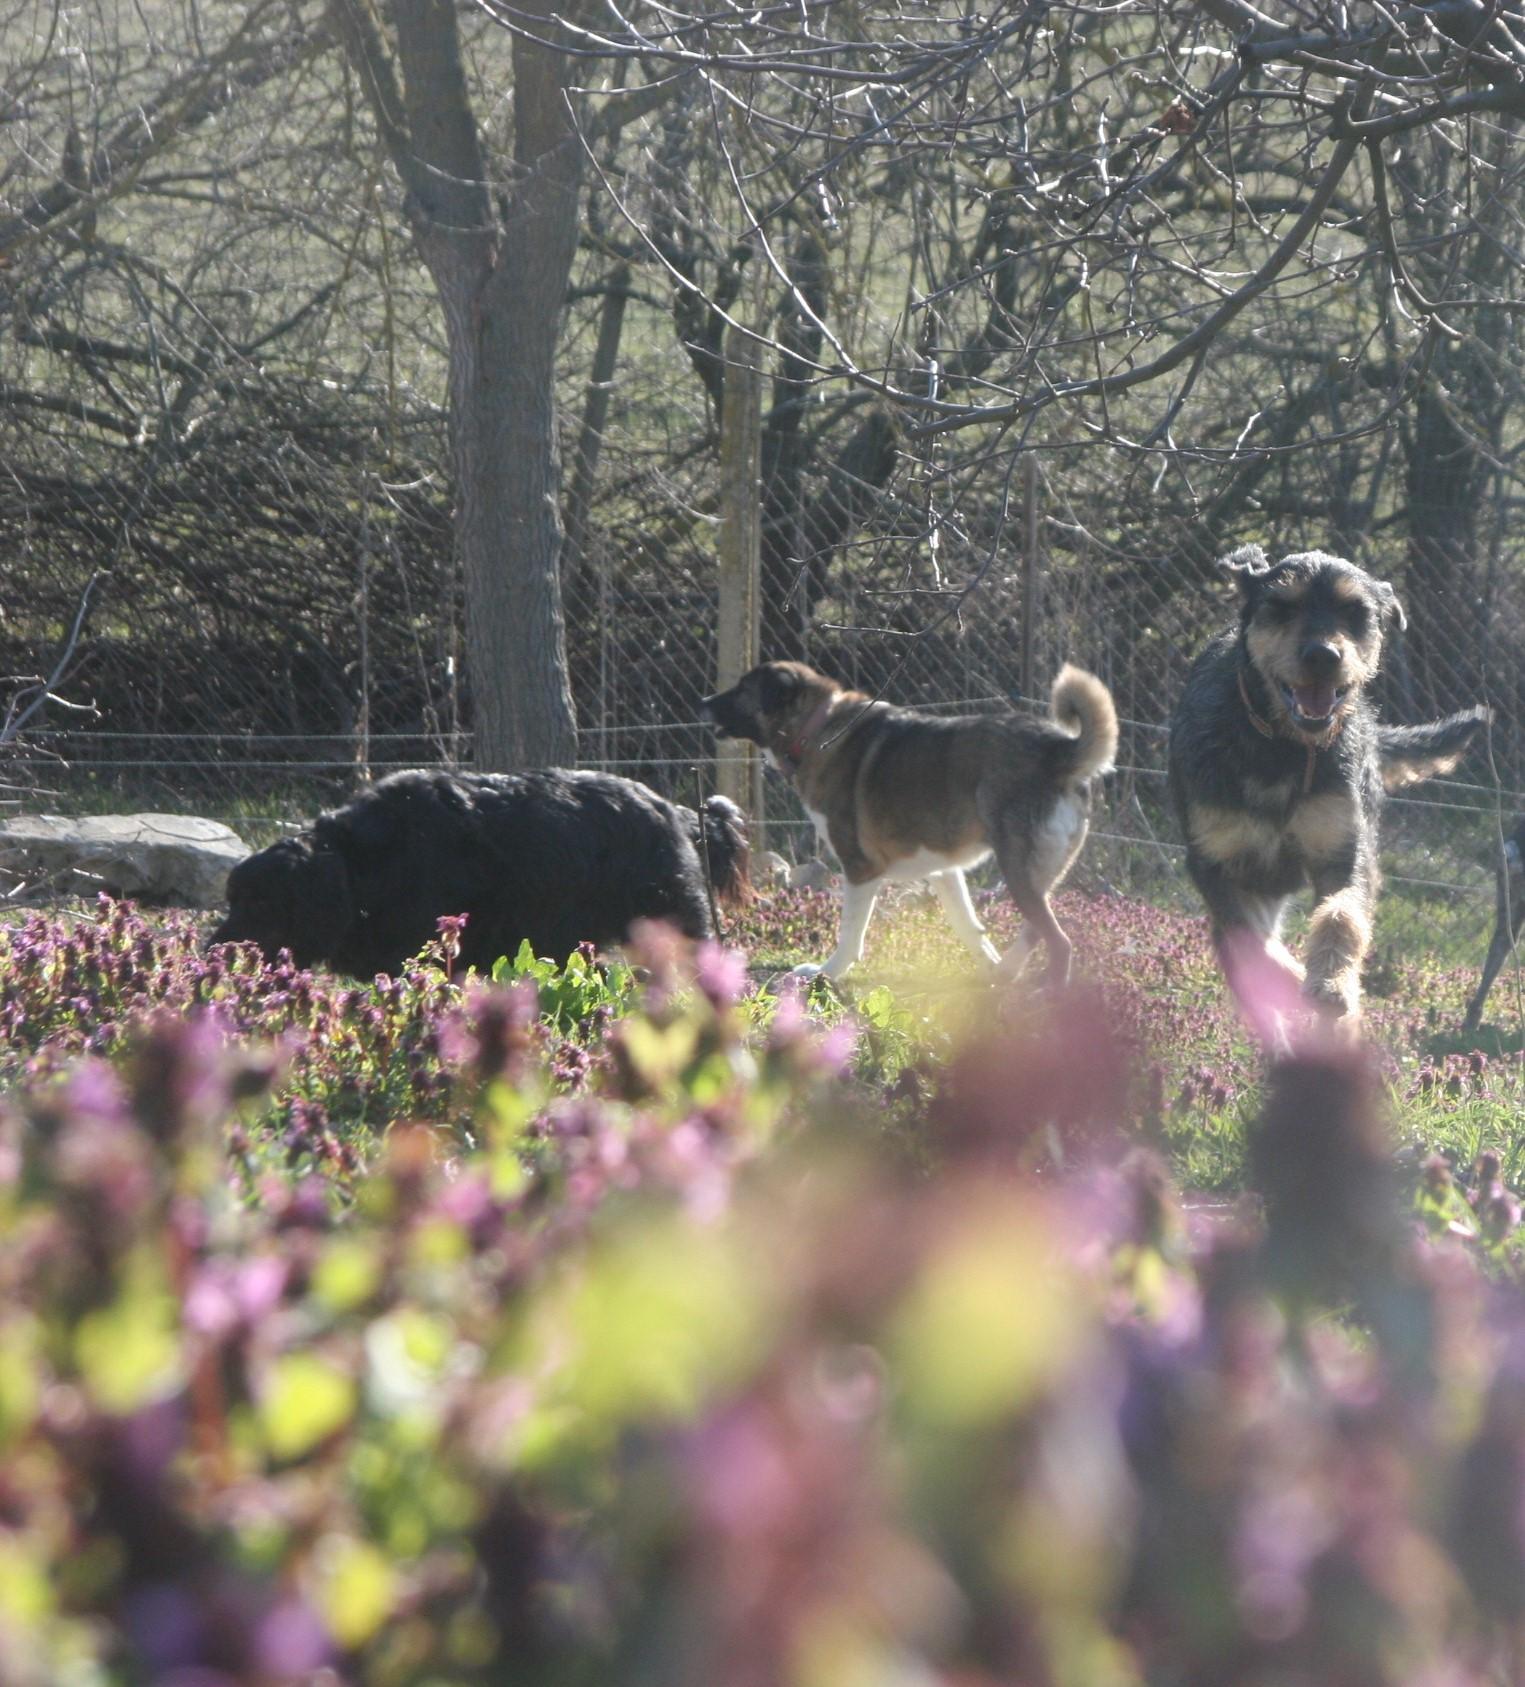
Everyone loves the whole concept of taking a picture surrounded by blurred, flowers, shrubbery or trees but getting it right is quite hard. In the first picture, the blurring consumes the subject rather than flatters it -like in the second photo. The trick is making sure that everything around what you're taking a photo of (be it a dog, cat, butterfly or bee) is around not on the subject of your photo.
I understand how frustrating, infuriating and just plain annoying it can be sorting it out, finding a tree, finding the right place, making the rest blurred which is why I'm going to be honest and say even if you learn a trick of some sort to assist you, sometimes it just doesn't work. So, what do I do when I'm trying to take one of these photo's? First thing first, you find your subject. I admit, it's quite hard taking a picture without one. And then I find a bush, tree, flower or even a patch of grass moderately far away from the subject (if you aren't close enough you can just zoom in) and then looking through the camera I move myself backwards, forwards, left, right until I find where you can see the subject clearly with the object flattering it. And then you zoom in a bit until just the subject is focused and there you go!
NO DISTRACTIONS!
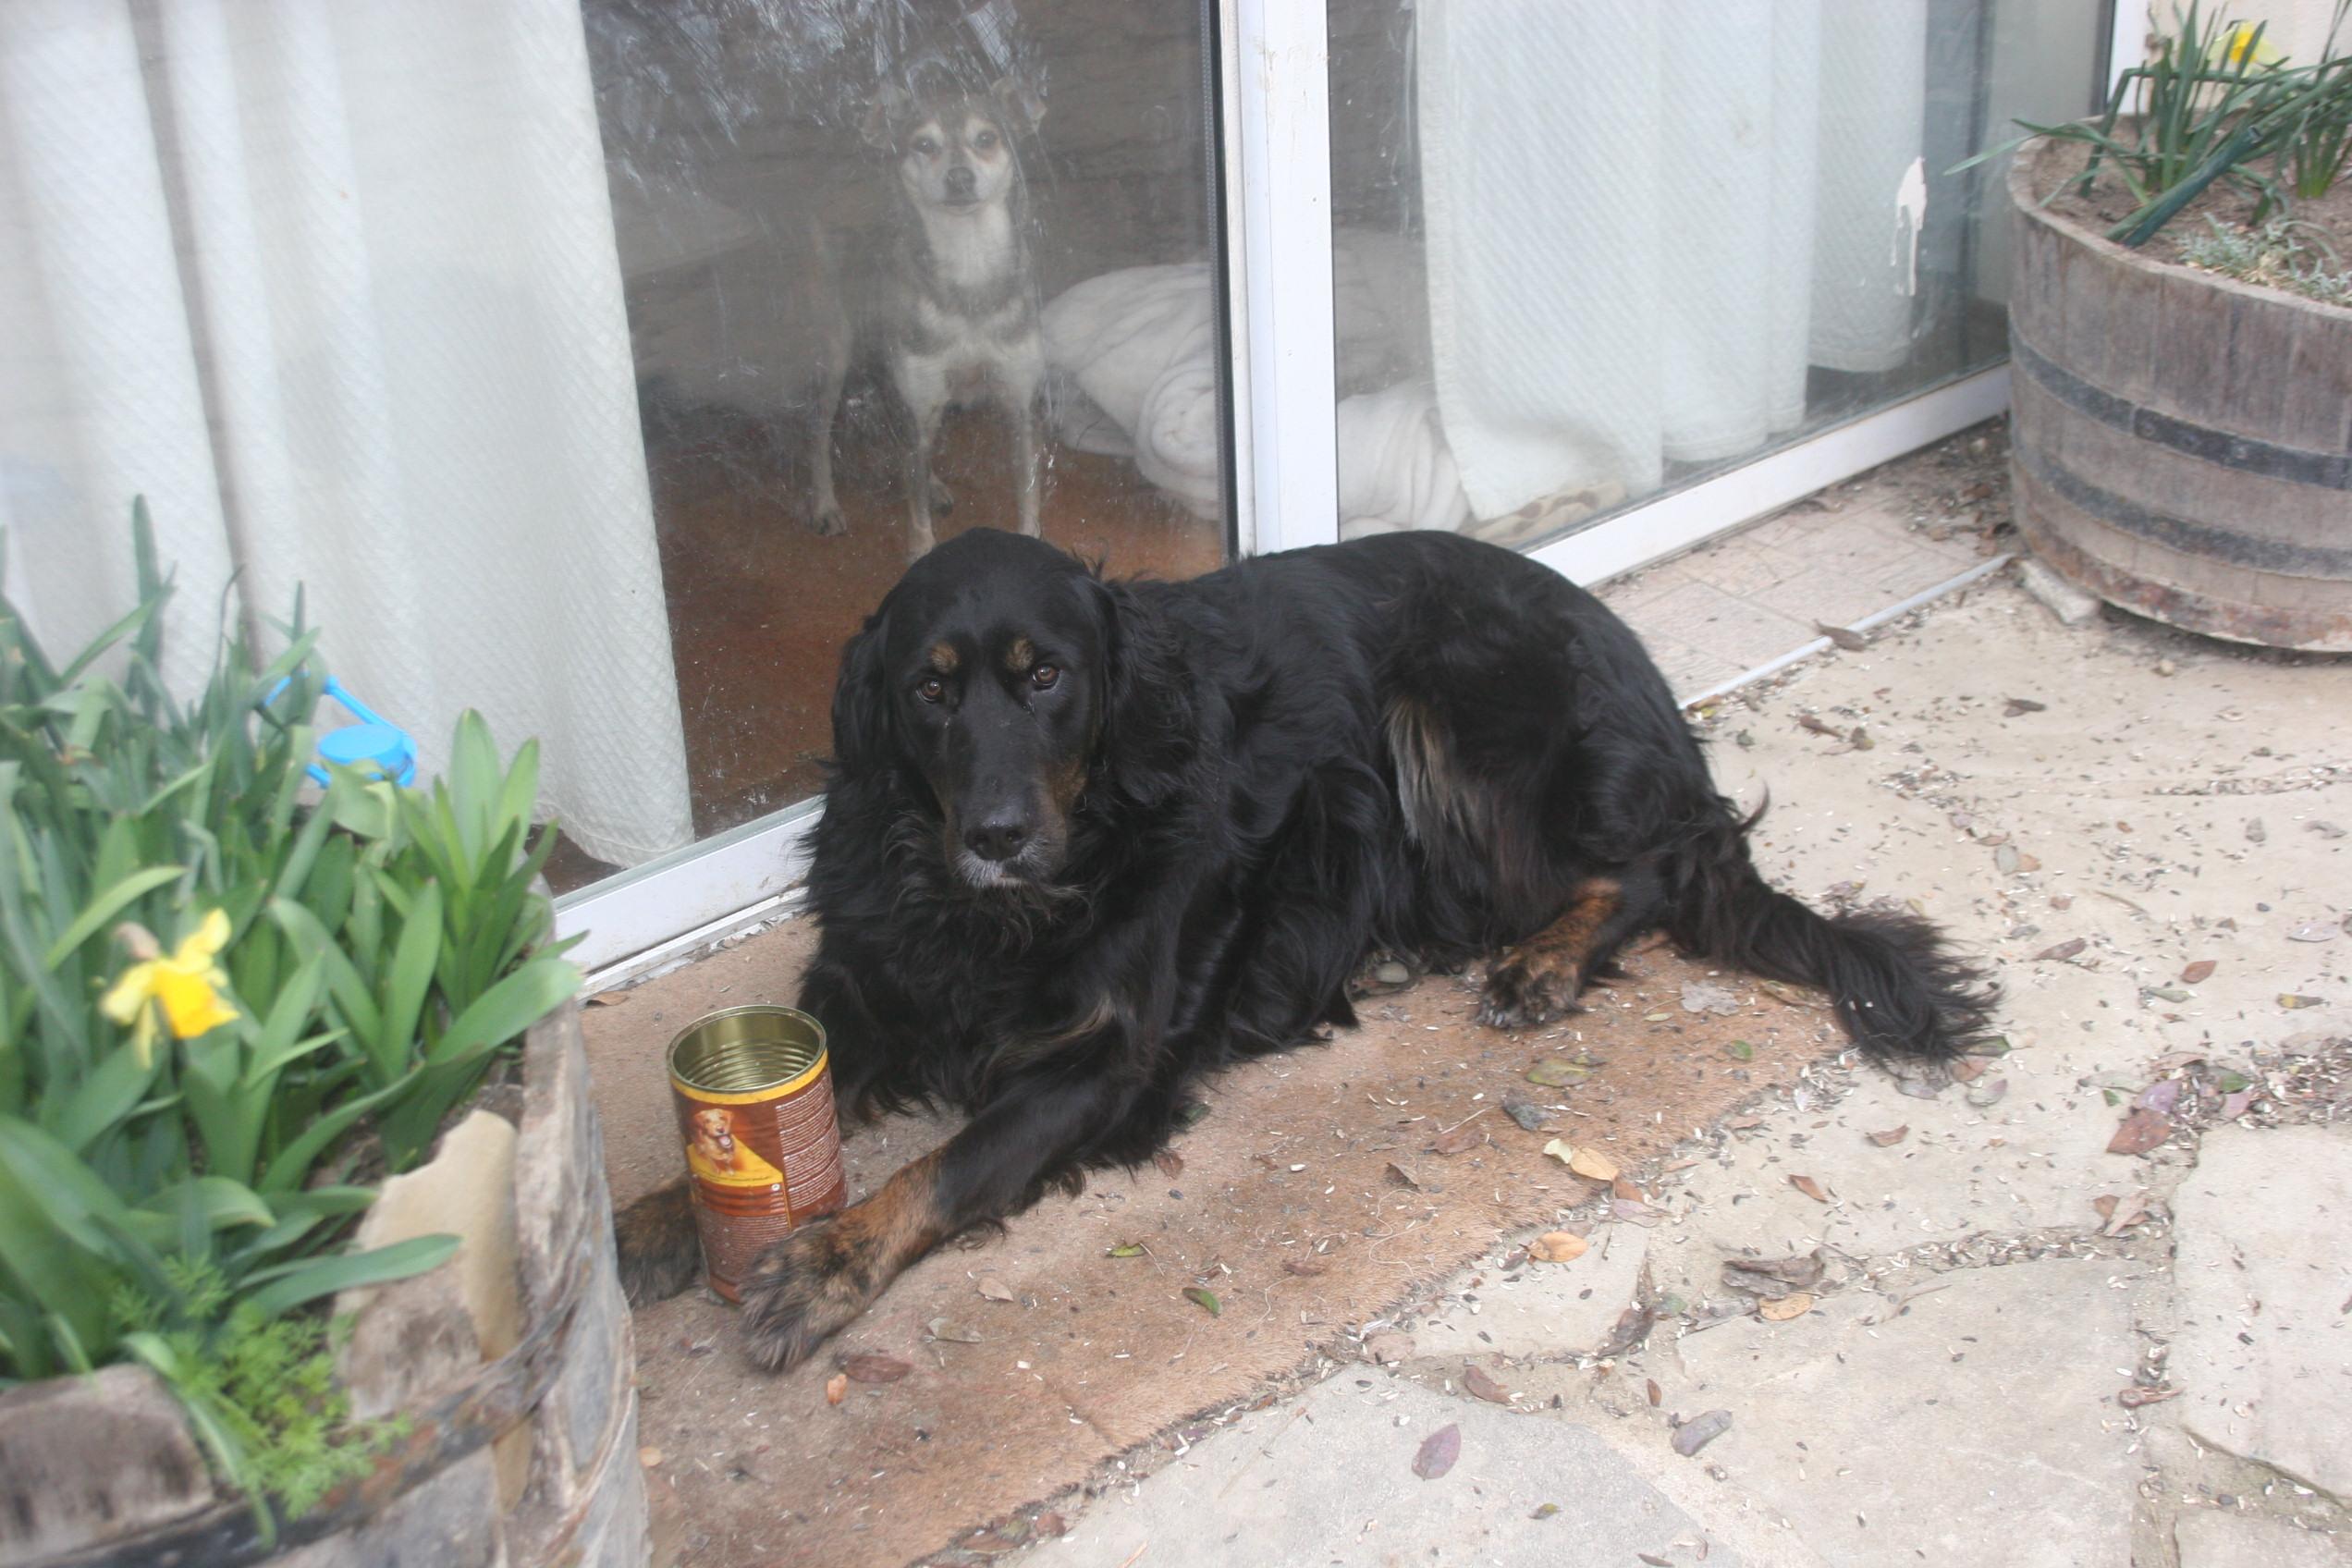
Distractions can either help (by making the photo entertaining and fun) or distract the viewers attention. For example, in the pictures above the dog was practically posing for her modelling portfolio with her straight 'bored' face, wind going through her glossy fur but I've foiled her chances, (goodbye vogue, goodbye the cosmopolitan) because I didn't prepare the background -AKA ask someone to call the weird, creepy dog away- and ,let me guess, rather than seeing her majestic beauty you saw the things going on in the situation behind her:
'ghost' dog (not actually a ghost, that would be cool if she was, though).
Now, it's all good telling you what's wrong with the photo but why don't I tell you how to avoid making those mistakes in the first place. Distractions/things going on in the background are inevitable, I understand that and if you're just toddling along and you happen to see a good photo, then go, go, go don't hesitate. Do. Not. Hesitate. But, if you are finding a space to take photo's then pick somewhere secluded -preferably with nothing too distracting in the background-, if you have found a good photo but there is a distraction in it, try and ask those in the shot to move (politely) or even move yourself and try to take it from a different angle.
TAKE LOTS!
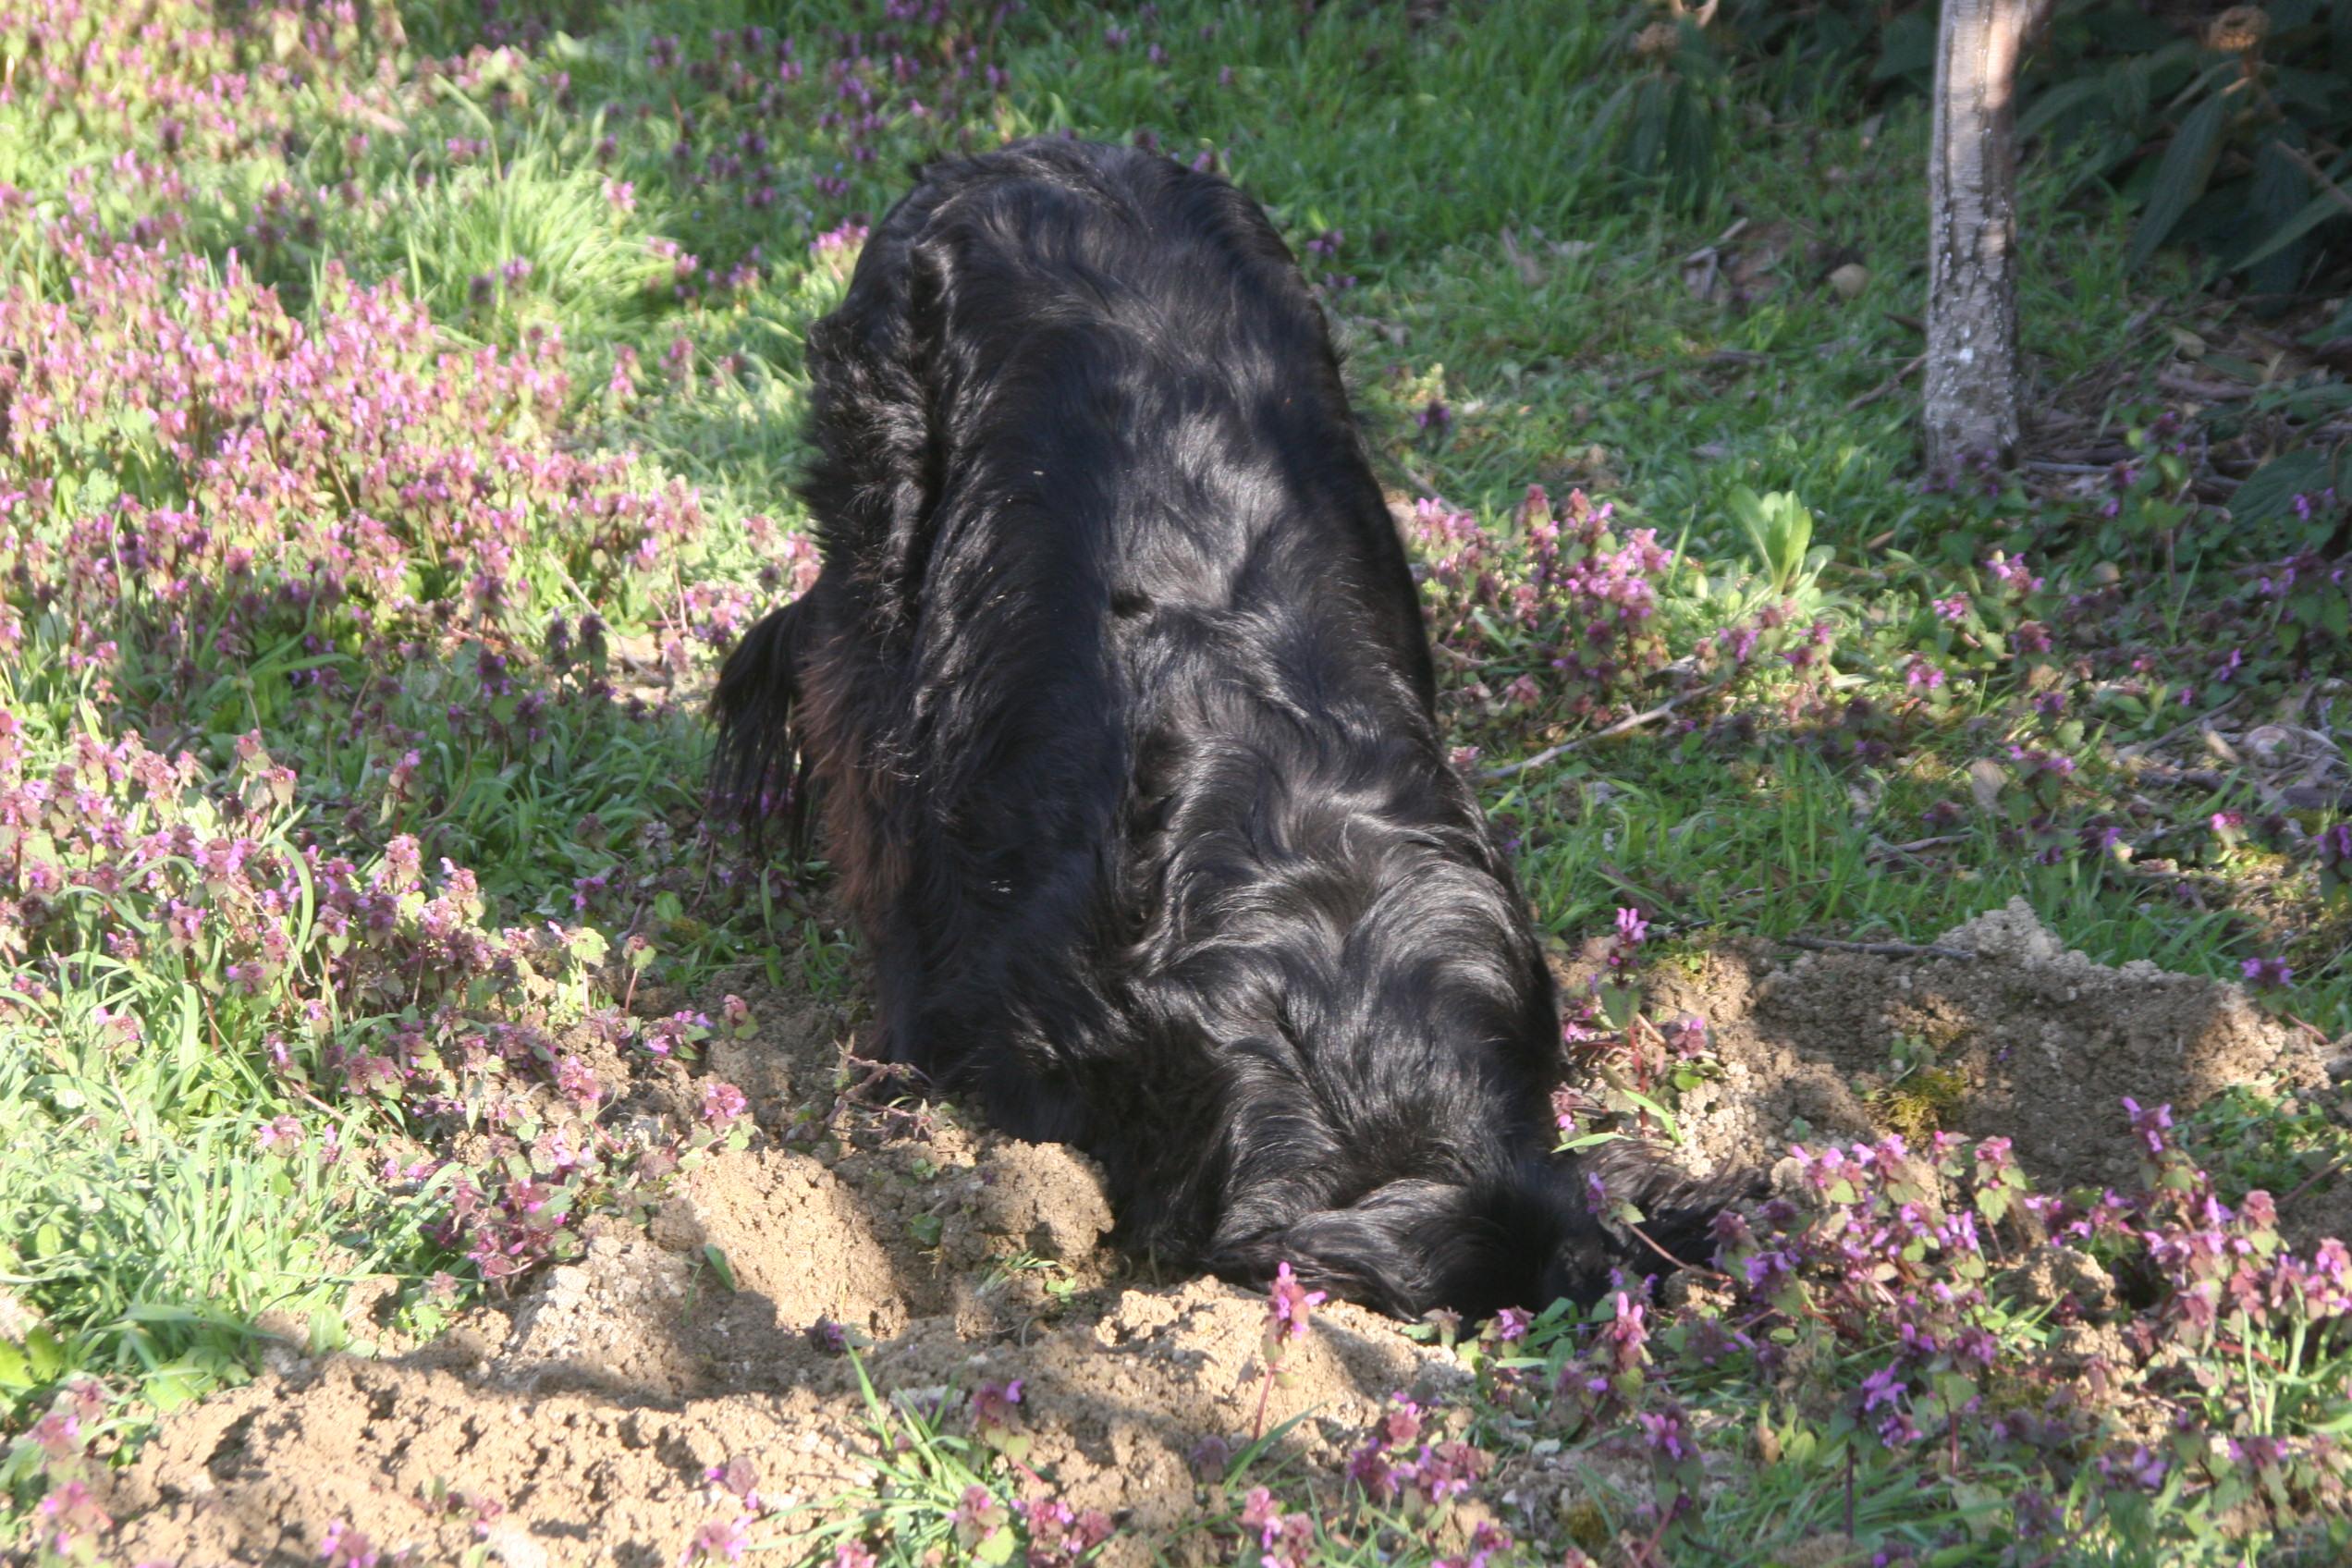
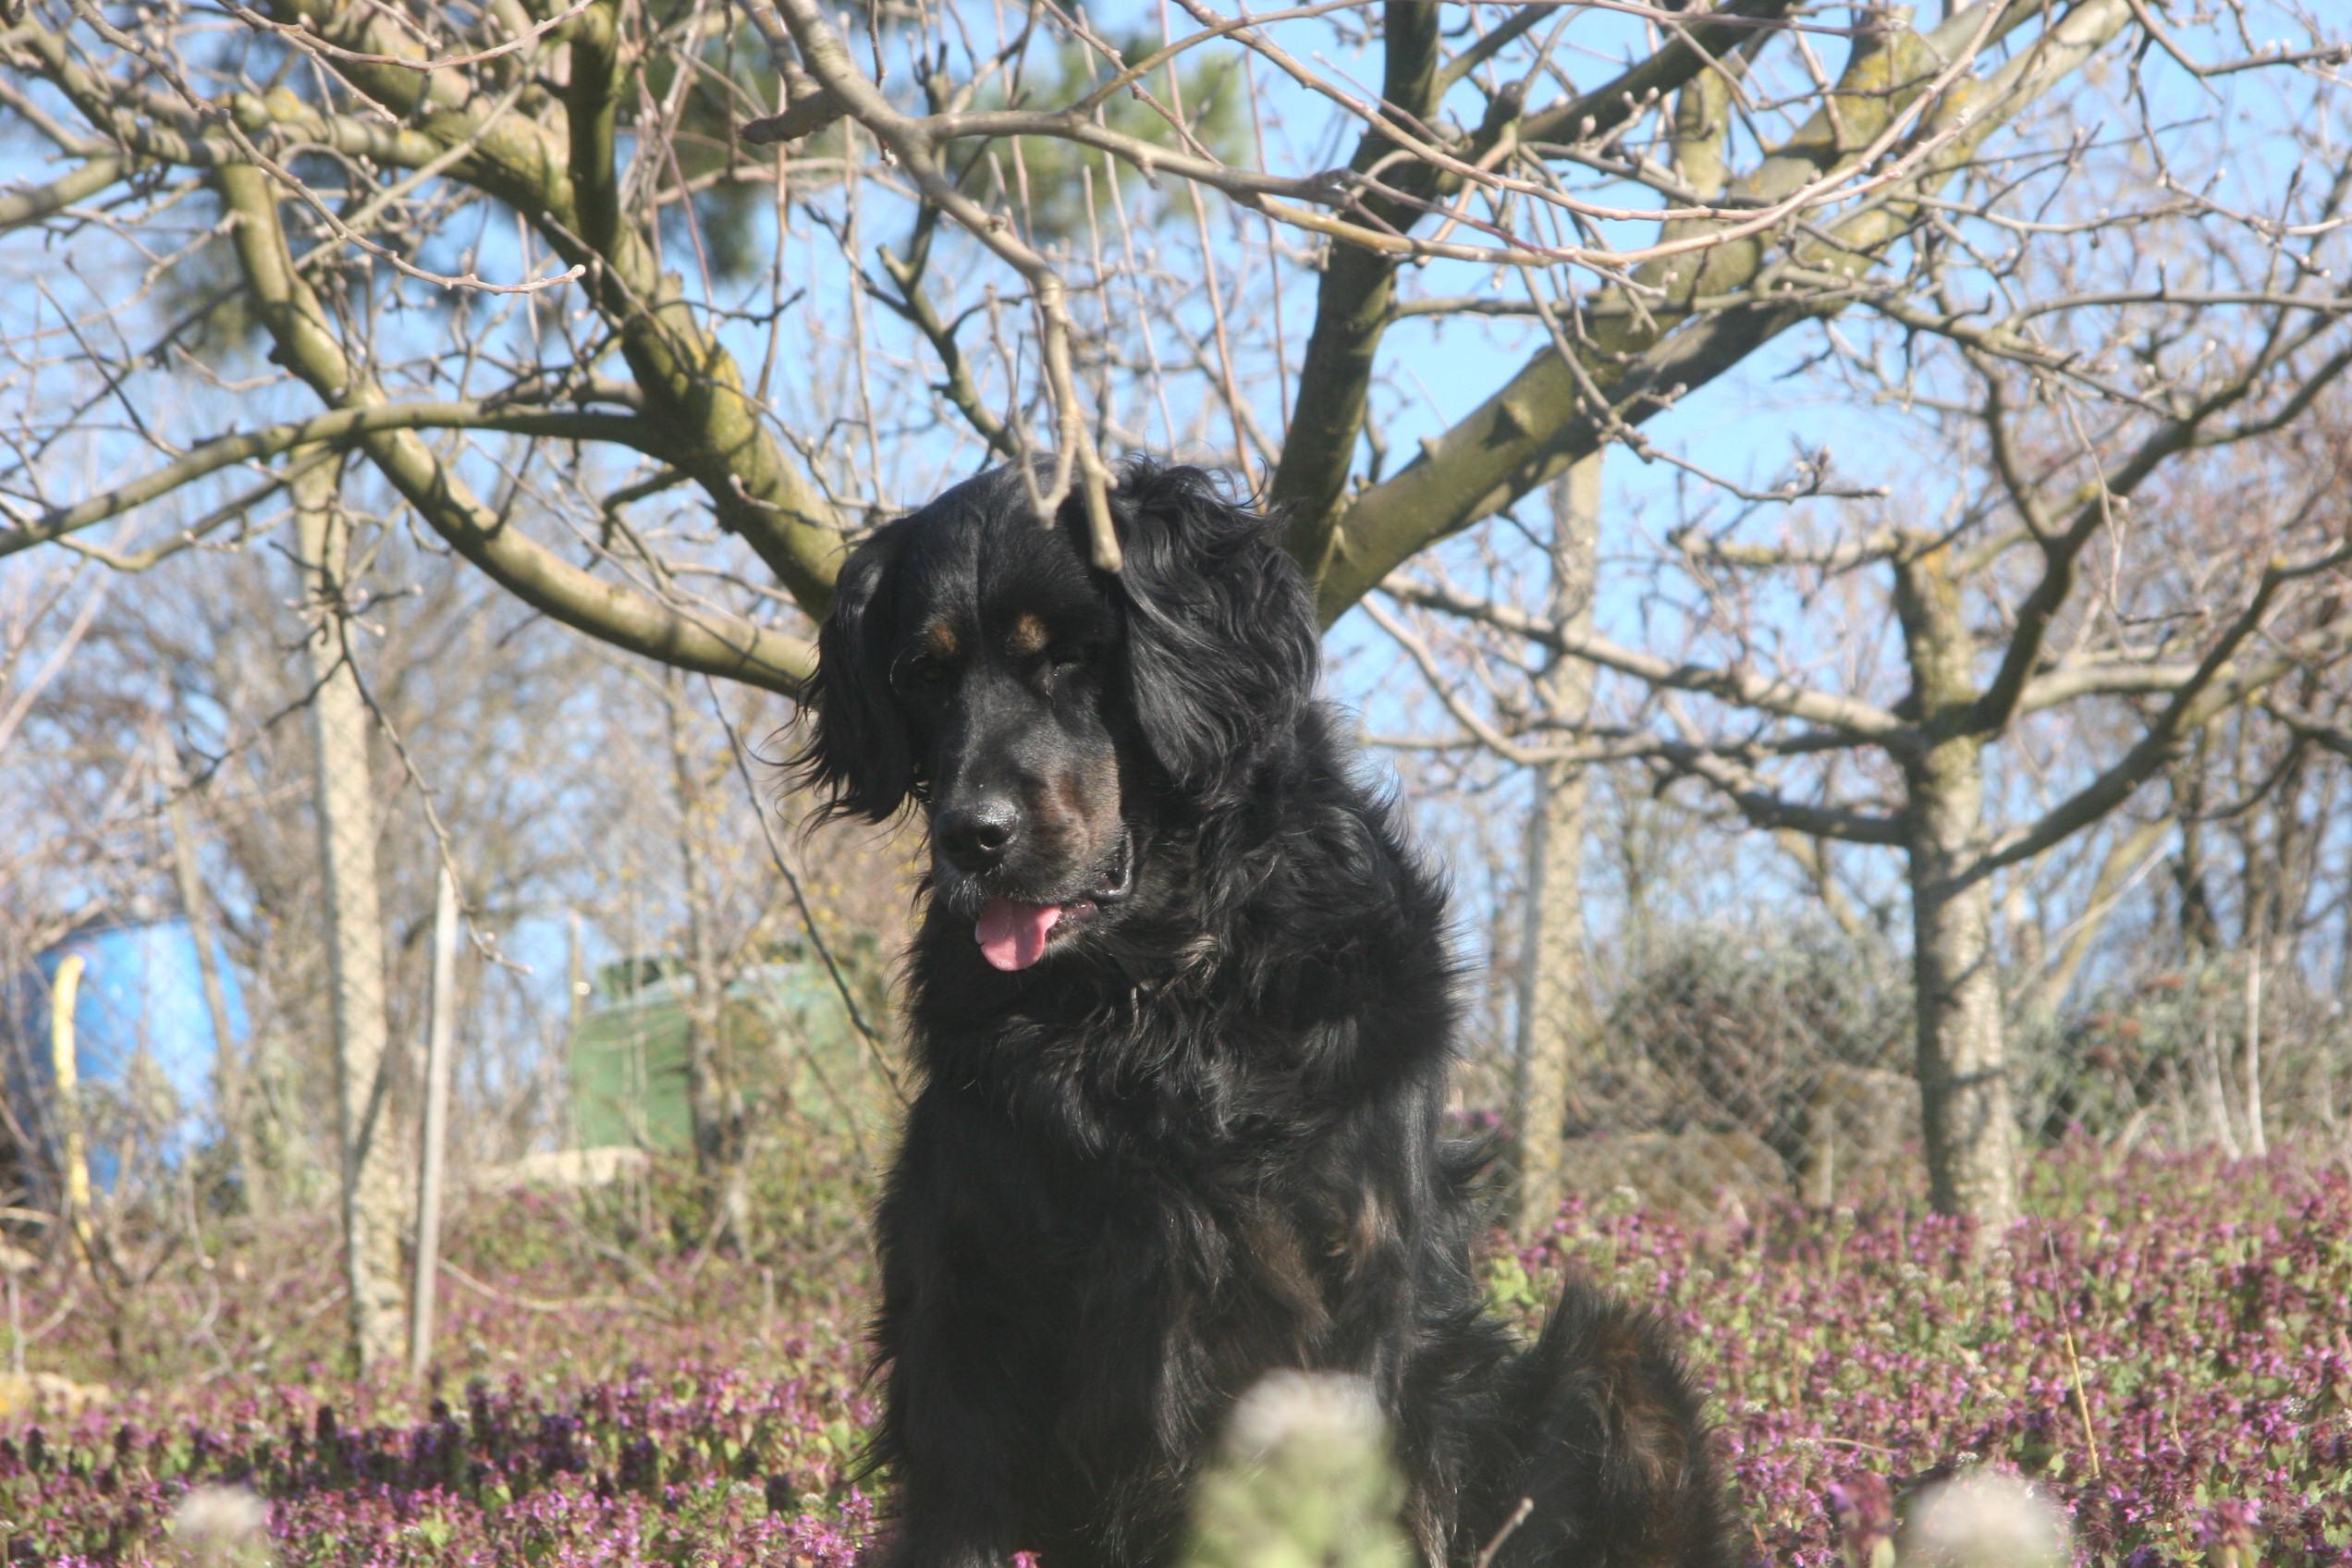
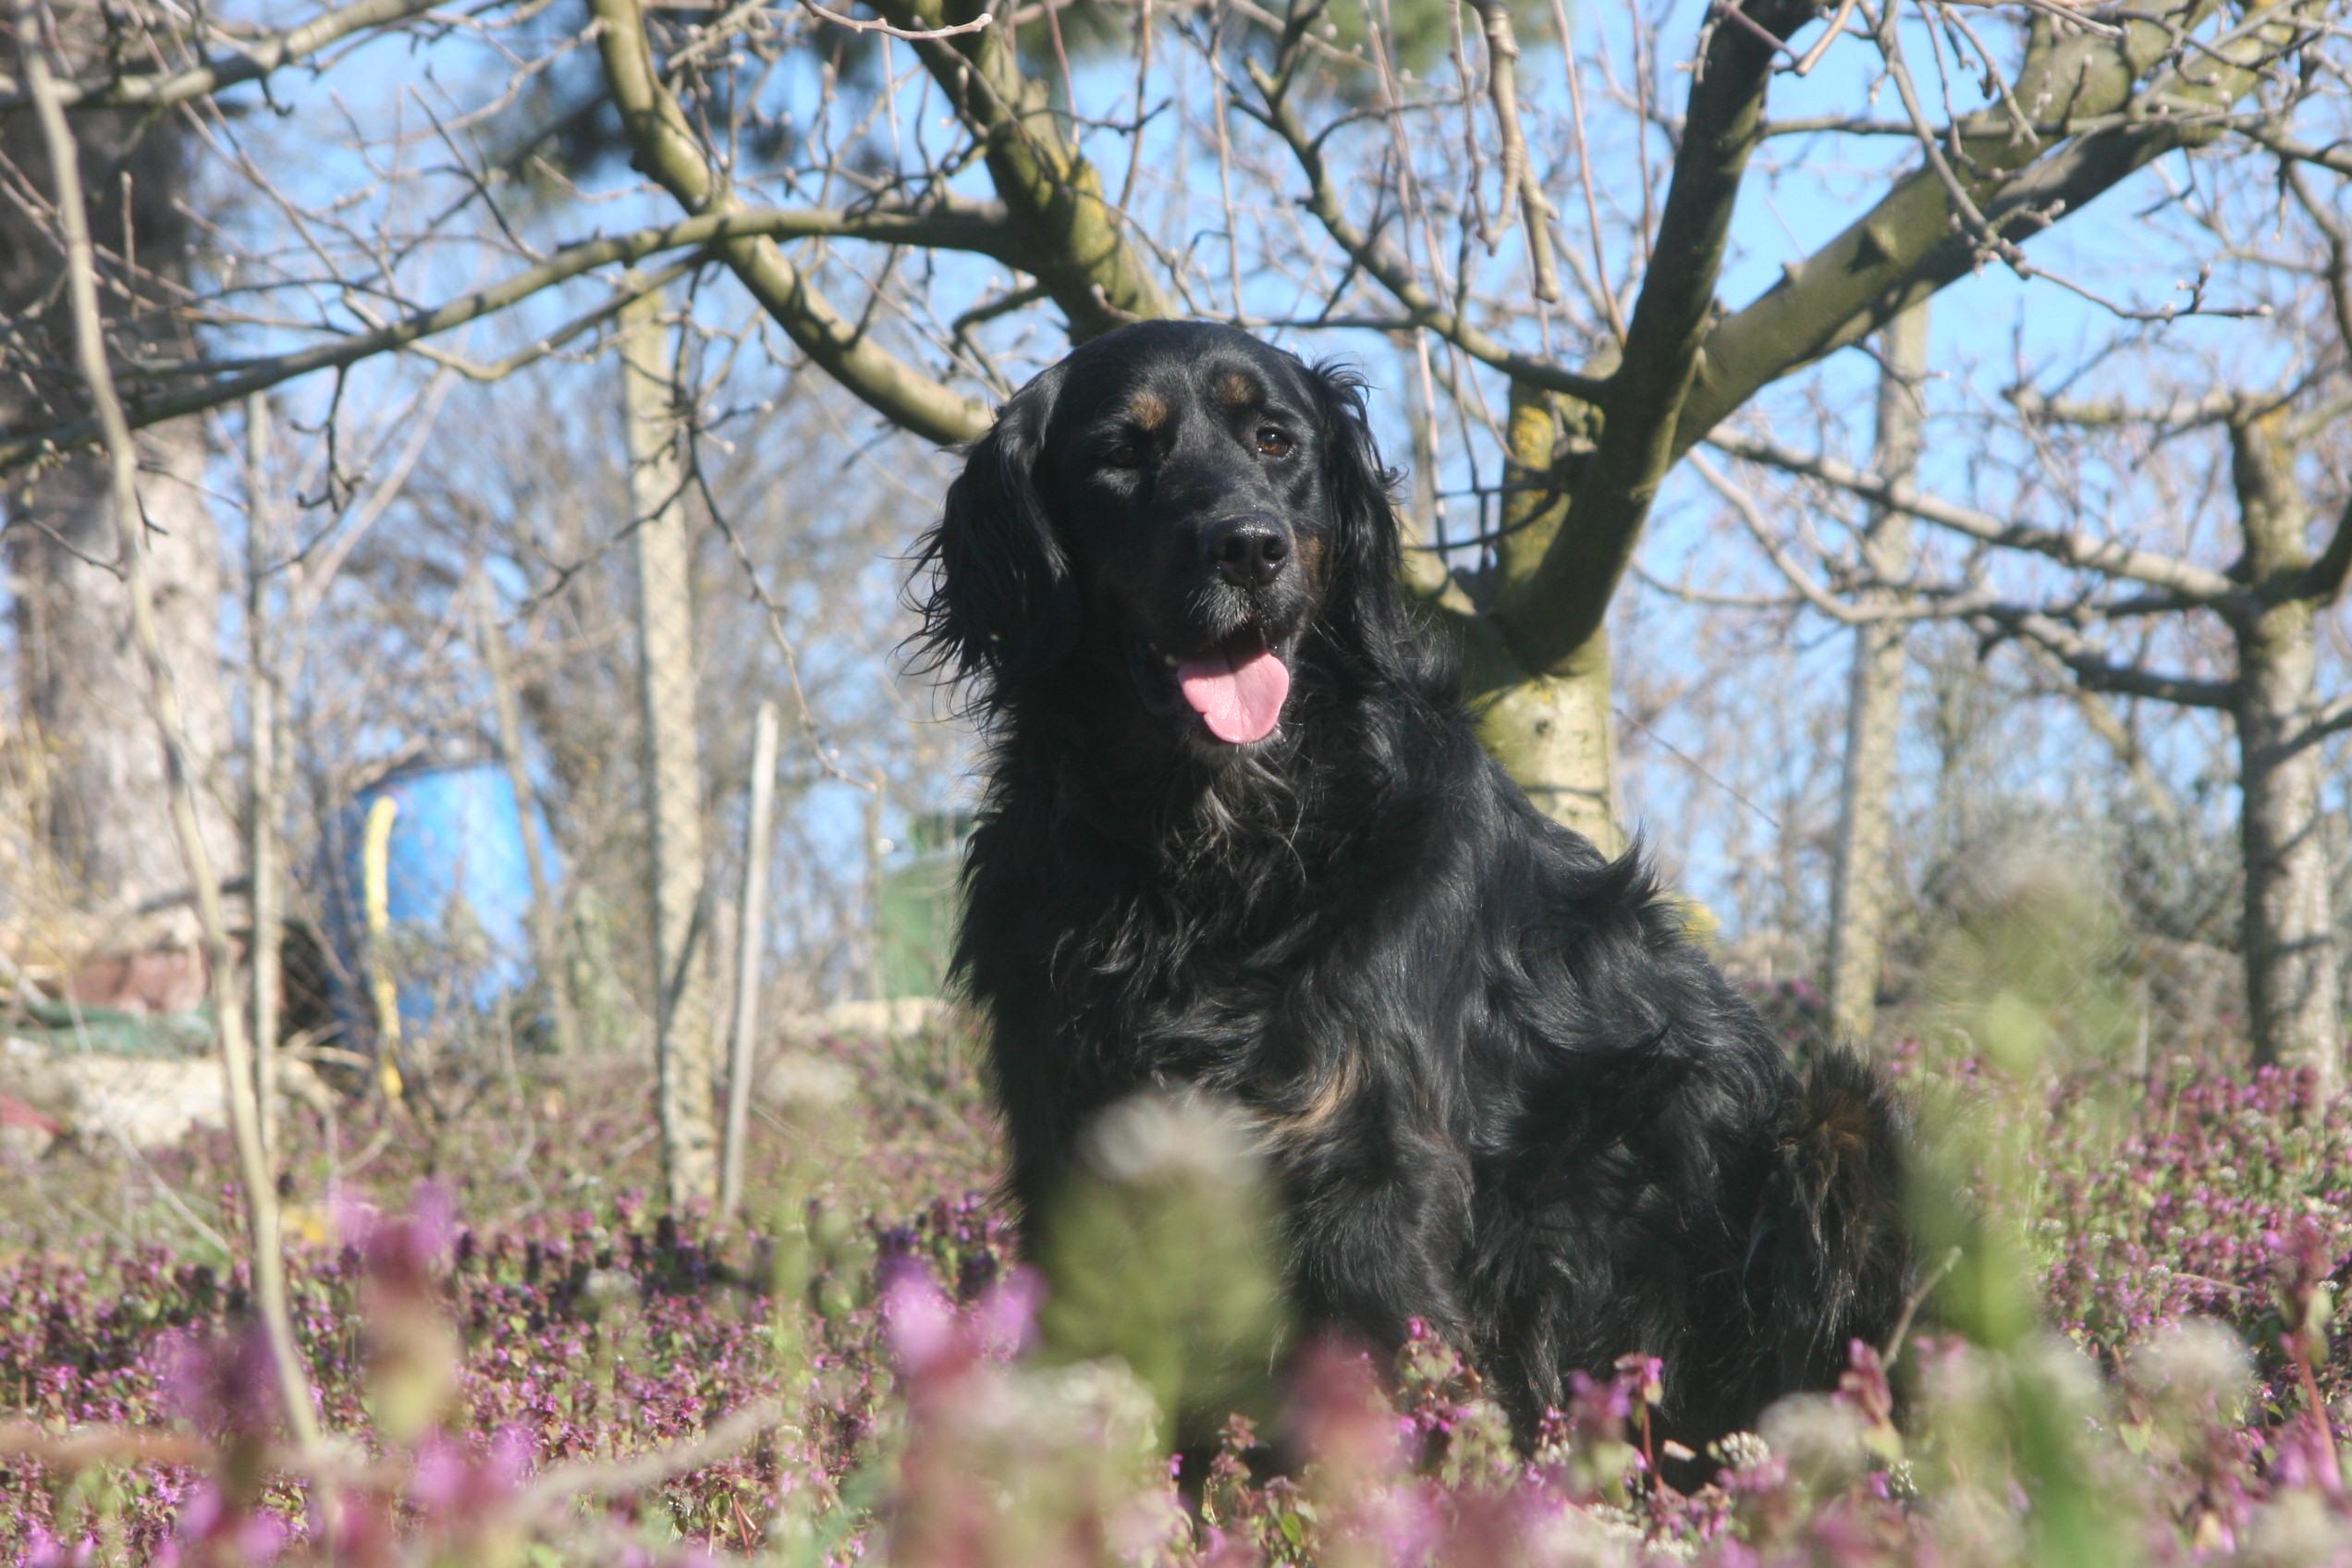
Better to be safe than sorry, right? The possibility of taking a perfect picture on the first try is quite slim but if you take lots of photo's and the first one isn't right you're bound to find that one of the others are. As you can see above, those photo's (the first two) weren't planned correctly, who want's a photo of a dog in a hole? but look at the last two. In that situation I took hundreds of photo's and eventually, I got the right one. It may take a lot of time looking through however many photo's you took, but it's worth it in the end.
I hope this helps!!! :)
Good luck and if you can, I hope I can see you're end results!