The Distance of People
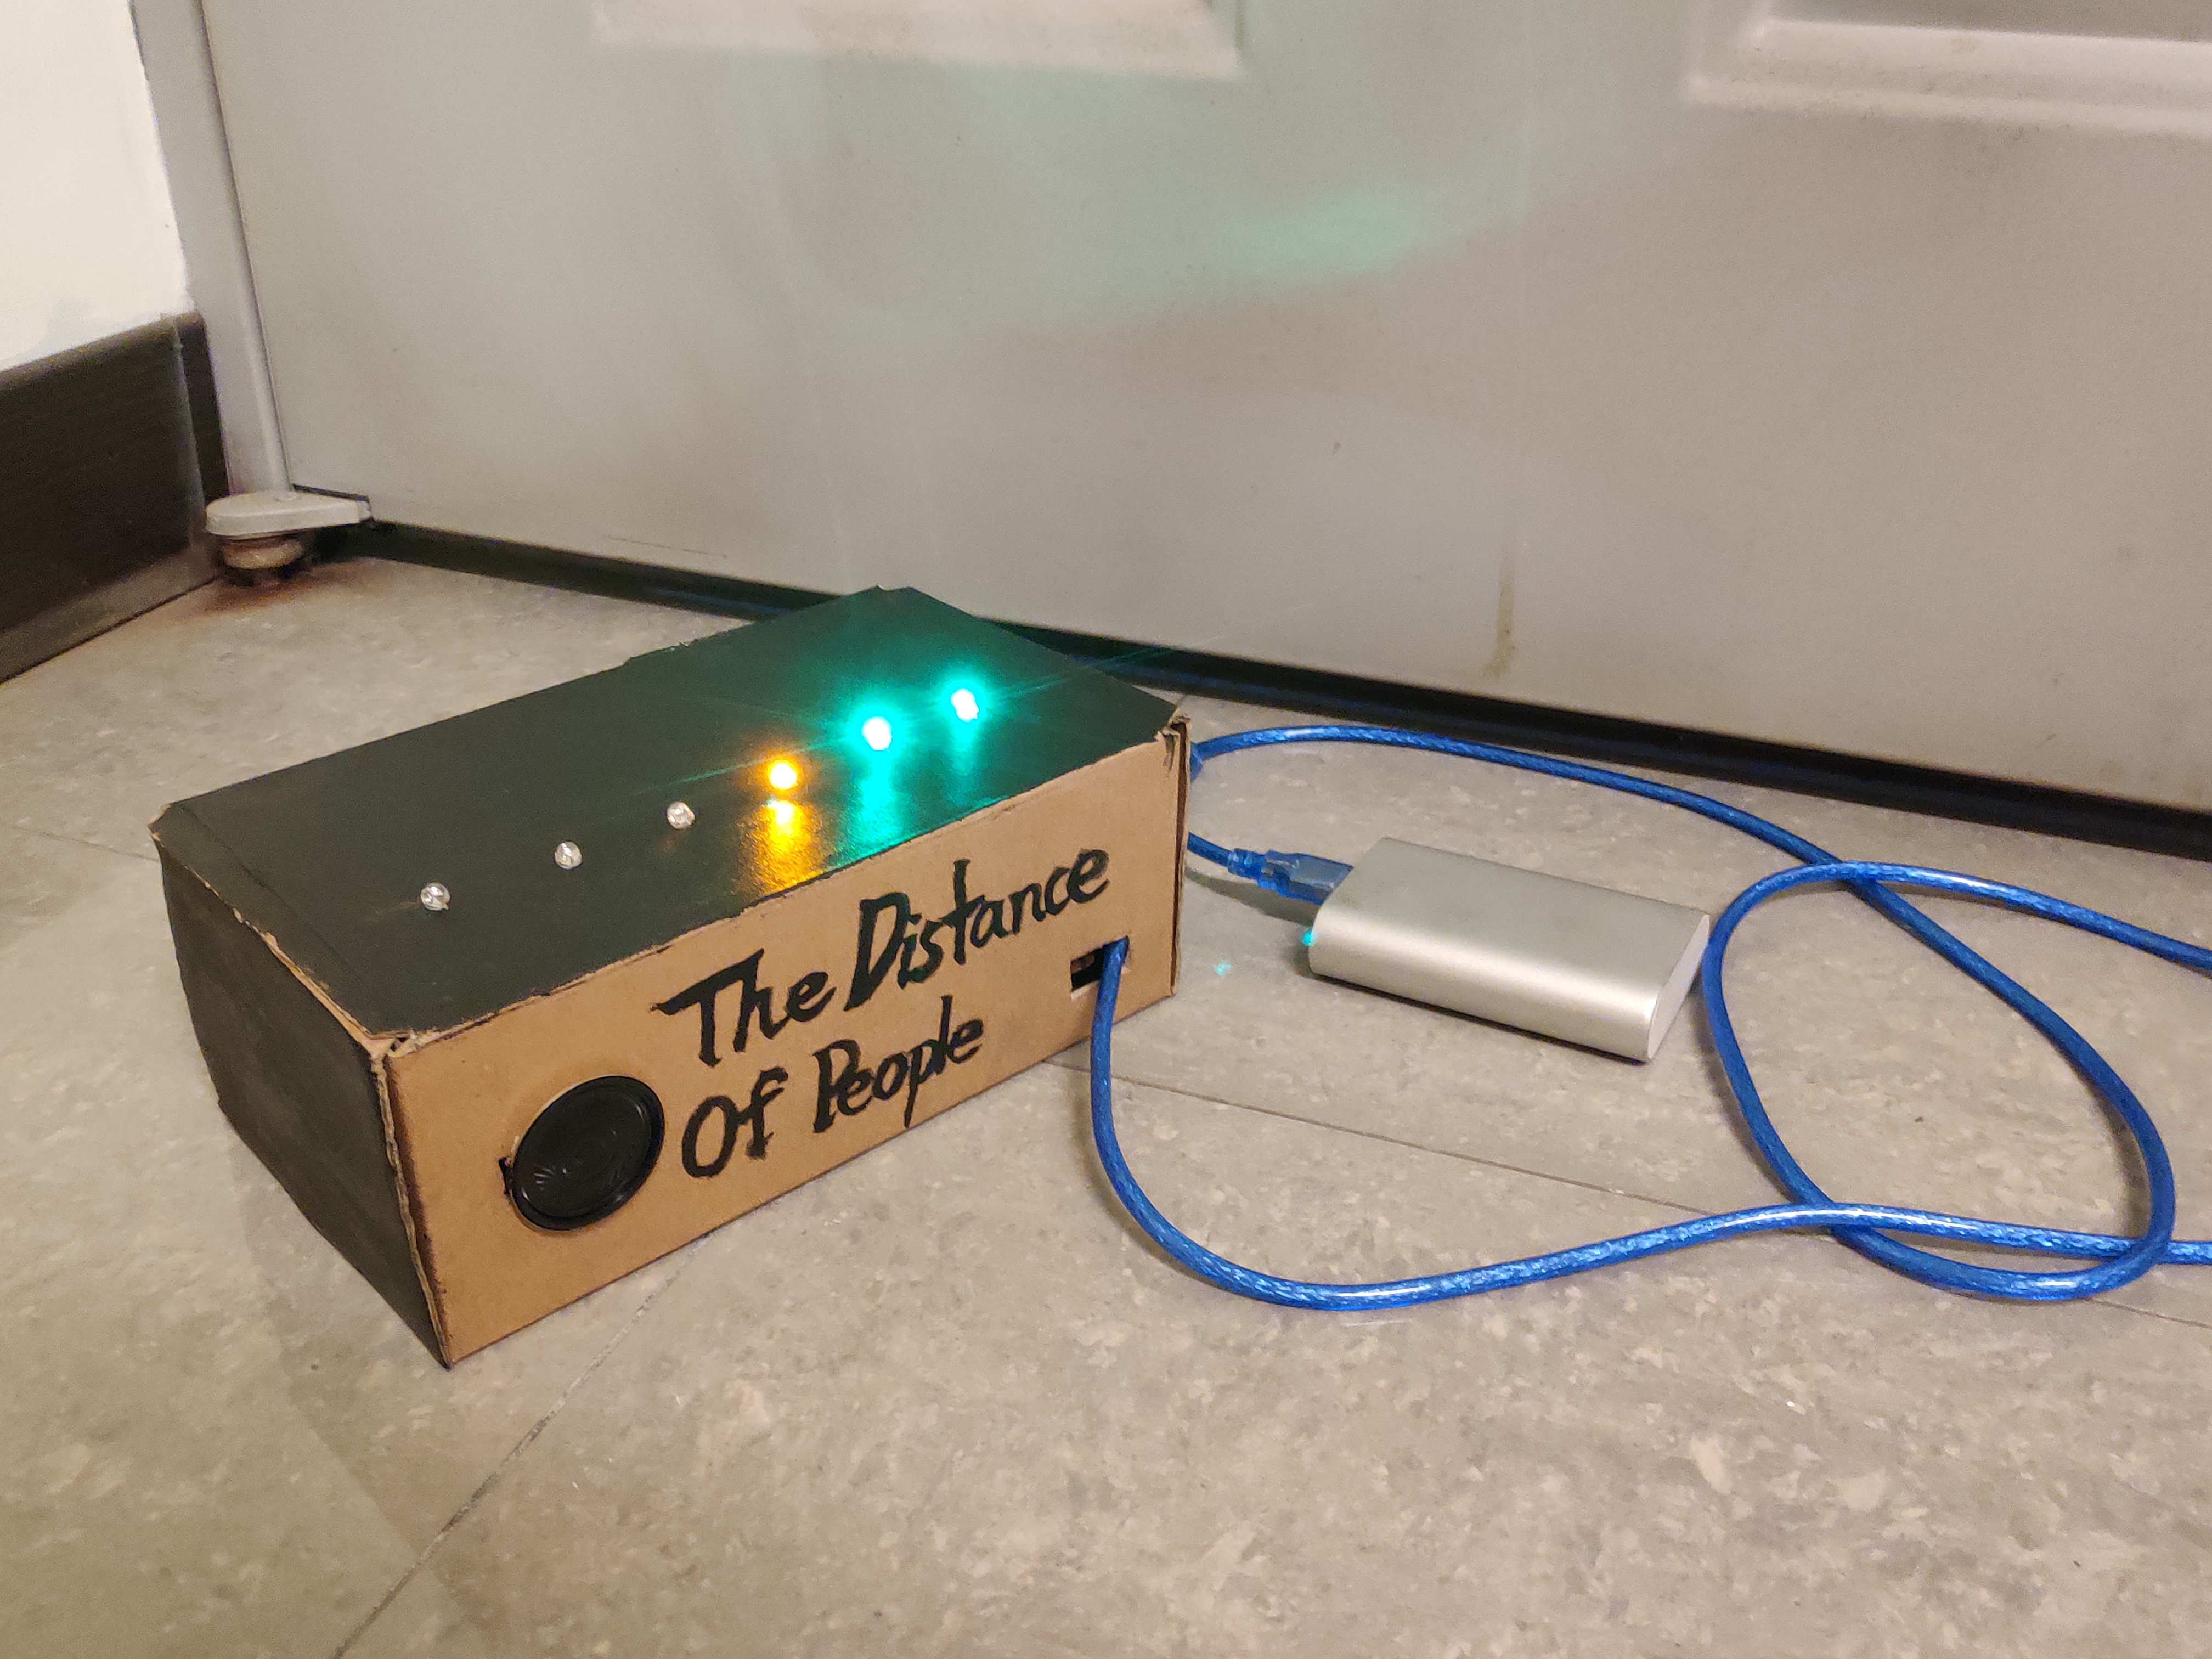
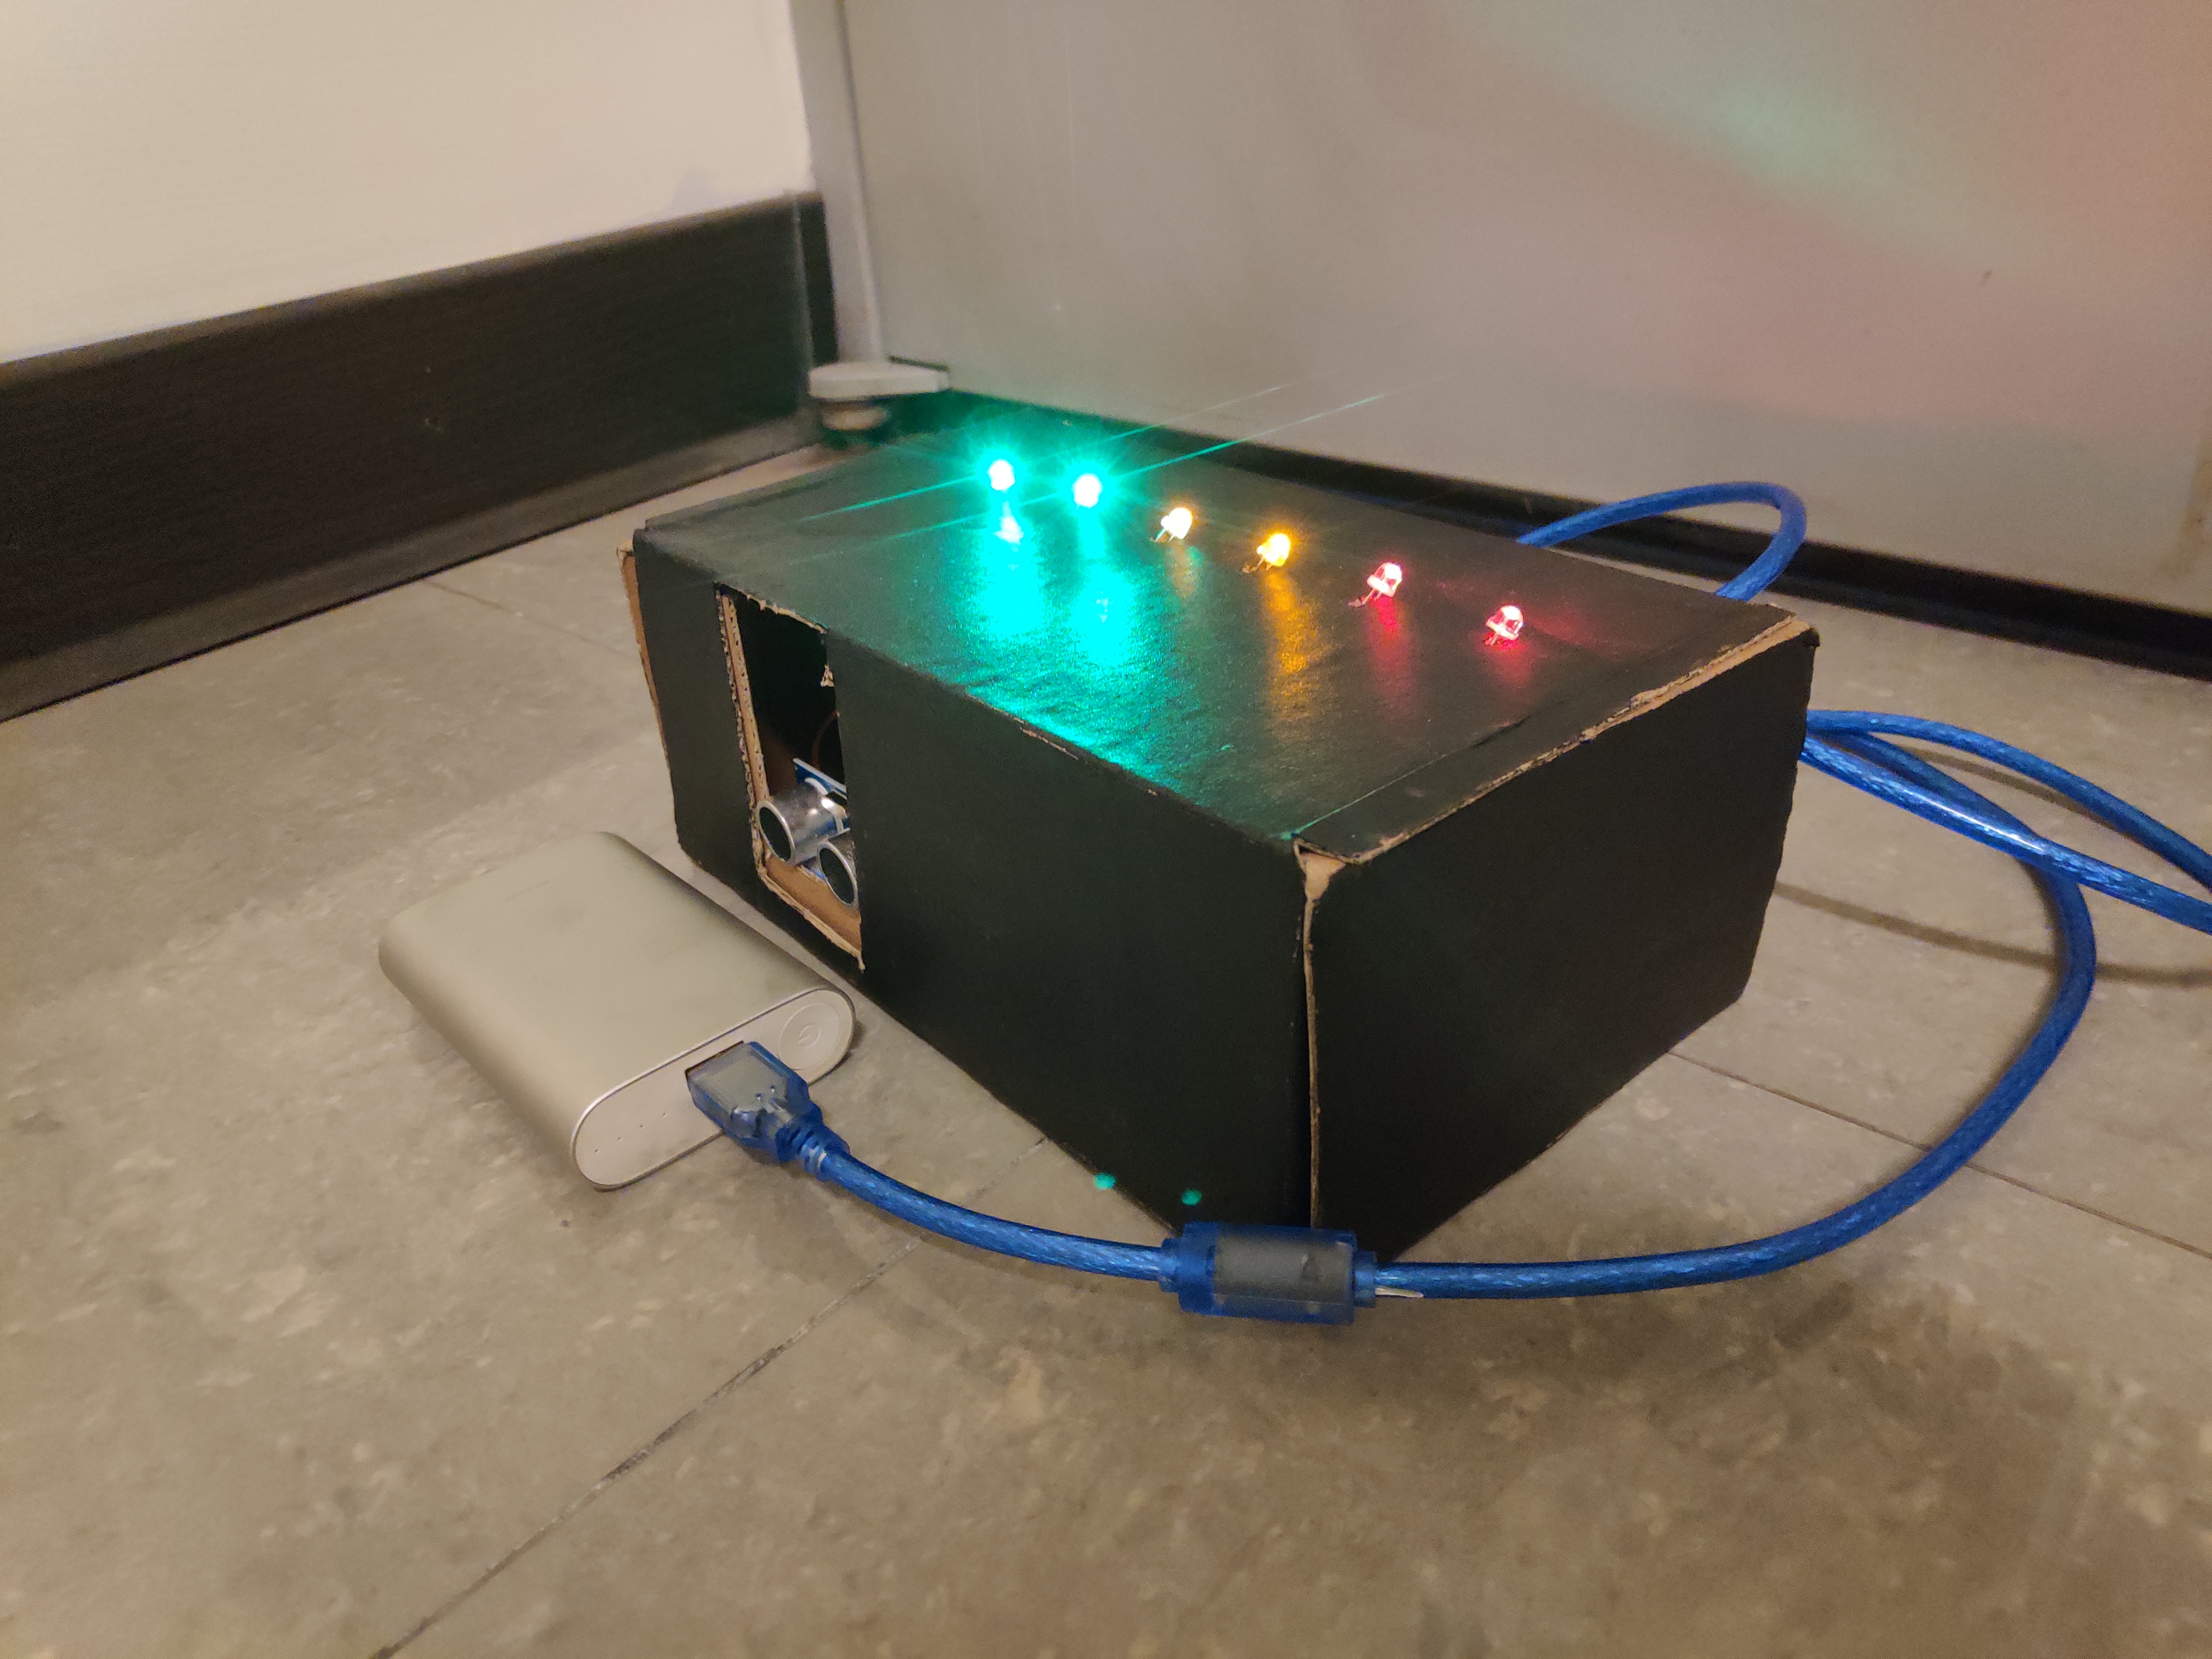
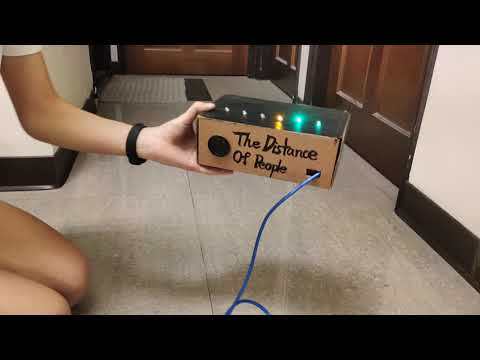
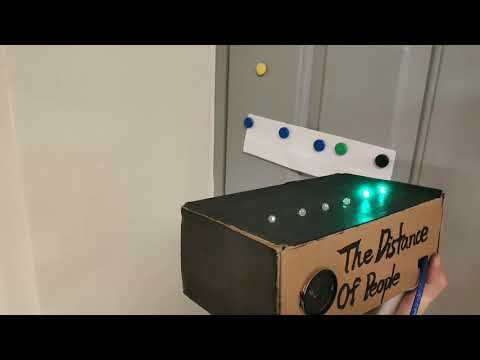
This is a simple modification to this great Instructables project:
https://www.instructables.com/id/Arduino-Distance-Detector-with-a-Buzzer-and-LEDs/https://www.instructables.com/id/Arduino-Distance-Detector-with-a-Buzzer-and-LEDs/
Brief Introduction of The Original Project:
The device contains six LED bulbs in different colors, red, yellow and green. When an object approaches the LED, it lights up from green to yellow to red. There's also a speaker, and the closer the object gets, the higher the frequency of the speaker. When the led switches phase (switching from one color to another), the frequency of the speaker increases by one level.
Modifications include:
- A cardboard Case Surrounding
-The modification of distance and sound
The Board Purpose of Modification:
- The cardboard makes the device portable. This cardboard box has speakers on one side and all the LEDs on it. This design makes it easier to use.
- The distance range of the original project is too short for the normal distance between people, so I make it longer, it's more useful.
- I make the sound sounds more different, so people can know the distance more clear.
Supplies
Arduino Leonardo (or Arduino Uno) x1
Cardboard box x1
Breadboard x1
HC-SRO4 Ultrasonic Sensor x1
Buzzer x1
Green LEDs x2
Yellow LEDs x2
Red LEDs x2
330-ohm Resistors x7
Power bank x1
USB cable x1
Ink x1
Writing Brush (or normal brush) x1
Tape x1
Utility Knife x1
A lot of jumper wires (Both Types: two ends with pins, one end with a pin and the other and without)
Step 1: Materials Needed
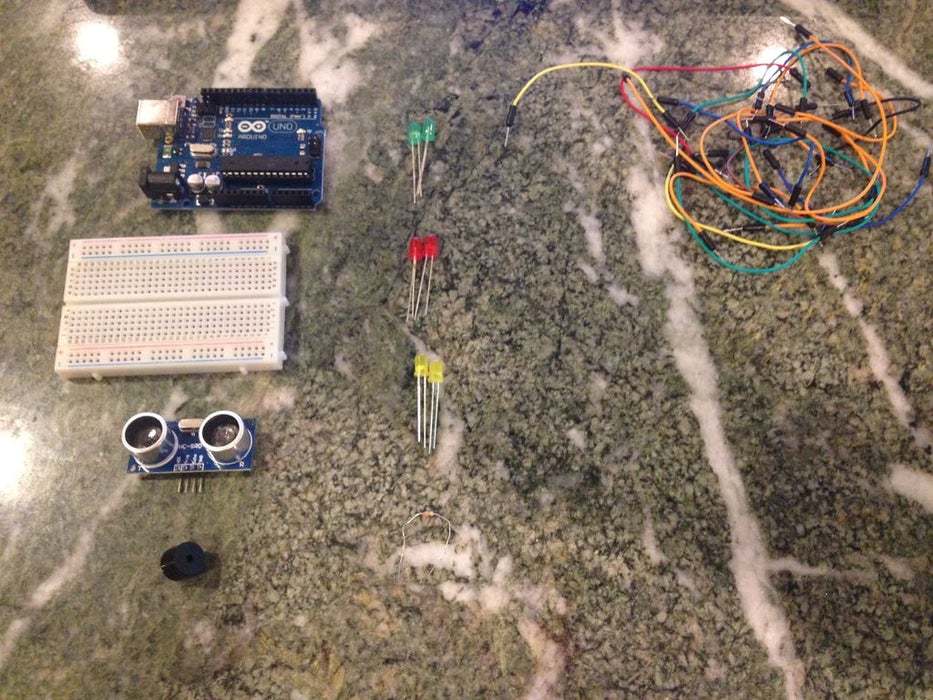
The Materials needed for this project are:
(1x) Arduino Uno
(1x) Breadboard
(1x) HC-SRO4 Ultrasonic Sensor
(1x) Buzzer
(2x) Green LEDs
(2x) Yellow LEDs
(2x) Red LEDs
(7x) 330-ohm Resistors
A lot of jumper wires
Step 2: Setup
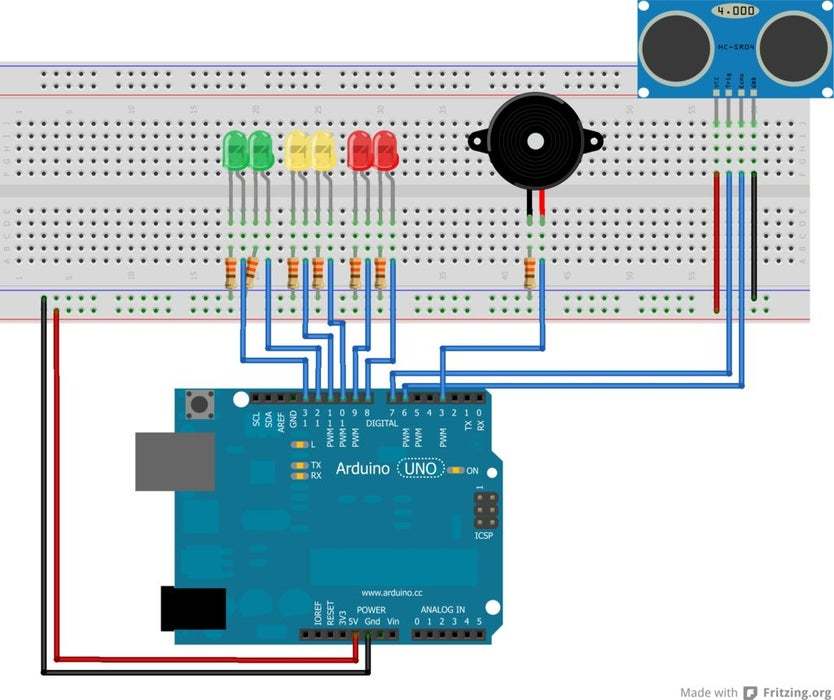
This section is completely based on the original project. Information and illustration From https://www.instructables.com/id/Arduino-Distance...
The photo above shows the setup of the project.
The jumper wires should be connected as follows:
Connect a jumper wire from the 5-volt pin on the Arduino to the bottom channel of the breadboard
Connect another jumper wire from a ground pin on the Arduino to the upper channel of the breadboard
Buzzer -> pin 3
(On Ultrasonic Sensor)
Echo -> pin 6
Trig -> pin 7
(In Order from Right to Left)
LED1 -> pin 8
LED2 -> pin 9
LED3 -> pin 10
LED4 -> pin 11
LED5 -> pin 12
LED6 -> pin 13
The jumper wires connected to the LEDs should be connected to the lead on the right, while the left lead of the LED should be connected to the ground channel via a 330-ohm resistor.
Step 3: Assembly and Component Extension
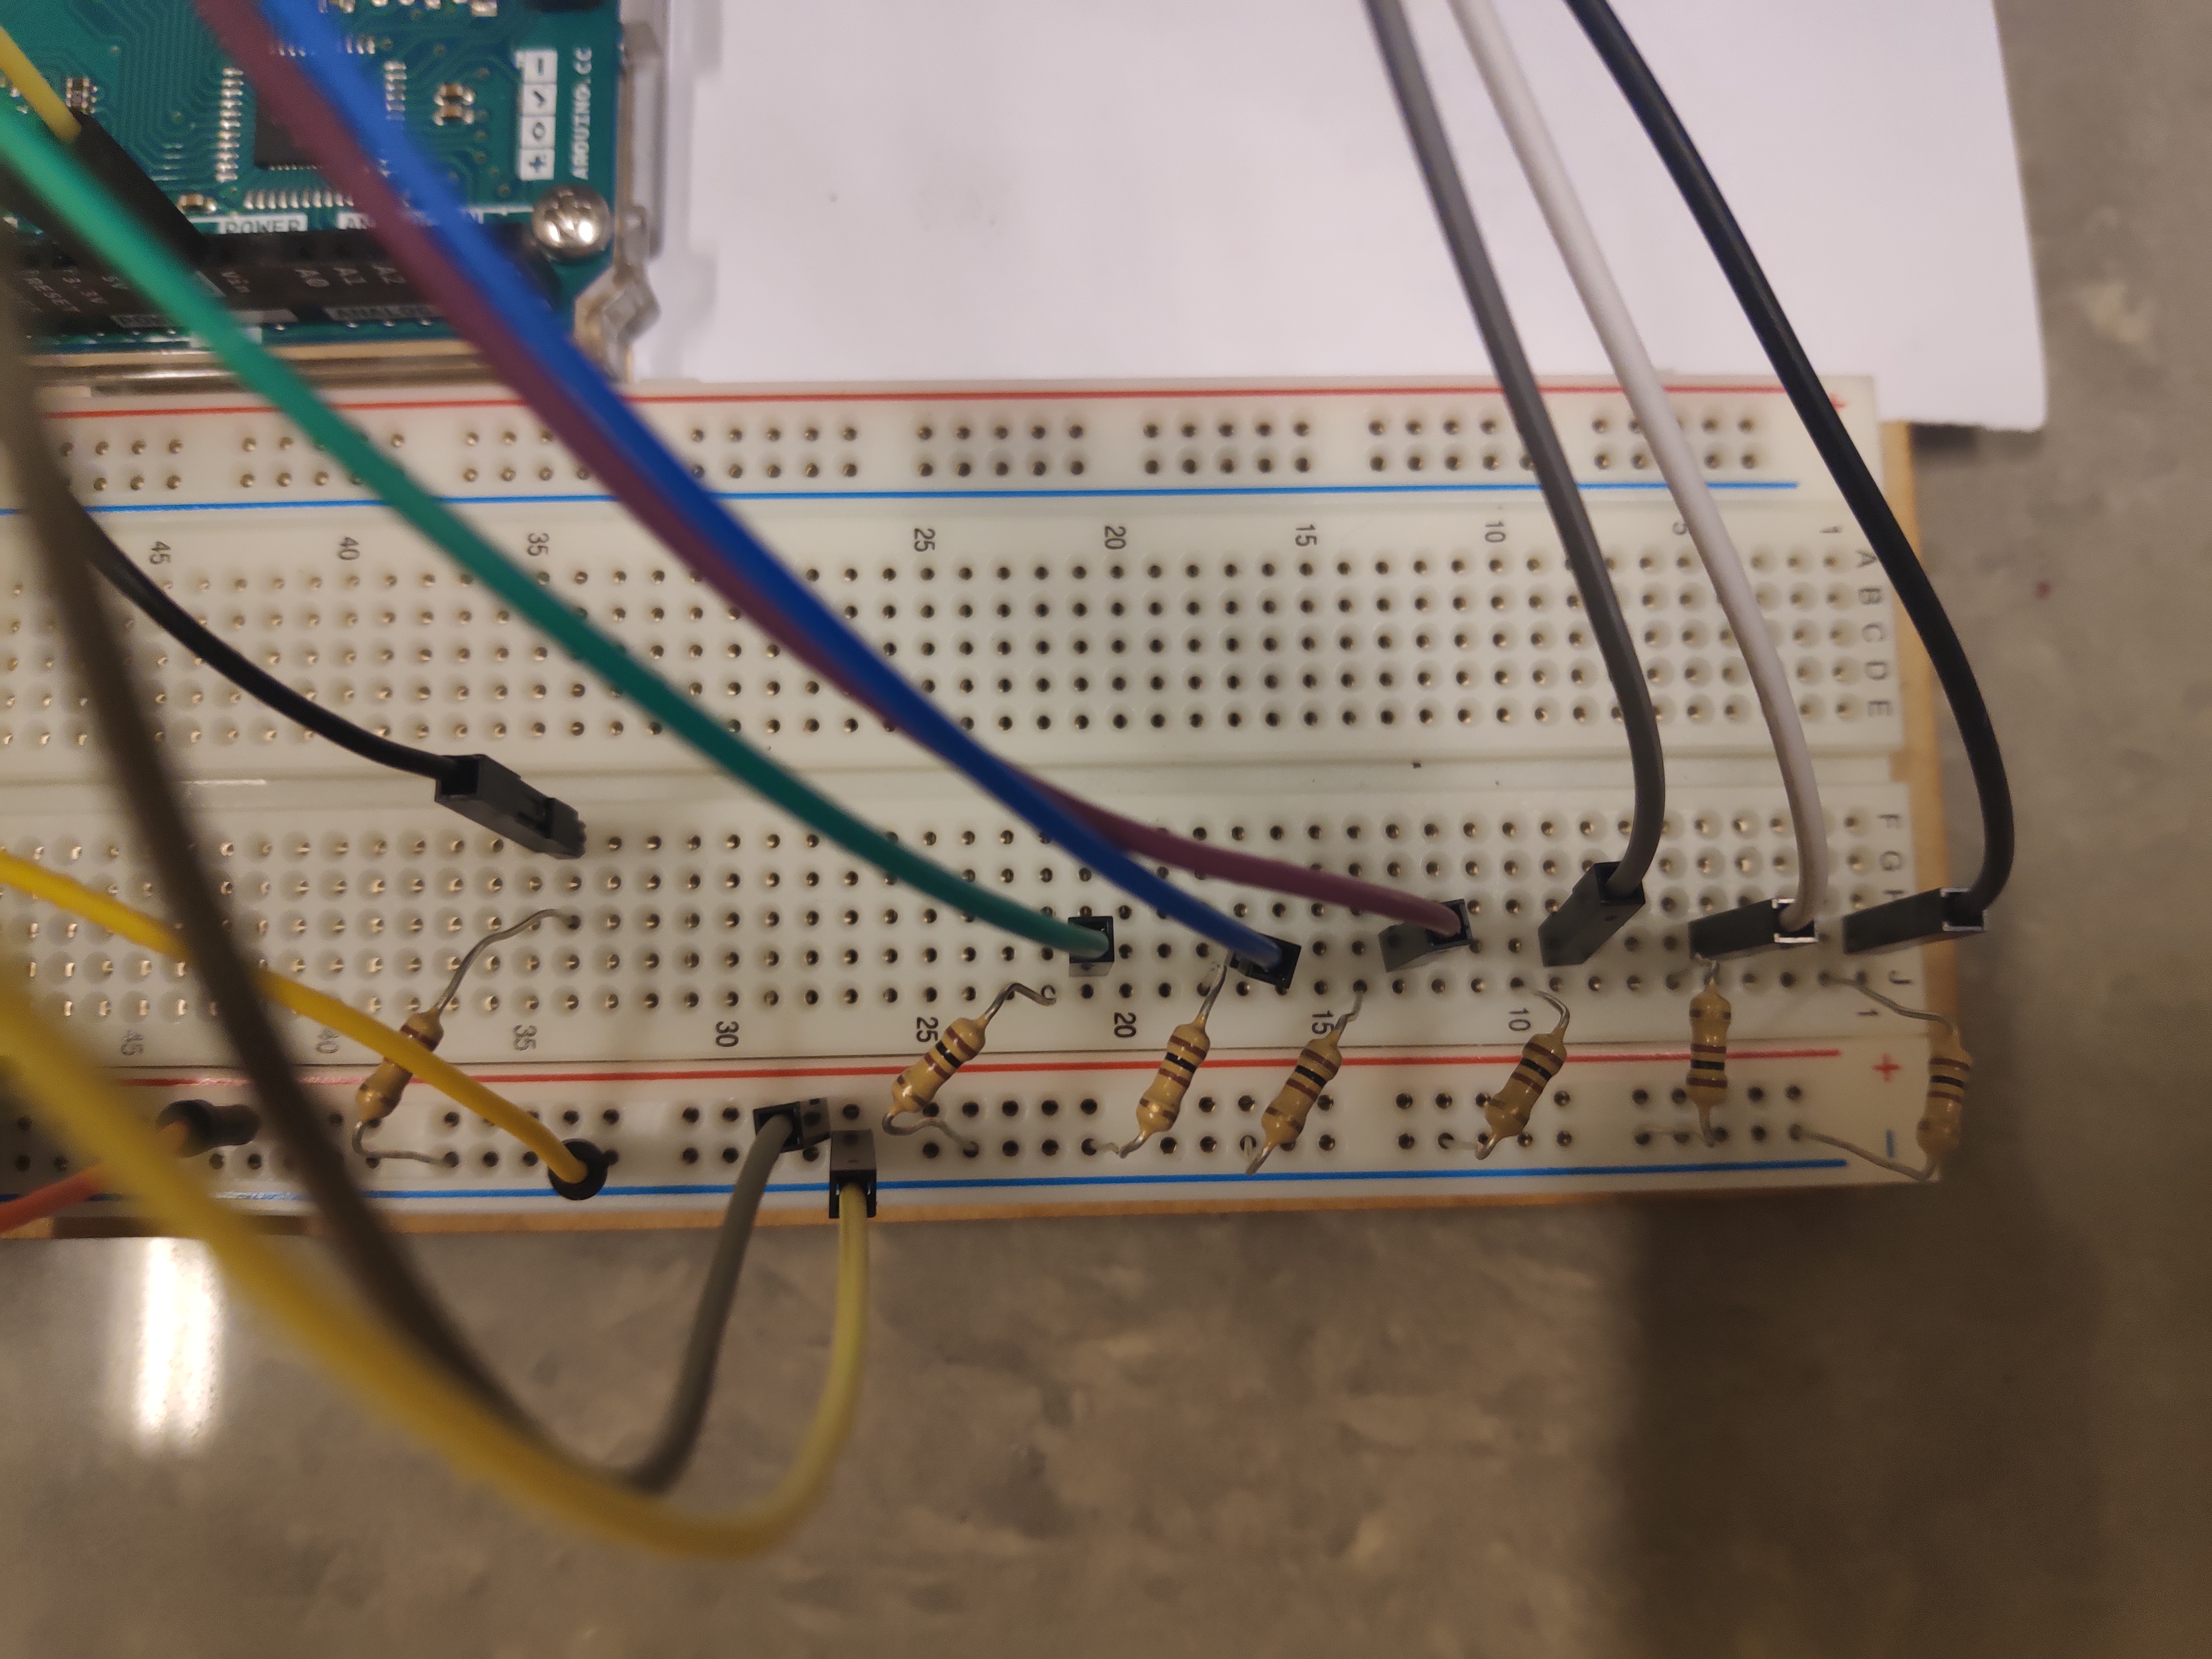
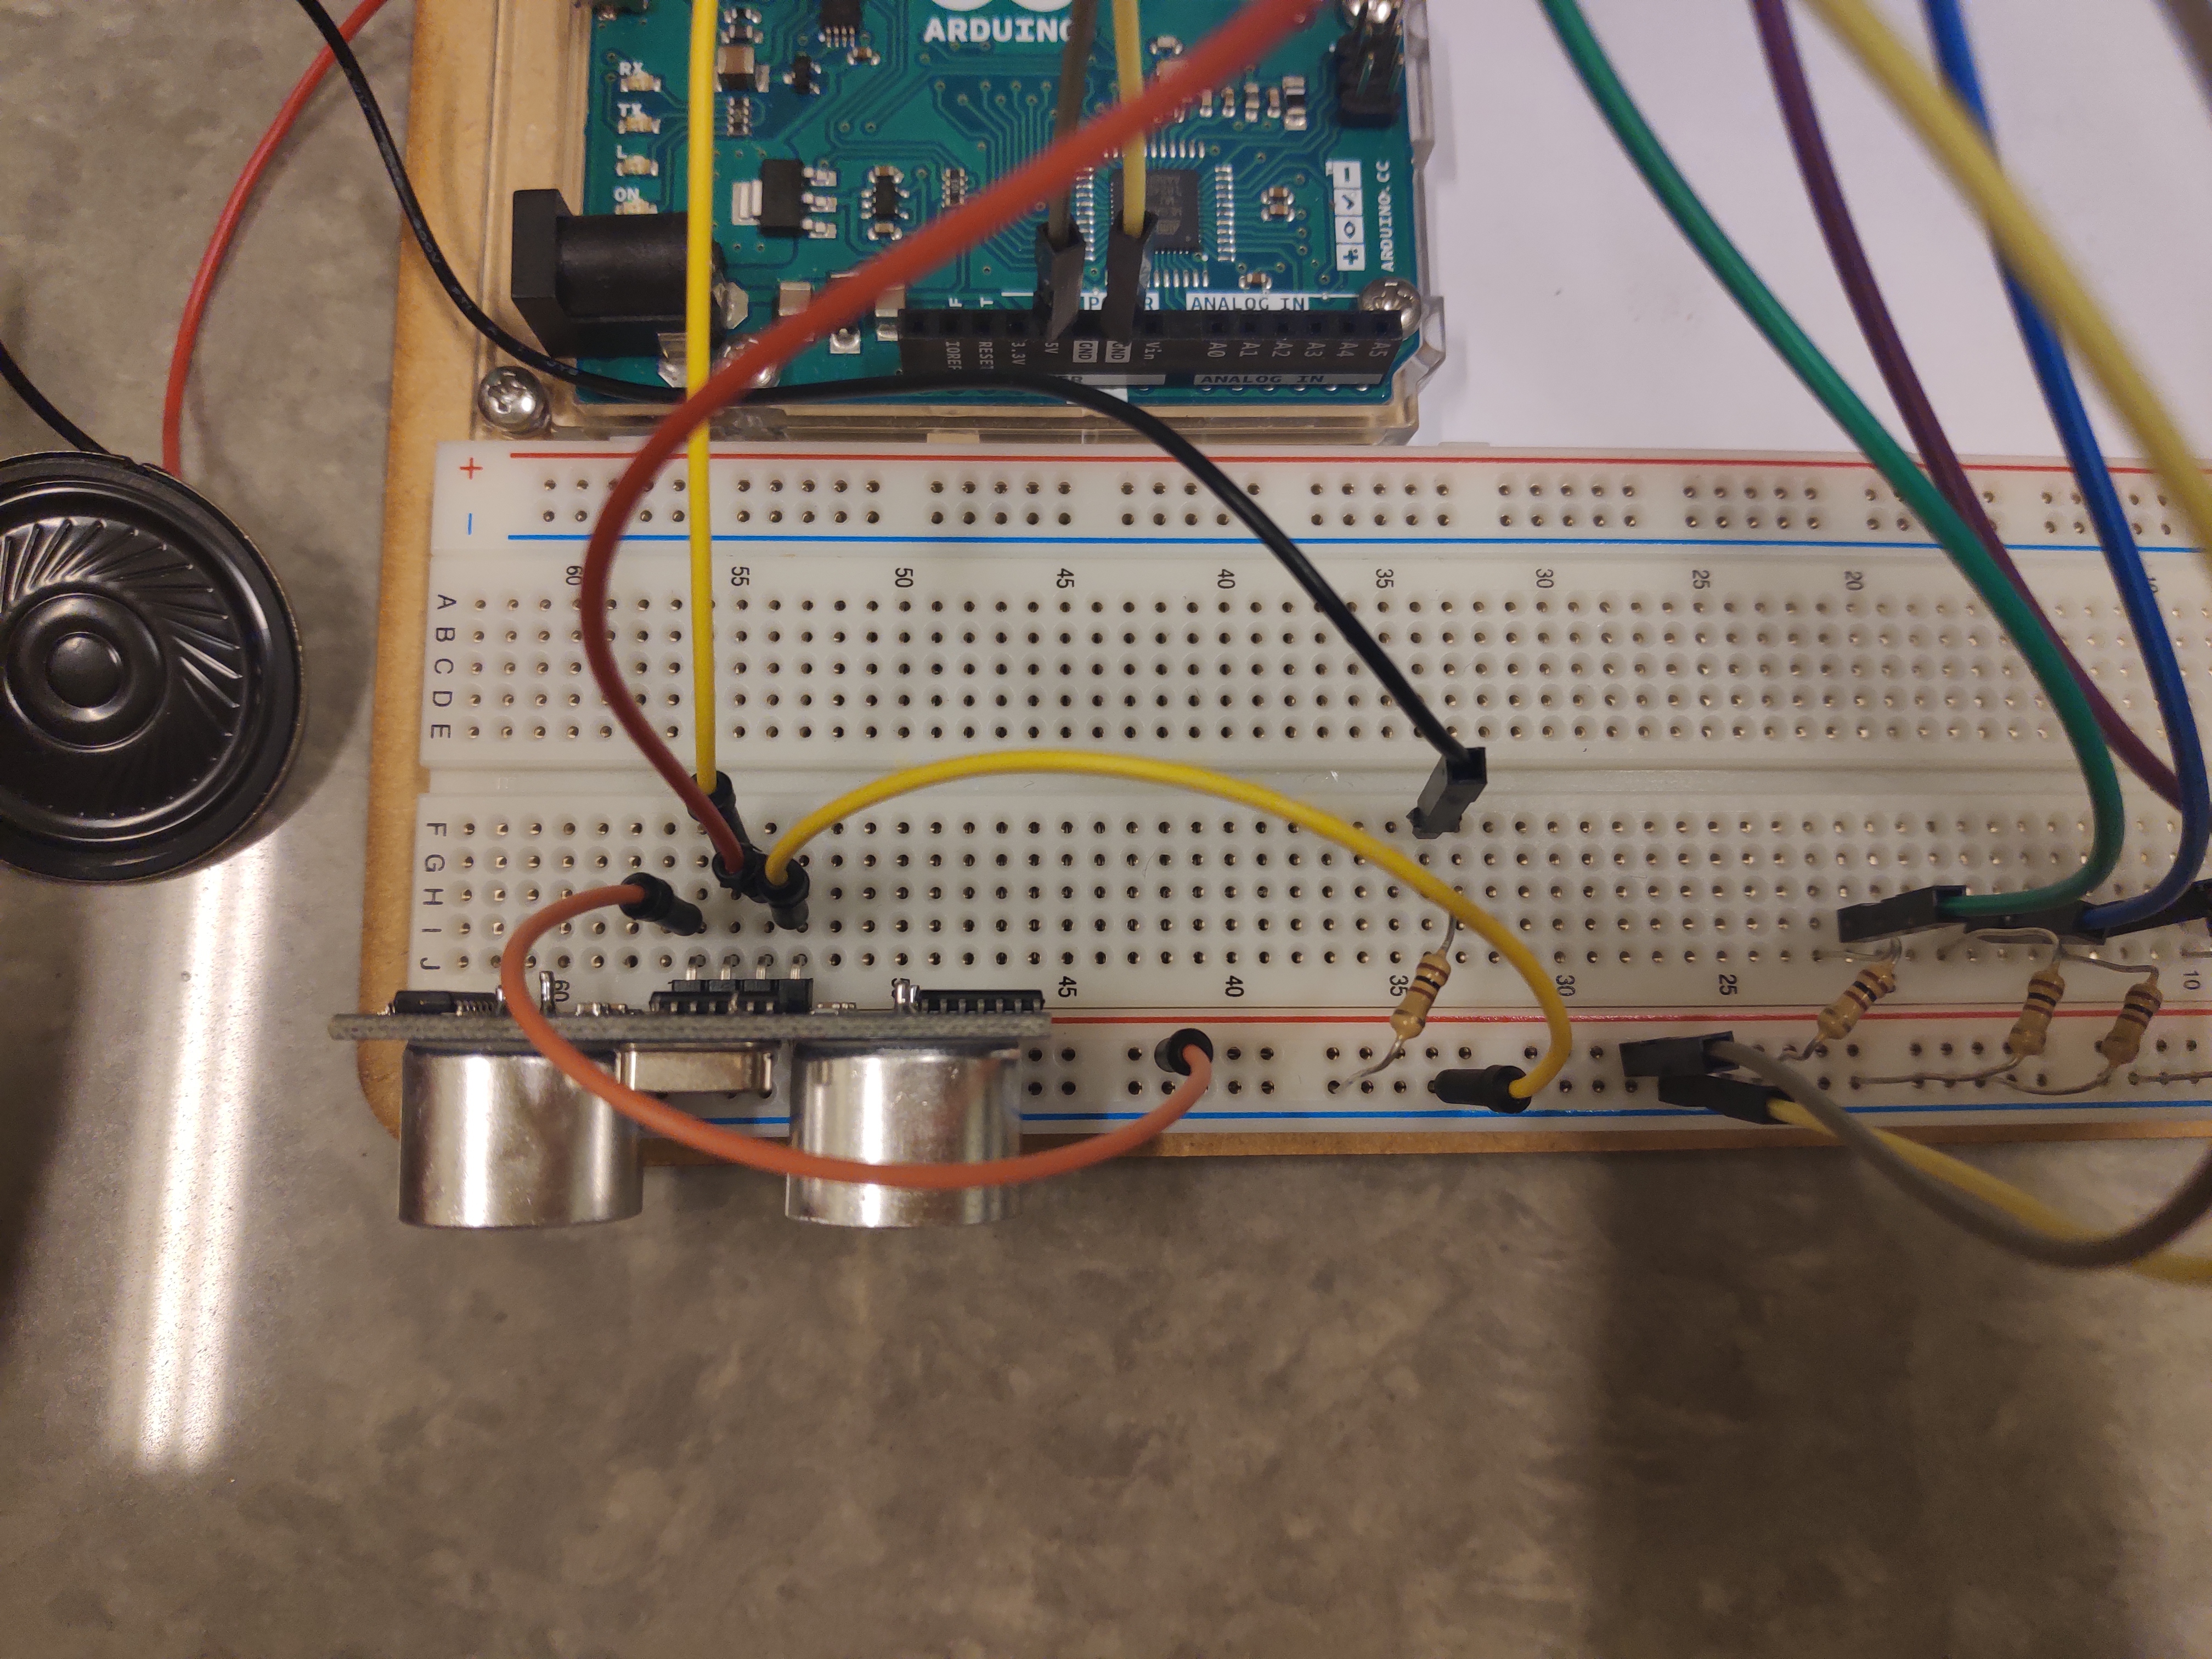
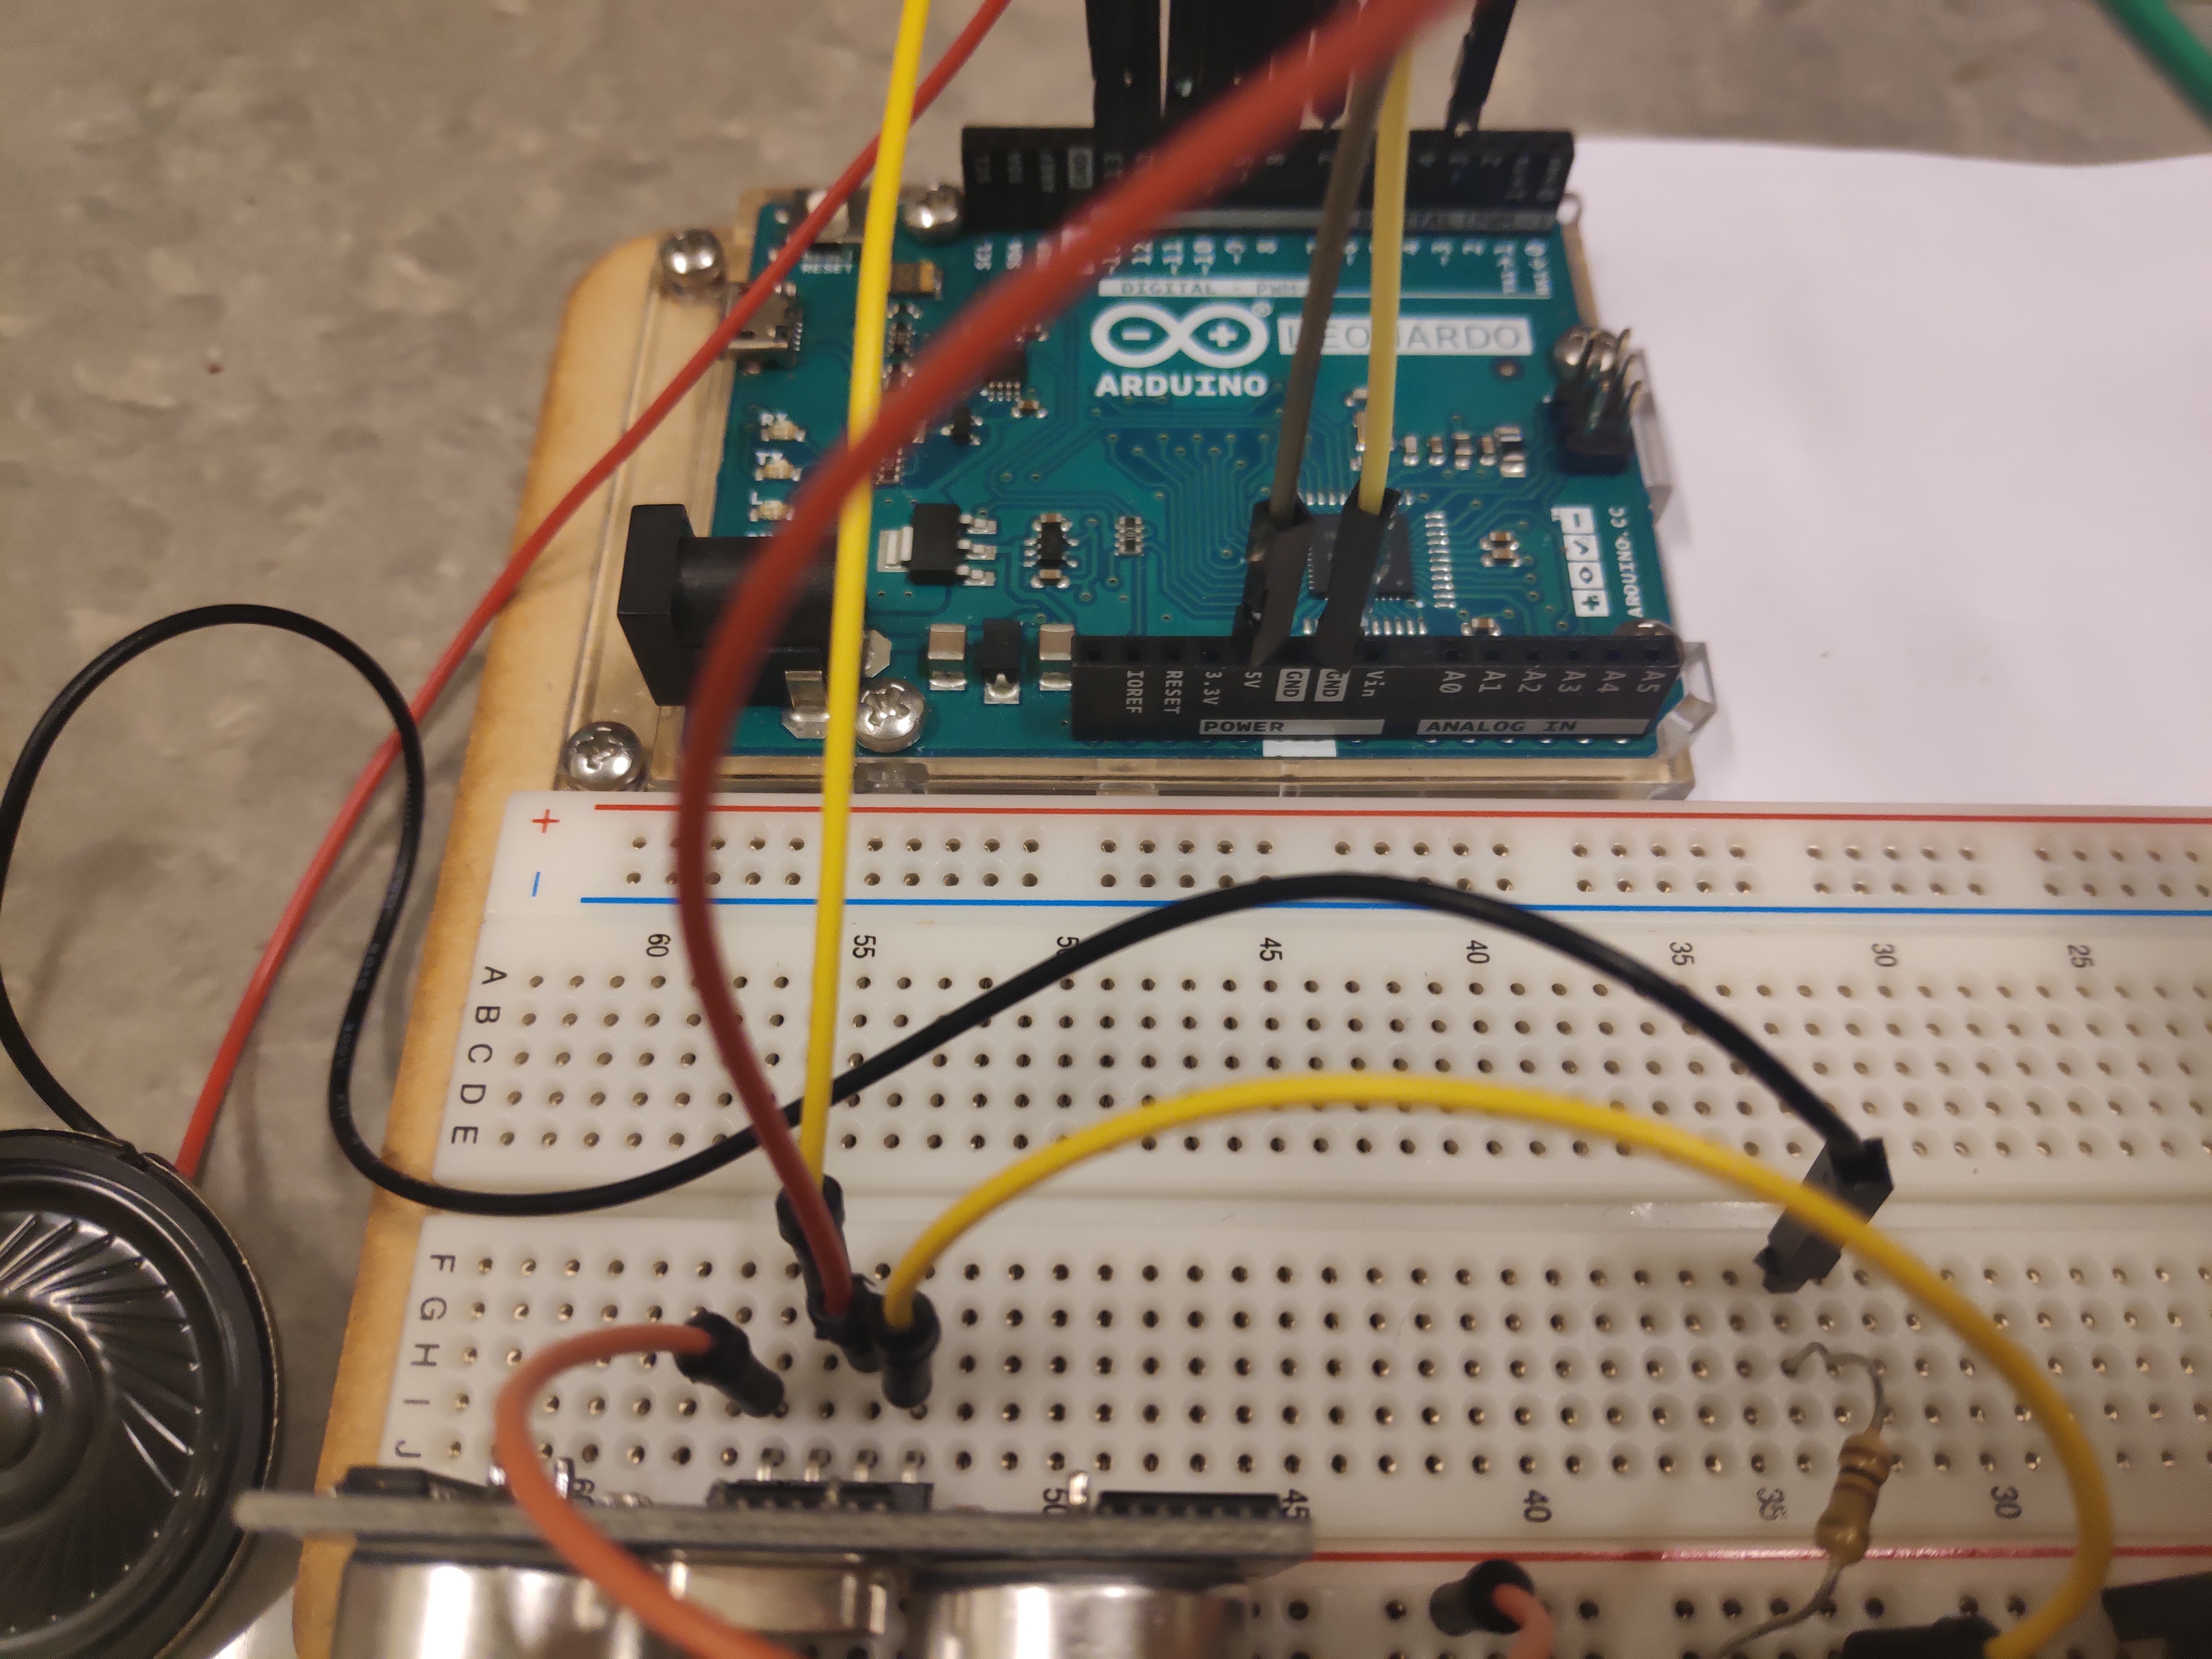
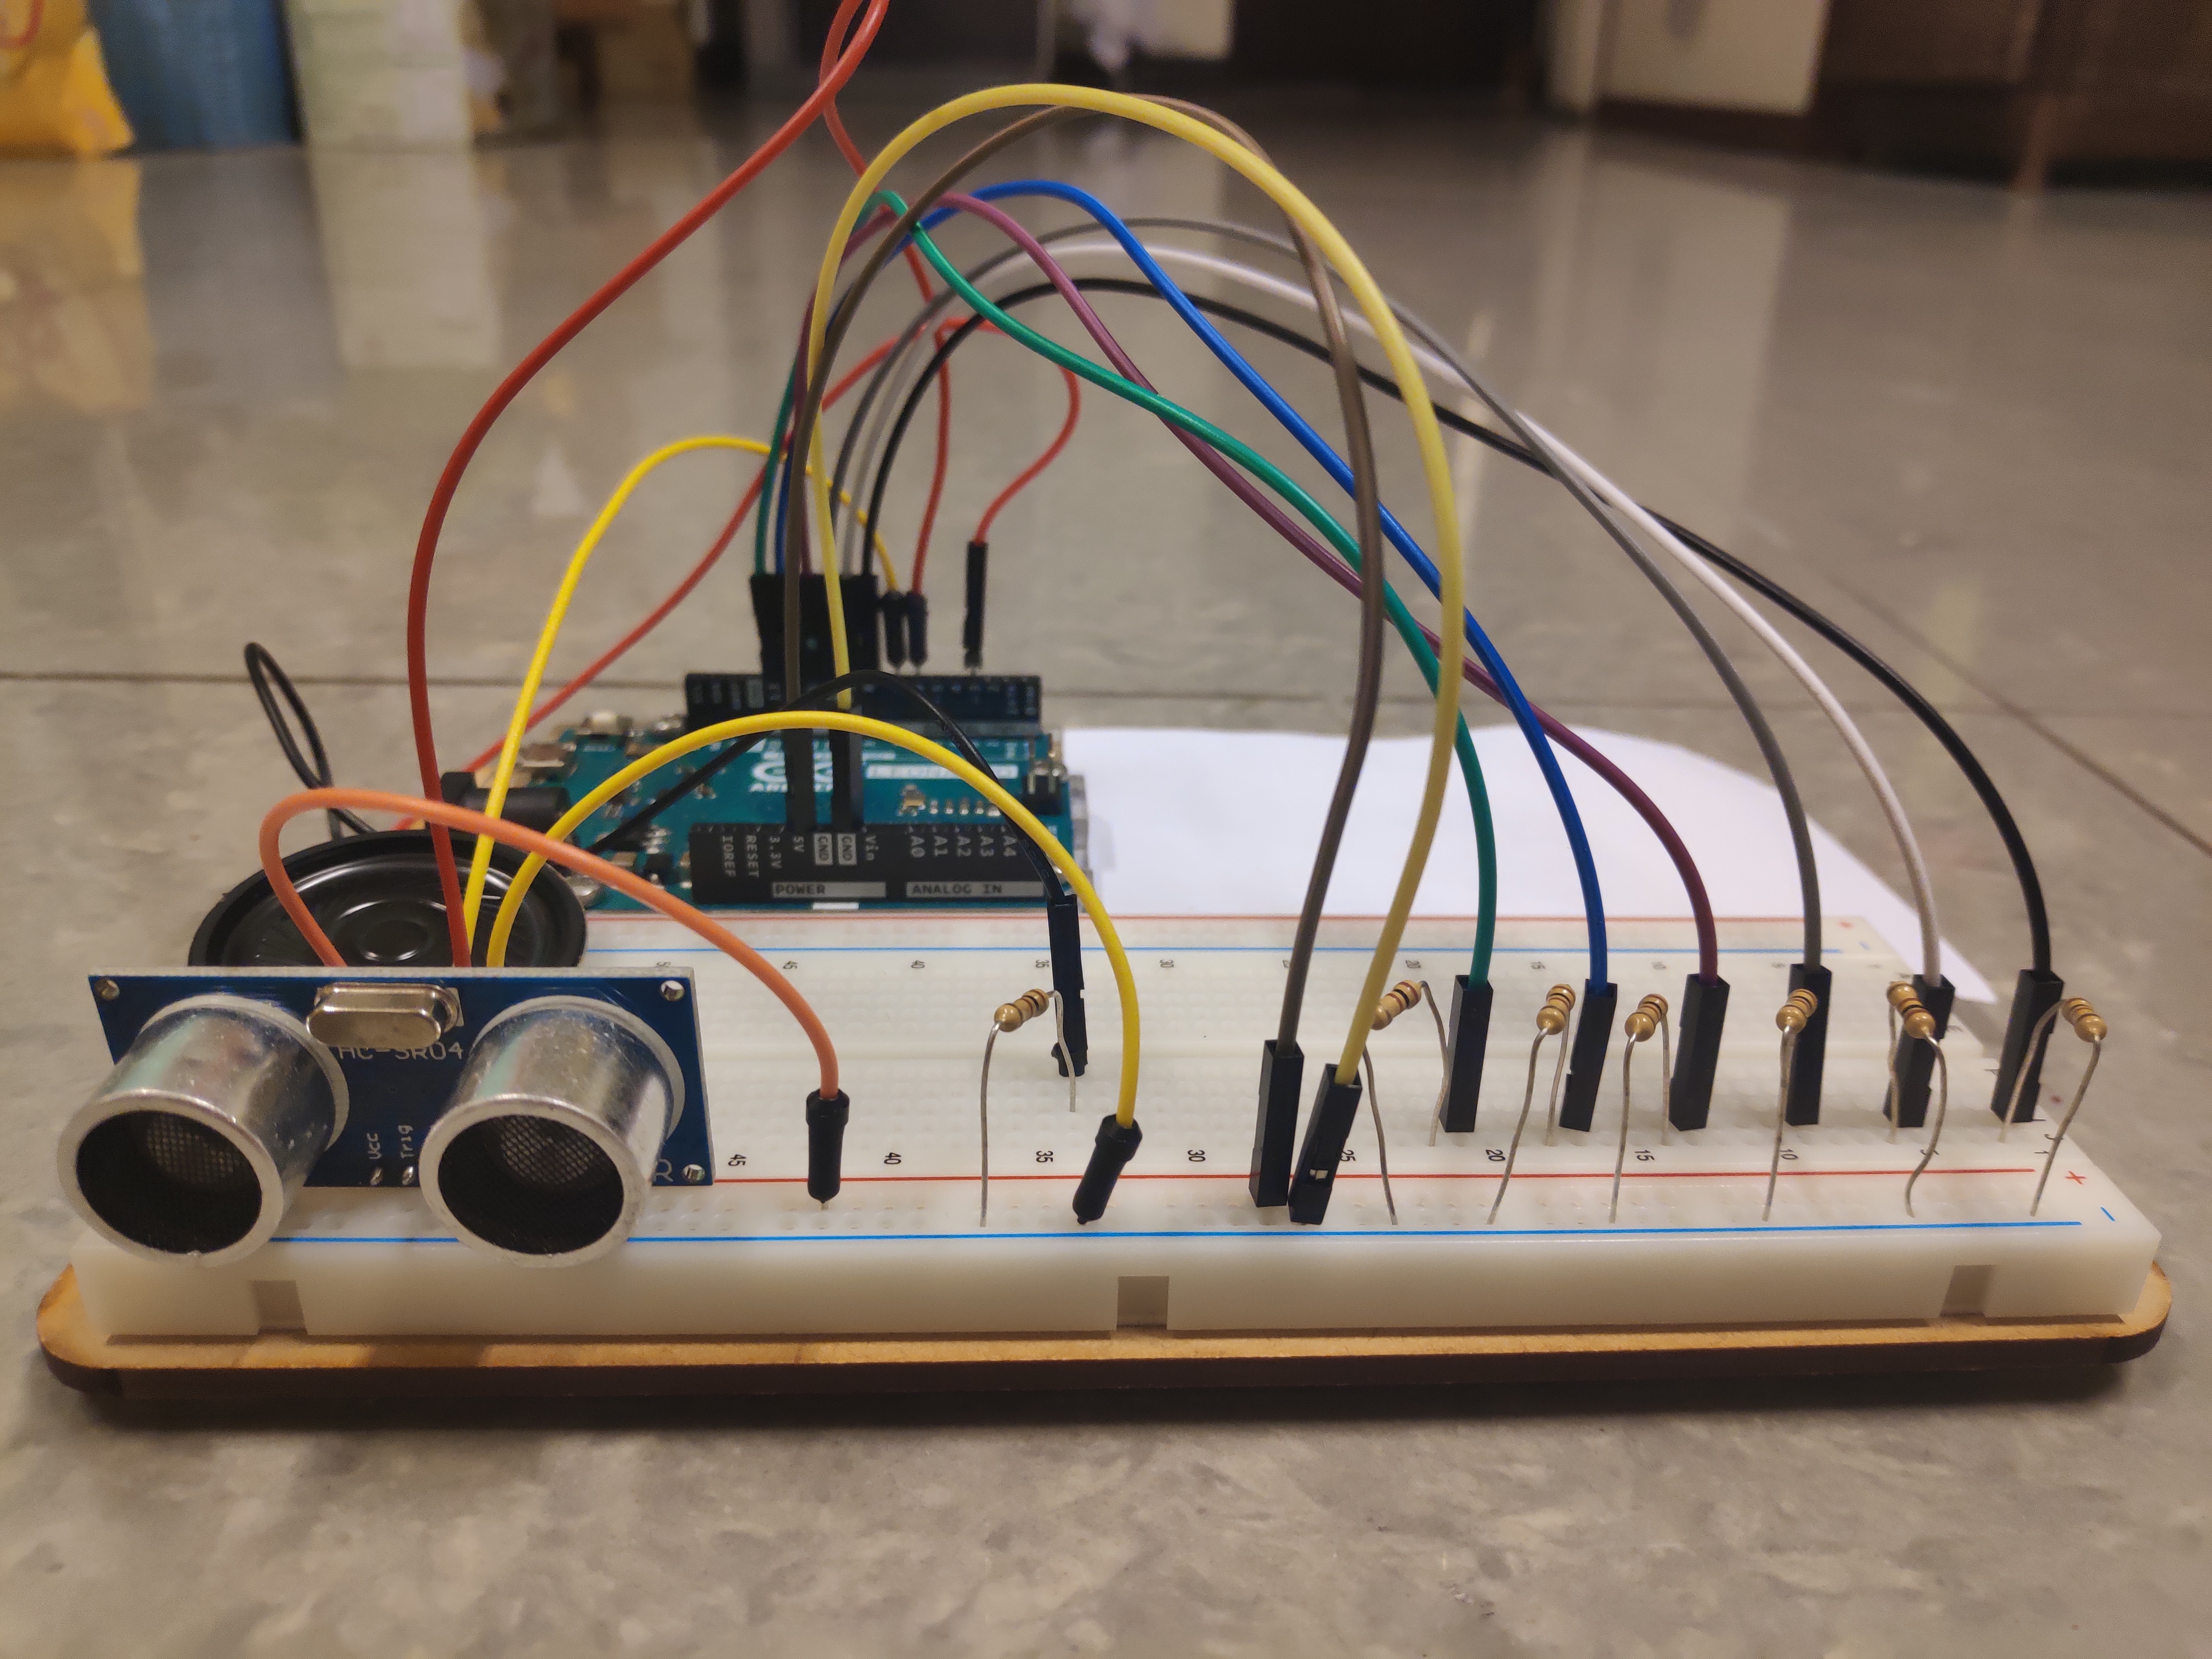
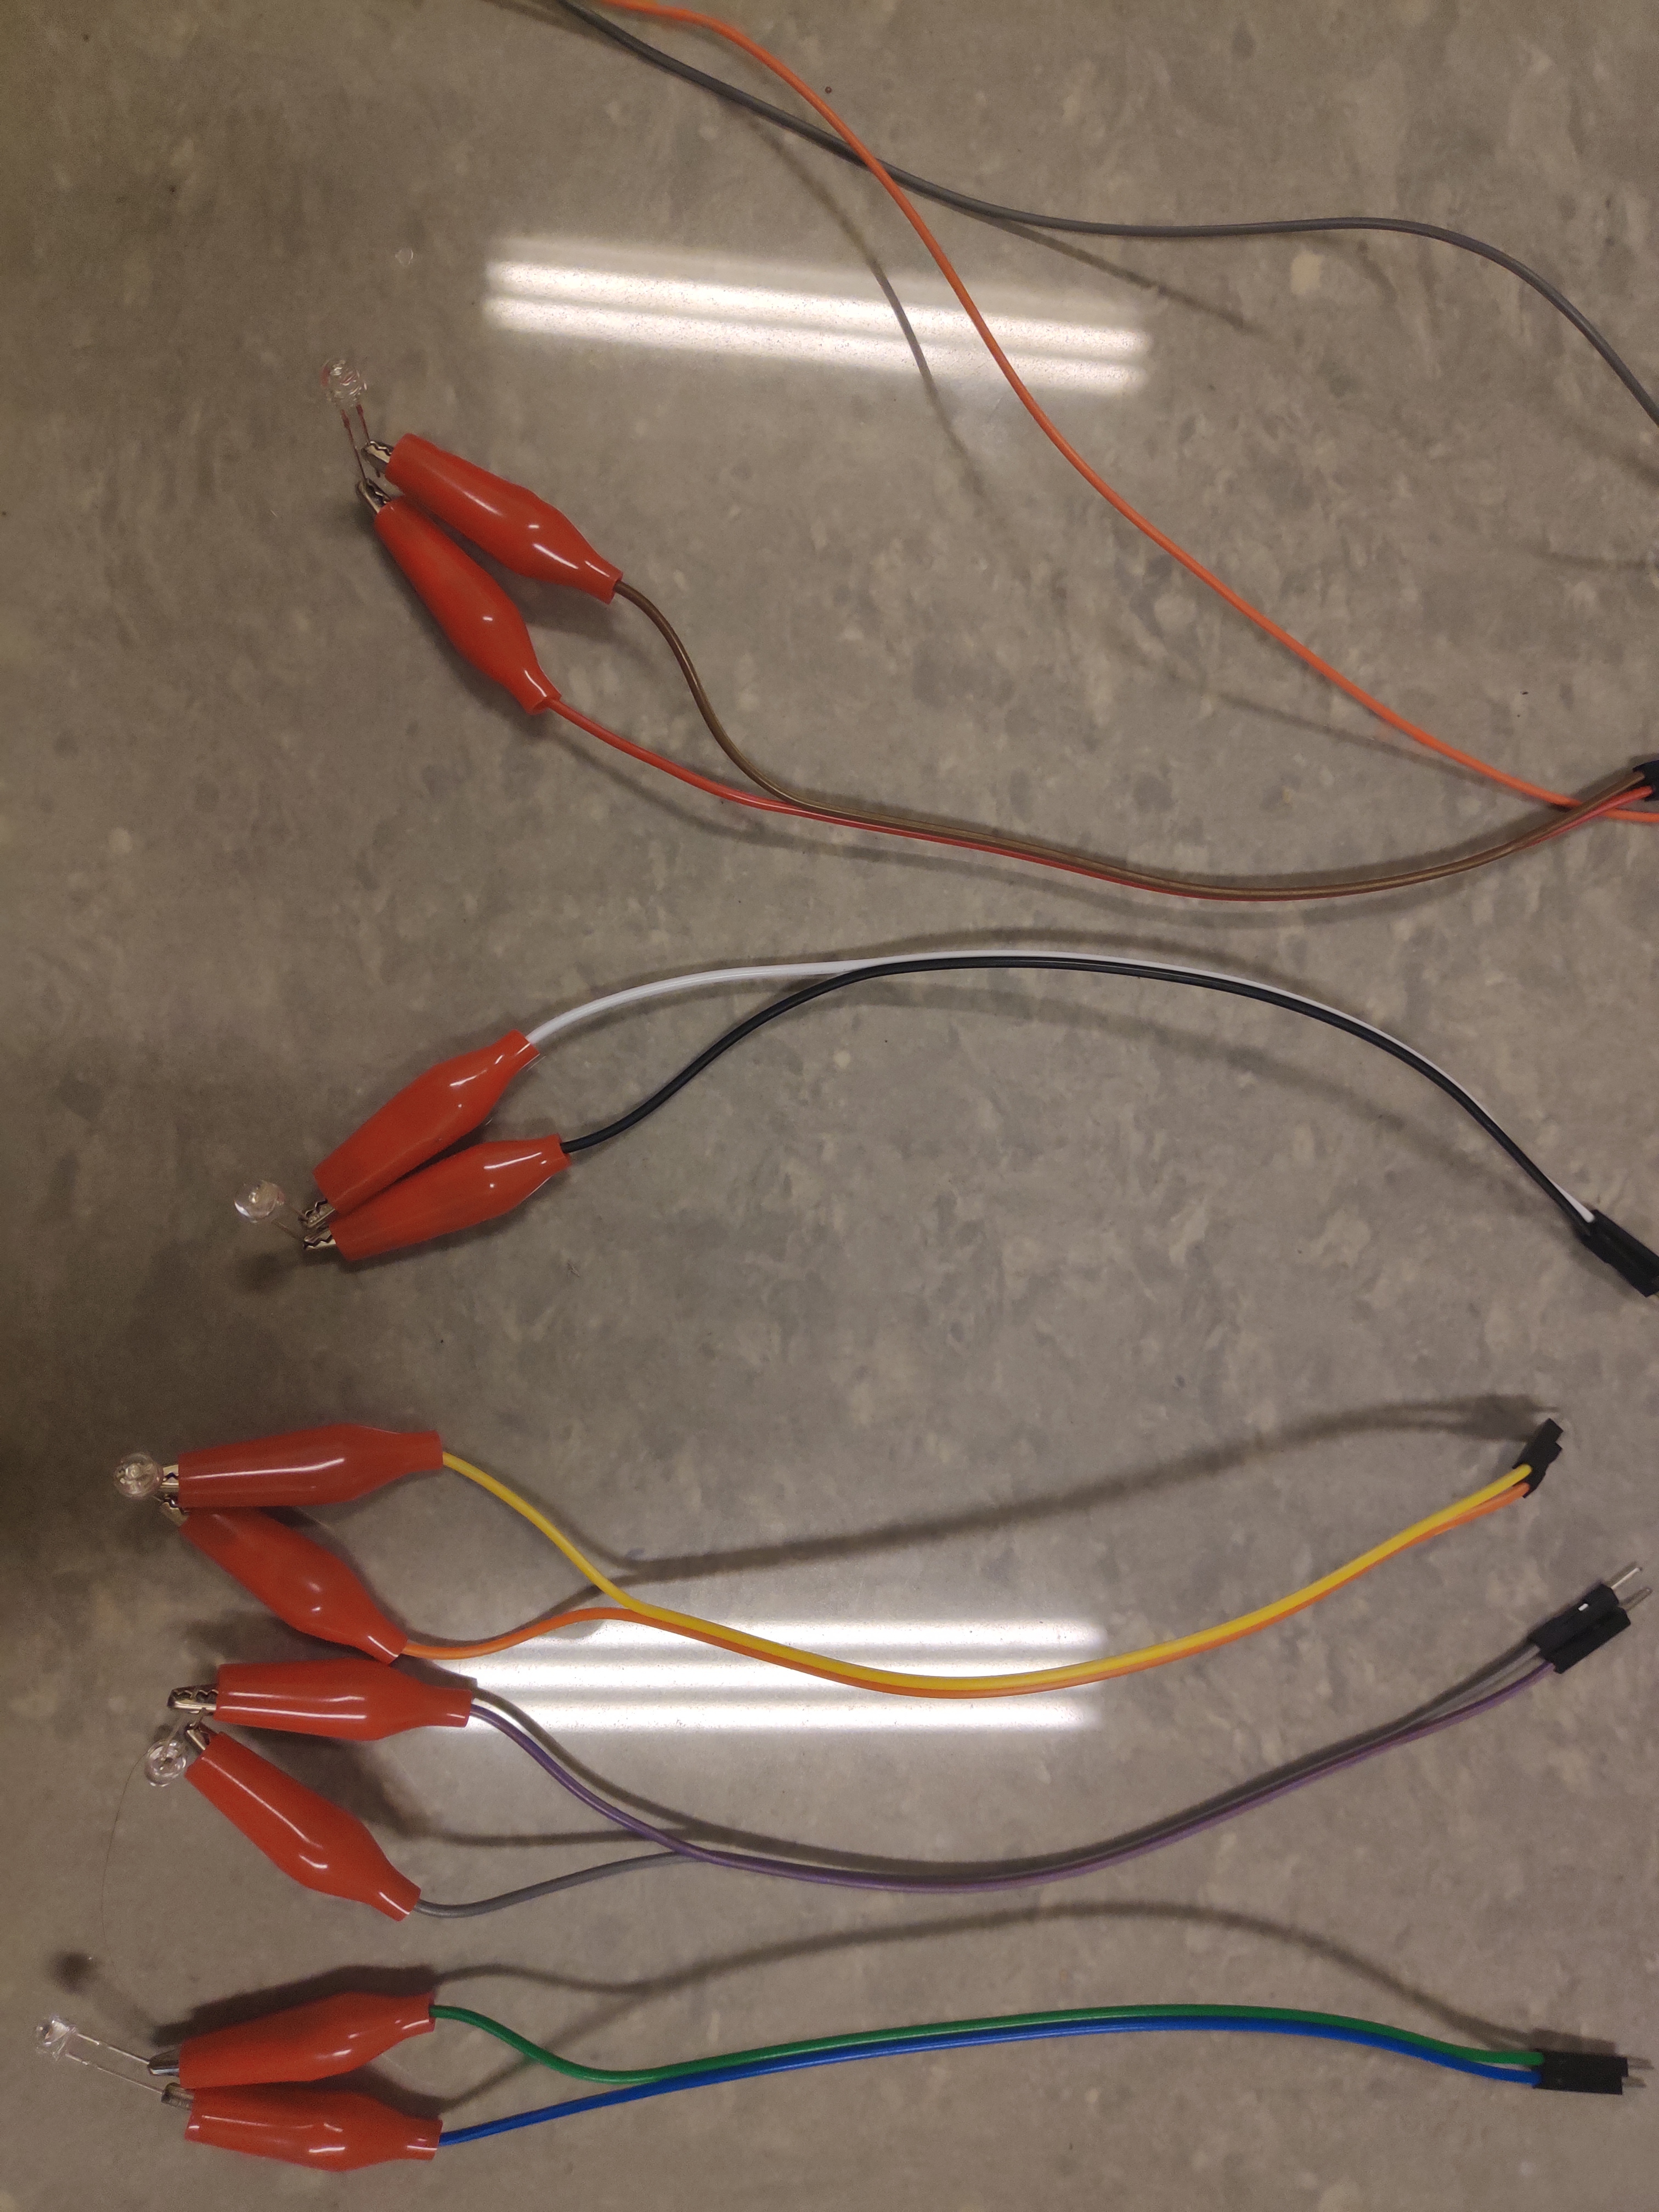
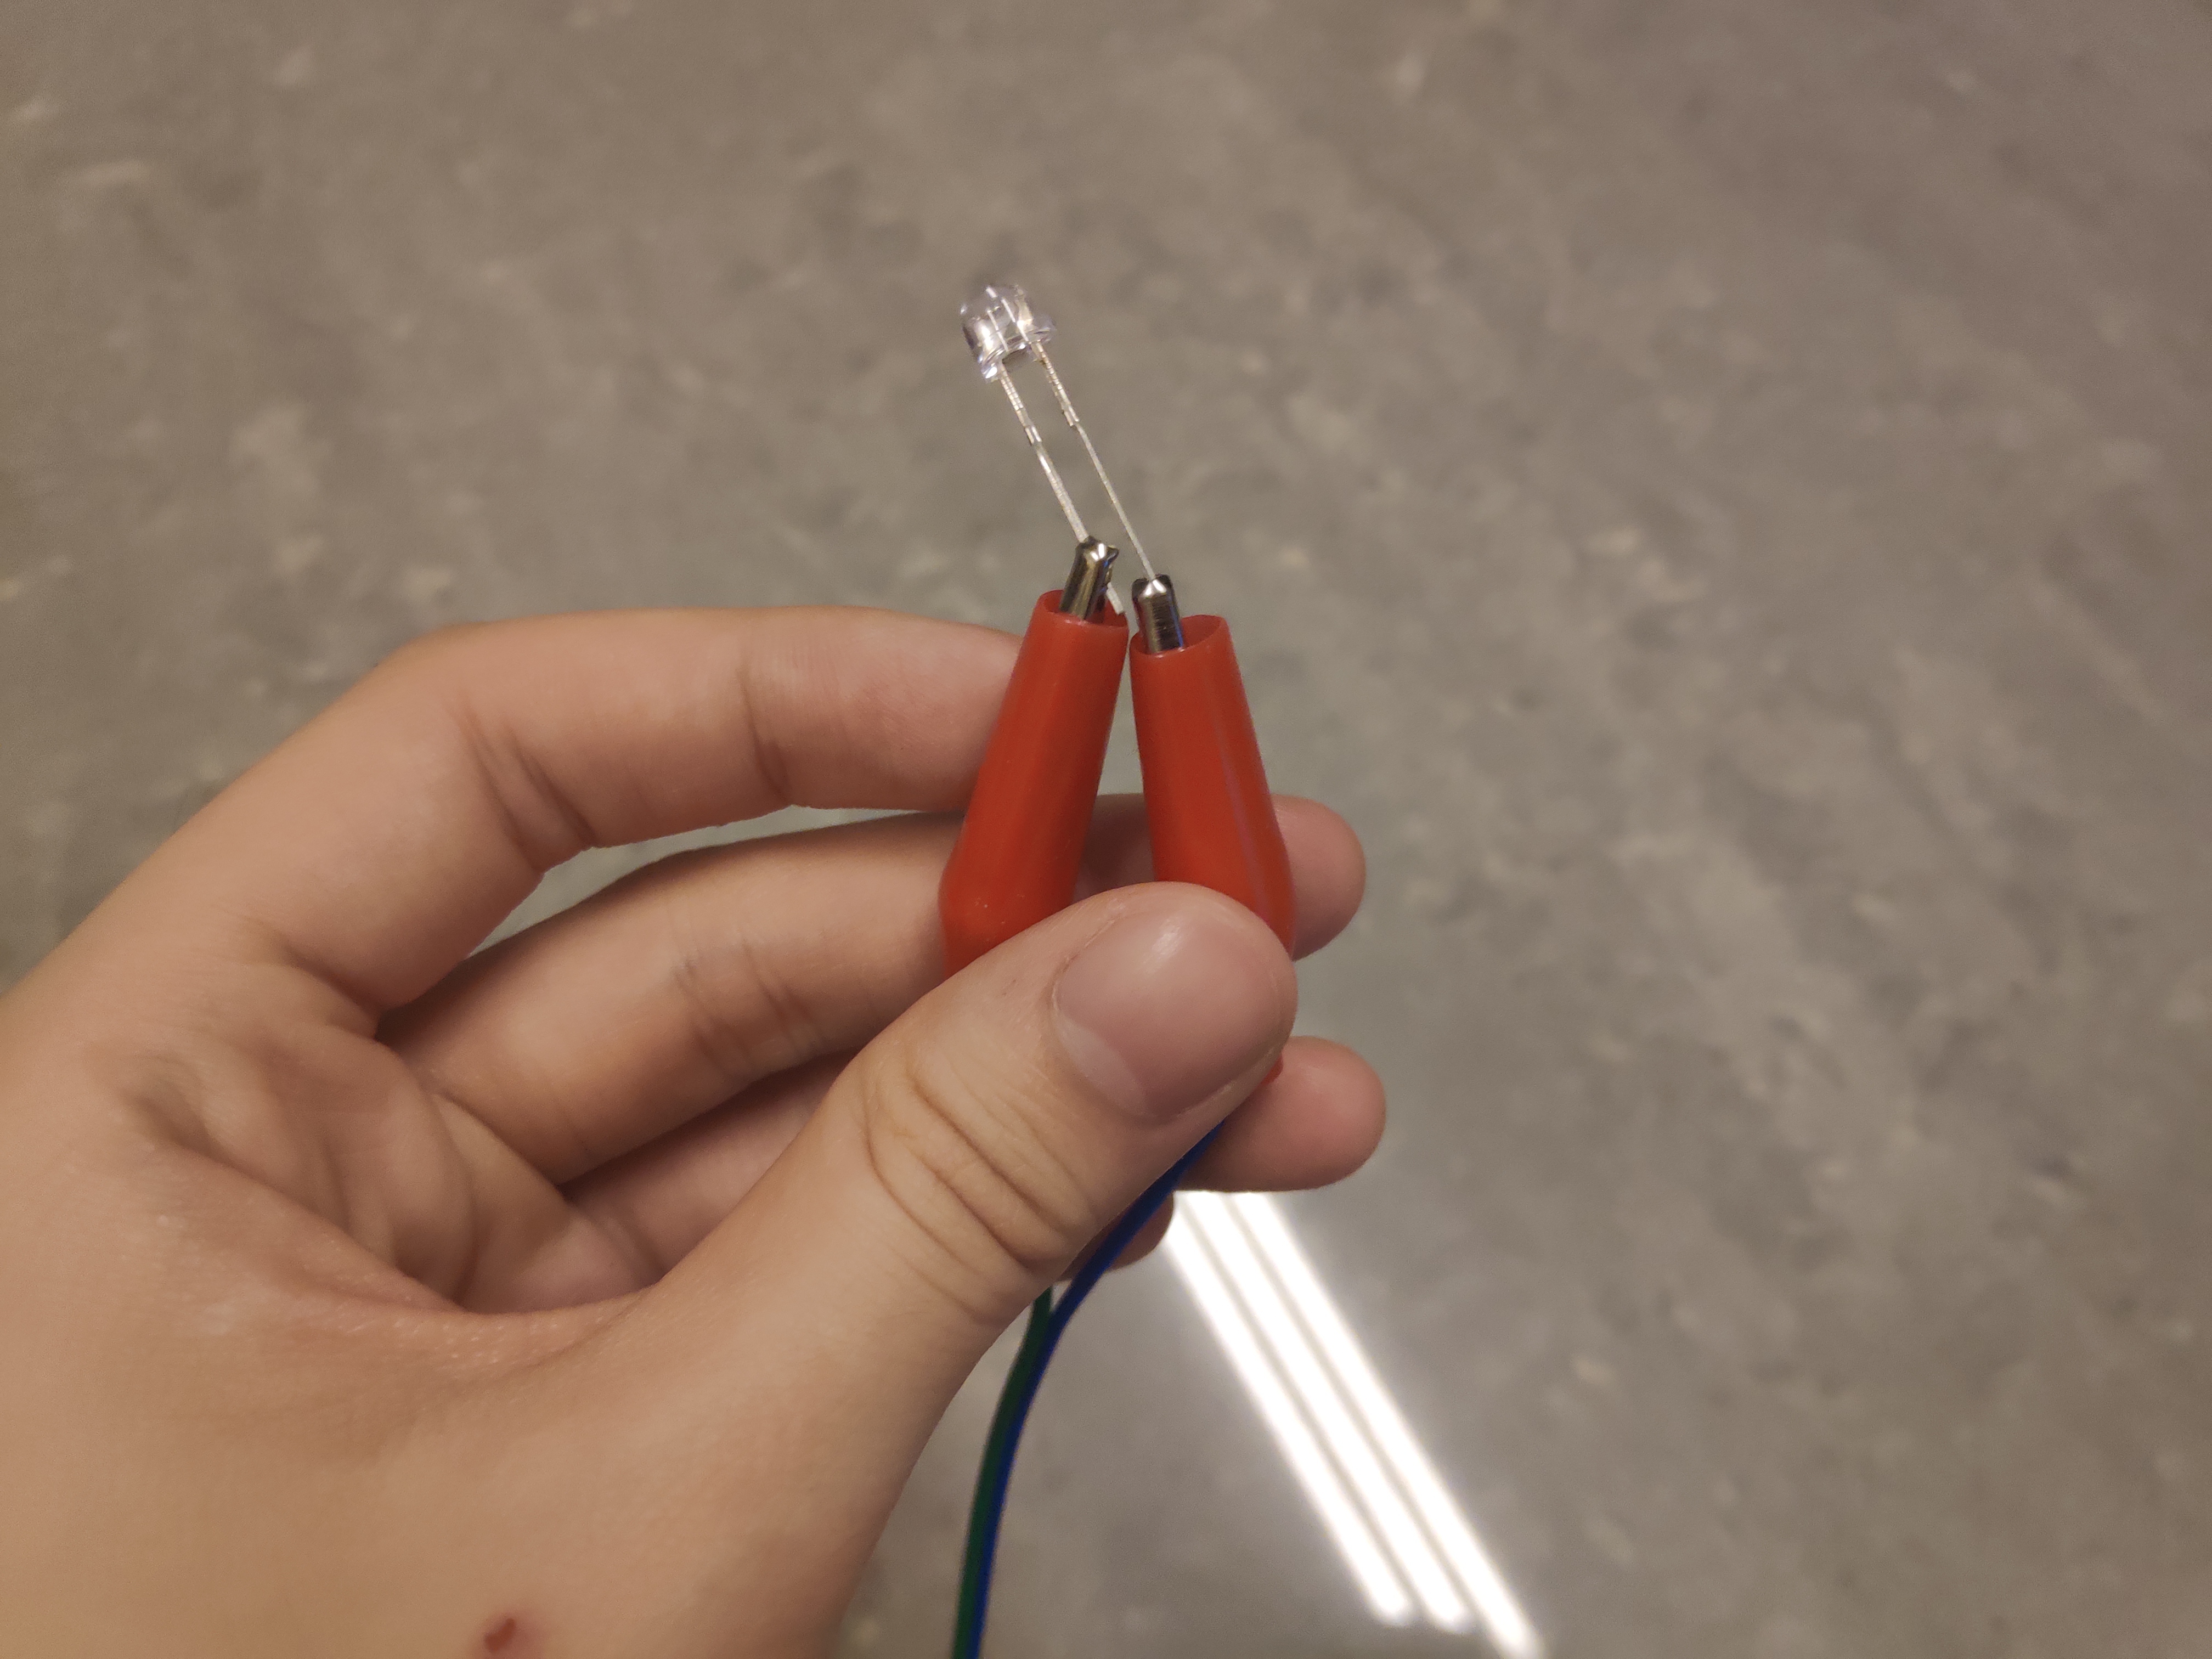
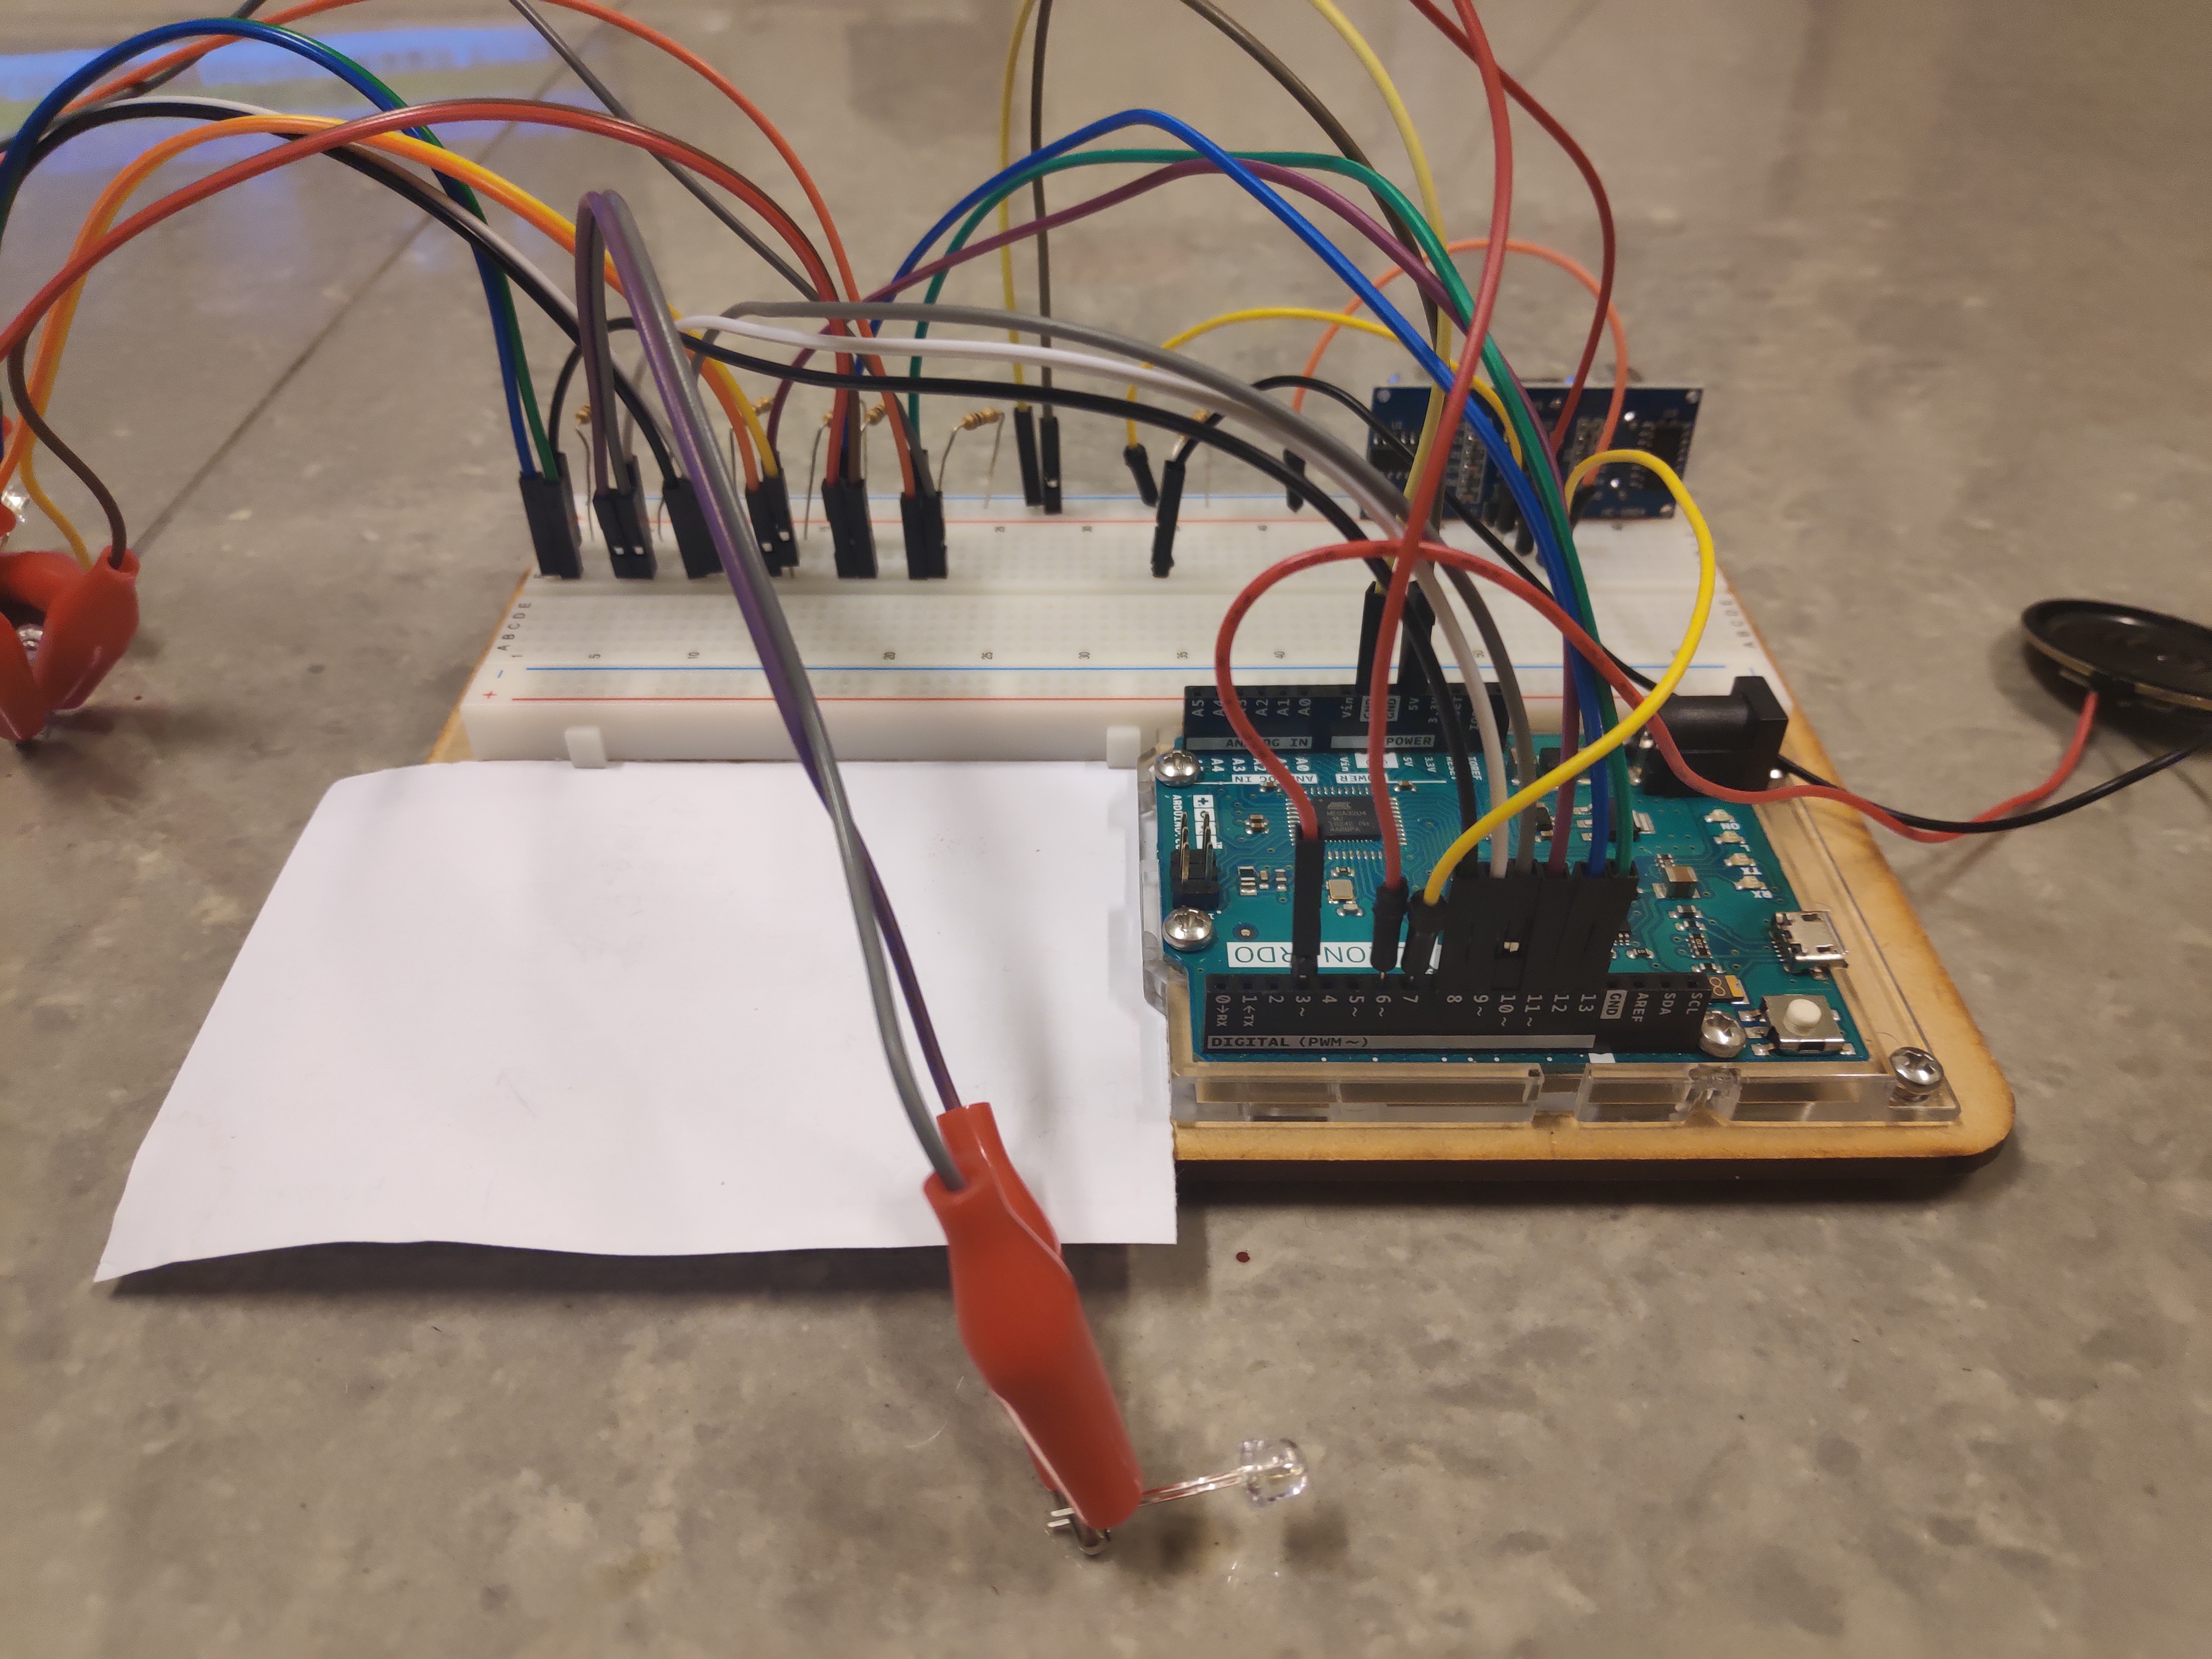
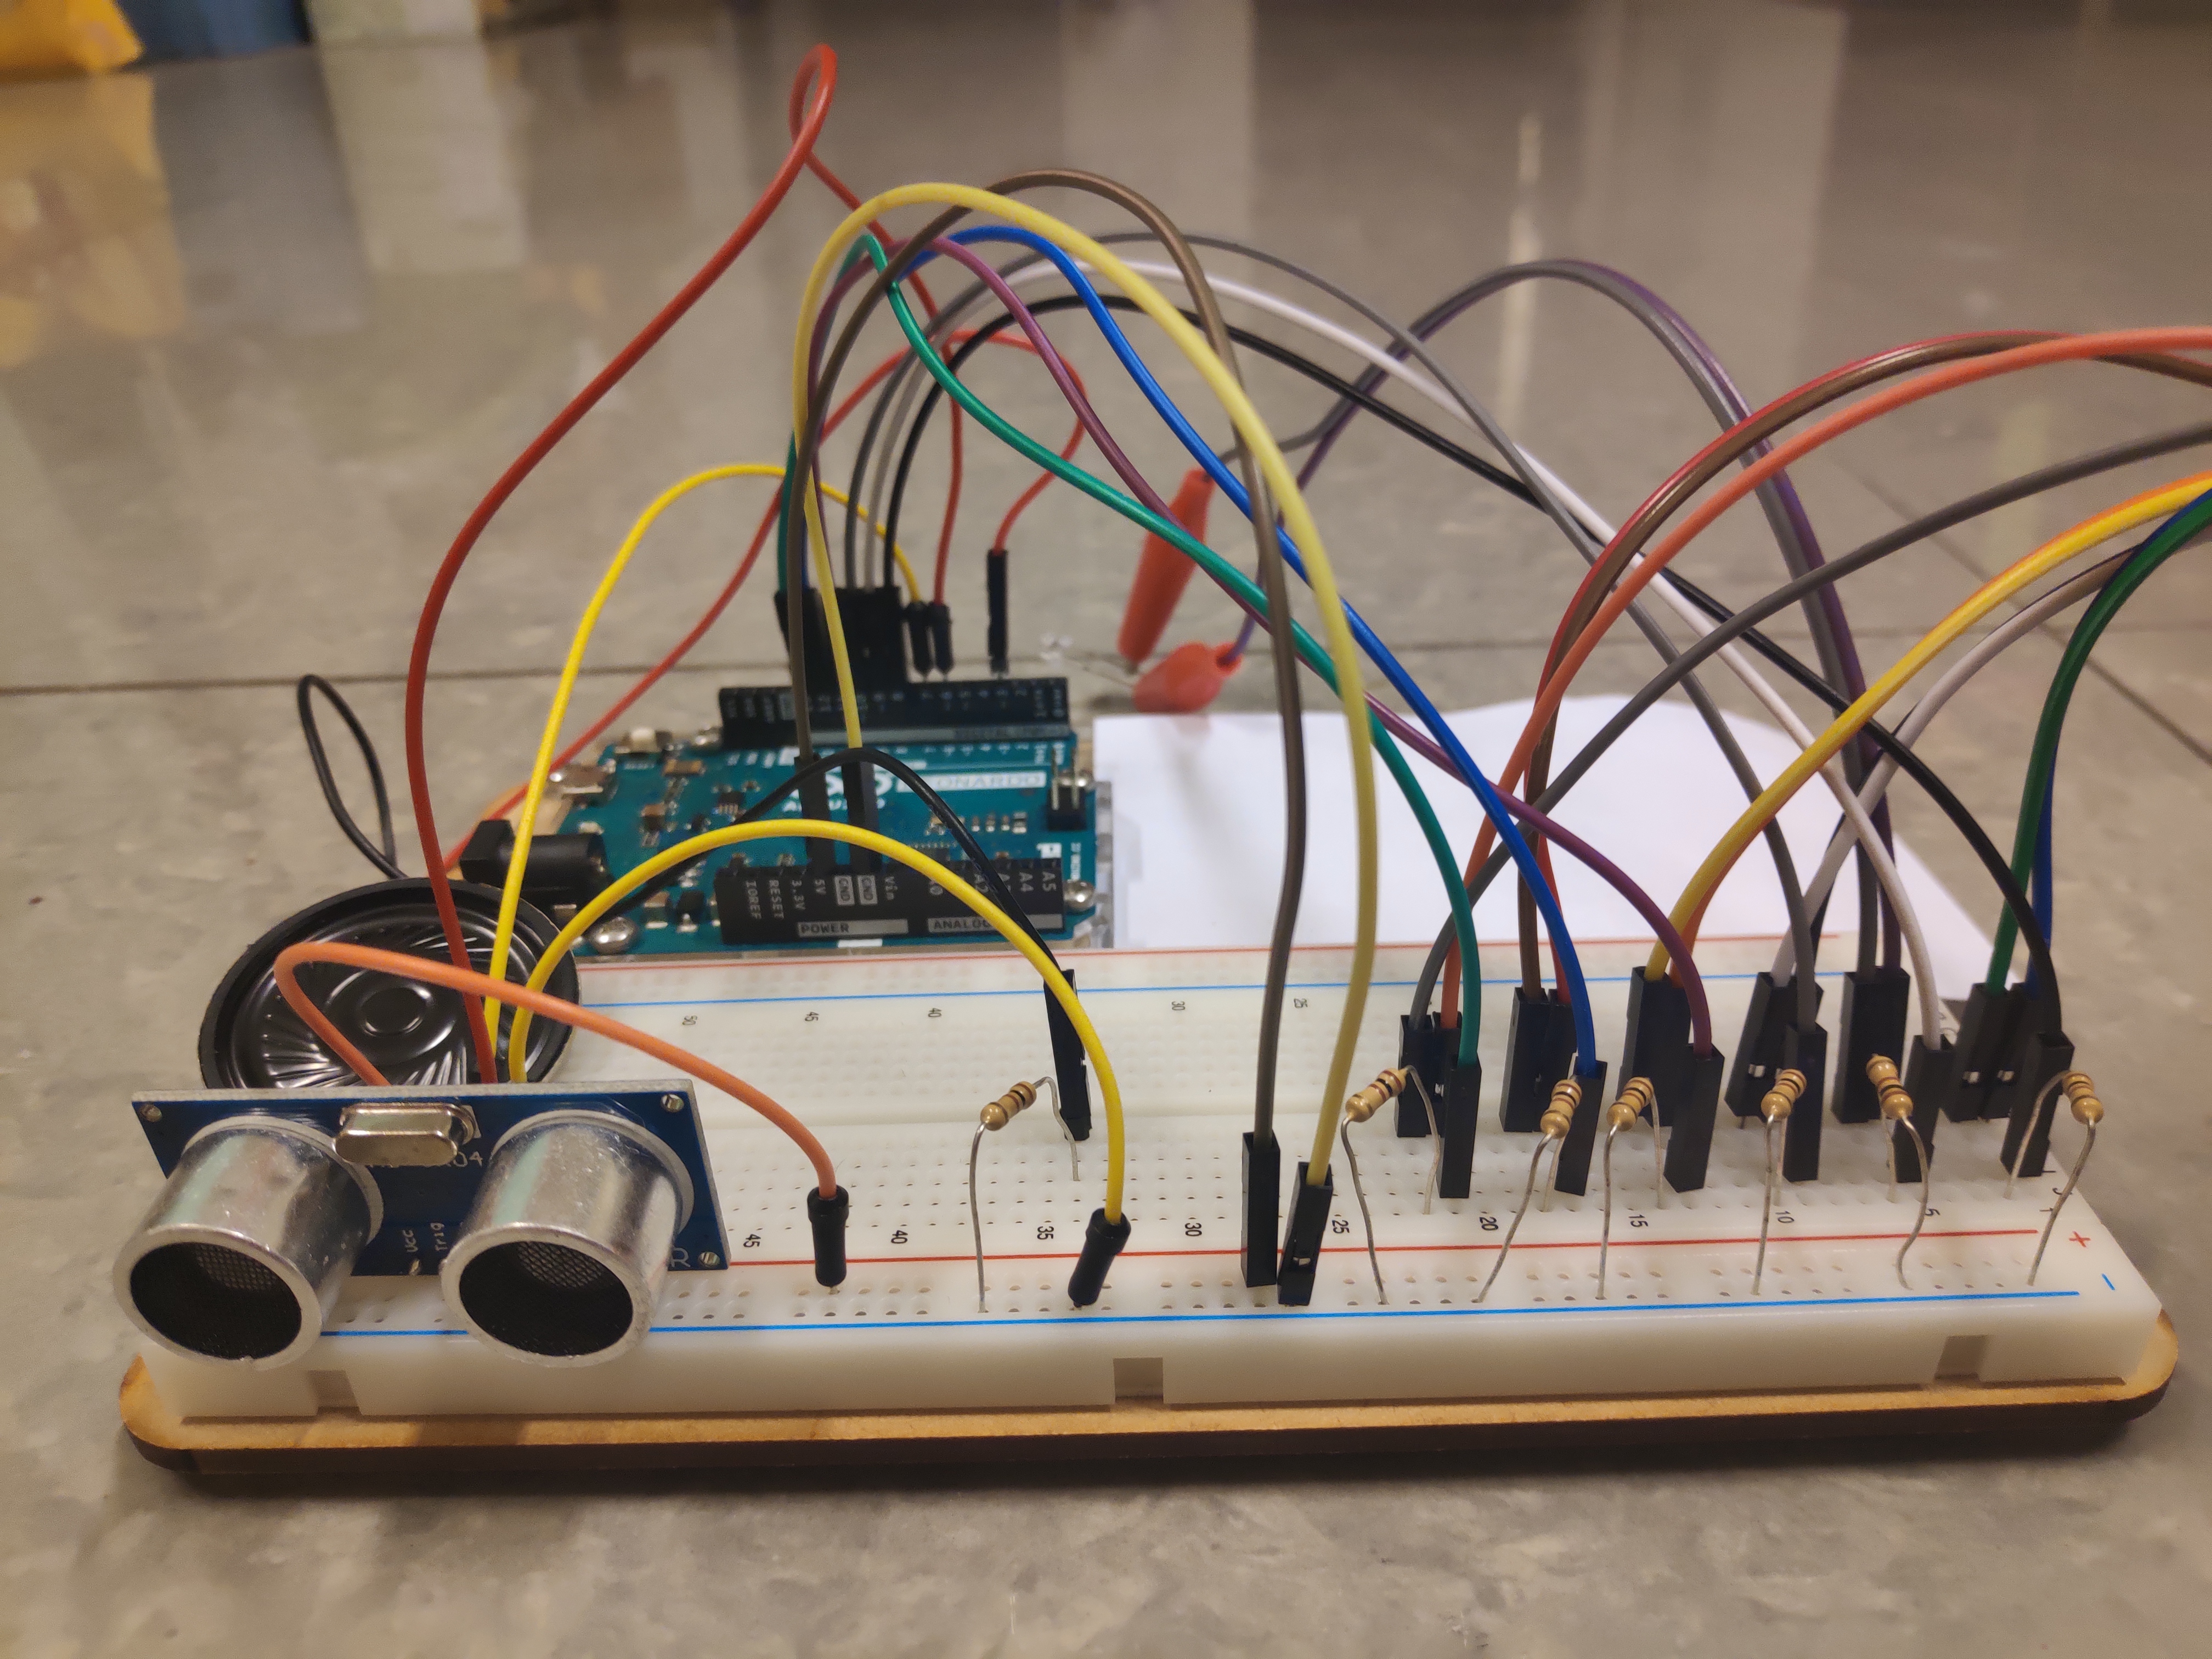
Do the assembly.
Extend all components with the jump wires with two different ends as shown in the picture above.
Step 4: Cut the Cardboard Box
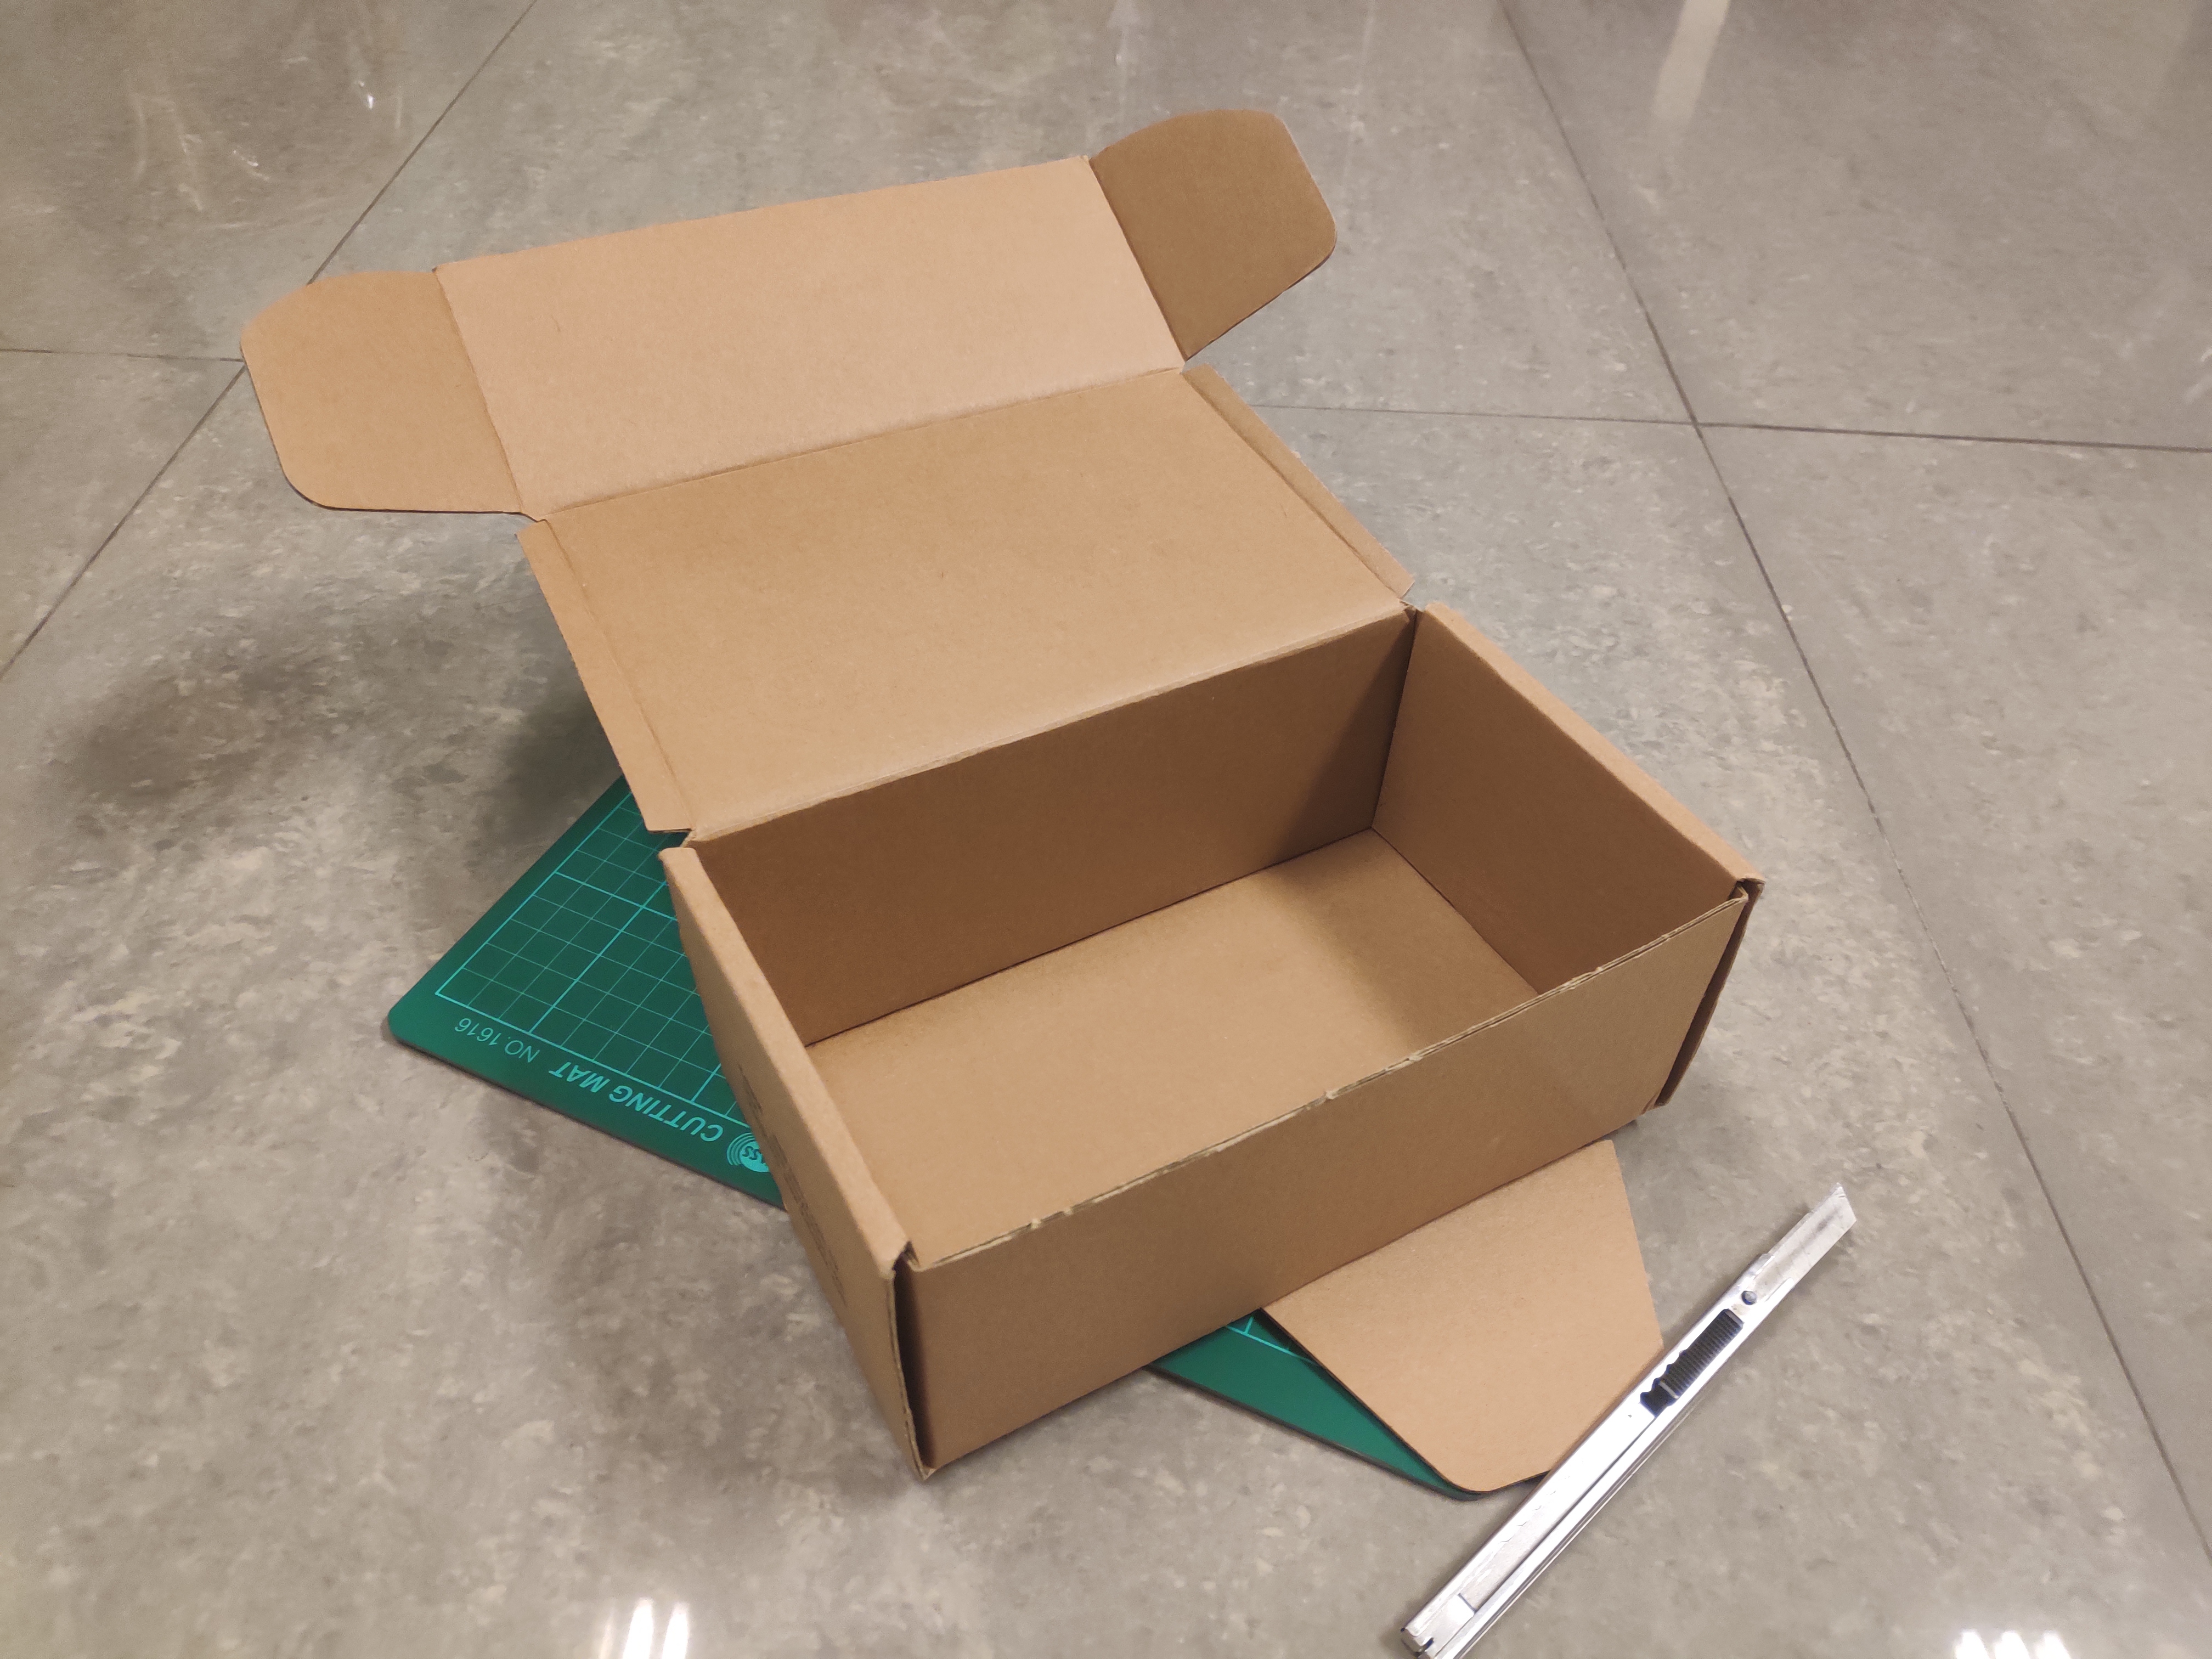
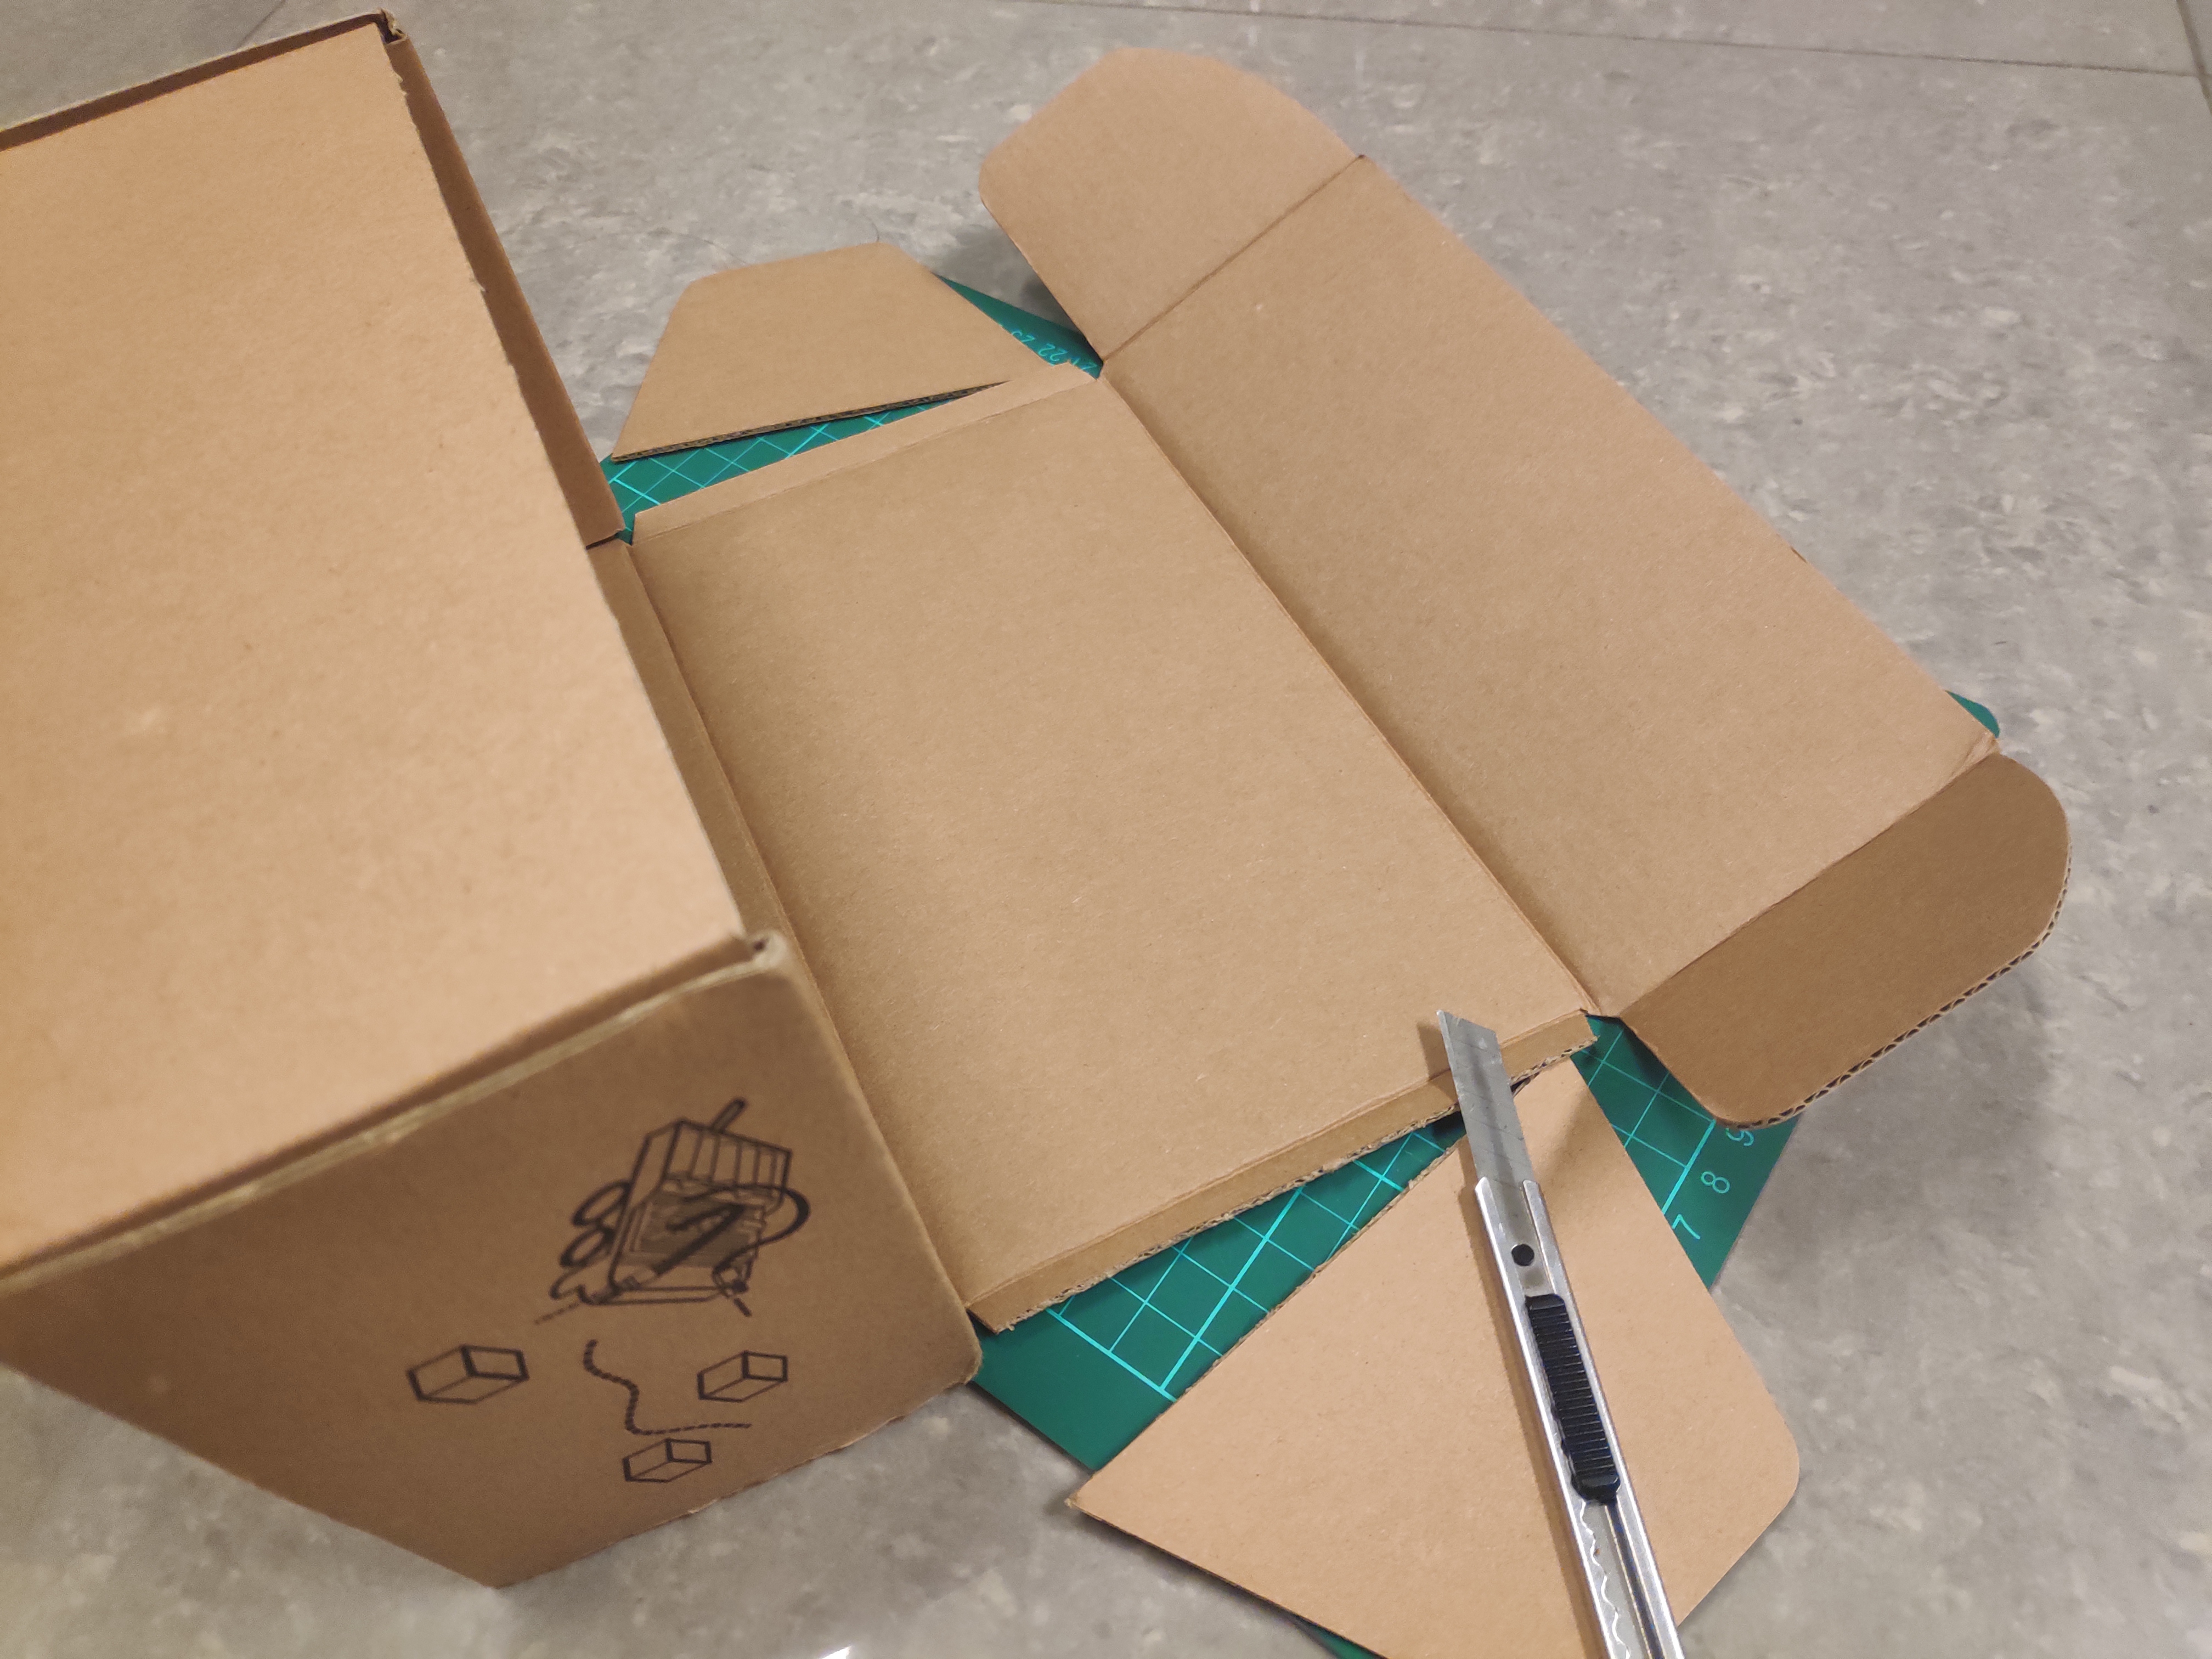
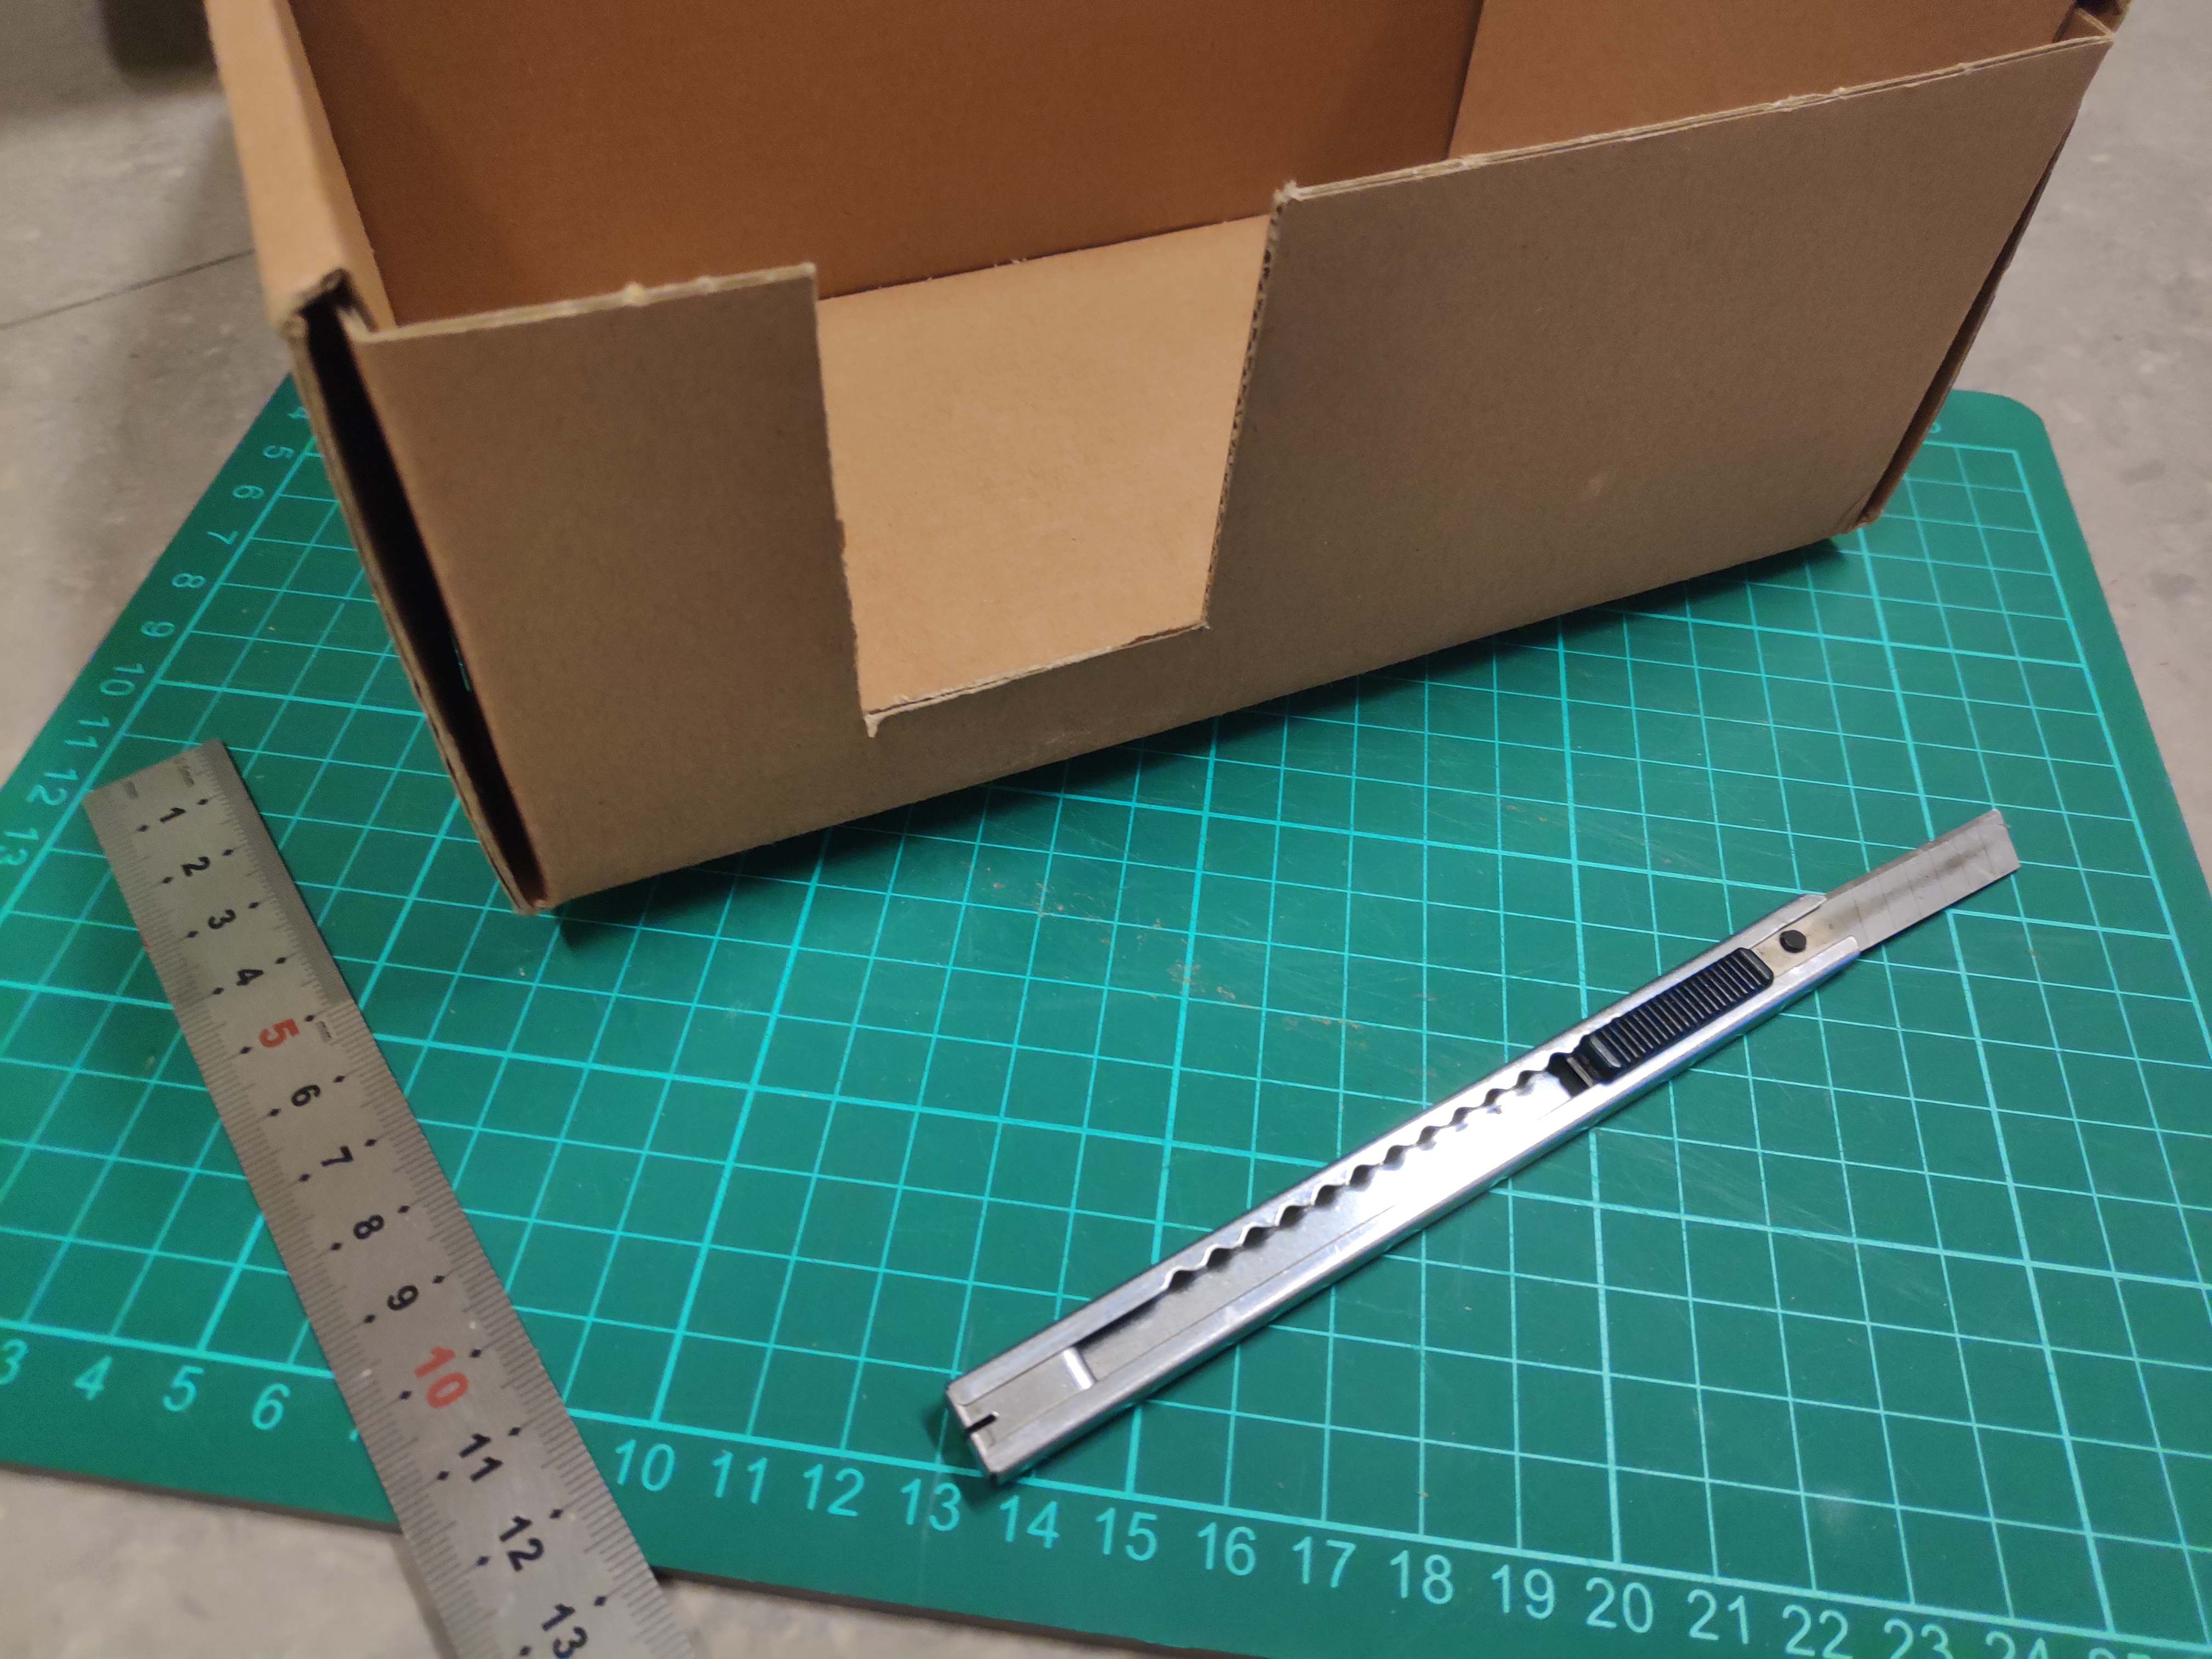
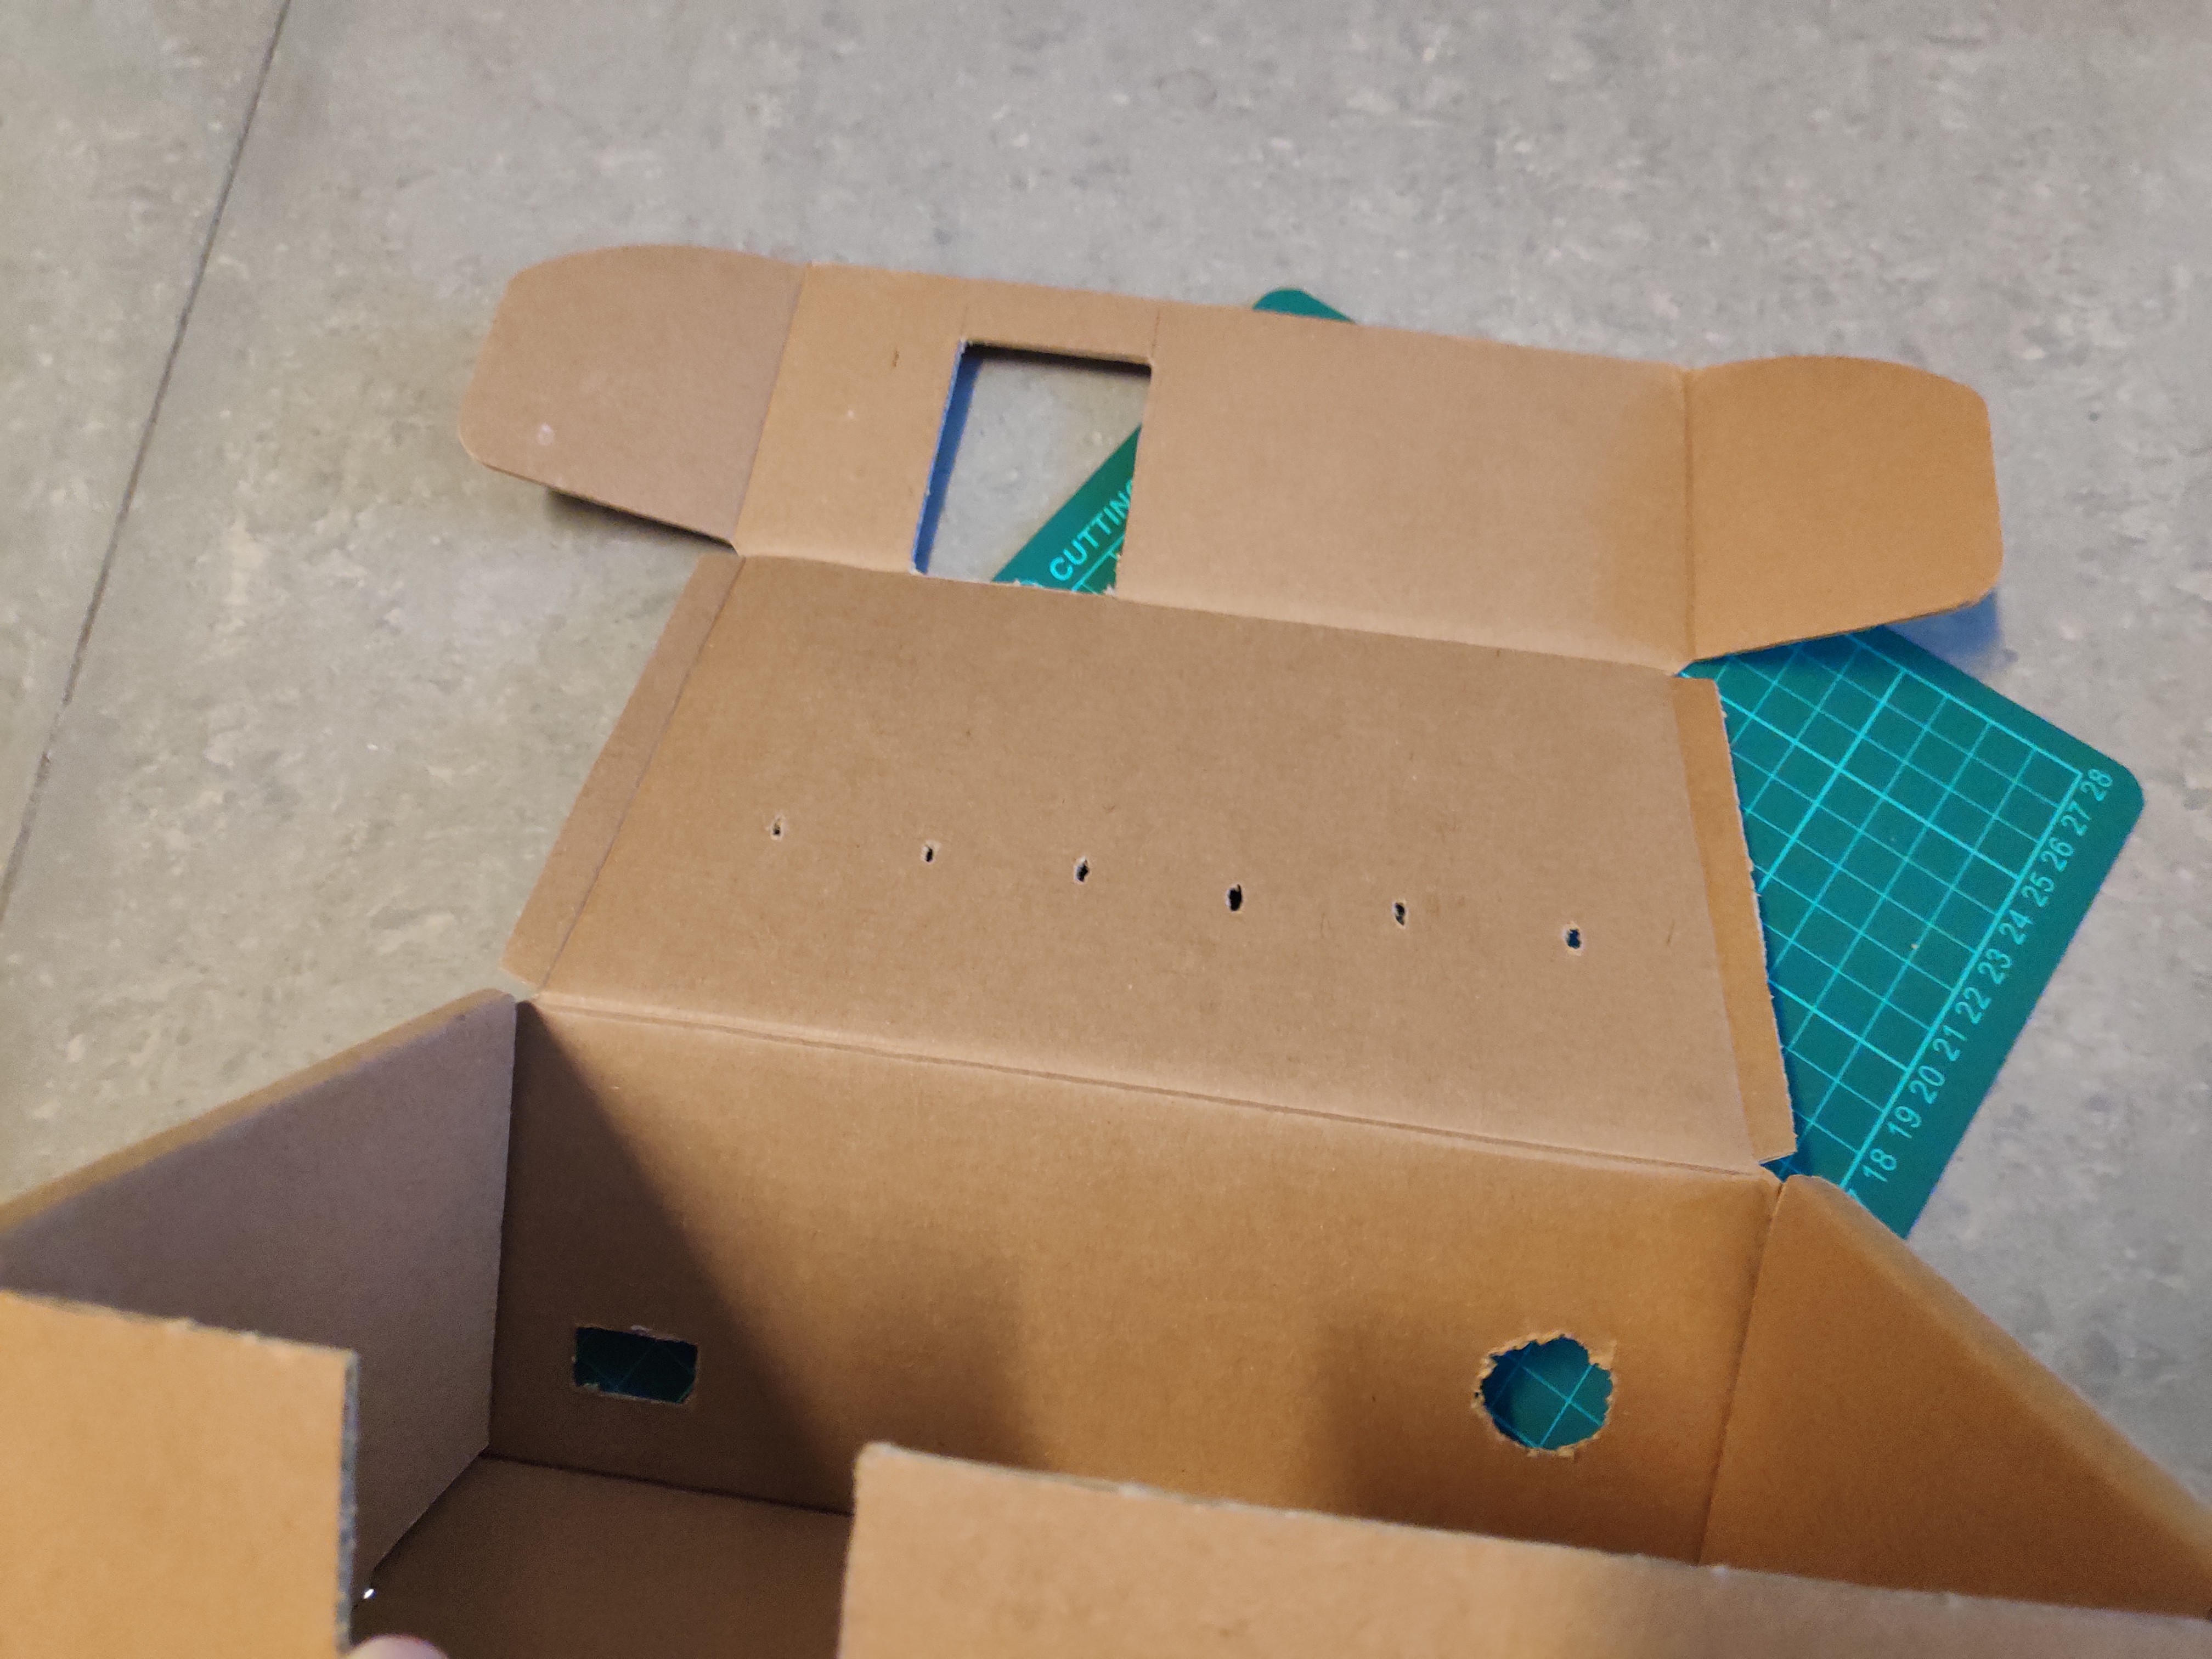
Cut the box to the shape you want:
- Make sure there are holes for the Ultrasonic Sensor, the Buzzer and the LEDs.
Step 5: Color the Cardboard Box
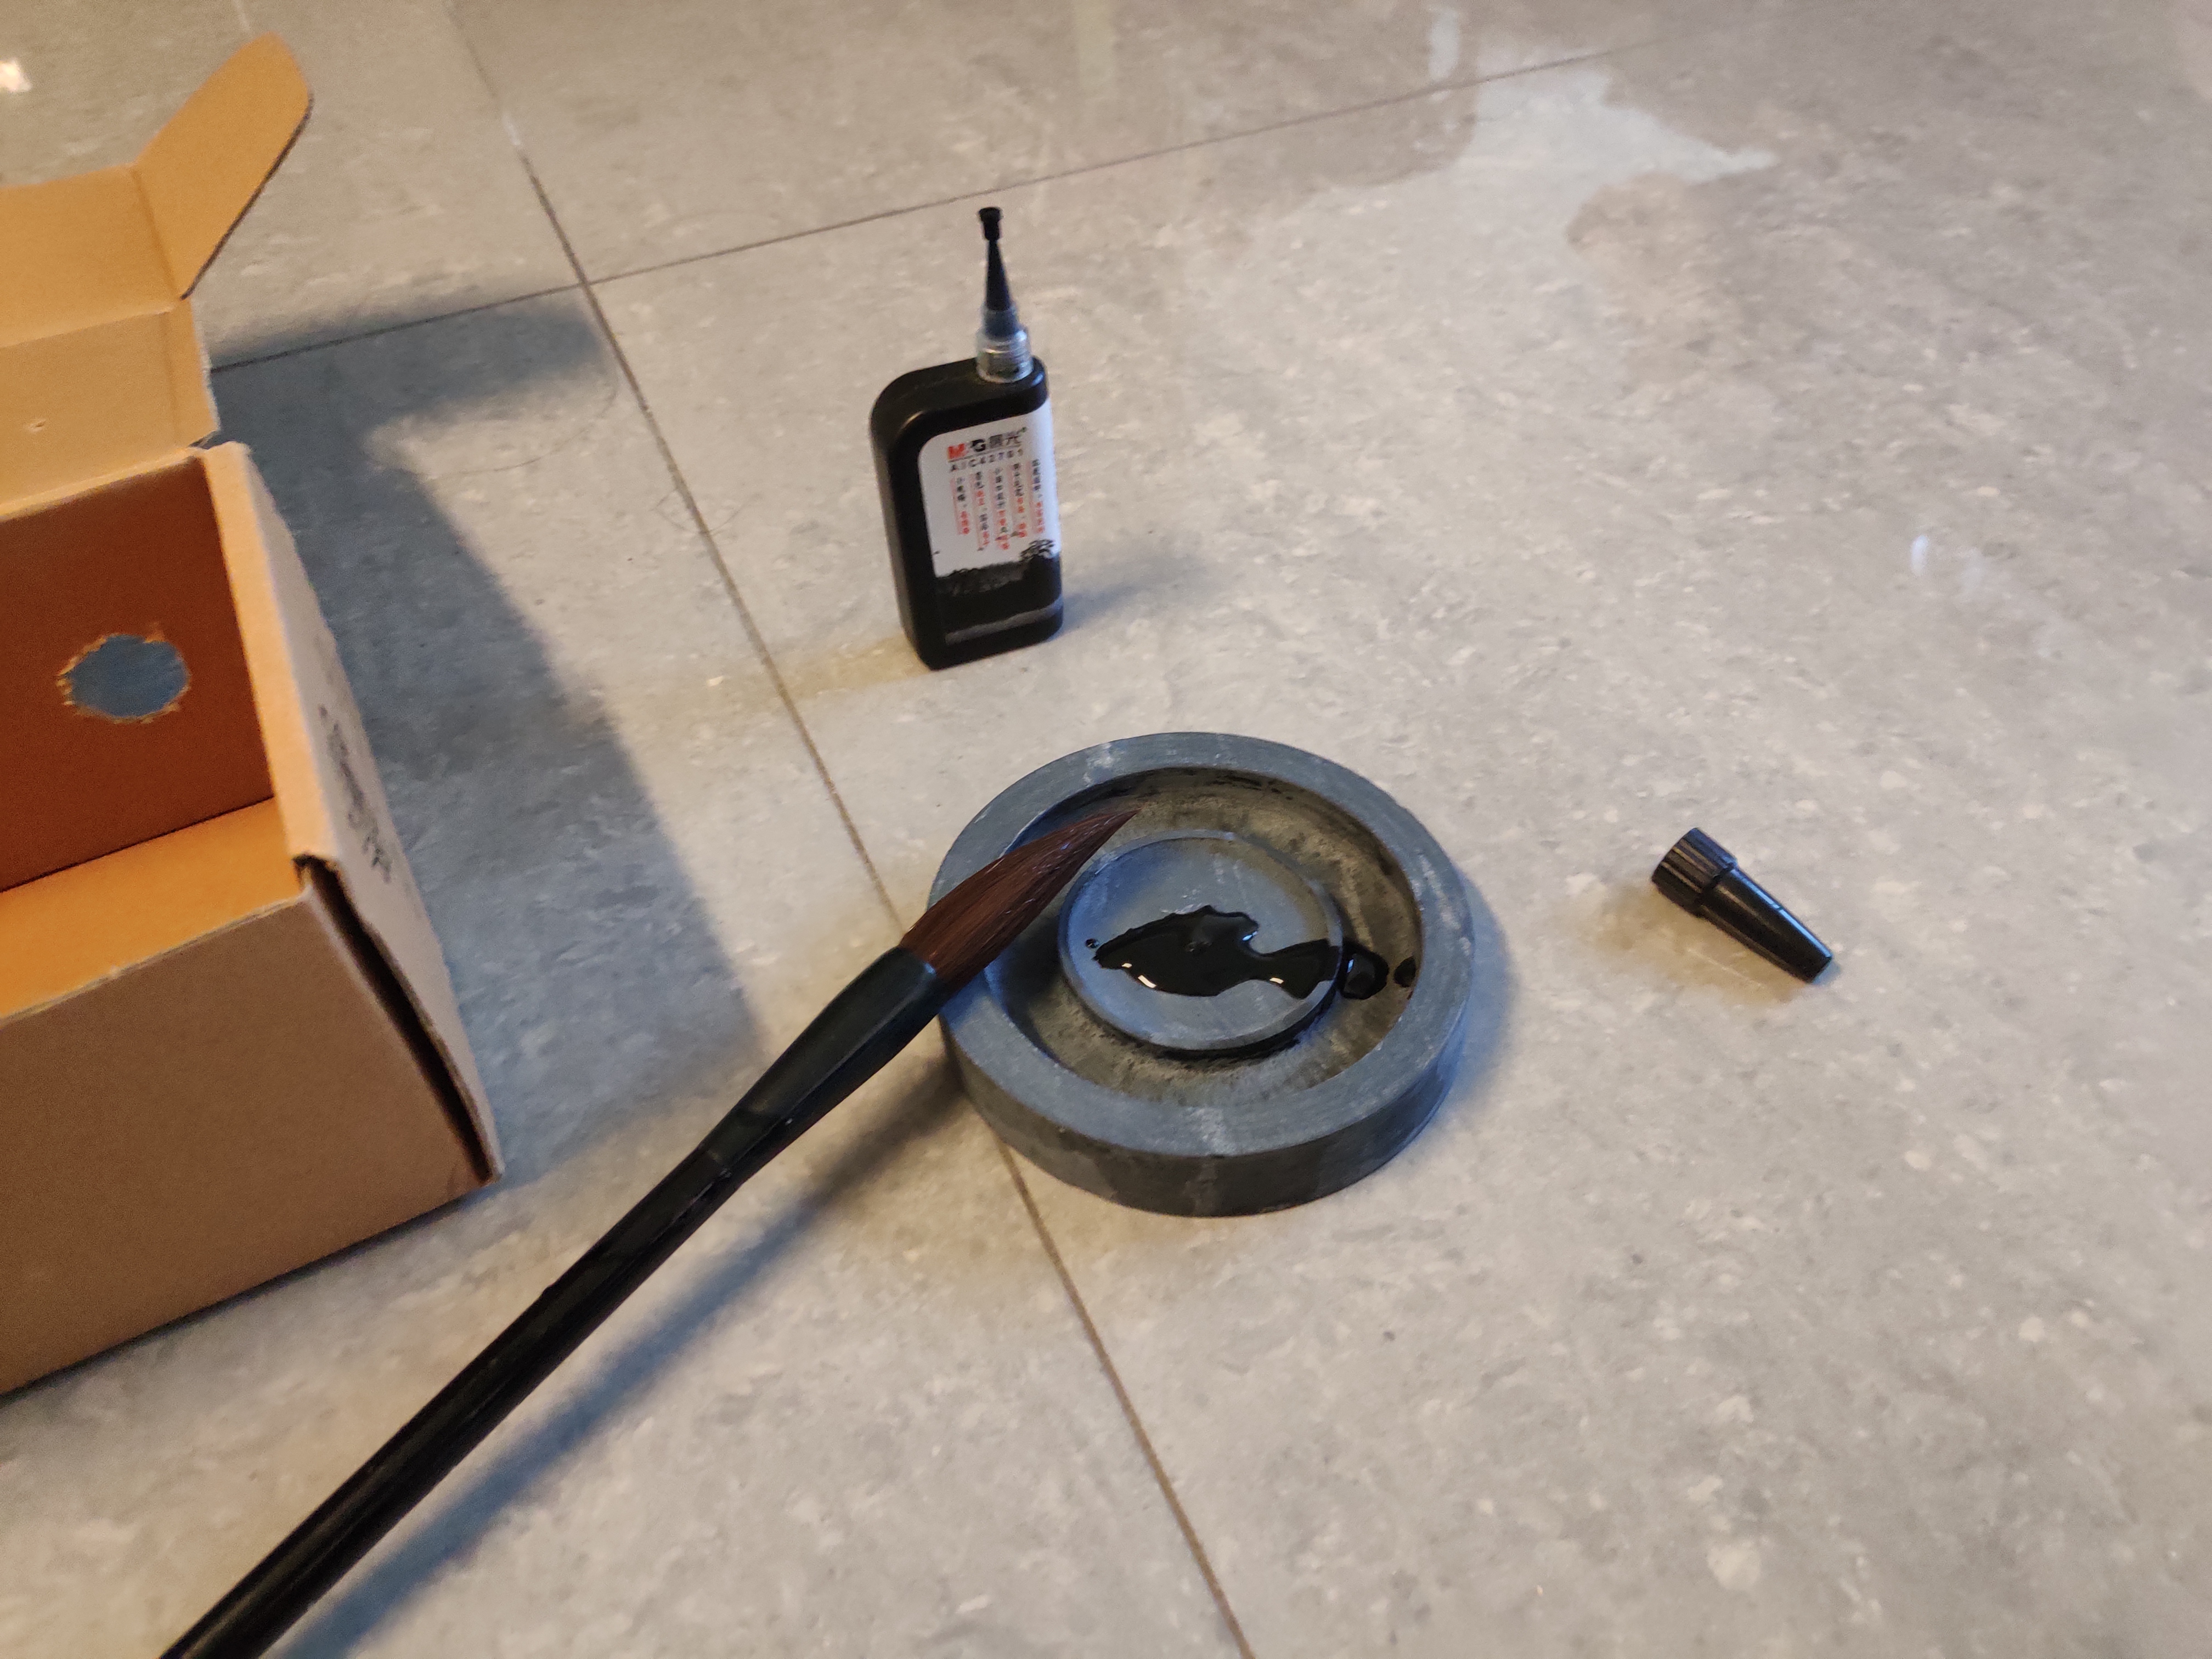
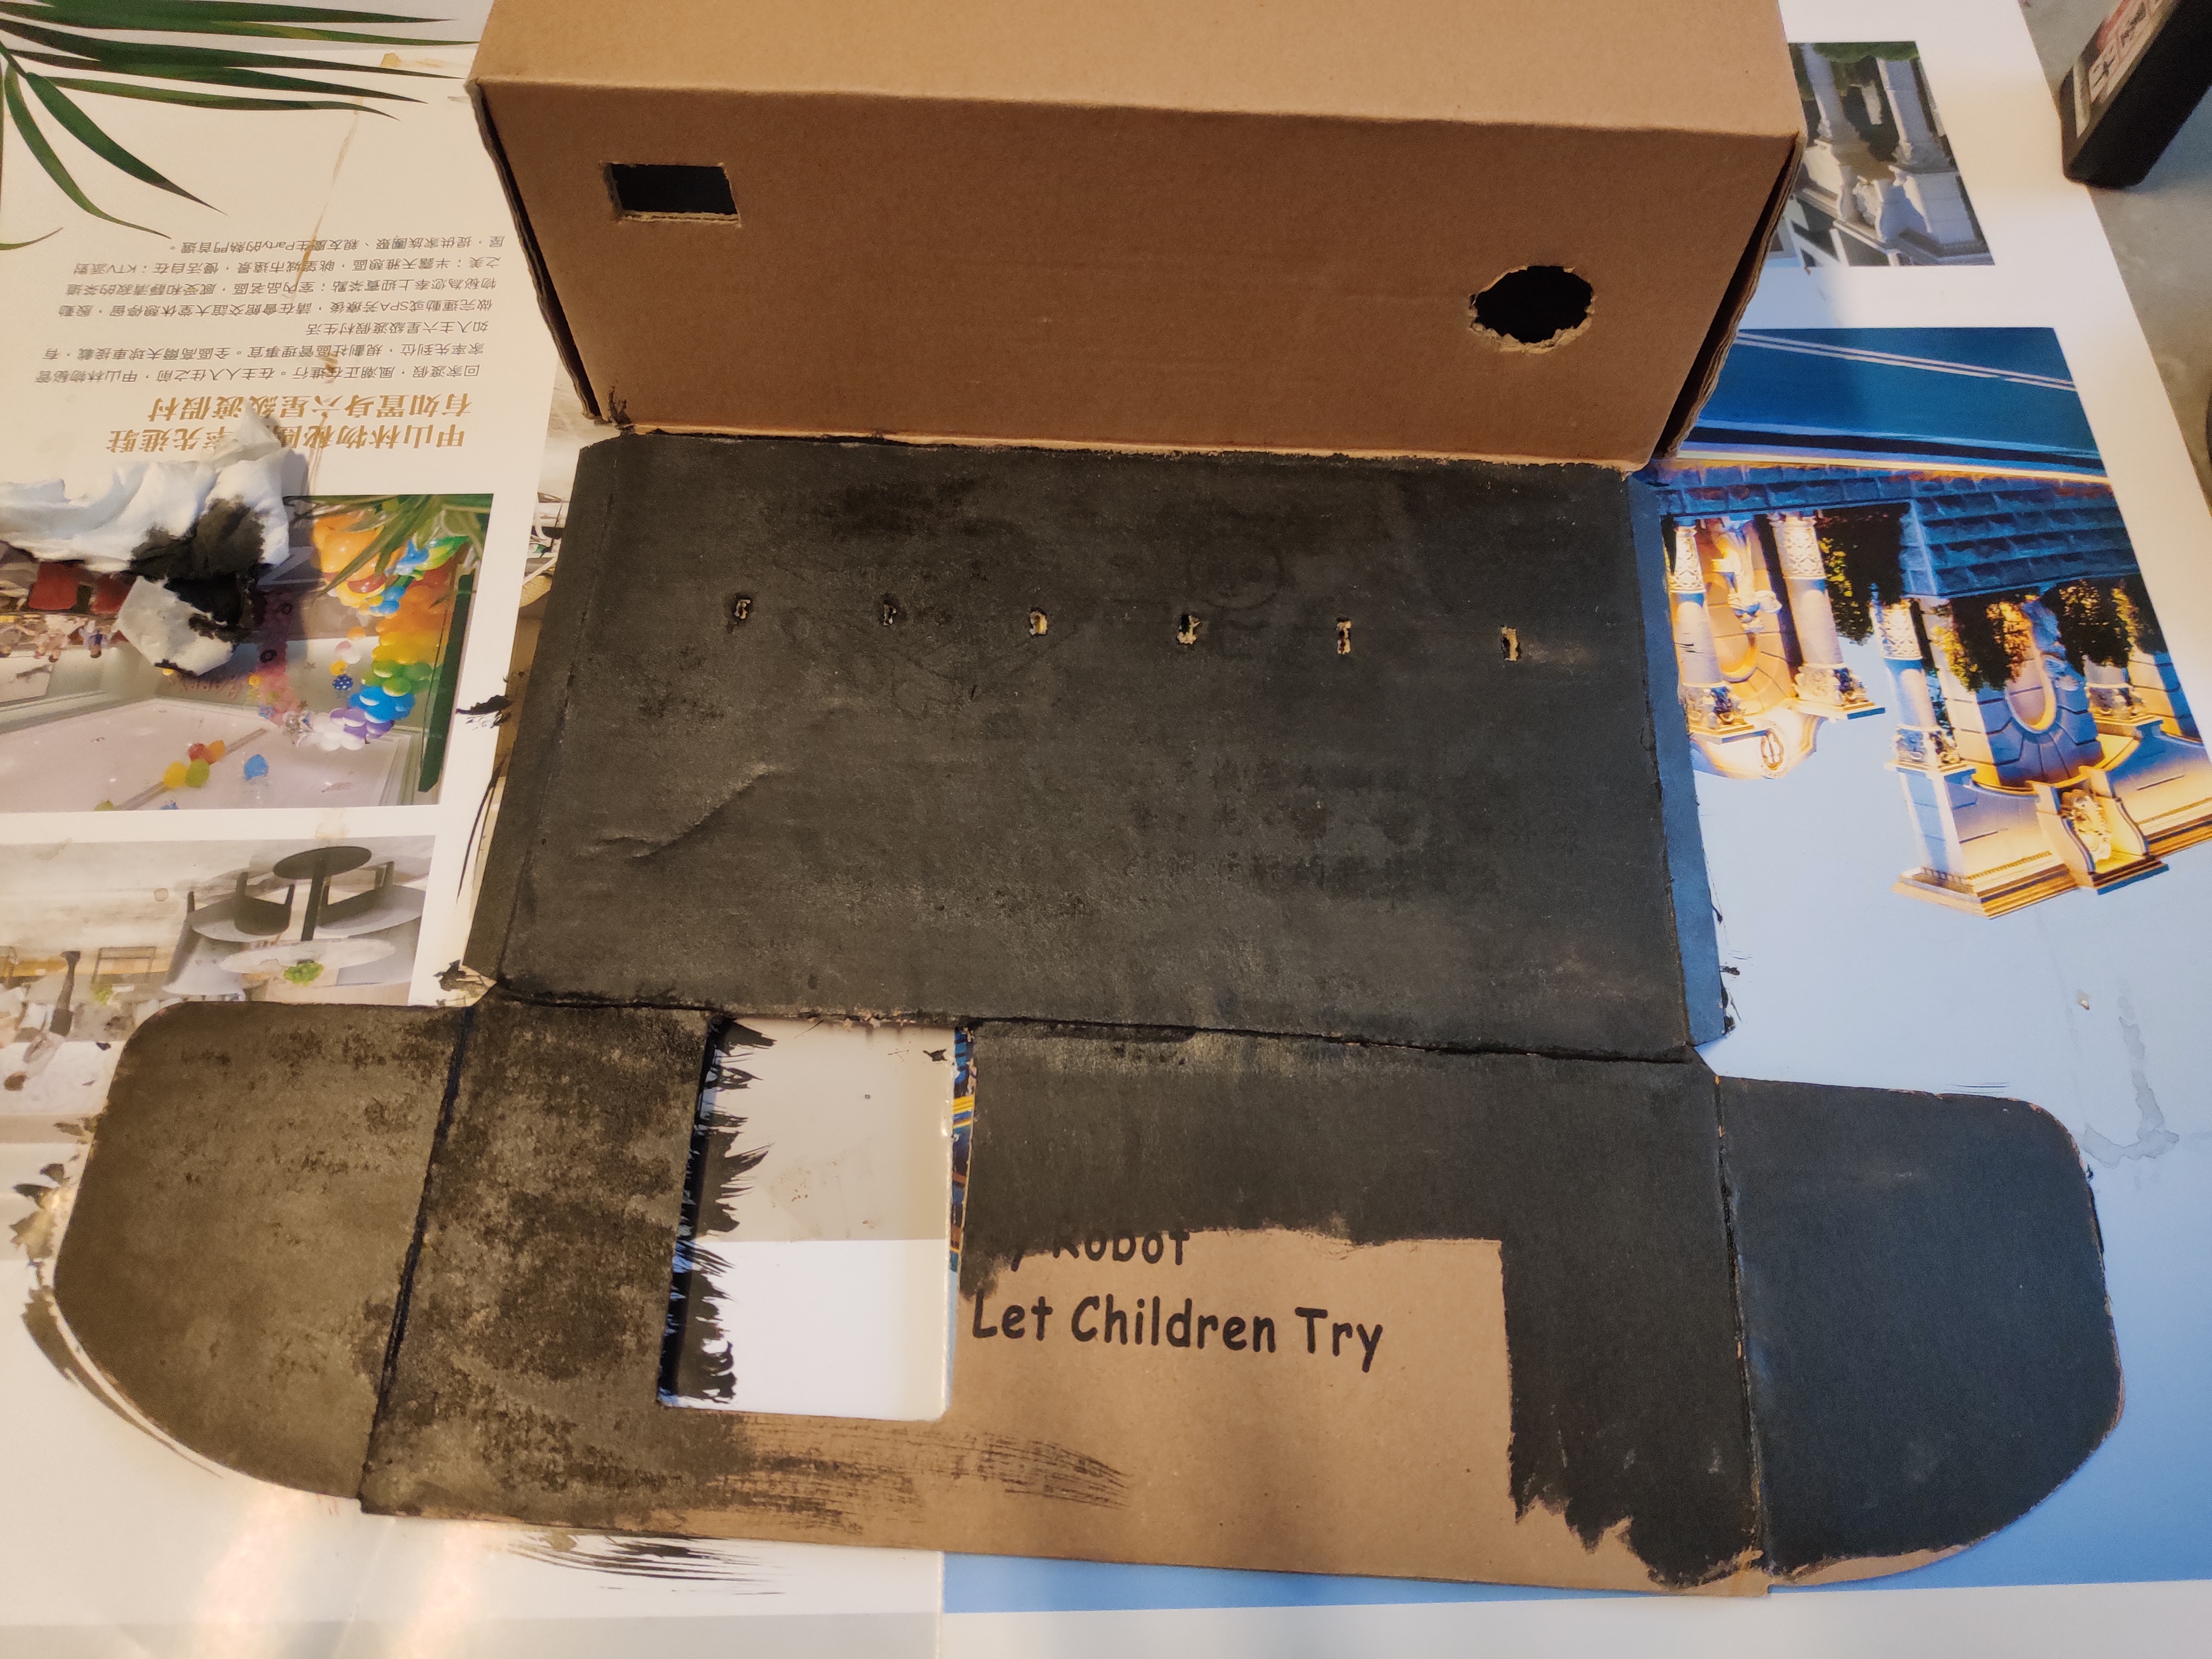
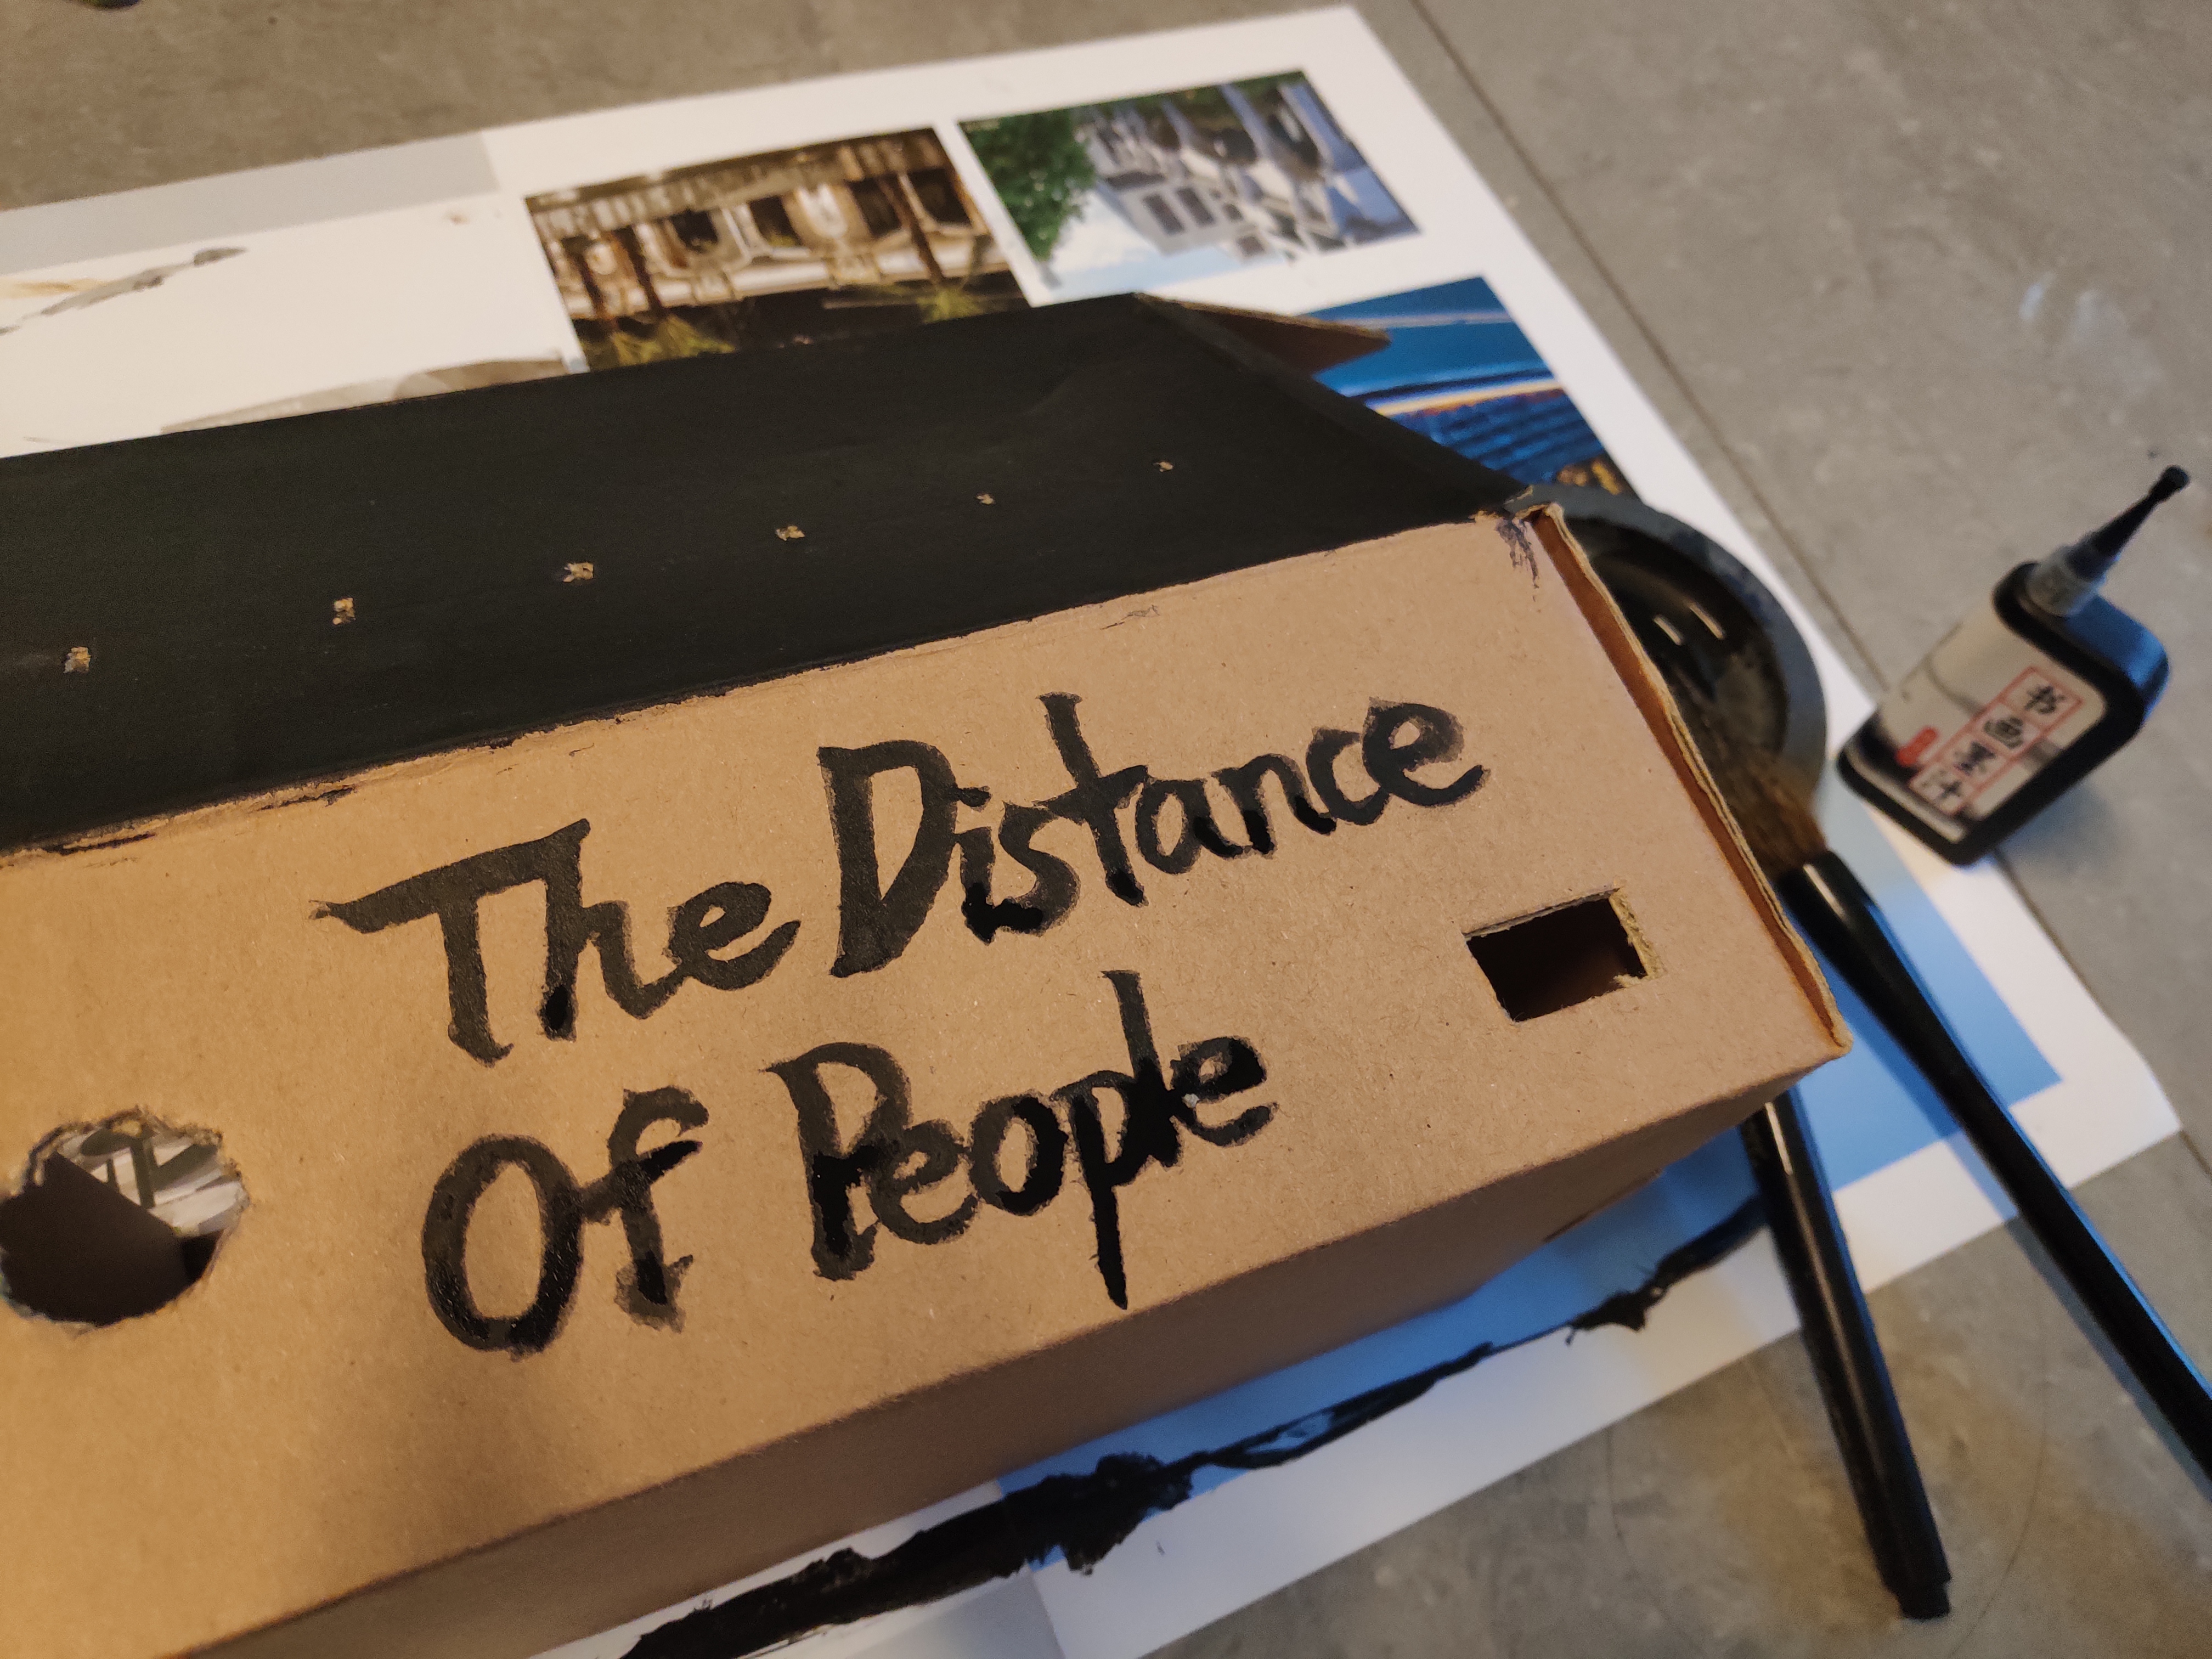
1. Color the surface of the written side with ink and the brush
2. Write the title on the side that is white (no color) with the writing brush
Step 6: Assemble the Box
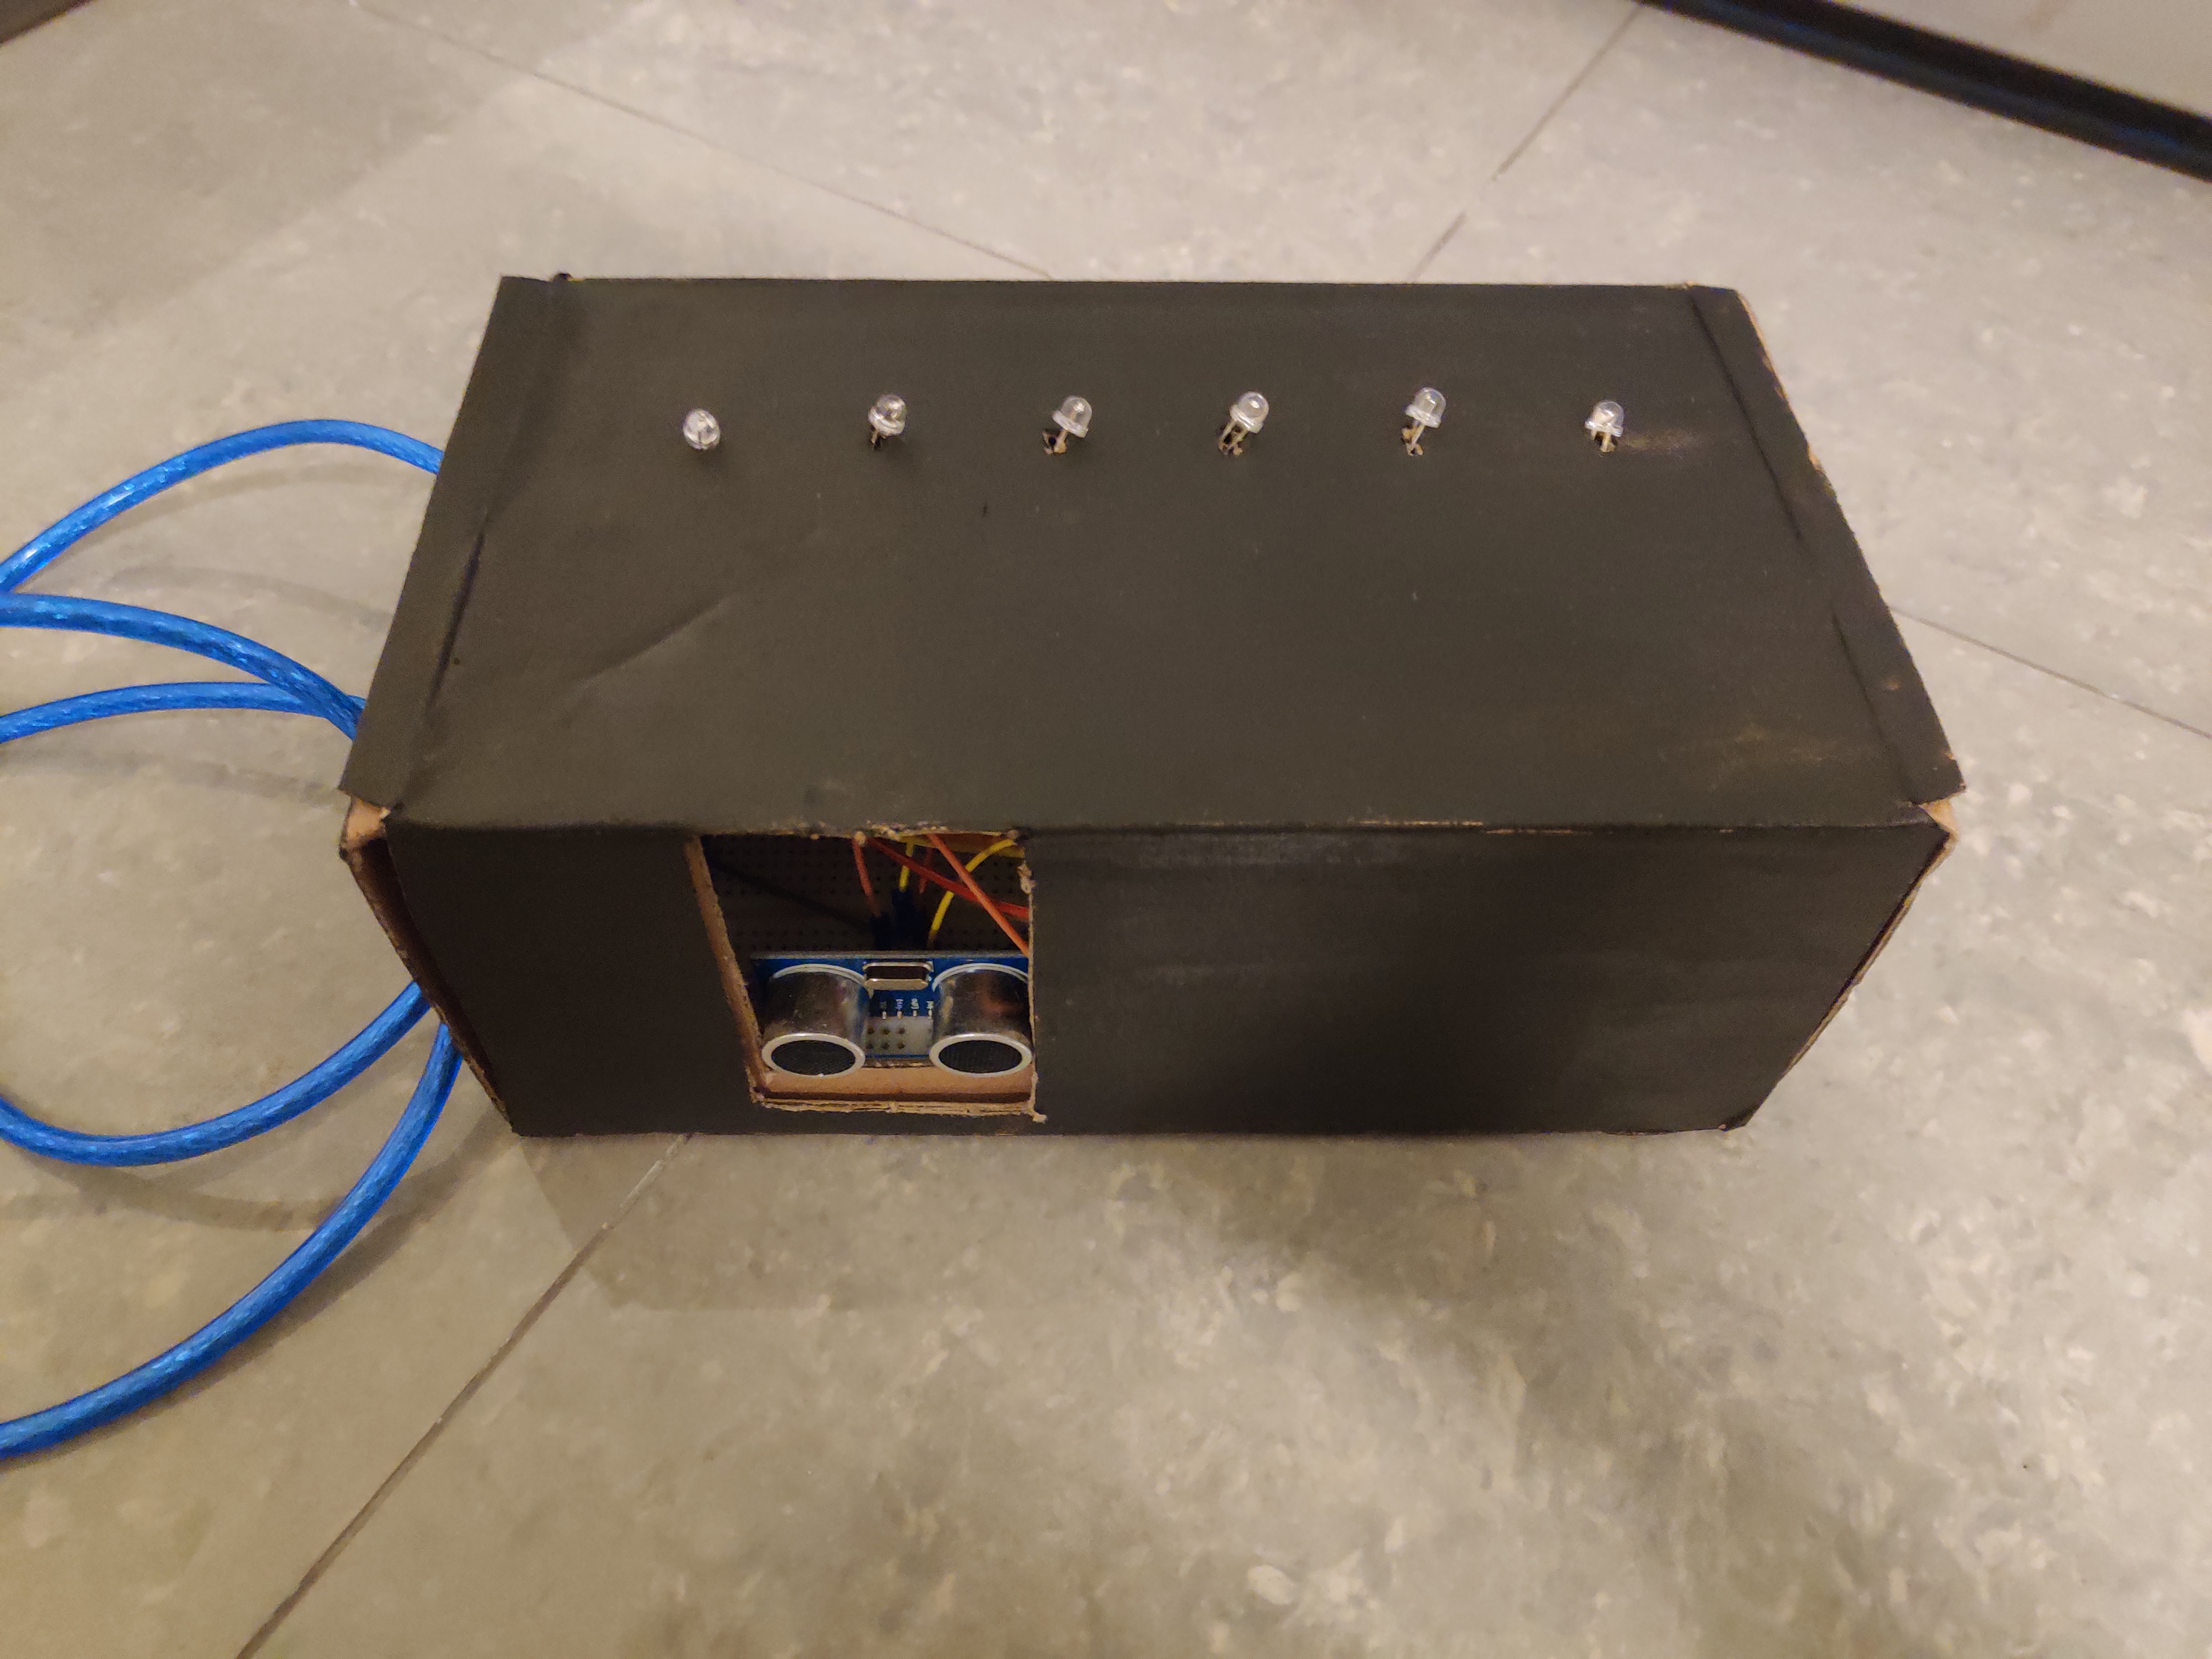
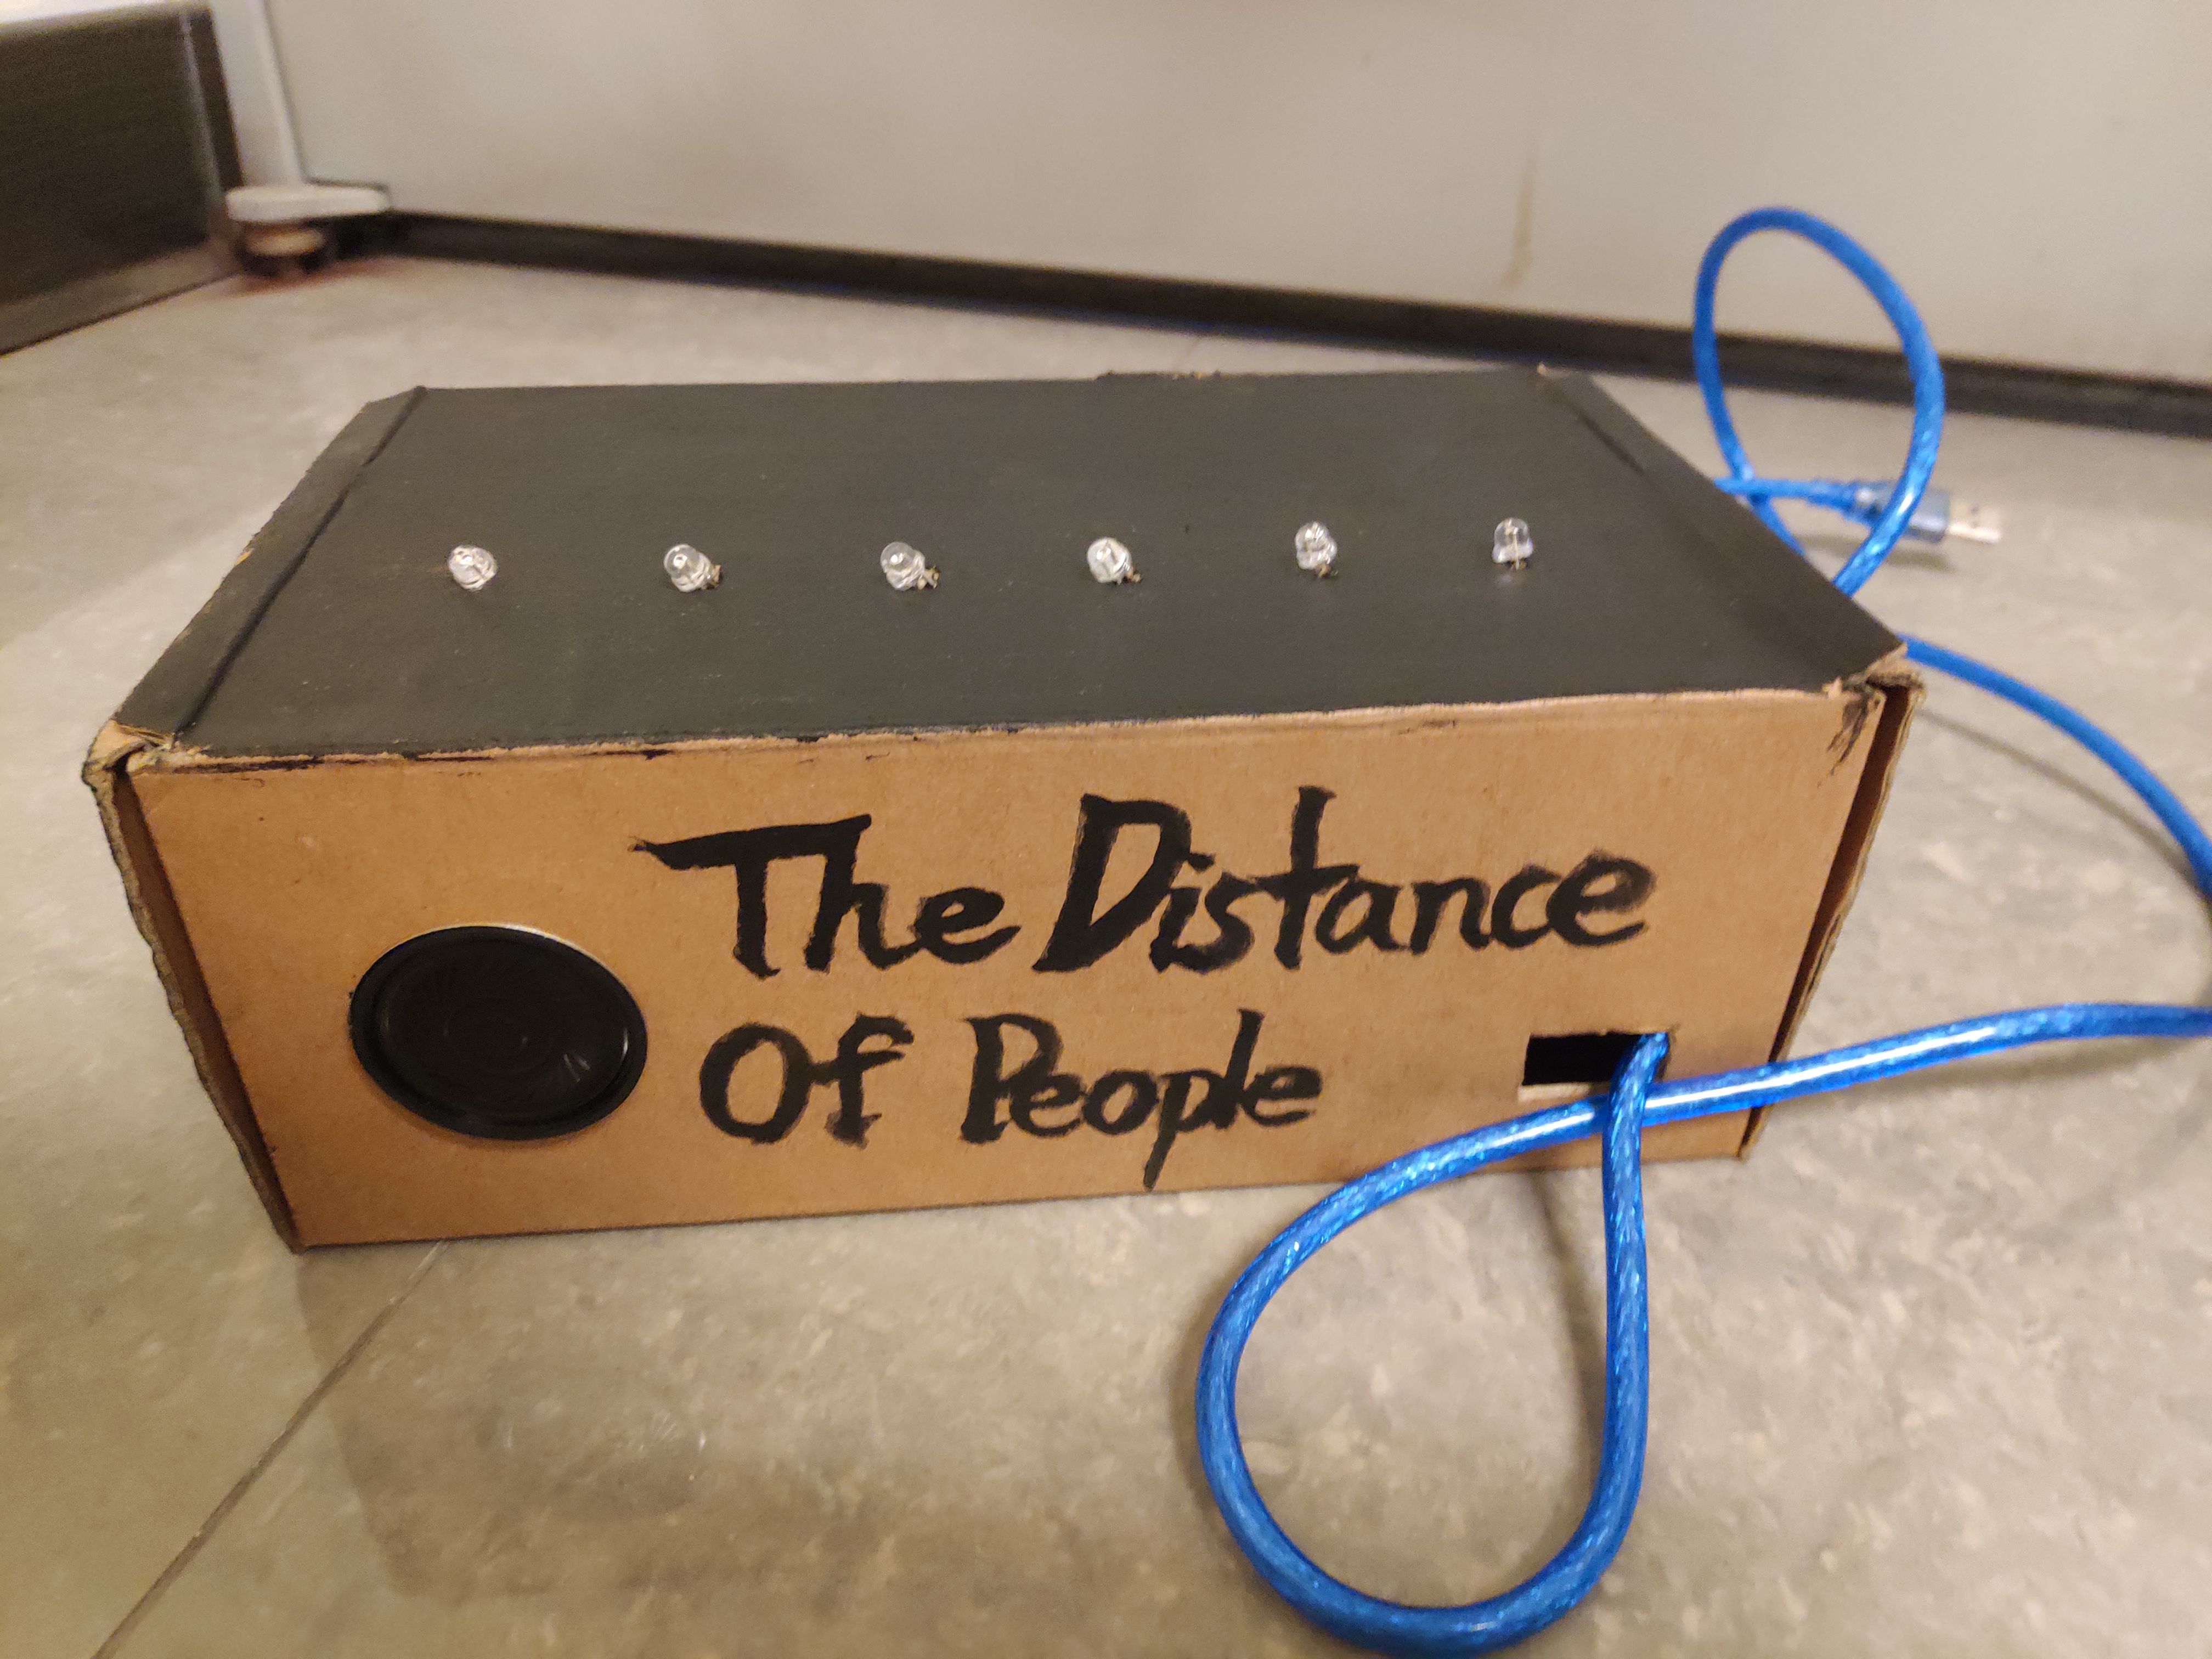
Assemble the box and place the components into the holes.
Step 7: Code
Step 8: Test
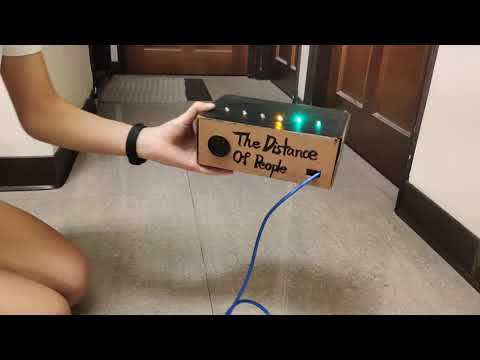
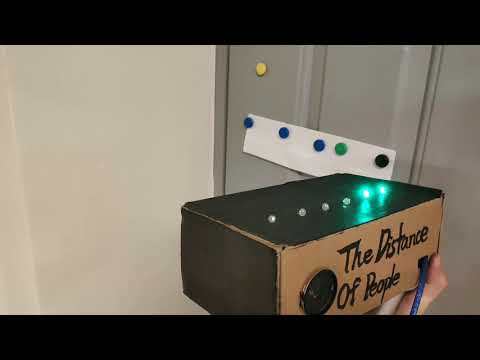
Finish !!!