The Blight Is Upon Us!!!
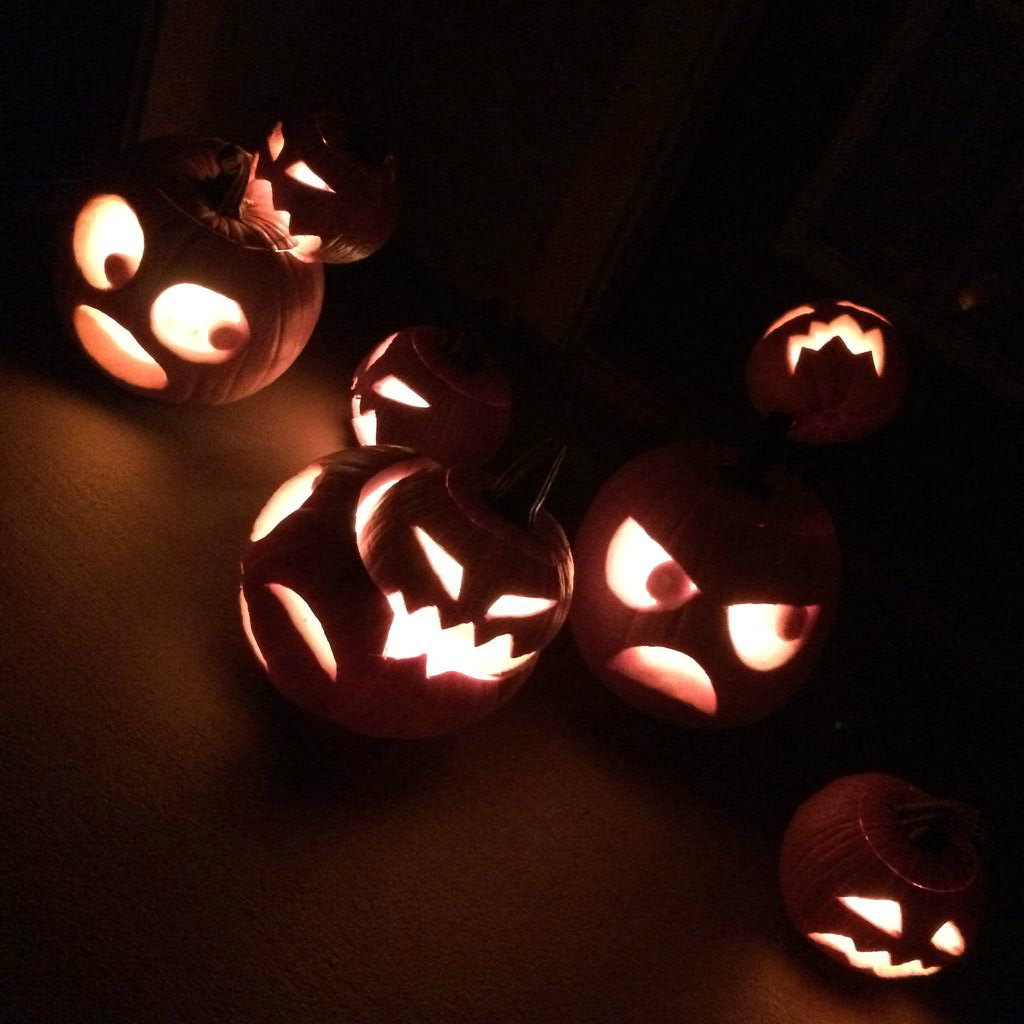
In this instructable we will plan a scene of horror when wild-eyed pie pumpkins emerge to wreak havoc on the local populous. We will go over various techniques for how to fully develop a feeling of movement in a static scene as well as layout and carving to achieve our desired effects.
Please enjoy and happy Halloween!!!
Gather Your Tools
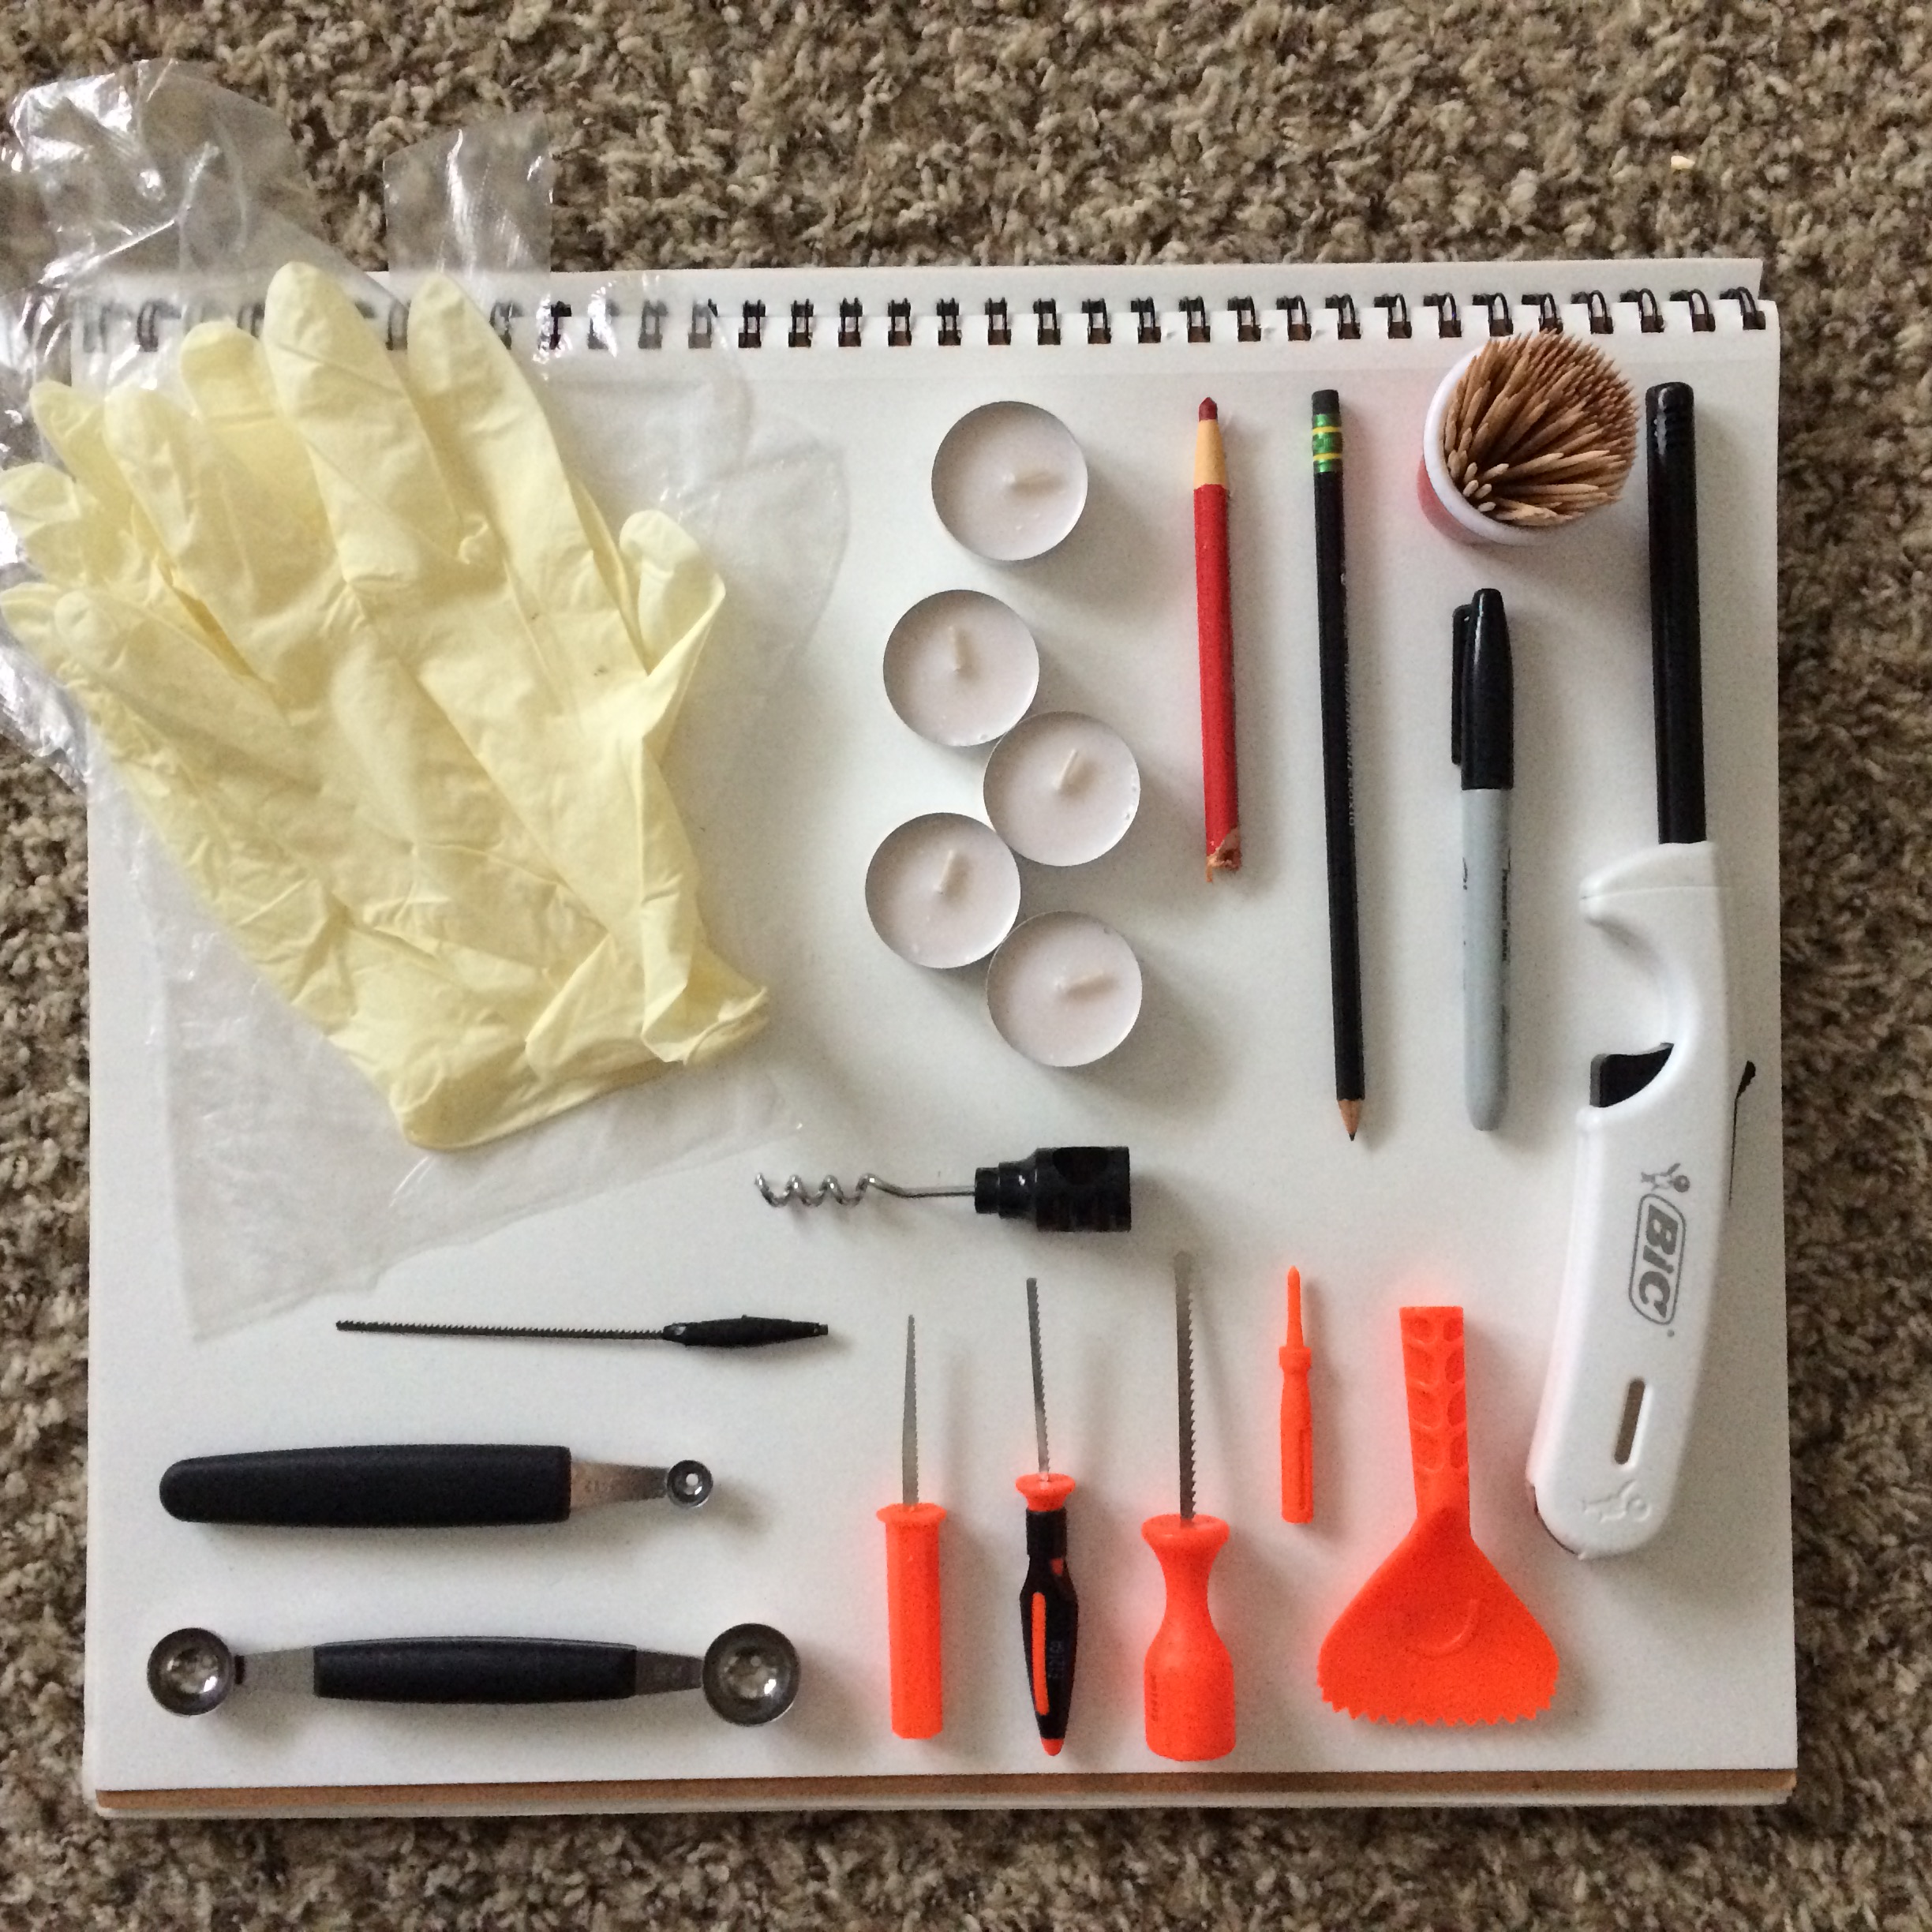
I picked up a pumpkin carving kit, but I've also grabbed a few things from around the house that I like to use if no kit is available or to enhance the kit I have.
- carving kit (available in the fall at most places that sell pumpkins)
- melon baller
- mini melon baller
*(I like the melon ballers for scraping and carving because they come with more of an edge than a normal spoon. The mini melon baller allows for greater detail than the standard size.)
- broken hobby saw blade (taped at one end for a better grip)
- corkscrew
- toothpicks
- tea candles (standard combustable or battery powered)
- lighter
- latex or plastic gloves (optional)
- pencil and paper
- wax pencil or a marker
- trash bag for pumpkin guts
Develop a Backstory
I feel that writing down a backstory for your scene adds another dimension to the end product by opening up the imagination and developing a greater understanding of the emotions that are involved in the experience of your characters. The story does not have to be long or refined :)
Here is my short story I wrote for my scene:
We had spent the fall lobbying to have the abandoned baby bottle factory torn down. The dilapidated buildings stood just beyond the south end of our patch and were an unsightly blot on an otherwise picturesque little community. Granny used to say it was haunted and as a little greenling I believed her, but even as my orange came in I steered clear of the place.
The wind was changing, coming cold and quick from the north. The chill quieted the field and surrounding forests as the familiar silence of the approaching winter washed over the countryside.
Though winter had come and gone for as many years as I could recall, this season felt different. The air felt heavy, with great gusts that would send a pumpkin rolling right across the field except for a firm grip on the vine. Adding to the strange weather, an anxious tension permeating the patch as our county sheriff had been called out of town to rumors of a strange illness spreading in our neighboring community. "Oh! don't let it be the blight!", I heard the older folks say. I had only ever heard stories but the reference to the old legends sent a shiver up my stem.
One night the wind blew with unusual strength. I remember we were hunkered down in and out of sleep as the gusts would rise and fall.
I was jolted awake by the sound of a mighty crash and spent the few hours until dawn tossing and turning with speculation and anticipation. Upon inspection the next morning we found that the largest of the smoke stacks had fallen in the midst of the old factory. A sickly sweet aroma filled the air and just before nightfall a thick dark liquid was seen oozing from the factory gates. The sheriff was due to return the next day so we decided to sleep on it and face the problem fresh in the morning. No more thought was given and sleep came easily.
That easy sleep would not last.
The fire started just after midnight. The monsters came, that horrible glow at their backs! The blight was upon us!!! We ran for our lives ...
... and that is where our scene begins :)
Notice the rough outline of a sleepy little society with local troubles and stories of ghosts and legends of a blight. The air is cold and the locals are anxious.
If you try, you can really put yourself in their place and begin to work out what kind of characters might live in a community like that and how they might react to the sudden calamity.
Set the Scene
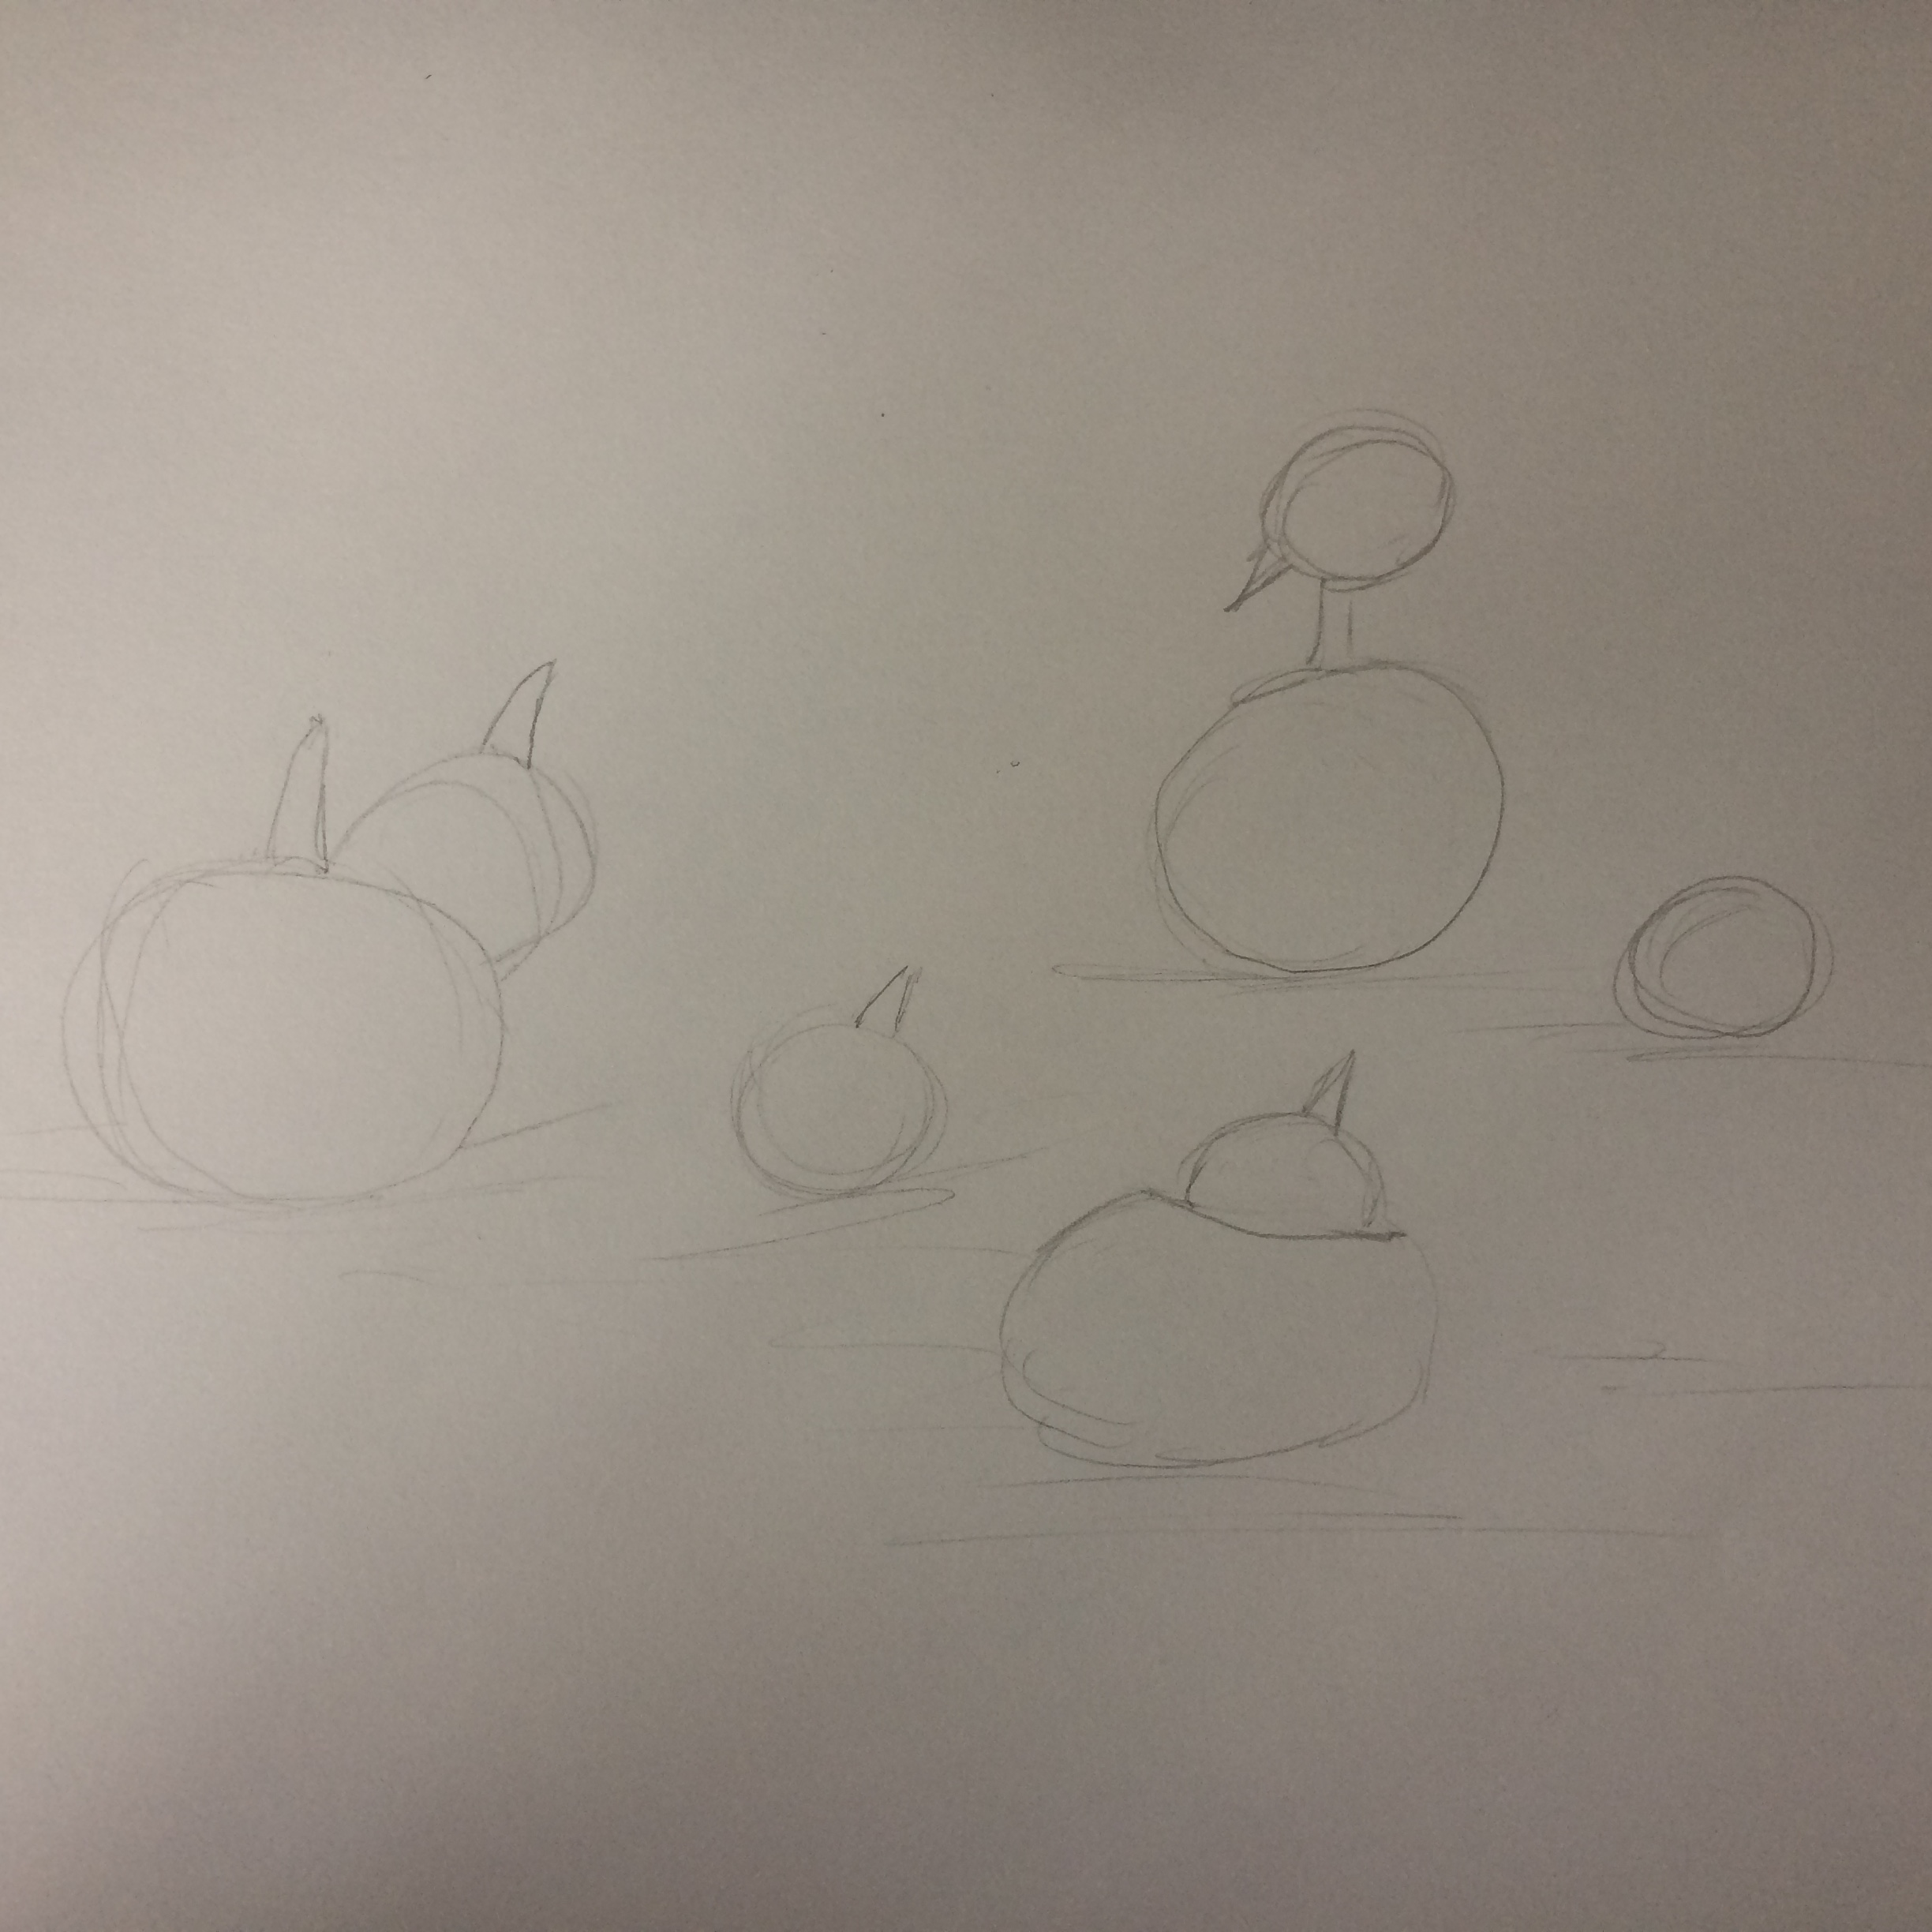
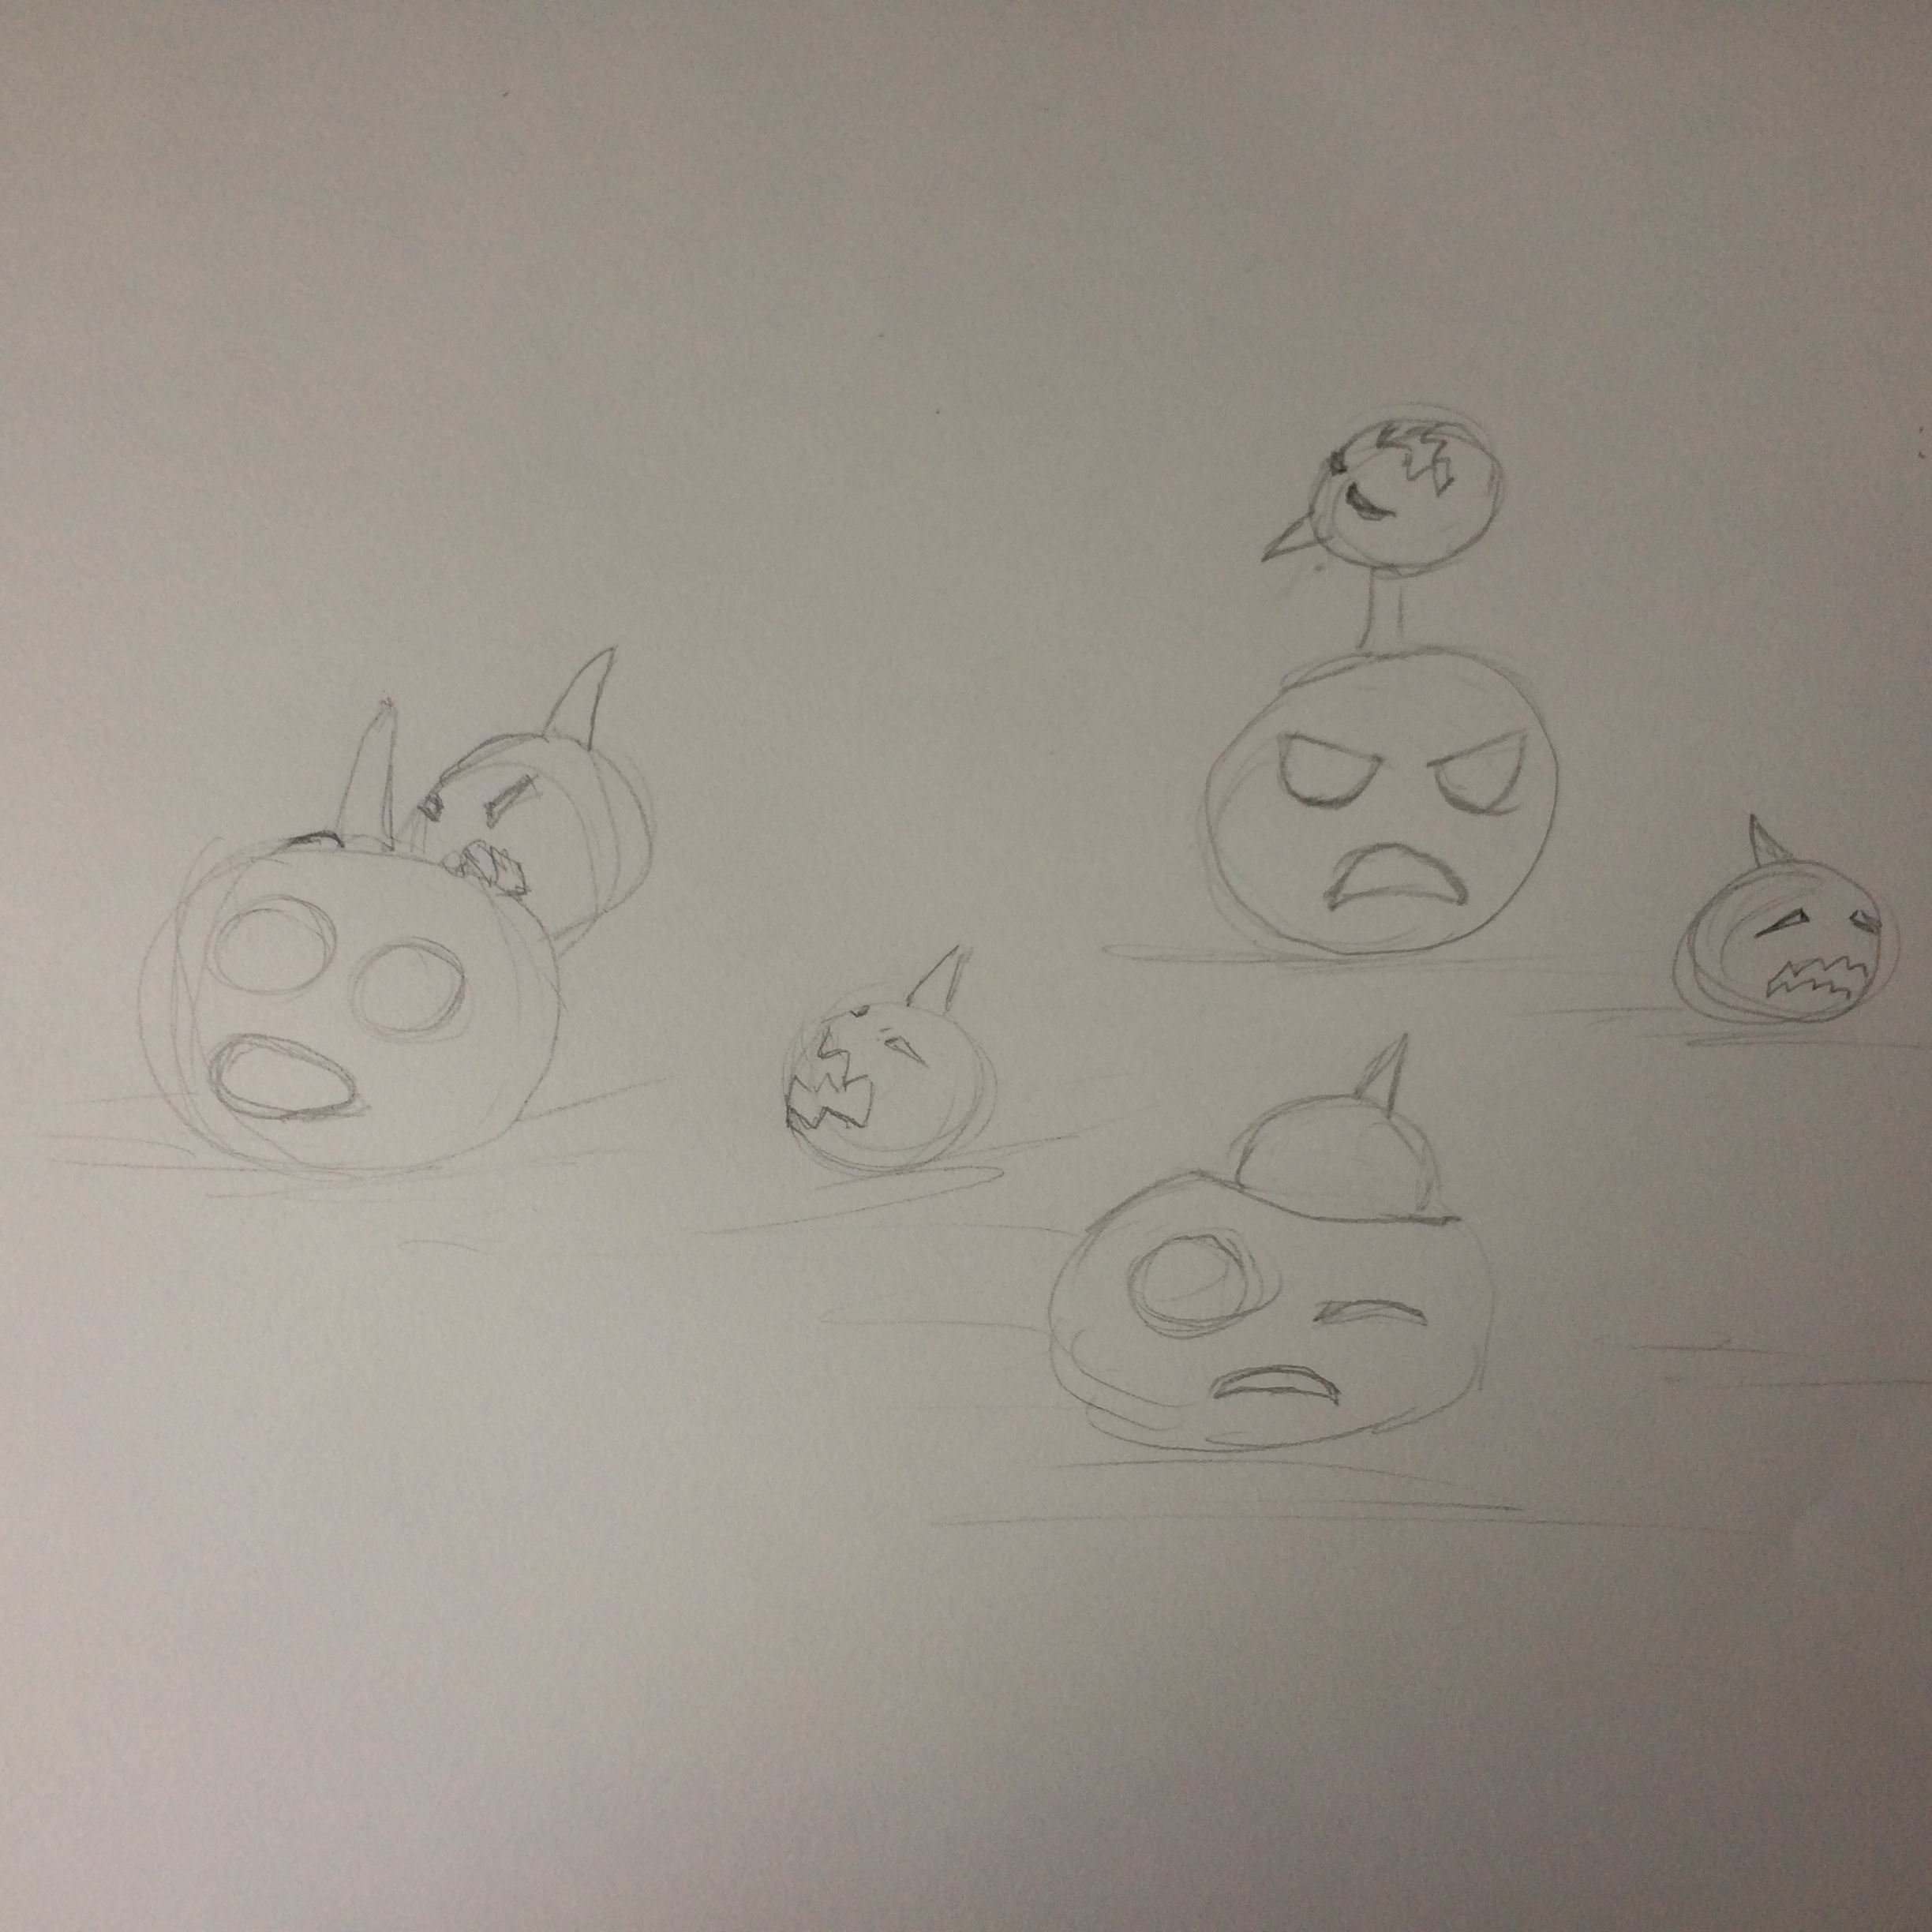
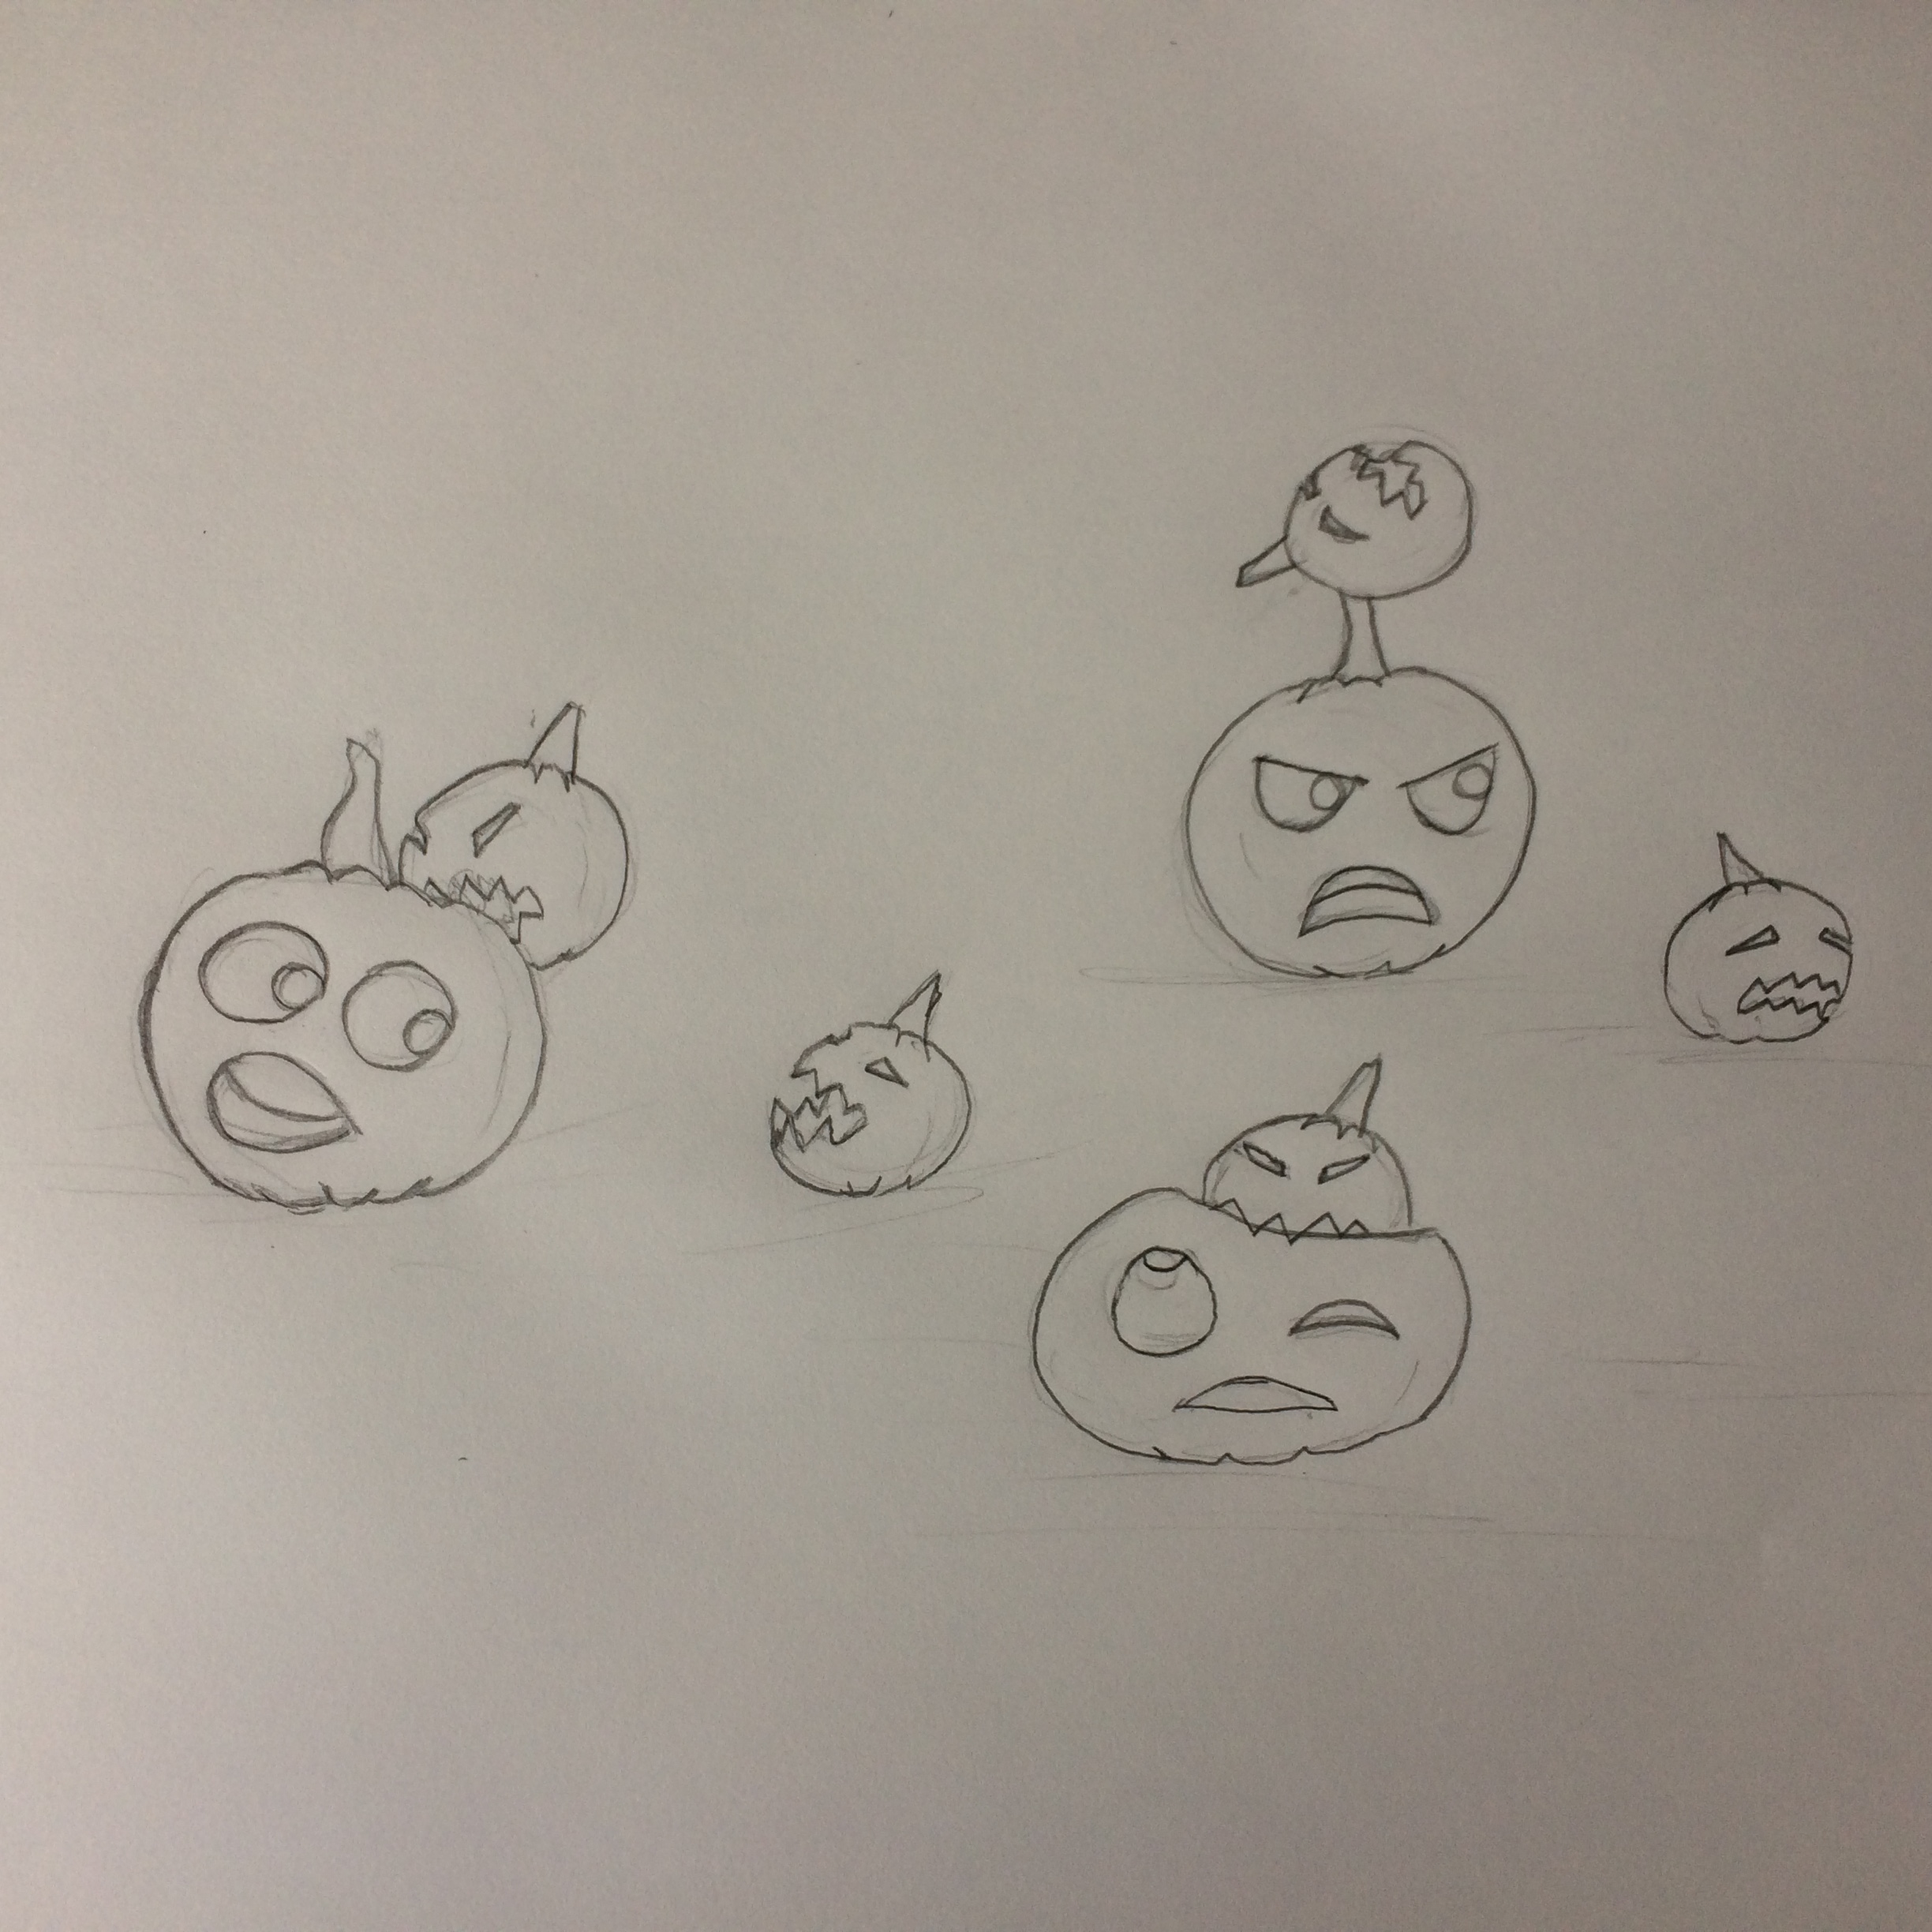
Once you have your story and have immersed yourself in the feelings and fears of your characters, it is time to sketch out the scene.
Begin with simple circles as you decided on the distribution and spacing of your pumpkins. I am using the larger pumpkins for my protagonists (good guys) and the smaller ones for my antagonists (bad guys). If your story involves a giant monster pumpkin attacking a small village, the reverse would be more sensible ;)
Now that you have your pumpkins where you want them you can begin to add detail. I focus first on "body" position to imply emotion (think body language) and then add facial expressions to build upon the body language and create multiple emotive dimensions.
I know a pumpkin doesn't give you much to work with, but by simply laying the gourd on its side or flipping it upside down you can create the foundation for a character scrambling in terror. The next step, as we take our finalized sketch to the pumpkin patch or our local grocery store, we will look at ways to use the unique shapes and sizes of each individual pumpkin we find as a resource for even greater character development.
Pick Your Pumpkins
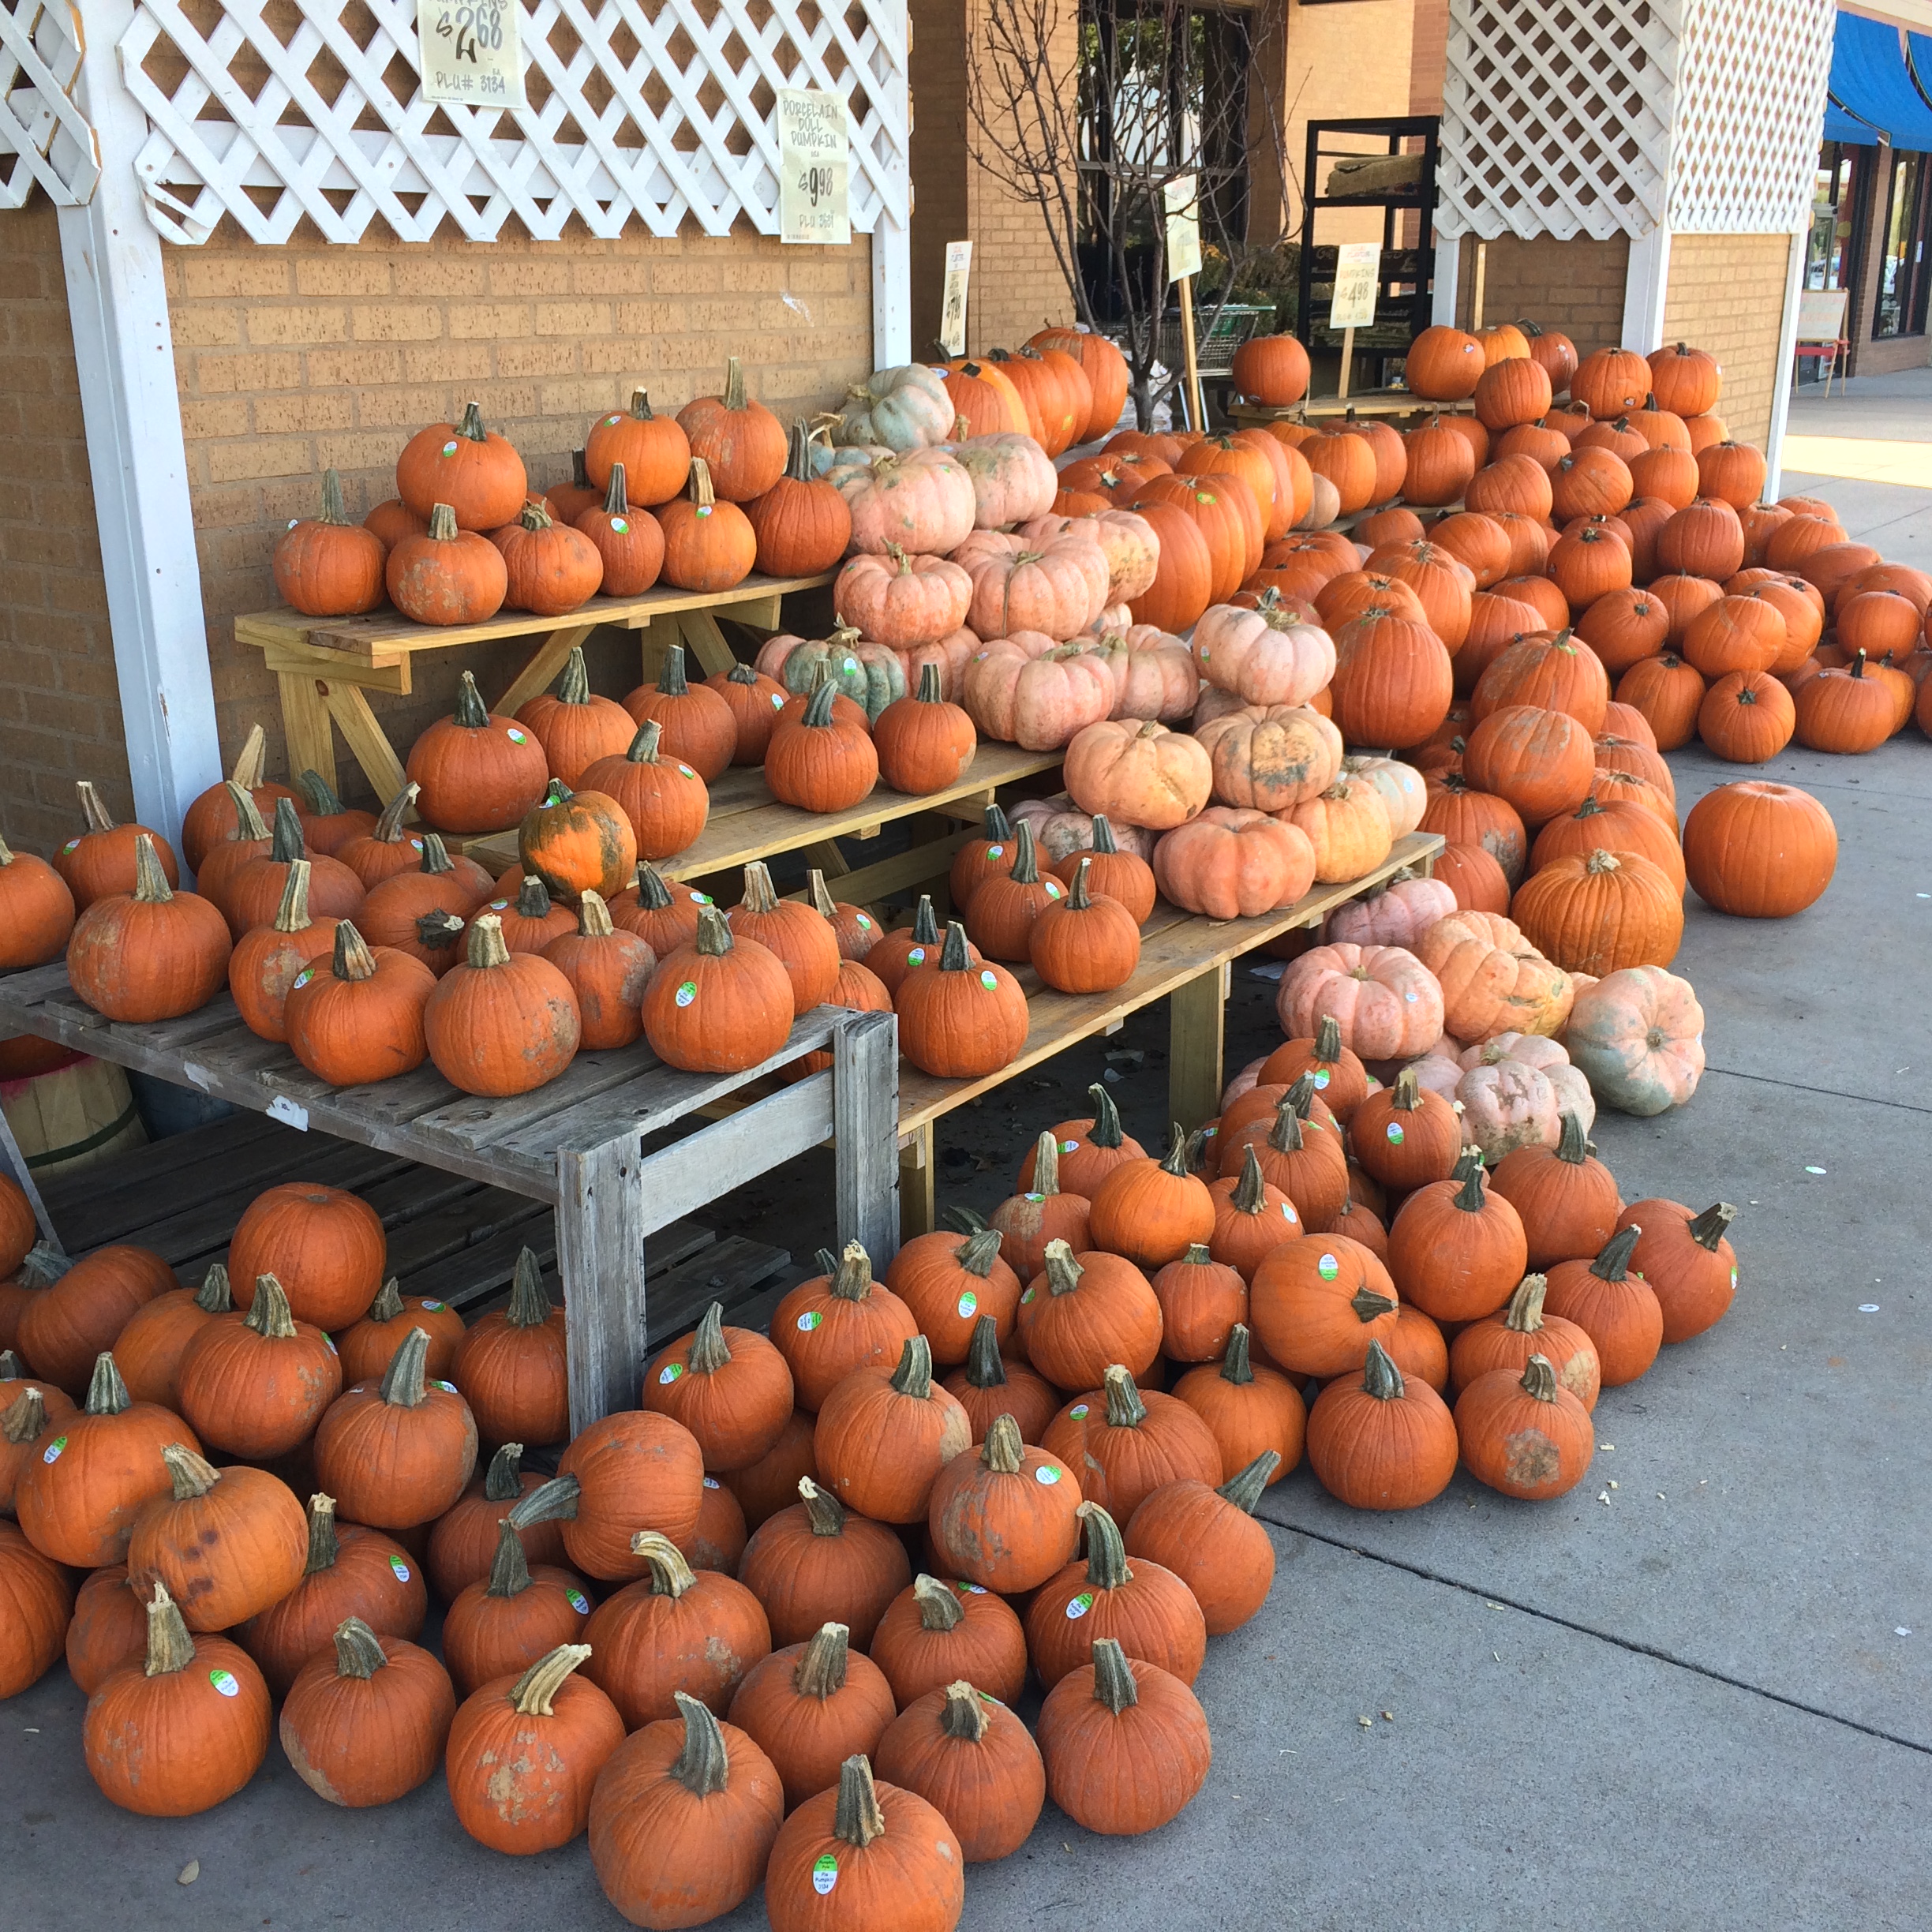
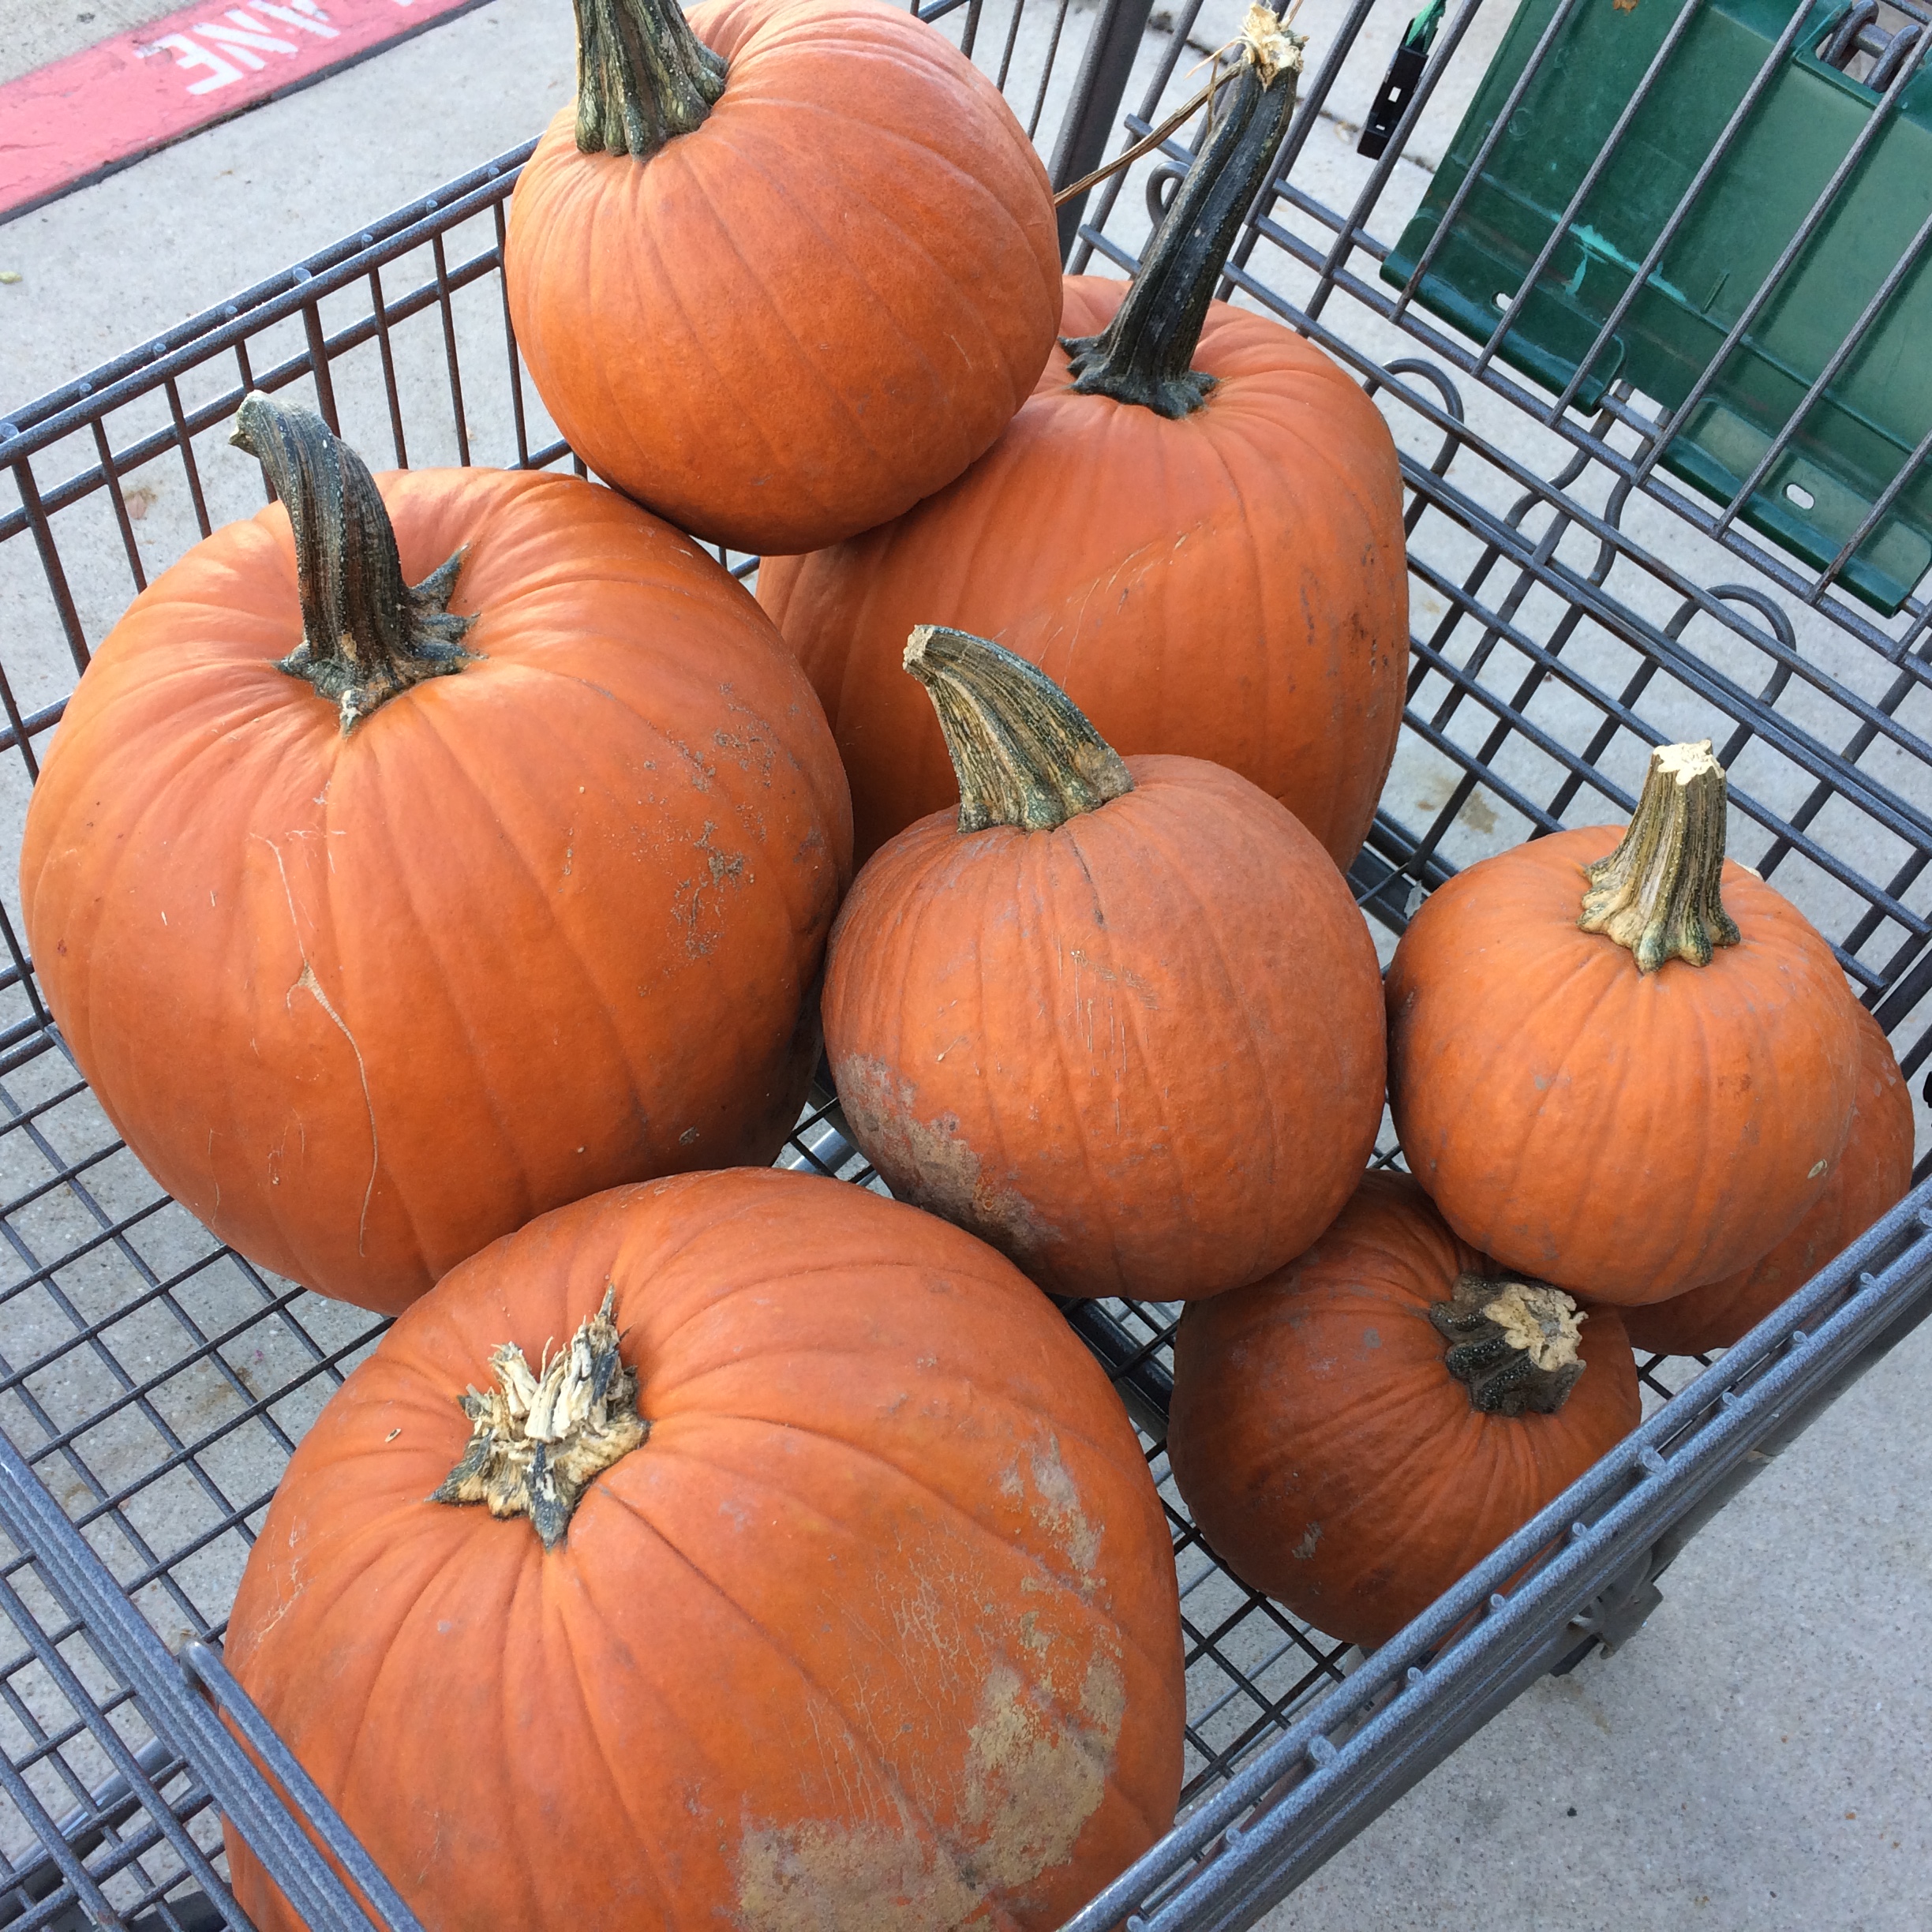
Fresh, firm, and local!
If you are lucky enough to live in an area that has farms with pumpkins growing, support your local businessperson! Whether you find them at a patch or at the corner store, there is an added benefit in the local pumpkins. The reduced travel time provides fewer chances for your pumpkin to sustain damage via transport.
*The local pumpkin patch is a wonderful opportunity for quality time outdoors with friends and family. Don't forget the corn maze!
When searching for the perfect pumpkin, refer to your sketches to find unique shapes that add to the movement and emotion of your scene.
- a squat, deflated looking pumpkin for a character that has given up
- a stout, strong pumpkin for your bravest character
- a slanted, stretched out pumpkin for a character fleeing or attacking
- etc.
The possibilities (at least as far as I'm willing to do the math) are endless!
Prep Your Pumpkins
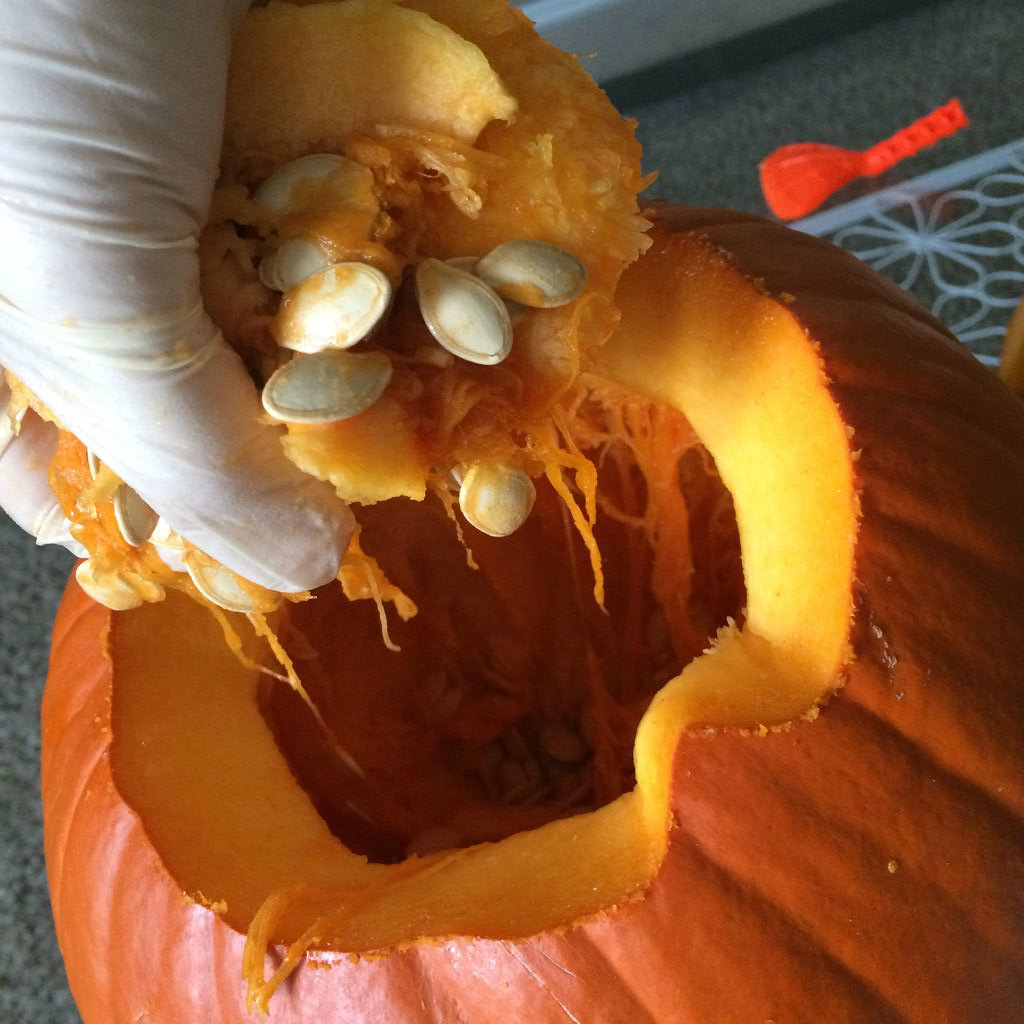
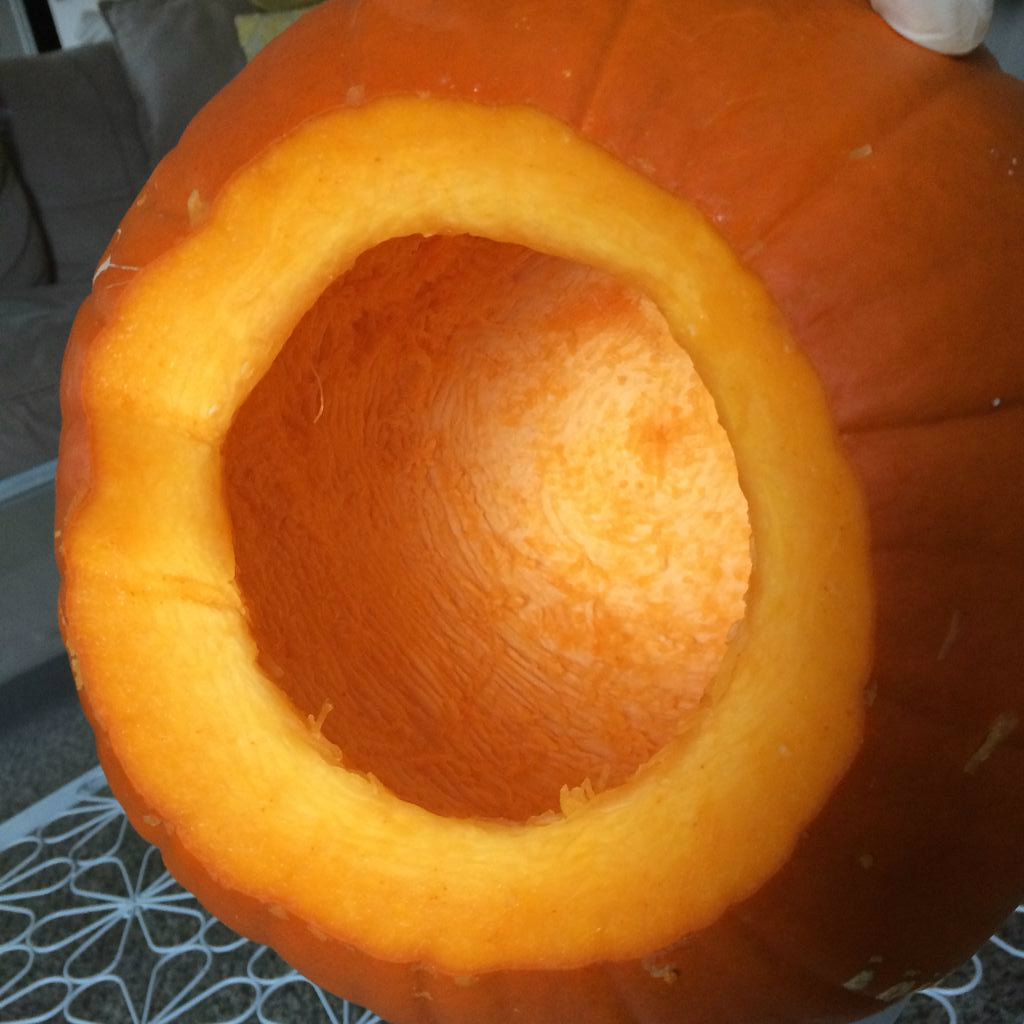
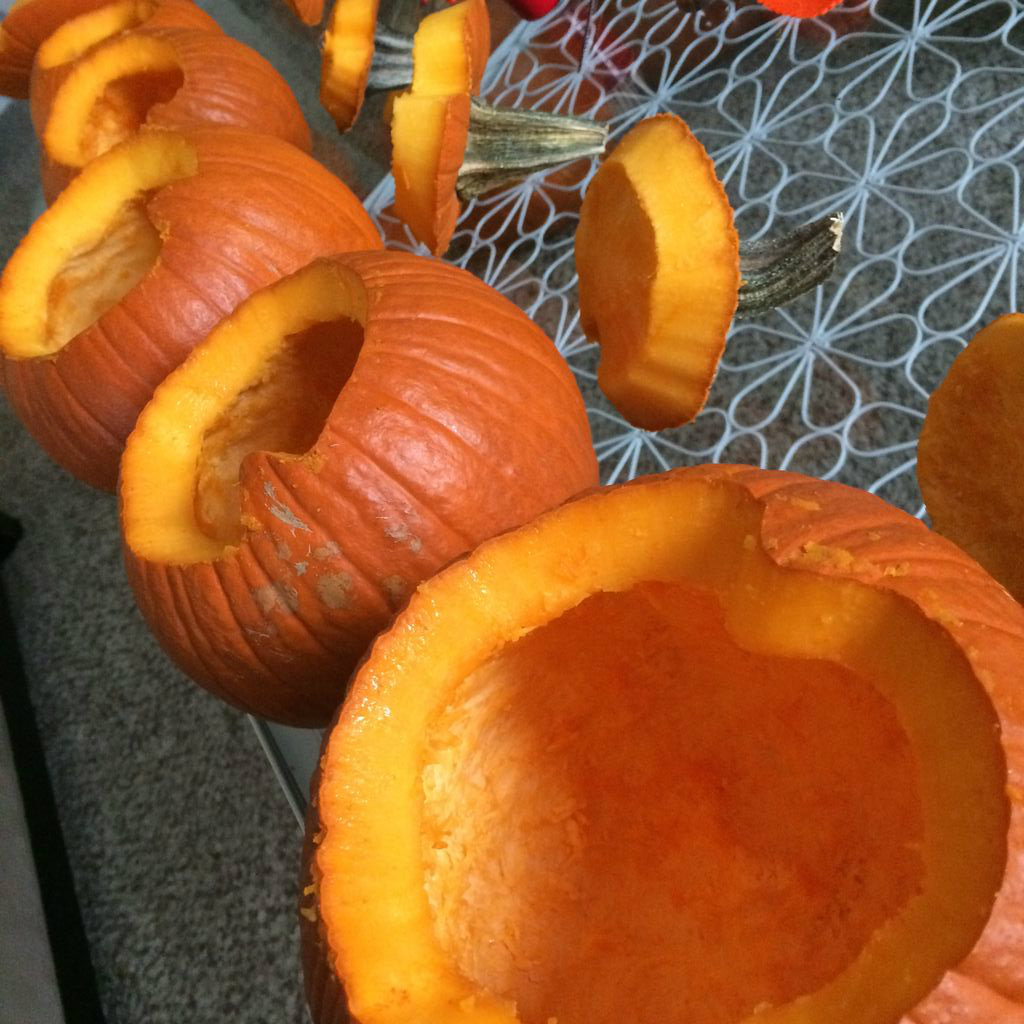
I feel I'm safe to assume most of you have experience with this, but for those of us who are new to the process we will do a quick overview.
Some people enjoy this part. They revel in opening up the top and plunging their bare hands down in to the mess of pumpkin guts, pulling them out with the same joy I imagine a zombie would feel over an eviscerated victim. If that is you, I applaud your efforts and more power to you. If you are like me and you don't like the slime or the smell on your hands, a latex or plastic glove will do the trick :)
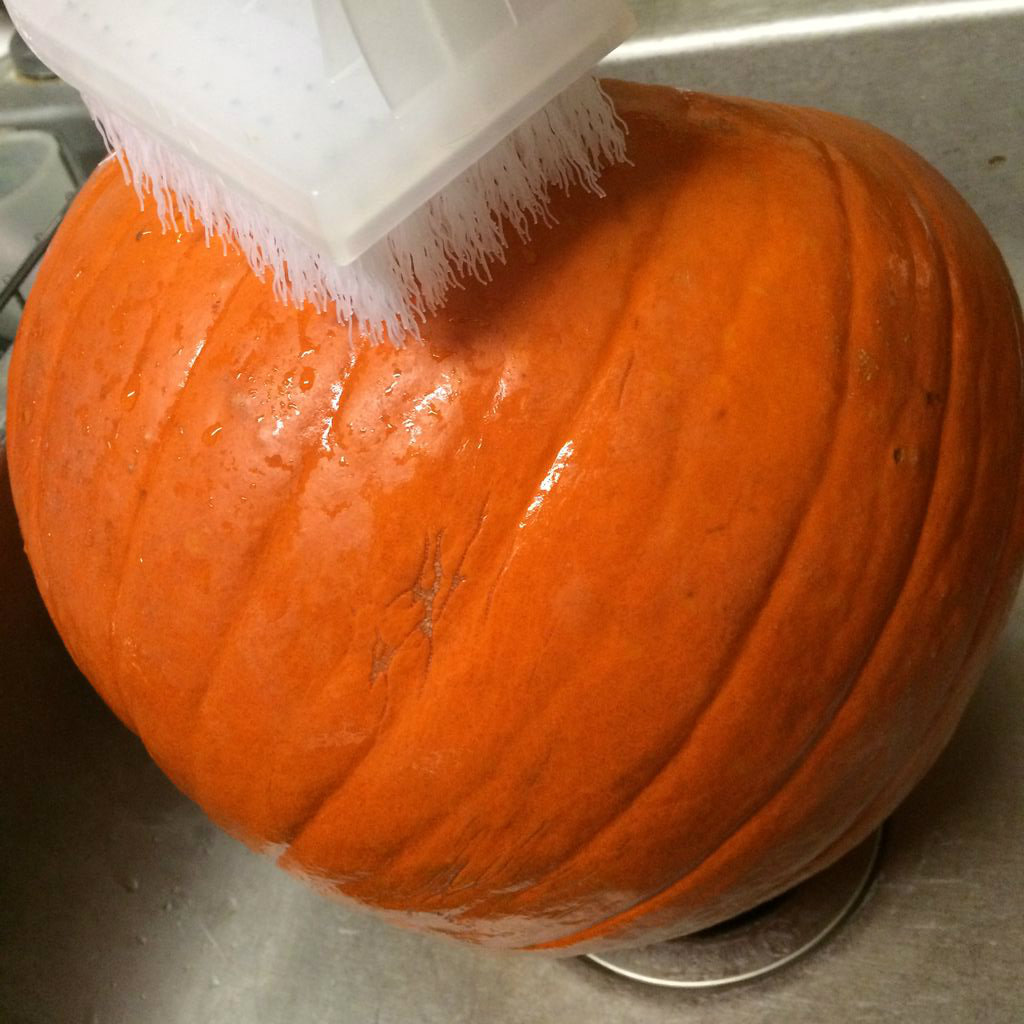
To begin, I like to give each pumpkin a good scrubbing with water to remove any residual dirt and make that orange really pop. Set them outside or under a fan to dry.
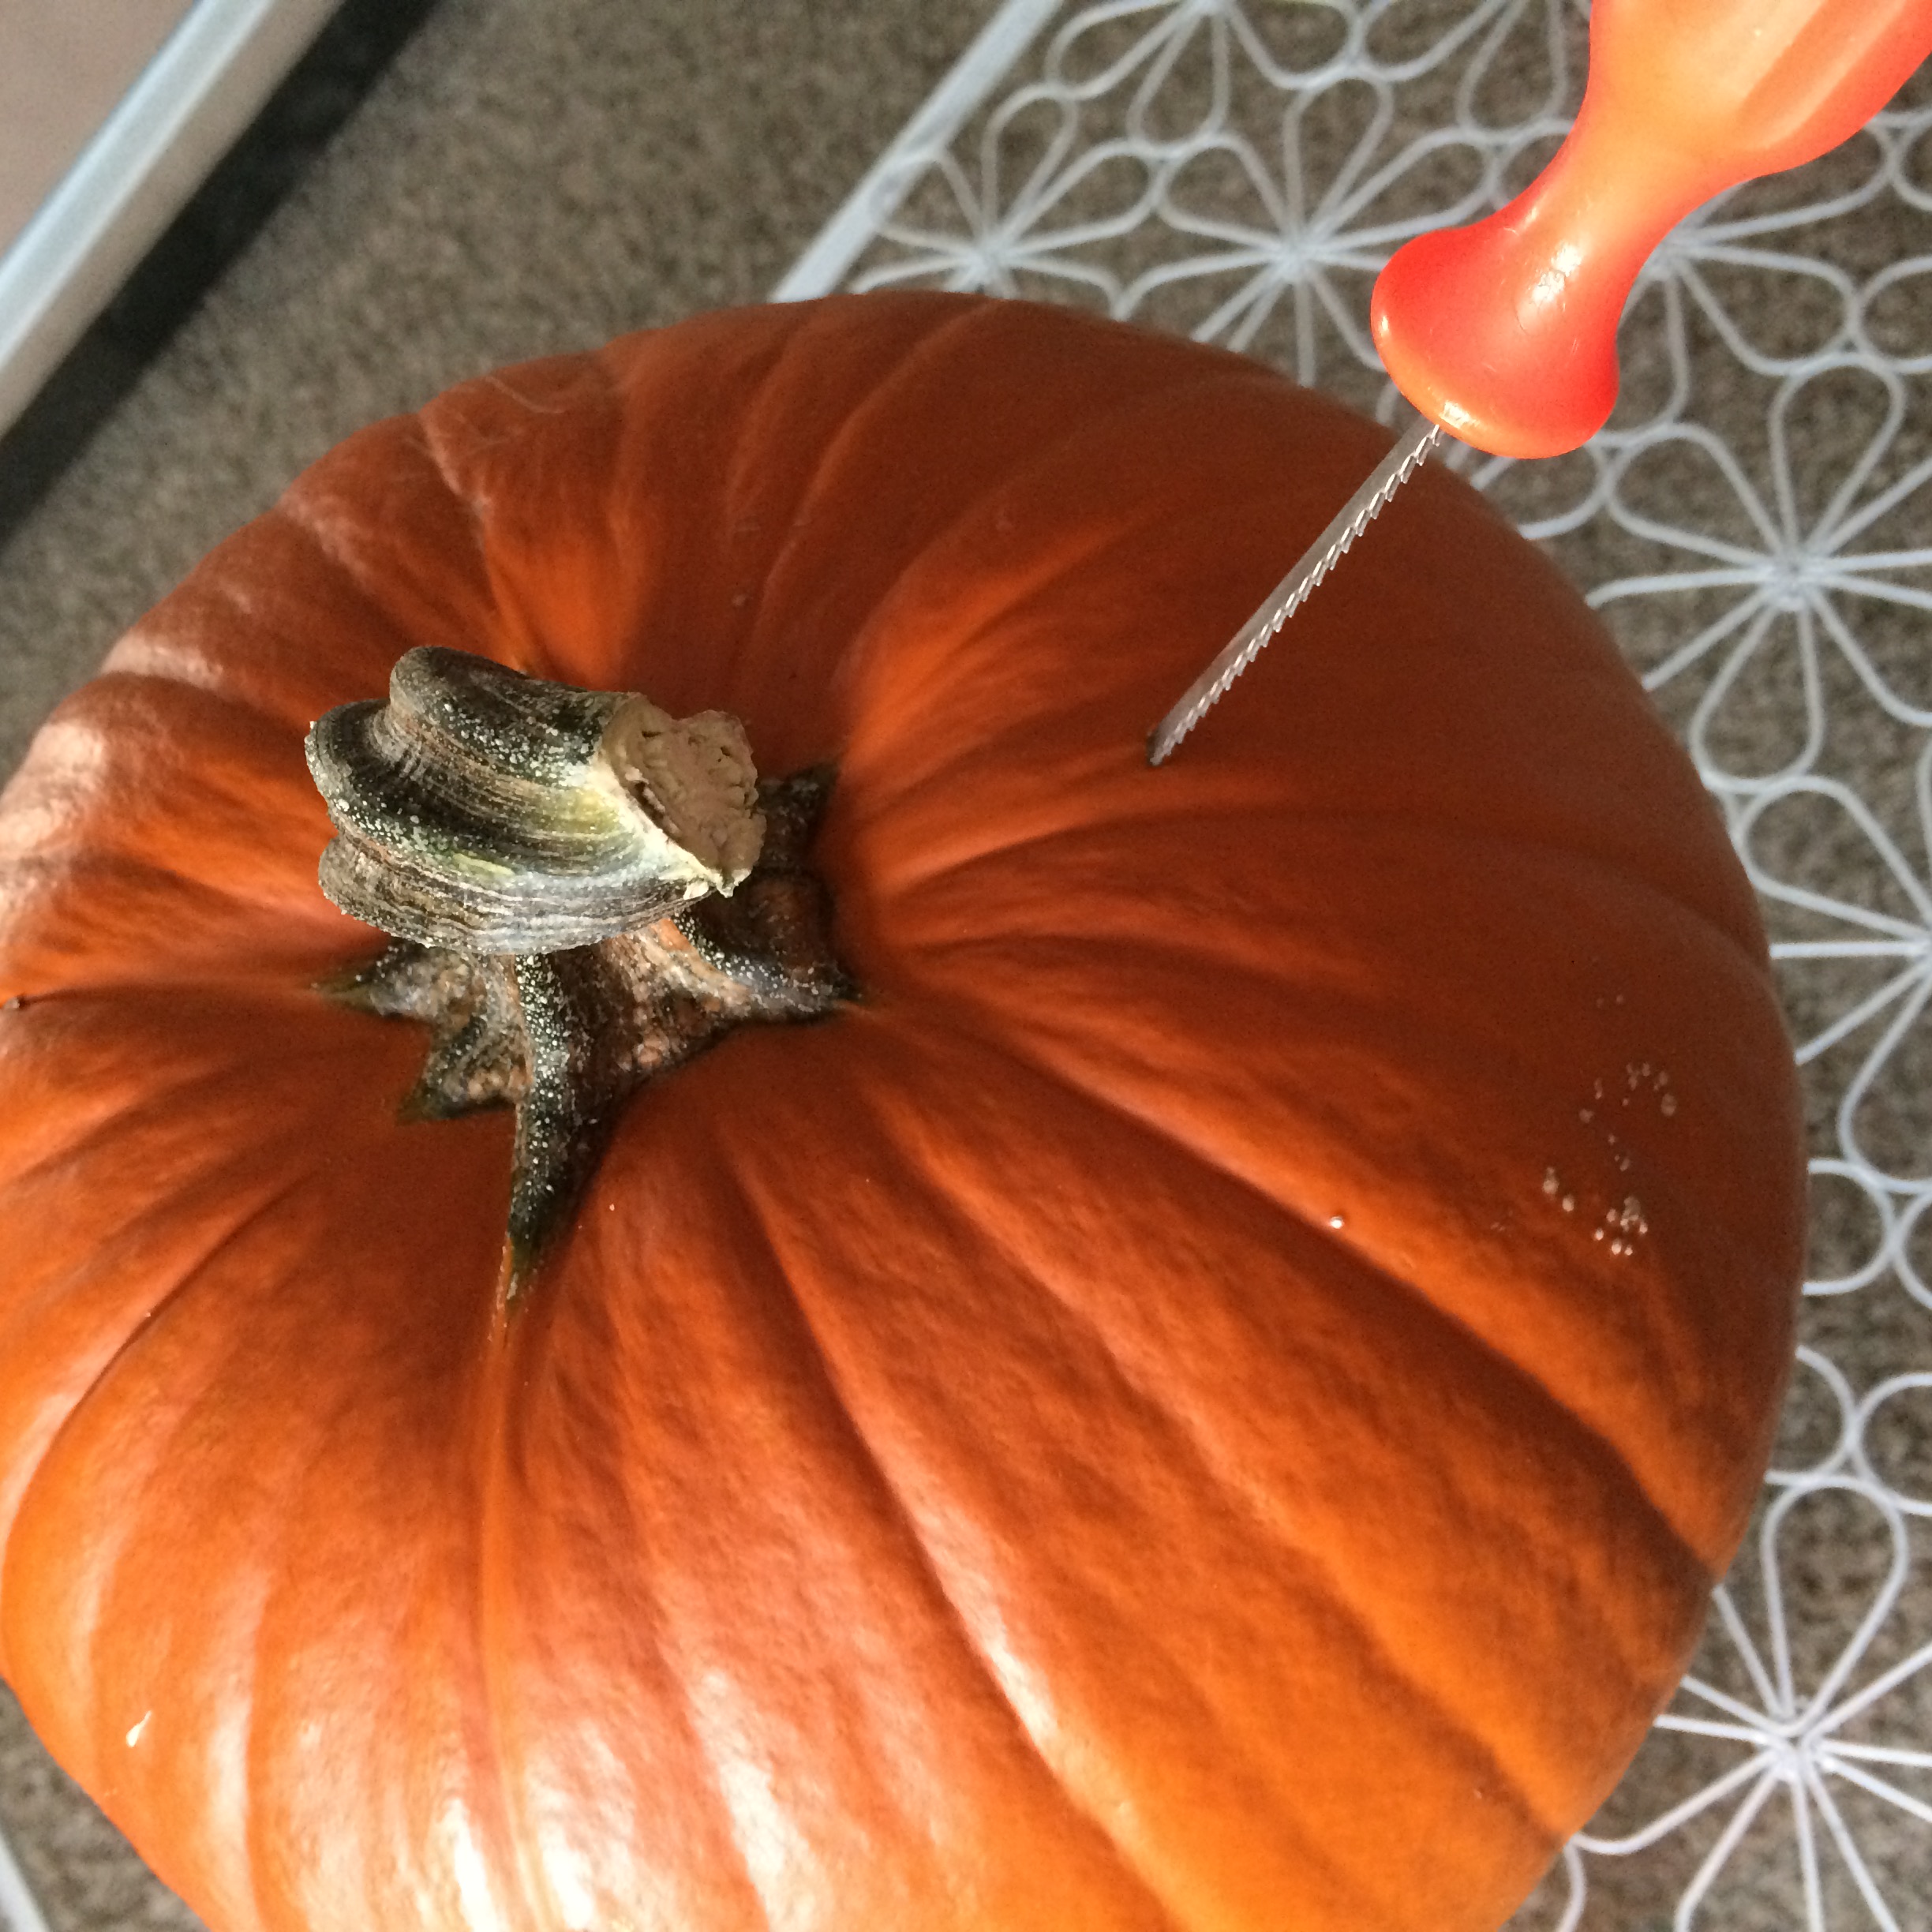
Next, insert your saw at a slanted angle up by the stem (the tip of your blade should be facing inward towards the center of the shape you intend to cut). The slanted angle will allow you to pull the top off easily and replace it as a lid without it falling inside the pumpkin.
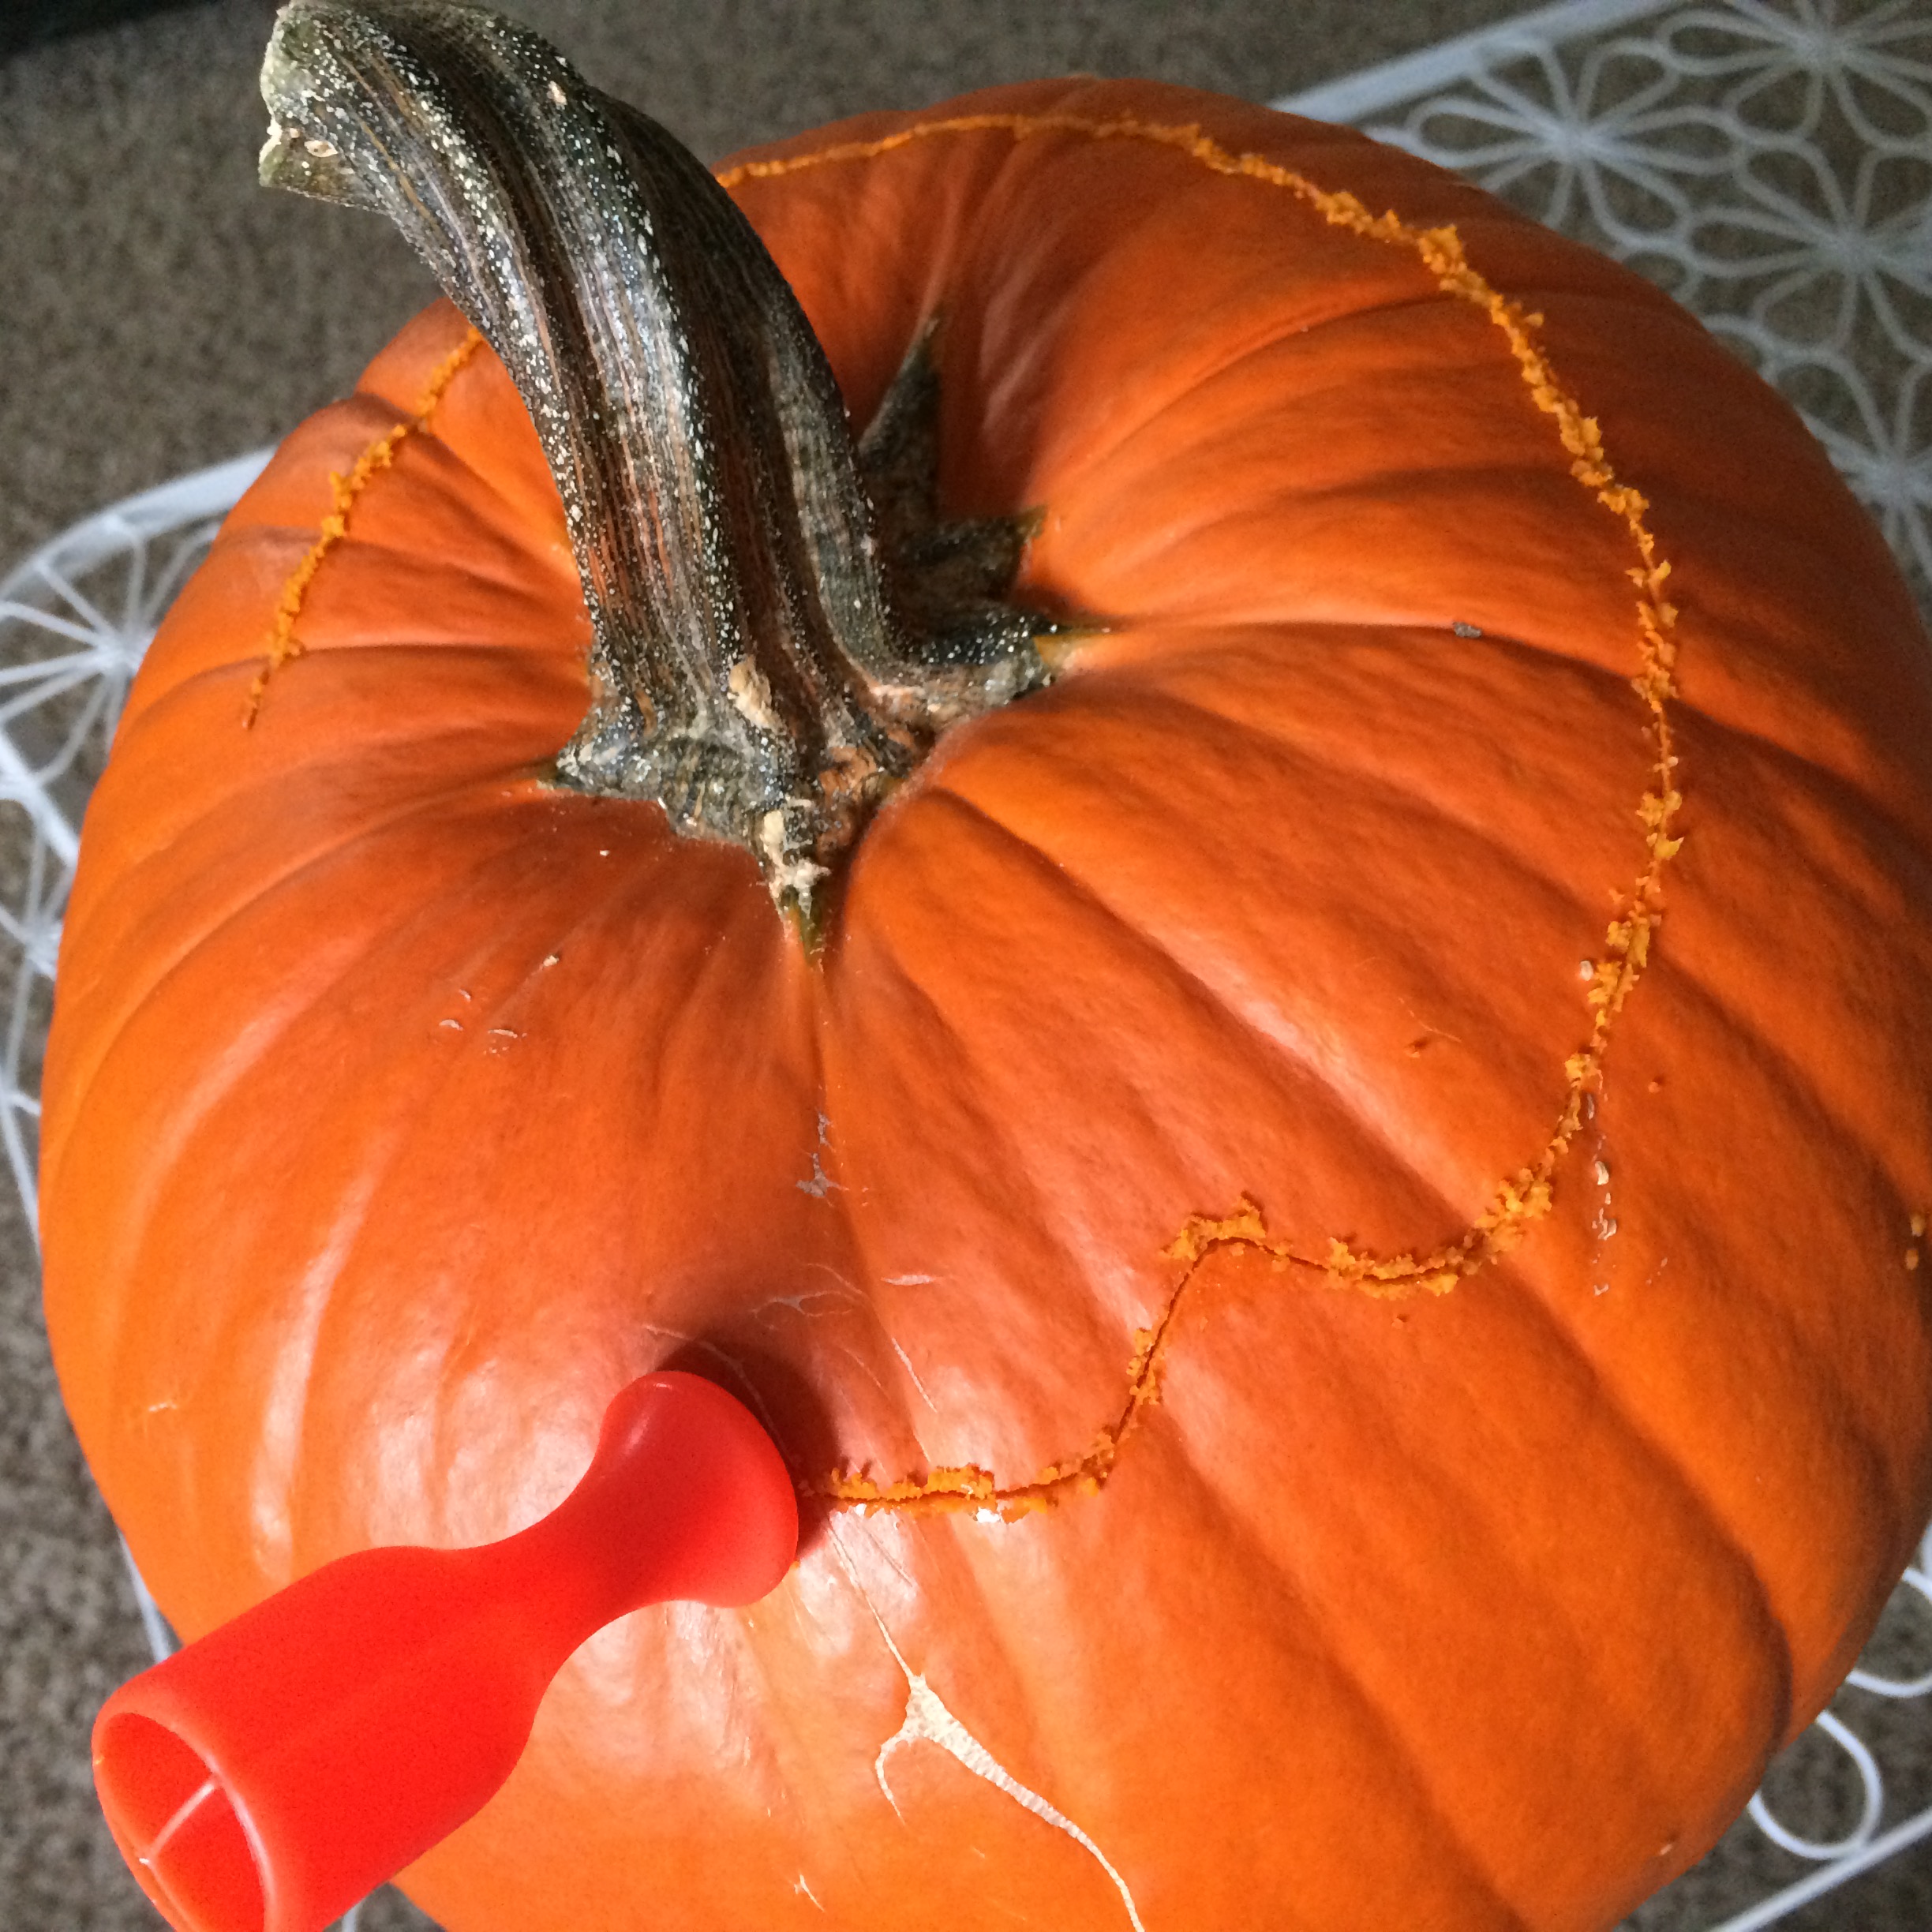
*Time saver tip: Maybe it is just me but I have had trouble in the past putting the lid back on a pumpkin I've opened up, having to spin the top around trying to get it back in place. To solve this problem I like to cut in a circle, but will add a little variation to the shape so I can easily figure out the proper orientation of the lid for a perfect fit.
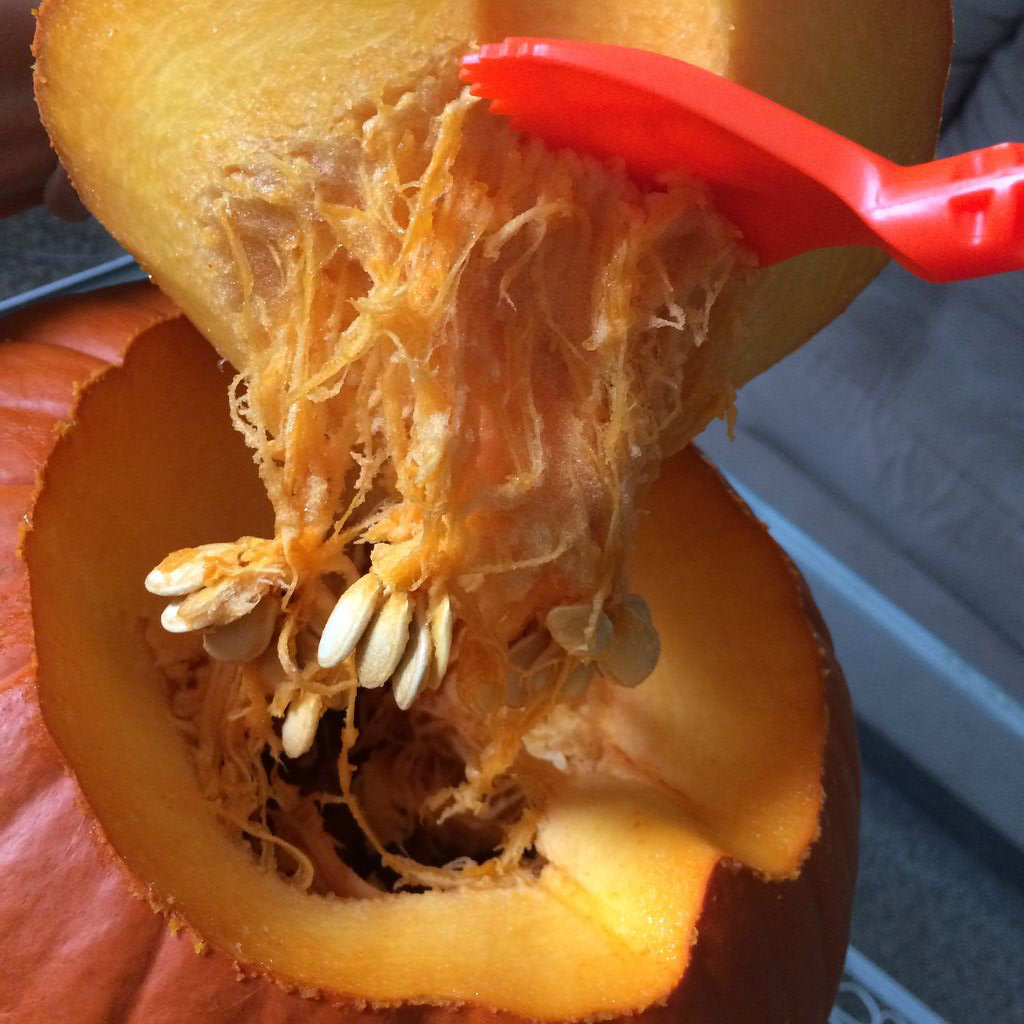
Scoop out the insides with your preferred method and scrape the sides clean with the melon baller (works best on the smaller pumpkins), the scraper provided in your carving kit (works best on the larger pumpkins), or whatever you have around the house that can do the job.
*Be thorough in your extraction of the innards. The stringy insides of the pumpkin, when left behind en masse, can hold a lot of extra moisture and accelerate the rotting process in the rest of the pumpkin.
Set the pumpkins up under a fan with the tops off to let the circulating air dry the insides out.
Carving Your Pumpkins
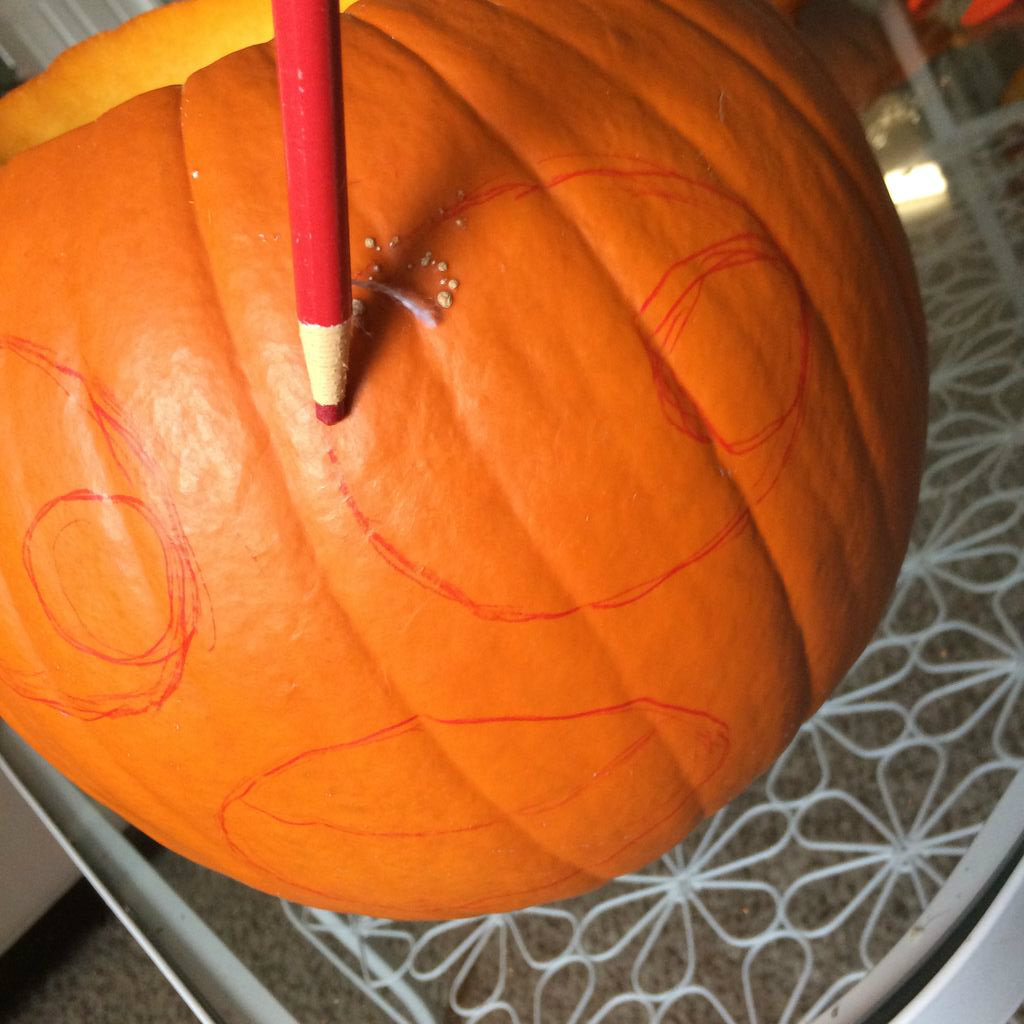
My favorite part!
Referring to your sketch on paper, you can begin to draw the faces on the pumpkins you've chosen. A great resource would be to search "cartoon character facial expressions" to help you develop the most expressive pumpkin faces.
I prefer the wax pencil because if I make a mistake I can easily wipe it off. If all you have is a marker, that will do just fine :)
You may also sketch your faces out on paper first and trace them onto the pumpkin by poking a series of holes along the lines of your drawing while holding the paper up against the front of the pumpkin.
Once you have all your faces drawn or traced onto the pumpkins you can begin carving.
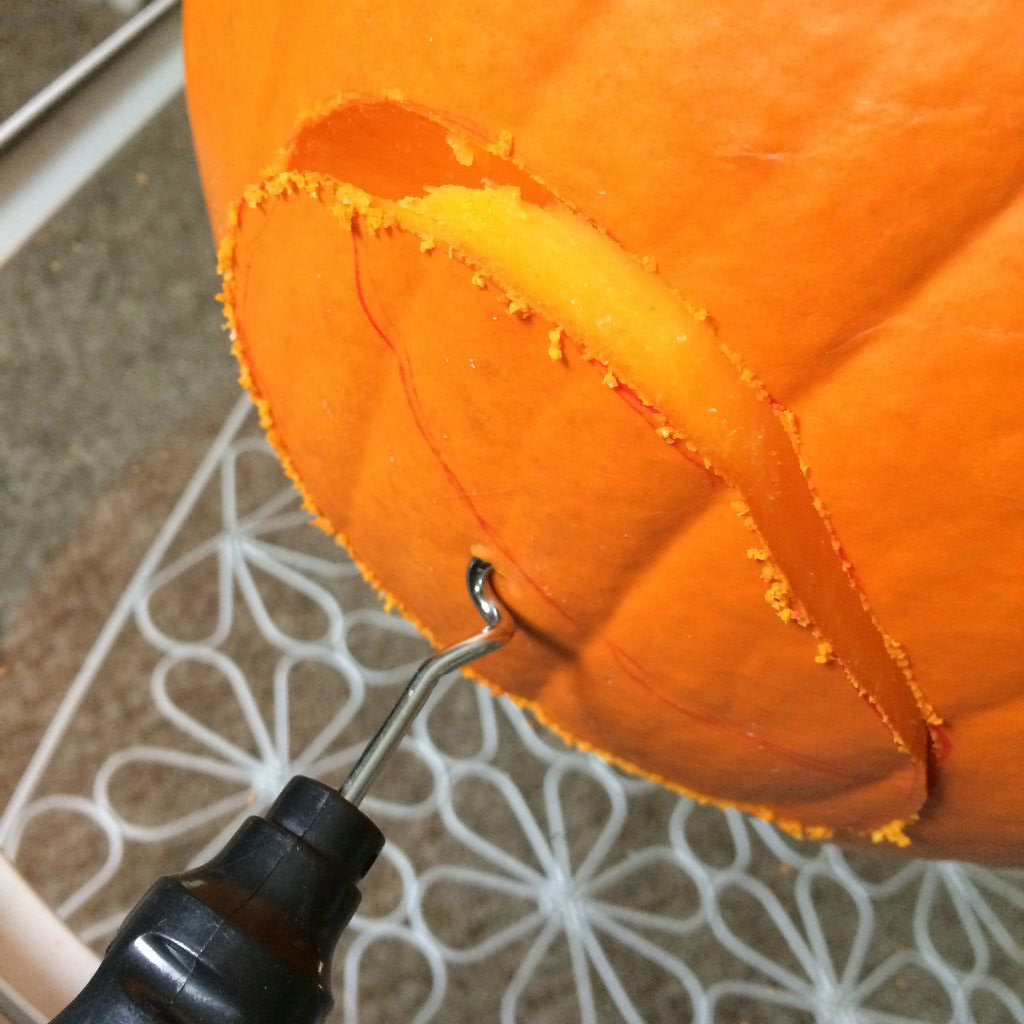
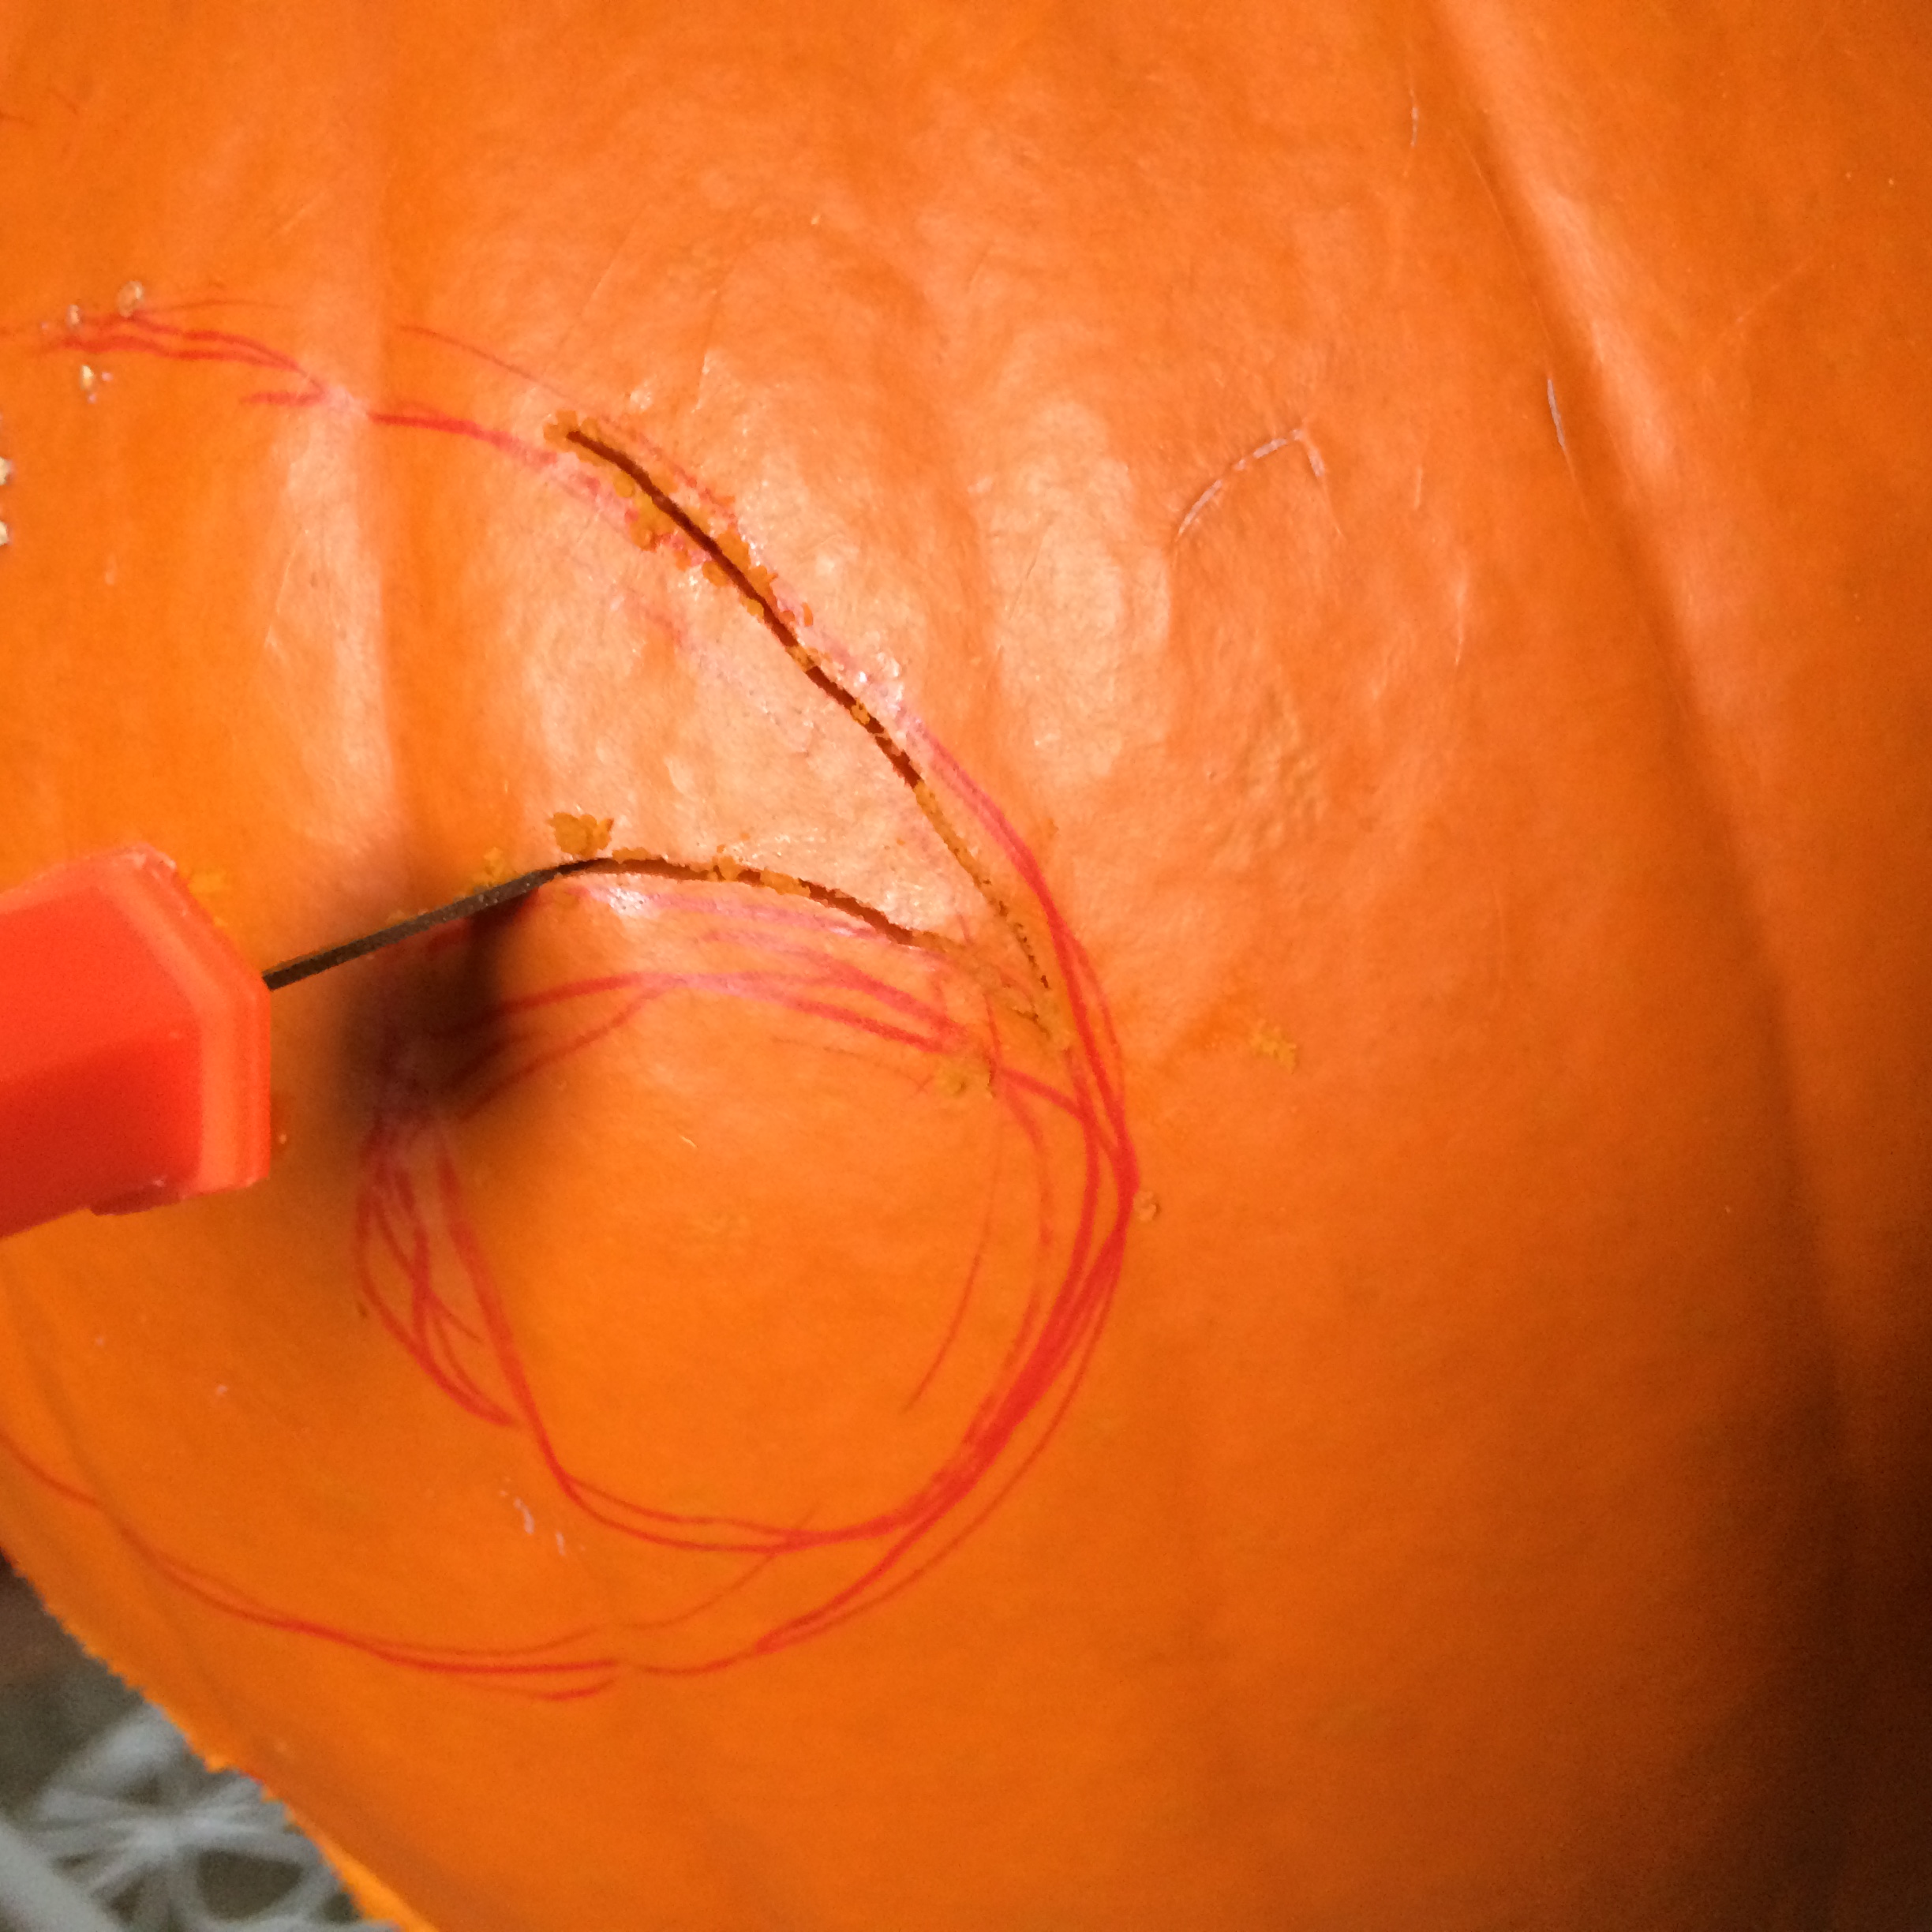
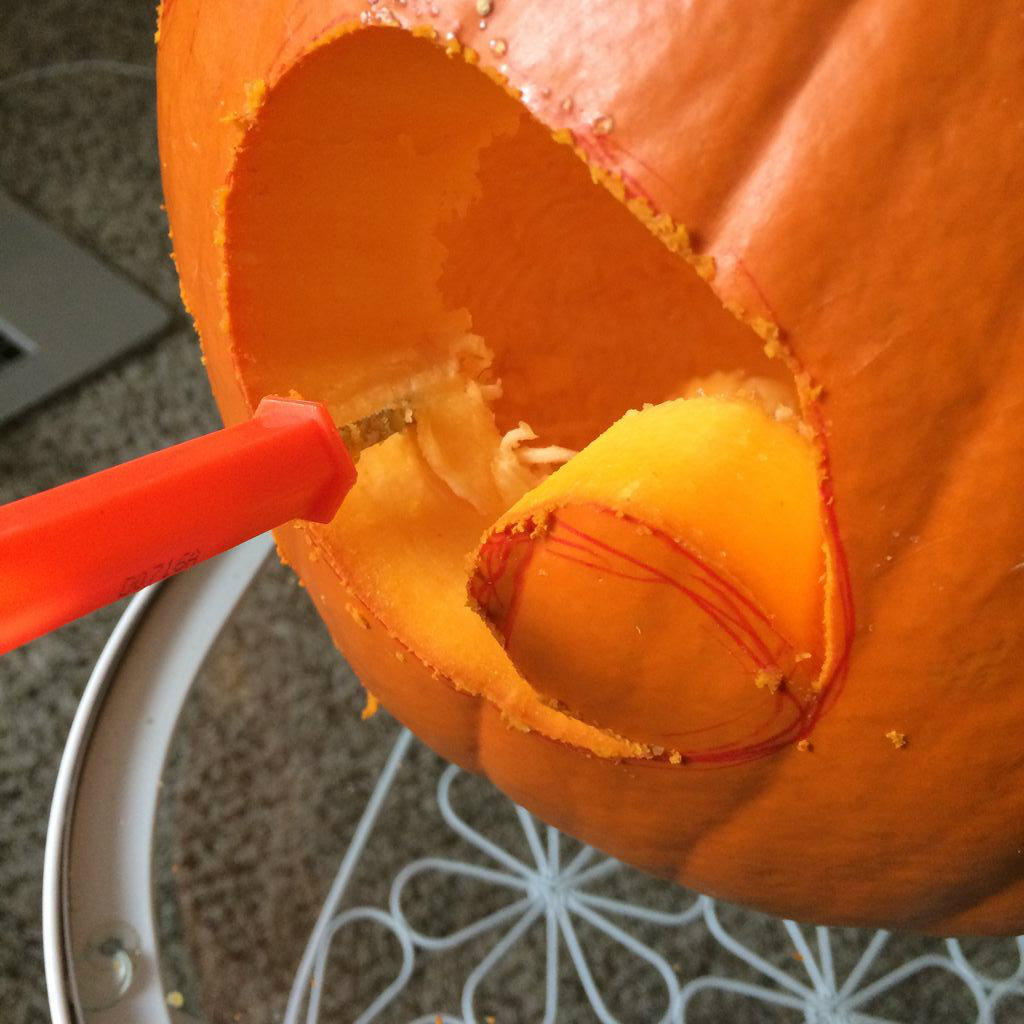
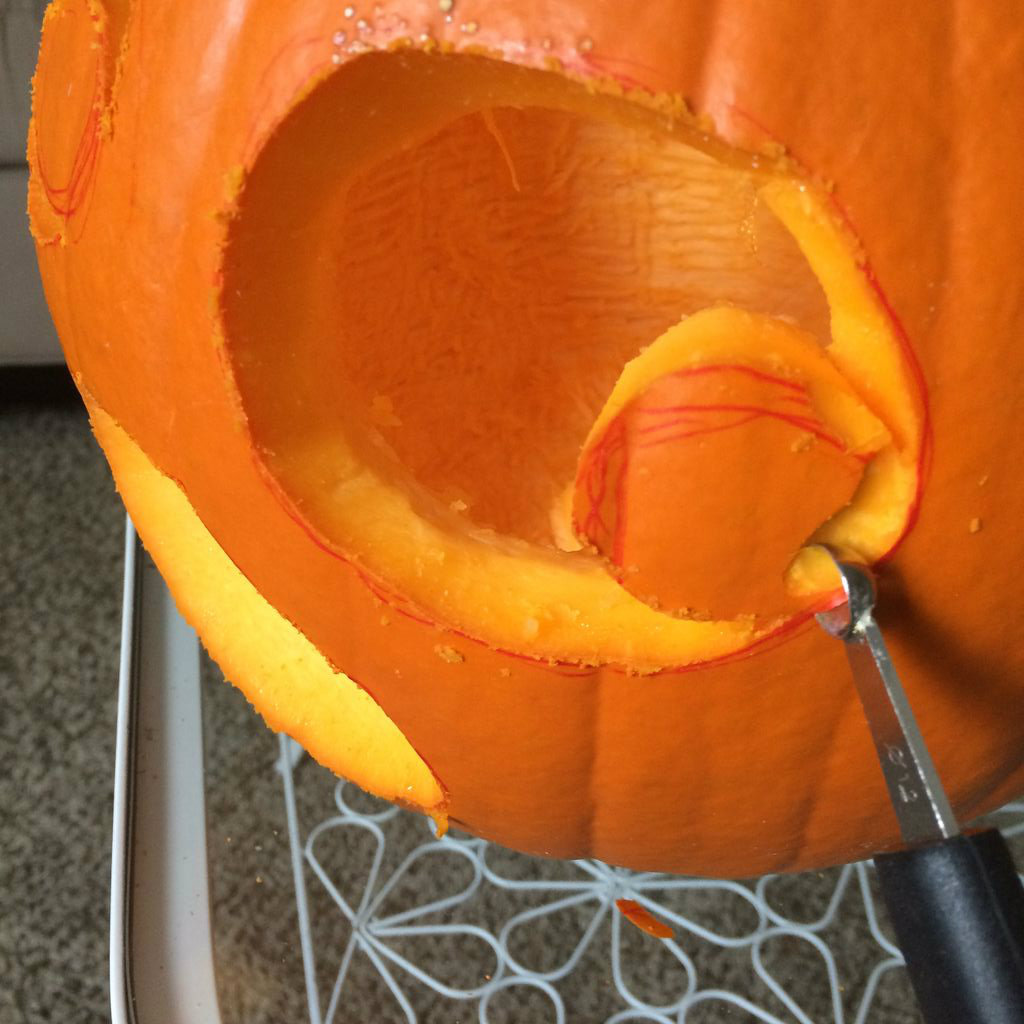
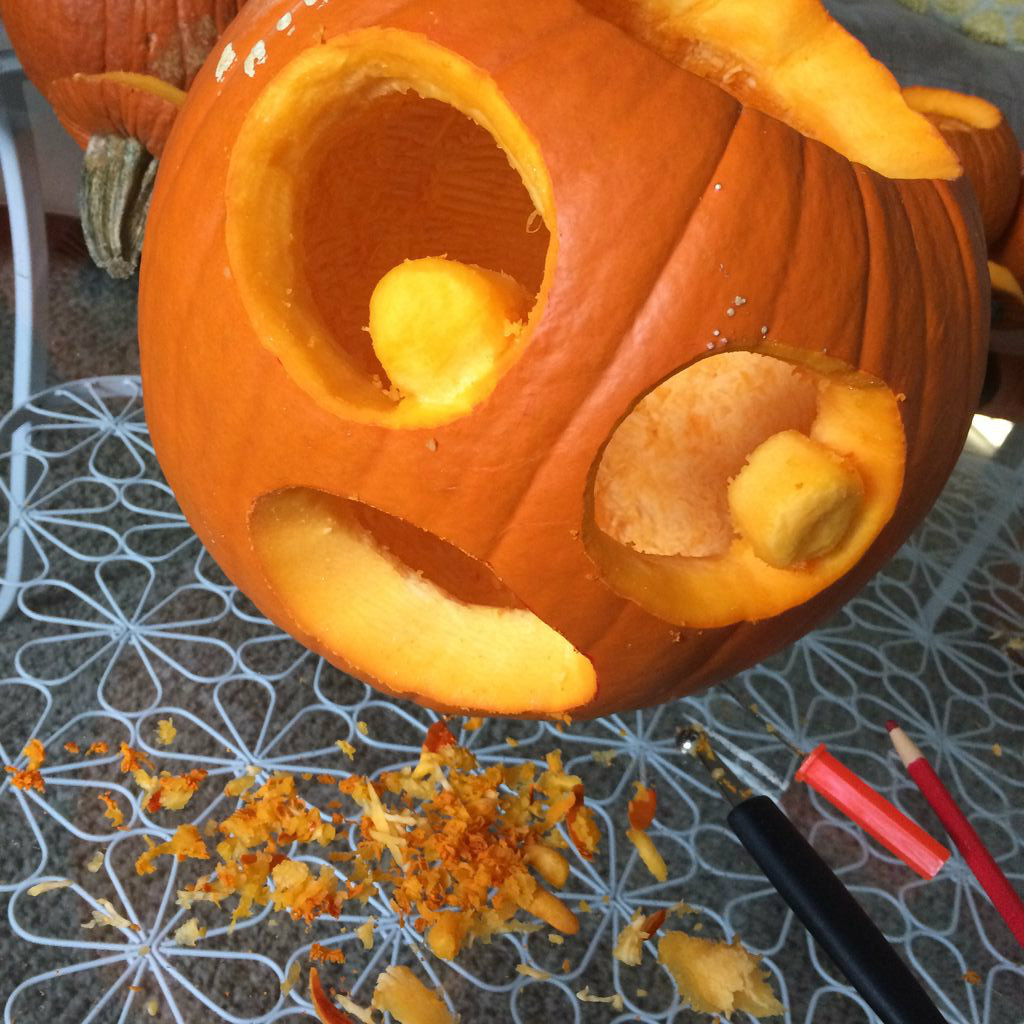
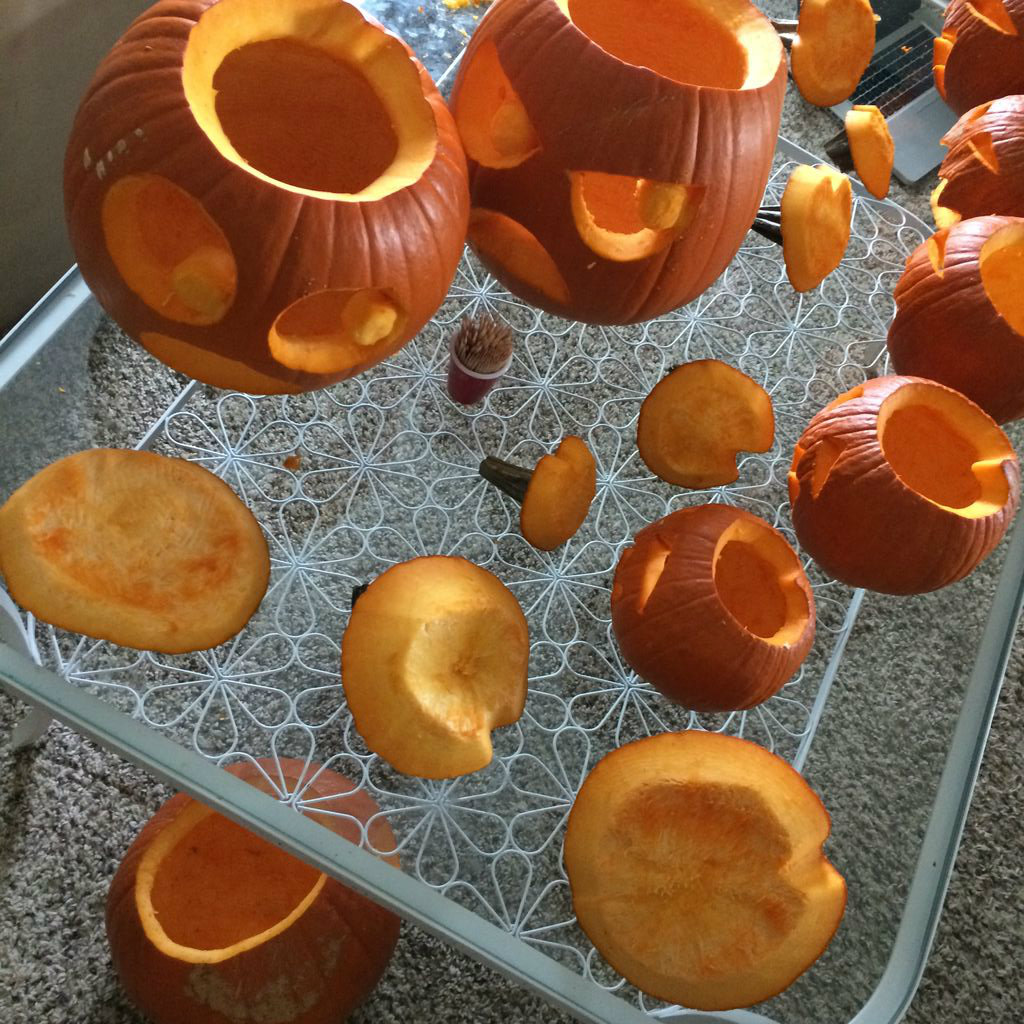
I like to begin with the saw and do all the main cutouts first (I use the corkscrew to snag any pieces that get stuck and pull them out - though for the larger pieces you can just as easily reach your hand in and pop them out from the inside).
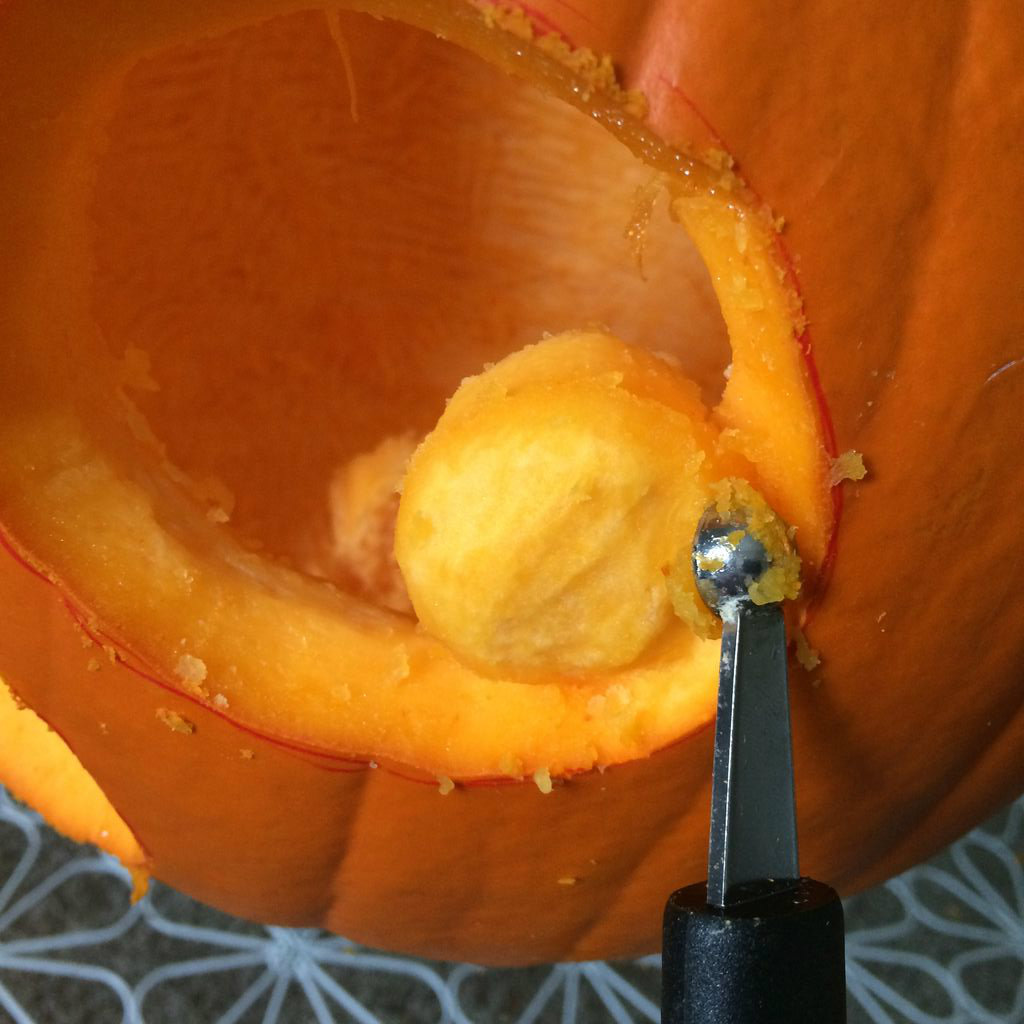
I then move to my mini melon-baller to carve out details and add interest and value to each face. If you scape away the skin of the pumpkin rather than cutting all the way though, you get a lovely orange glow that increases in brightness each time you remove a layer from the surface.
*A small bevel at the edge of each cut can give your pumpkin a cleaner look.
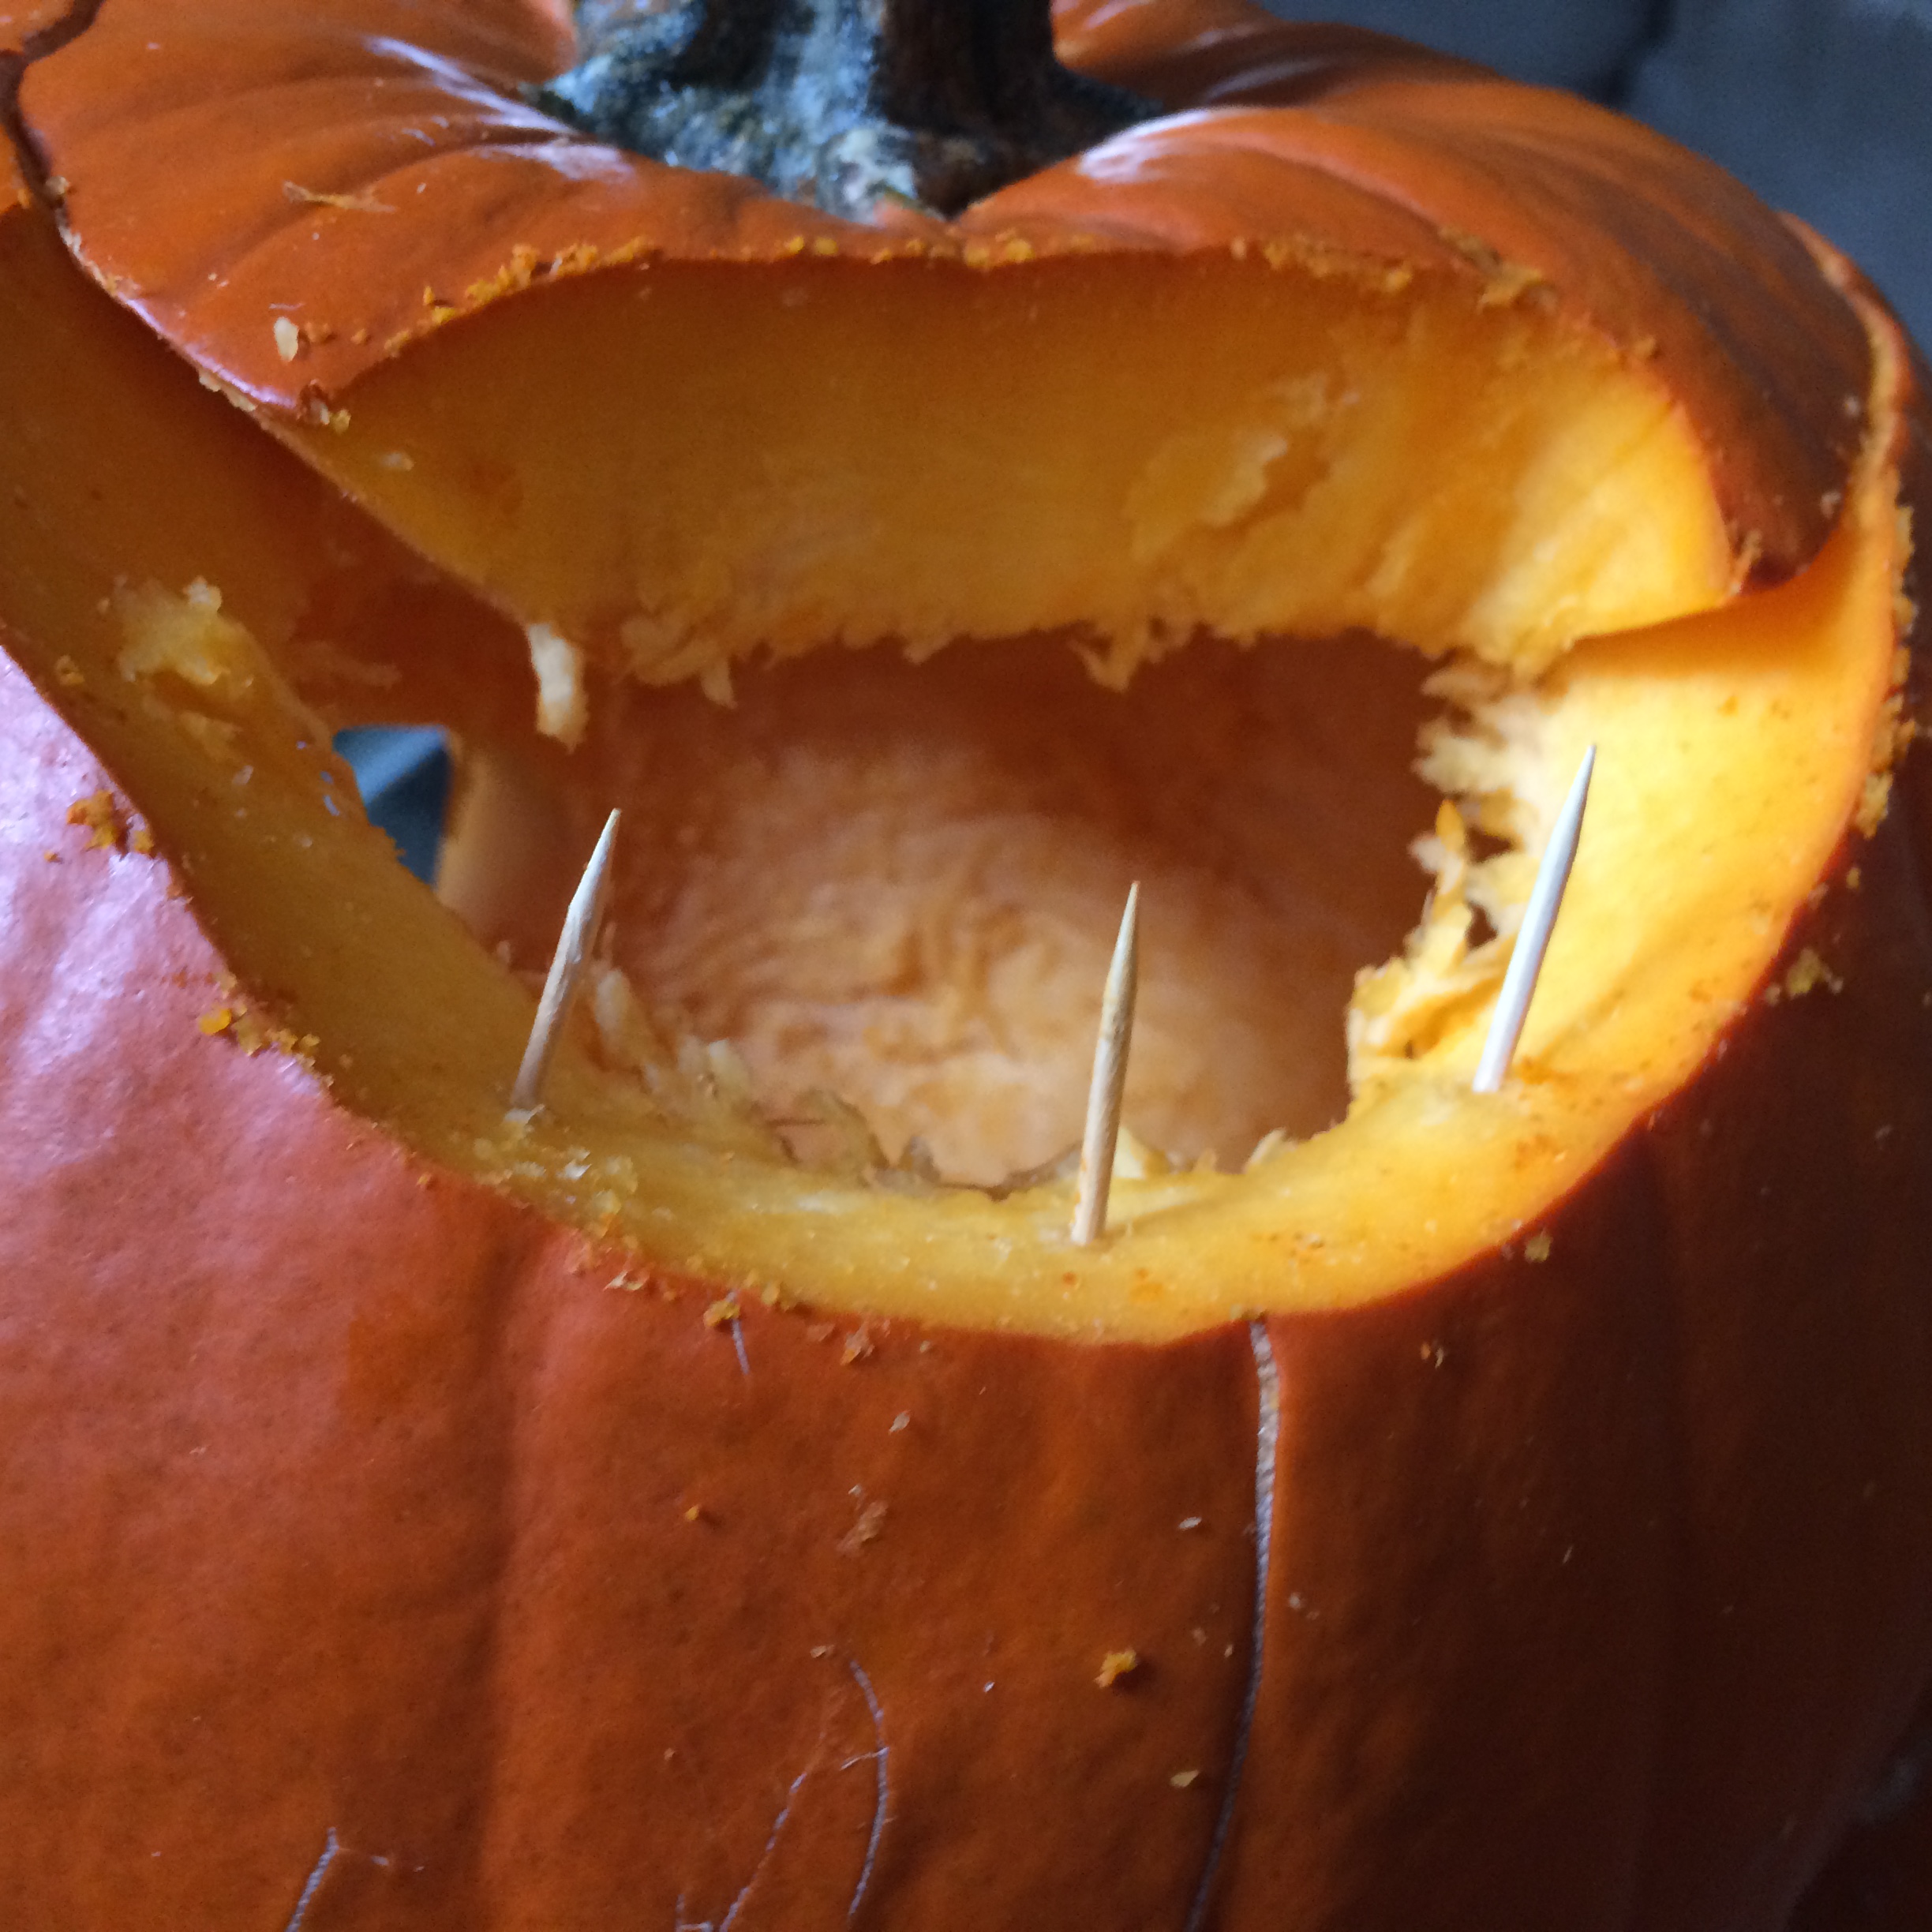
When assembling more complex creations with multiple pumpkins, toothpicks can serve to aid in structural integrity. If you have to pierce the outside skin of a pumpkin it is easier to do so with on of your carving tools, then insert the toothpick.
Preserving Your Pumpkins
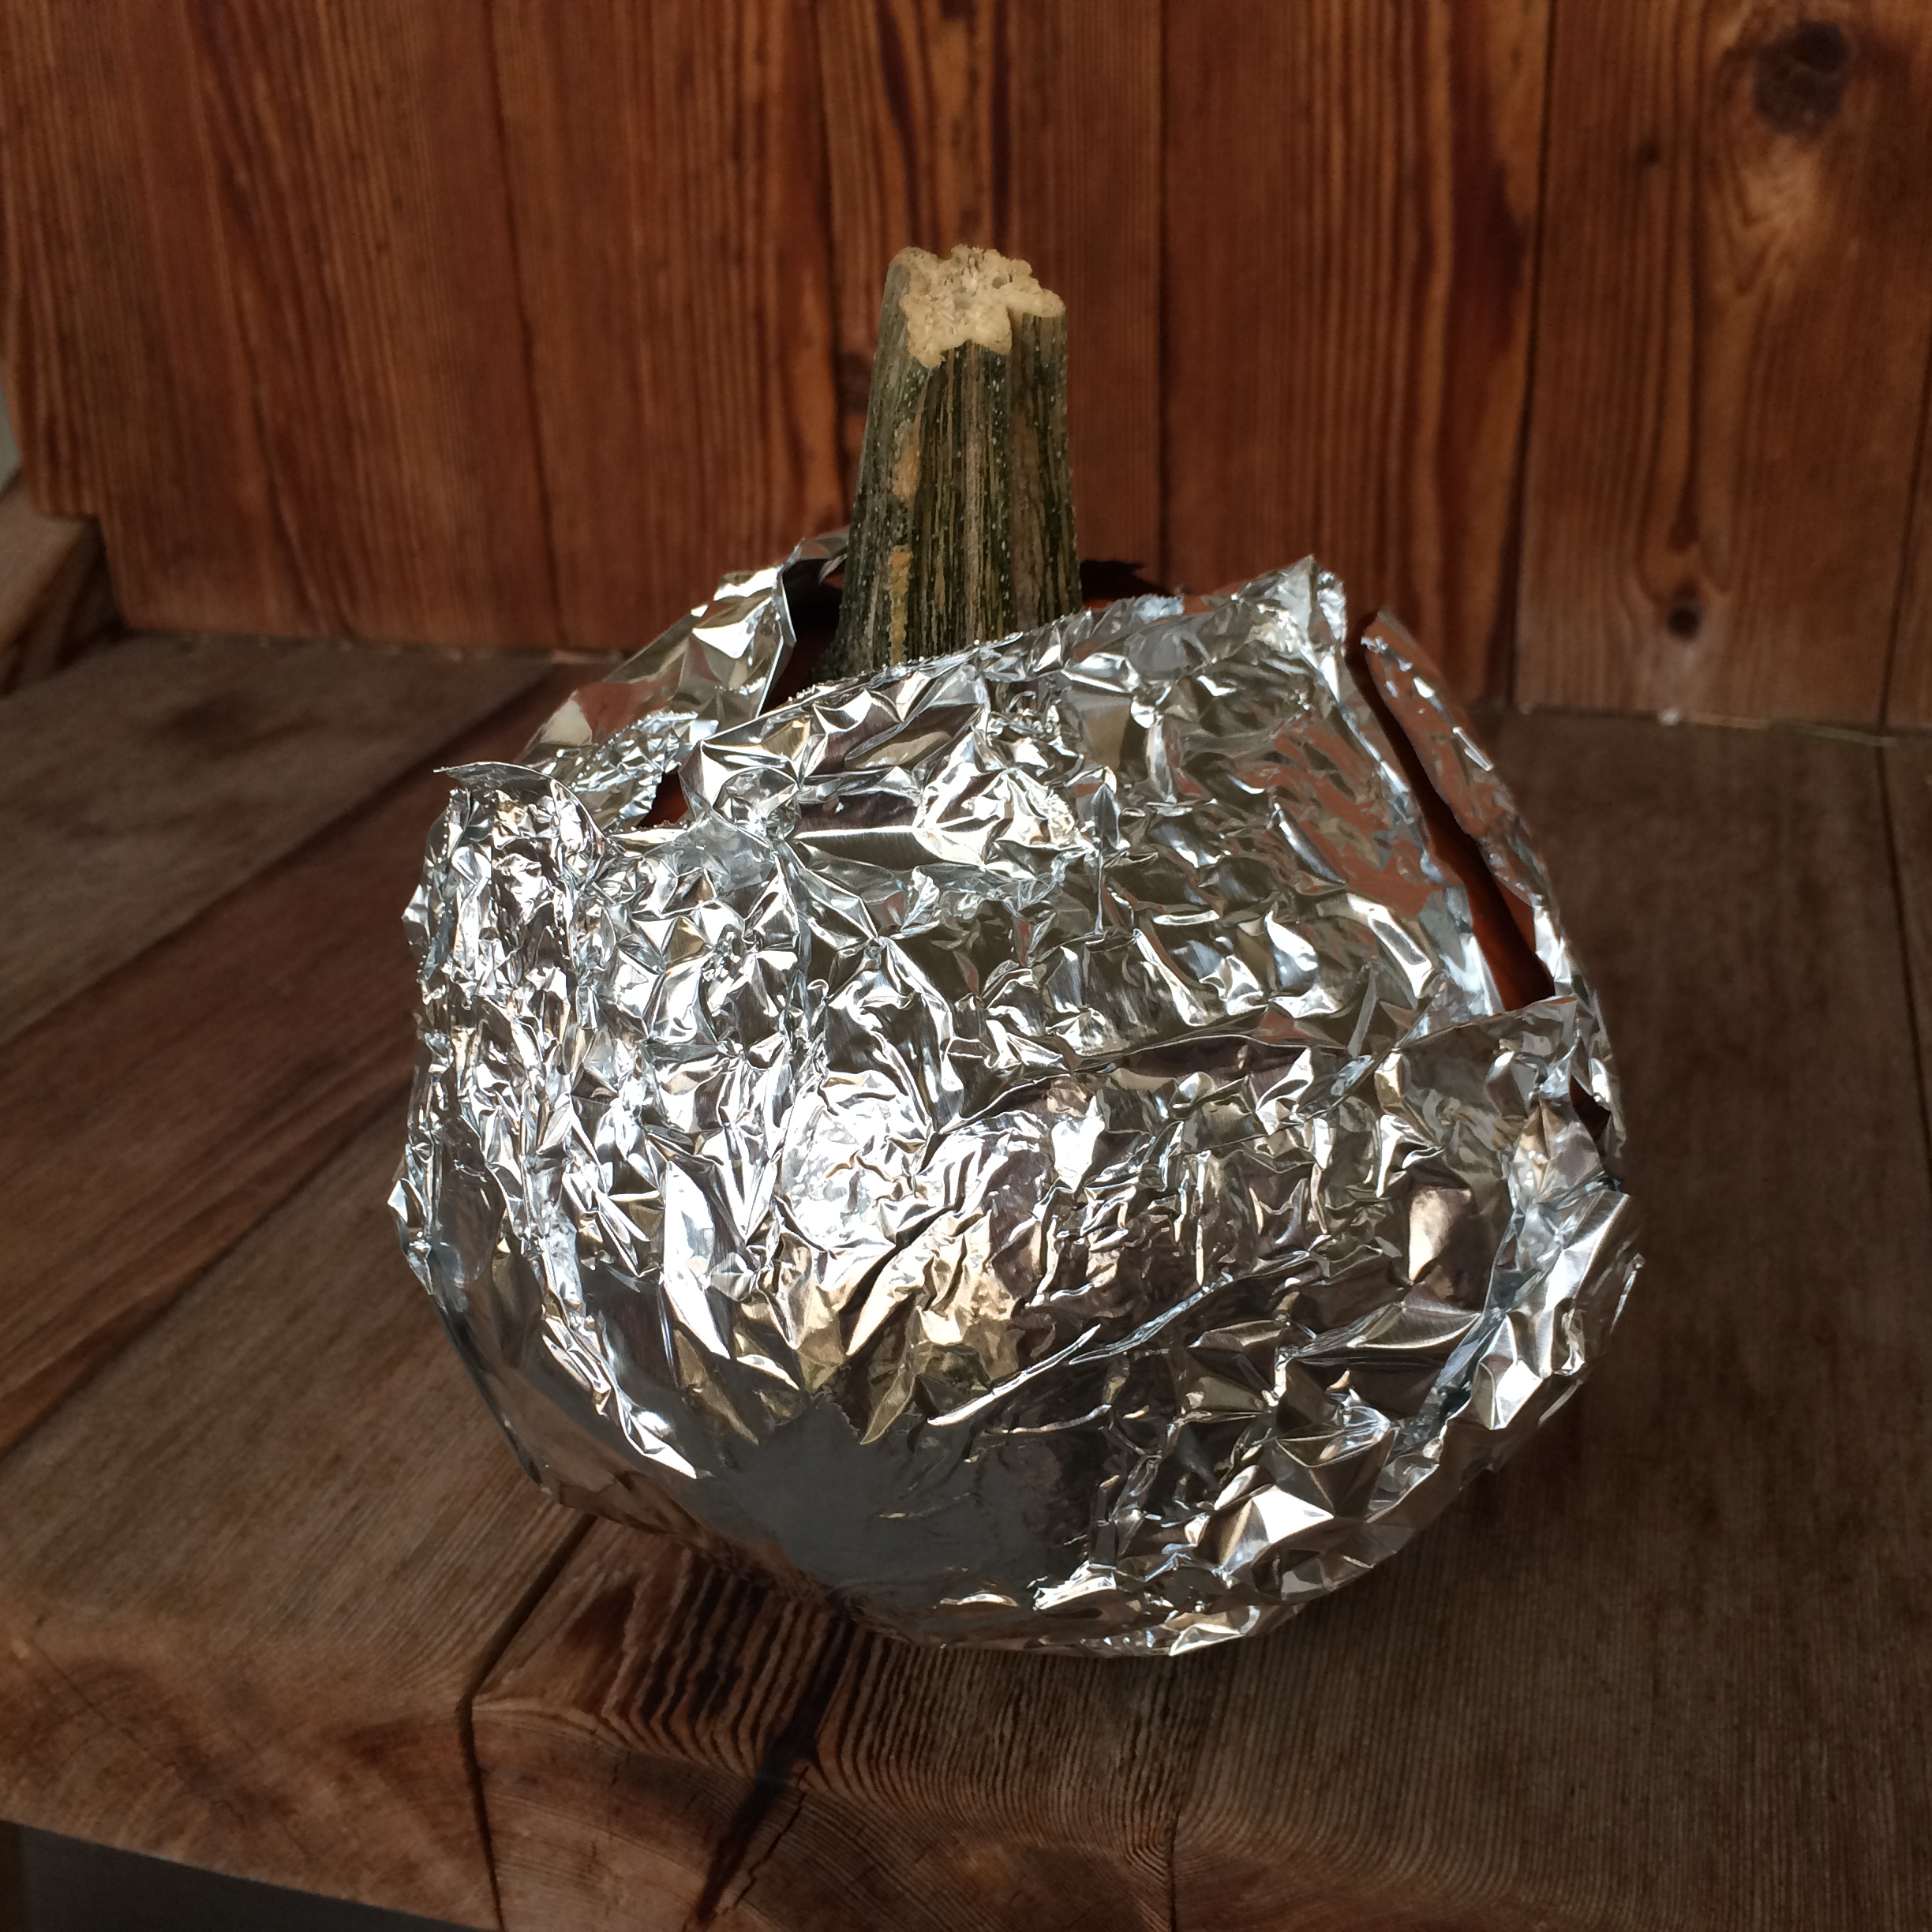
There are many methods out there for making your creation last longer. Some recommend soaking them in a one part bleach to ten parts water solution, rubbing them down on the inside with vaseline or vegetable oil, or simply keeping them in the fridge during the day and displaying them in the evening.
I personally would like to support an American made entrepreneur:
*I'm not getting any royalties for mentioning this, I just thought it was a clever idea ;)
Be aware of the climate and wildlife in your area. If it is still warm and humid when Halloween comes or if you have a particularly inquisitive scurry of chipmunks or squirrels nearby, preservation is an important step to take.
Timing is important as well. If you carve your pumpkins in September, the likelihood your creations will make it to Halloween night is pretty slim. The closer to the day the better!
*Exercise care when handling chemicals like bleach (if you are not an adult, it is a good idea to ask one for help) and do DO NOT USE flammable materials for preservation if you intend to light your pumpkins!!!
Set Up Your Scene
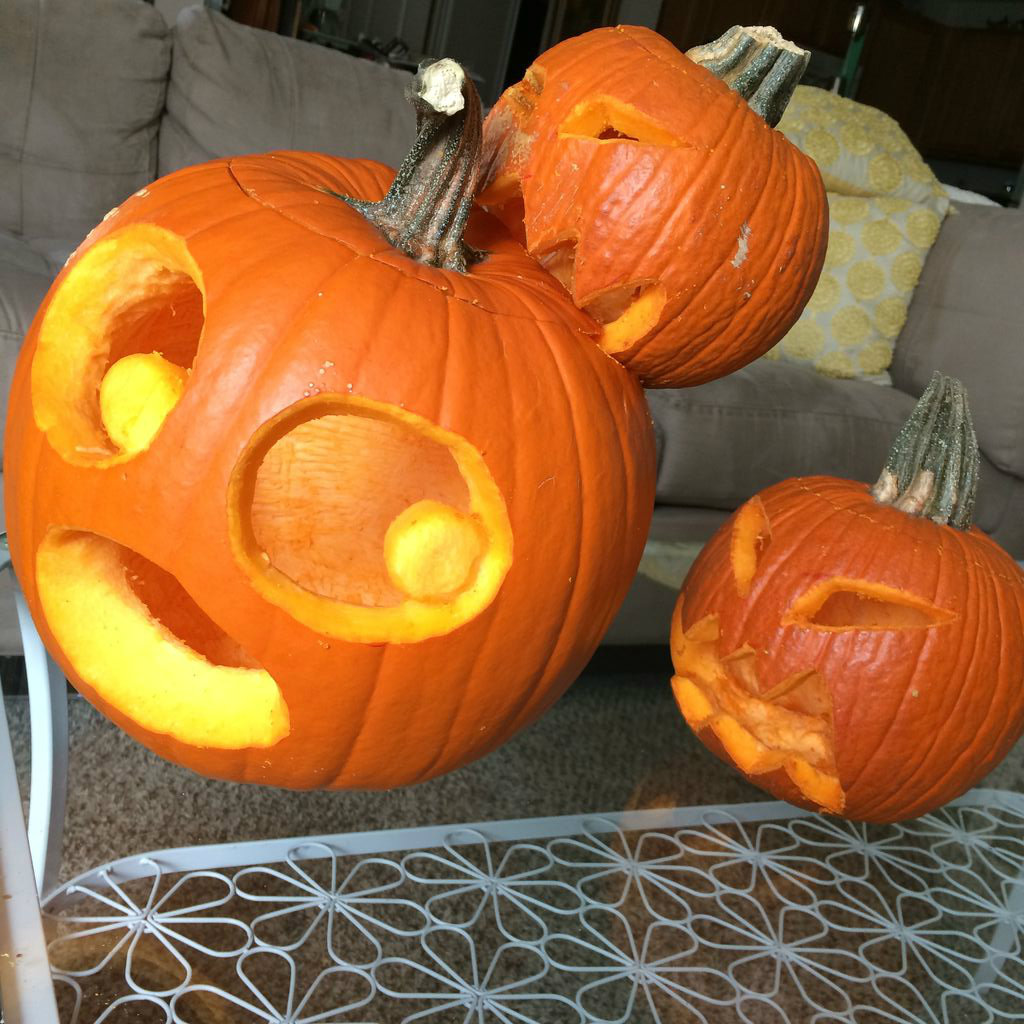
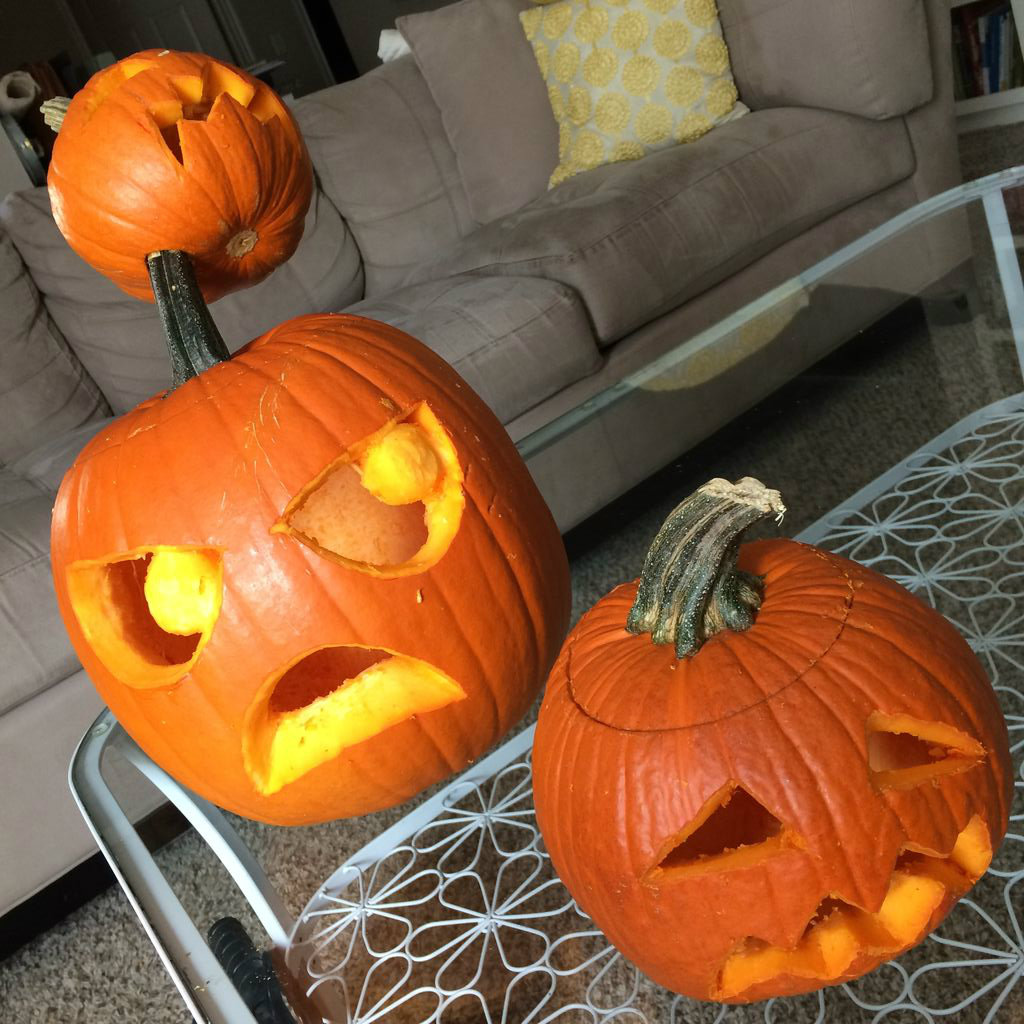
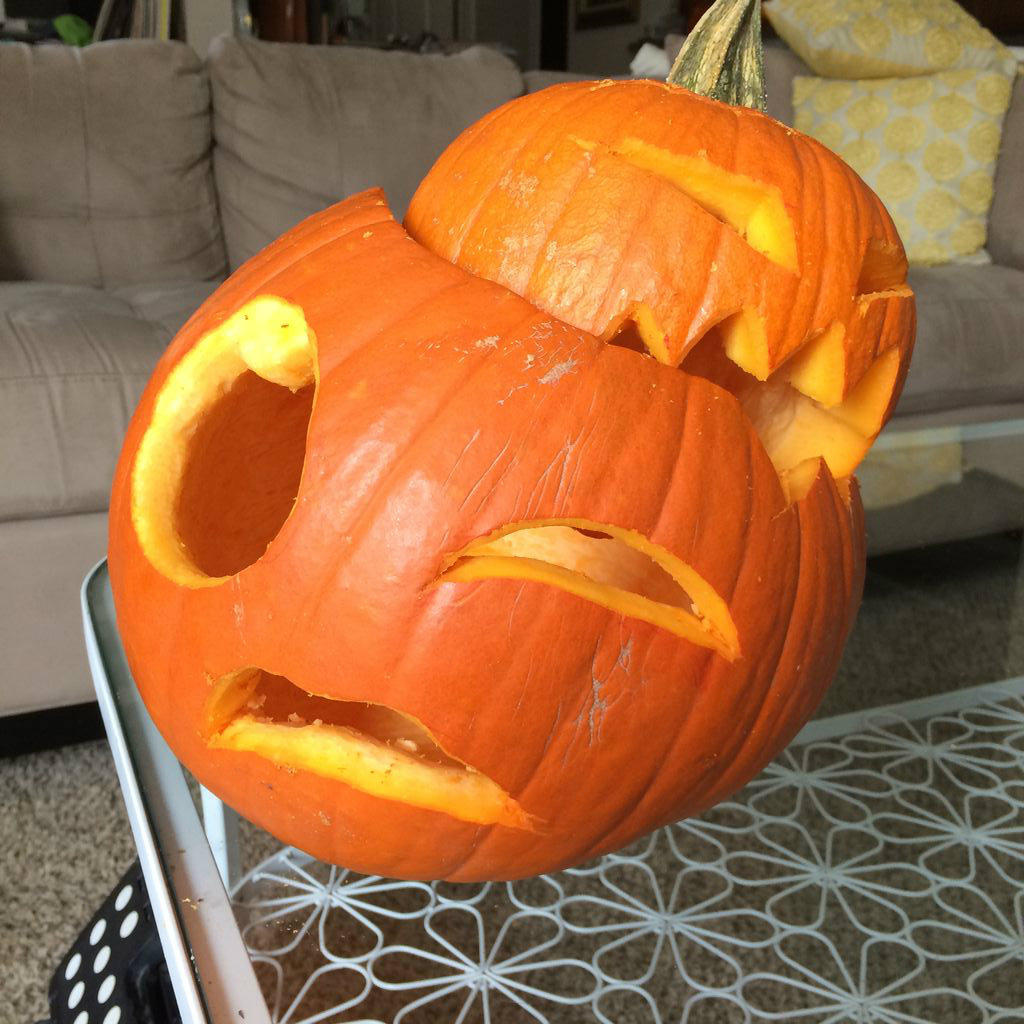
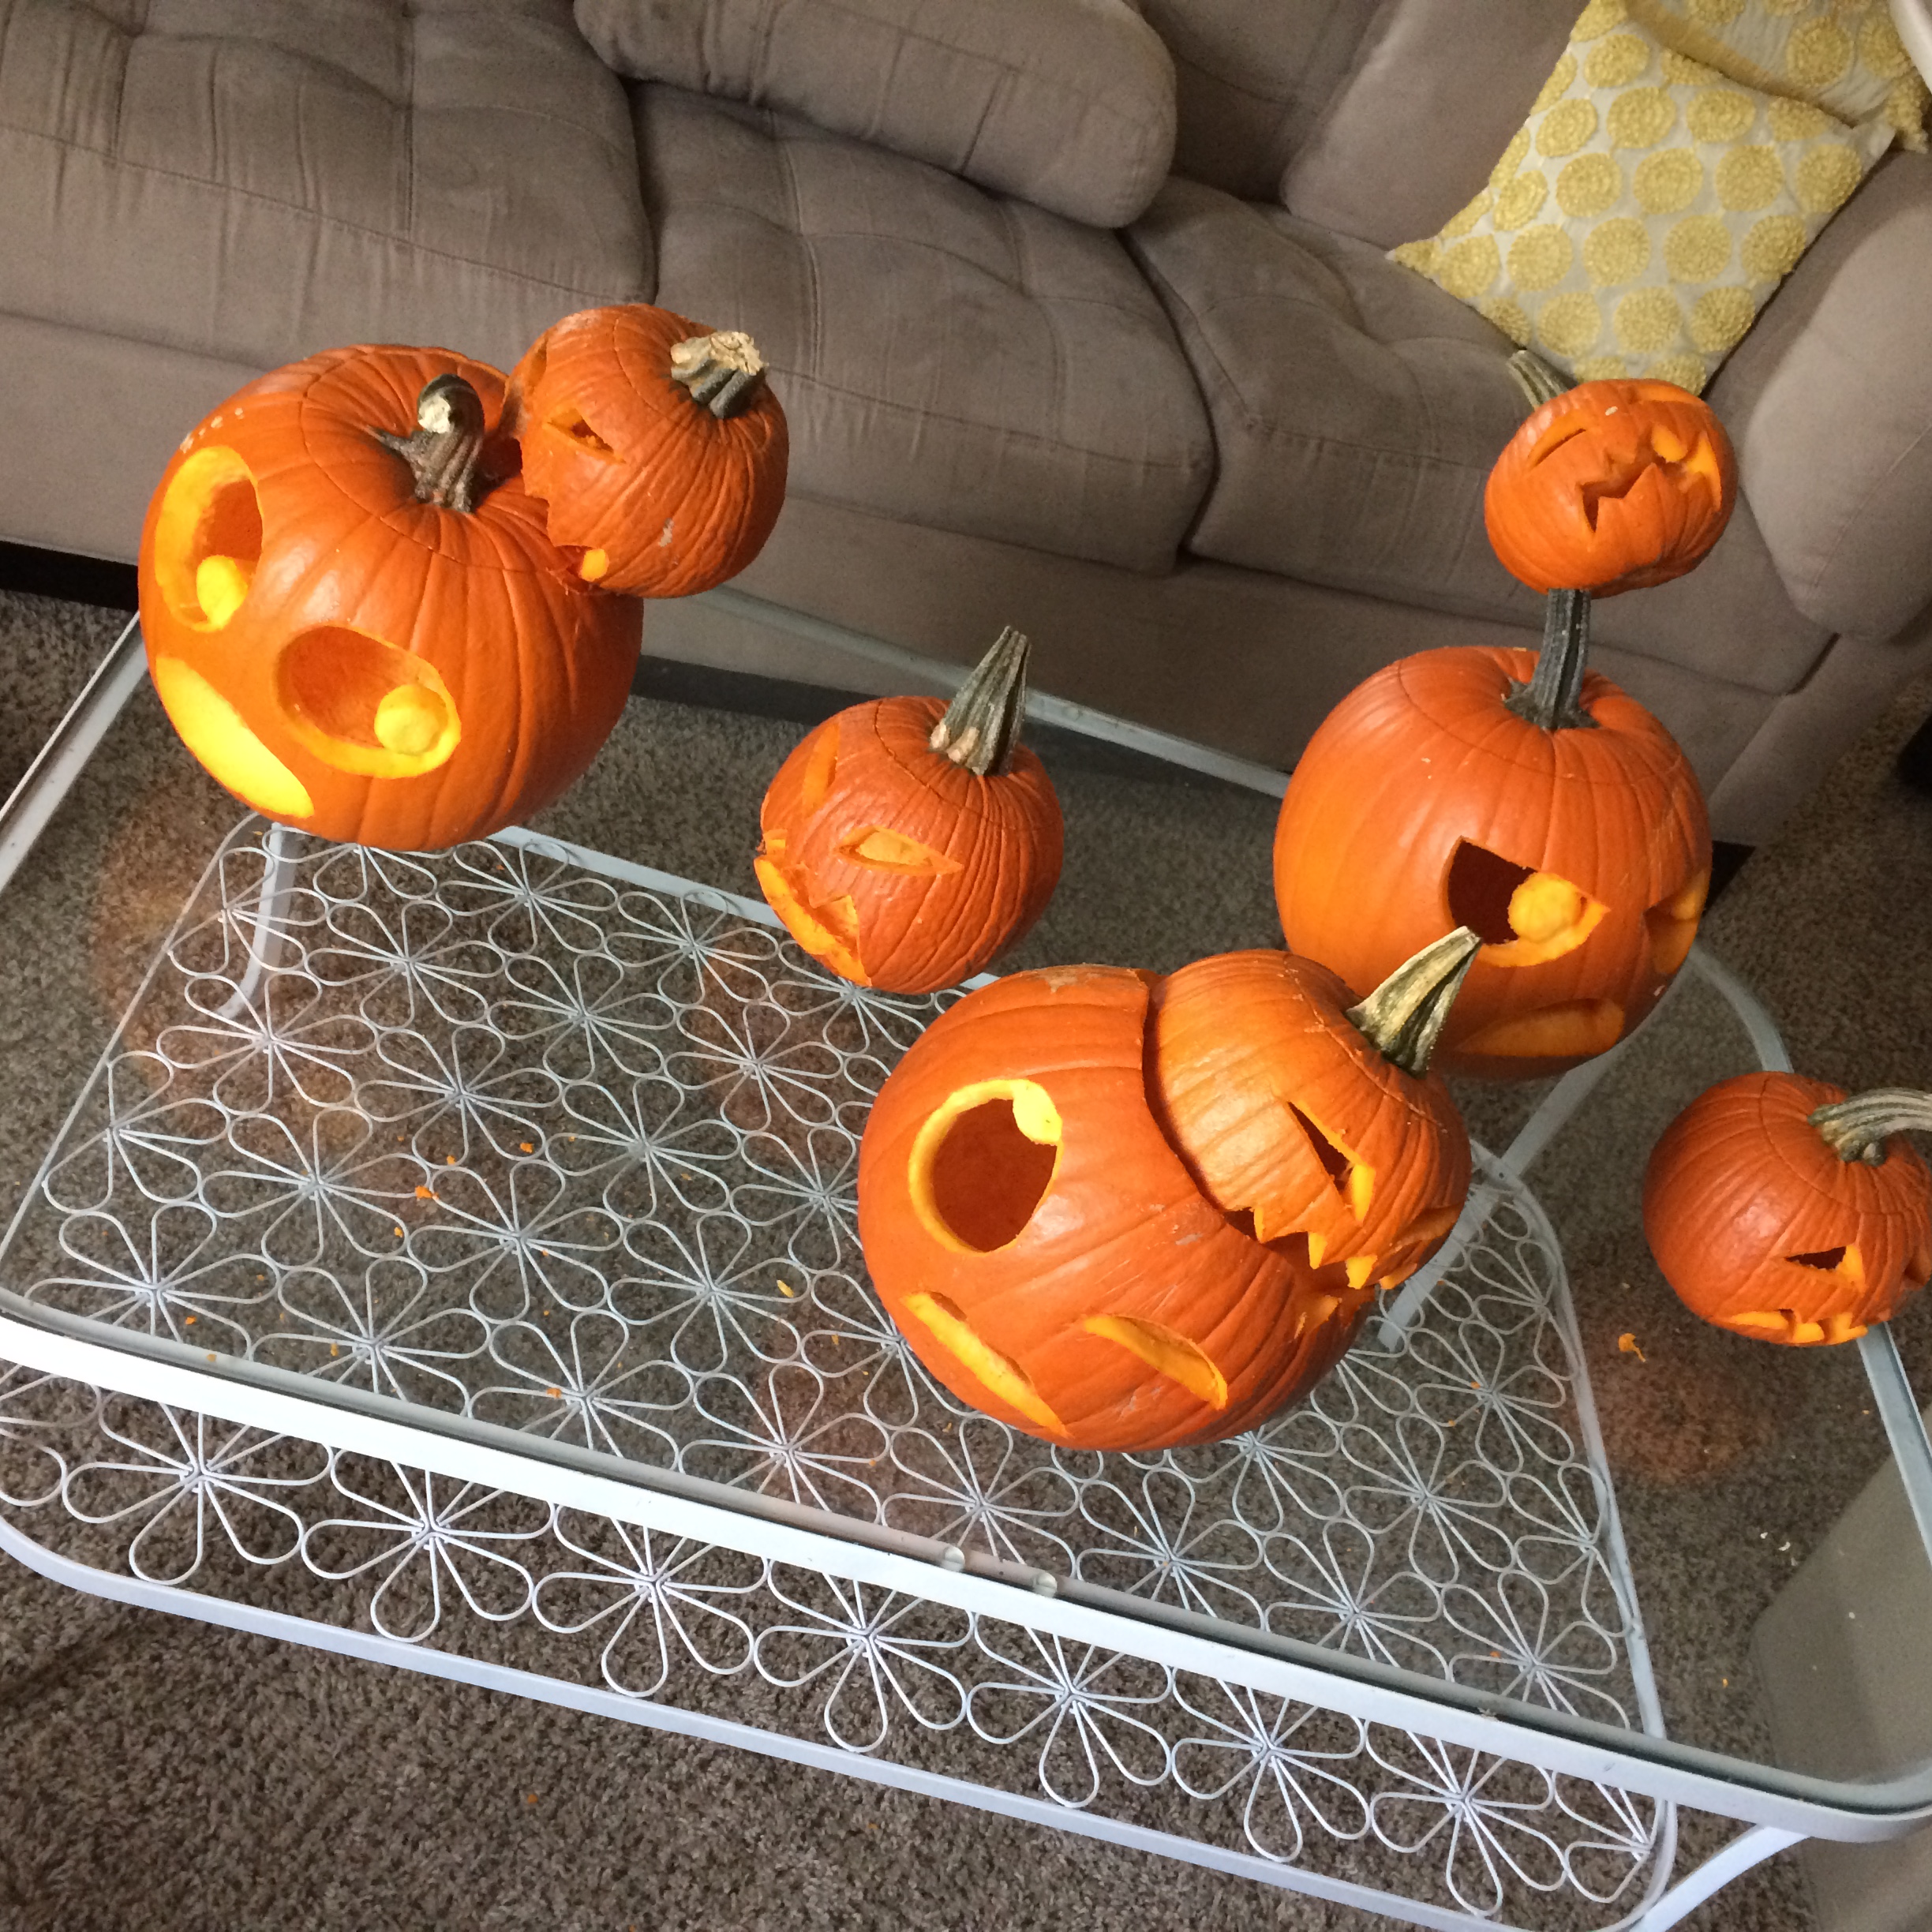
Refer back to your original sketch and note any changes to be made to your original design based on the pumpkins you have chosen and the carvings you have done.
Choose a place in your house or on your porch or out in your yard where you feel your scene can best be displayed. Set everything up as you planned but don't feel so bound to your sketch that you can't improve on the original. Setup will undoubtedly differ when moving from your 2D sketch to your 3D place setting with the physical pumpkins.
Light 'em Up!
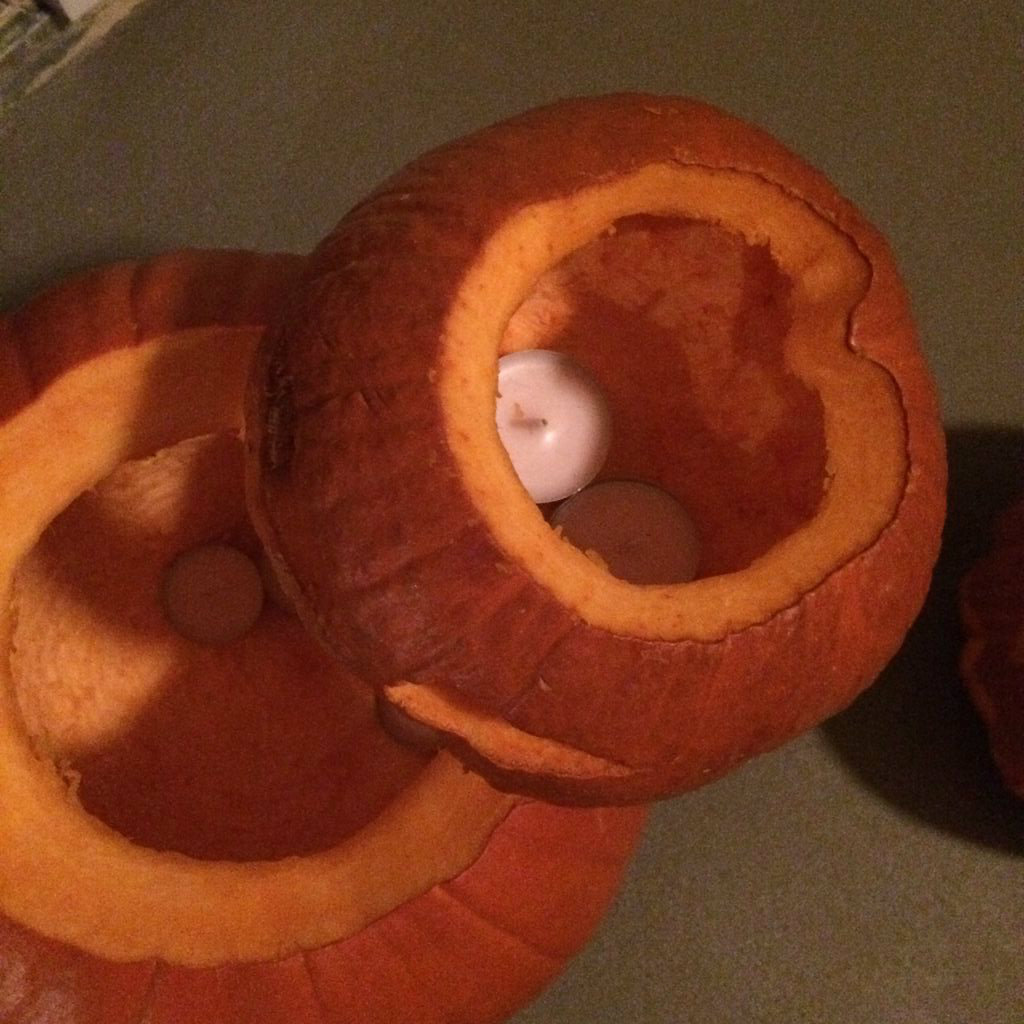
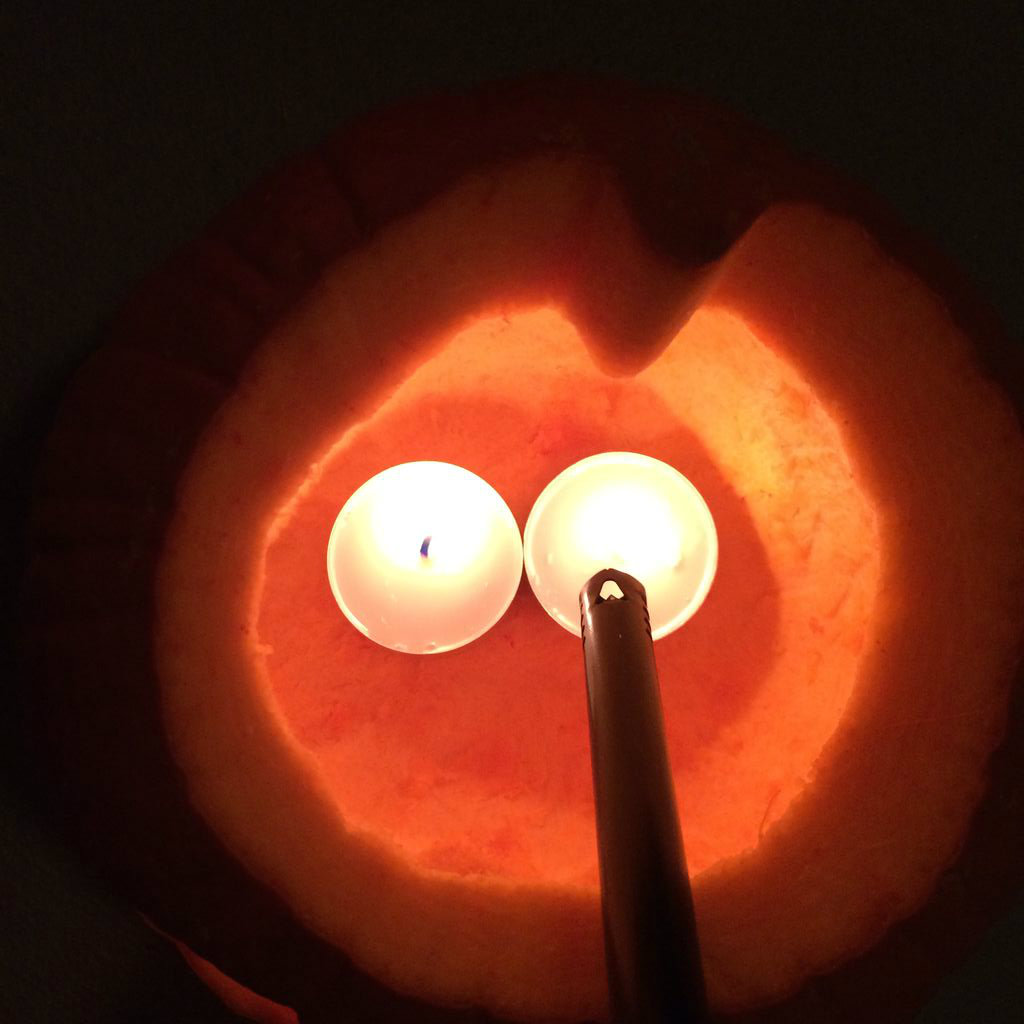
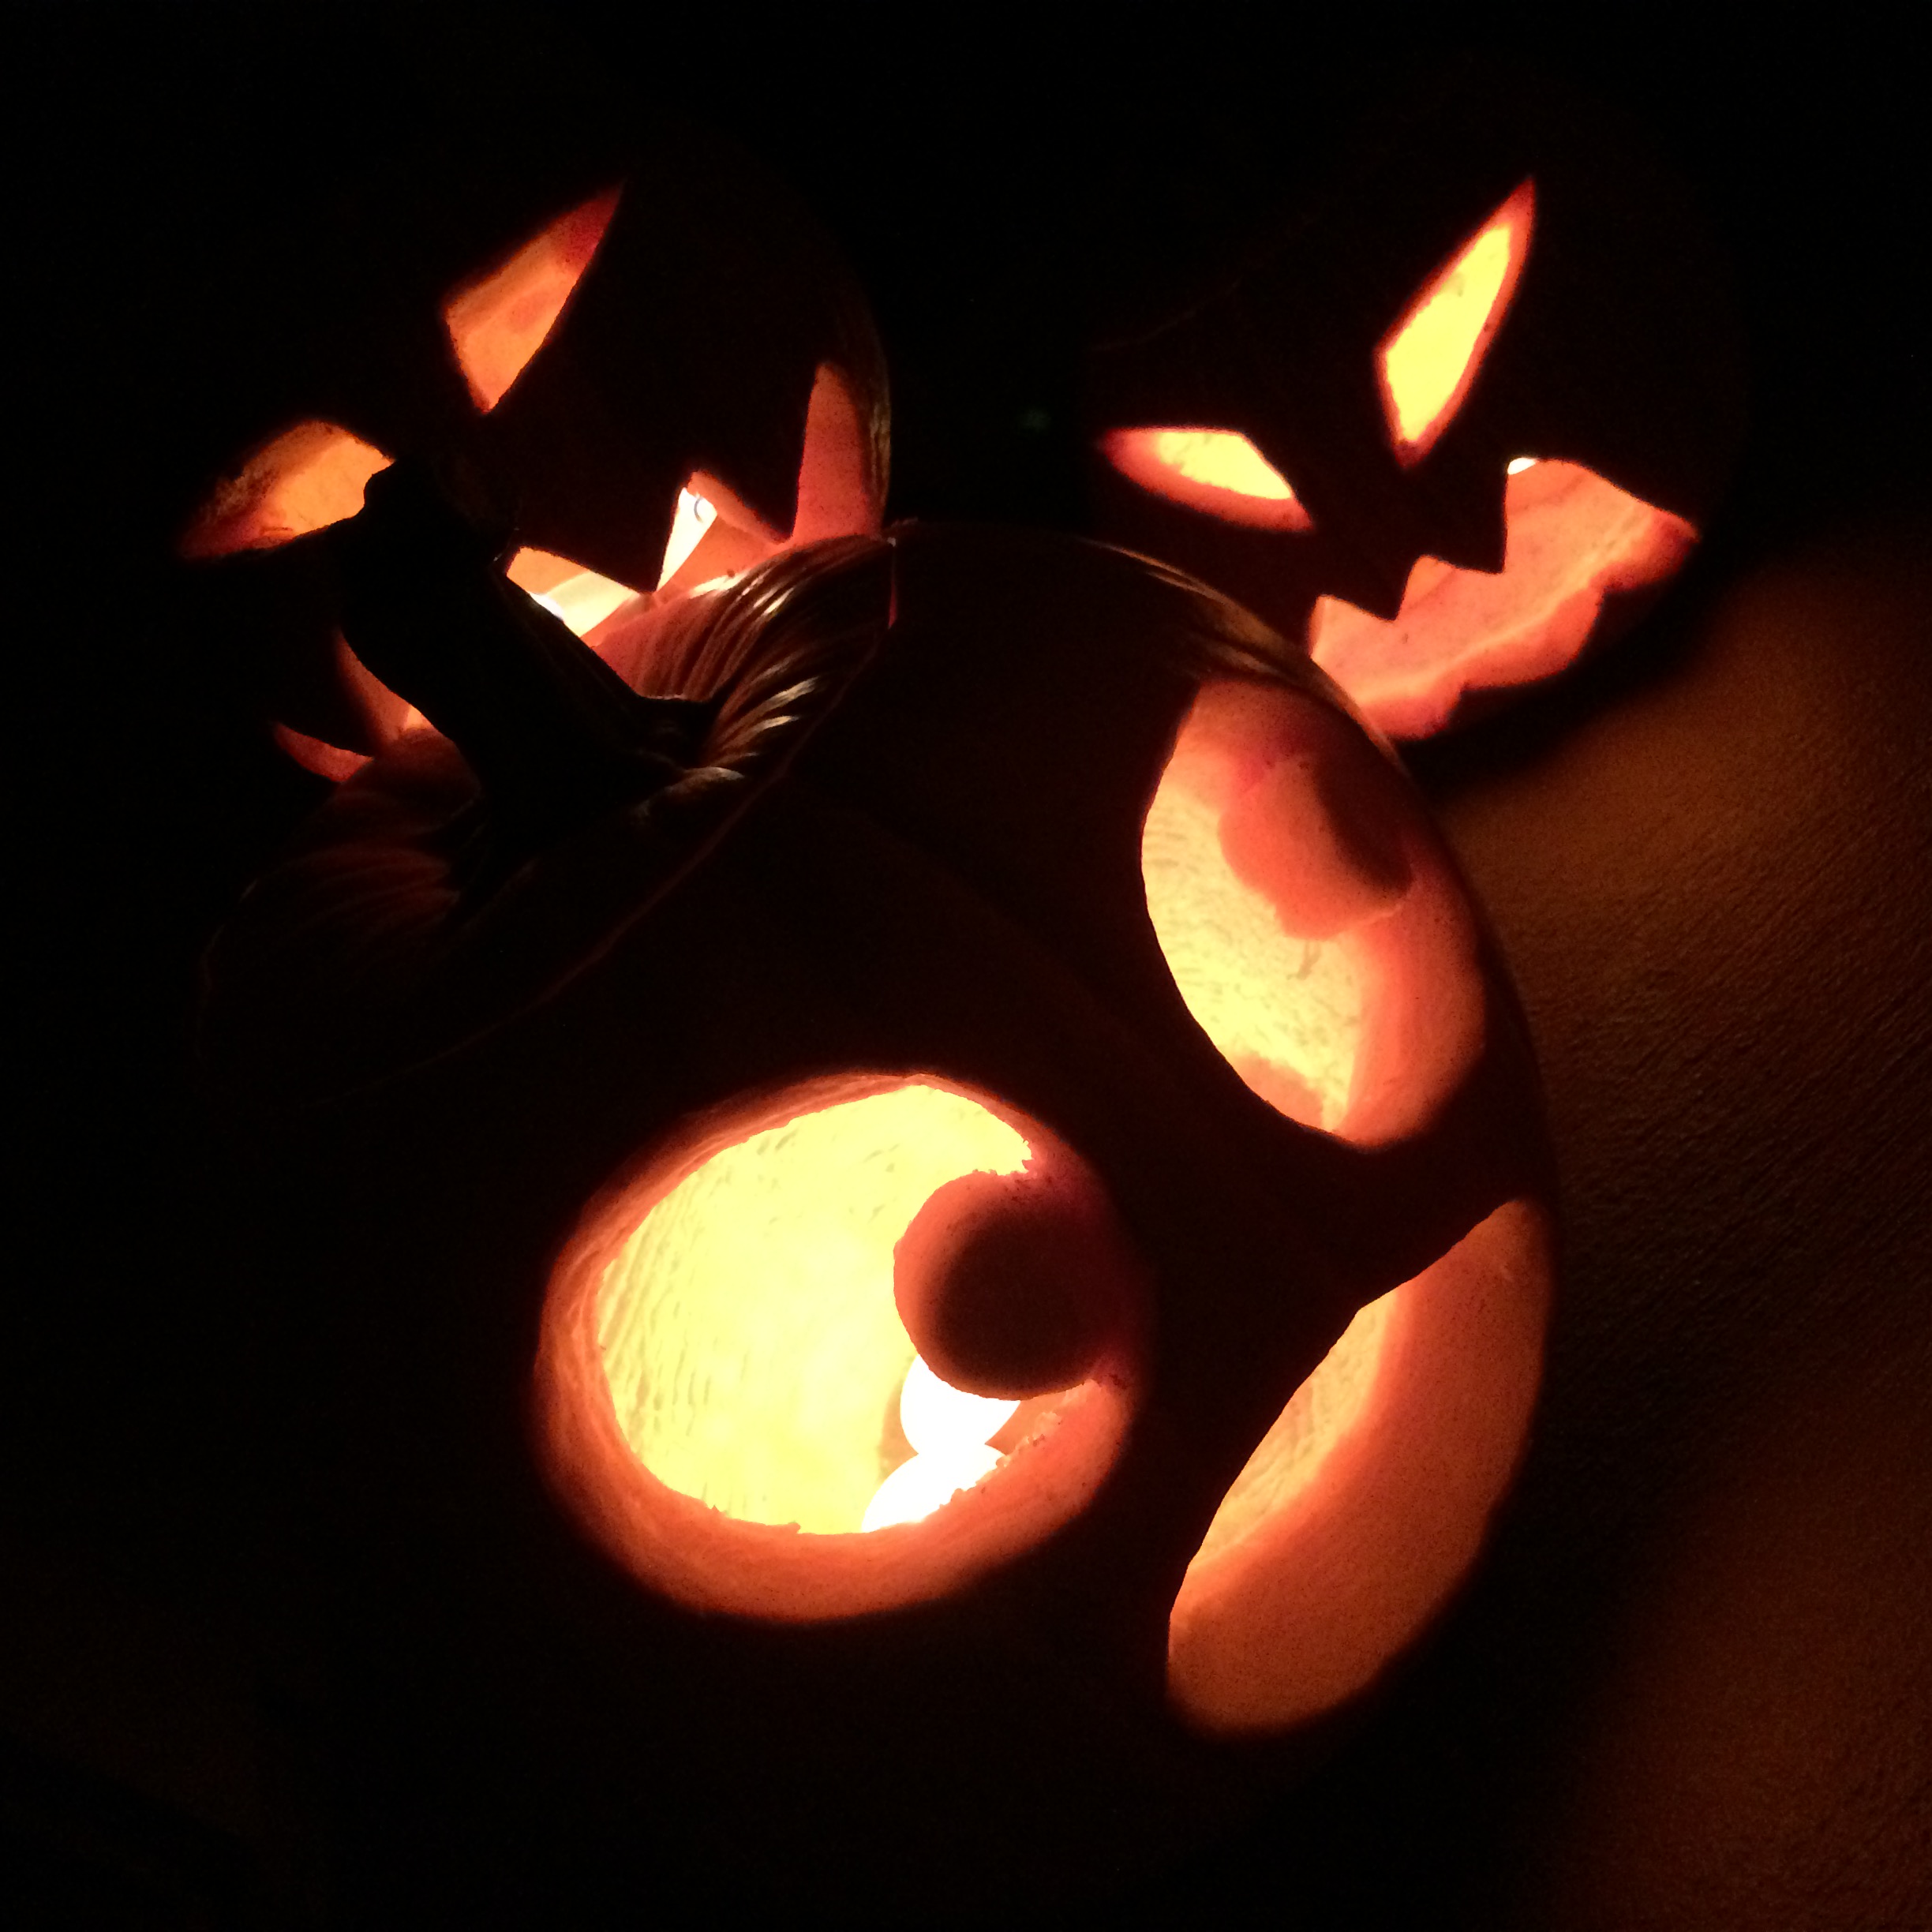
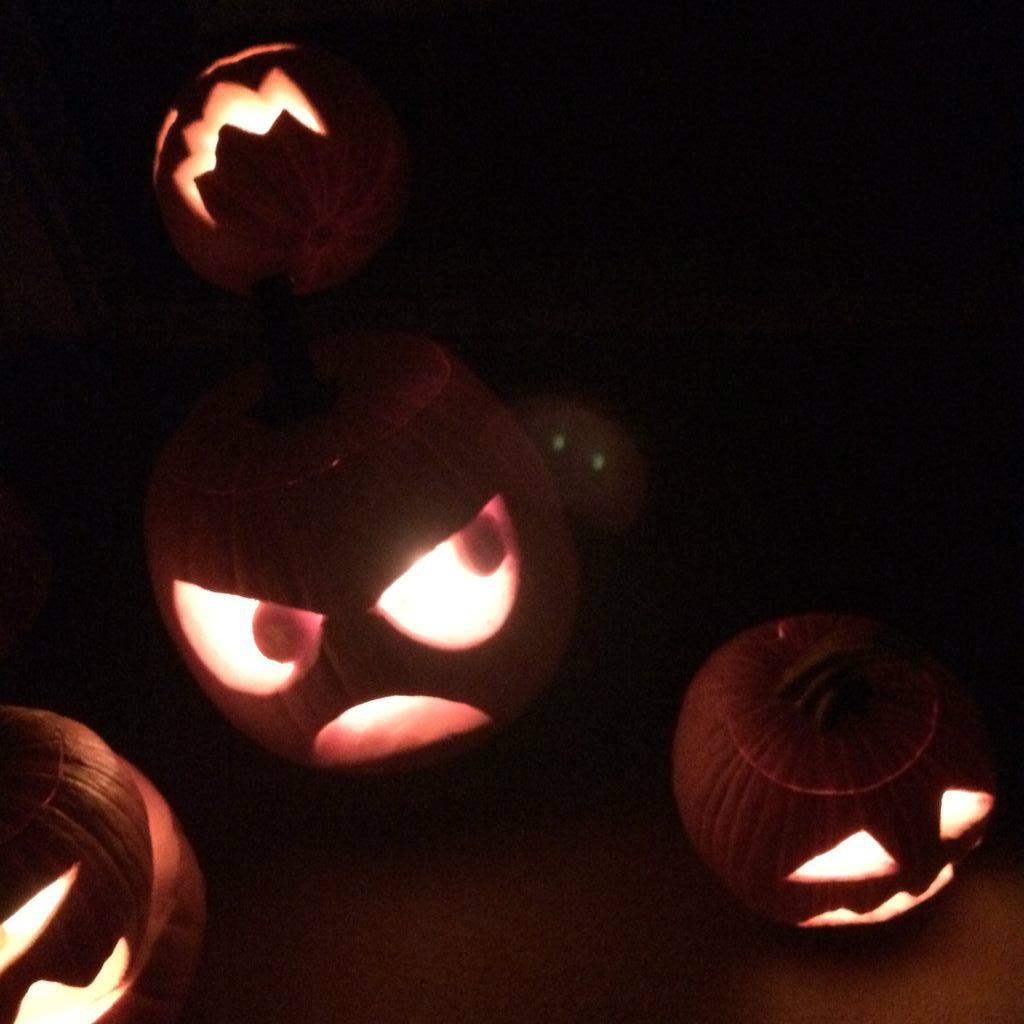
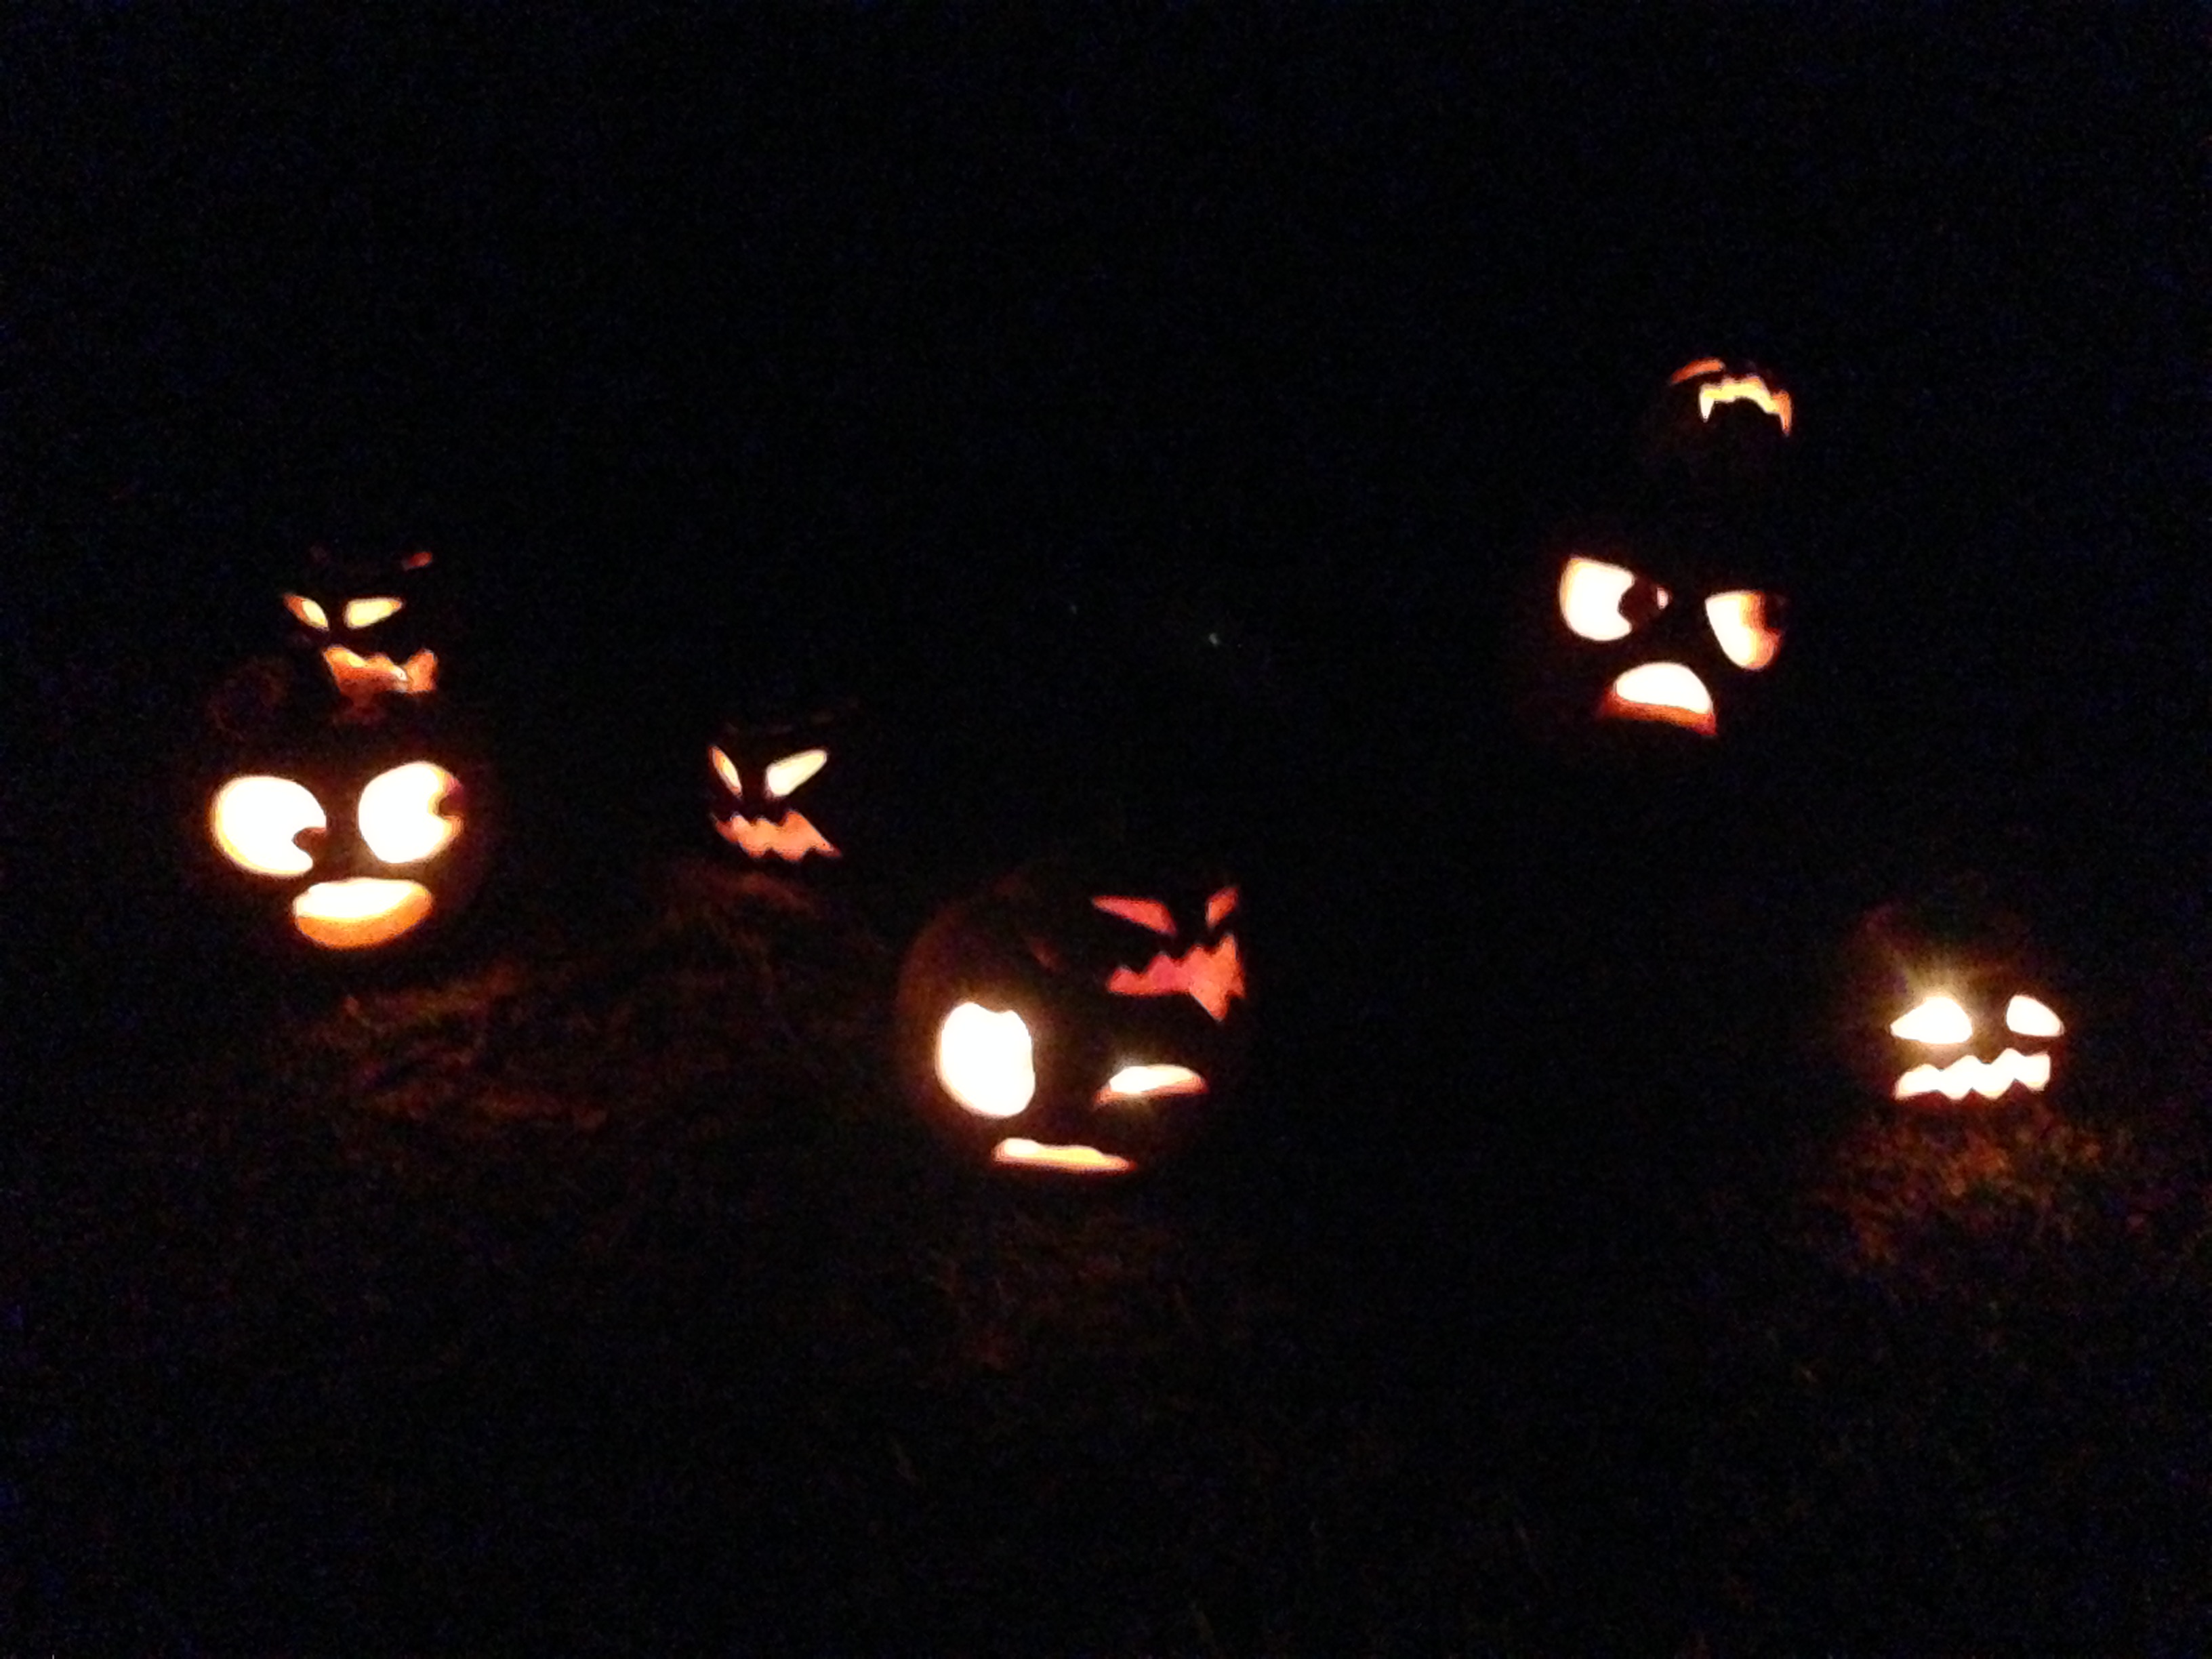
I will be using candles to light my pumpkins. I like the way the light flickers and the warmer spectrum coming off of the little candle flames. If you can't or prefer not to use real candles, there are little battery powered candles very likely available at the same place you picked up your carving kit and/or bought your pumpkins.
*Fire can be extremely dangerous and quickly get out of hand. Be especially aware when using candles indoors and be sure to put them out before you go to sleep each night. Also be aware of any possible sources of fumes or flammable materials nearby. BE SAFE!!!
All the best as you make your own Jack'O'Lanterns :)
Enjoy!