The Banana Bank
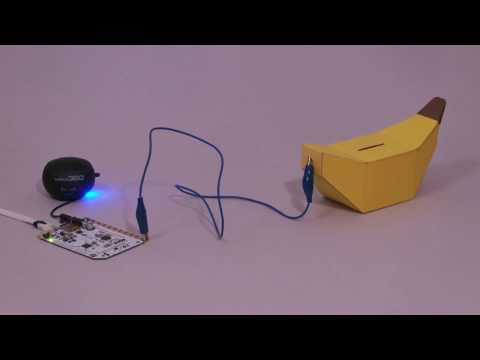
If you are trying to save up some money then you might want to try making your own interactive banana piggy bank. This tutorial will guide you step by step on how to make this fun piggy bank by using the Touch Board Starter Kit. Who knew saving money could be so much fun?
This project was created in collaboration with Giulia Galli .
To Begin With You Will Need
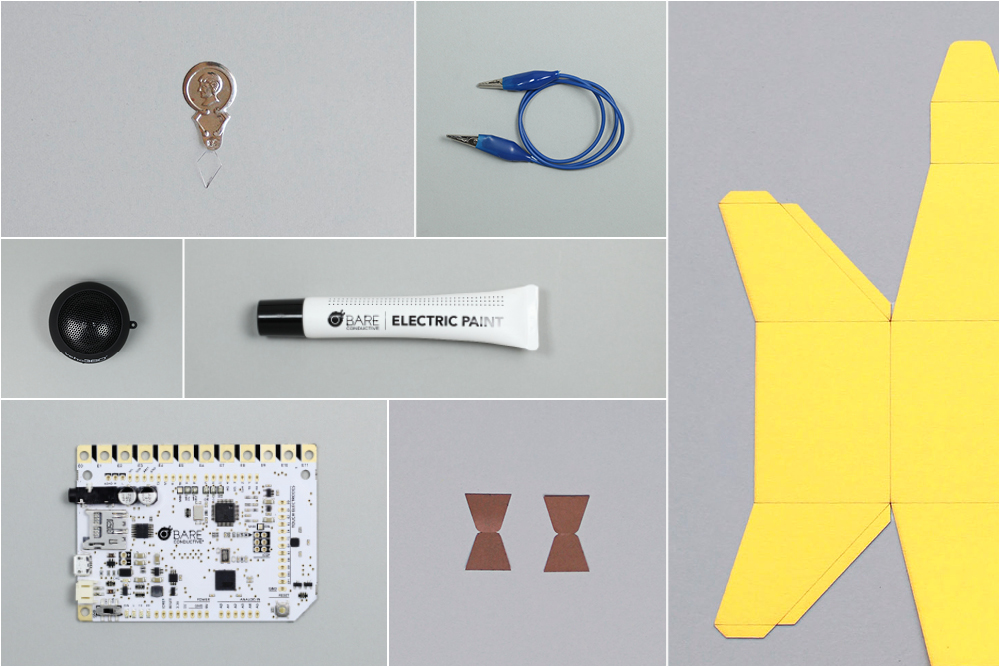
1x Touch Board
1x Electric Paint 10ml
or
1x Touch Board Starter Kit
–
1x crocodile clip
1x needle threader
(yellow and brown) cardboard
glue
Build the Inside Layer
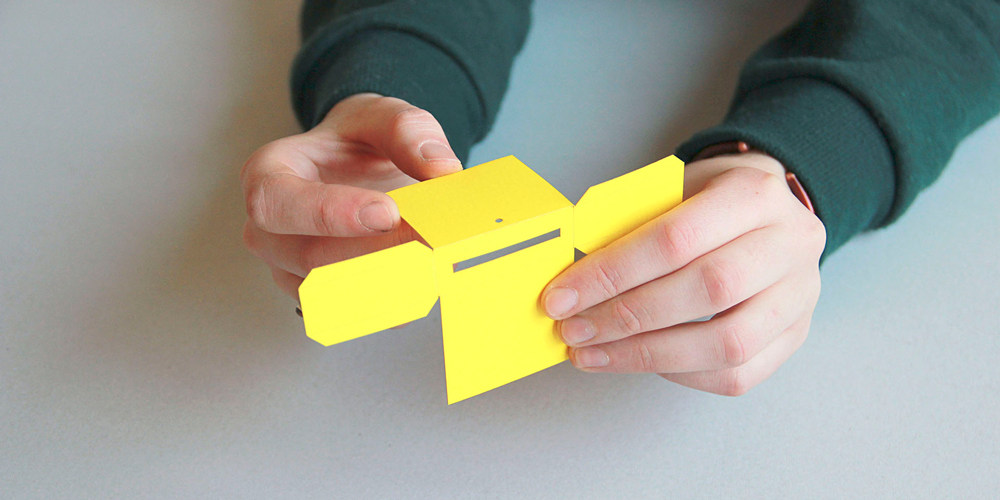
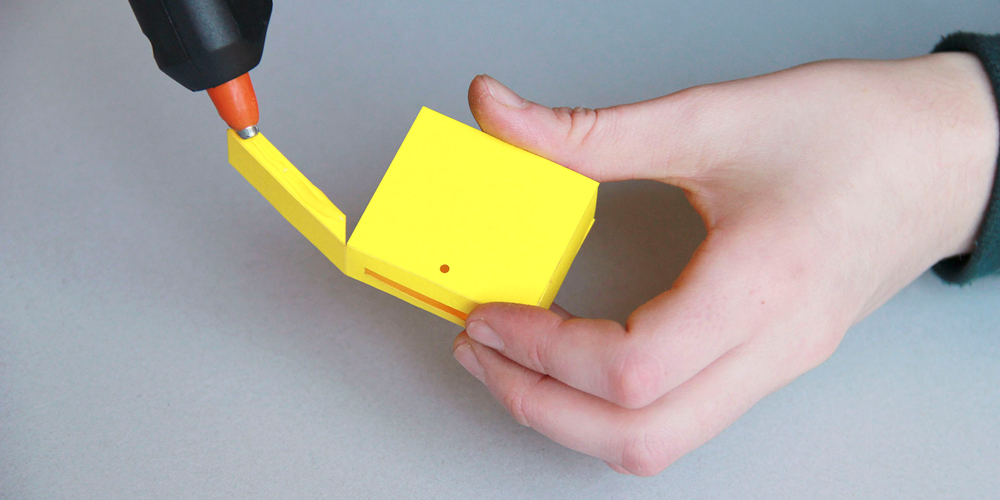
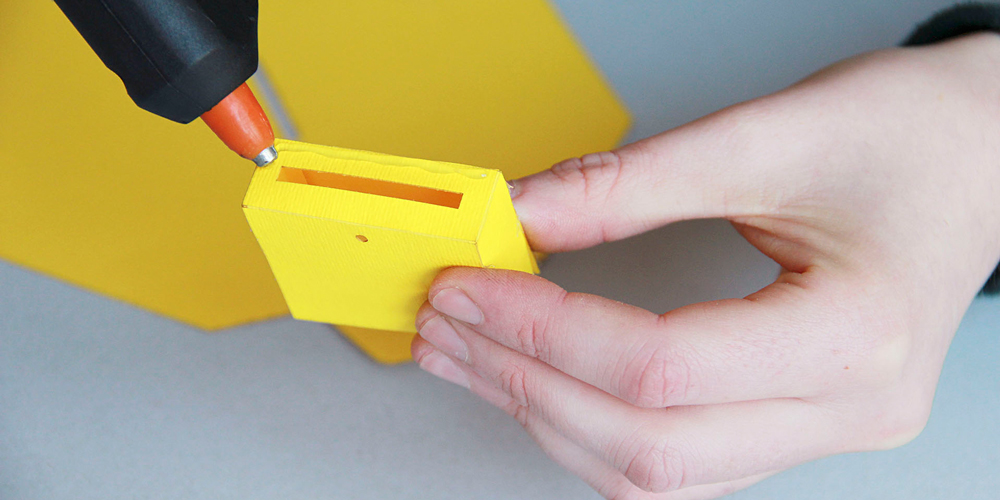
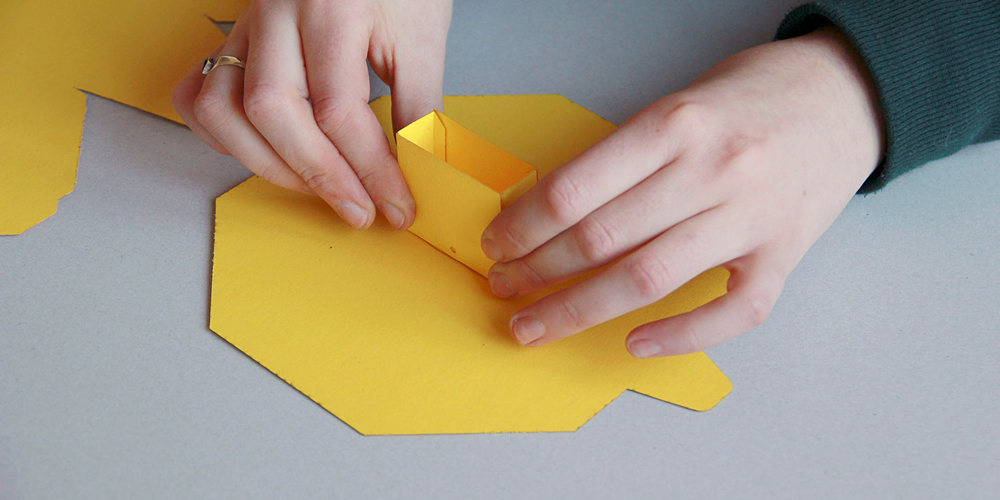
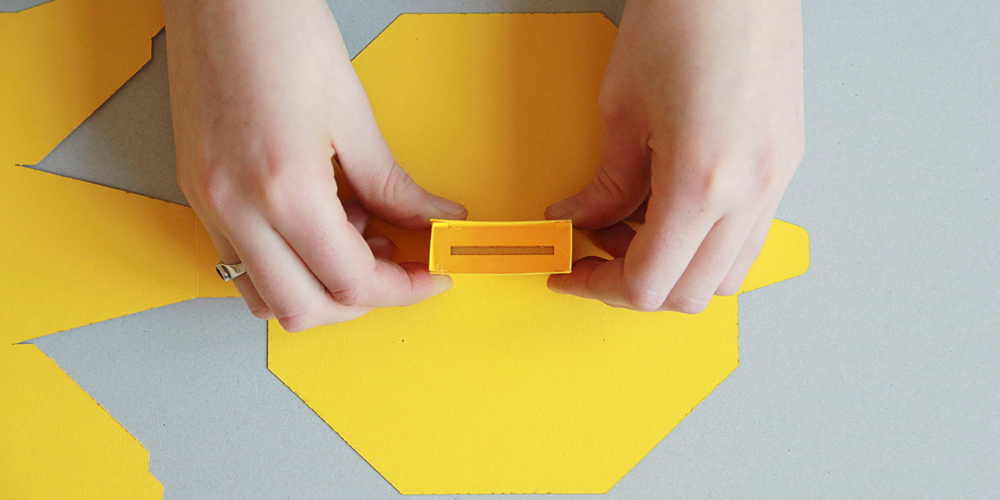
We start off by building our banana. First, download and print out this file here .
Use this printout to cut the shape out of the (ideally) yellow cardboard. Also, make sure to cut out the slits and holes of the shapes. Once you’ve got your cutout, start shaping the little box and fix its tabs with glue.
Once you’ve got a nice little box, paste it to the large cardboard piece, take care to match up the holes.
Applying Electric Paint
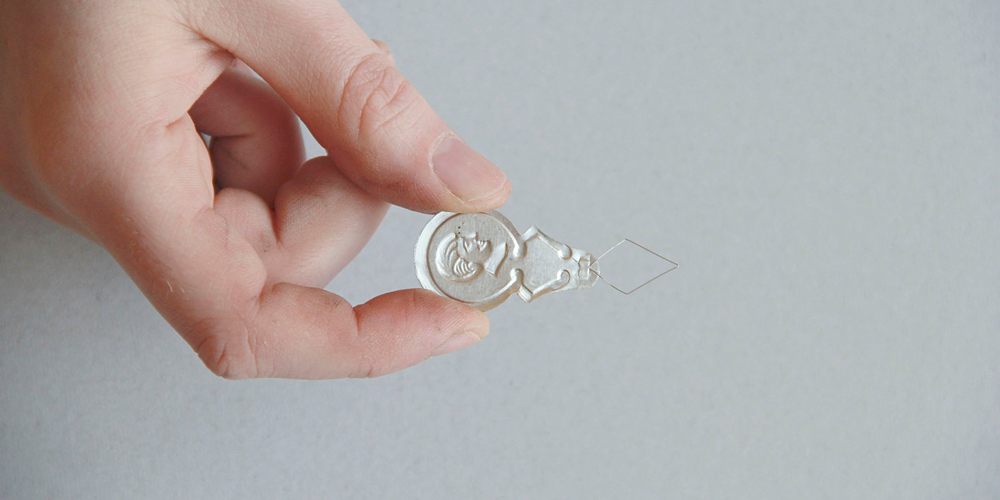
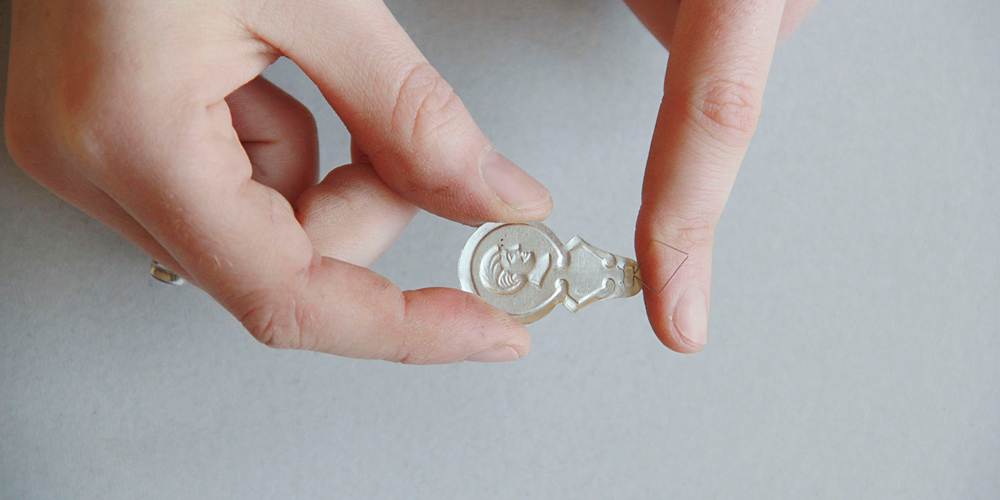
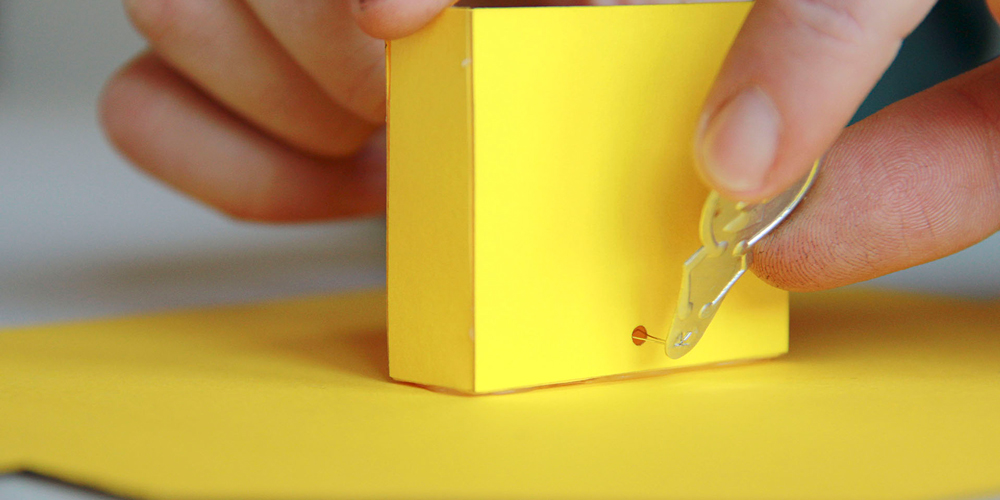
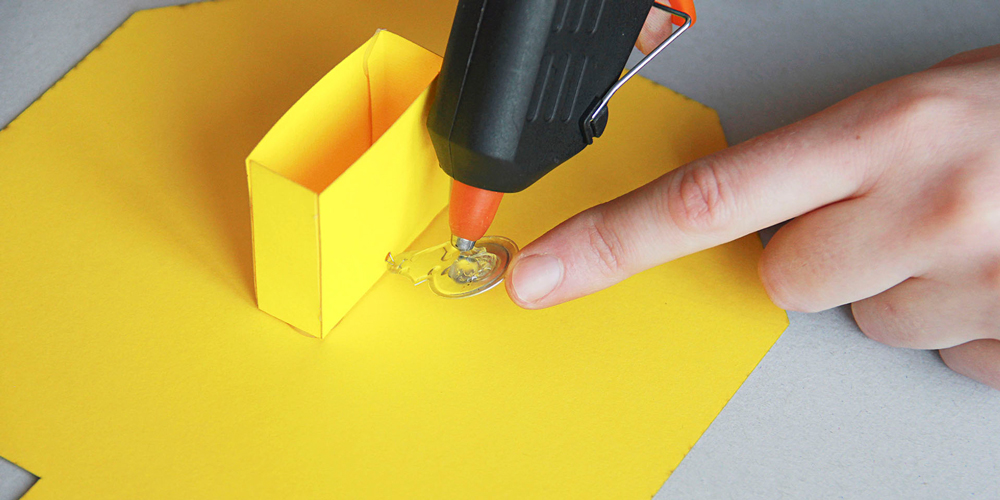
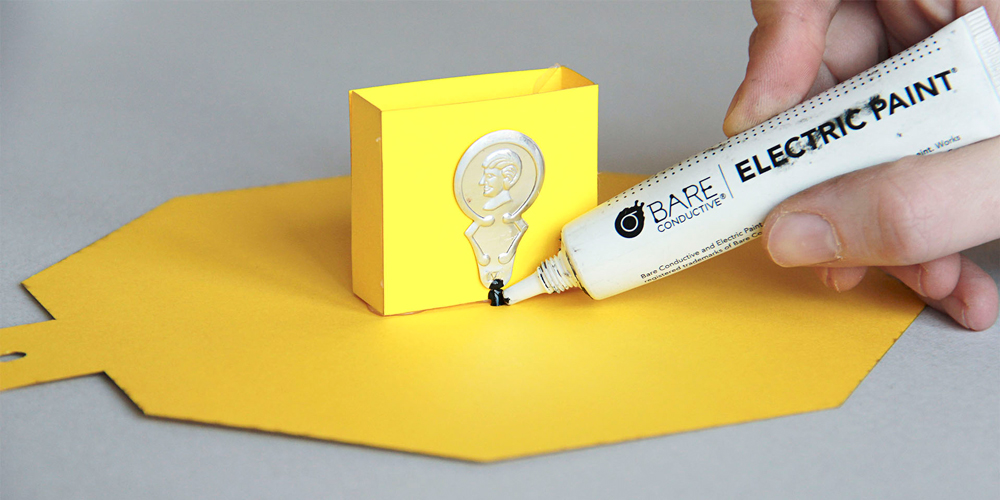
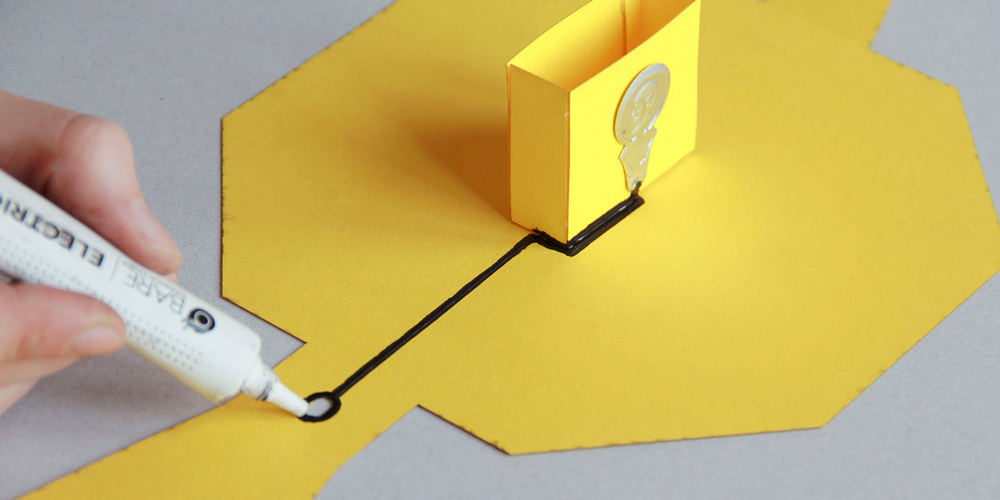
It’s time to use some Electric Paint!
First, take the needle threader, bend its flexible part, and insert it into the hole in the little box assembled in the previous step. Use glue to fix the needle threader body to the cardboard.
Use the Electric Paint to draw a path from the needle threader to the hole at the centre of the large cardboard banana. Make sure to apply some Electric Paint to the needle threader to ensure a stable path.
Shape the Banana Bank
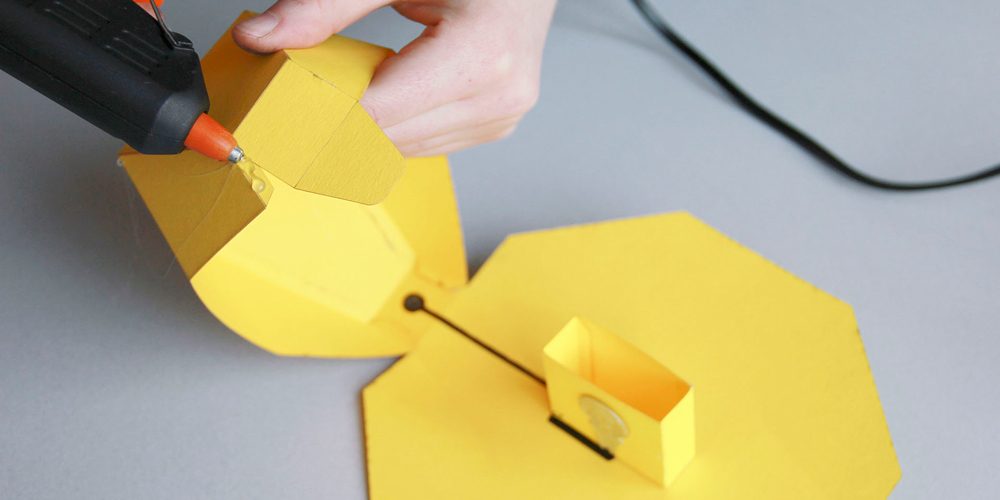
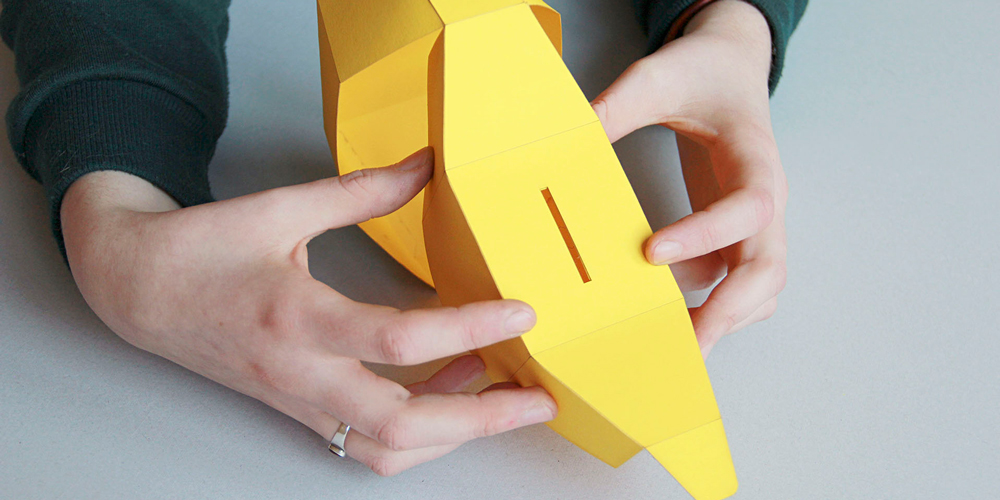
We’re nearly done with the banana! Simply shape the body of the banana bank and fix the tabs to the form with some glue. Keep an eye on the Electric Paint, chances are that you might interrupt the path when folding. Simply reapply Electric Paint on parts where you think the path is broken.
Also, you can cover the stem of the banana with a different coloured cardboard, for example brown, or give your banana a complete makeover. Be creative!
Load Sounds
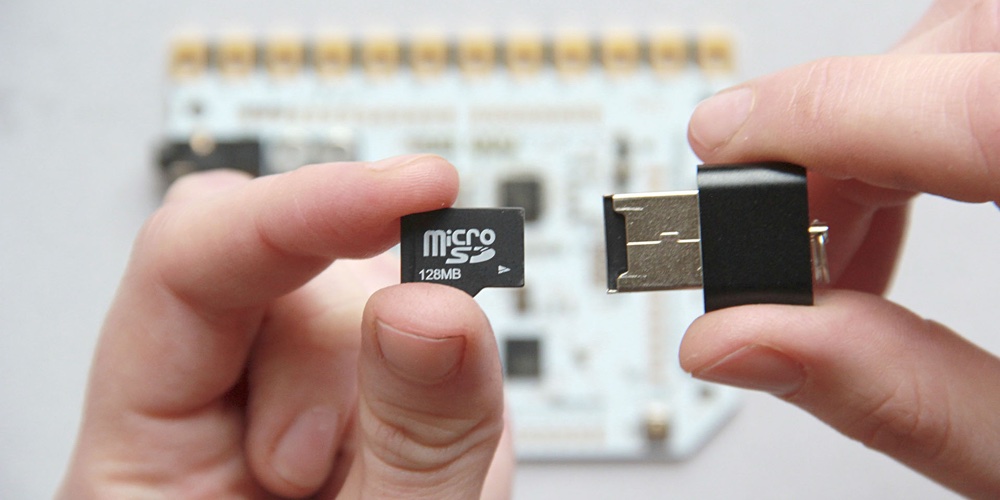
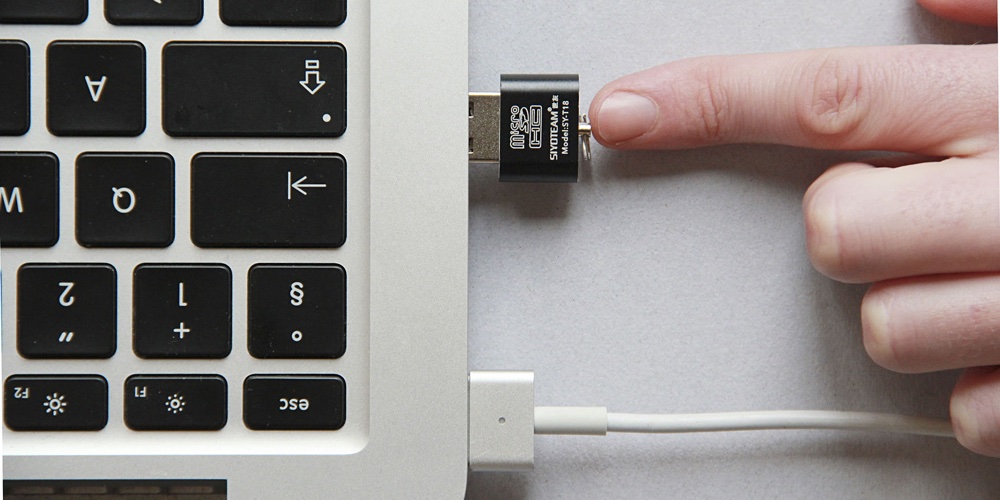
Connect Touch Board
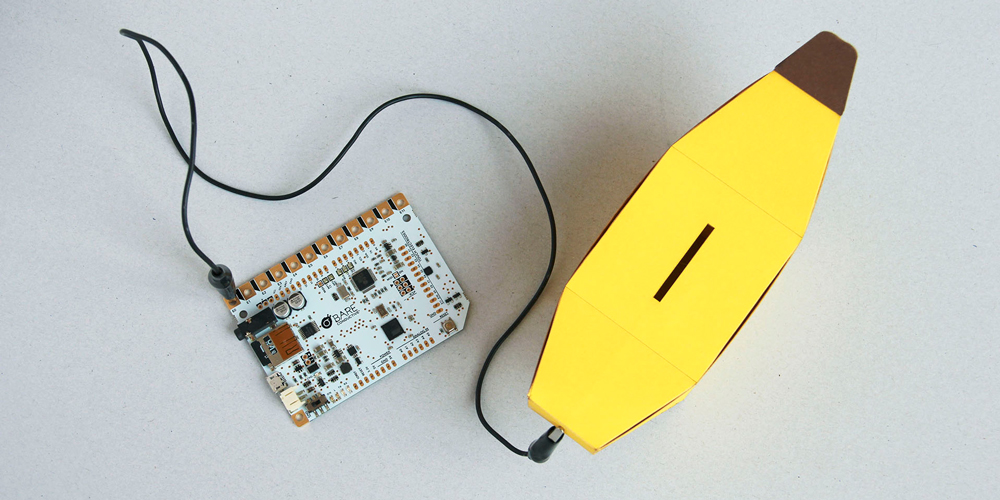
Once you have uploaded your sound effects to your Touch Board, you can connect it to the banana. Attach one end of the alligator clip to the banana bank, through the hole with the Electric Paint, and the other end to the corresponding electrode of the Touch Board.
Connect Audio and Power
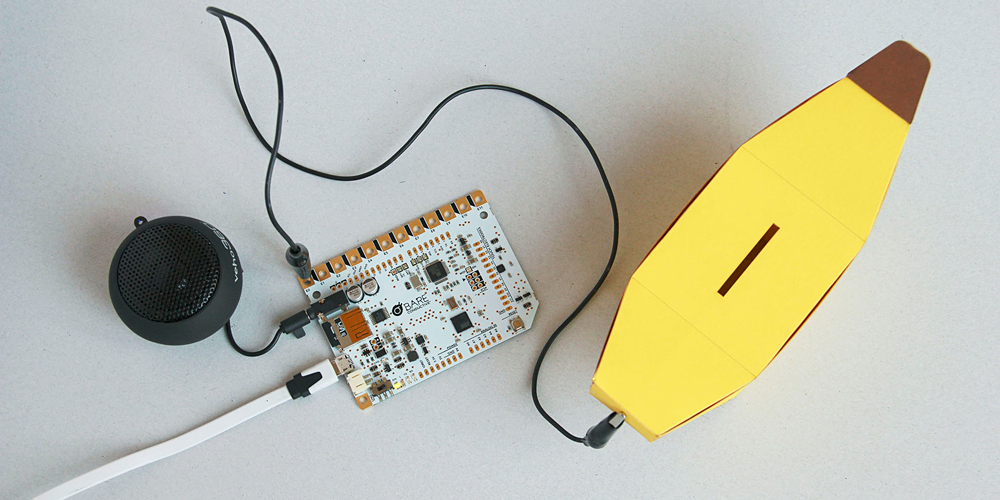
Plug your speakers into your Touch Board and also plug in the Micro USB cable to power your Touch Board.
Your Banana Bank Is Ready
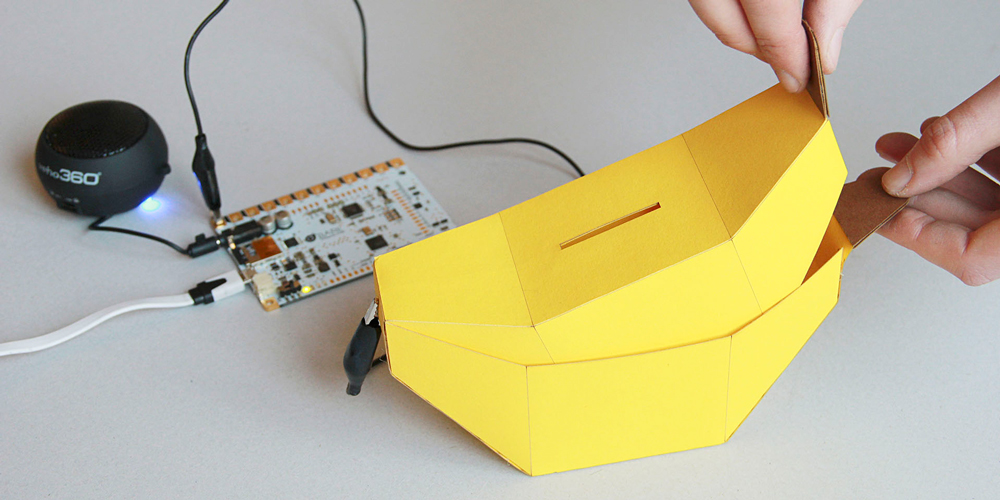
Your banana piggy bank is ready to go! Turn on your Touch Board and add your first coin in your banana piggy bank.
If you have decided to not make a banana piggy bank and instead create your own design, we’d love to see what you’ve made! Simply send us your images or videos on Instagram or Twitter or email us at info@bareconductive.com.