The Babygate: Small, Wooden, Pretty
by ZaneEricB in Workshop > Woodworking
300 Views, 0 Favorites, 0 Comments
The Babygate: Small, Wooden, Pretty

Baby gate...for the un-baby-gatable
The Culprit


The issues -
1) The doors on the fridge will not open if we keep the door to the pantry on. So we removed it and lived in blissful openness UNTIL someone discovered the treasures within.
2) We went on a hunt to find a baby gate that would be small enough to fit an 18 inch door opening... much to our disappointment, we found NONE!
3) Overall poor design on a kitchen in my opinion, but we aren't going to get into that this time.
Measure, Plan, Gather


Step 1, and most important:
MEASURE MEASURE MEASURE!
....come on, we all know the saying measure twice...yada yada yada
Step 2: PLAN
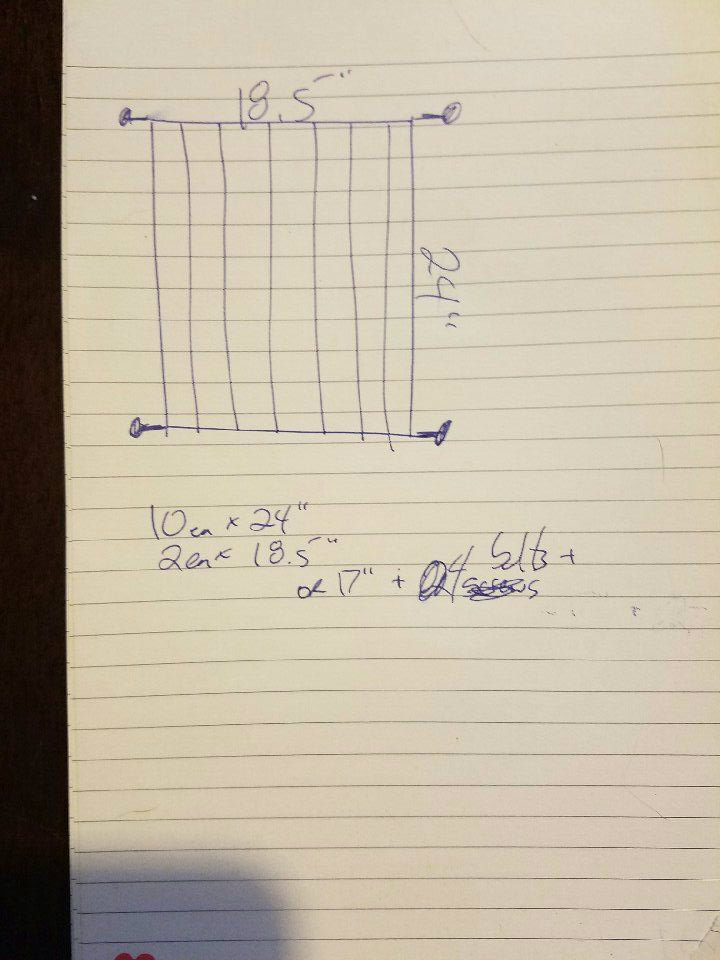
For me a rough sketch worked for planning
The dimensions we are going to be utilizing for our plan are: 18.5 inches x 24 inches (WxH)
**The initial plan was to have 10 lengths but I later cut that down to 9, I felt 10 was too crowded.
We will get to cutting after we get the goods!
Step 3: GATHER Materials and tools
Raw Materials:
1ea - 1.5 inch x 1.5 inch square x 8 foot wood (I used Pine because I plan on painting, but other options are available if you plan on staining)
2ea - 1 inch x .5 inch x 8 foot wood
Measure AGAIN! and Cut

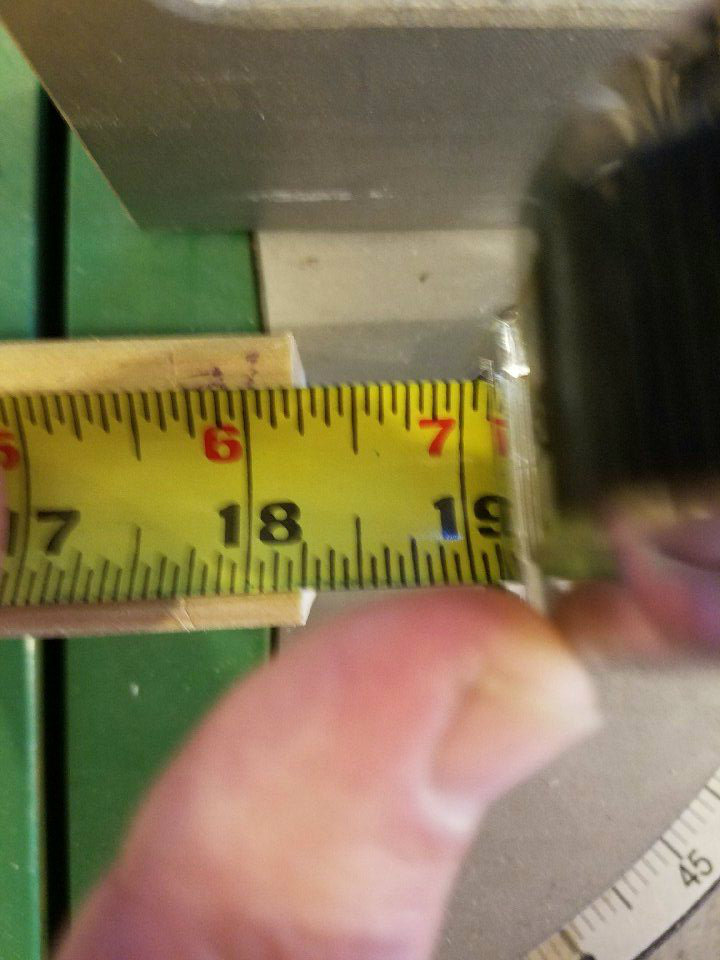
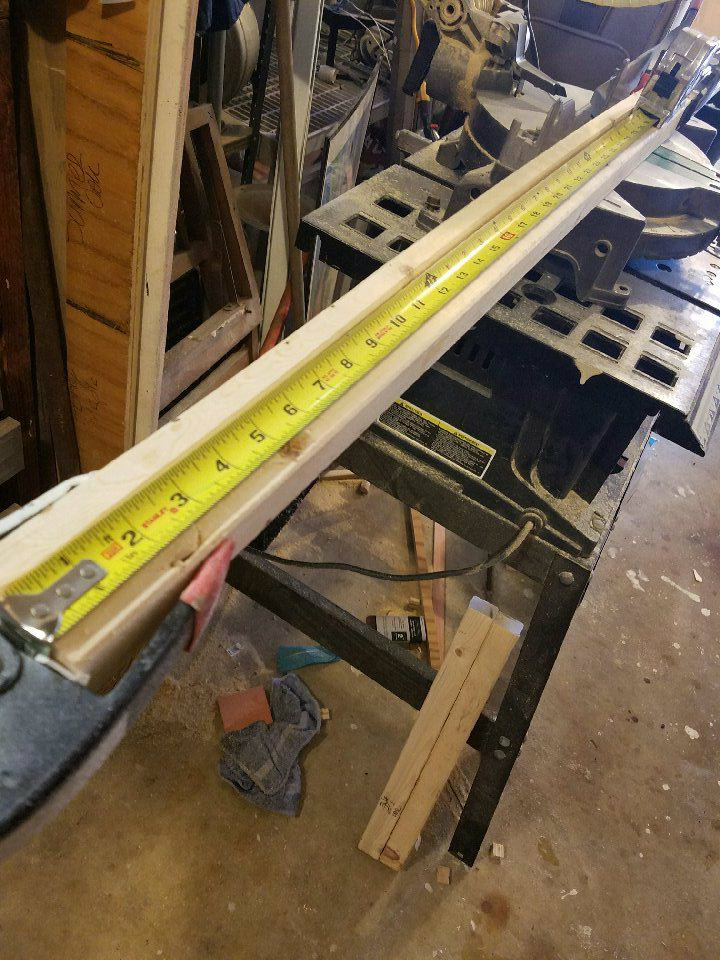


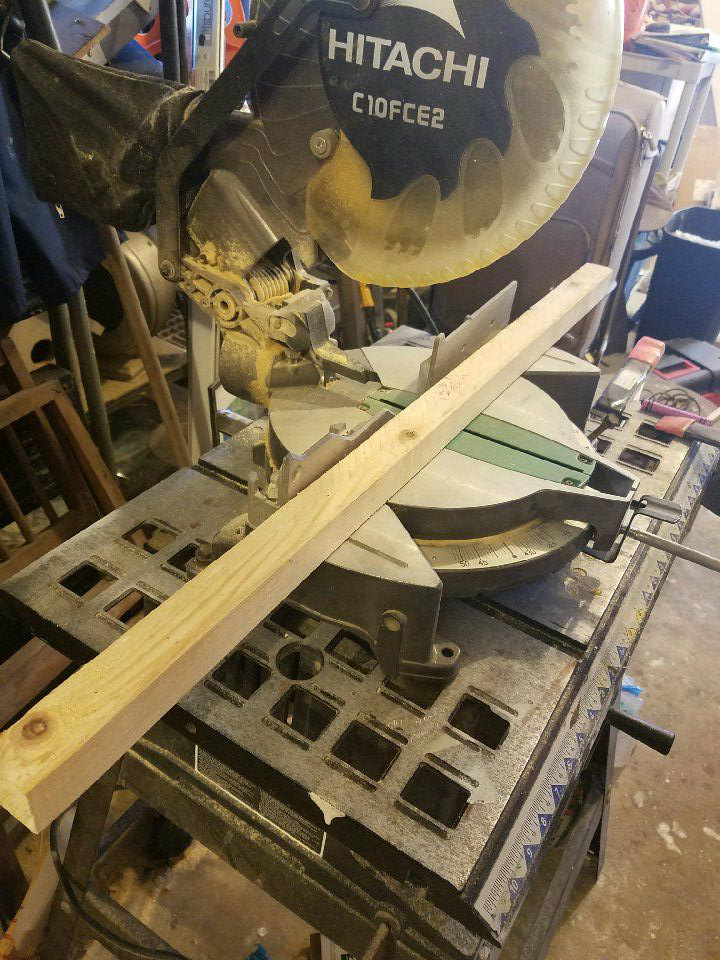
Cut 2 each 18.25" long
Cut 9 each 24" long ( I clamped 3 together to make the cuts)
Measure all again to ensure uniformity
Measure and Route


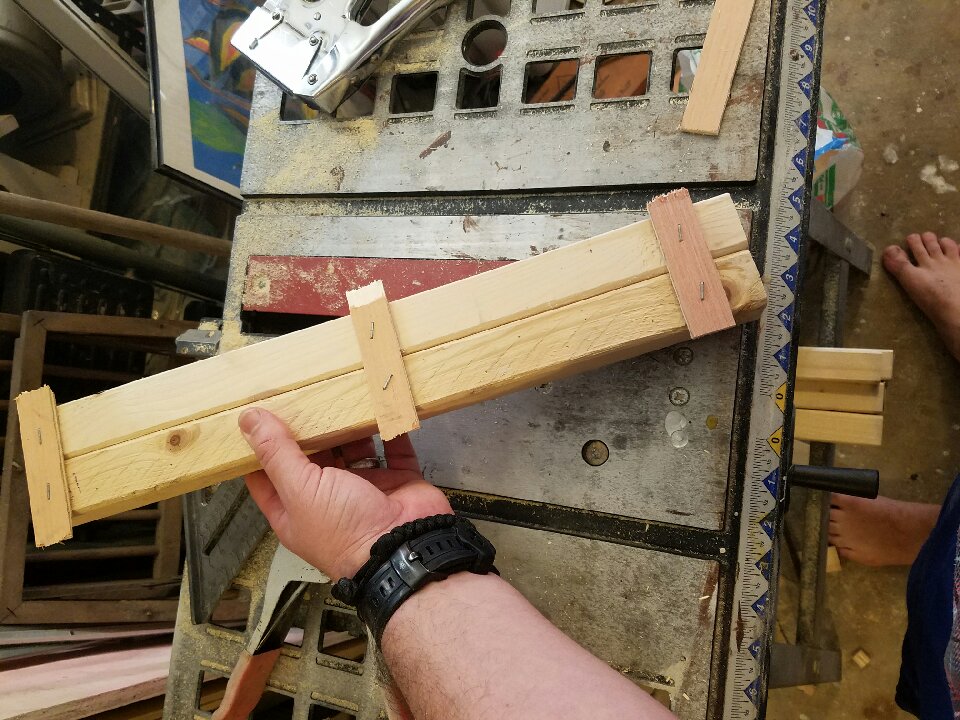


Dry Fit, Sand, Glue


Test Fit, Sand, Fill


With the glue all nice and dry....and my lack of super awesome routing skills.... AND because I want a nice smooth finish....
Here is a trick.... BONDO! yes! BONDO like you would use on a car.
Mix it, smear it in the chips and holes... let it dry and sand it down!
Sand AGAIN! and Bonus Shoe Molding!!


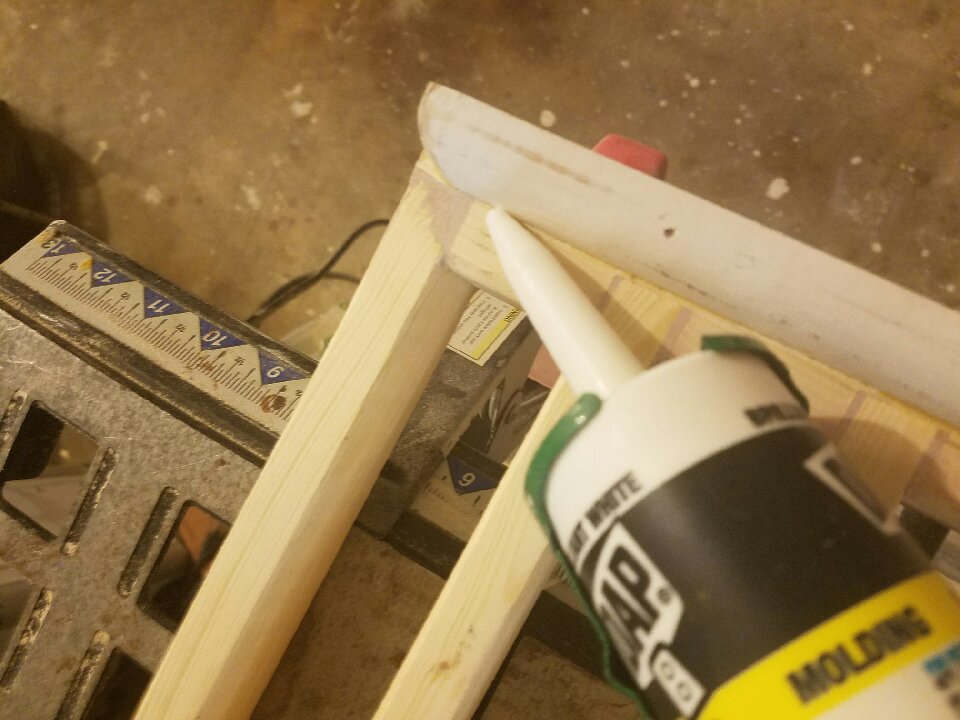

After a nice sand down again I found some show molding laying around the garage.... so... BONUS!
I was planning on painting this the same color as the trim anyway, SO finding the shoe molding will add that little something extra.
Measure the base
Lock It UP!


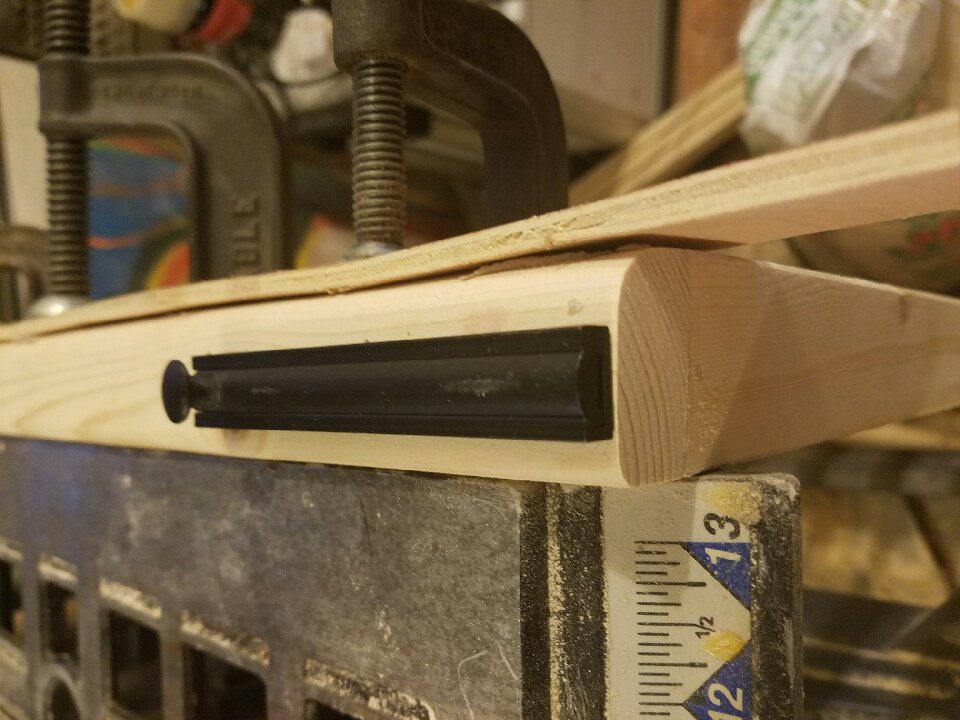


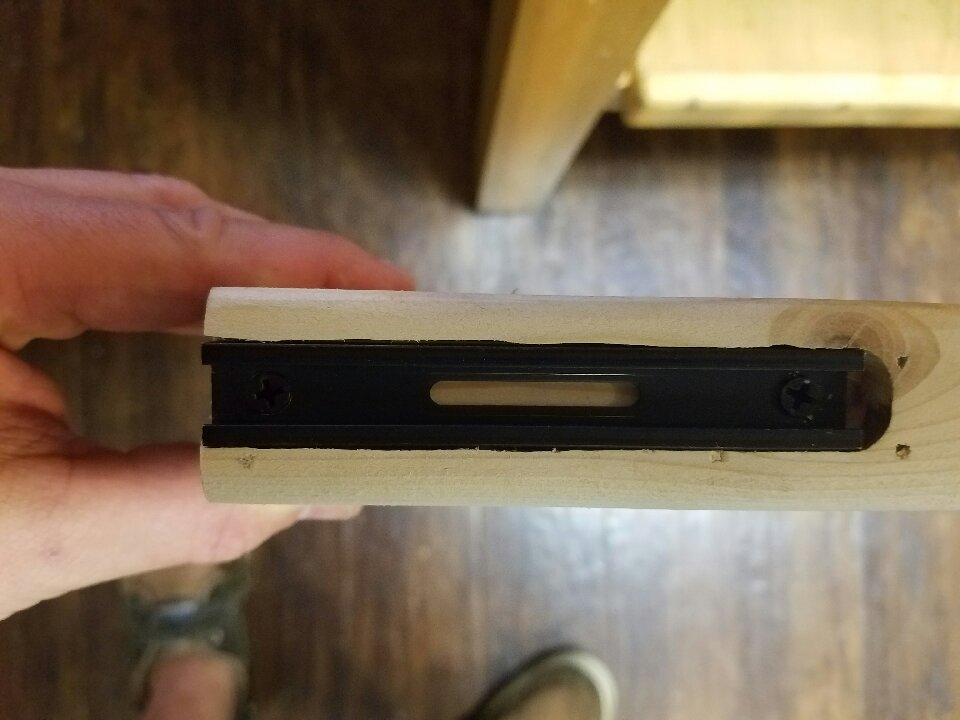


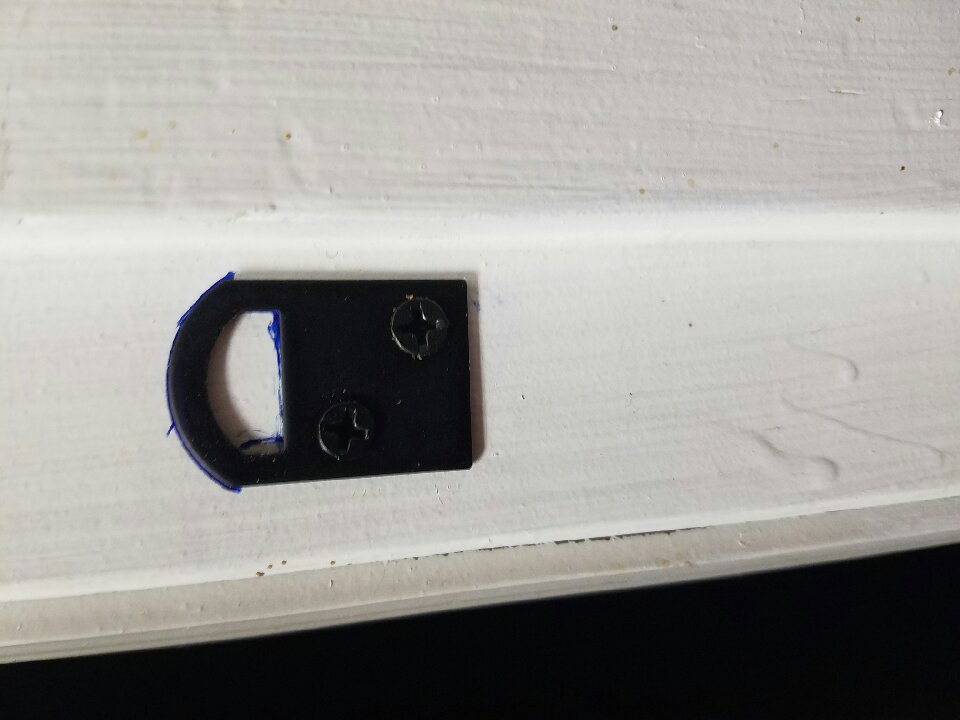


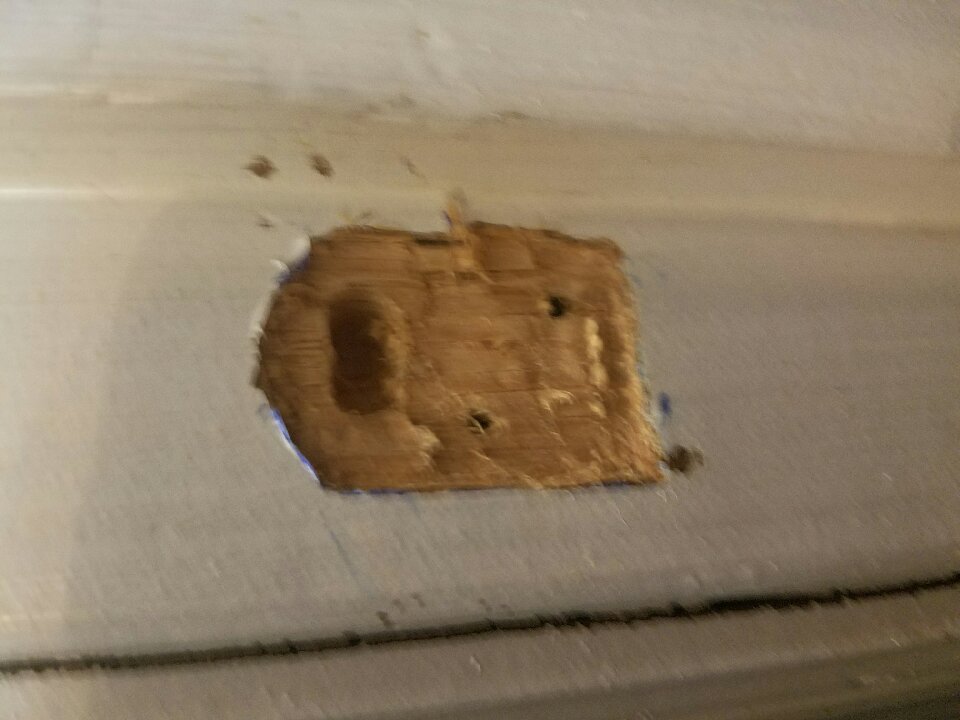


So that the little monster can't just push the gate out of the way.... its time to lock it up!
I explored multiple ways of locking the gate.... compression springs, latches, etc etc... and finally landed on surface mount latches.
BUT I want this to look sleek and blend in.... SO back to the router we go!
Time to Paint


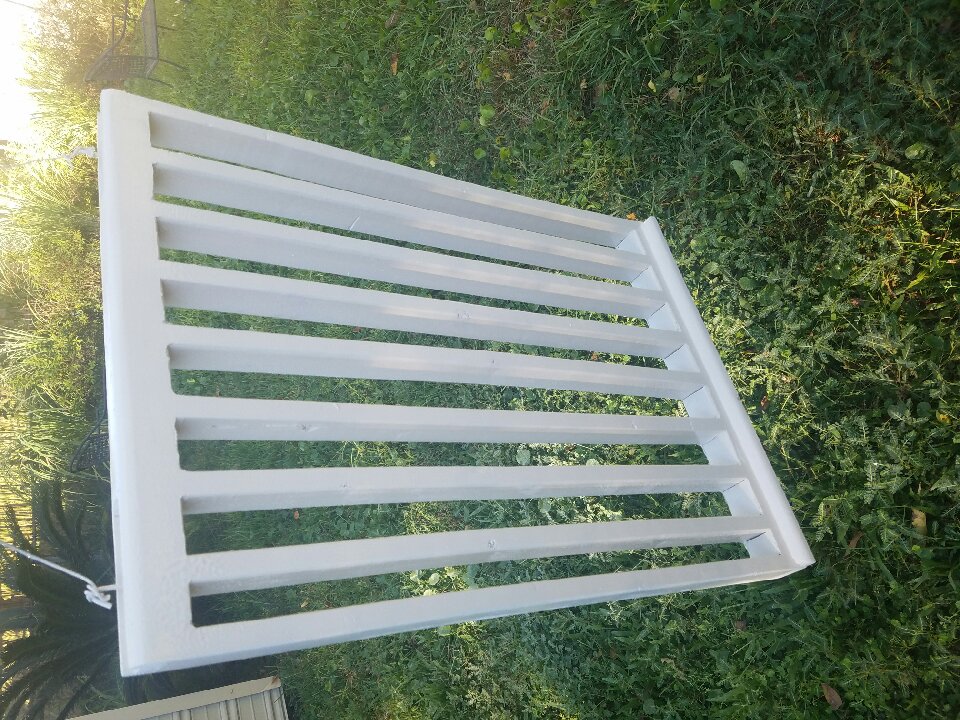


Everything is now cut, glued, routed, bondo'd, sanded again, routed for locks, given a once over with some 220 grit sanding... ugh... I took the hard way around doing this!
NOW... we paint.
We bought the place about 4 years ago and I painted, floored, replaced the molding, ceiling fans... etc etc etc....
And, of course, have materials left over.
You should always keep some paint for touch ups, and I have a few gallons.
I am using Benjamin Moore oil based primer at 25% London Fog (color) and Benjamin Moore Gloss with 25% London Fog....why the 25%...well, our walls are 100% London fog, and the slight blending allows for a smooth transition of color, so that the moulding isn't loud-ass white!
Finishing Up


So I admit, it has been awhile since I have posted an 'ible... mostly because the documentation takes longer than the actual process. BUT I must also admit, documenting the process is just as enjoyable.
....
Enough confessing, back to getting this done!