The Arduino OctoSynth


What is the OctoSynth you may ask? The octosynth is a polyphonic synthesizer that is able to produce eight Pulse Width Modulated tones that form together a musical scale. In English terms, it is a 8 key electronic organ that can play more than one tone at once but only one scale.
Special thanks to Joe Marshall who wrote the very useful code.
As suggested in the title, it runs on Arduino.
So before we get started, let's see what is sounds like. Shall, we?
And and explanation would be nice.
Special thanks to Joe Marshall who wrote the very useful code.
As suggested in the title, it runs on Arduino.
So before we get started, let's see what is sounds like. Shall, we?
And and explanation would be nice.
Parts of the OctoSynth.


You will need:
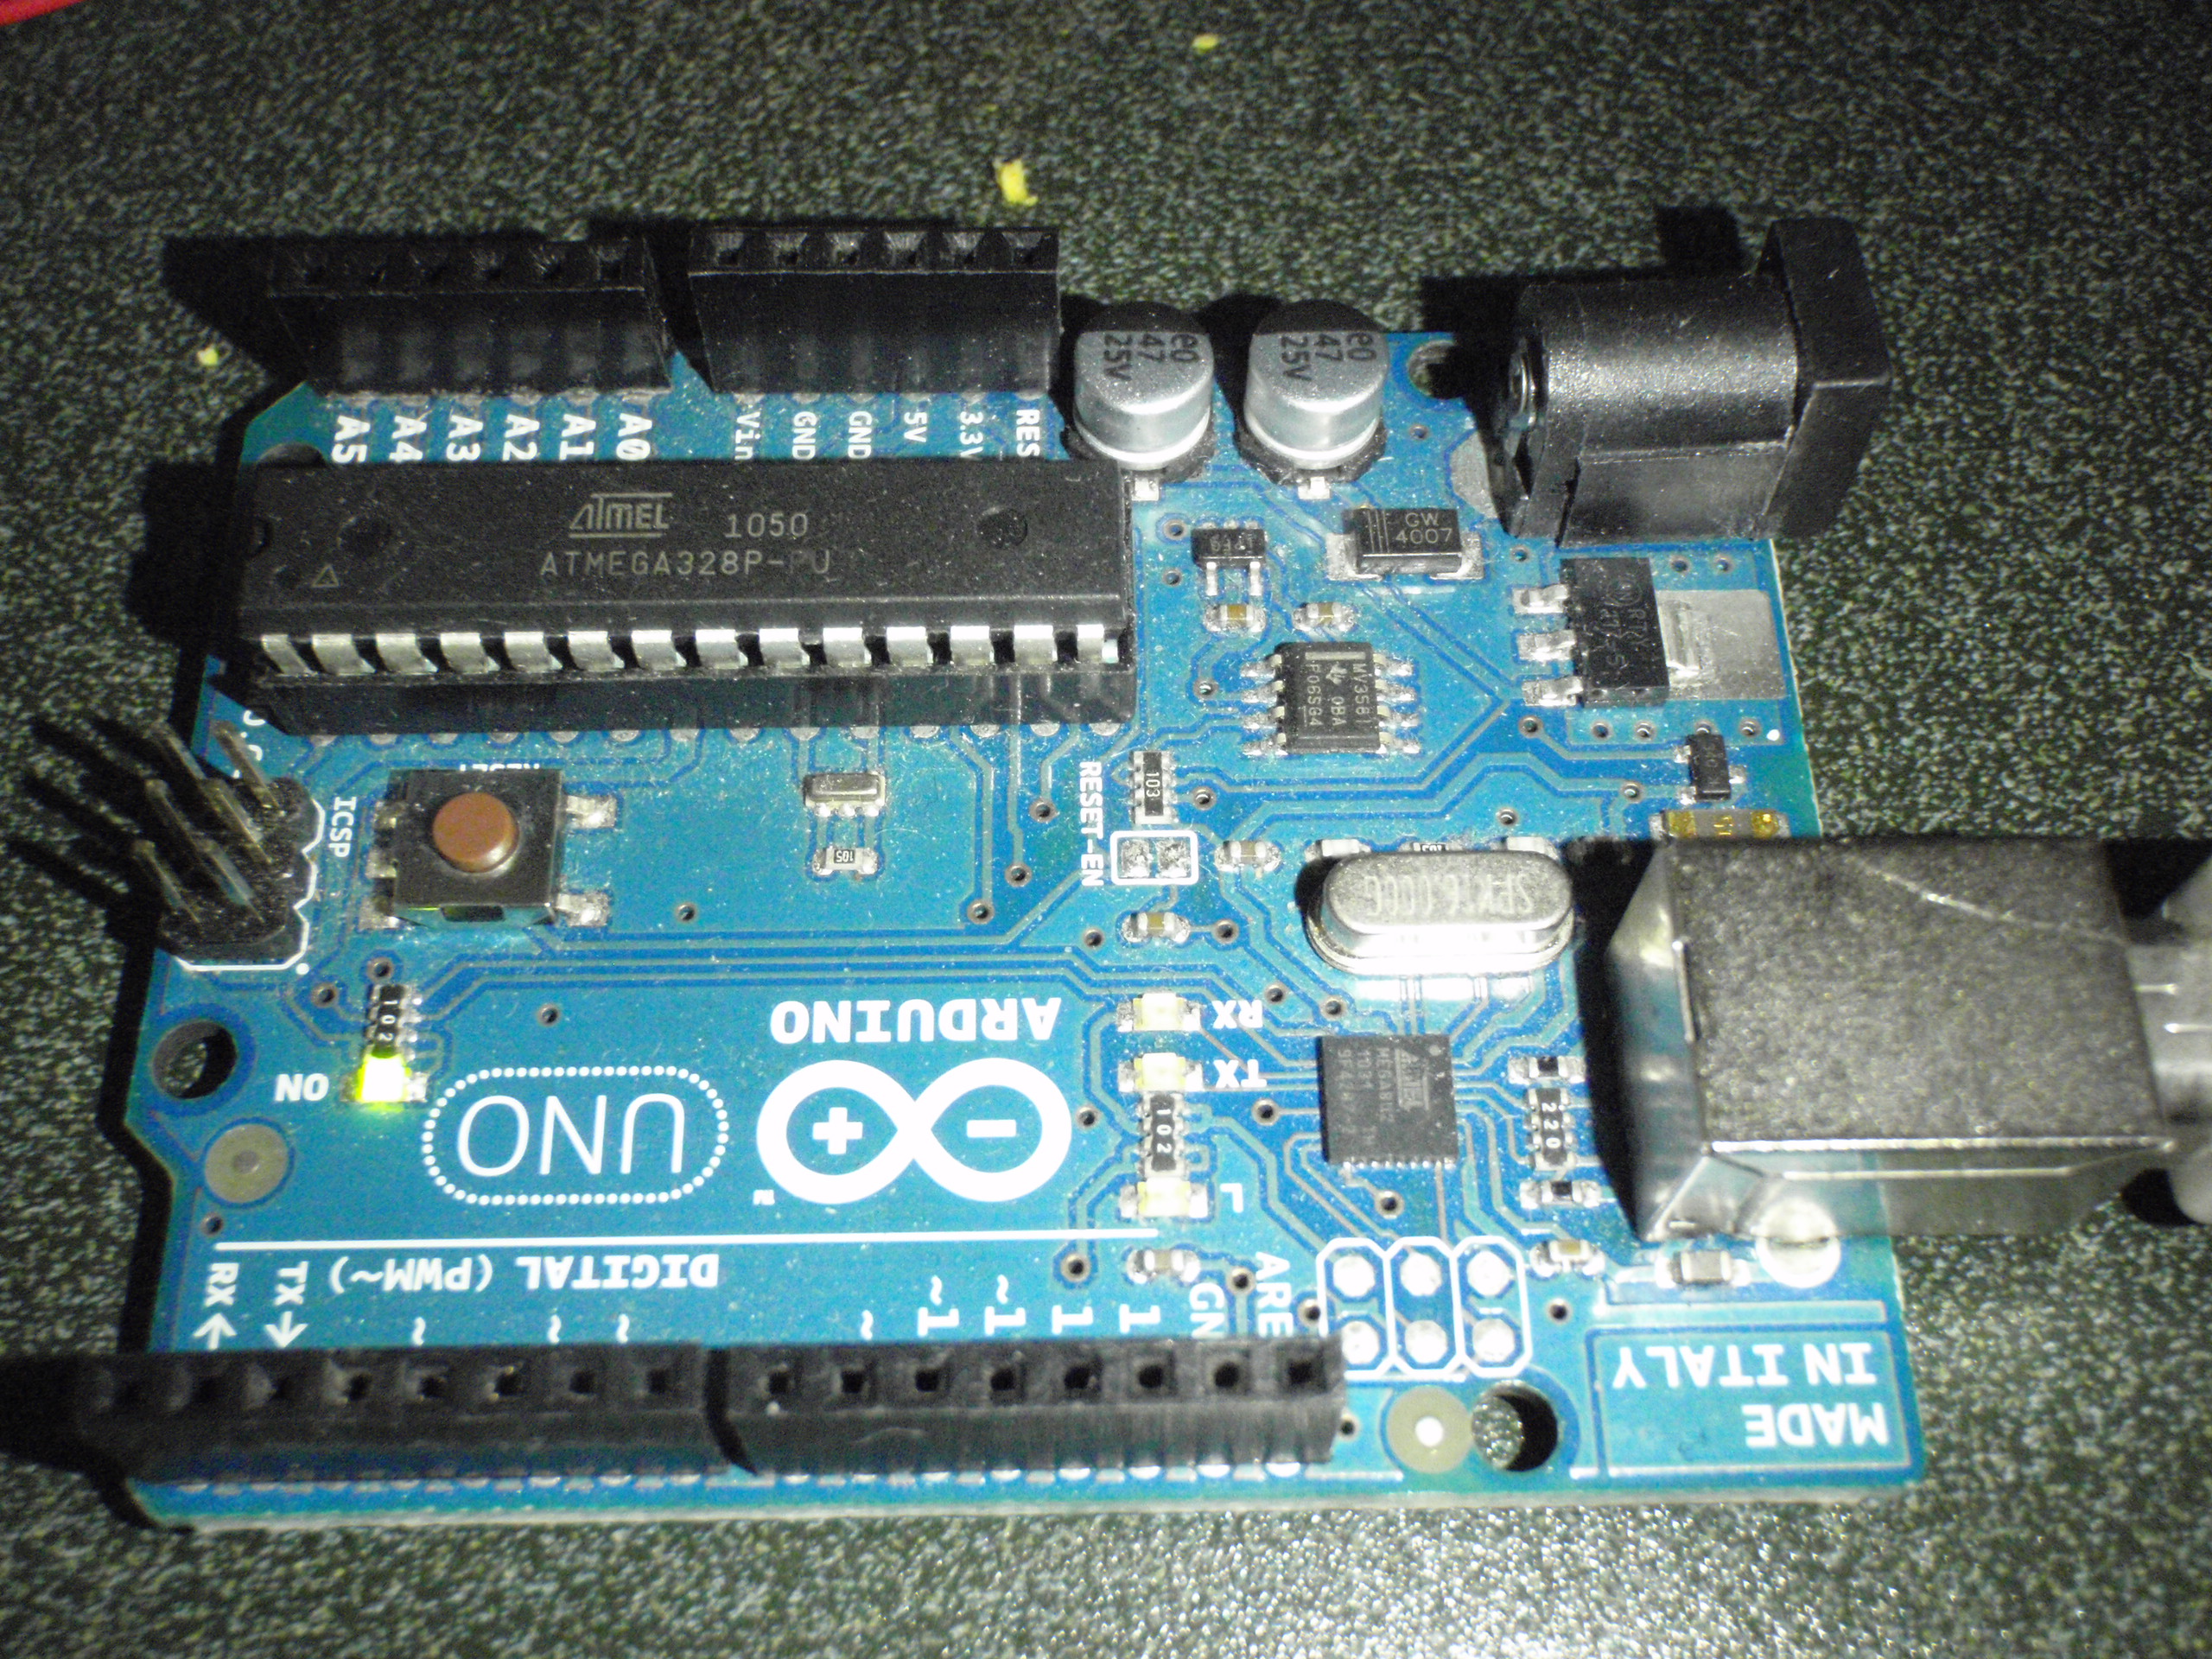
An Arduino
12 Male headers (2 together and another six together. Also, another 4 together(Optional))
8 Unifomly LONG Wires ( By long I don't mean 3 meters but it means a decent 10 inches or maybe, 20 crentimeters.)
A Certain Amount of Copper Tape (Get a roll to be safe)
Enclosure (I used styrofoam as a base but if you want an enclosure, which is totally fine, you can use one. The length will depend on the wideness of you choose.)
Power Jack and Battery
Speaker
Program.

Upload the code below to the Arduino.
Open with the viewer of your choice.
Open with the viewer of your choice.
Downloads
Build.


- Measure out how much material you have with the copper tape. Make sure you leave enough enclosure/foam to accommodate for the spaces in between to prevent shorting.
- Cut that much tape and maybe a millimeter more.
- Divide the tape into eight sections by folding.
- Solder ONE wire to each piece of tape.
- Solder male headers to the tape. Six pieces to six headers for six in puts and then a pair of two for the other two inputs; Digital 6 and 7.
- Order will now begin to matter. The first one (Analog 0) will go on the far left of the enclosure/foam. Analog 5 will go to the input 6 so it is la on the musical scale.
- Digital input 6 is ti and input 7 is high do.
Wiring.

Plug in the wires to the Arduino. Connect the speaker to Digital Output 11. You may need to use headers.
Enjoy.

You can now add power to your Arduino. You speaker should play an opening tone.
The thing is the opening tone is when the machine calibrates itself. If you press any key then it will think that that key is 0. Count to ten before playing.
This is polyphonic and so it can play more than one note at once. Hope you enjoy.
The thing is the opening tone is when the machine calibrates itself. If you press any key then it will think that that key is 0. Count to ten before playing.
This is polyphonic and so it can play more than one note at once. Hope you enjoy.