The Arbor Haven


This environmentally friendly house is designed to harmonize with its natural surroundings. It features a curved, organic layout that skillfully winds around existing trees, preserving them without the need for cutting them down. The structure is built on a small scale to minimize land disturbance. The house is built around the landscape to further reduce its environmental footprint. The design prioritizes harmony with nature, ensuring that the land is respected and preserved while providing a comfortable living space. The roof of the house is not included in the design to showcase the true layout and function of the structure.
Supplies


- Foam Core
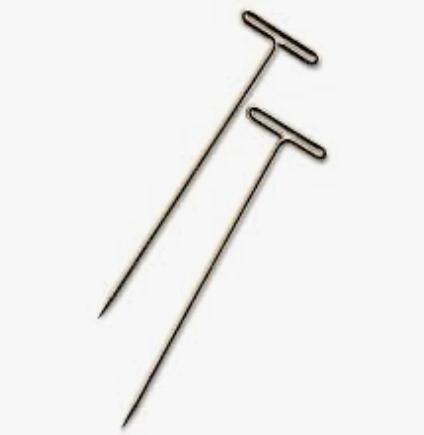
- T pins
- Sewing Pins
- X-ACTO Knife
- Sharpie
- Mini Artificial Trees
Cut Foam Core

Cut the foam core into a small square. Using the X-ACTO knife, carefully slice a thin line into the foam core until you see a faint mark. Continue to slice the foam core following the initial line until the foam core separates. Repeat on all side of the shape.
Pierce T-pins Through Foam Core

Take two T-Pins and align them about two inches apart. Make sure T-pins are aligned, so that they would fall on the same horizontal line. This is very important because these T-Pins will secure the square foam core piece to the base of the structure.
Connect Square Piece to Base
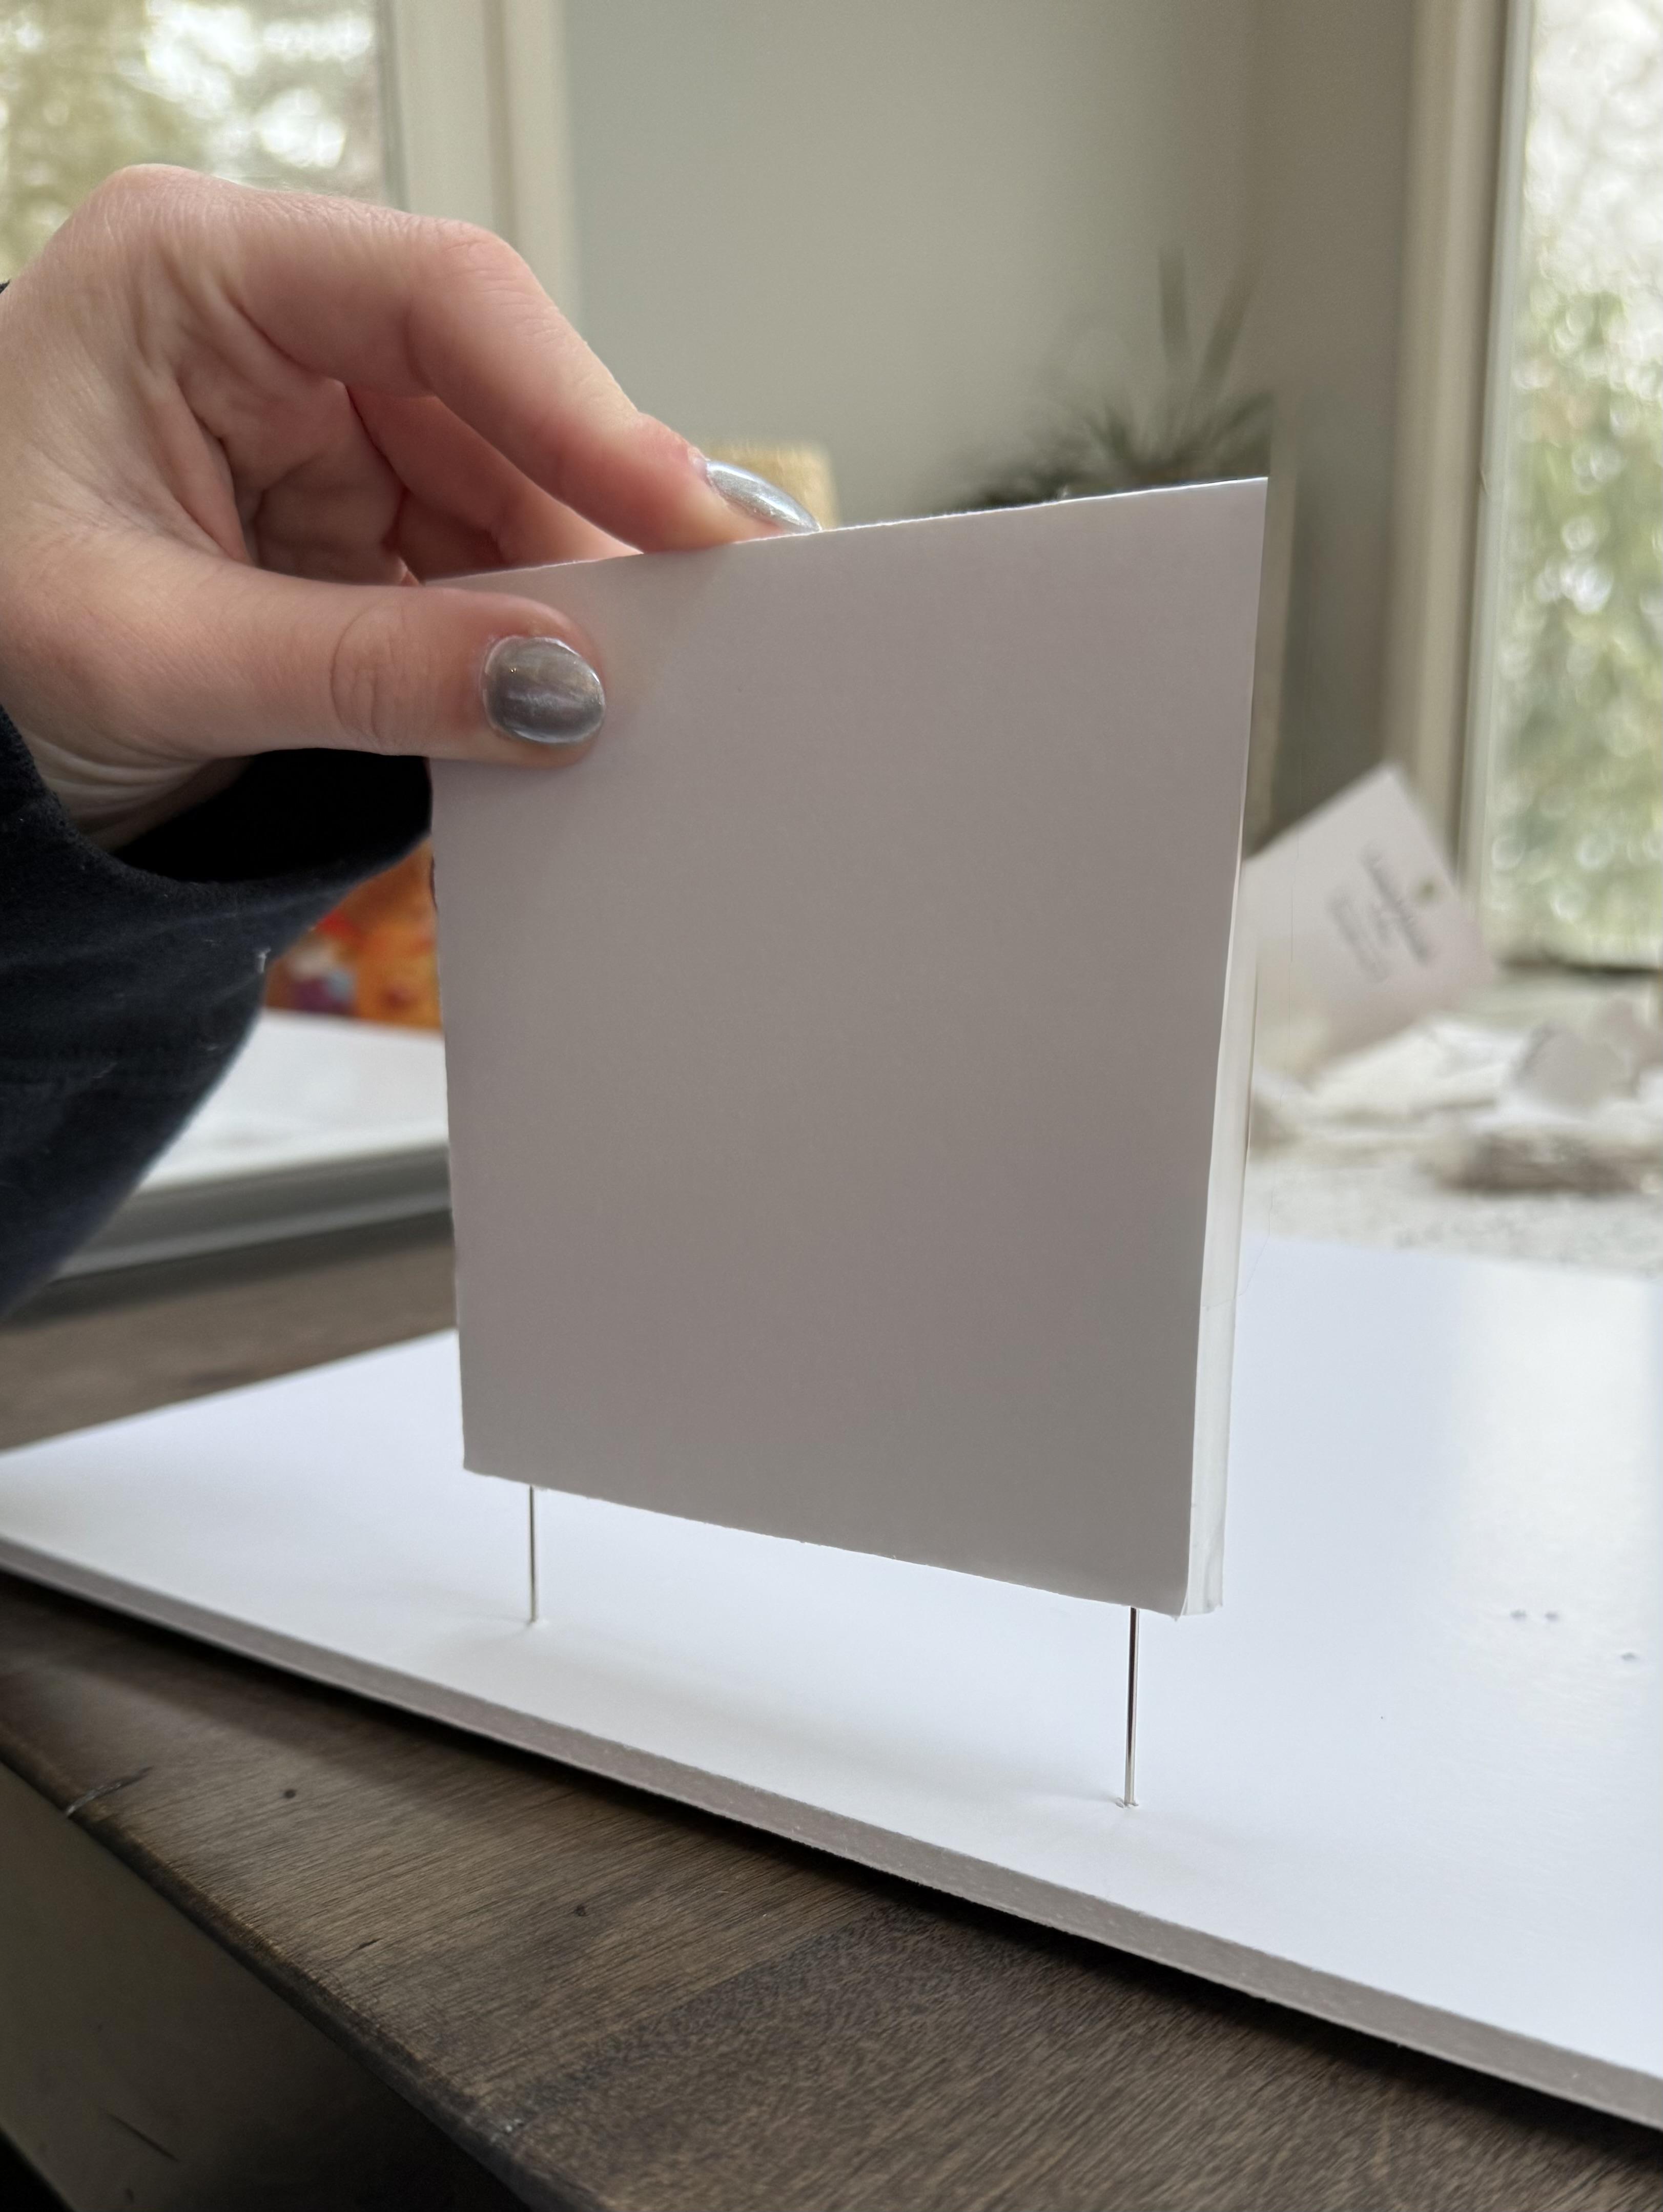
Connect the first cut piece to the board. Start by aligning the bottom of the piece to the foam core pins. Next, push down gently until the two pieces are flush with one another.
Cut a Small Rectangle

Using the X-ACTO knife cut a small rectangle. The rectangle should be the same height as the square piece. These two pieces will be connected together to form the front entrance.
Insert a T-Pin

Place a T-Pin directly behind the edge of the square piece. The T-Pin will secure the rectangle piece to the base and make the structure more stable.
Connect the Two Pieces


Connect the rectangular piece to the T-Pin and push down. Once they are aligned take a sewing pin and push it into the side of the rectangular piece. Next, push the square piece into the pin sticking out of the rectangular piece. The two should connect and form a 90 degree angle. Repeat the same steps on the other side.
Cut a Large Rectangle

Cut the foam core into a large rectangle. Using the X-ACTO knife, carefully slice a thin line into the foam core until you see a faint mark. Continue to slice the foam core following the initial line until the foam core separates. Repeat on all side of the shape.
Insert a T-pin and Connect the Two Pieces
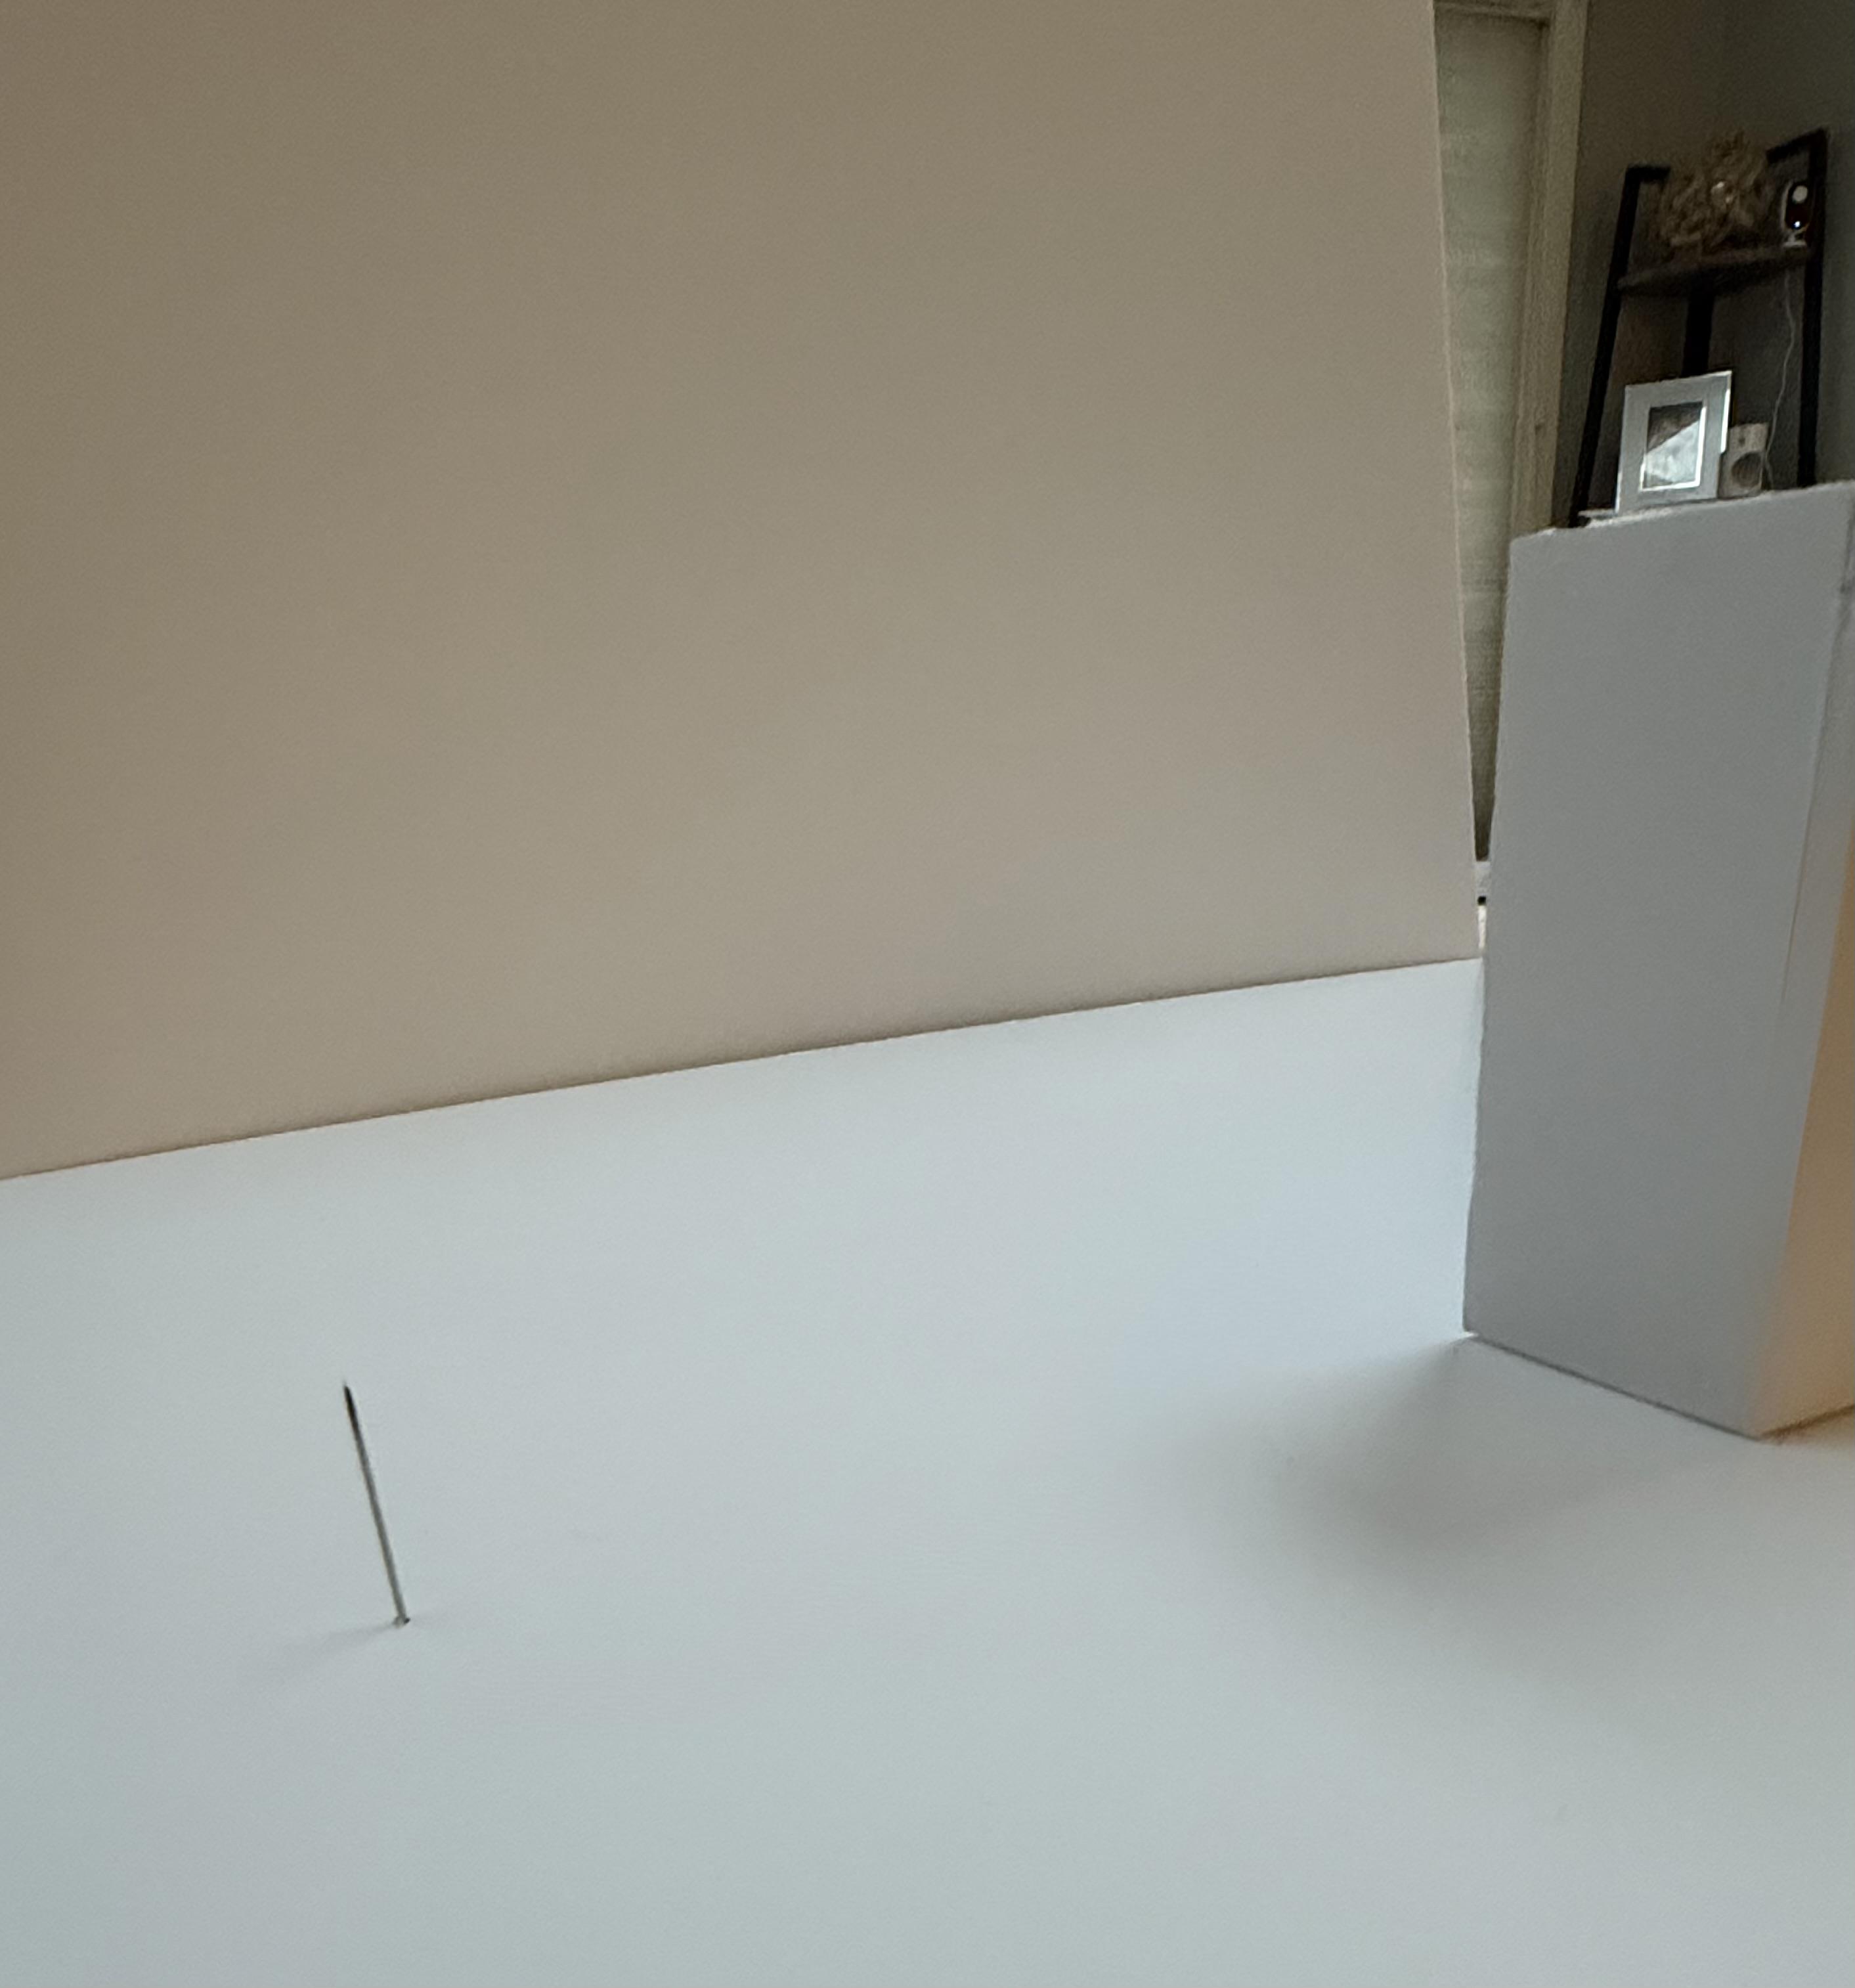
Place a T-Pin the same length as the piece just cut away from the front of the house. The T-Pin and the end of the small rectangle piece should be aligned on the same horizontal line. This is important because the large rectangle needs to meet the smaller rectangle. Repeat on both sides.
Cut a Square Piece

Cut the foam core into a small square. Using the X-ACTO knife, carefully slice a thin line into the foam core until you see a faint mark. Continue to slice the foam core following the initial line until the foam core separates. Repeat on all side of the shape.
Connect the Two Pieces

Insert a T-pin the same length as the piece away from the previous structure. Align the newly cut square piece with the T-pin and push down.
Cut a Lage Rectangle

Cut the foam core into a large rectangle. Using the X-ACTO knife, carefully slice a thin line into the foam core until you see a faint mark. Continue to slice the foam core following the initial line until the foam core separates. Repeat on all side of the shape.
Score the Foam Core

Make small horizontal lines for the entire length of the foam core. Do not cut through the foam core so that separate pieces are formed. The lines should be small slits that allow the foam core to bend. Once you are finished scoring the foam core, bend it so that a curved rectangle is formed.
Connect the Curve to the Square

Insert a T-Pin next to the edge of the square piece. Align the curved piece to the T-Pin and push down. Repeat step 9 and connect the square piece to the other end of the curve.
Cut a Large Rectangle

Cut the foam core into a large rectangle. Using the X-ACTO knife, carefully slice a thin line into the foam core until you see a faint mark. Continue to slice the foam core following the initial line until the foam core separates. Repeat on all side of the shape.
Insert T-pins
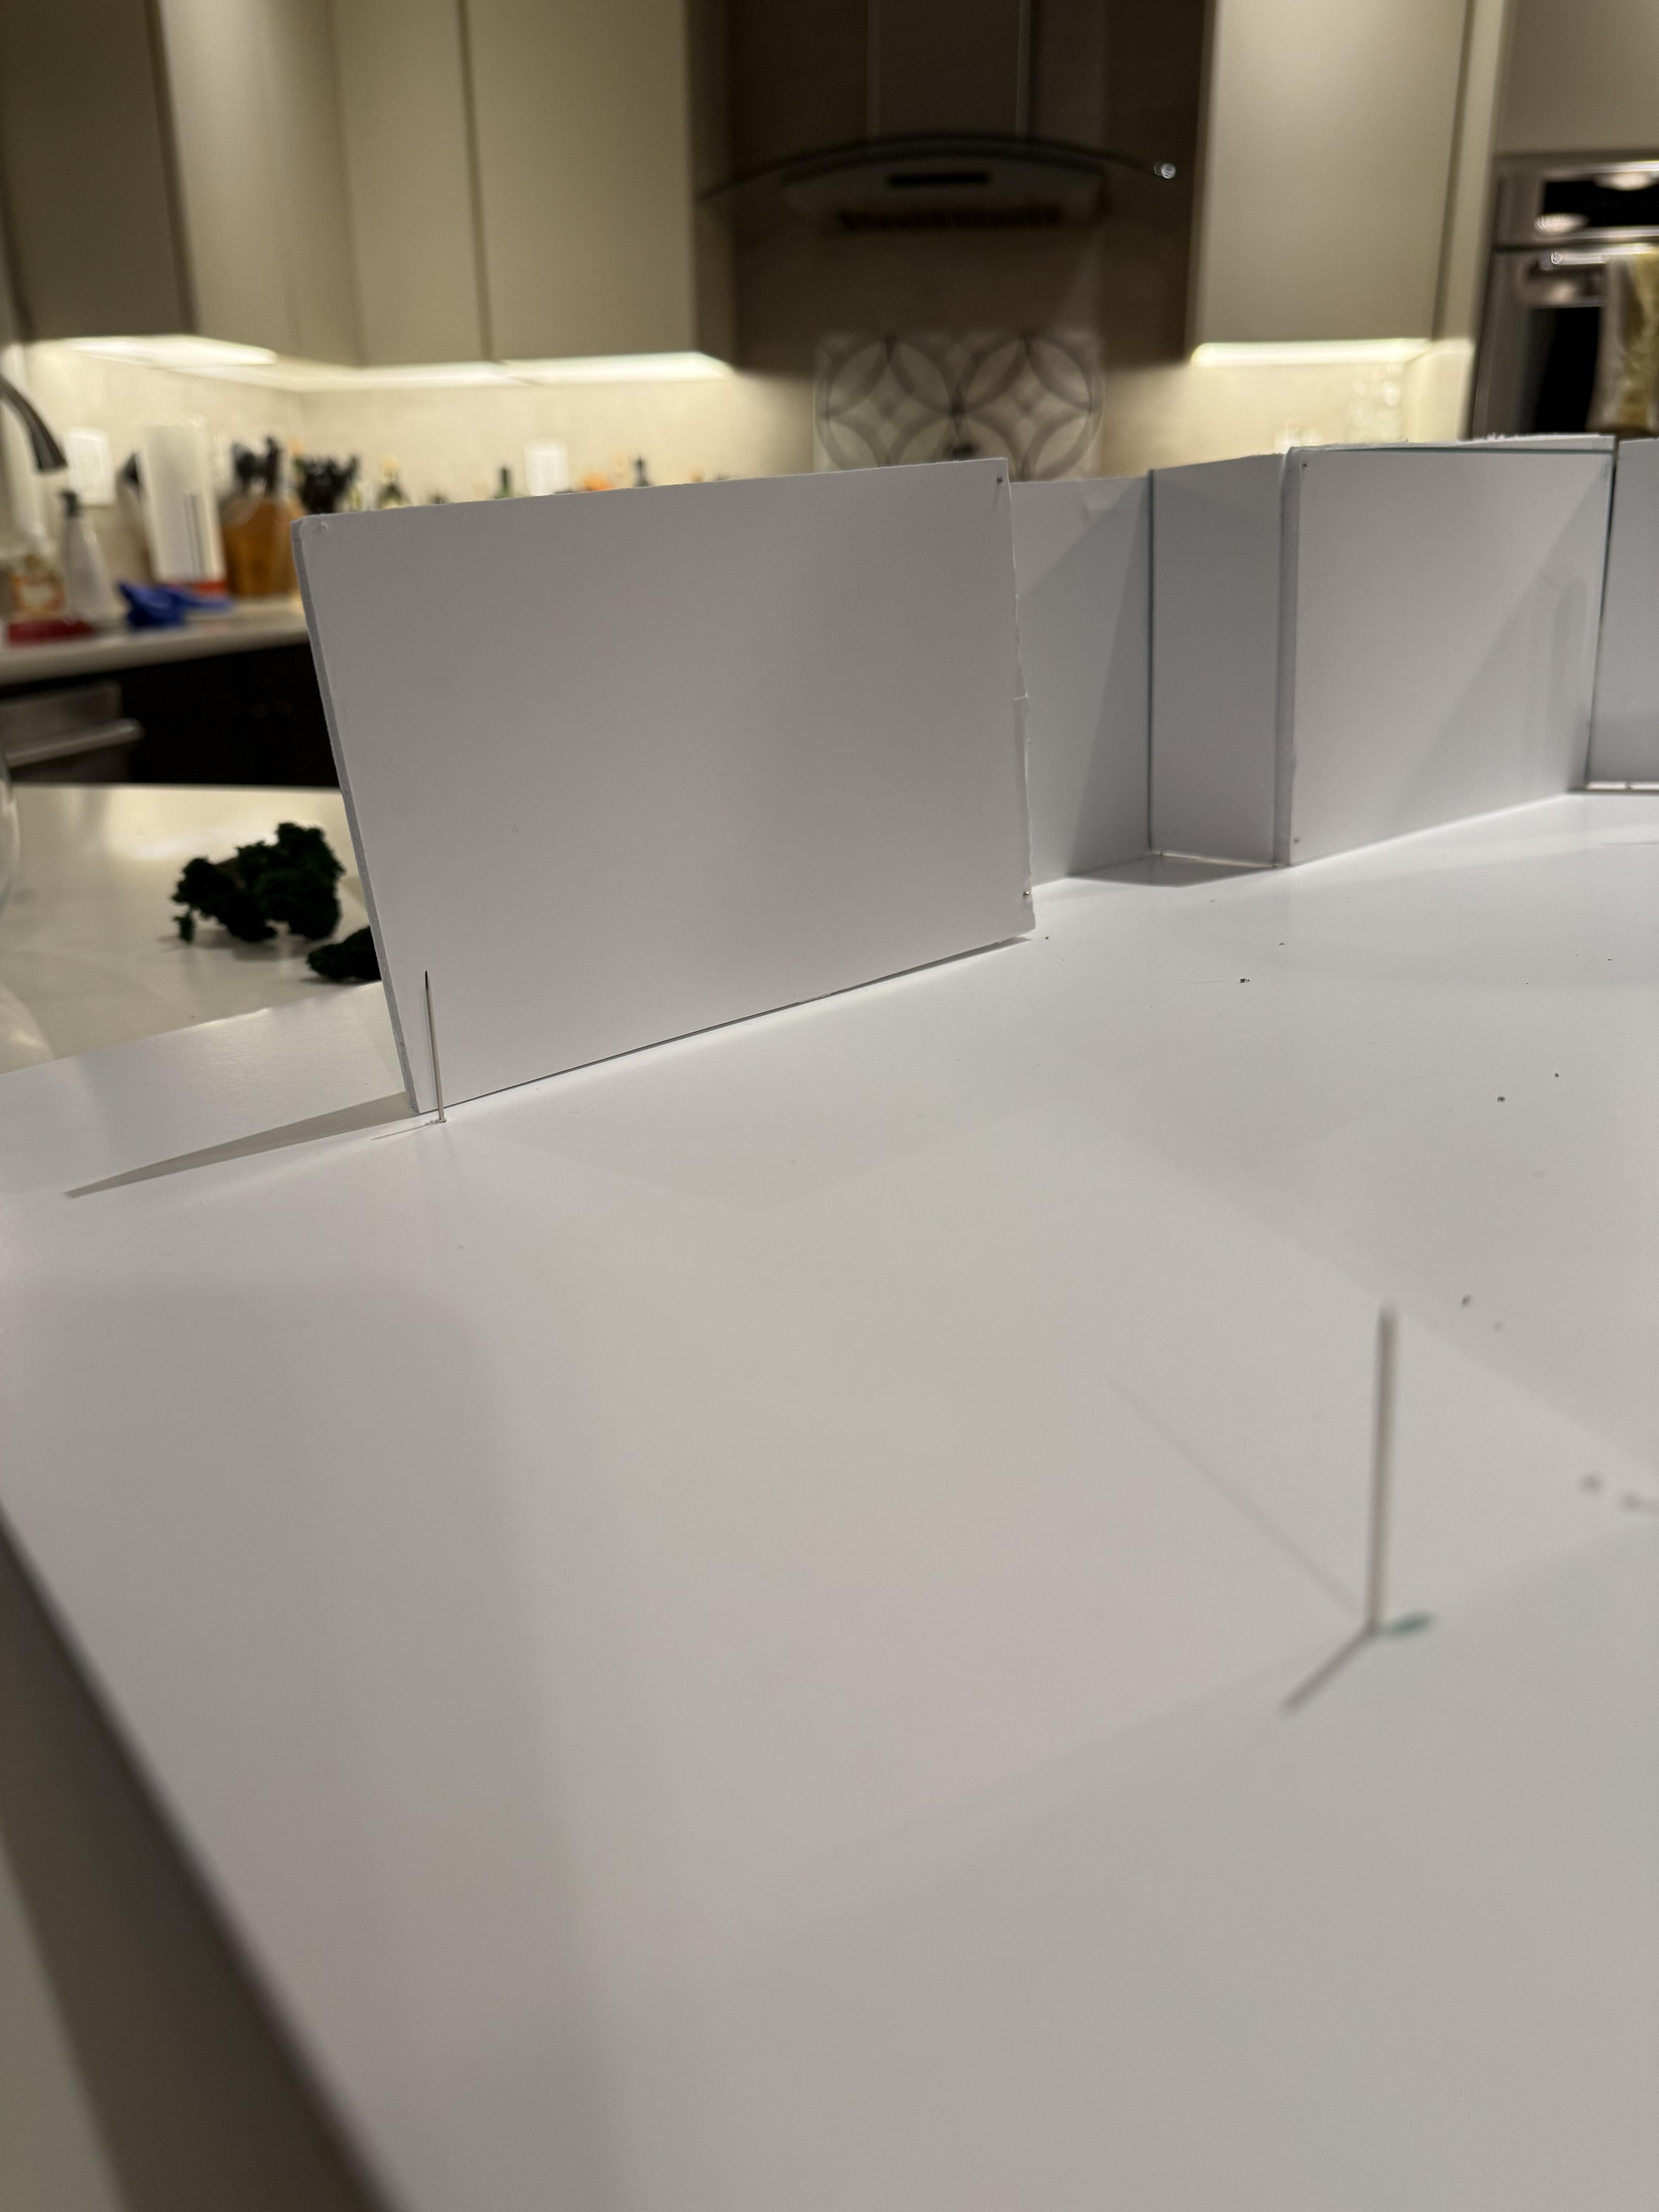
Place two T-Pins so that they are aligned to the front of the house. Make sure the two pins are aligned on the same line.
Connect the Large Rectangle Piece

Align the rectangle piece to the two T-pins. Gently push down until the piece is connected to the base.
Cut a Large Rectangle

Cut the foam core into a large rectangle. Using the X-ACTO knife, carefully slice a thin line into the foam core until you see a faint mark. Continue to slice the foam core following the initial line until the foam core separates. Repeat on all side of the shape.
Connect the Piece to Form the Back of the House

Insert T-Pins to the base of the structure. Make sure they are the length of the rectangle piece. Place them so they are aligned to the square piece on the side of the house. Align the rectangle piece to the T-Pins and gently push down until it connects to the base.
Cut a Large Rectangle

Cut the foam core into a large rectangle. Using the X-ACTO knife, carefully slice a thin line into the foam core until you see a faint mark. Continue to slice the foam core following the initial line until the foam core separates. Repeat on all side of the shape.
Score the Foam Core

Make small horizontal lines for the entire length of the foam core. Do not cut through the foam core so that separate pieces are formed. The lines should be small slits that allow the foam core to bend. Once you are finished scoring the foam core, bend it so that a curved rectangle is formed.
Connect the Curved Piece to the Large Rectangle

Insert two T-Pins to where the curved piece would end. Align the curved piece to the T-Pins and push down until it is flush to the base.
Cut a Small Rectangle
Using the X-ACTO knife cut a small rectangle. The rectangle should be the same height as the square piece. These two pieces will be connected together to form the front entrance.
Connect the Small Rectangle to the Curved Piece

Insert a T-Pin to the base of the structure. Align the small rectangle piece to the T-Pin and gently push down. Once it is connected to the base connect a sewing pin to the two structures that connect to the small rectangle. This can be done to all structures to secure the pieces together.
Cut a Large Rectangle

Cut the foam core into a large rectangle. Using the X-ACTO knife, carefully slice a thin line into the foam core until you see a faint mark. Continue to slice the foam core following the initial line until the foam core separates. Repeat on all side of the shape.
Score the Foam Core

Make small horizontal lines for the entire length of the foam core. Do not cut through the foam core so that separate pieces are formed. The lines should be small slits that allow the foam core to bend. Once you are finished scoring the foam core, bend it so that a curved rectangle is formed.
Connect the Curve and Form a Cylinder

Join the two sides of the foam core together by inserting a sewing pin diagonally into the foam core.
Secure the Piece to the Middle of the Home

Add T-Pins in a circular formation and align the cylinder to them. Push down gently until the piece is connected to the base.
Decorate!

Add windows and a door once finished. Place trees in any spots that indicate the presence of a tree. These spots would includes the exterior of the curved walls and the inside of the center cylinder.