Upcycling Parts From a Laser Printers Fuser Unit.
by Greg_The_Maker in Circuits > Electronics
32665 Views, 145 Favorites, 0 Comments
Upcycling Parts From a Laser Printers Fuser Unit.
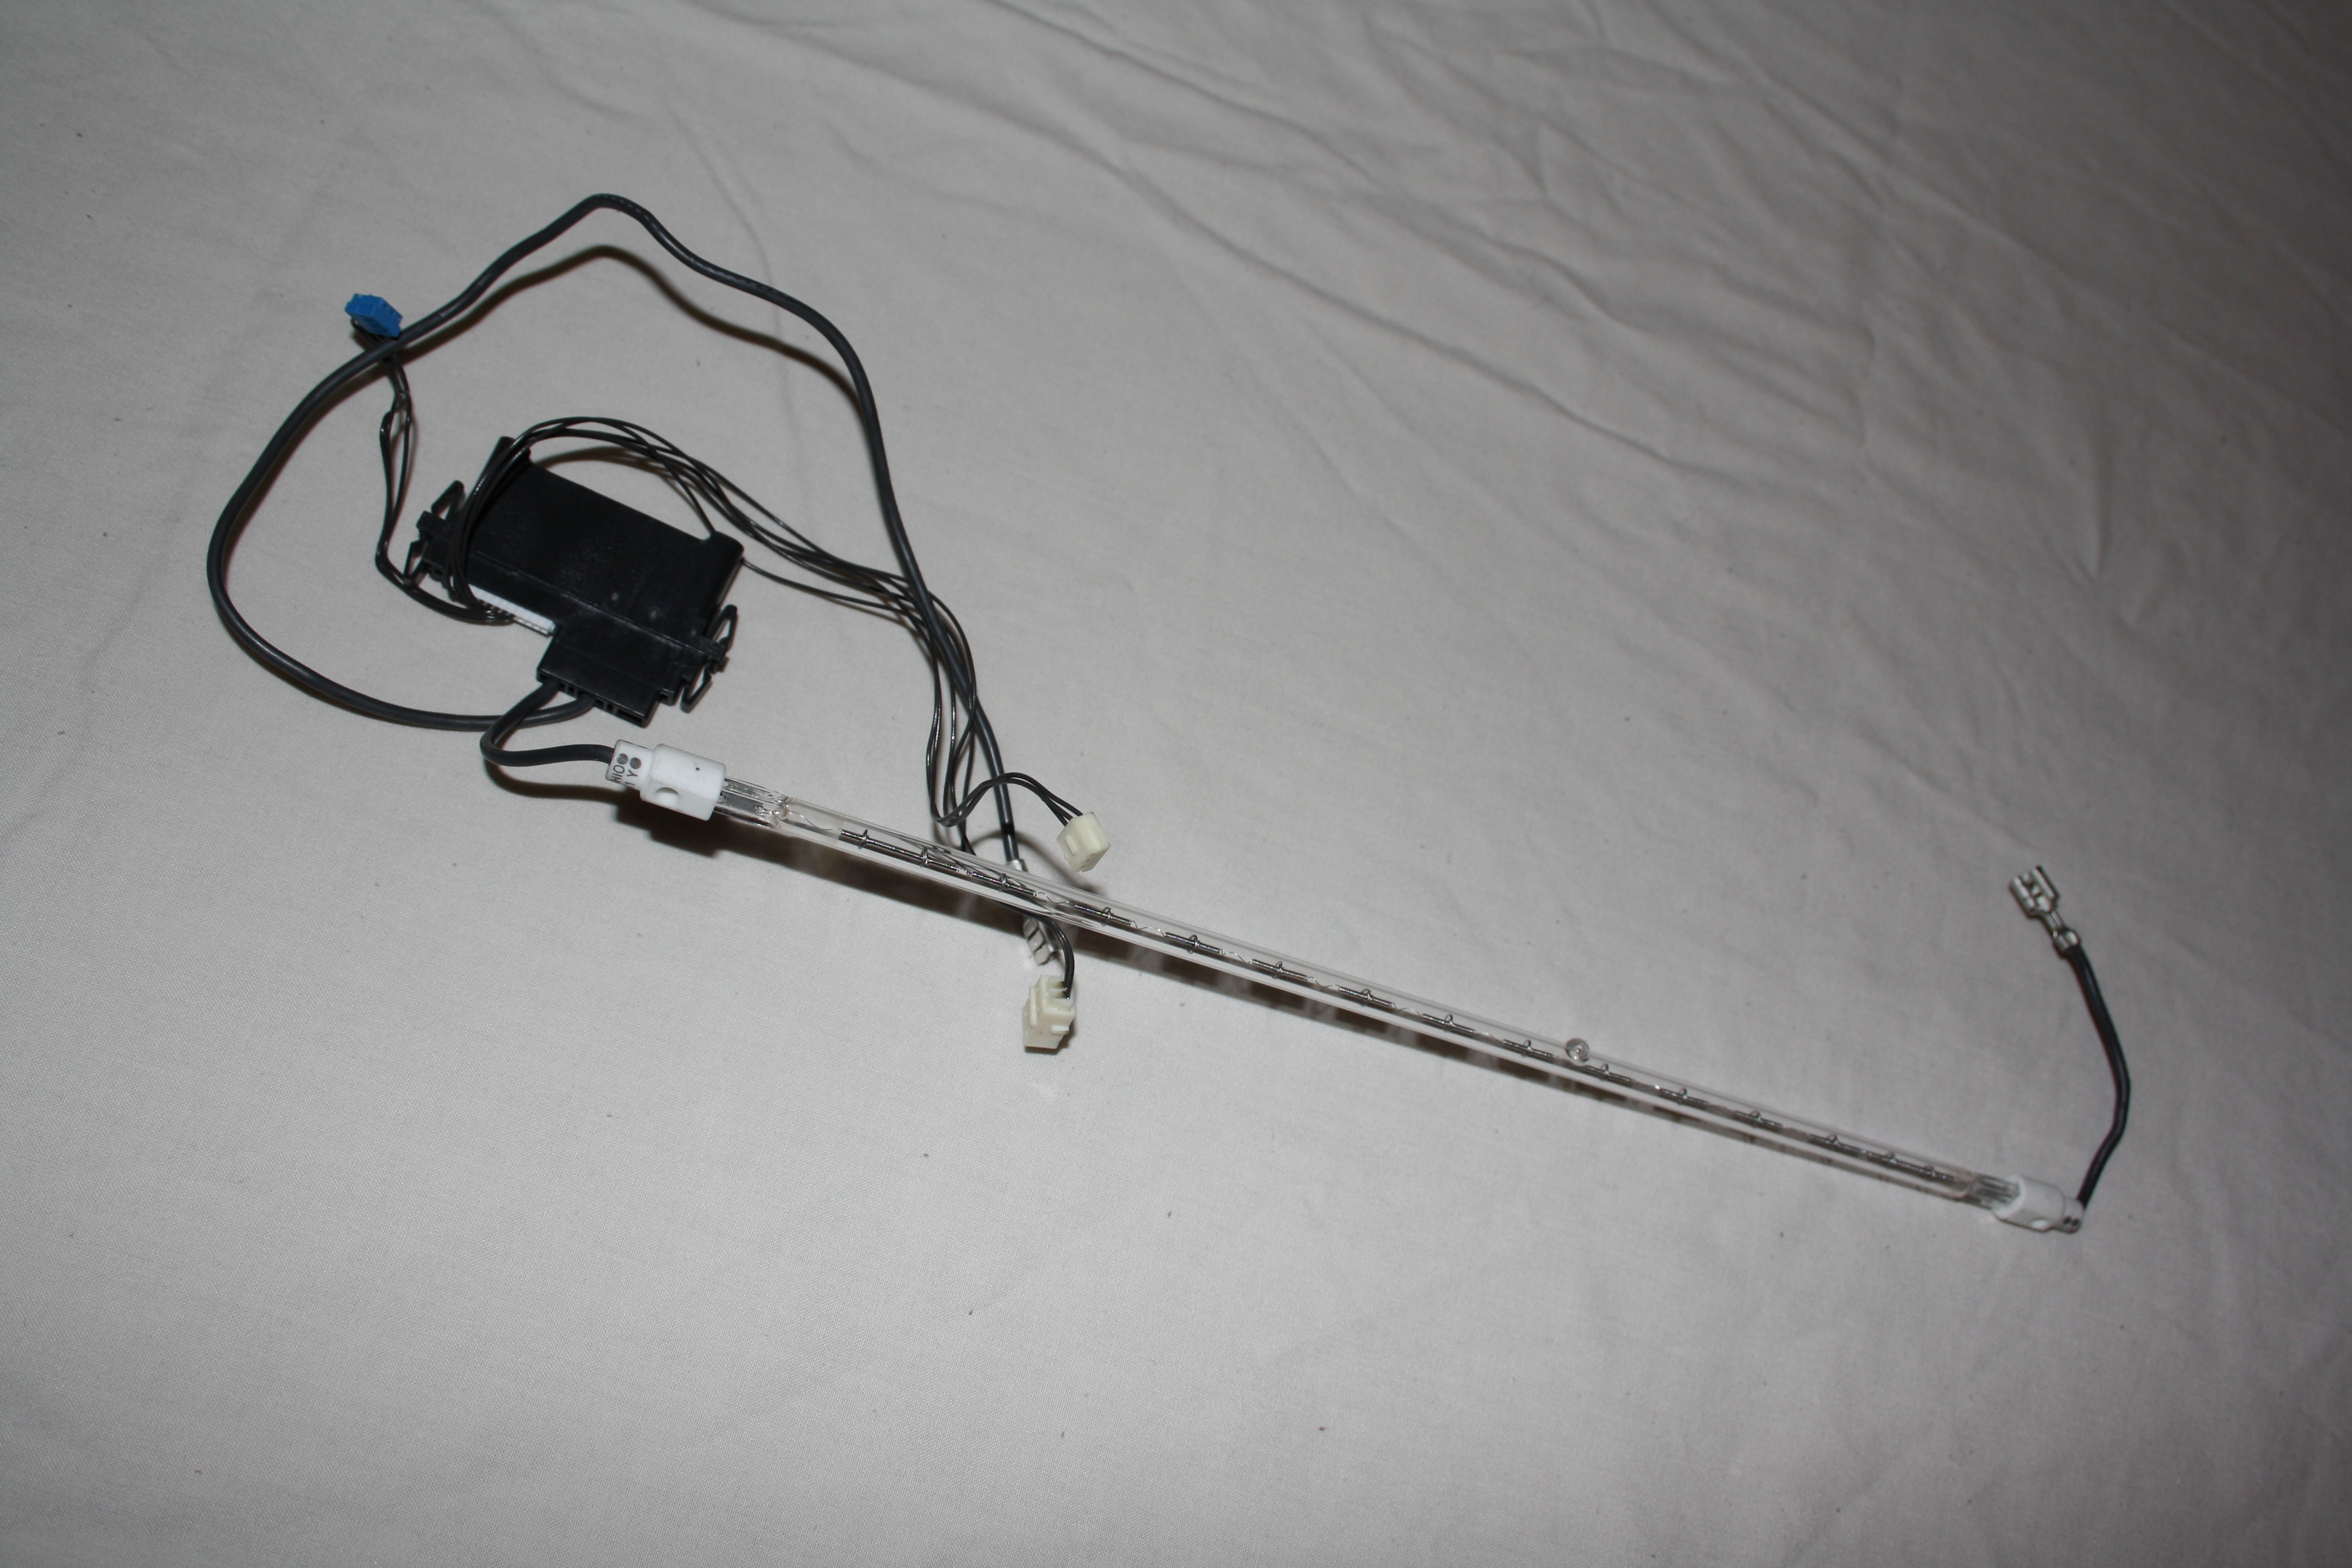
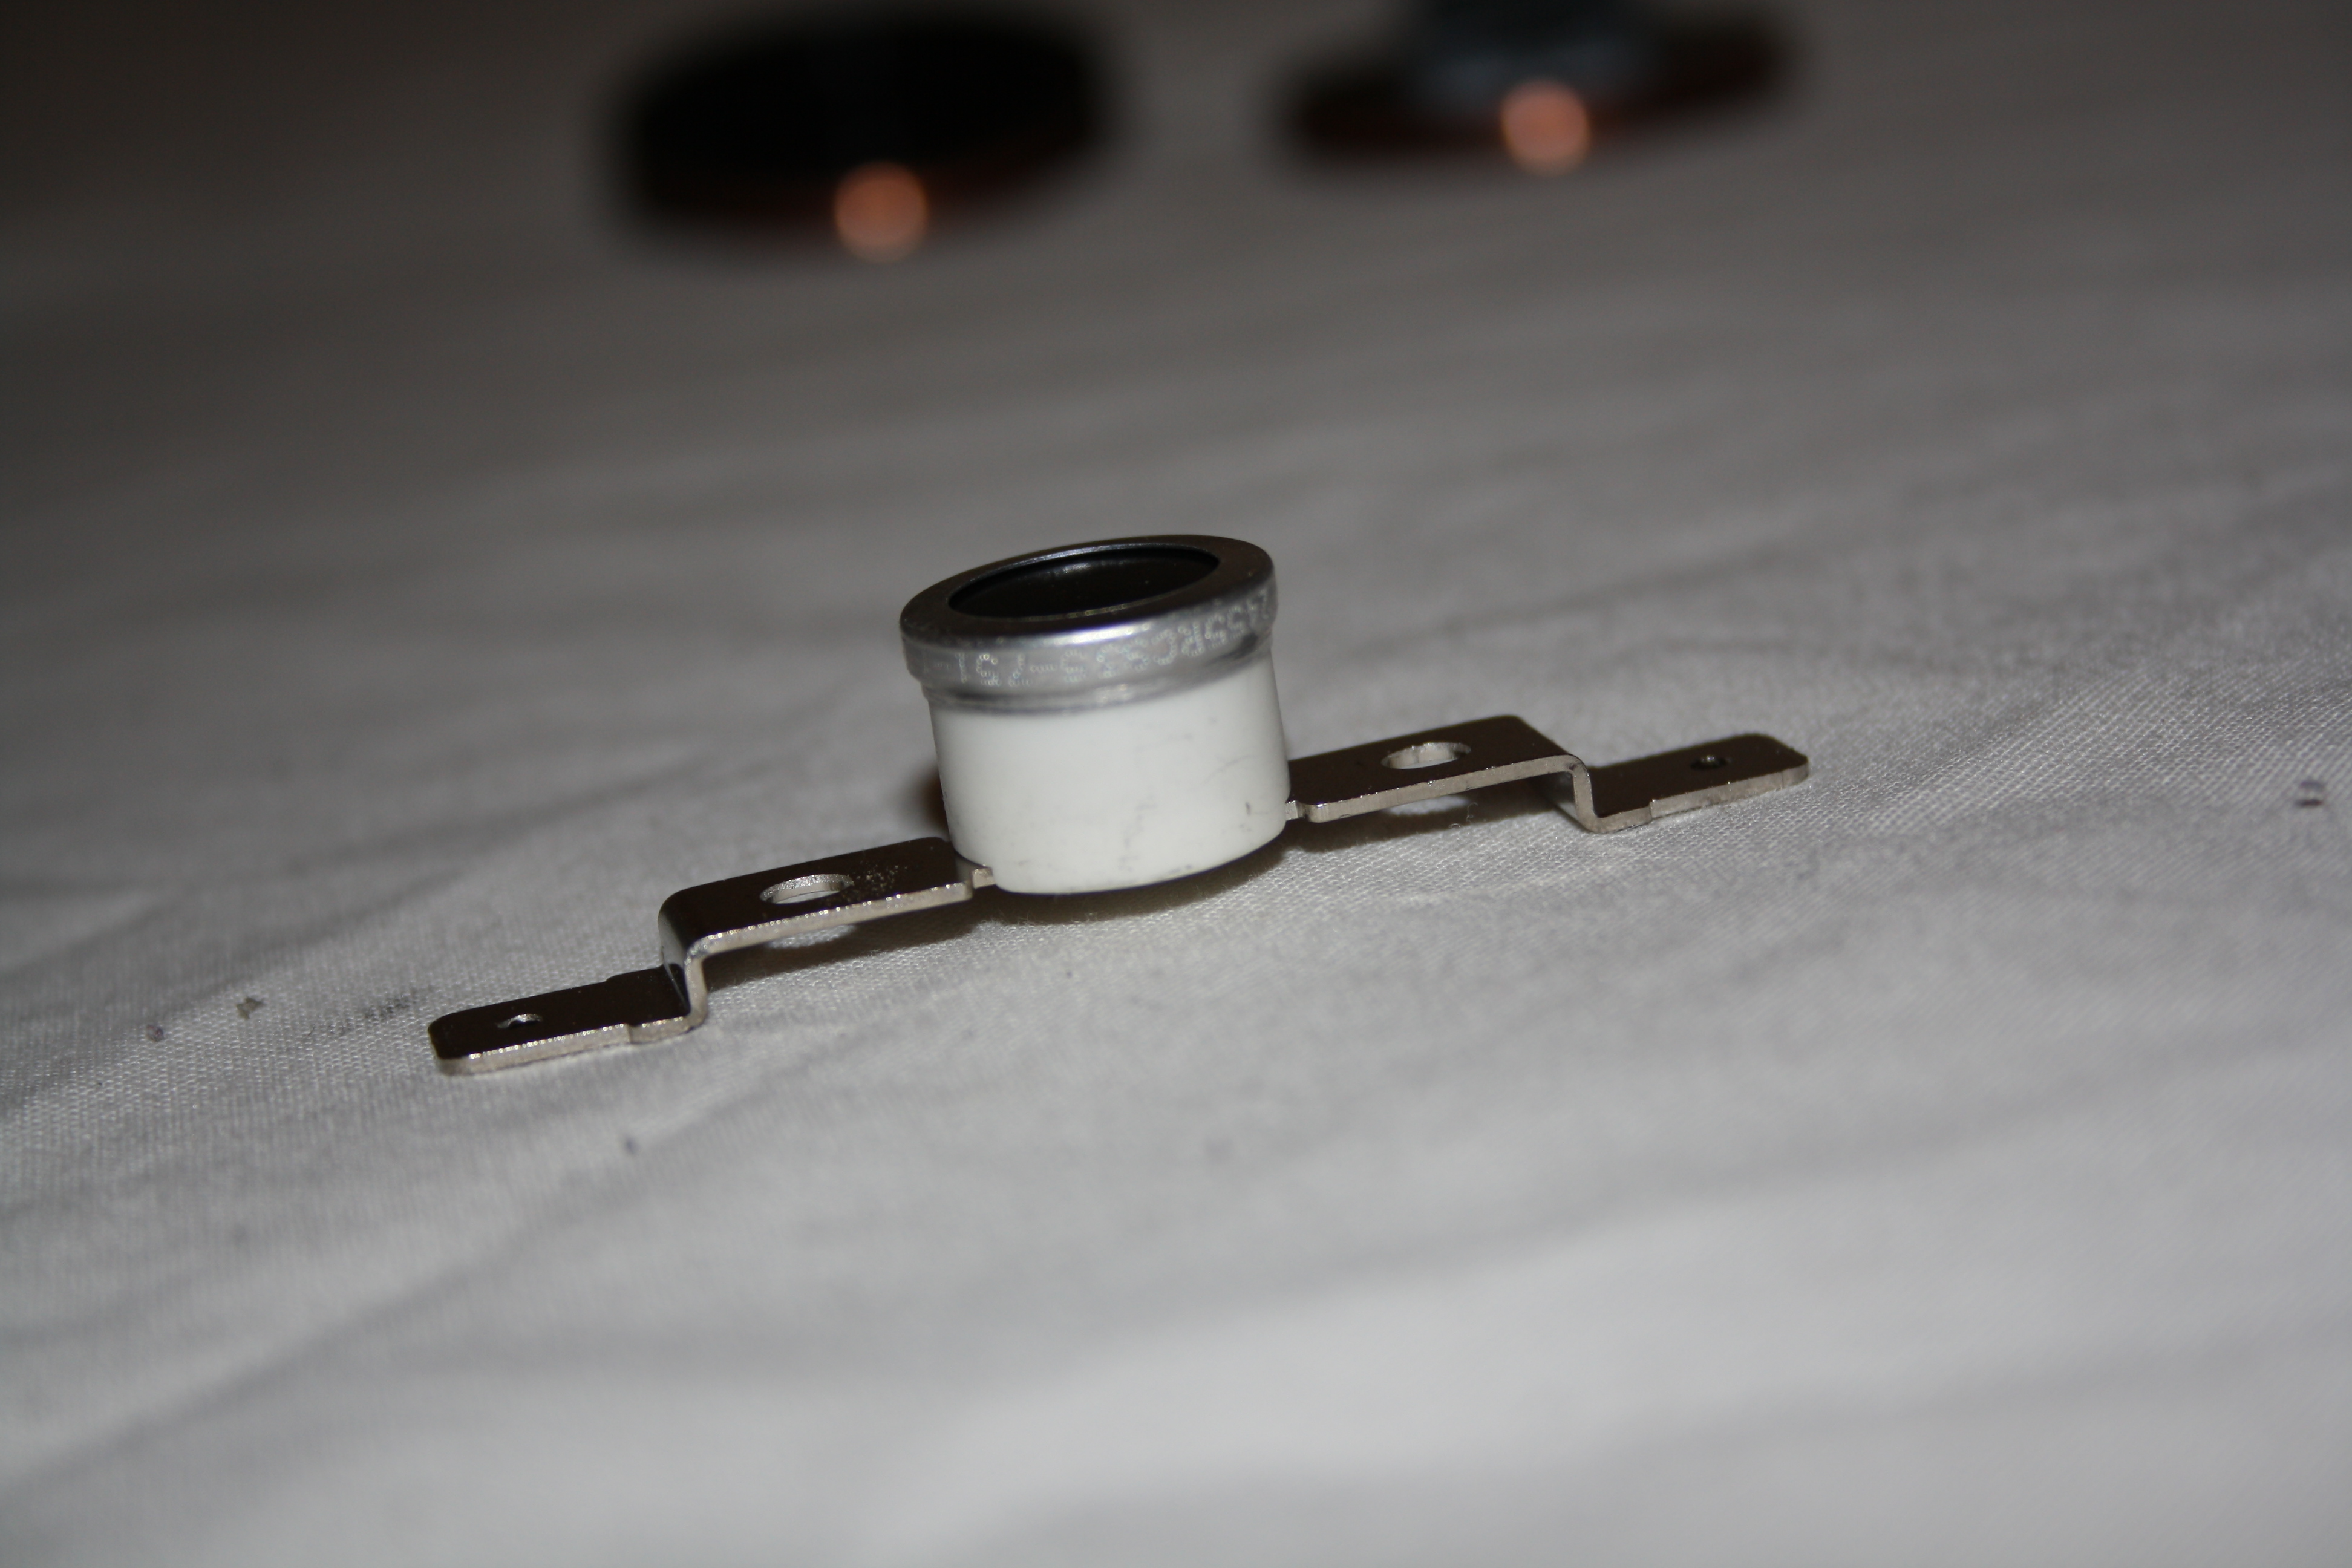
I stripped down an Epsom C1100 Laser Printer not so long ago, and one of the parts I reclaimed was a 220v 650w heating element. I knew there must be a use for it outside of the printer's Fuser Unit. So I got to thinking.
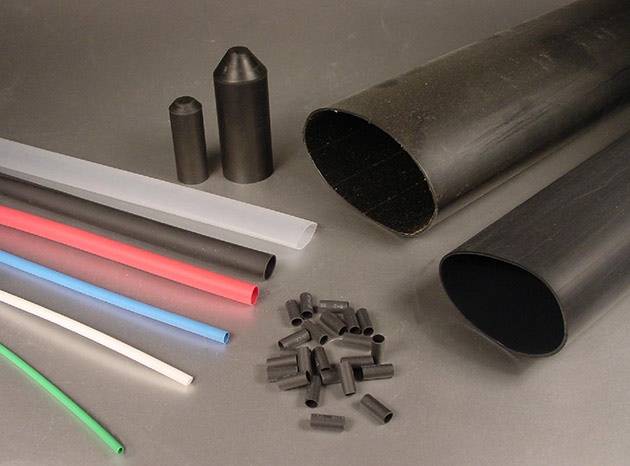
I use heatshrink a lot when making cables or joining wires together, a great example of this was building the LCD harness for the LapPi Netbook. Normally I'll borrow the good lady's hair drier to heat up the heatshrink enough so the heatshrink shrinks, or use a soldering iron if it's just a single wire. So I thought I could maybe use the heater element to make a heat-shrinker. The problem was the elements length; how do I concentrate the heat over a small enough area rather than the full length of the element? I'll also need to enclose the element so I can't burn myself, or blind myself from the waste light it generates.
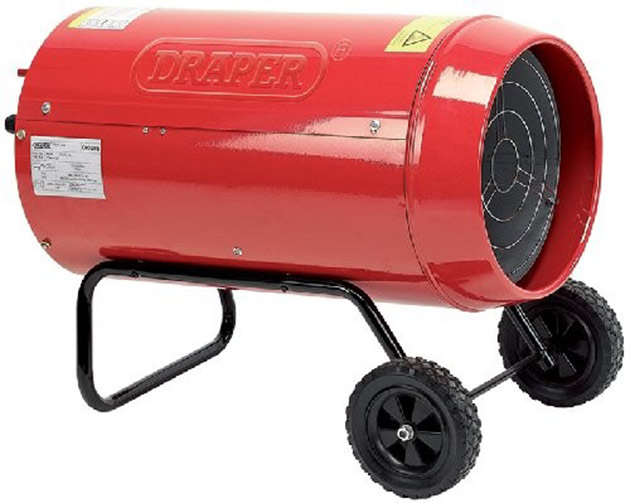
The solution came from space heaters. I'm sure you have been to a garage or a workshop where they have what looks like a jet engine roaring away blowing hot air into the room. They tend to be long tubes fed with propane gas which is burnt inside the heater, then blown into the room by a fan on the end. If I could use a similar design for the heater element I had, it just might work.
Please help support my work, your donations really do make a difference.
http://ko-fi.com/gregthemaker
Tools, Limitations, & Points of Reference
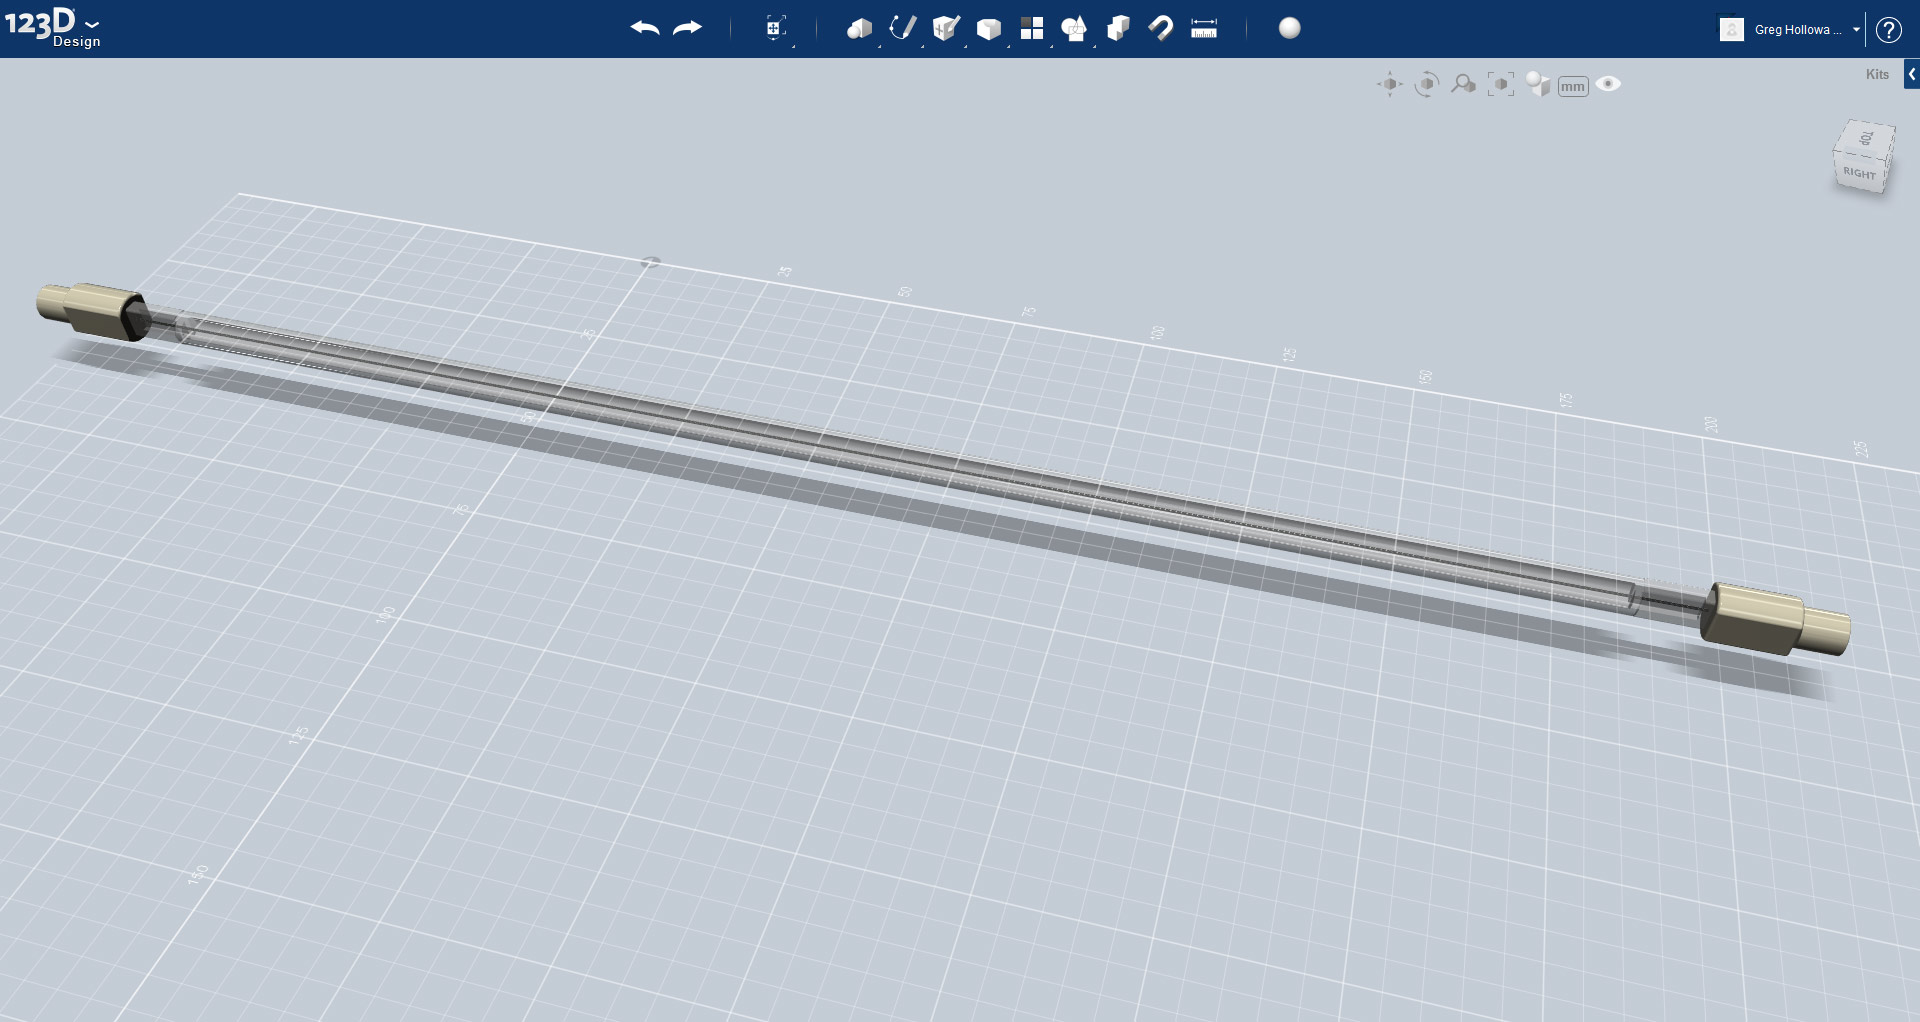
Today's tools include not only the traditional hammers, drills, saws, and screwdrivers but also CAD systems. I have not used any 3D software before but with the proliferation of 3D printers now is a good time to give it a try.
Doing some investigation into 3D printers, and their capabilities, I found that I can have my design 3D printed in ceramic, which can withstand up to 600 degrees centigrade. The element's temperature is controlled by an inline thermistor (from the Laser printer) and should be maintained at 180 degrees centigrade.
I downloaded the 123D Design modelling software, which is part of the 123D collection from Autodesk. It seems simple enough, and after watching a few instructional videos on YouTube I got to work.
I have approached this in a similar way to that which I would do if I were following a tangible design in the workshop. The heater-shrinker will be built around the heater's element, so the first thing to do is to translate the element into the new digital workspace.
1 | Measure the heater element, you will need to be accurate to the nearest .5 of a mm.
2 | Open 123D Design.
3 | Draw the element in 123D Design.
Because the element is the starting point of the design any errors in it's size or shape will be continued in the overall design of the heat-shrinker so it is quite important to get this stage right.
I have attached the model for the heating element, if yours is different you will need to adjust it accordingly.
There are some design requirements when making items to be 3D printed with ceramics, and these need to be taken into account when designing your project. The minimum wall thickness is 3 - 6mm depending on where the wall is. Ideally stick with 6mm.
It is best practice that you check the 3D print specifications for the service you intend on using. There can be some minor variations between manufacturers. Another constraint is the print size. This is a problem that I ran into when designing the heater and I had to make some design alterations to remain inside those restraints. A technique I used was to check the model by uploading an exported .svg at various times during the design. If anything is wrong it should show an error which you can then correct, sooner rather than later.
Hard Work for Software
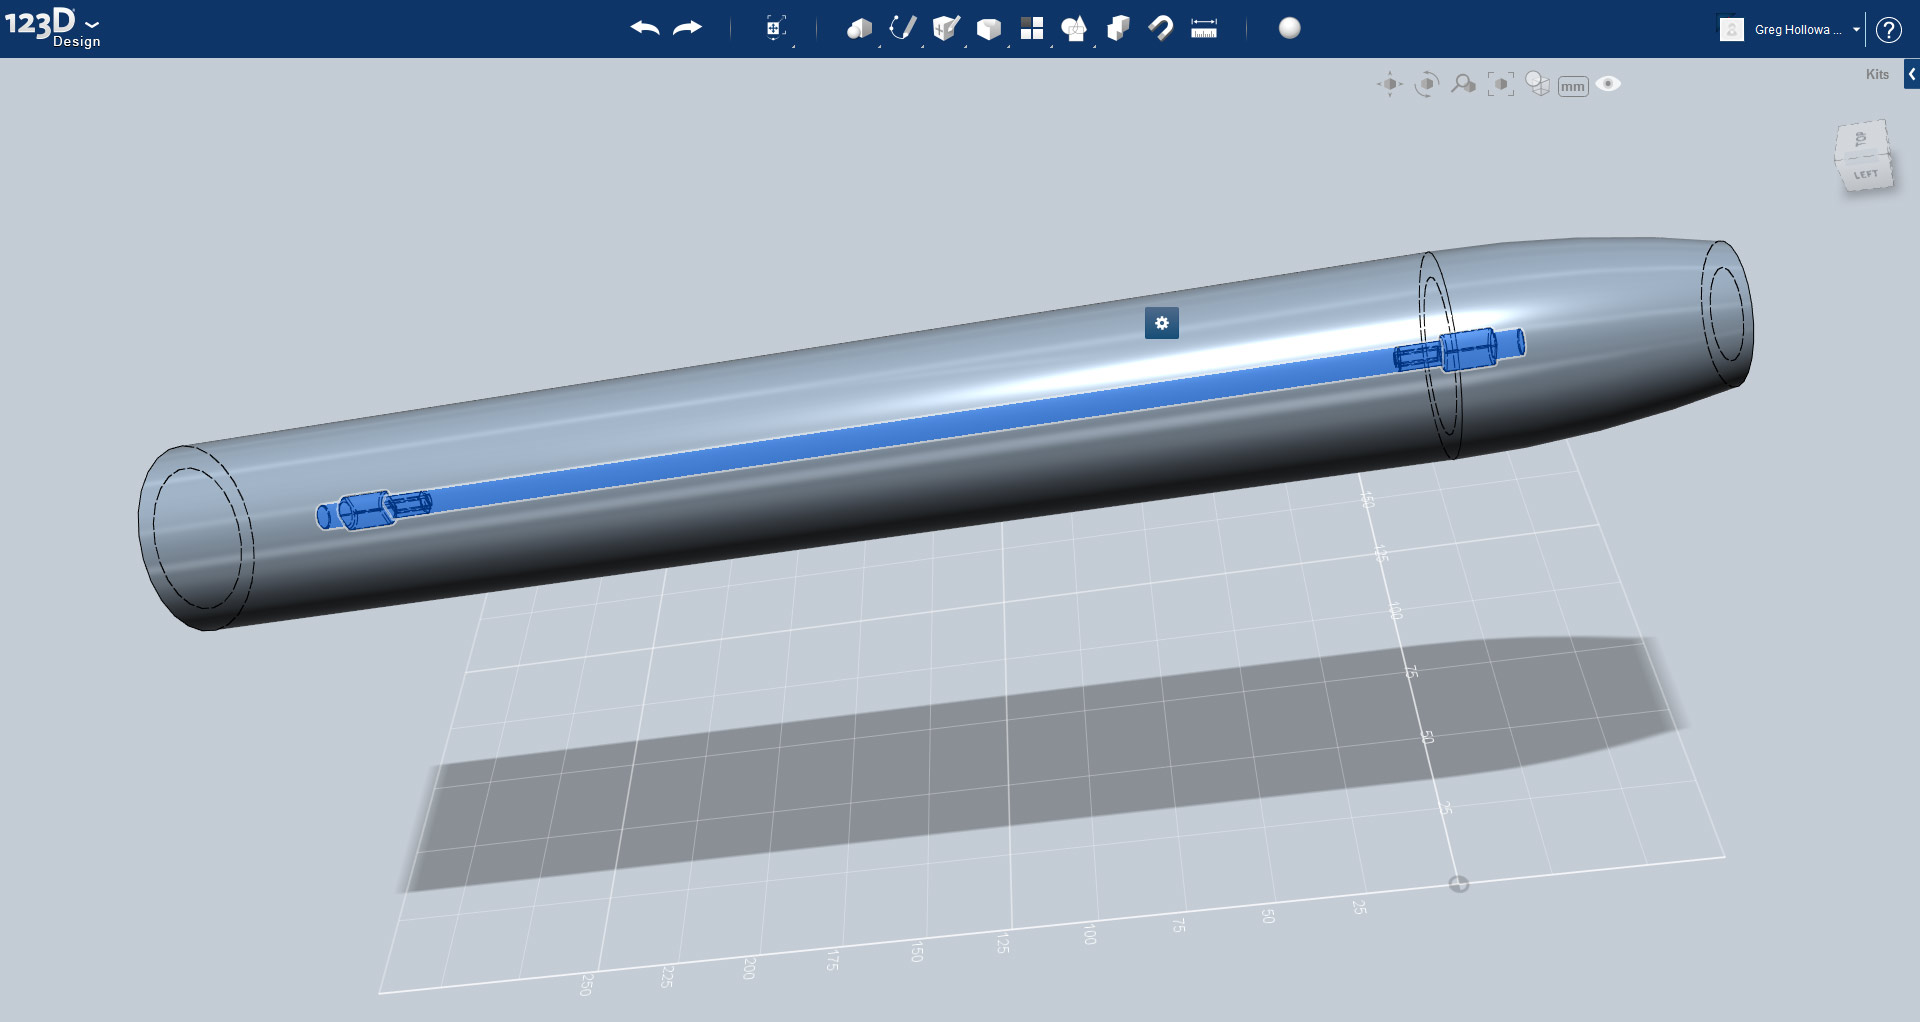
The fan I have selected is a 35mm open-blade type designed for use on VGA cards. Because it has no outer casing we can have it mounted inside the tube with the element. Using the fan's outer diameter (35mm), and the length of the element, we can calculate the dimensions of the tube.
The tube's internal diameter needs to give sufficient clearance for the fan blades, and also add a margin of error for the printing process. I took the diameter of 38mm, this gives a 1.5mm gap around the fan blades.
Knowing the internal diameter, and using simple arithmetic, we can calculate the external diameter of the tube, 50mm (38mm + 6mm + 6mm). The wall thickness needs to be 6mm as we discovered in step 1.
The tubes exact length at this stage isn't as important as the diameter as we will need to make some alterations to the length later on in the design. For now I took the length of the element ~300mm, and added a 50mm extension to each end.
So we now have a size for the tube, 400mm x 50mm.
It is worth noting that 123D Design uses a circle's radius rather than it's diameter when making circular objects.
1 | From the primitives menu in 123D Design select a cylinder. Enter a length of 350mm and a radius of 25.5mm.
2 | From the primitives menu select a cone. Enter a height of 50mm and a radius of 25.5mm.
3 | Using the snap tool select the base of the cone and then the top of the cylinder. The two should now sit together.
4 | Use the combine tool and join the cone to the cylinder. This should form a single object.
5 | Select the pointy tube, move the mouse cursor to the join-line between the cone and the tube so it is highlighted, then left click to select the line.
6 | From the selection menu pick the Fillet tool.
7 | Move the slider arrow until you have a nice curve where the angular join used to be. To finish either hit enter or click on open space.
8 | Select the pointy tube. From the Modify menu, click Shell.
The Shell function is used to hollow out solid objects. In this instance we will be using it to create our tube.
9 | Input 6mm as the wall thickness and hit enter.
The ends of the tube will be boxed in. To open them up we will use the Combine tool to subtract the ends.
10 | Create a box with dimensions larger than the diameter of the tube, and with a length over 6mm.
11 | Move the box so it sits over the end of the tube, approximately 7mm inside the tube's end.
12 | Select the Combine tool, click the tube first, and then the box.
13 | On the Combine tool pop-up use the drop-down menu and select Subtract, click anywhere on empty space to complete the operation.
One end of the tube should now be open, repeat steps 10 - 13 at the opposite end of the tube.
14 | Select the element and position it centred inside the tube.
Using these basic methods we will build up the heat-shrinker, later adding in the fan, and a base.
Support System(s)
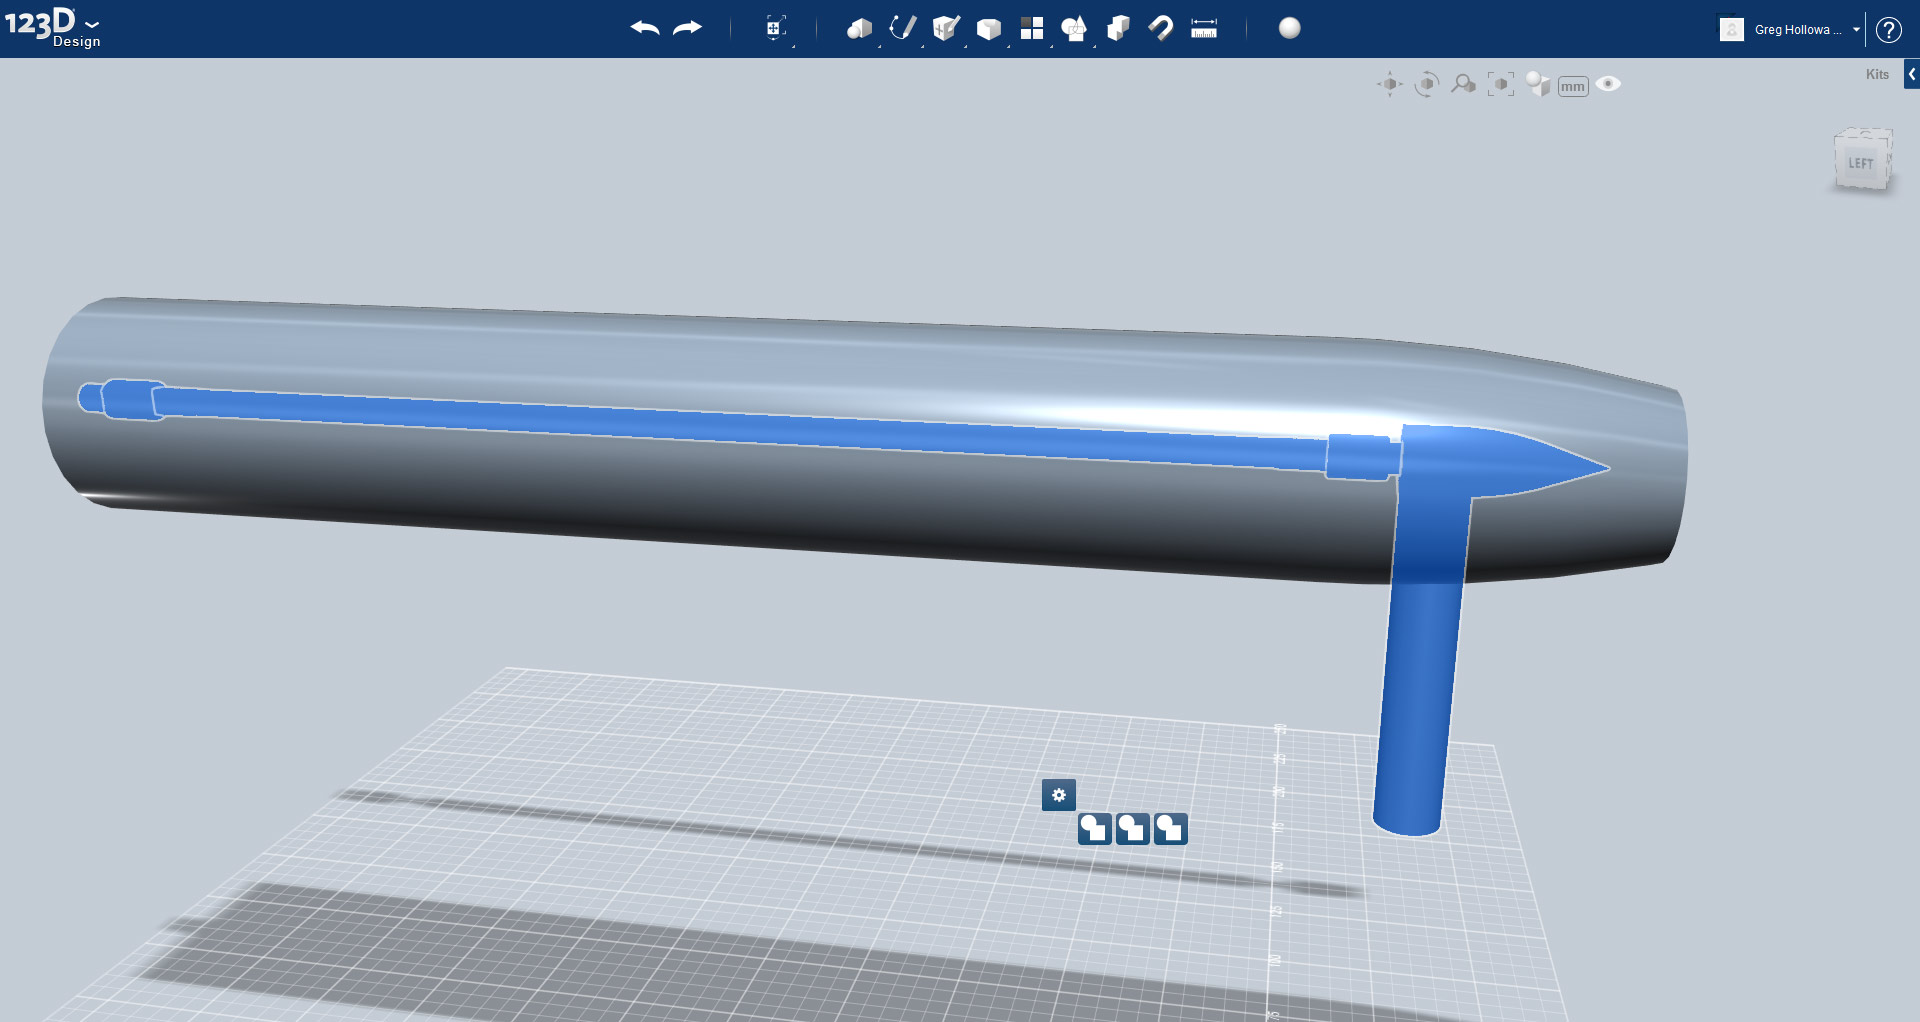
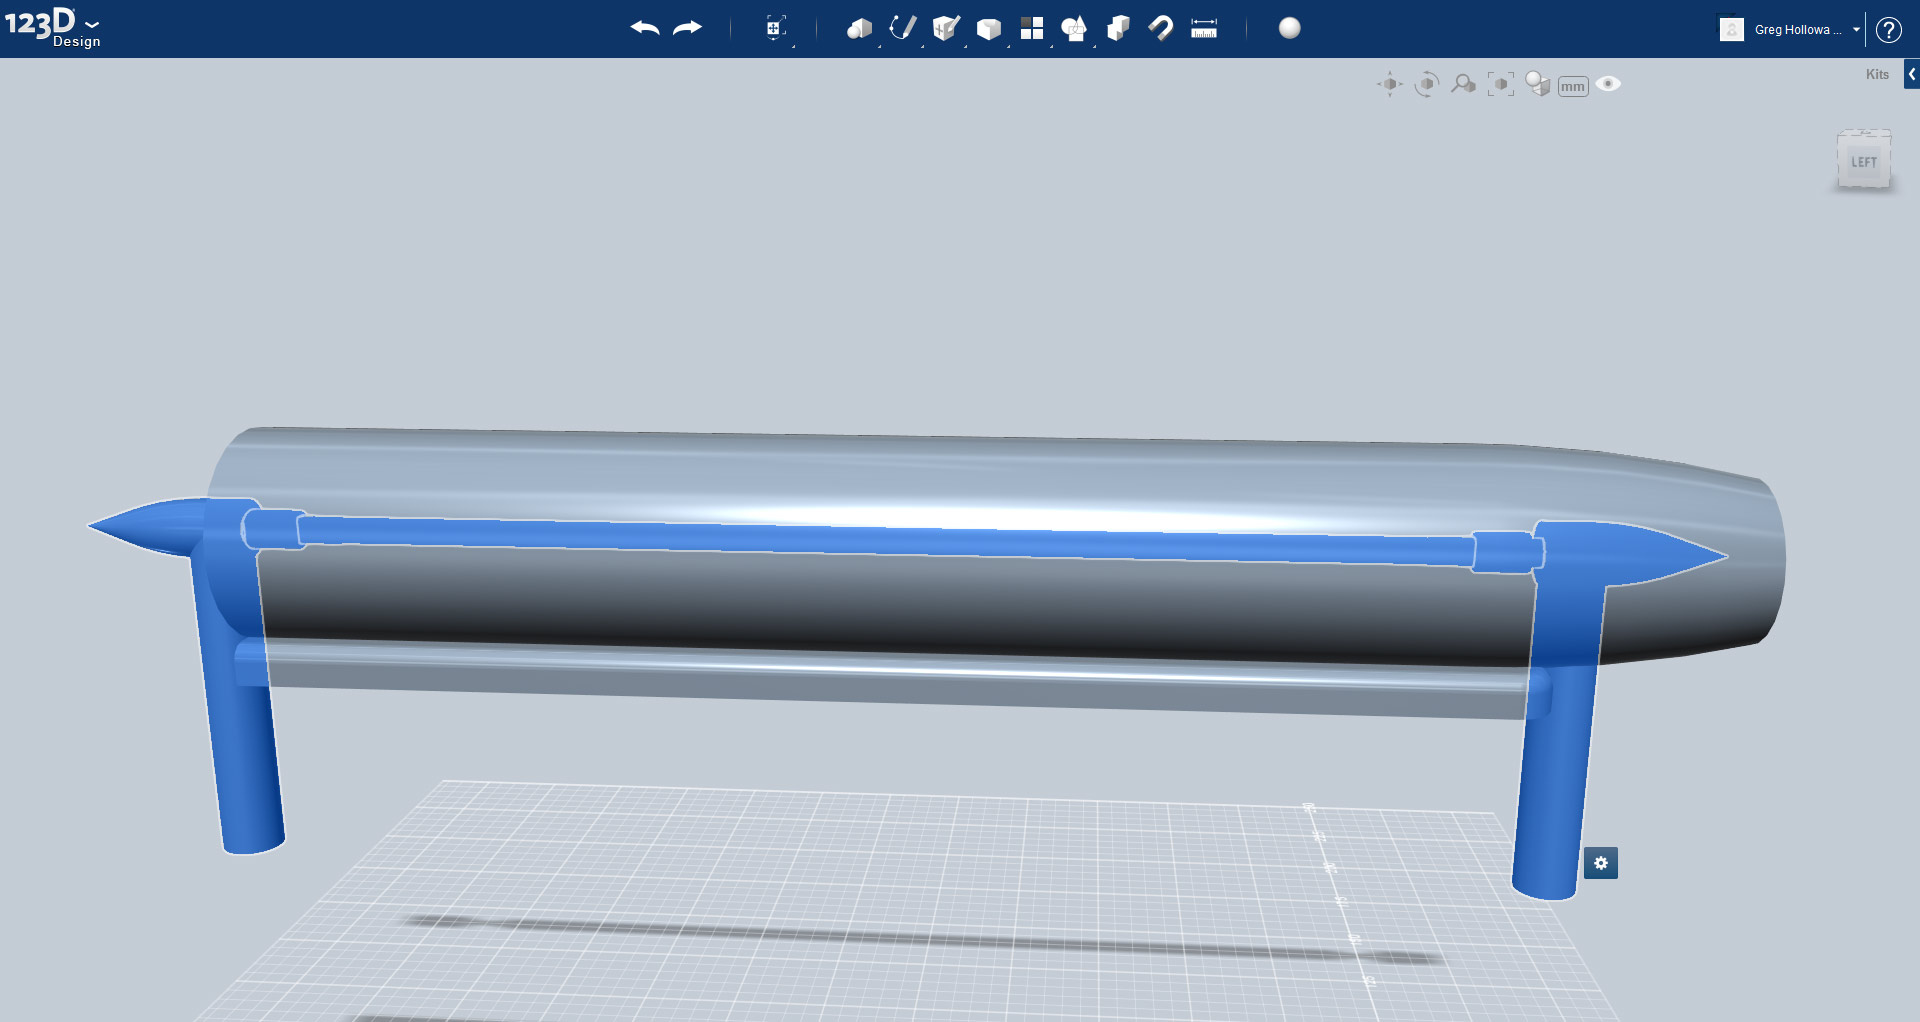
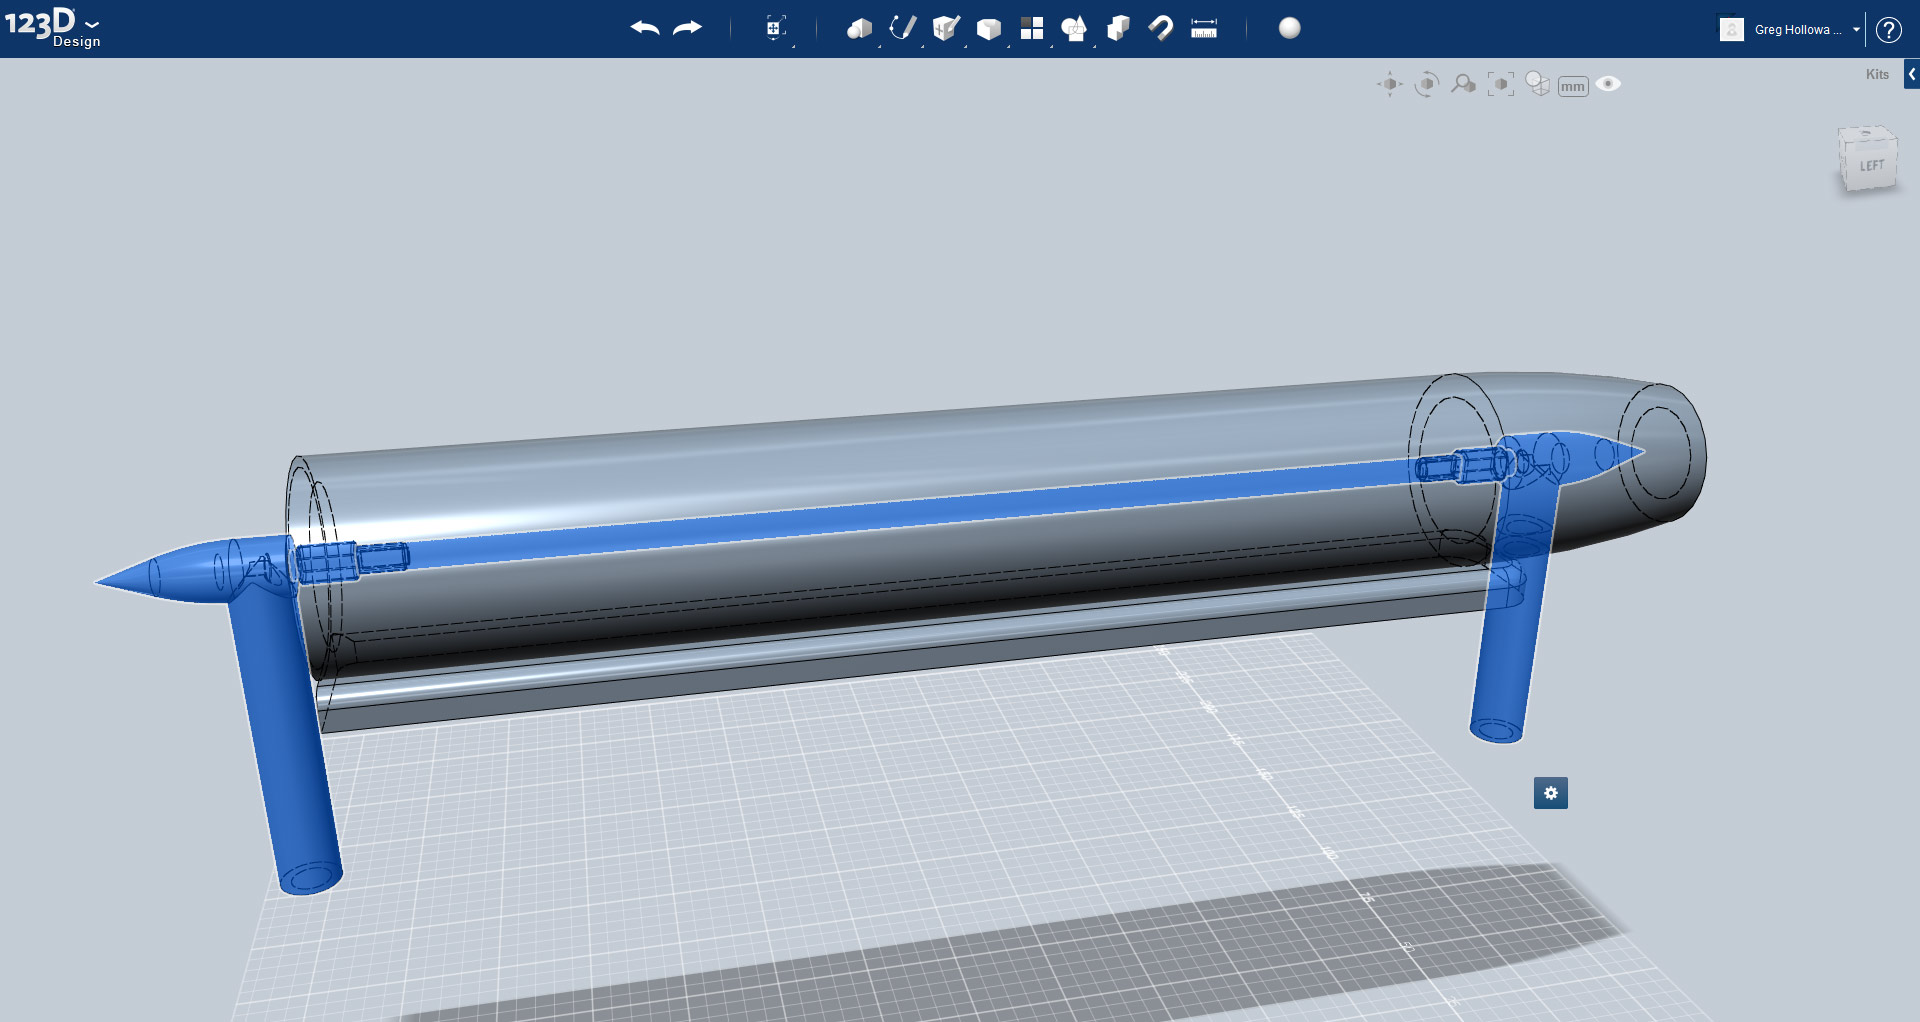
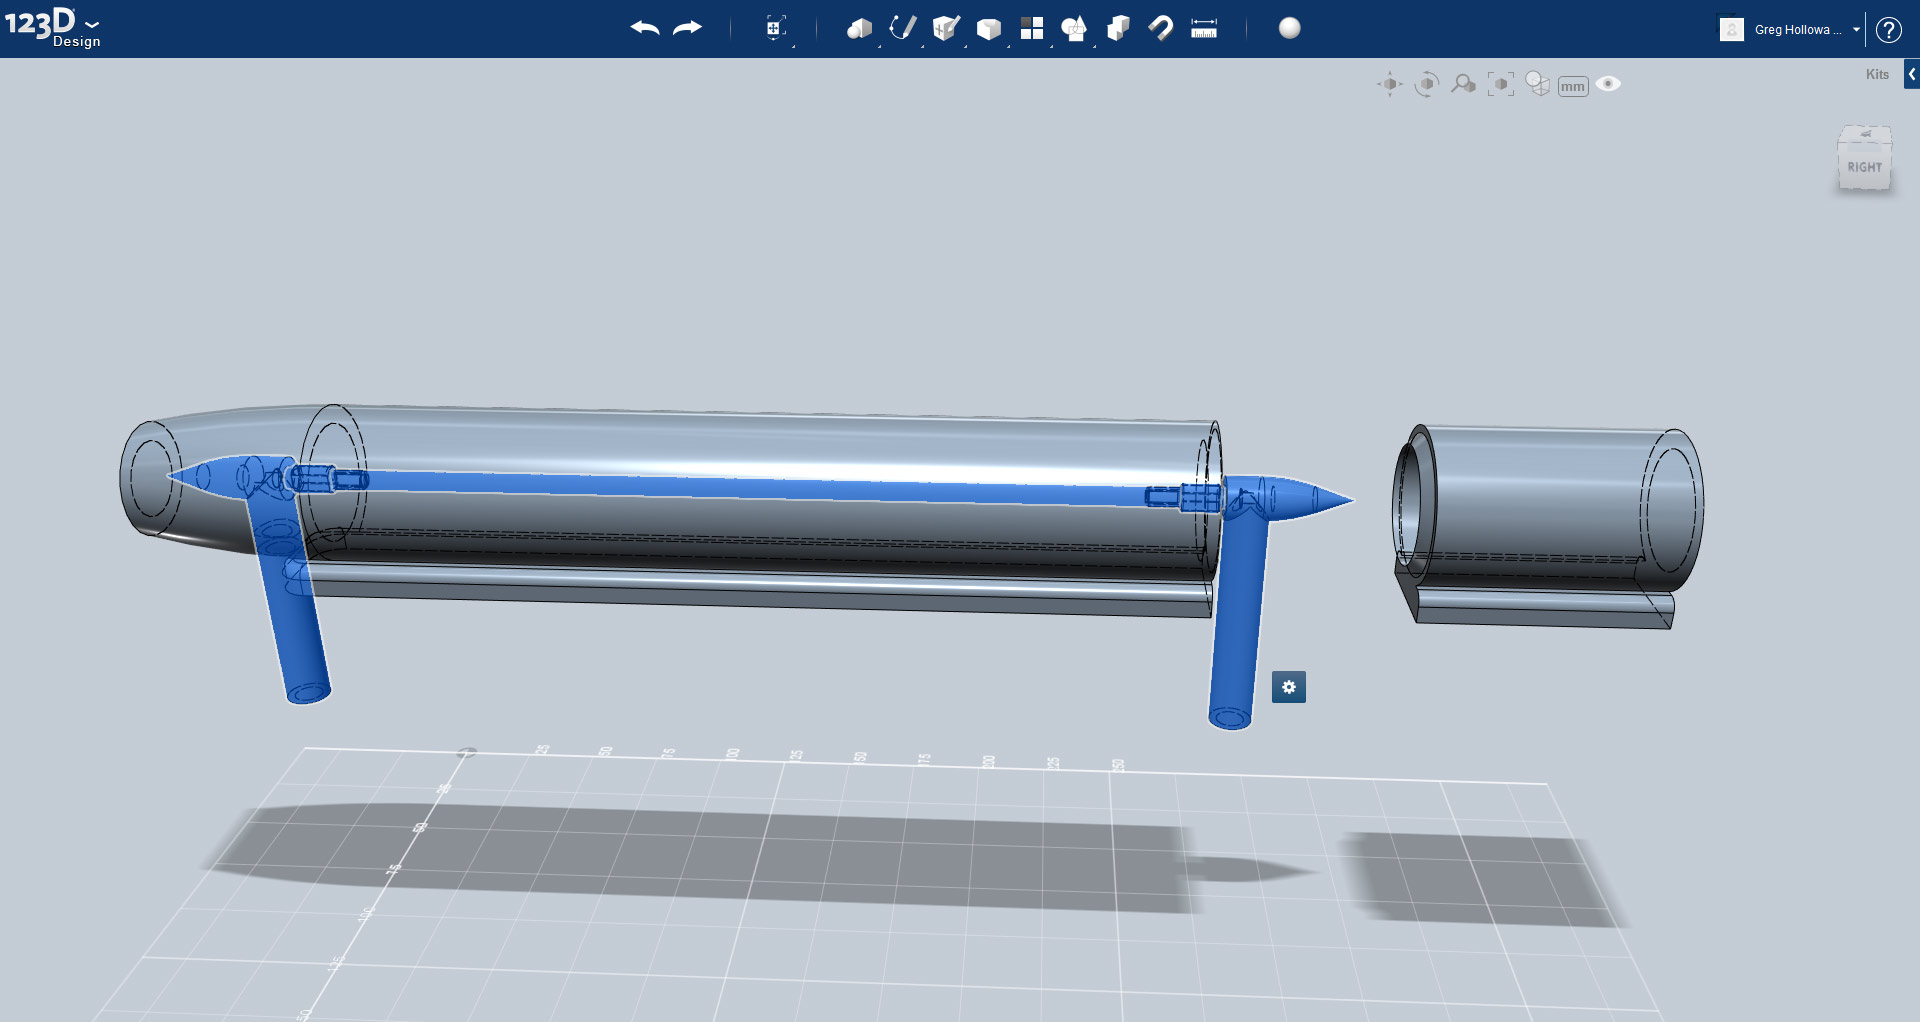
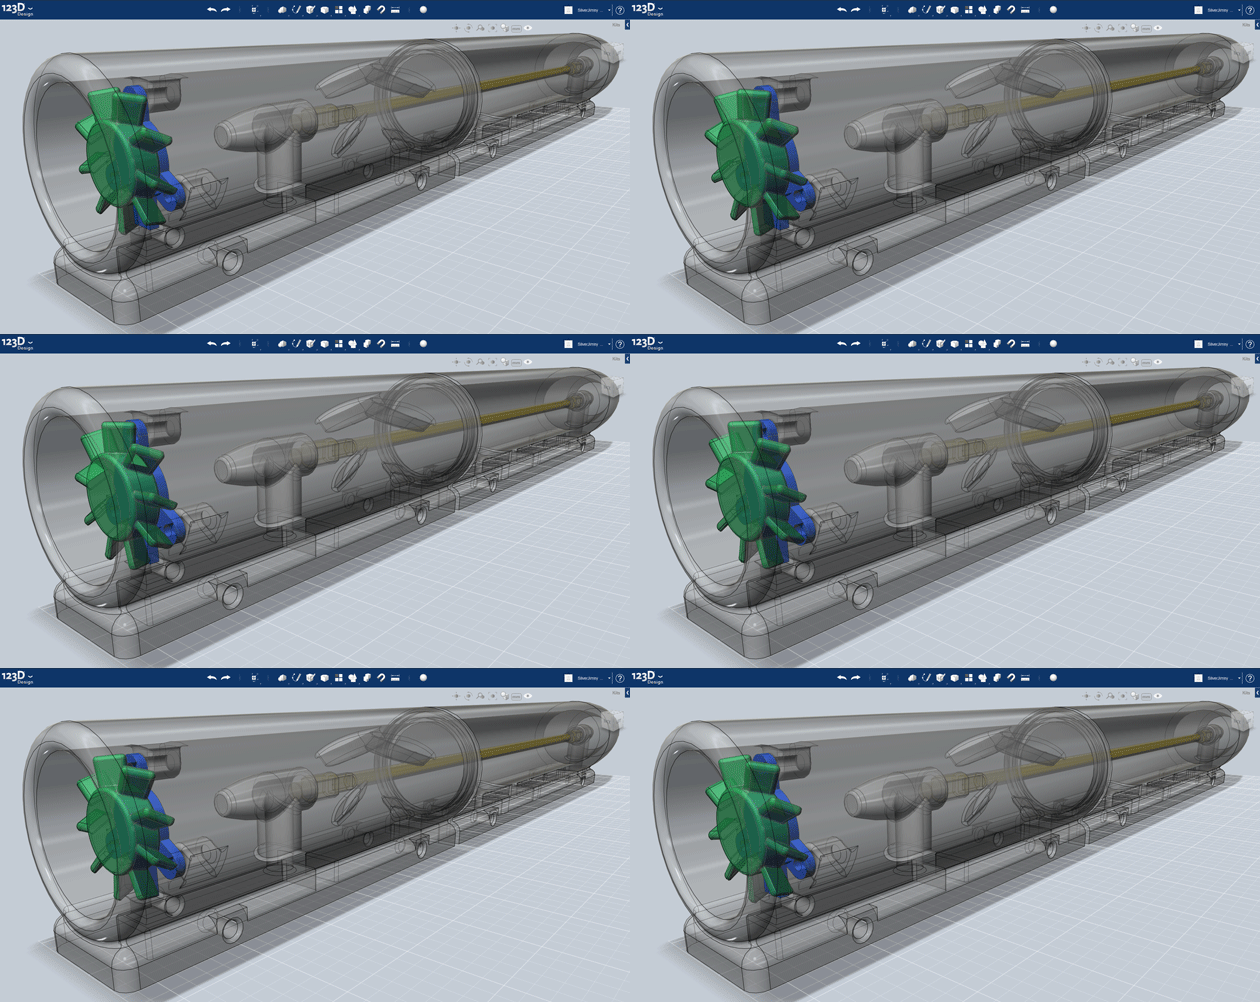
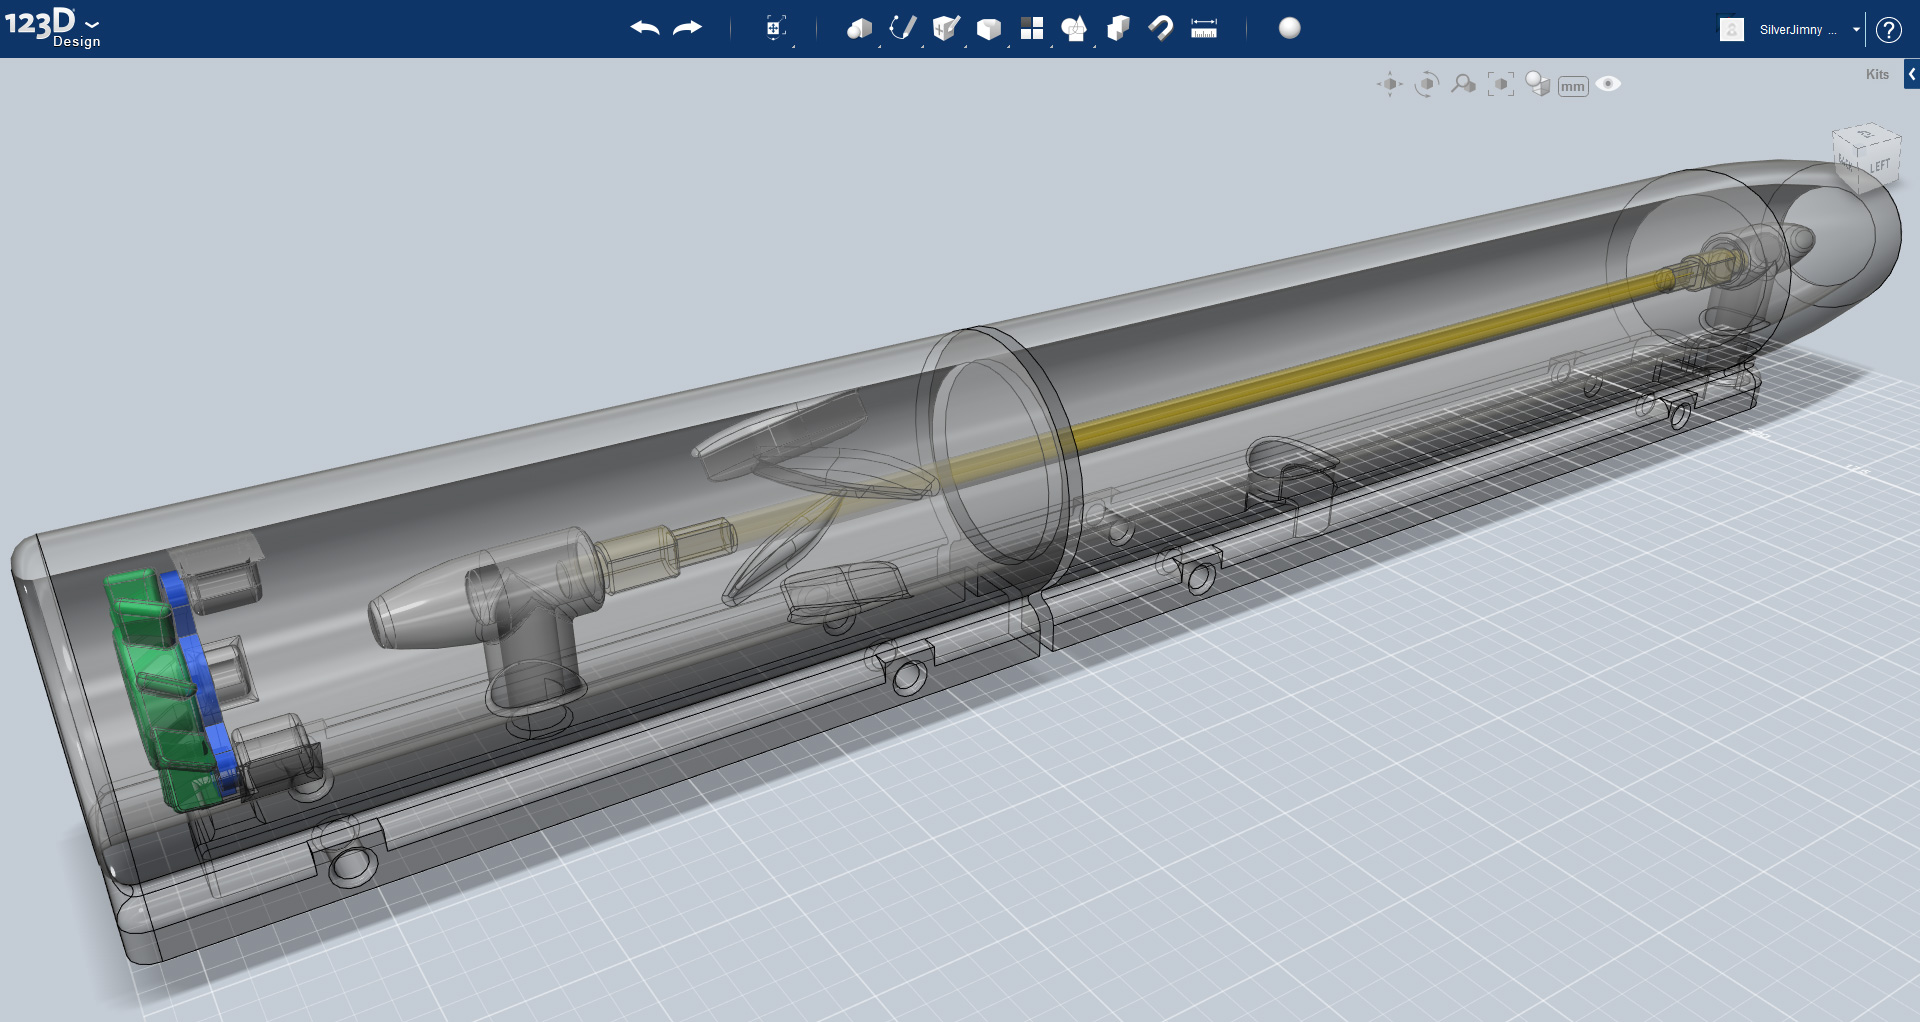
Using methods described in the previous step I have created a socket into which one end of the element fits, and adapted this into a mount for one end of the element. As you can see from the screenshot I have coned the retreating end to aid the airflow. The mount is hollow so a wire can run through it and connect with the element.
A requirement for the printing of 3d ceramics is a definite base that the part can rest on. This is especially important during the firing stages to stop the printed part from moving around. The underside of the base will not have the final glaze coat added.
Using the Combine & Fillet functions I have added a base support onto the tube. The exact shape and size of this base is largely open to your own design ideas.
To create an opposite end mount for the element, just simply copy & paste from the original to get another mount, then rotate and move it to the opposite end of the element. I have left a 1mm clearance gap at each end between the element and the mounts.
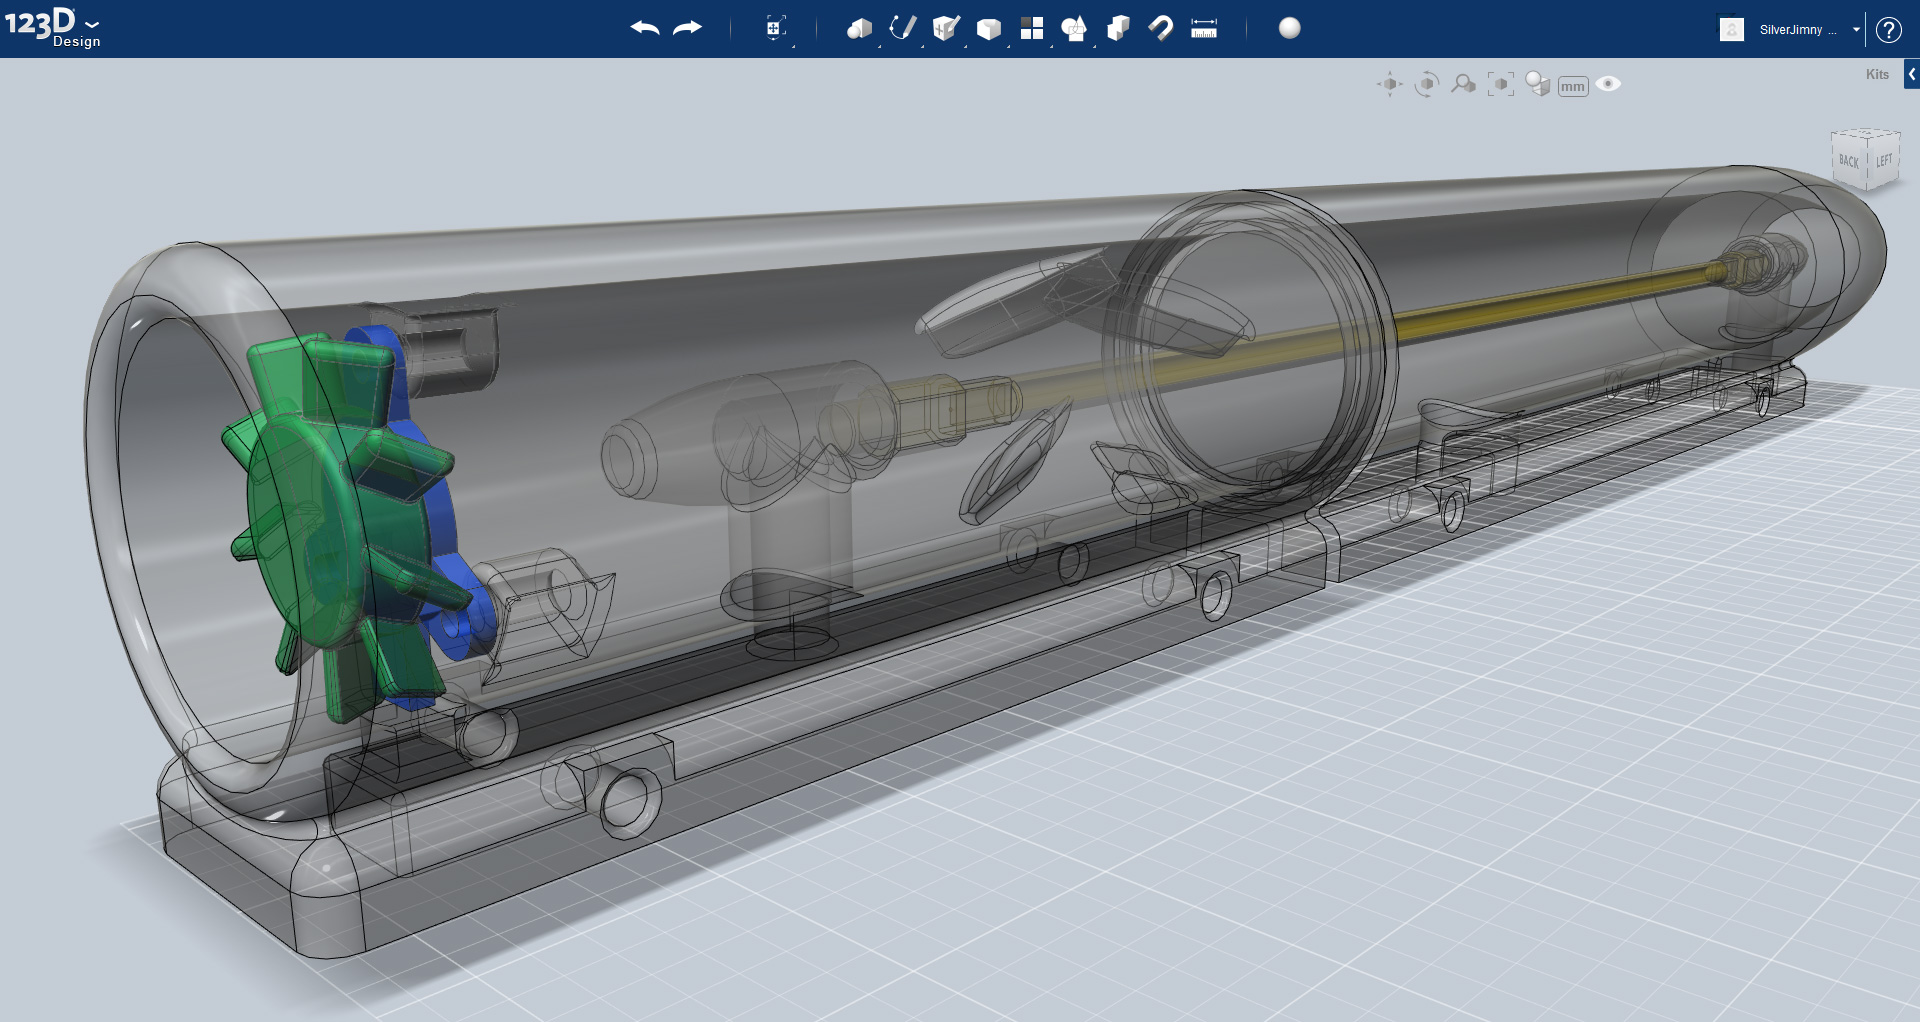
To assemble the heat-shrinker with the element inside there is a need for two parts to form the tube. The two parts close together with the element between. The smaller of the two halves will have the fan inside. This should make it easier to fit the fan because trying to fix nuts & bolts down a long tube can be fiddly at best.
Size Does Matter
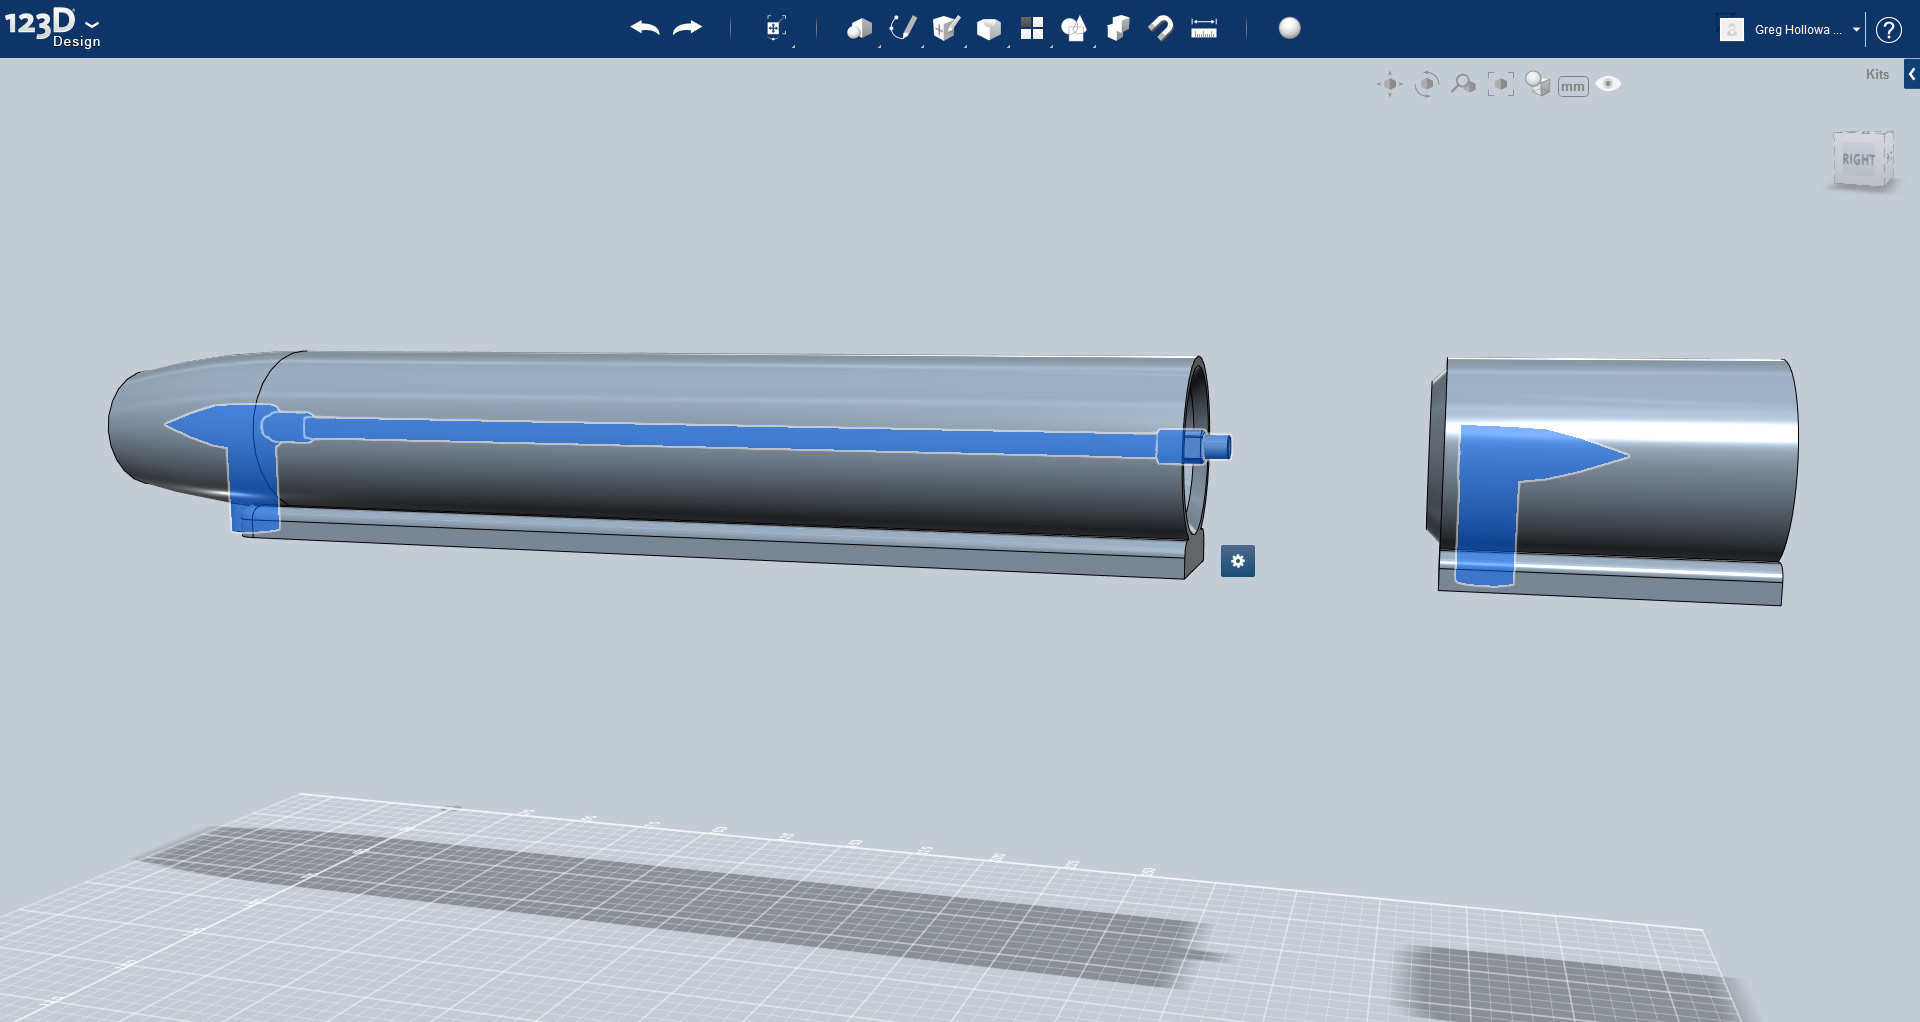
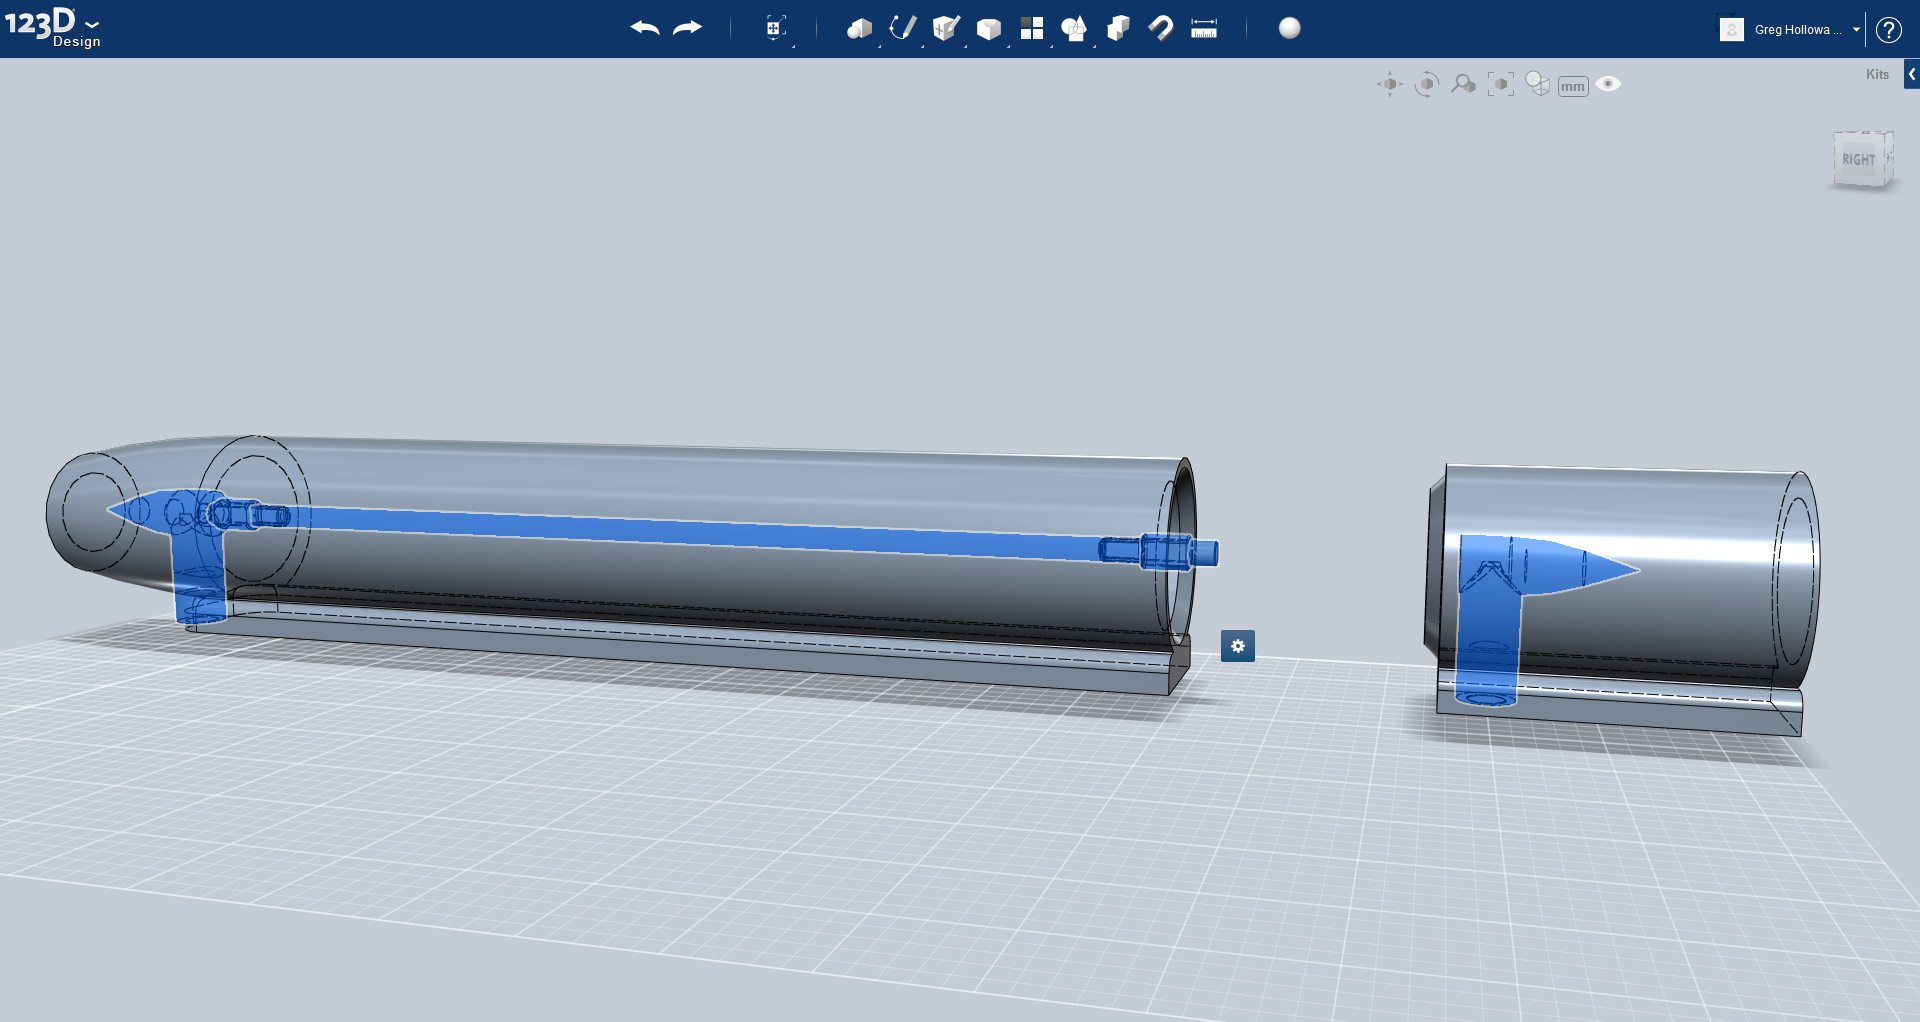
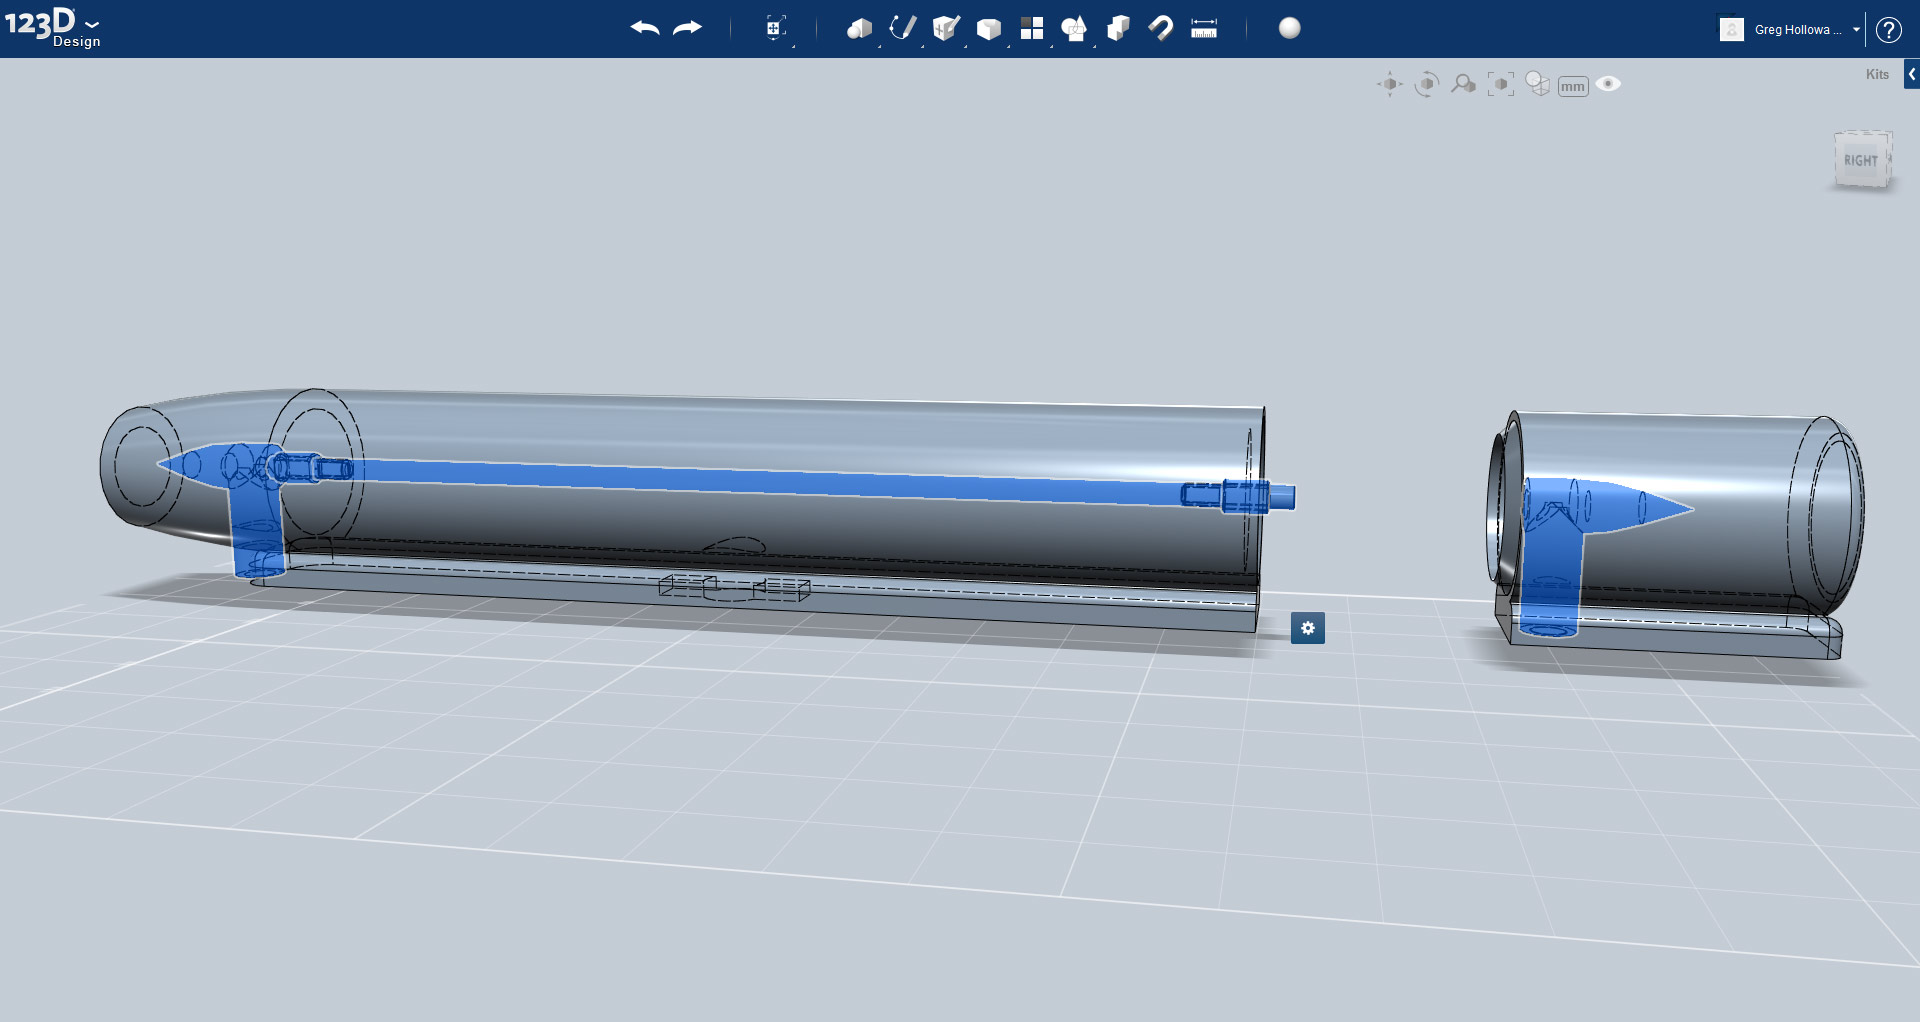
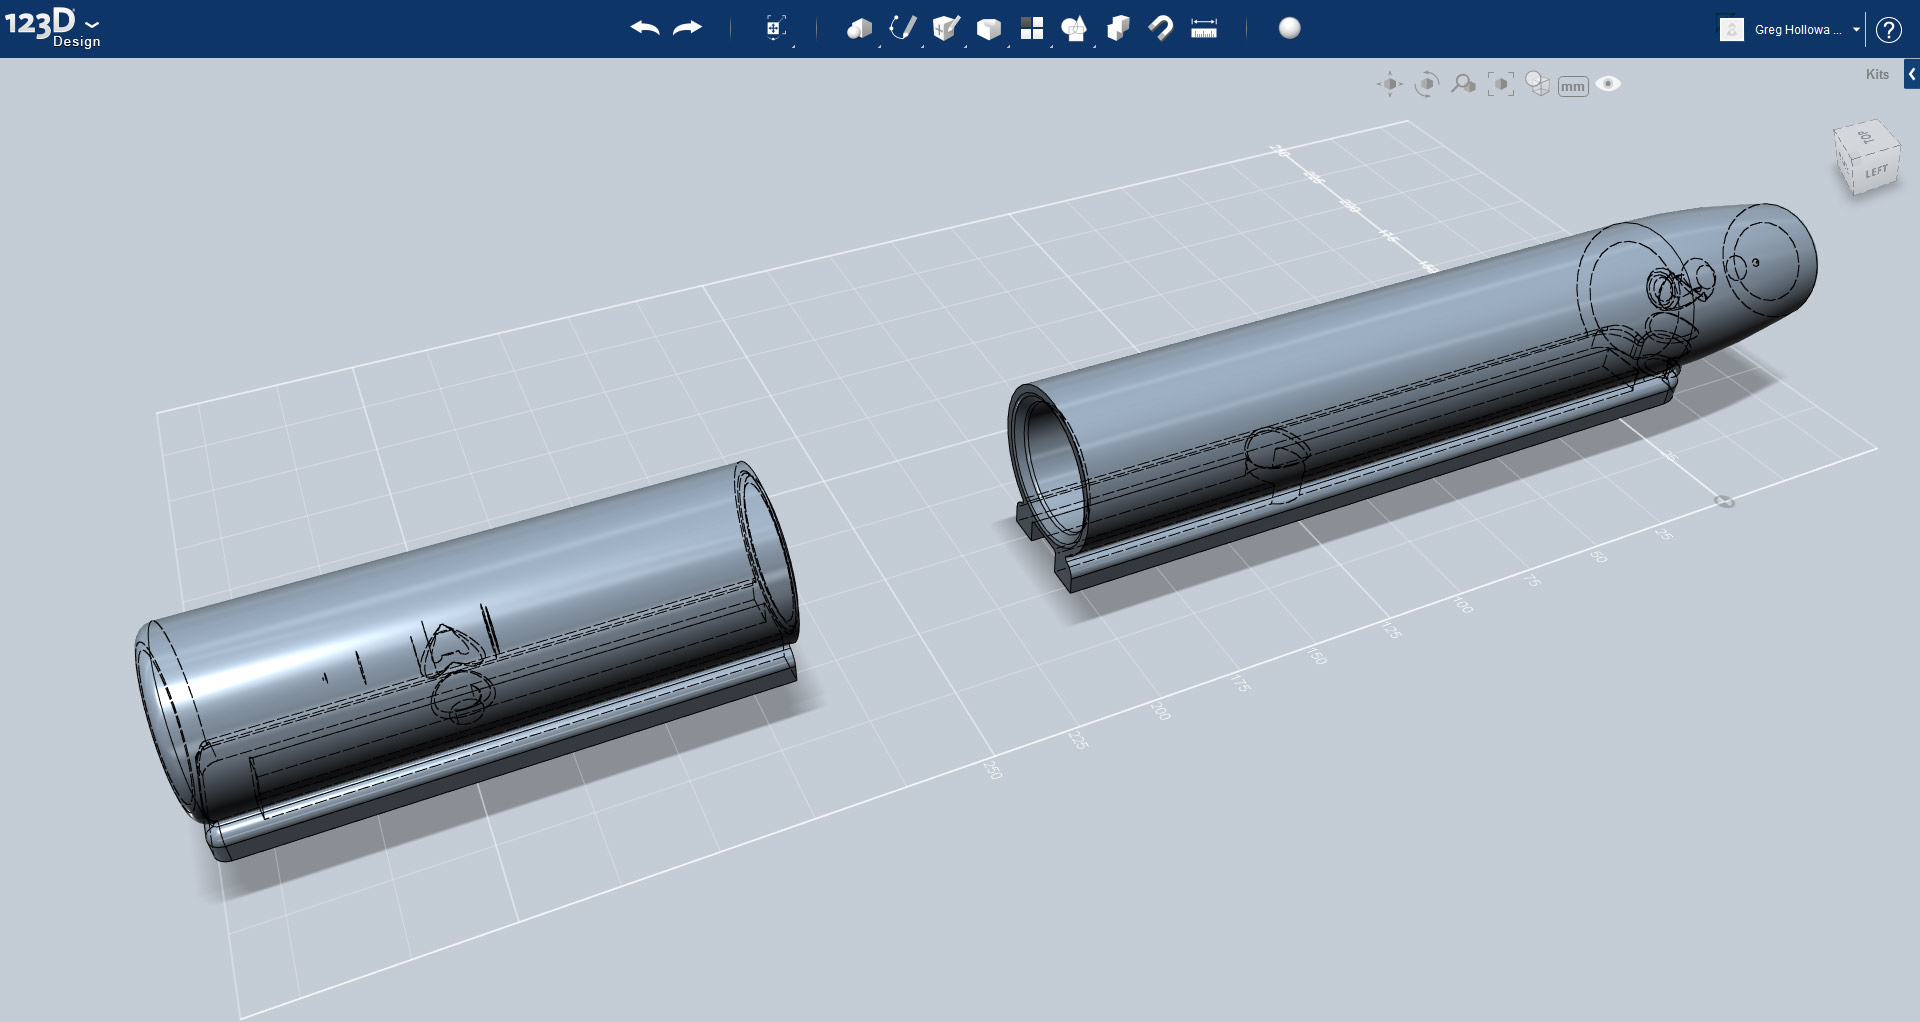
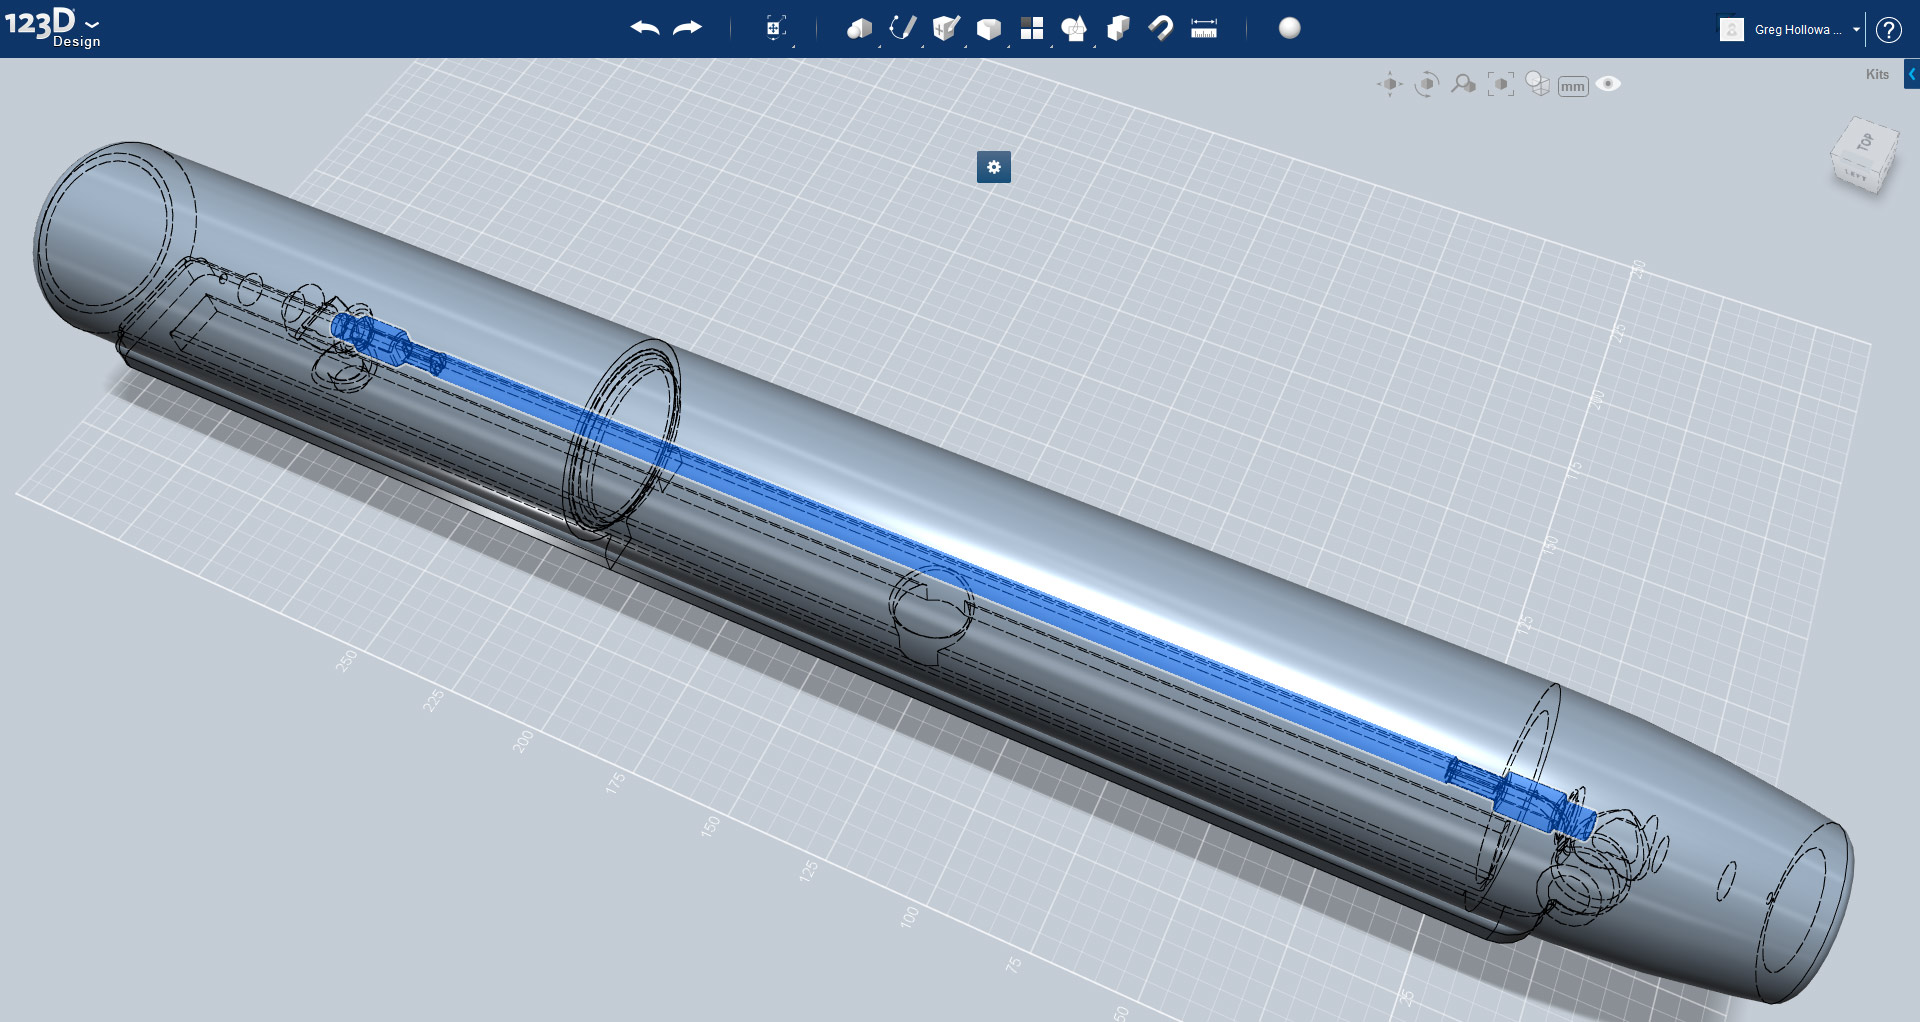
I have cut a channel into the base which will be used to position it on a base. In the centre of the mainbody is a cut-out for the thermistor. In addition to the channel and thermistor cut-outs the base also needs holes where the wires pass through the mounts. To mamage this accuractley I have used the Combine tool and joined the two mounts to the tube.
It was at this point that I ran into the printable size problem. The 3D printer can't manage anything longer than 340mm. The main body was over this size and so I had to reduce the size of the main body. To compensate the fan unit had to be made longer.
Fantastic
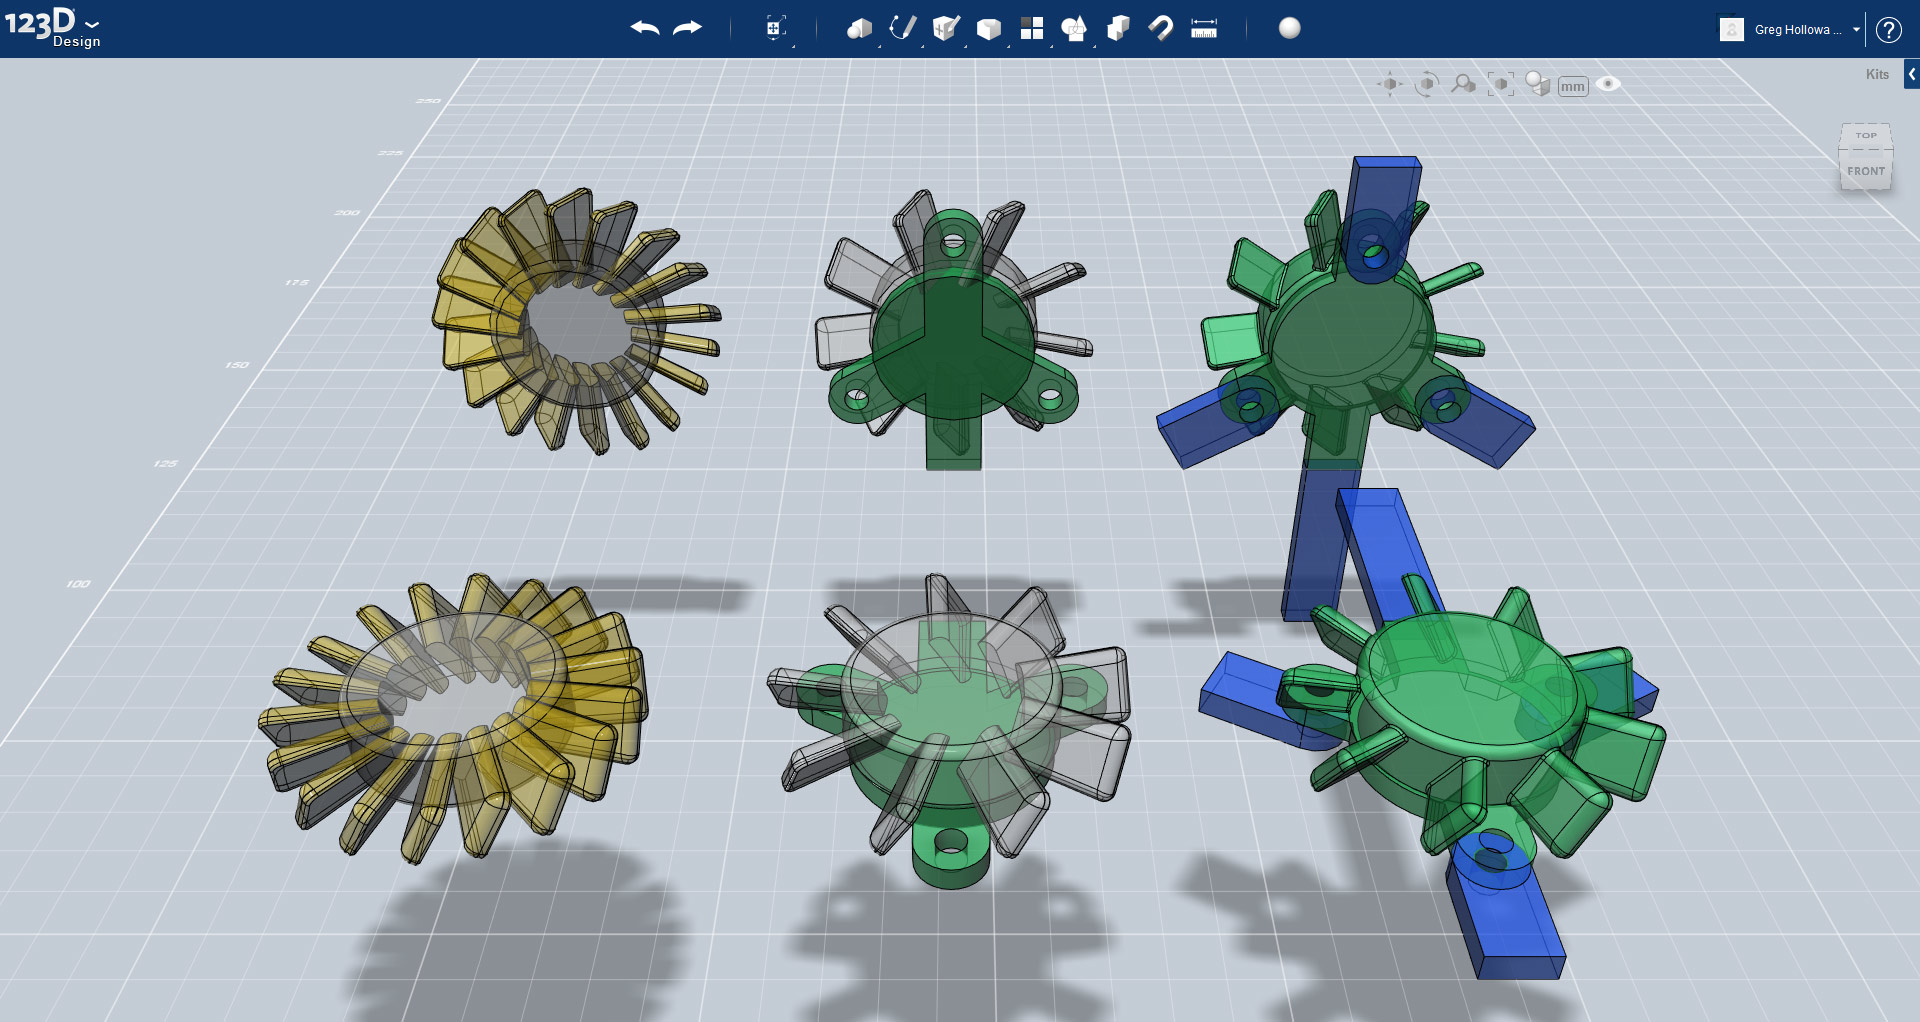
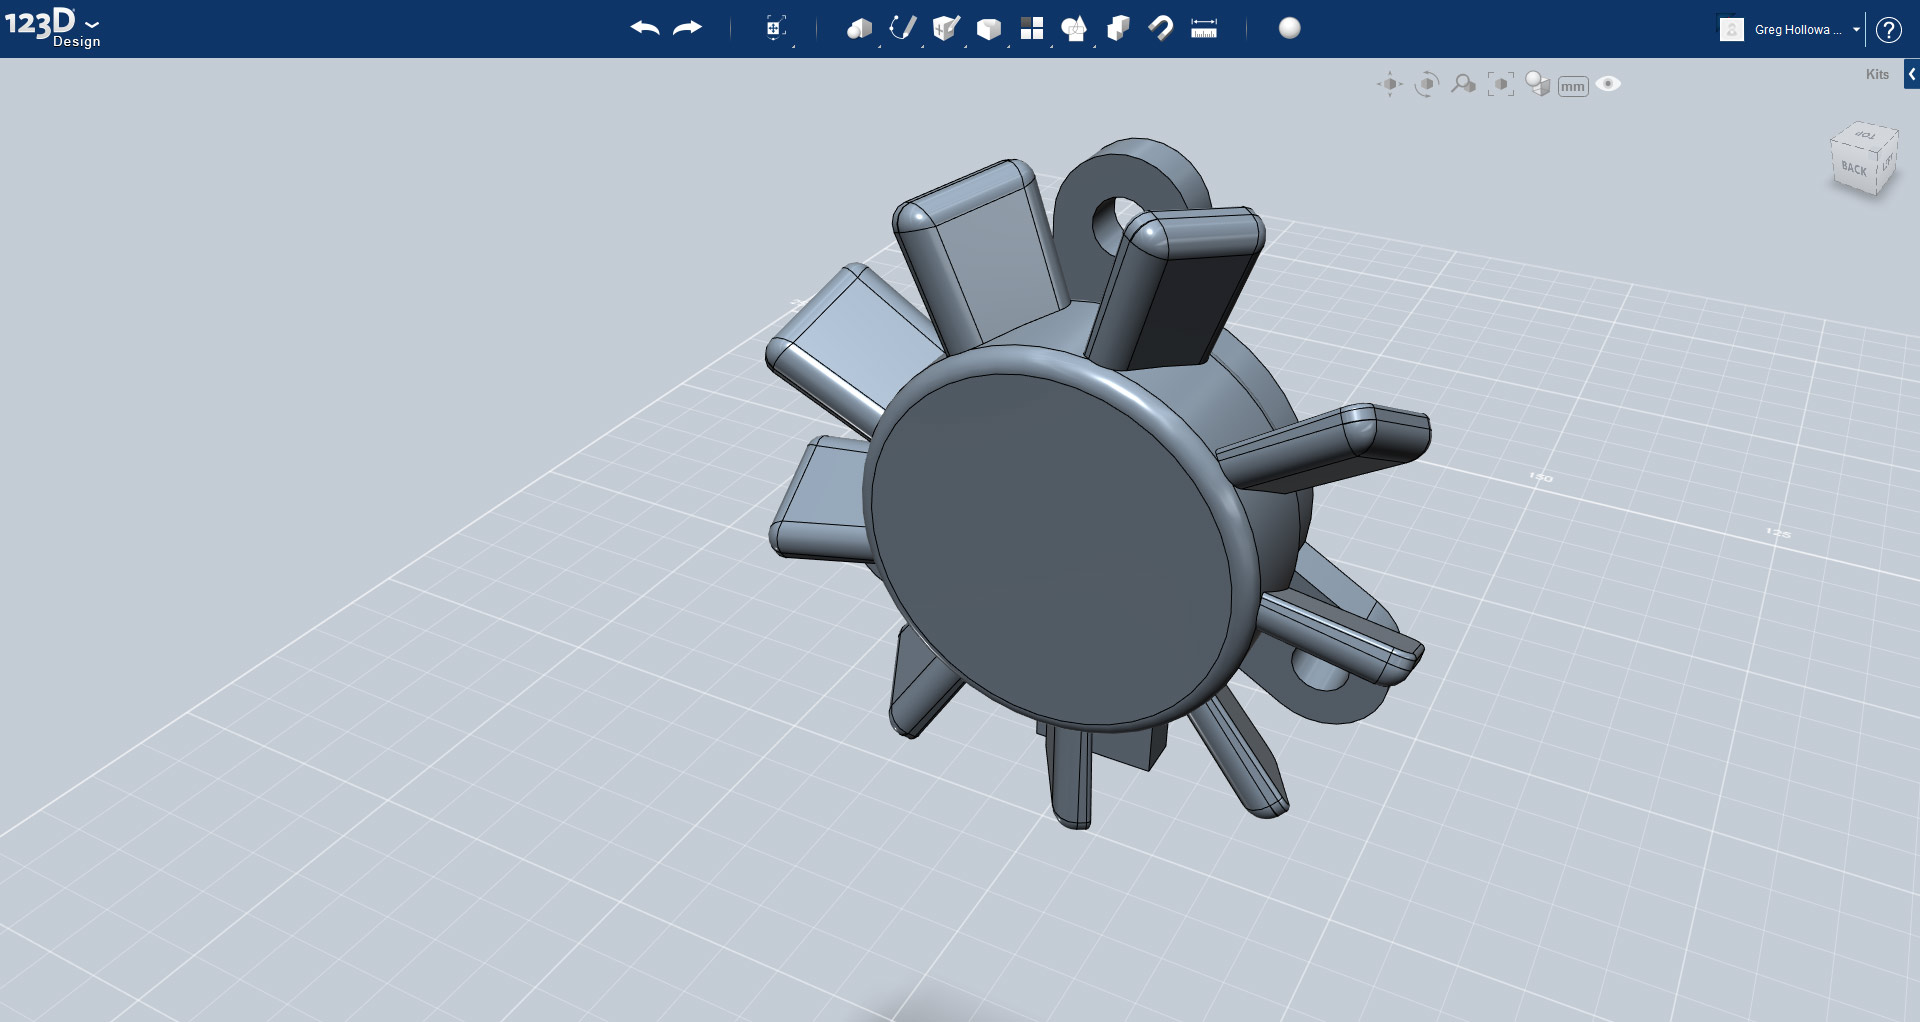
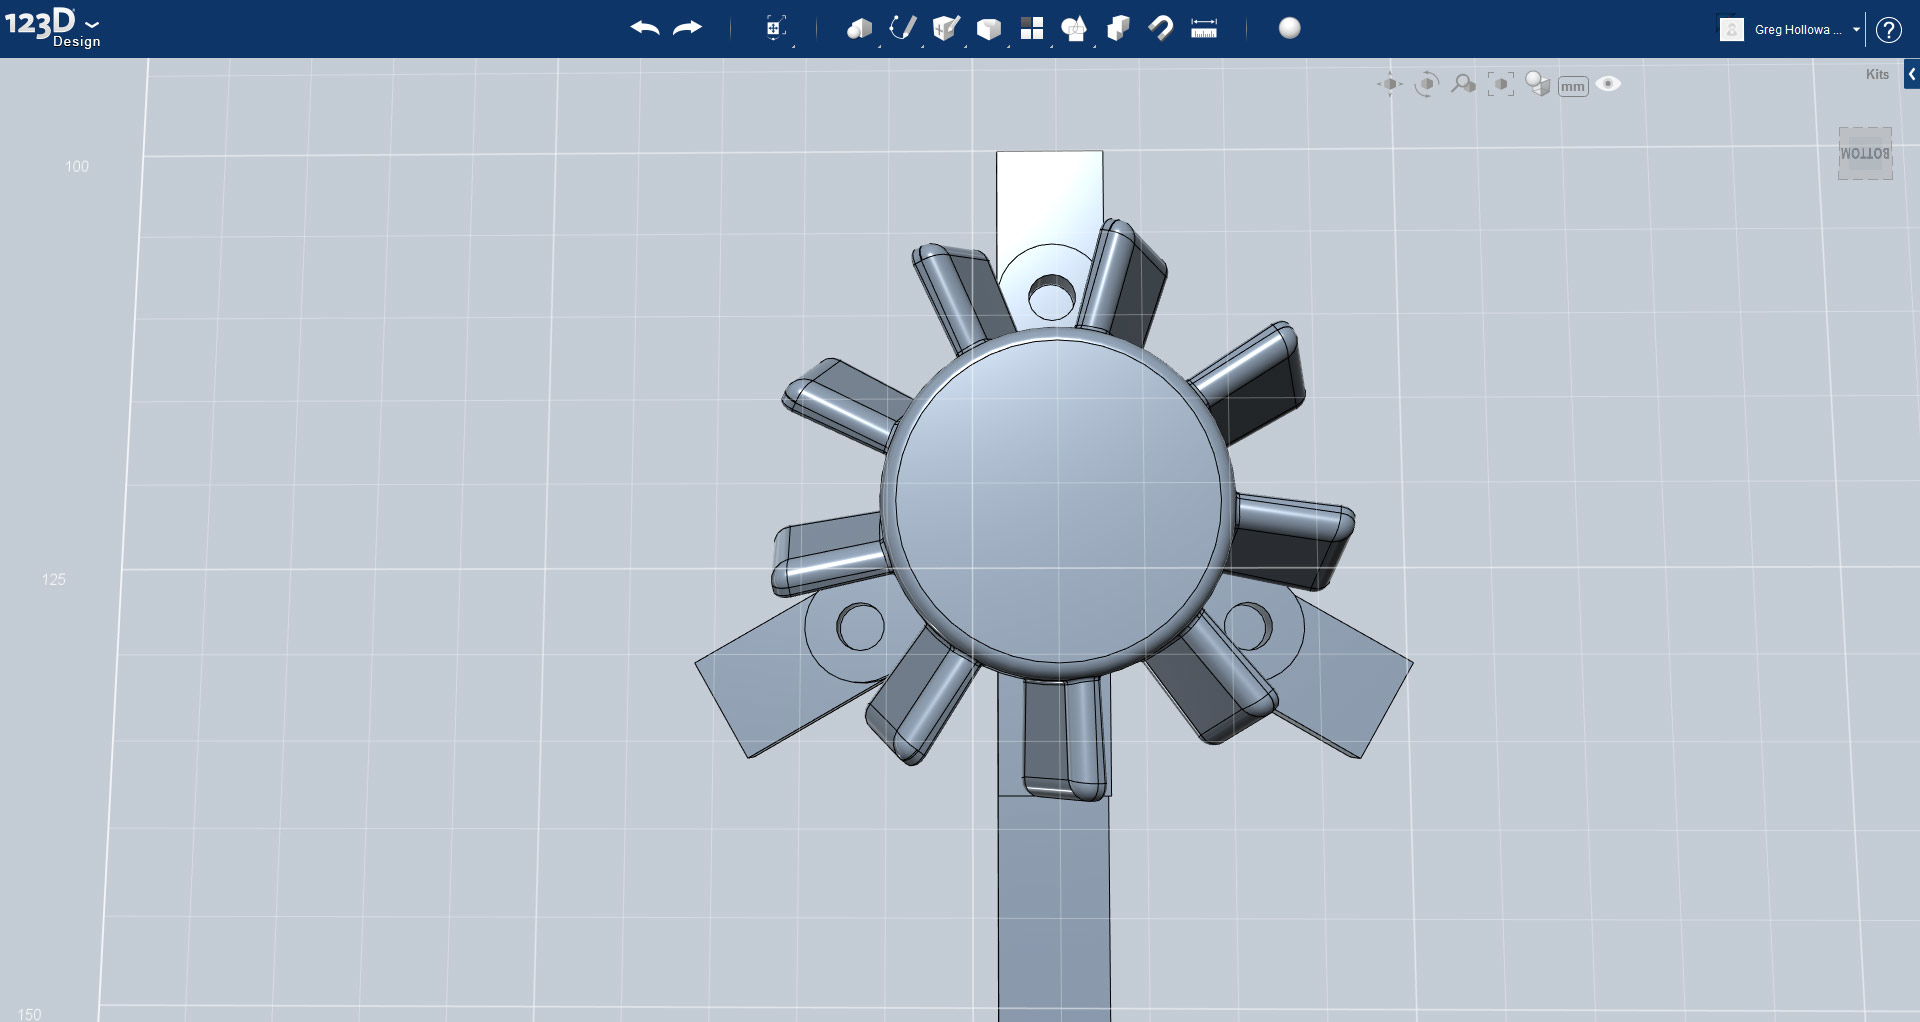
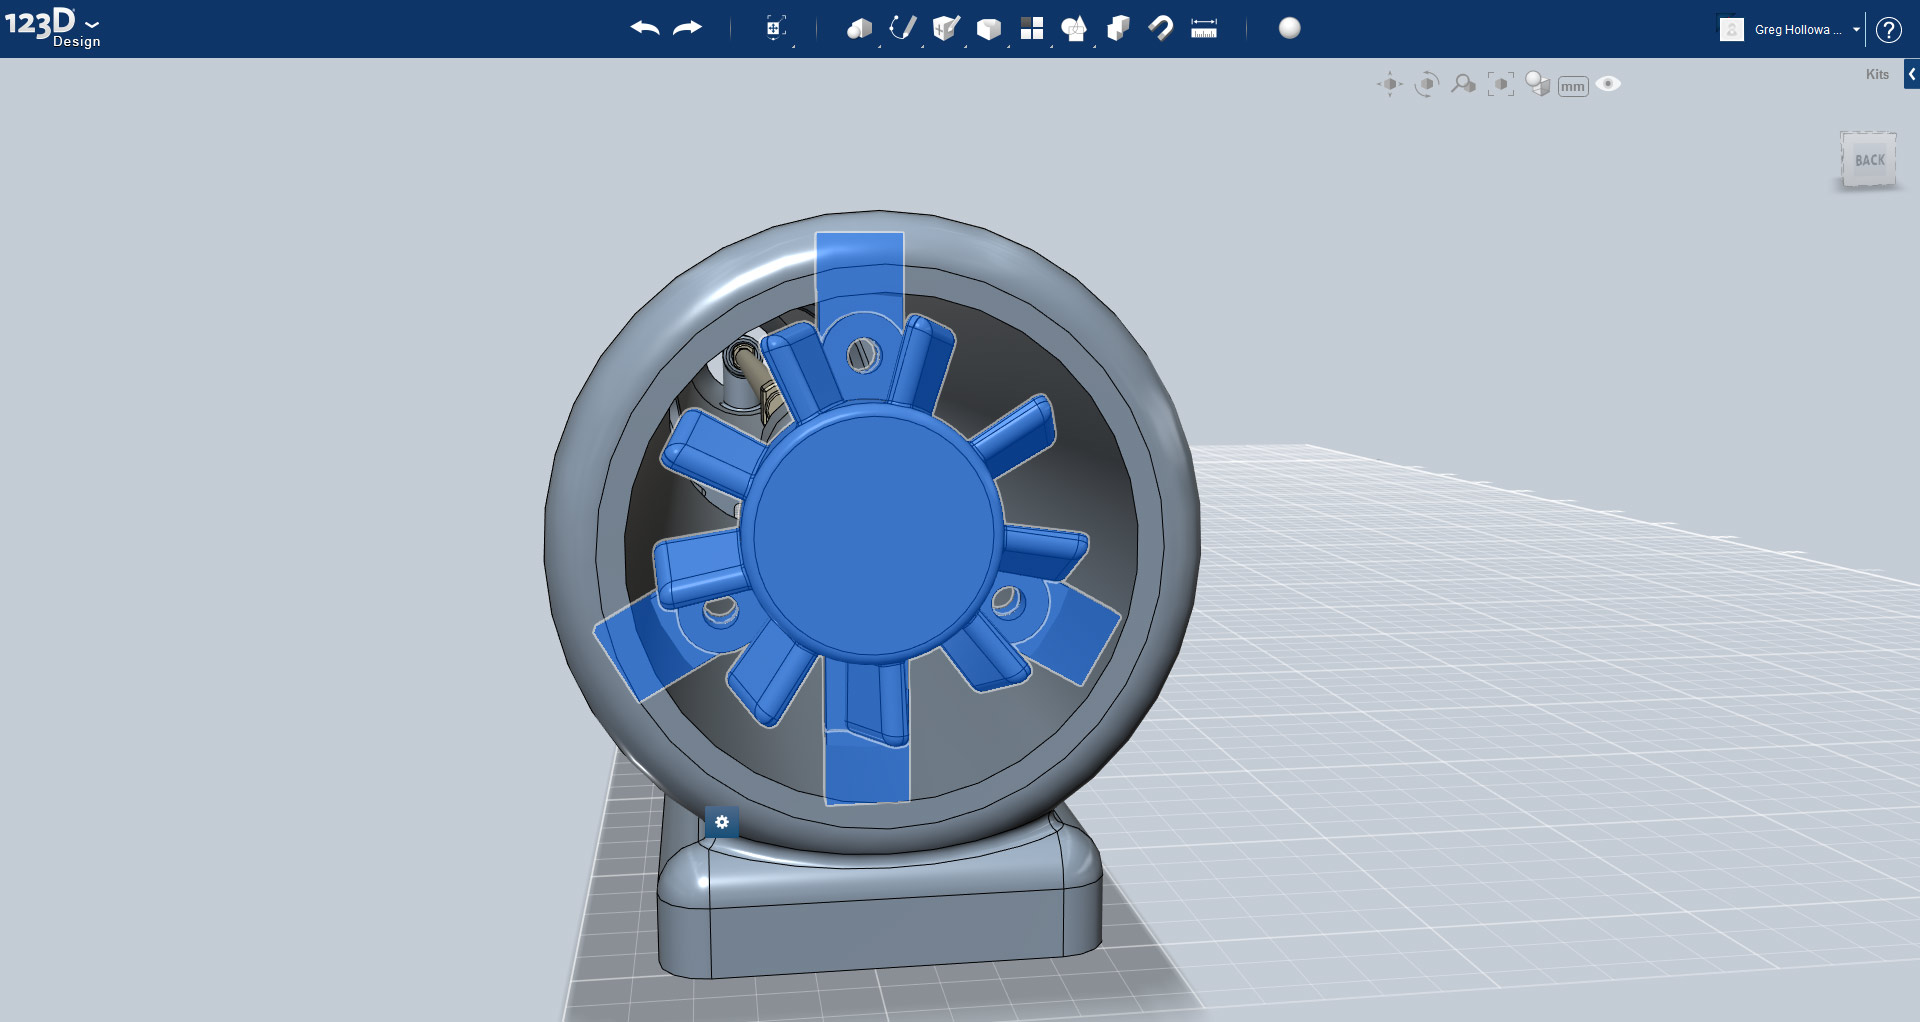
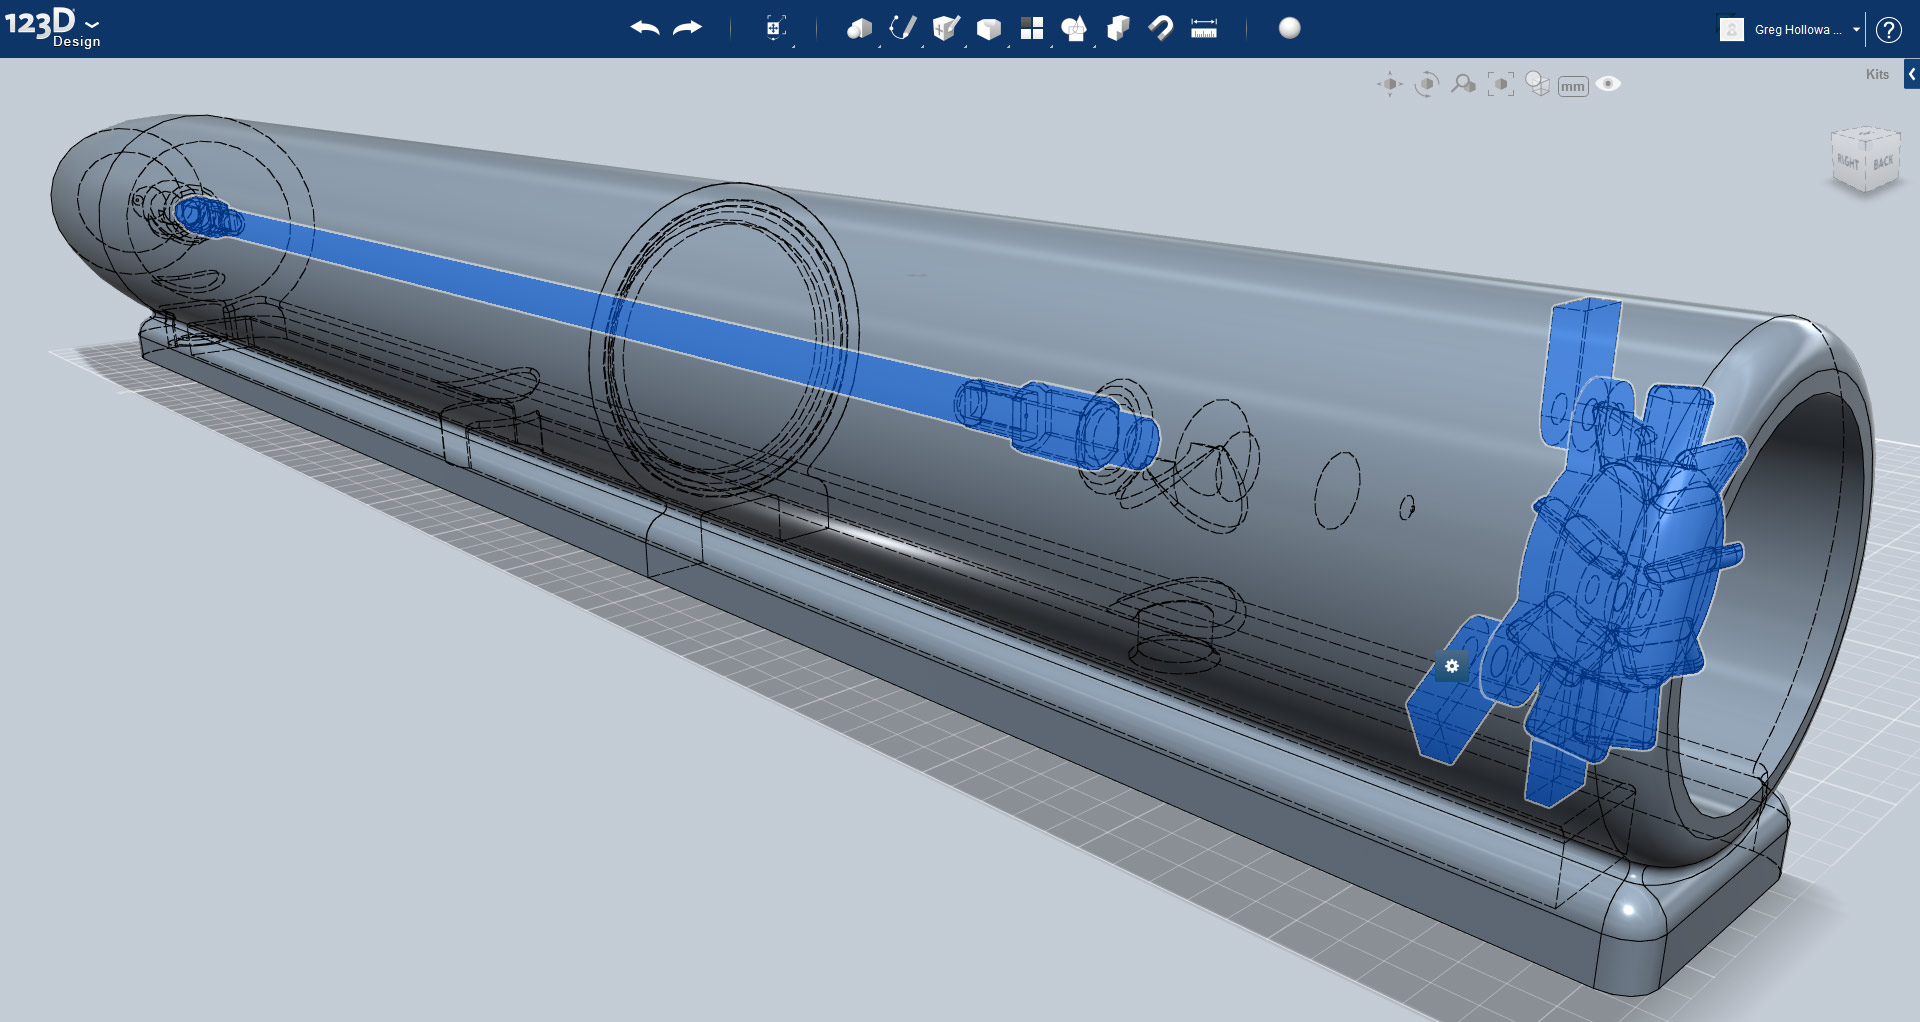
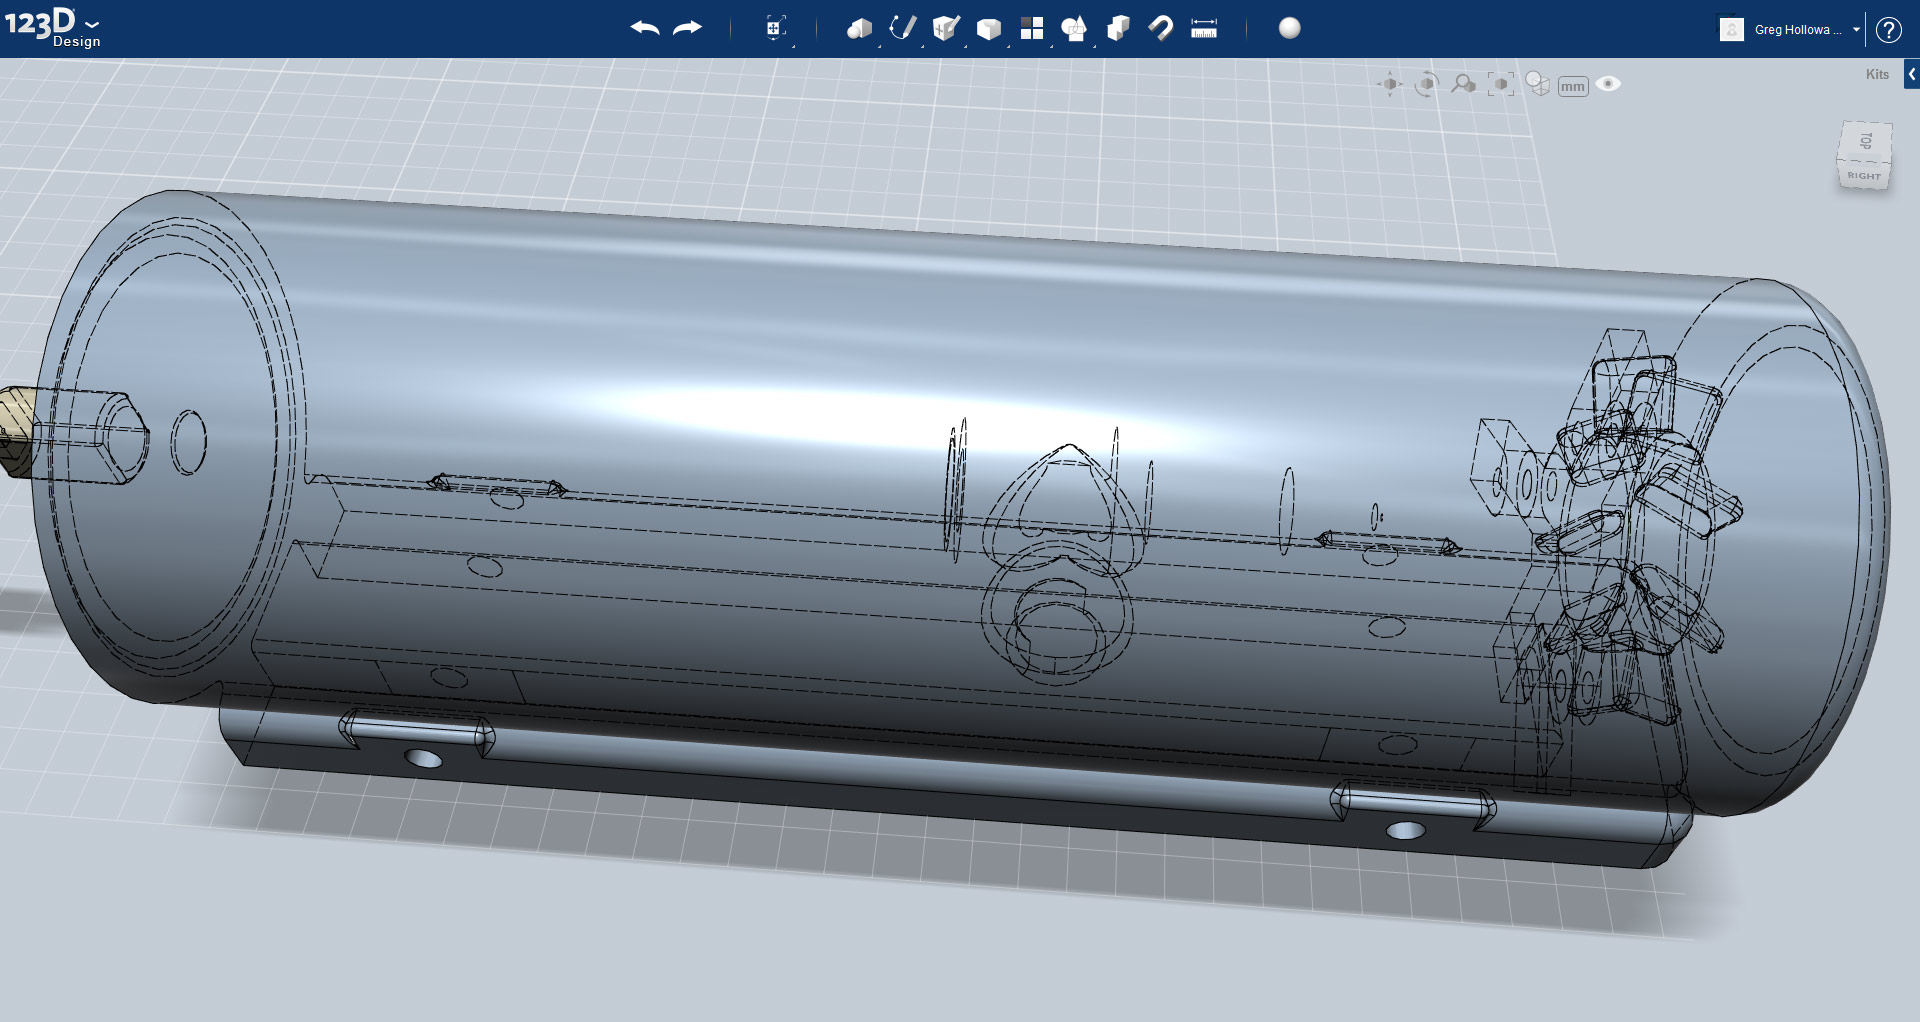
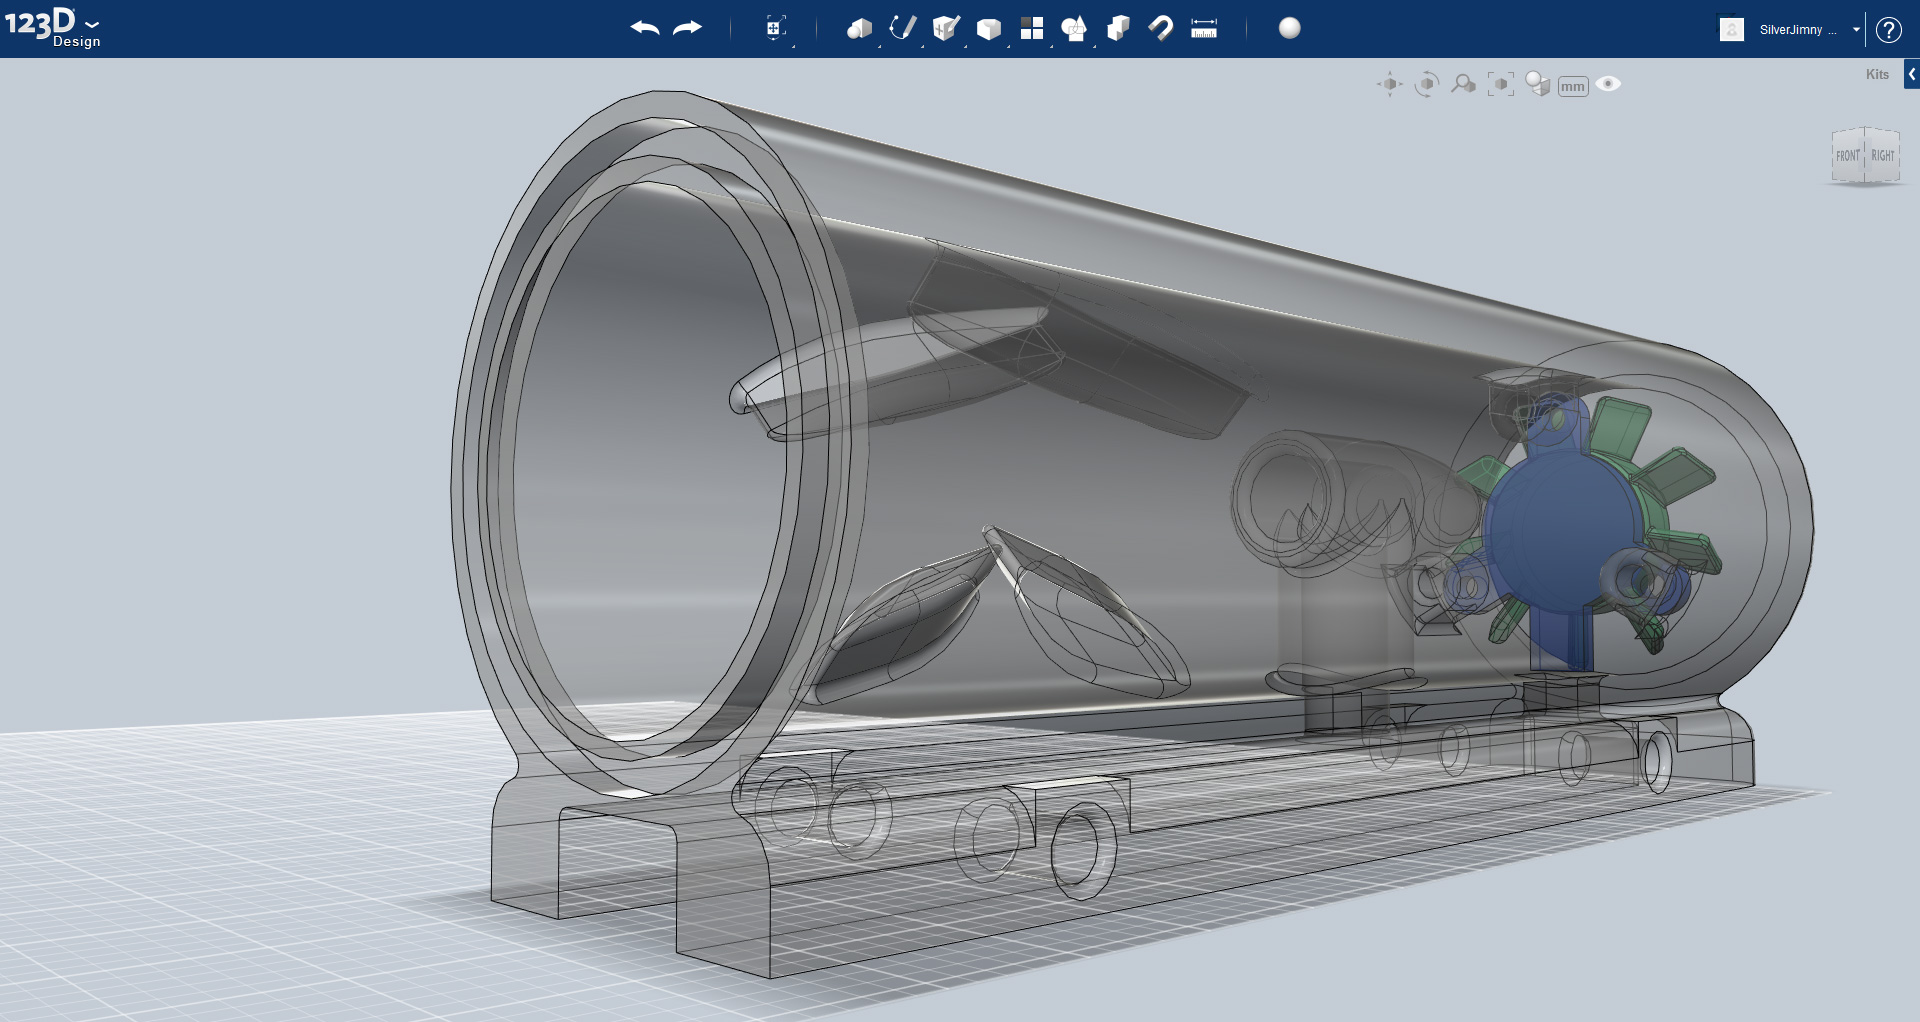
The fan is made using measurements taken directly from the real-world fan itself. You can see in the first image how the model is built, starting with the fins and centre hub, all the way to the brackets and their associated mounts. The longer protrusion coming out from the bottom of the fan will be used to make a channel in the fan unit through which the cables will go.
The fan needs centering inside the tube, I have set it back from the end making sure it is not too close to the mount for the element.
I have created two holes which go through the bottom support of the fan unit, and another two in the main body.. These four holes will be used to hold the tube to the base. They are created using the Combine | Subtract tools.
Doing Twirls
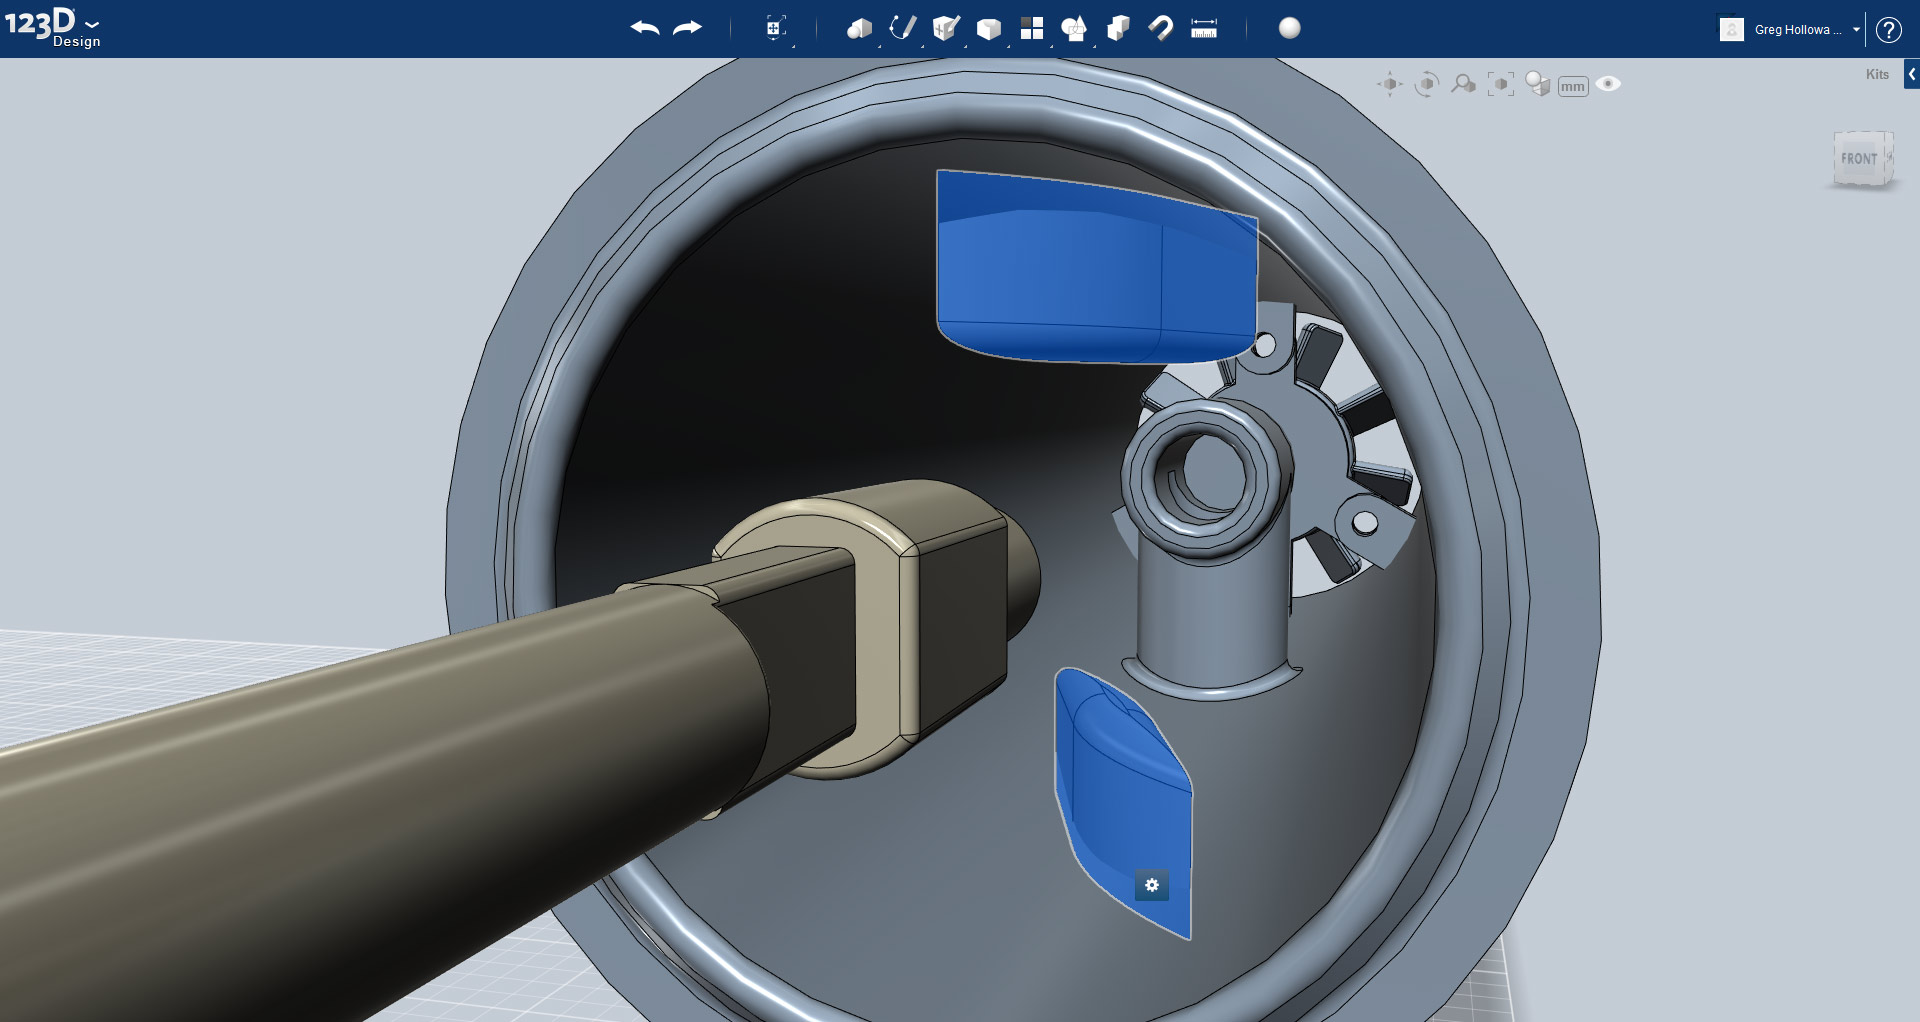
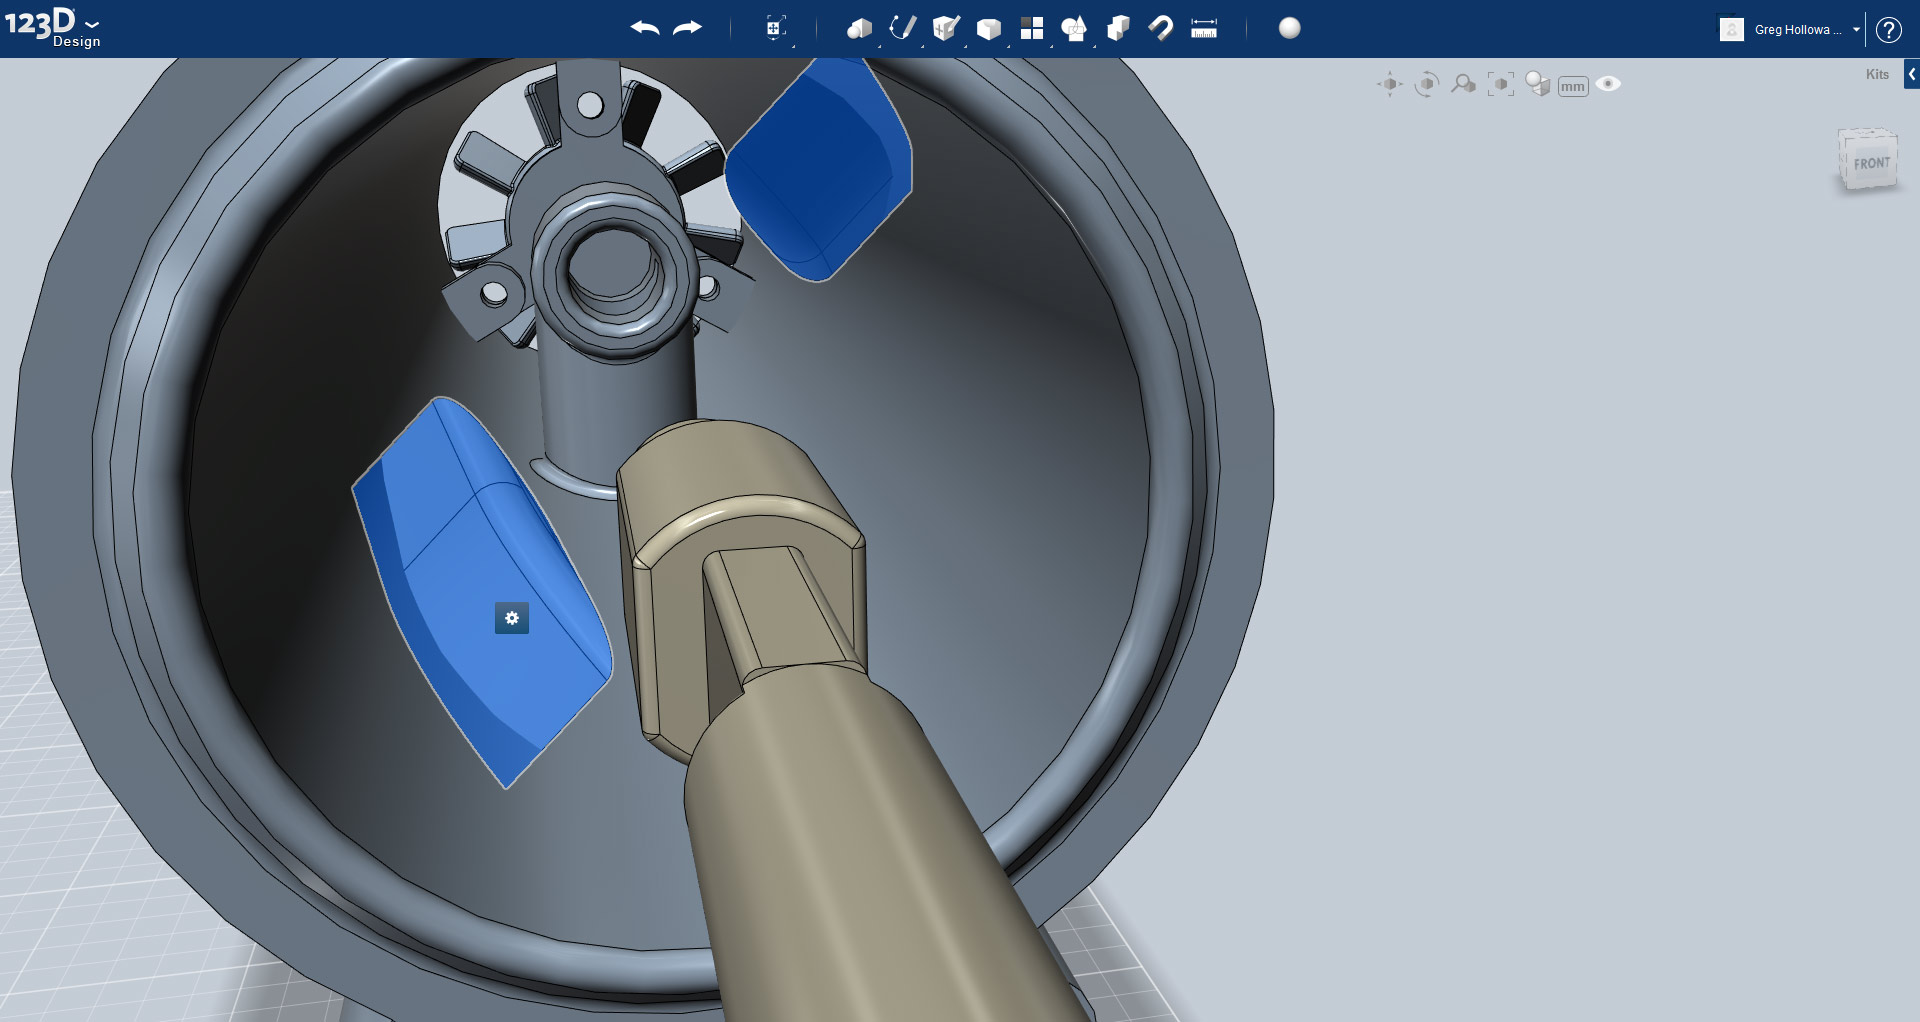
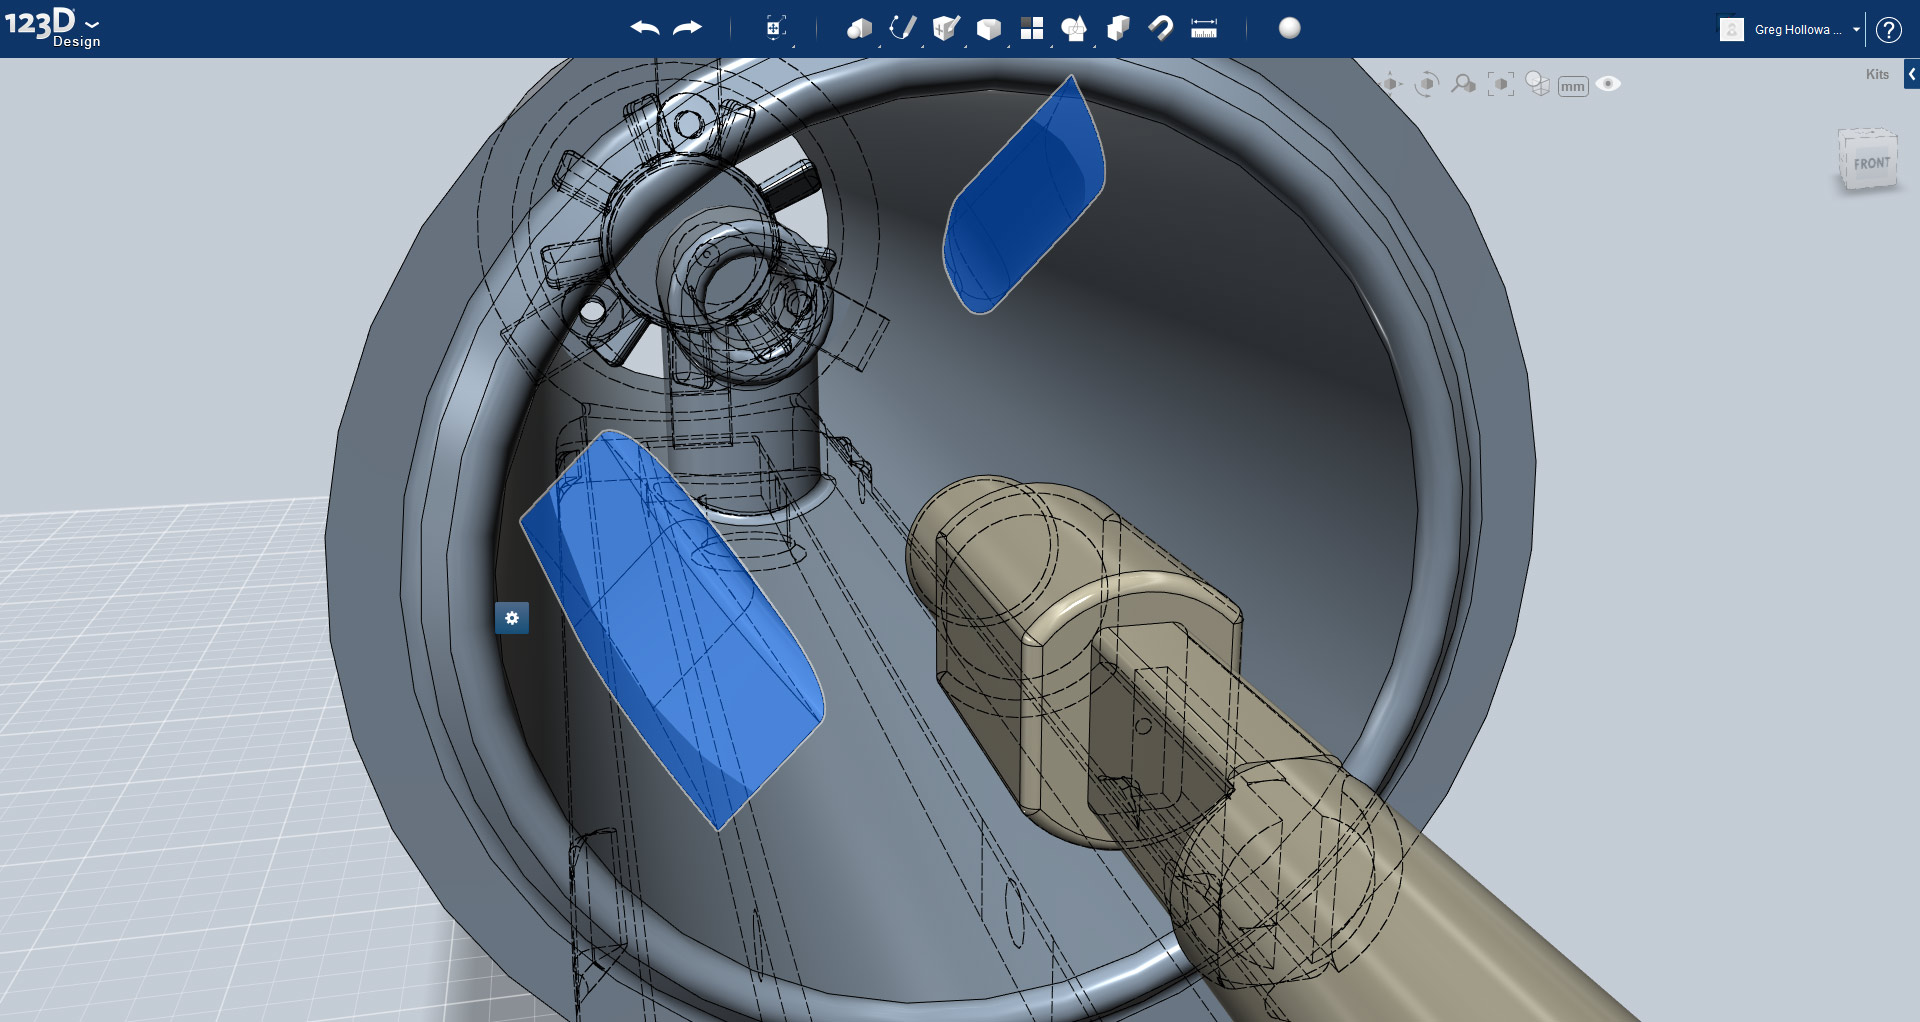
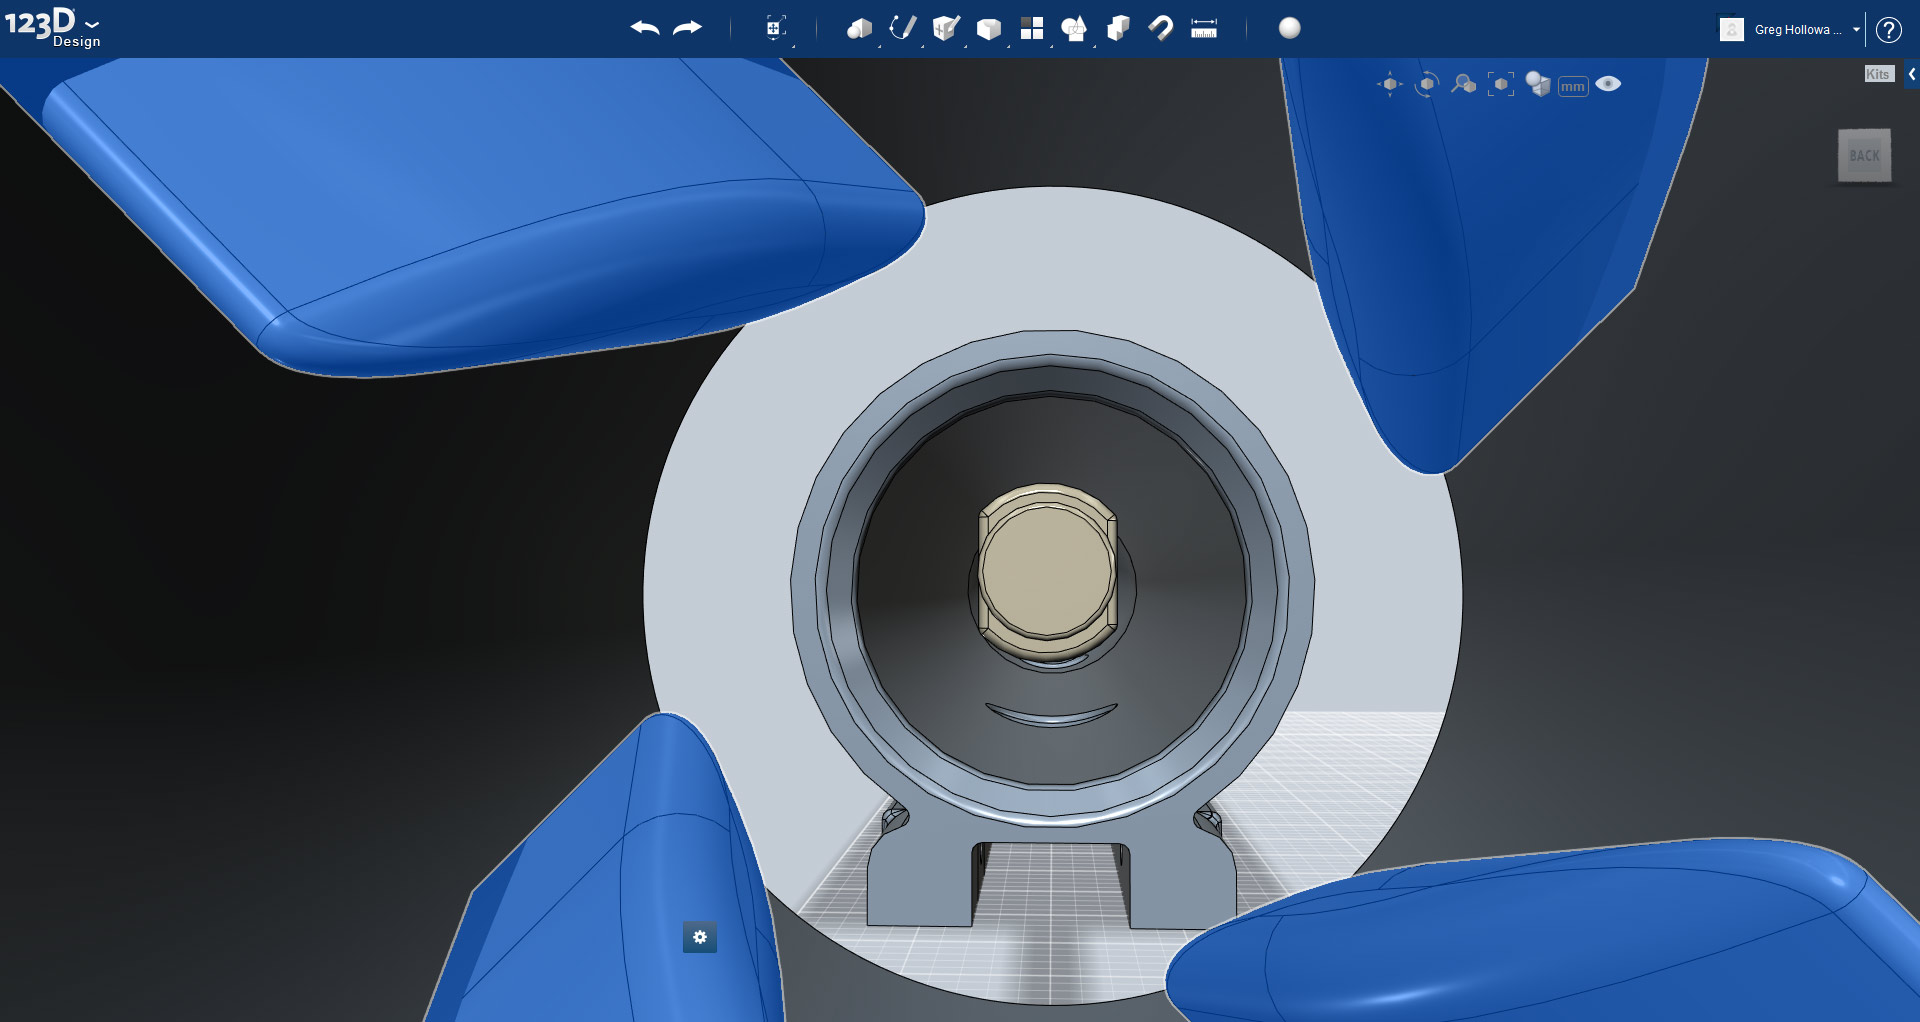
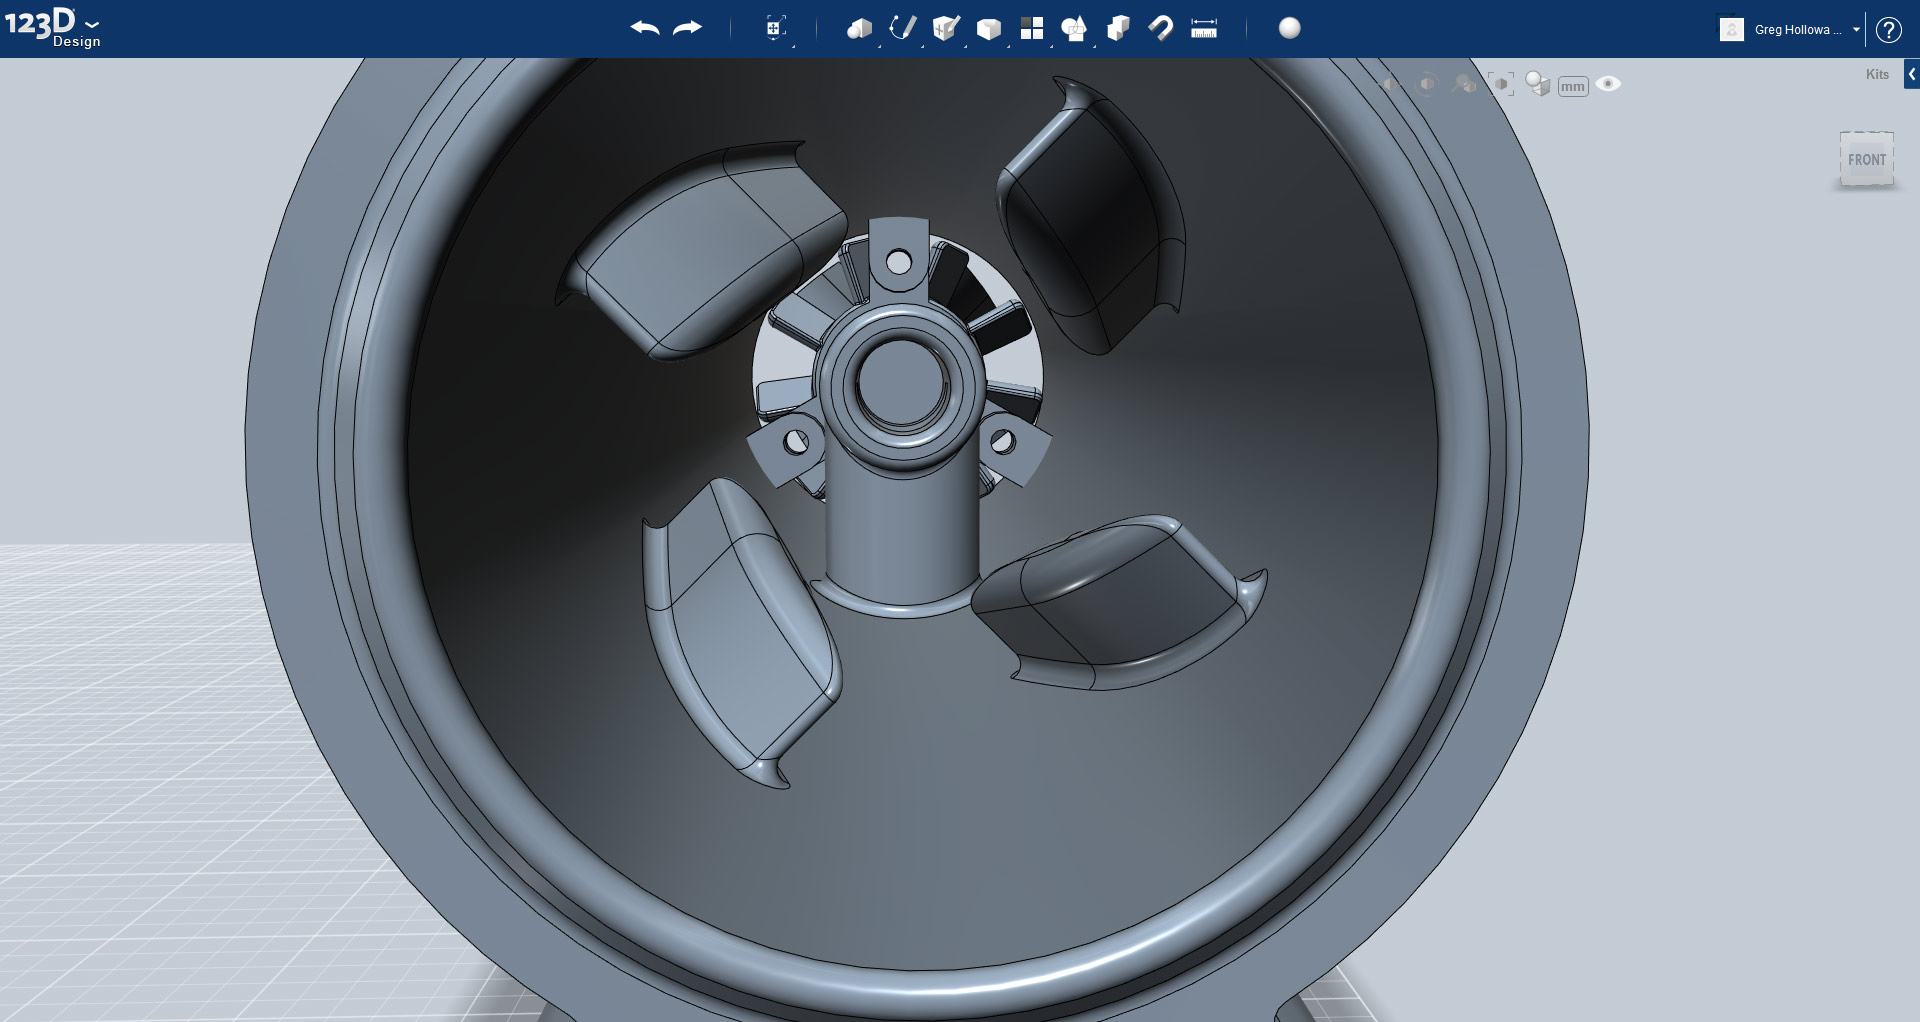
I'm no fluid dynamicist so feel free to comment on their effectiveness. Maybe I'll end up with some sort of Hilsch Vortex Tube!
Fine Tuning
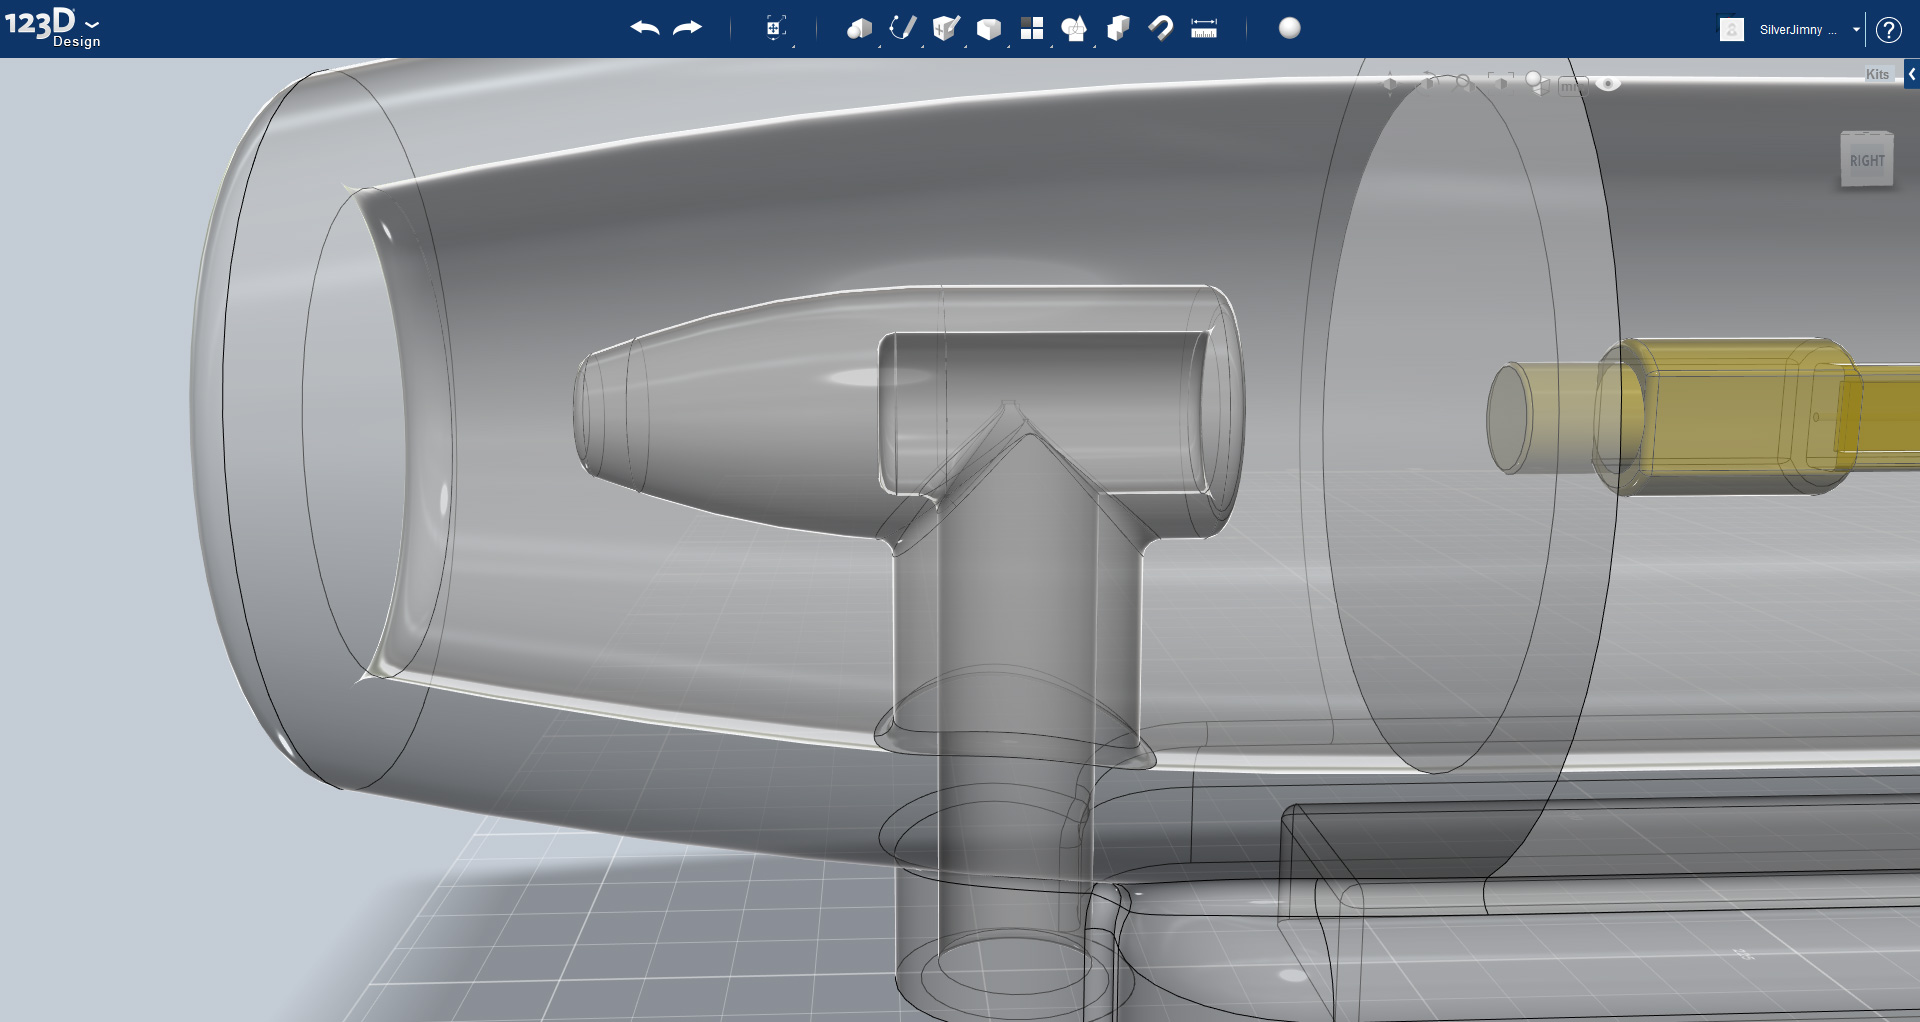
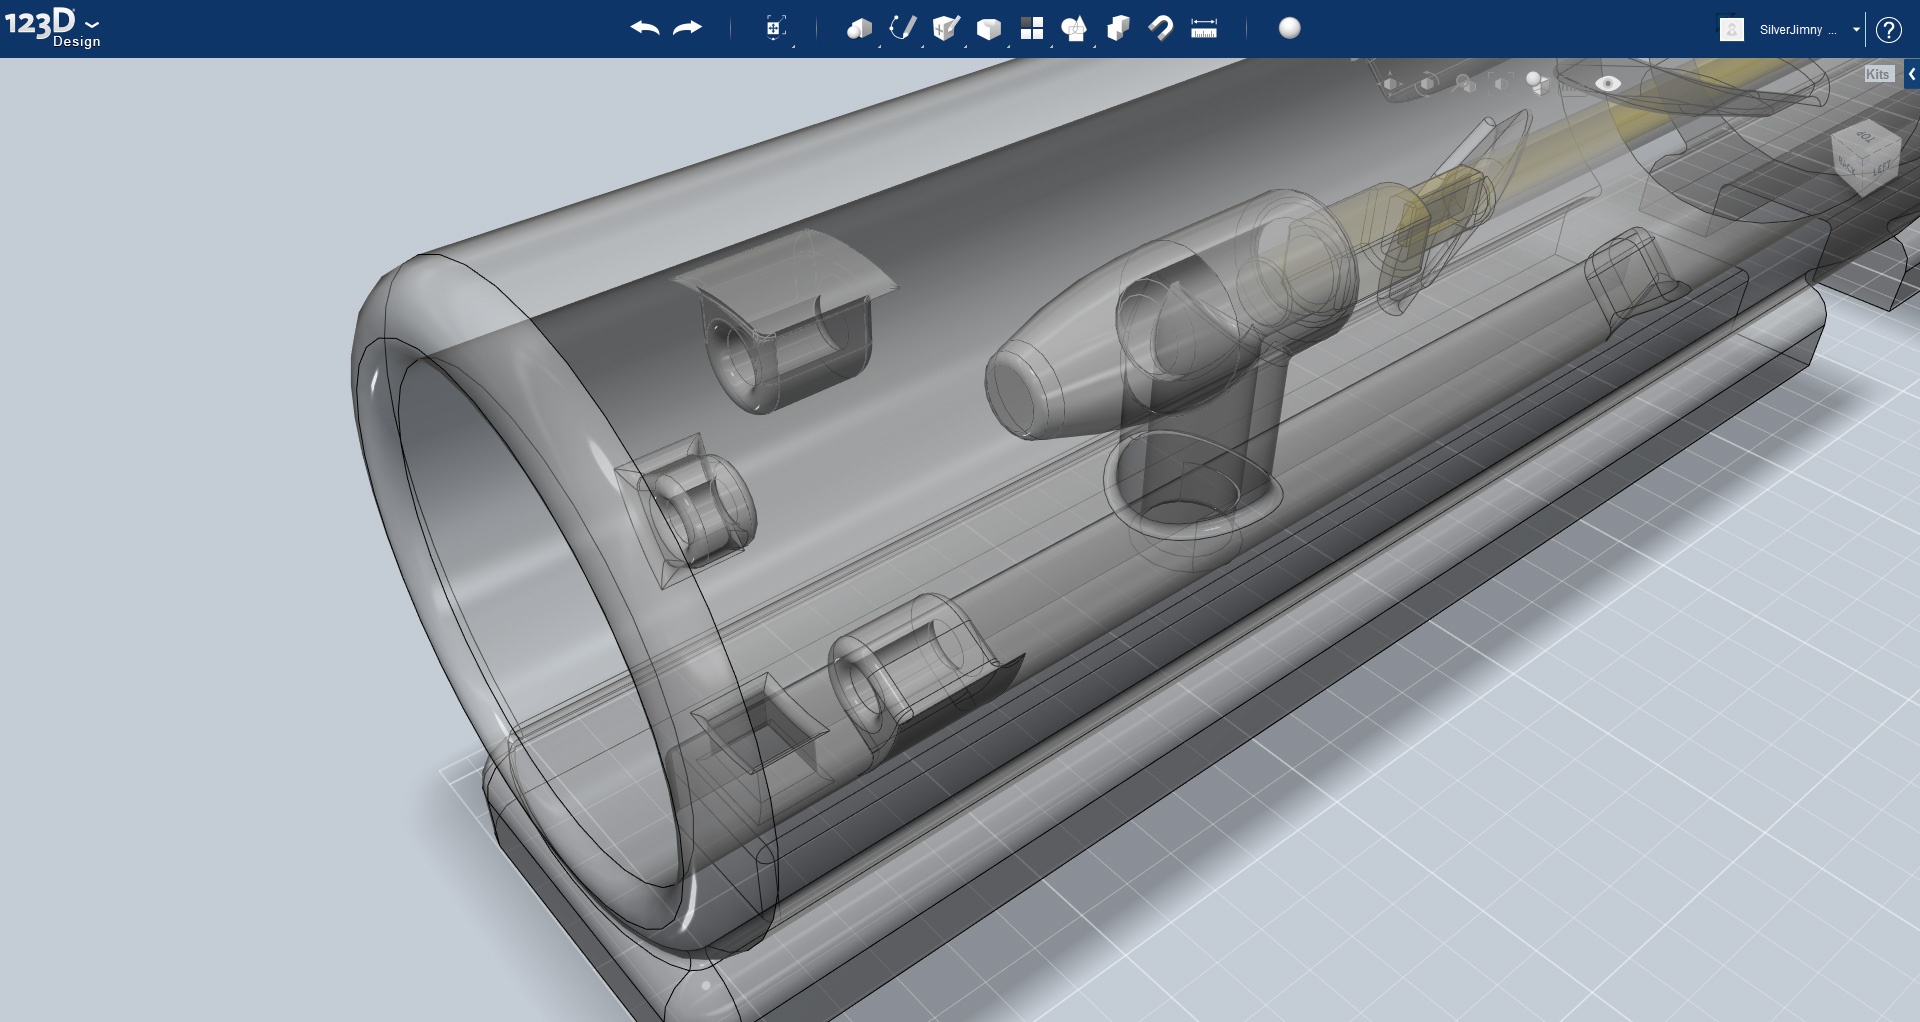
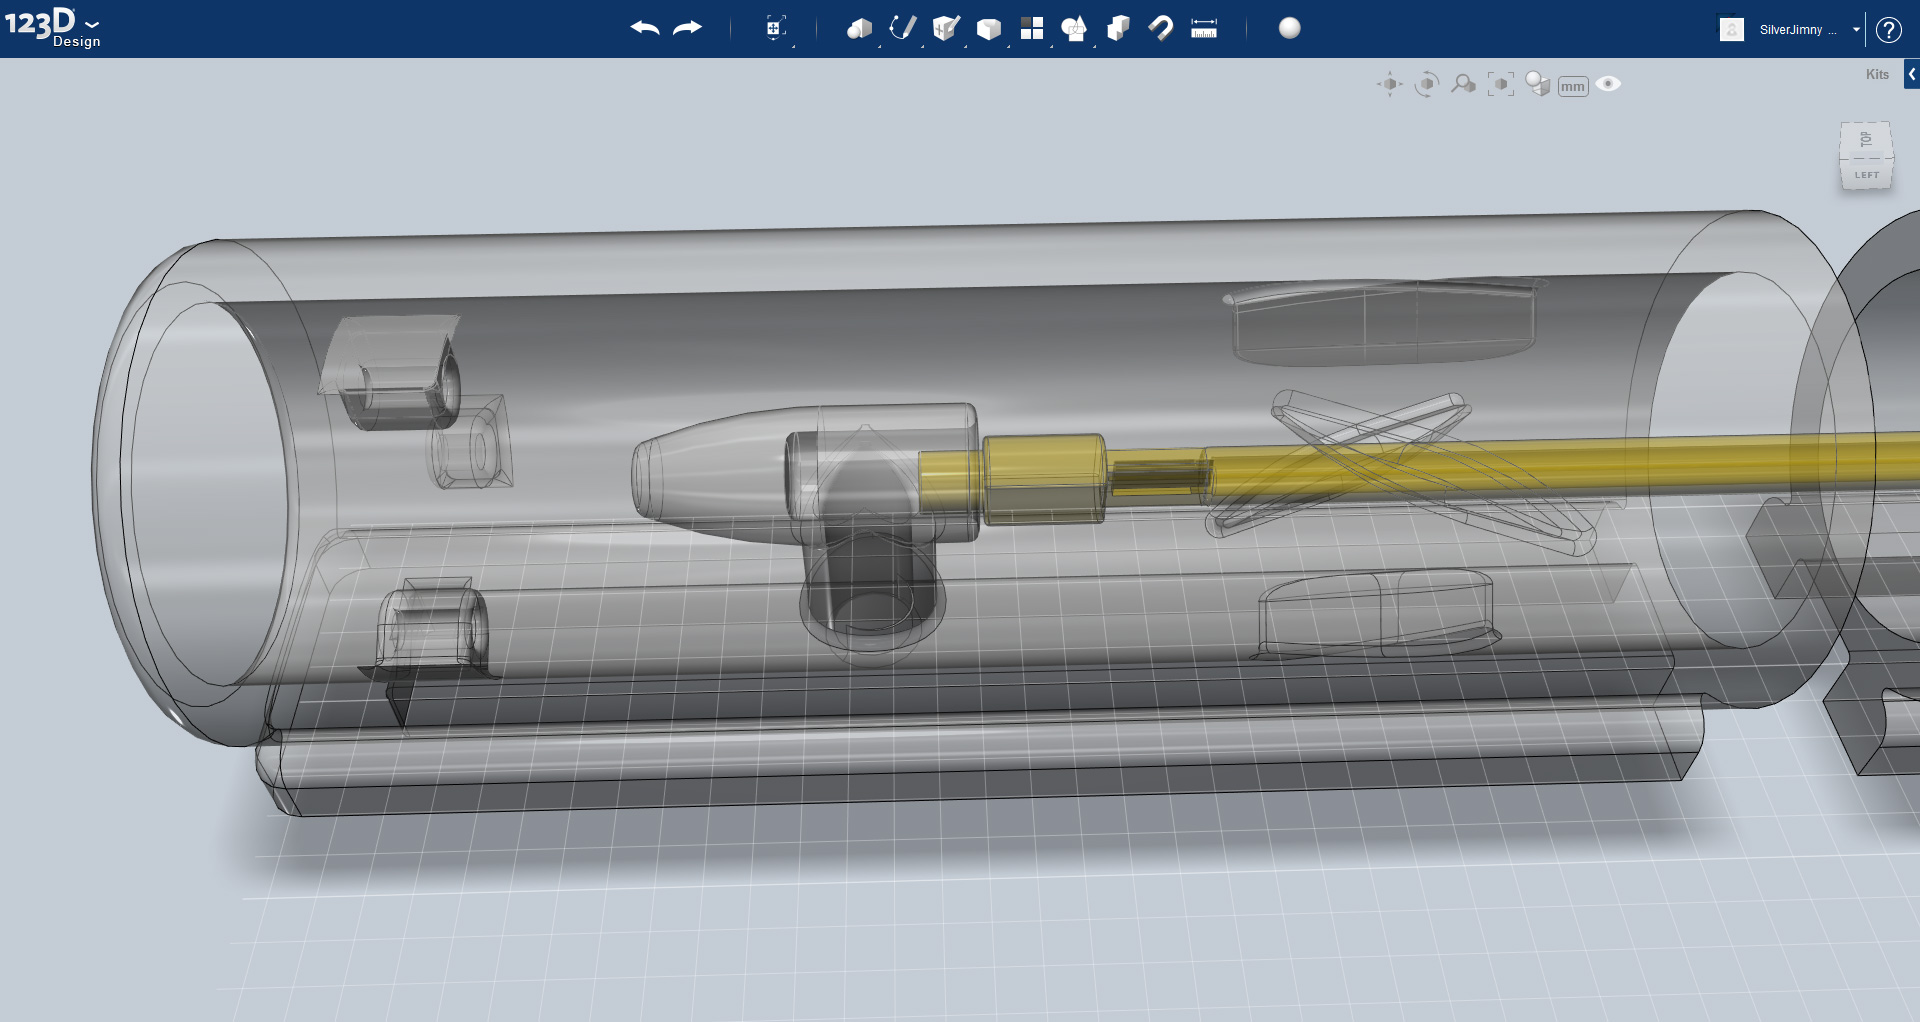
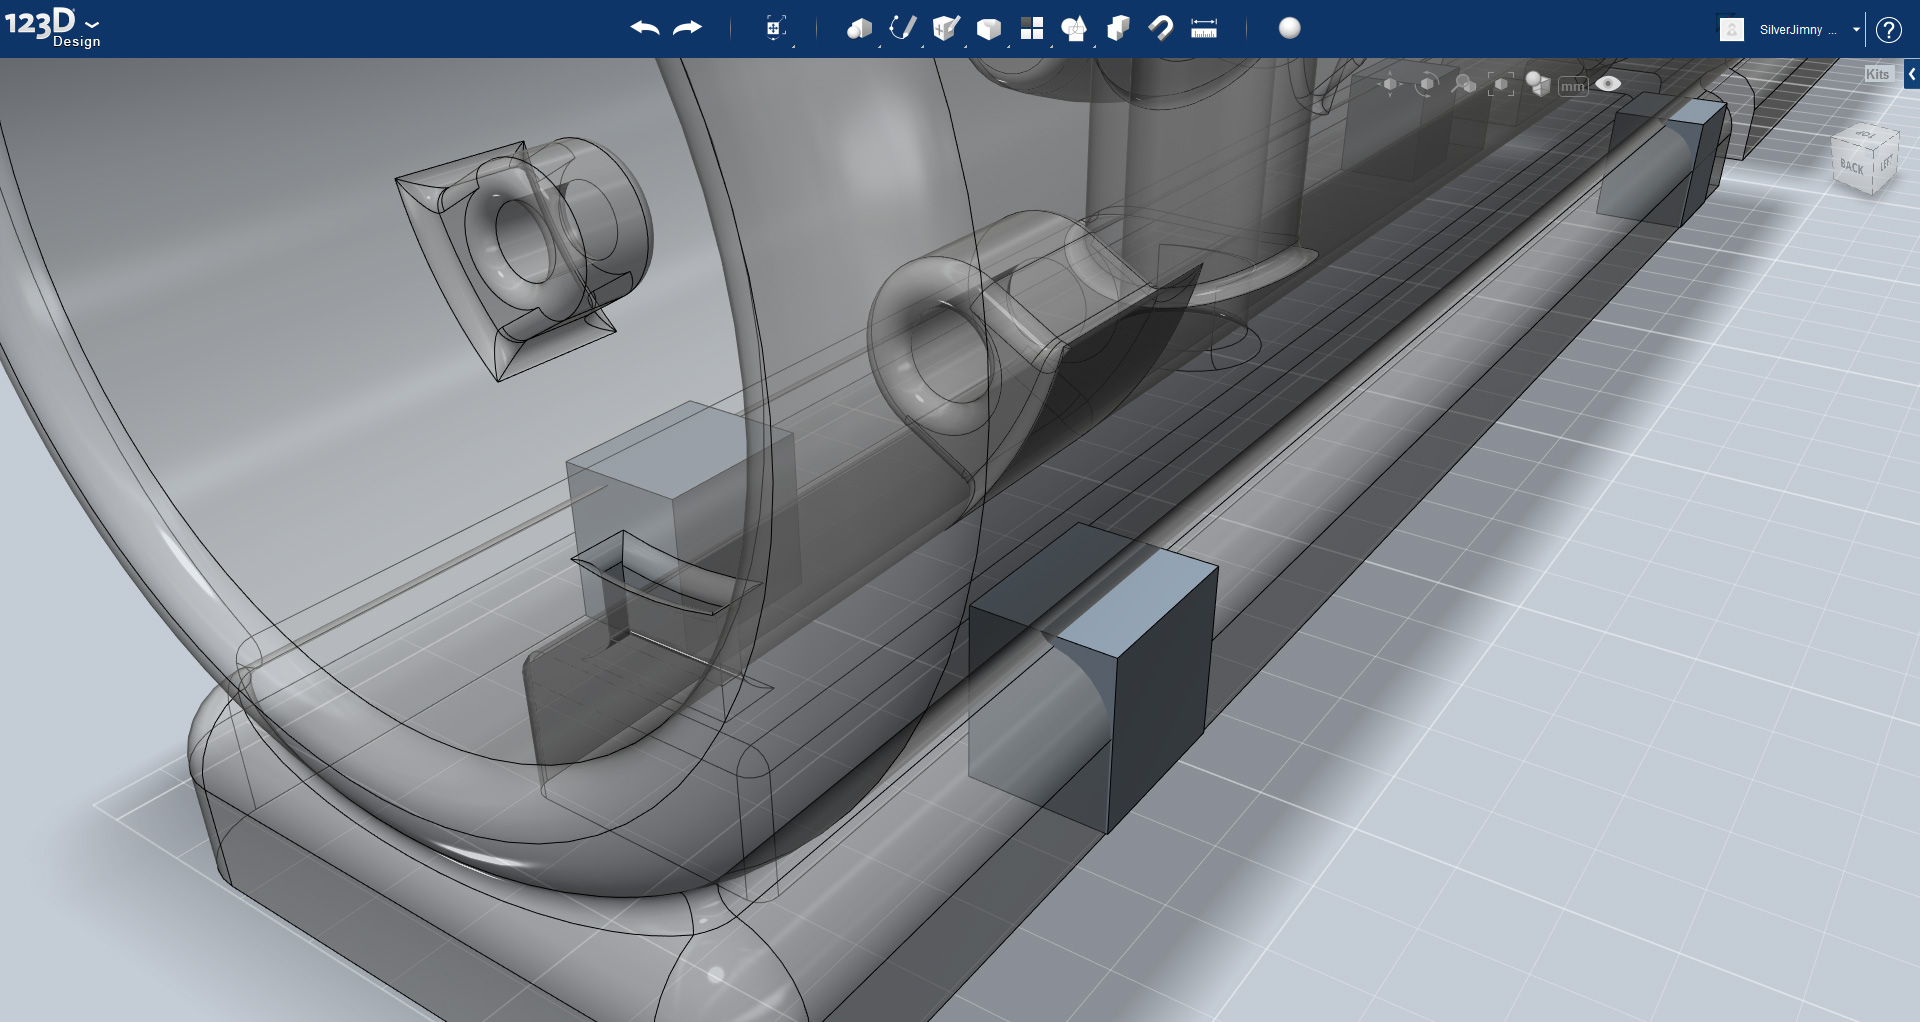
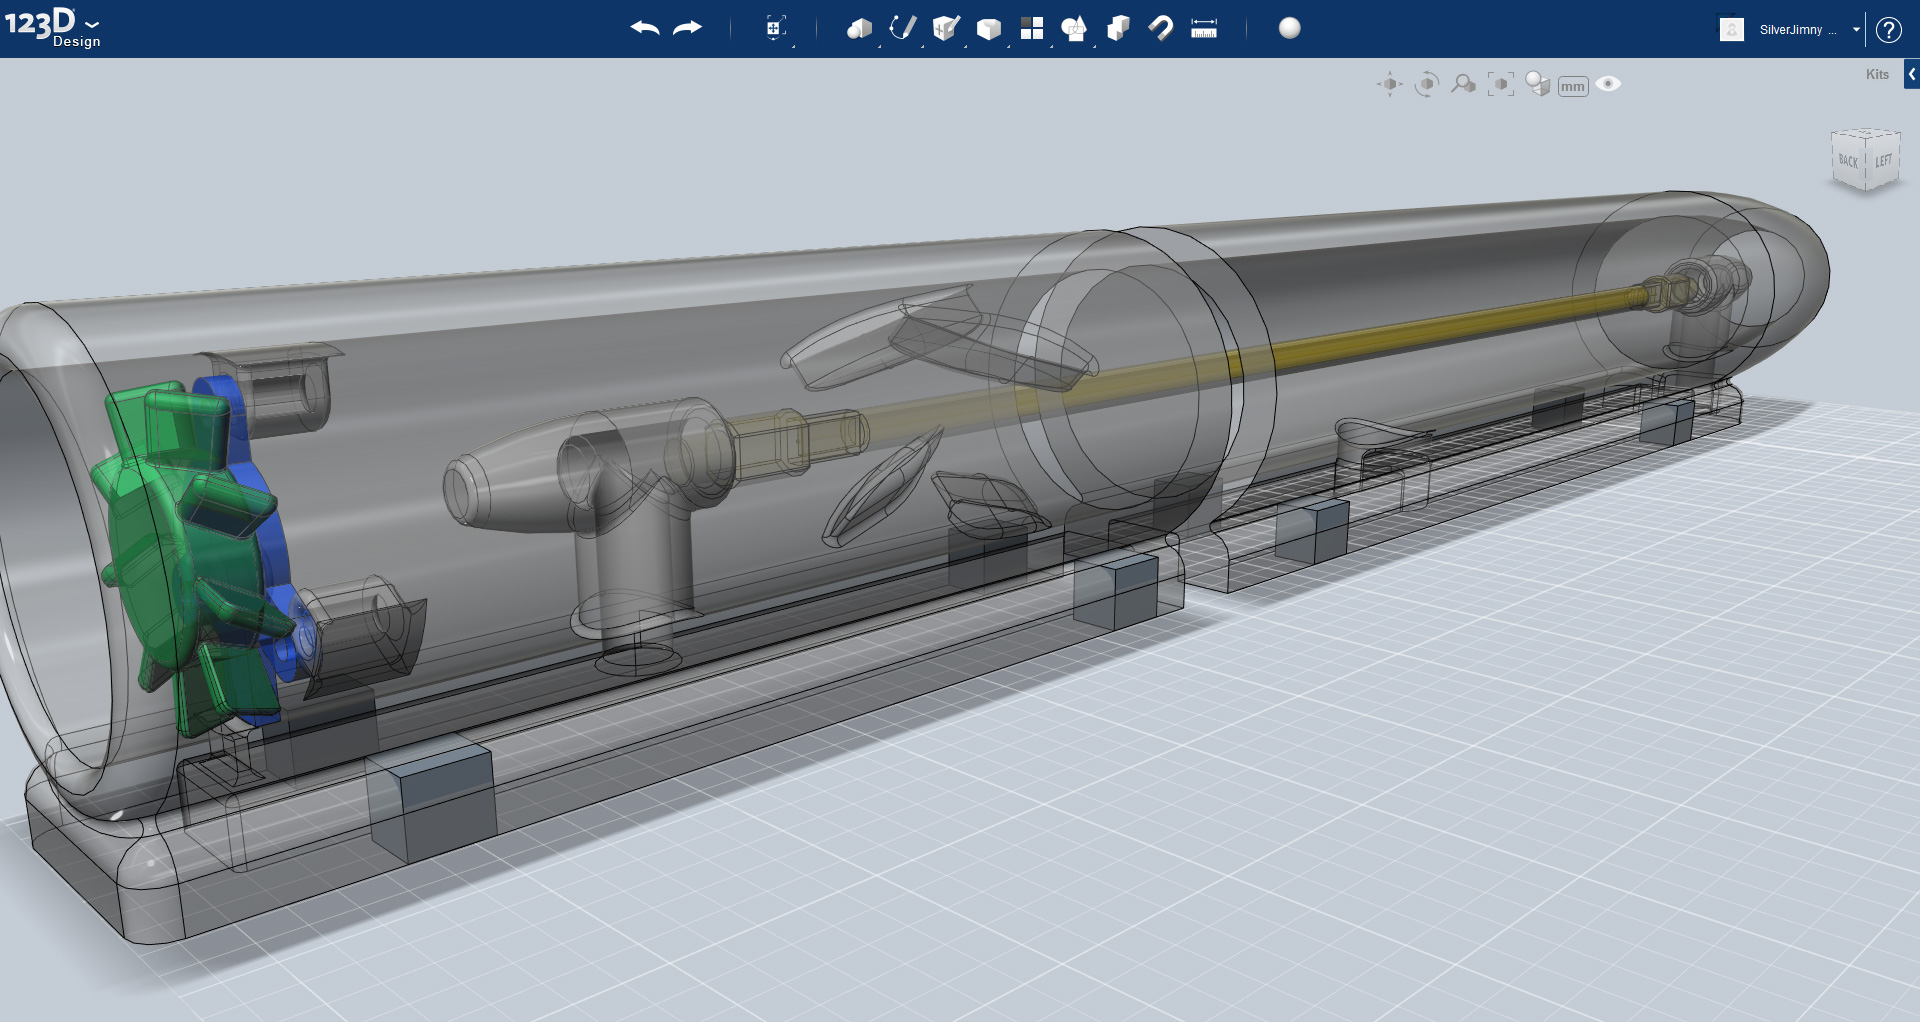
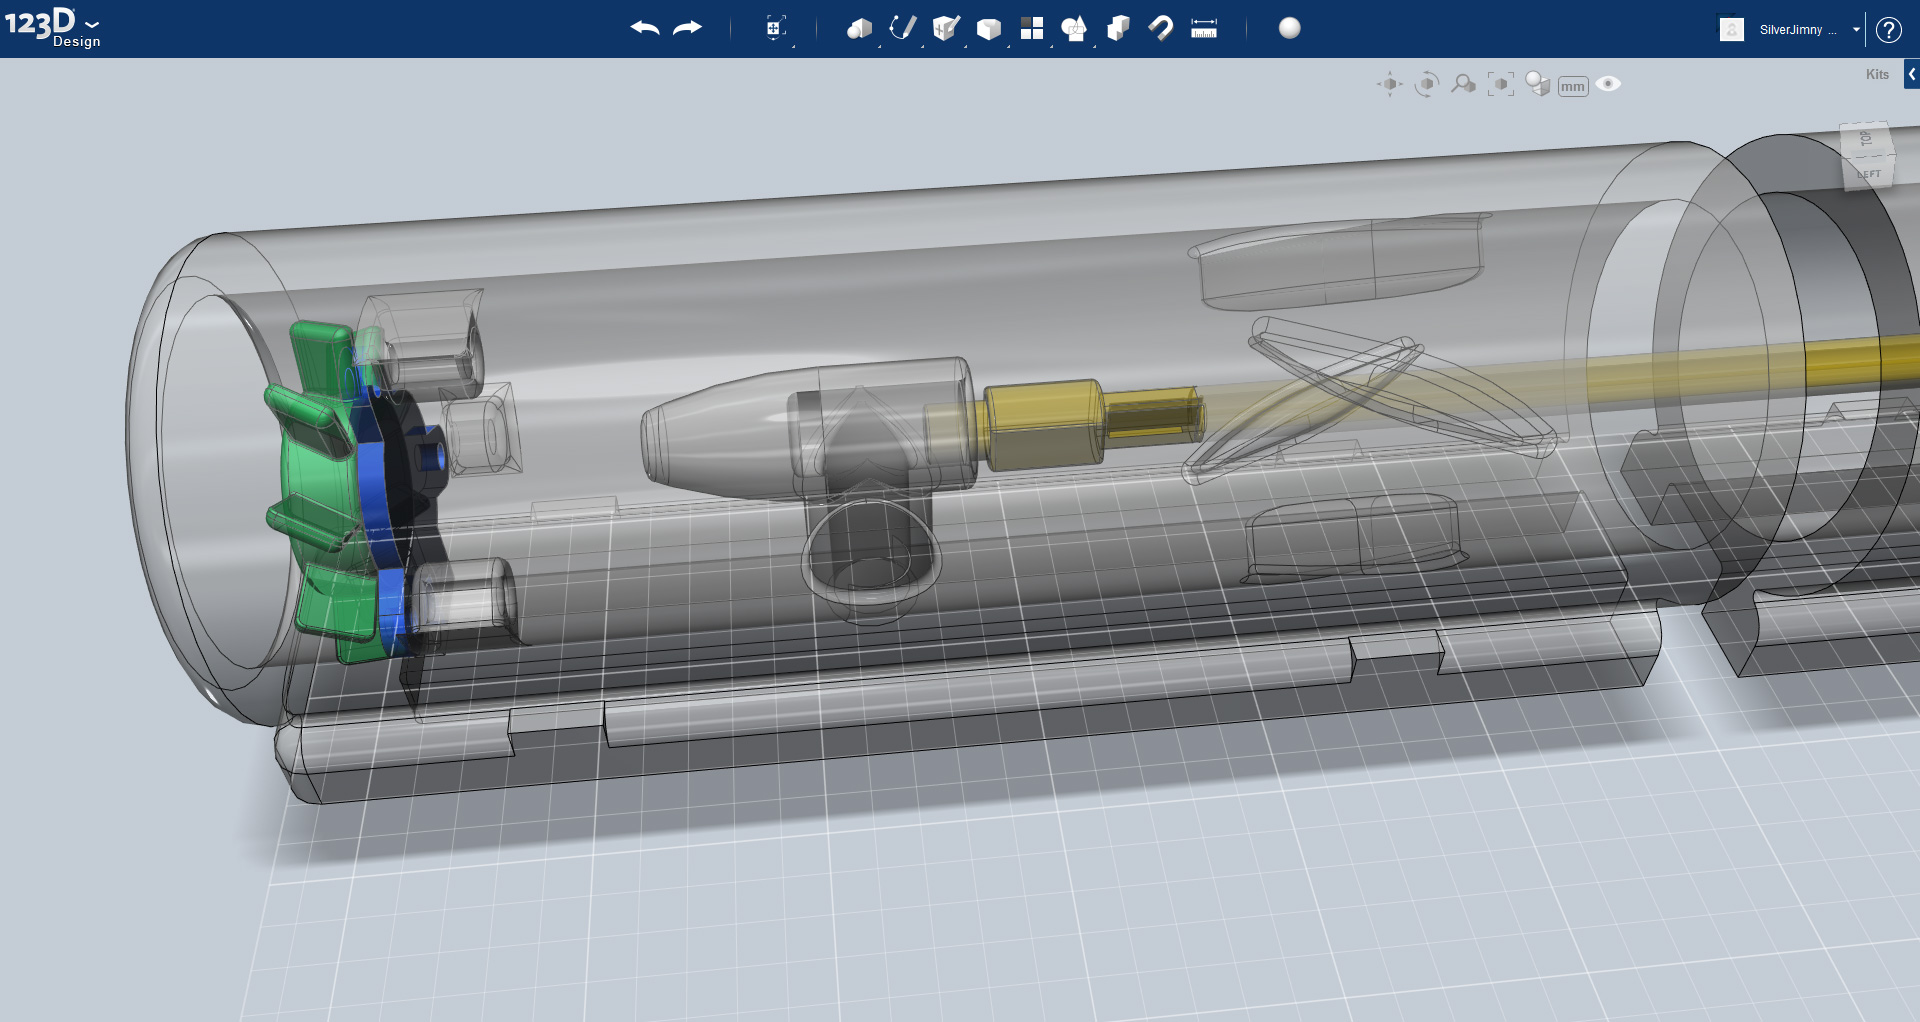
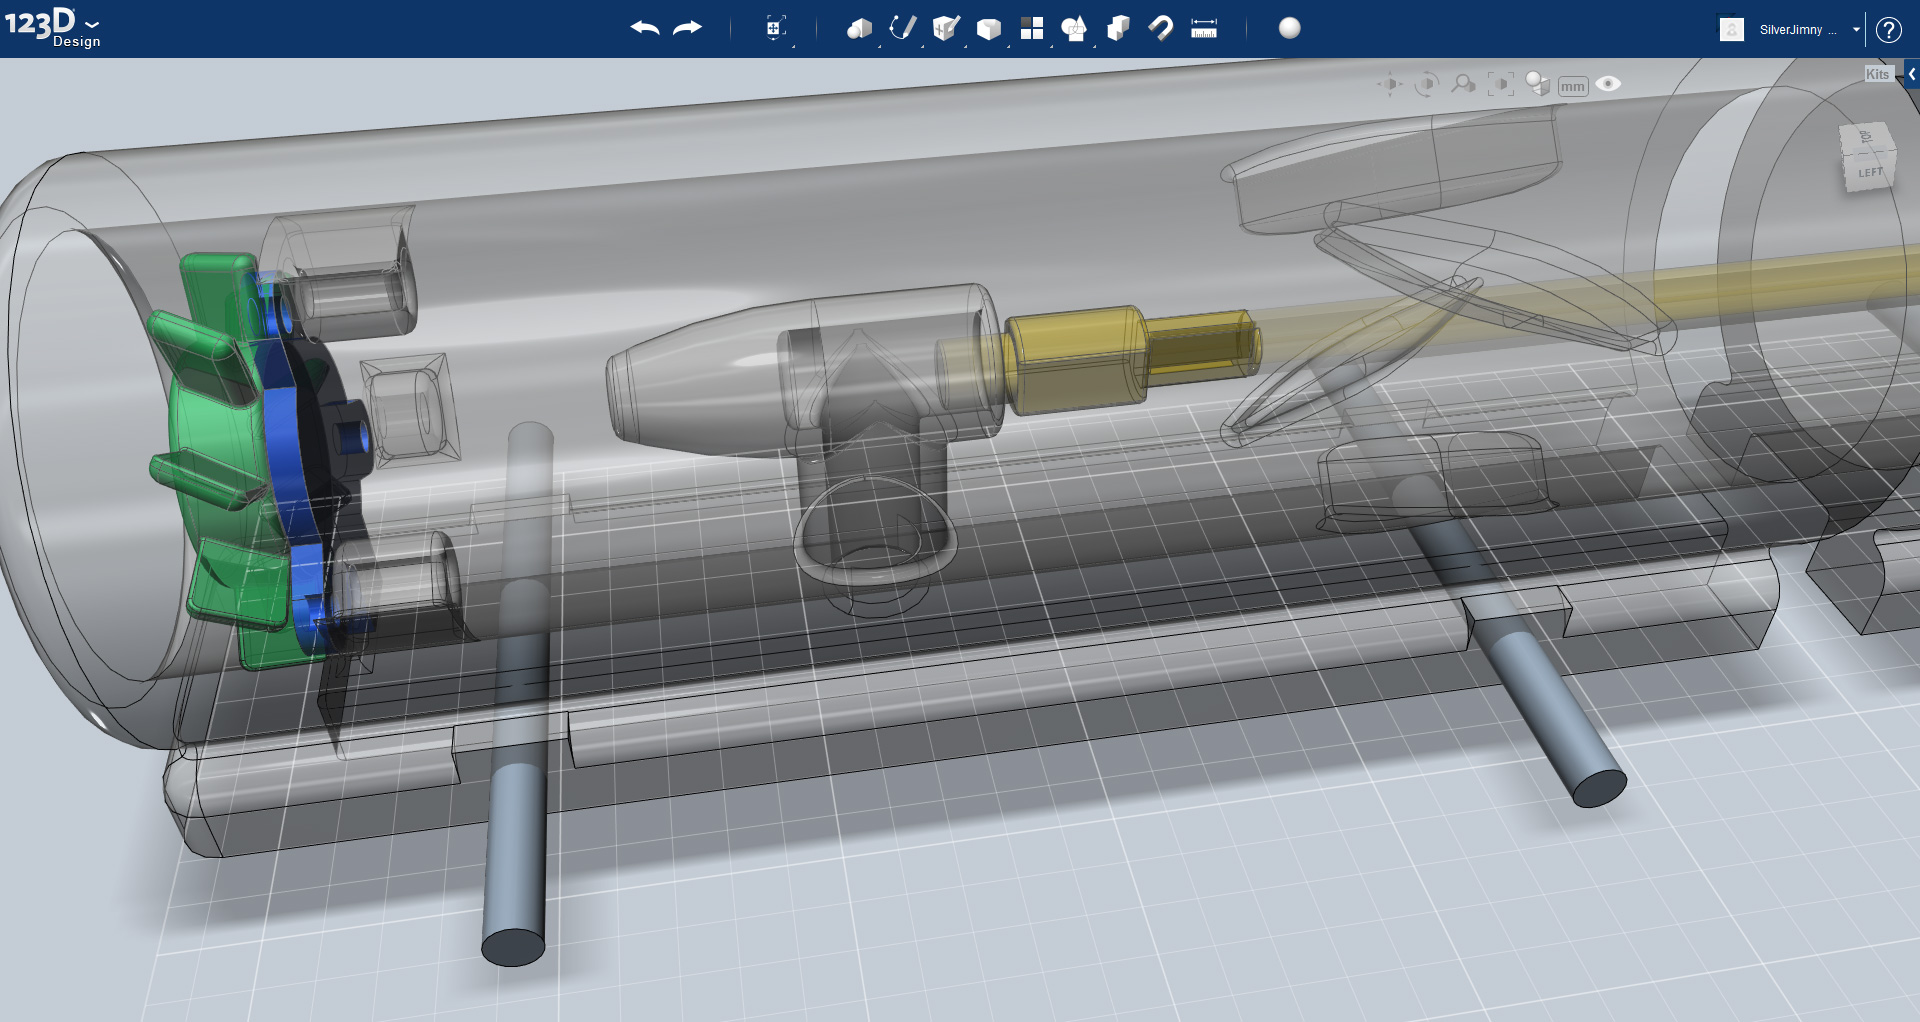
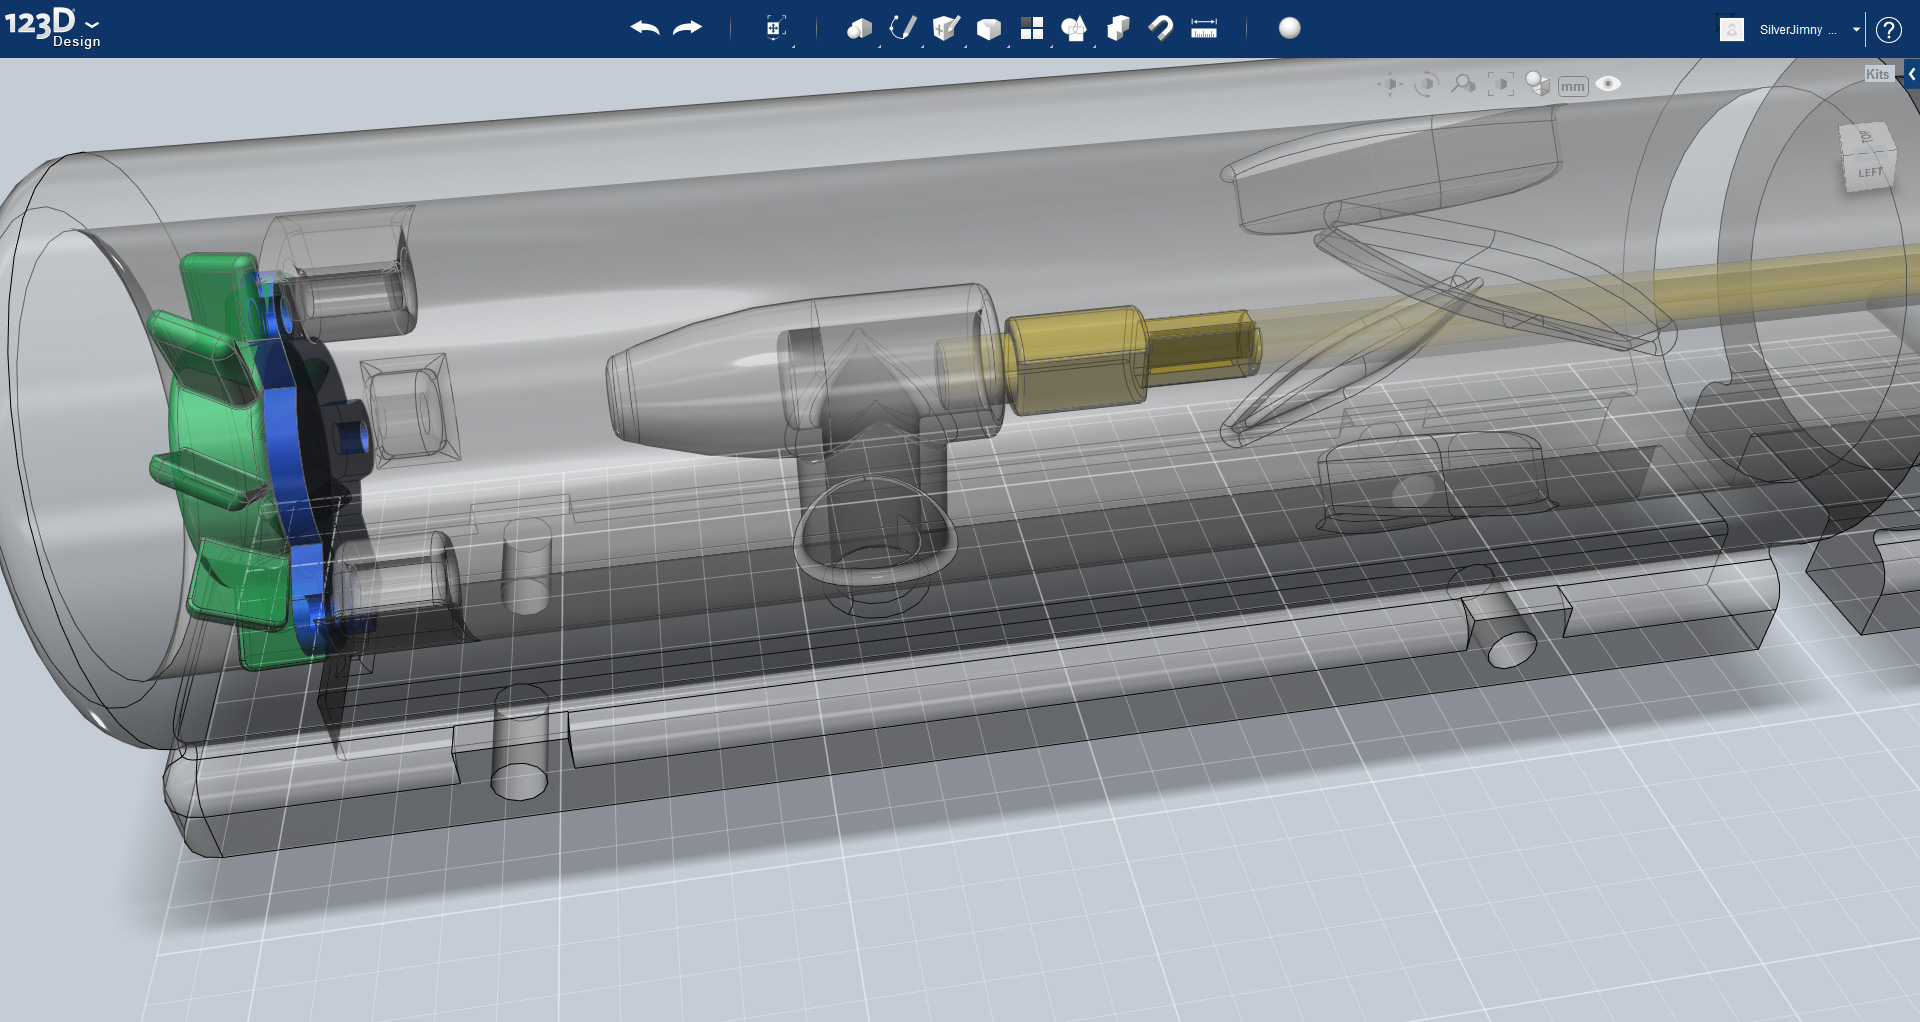
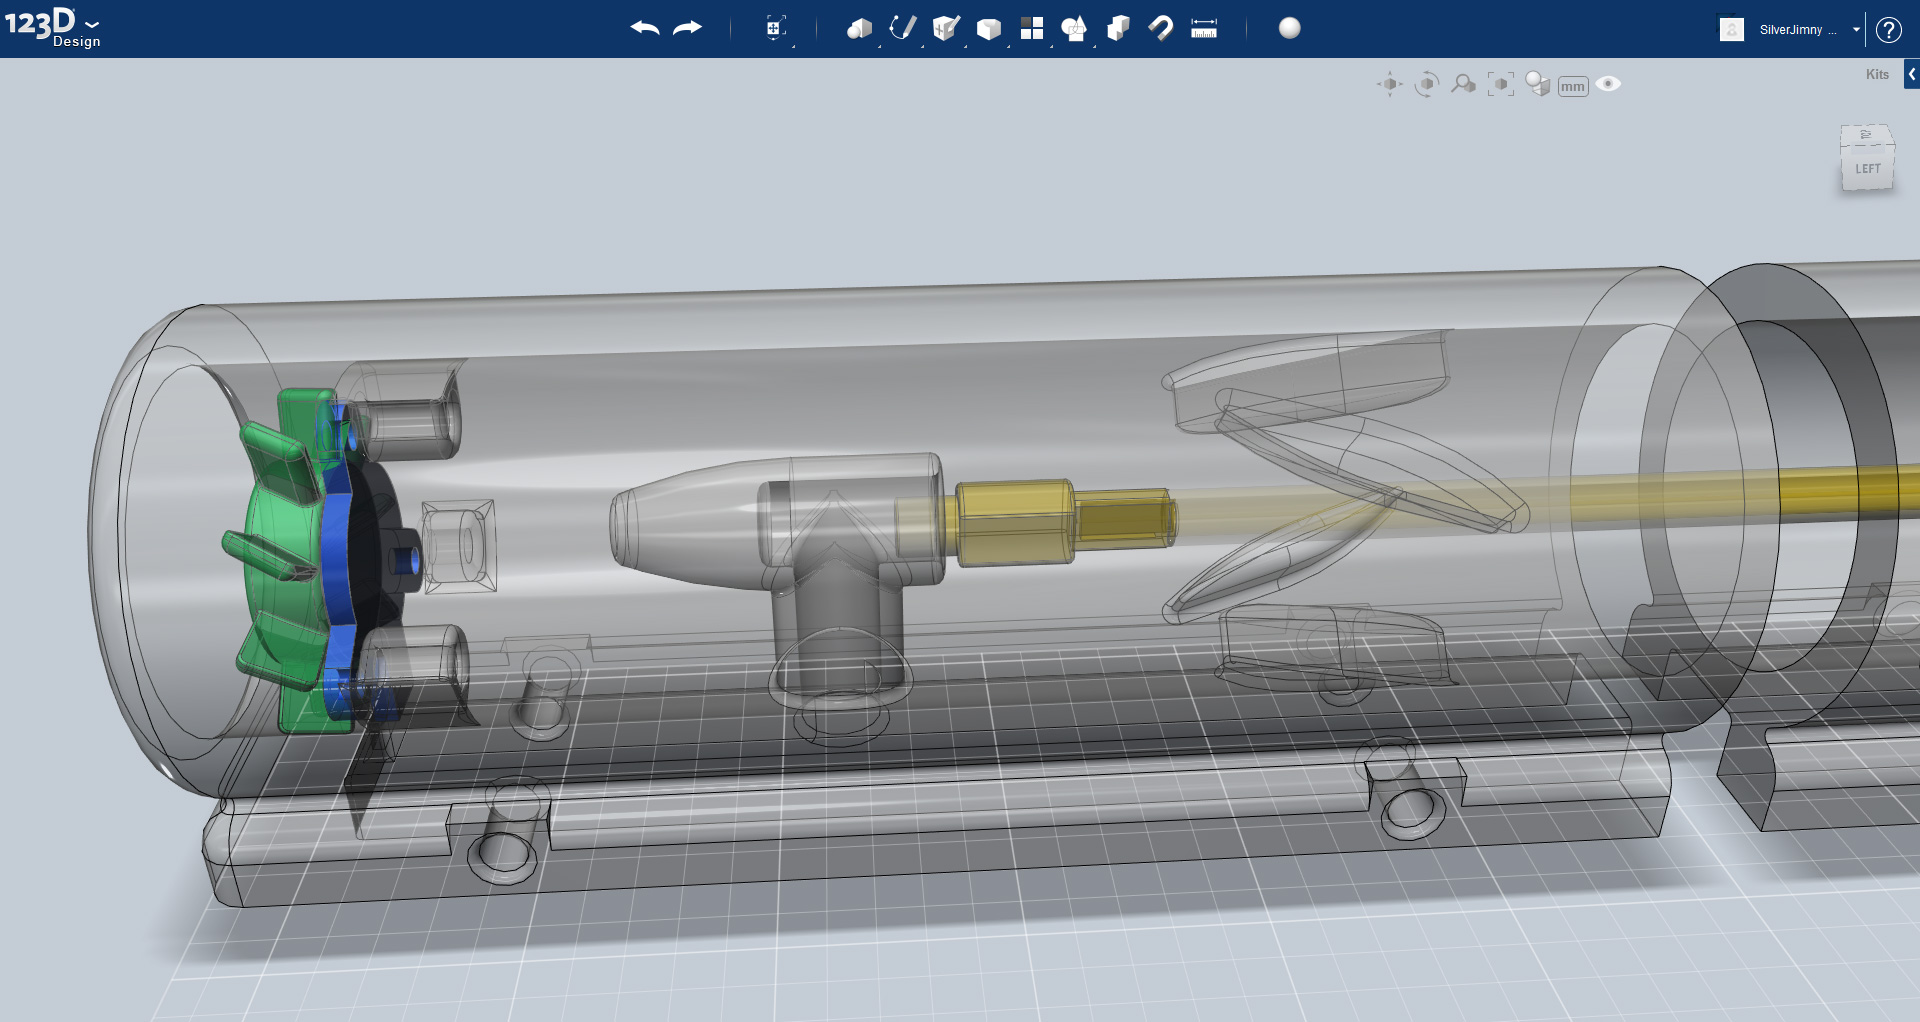
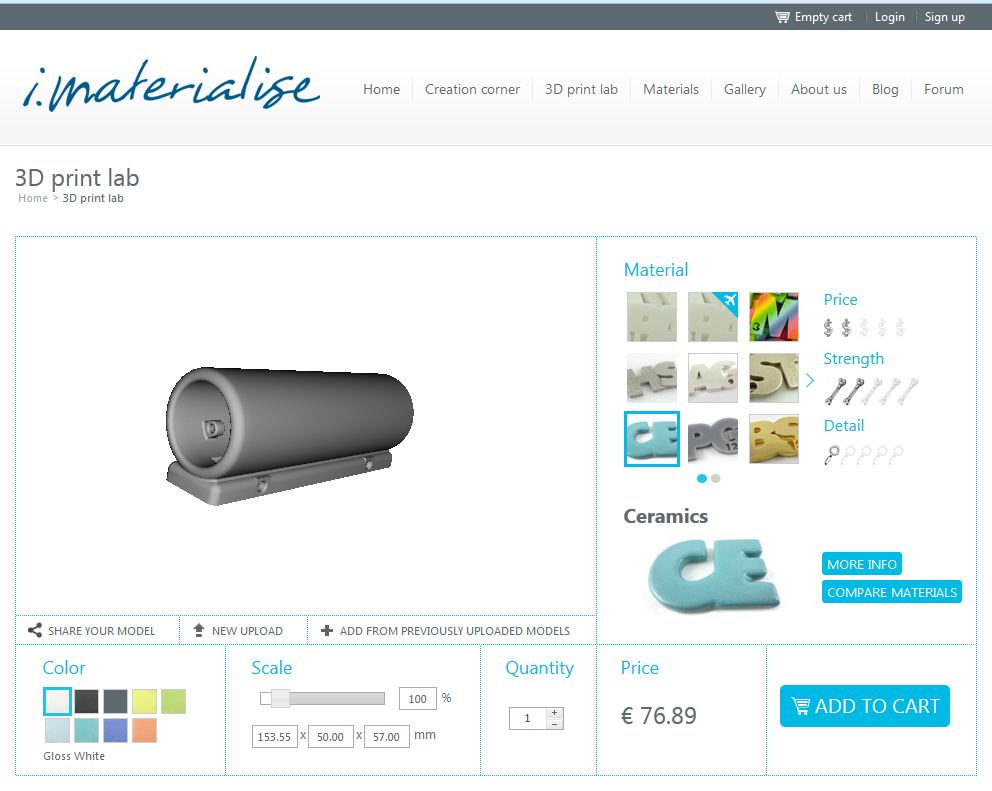
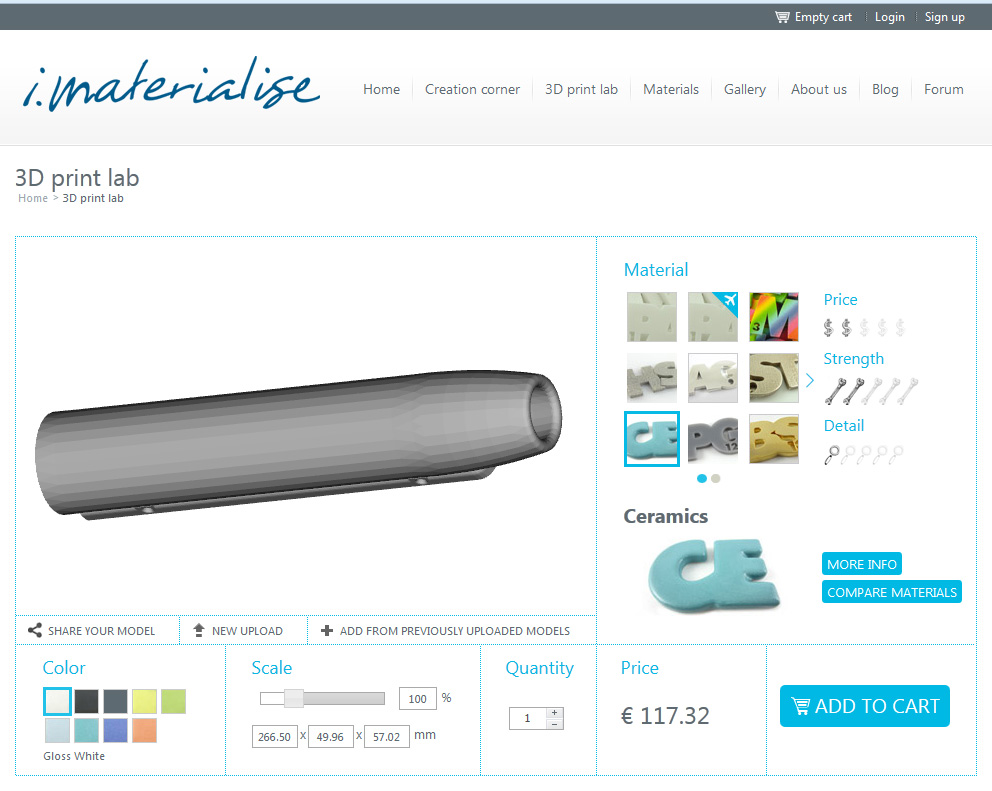
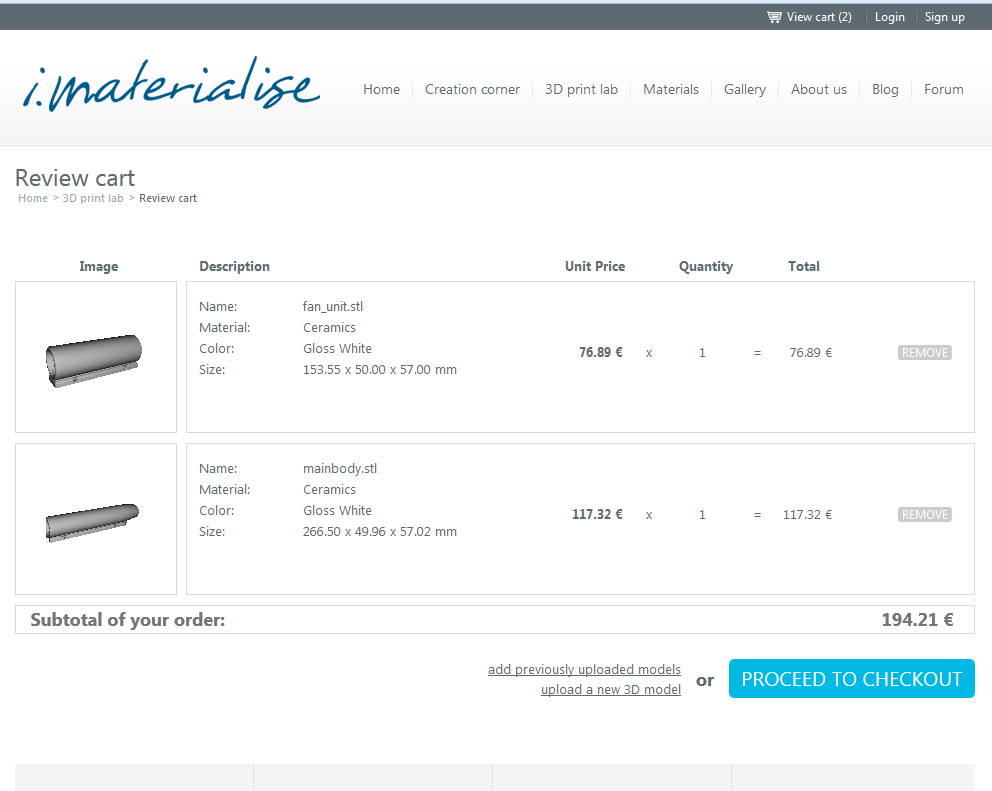
Reading through their information, and checking their specifications I came across their Design Guide. The guide gives far more information on the print capabilities than I had found before. After spending a few minutes reading through it became apparent that I would need to make some adjustments to the design. The majority of the design modifications would be for the hole sizes, clearances, and edges.
Any holes needed to be no less and 5mm, I should expect around 1.5mm additional due to the glaze layer, and that where possible, any corners, edges or joins should have a fillet of 2mm or more.
The plans are finished, adjustments have been made, and mistakes corrected. The Heat Shrinker is ready, and I would be happy to get it printed, but for the moment the costs are too high. So the Heat Shrinker will wait have to wait until another day......