Terraria Lunar Pillars Art
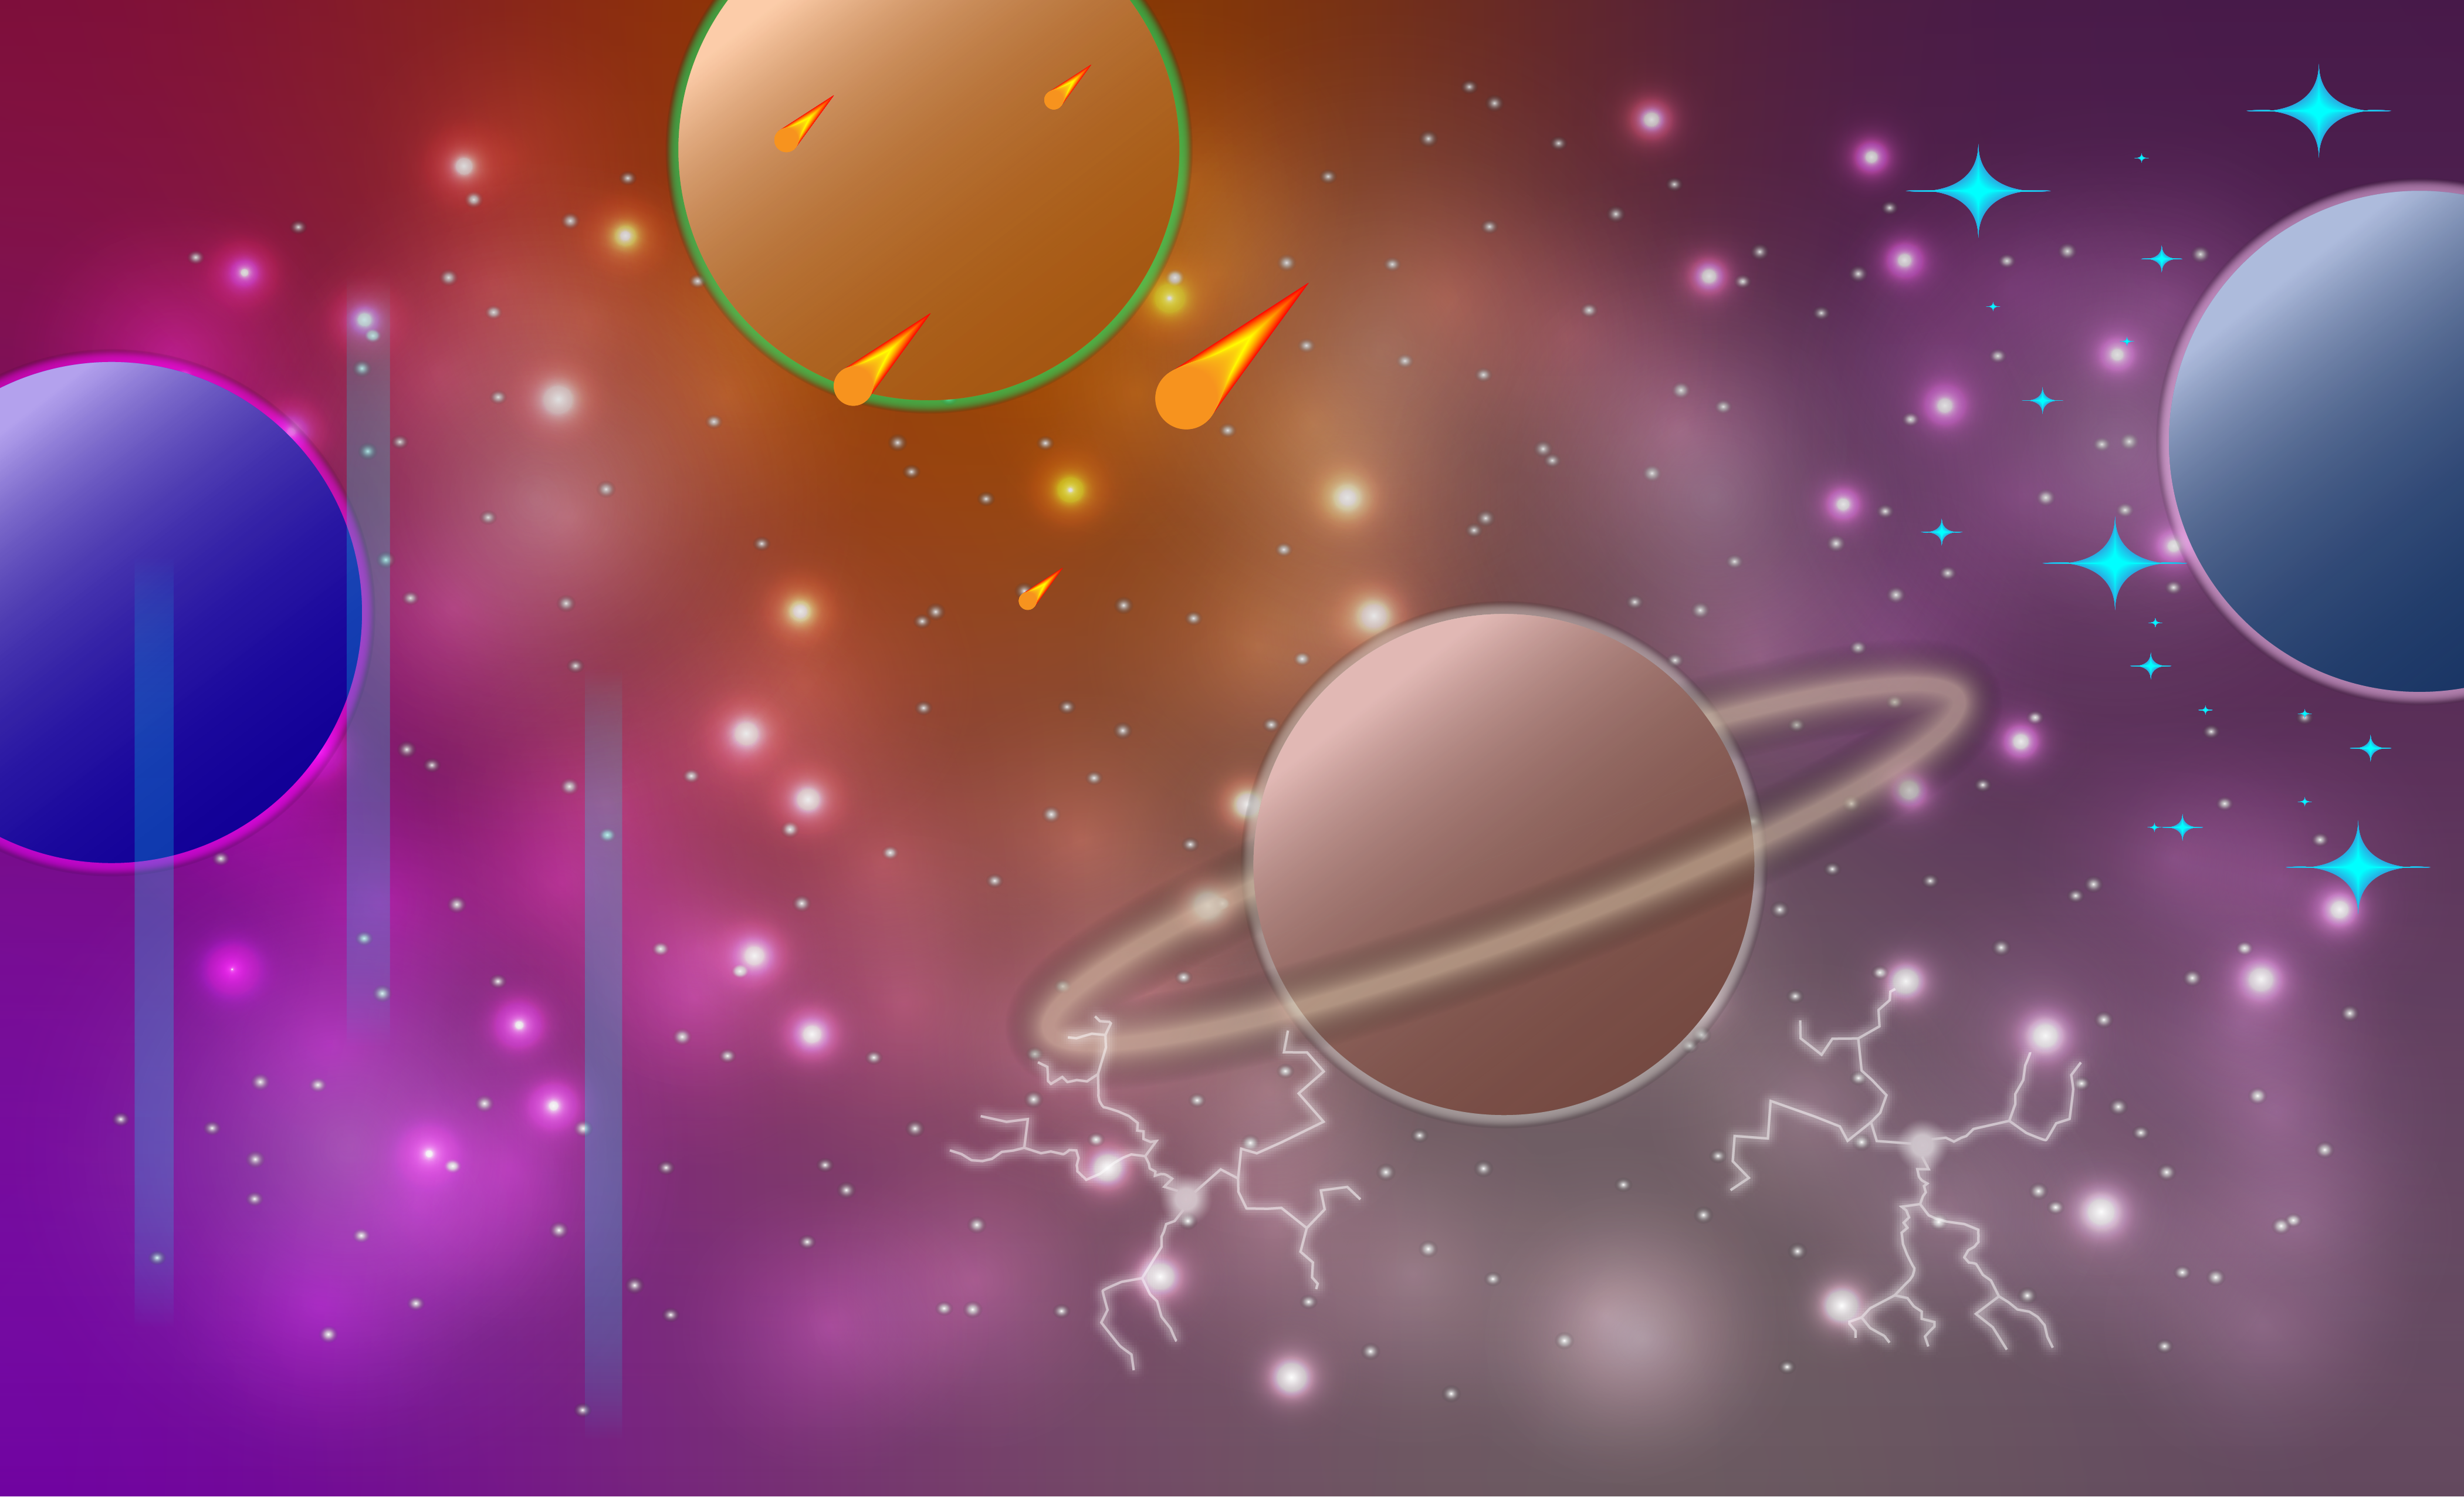
This is fan art of the terraria lunar pillar backgrounds. There's a normal version and a pixelated version which fits better with how pixelated terraria is. This is a good project for people who like terraria, or for anyone looking to make any kind of space background
Supplies
Adobe illustrator
Creating the Background Gradiant
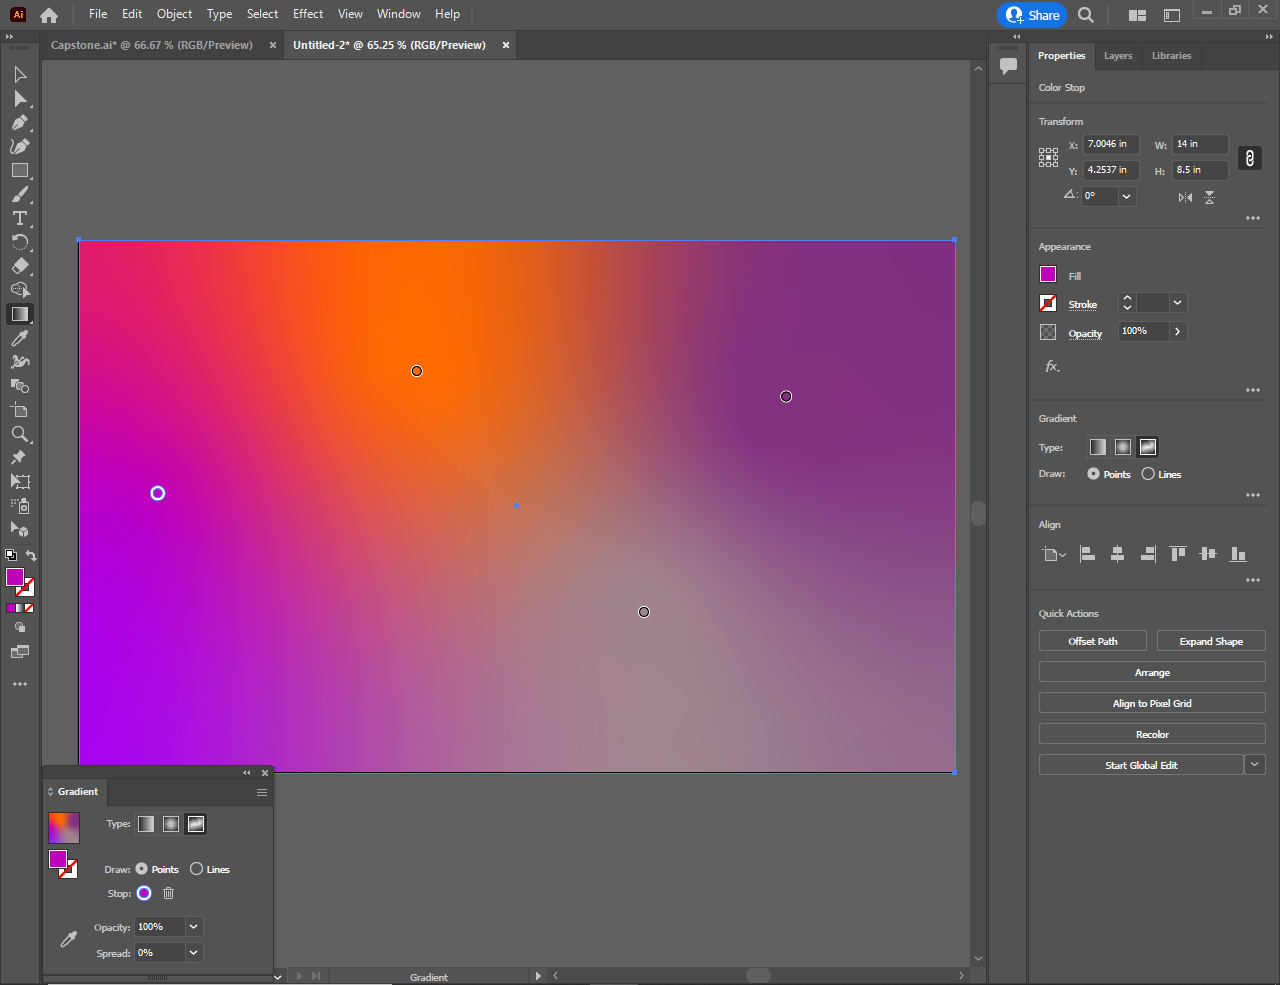
To make the background gradient, make a large square that will be the size of your illustration, then fill this square with a gradient. Use the gradient tool to edit this gradient and change it to either a circle gradient (If your only going to use 2 background colors), or a freeform gradient (For more colors and more control). Then edit the colors of the gradient by double clicking the point you want to edit. You should then lock this layer because you wont need to change it. You also may want to create some new squares, set them to black color and bring down the opacity if you have bright colors as your background and want them to be darker.
Create Your Stars
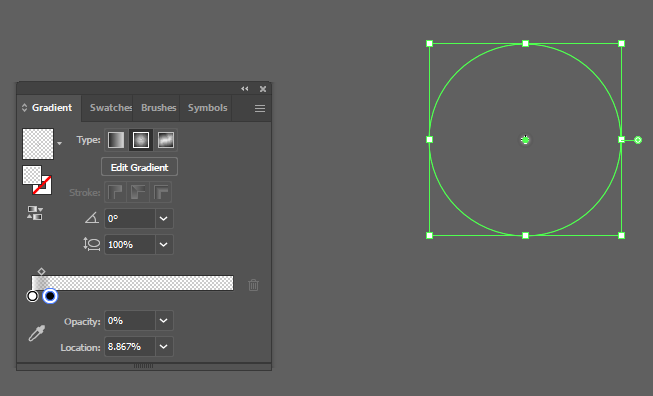
To make the stars and background light patches, start by making 3 circles, then select one of them. This first one will be the small stars in the background of the image. Make it a circle gradient and ensure the black gradient color is at 0% opacity and on the outside of the gradient. Drag the black gradient dot very close to the white gradient dot in the gradient editor as shown.
Create the Small Background Light Patches
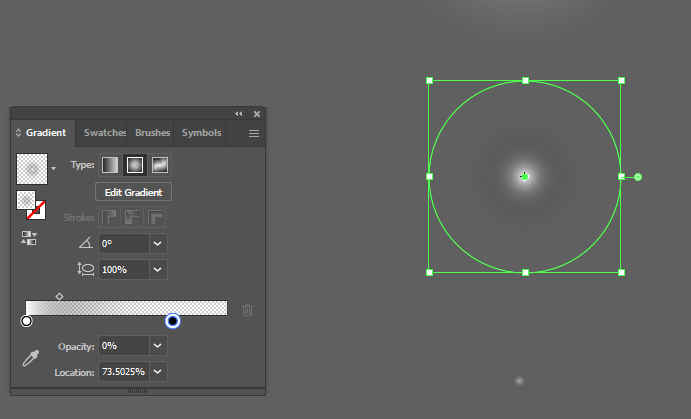
Select the next circle that you made in the previous step. Make a circle gradient and make sure the black color is 0% opacity and on the outside. Then drag the gradient sliders to around what is shown in the image.
Create the Large Background Light Patches
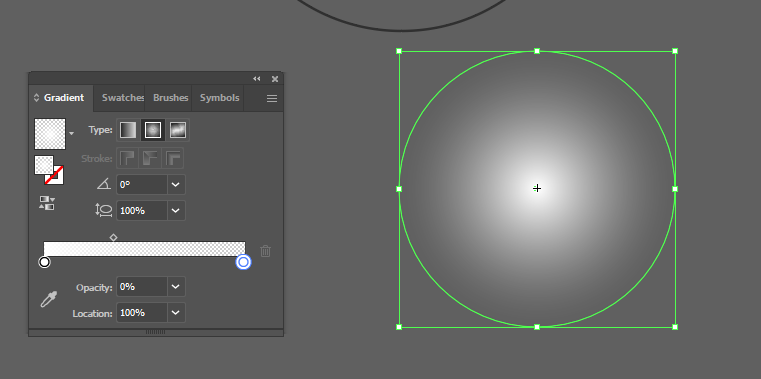
Select the next circle and do the same steps as you did for step 3, but make sure both gradient sliders are white and move them to the positions shown in the image.
Create Your Symbols
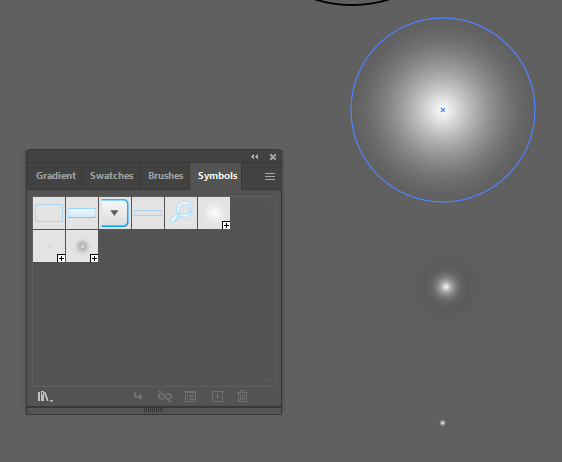
Bring up the symbols window and drag all 3 of these circles into it. We will use this to mass copy them.
Spray the Stars on the Background
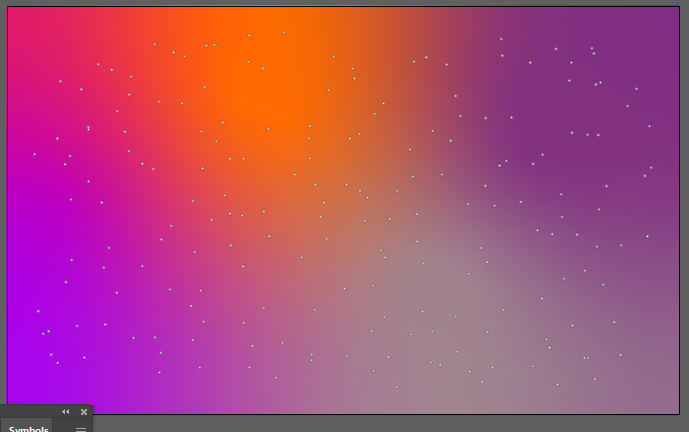
Select the symbol sprayer tool and your small star from the symbols menu. Fill the entire background with the stars symbol. You may want to do this a few times depending on how you want it to look. Drag the corners of each star layer to match the background.
Create the Smaller Light Patches
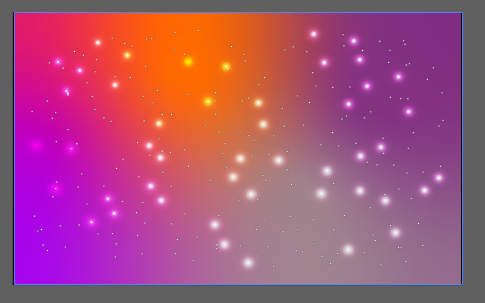
Select the symbol sprayer and the second circle gradient you made. Fill some of the background with this symbol but leave space between each individual patch and don't fill the whole background. Then open the transparency window and change the blending mode of this symbol to color dodge.
Create the Larger Light Patches
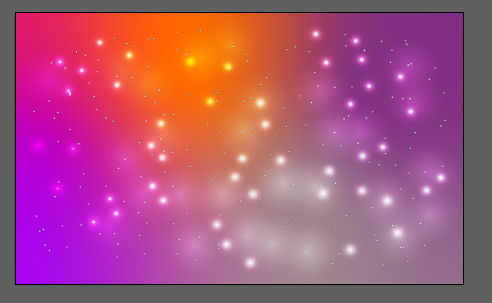
Do the same steps as step 7 but with the third circle gradient you made. Don't change the blending mode of this symbol though and instead change the opacity to something around 40%, though this number can be changed to whatever you think looks the best.
Create the Planets
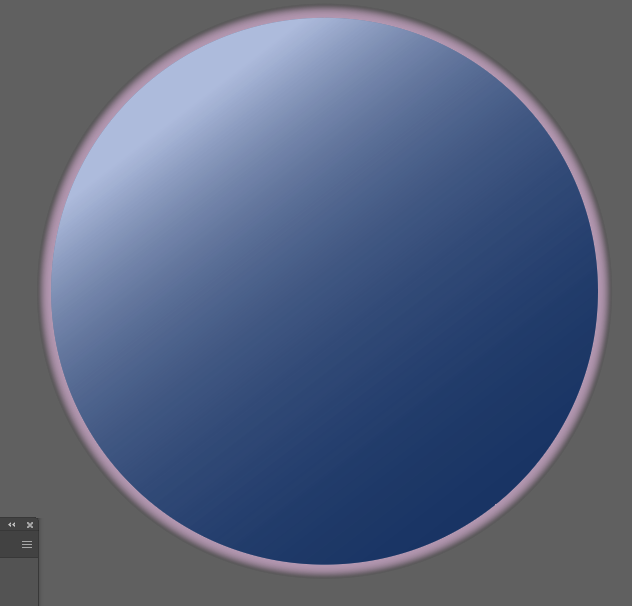
The four planets of the pillars are all nearly the same so the only differences will be the color between them, as I'm not good enough to texture them well. To create the planets make 4 identical circles and one extra circle that is very slightly larger then the rest. Make two of these circles a solid color that matches the color of the planet but are slightly lighter and darker than each other and set one of those 2 to around 10% opacity. For the other two normal sized circles you need to fill then with a gradient and use the gradient tool to make the gradient at around a 45 degree angle, with the white side in the upper corner and the black side in the bottom corner of the circle. Change the opacity of the black side in one of the circles to 0%, and set the gradient sliders for both to what is shown in the image. For the larger circle make it a circle gradient and move the sliders so the center is solid and there's a slight fade around the edge, also change the color of the inside to a brighter version of the first 2 circles and the outside to 0% opacity. Then overlay all the circles, ensuring the largest circle is at the back, then the opaque circle, then the rest.
Making a Ringed Planet
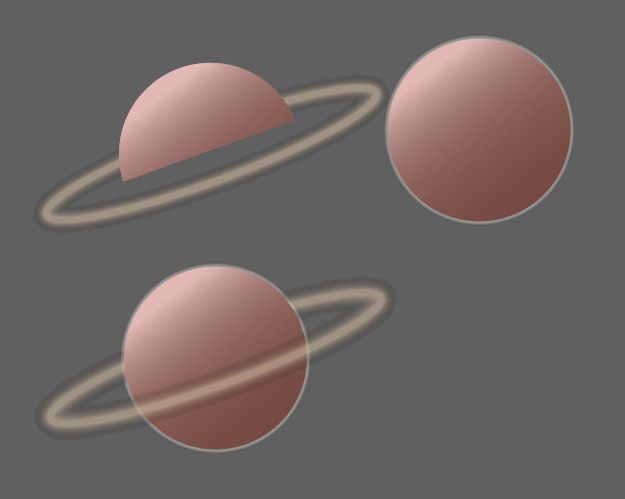
If you want to have a planet with a ring, create a thin oval and rotate it around 20 degrees to one side, copy this oval and make the originals stroke size around 30 pt and the copy around 5 pt. Set the smaller ring to the color you want your ring as, but make the larger ring black and have an opacity 0%. select one of the rings and go to Object->Path->Outline Stroke, repeat this for both rings. Select the blend tool and click both rings to create your planet ring.
Create a copy of all the layers except the larger circle of the planet, also create a square that's angled at the same angle of the ring and make that square wide enough to cover the width of the planet. Make sure the square covers the top part of the ring but not the bottom part, put the copied planet over this square and press ctrl 7 to create a clipping mask. Now place the planet at the bottom, then the ring, then the clipping mask and you have a ringed planet.
Adding Some Details and Finishing
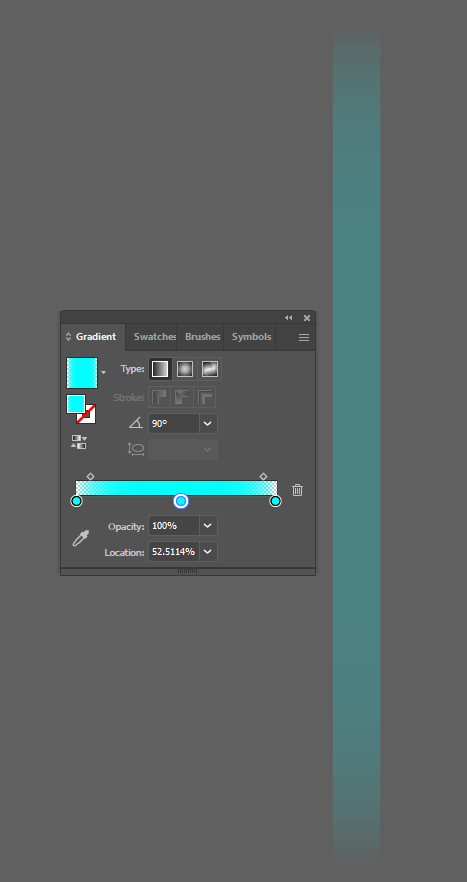
For the nebula pillars light effects, create a tall rectangle and make a vertical gradient on it and edit the gradient as shown in the image.
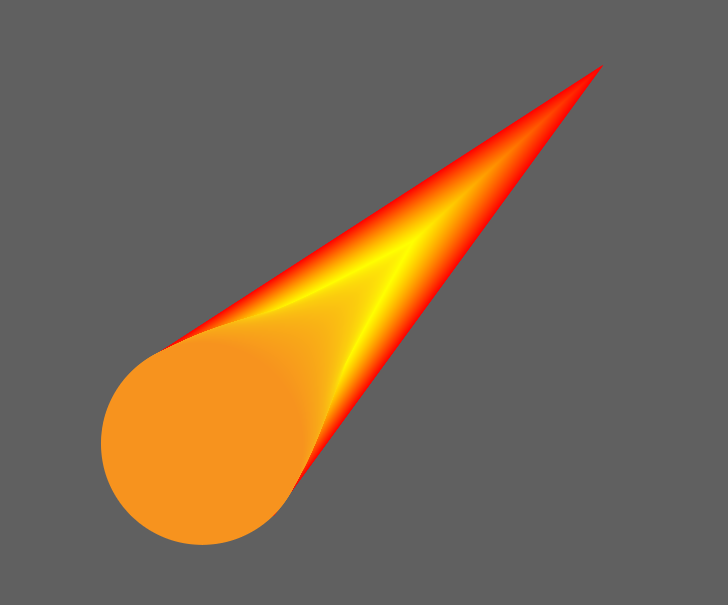
For the solar pillars meteors, make an orange circle, a yellow triangle, and a larger red triangle, stack them with the orange on top, then yellow, then red, and use the blend tool to blend them all in order.
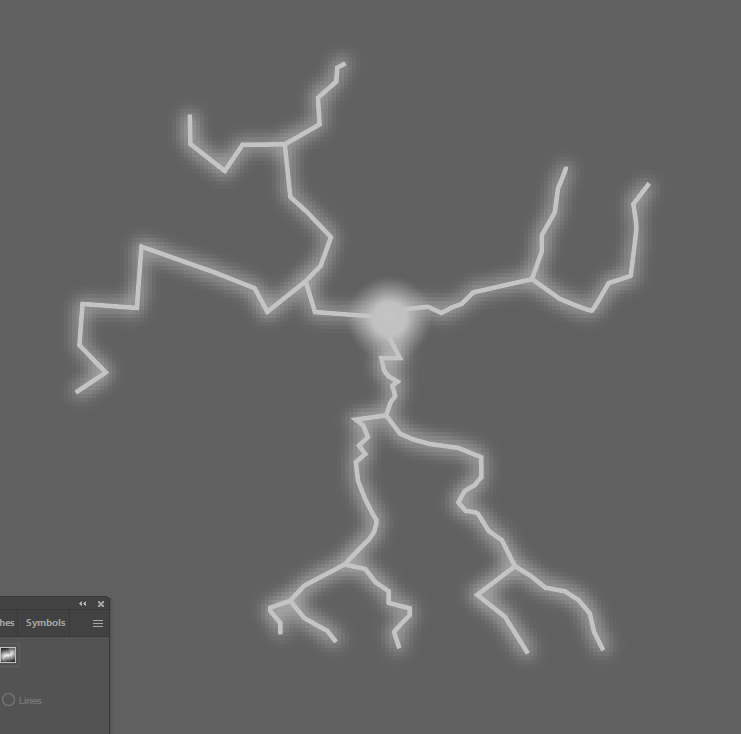
For the vortex pillar, create a circle gradient and set the inner and outer to white, but the outer one at 0% opacity. Then using the line tool, create a branching path away from the circle with a stroke of 1 pt. Outline the stroke of this line as you did in step 10 and copy the line. Select the original and go to Effect->Blur->Gaussian Blur. Make the radius 2 pixels. Do all this a couple more times on different sides of the circle.
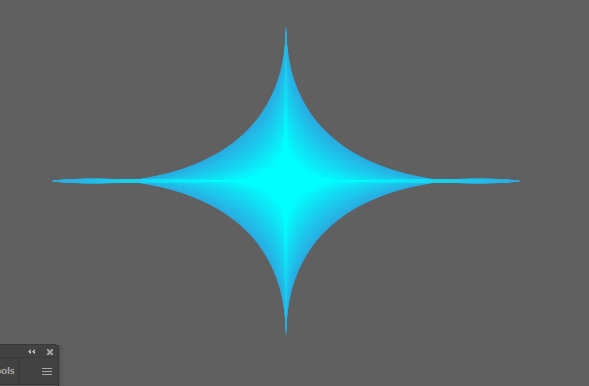
For the stardust pillar, use the line tool to create a curved line that's more wide then tall as shown. Copy this line 4 times and rotate and reflect the copies to connect the end of each line. Go to Object->Path->Join while selecting all four lines to connect them then copy this shape. Make the original one about twice as large as the copy. Make the copies color white and the originals light blue then use the blend tool while they are on top of each other.
If you have any planets or anything going over the edge of the artboard, put everything already there into a group, make a new square the same size as you want the art to be, then select both and ctrl+7 to make a clipping mask.