Temperature Sensor
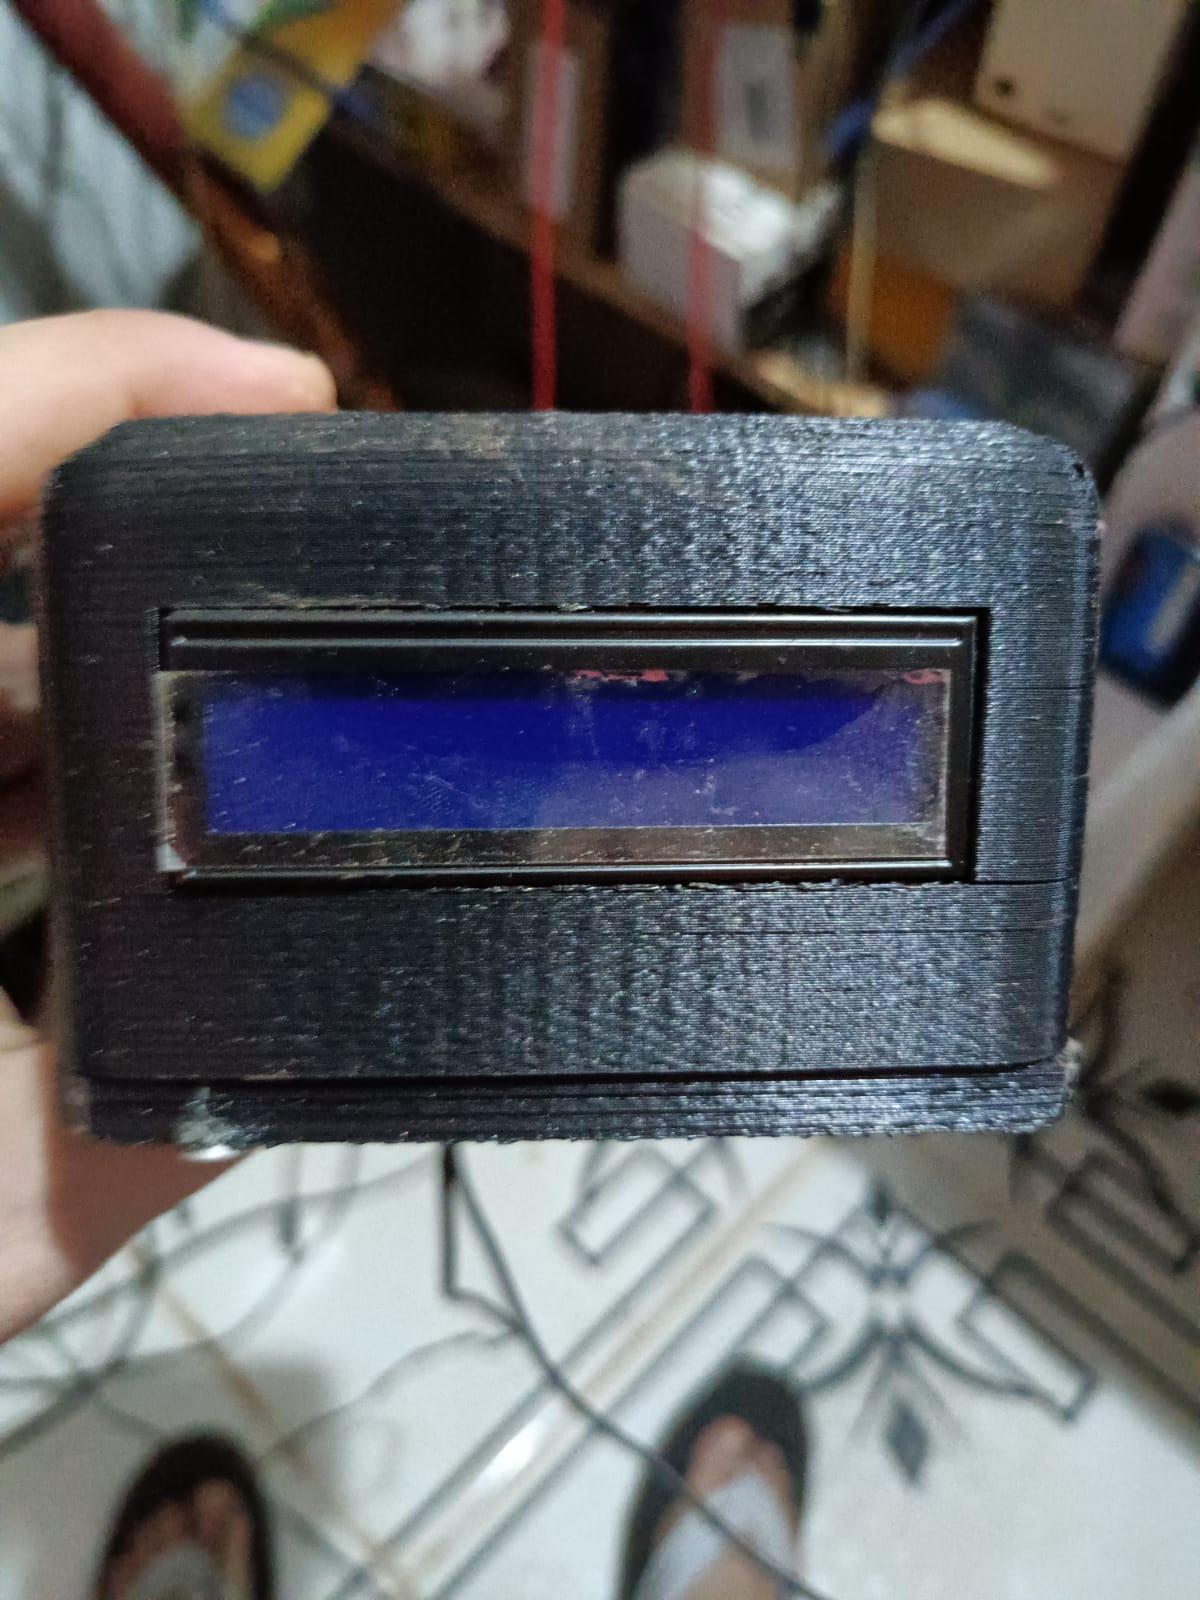
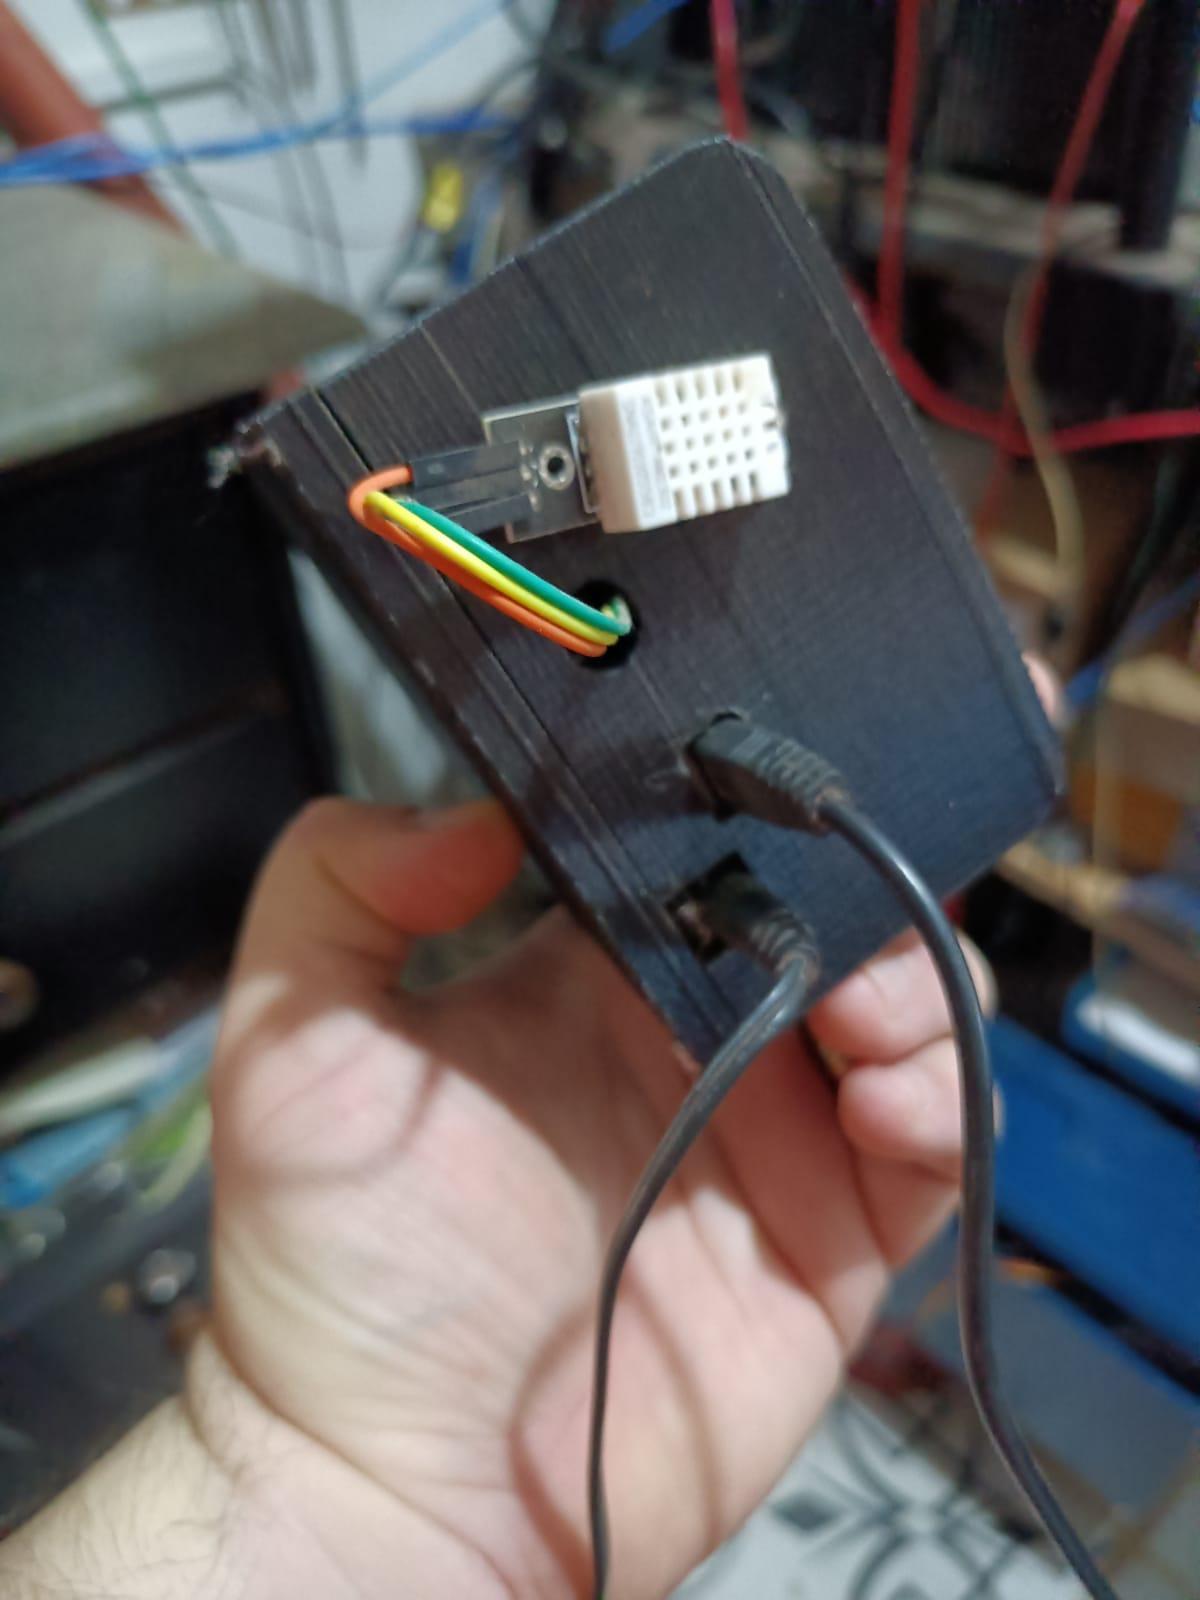
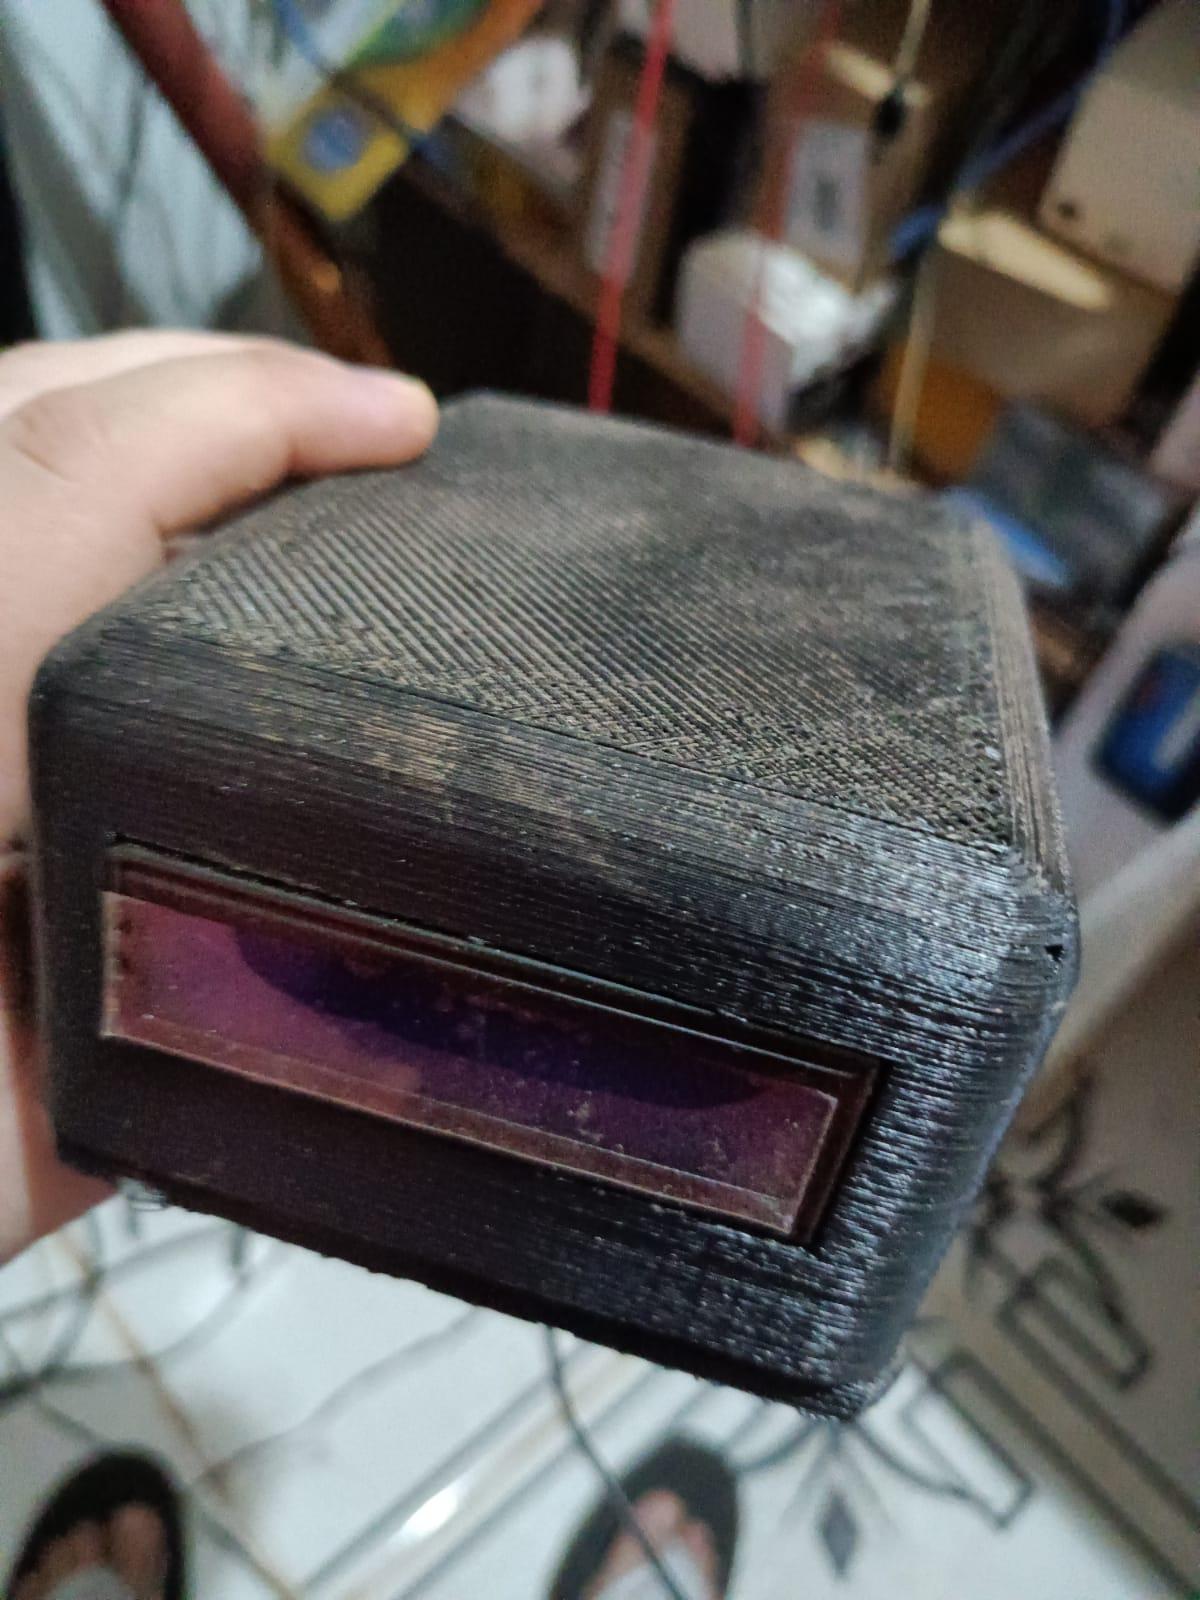
This project aims to create a temperature sensor that can be added to the PC via USB port or simply not connected. Serving as an unplugged temperature gauge.
The project guarantees the construction of the plastic box and electronics, as well as the firmware installed on it.
Project GIT
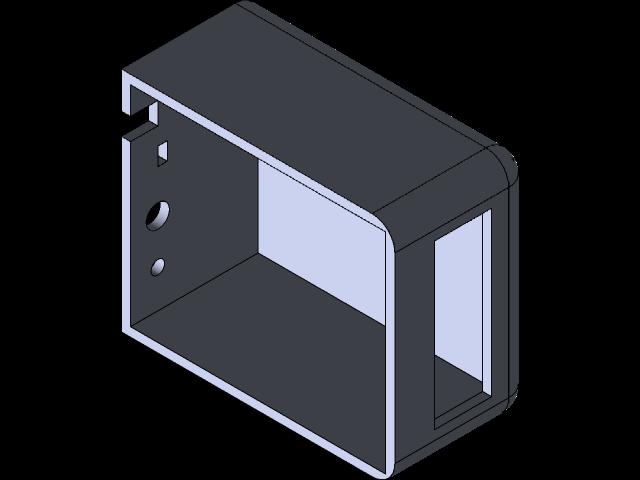
Plastic Box
It consists of two parts:
MOSTRADOR.STL is the box that contains a 16×2 I2C
TAMPA.STL – It is the base of the box, where the arduino will be fixed.
List of Components
- Arduino Nano
- Arduino Nano Expansion Shield
- DHT22 sensor connectors
- LCD I2C 16×2
- Various female/female connectors.
- 6 x M3x12 screws
Mounting
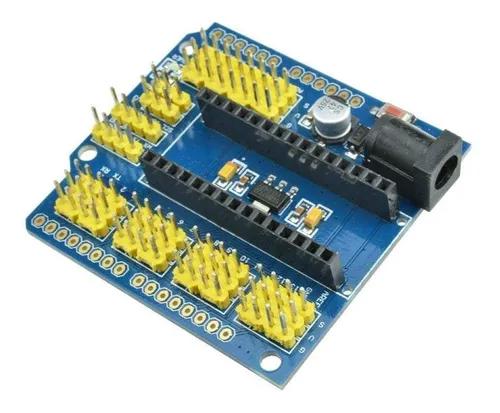
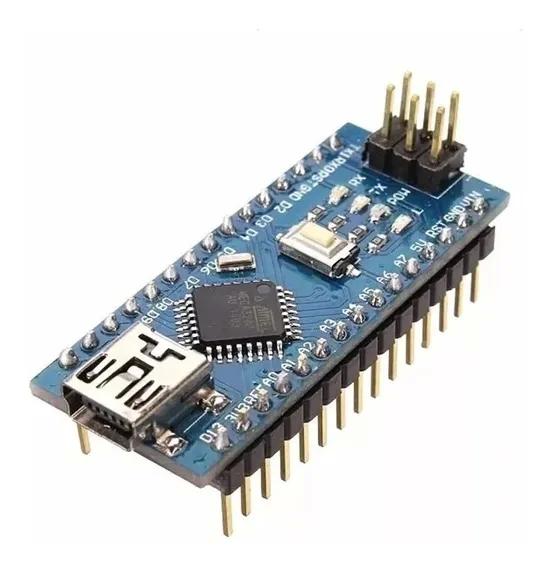
Take the expansion shield and connect it to the arduino nano.
Firmware Compilation Enter the Arduino IDE
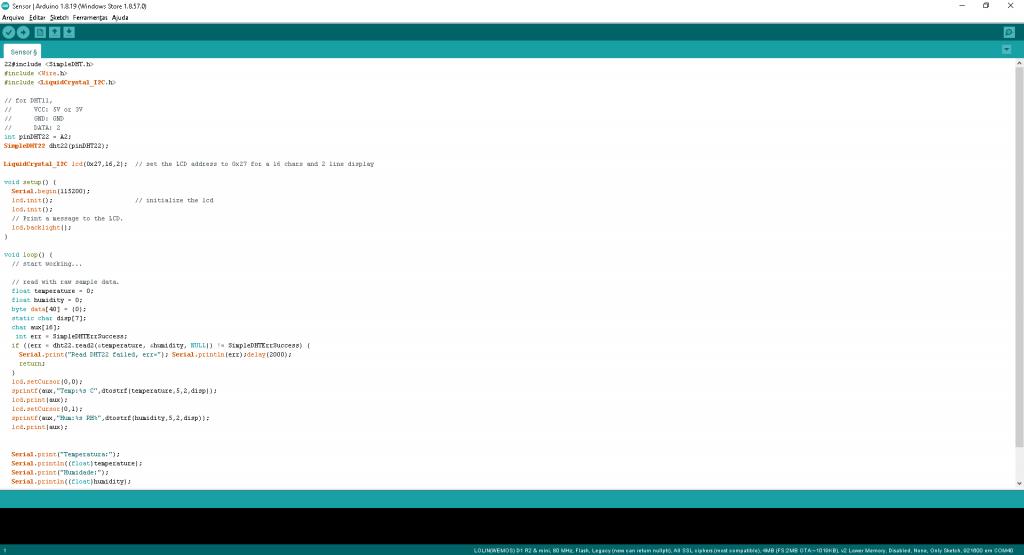

First indicate the hardware (board) as being arduino nano.
Then search for SimpeDHT.h and LiquidCrystal_I2C.h libraries, include these in your ide.
Compile sensor.ino file in arduino IDE, and load in arduino nano.
Arduino IDE, already with the application
At the end of the compilation, something like this will appear.
Successful compilation process
3D Printing
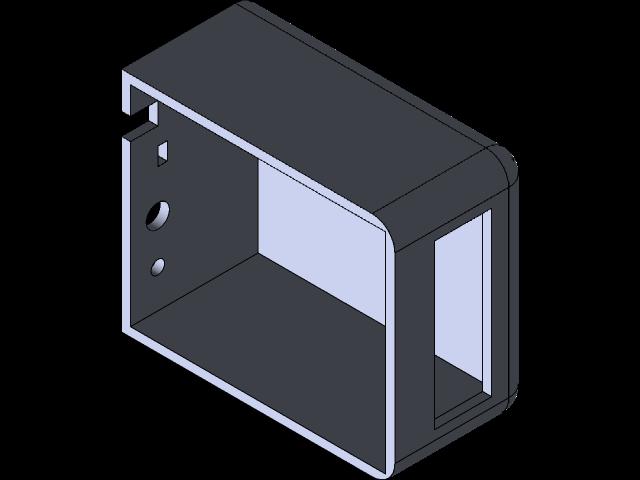
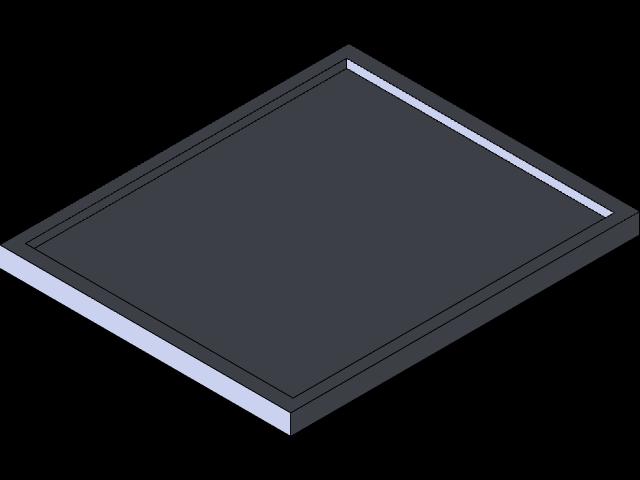
Now print the plastic parts, you can use the repository:
https://grabcad.com/library/box-arduino-with-displ...
The files for printing are as follows:
The display fixes the LCD display, finishing it.
The cover, fixes the plate.
Note that the drilling of the plate was not done on purpose, I recommend the use of a micro grinder for the best positioning of the holes.
Connecting DHT22
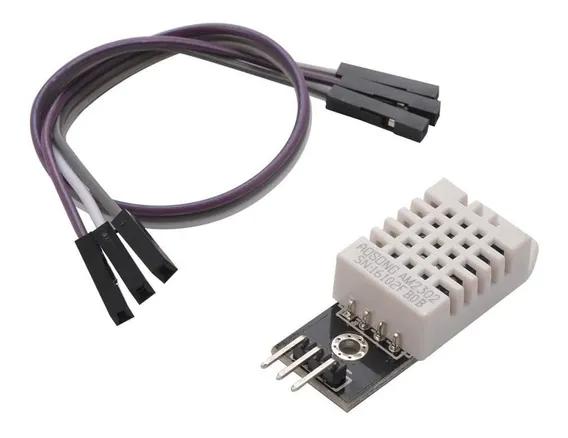
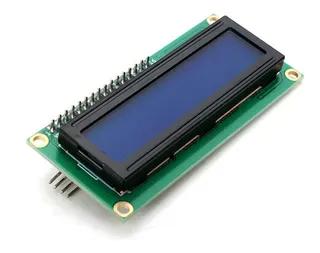
Now it's time to start connecting the peripherals, for that use female/female connectors, as shown below.
DHT22
- connect the negative of the DHT22 to the arduino GND.
- connect the positive (+) of the DHT22 to the 5v of the arduino
- Connect the DHT22 signal to the Arduino A2 port.
Connecting the Display
Finally, now we will fix the display in the plastic box, also making its electrical connections.
electrical connections
- LCD GND <-> Arduino GND
- LCD VCC <-> 5V arduino
- LCD SDA <-> A4 arduino
- LCD SCL <-> A5 Arduino
Now finally fix the I2C display in the plastic box, using hot glue for fixing or use 2 M3x12 screws, however it will be necessary to make the chamfer with a micro grinder in the plastic box.
Cover Fixing.
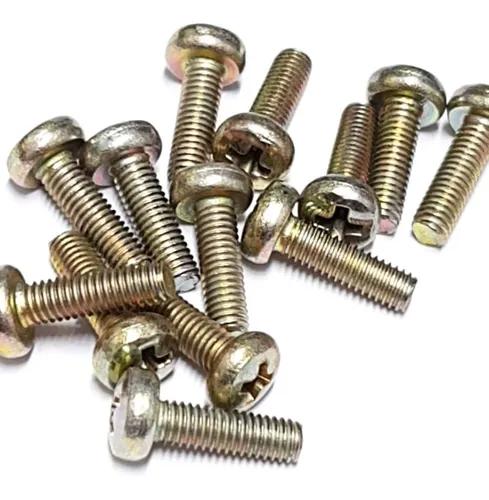
Now we will make the chamfers to close the box.
For this, use a micro grinder to drill the lid.
And use suitable screws, I recommend Philips M3x12 screw for fixing.
Okay, now just call.
Communication protocol
The protocol is very simple, the equipment will always send the temperature and humidity information in the following format to serial at an interval of 1.5 seconds.
- Temperature:<value>
- Humidity:<value>
USB/Serial communication protocol Communication Speed: 115200 baudrate.