Drawing to Sticker
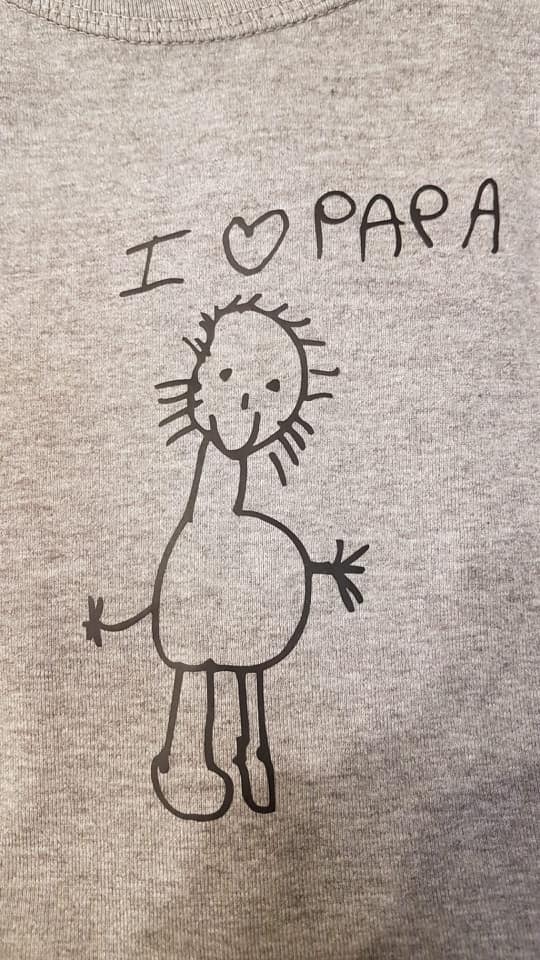
Through this workshop manual you can learn to transfer drawings to stickers, by using the vinylcutter! The participants can draw their own images and turn them into stickers to decorate their stationary or other personalised items. If you use flex foil, you can even put the stickers on your clothes!
AGES: 7+
TIME: 1 hour
Supplies
For the drawing:
- a black marker
- paper
- a smartphone or a camera to take the picture
For the sticker:
- vinyl in a color of choice (flex foil if you want to put the sticker on your clothes or another fabric)
- a vinylcutter
- your hands!
Make the Drawing
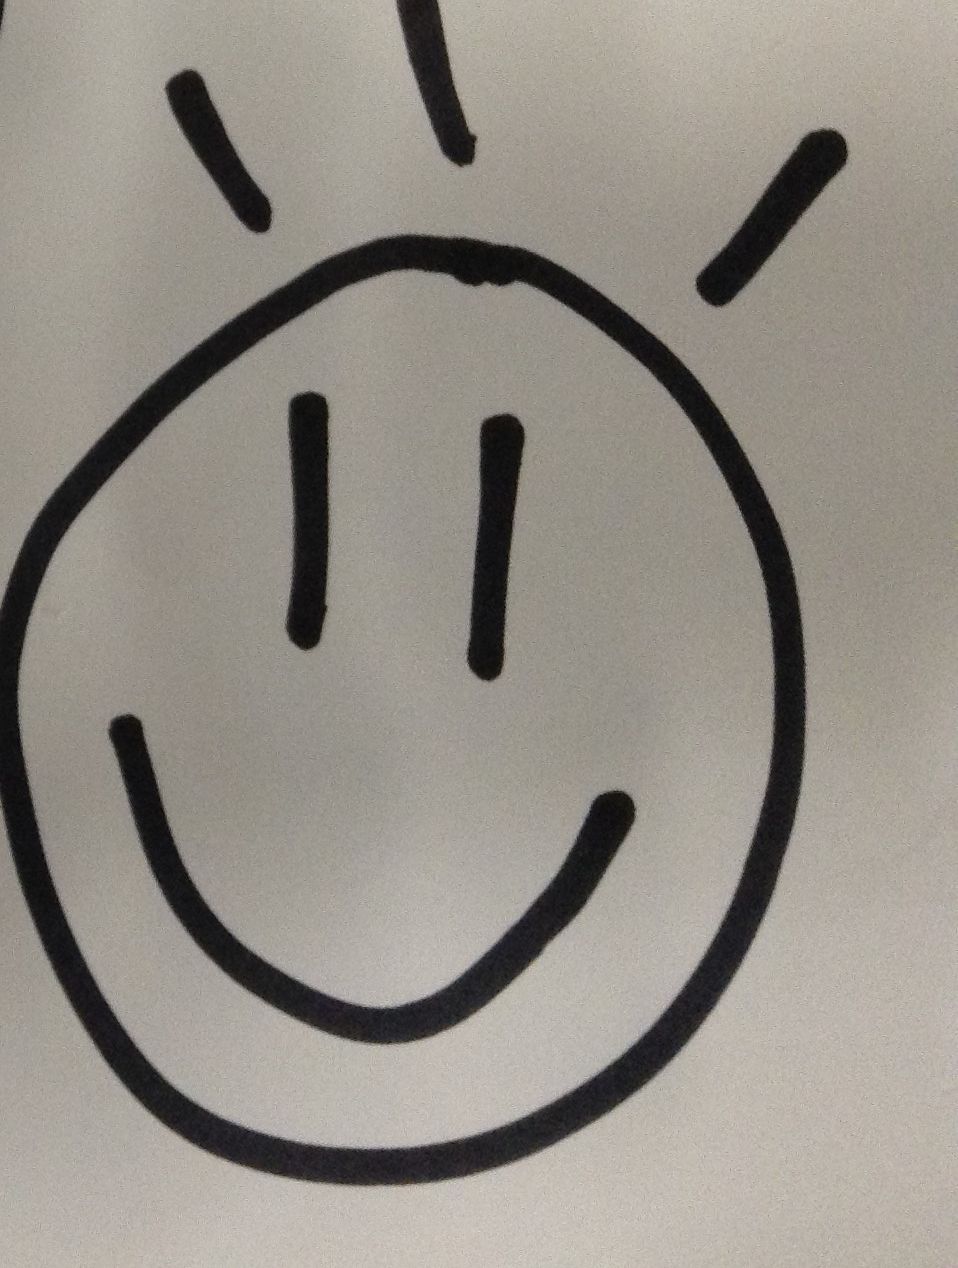
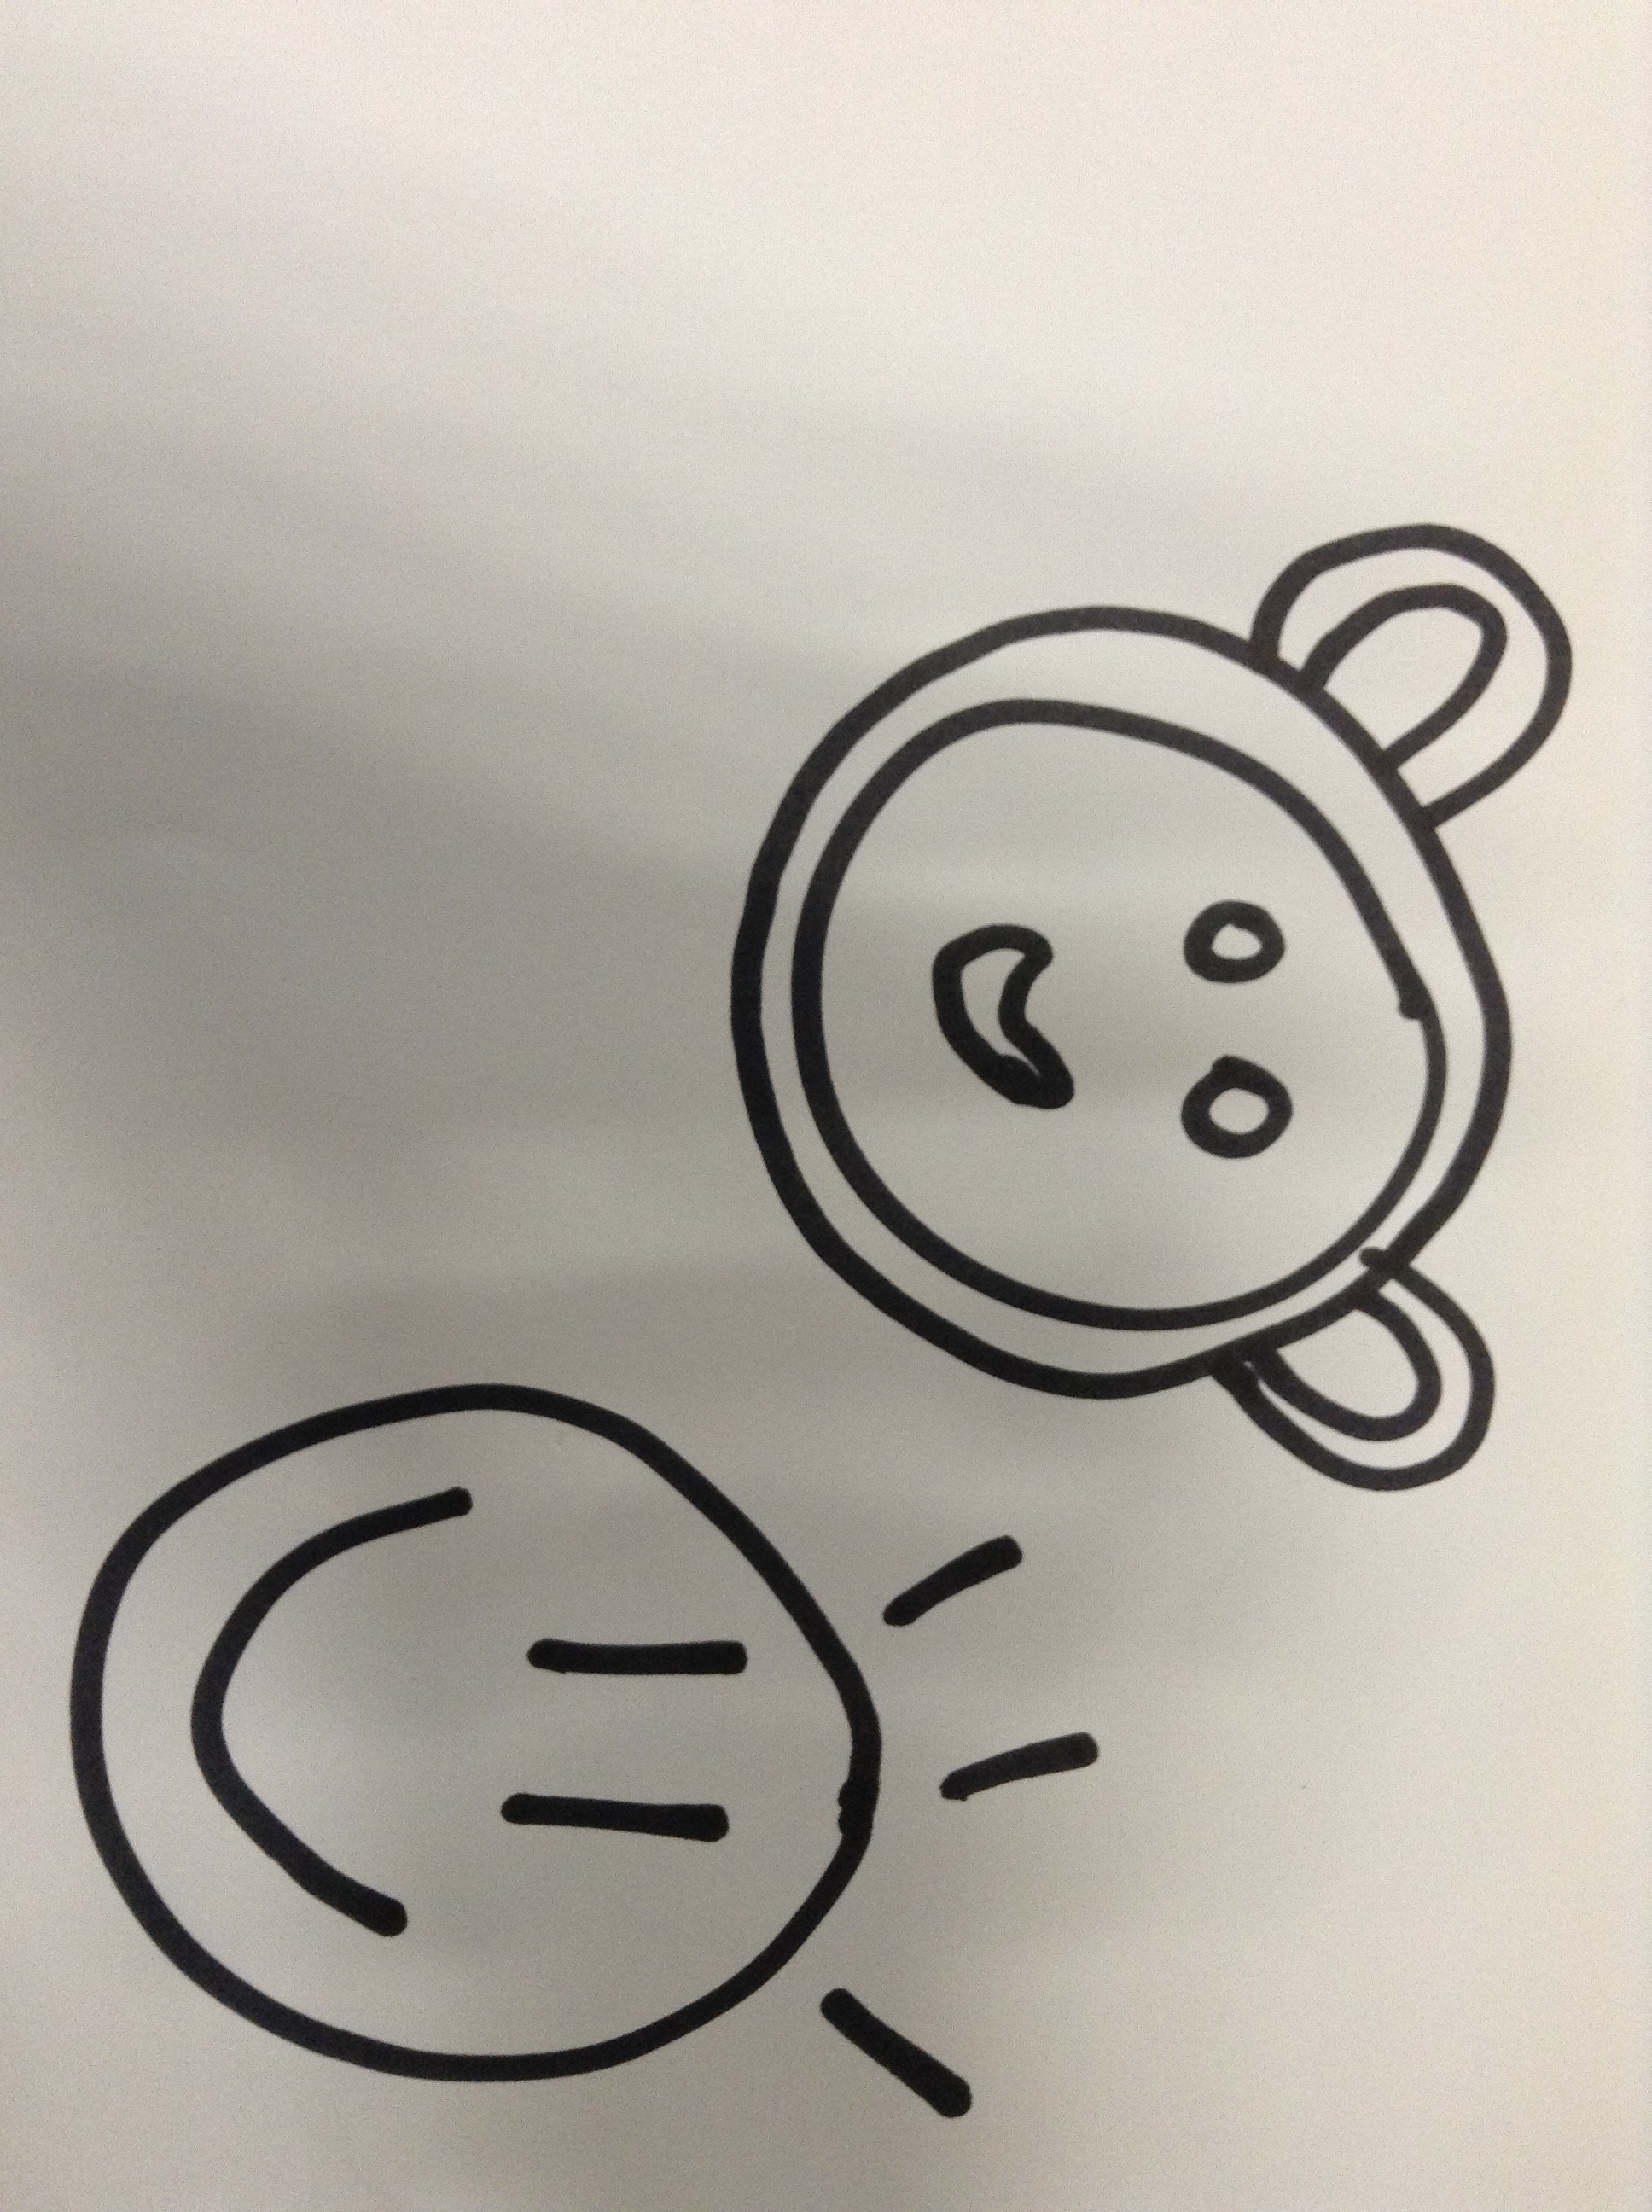
The first step of the process is to make a drawing. Use a thick black marker to do this. Keep it simple. The more lines you add, the harder it will be during the next steps.
Take a Picture of Your Drawing and Upload It in the Cutstudio
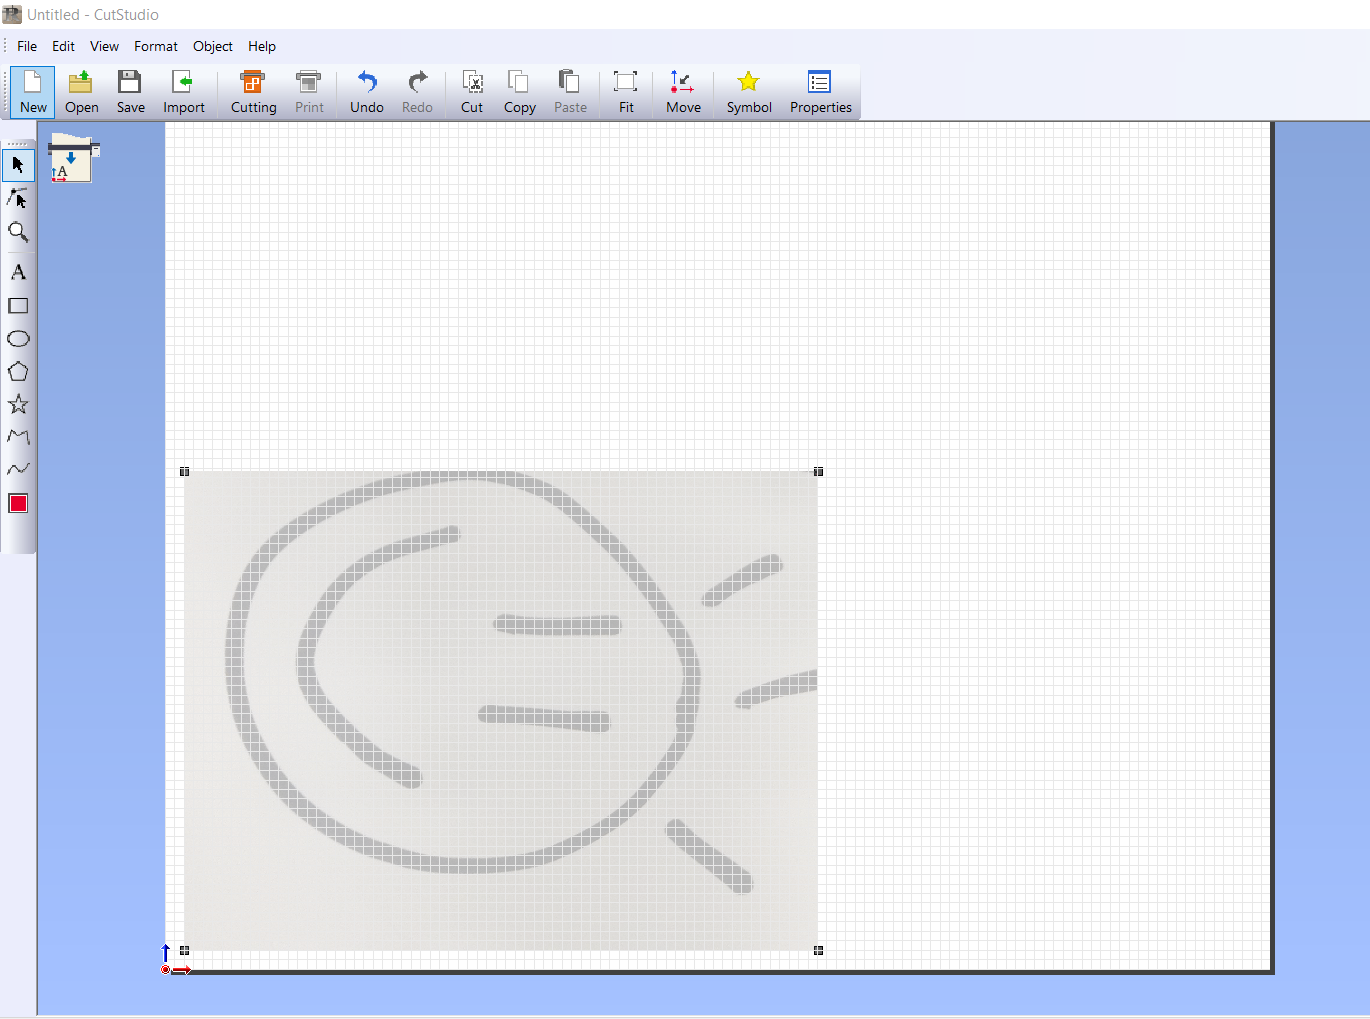
Now take a picture of your drawing with a smartphone or a camera.
Open the program 'Cutstudio' on the computer that is connected to the vinylcutter. This is a free program, so you can also do it beforehand (at home for example) before coming to the Makerspace.
Edit the Photo
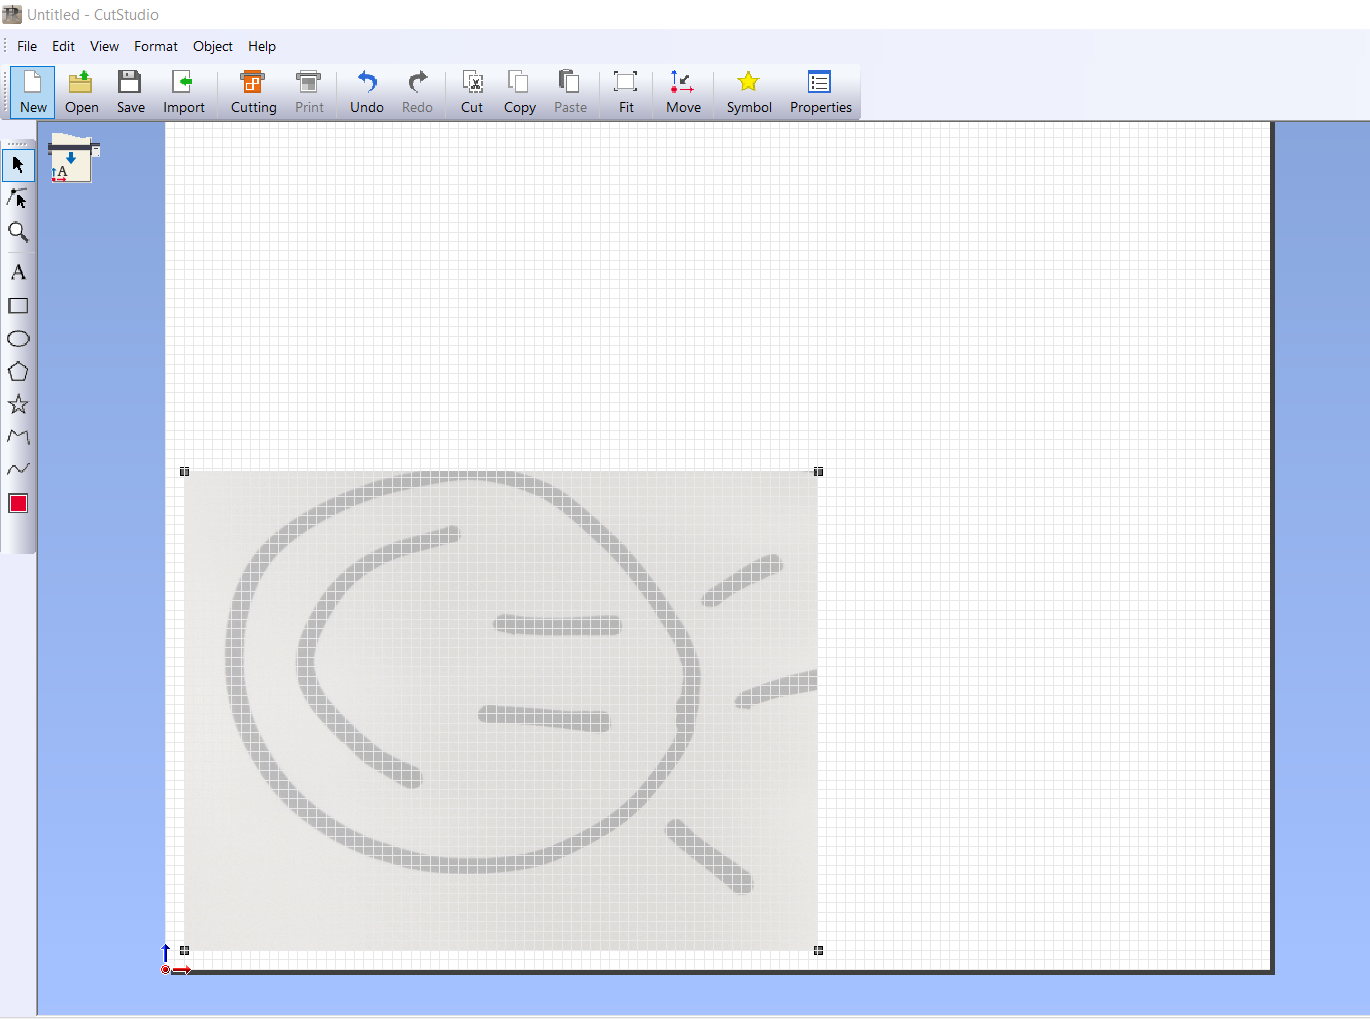
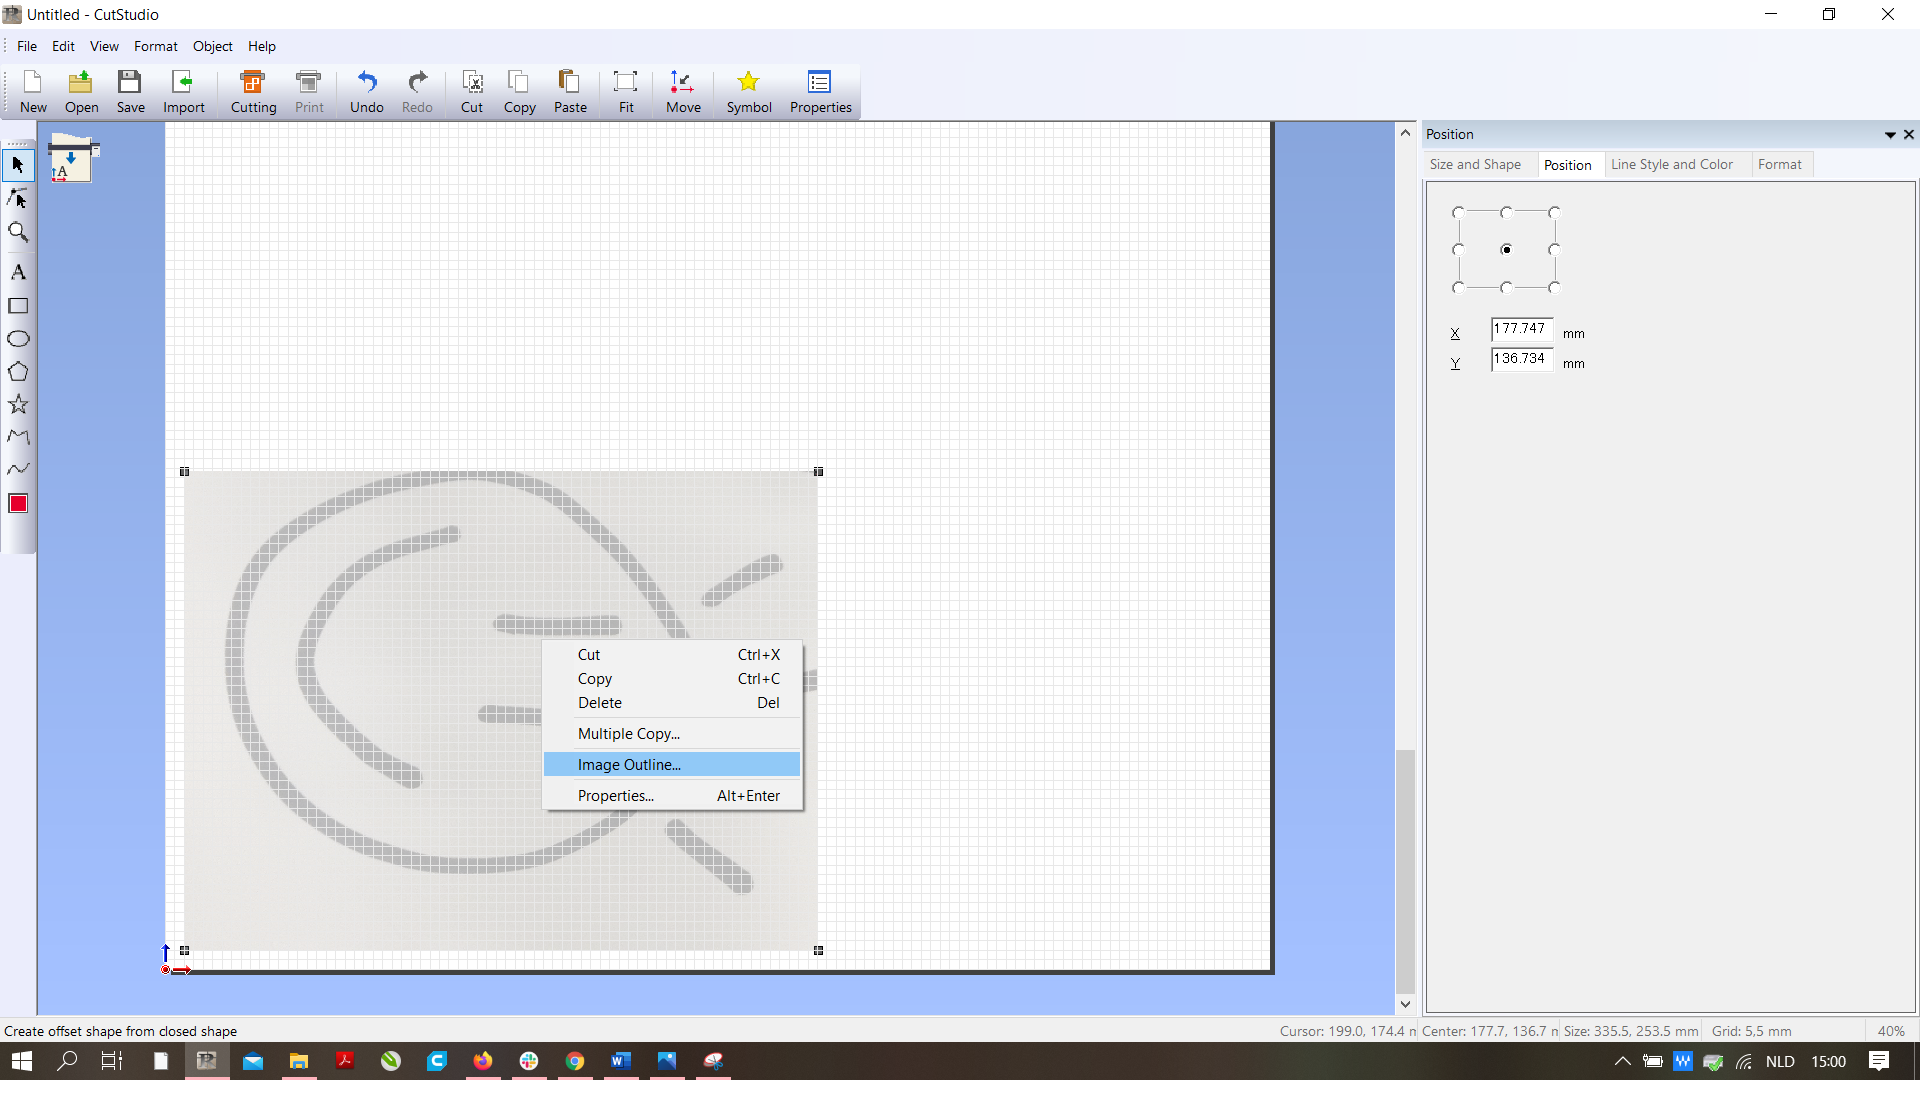
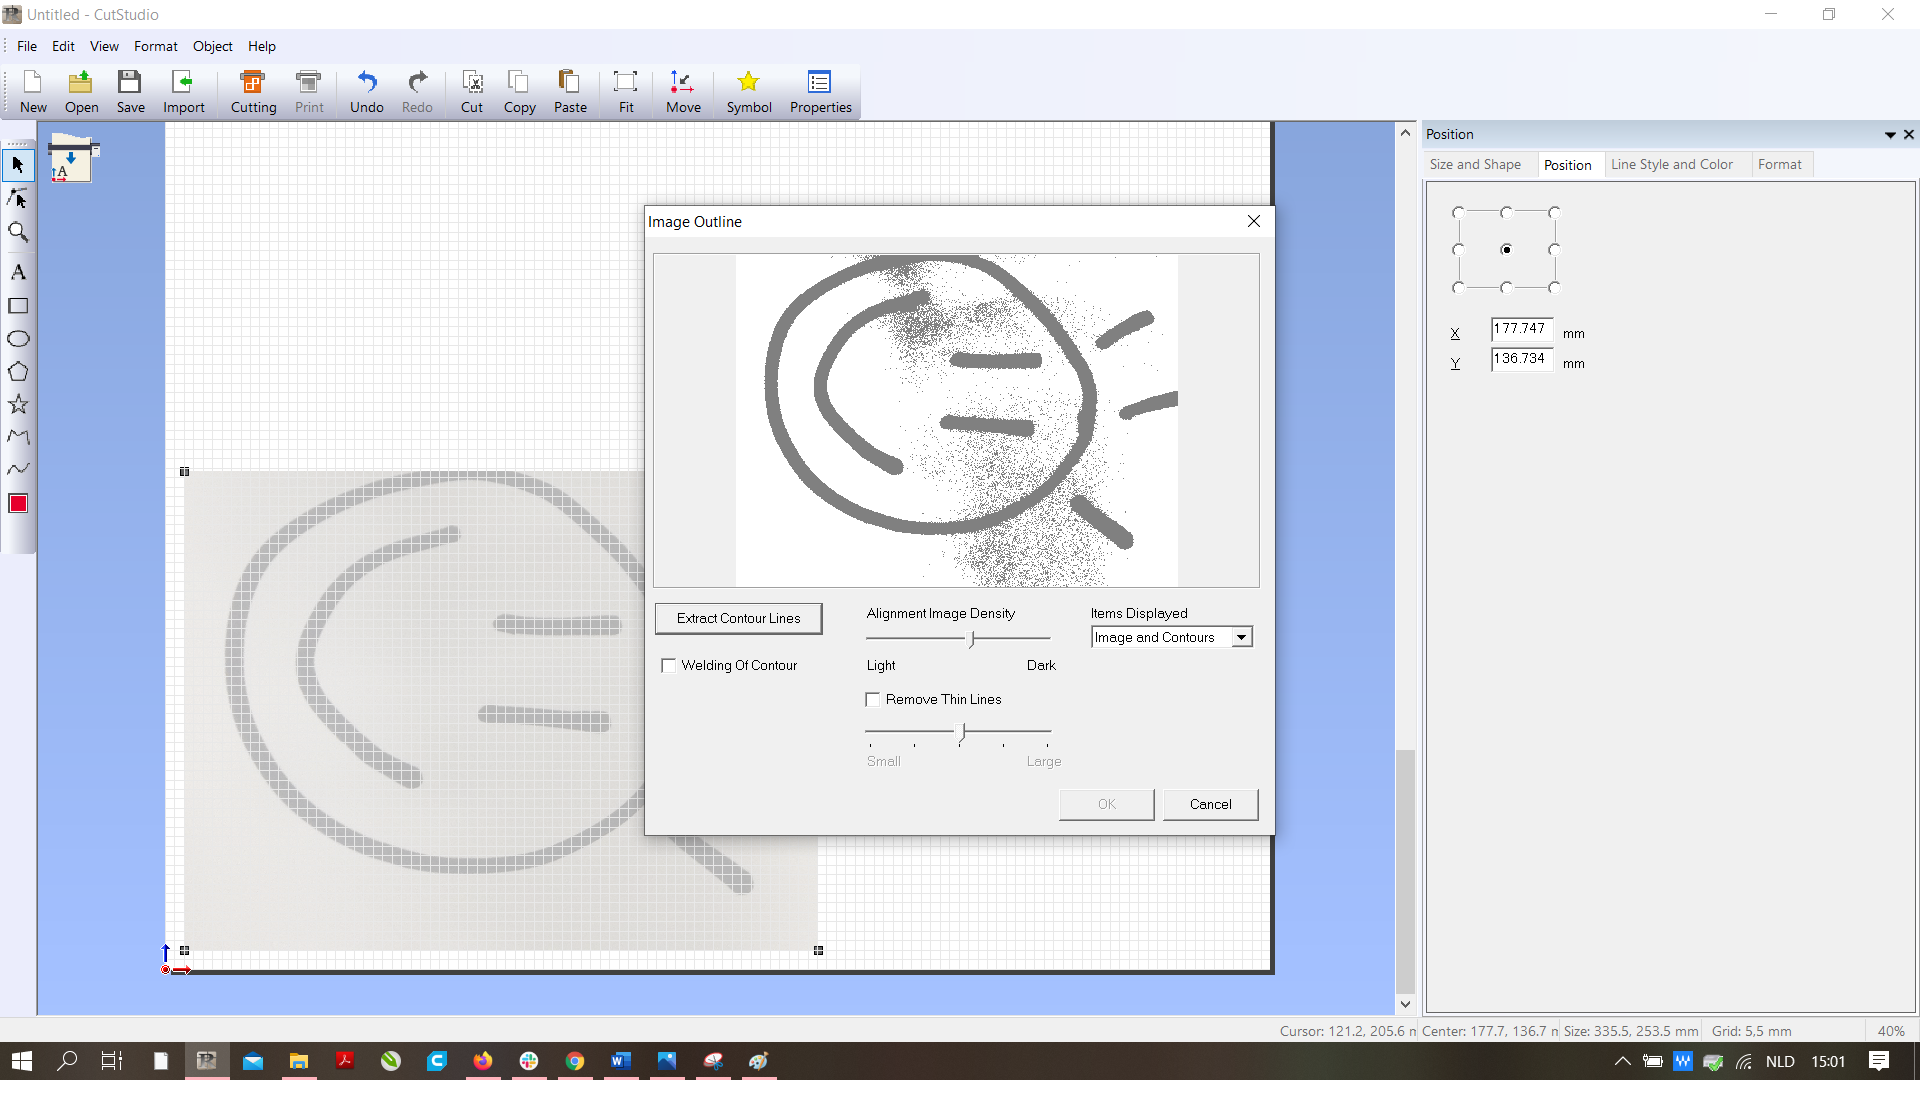
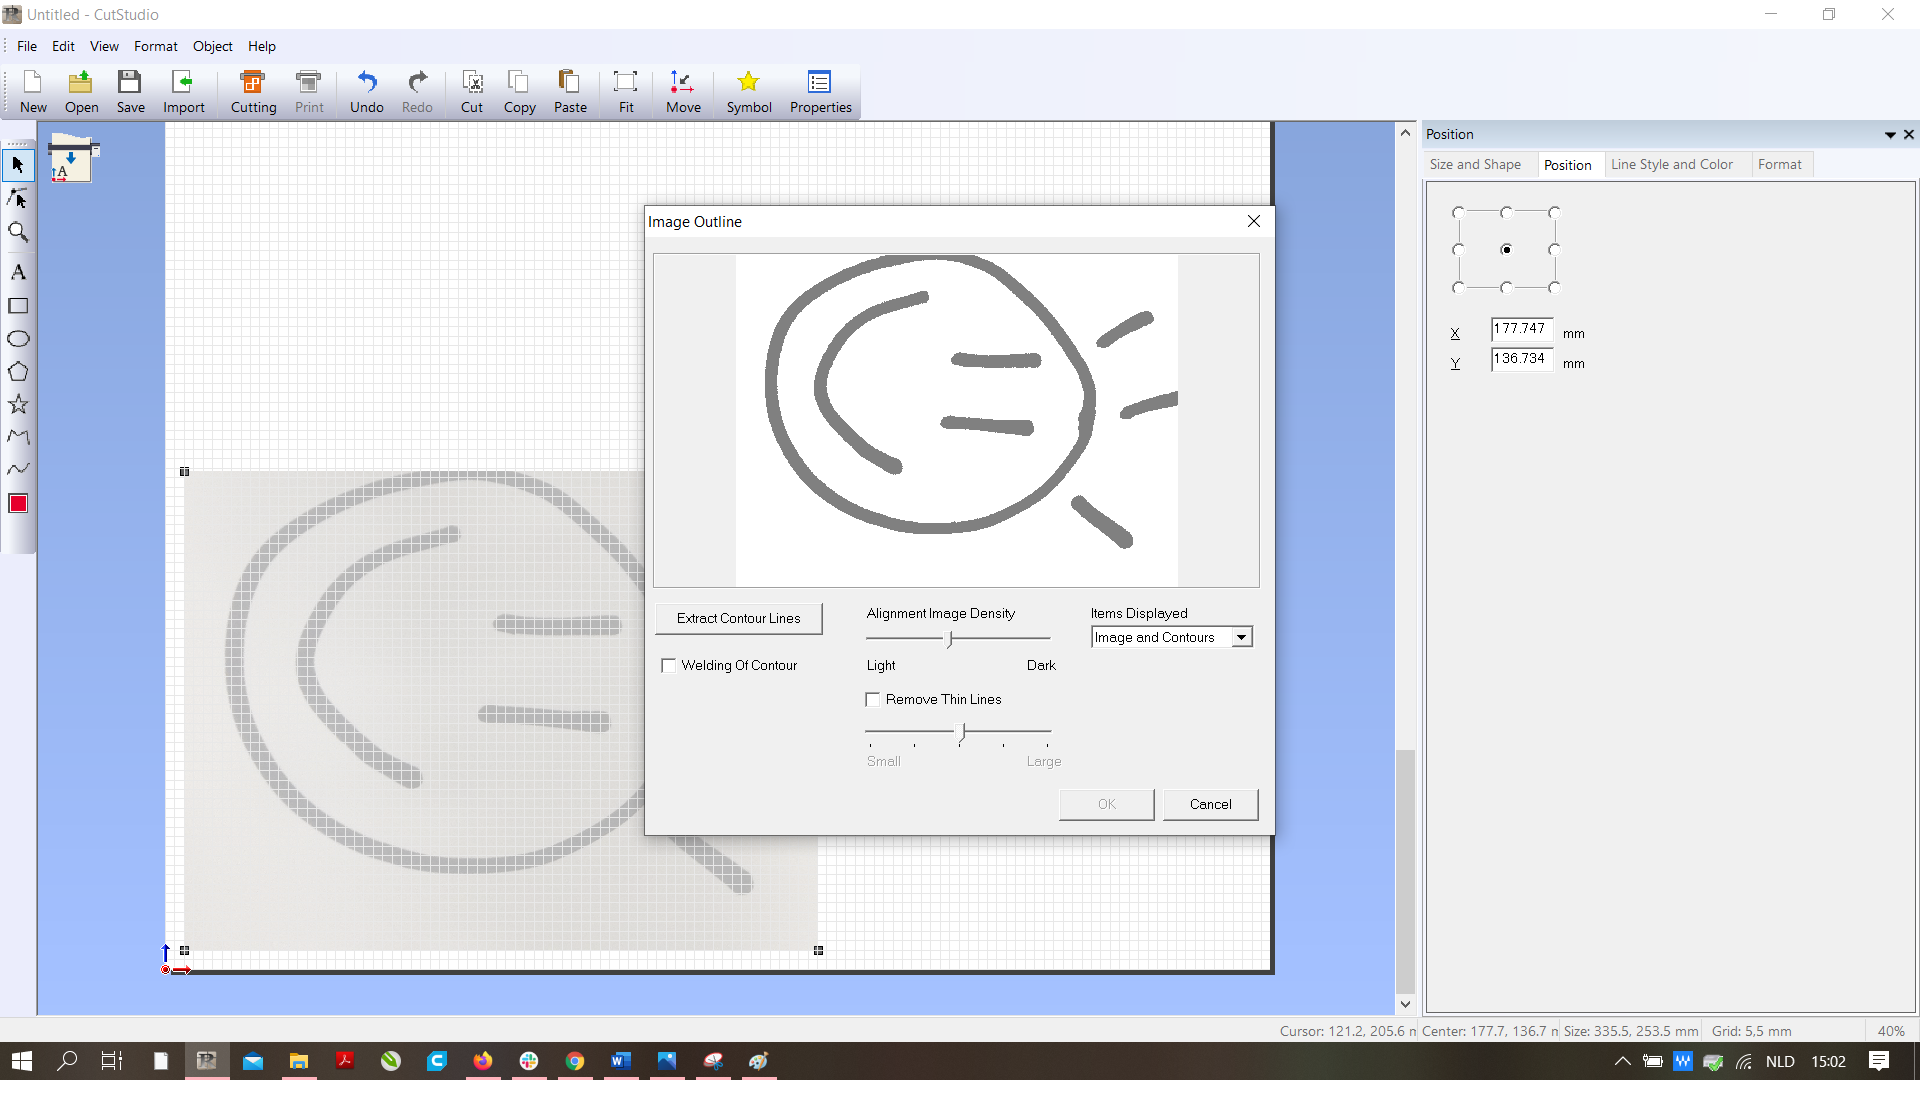
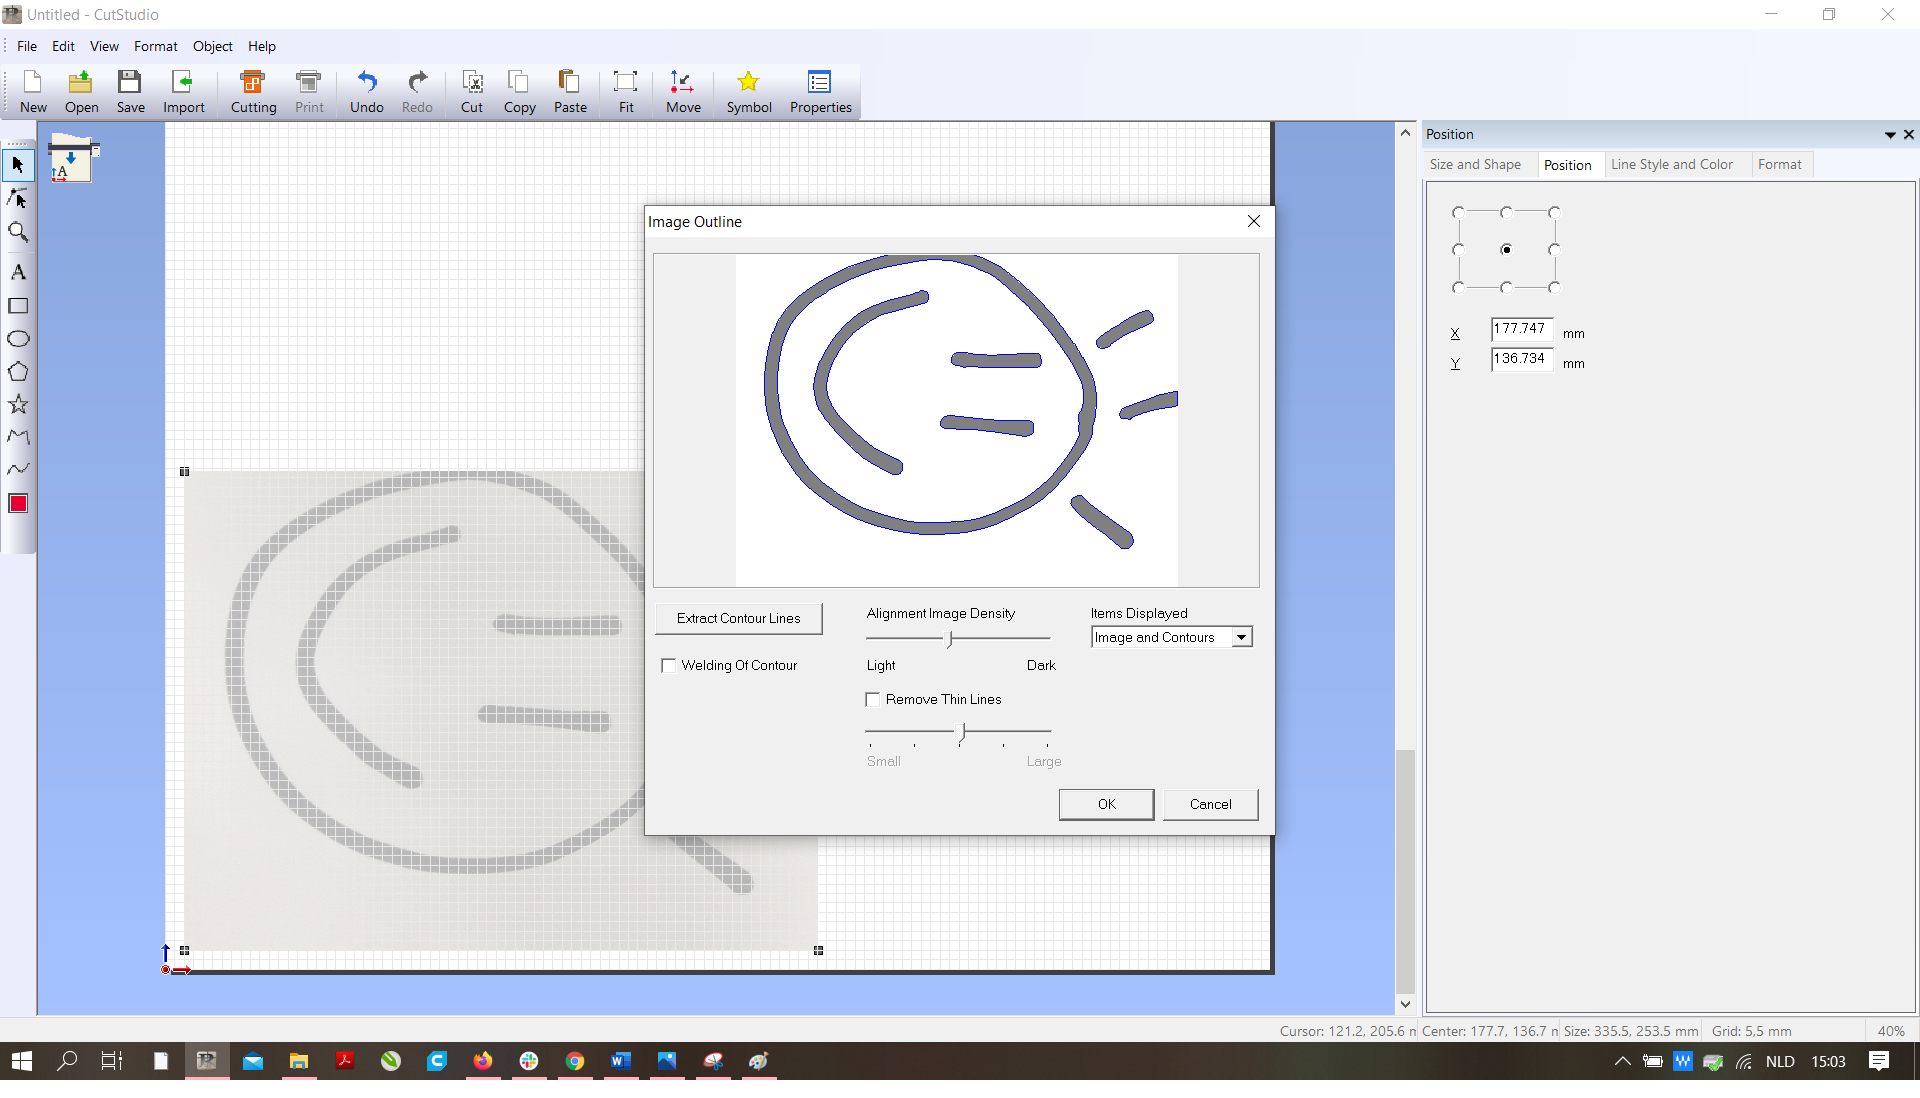
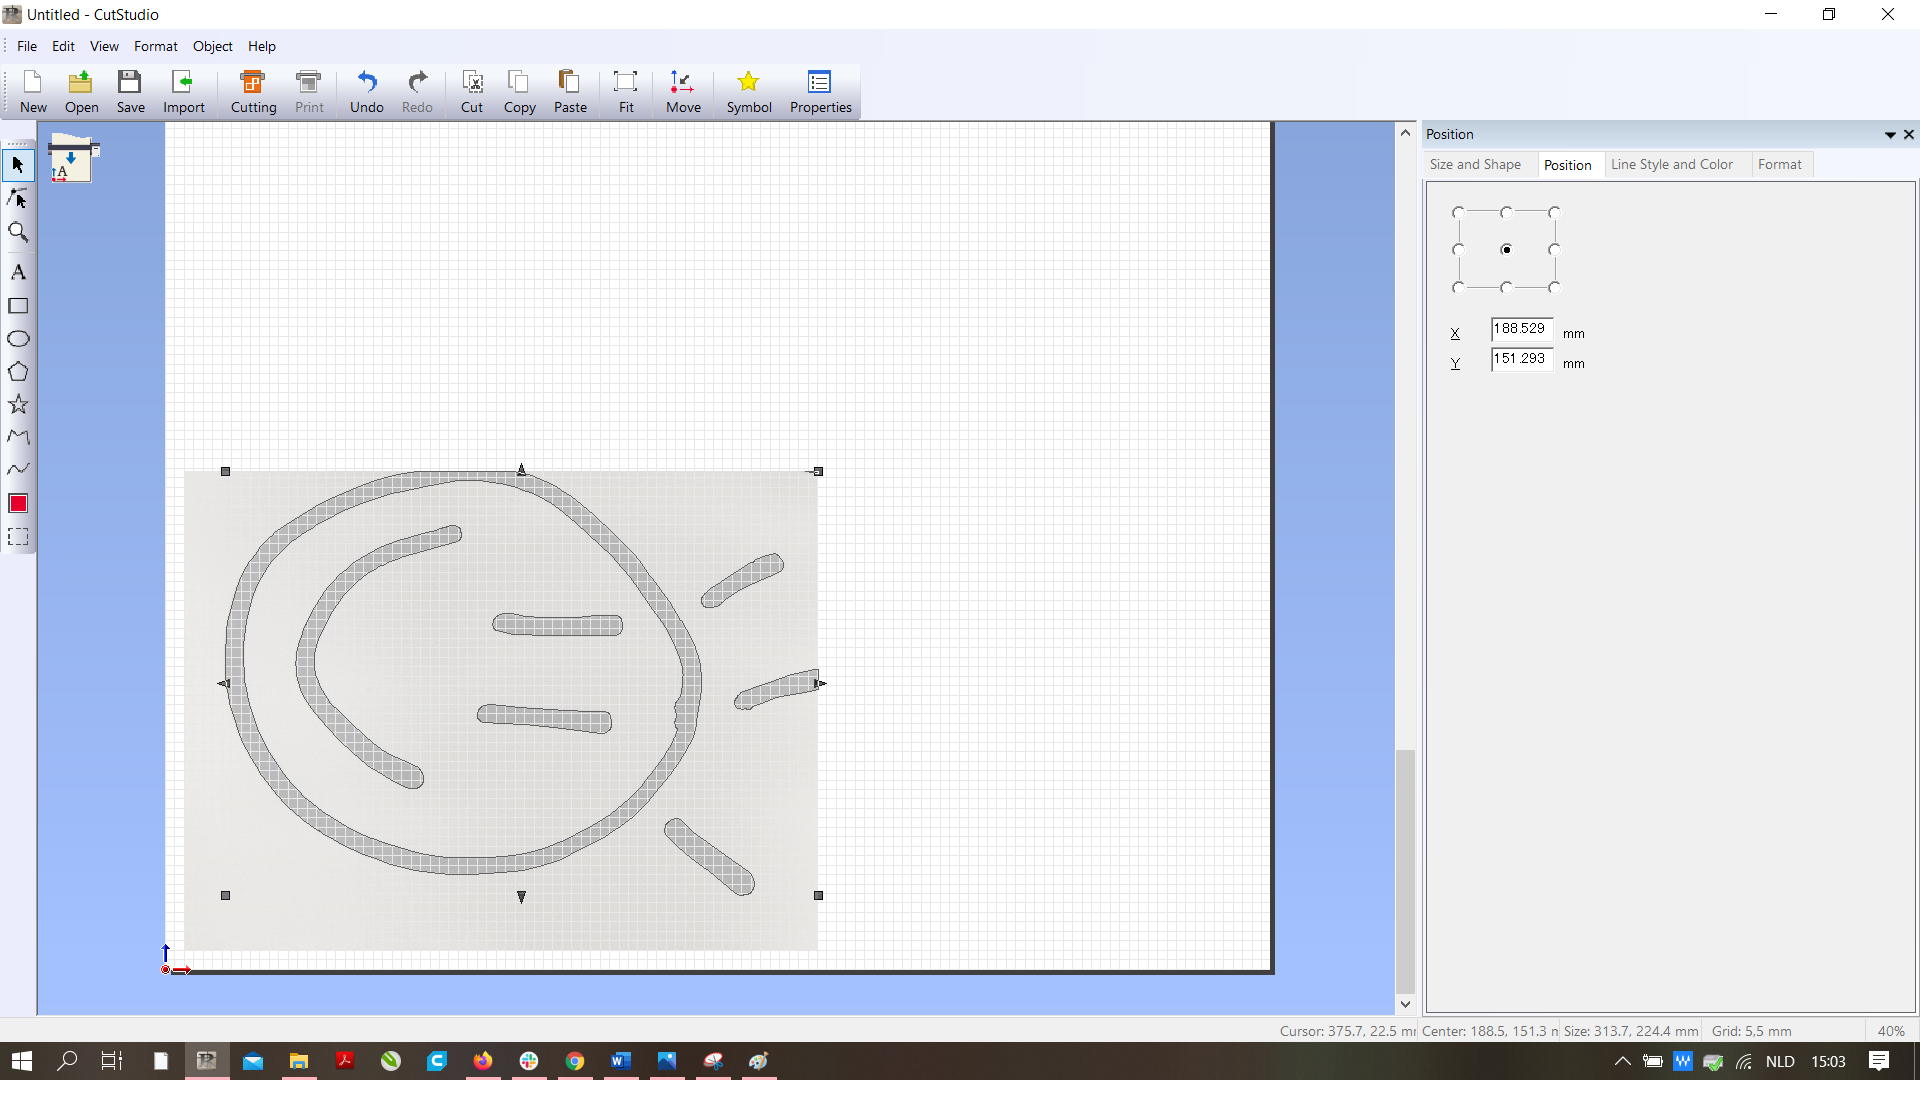
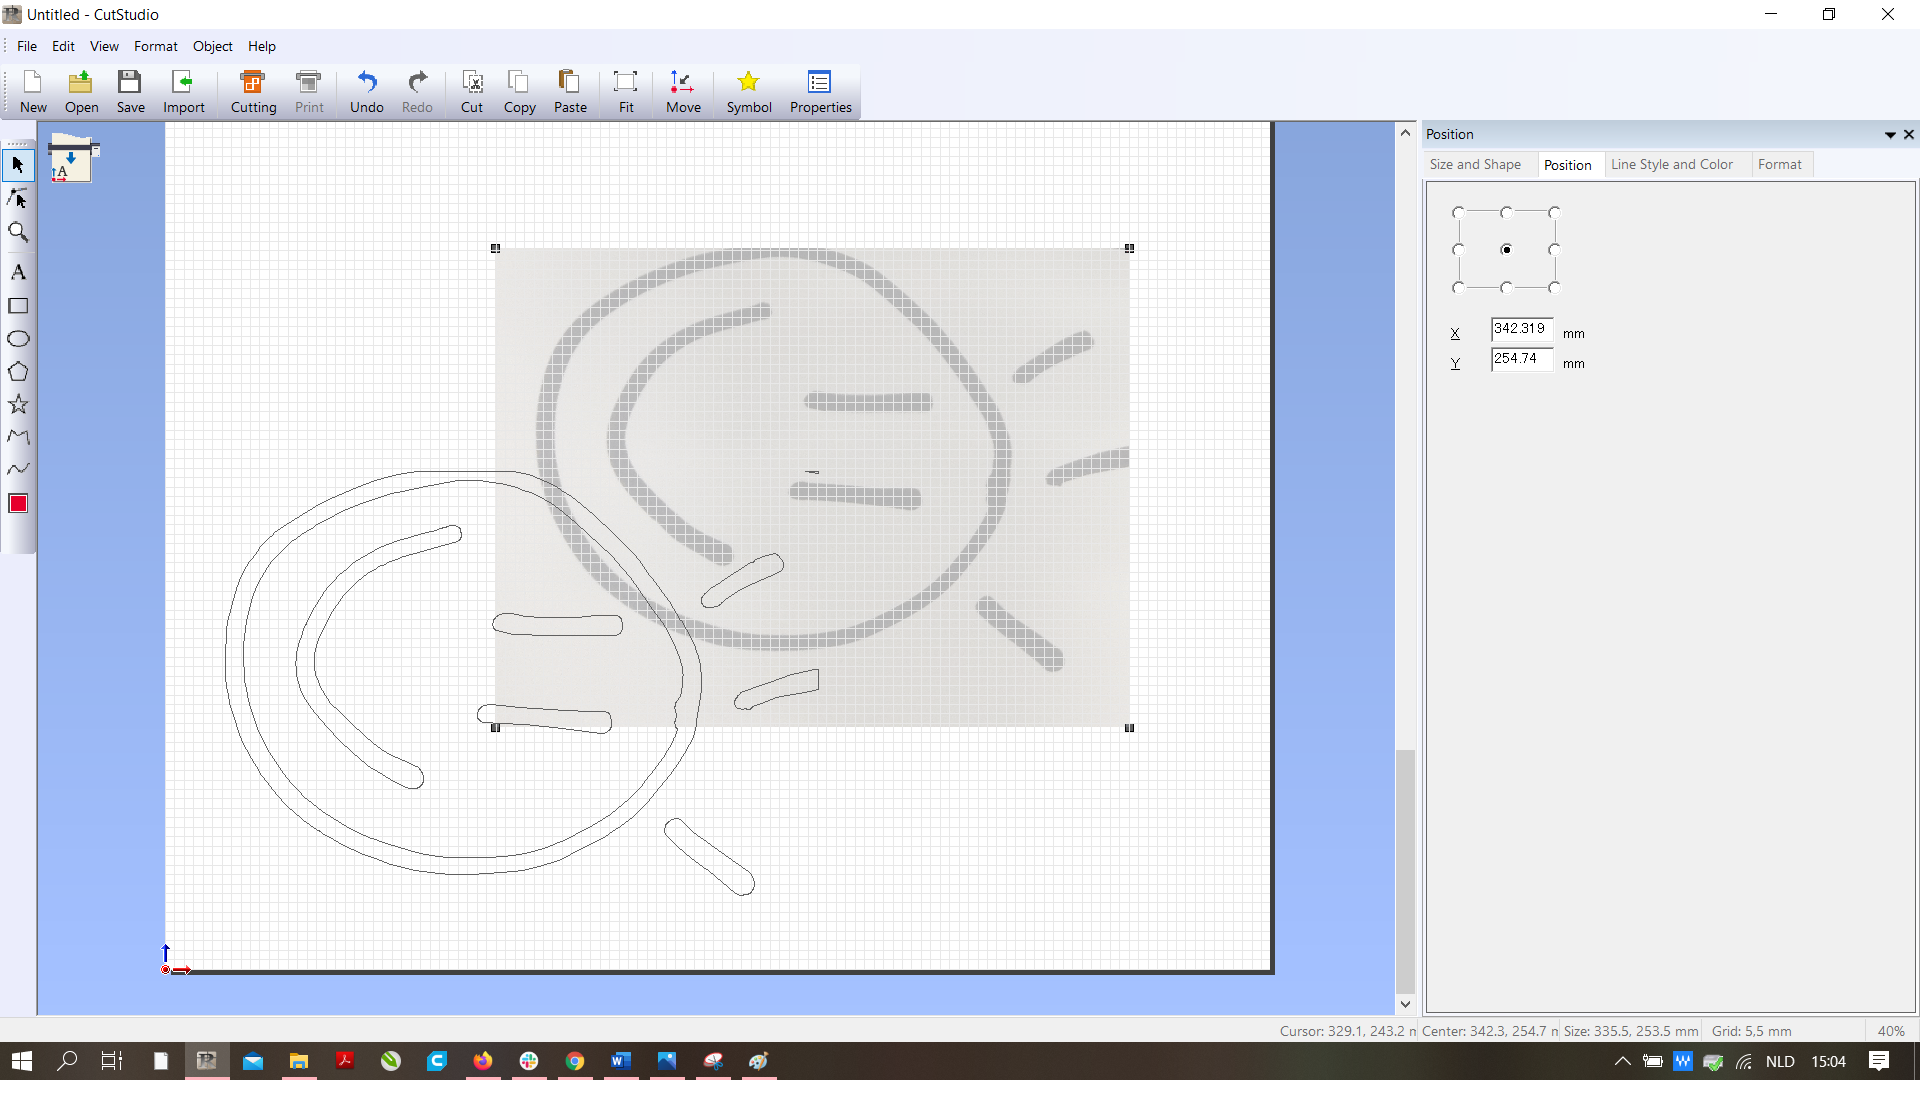
In the next step we will edit the photo. The editing process takes place in different steps.
- First we will take the outline of the photo. How? By clicking to the right of the photo and choosing 'outline'.
- Next we move the bar 'alignement image density' untill there are no more spots on your photo.
- Thirdly, click on 'extract contour lines'.
- Click 'ok'.
Now you should see you photo, with on top of that a line drawing. You only need the line drawing. Click on the photo and delete it.
Edit the Drawing
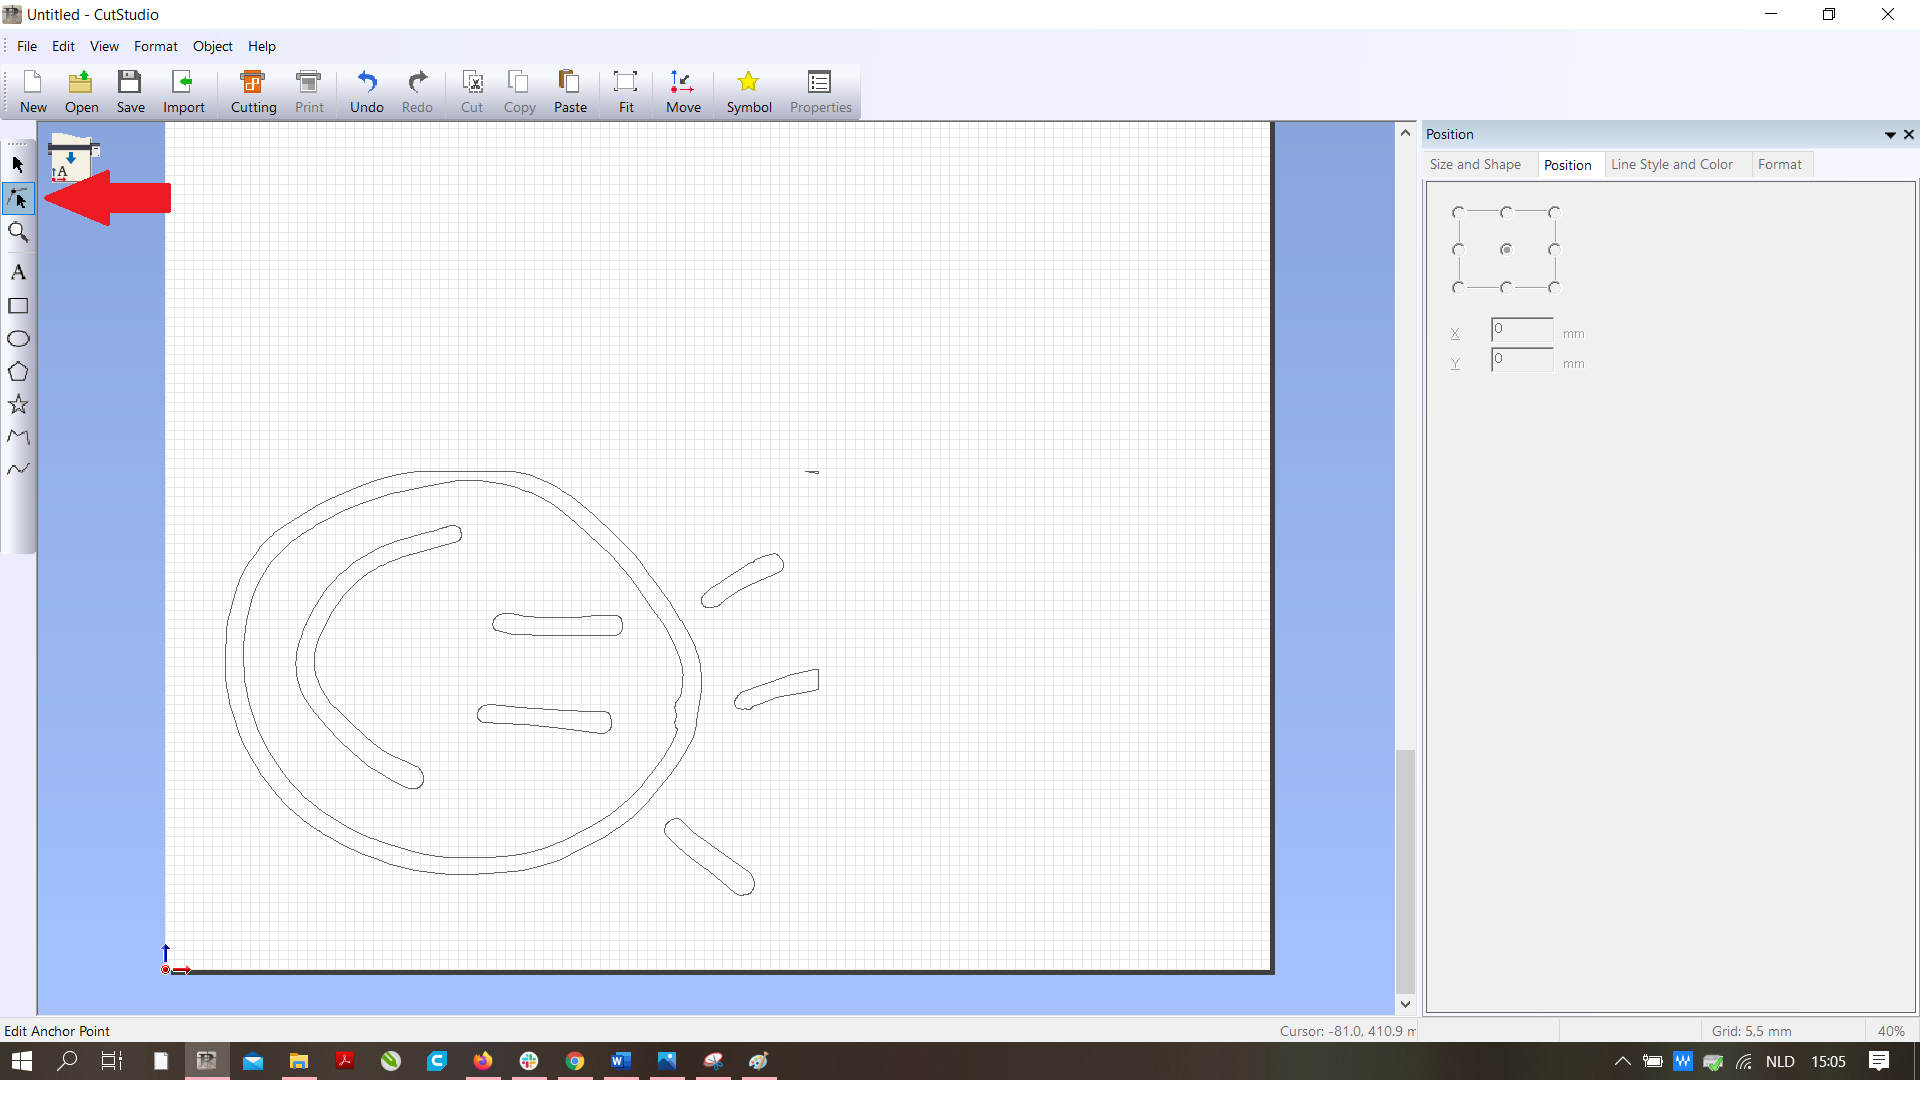
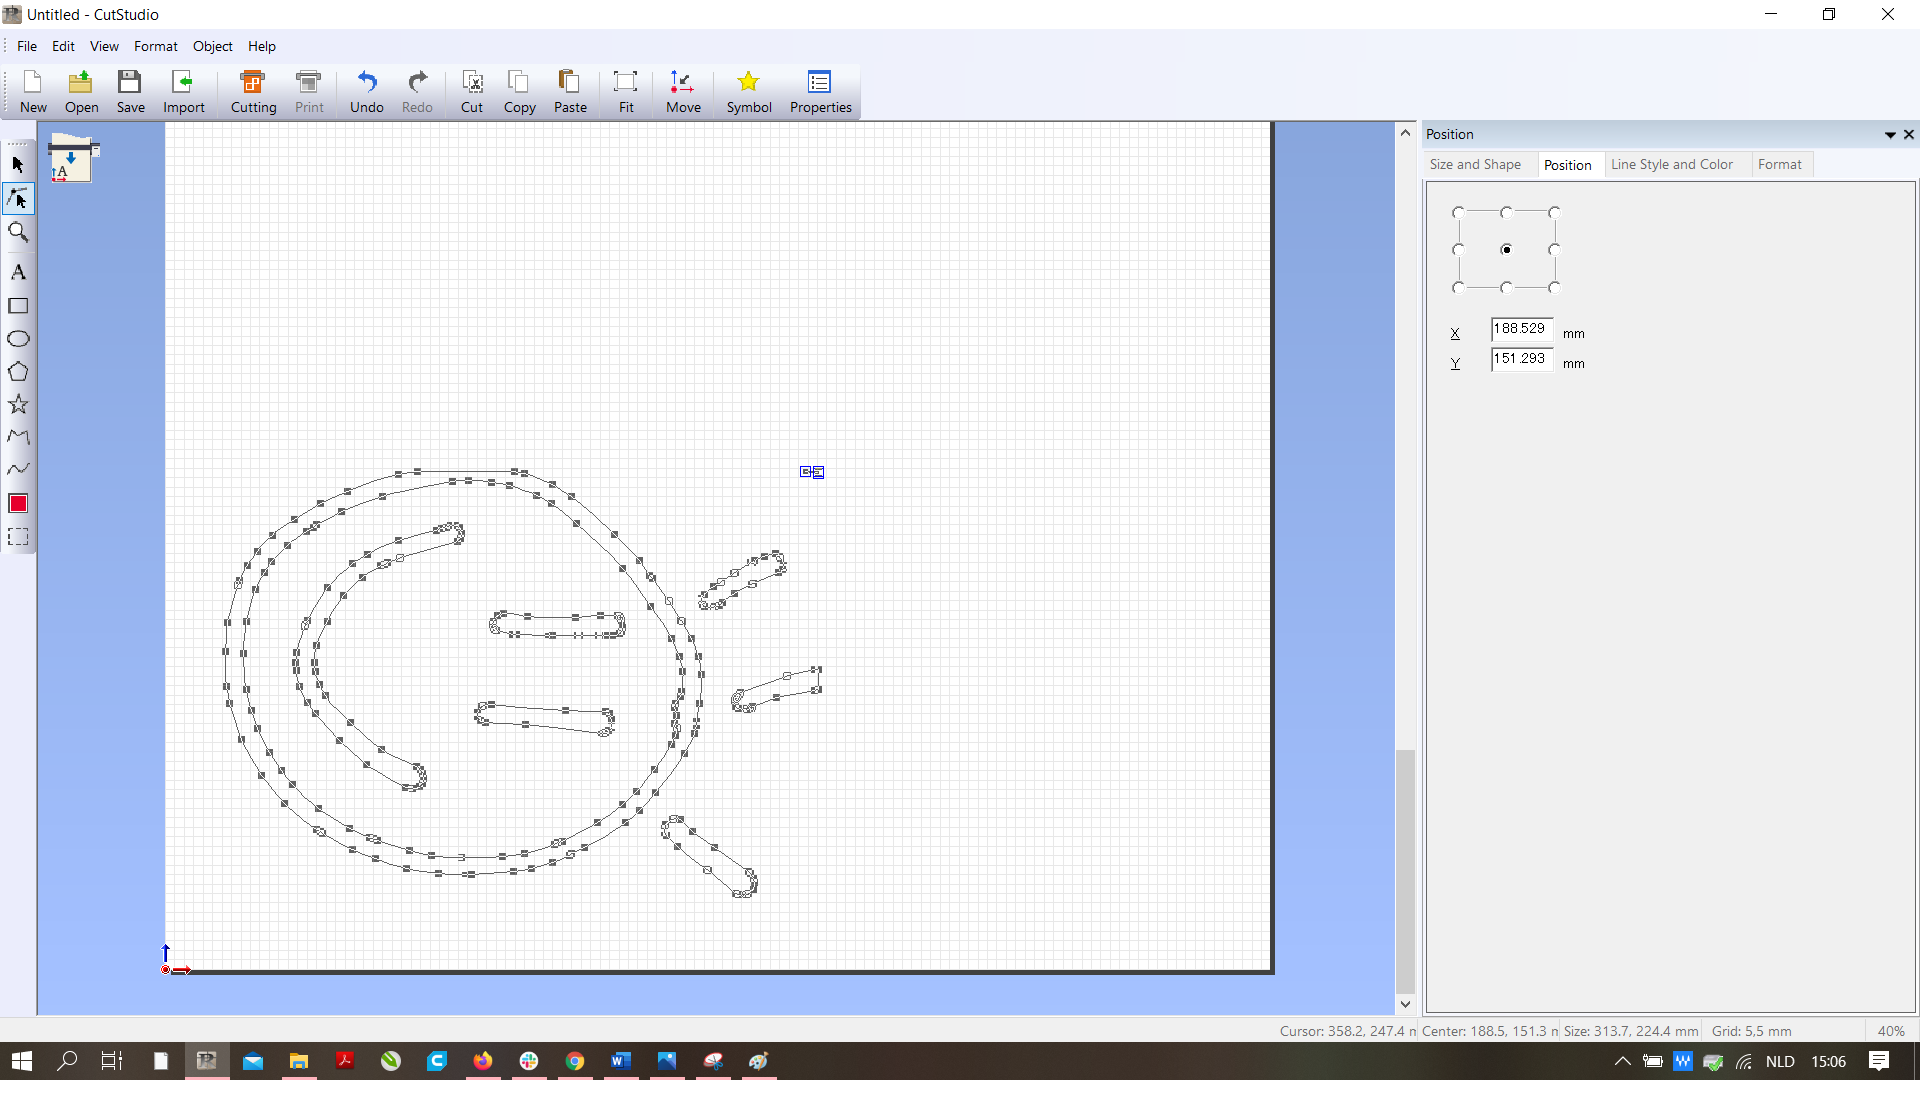
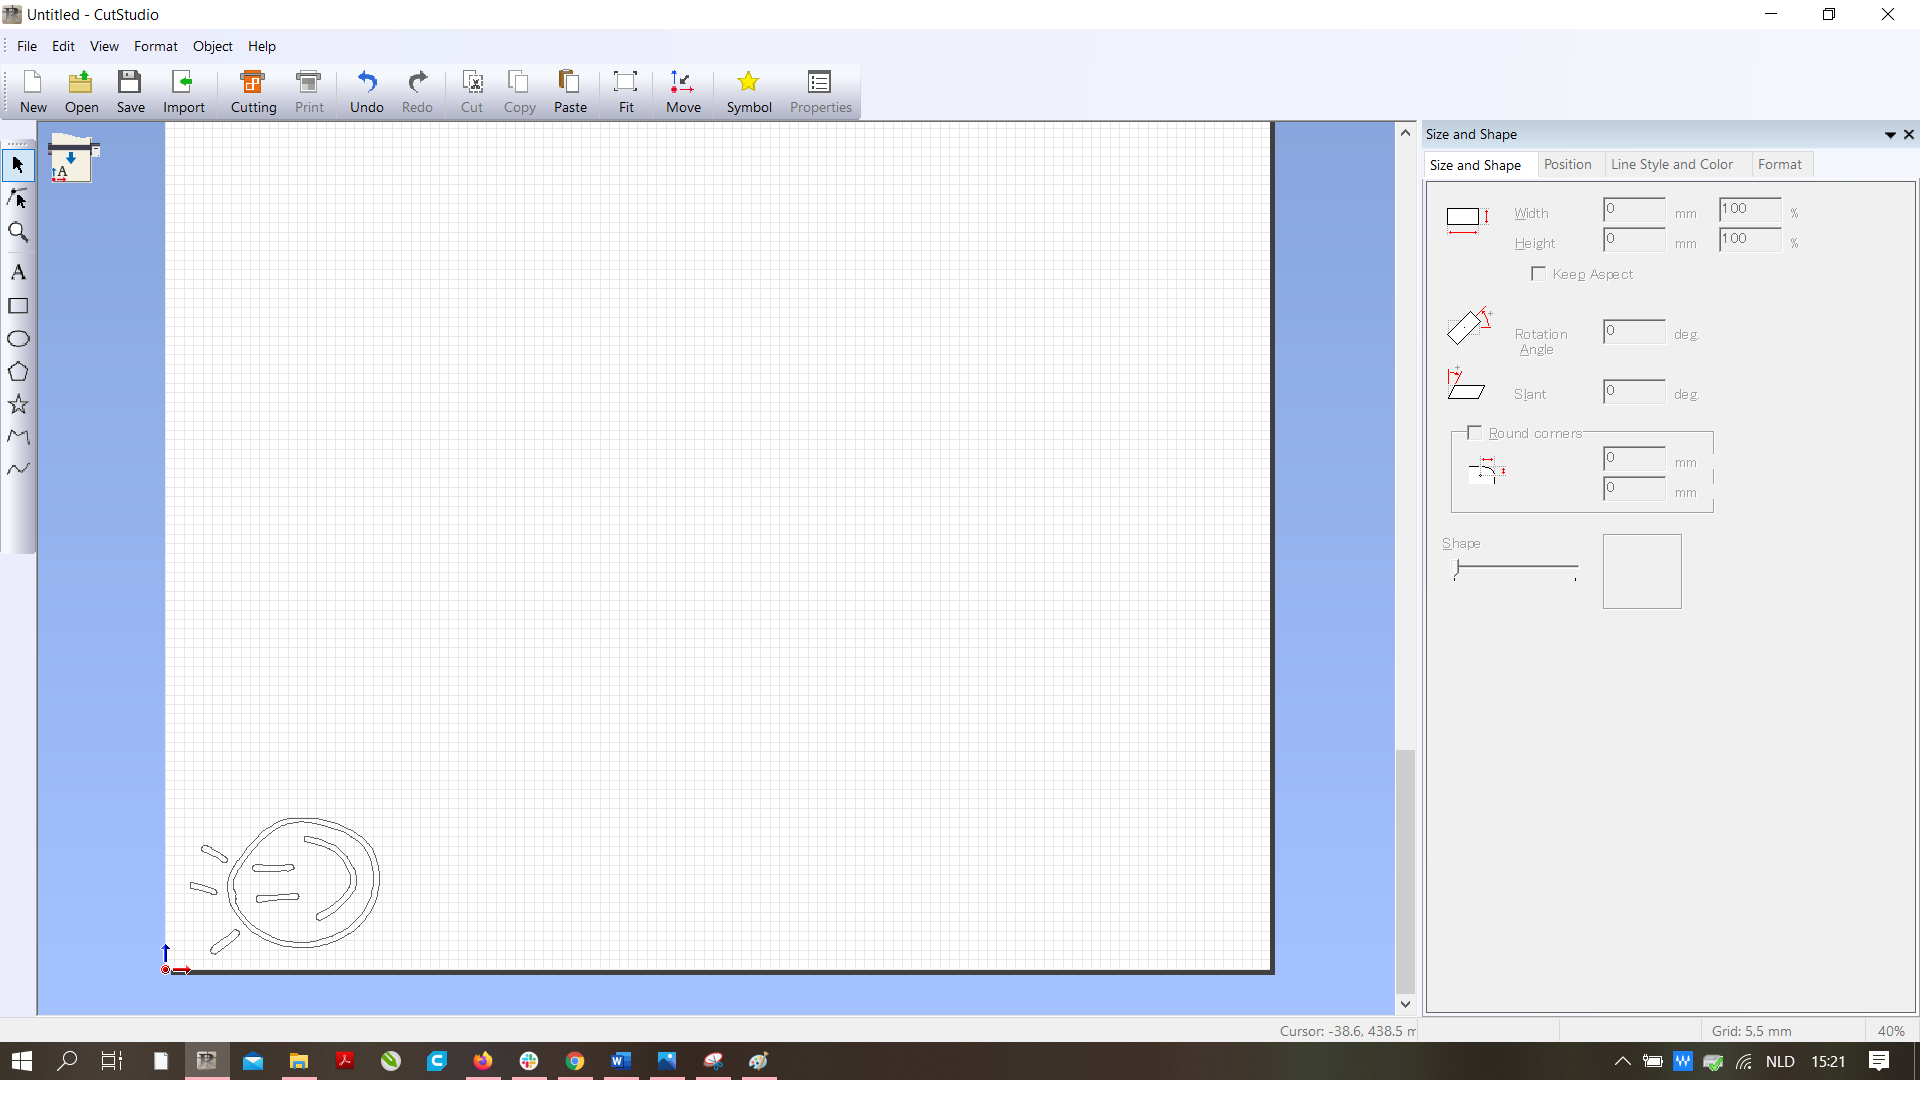
During this step it is important to get rid of all the impurities in the drawing. This editing process also proceeds in differents steps.
- Using the second icon on the right, you can select the points of your line drawing. Do this and press delete to get rid of the pieces that don't belong to the drawing.
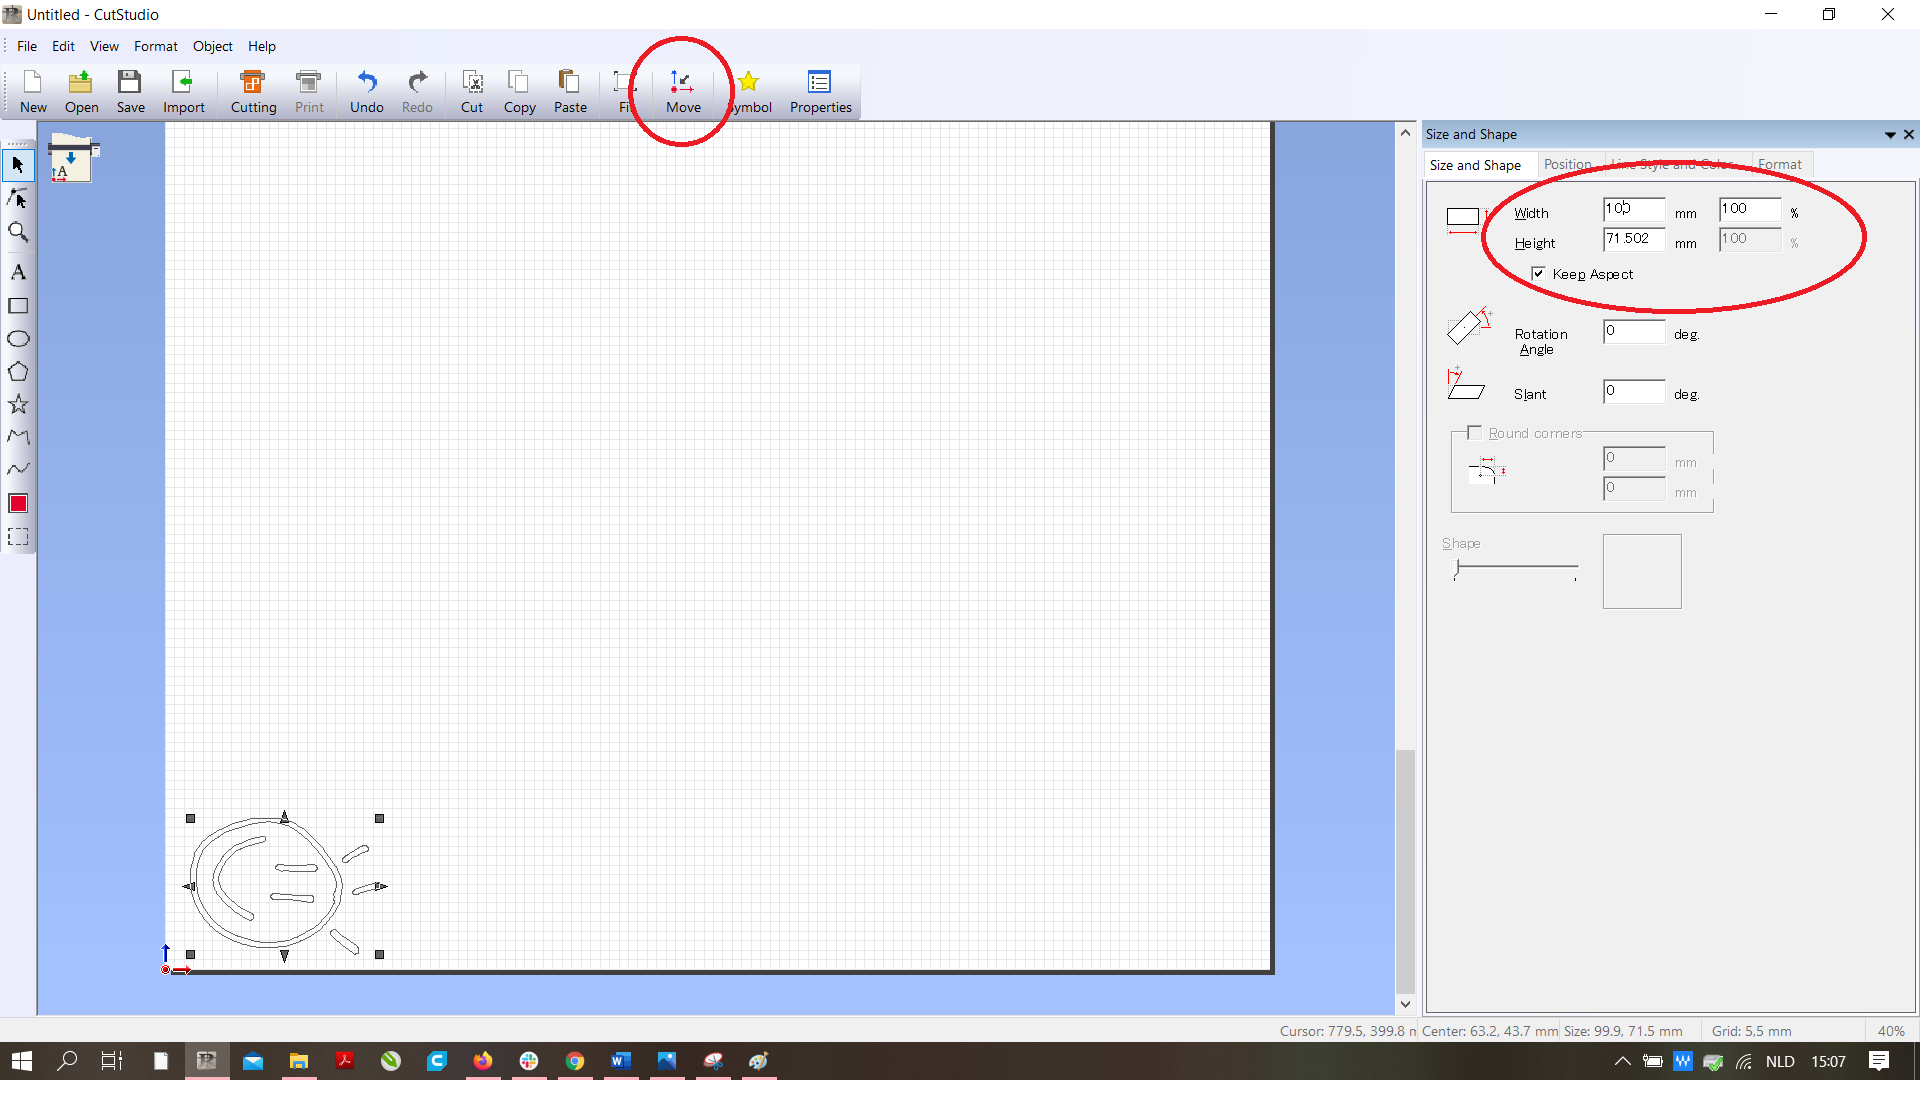
- Next select the drawing and click on the right on 'shape'.
- Select the box 'keep aspect', in order to maintain the correct measurements of your drawing.
- Enter the desired width or lenght of the sticker (before you do this, take the measurements of the object you want to put your sticker on).
- Finally place your drawing in the corner by pressing the 'move' symbol at the top.
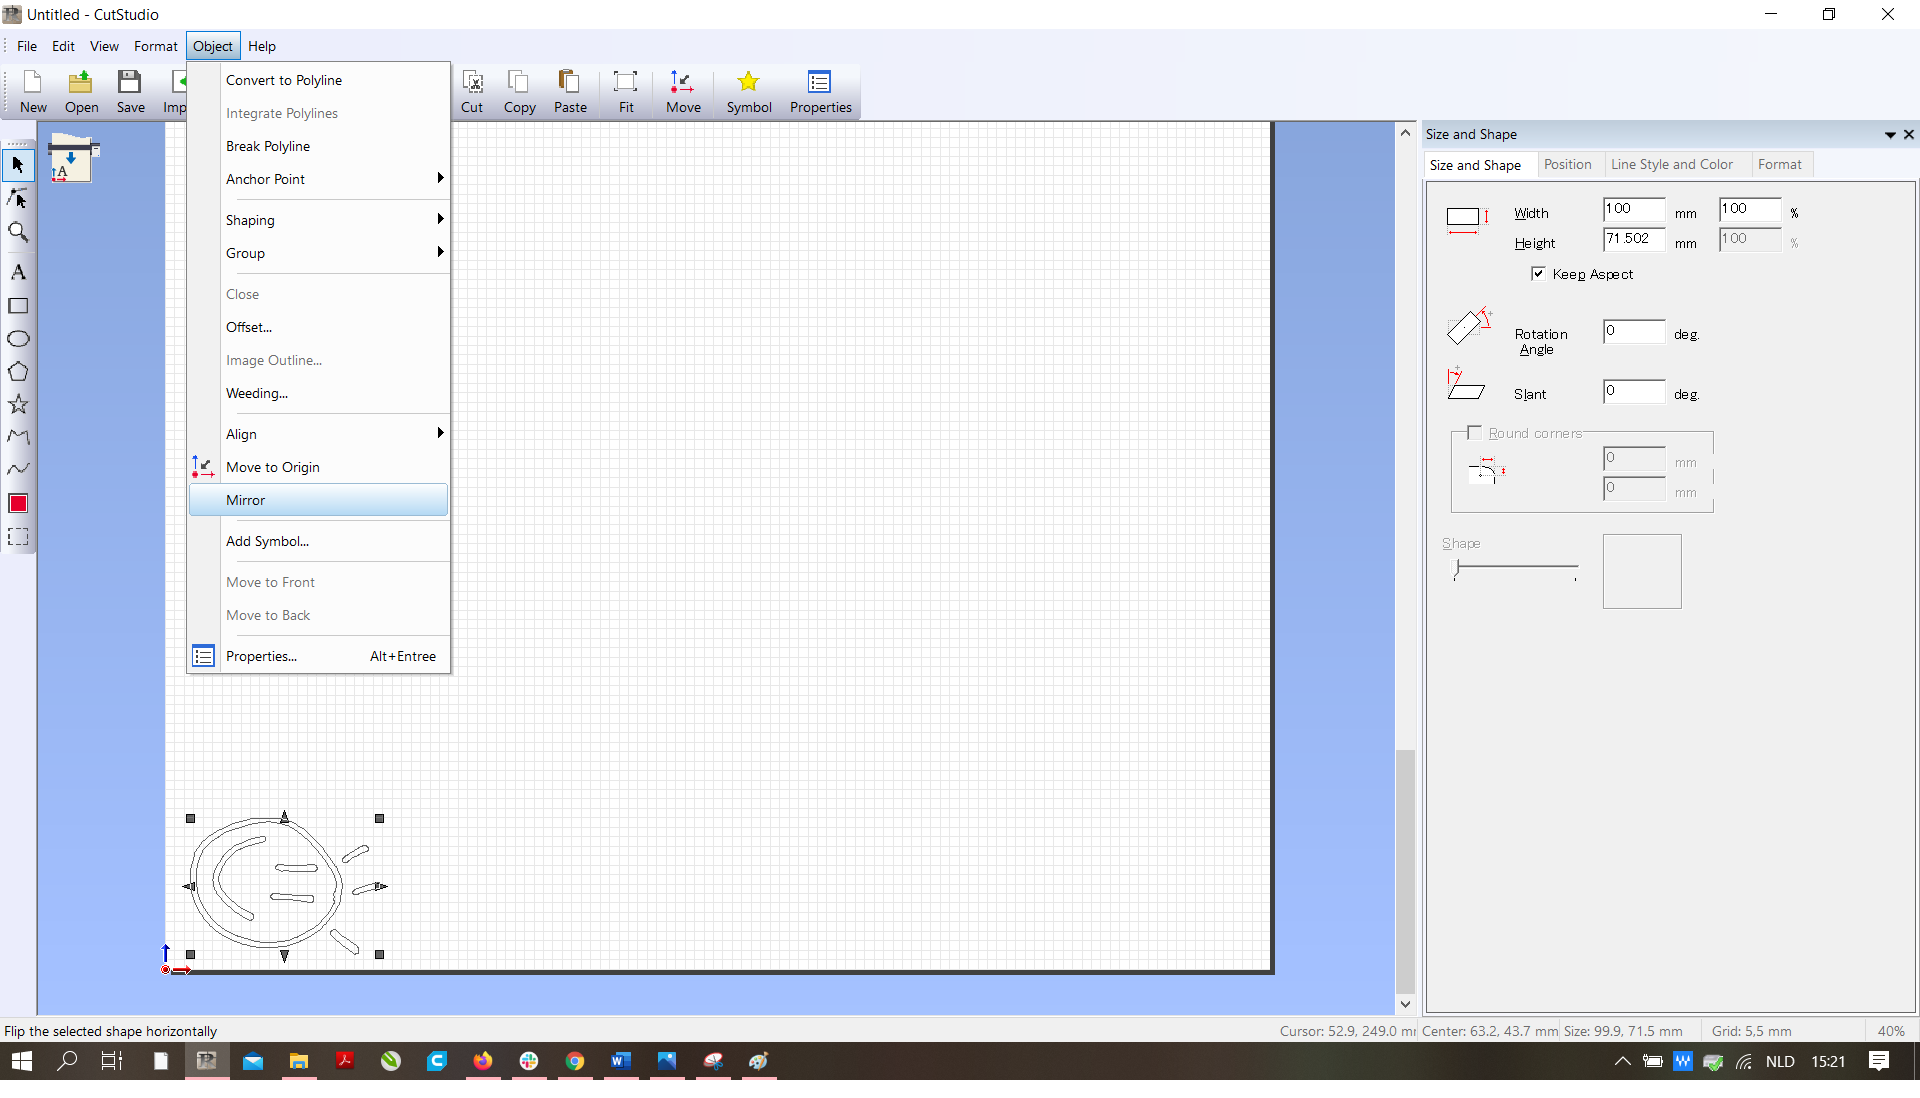
Do you want to put the sticker on an item of clothing or any piece of fabric? Than you have to make sure that the drawing is mirrored. This is how you mirror your drawing:
- Select your drawing.
- Go to 'object' and press 'mirror'.
This is very important, otherwise the text on your drawing will be reversed!
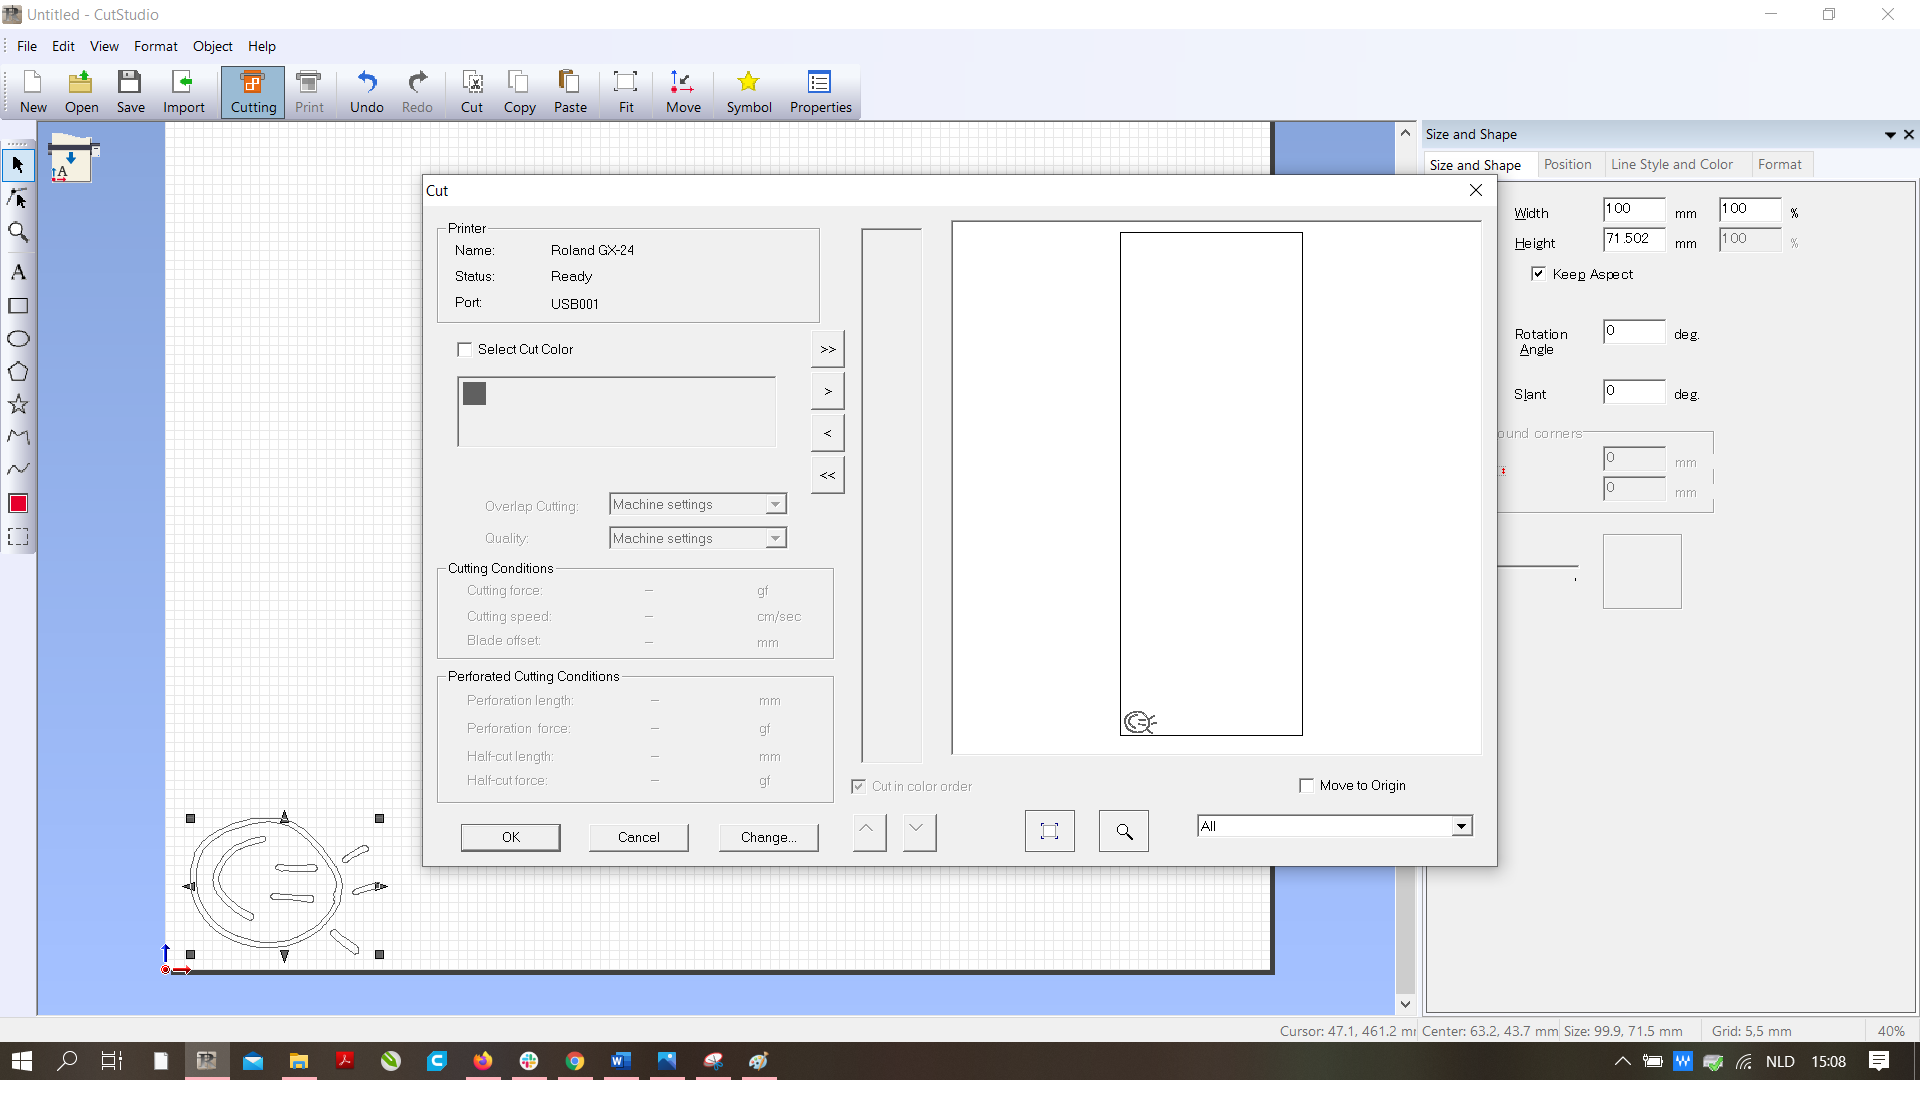
The drawing is now ready to be cut by the vinylcutter.
Cutting
While using the lasercutter it is important to keep a few things in mind. For example: always check whether the material is in the vinylcutter before you start cutting.
There are two different types of vinyl you can choose from:
- regular vinyl: good to put on items, walls, bikes, bread boxes,...
- flex foil: good to put on clothing, fabric bags,...
WARNING: if you want to put the sticker on an item of clothing, go back to the previous step and make sure the drawing is mirrored correctly!
Last but not least: let someone in the lab control whether the material is in the right place before you press 'cutting'.
Peal and Stick
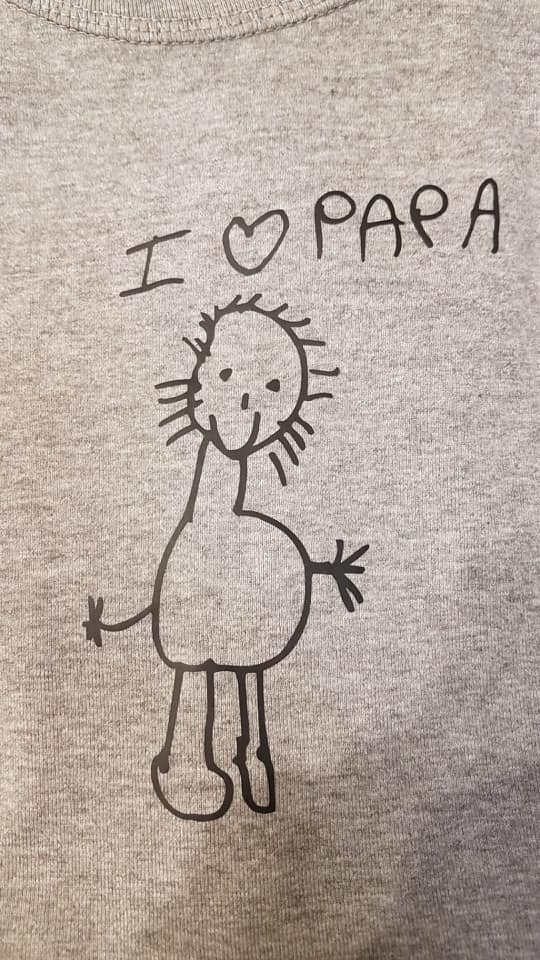
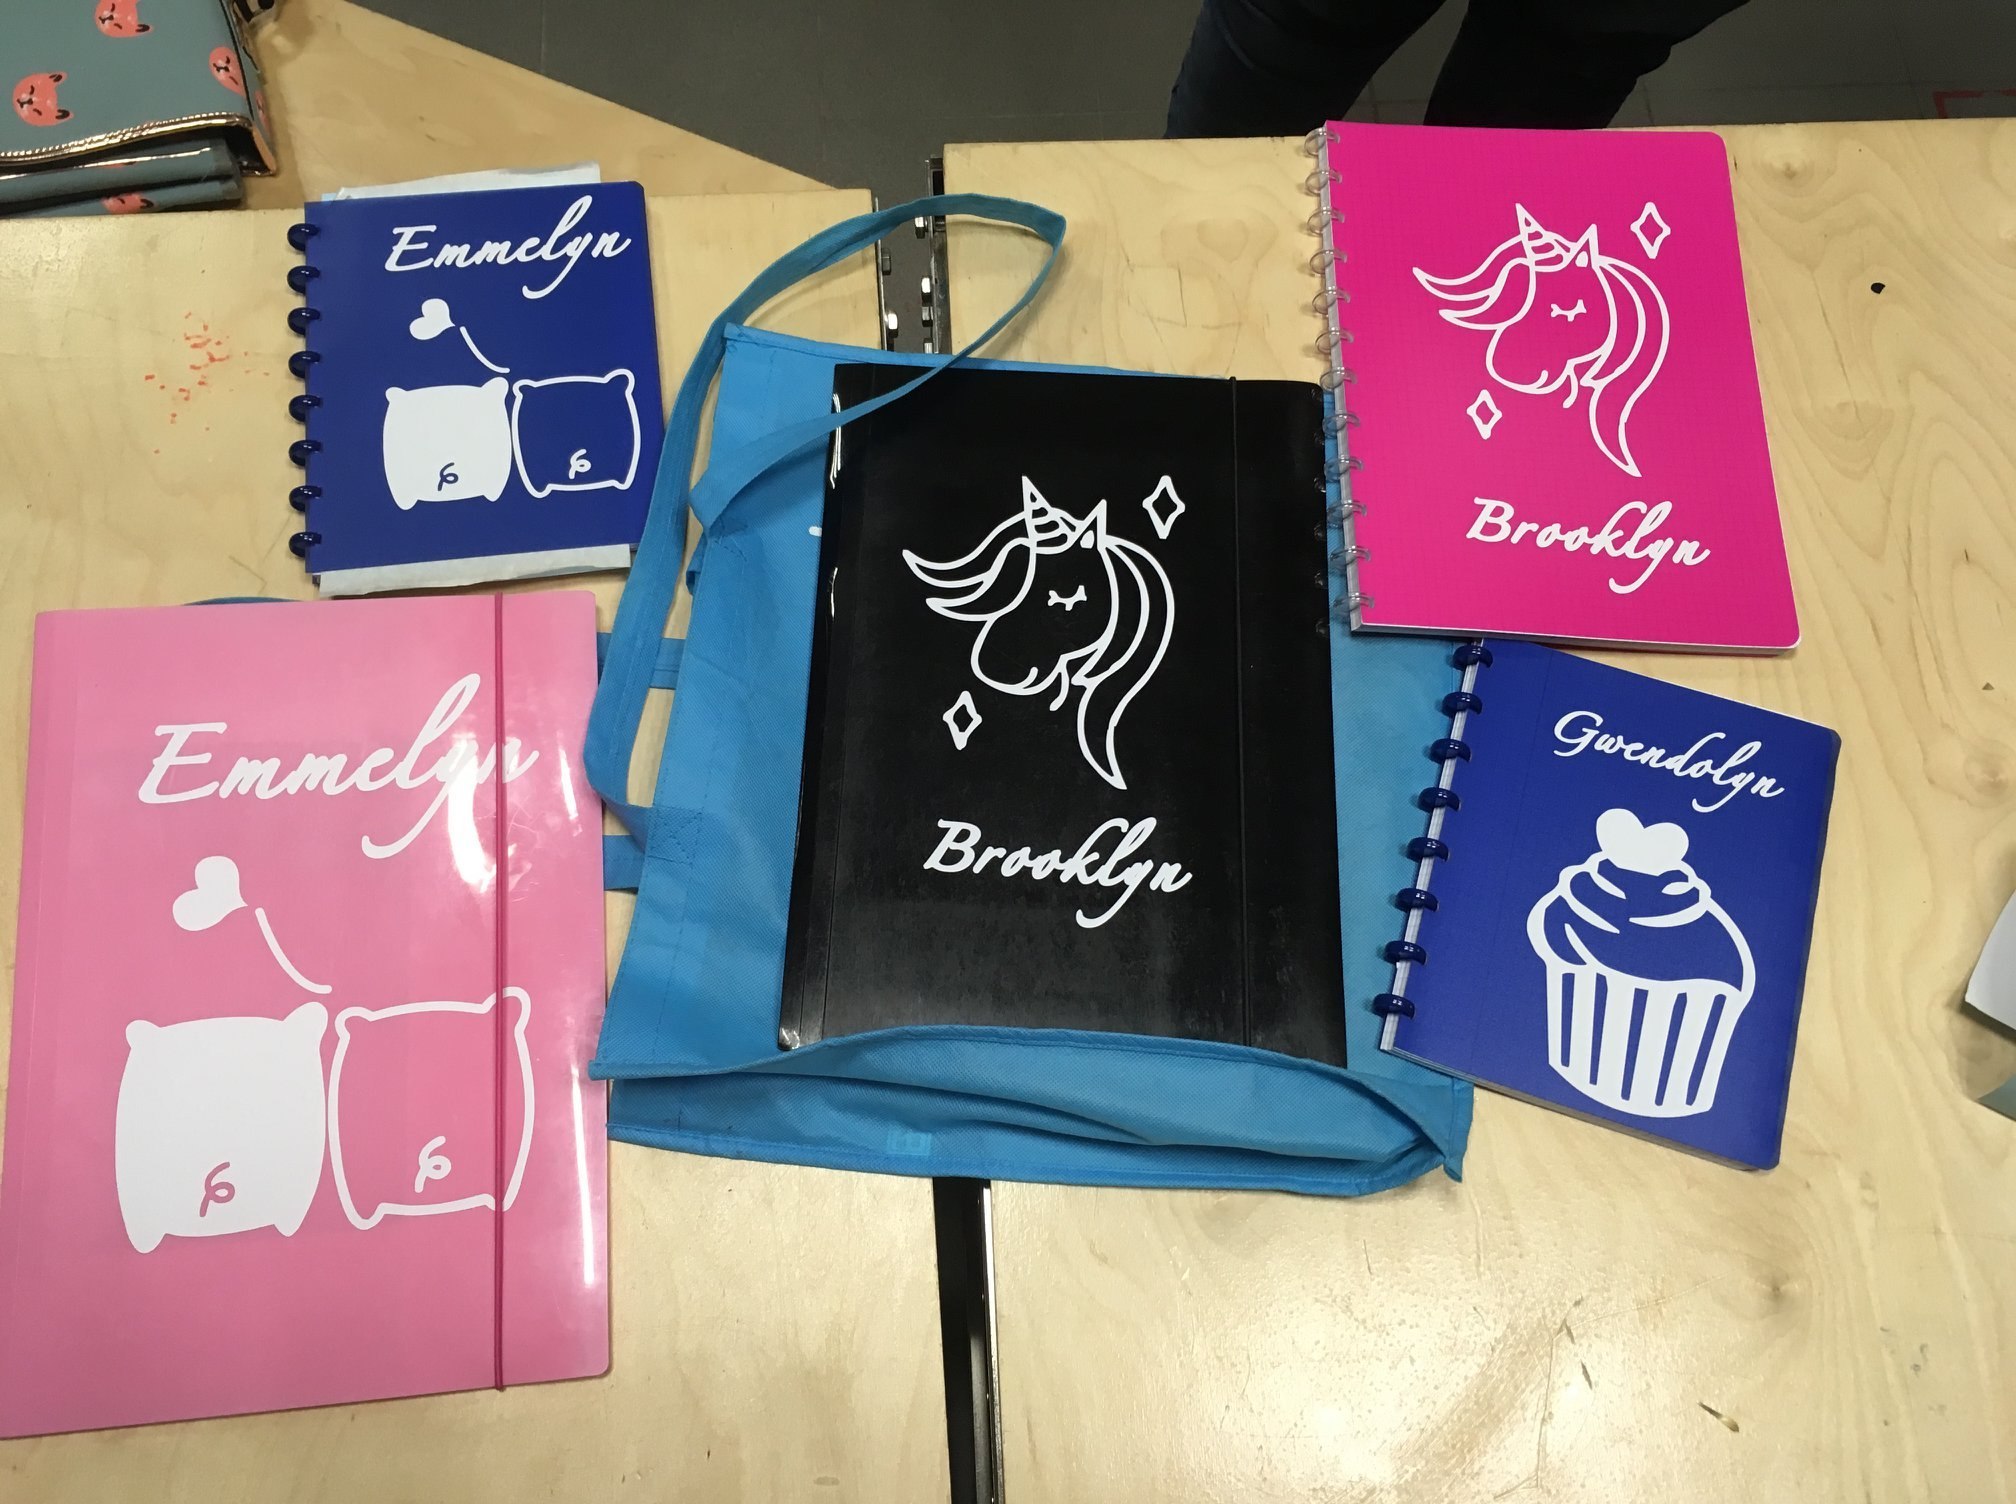
You're sticker is ready! Now the pealing can begin. Remove all the parts of the sticker that you don't need. You can use a little knife to do this.
Ready?
Did you use regular vinyl?
- Put the transfer foil on you sticker and transfer your sticker to this foil.
- Now you can put the sticker on whichever item you want!
Did you use flex foil?
- Take the iron out of the closet or use a heat press.
- Put the sticker on the desired spot on the textile.
- Iron over the sticker (with a towel in between the sticker and the fabric) in order to attach the sticker to the textile. OR use the heat press and apply pressure.
CONGRATULATIONS! YOU'RE DONE!