Teenage Mutant Ninja Turtle Costume
by blast replicas in Craft > Costumes & Cosplay
50137 Views, 156 Favorites, 0 Comments
Teenage Mutant Ninja Turtle Costume
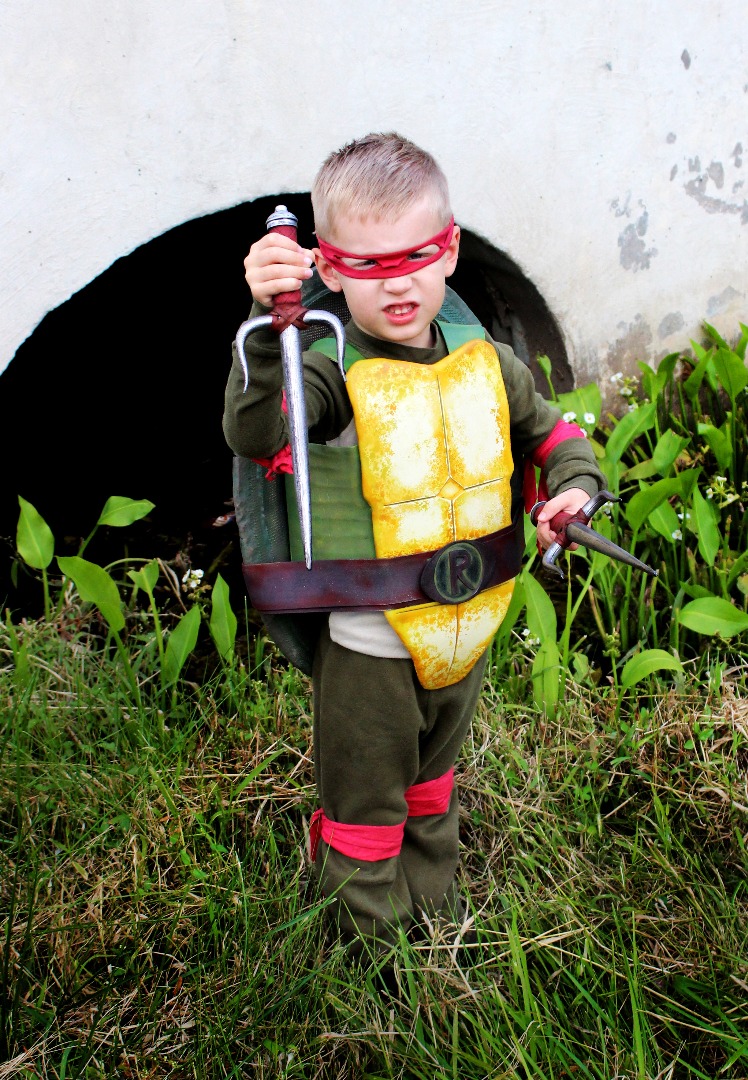
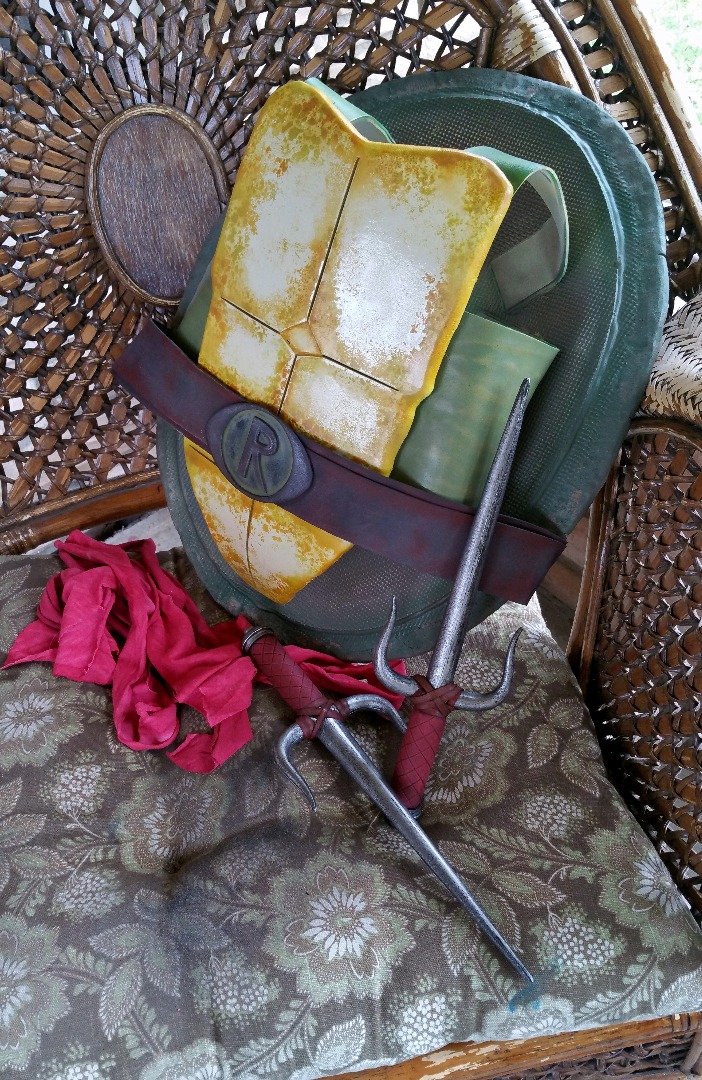
This past year, my son went to a birthday party where the birthday boy got a Ninja Turtle shell as a gift. My son loved it, and wanted one! I knew I had the materials at home, and the ability to make a shell for my son that looked as good, if not better than the store bought version. What I'm not good at is staying simple. What started out as a quick turtle shell build, turned into a full costume complete with weapons!
What I used to make this costume:
EVA foam floor mats
Box Cutter
Contact Cement
Super Glue
2 Part Epoxy Adhesive
Heat Gun
Spray Paint
Air Brush Paint
Air Brush
Old T-Shirt
Fine Grit Sanding Sponge
Caulk Gun
Caulk
Basic Shapes
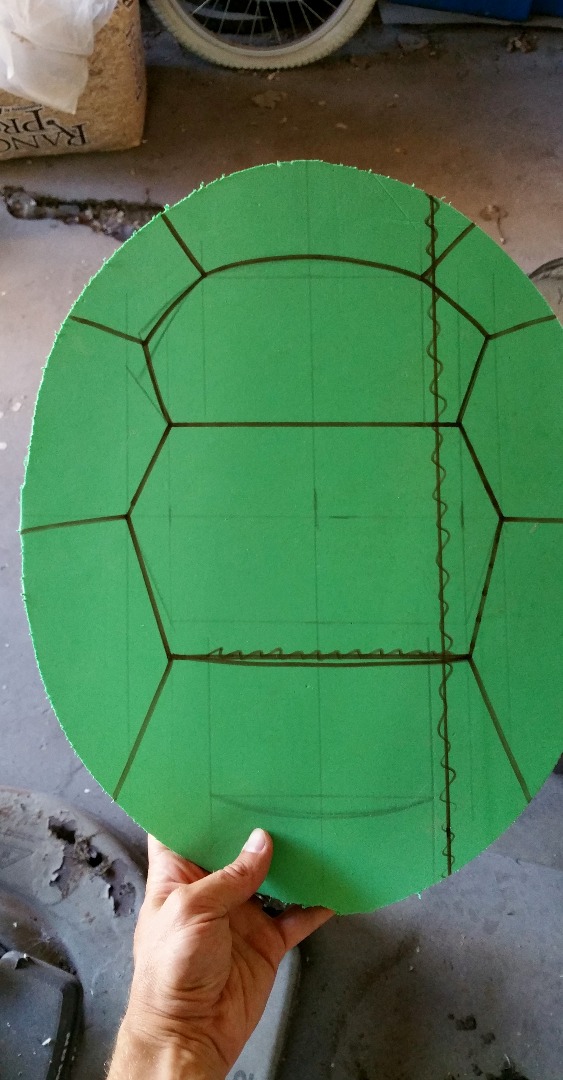
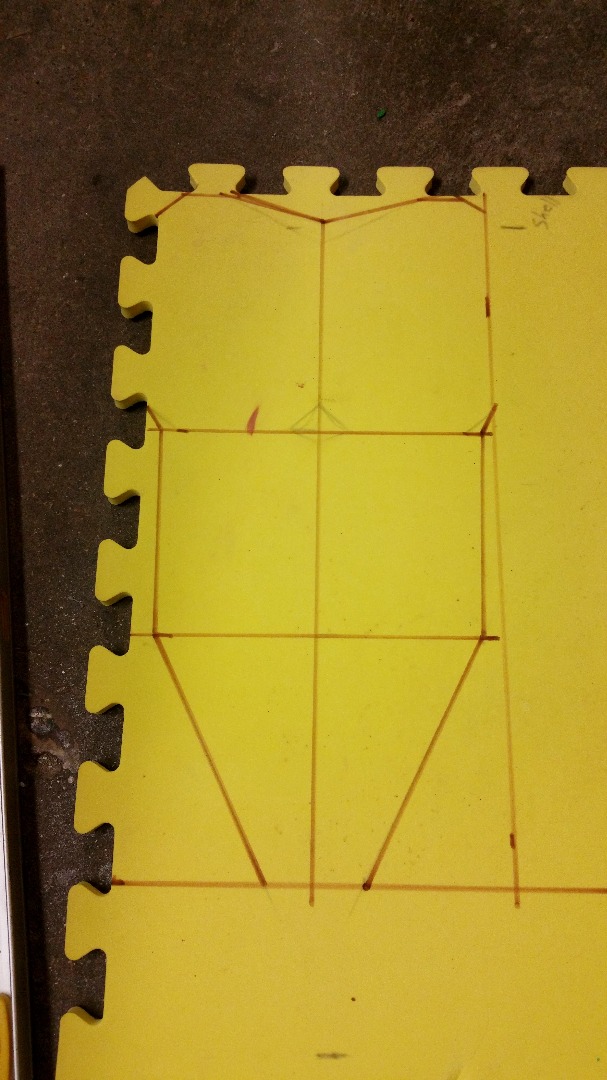
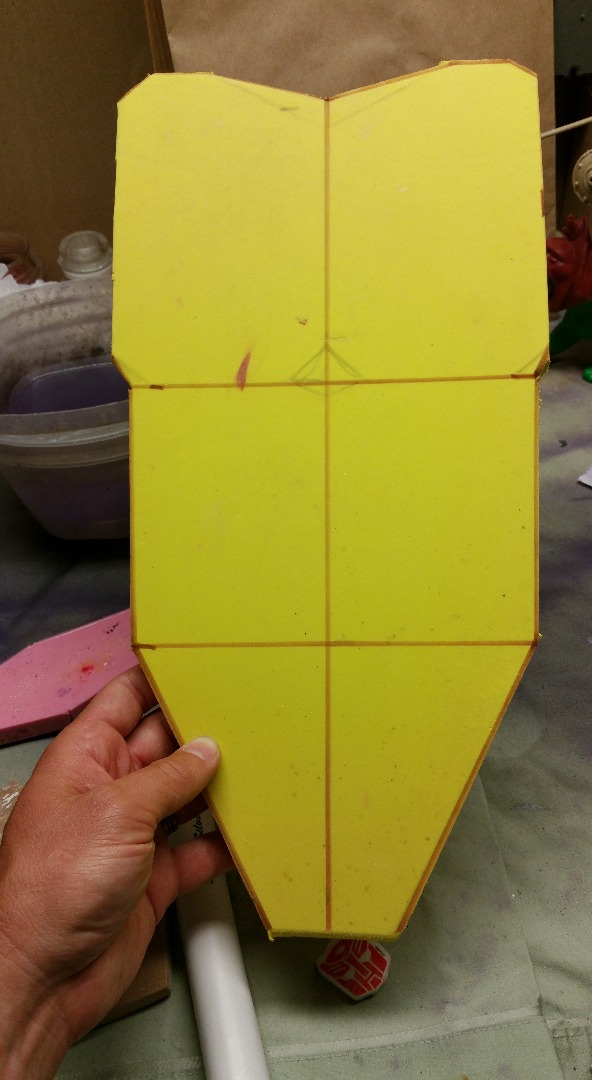
From my youth to the present, the Ninja Turtles have had several come backs. Throughout this time, they have had slight, to major appearance changes. This gave me the ability to choose from many different looks and use what I liked.
The material used throughout this costume build, is EVA foam. You probably already know what this is, because it's the go to material right now for DIY costuming. For those who do not know, it is the same foam used to make floor mats, the thin sheets of craft foam you can buy from craft stores, and is available in many different thicknesses, and colors.
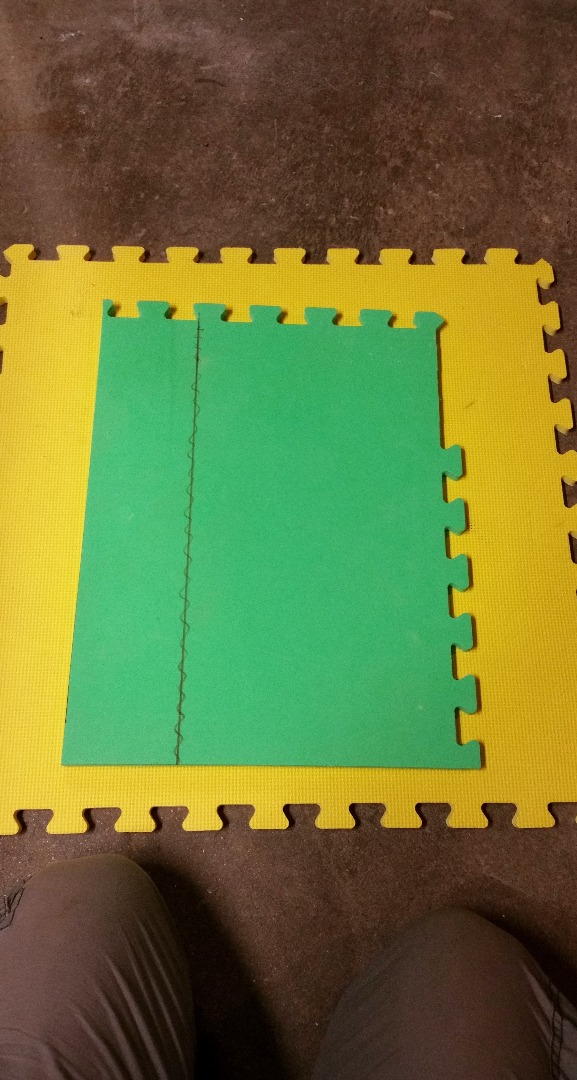
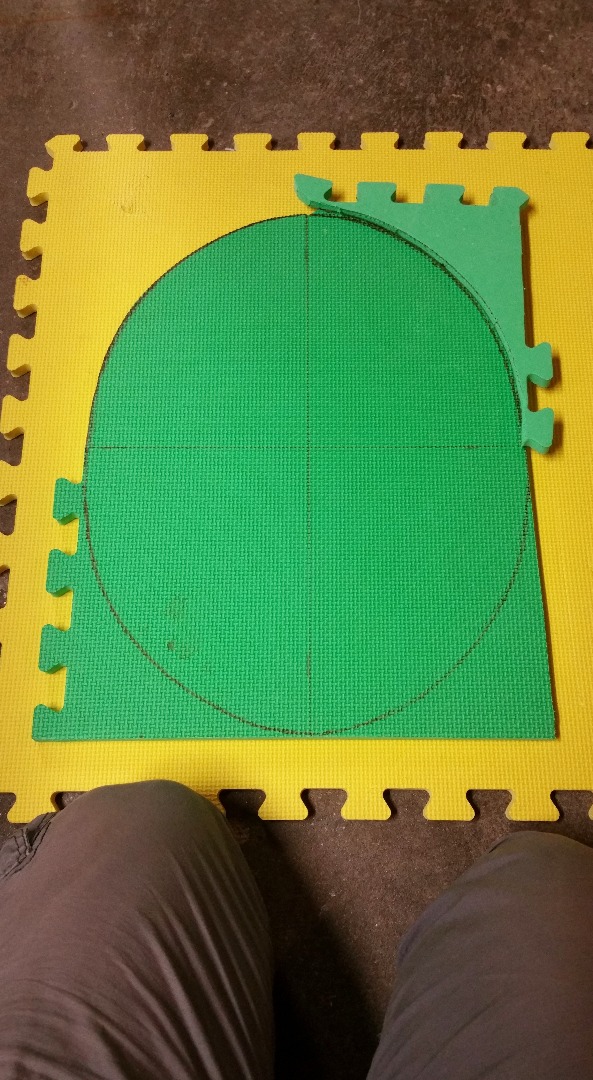
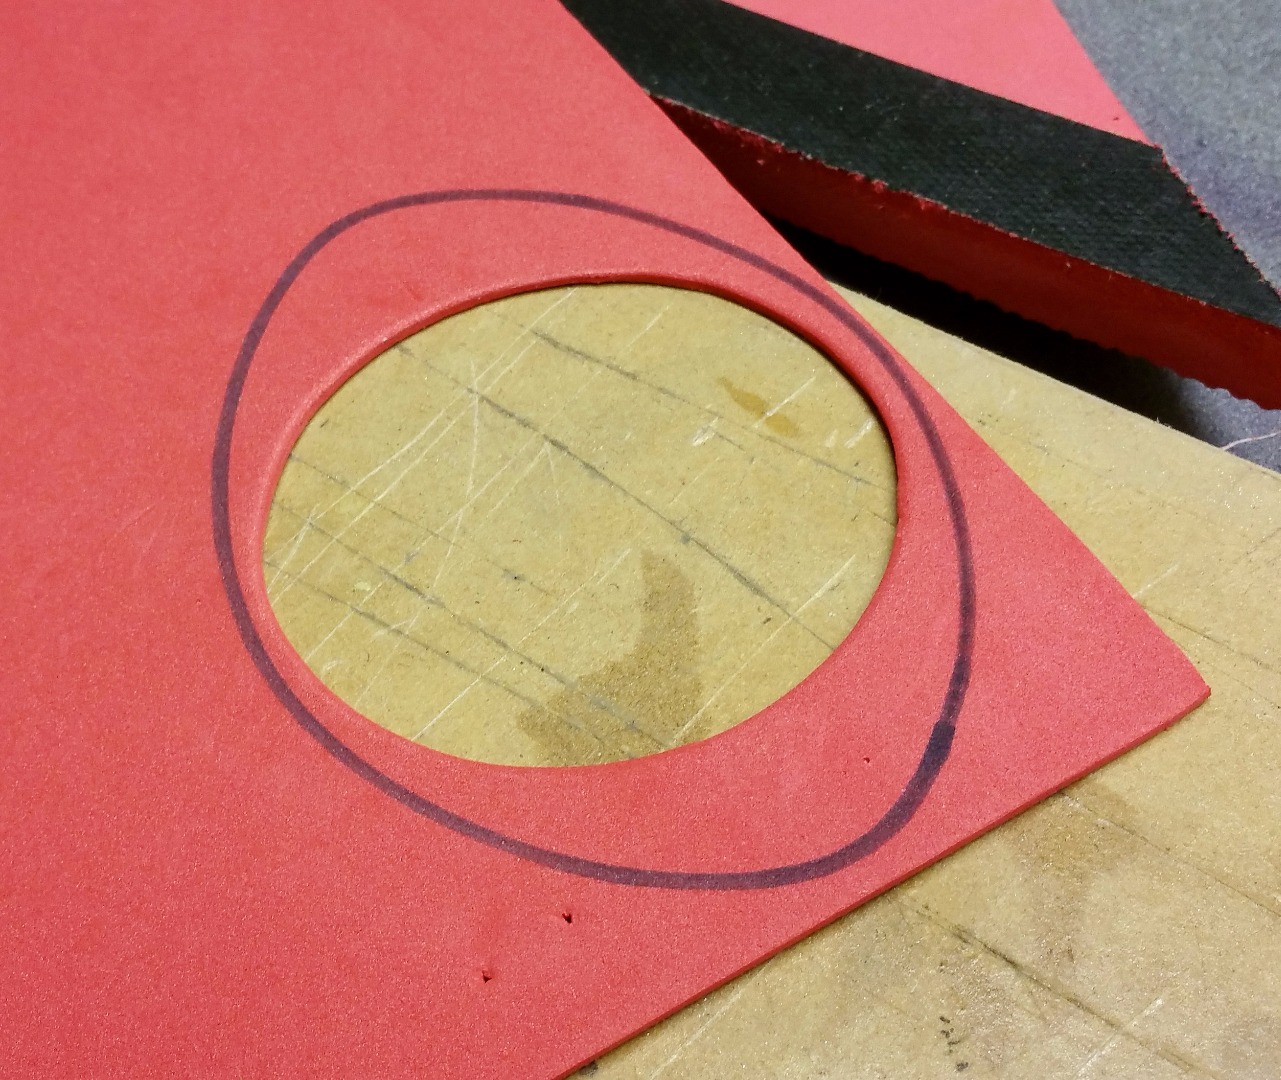
To start this costume, I had my son lay down on one of the EVA mats, and used a sharpie to mark how tall, and wide the shell would need to be to fit his body. I then marked off a square grid within these measurements, and rounded out one of the corners. Using a box cutter, I cut off this corner and used it as a template to mark the rest of the corners to give the shell piece symmetry. After the shell piece was all cut out, I used reference images, and marked the shells detail lines with a sharpie.
The chest piece was done similarly to the shell. I put what would become the chest piece of foam up to my son, and marked how long and wide to make it. A grid was made, then I marked the pectoral and abdominal lines where I thought they should be. This piece was cut out with a box cutter.
Side note: A band saw will cut EVA foam quicker and cleaner than a box cutter. I don't have quick access to a band saw, so most of the time, which was the case with all of the cuts made in this project, I used a box cutter.
Shaping and Detailing the Shell
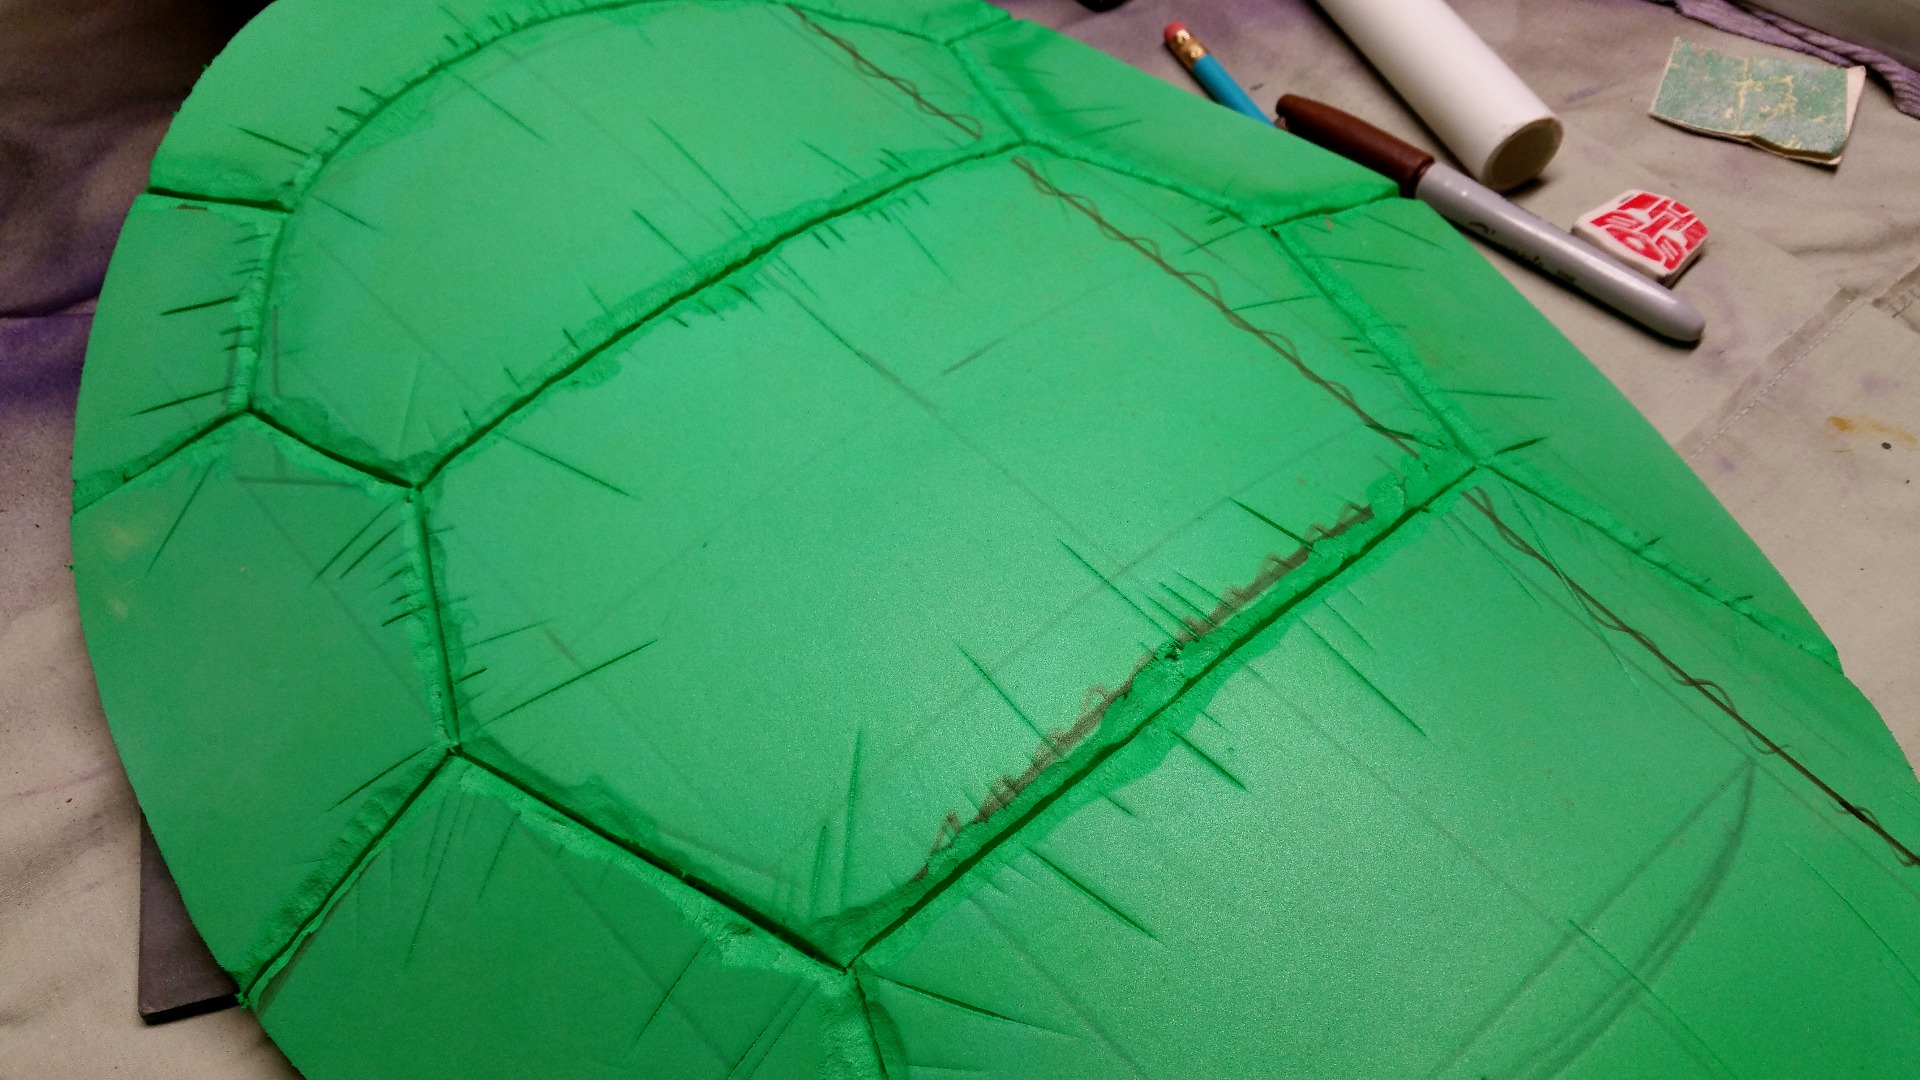
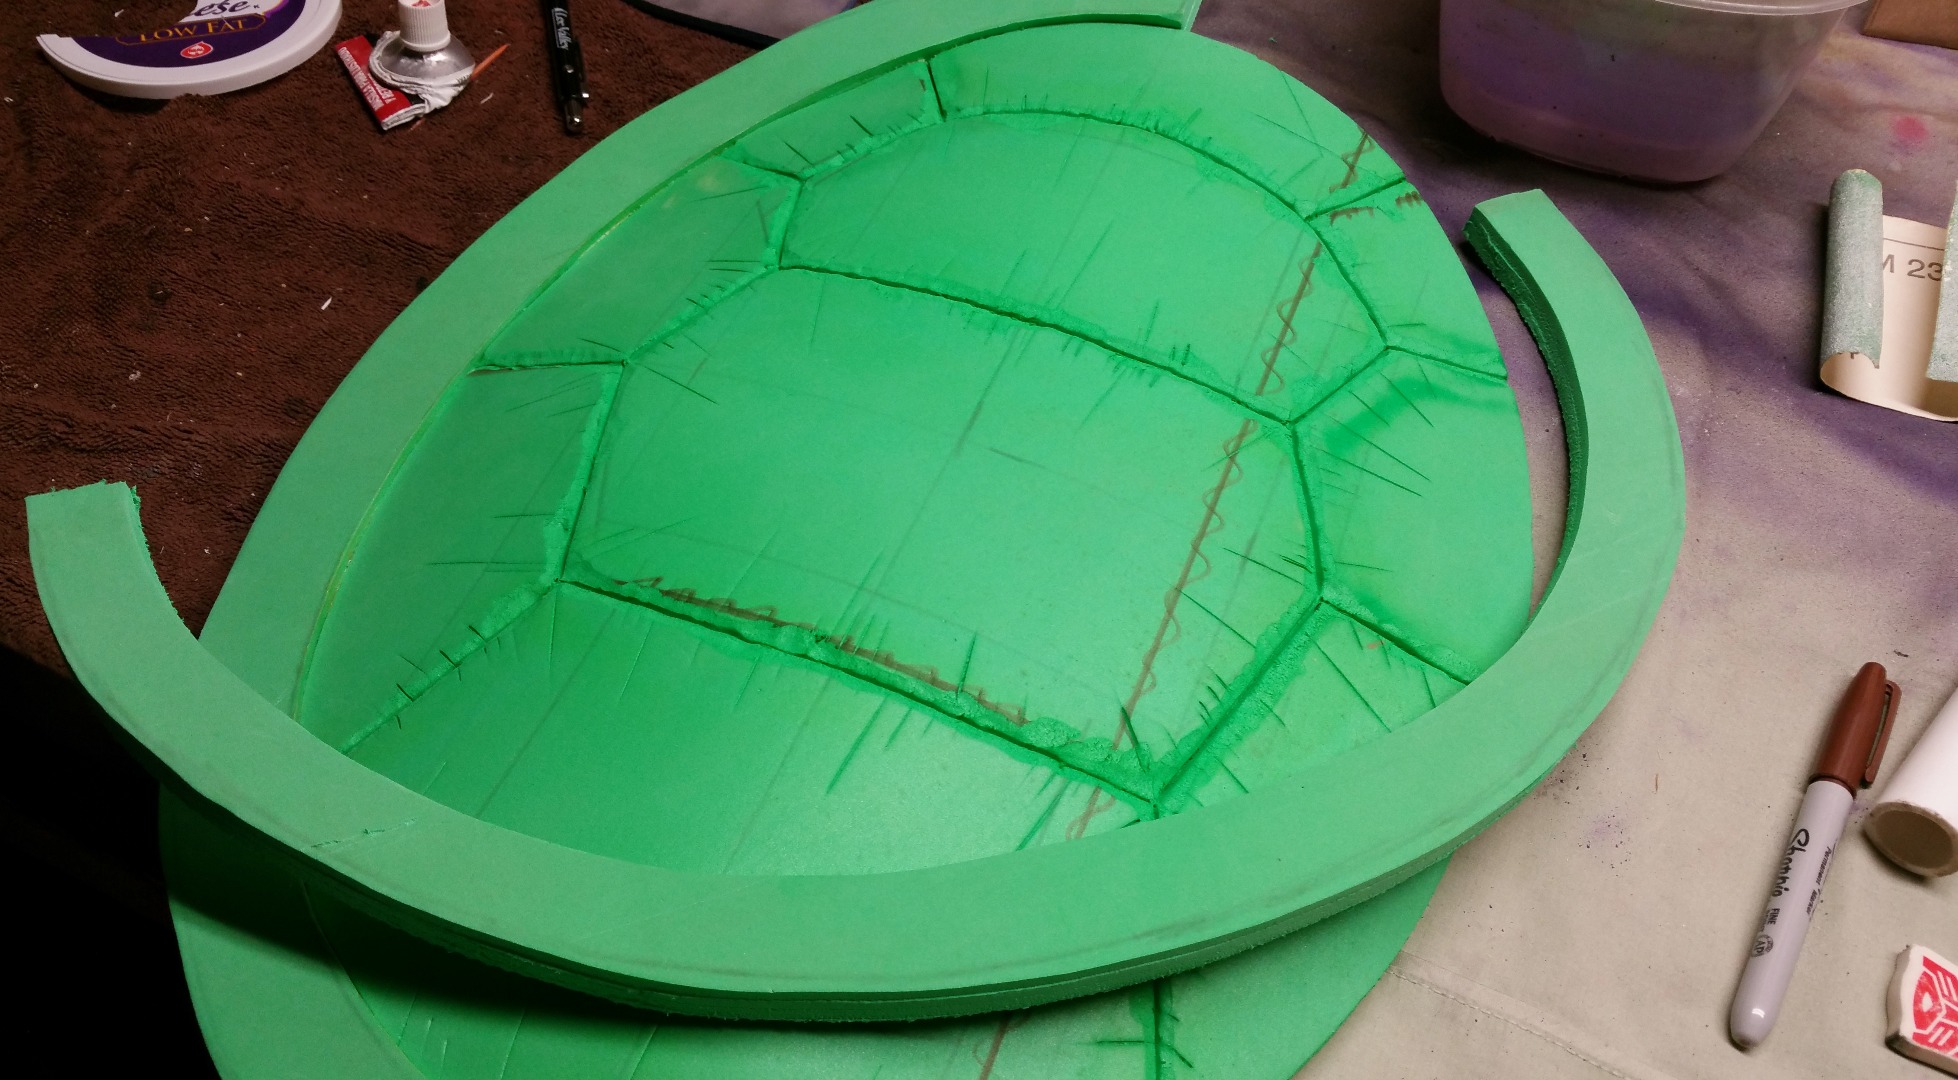
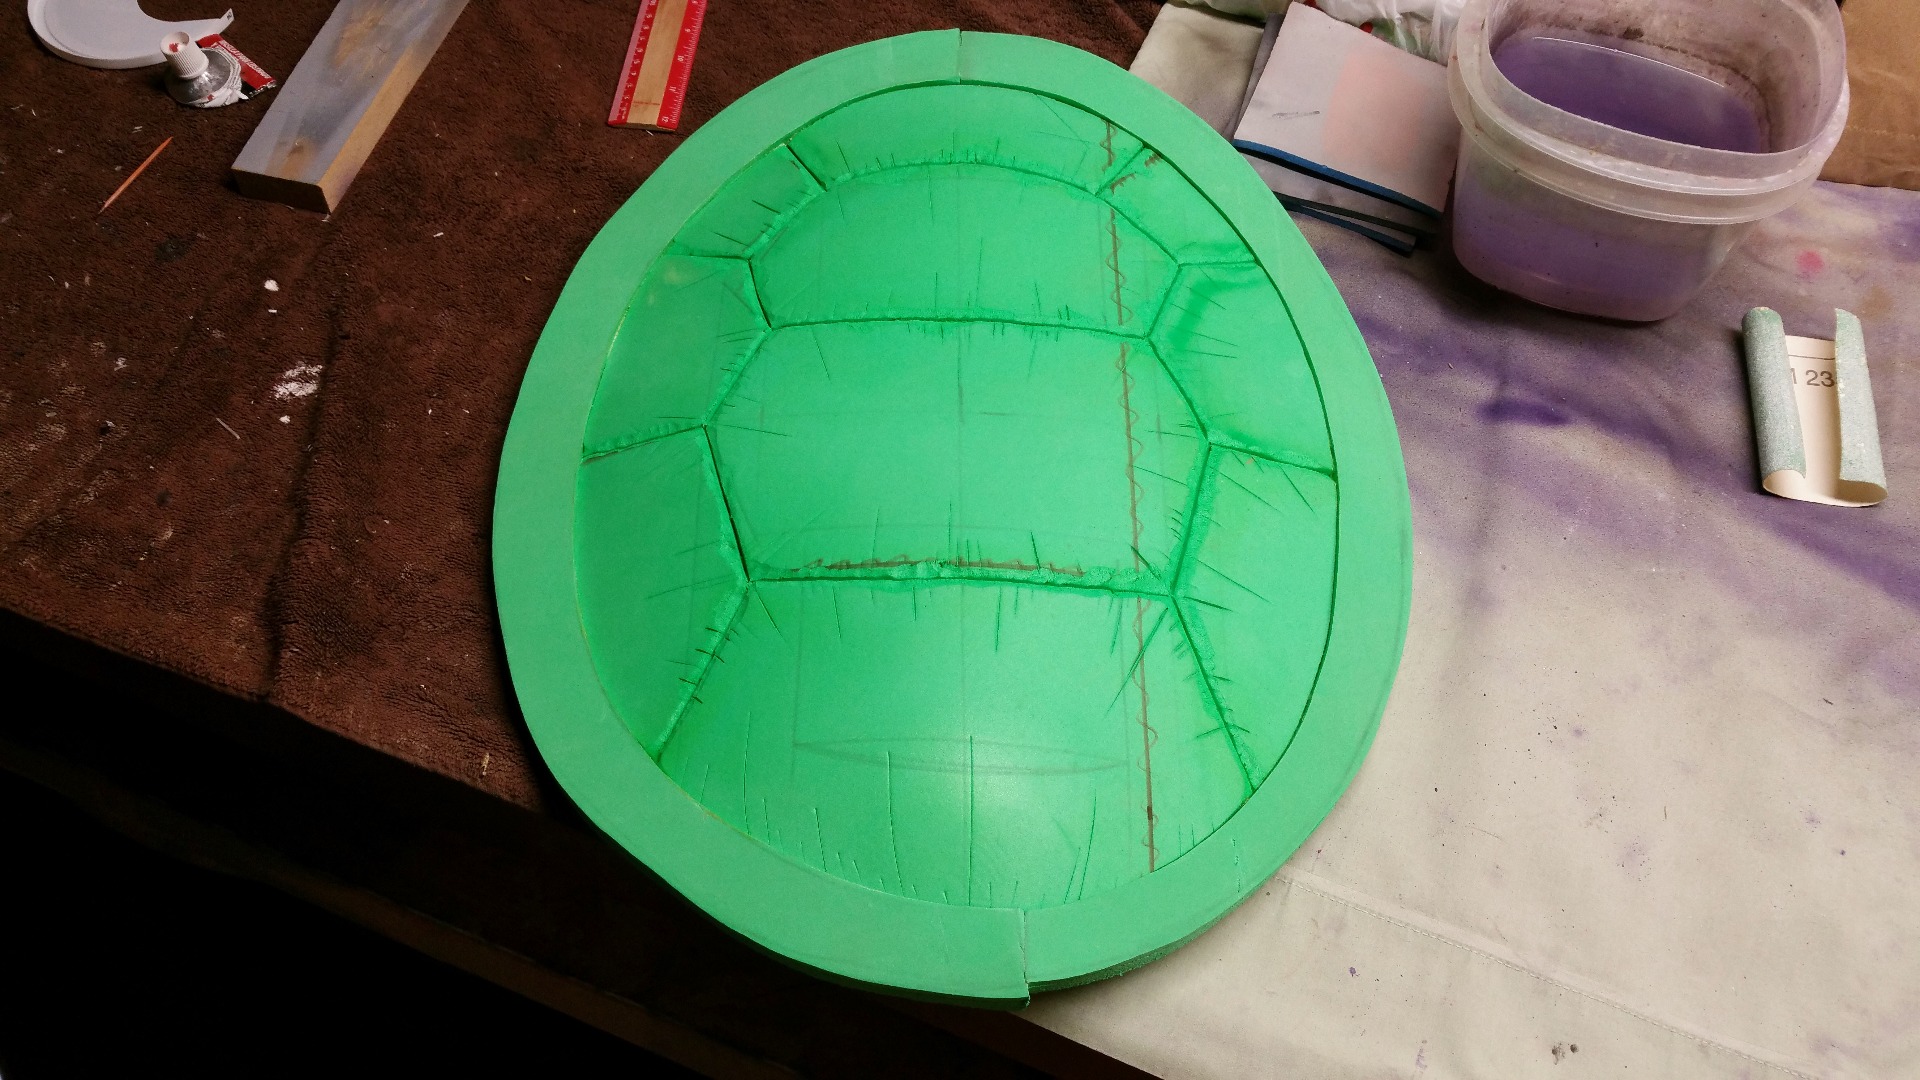
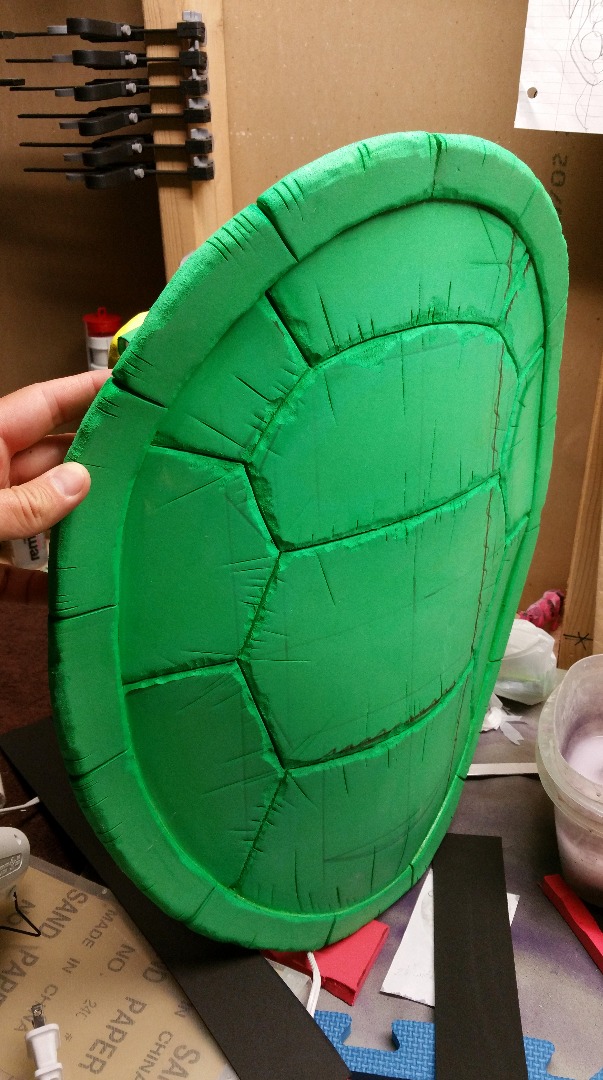
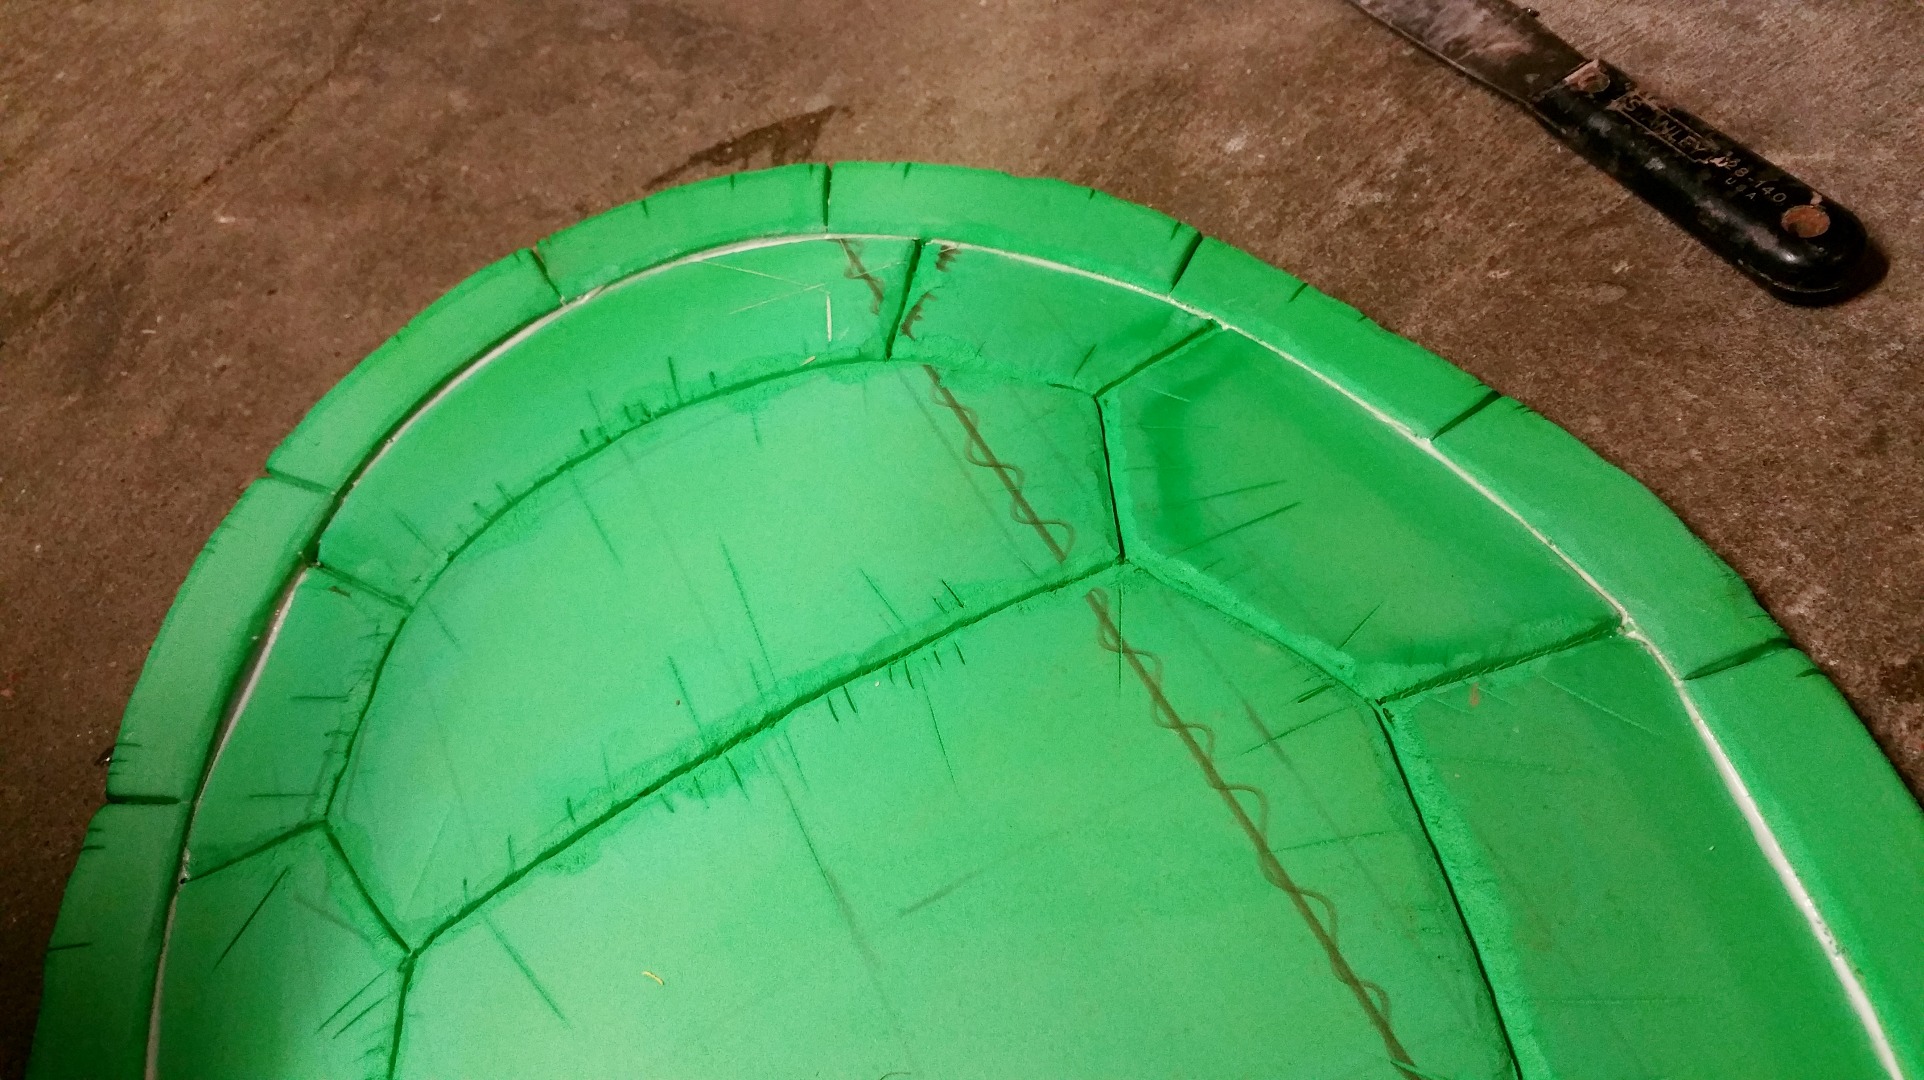
The next steps involved are what makes using EVA foam fun for me.
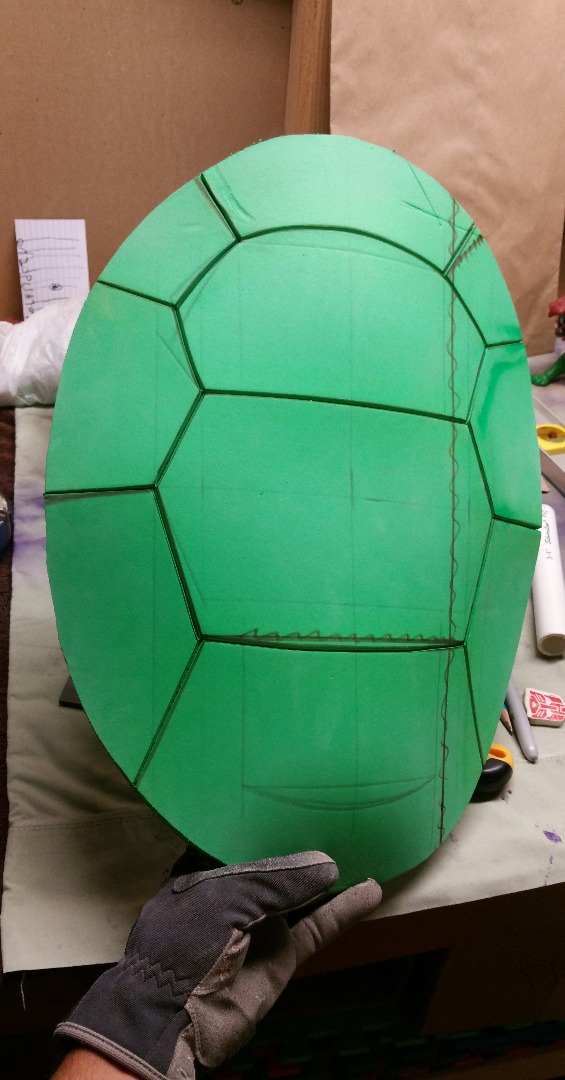
I started with the shell. All of the details I drew in with the sharpie got cut with my box cutter. Not all the way through the foam, just 1/16" to 1/8" deep. It can be more or less, depending on how you want the end result to look. Next, I used my heat gun to heat up the entire shell piece, for two reasons: First, it caused the detail cuts to open and separate, and made them stand out. Secondly, to shape the piece of foam to a shell/bowl. The hotter the foam gets, the more pliable it becomes. When it cools, it stays the shape given to it. This foam can be shaped over again if the first result isn't what you were going for. Just don't get it too hot and burn it. Also, it's wise to wear protective gloves to prevent burning your own precious skin!
"Stress" crack details needed to be added next. First, using a Dremel with a sanding drum, I softened the hard edges of the detail cuts, being sure to make deeper, random gouges through out to create an organic look. I then made several cuts of varying lengths around each of the first detail lines that I cut in. These new cuts were given the same heat treatment as the first detail cuts. The reason I don't make all of the cuts at the same time is to get detail variation. As the new cuts open up from the heat, the first cuts I made are getting heat too, causing them to open up more than they were before.
To make the outside rim of the shell, I placed the shell piece onto a new piece of foam and traced around it. I had to do it in two halves because the foam sheets weren't big enough to make the rim from one piece. The two rim halves were cut out and adhered to the shell with contact cement. I used the same cut and heat detailing techniques as before, to make the stress cracks around the edges of the rim. I softened these edges too with the same Dremel technique, removing more foam from the outside edge of the rim, than the inside edge. The final step to the shell was closing up any gaps between the shell and rim, with caulk.
Shaping and Detailing the Chest
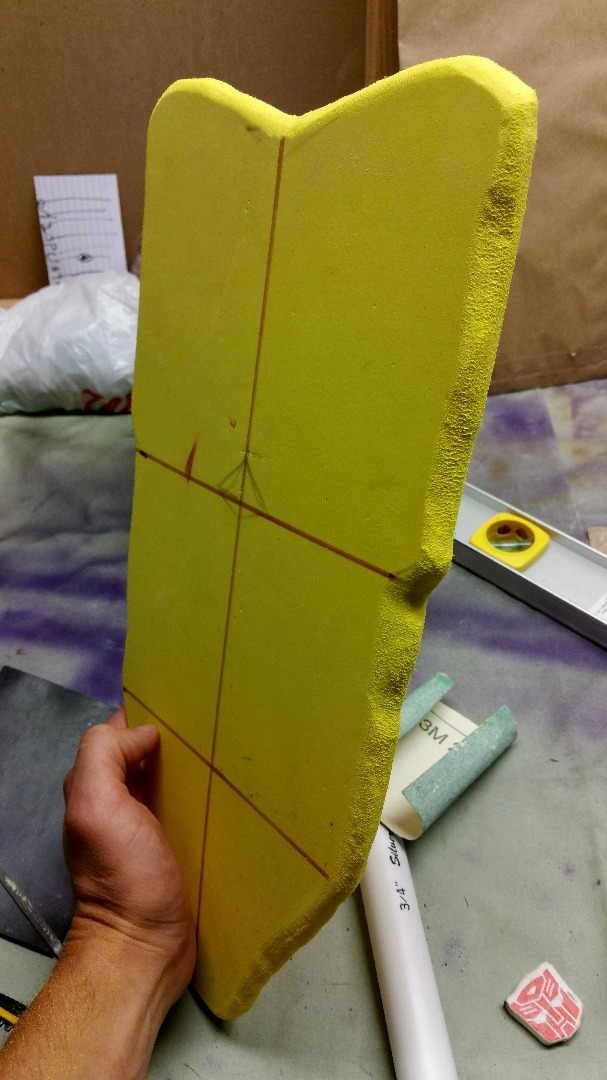
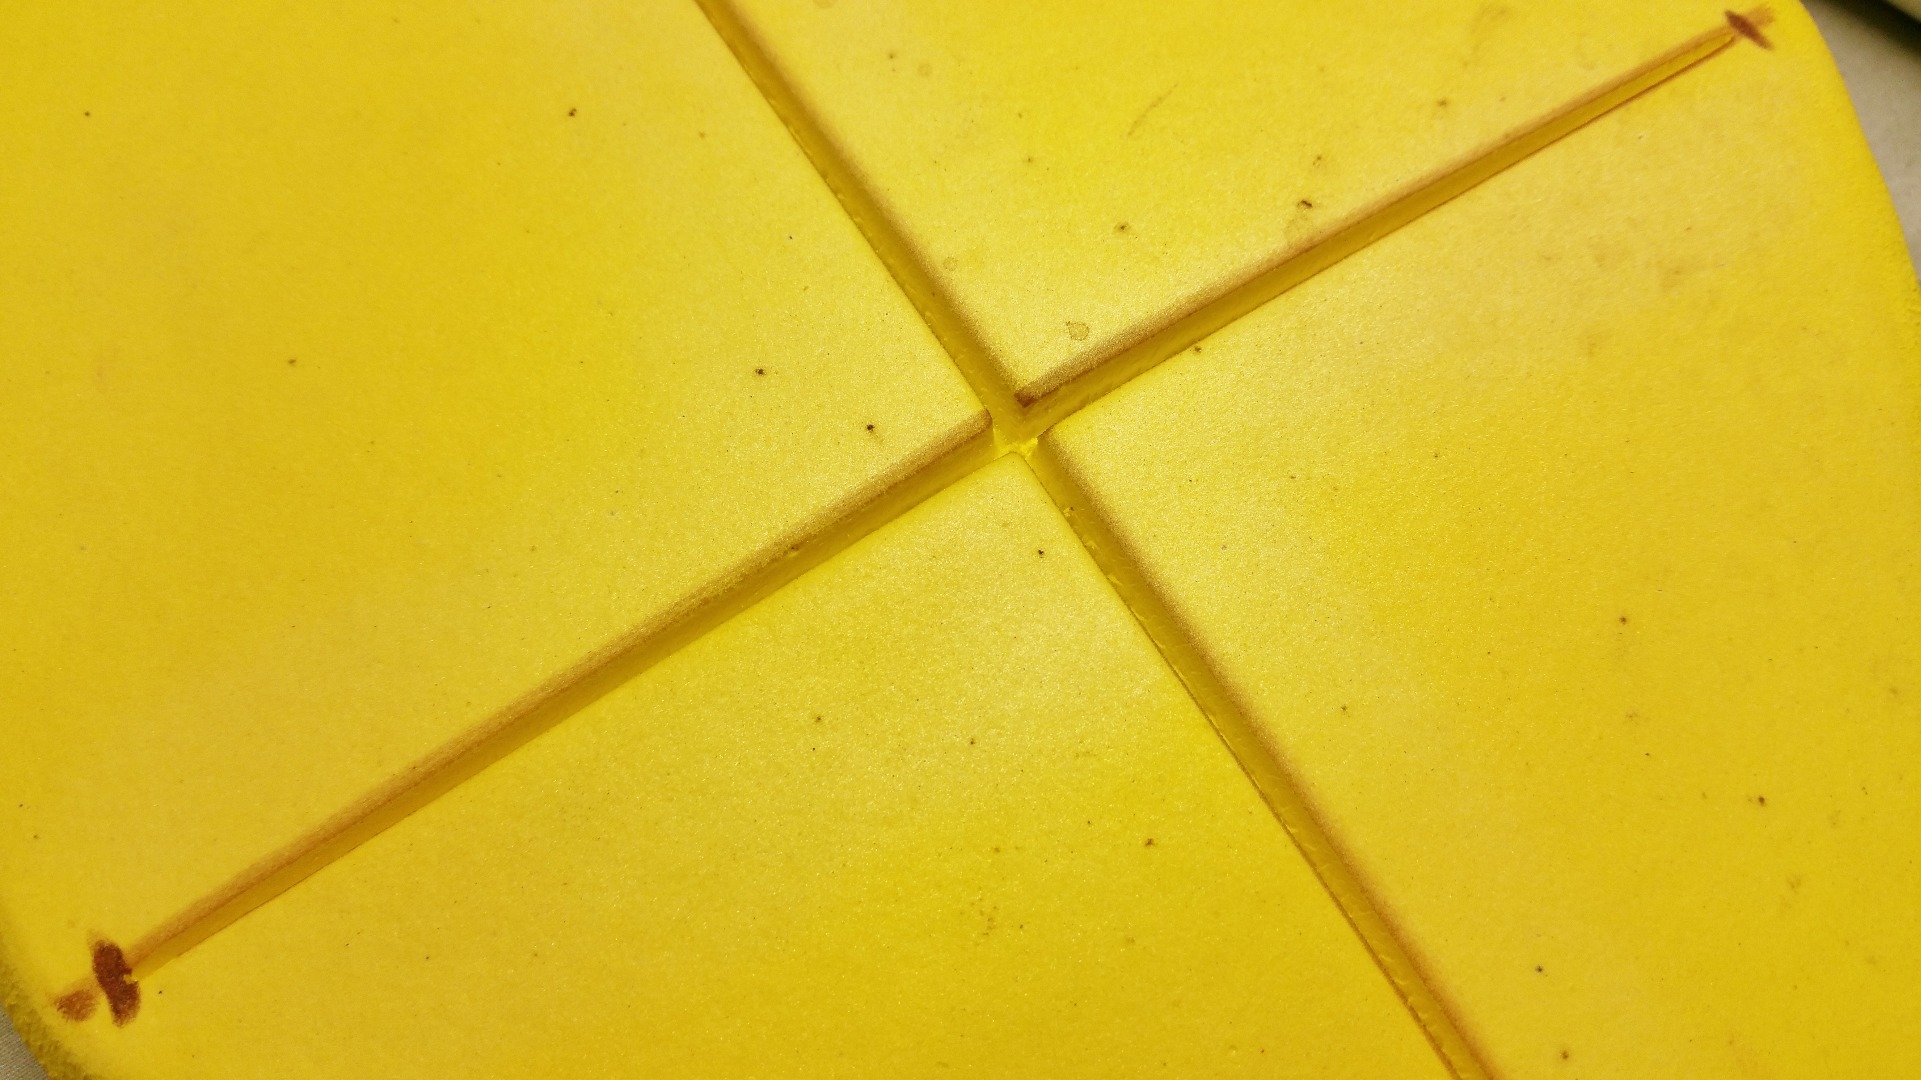
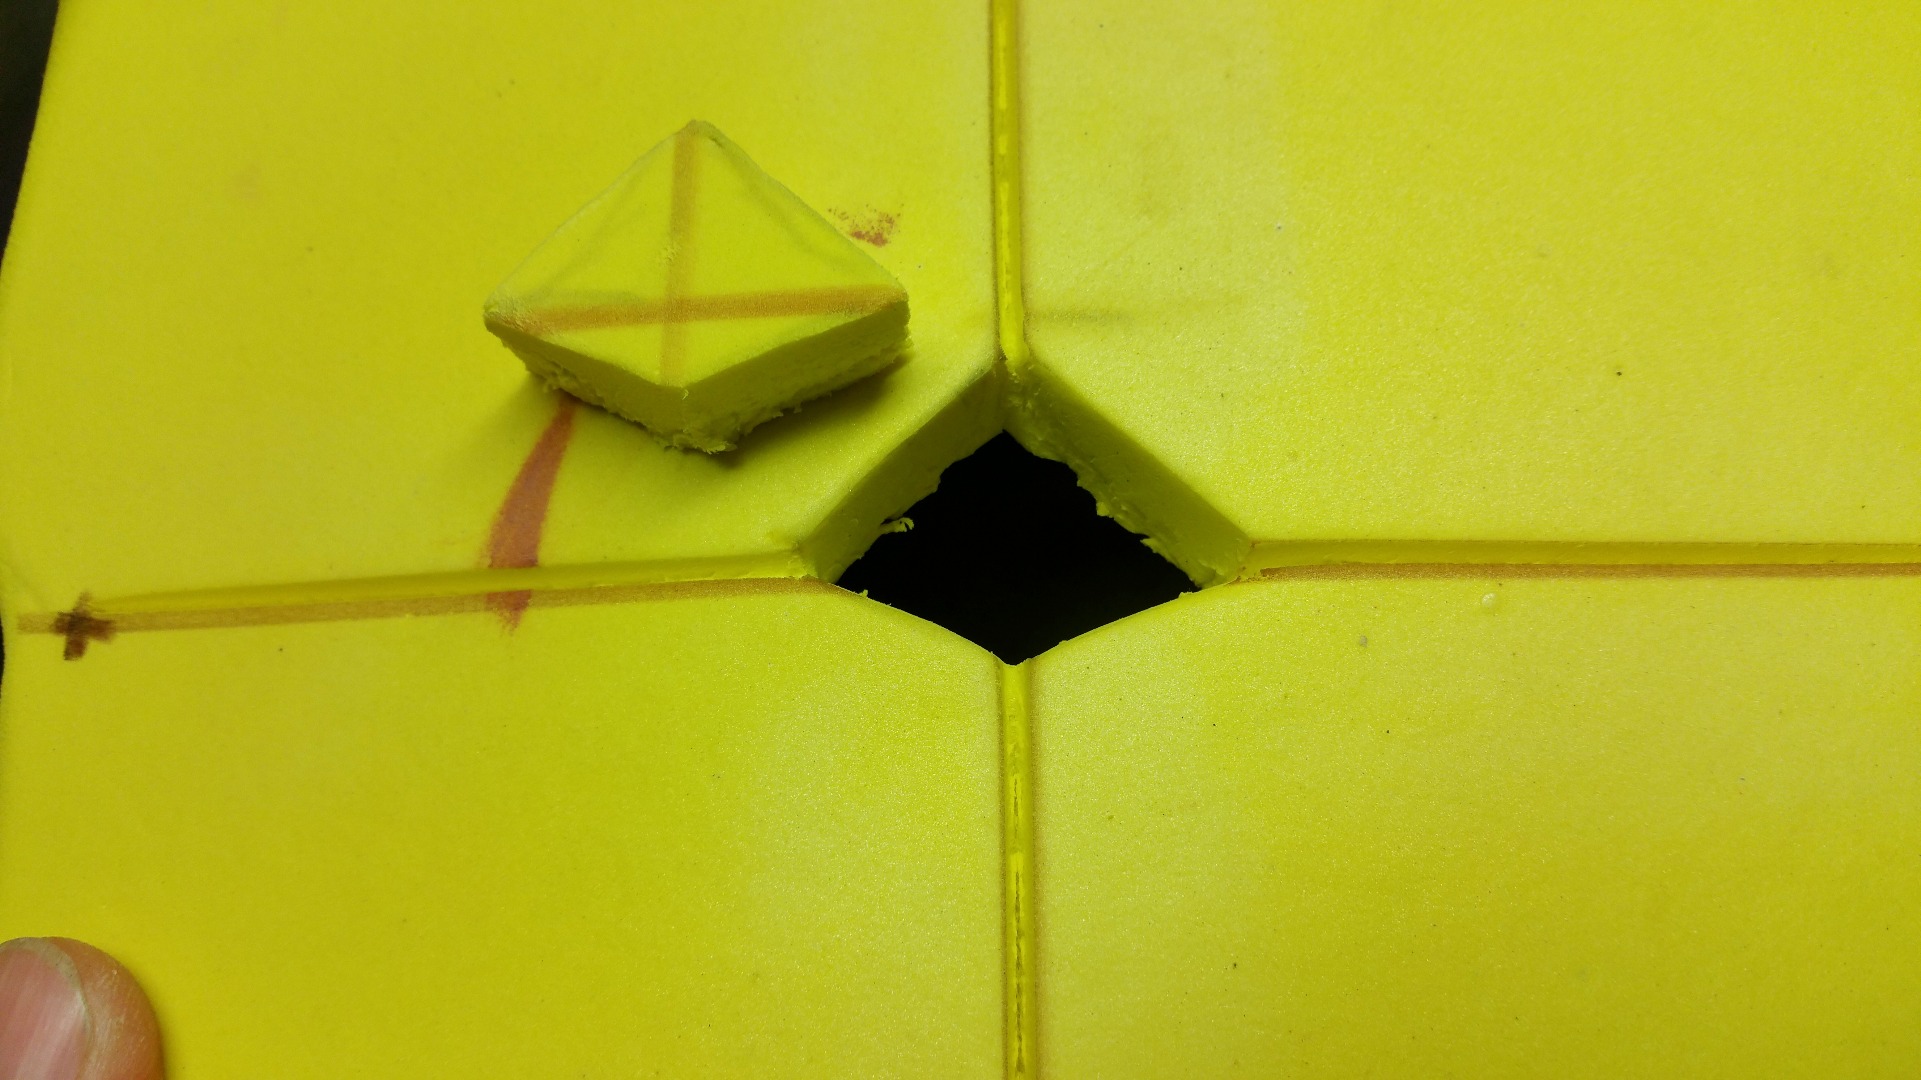
The chest piece was far quicker to finish. The first thing I did was soften the edges with my Dremel. The pectoral and abdominal lines got the cut and heat treatment. I also cut out what would be the dip in the chest. This dip piece was adhered, with contact cement, back into the same spot, but 1/16" lower than the rest of the chest piece. The last thing I did was heat and shape the foam to the final look I wanted.
Assembly
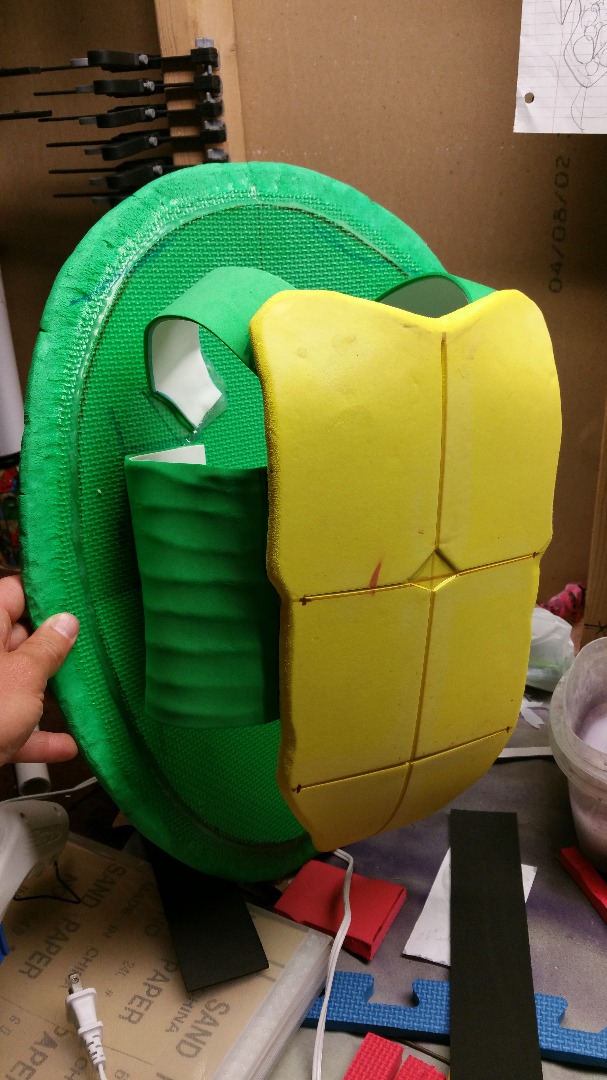
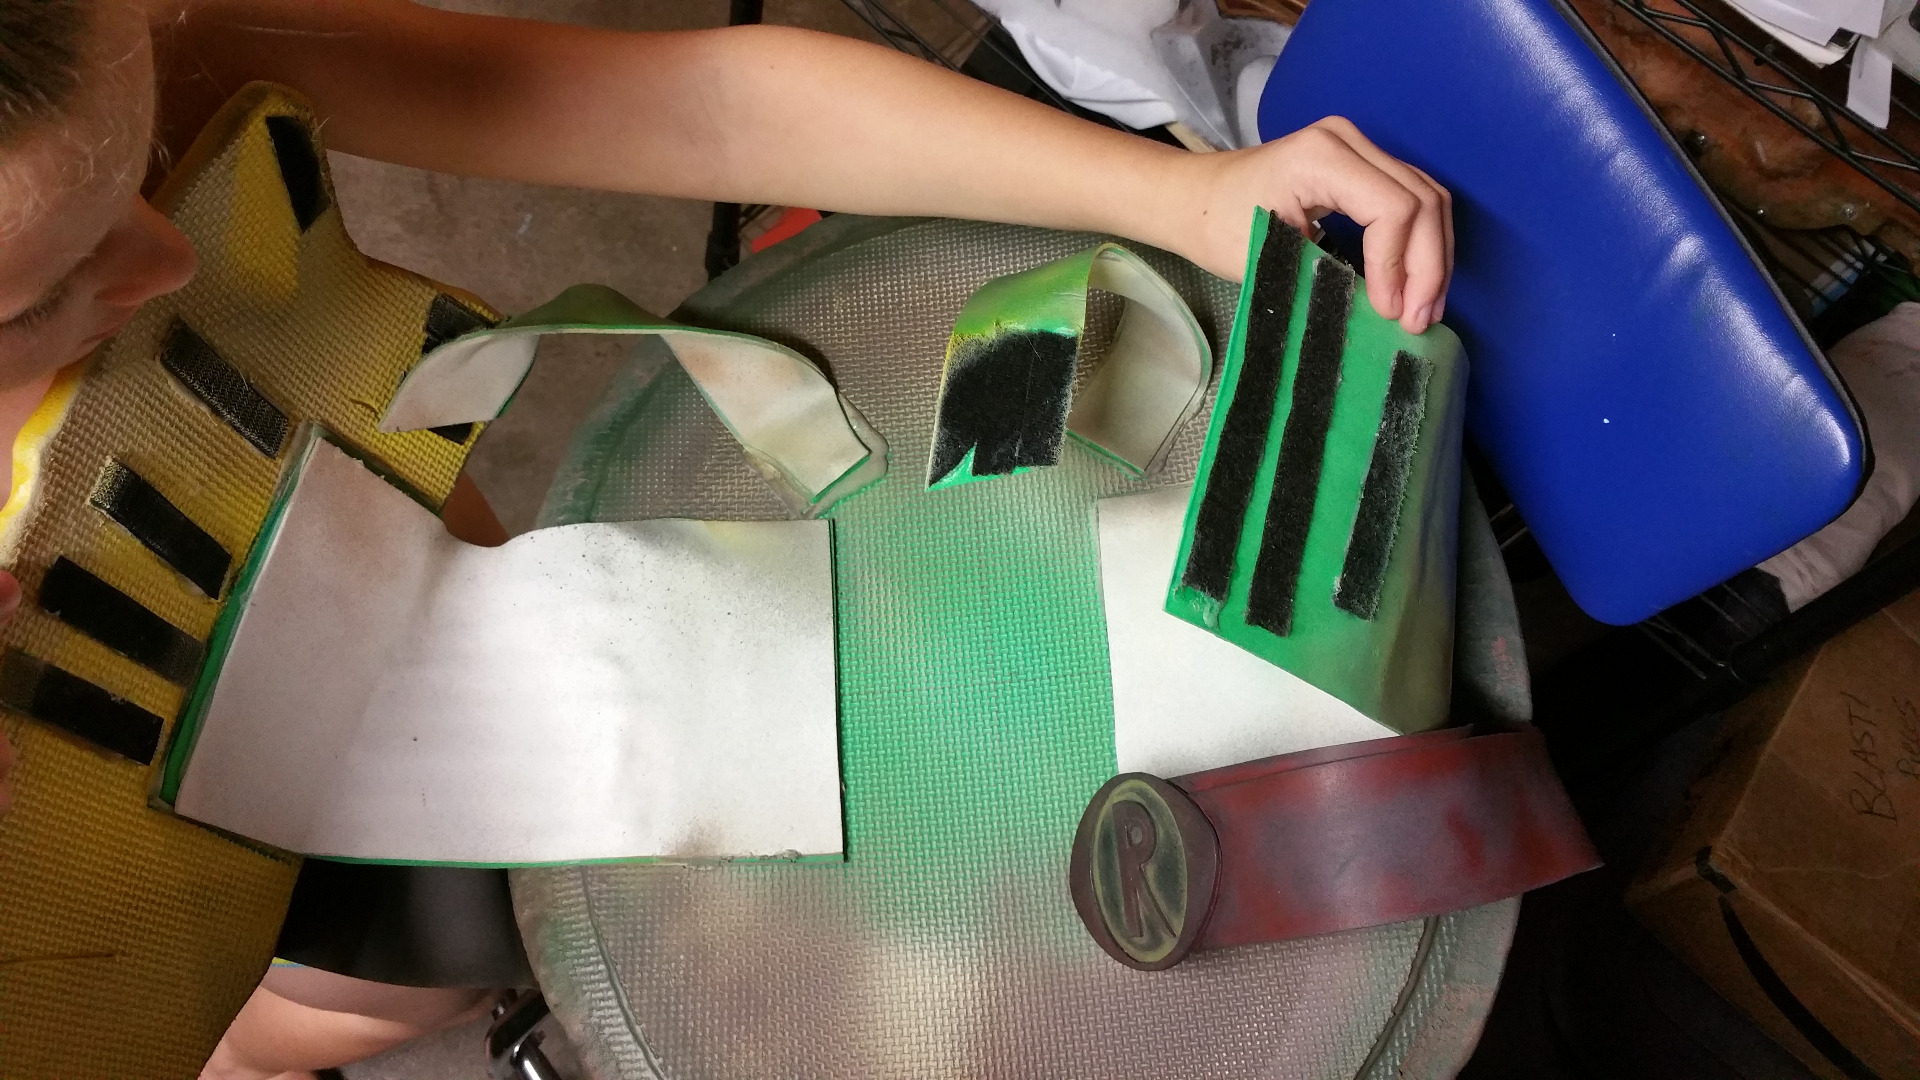
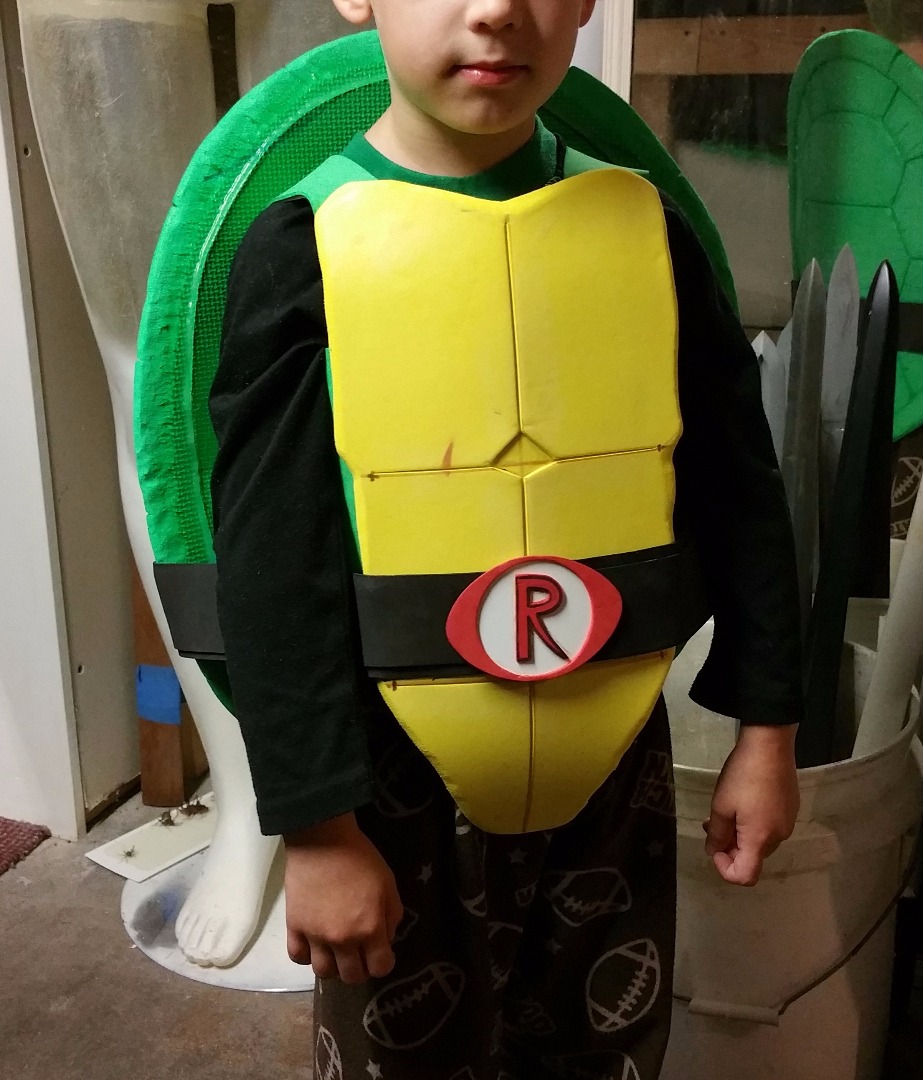
I moved too quick with excitement in this part of the build, and forgot to photo document most of it. I was hoping to make this costume without the need to open it, to get into it. It didn't work that way. But let me explain how I set it up first.
I doubled thin sheets of craft foam to make the sides, and shoulder straps. For the sides, I adhered the sheets of foam together with hot glue. This made a really nice looking organic texture. I used contact cement to adhere the foam together to make the shoulder straps.
I had my wife hold the shell at my son's back where I wanted it to set. I had him hold up his arm and I marked where the side piece would need to be adhered to the shell, so it wouldn't be too high up, and uncomfortable to wear. This first side piece was glued to the inside of the shell and chest piece with hot glue. The second side piece was glued to the inside of the shell but I did not glue it to the chest piece. Instead Velcro is used to attach this side strap to the chest. I hot glued the Velcro to the strap and chest piece. This had to be done for my son to be able to get in and out of the costume.The shoulder straps were done the same way. One side at a time, using my son for reference for proper placement. One shoulder strap uses Velcro, just like the side pieces.
The belt was very straight forward. I cut four pieces of craft foam, 2" wide, the length of the sheet of foam. I cut four pieces because the sheets weren't long enough to wrap around the costume, so I had to adhere two pieces together at their ends, using contact cement, to make one long piece. This gave me two pieces long enough to go around the costume. I wanted the belt to be two pieces to give it more depth of character. The belt is adhered to the center of the back, and side rims of the shell, and also to the chest piece. One of the belt ends is not glued to the chest, it attaches with Velcro.
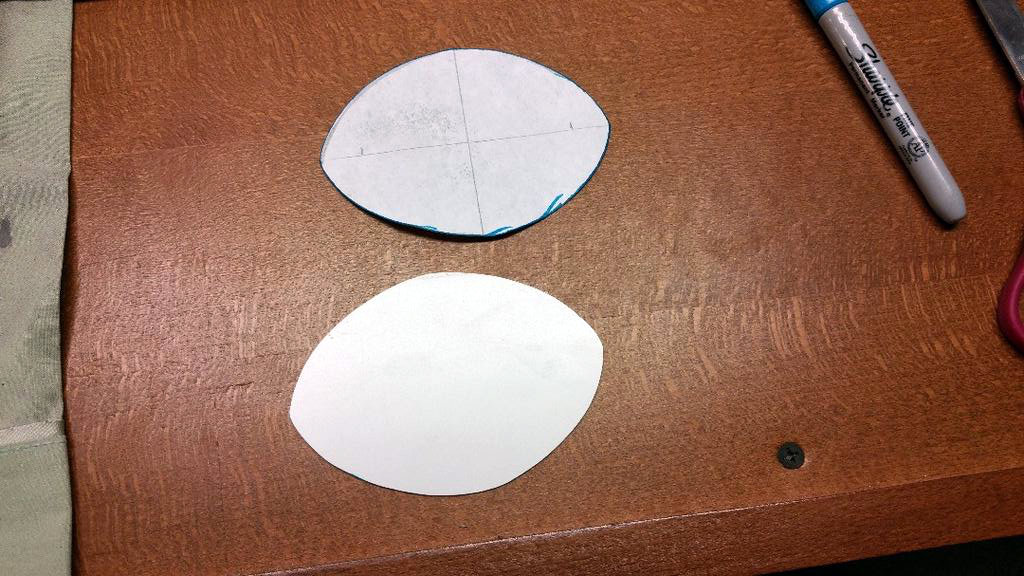
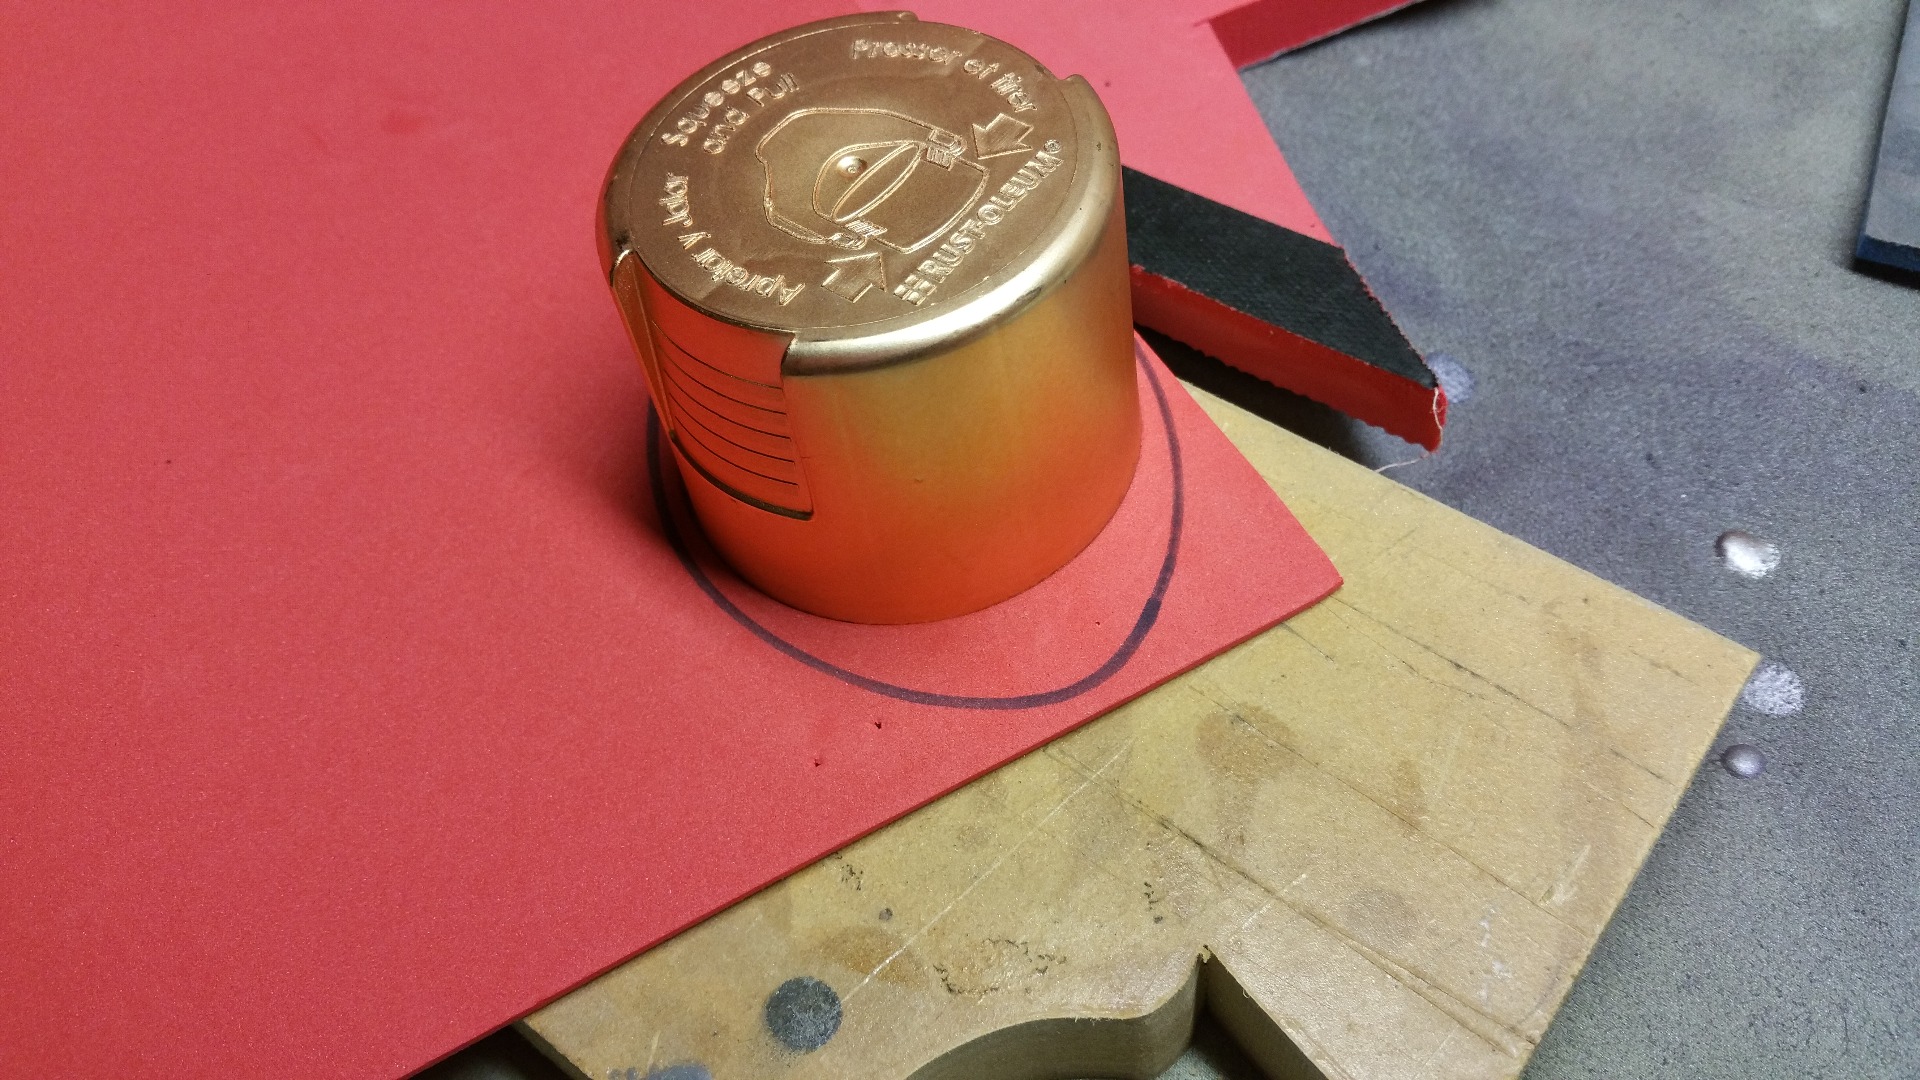
The buckle started with a piece of styrene plastic cut to the shape I wanted the buckle to be. I traced this shape onto a sheet of craft foam. I put a lid from a can of spray paint in the center of the buckle shape, and cut around it. I then cut the rest of the buckle shape out of the foam and glued it onto the piece of styrene plastic. Using a reference image, I sketched an R onto the foam, cut it out, and glued it onto the center of the styrene plastic. The buckle was adhered to the loose end of the belt, and it Velcros to the abdomen area of the chest piece.
After I had all the pieces assembled, I had my son do a test fit. Everything checked out, and it looked really cool as it was, but I wanted these pieces of foam to look like they belonged to a sewer dwelling Ninja Turtle. Time for a convincing change using paint.
Painting the Chest
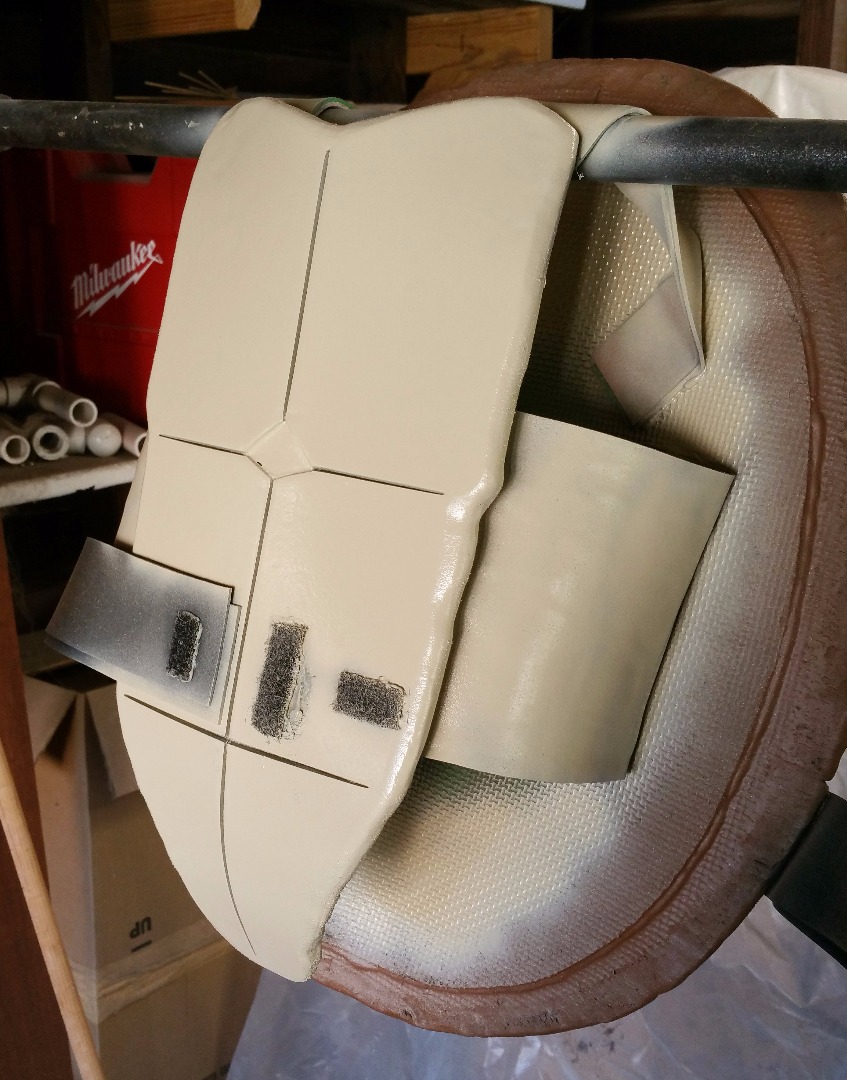
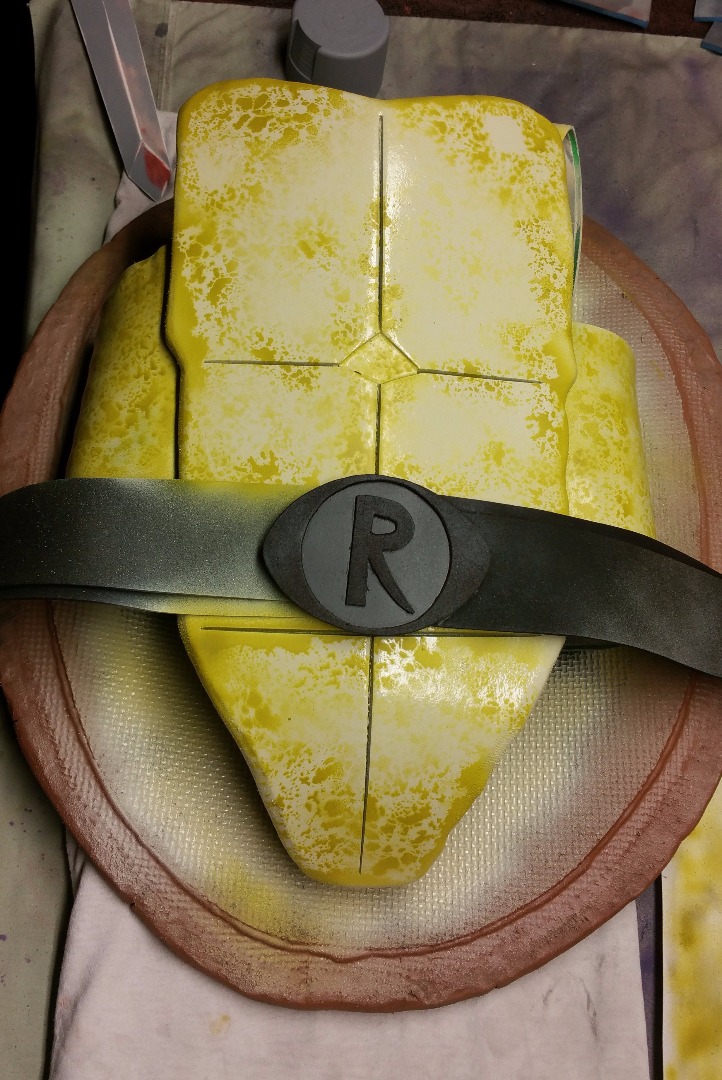
To transform the look of the chest piece, I first spray painted it, along with the rest of the costume, with black, Plasti Dip. This is to seal the foam so the paint will not absorb into the foam. I let this set for several days and then I started the detail painting.
I used an airbrush to do the detail painting of all of the pieces. Also, after the base coats of paint, I remembered to mask off the Velcro to not lessen it's holding ability.
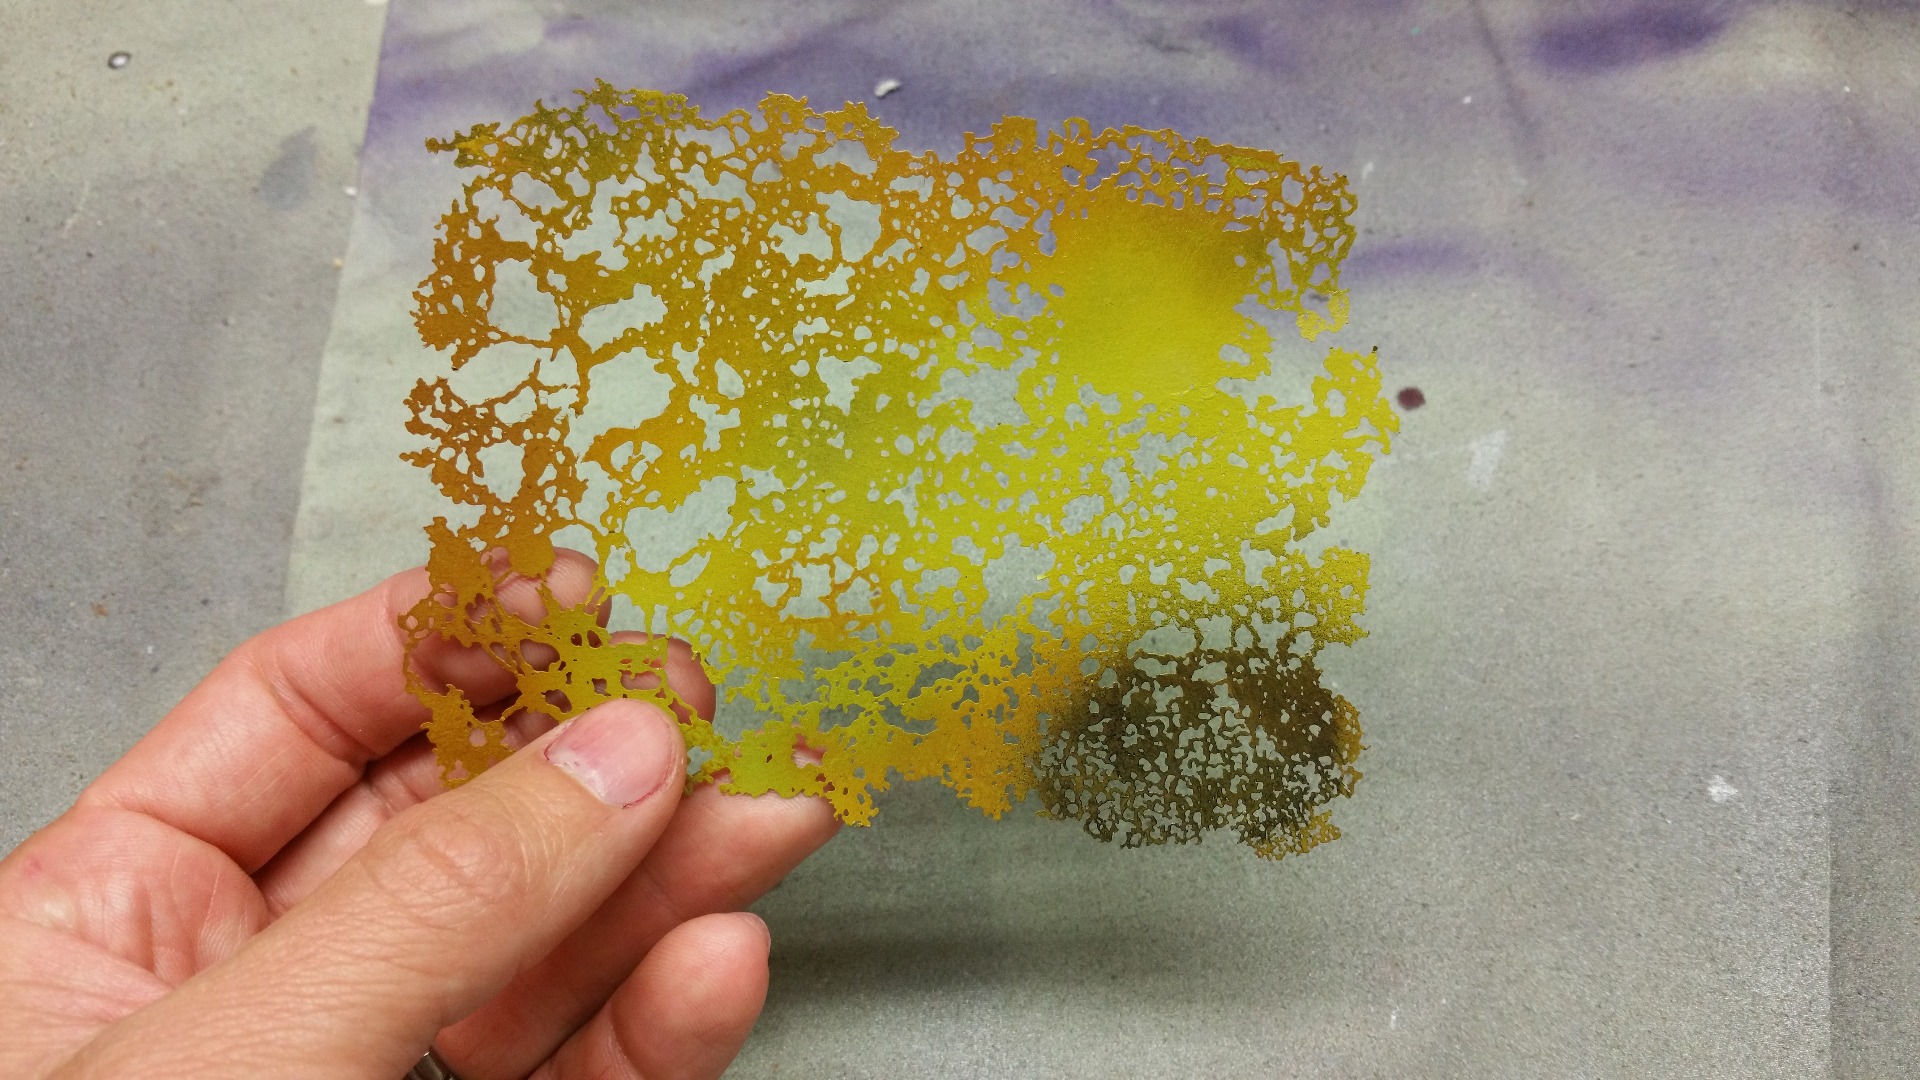
The chest piece was first painted with Rustoleum "Almond" spray paint. I chose this color because I already had it in my paint stash. Next, I painted two different shades of yellow onto the chest piece. To achieve the dirty, sewer turtle look, I used an organic shaped stencil. When the first two applications of yellow were dry, I lightly misted over them with the darker of the two yellows. Once that was dry, I lightly wet sanded all of it to give it a completely natural look. My attached picture shows only the first yellow that I applied.
Painting the Shell
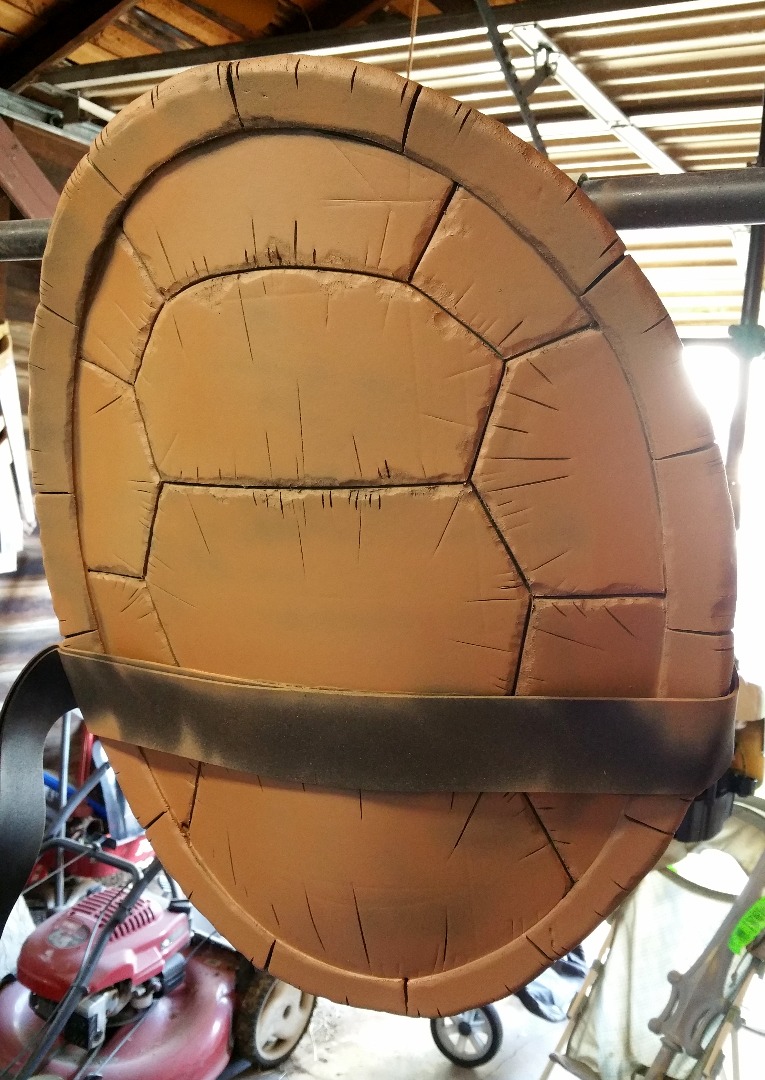
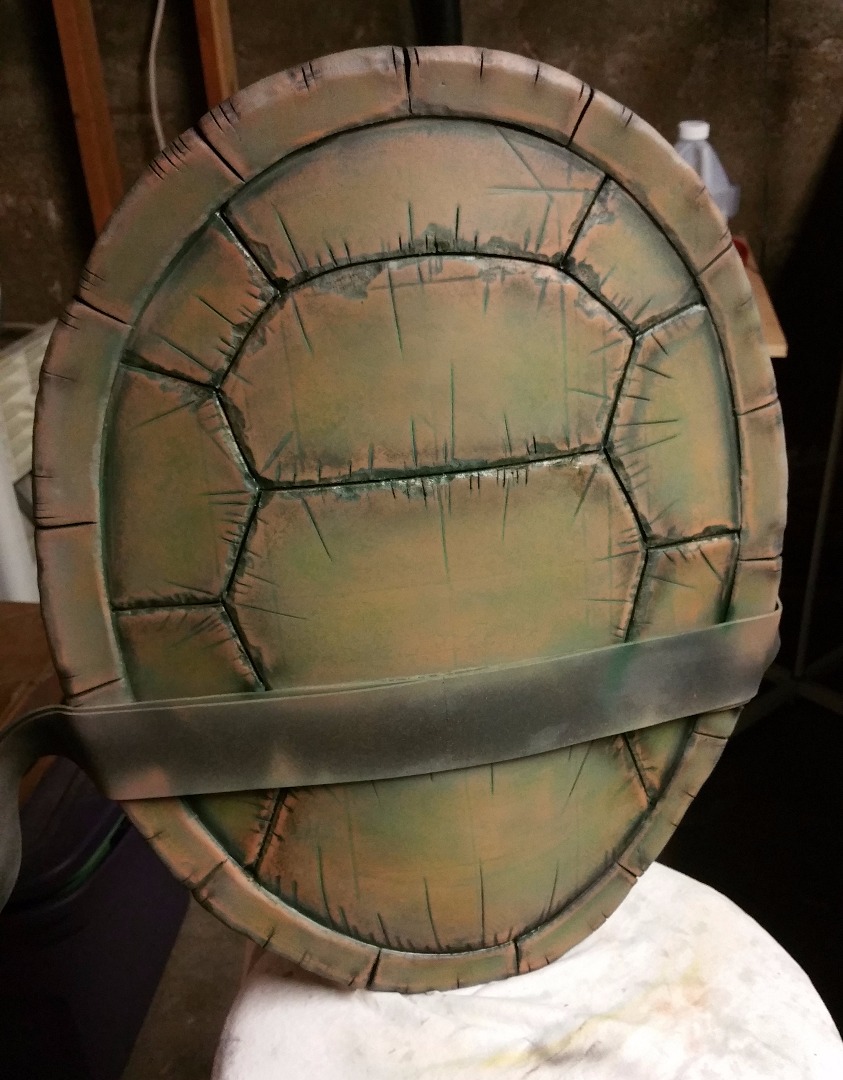
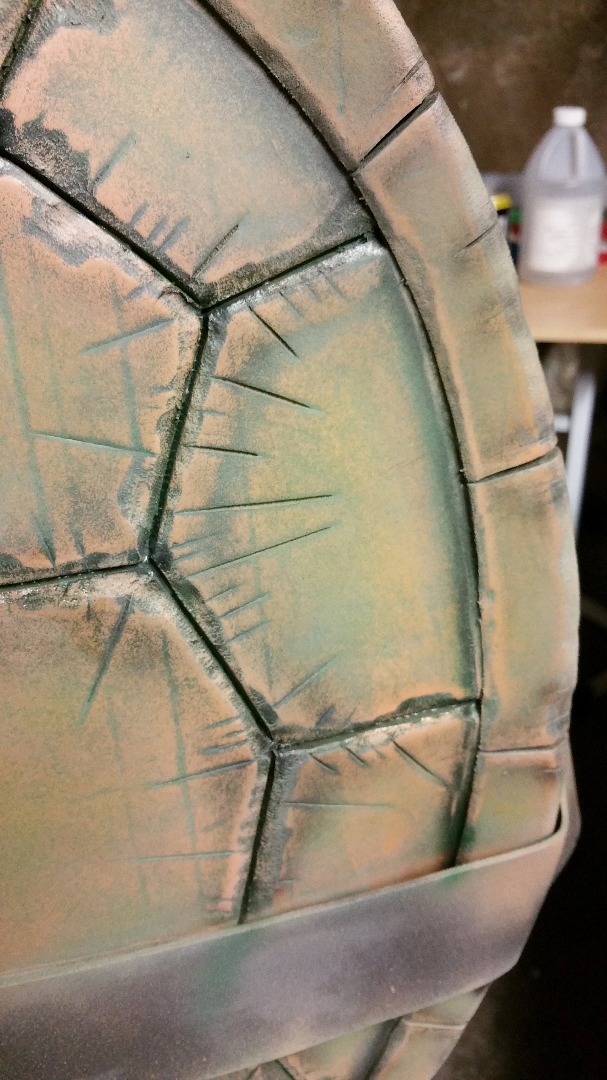
The base coat of paint on the shell was Krylon "Brown Boots" spray paint. Again, this color was used because I already had it.
Next, I applied variations of greens and browns with my airbrush. I wet sanded in between these paint applications to reveal underlying colors. When I was close to a look I was happy with, I painted the deep "section" lines of the shell with black, and then dark green. I wet sanded over this once it was dry to make the colors underneath stand out, and give the cracks a more natural, non painted look. I also wet sanded the edges of the rim to make it stand out more, and help define the shell rim. My last paint application to the shell was a light mist of yellow, which made the overall tone of the shell warmer.
Painting the Belt and Buckle
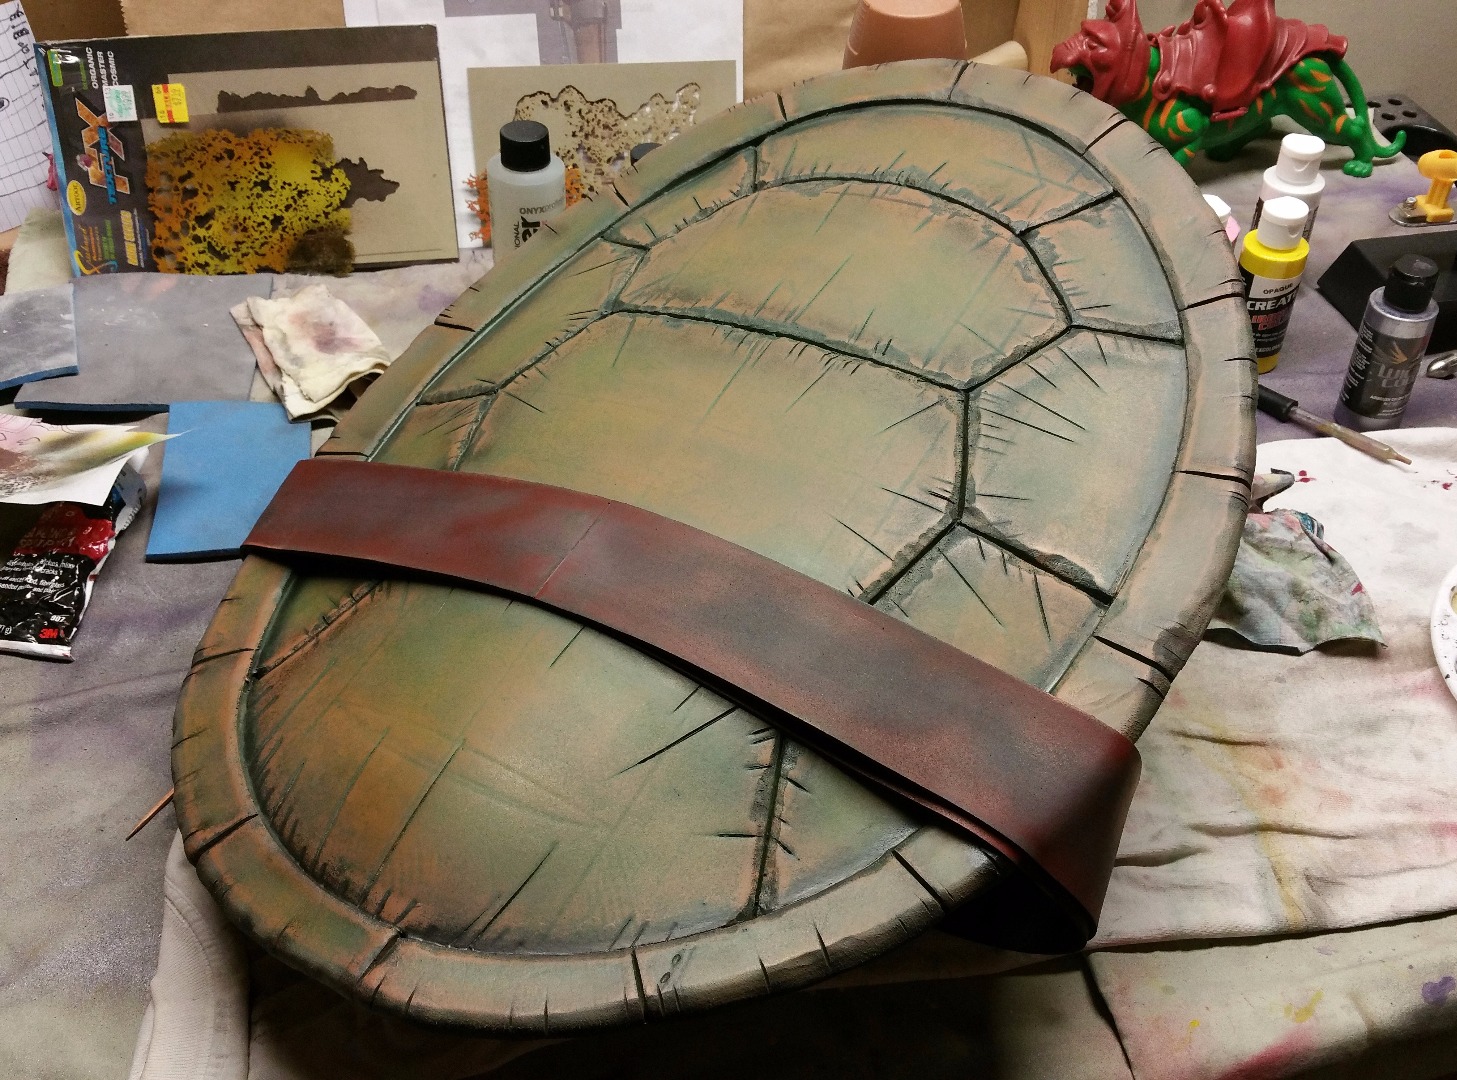
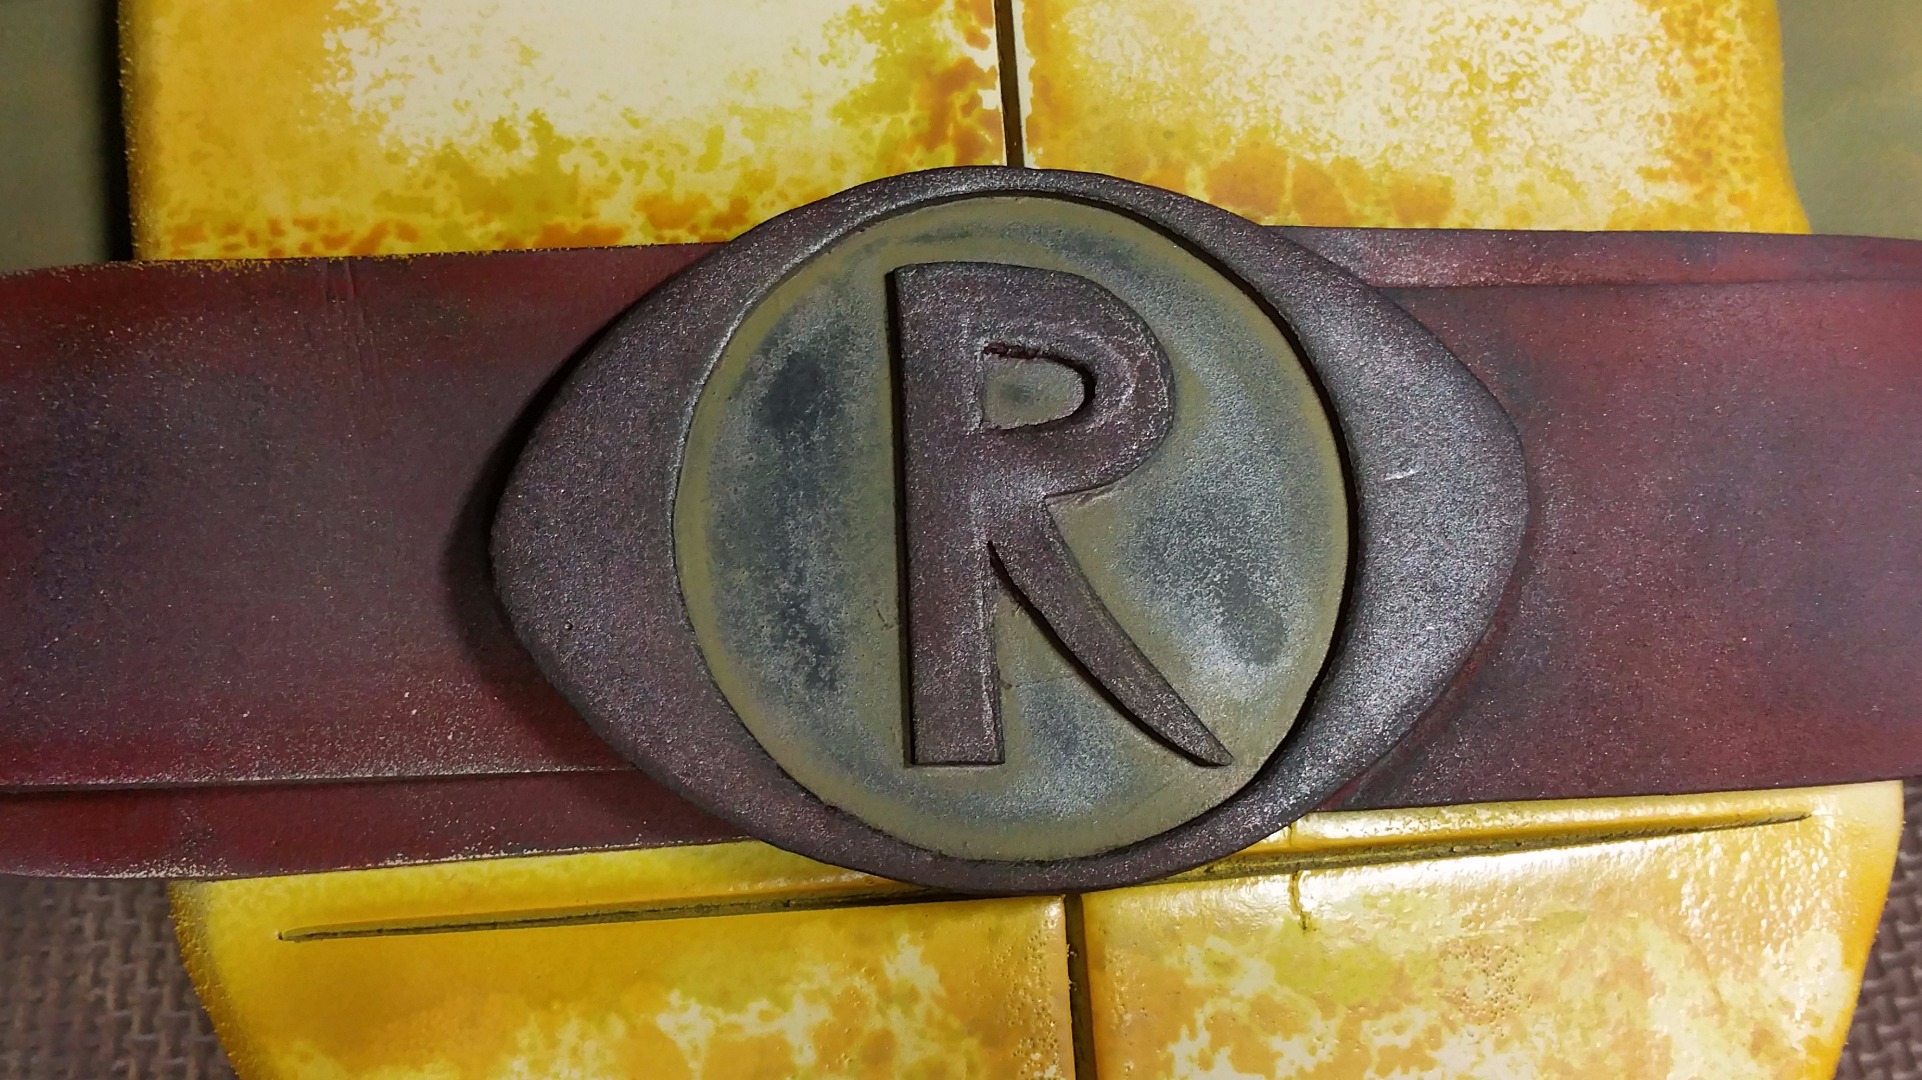
Even though everything was originally painted with black Plasti Dip, I still painted black onto the belt. I followed that with 2-3 applications of red. I wet sanded between each of these applications. Next, I painted more saturated coats of red onto the edges and random spots on the belt. I did a little bit of light wet sanding to this application. The combination of these applications gave the appearance of a red leather belt loosing its color.
The buckle had red applied by airbrush followed by wet sanding. Silver was applied next, but didn't look right, so I wet sanded most of it off. When I was comfortable with the coloring of the frame and R of the buckle, I painted a yellow onto the styrene part of the buckle and wet sanded what my sanding sponge could touch. The yellow that didn't come off gave the buckle a dirty look.
Painting Sides and Shoulders
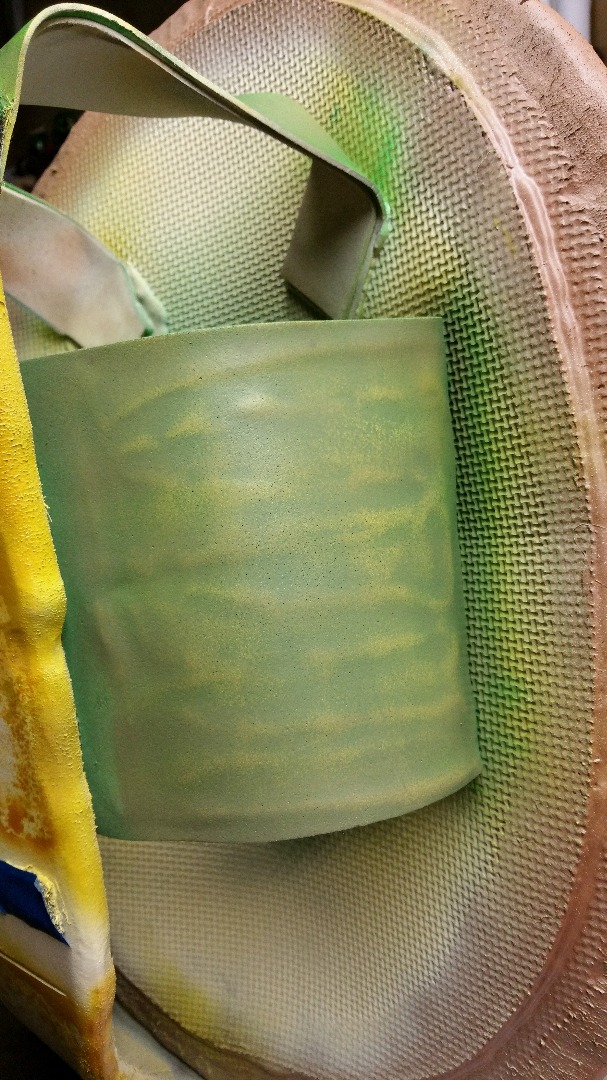
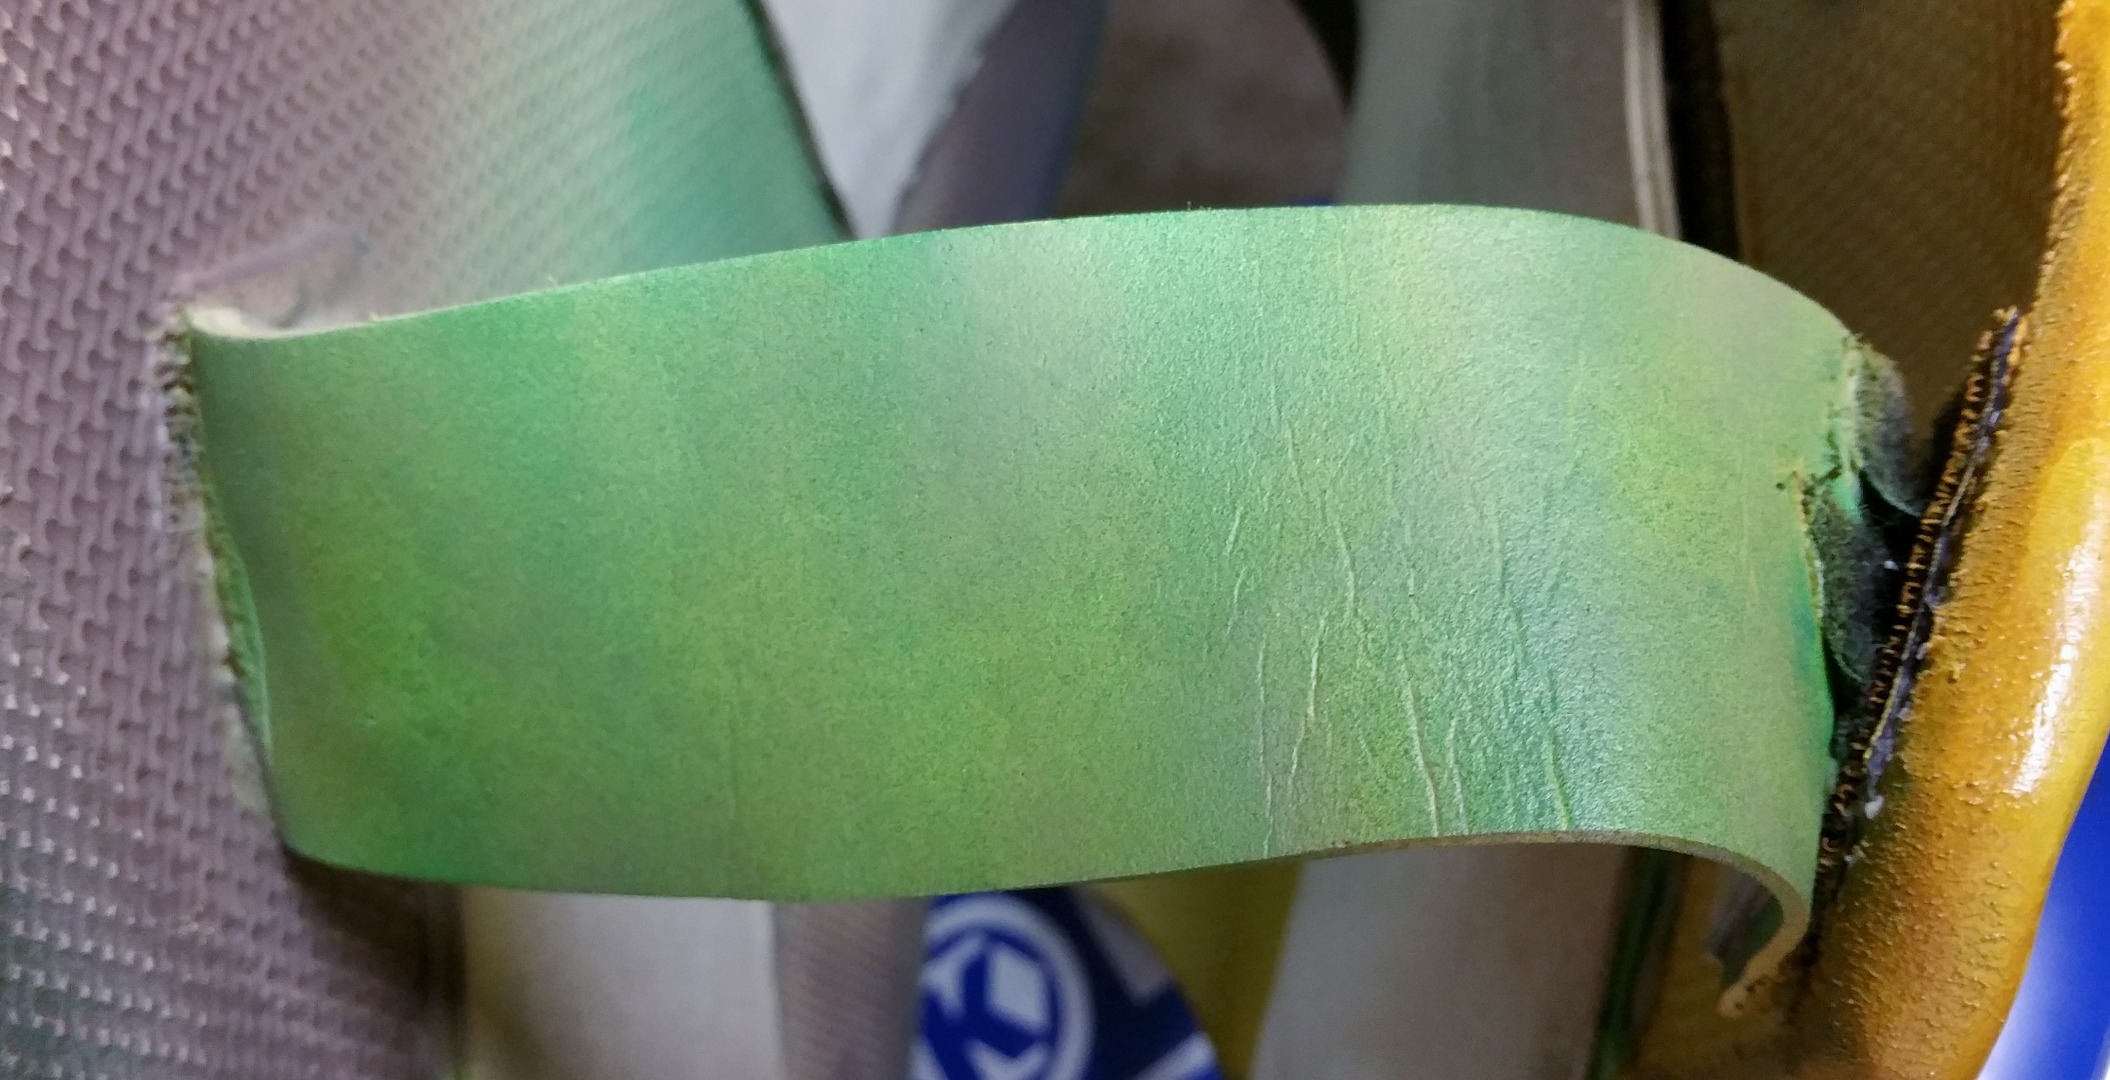
The side pieces and shoulder straps received several different shades of yellow and green, with wet sanding in between color applications. This was done to make the hot glue "textures" on the side pieces stand out, and make a turtle skin look. The final color for these pieces was a light brown/tan, that I lightly misted on.
Mask, Arm, and Leg Wraps
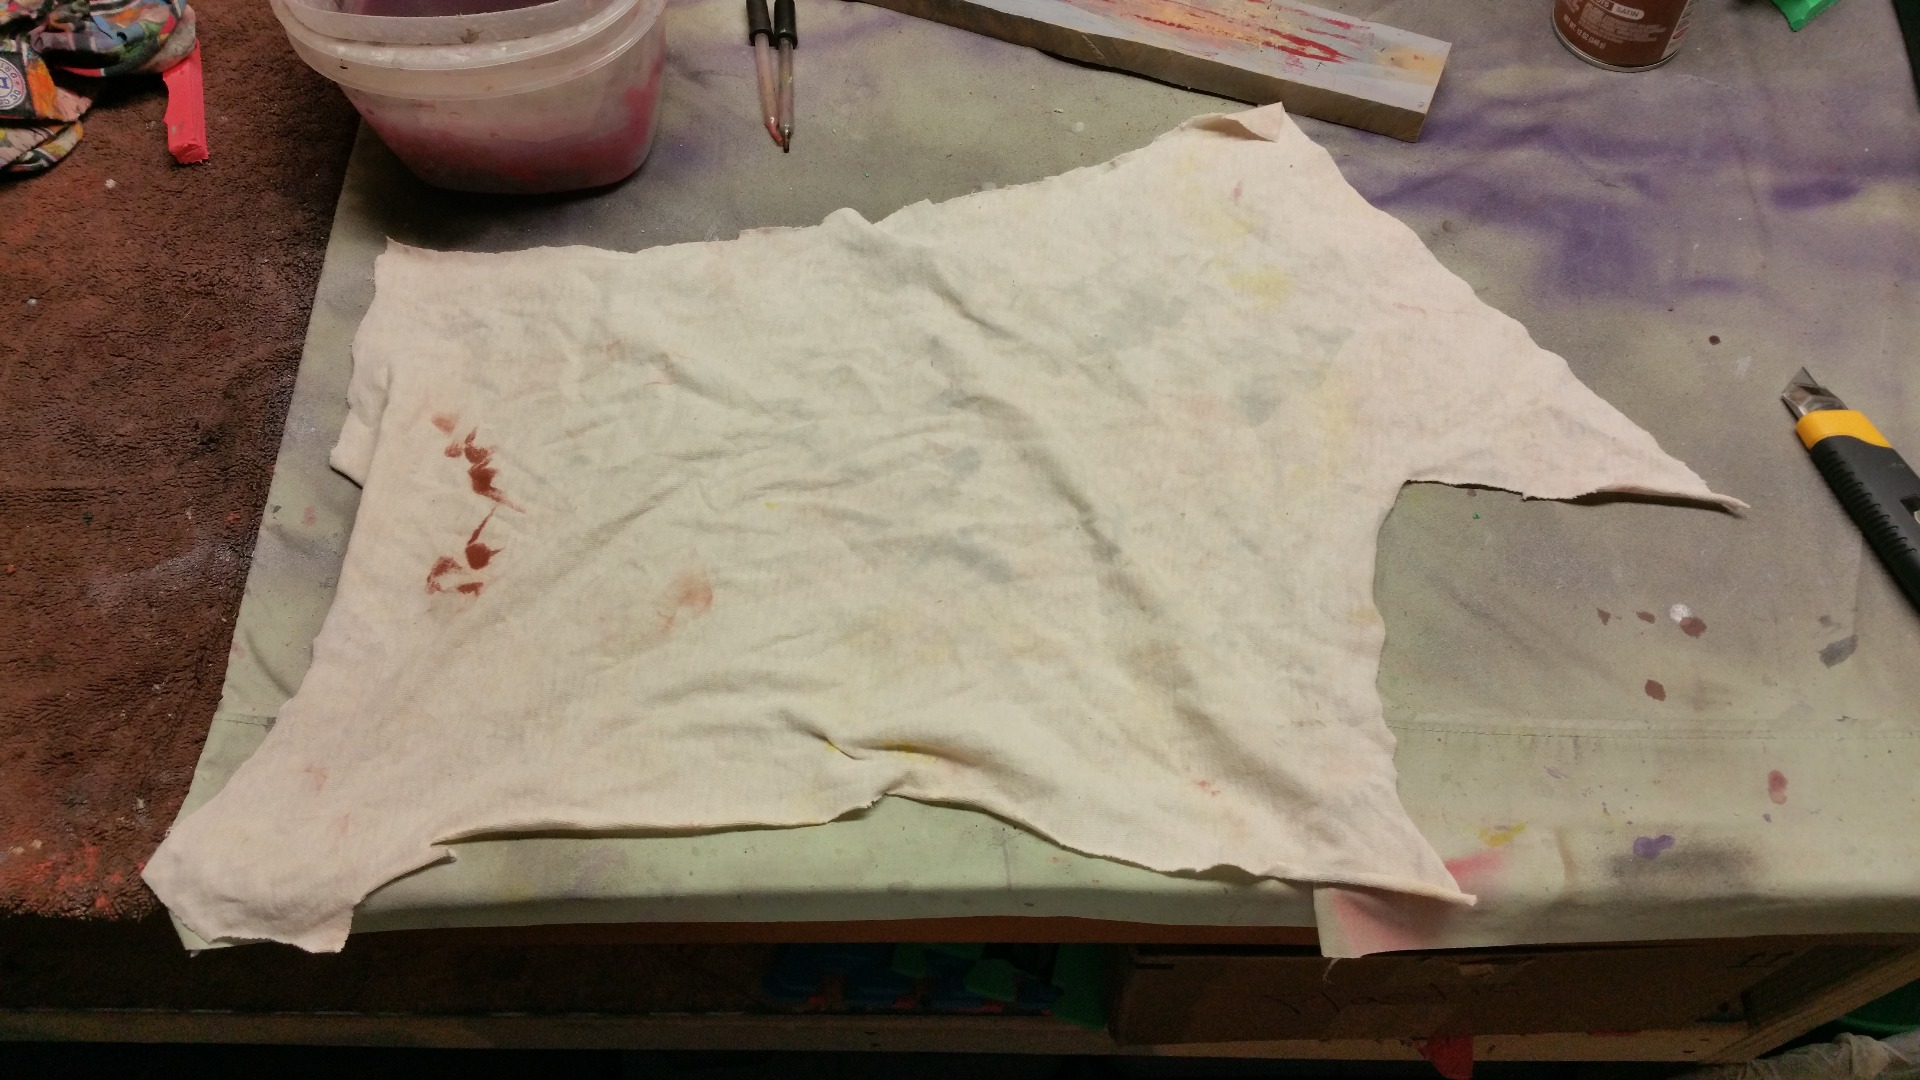
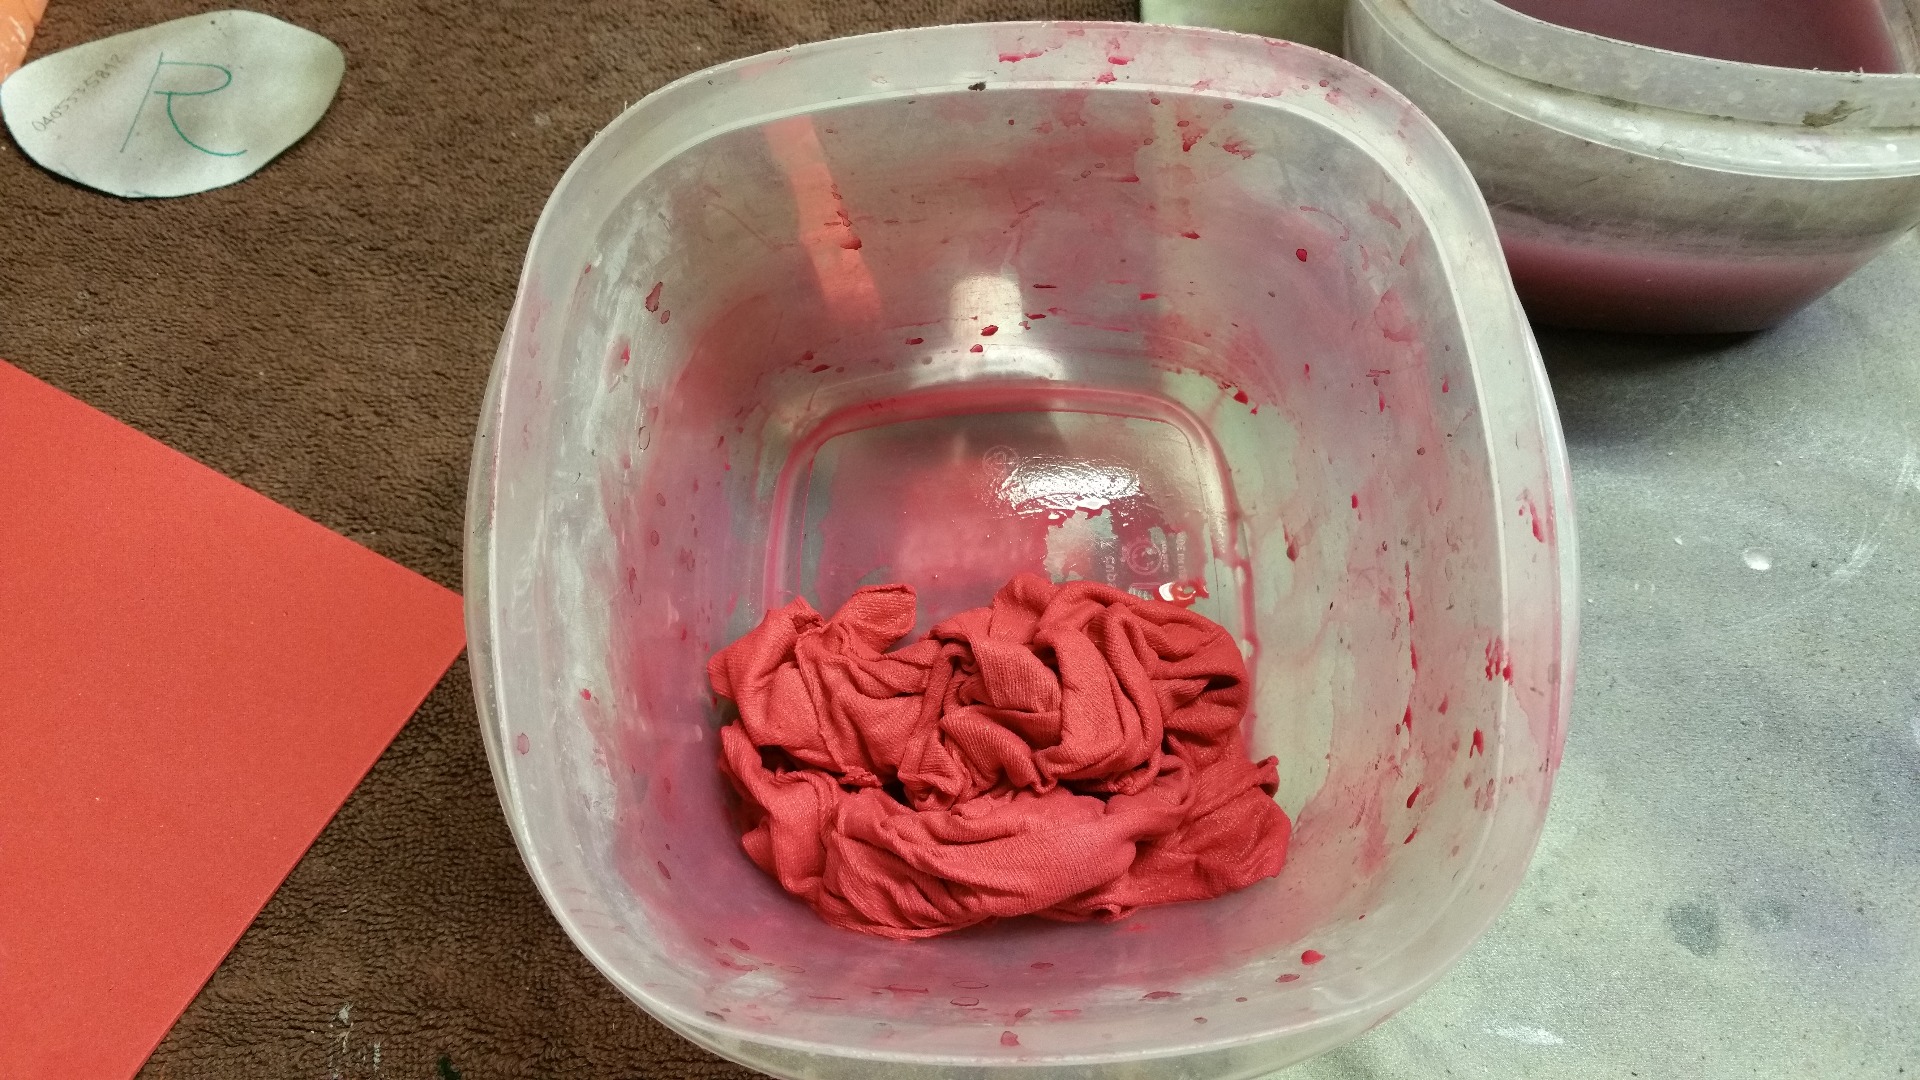
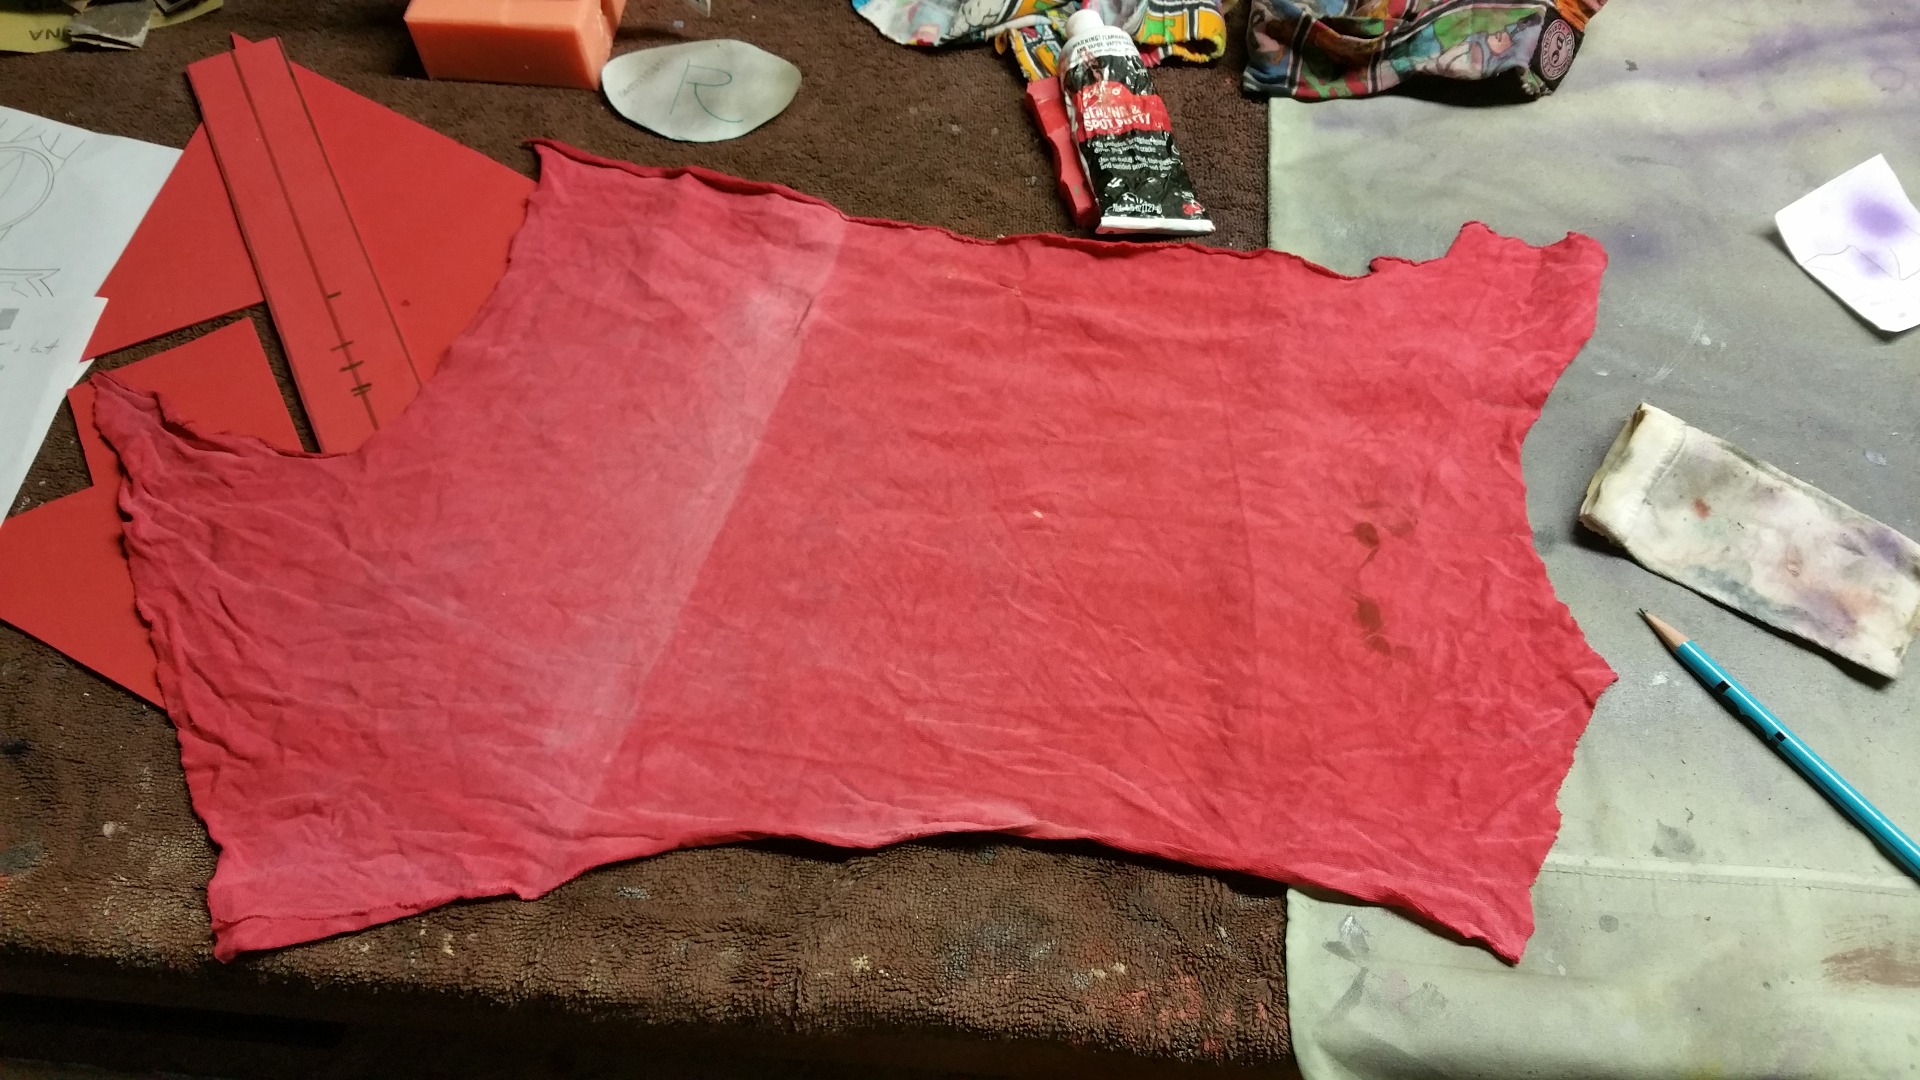
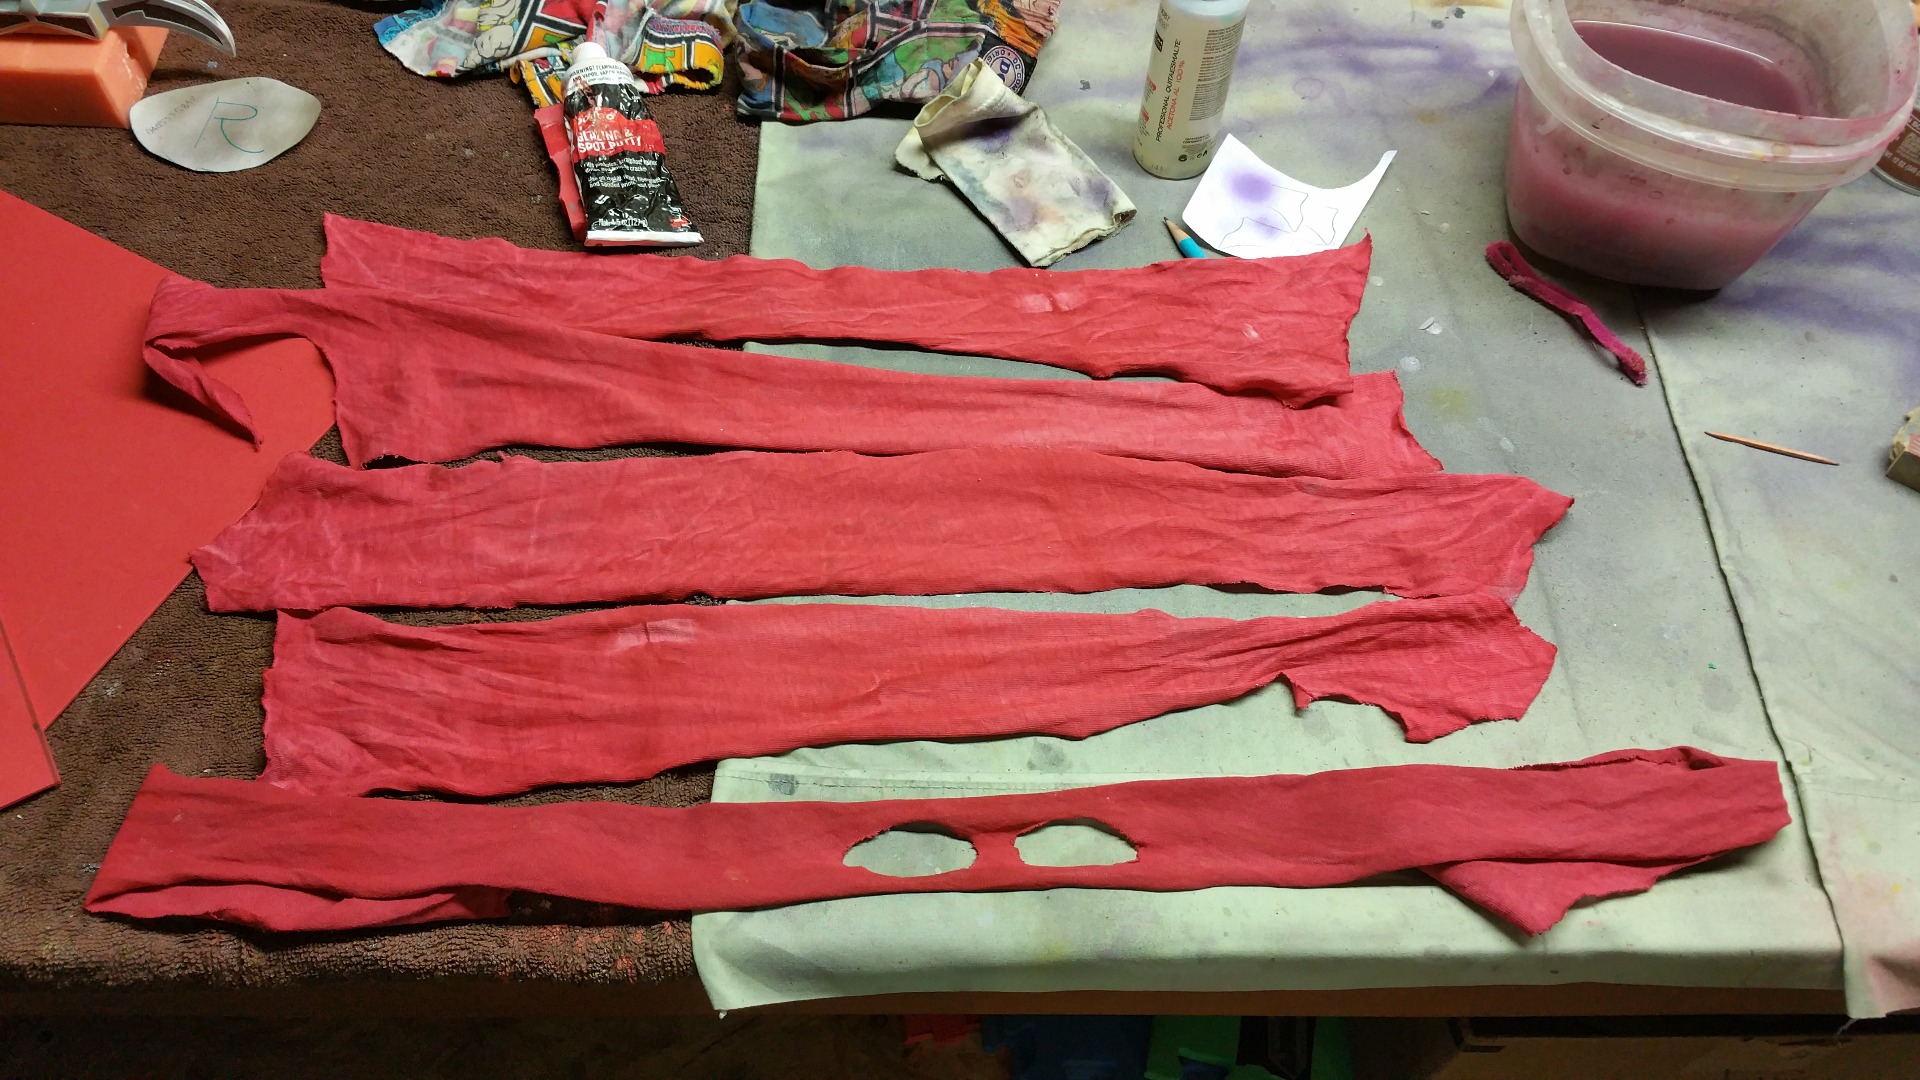
The last pieces of this costume to be made were the mask and arm/leg wraps. I choose to have the wraps match the mask. To do so, I got an old t-shirt and soaked it in watered down red acrylic paint. This was a cheap way to do it, and worked very well. These pieces will never be washed, so it doesn't matter that I used paint instead of fabric dye to color them. I let the shirt soak in the paint solution for multiple hours, then wrung it out and hung it to dry. Once it was dry, I cut it into strips of relatively equal widths. I cut eye holes into one of the strips to make the mask.
Finished!
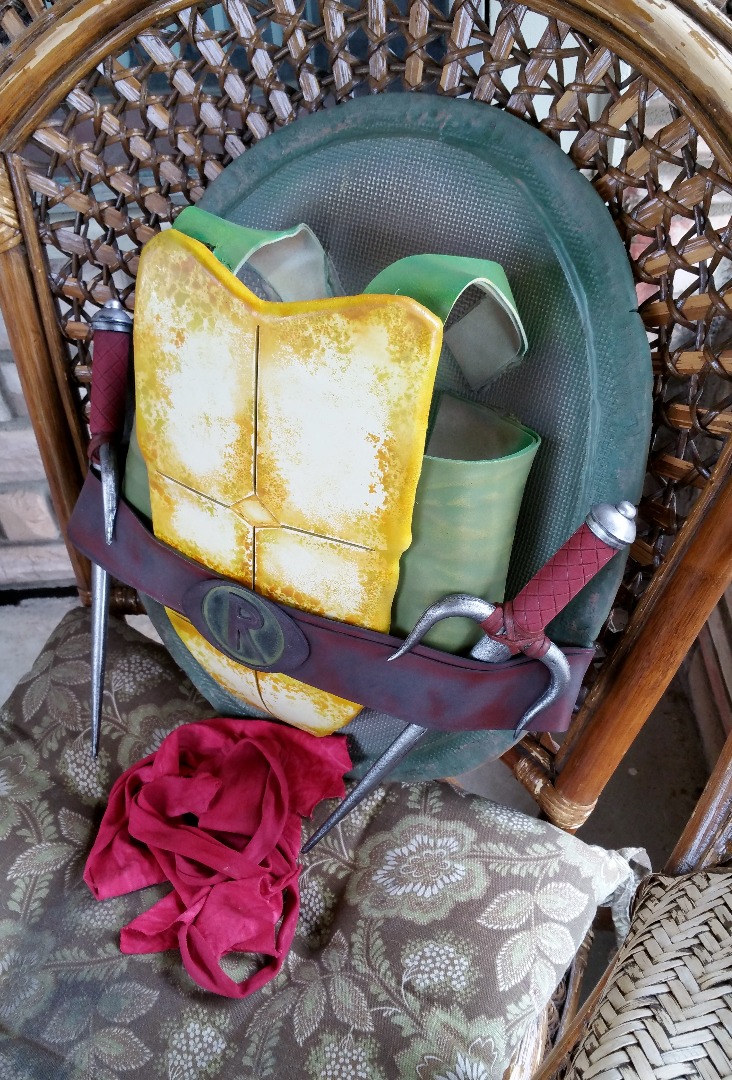
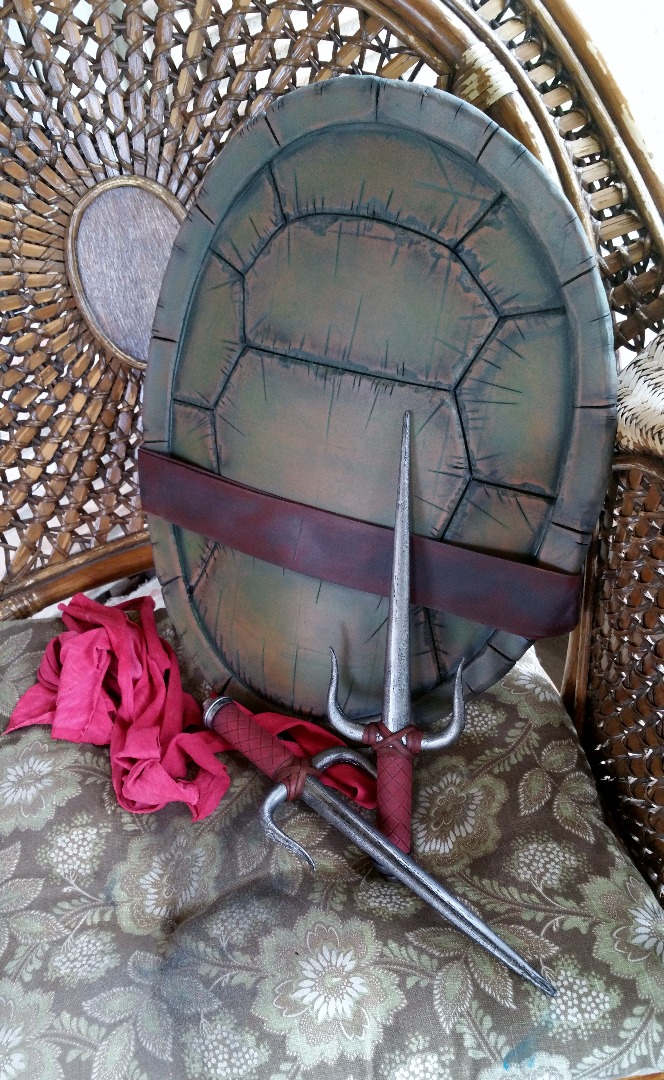
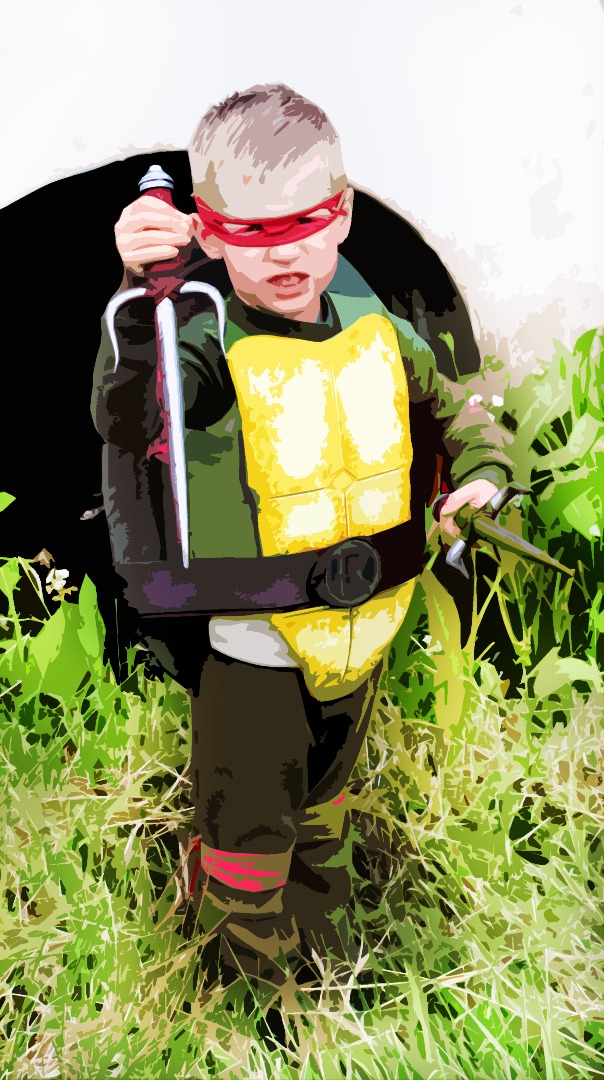
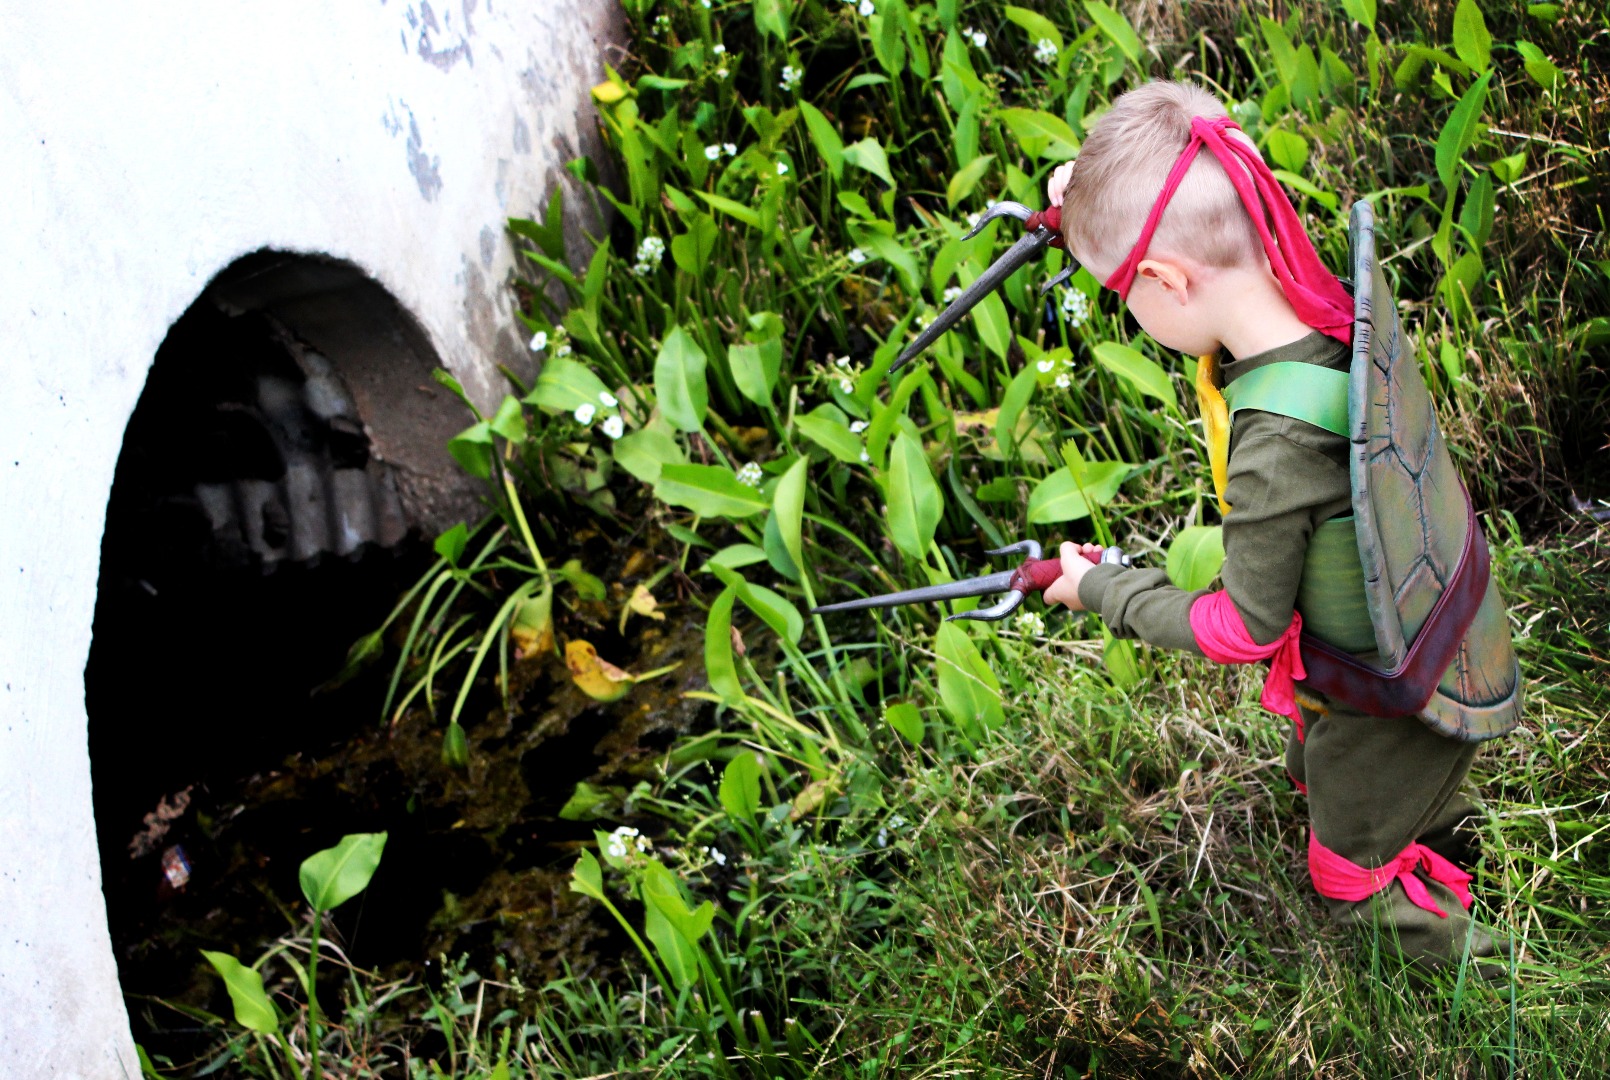
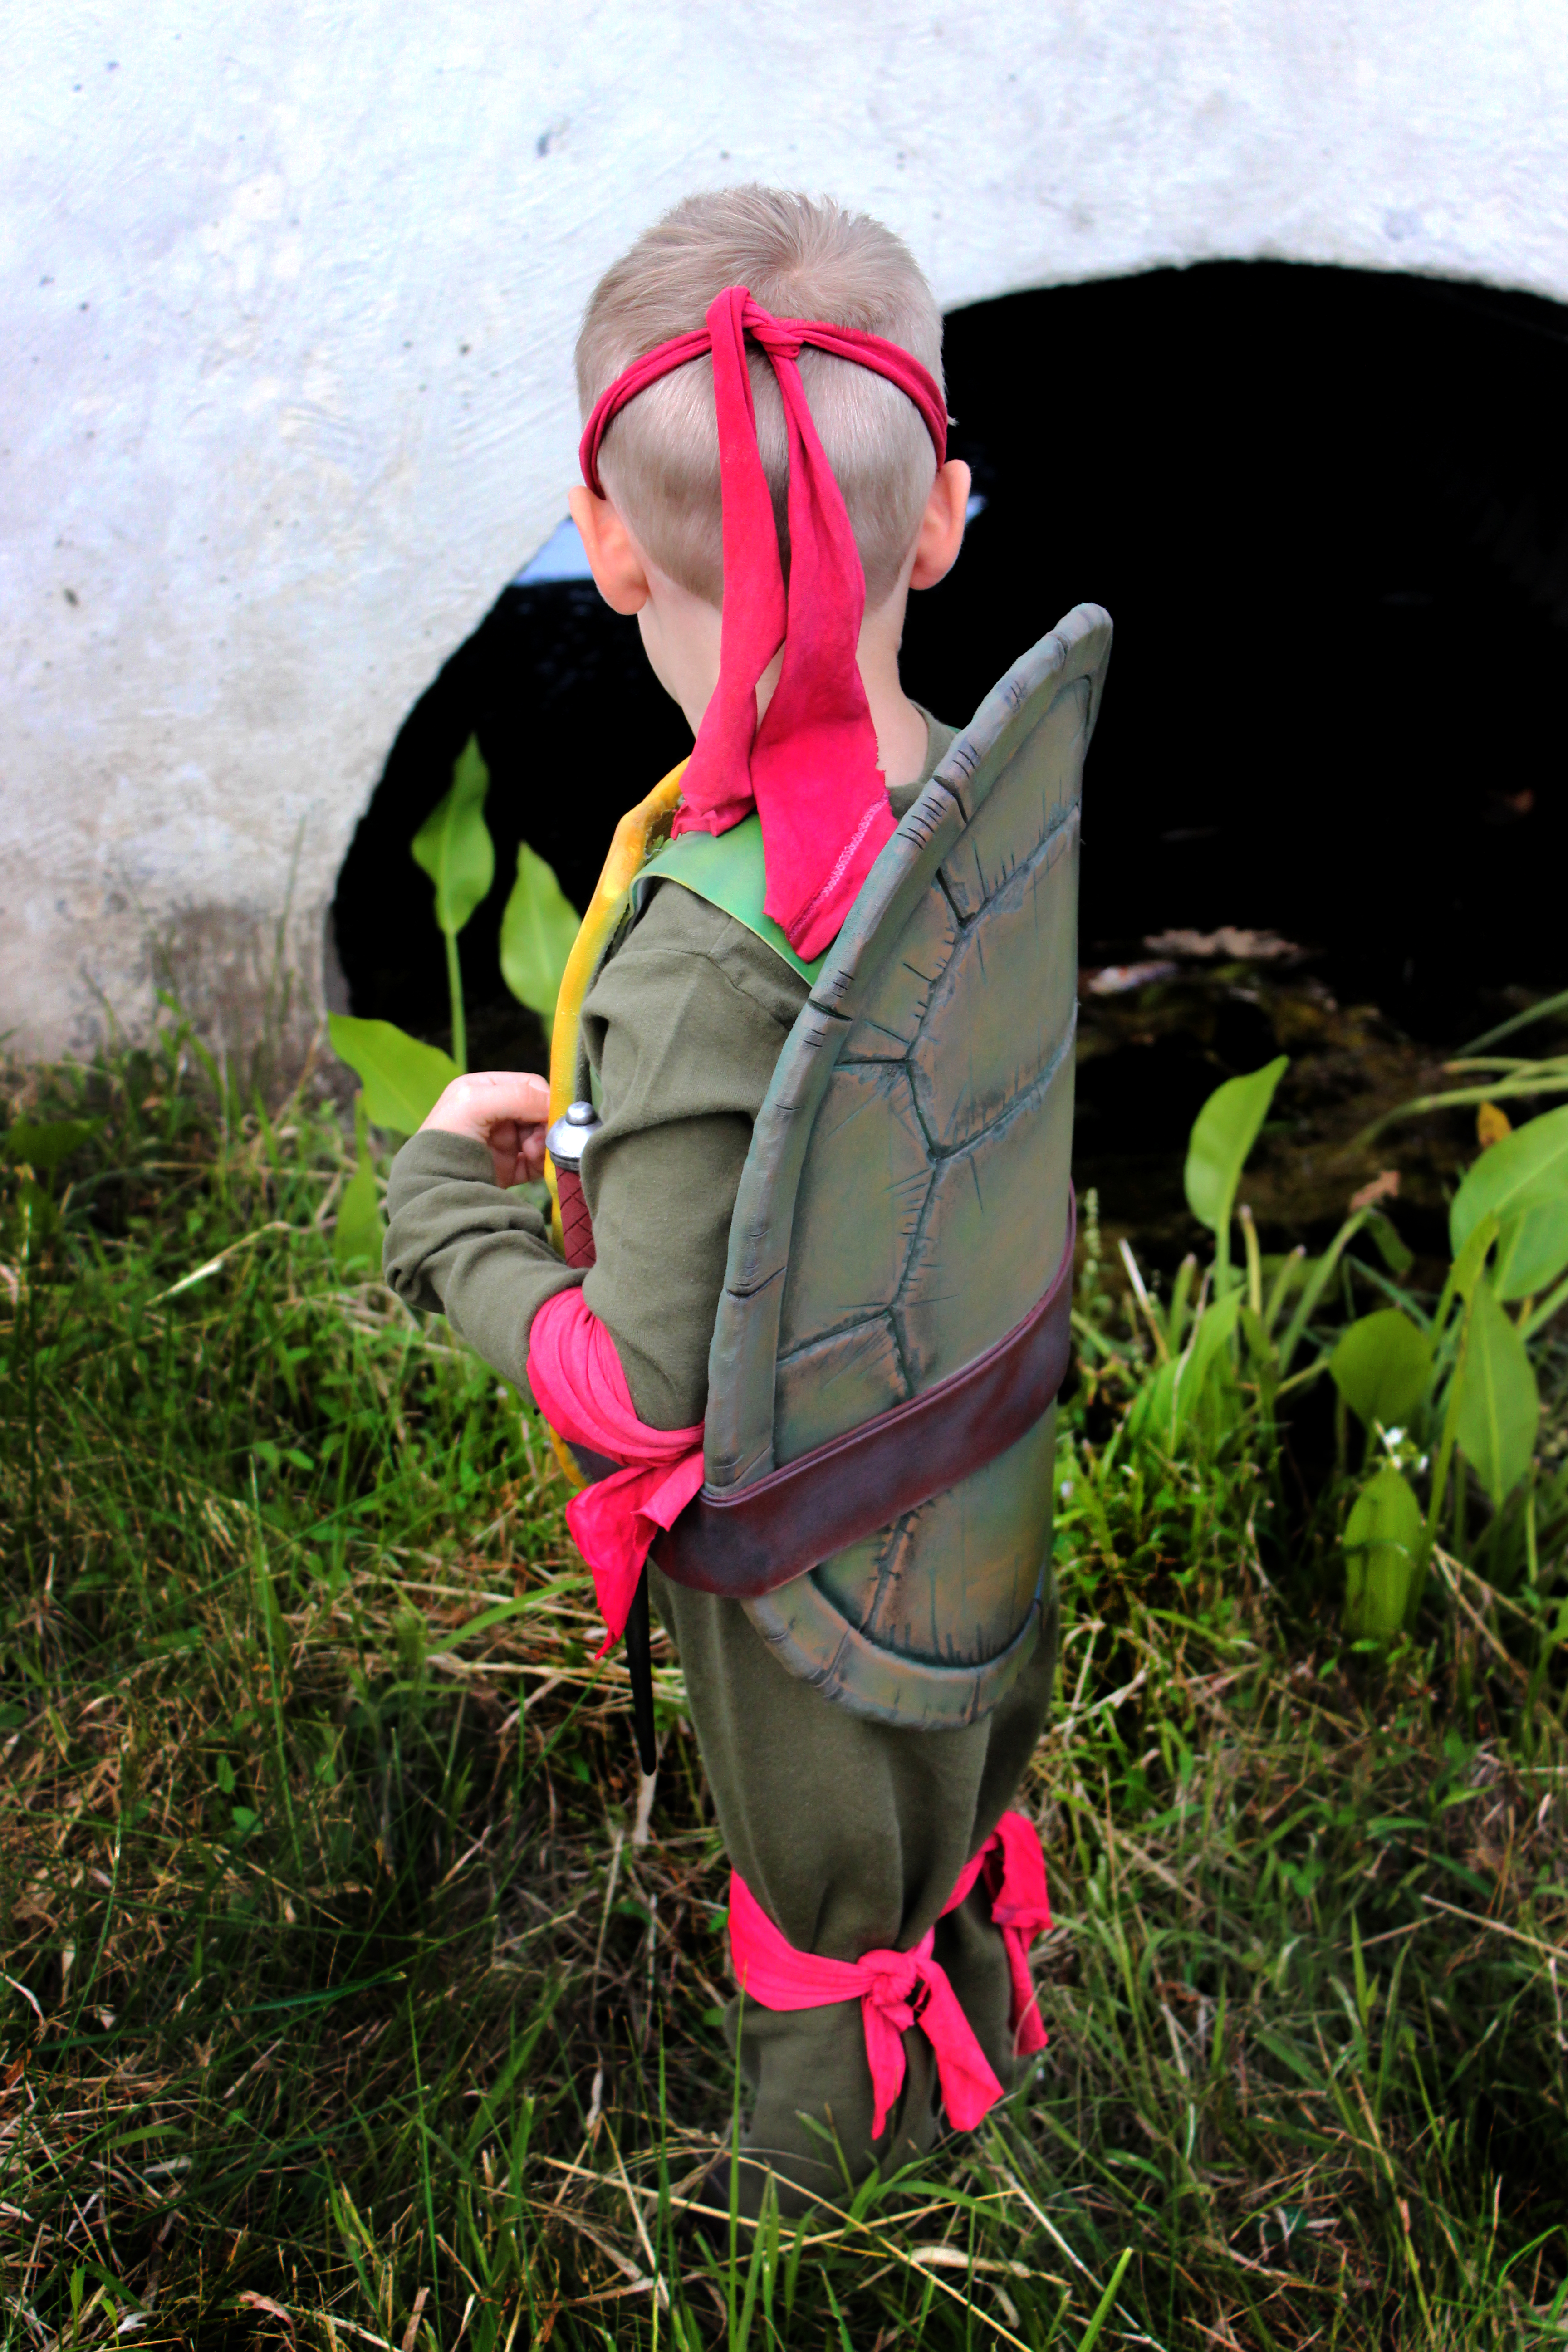
Costume finished! Want to know how I made the weapons for this costume? I made a separate instructable for that.